

My name is Eduardo and I live in Granada, Spain.
I wanted to give special thanks to my friend and clasical guitar builder Mario Aracama for allowing me build in his shop (plenty of tools and pro advice).
I´d like to thank everybody in LC for the best threads in bass building I´ve found in the internet.
I also wanted to ask apologies for my bad english.
So here we go:
5 strings
Fretless
Neckthru
Singlecut
Three piece quartersawn maple neck
Ash wings
Ebony lined fingerboard
Single string bridge 18mm spacing
Bartolini 59cbjd in thumb bass position
Volume Volume Tone
Series-Paralel switch

Thats what I call start from the begining:
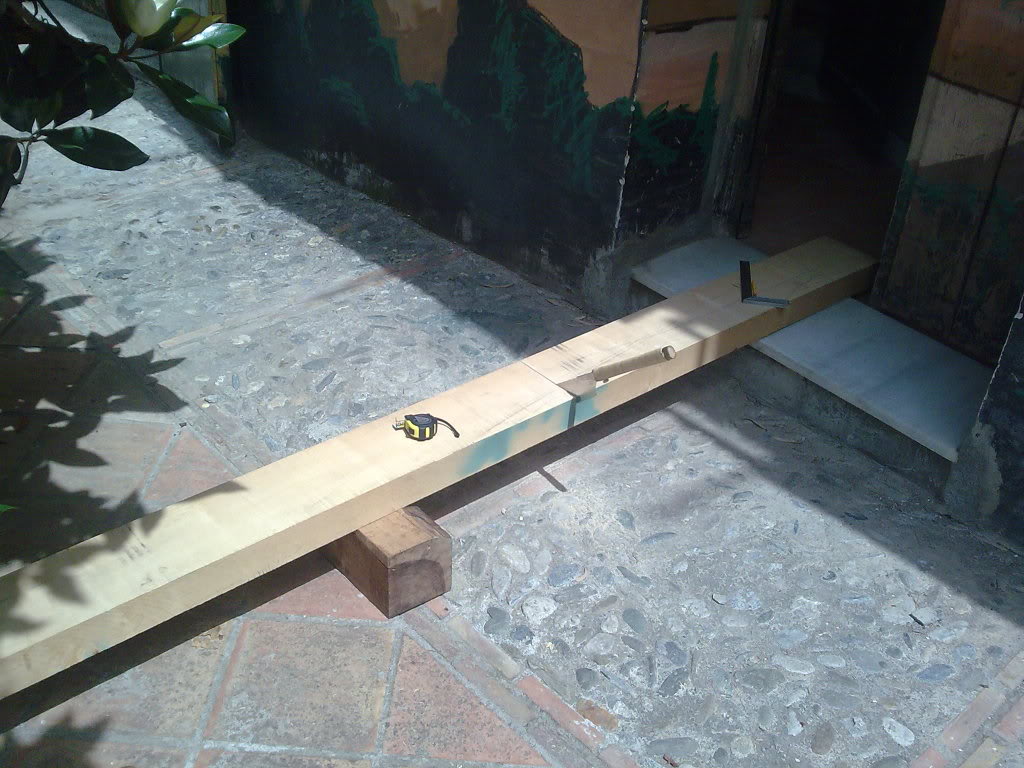
So here we have a beautiful piece of quartersawn maple the left top will be stored as fingerboard
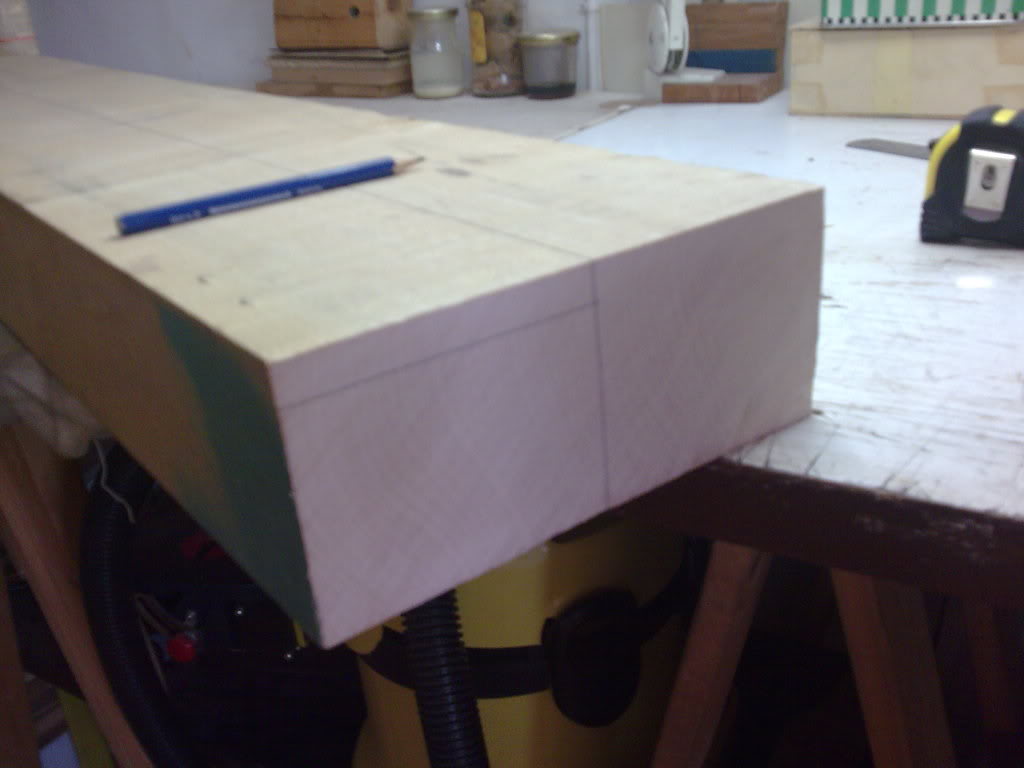
The neck blank:
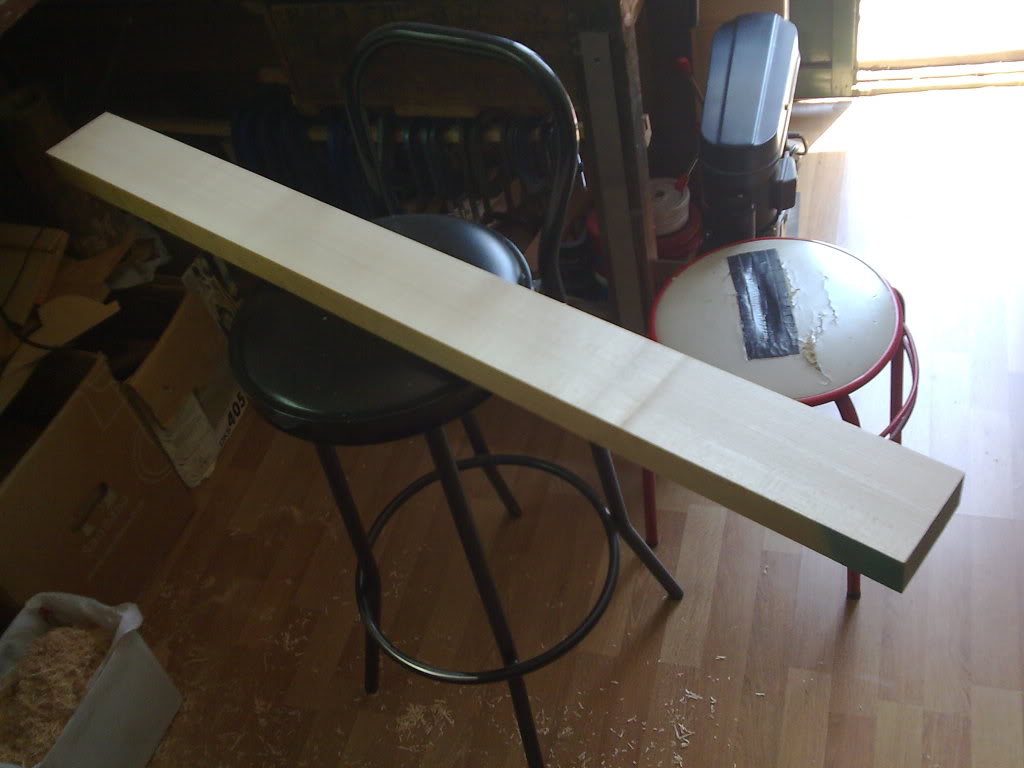
Three pieces with reversed core:
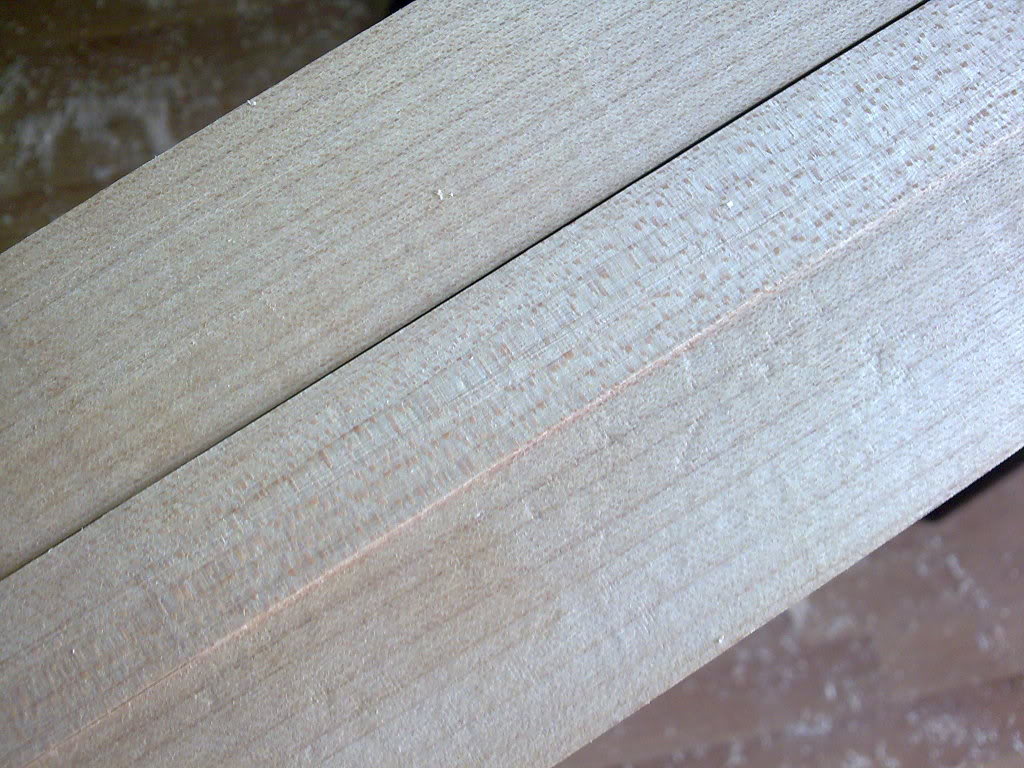
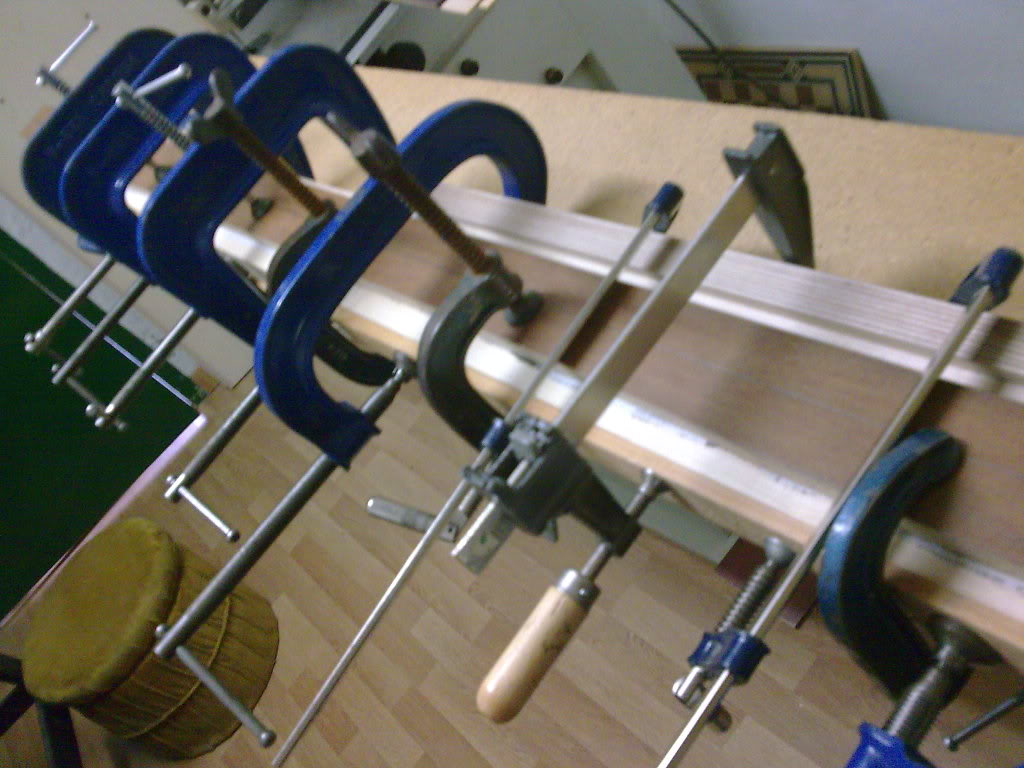
Time for clamp, I use titebond and prepare the room at 40% humidity when gluing
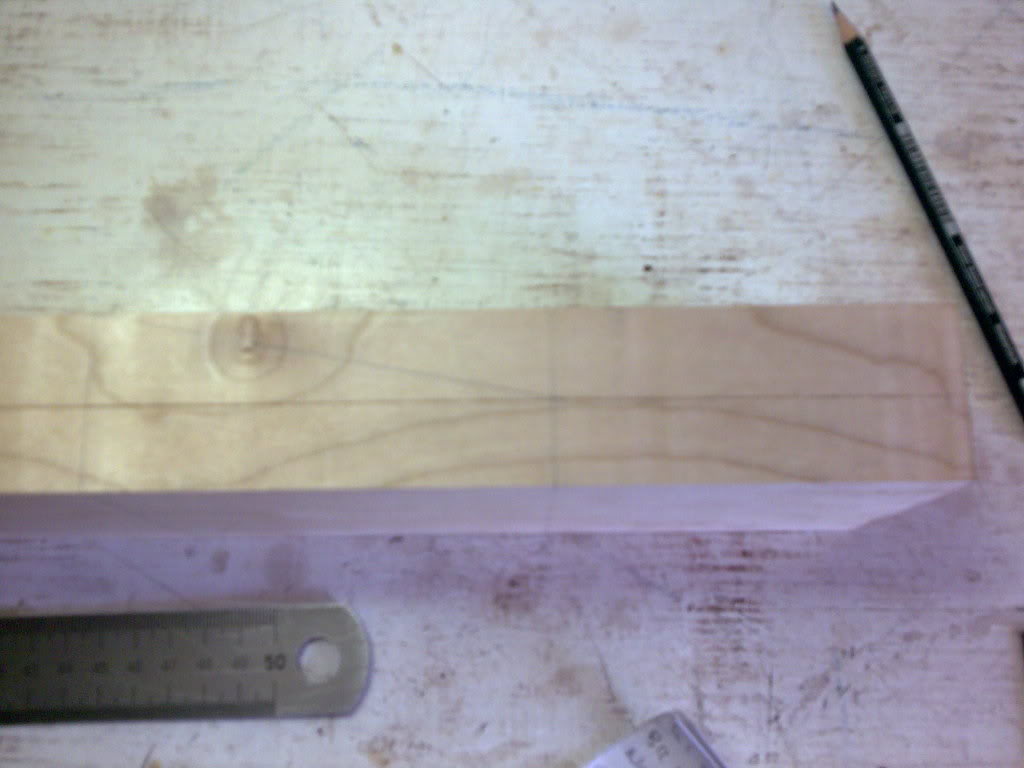
Preparing to cut the scarf joint:
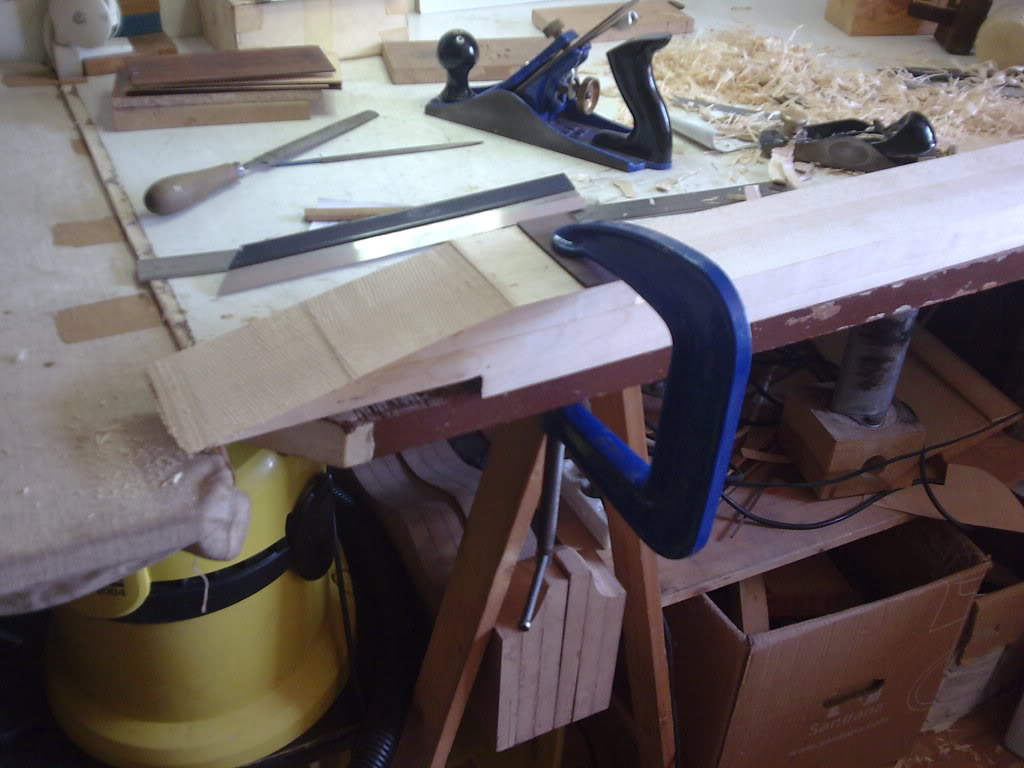
Ready for cleaning:
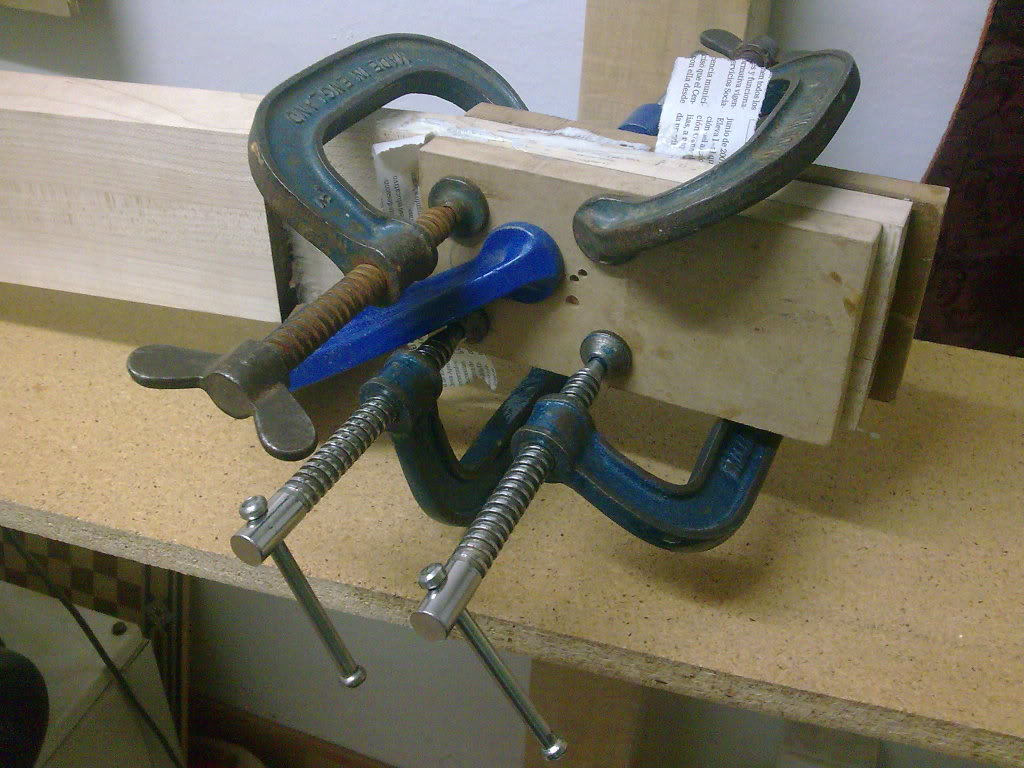
Clamping the headstock:
So now we can place the nut, and route truss rod
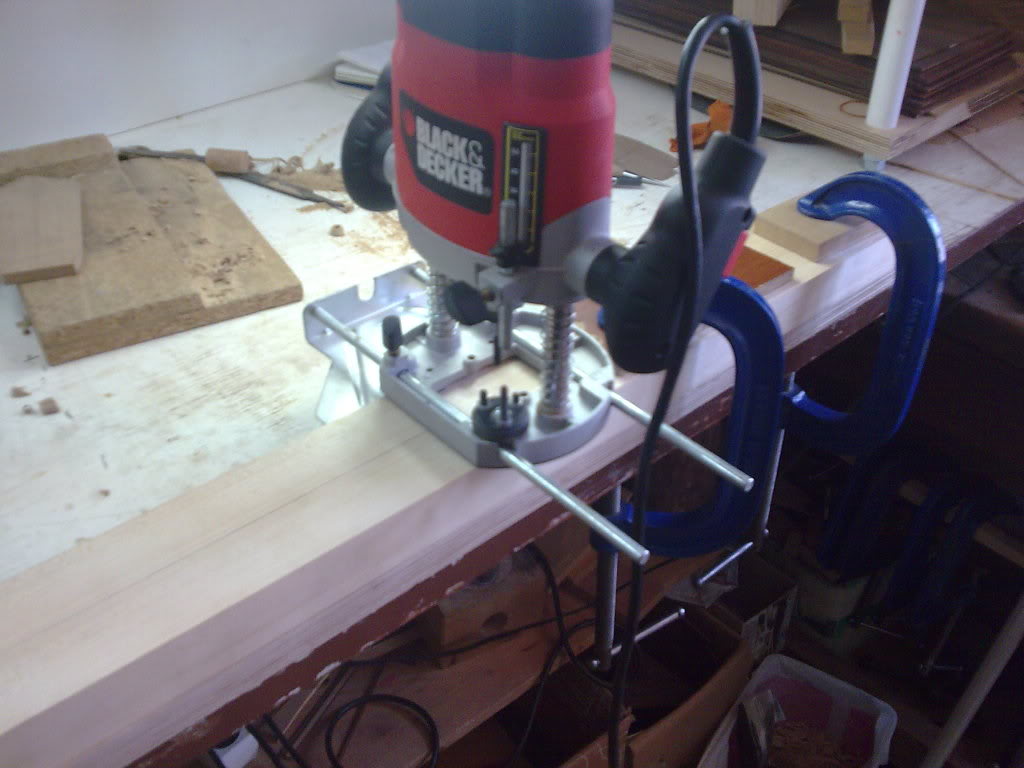
Marking fretboard and bridge:
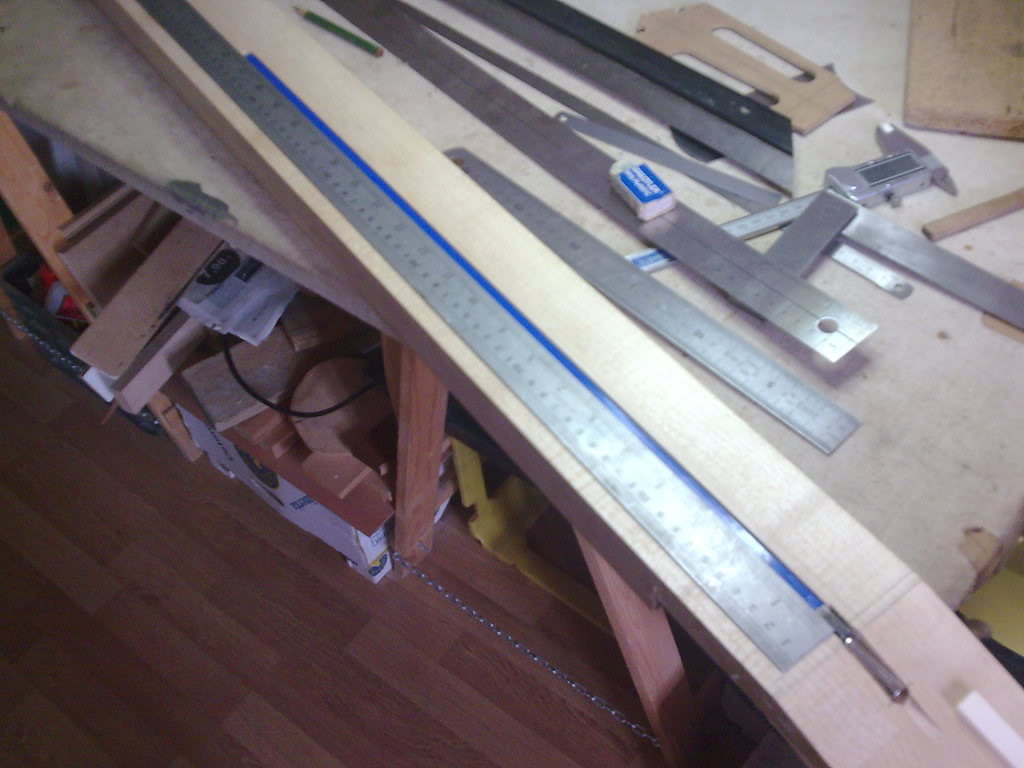
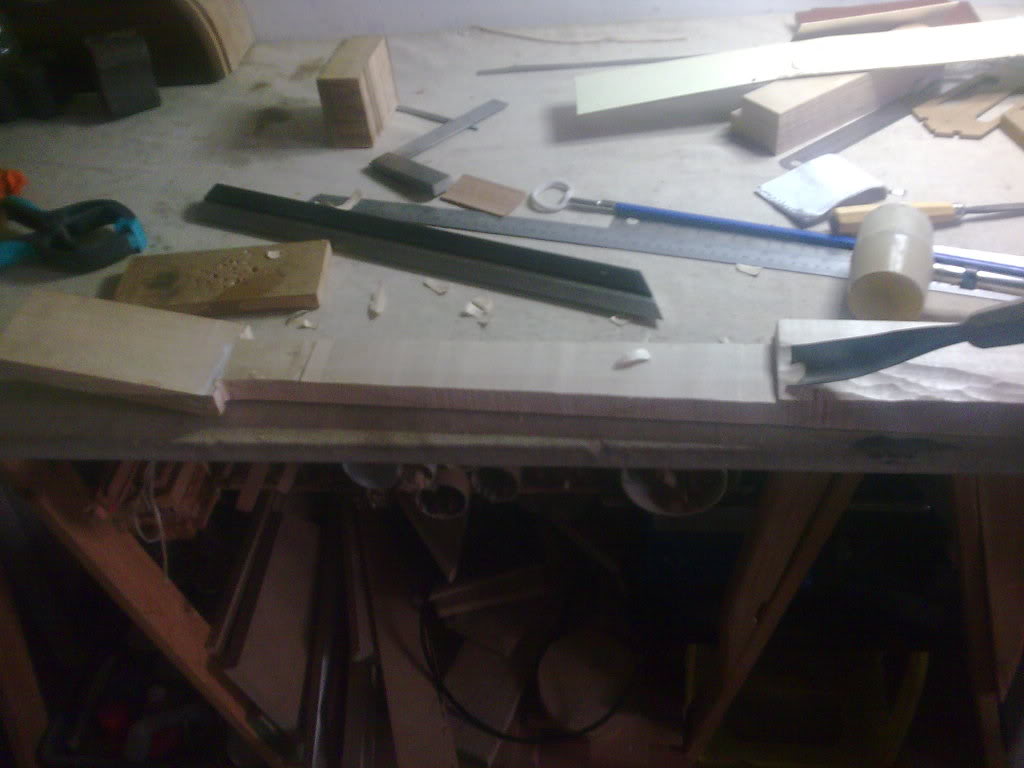
This is a good moment to remove some wood
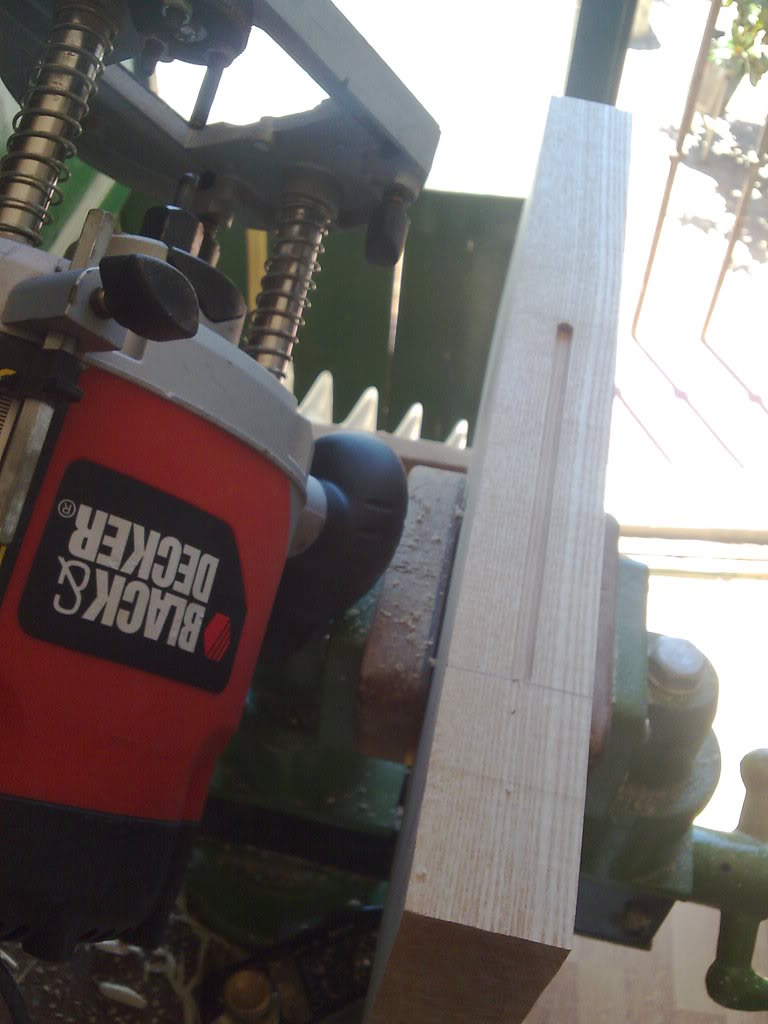
I made some routing on the wing to make easier wiring
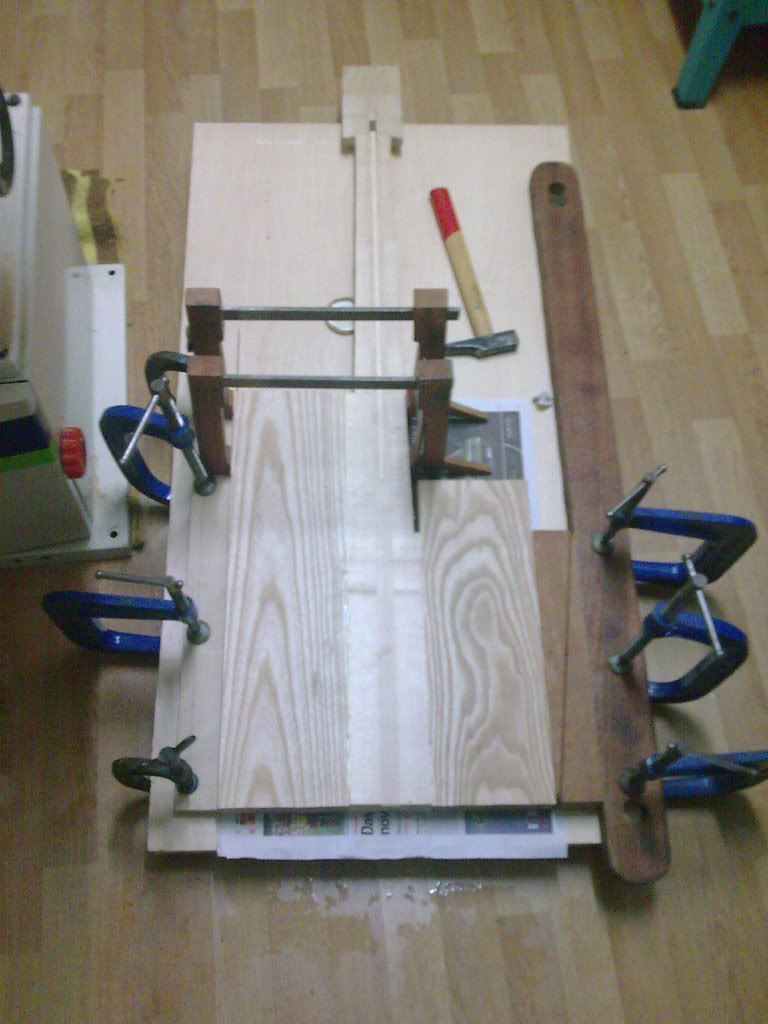
Its time to glue the wings. Dont worry if you dont have big clamps I got a solution for you
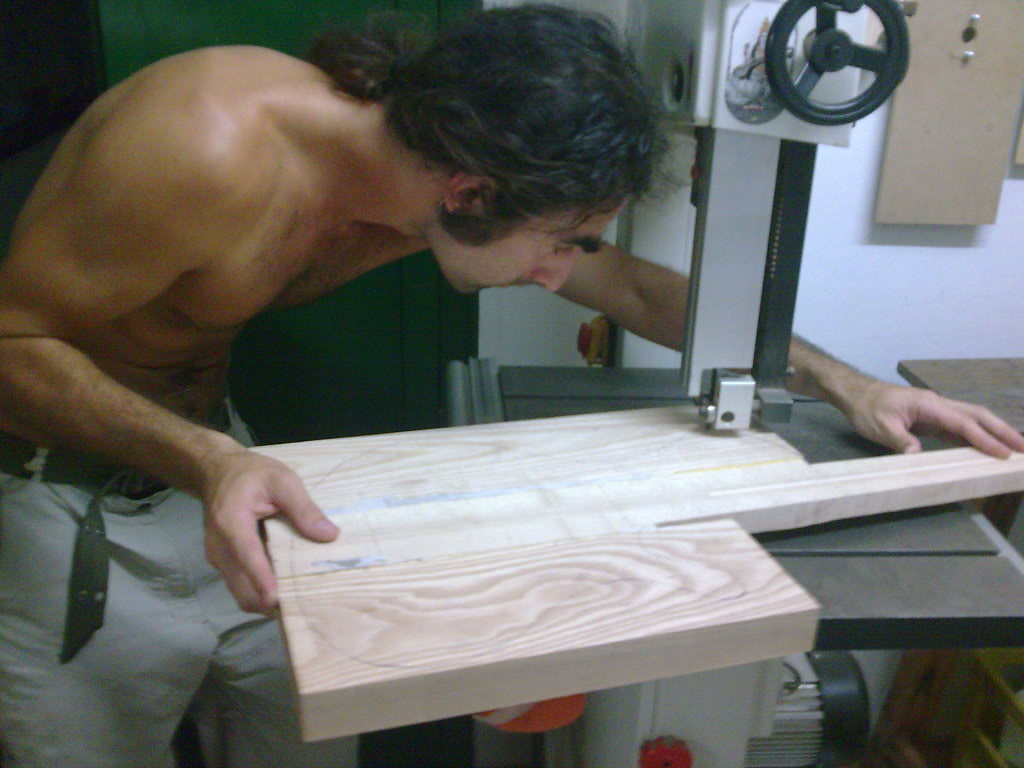
So I copied my design with pencil and ready to bandsaw (Yes, I´m ugly as a f**k and its hot in the shop in summer)
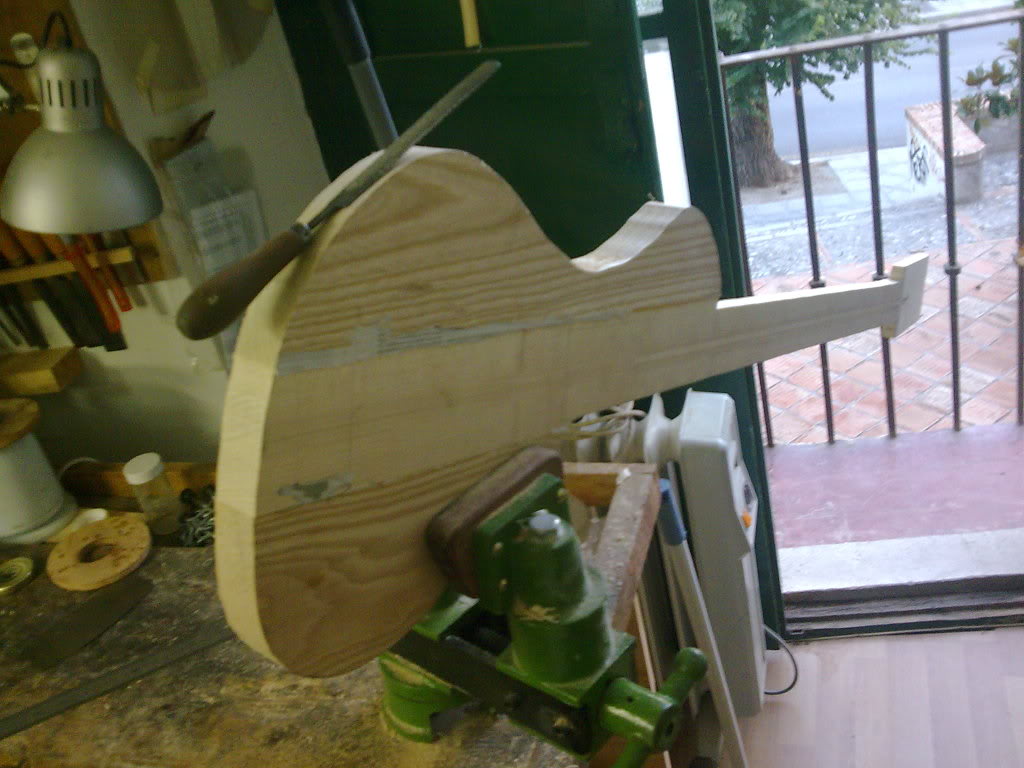
The curves arent really smooth so it needs some work
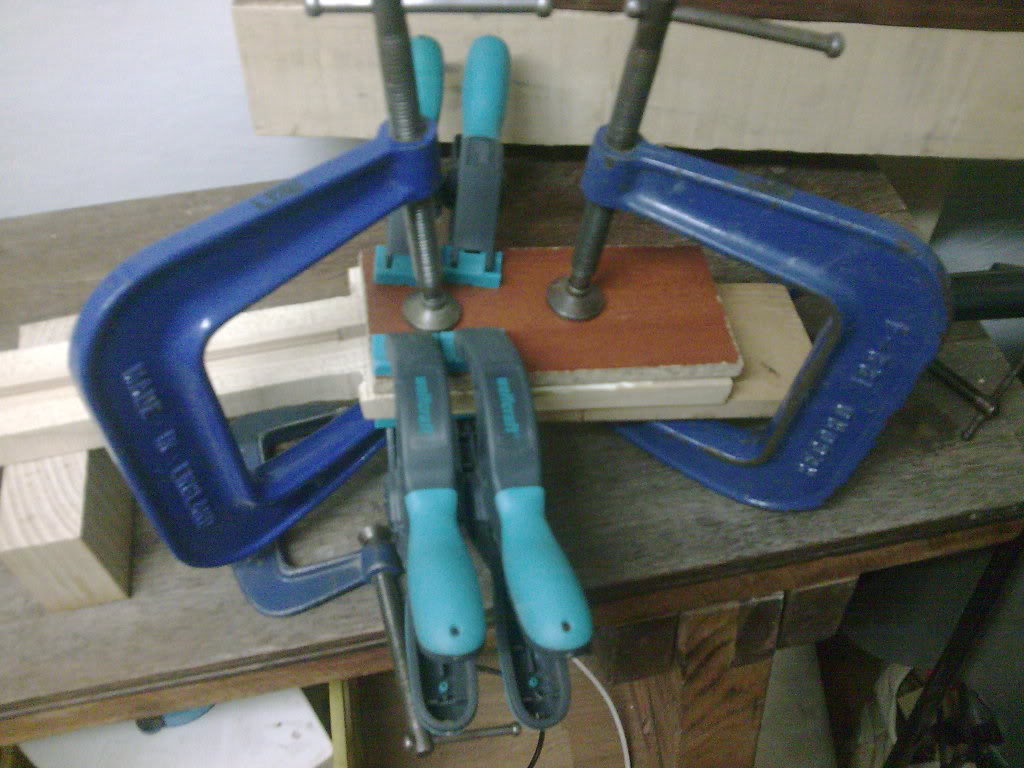
I forgot gluing the headstock veener
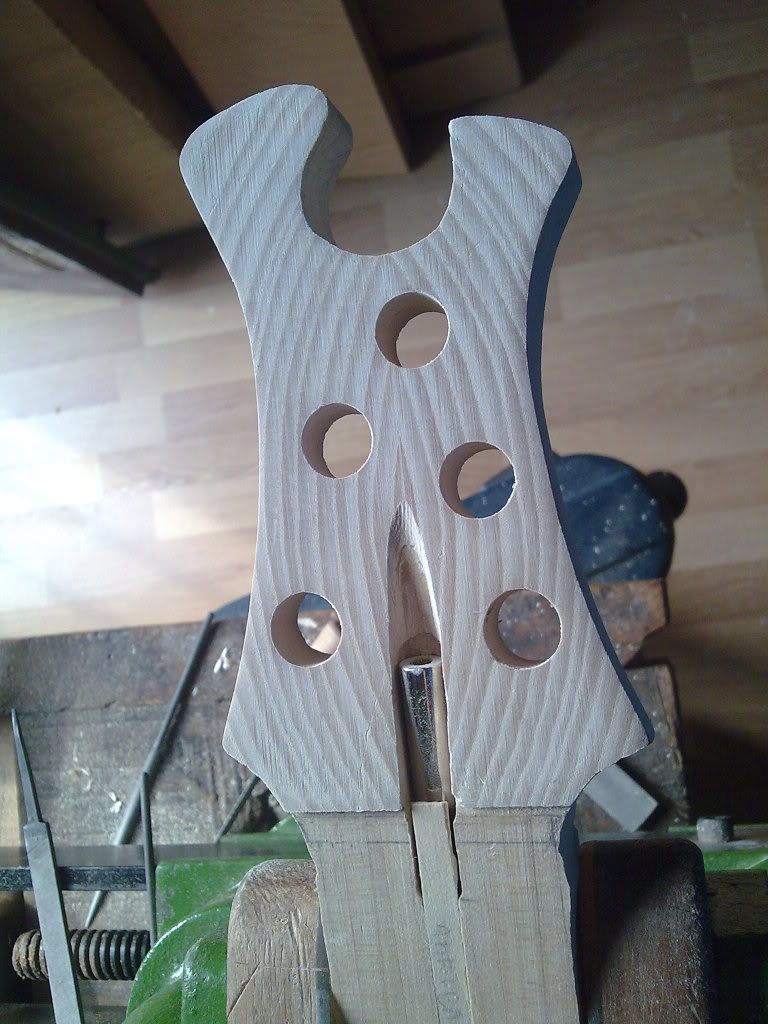
I didn´t decide the headstock shape till the last moment, maybe you can guess what was my inspiration
Comments and sugestions are welcome.
Saludos desde Granada!
I wanted to give special thanks to my friend and clasical guitar builder Mario Aracama for allowing me build in his shop (plenty of tools and pro advice).
I´d like to thank everybody in LC for the best threads in bass building I´ve found in the internet.
I also wanted to ask apologies for my bad english.
So here we go:
5 strings
Fretless
Neckthru
Singlecut
Three piece quartersawn maple neck
Ash wings
Ebony lined fingerboard
Single string bridge 18mm spacing
Bartolini 59cbjd in thumb bass position
Volume Volume Tone
Series-Paralel switch
Thats what I call start from the begining:
So here we have a beautiful piece of quartersawn maple the left top will be stored as fingerboard
The neck blank:
Three pieces with reversed core:
Time for clamp, I use titebond and prepare the room at 40% humidity when gluing
Preparing to cut the scarf joint:
Ready for cleaning:
Clamping the headstock:
So now we can place the nut, and route truss rod
Marking fretboard and bridge:
This is a good moment to remove some wood
I made some routing on the wing to make easier wiring
Its time to glue the wings. Dont worry if you dont have big clamps I got a solution for you
So I copied my design with pencil and ready to bandsaw (Yes, I´m ugly as a f**k and its hot in the shop in summer)
The curves arent really smooth so it needs some work
I forgot gluing the headstock veener
I didn´t decide the headstock shape till the last moment, maybe you can guess what was my inspiration
Comments and sugestions are welcome.
Saludos desde Granada!







 i cant wait to see it.


