Sanded, buffed, cleaned up and shielded.
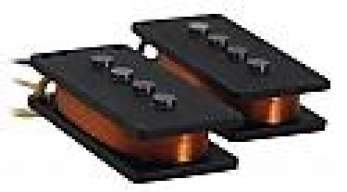
The threaded inserts for the p-ups' screws are in. I had to lightly sand off a bit of lacquer in the corner of one pick up cavity to let the p-up in. Lacquer never fails to trick me when it comes to that. But I'm getting better. This time around I only had to sand off this, the pots holes and of course the holes for the cavity cover threaded inserts. That's a long way from the troubles of my first build. But I have a solution in mind to eliminate those buggers as well

I love Claro. These two sets are so beautiful. The one on the back is a bit more traditional looking than the one on the top- which is why it's on the back anyway. But the grain is so nice and colours so rich!
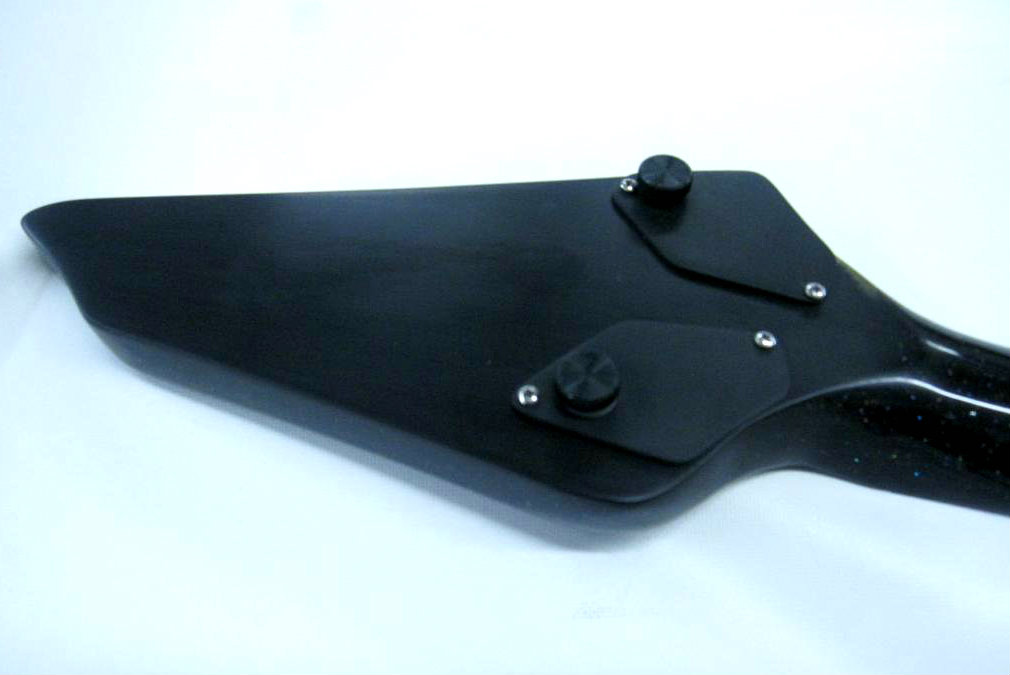
Originally I had something else in mind for the cavity cover - something visually more outstanding. Then I found this leftover from the Claro set which almost perfectly matches the grain of the body on one side and gradually changes both colour and grain orientation on the other side. The idea seemed to me much more intriguing than what I had originally in mind so I went for it. Sometime one has got to improvise, right?
The signature is actually silver gray but the angle at which this picture was taken makes it look white.
The two knots are [DEL]probably[/DEL] what I like the most about this combo. They were a pain to handle and I had to fill ever smaller holes even during the final stage of sanding. But the result is very, very rewarding.
Filling tiny holes in between coats is relatively simple - CA, sand, spray. It's a little more tedious when it happens after the last coat has dried, as in this case. Needless to day, one should check the bass carefully before spraying the last coat. But these little buggers have a talent in hiding from me.
Spraying the whole thing again would be an unnecessary waste of time, material and a pretty good coating.
So, to fill up tiny holes over the last coat of lacquer, use a tiny drop of CA. Let it dry. I do this either before lunch break or at the end of the day. That's a good way to keep my eager finger away from it
Then take a razor blade, tape it with masking tape so as only the center section of the blade shows. Make that just about as wide as the CA droplet you want to scrape.
Gently scrape the little bump until it's flush with the surface. The tape will protect the area around the bump and will add a slight thickness so when there's nothing left to scrape there is still a minute layer left which the blade cannot reach. Wet sand it off with the same grid you were using at that stage - 1000 in my case.
Hold the guitar at an angle so as you can see in the reflection if there's still some extra CA left. If you can't see any difference anymore move on to a higher grit, 1200>2000. Buff.
Next, I have to cut the nut, drill for anchor bits, fit p-ups and electronics and assemble the beast. Till then...
Thank you!

ps: Those interested will find more pix on the Über Facebook page. The link is in the signature.