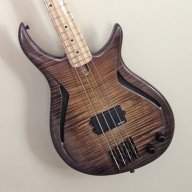
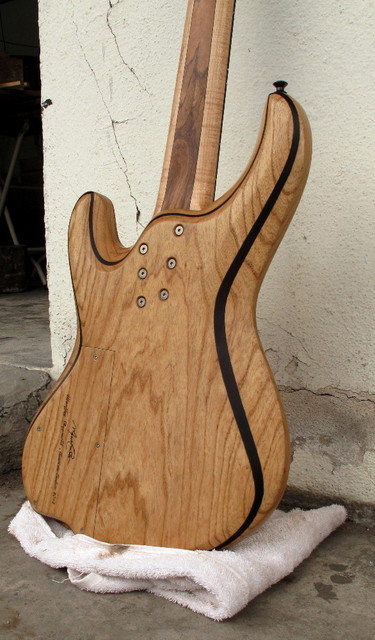
Hi there. It has been a busy week and I just couldn't keep up with updates. Here's the bass assembled and stringed. I haven't done any set up yet. Neither do I have plugged it in. But I very much like the overall feel.
It always amazes me how familiar every new build feels, mostly. But then, each build has a little something that makes it different, surprising.
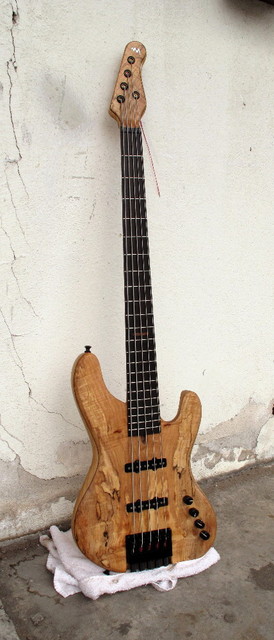
From the moment the strings get in tune, the process of getting to know each other starts. That's a great feeling. Building is indeed a drug. I'm glad it's still legal
These strings are some cheep ones that I use for the very first test, since I know I'm not gonna plug it in. Then, when the overall seems OK, I unwrap the good ones
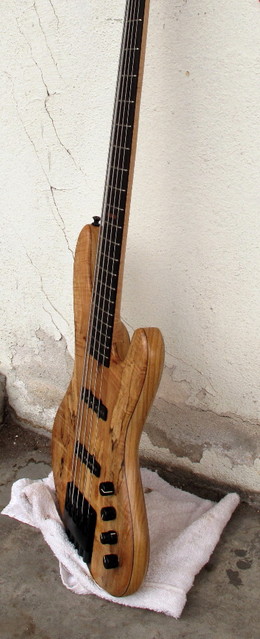
Note to self: Swap the last two knobs around, please.
Some of you liked the sketches I made for another build and asked for more. Here you go.
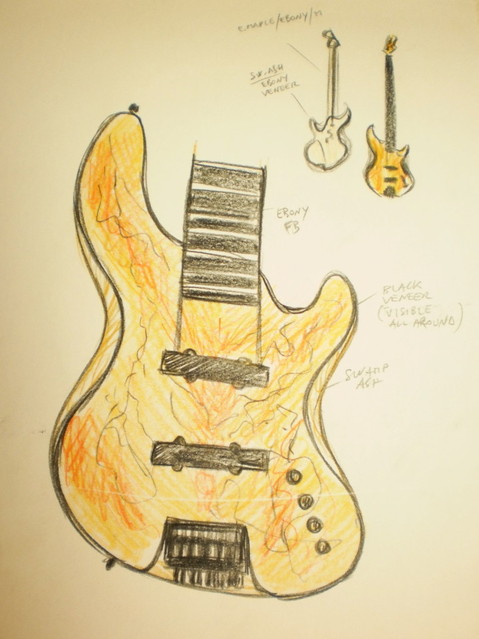
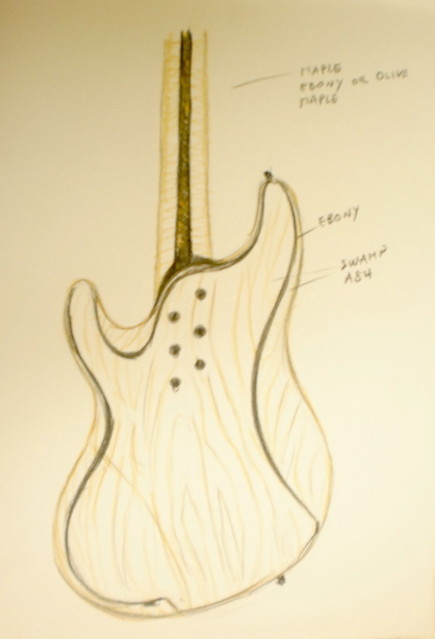
I haven't looked at these sketches for quite a while. Quite a few similarities - and differences
For instance, the different cavity cover shape; or the initial idea of having an Ebony laminate on the neck heel - which was discarded, I seem to remember, when we decided to go with Wild Olive center lam instead.
Or the lack of G string inlay on the headstock... which between creative stage, development and actual inlay took about three weeks... the little things eh?
And the idea of adding Swamp Ash at both sides of the Maple headstock, which only came to me after I had sketched these.
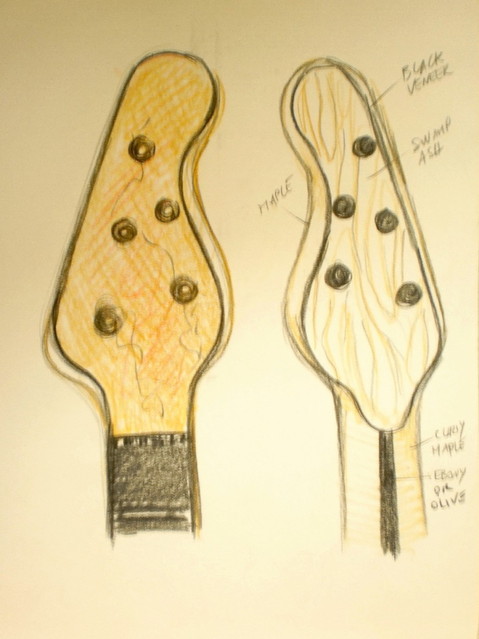
And the back of the headstock showing the channel-less adjustment system, which we didn't select.
Next up, taking better pictures and perhaps shoot a short movie with sound clips. I will hold on to this dude for a few more weeks, so...yeah...as Mr. Incredible would say - I've got time, I've got time
Thank you for following this build
It always amazes me how familiar every new build feels, mostly. But then, each build has a little something that makes it different, surprising.
From the moment the strings get in tune, the process of getting to know each other starts. That's a great feeling. Building is indeed a drug. I'm glad it's still legal
These strings are some cheep ones that I use for the very first test, since I know I'm not gonna plug it in. Then, when the overall seems OK, I unwrap the good ones
Note to self: Swap the last two knobs around, please.
Some of you liked the sketches I made for another build and asked for more. Here you go.
I haven't looked at these sketches for quite a while. Quite a few similarities - and differences
For instance, the different cavity cover shape; or the initial idea of having an Ebony laminate on the neck heel - which was discarded, I seem to remember, when we decided to go with Wild Olive center lam instead.
Or the lack of G string inlay on the headstock... which between creative stage, development and actual inlay took about three weeks... the little things eh?
And the idea of adding Swamp Ash at both sides of the Maple headstock, which only came to me after I had sketched these.
And the back of the headstock showing the channel-less adjustment system, which we didn't select.
Next up, taking better pictures and perhaps shoot a short movie with sound clips. I will hold on to this dude for a few more weeks, so...yeah...as Mr. Incredible would say - I've got time, I've got time
Thank you for following this build


 stunning....


 I thought it was right. But I was wrong. Ops.