• TalkBass has been independent since 1998. Add your voice.
    Create a free account to reply to discussions, view embedded media, and browse with fewer display ads.
    Join freeLog in
    Want zero display ads or expanded classifieds tools? Compare plans.

100$ Bass Challenge, First Build R.O.U.S

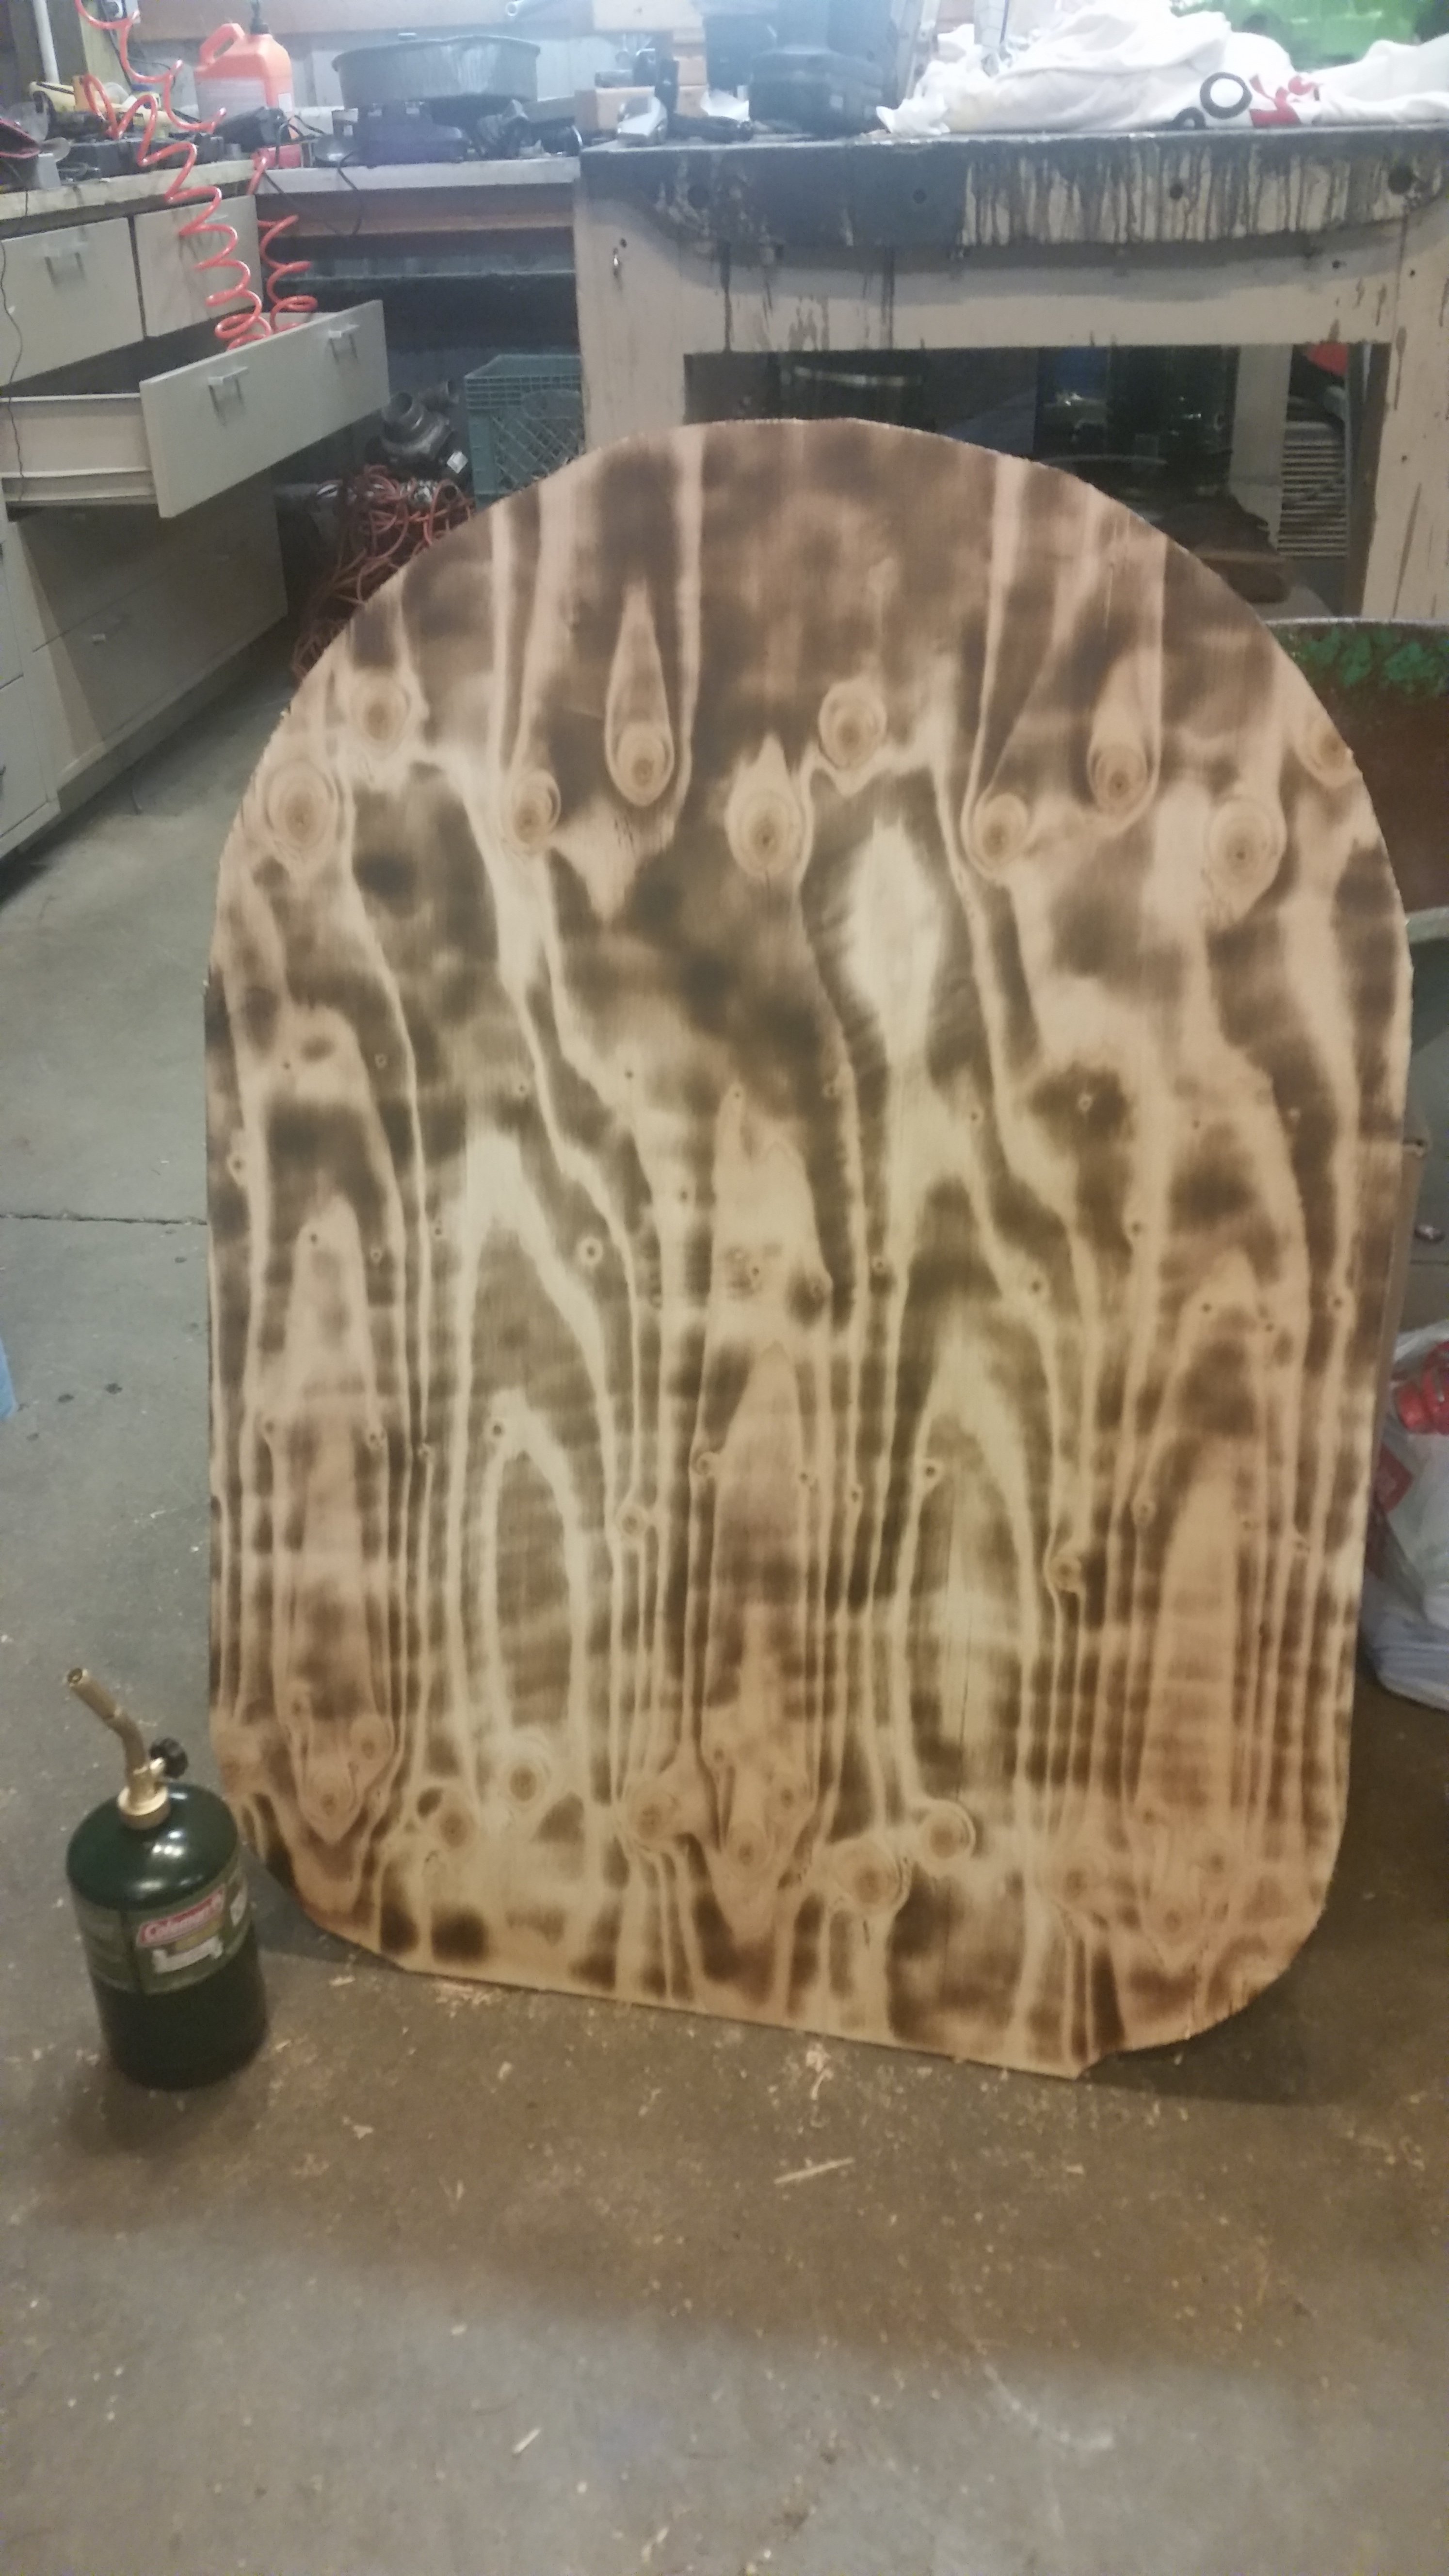
So made some progress tonight, didn't take any pictures. I started laying out the braces on the top; drilled the tailpiece and assembled it so I could get an Idea how I'm going to mount it to the main board; might of found something to use for the bridge radius; did a couple test burns on some scrap for the top, they went ok, I couldn't get the torch to burn consistent enough to use it for a design; the notifications
that the strings, nut, and neck shipped, I'm waiting to order tuners until I get the neck so I know what type to get, I should have everything by this Friday so I can finish it this weekend, and have it ready for a spring break camping trip. Oh, and I found my original sketch of it.
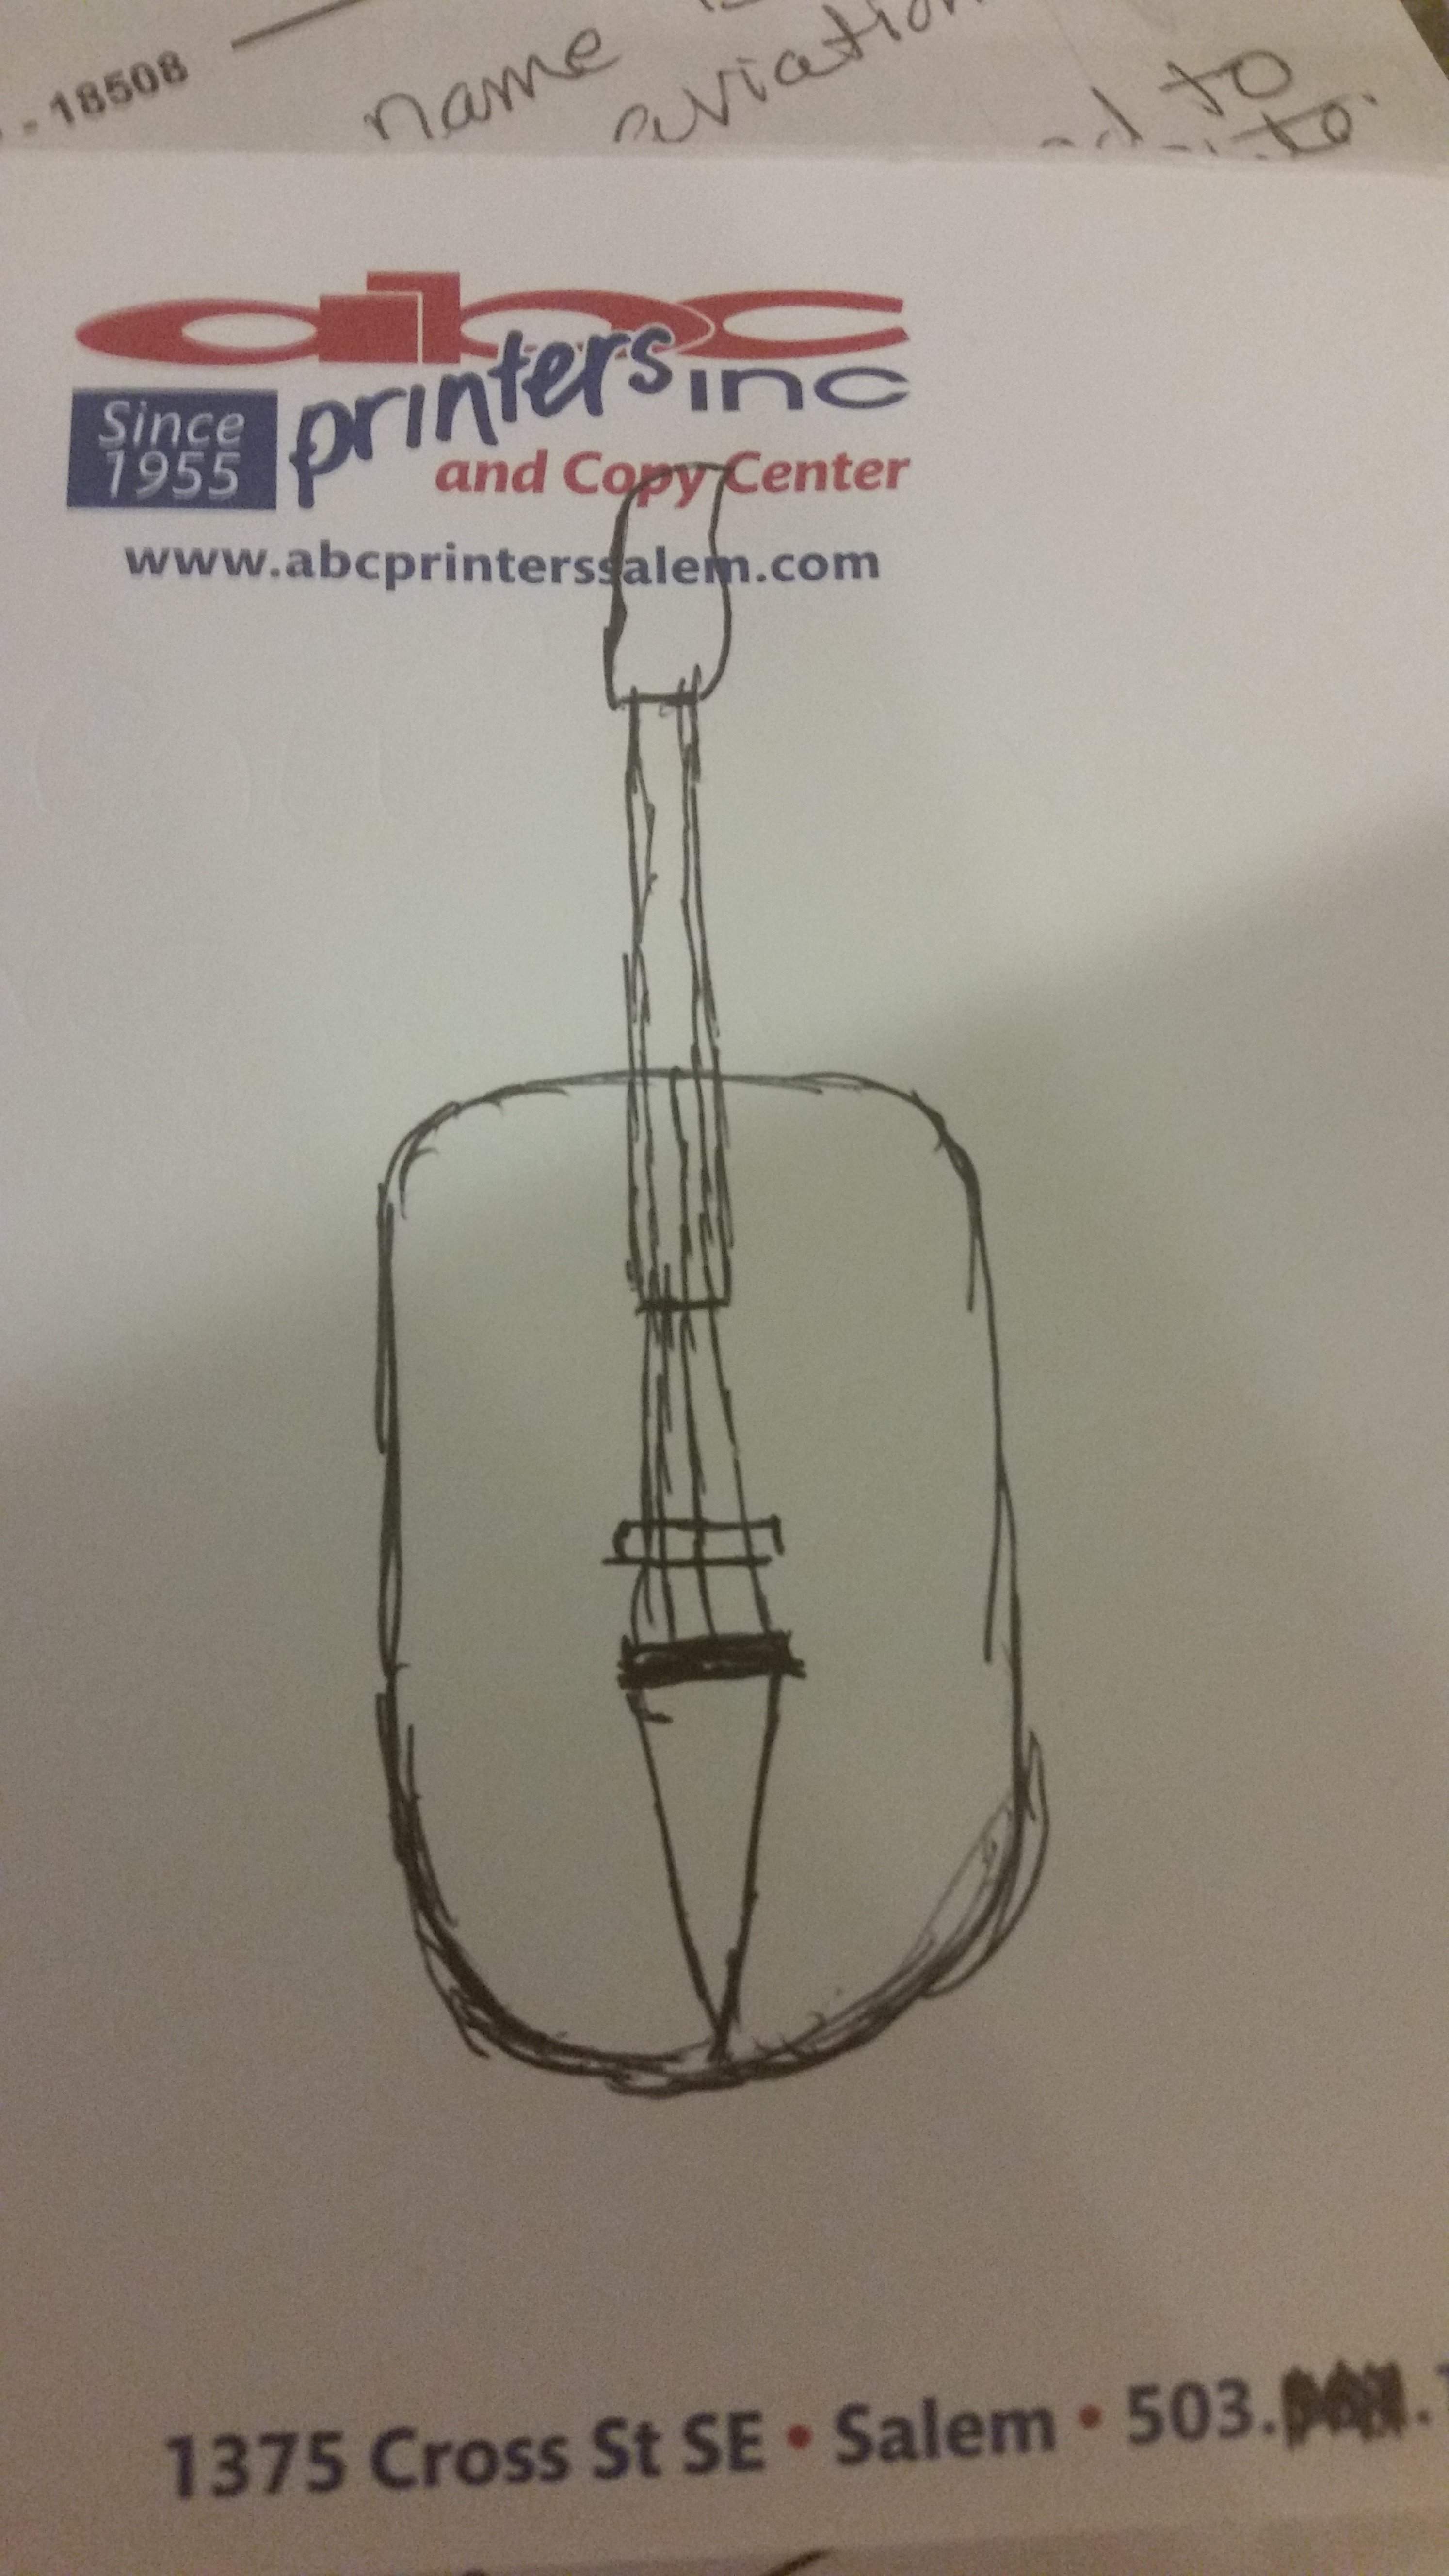
20150316_150528.jpg


Does any body know the widest string spacing for a 2.5" neck with a 1.5"nut? Because the edge of the wheel barrow isn't completely flat and it would be a pain to make it flat enough to glue or otherwise secure it do you think that using bolts and washers combined with some foam rubber weather stripping between the top and sides would work to fasten the two together?
 
Last edited:
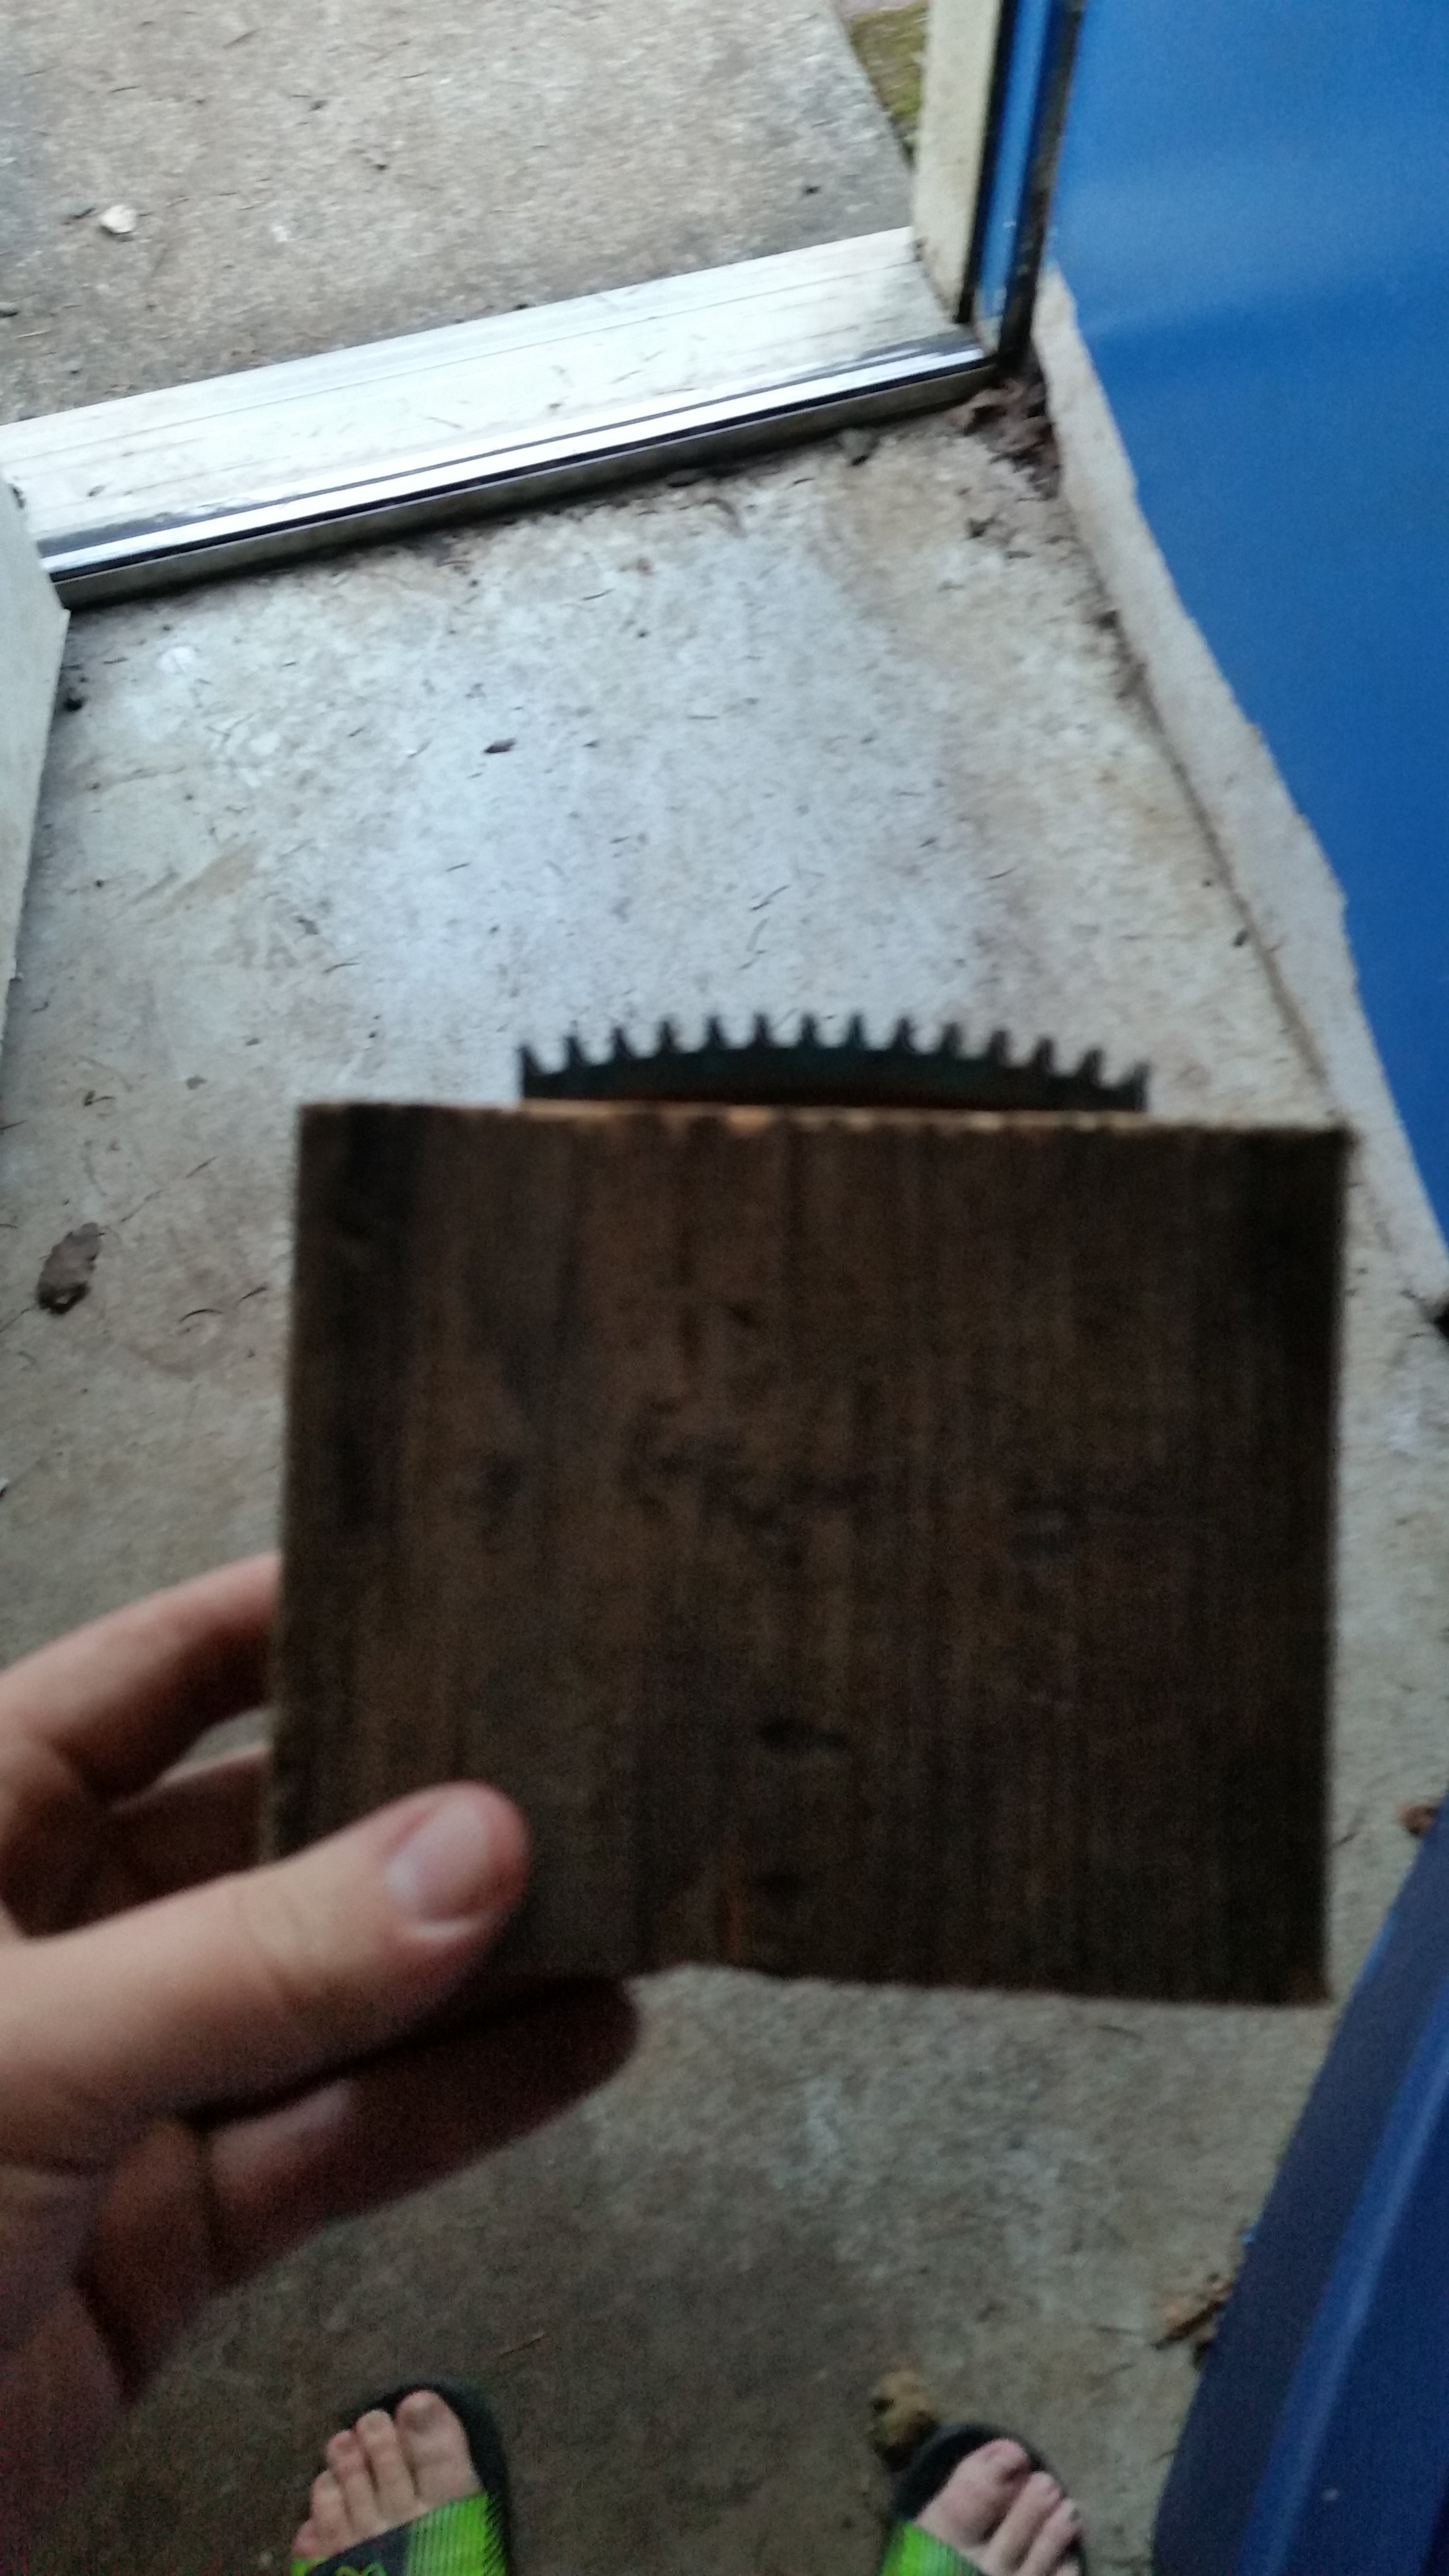
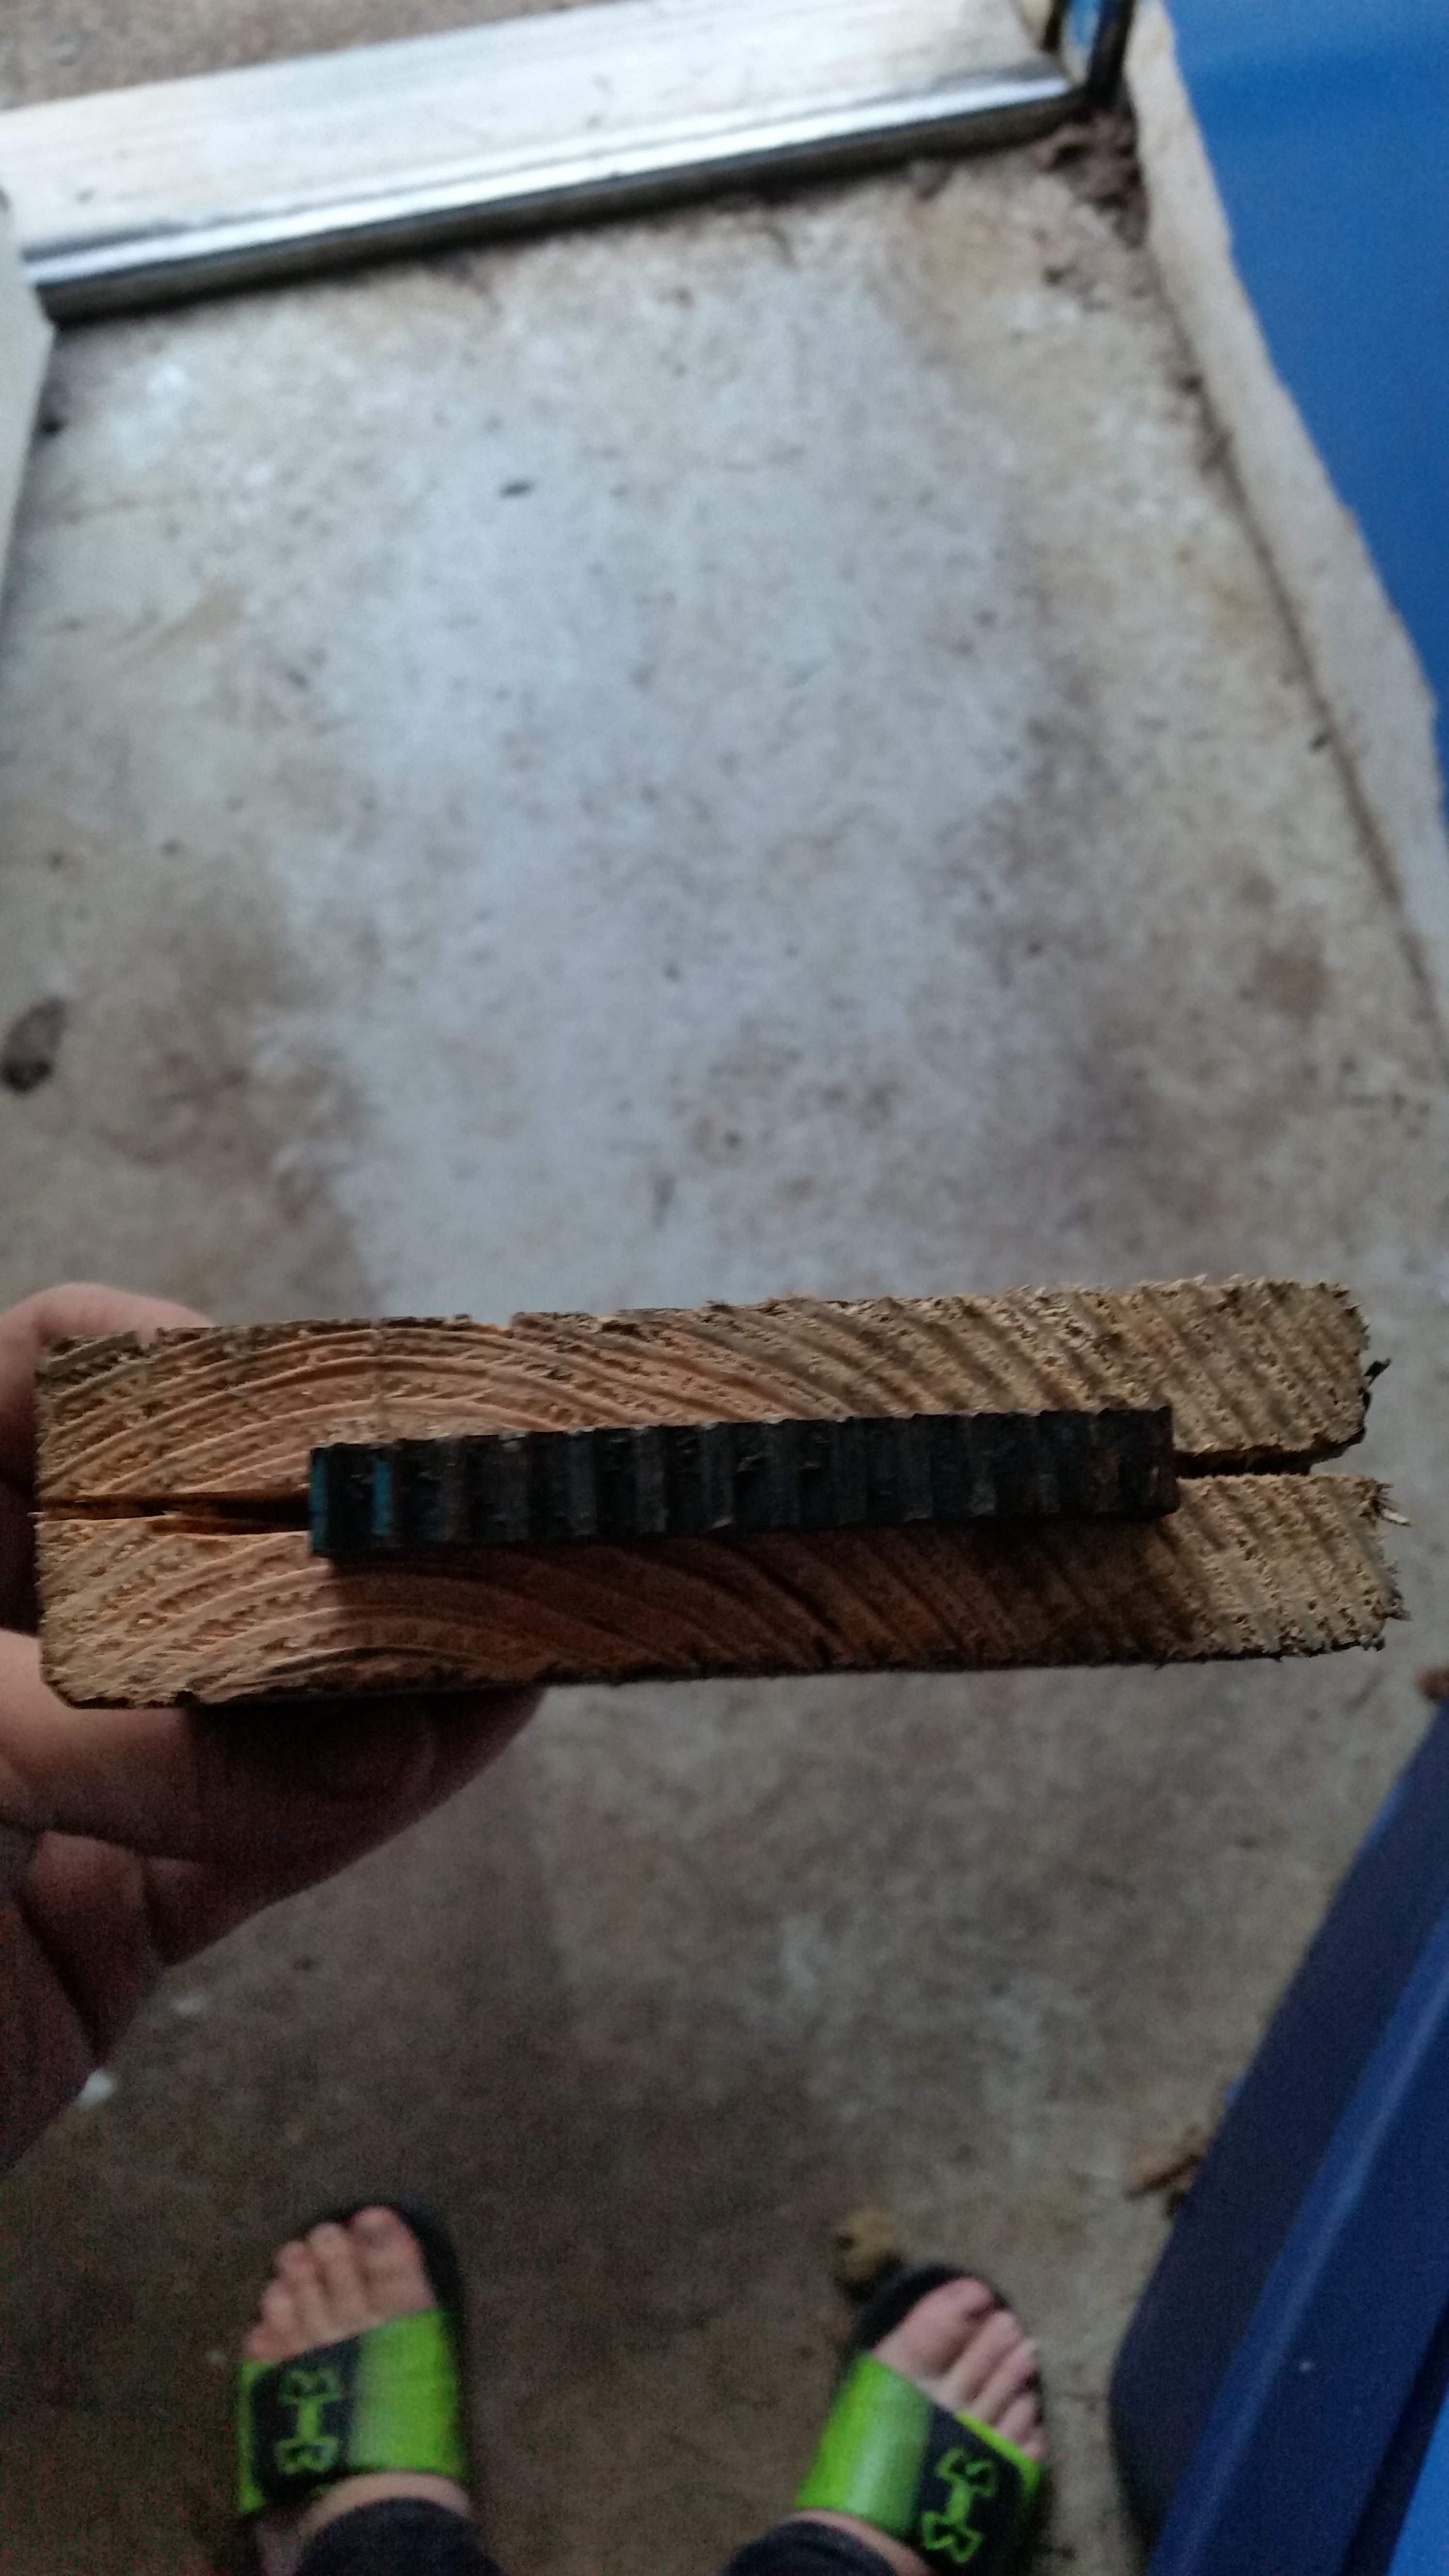
So I found an old flywheel literally buried in the ground under a bunch of old car parts, measured it and it was 12.5" with grooves that line up with a 19 mm spacing, the G&L neck has a twelve inch radius so I decided to use it for the bridge. I just cut a slot in a 2x6 with a skill saw and hammered it in; I still need to shape it and remove a lot of material, but in order for that to happen I need to do basically everything else so I can get the height right, its finals week and I don't have the neck yet, it comes tomorrow, so that's all I did today.


So I found an old flywheel literally buried in the ground under a bunch of old car parts, measured it and it was 12.5" with grooves that line up with a 19 mm spacing, the G&L neck has a twelve inch radius so I decided to use it for the bridge. I just cut a slot in a 2x6 with a skill saw and hammered it in; I still need to shape it and remove a lot of material, but in order for that to happen I need to do basically everything else so I can get the height right, its finals week and I don't have the neck yet, it comes tomorrow, so that's all I did today.


It's pretty sweet when that happens.
 
Yeah I think I might be the only person to use a skill saw as a fret saw, albeit it wasn't a standard fret:roflmao:
I am planning on using a file to smooth out the rough edges on the bridge, do you guys think I should file a crest into the grooves or will it be ok with the flat top, I'm using tapewounds on this bass if that makes a difference. Also does anyone have any tips for getting it to intonate decently, I'm planning to have the neck meet the body at the 12th fret so intonation above that is really unimportant.
 
This is a great idea for a bass- will be following, for sure.

Below is a link for splicing wire rope (not that hard if it's not too large), just be careful to avoid getting stuck by the end wires. I used to splice s/s and galvanized all the time instead of using NicoPress or clamps. Gives a clean, finished look. Maybe loops on both ends, from eye to bridge?

For tailpiece wiring:

wirerope.net - Hand Splice Eye - Type HS-1-1
 
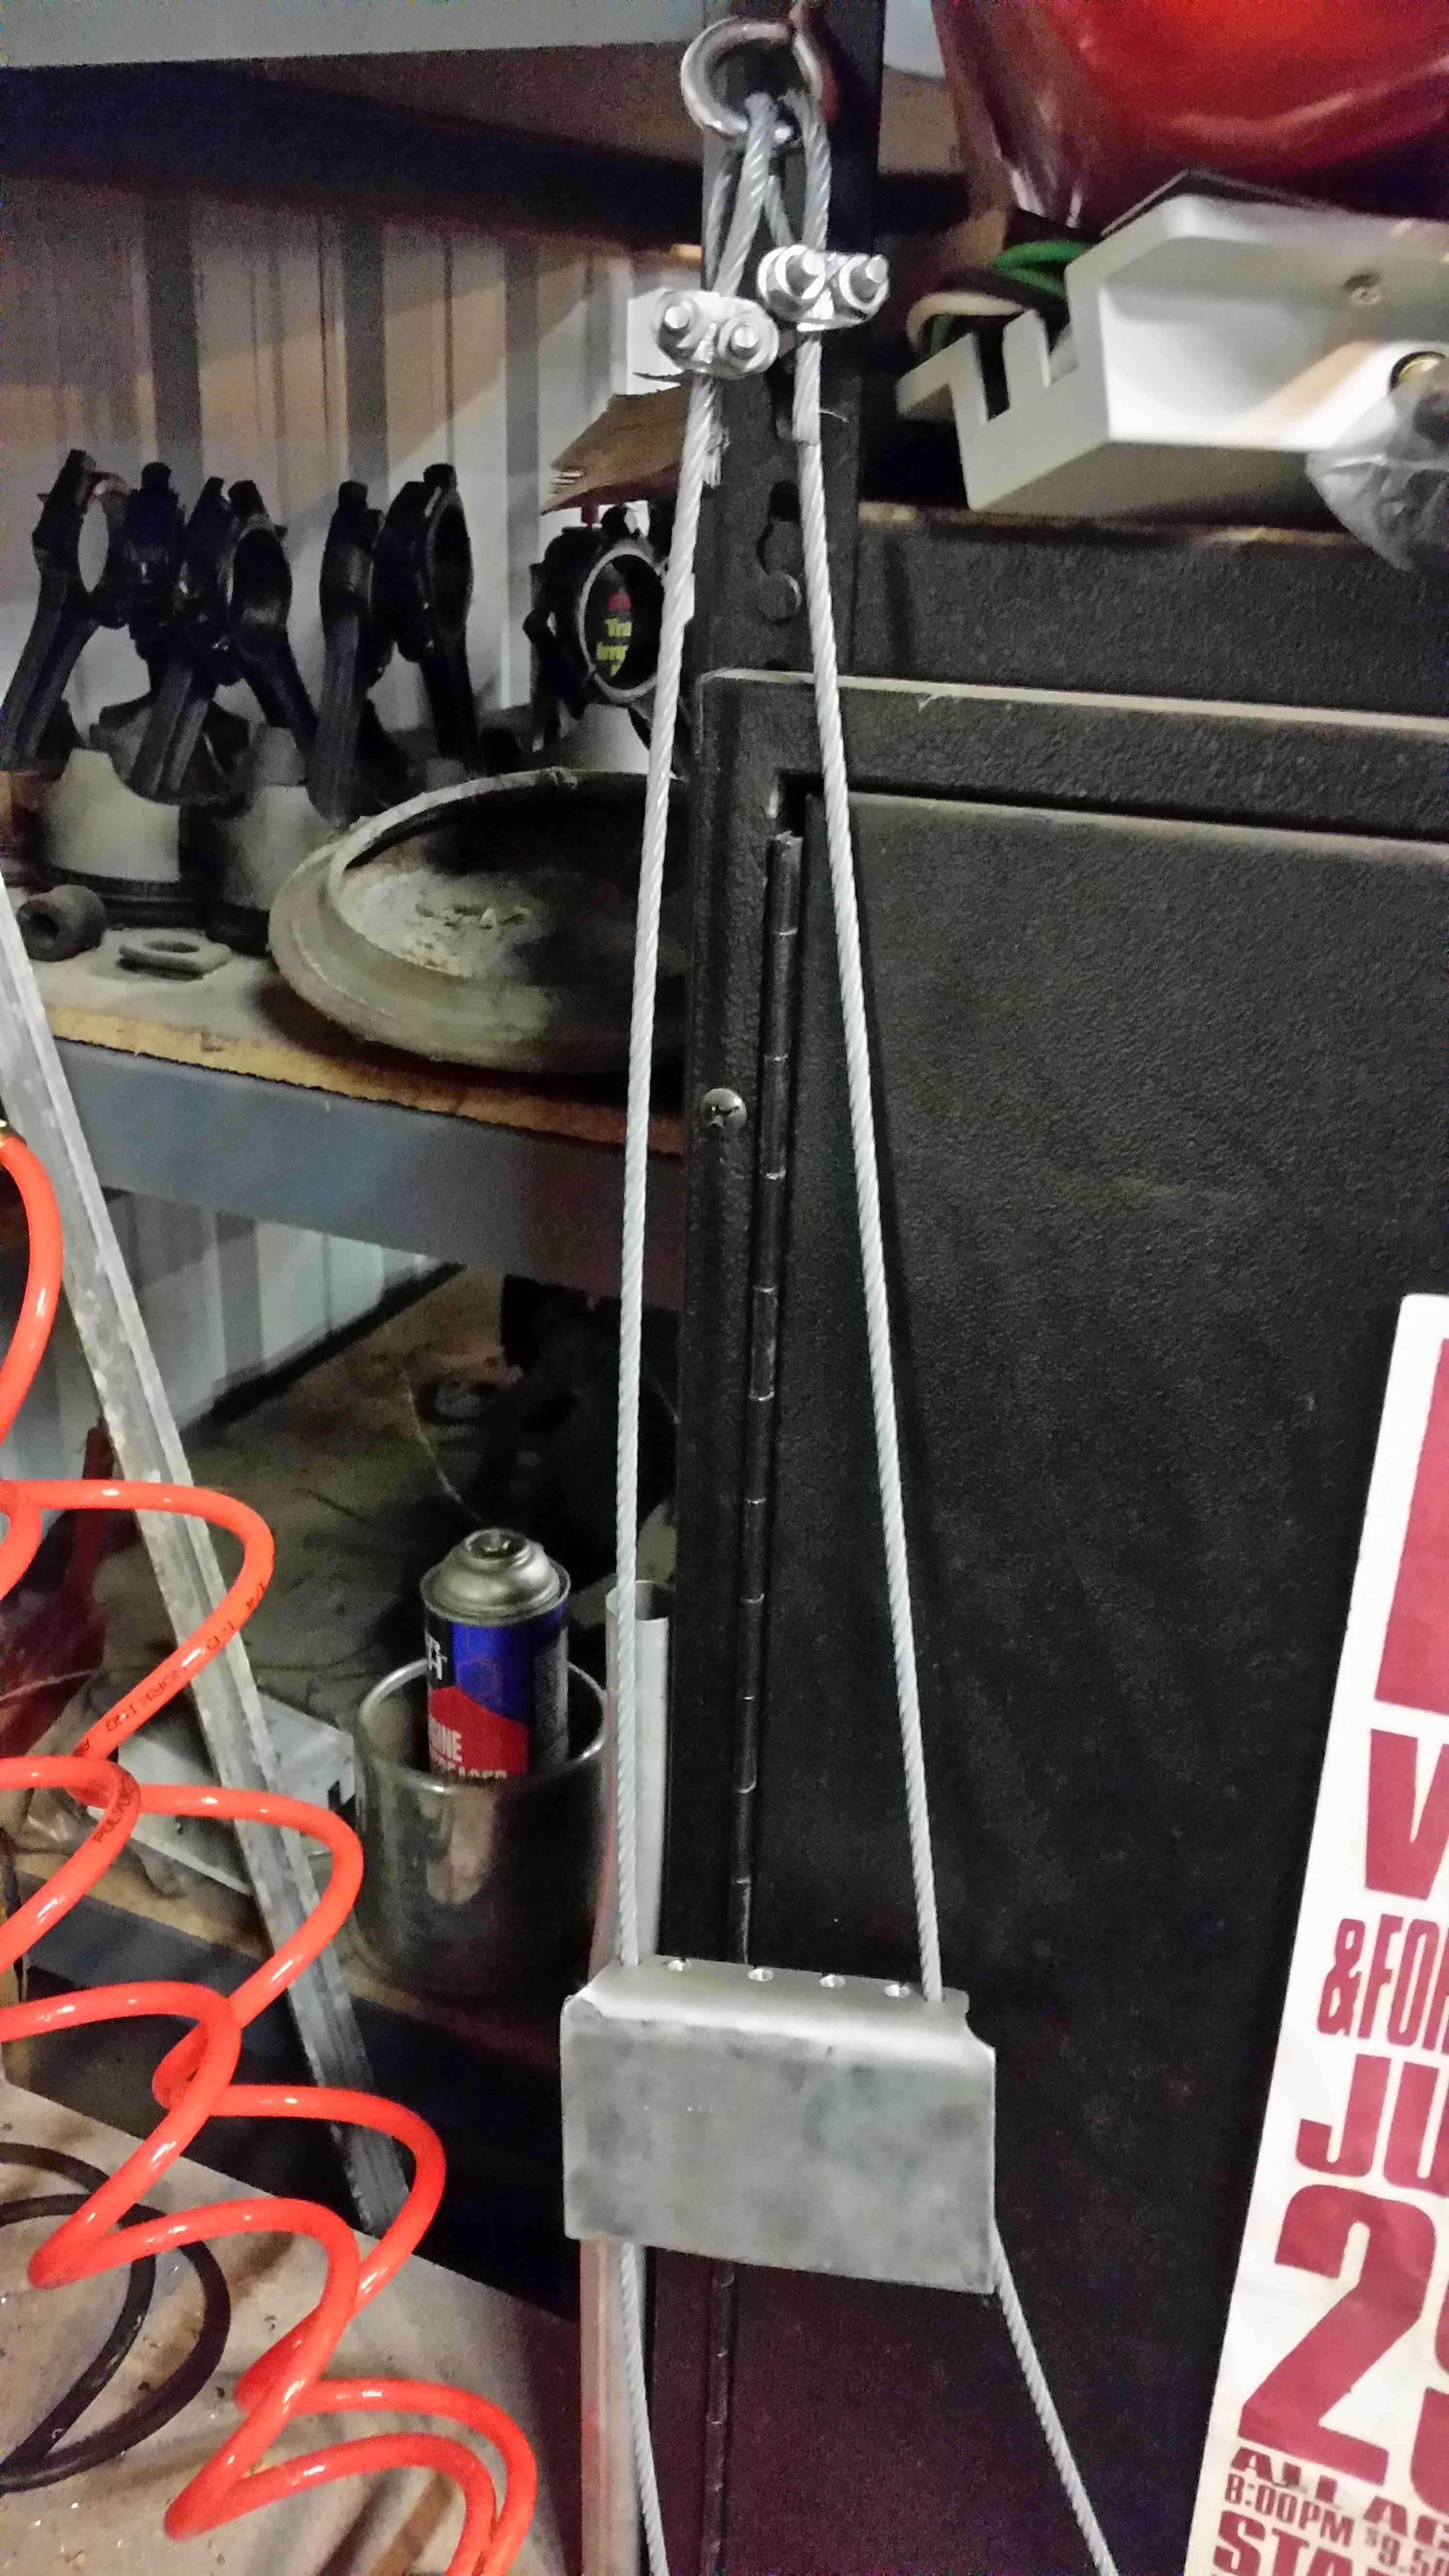
I reduced the number of wires to two and cinched them down more so it doesn't look quite so janky and I am using a peice of bent aluminum to hold the strings, I might try that on the two extras I have now just to see how it looks but I kind of like how it is now I just need to put some heat shrink over the exposed ends. I got the neck in today so tomorrow I'm going to figure out how I want to mount everything right now I'm leaning towards gluing the neck to a block and then bolting that block to the central support but I might just use glue all around, what do you guys think would be better?
 
So I installed the tuners on the neck, apparently counting was a challenge the day they packaged the screws for the tuners because I only received 10 luckily I had some from another set of tuners that they gave me extra. I only had one of the screws heads break off so I left one with 3 it should be good enough. I still haven't figured out how I'm going to attach the neck to the main part.
 
the tops only about 1/4", the central board is going to be about an inch below that, the neck is going to be completely above the body so I can get a higher angle and more pressure on the bridge.
this is a side view i did quickly in paint.
bass side vierw.png
 
I find that name to be very disturbing ... just sayin'

;)
Inconceivable! ;)

I've been working on it most of today, so here is the lunch break update

Tailpeice drilled, that's a piece of aluminum I found just laying around, I think it was part of a skid plate for a quad I'm not sure

Tailpeice assembled

Tuners installed, I just used cheap ones of Amazon, the body is heavy enough I won't have to worry about neck dive. In the background you can see the part I got the bridge piece from.

Bridge lightened, I first marked where I didn't want to drill, then drilled with a half inch spade bit because that's what I had, ground some grooves on one side and finally I just buffed the wood with a buffing wheel.

Added:
So I was looking at it on my bench and it just didn't look right, so I drilled a few smaller holes, and finished it a little different.
 
Last edited:
  • Like
Reactions: n4vgm