• TalkBass has been independent since 1998. Add your voice.
    Create a free account to reply to discussions, view embedded media, and browse with fewer display ads.
    Join freeLog in
    Want zero display ads or expanded classifieds tools? Compare plans.

2020 Winter Build Off - 4000LS

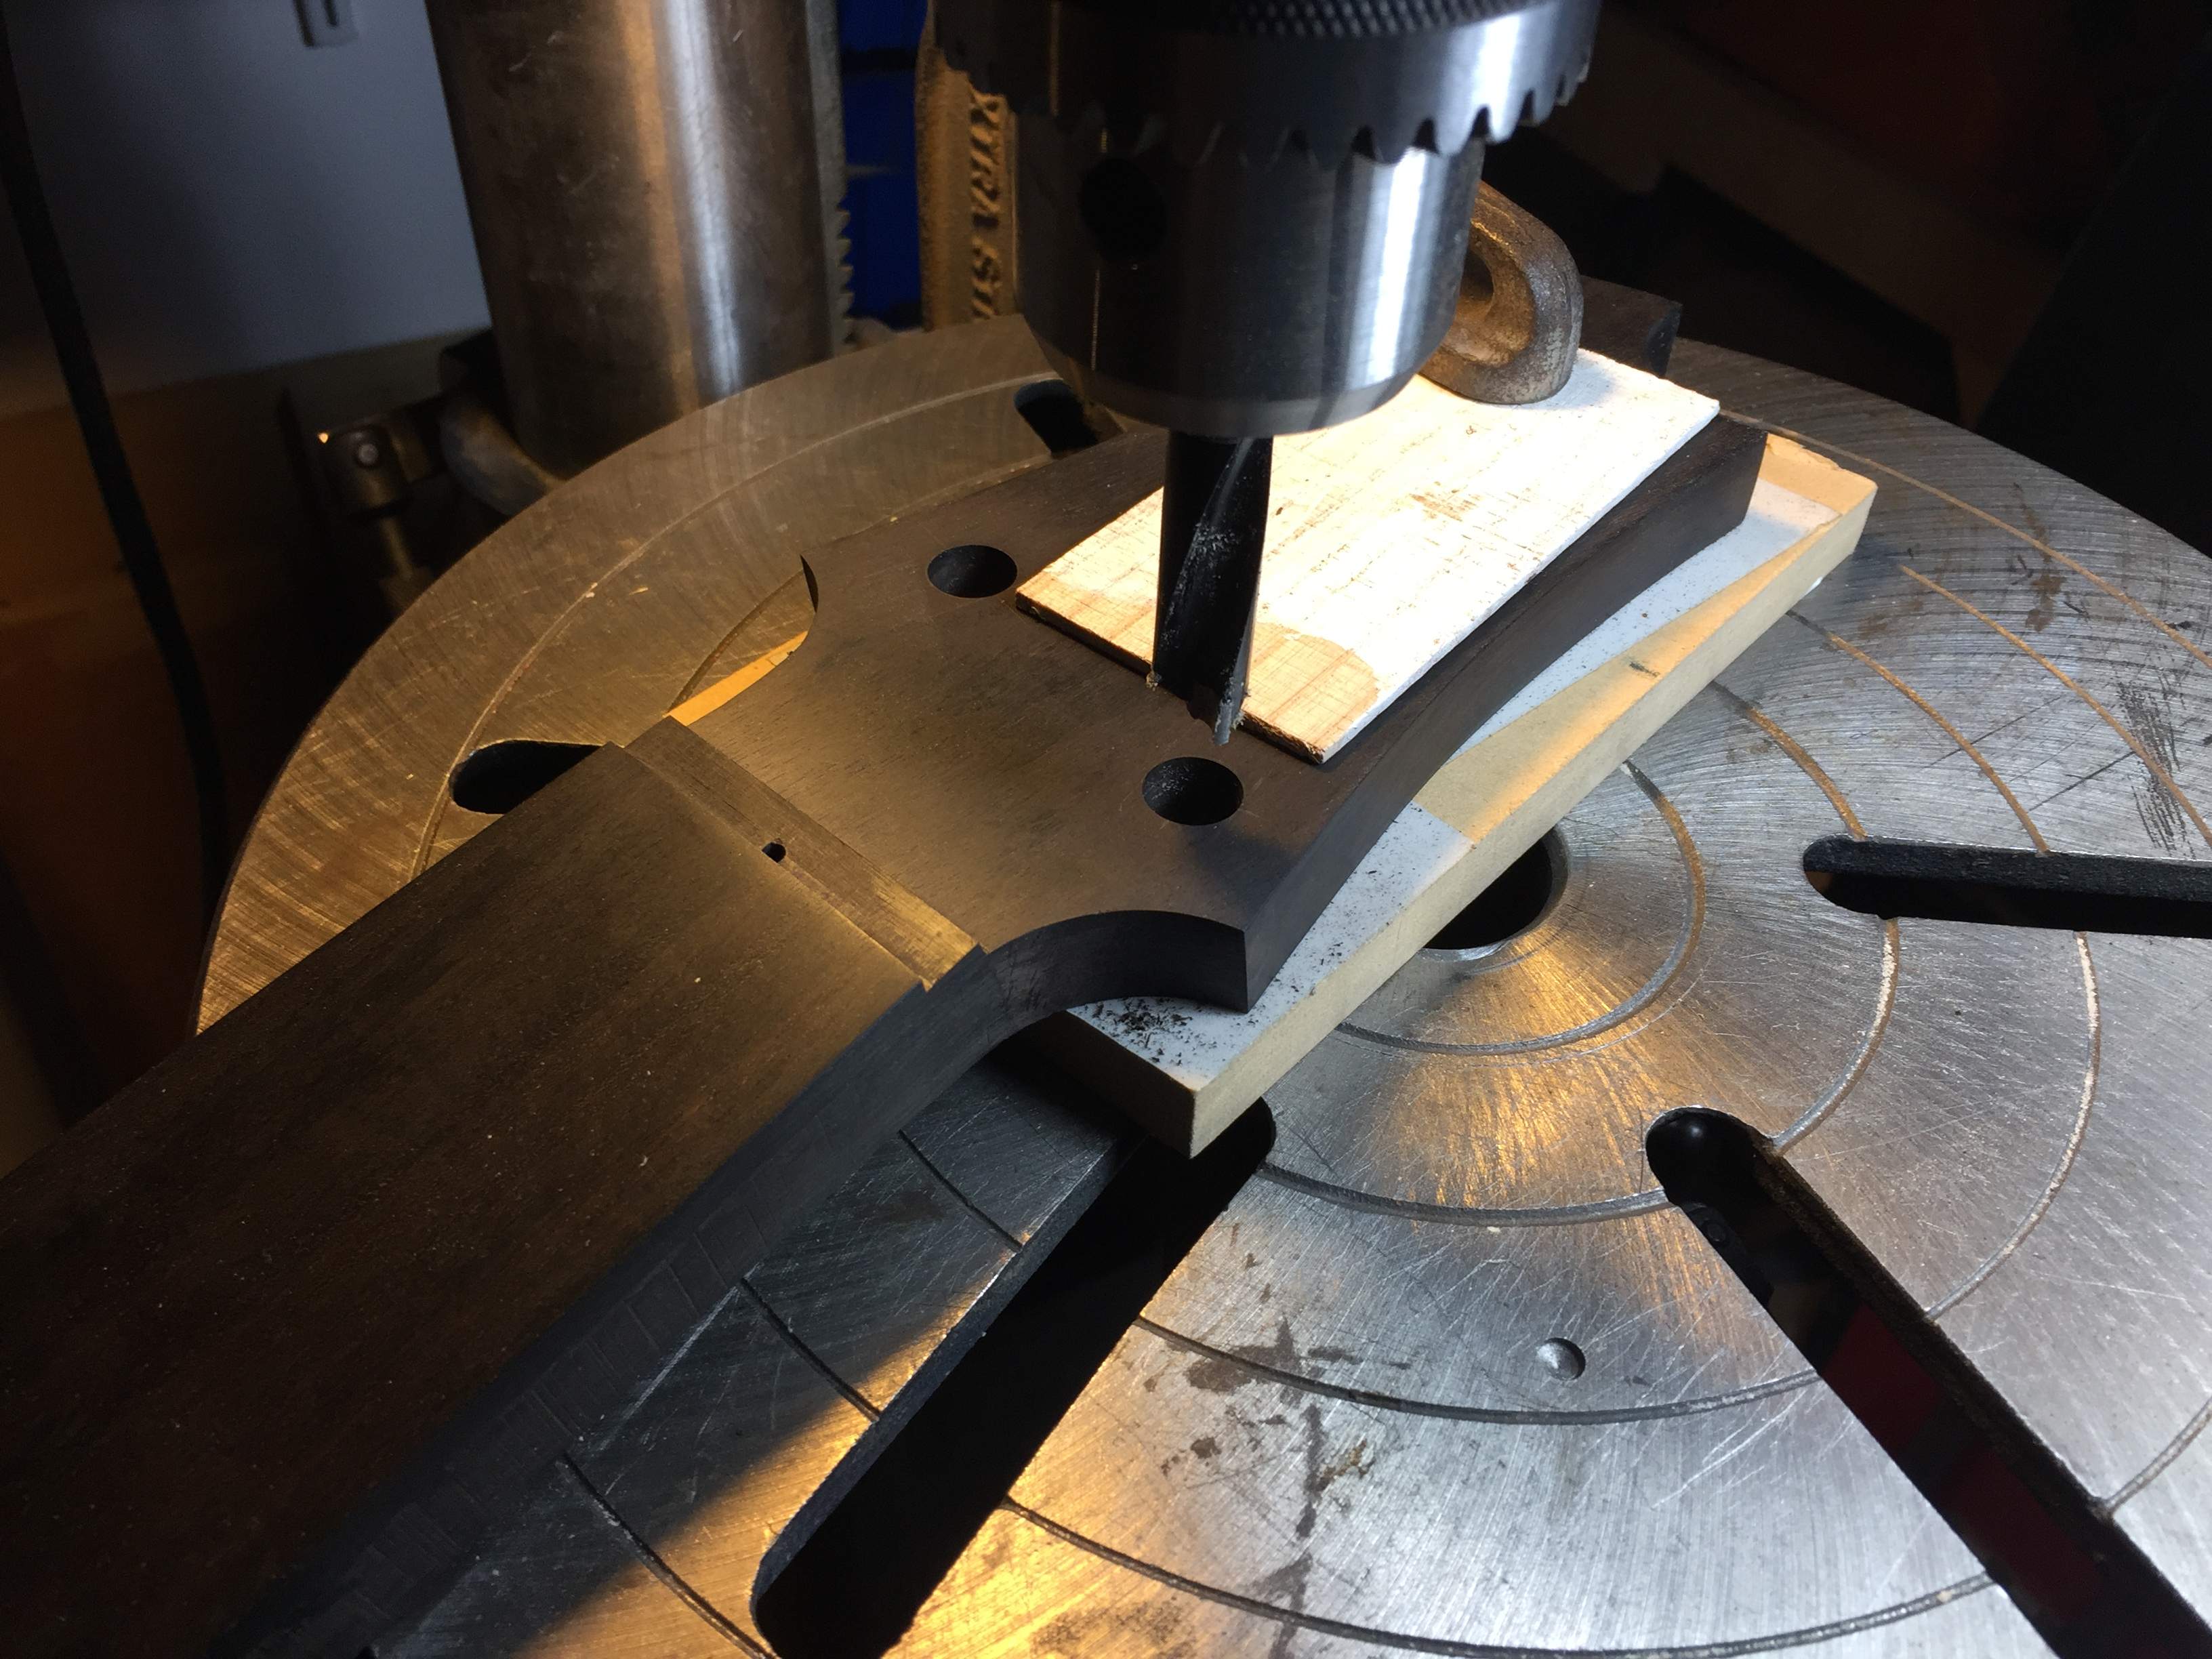
I usually clamp the headstock to the table so overhang is not an issue. Re-positioning for each hole is but it's an acceptable compromise for me for accuracy sake. If I ever hit a higher production level (more then a couple a year) I'll arrange something else.
IMG_4613.JPG
 
Yep, that’s basically what I did - clamped the headstock down with a backing board, supported the rest with my free hand, and drilled. I can do that four times for a one-off.
 
  • Like
Reactions: Fat Freddy
... aaaaaaand we’re back.

For the last few weeks, some unexpected domestic responsibilities have dominated my free time. Additionally, I’ve been mulling over the various approaches to the fretboard inlays. @Gilmourisgod was kind enough to send me some of his leftover crushed mother-of-pearl flakes, and I did a bit of testing with them (thanks brother!). But that’s all the “progress” made, until today.

At this point I have to admit to myself that making the March 21 deadline might not happen. But I’m going to try just the same.

Part of my dash-to-the-finish strategy is accepting that light-up inlays aren’t going to happen, hence the pearl flakes. But that still leaves the details on exactly how to do those triangular inlays. Most Ricks have full-width inlays, but pouring an epoxy-and-flake mixture out to the edge of the fretboard means taping and worrying about leakage, and possibly lots of sanding as a result. Yuck. Then I browsed back through Paul’s book, and was reminded that, for a time, the 4003 had poured inlays that didn’t extend all the way to the edge of the fretboard. That’s more appealing!

Then, as sometimes happens, I had a sideways flash of inspiration. I decided to put a roundnose bit in my Dremel and do triangular outlines. :cool:

Here we go! First the section parallel to the edge; this is the easiest segment since it only requires one clamp-down of the straightedge.

4000LS_0425.jpg


(Even if it is the simplest, it still requires concentration: I did the third, fifth, seventh, ninth, and very nearly absent-mindedly went to do the eleventh.... :jawdrop: )

Then the sections parallel to the frets.

4000LS_0423.jpg


And finally the angled segments. A bit tedious, but not as fiddly as I thought it might have been.

4000LS_0424.jpg


4000LS_0426.jpg


I’m hoping that will look pretty cool when filled with epoxy and flake.

I am going to put an LED behind the truss rod cover, so I routed a quick (and sloppy) channel, set some wire into it, and was then free to glue the fretboard down. :thumbsup:

4000LS_0427.jpg


4000LS_0428.jpg


Tomorrow I can unclamp it and pour the inlays. Then I’m free to shape the neck and glue on the body wings!
 
Schweet! I had a bound board, so the binding served as my epoxy dams each side. I found I had to paint the inlay recess bottom and sides so no brown wood peeked through, I just mixed some pearlescent craft paint with epoxy and painted it in, then dusted with the "fine" MOP flakes while it was wet. Once that cured, I did the "coarse" flakes in a bed of epoxy, then poured in layers, popping bubbles with a torch. Like I said, mine never got as water clear as I hoped with Envirotex, hope you have better luck! I wonder what Ric used originally, bar top epoxy?
 
Mise en place.

4000LS_0429.jpg


This feels like an extravagant amount of pearl flake!

4000LS_0431.jpg


I’m using West System 105 resin with 207 hardener. I was concerned about exactly how to pour the epoxy into the flake-filled channels without disturbing the distribution of flake. I discovered that dribbling it off the end of my stir stick worked great! Doing it that way minimized “splash”, kept the pour rate low, and allowed some measure of accuracy.

4000LS_0430.jpg


Thirty minutes later and I’m still torching bubbles though. :cautious:
 
I was concerned about exactly how to pour the epoxy into the flake-filled channels without disturbing the distribution of flake. I discovered that dribbling it off the end of my stir stick worked great! Doing it that way minimized “splash”, kept the pour rate low, and allowed some measure of accuracy.
I stop by my local pharmacy and ask for a few oral syringes, they'll usually give me two or three for free at a time (I've never said exactly what I want them for :whistle:). They work great for getting the epoxy exactly where you want it with no mess

 
  • Like
Reactions: ctmullins
Epoxy is fully cured, so tonight I un-taped it and went about dressing it.

First I used 100 grit 3M paper on a straight beam, to knock the epoxy crown down to fretboard level. Very messy.

Next I wrapped a piece of 40 grit Gator paper around my 20-inch radius sanding block, and took the whole board down to radius. Very messy.

I then worked my way through my Abranet discs on the ROS, from 120 through 600. At about 300 I started to just discern the flakes through the epoxy.

Here’s how it looked after the 600 Abranet:

4000LS_0433.jpg


I then worked my way through hand-buffing with my sampler pack of Micro-Mesh pads, from 1200 all the way to 12000 (but remember that Micro-Mesh grits are numbered differently than sandpaper grits, for some reason).

Here it is after the first three pads:

4000LS_0435.jpg


After the next four pads:

4000LS_0437.jpg


And after the entire series of pads:

4000LS_0436.jpg


Yeah, I’m happy with that!

4000LS_0434.jpg
 
A very clean terry cloth (towel or washcloth) can buff up smooth surfaces nicely by hand. The work needs to be clean and not have a lot of things that will catch the cloth as it goes by (as it's the definition of a lint-not-free cloth!), but I often use it to get a little more sheen on a smooth surface like a fretboard or back of neck.
 
  • Like
Reactions: Gilmourisgod
Good progress today.

Got the body section of the neck-thru beam skimmed down to wing height, using a makeshift pair of router rails.

4000LS_0442.jpg


4000LS_0441.jpg


Got the frets installed, trimmed, and dressed.

4000LS_0440.jpg


And got the neck carve roughed in pretty well. I used a big roundover bit to get rid of the bulk, and I went a little bit deeper than I meant to - oops. I found that the robo-sander in a handheld drill works well for the volute and heel sections, although it’s a tiny bit risky...

4000LS_0438.jpg


4000LS_0439.jpg


Still have side dots to do, and finalize the neck profile, then the neck will be finished!