• TalkBass has been independent since 1998. Add your voice.
    Create a free account to reply to discussions, view embedded media, and browse with fewer display ads.
    Join freeLog in
    Want zero display ads or expanded classifieds tools? Compare plans.

5 string multi-scale build

As stated I'm currently building a 5 string multi-scale bass guitar. Here are some pics and a little text to go along with them. It will have a mostly ash neck, walnut body wings and a camphor burl top.
P9100205.jpg

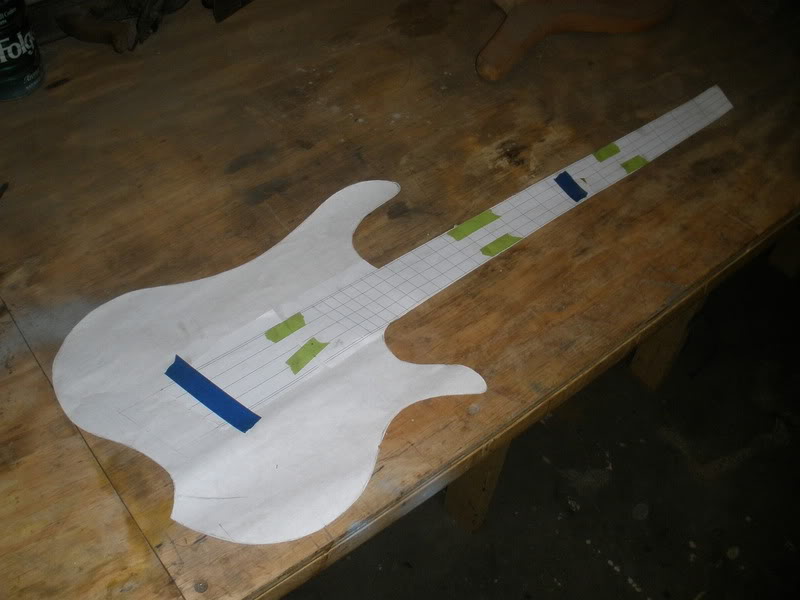
The basic plan.

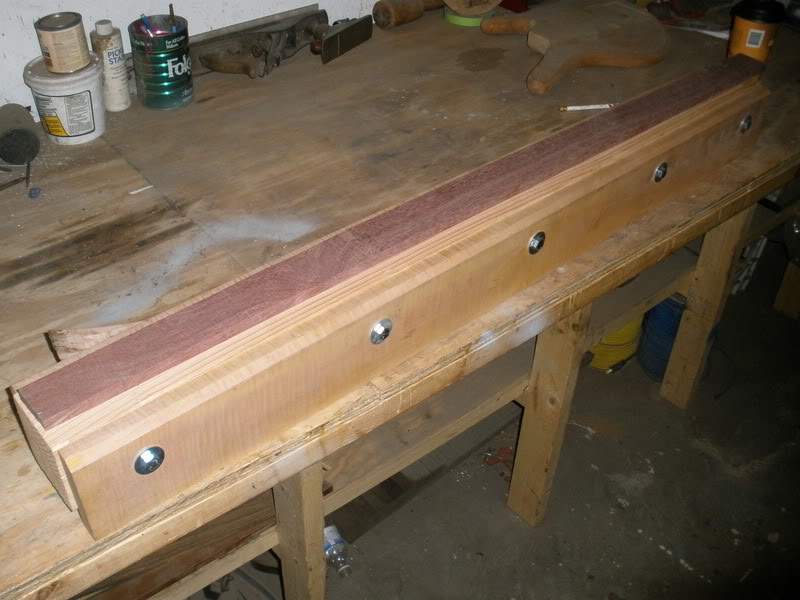
P9100206.jpg

My tapering jig with a purpleheart laminate on top. Ready to go through the planer.
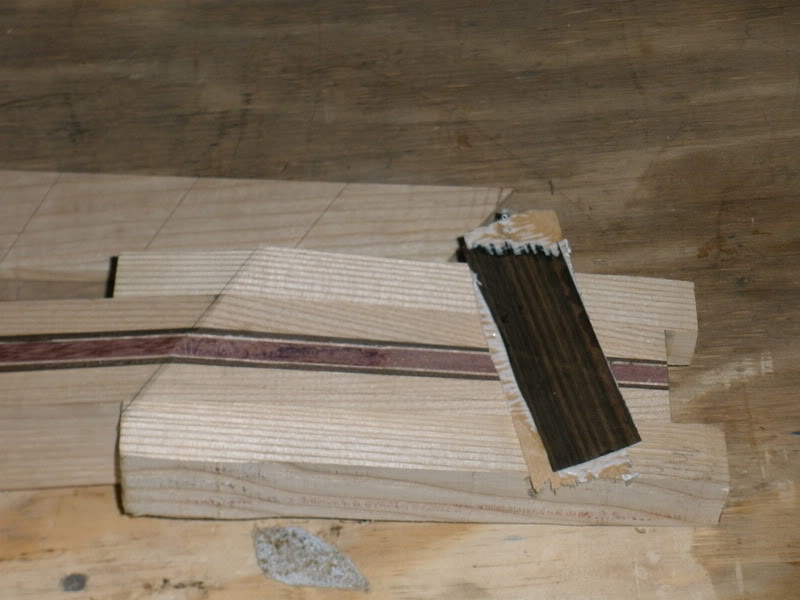
P9110208.jpg

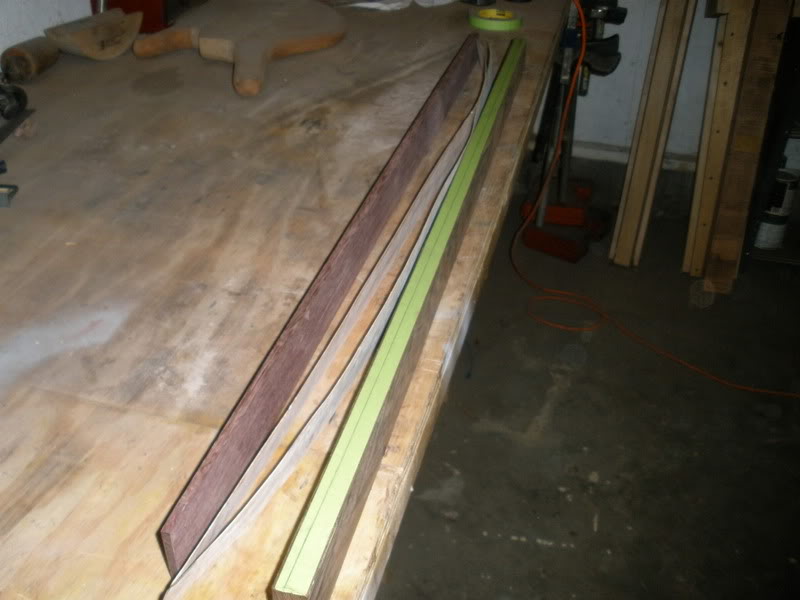
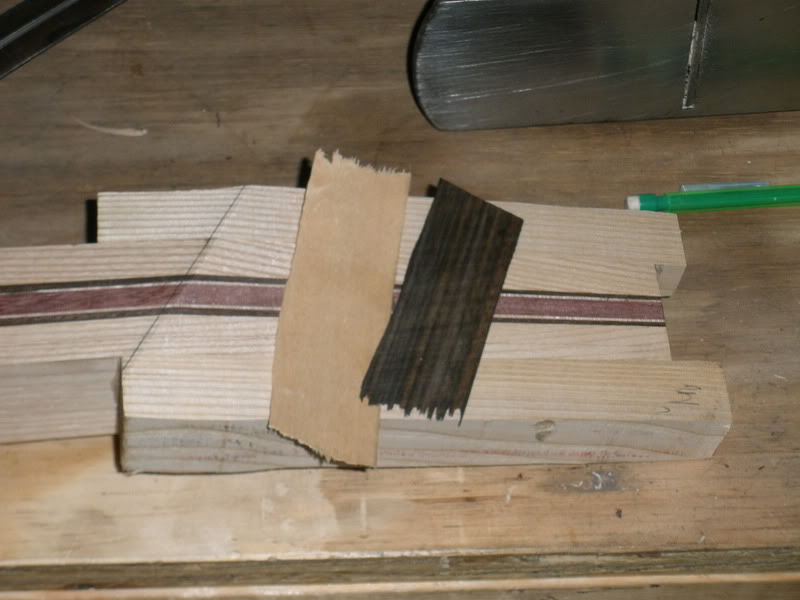
I find it helpful to use a piece of tape on the top edge of darker species of wood when using a bandsaw to rip. I do have the space for a tablesaw so all my ripping is done on the bandsaw.
P9110209.jpg

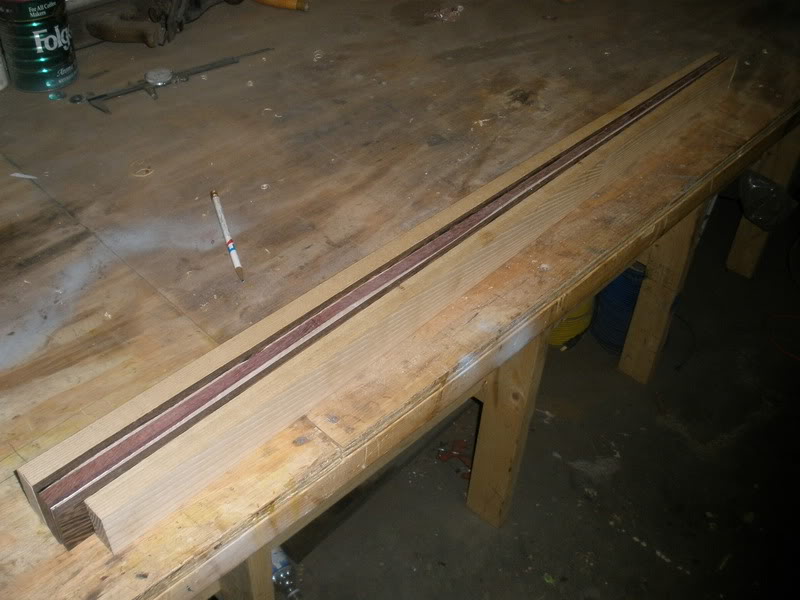
All the neck laminates together, ready to be glued.
P9120210.jpg

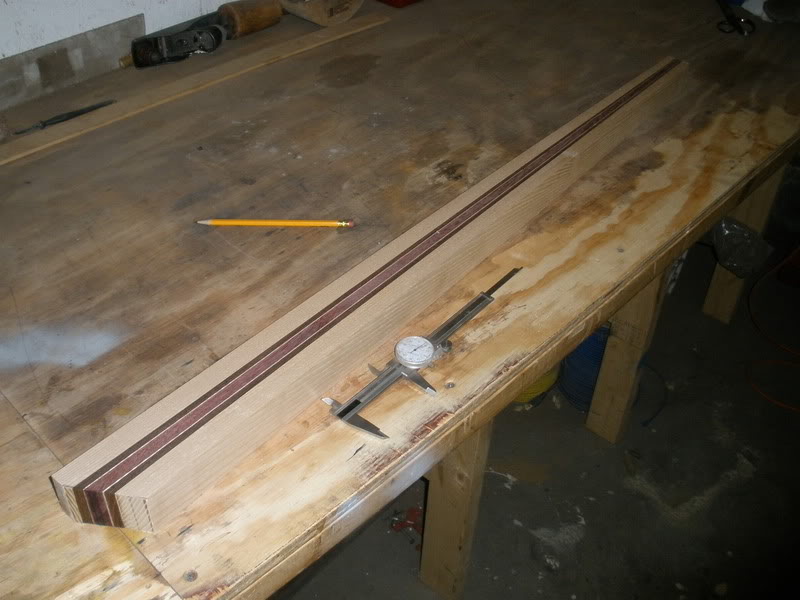
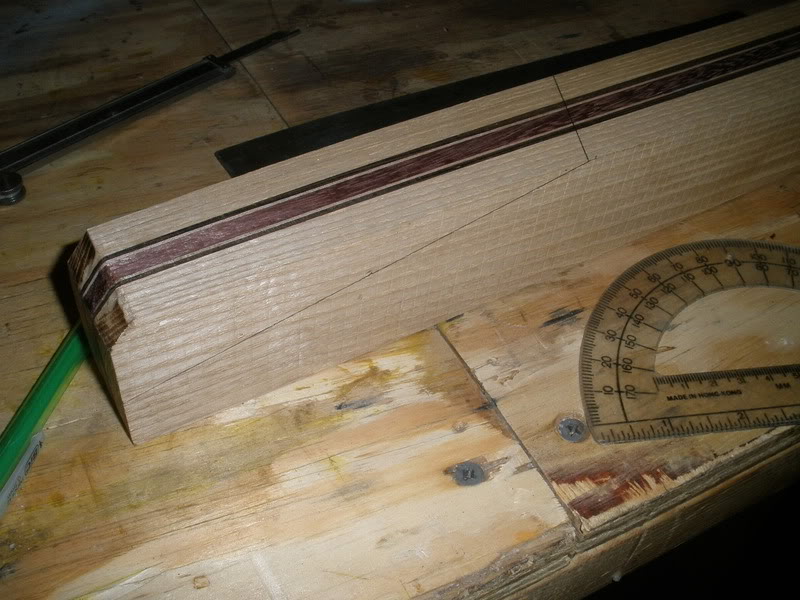
The neck, after being glued and surfaced on all 4 sides. It is now ready to have the dog ears glued on and then the headstock angle cut.
P9120211.jpg


P9120212.jpg

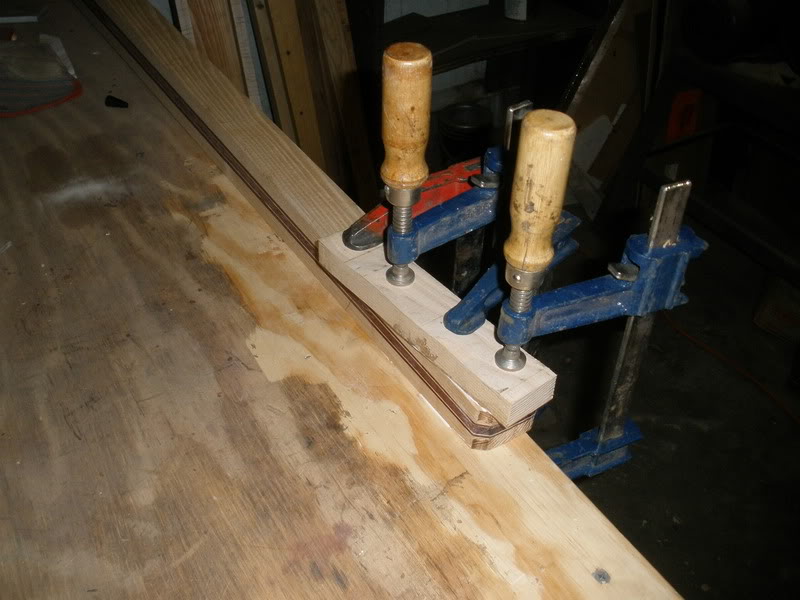
The only reason there are 4 clamps on here is because I wanted even preasure without using a caul. The neck is slippery enough when gluing, due to the necks taper without having to fumble with an extra piece of wood. One must be careful when doing this, it is easy to over-tighten and squeeze out all the glue.
P9130216.jpg

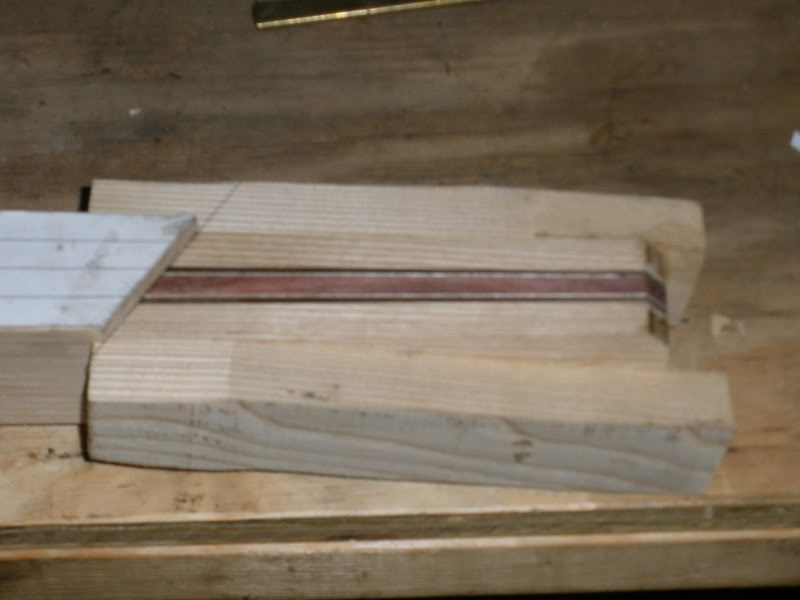
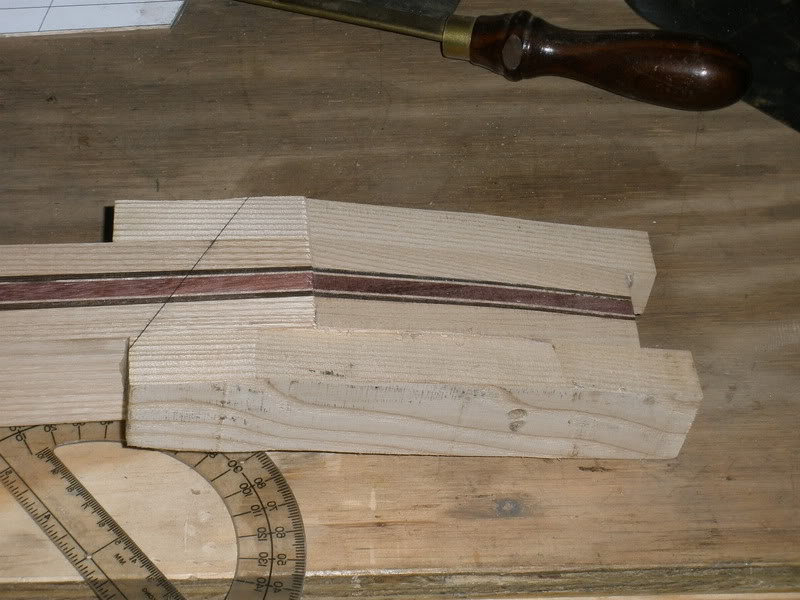
The dog ears after being glued on and planed level with the top of the neck. Since this bass is multi-scale, the headstock requires a compound angle.
P9130217.jpg

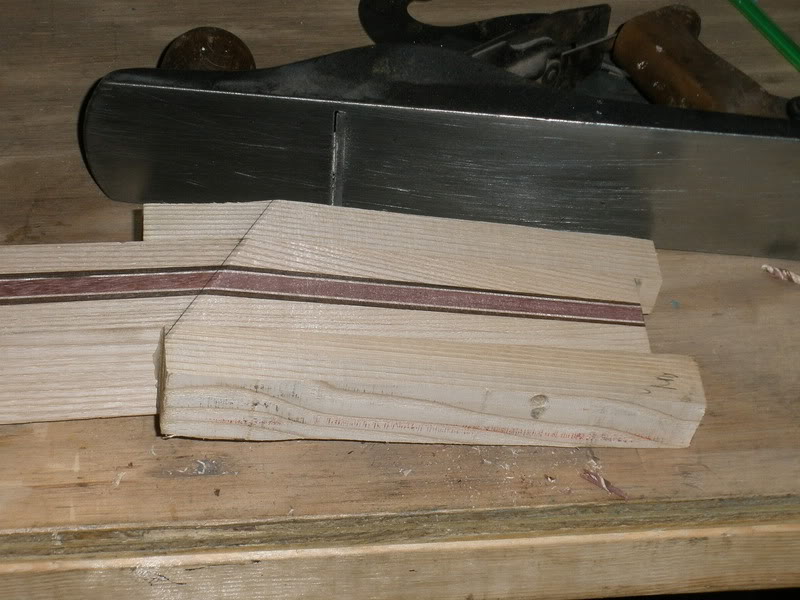
First I take a rough cut with the band saw...
P9130218.jpg

...And plane it flat to the compound angle which will jive up with the end of the fingerboard.
P9130219.jpg


P9130220.jpg


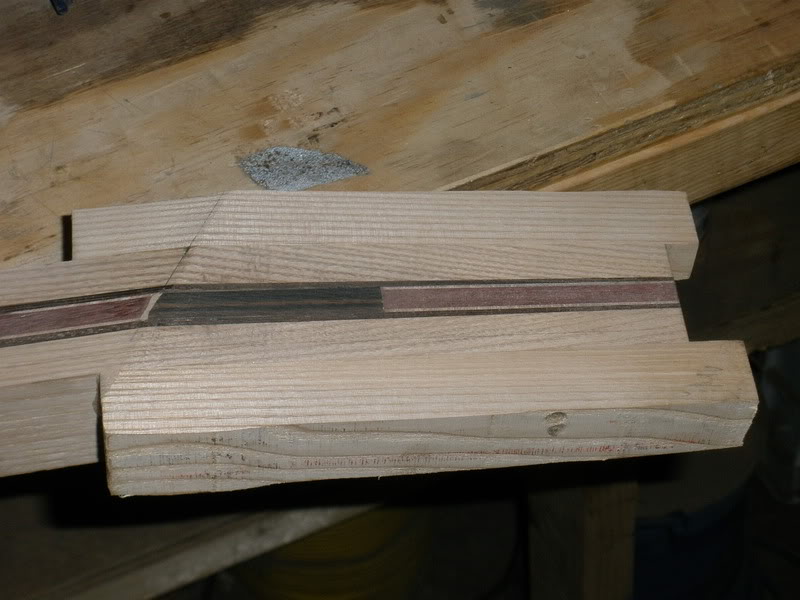
P9130221.jpg

Here I've inlaid my veneers into the surface of the headstock...a little surprise for later.
 
My posts will probably slow after this since my posting has caught up to where the bass is. Here's a quick update:

P9130222.jpg

Again, lots of clamps but moderate, even pressure.

P9130231.jpg

Burl ash headstock cap.

P9130234.jpg

After the truss-rod channel was routed. This is one of the last instruments to be using this type of dual action truss rod. I am designing and building a proprietary truss-rod that is unlike anything other people are using. It's a pair of bungee cords attached to the back of the headstock and anchored on the other end to the body. I found them on the side of the highway. I kid, but I will soon be utilizing new rods of my own design that are quite unique.

P9130235.jpg

The fingerboard, which is also ash, has been glued on at this stage.

P9150241.jpg

Another look at the neck.

P9150240.jpg

These are the side "dots" for the fingerboard. I ran out of black rod to make side dots out of so I made these oval-type thingies out of abalone. Glad that I did.

P9180243.jpg

Now that the fretboard is glued on, I can work on the back profile of the neck. This neck is 19mm at the nut and 21 mm at the 12th fret.

P9190244.jpg

Safe-T planed the back profile after band-sawing.

P9190244.jpg

Safe-T planed the back of the headstock. I have left more than ample material for the volute.

P9190253.jpg

I used a gouge and a rasp to get a rough carving of the volute.

P9190252.jpg

This picture makes it look like I really screwed up ;)
 
Great build so far! And thanks for posting all these pictures; i'm planning on doing a 4 string multiscale in the near future and always had some hard time figuring in my head how the end of the fingerboard and the angle headstock meet together.
>

It's easy, just make a continuation of the line the nut goes on and use that...not really any different than cutting a regular headstock. It's worth the extra effort, way better looking than when a multi-scale neck does not have a headstock like that and has that awkward triangle between the nut and where the headstock actually tips back! ;)
 
I fashioned a homemade robosander of sorts and used it to shape my headstock. I usually cut them out with a coping saw and use sandpaper and rasps to shape them...I will use the robosander method from now on since it is more accurate and less time consuming.

P9210265.jpg

My "robosander"

P9230286.jpg

Headstock

P9230288.jpg

Side "dots"

I also finished up a bass today...
P9230271.jpg


P9230273.jpg


P9230278.jpg


P9230282.jpg
 
Very interesting with the slanted grain of the ash fretboard. Can't wait to see how that looks attached to a body, and with the fanned frets.

The finished one looks nice. Is that a cocobolo core?

Thank you...I'm sure the bass police are going to pay me a visit for not only using ash for the fingerboard but flatsawn ash ;)

It is cocobolo. As hard and heavy as cocobolo it works quite nicely. Ebony just sucks to work with no matter what :)
 
Quick update...I haven't worked on this bass much, my attention has turned to a really fun guitar project. In this update I have resawn the piece of walnut that will make the treble side body wing. The resaw is to later glue the same piece on after I have cut out the cavity cover.

P9240289.jpg

Before it was resawn.

P9240290.jpg

Sliced 5/16ths off the back which will become the cavity cover later.

P9240291.jpg

The cavity cover has been cut out and rests in place. Next I will glue the back piece back onto the core after I carefully mask around where the cavity cover goes to avoid squeeze out.