• TalkBass has been independent since 1998. Add your voice.
    Create a free account to reply to discussions, view embedded media, and browse with fewer display ads.
    Join freeLog in
    Want zero display ads or expanded classifieds tools? Compare plans.

A little project

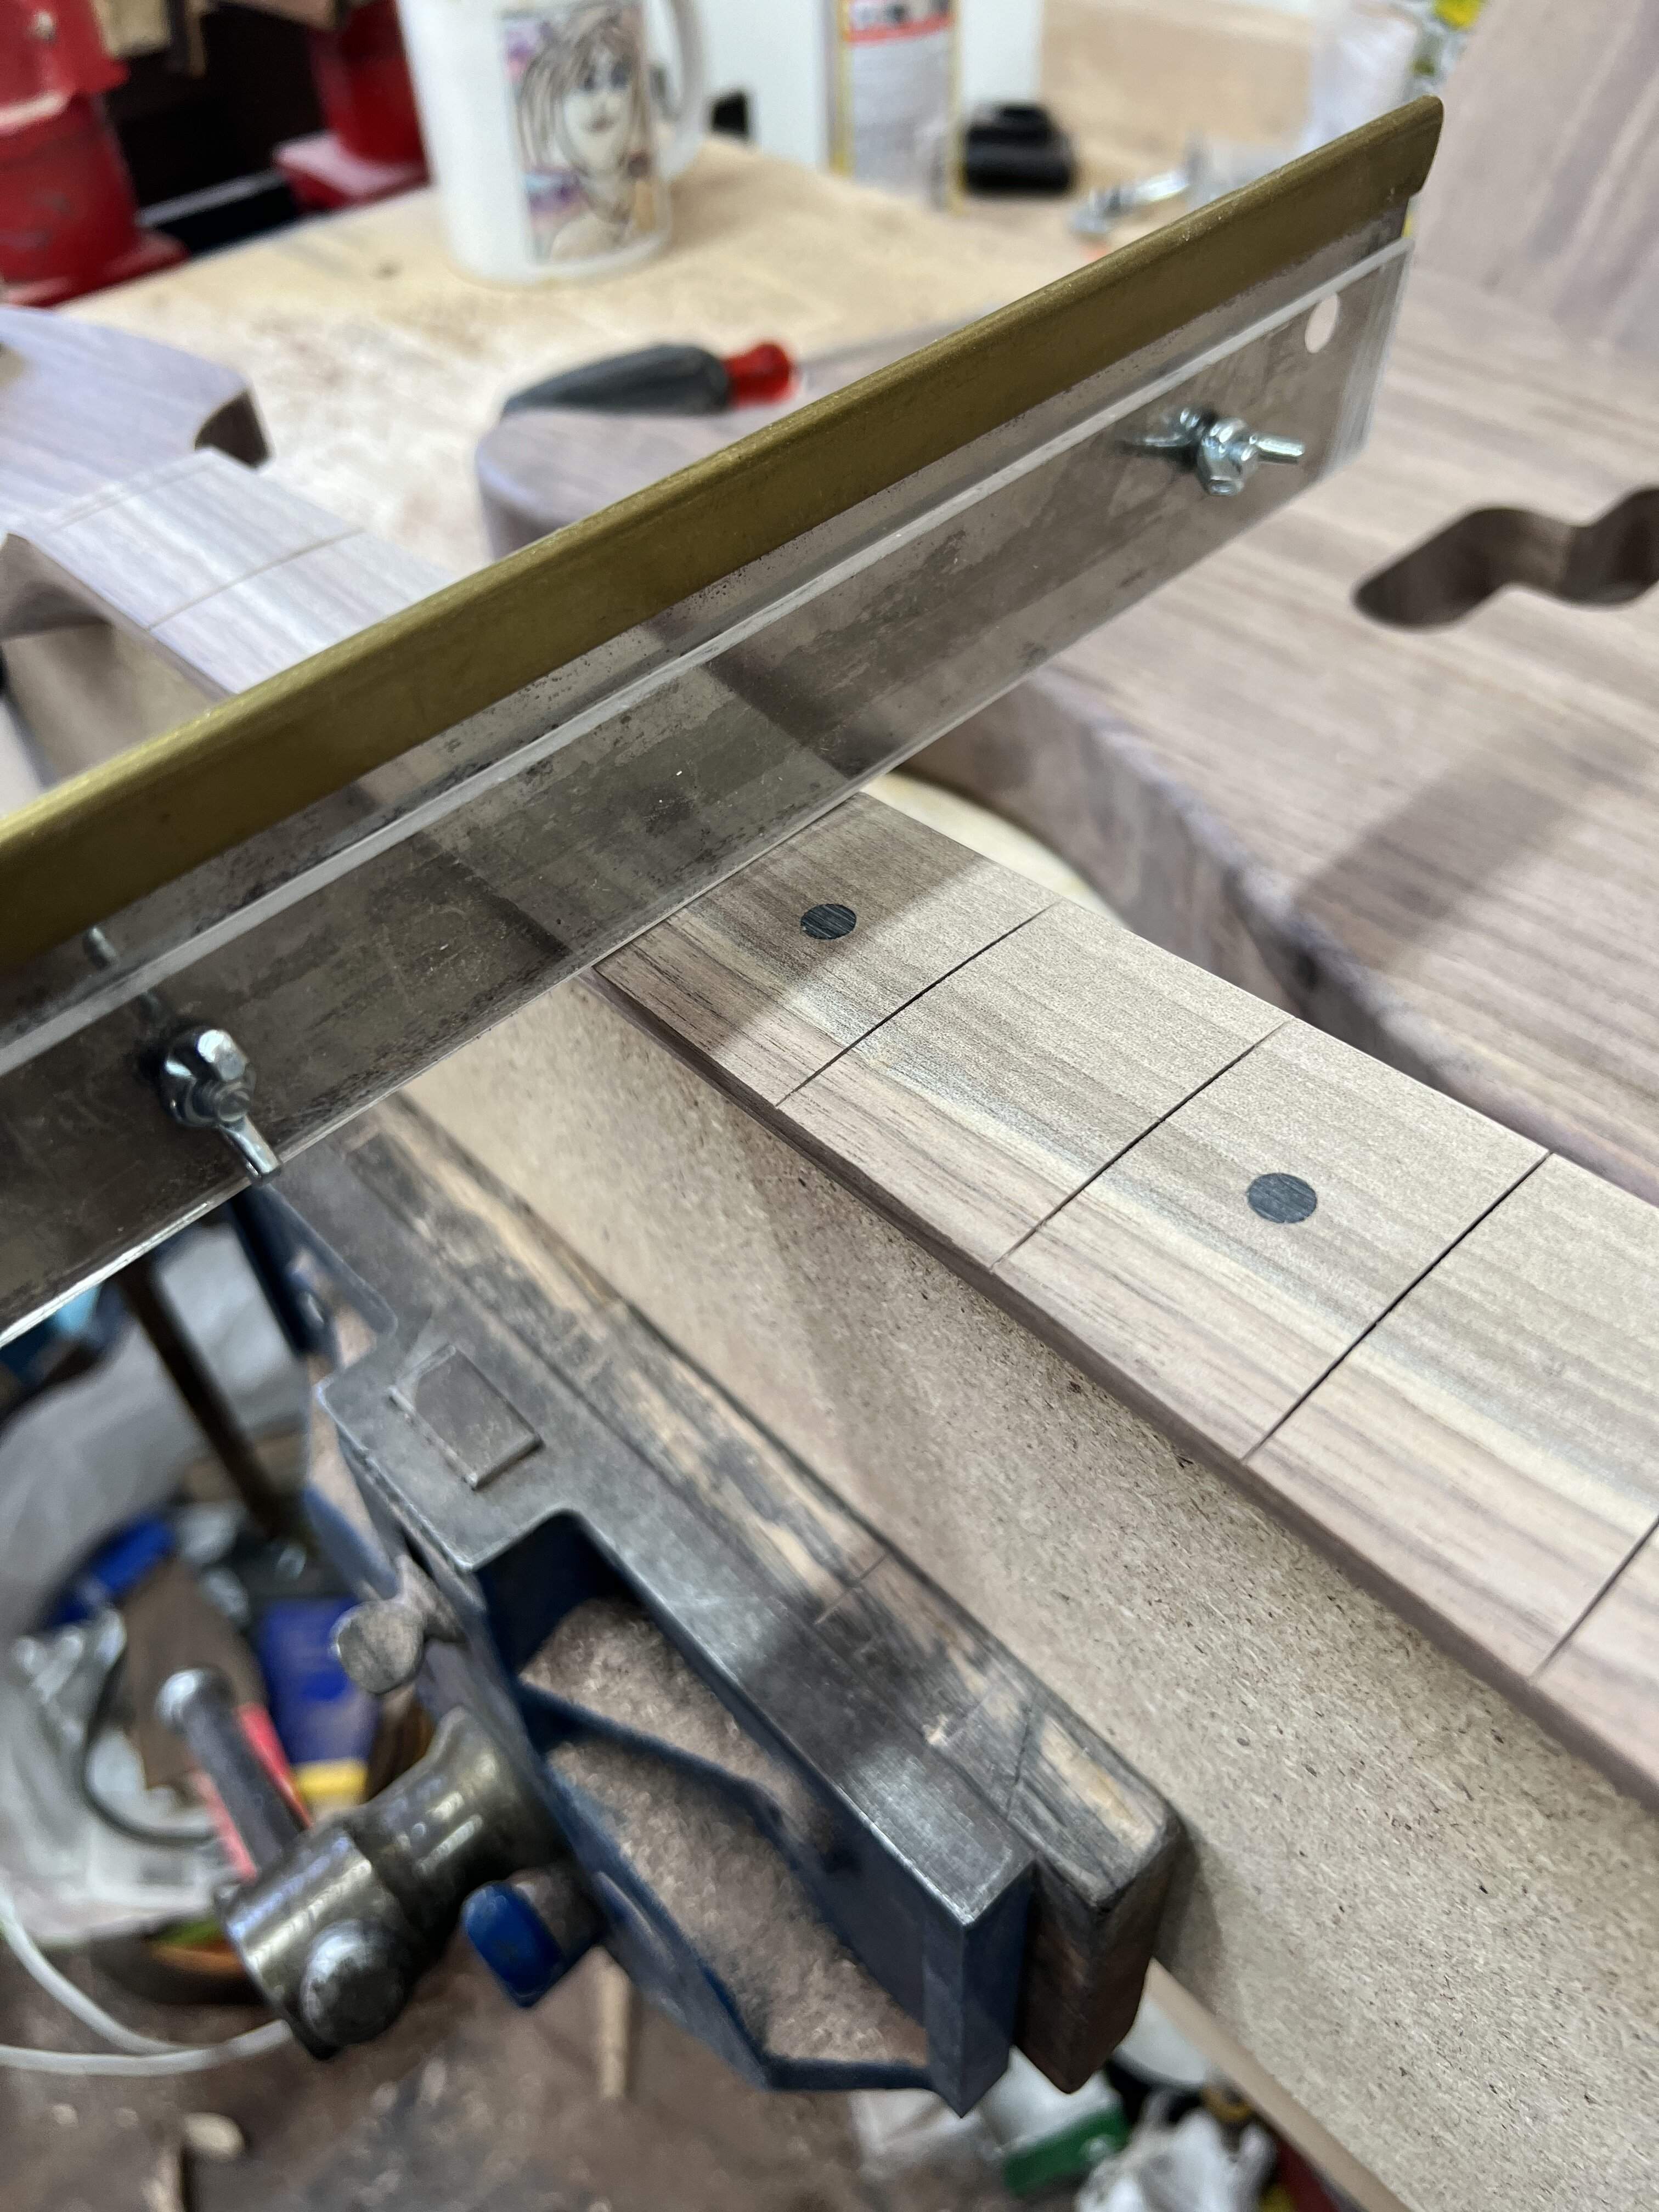
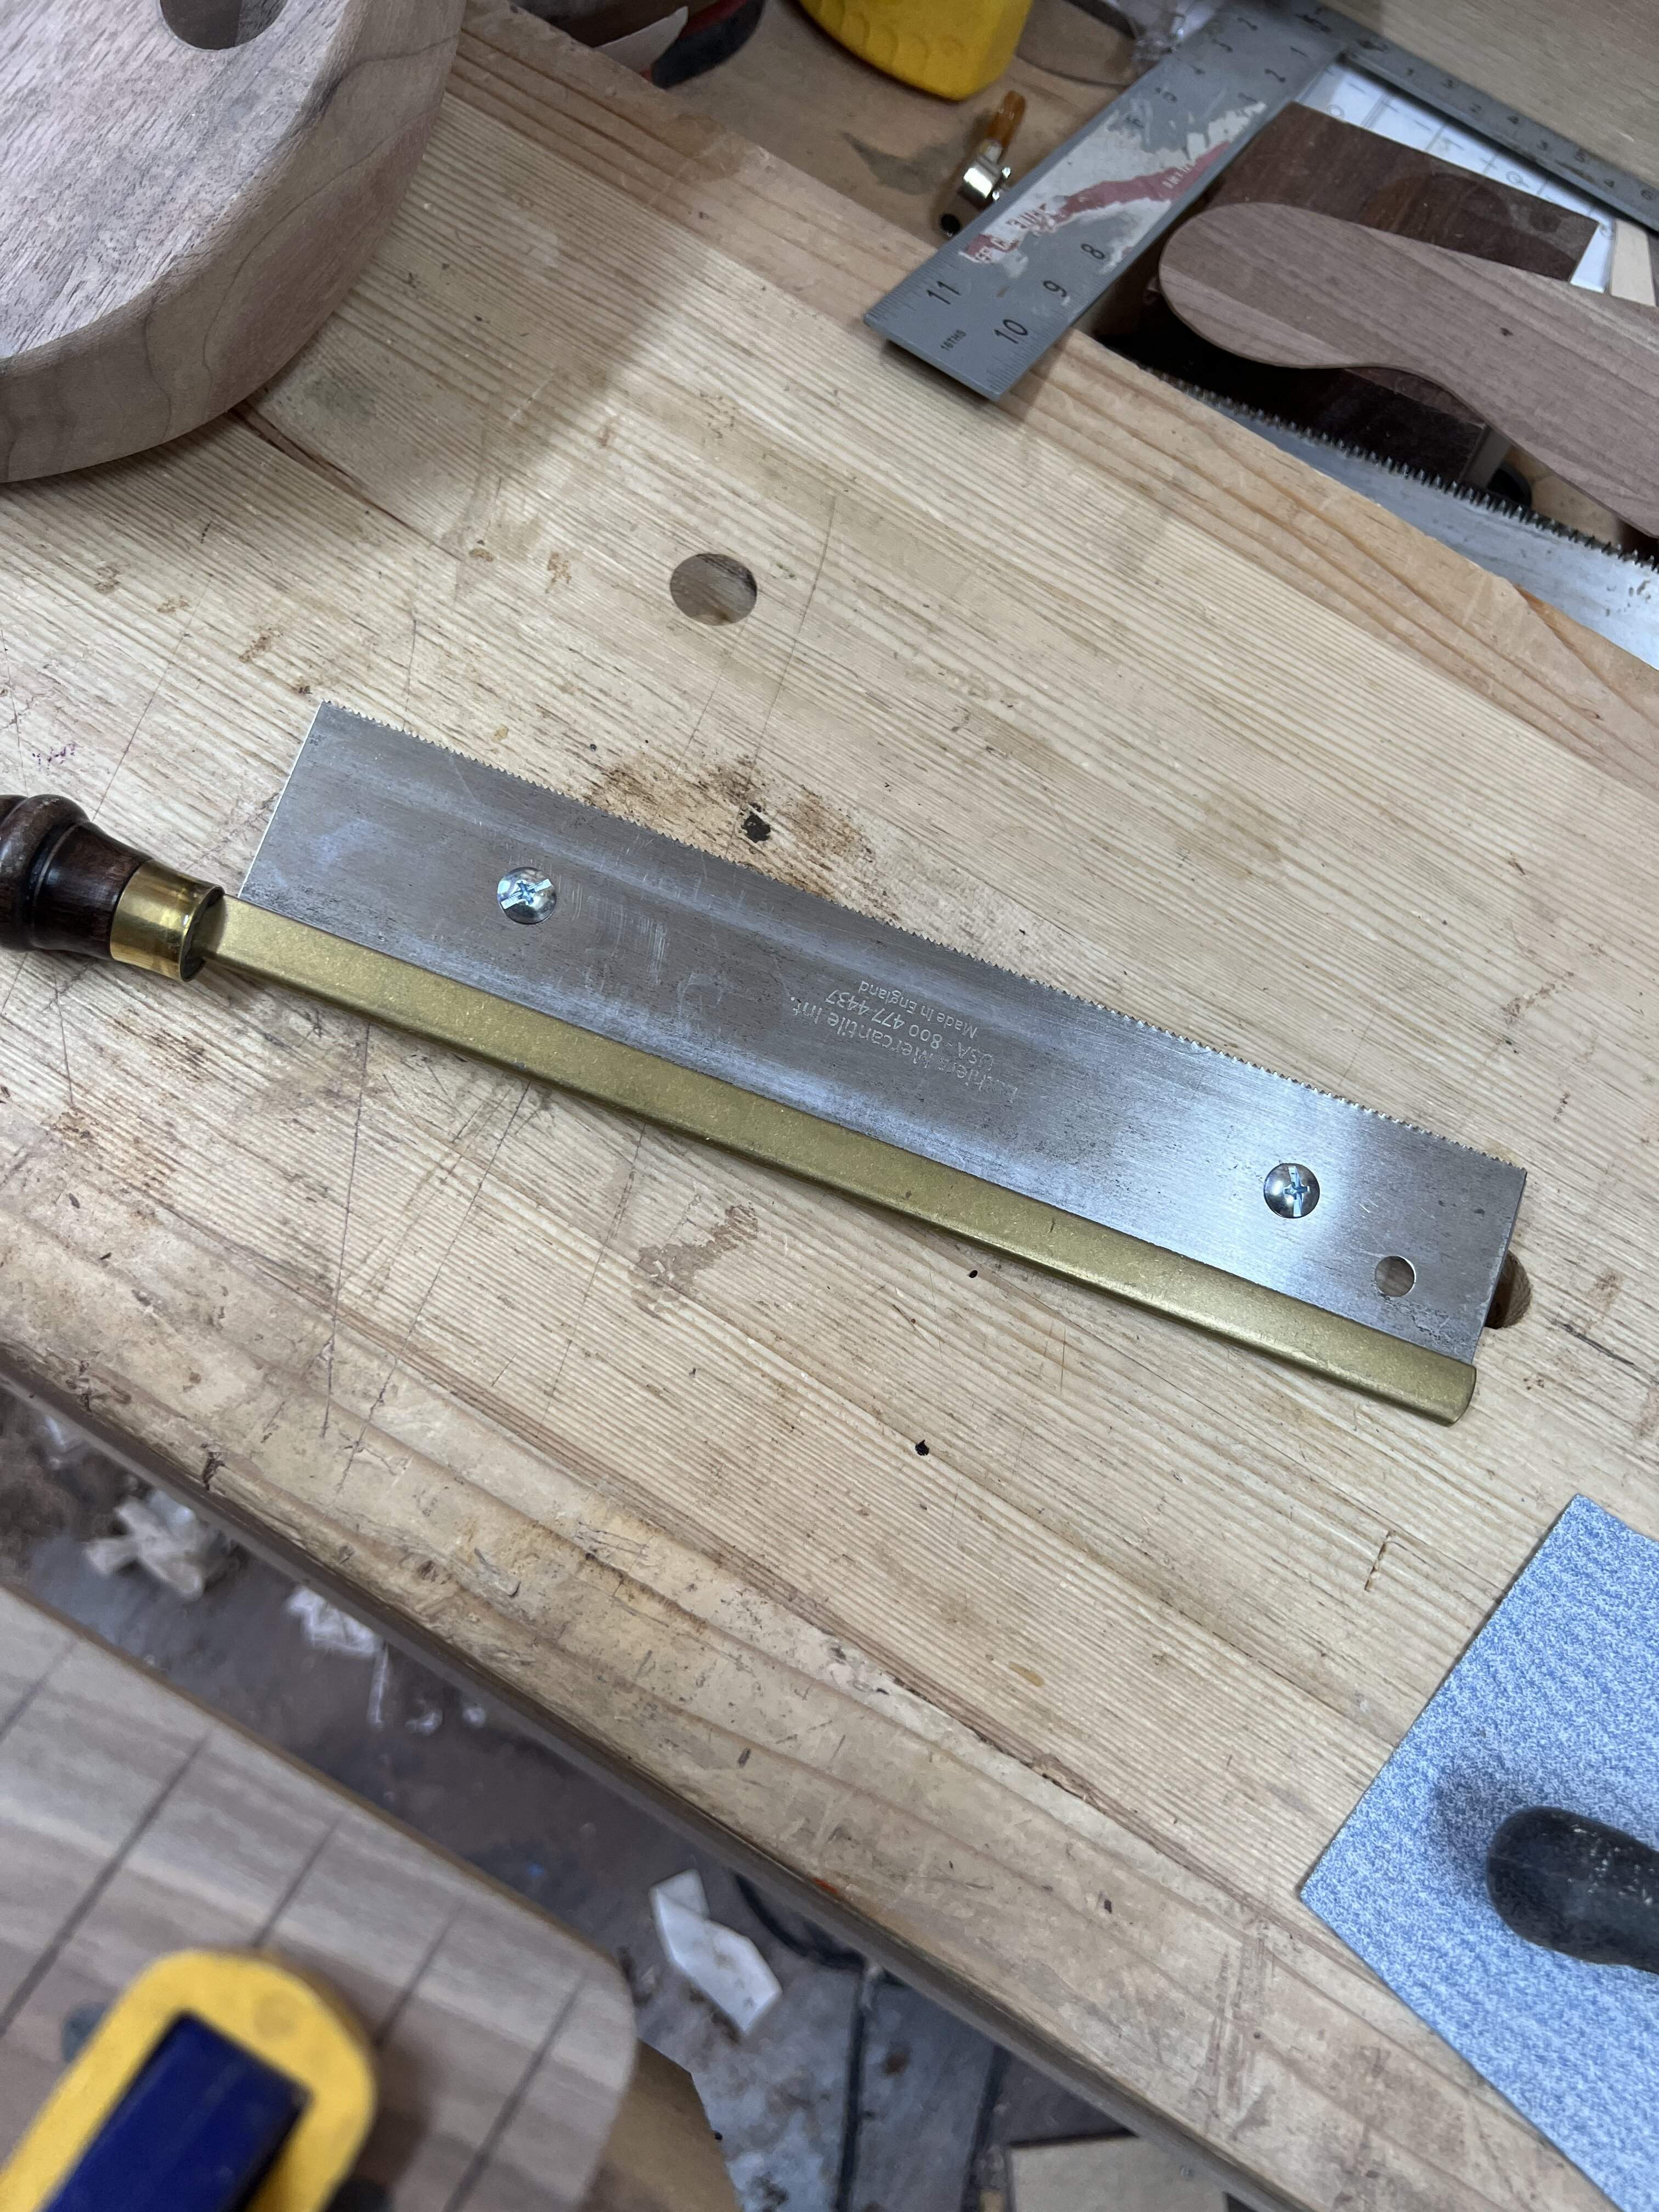
This morning I made a plexi depth stop for my fret saw. I used the fret tang to get the depth, adding just a bit to make sure I didn’t come up short. The holes are already in the saw, and using a 3/16” bit I marked and drilled two holes. I could flip it and do the same, connecting with my scroll saw to make an adjustable depth stop, but I have a pound of the same wire to go through, so I don’t anticipate needing any depth changes for years. A 10-32 fine thread screw and wing nut lock it down.

In the past I have just used double stick tape, but this is much nicer and won’t leave a sticky mess to clean.
80DDD369-E598-44EA-8443-25BDE56CAAC5.jpeg
39BF0D3D-A89F-46A9-B62F-F0A76B7C12C1.jpeg
DF562458-7959-4D68-A1C2-E021B7A48BB0.jpeg
 
I moved on to the mustang pickguard next. This one was tougher. The template I have was made for modern pickups, which are longer. I have vintage style pickups, so I had to modify the holes on a new template. The vintage pickguard is also different than the template, so there were a few modifications I had to make to the outside as well. Came out nice though, and I get to put the hardware on and imagine where it will be.

But before we get there I will need to clean up the mess…
3989C62B-ABFE-40C3-9758-AA38F8F7D2C6.jpeg
C432F0C3-2C3D-4BAC-9718-19D66B7BDD52.jpeg
 
Hahaha, been there. :smug: I'll share my tip discovered by my daughter when she was little. Take an inflated balloon and rub it to create static electricity. Instead of putting it above your head to draw your hair up, hover it over the little chips and it picks them up like magic. Then send her outside to shake the chips off onto the lawn. :woot:
 
Well, I have run into a fairly large problem. Usually I work off a plan or make a template after researching dimensions. This time I used a pre-made template from a reputable company. I should have checked all the measurements to make sure it was correct to specs. Nobody to blame but myself.

So it appears the maker of the template took the nut width but flared it out to a normal J/P neck pocket width (2.5”, vs 2 3/16” for the actual mustang). Problem being the strings do not follow the path of the neck, because the bridge spacing is way too narrow. There is about 1/4” between the string path and the edge of the fretboard by the end of the neck.

So my choices are live with the odd spacing, or put a new bridge in that has full size bass spacing. Crud.

I have a hipshot high-mass bridge hanging about, and it fills a lot of space unlike a P bridge. Saddles are adjustable side-to-side as well. So I guess that’s going to be the plan.

Valuable lesson, glad I learned it on a scrapwood build.

Btw, so far it appears the bass is around 8 lbs.
image.jpg
 
That’s fine. I guess.
image.jpg


On the plus side, no ferrules to drill. Although I really enjoy the look of them. Plus I can spend a lot of time convincing myself it is a GOOD thing! The benefits of a short scale’s short scale with the spacing of a full size! Yeah! I probably should have done that anyway!

Of course that is going to mess with the pickup spacing. Probably going to have to make a whole new pickguard to space them out a bit.

Nuts.
 
Last edited:
Started a bone nut, and made some pickup spacers by sticking some tape on the pickup and tracing the outlines and pole pieces. The good news is I think the spacing is close enough to work, worst case being I have to make a new guard and push the pickups outward a bit. I think I will be able to tweak a compromise position with the adjustment in the bridge though.

So tomorrow I will sand the board, install frets, shape the nut, and see about getting this strung up.
4FE17F4E-B334-43DF-8E2A-C7C71EFB9789.jpeg
654C84EE-8C41-4DEA-881B-2913810E2275.jpeg
 
They are both hanging out now. I went with the neck bolt inserts for the dano, and three went great. One is slightly higher, but who needs all that symmetry?
F4BAAE4E-14C2-48DB-8F31-6D4AB484FB7A.jpeg
5CFB4F15-0EAF-484B-B0D0-01FFCE89E8B9.jpeg


Going to get some frets in the dano tomorrow. I went with a 12” radius on that one. The tuners are metric, and the required holes are just over 1/2”, with a slight taper. I brought home one of my big cello reamers to open things up.

Will test in scrap first.