• TalkBass has been independent since 1998. Add your voice.
    Create a free account to reply to discussions, view embedded media, and browse with fewer display ads.
    Join freeLog in
    Want zero display ads or expanded classifieds tools? Compare plans.

A little project

Dec 24, 2018
1,387
4,604
Hello all, it’s been a while since I had anything worth posting, but I thought I would share my little side build. My wife is still a traveling nurse so half the time I am a single parent, and the shop is silent most days. We are in between sports seasons though, so I have been finding time here and there.

One of my students approached me about building a guitar (I tried to convince him bass was the way to go, but he is into 80s and 90s metal). He also decided on an explorer, so it will will be my first time trying the Gibson style tenon. I made a Gibson style long scale EB a few years back (that is my go-to bass now, surprisingly), but it had an early 60s neck join, basically a glued in fender pocket.

Anyway, we are building the explorers out of walnut because I have a large stash from a local guy. I ended up with three necks and fretboards, and enough offcuts to make a mustang bass. So there is my pun.

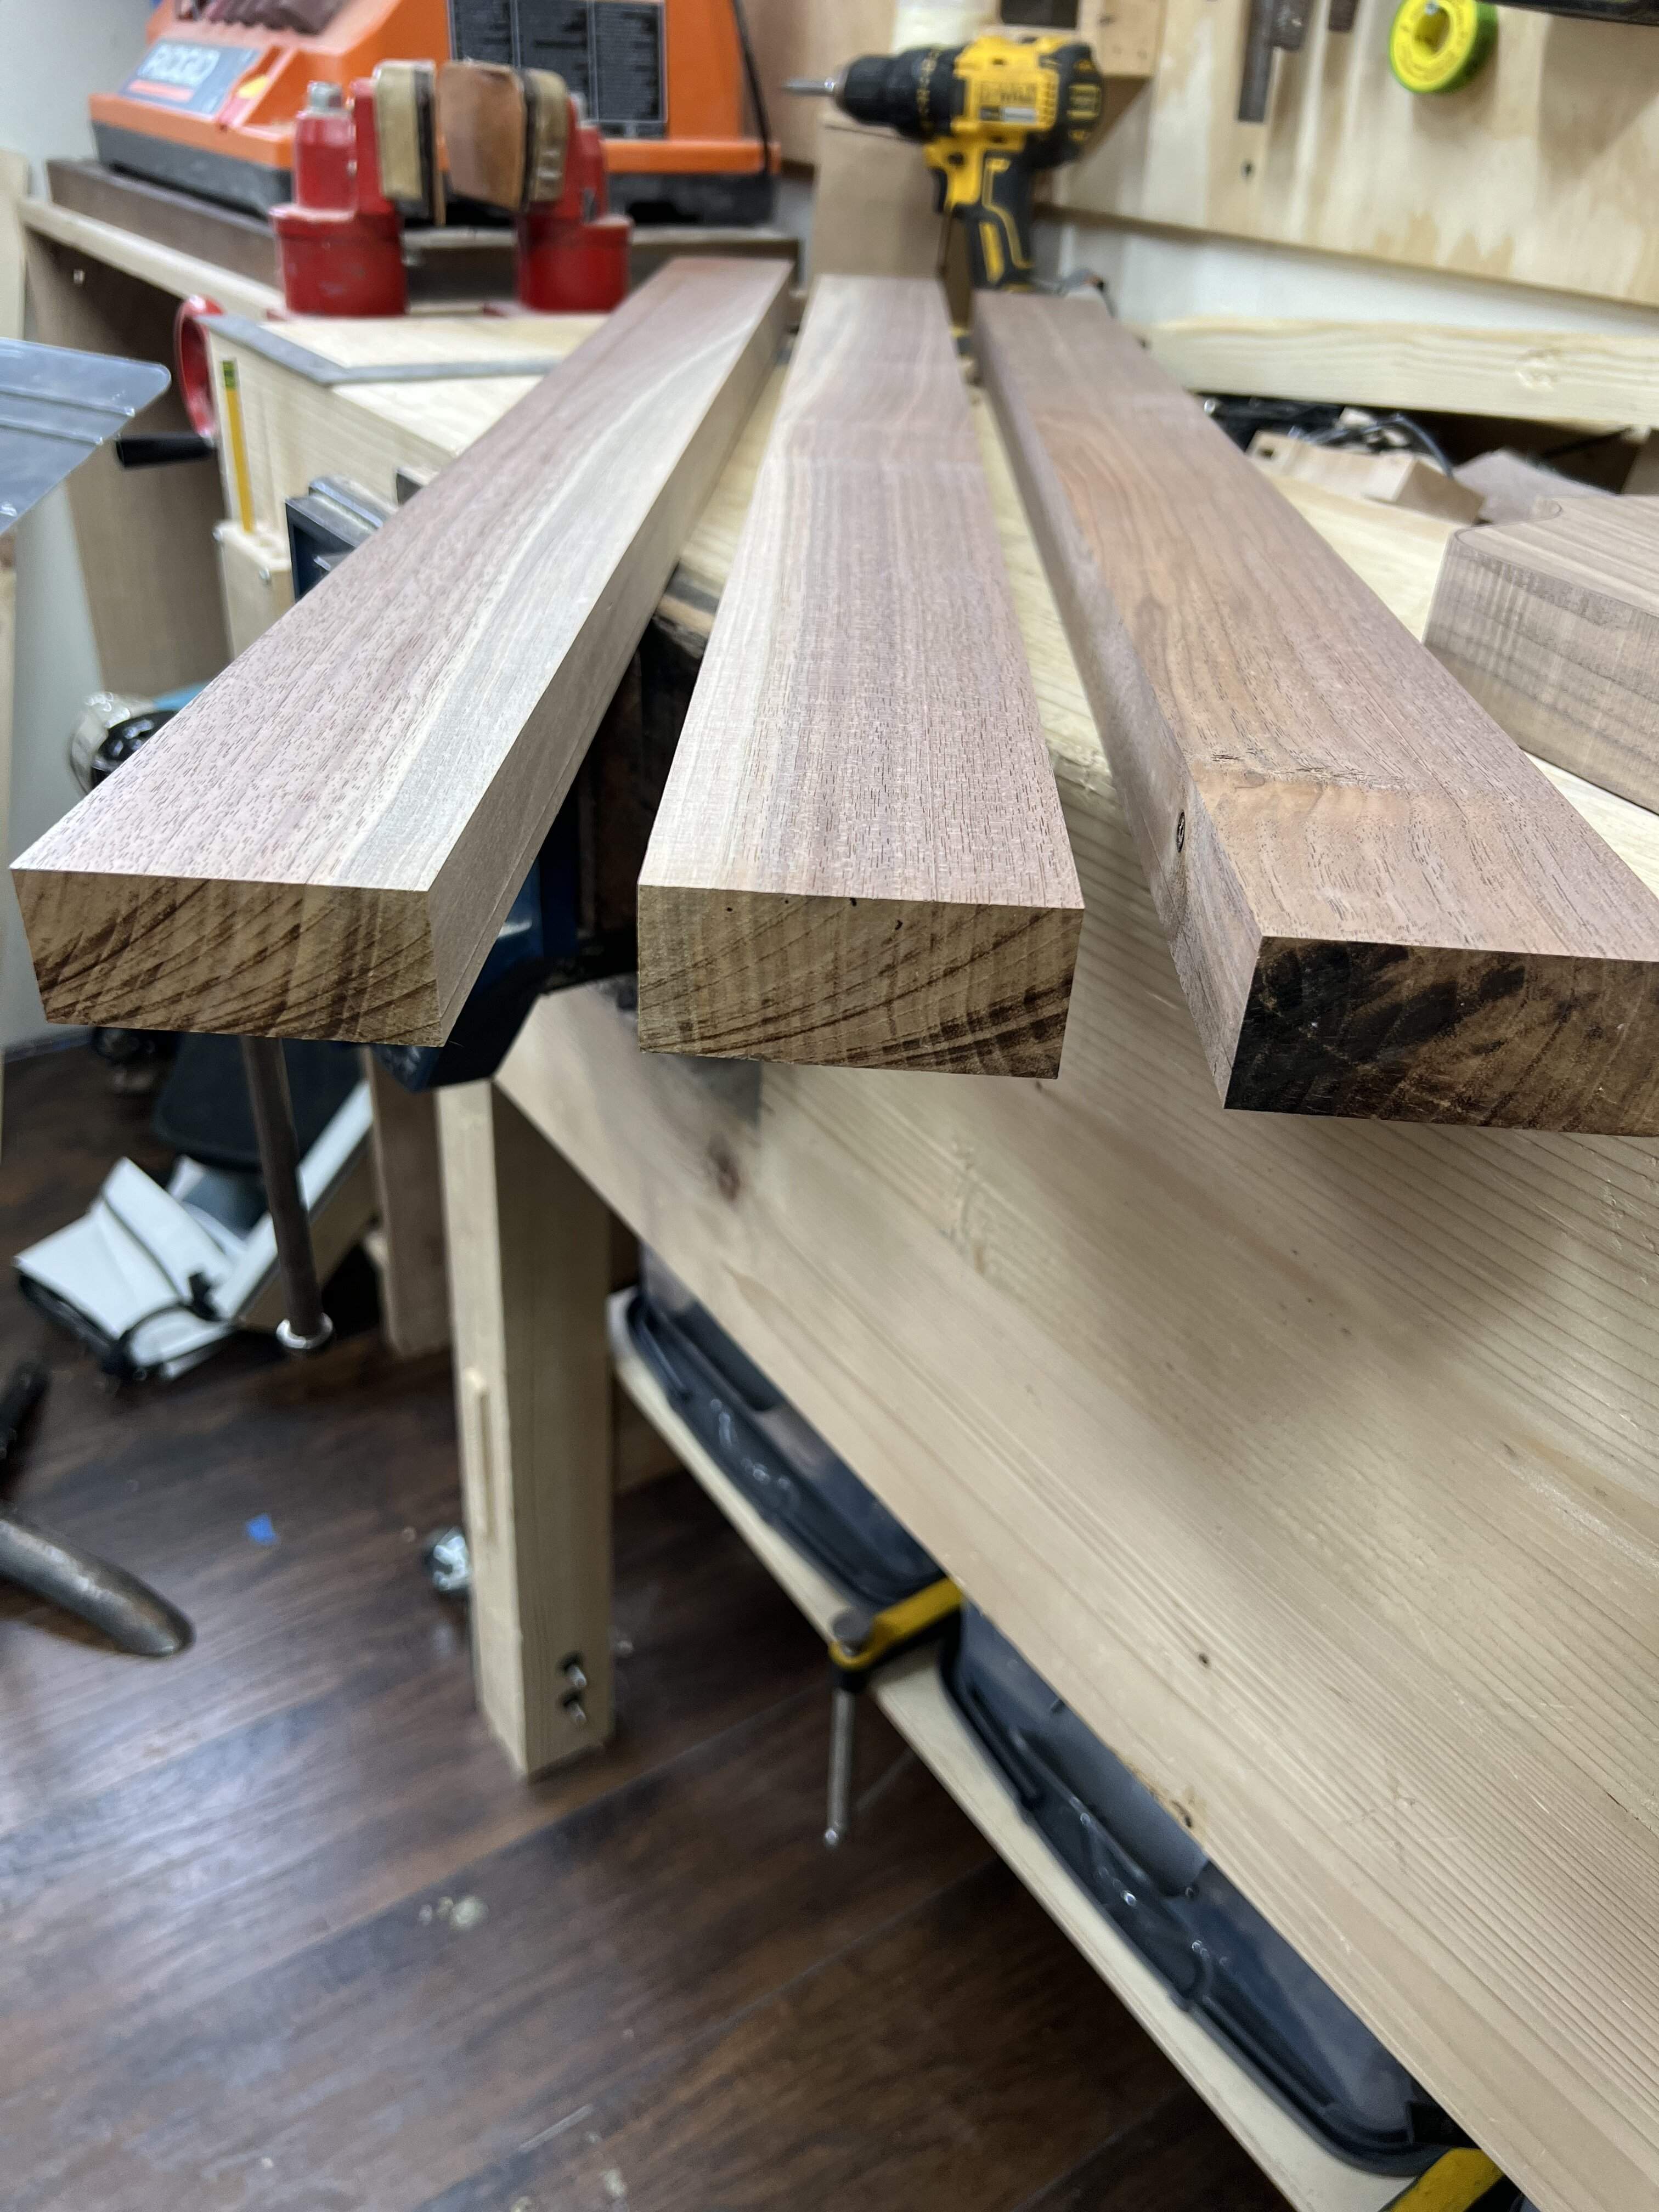
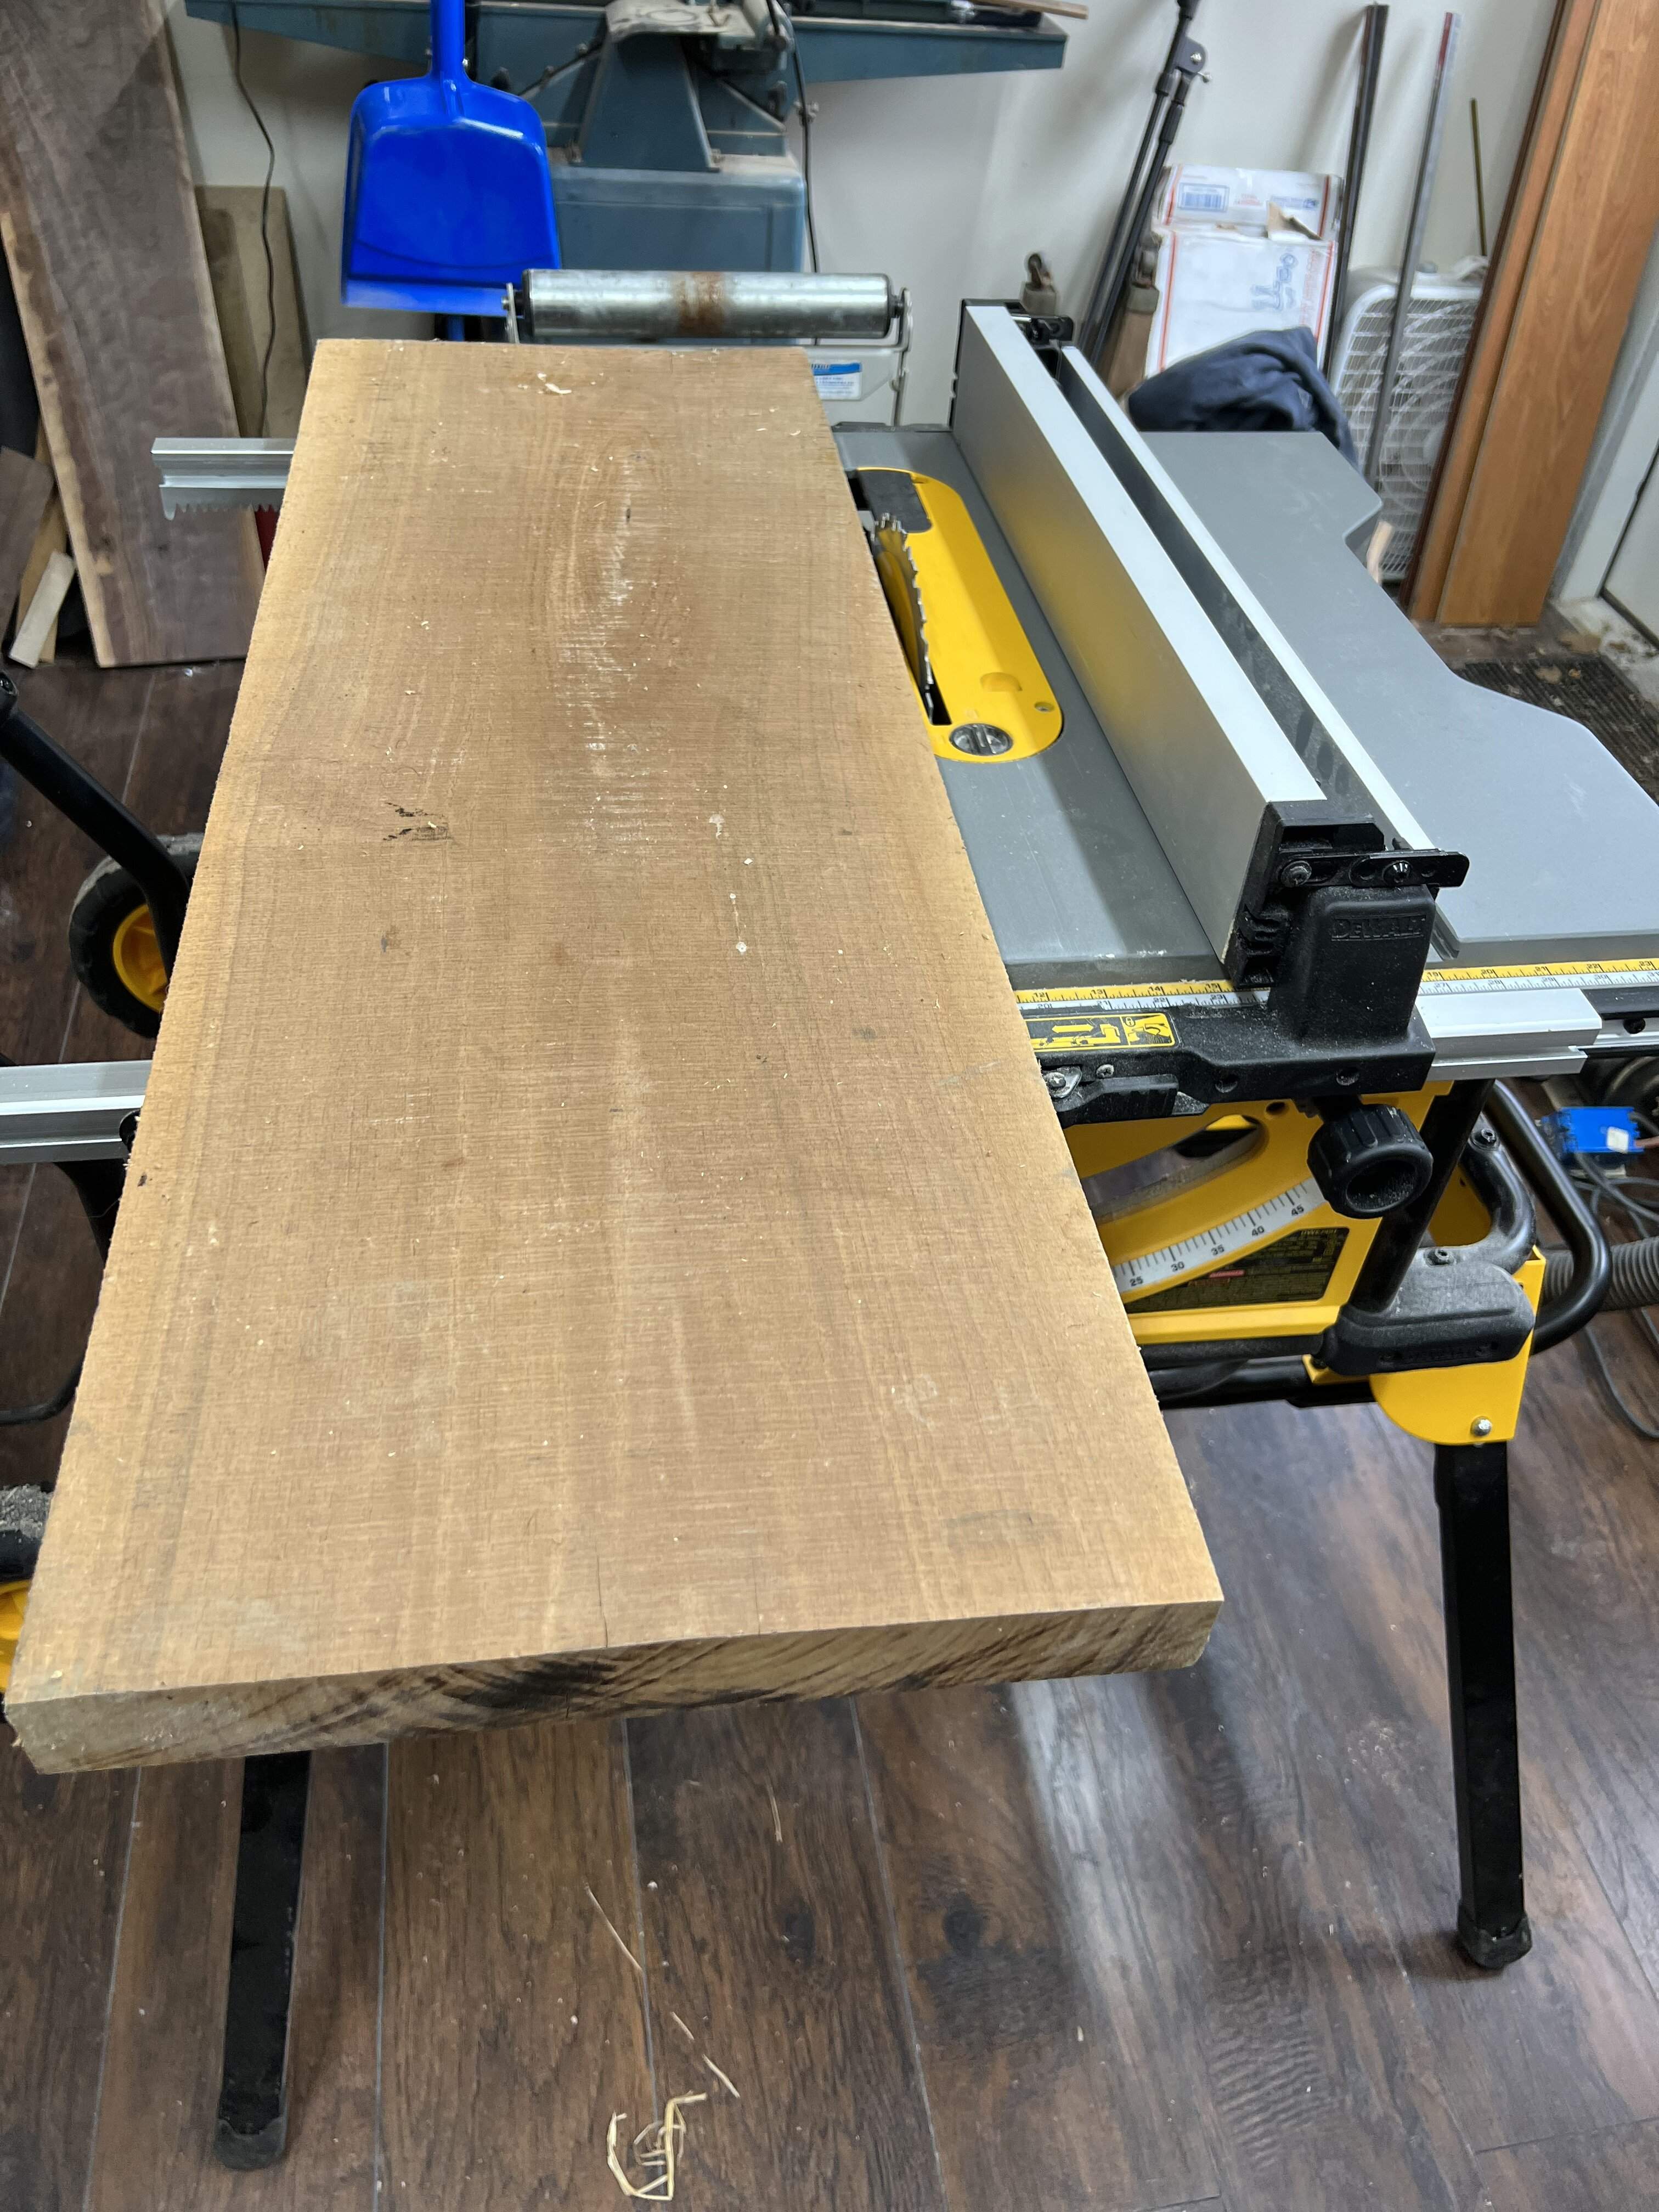
I have been saving this piece for necks, it is as quartersawn as you can ask for with wavy walnut.
5FEDE95E-E845-4162-9020-568FE09E999E.jpeg


Three neck blanks, thick enough to cut fretboards off.
C71A8A83-48C8-4B27-9CB7-90552A10BBEE.jpeg
FE8F7049-AFB2-40D9-8FC6-7D253206B215.jpeg


Leftover scraps of walnut, the join came out really nice. These boards also have some cool figure.
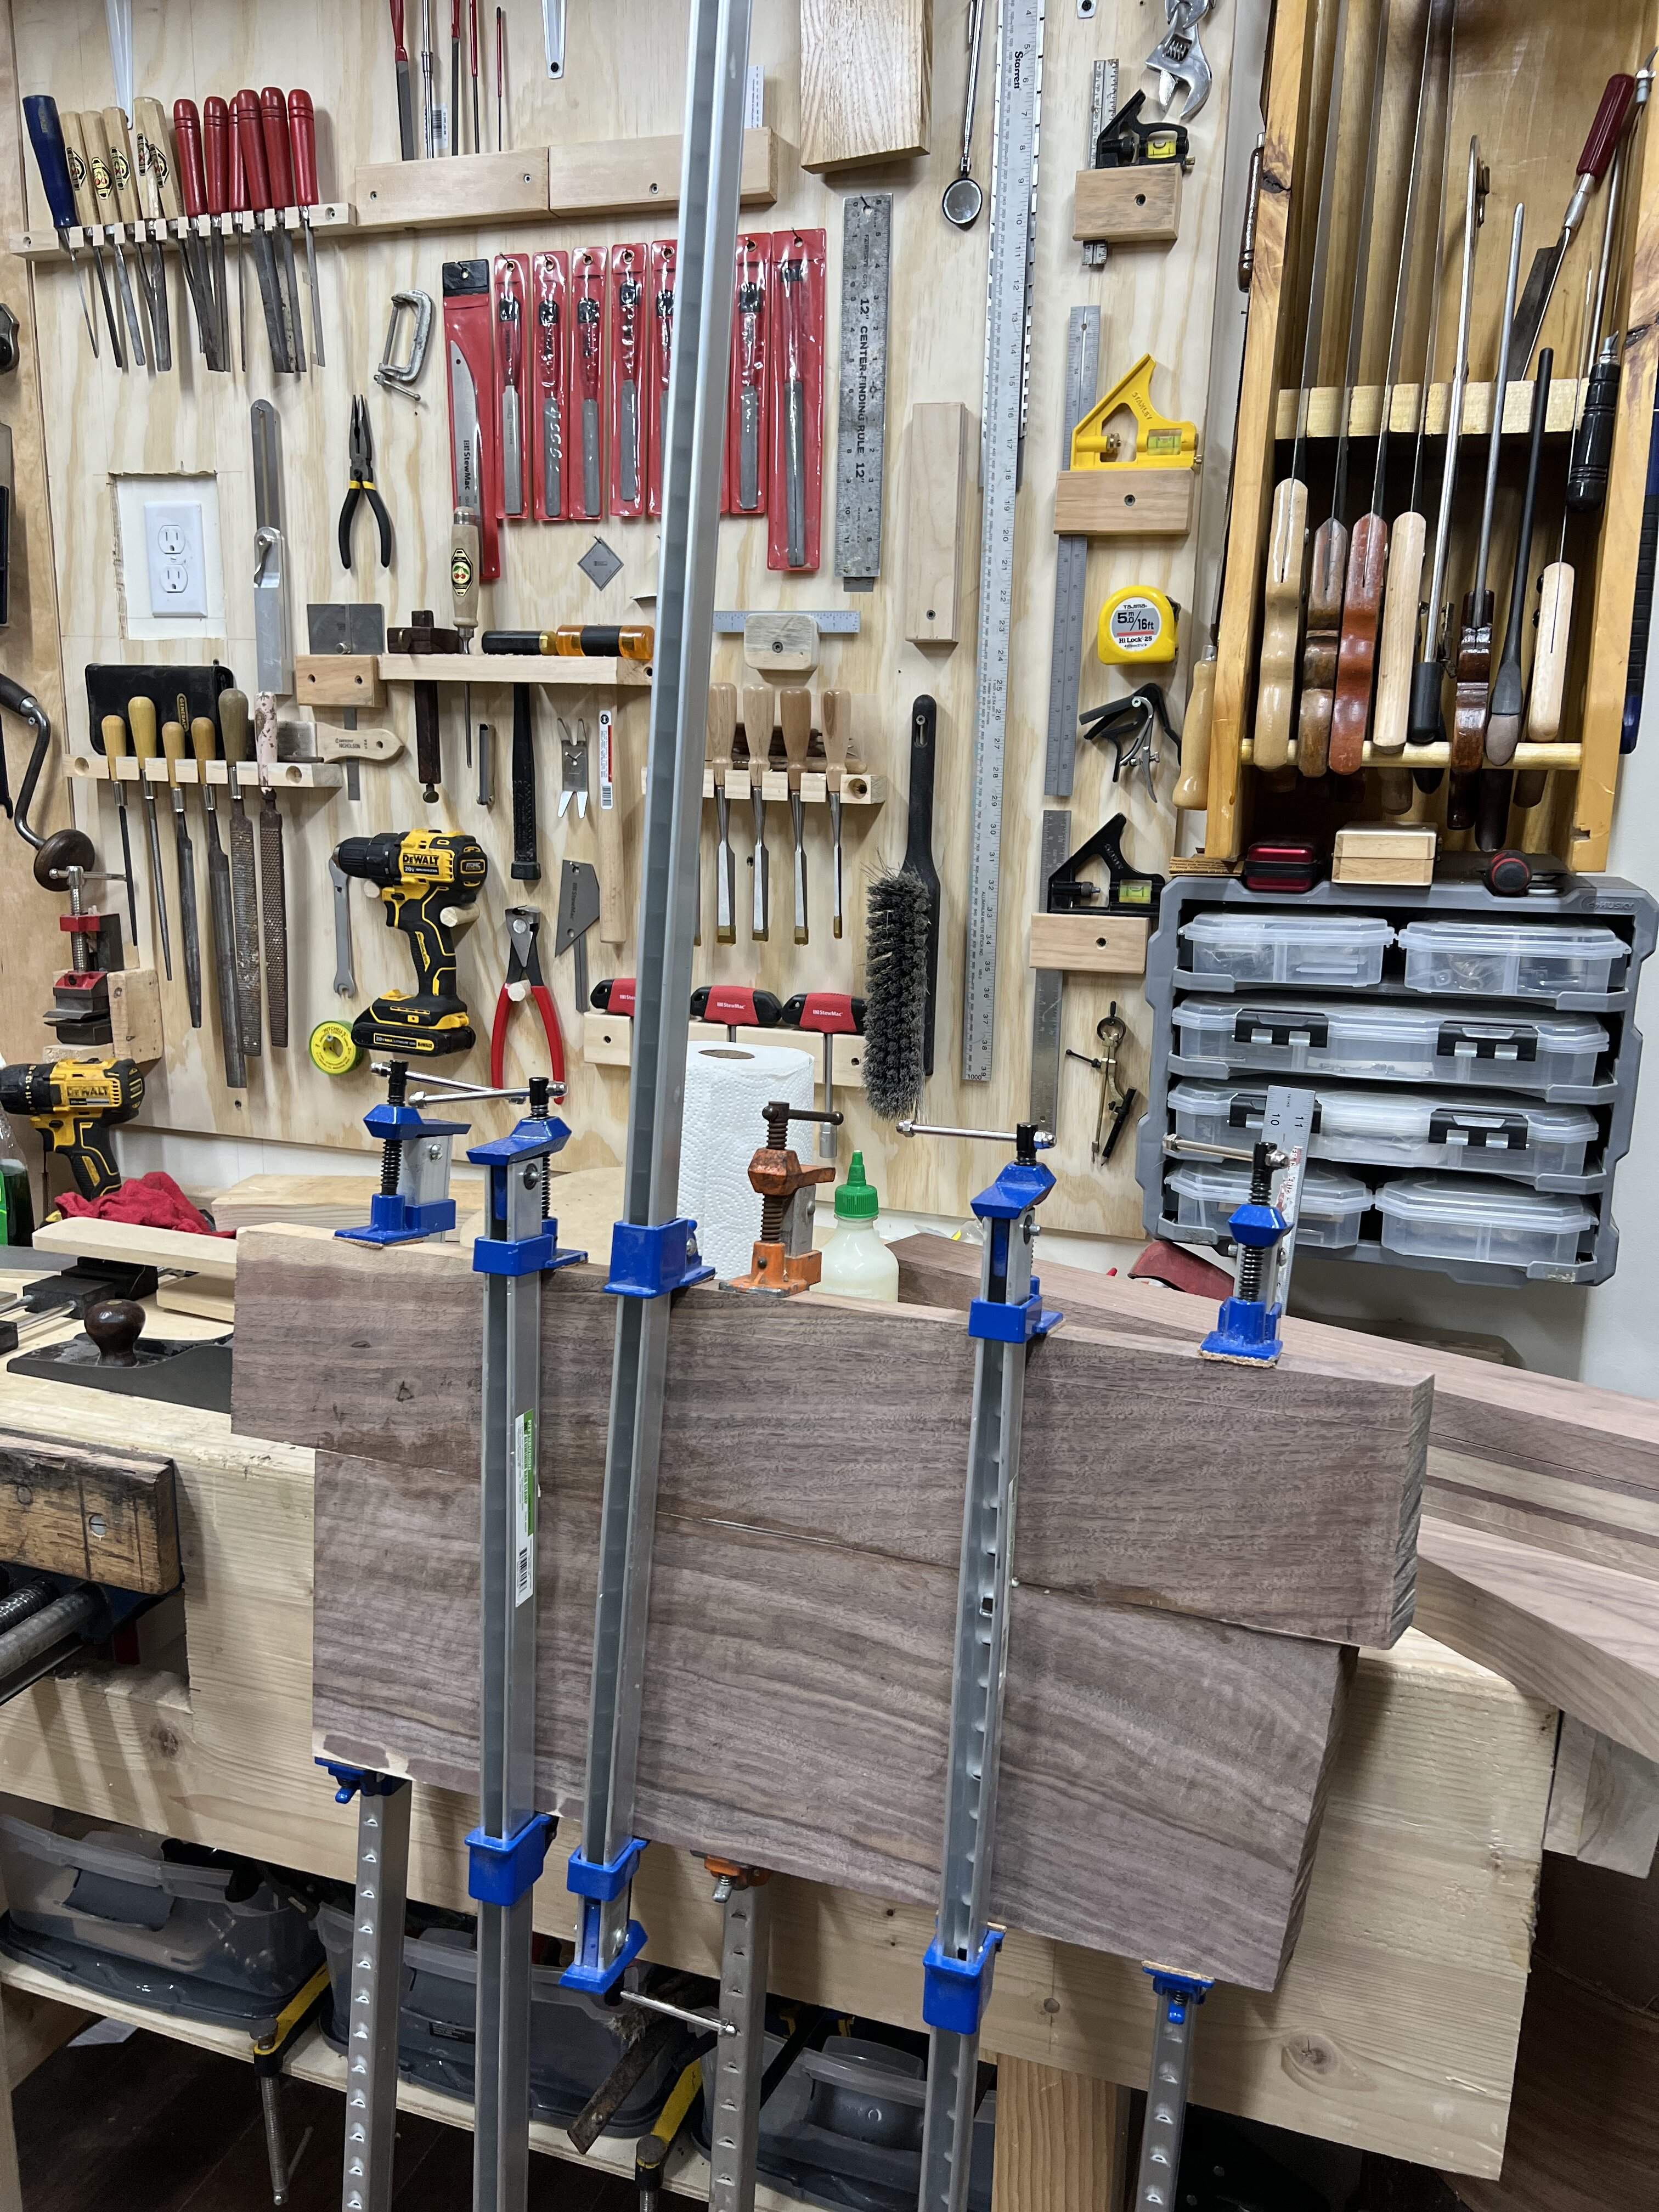
96471142-75A4-4C0C-8FB2-3F8DB14654E7.jpeg


After resawing the fretboards off I ran the neck and fretboard blanks through my new thickness sander. I had used my homemade drum sander for years, but this one came up locally at a really reasonable price. My homemade one worked great, but didn’t have a power feed, and the new one has an open end that allows me to sand up to 32” boards. Plus you don’t have to true everything up with seasonal changes (mine was all wood, I had to true the drum and table every year).
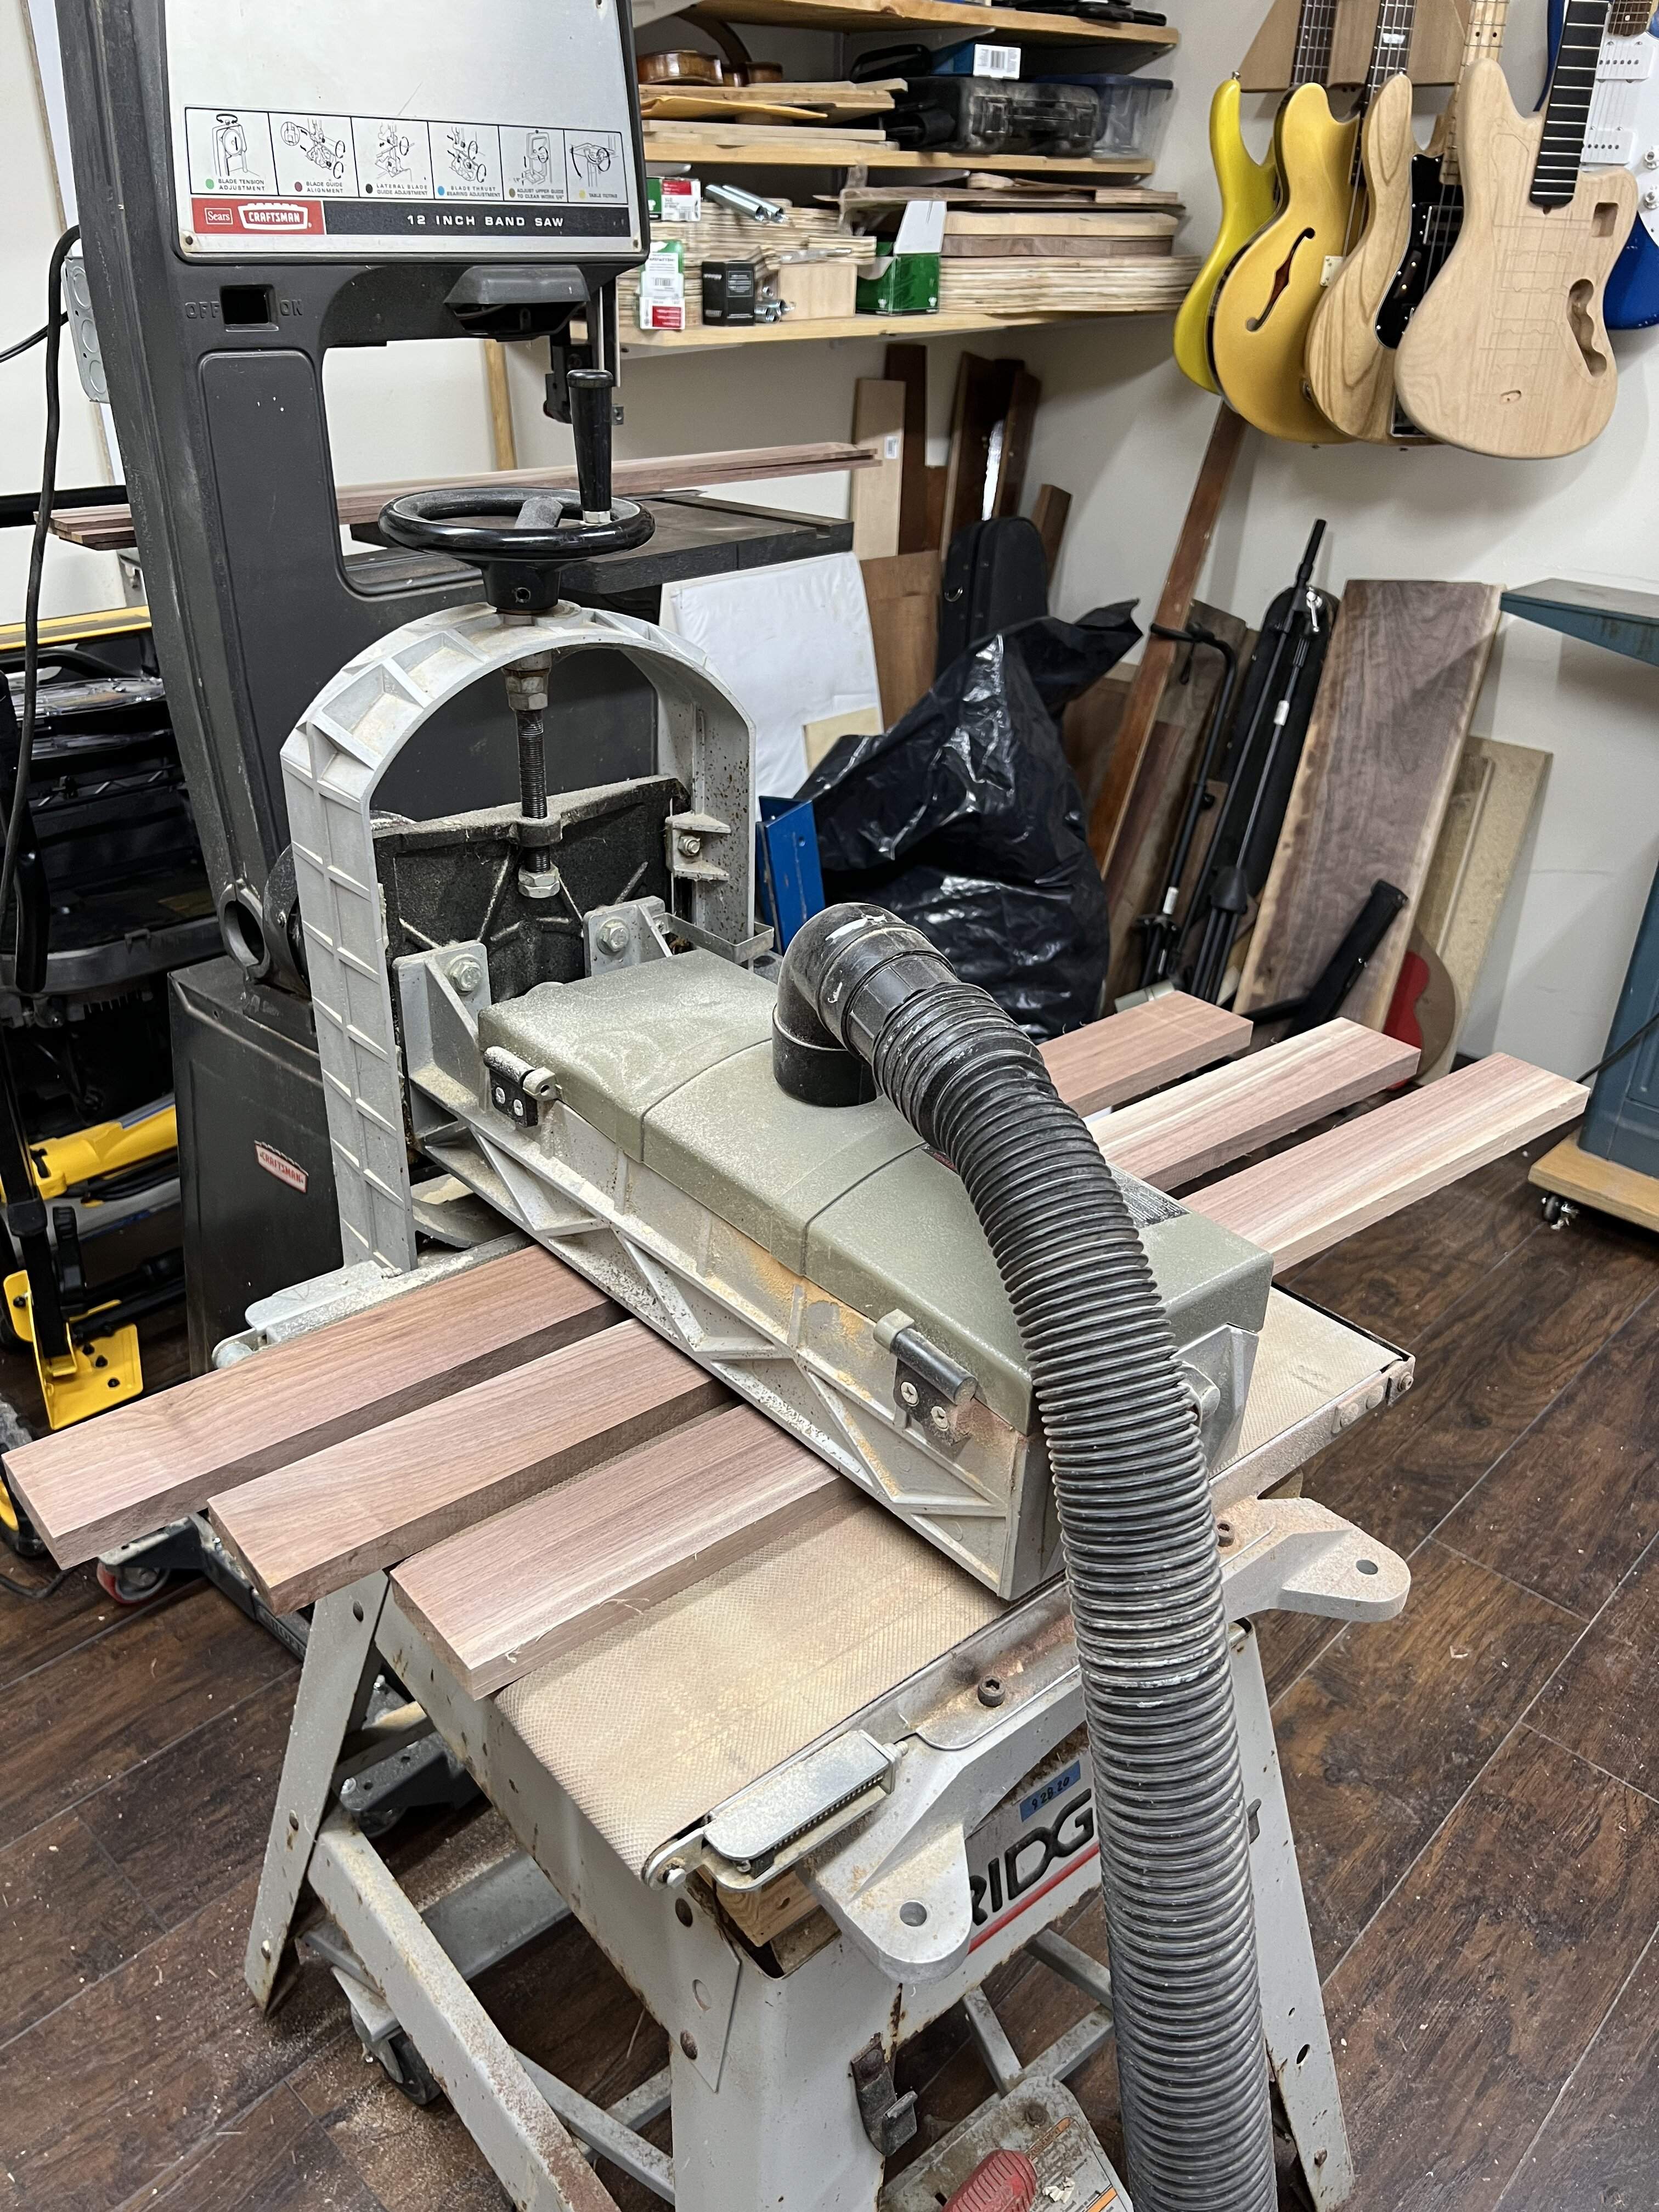
CB8190F2-24C9-433F-ACDA-F9DA3CAA40AD.jpeg


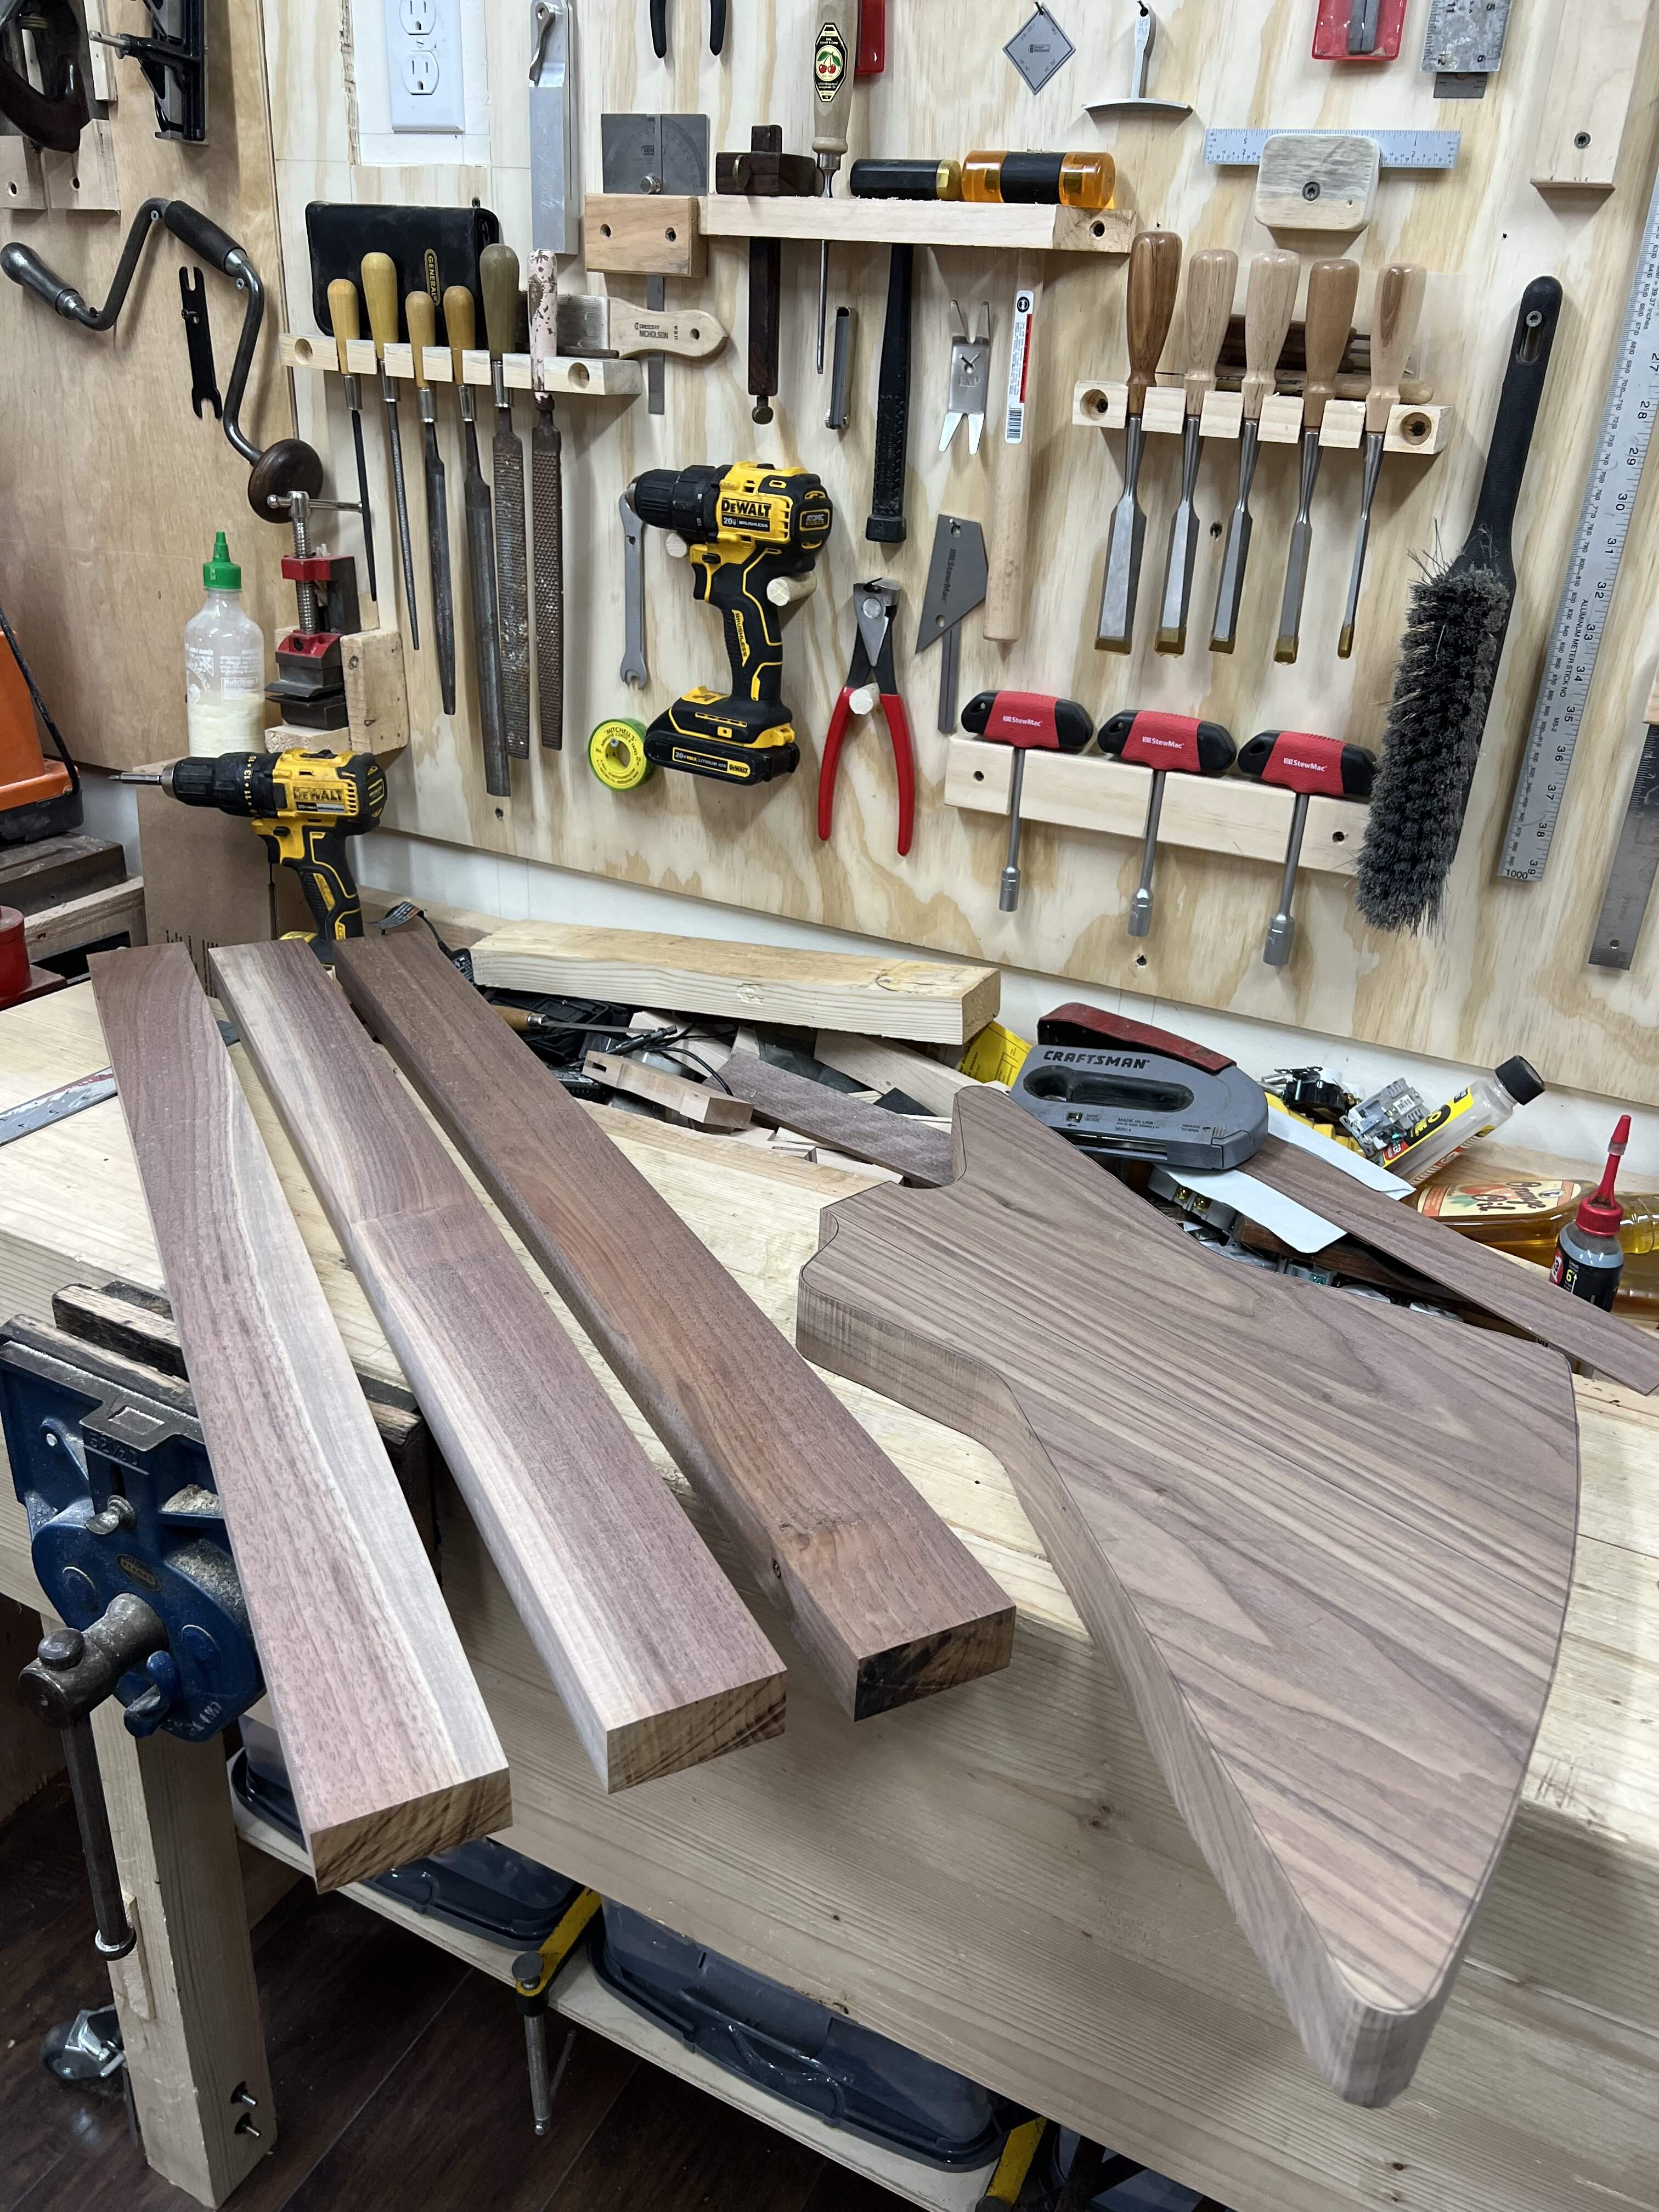
And here are the neck, fretboards, and bodies cut out. My student’s explorer body is at school, he did all the cutting there with a lot of supervision.
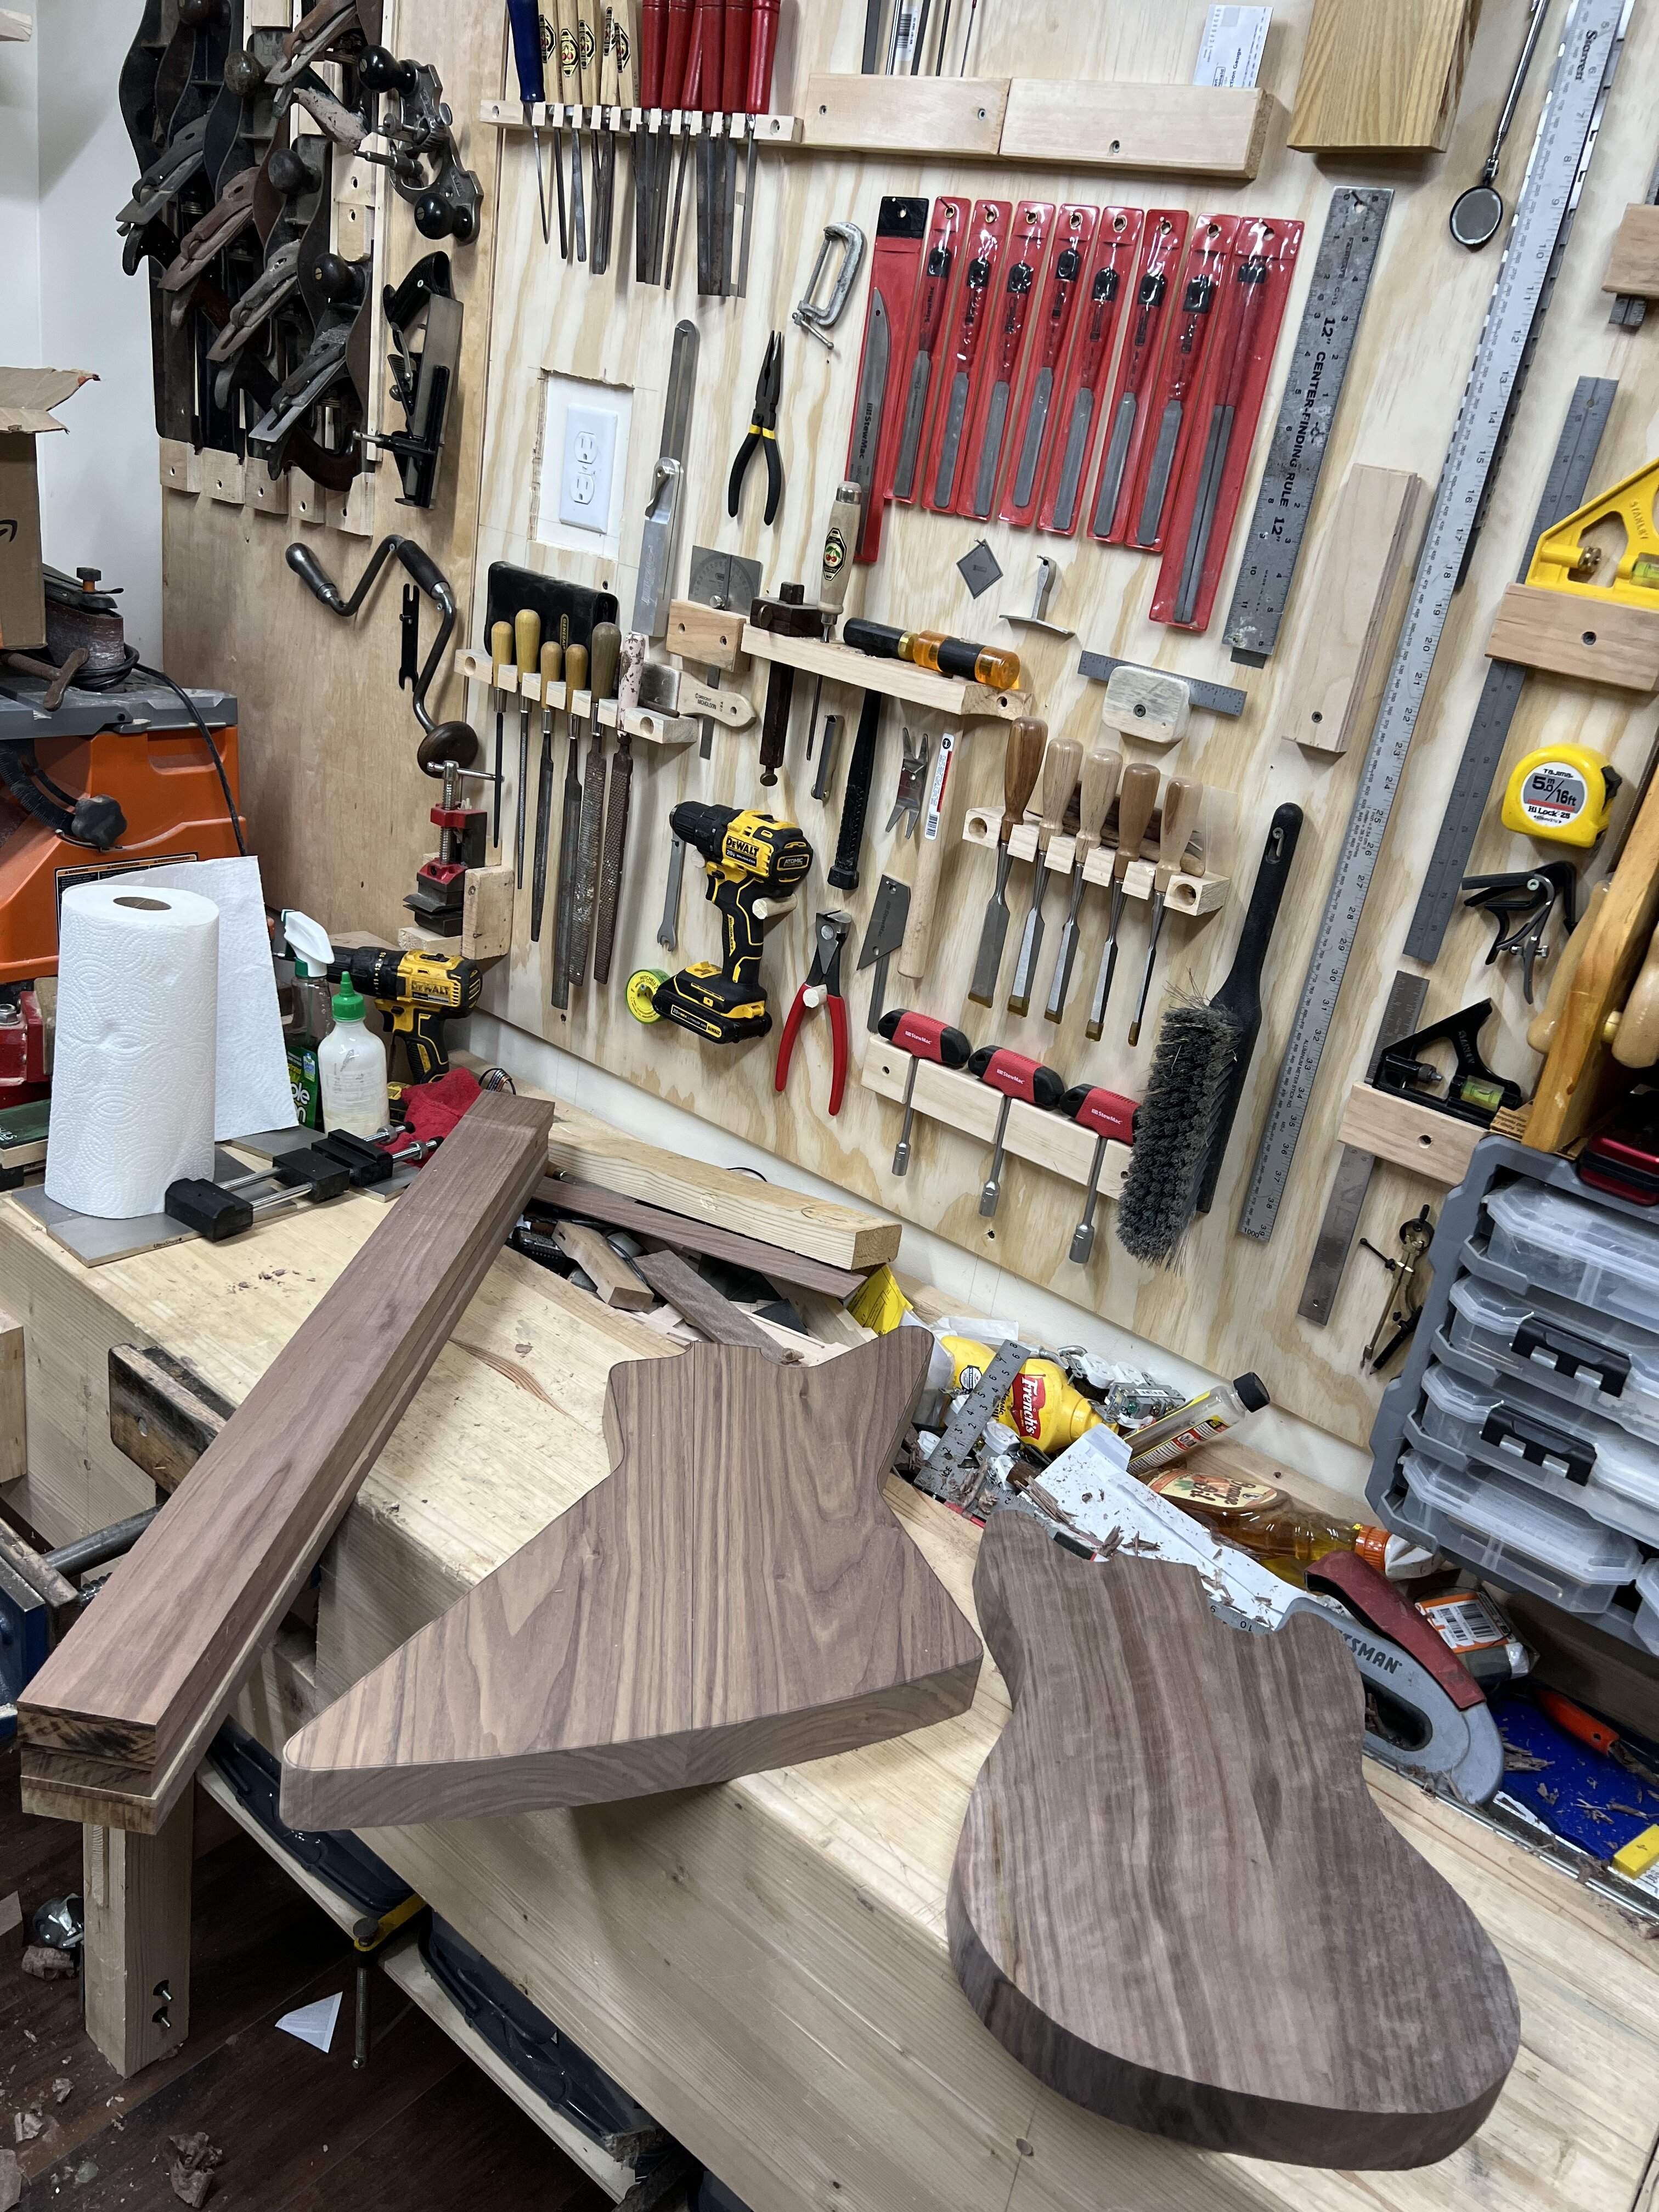
C62188B3-288D-49A4-93E4-C37D6F693C78.jpeg
 
I bought a crazy router bit, 2” with the blades going everywhere, supposed to reduce tearout. It works better than the straight bits, but I still tore out a chunk on the lower horn. I use a speed control to reduce the rpm’s. Worked fine, think I got a better feel for it when I rout the explorer bodies. Everything else will sand out fine, and the round over will take care of the rest.
8984A01A-17FE-423D-84E4-5DF90A22F9B7.jpeg
99C3D79C-FC87-4EDE-85EE-6F1414140A4F.jpeg

I cut the neck shape out and used the cutoffs to make some wings for the headstock. I just used a jazz bass to get the headstock profile. Sanded everything to about 1/32” to the template and the rout went fine.


After routing the neck pocket I got to enjoy a moment I haven’t had in a while, popping a new neck into a new neck pocket and imagining the future finished bass. Fits great!

88692A18-2708-4808-AEBC-22B511487685.jpeg
FB458C0C-3BD3-4A30-9667-2EB8E685E38E.jpeg
C8DE114D-A5F5-419F-A6EB-B3B9D0C4330C.jpeg
 
Looks like fun! Some really beautiful pieces of wood. Can’t wait until you get finish on them.
It is really good stock, I am very lucky to have a local Miller who lets me know when nice wood comes in, and he is very reasonable with his prices. Here is the EB I made with the same wood, finished with crystalac over amber shellac. That’s the plan for this one as well.
C5C78986-74BE-42D2-B6D8-ECFC0758EFA3.jpeg
 
Mmmmh, walnut. Some great looking pieces, especially the P-bass body.

The router tearout could have something to do with routing to full depth at once. That's a tough job even for your "crazy" router bit (is it a spiral bit?). I like to take several passes with a shorter bit at 1/8" to 3/16" depth, but of course it's a much slower process than routing all around in one pass. The advantage is less tearout, and if it does occur, it's typically a much smaller piece.

Great to hear you got it all sanded out, looks great. How's the walnut doing in terms of weight?
 
  • Like
Reactions: Verner
Mmmmh, walnut. Some great looking pieces, especially the P-bass body.

The router tearout could have something to do with routing to full depth at once. That's a tough job even for your "crazy" router bit (is it a spiral bit?). I like to take several passes with a shorter bit at 1/8" to 3/16" depth, but of course it's a much slower process than routing all around in one pass. The advantage is less tearout, and if it does occur, it's typically a much smaller piece.

Great to hear you got it all sanded out, looks great. How's the walnut doing in terms of weight?
It isn’t a spiral bit, it’s a compression bit from infinity tools. I was curious because of the opposing blade structure and a 1/2” shank seemed more stable. I am sure there was some user error there as it is a new bit for me. I could have taken the sides down closer, and I may have spun it up too much. For the neck I slowed it way down and didn’t have an issue. Hoping I get a feel for it, there is always a curve with new tools. To be fair to the bit, which looks like a very well made tool, it left a great surface everywhere else, even over a small knot.

The weight isn’t bad, I haven’t gotten it on a scale but I think the small body will keep it reasonable. It is dense wood, it would make a heavy full-size bass, but I have a T-40 there to remind me it could always be worse!
 
  • Like
Reactions: TFM94
The instruments look great, but I'm also admiring your tool wall. Very nice. I keep meaning to do something like that and never get around to it. But with all the time I spend trying to find stuff or tripping over stuff that I've put down in my own way, I could have finished the project three times over.
Thanks! With my current nutty schedule I only have a few minutes to run out, and I have been using the time to make little tool holders. I had everything in a rolling tool cart, but my little shop is only 12x14’, so every square foot makes a difference. And it makes it a lot easier having everything right in front of you. As an unorganized personality, drawers are terrible for me. They tend to devolve into random piles of things.
 
Well, it has been a few weeks, that’s how this stage of life goes and I won’t bore anyone with the details. I planned on getting the fretboard done next, but brought all my fretboard tools to school to work on my student’s and unfortunately had to leave them there, so that is a no-go until next week. We got the scarf joint sorted out on his neck, only took two tries and now he has some decent hand plane skills. He didn’t give it an even clamp the first time so the joint wasn’t fully closed on one side, but the second time it came out great. Hung my little bass up with some homemade cam clamps, it is cute.
6C43F8AA-6797-41EB-95B6-870759879CFE.jpeg

So on my side of things, I took some time to clean up my mess from last post. Tomorrow I may rout for the truss rod. But the shop is more or less in shape.
19BC8657-C82E-4673-AC3A-75938B16A55B.jpeg


I did pick up some dust collection stuff, because after thickness sanding in my airtight little shop it was clear that a regular shop vac filter doesn’t do enough. I grabbed a hepa triple filter and bag for inside the vac, and one of the dust stopper cyclone units. I also grabbed a diffuser, which is supposed to cut any escaping particles exiting the vac. So far so good, although I don’t have an air quality meter. I did blow my nose after using it and didn’t see any walnut dust, so that’s already an improvement. The cyclone kept almost everything except some fine dust out of the vac itself. Will have to build a cart for the whole setup though, it is a pain to use as is. Anyone else have experience with this setup?
305FB650-E621-4AA5-94A0-5968953BD985.jpeg
 
Ok, so I have a leftover piece of thin luan from the chicken coop for a template, and the last bits of explorer and mustang scrap at the front of the pile.
41FE7A53-CDB6-4AF9-93DF-5A237B8BDEBE.jpeg
EF9E09EC-A567-4394-A138-CC384BA28D7A.jpeg


I picked up the digital plans for the longhorn years ago, seems like something all of us may have done at some point. I think I can squeak the skeleton out of my scraps. Doing the old tape all the tiled sheets together, and glue them down, and cut it out again. Bring it to the sander and finish with files.
E57FC616-92C4-4974-8E3F-315FA25C60FF.jpeg
866D435A-B342-4245-9A71-3585AD7C8C61.jpeg
CF85F7D7-65C3-49C9-9425-03AE191A487F.jpeg
D2EAC800-FD15-47F0-BAD0-52F507532B10.jpeg


This is all to test the dust control thoroughly, of course. If it results in yet another bass it will be burned as the control in the name of consumer science.

Cut the two longest boards I could get out of the scrap. Luckily I have just enough space on them for the horns, the center section, and two small blocks of the same dimension for lower fillers. I will have plenty left in the odd shaped scrap for the outer slivers and the smaller connector pieces.
DEB7FA0F-CF38-470B-8493-1F7FF68CF831.jpeg
88DF271A-4A8C-4E17-87A6-8A108C351EAC.jpeg

43E0A00C-371E-440D-A056-9ACEC12AF66F.jpeg

Now, if I was really building one these I would rather use maple for the skeleton and cap it with walnut, but I am just using up expensive scrap to test my new dust collection. I think the maple center would make a nifty take on the tape that covered the pine on these. But I need to use up this scrap. Which may or may not result in a second unintended short scale bass.
 
Last edited:
Alright, up too late but it is hard to stop when you get moving. My wife had a few weeks off so this is one of those rare times I can get out. The next few weeks will be productive, and it feels great to cut some wood.

So all I did was cut the puzzle pieces for the skeleton. Brought them down a bit in the sander and glued up the first four pieces. Will finish the rest tomorrow and pick out some pieces to resaw and book match for the top and back. Neat.
34625233-7DA0-495E-8FFF-578C1785BC31.jpeg
6D871DFD-163D-49CF-B66A-5F6E86AC730C.jpeg
D333ADB4-C331-48CD-A1D7-ADBBDEBD8167.jpeg
3549B2D5-A884-4CDB-861F-567E67CD682A.jpeg