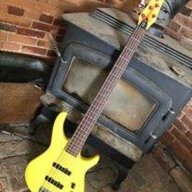
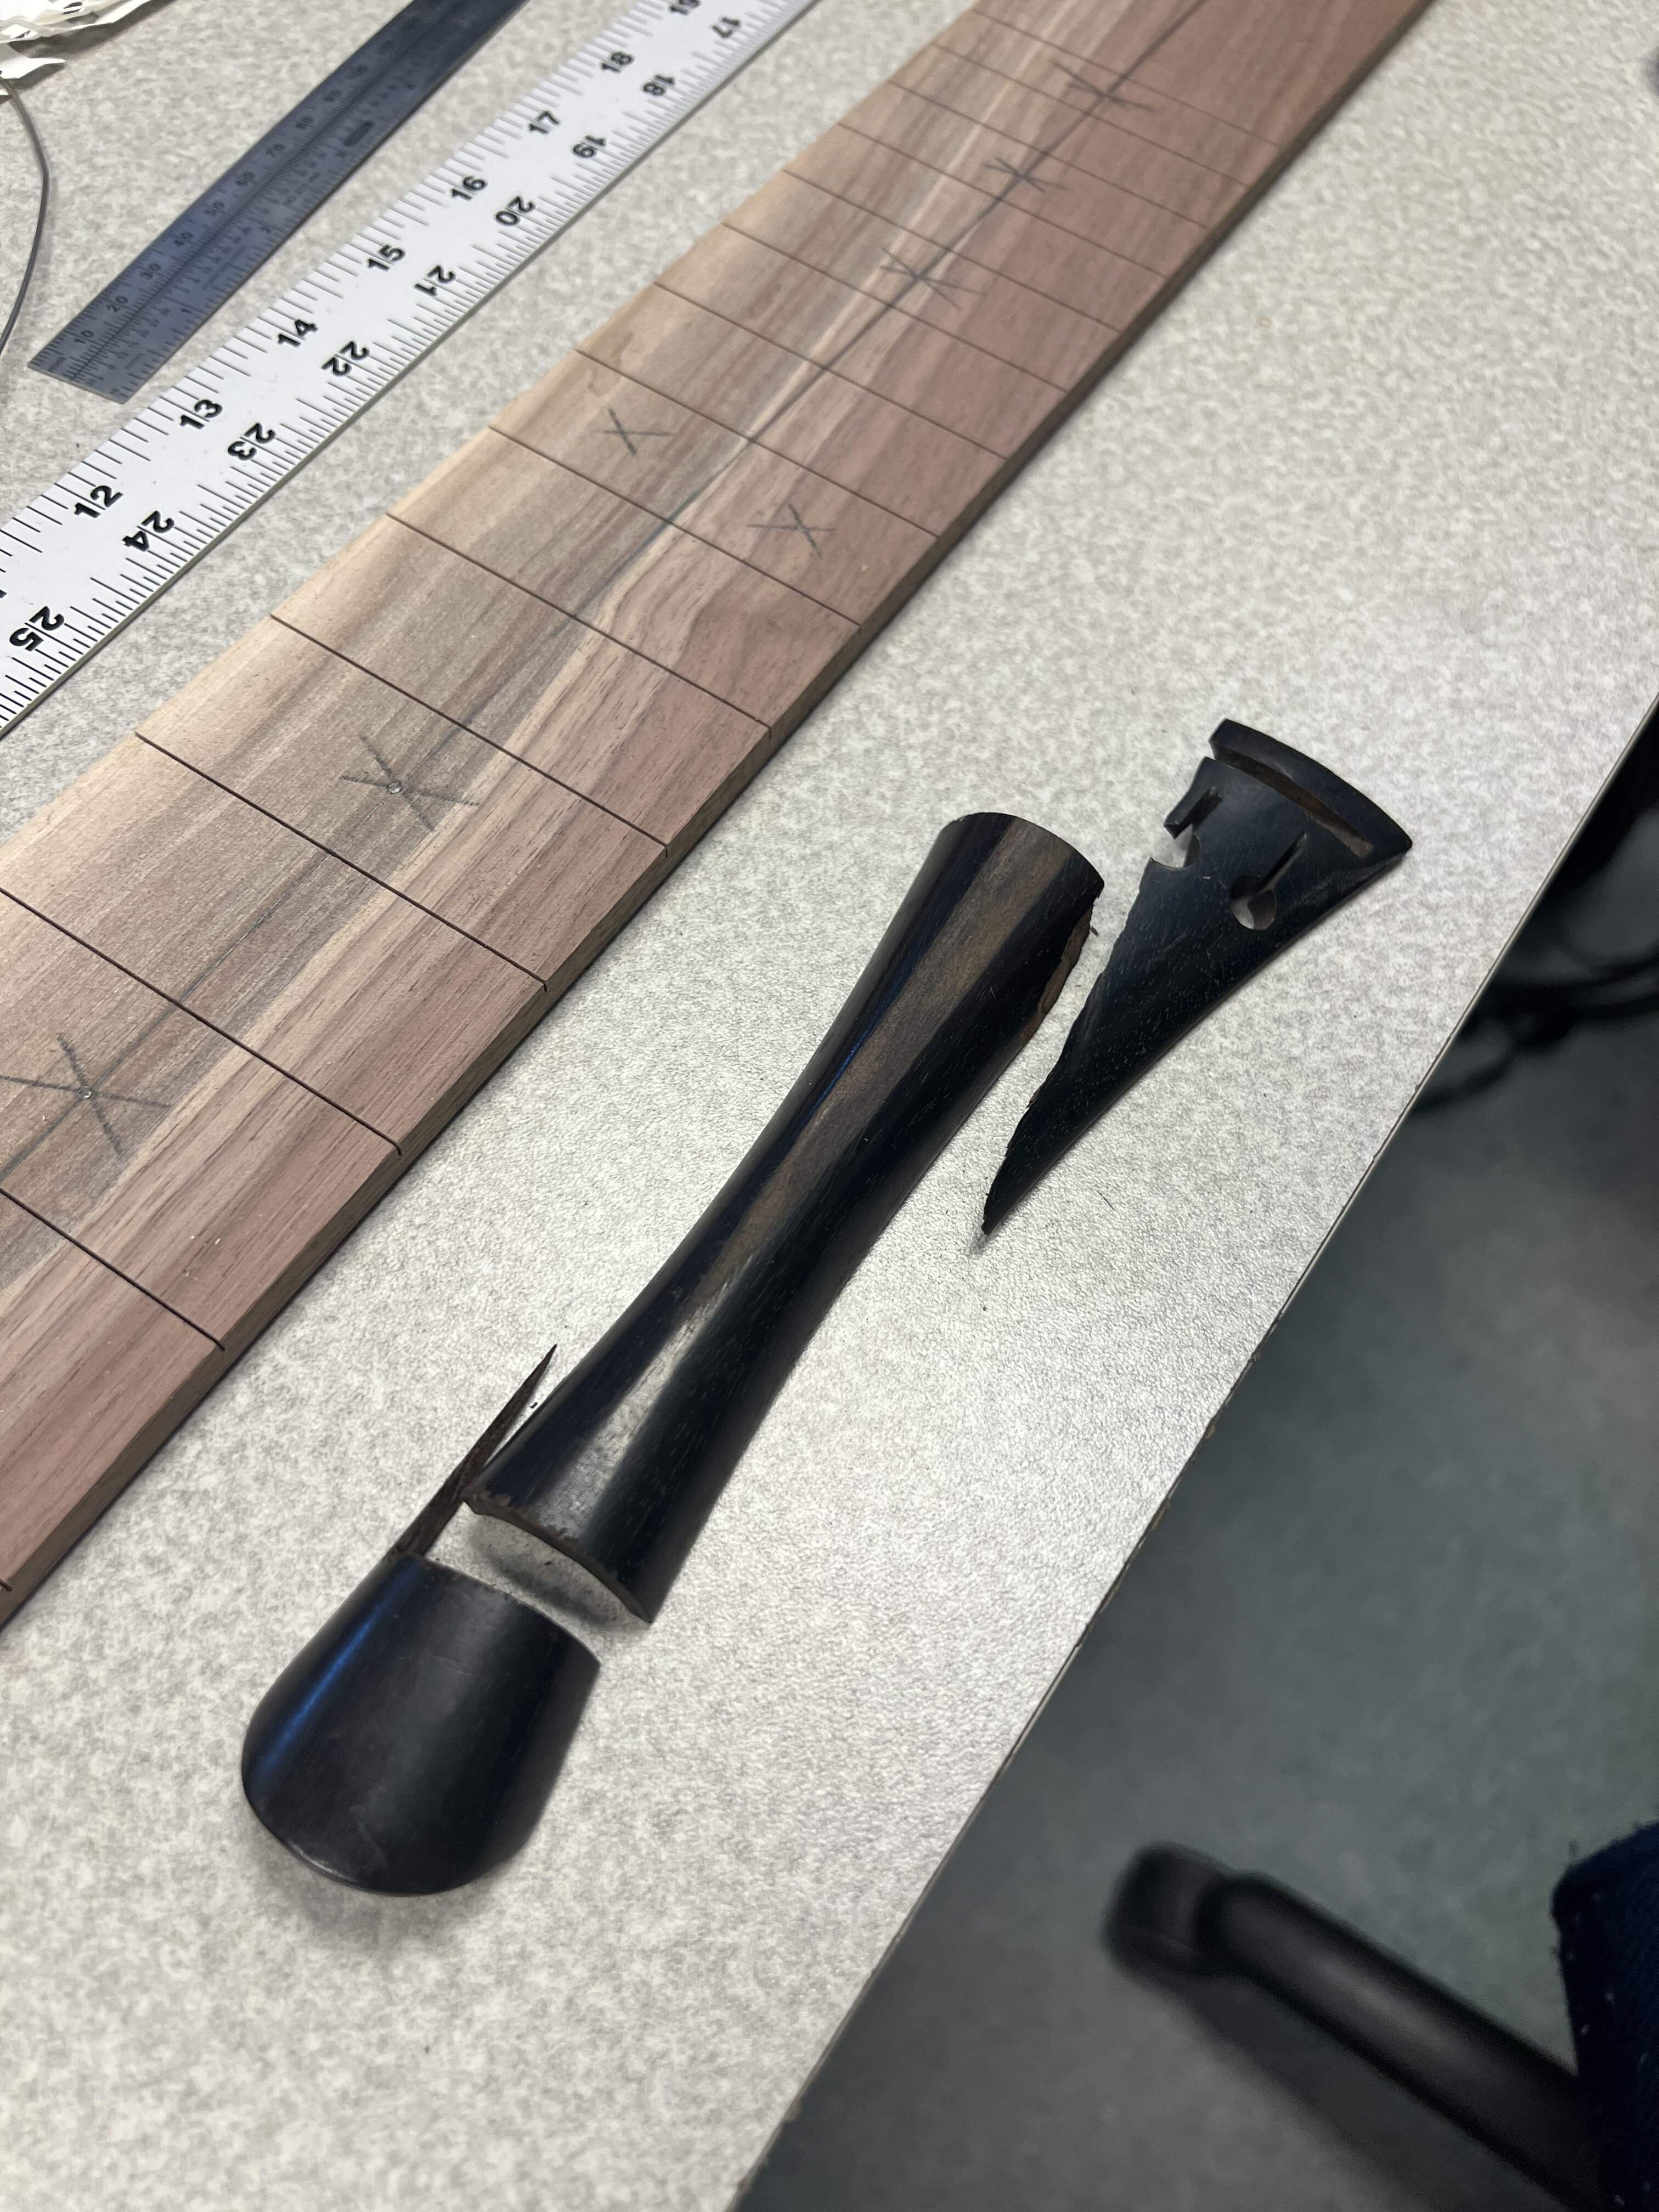
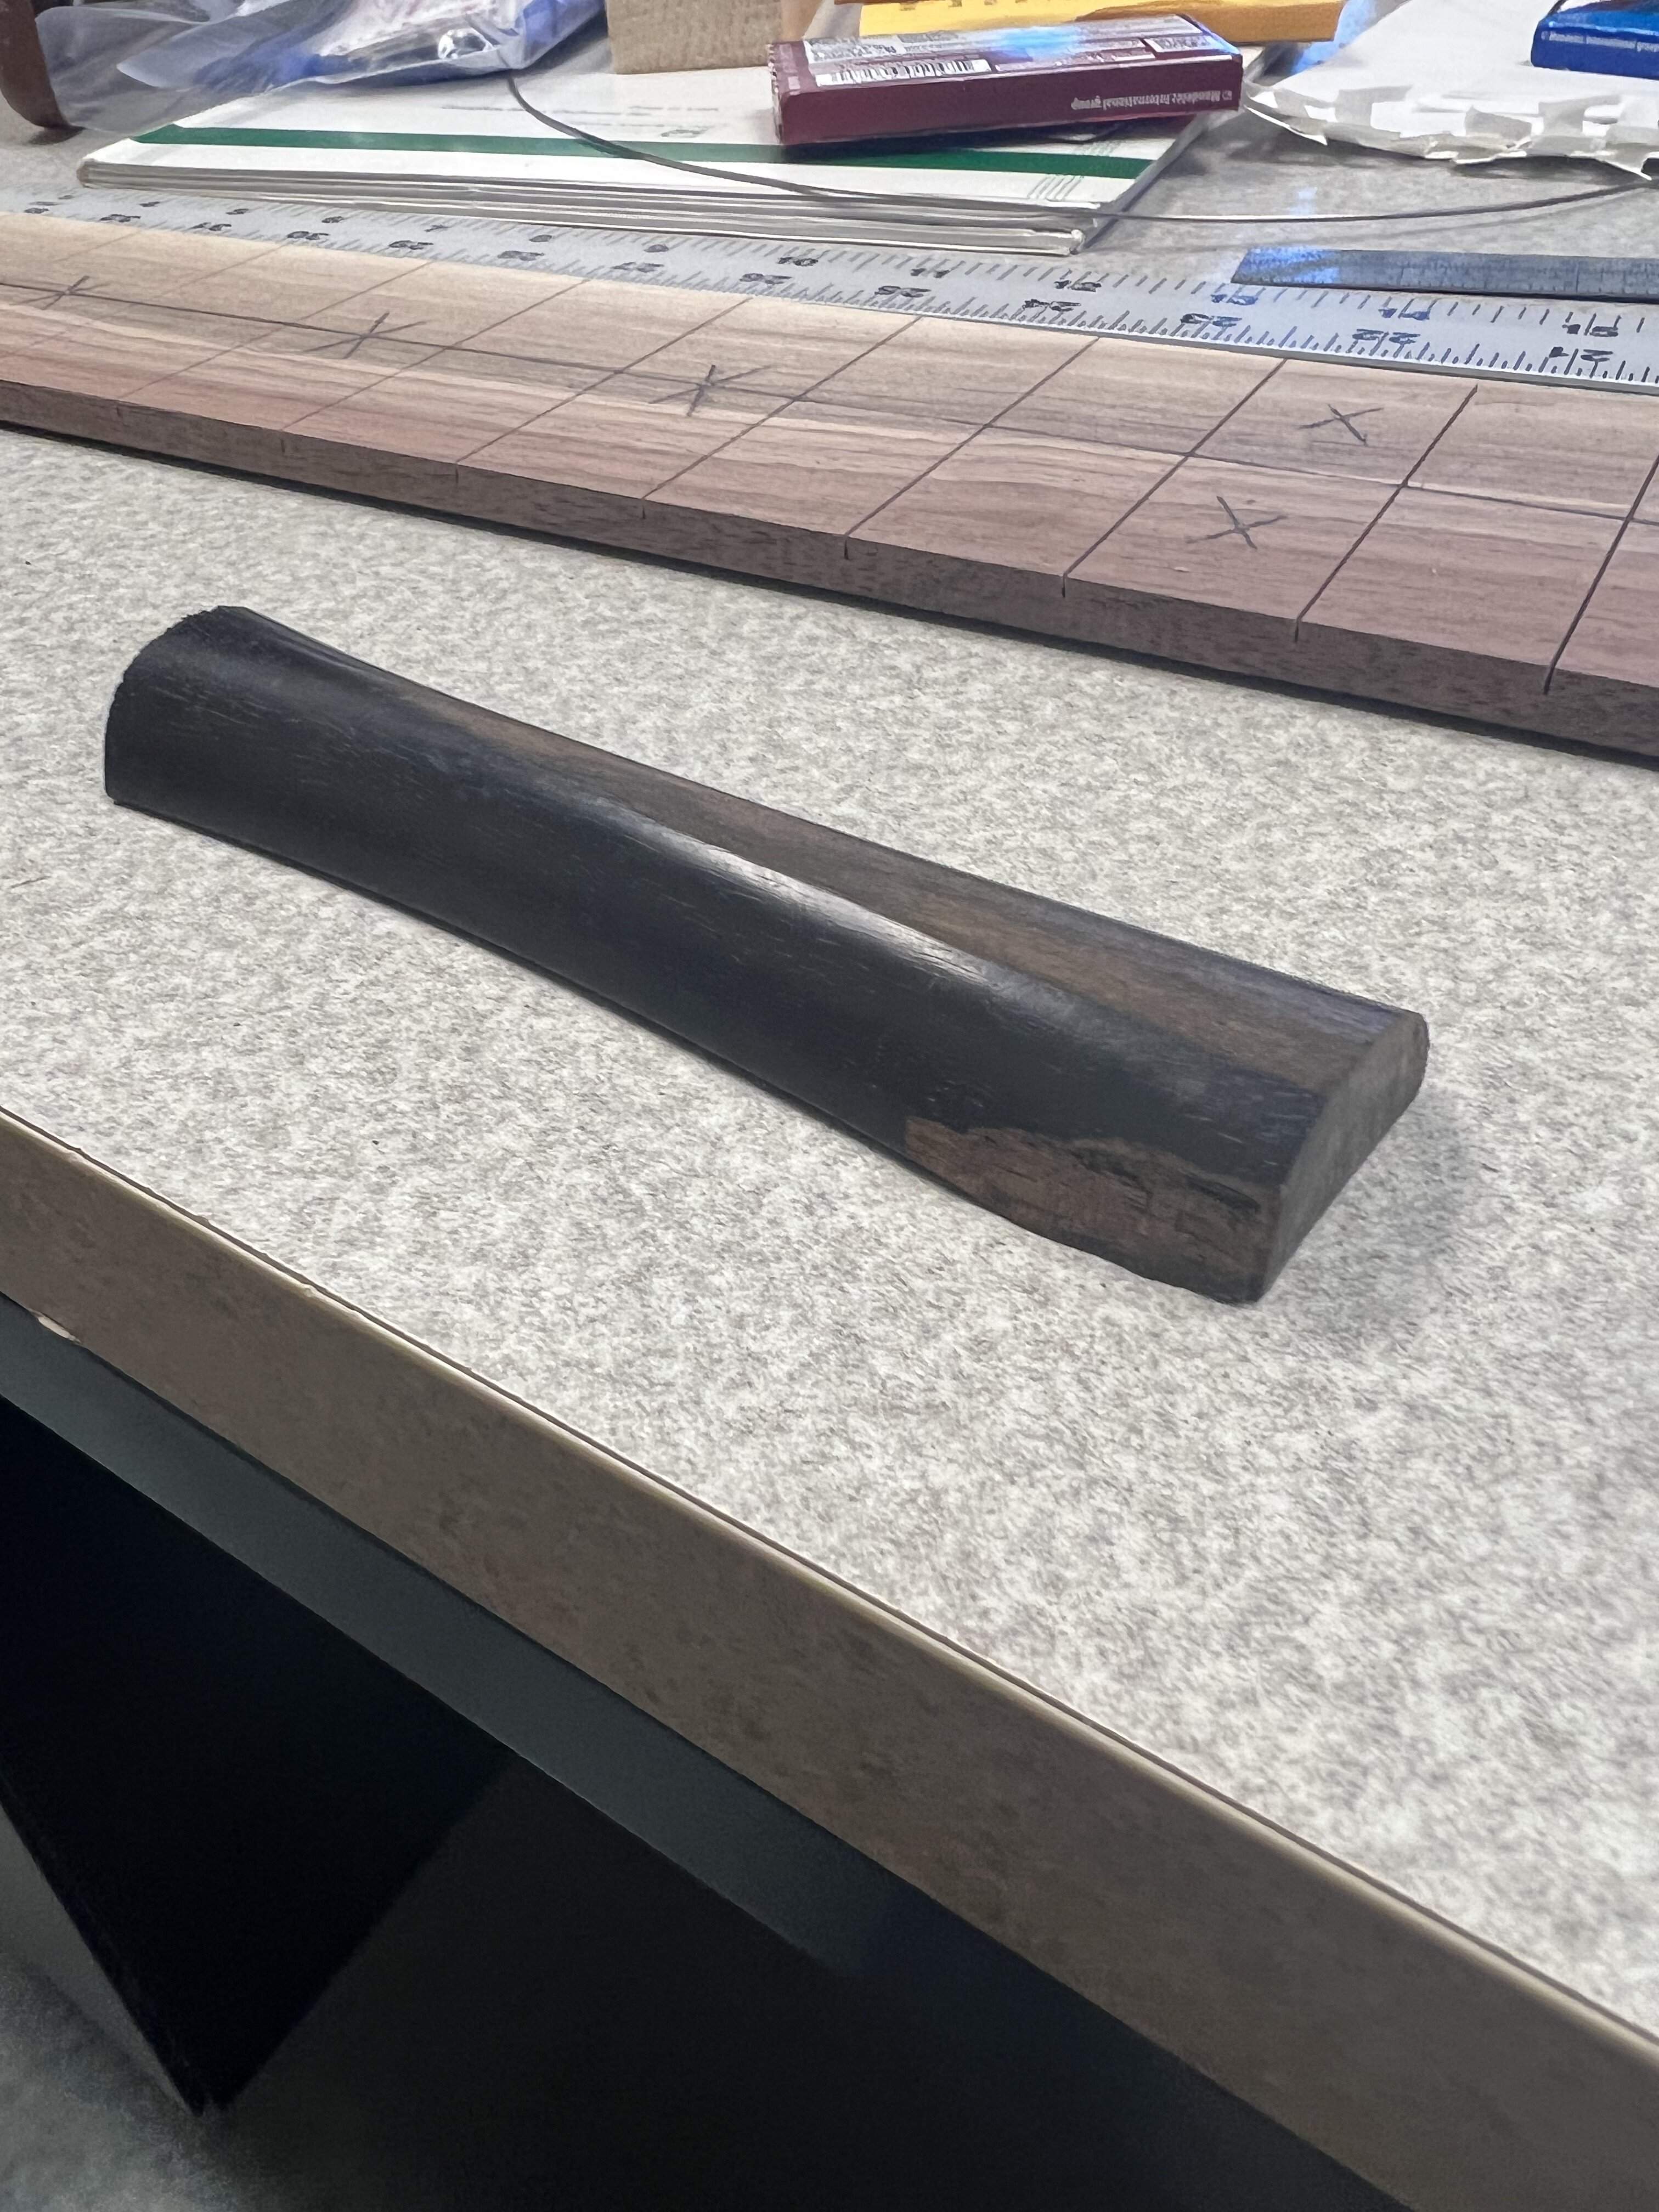
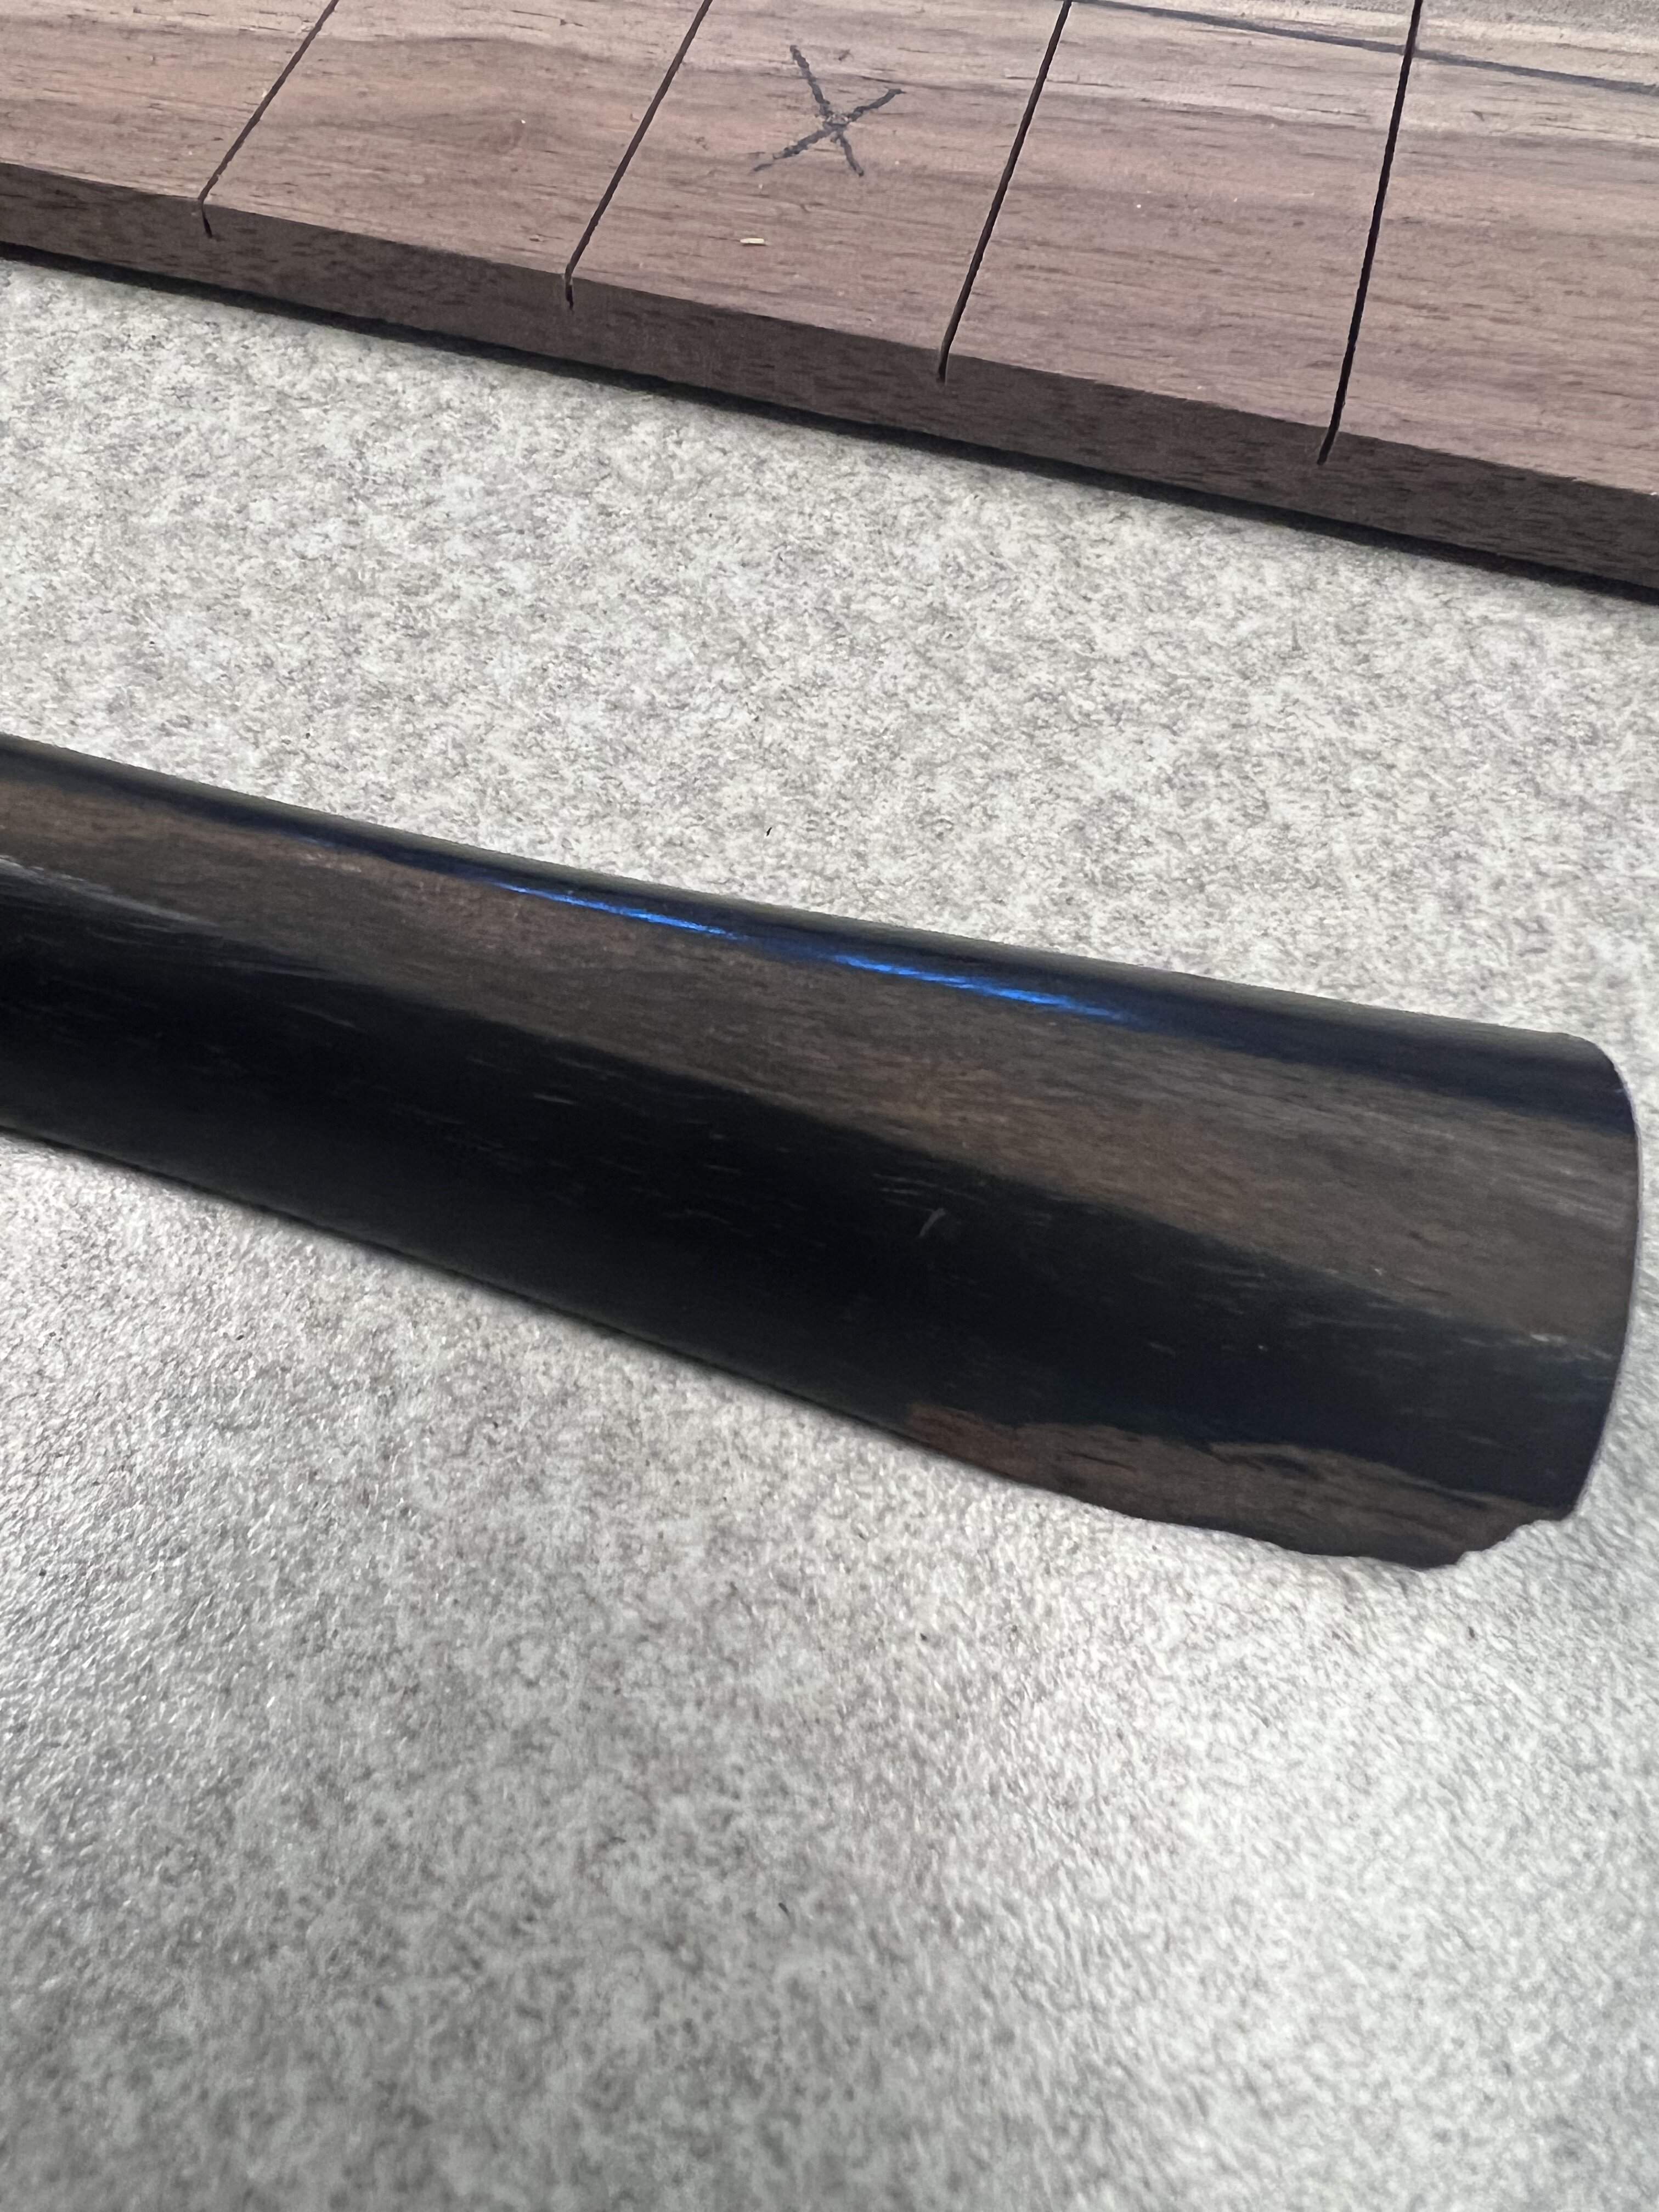
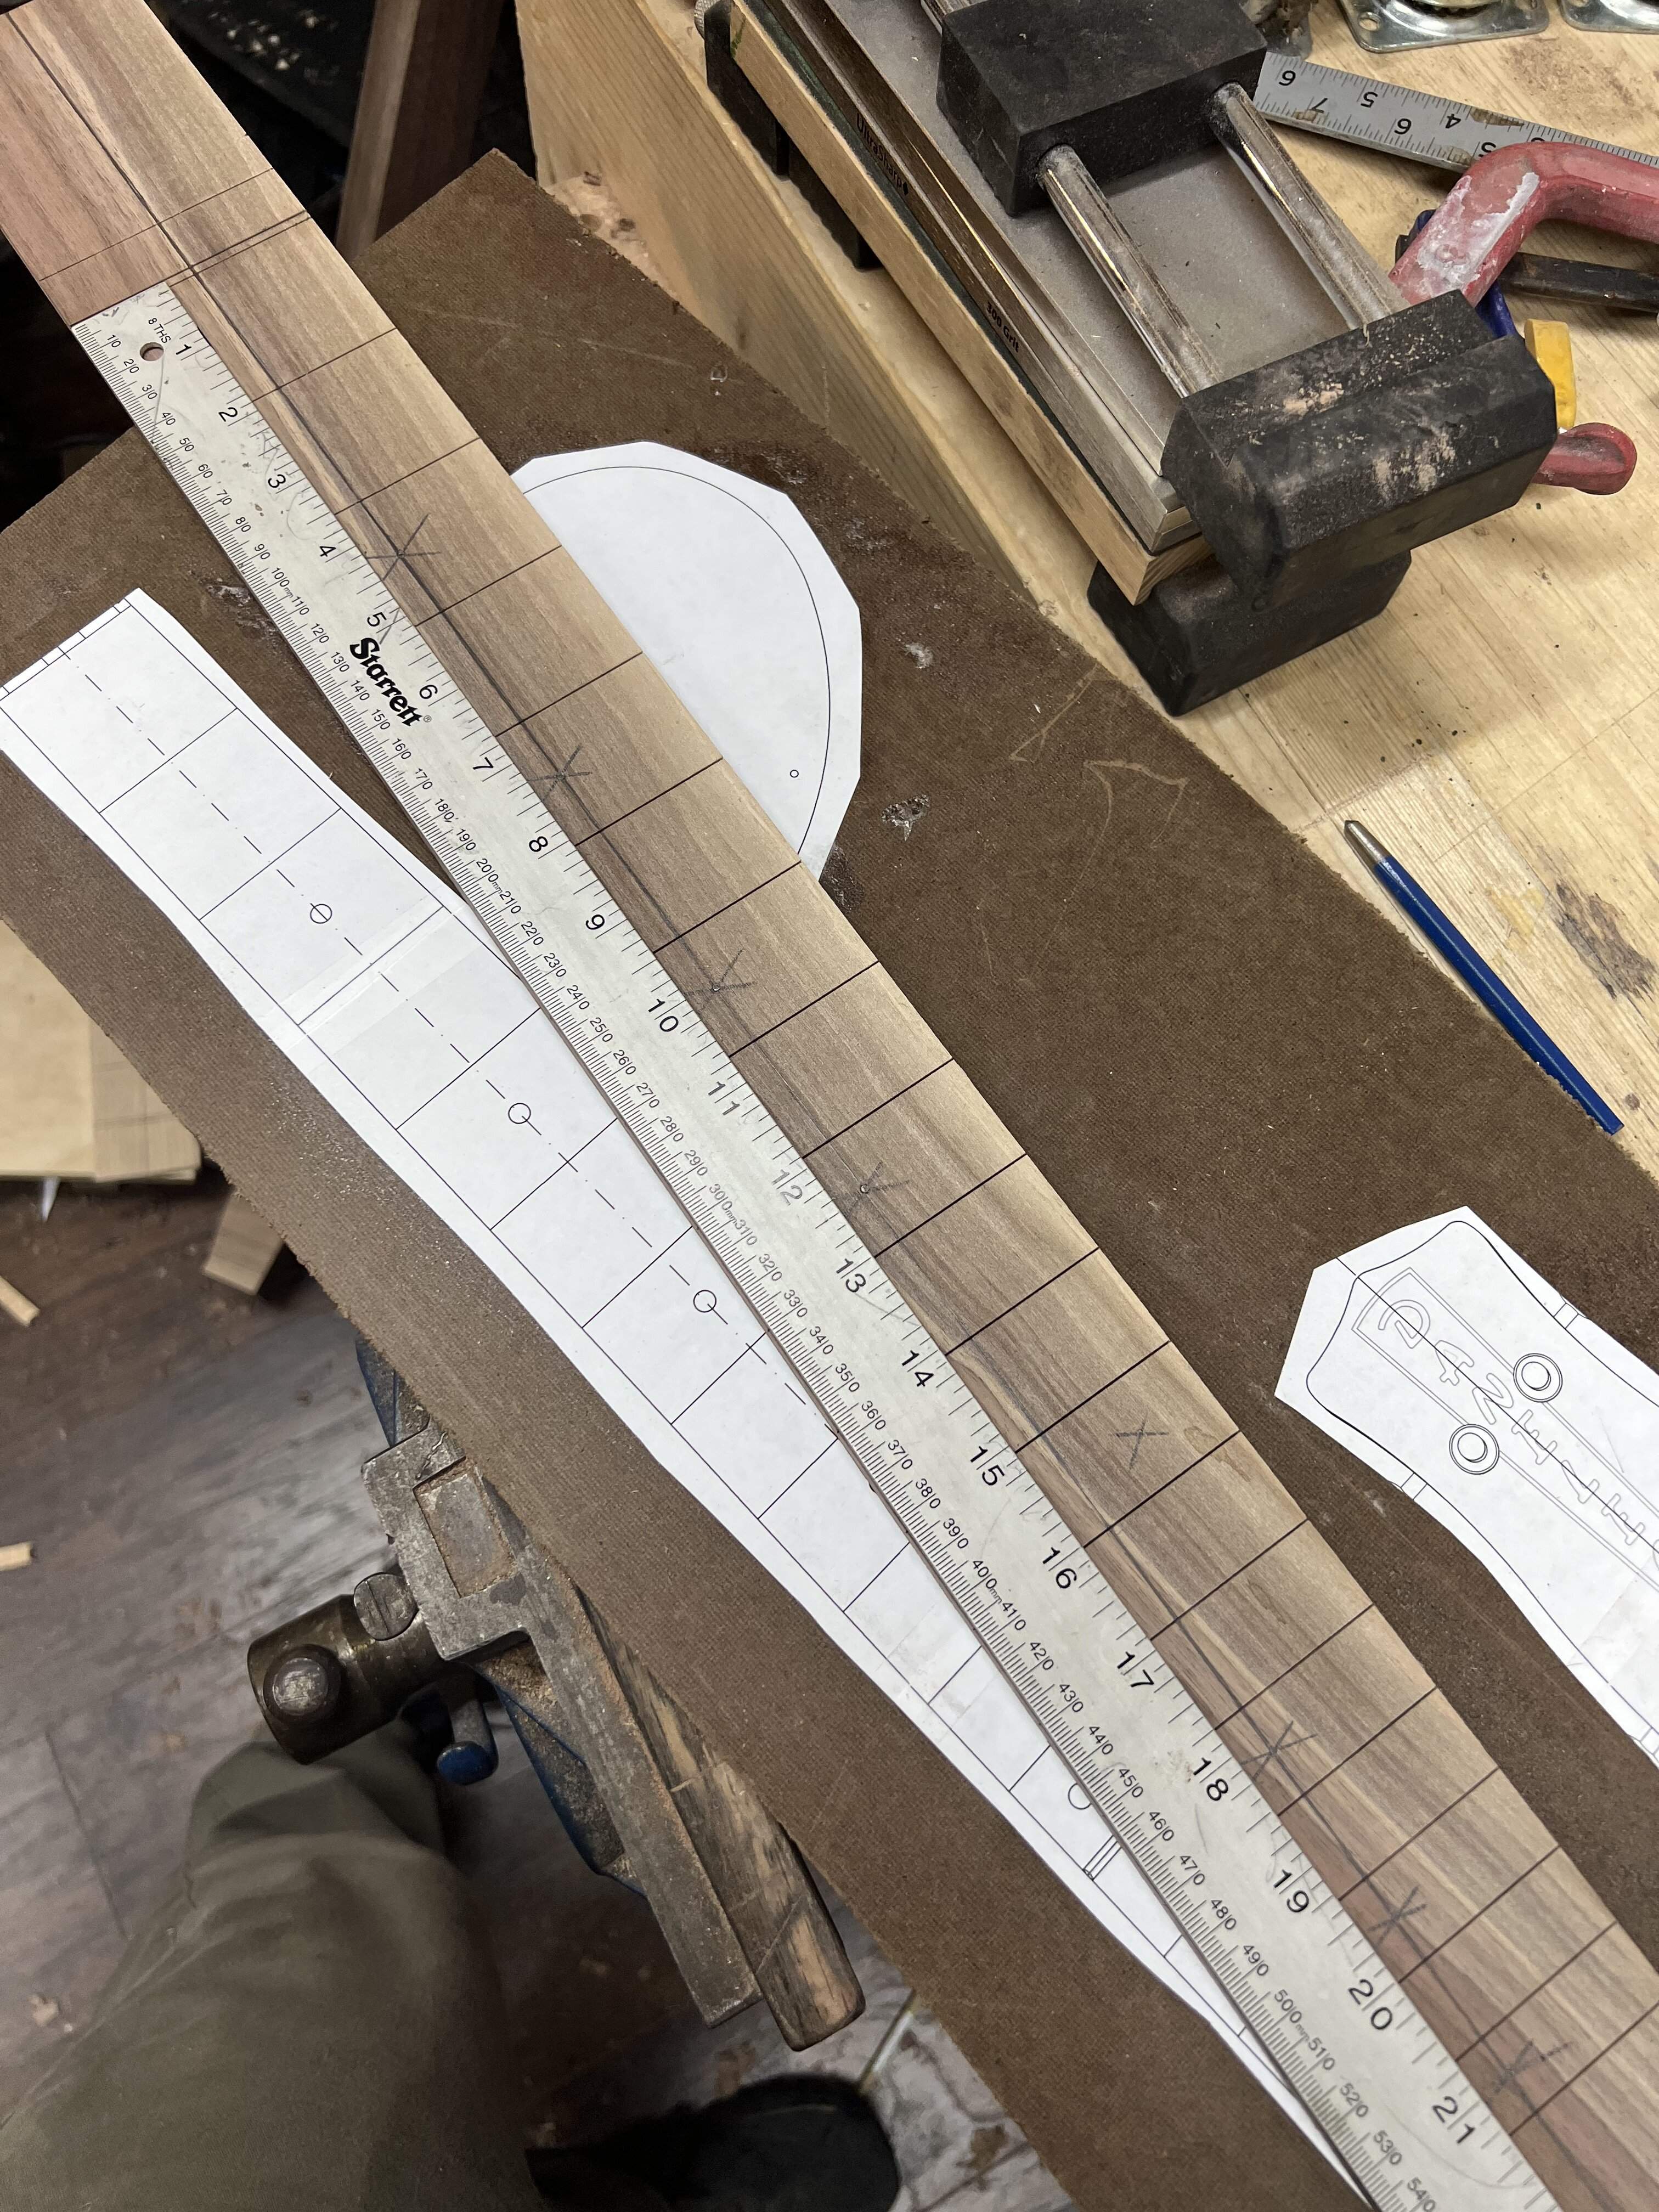
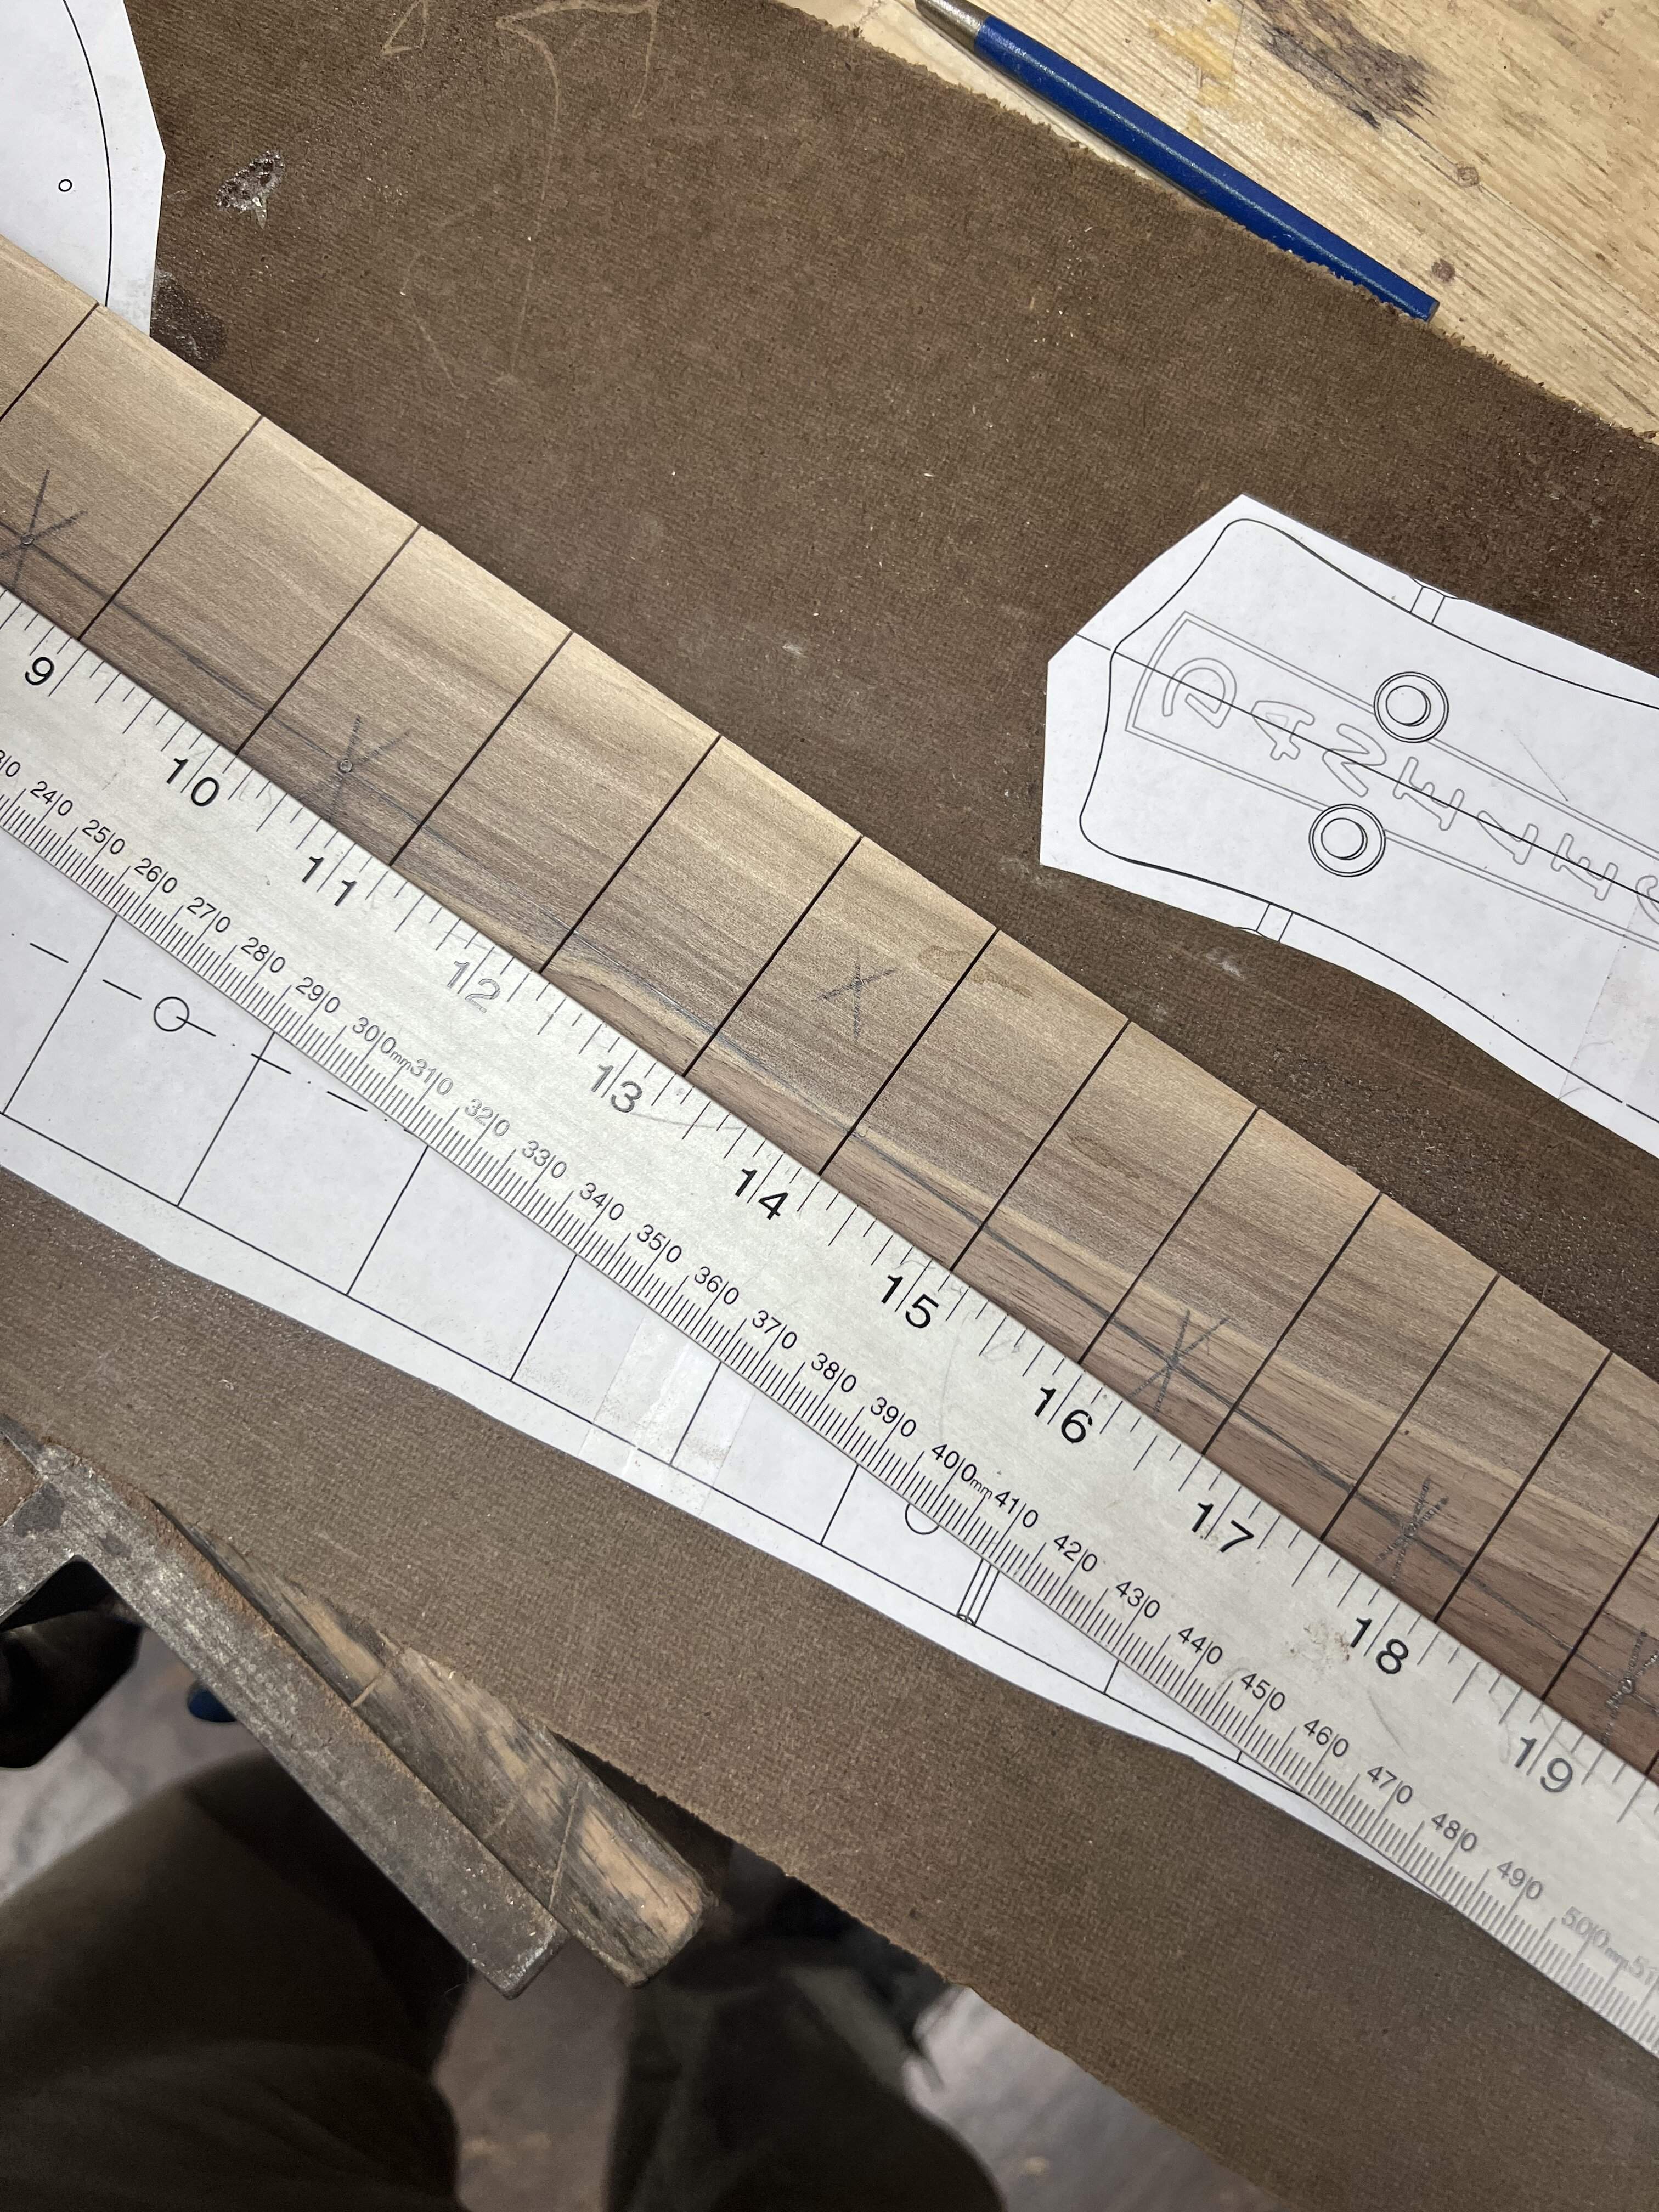
Well, today at school my student and I worked a bit during lunch on his guitar, and I took a minute to cut fret slots in the mustang fingerboard. I also marked out dots and grabbed an old cello tailpiece from my stash. Sometimes I pick up a lot of really old cello and violin parts. They usually go very cheap and I can find usable parts to repair school violins and cellos. This one was very old, and it appears to be rosewood or ebony under the dye. Should do nicely for the bridge piece.



Enjoy the benefits of a premium membership!
Upgrade Account
-
TalkBass has been independent since 1998. Add your voice.
Create a free account to reply to discussions, view embedded media, and browse with fewer display ads.
Join free Log in
Want zero display ads or expanded classifieds tools? Compare plans.
You are using an out of date browser. It may not display this or other websites correctly.
You should upgrade or use an alternative browser.
You should upgrade or use an alternative browser.
A little project
- Thread starter Verner
- Start date
More options
Who Replied?
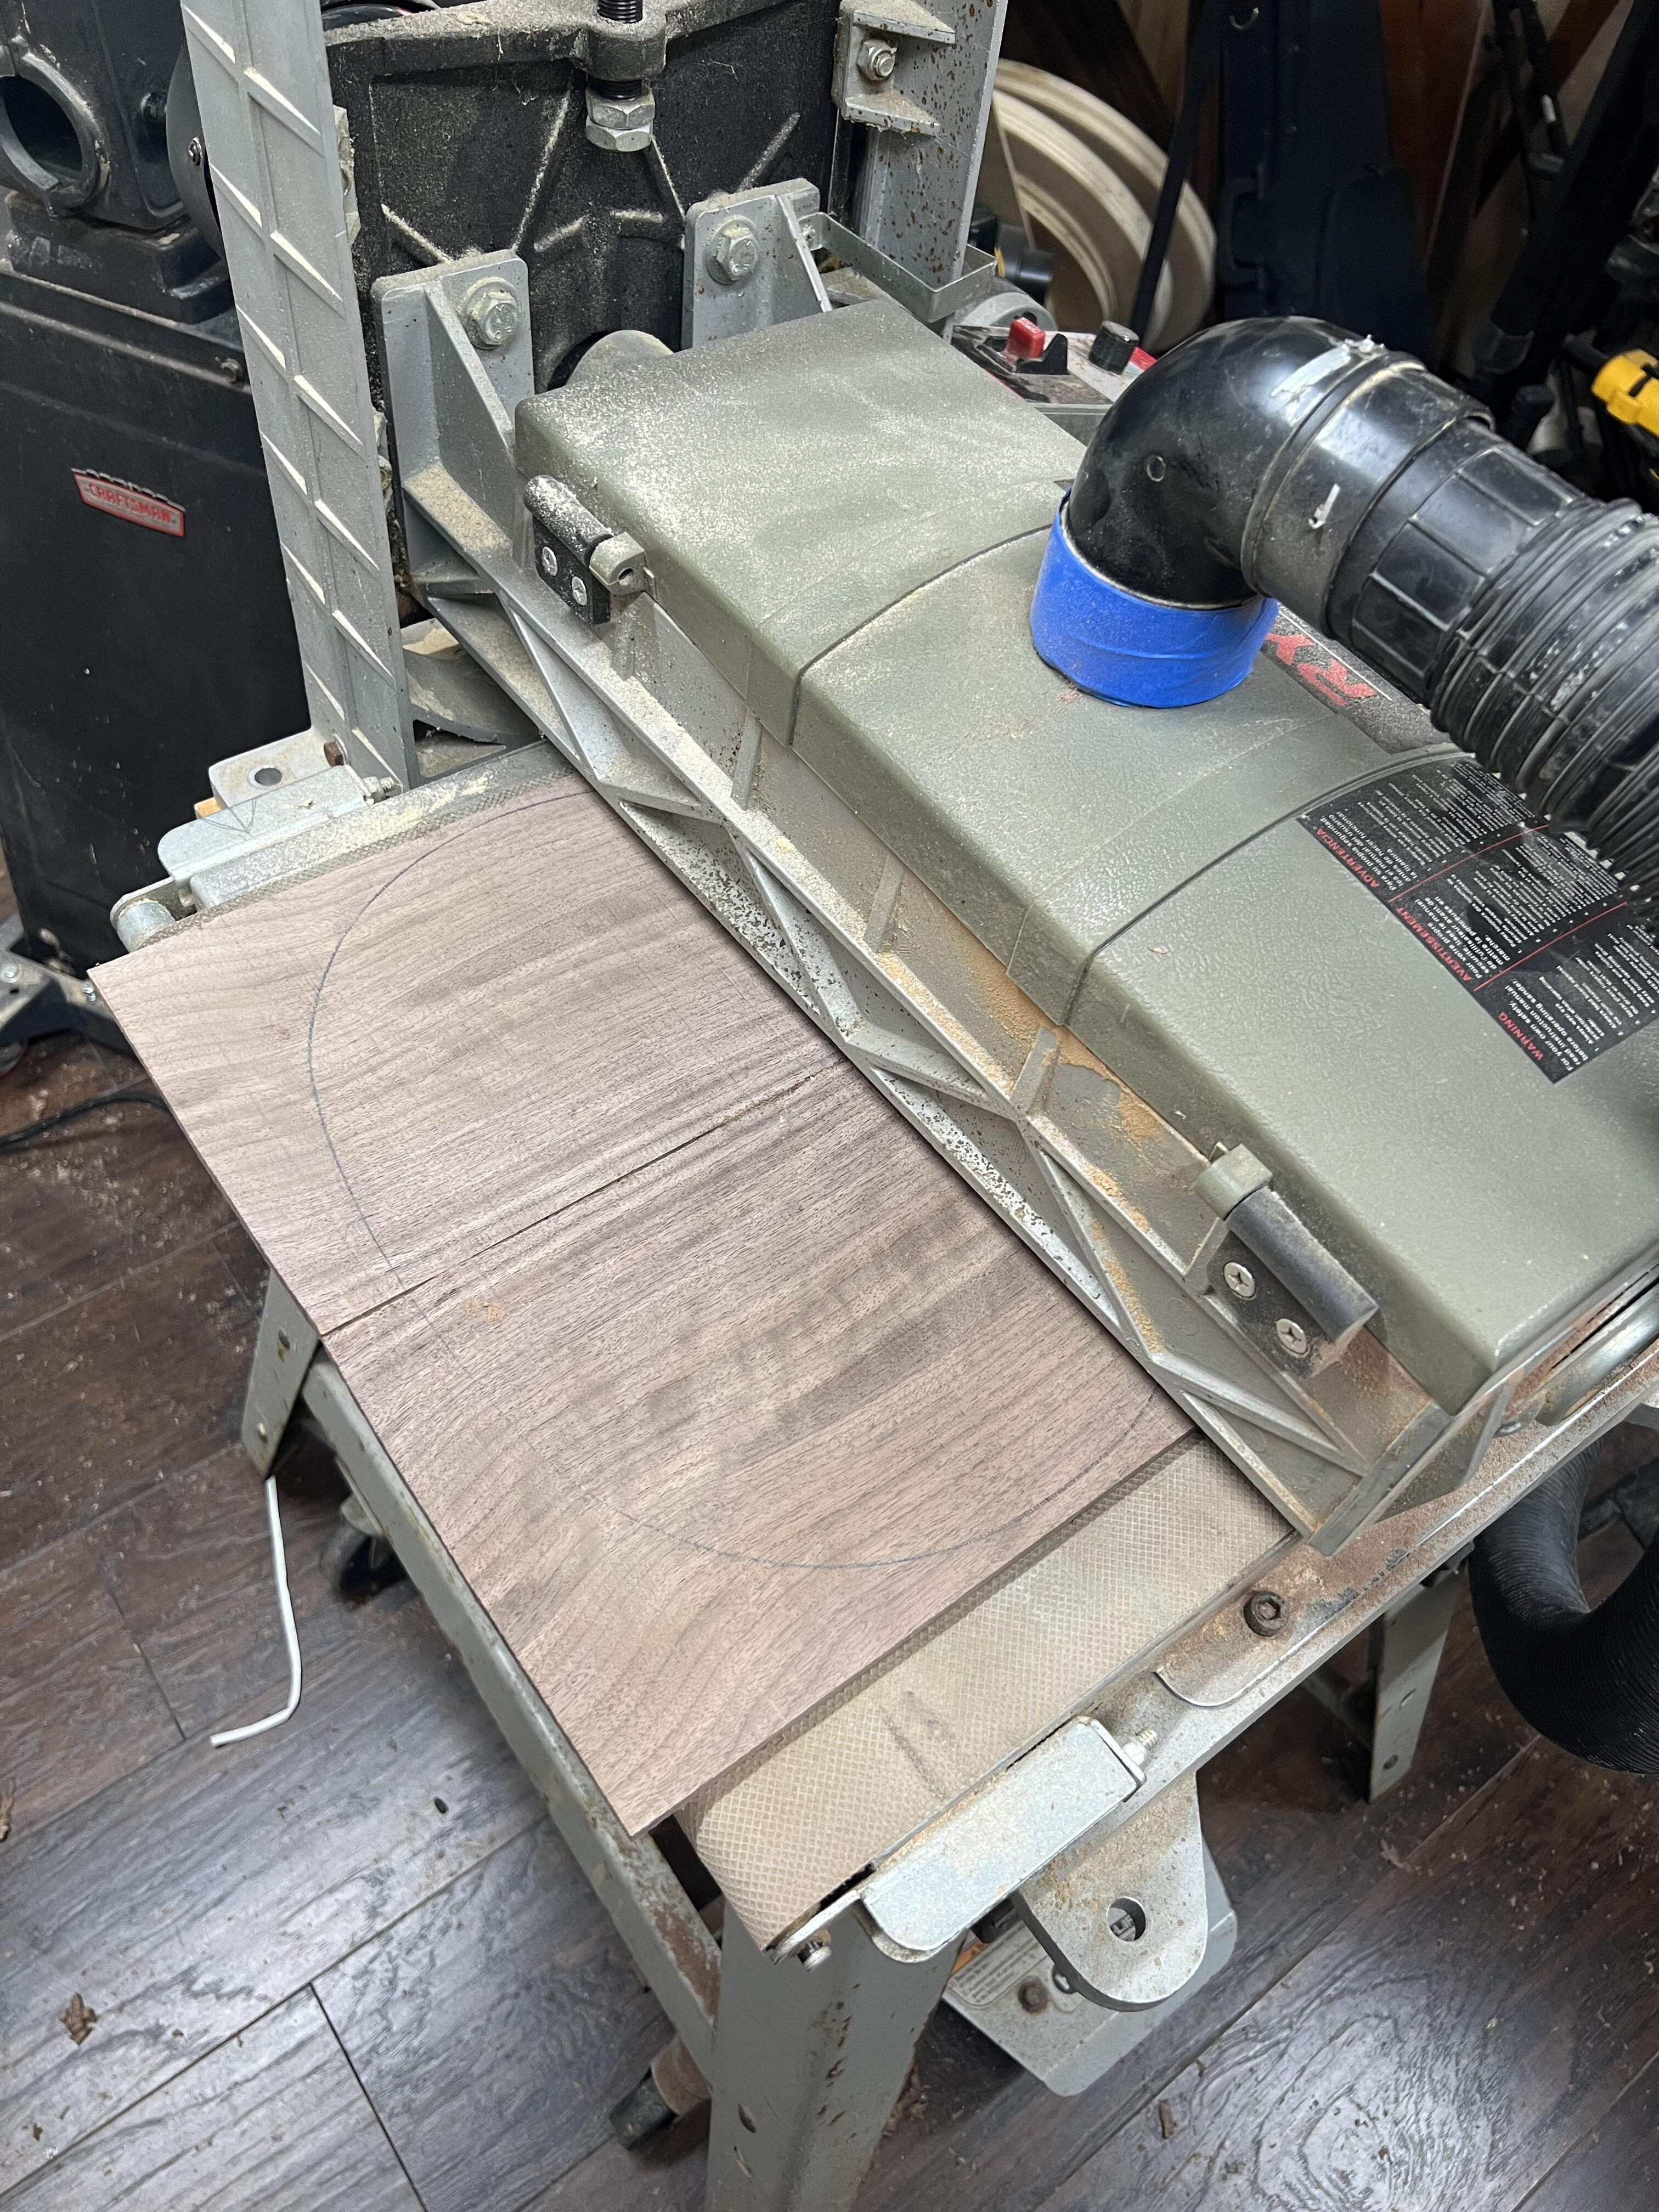
Got the top and back in the thickness sander. The old homemade sander I had before finding this worked great, but this sander is just a pleasure. I waited for years for a good deal to come up locally, paid $300 for this unit.
This is going to be a pretty Dano. There are a couple small imperfections, I can hide one in the neck pocket. The other will be on the back. That figure is going to really pop with some finish.
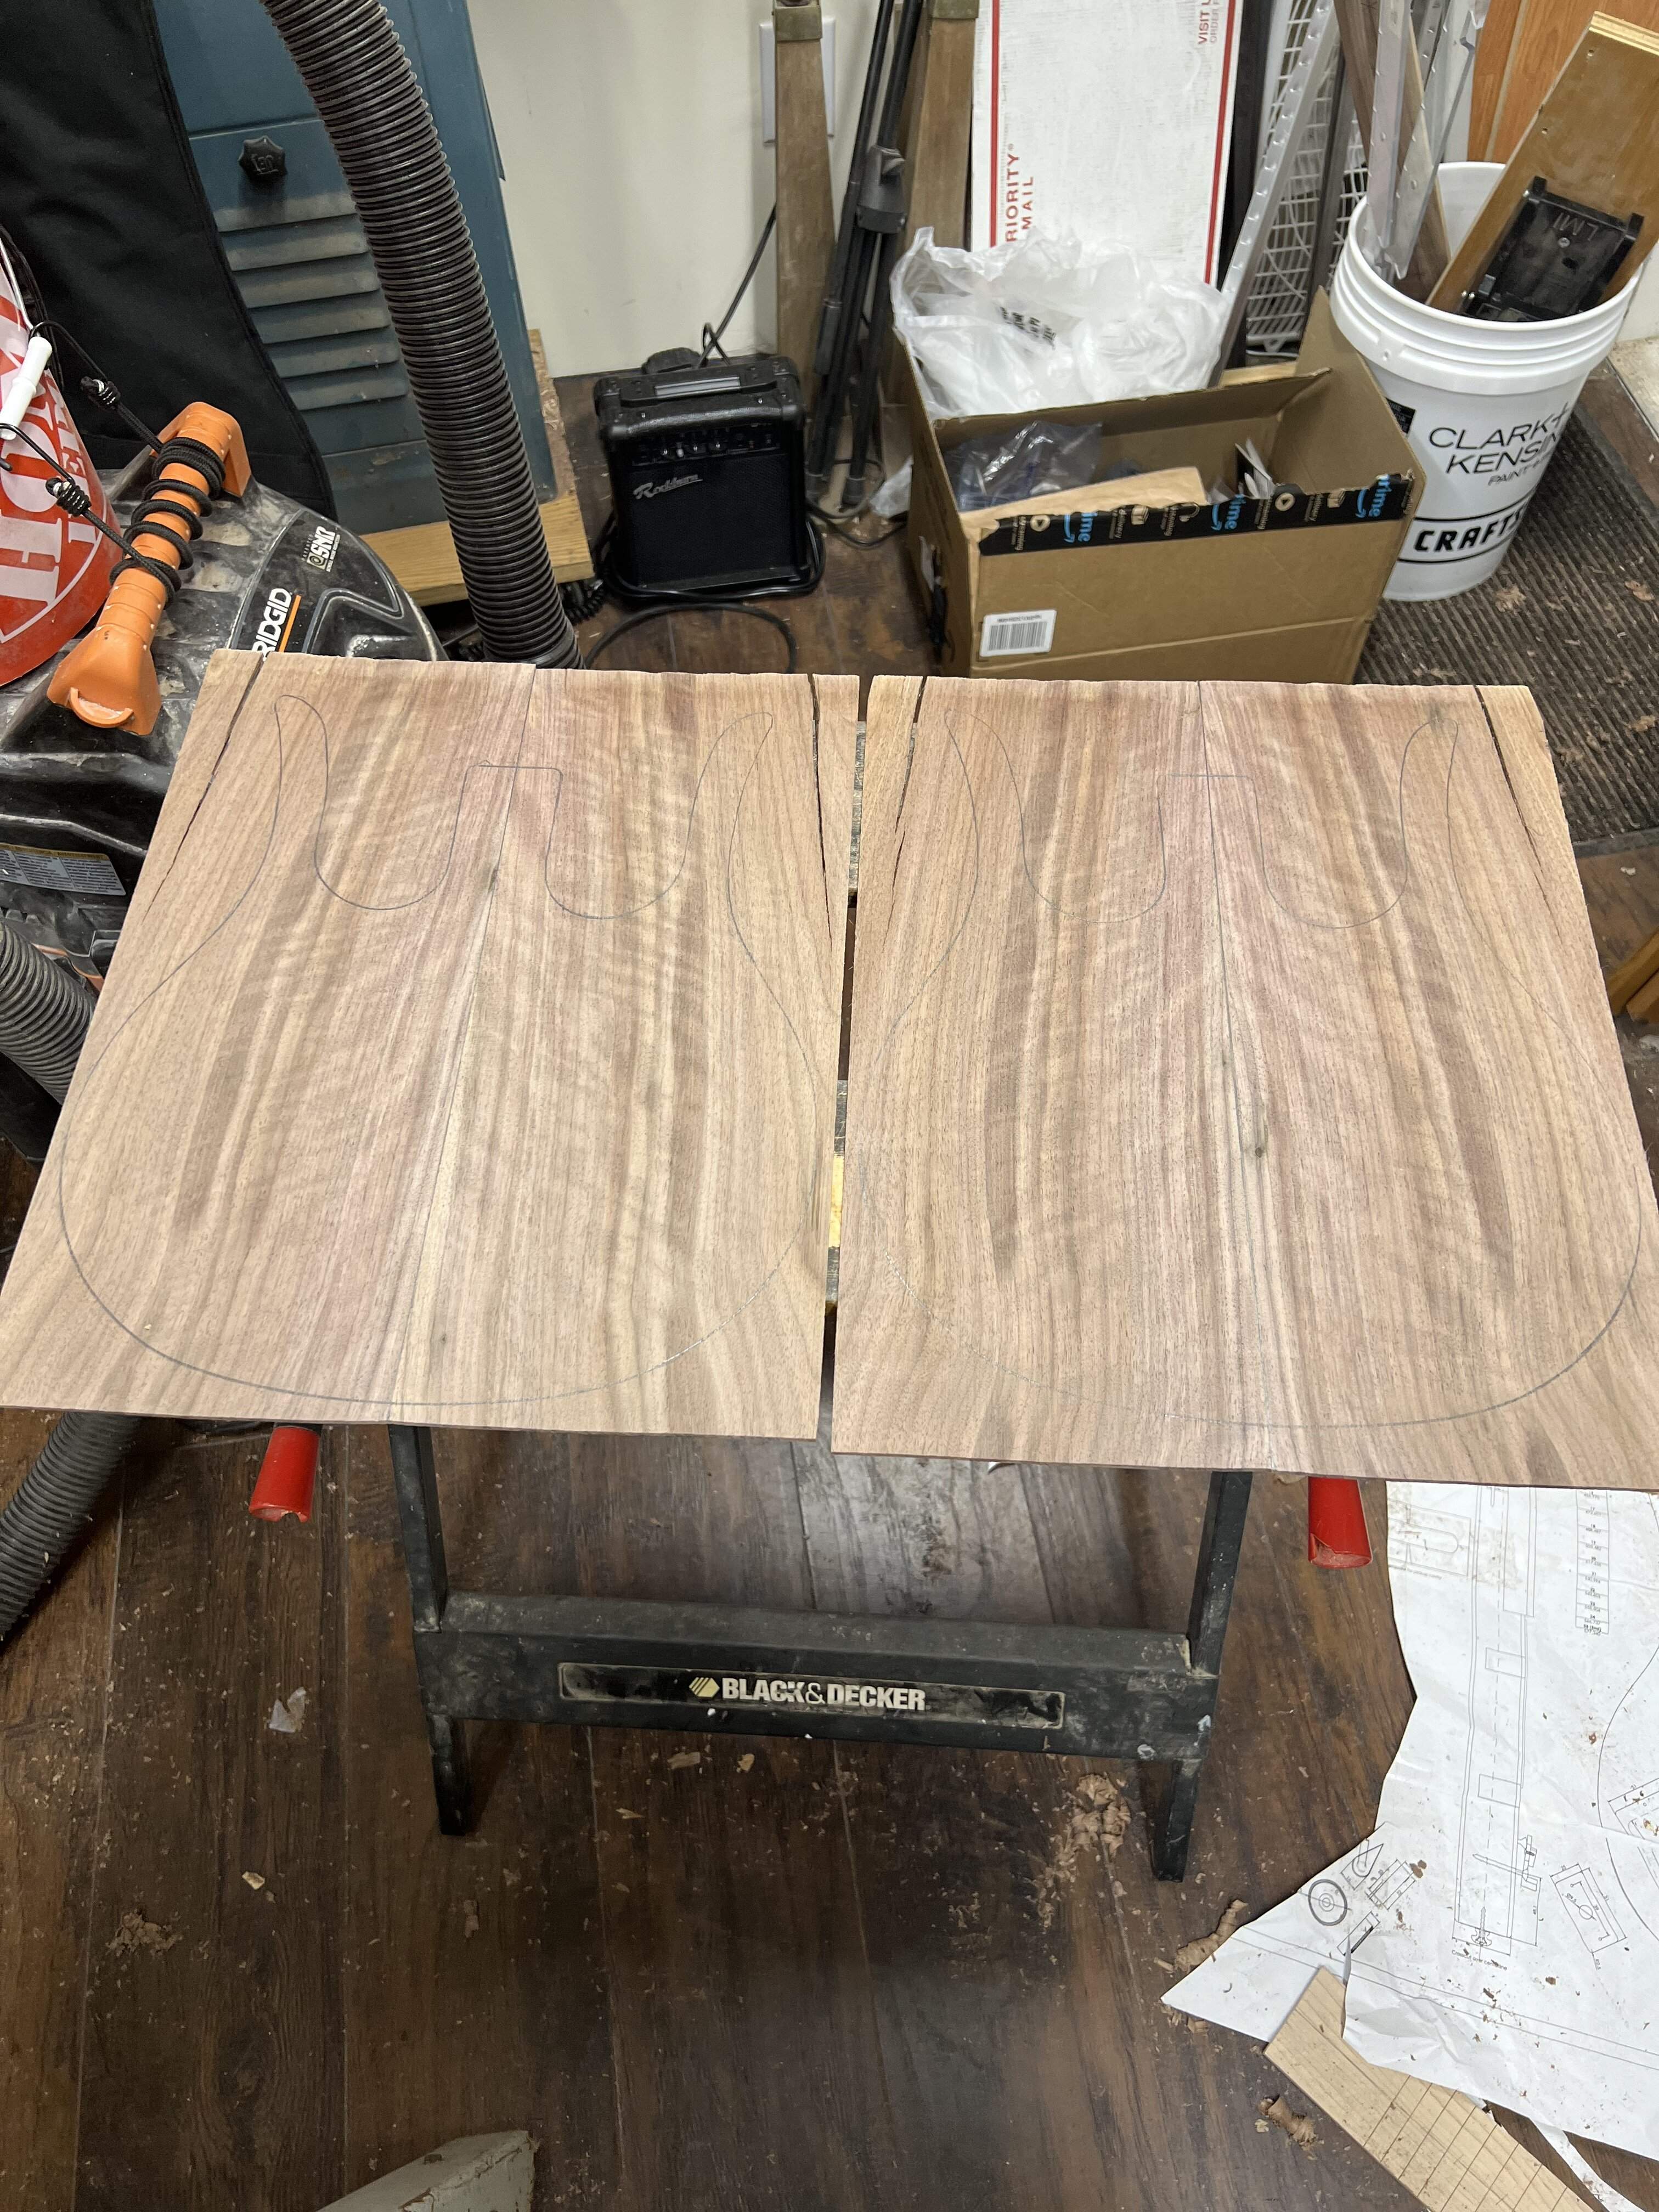
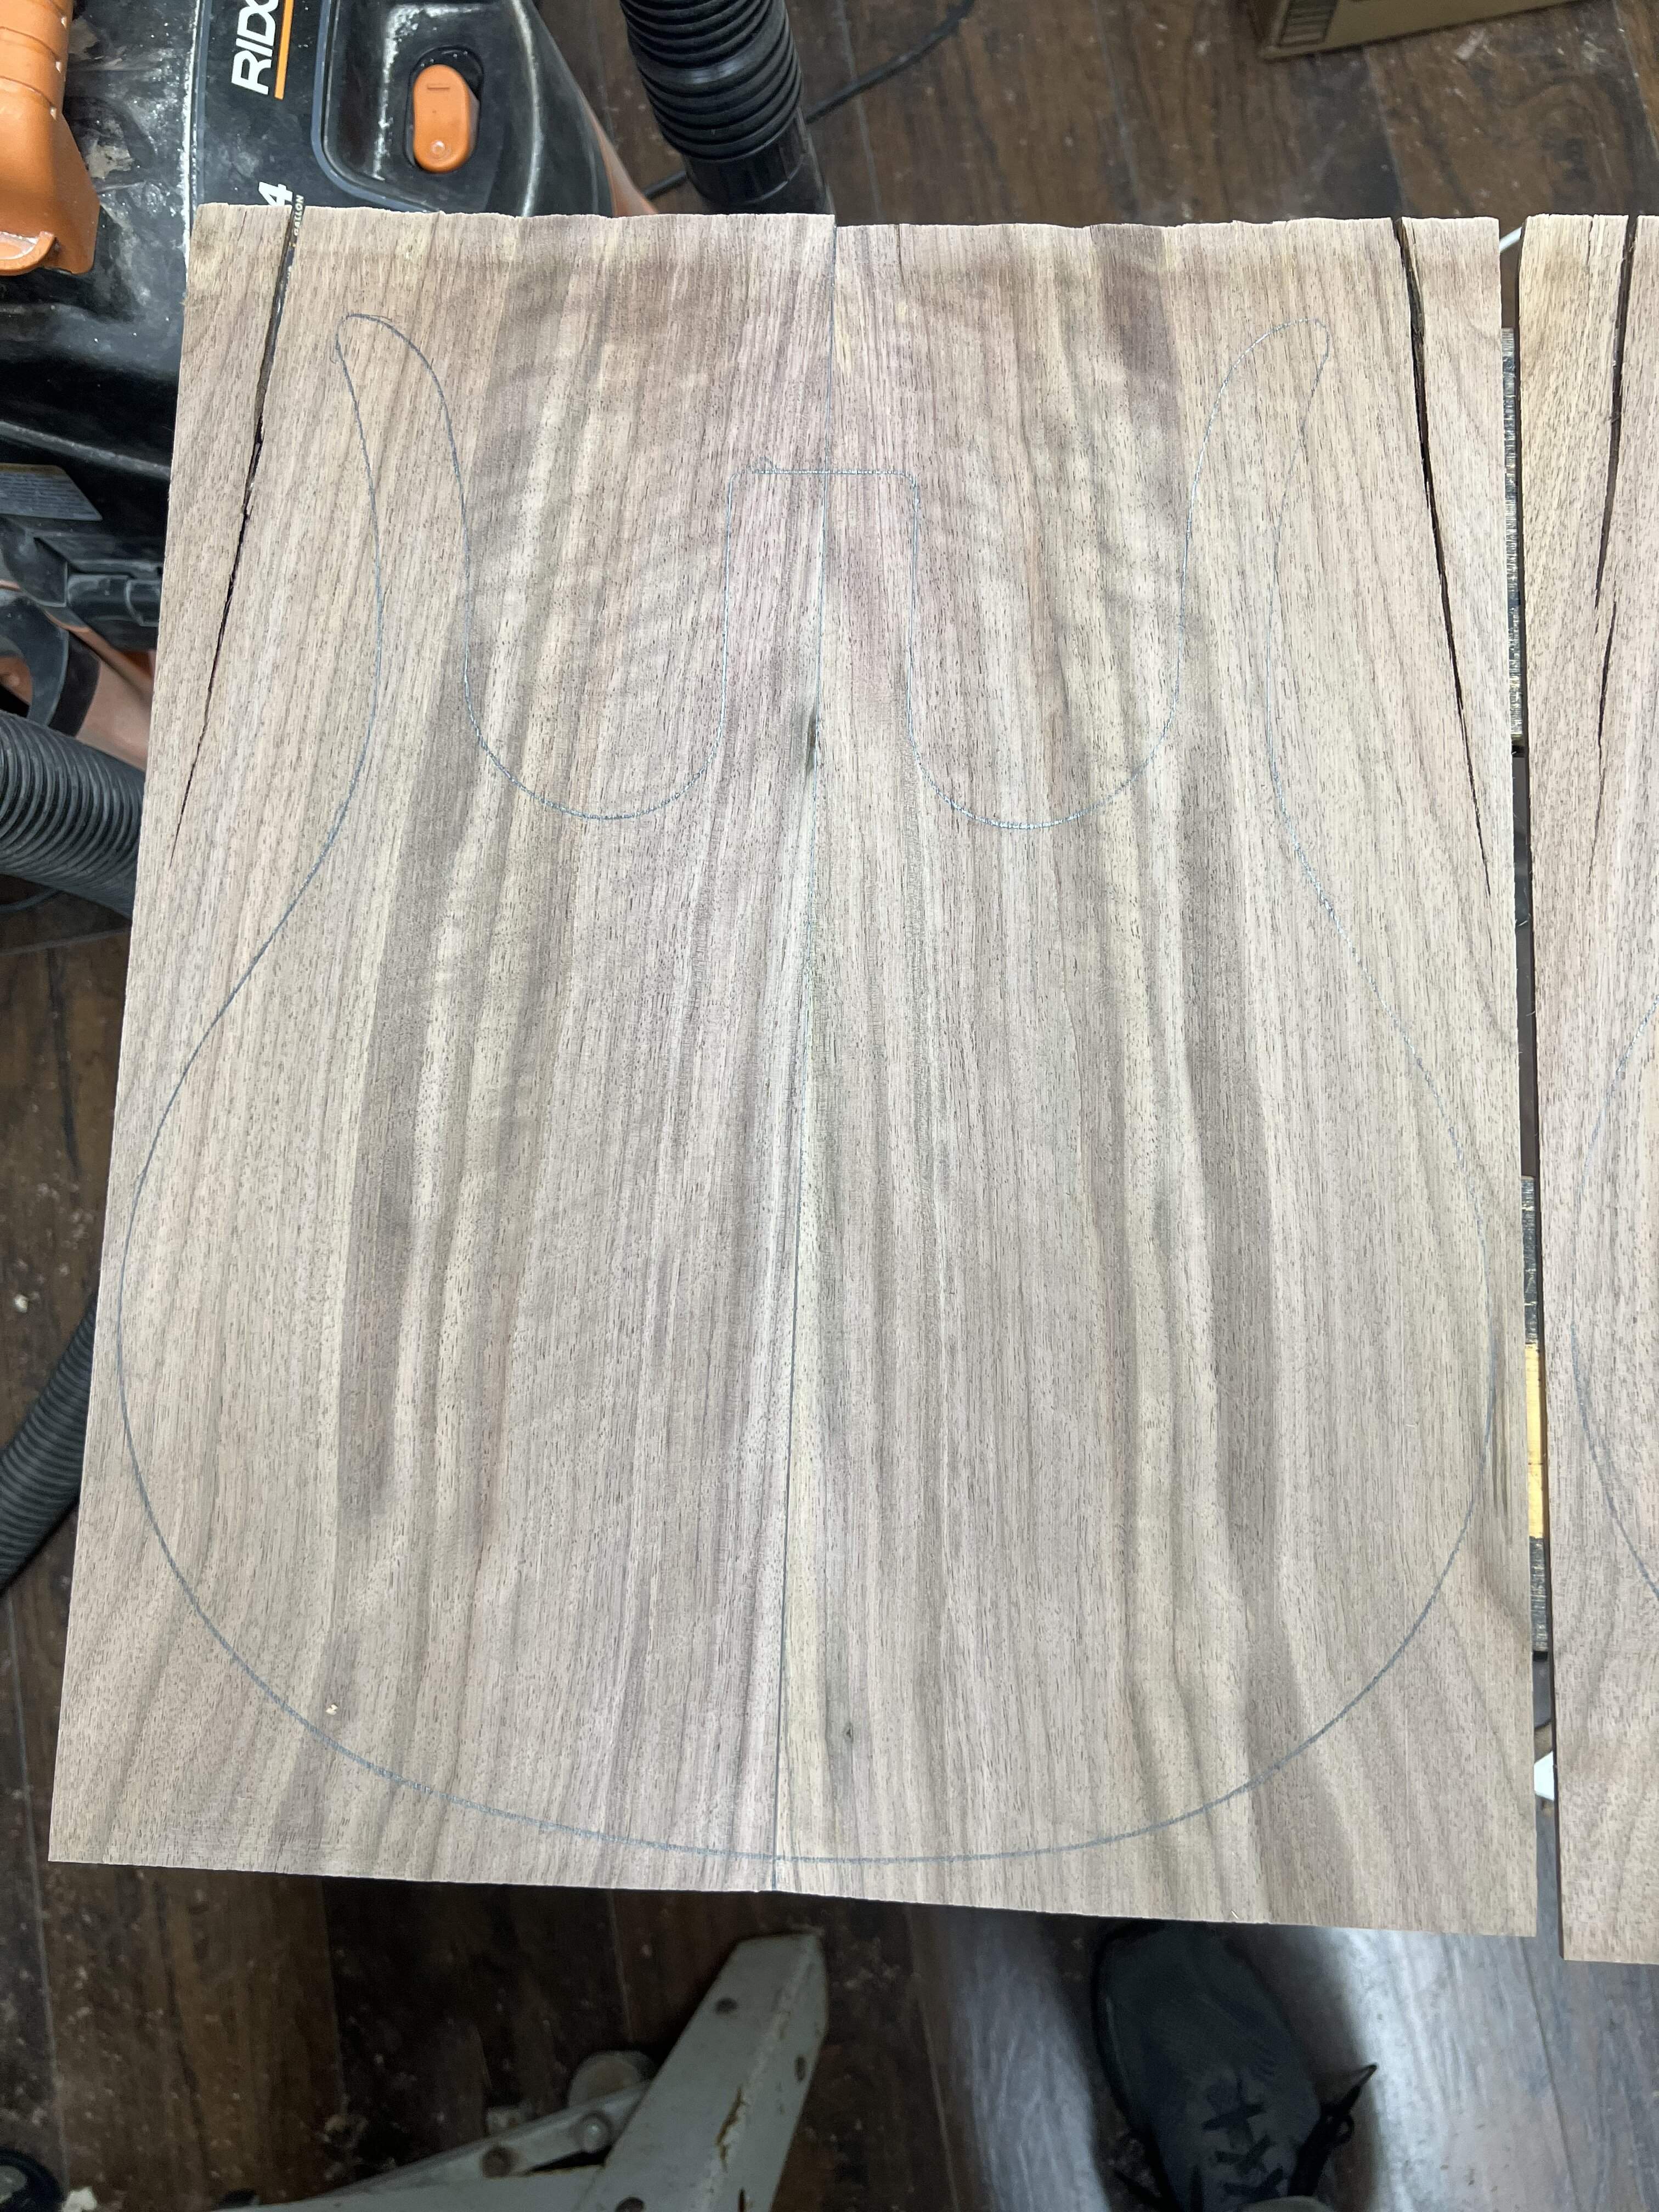
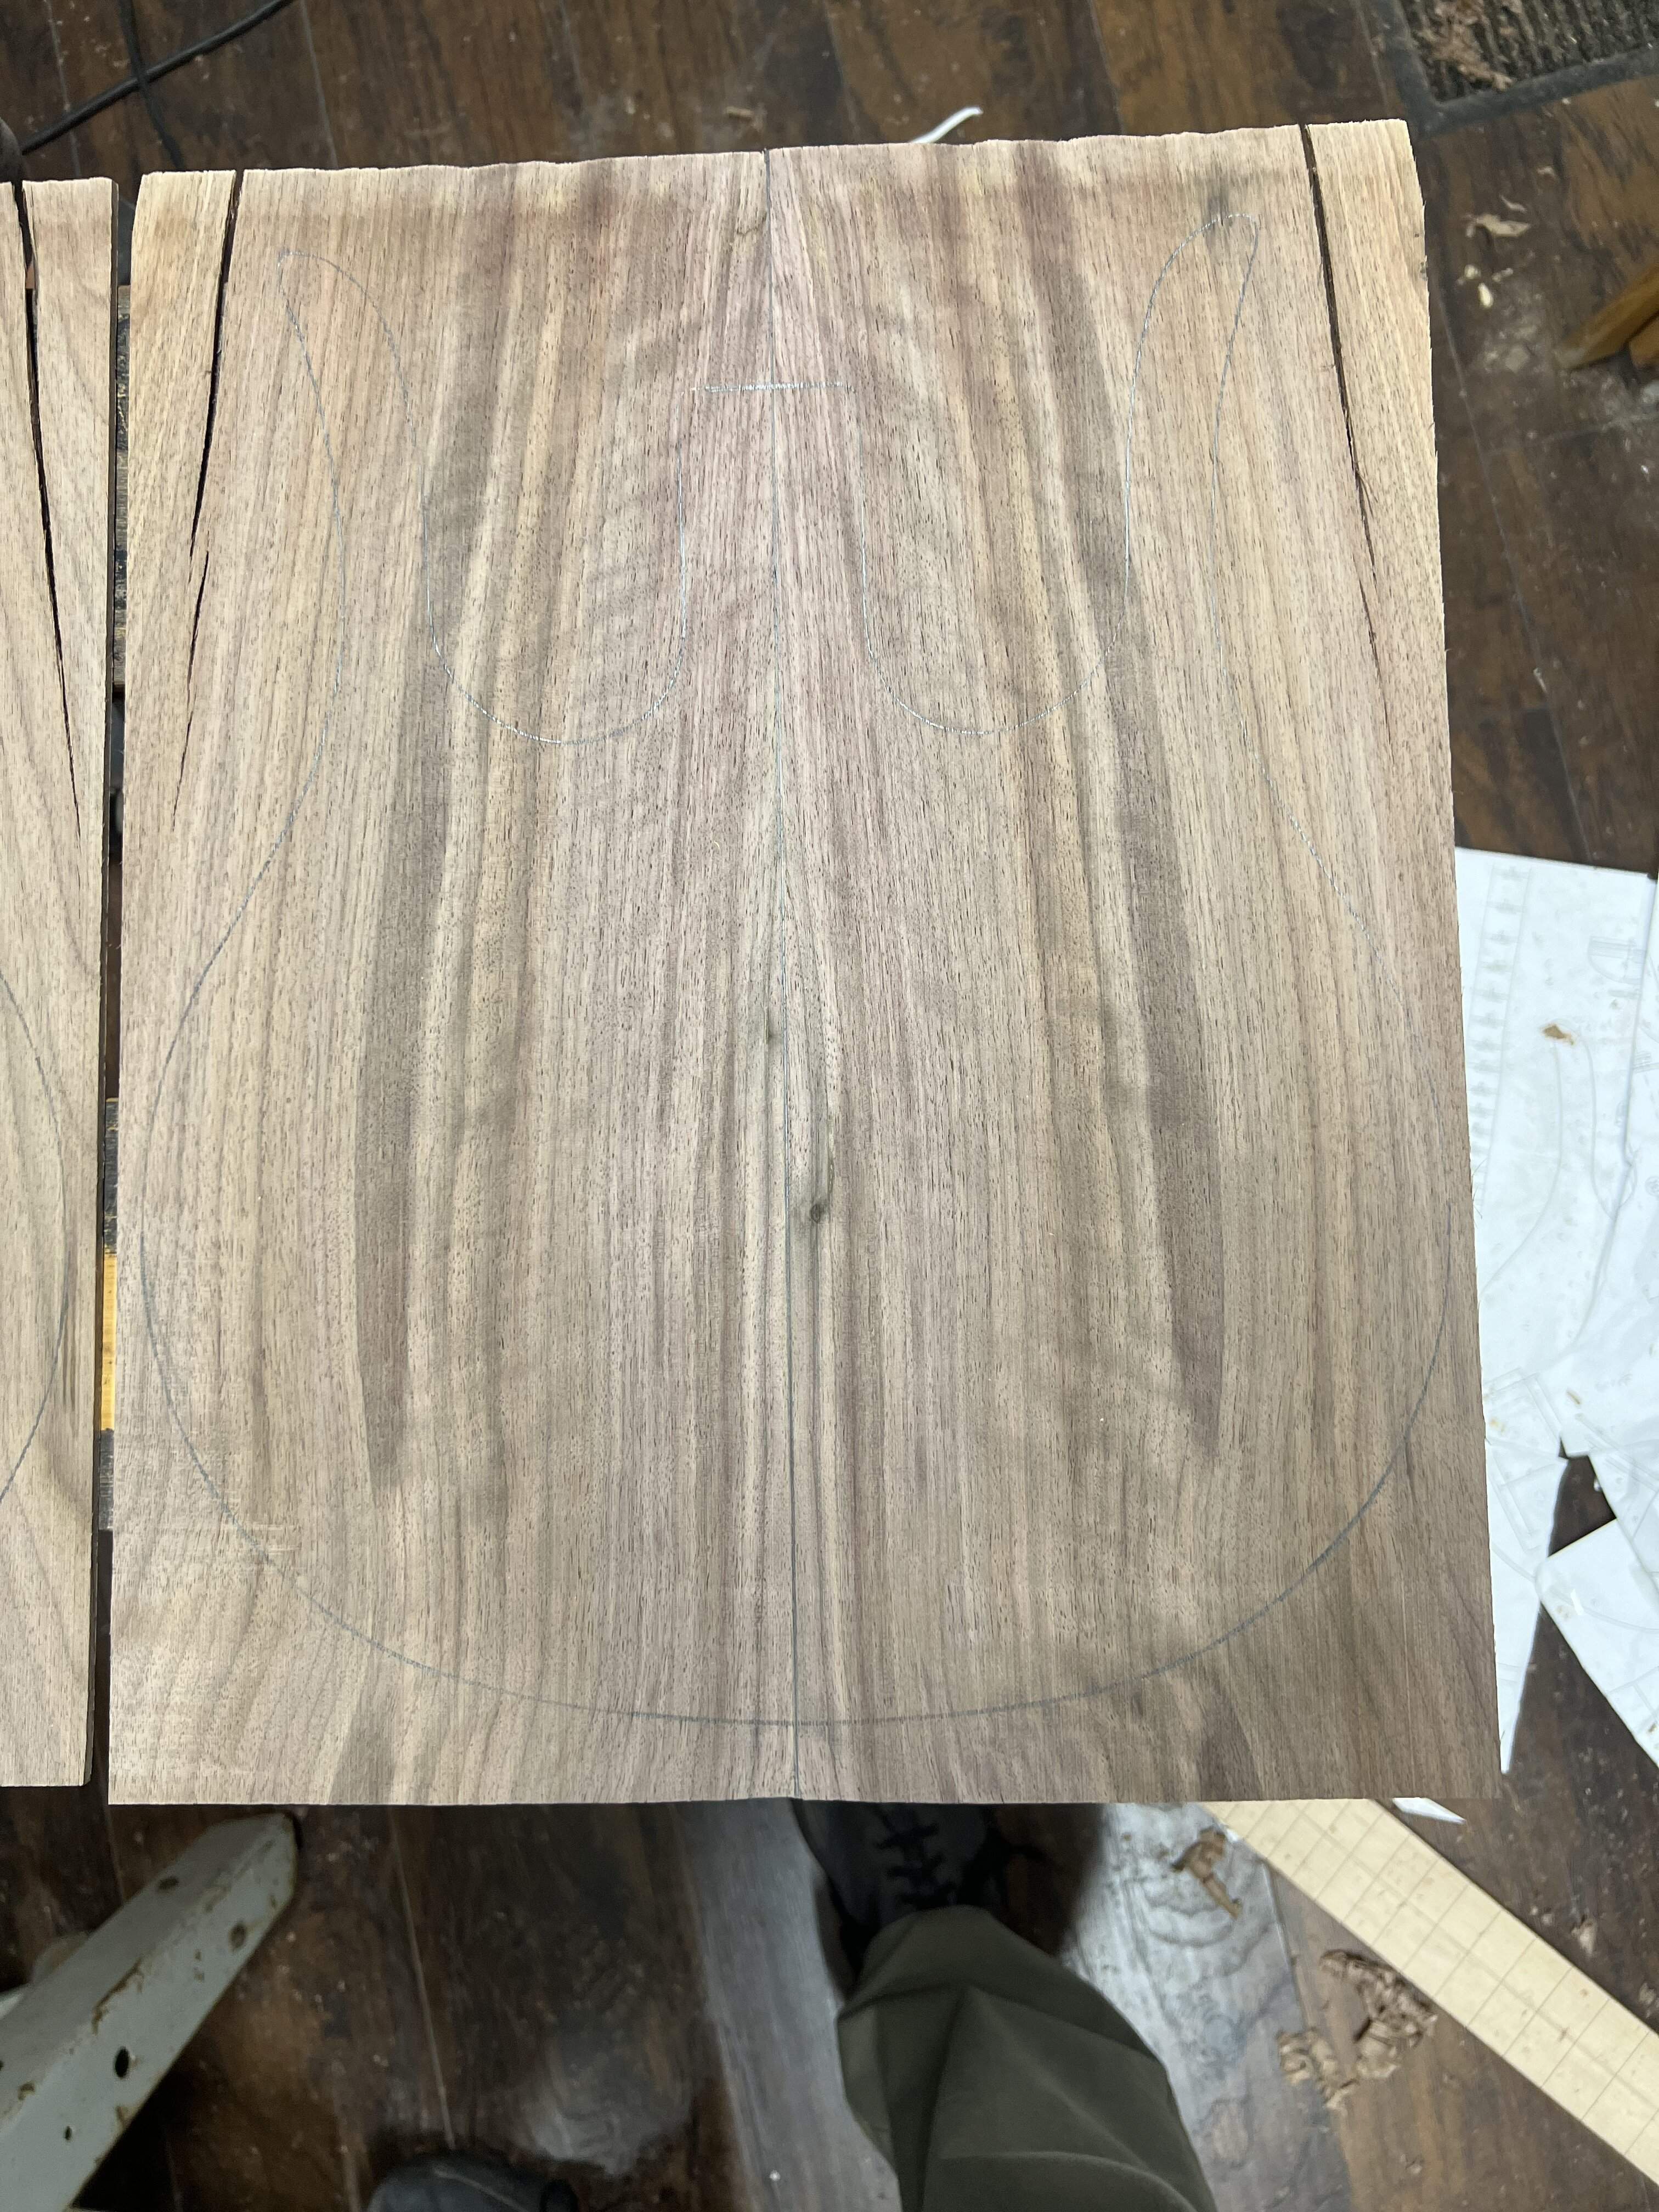
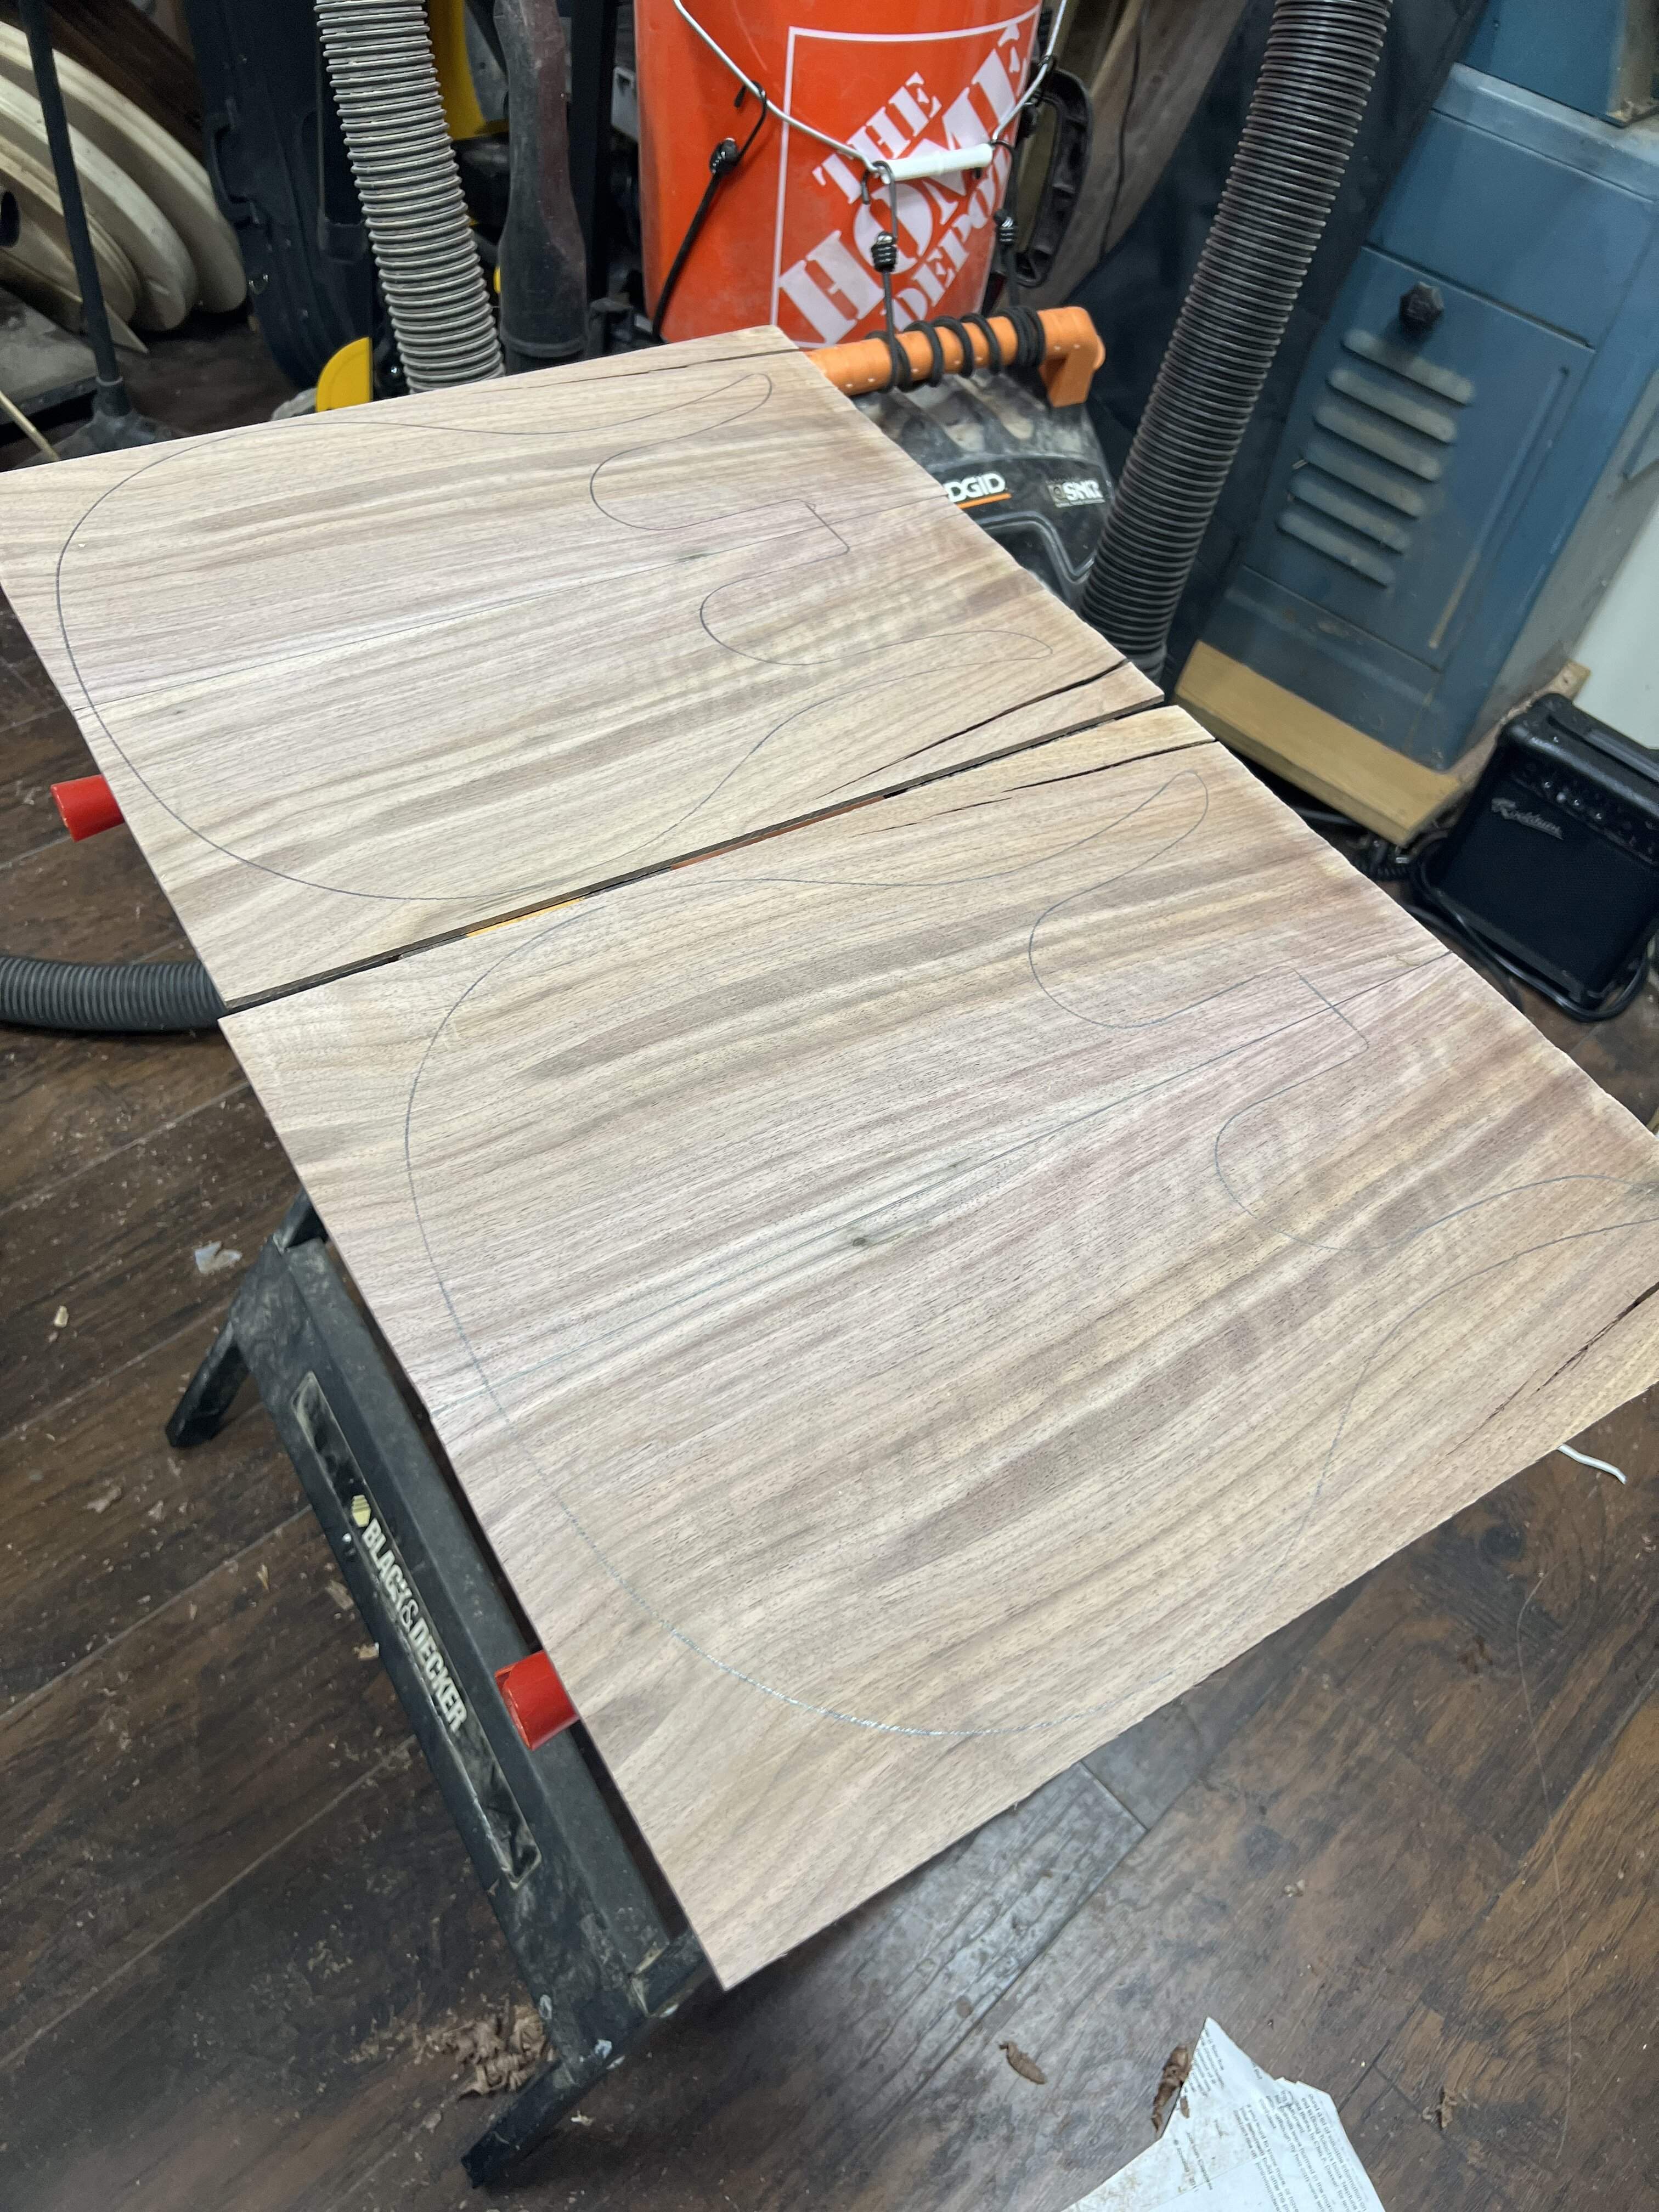
This is going to be a pretty Dano. There are a couple small imperfections, I can hide one in the neck pocket. The other will be on the back. That figure is going to really pop with some finish.
Well, I grabbed some of the offcuts from the frame and used it to make some bridge support blocks. They are the same thickness so they will clean up nice.
Then I cut out the pickup holes in the template, might use the scroll saw rather than the bandsaw for the top and back. They are only 1/8” thick.
And for my first big mistake, my fret template has stops for all the frets as well as the nut. I counted the nut stop as first fret, so all my frets are off by one. Fortunately it is an easy fix, I have to line everything up, and add an extra fret. I also need to recut the 1/8” nut line at the correct fret. My markings are light, they will all sand out. Have to be done for the night, and I have to clean my space up tomorrow before it gets out of control.

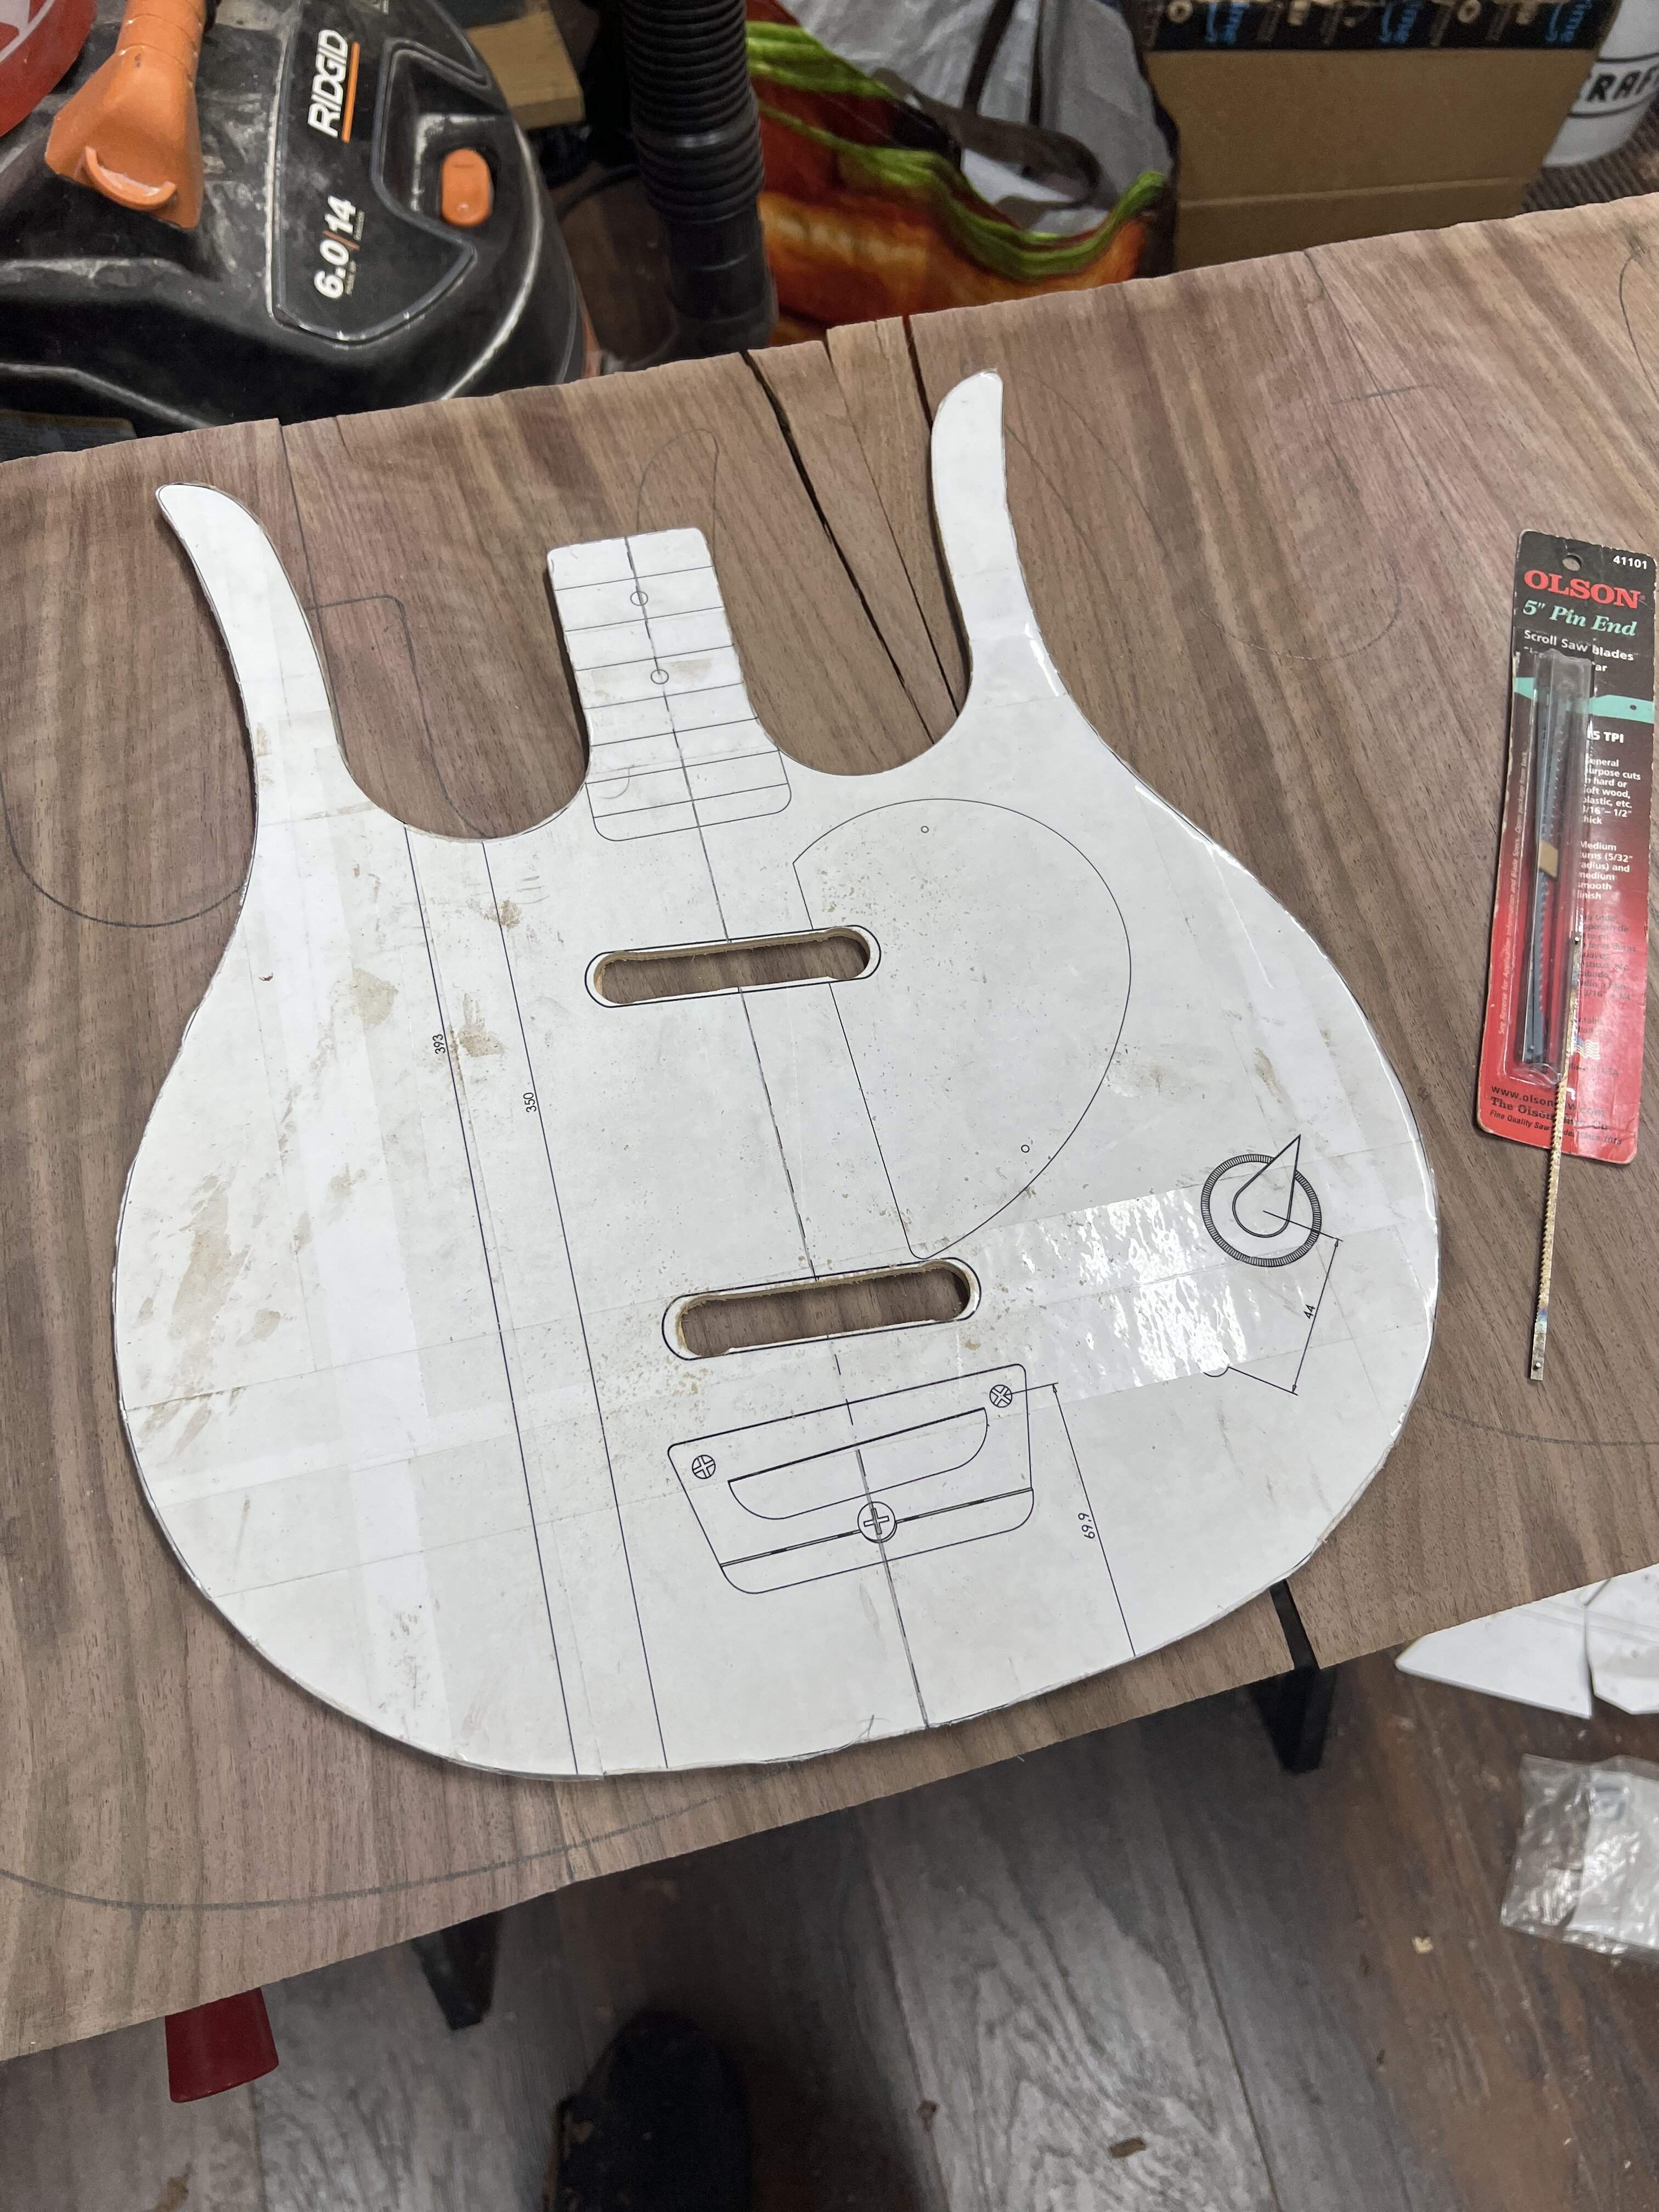
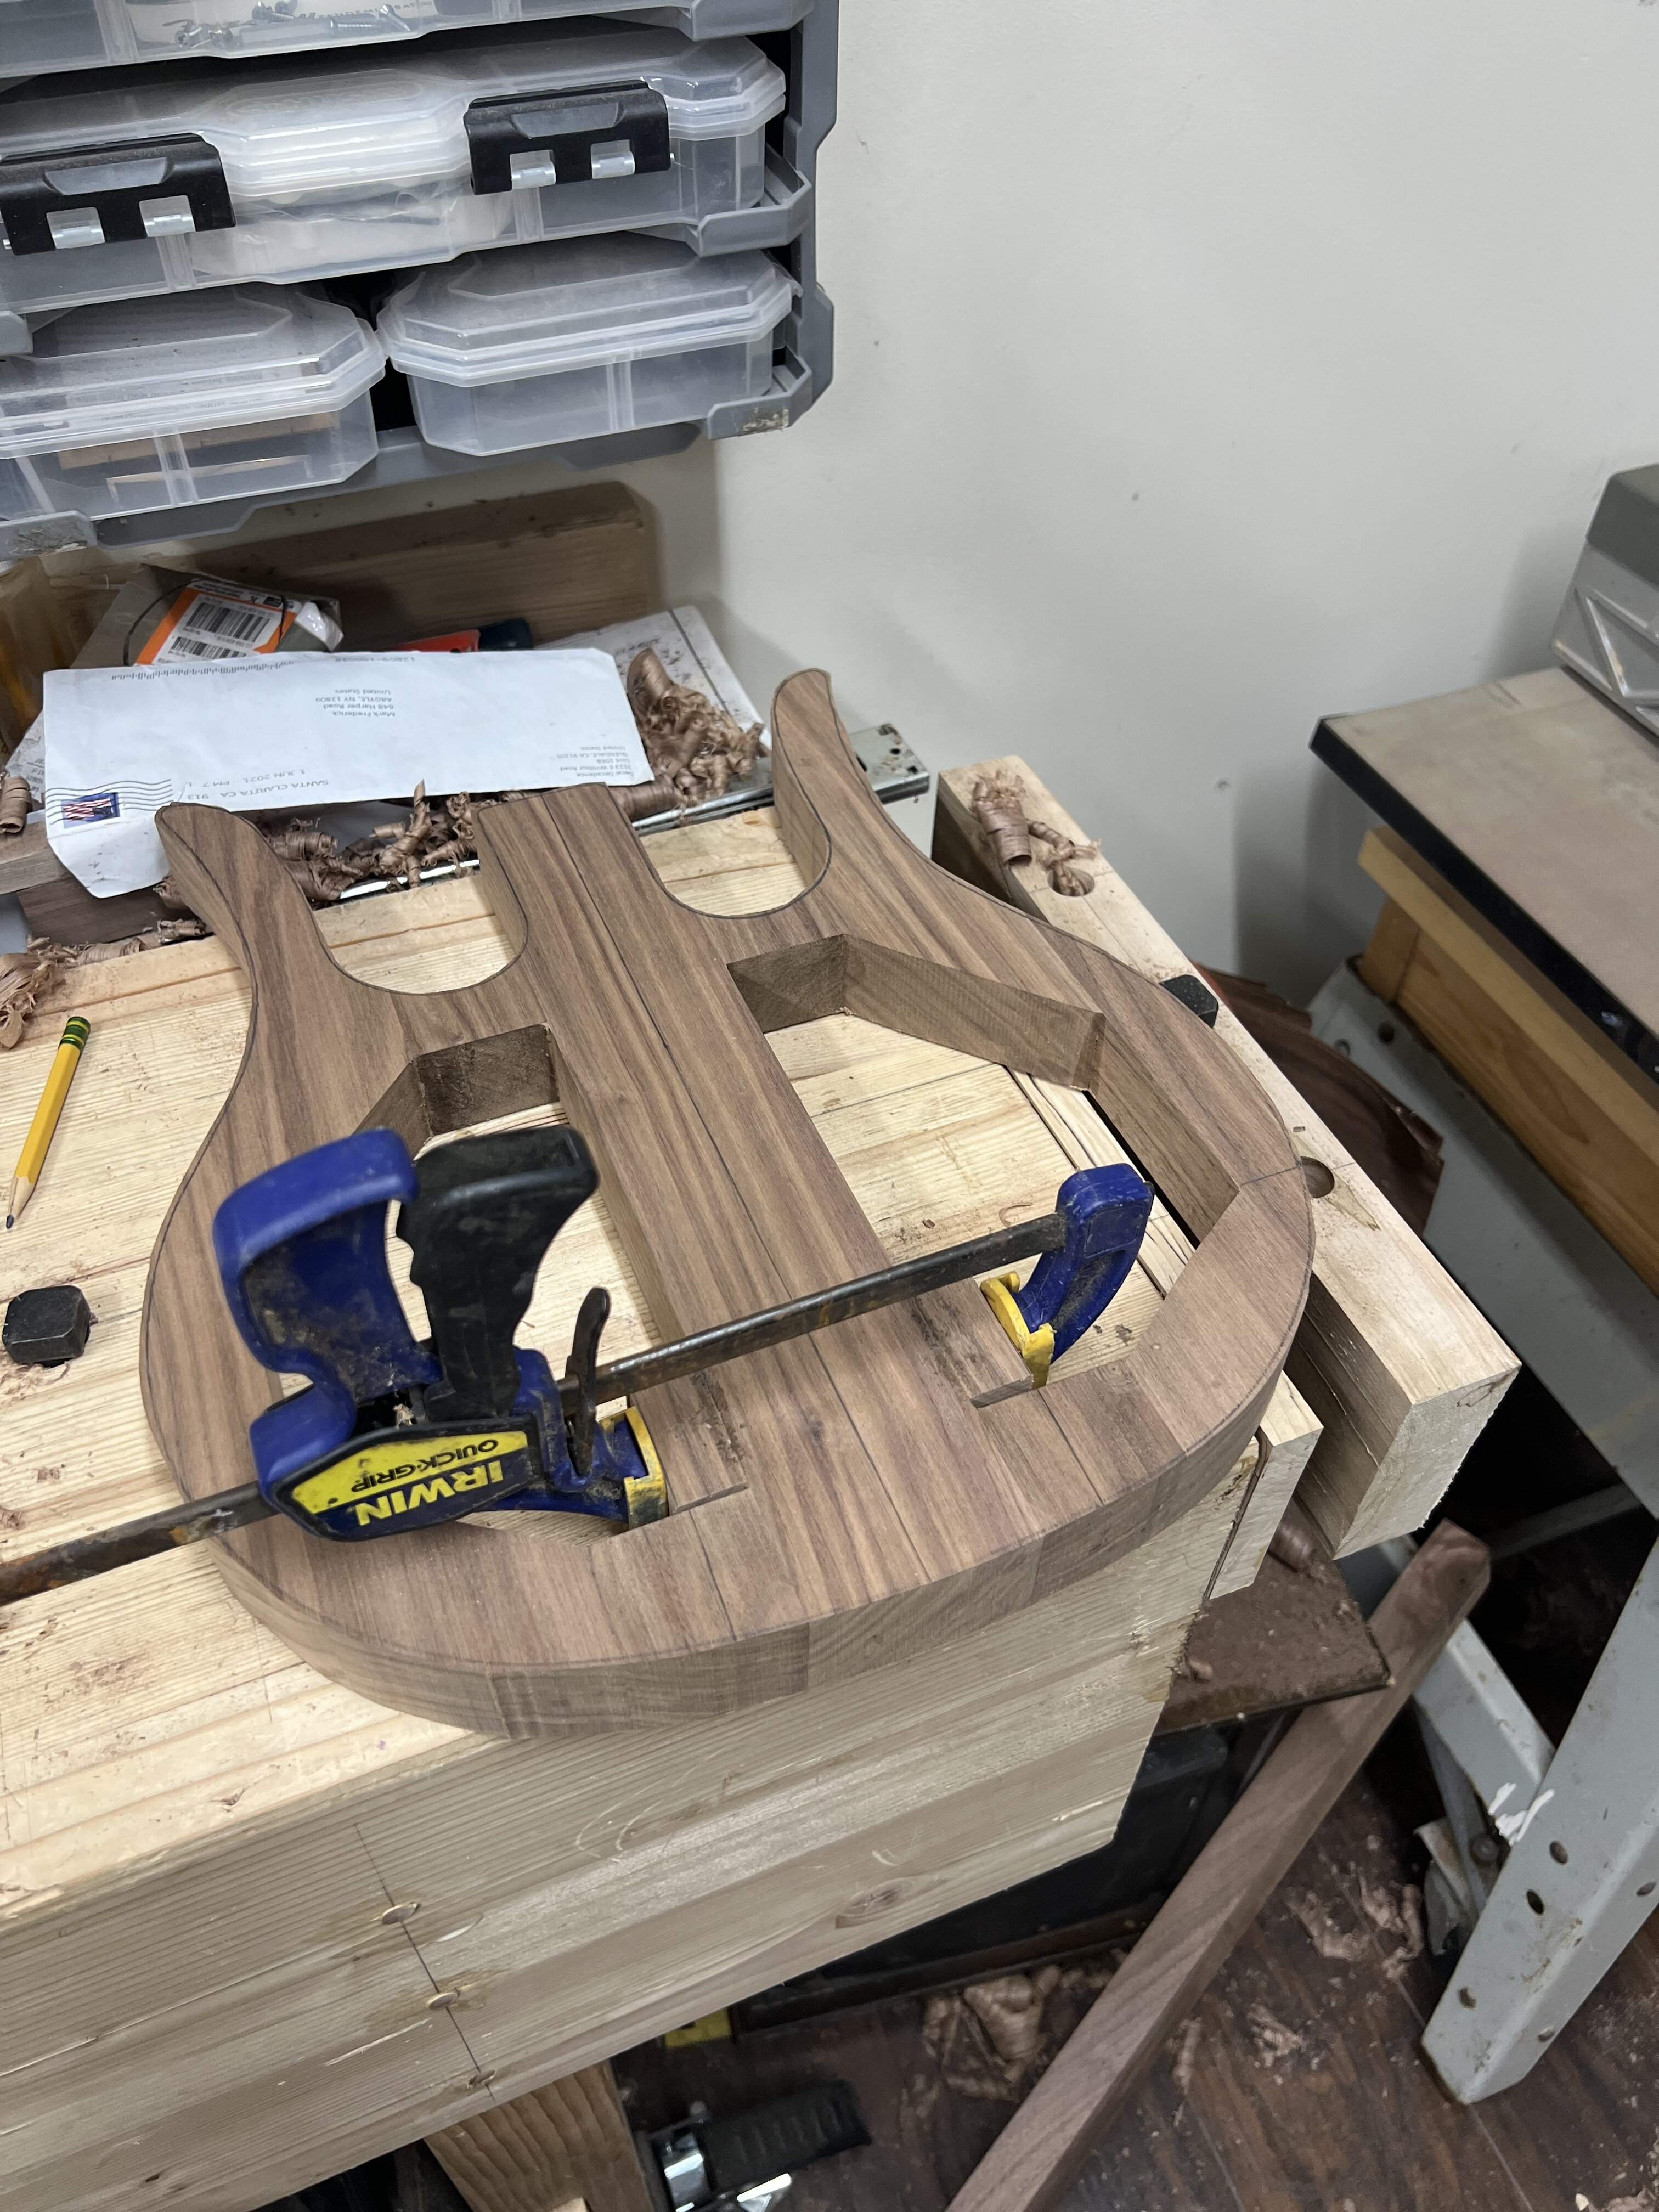
Then I cut out the pickup holes in the template, might use the scroll saw rather than the bandsaw for the top and back. They are only 1/8” thick.
And for my first big mistake, my fret template has stops for all the frets as well as the nut. I counted the nut stop as first fret, so all my frets are off by one. Fortunately it is an easy fix, I have to line everything up, and add an extra fret. I also need to recut the 1/8” nut line at the correct fret. My markings are light, they will all sand out. Have to be done for the night, and I have to clean my space up tomorrow before it gets out of control.
Attachments

Router day, this time went very smoothly, although giant bits still make me wary. I took 1/64” off each side on the drum sander to smooth the bridge nubs. The I went to the spindle and took everything down to less than 1/16” away from the template. I took my router speed control down to 1, and everything went really well.
The shifting grain patterns were what made me nervous, but the glue joints are all airtight. It actually looks really cool, I was worried the cobbled skeleton would look silly on the sides but it doesn’t at all, very cool grain in this wood. Top and back go on tomorrow!
Did Danos have a round over? I have actually never played one.
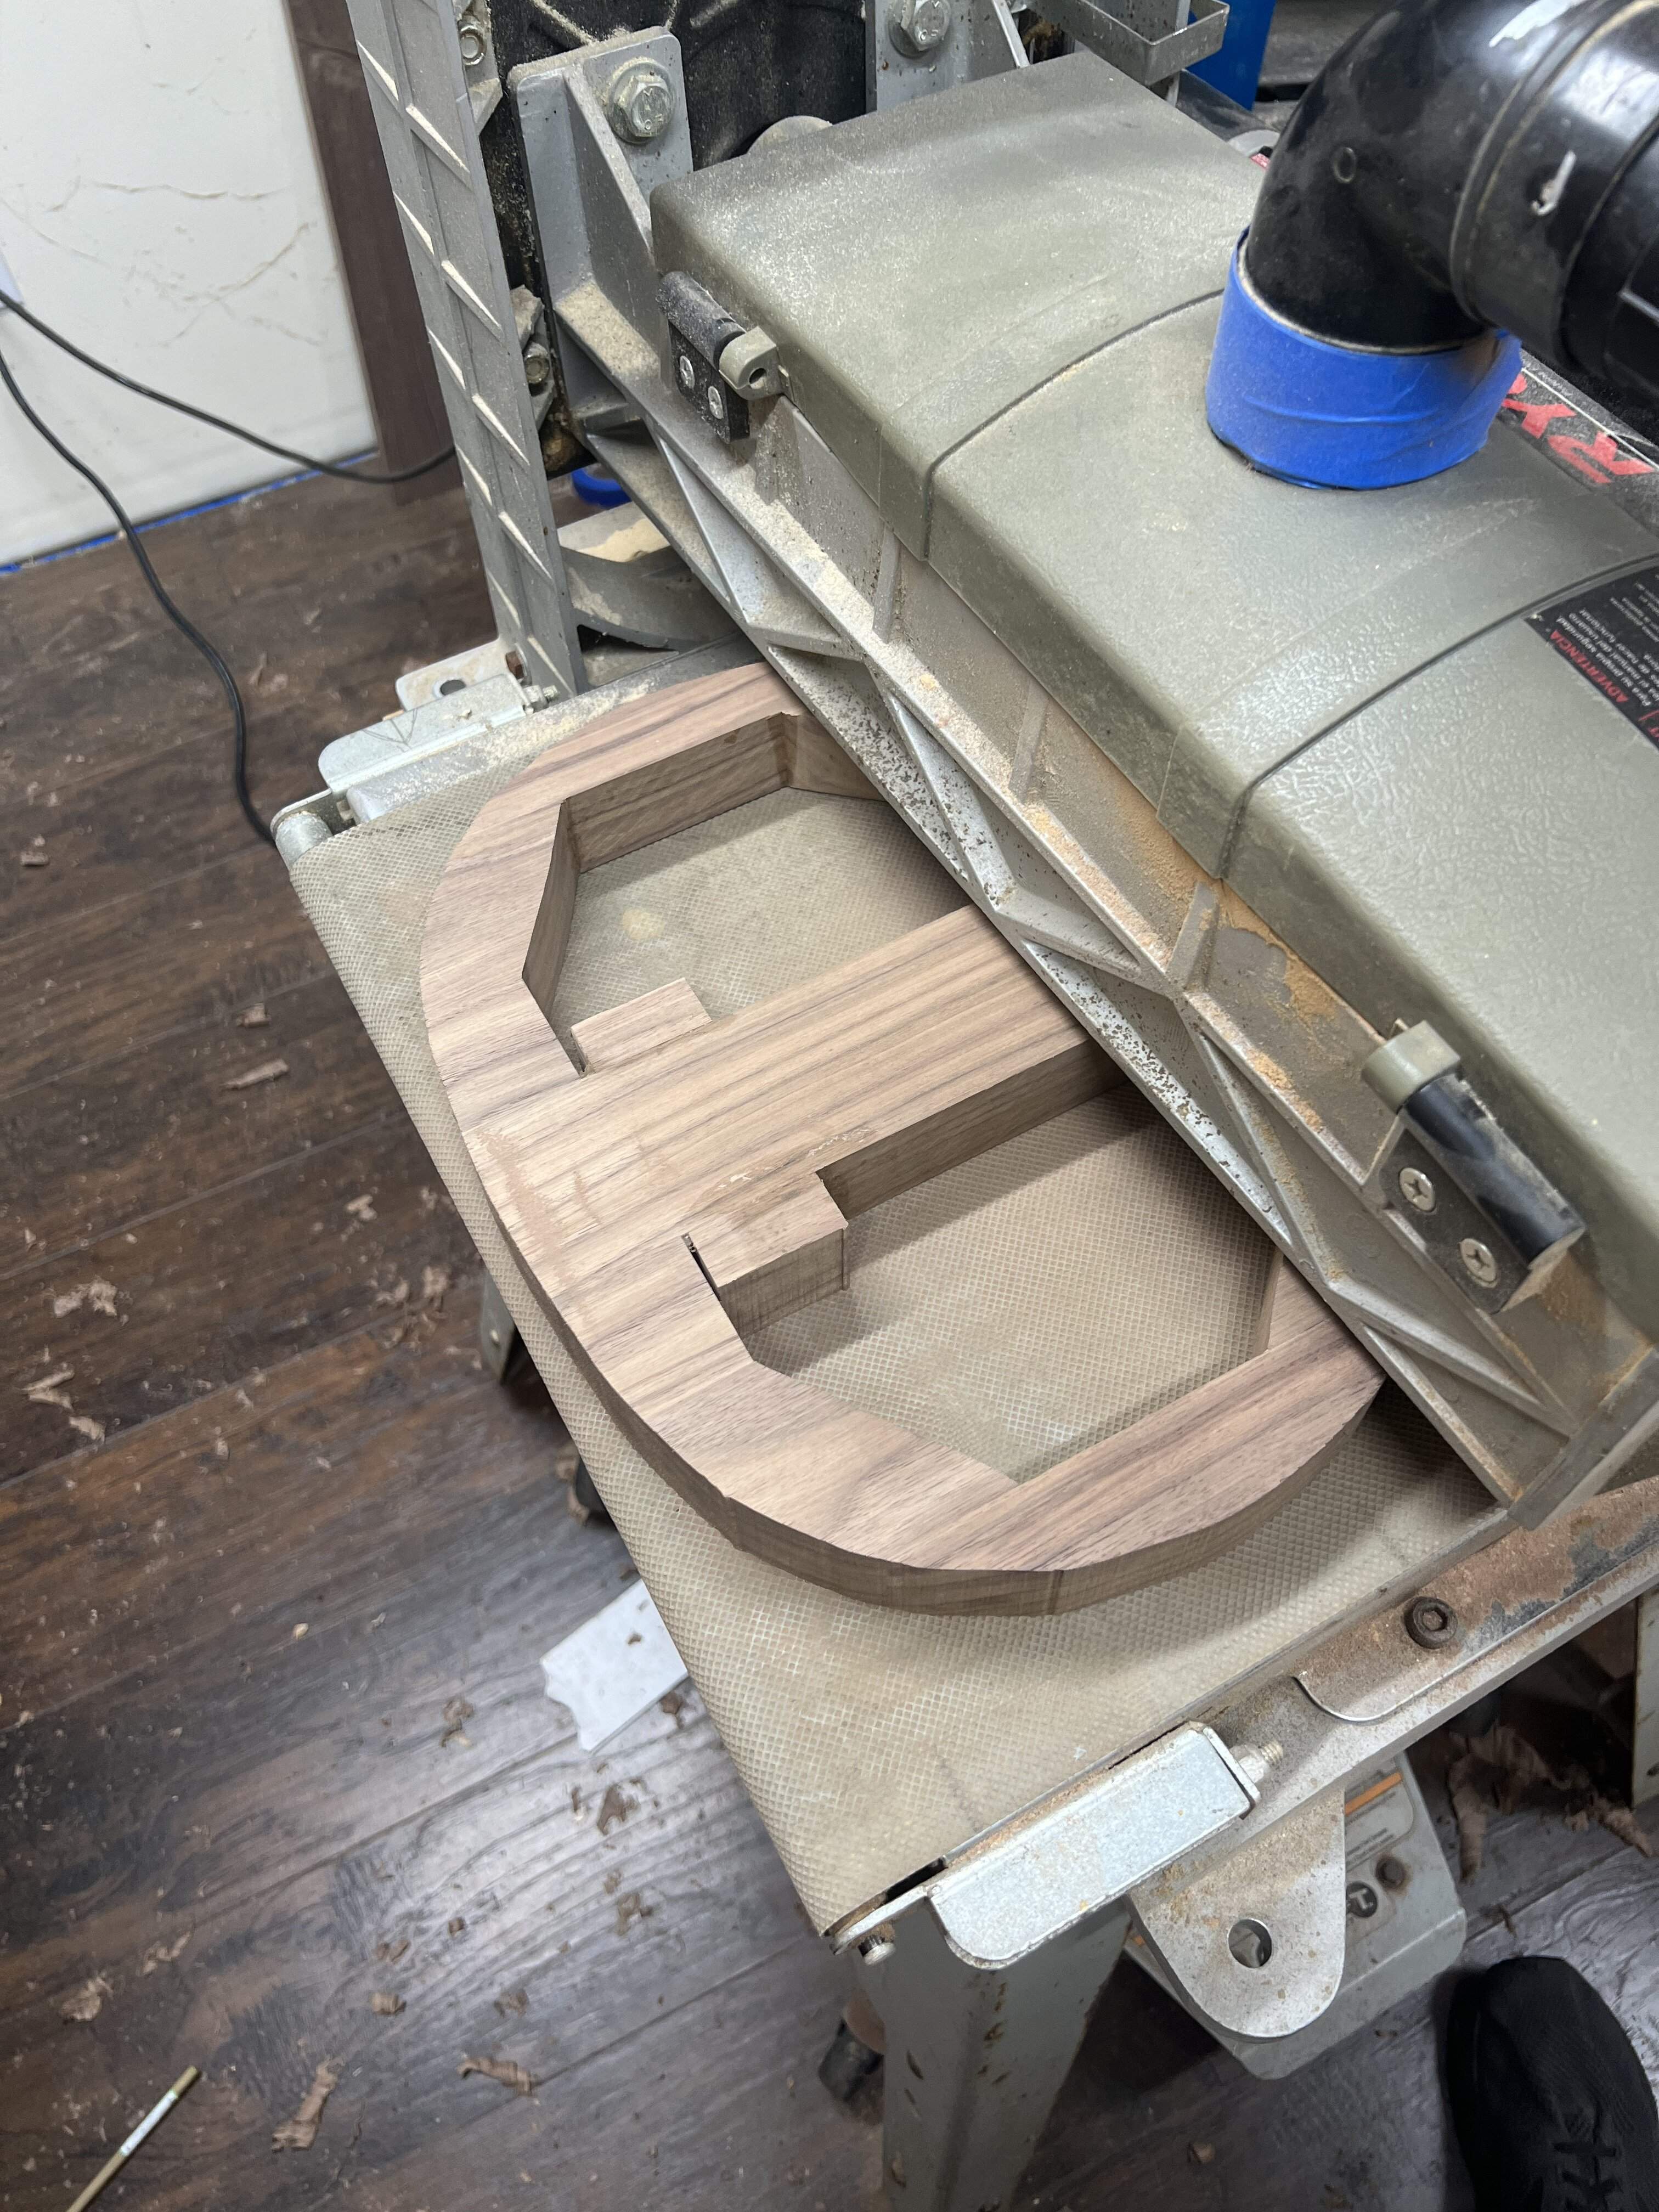

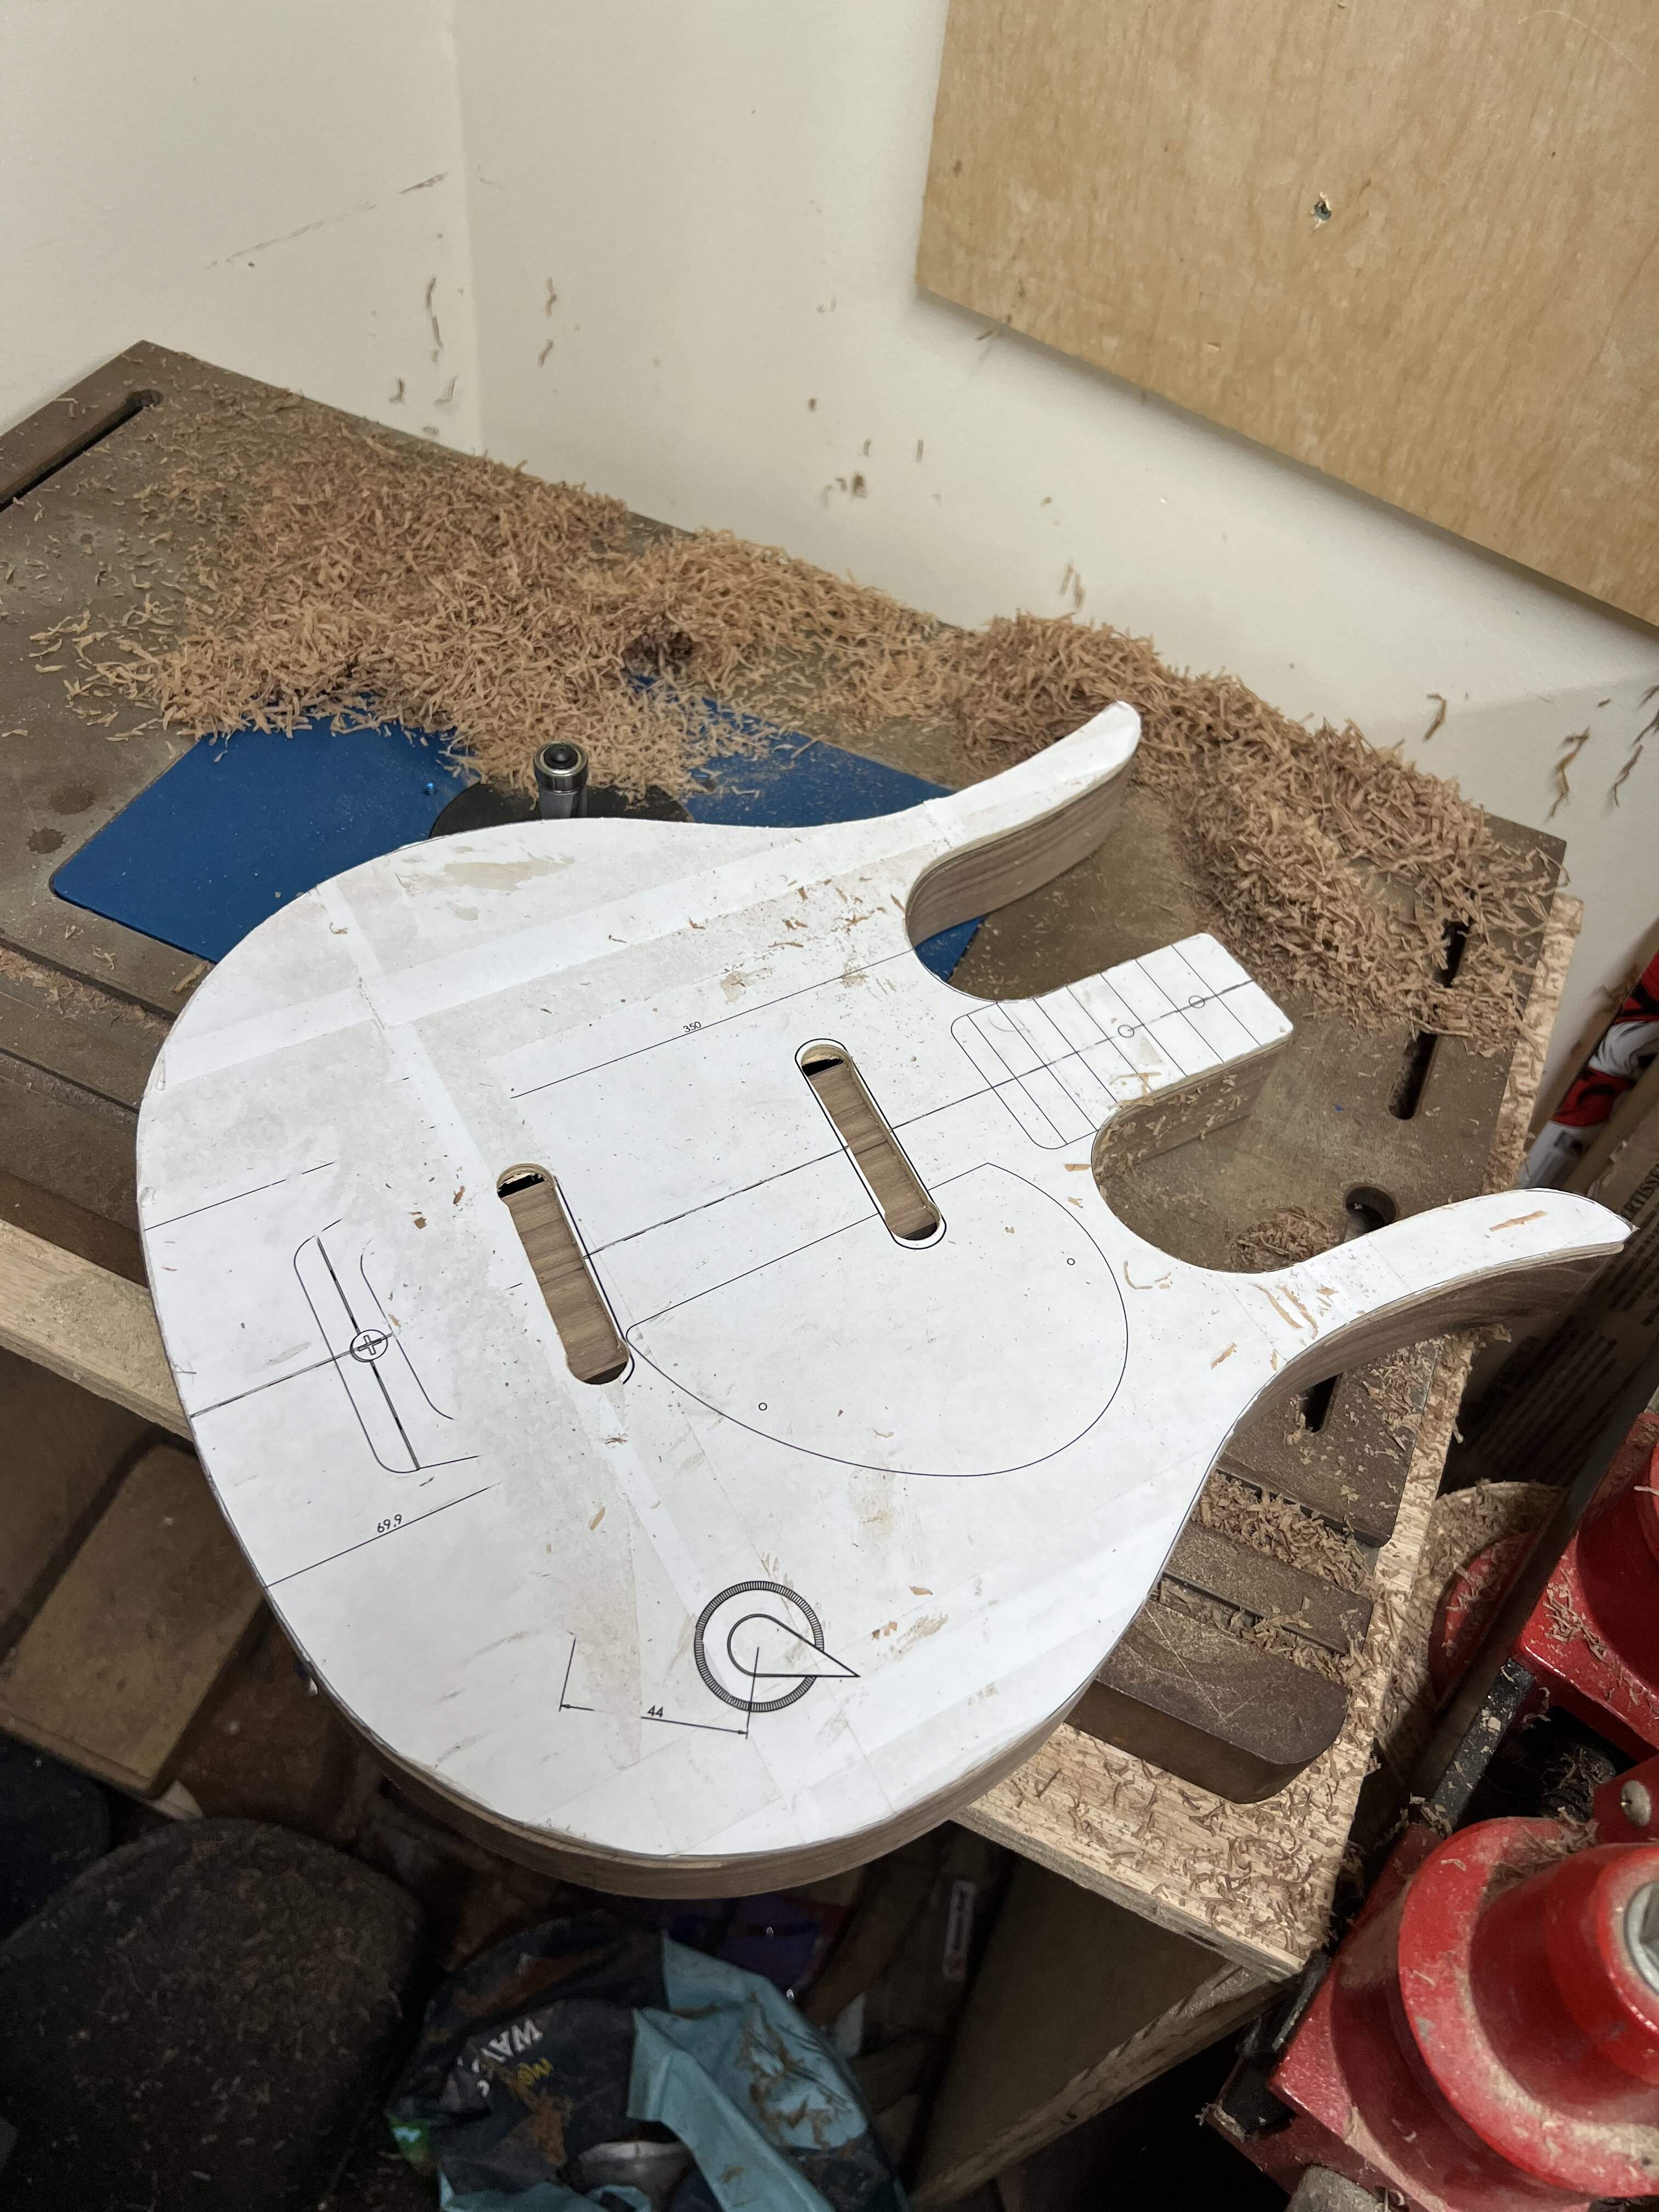
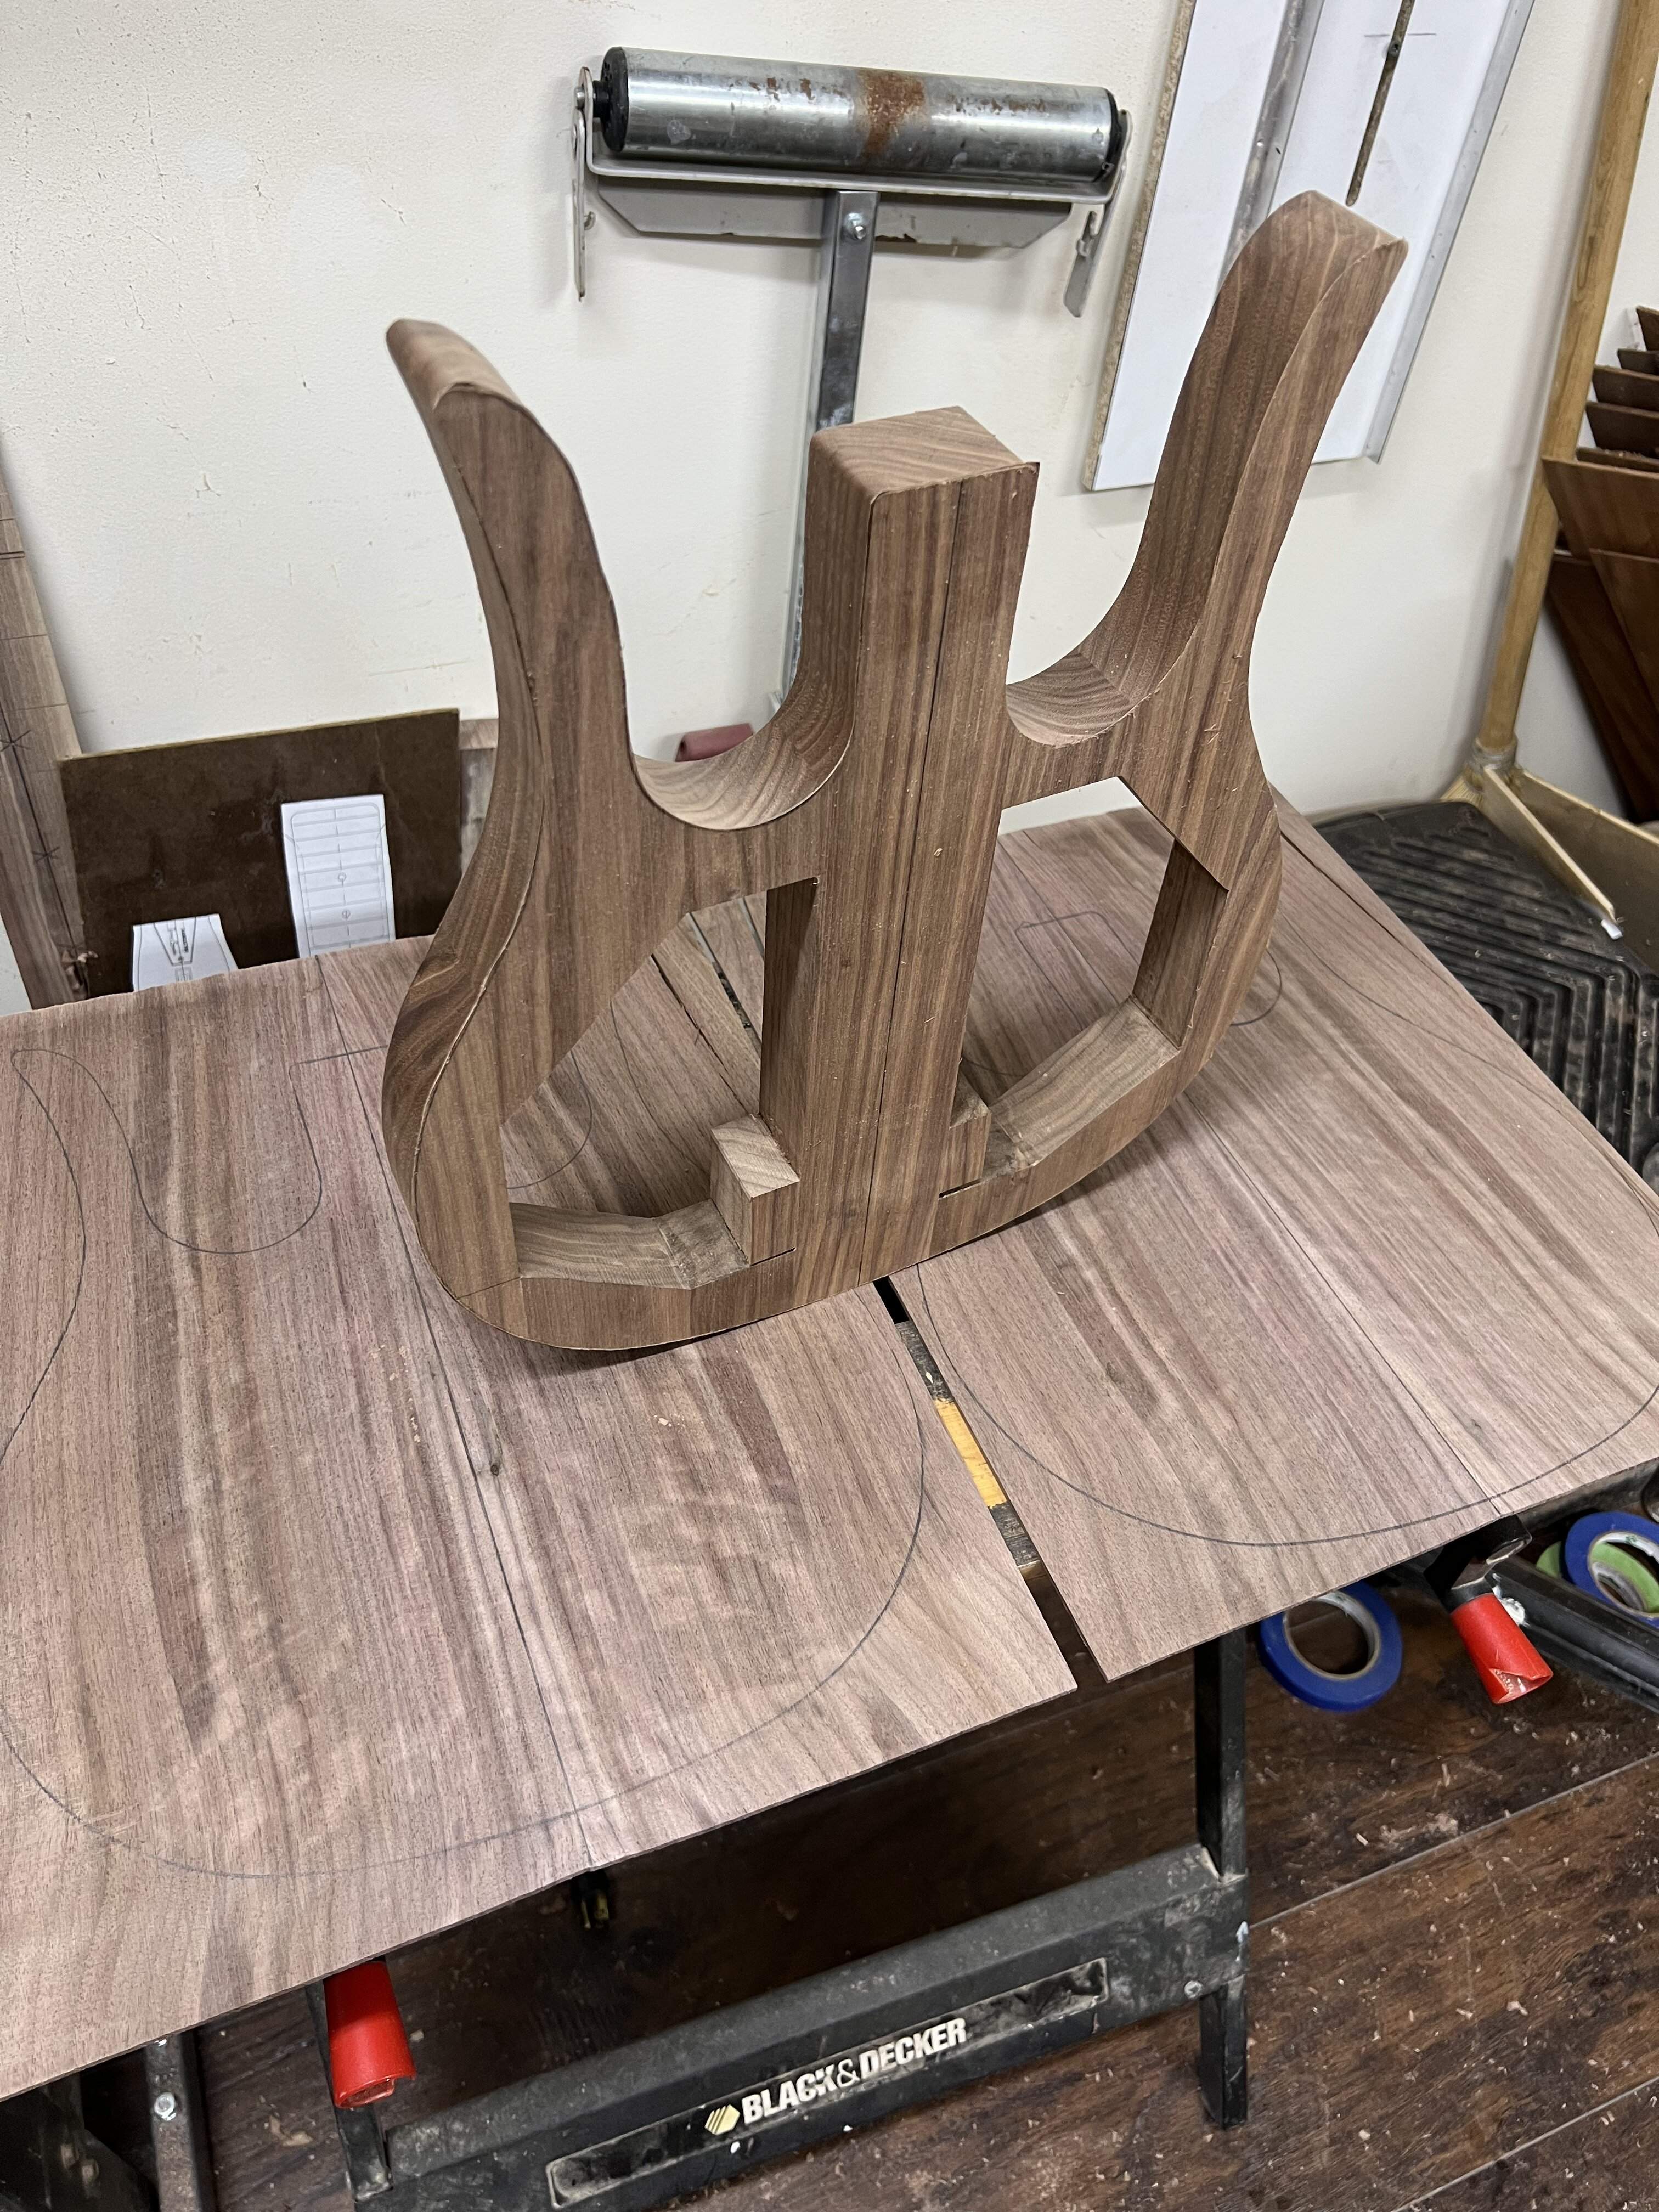
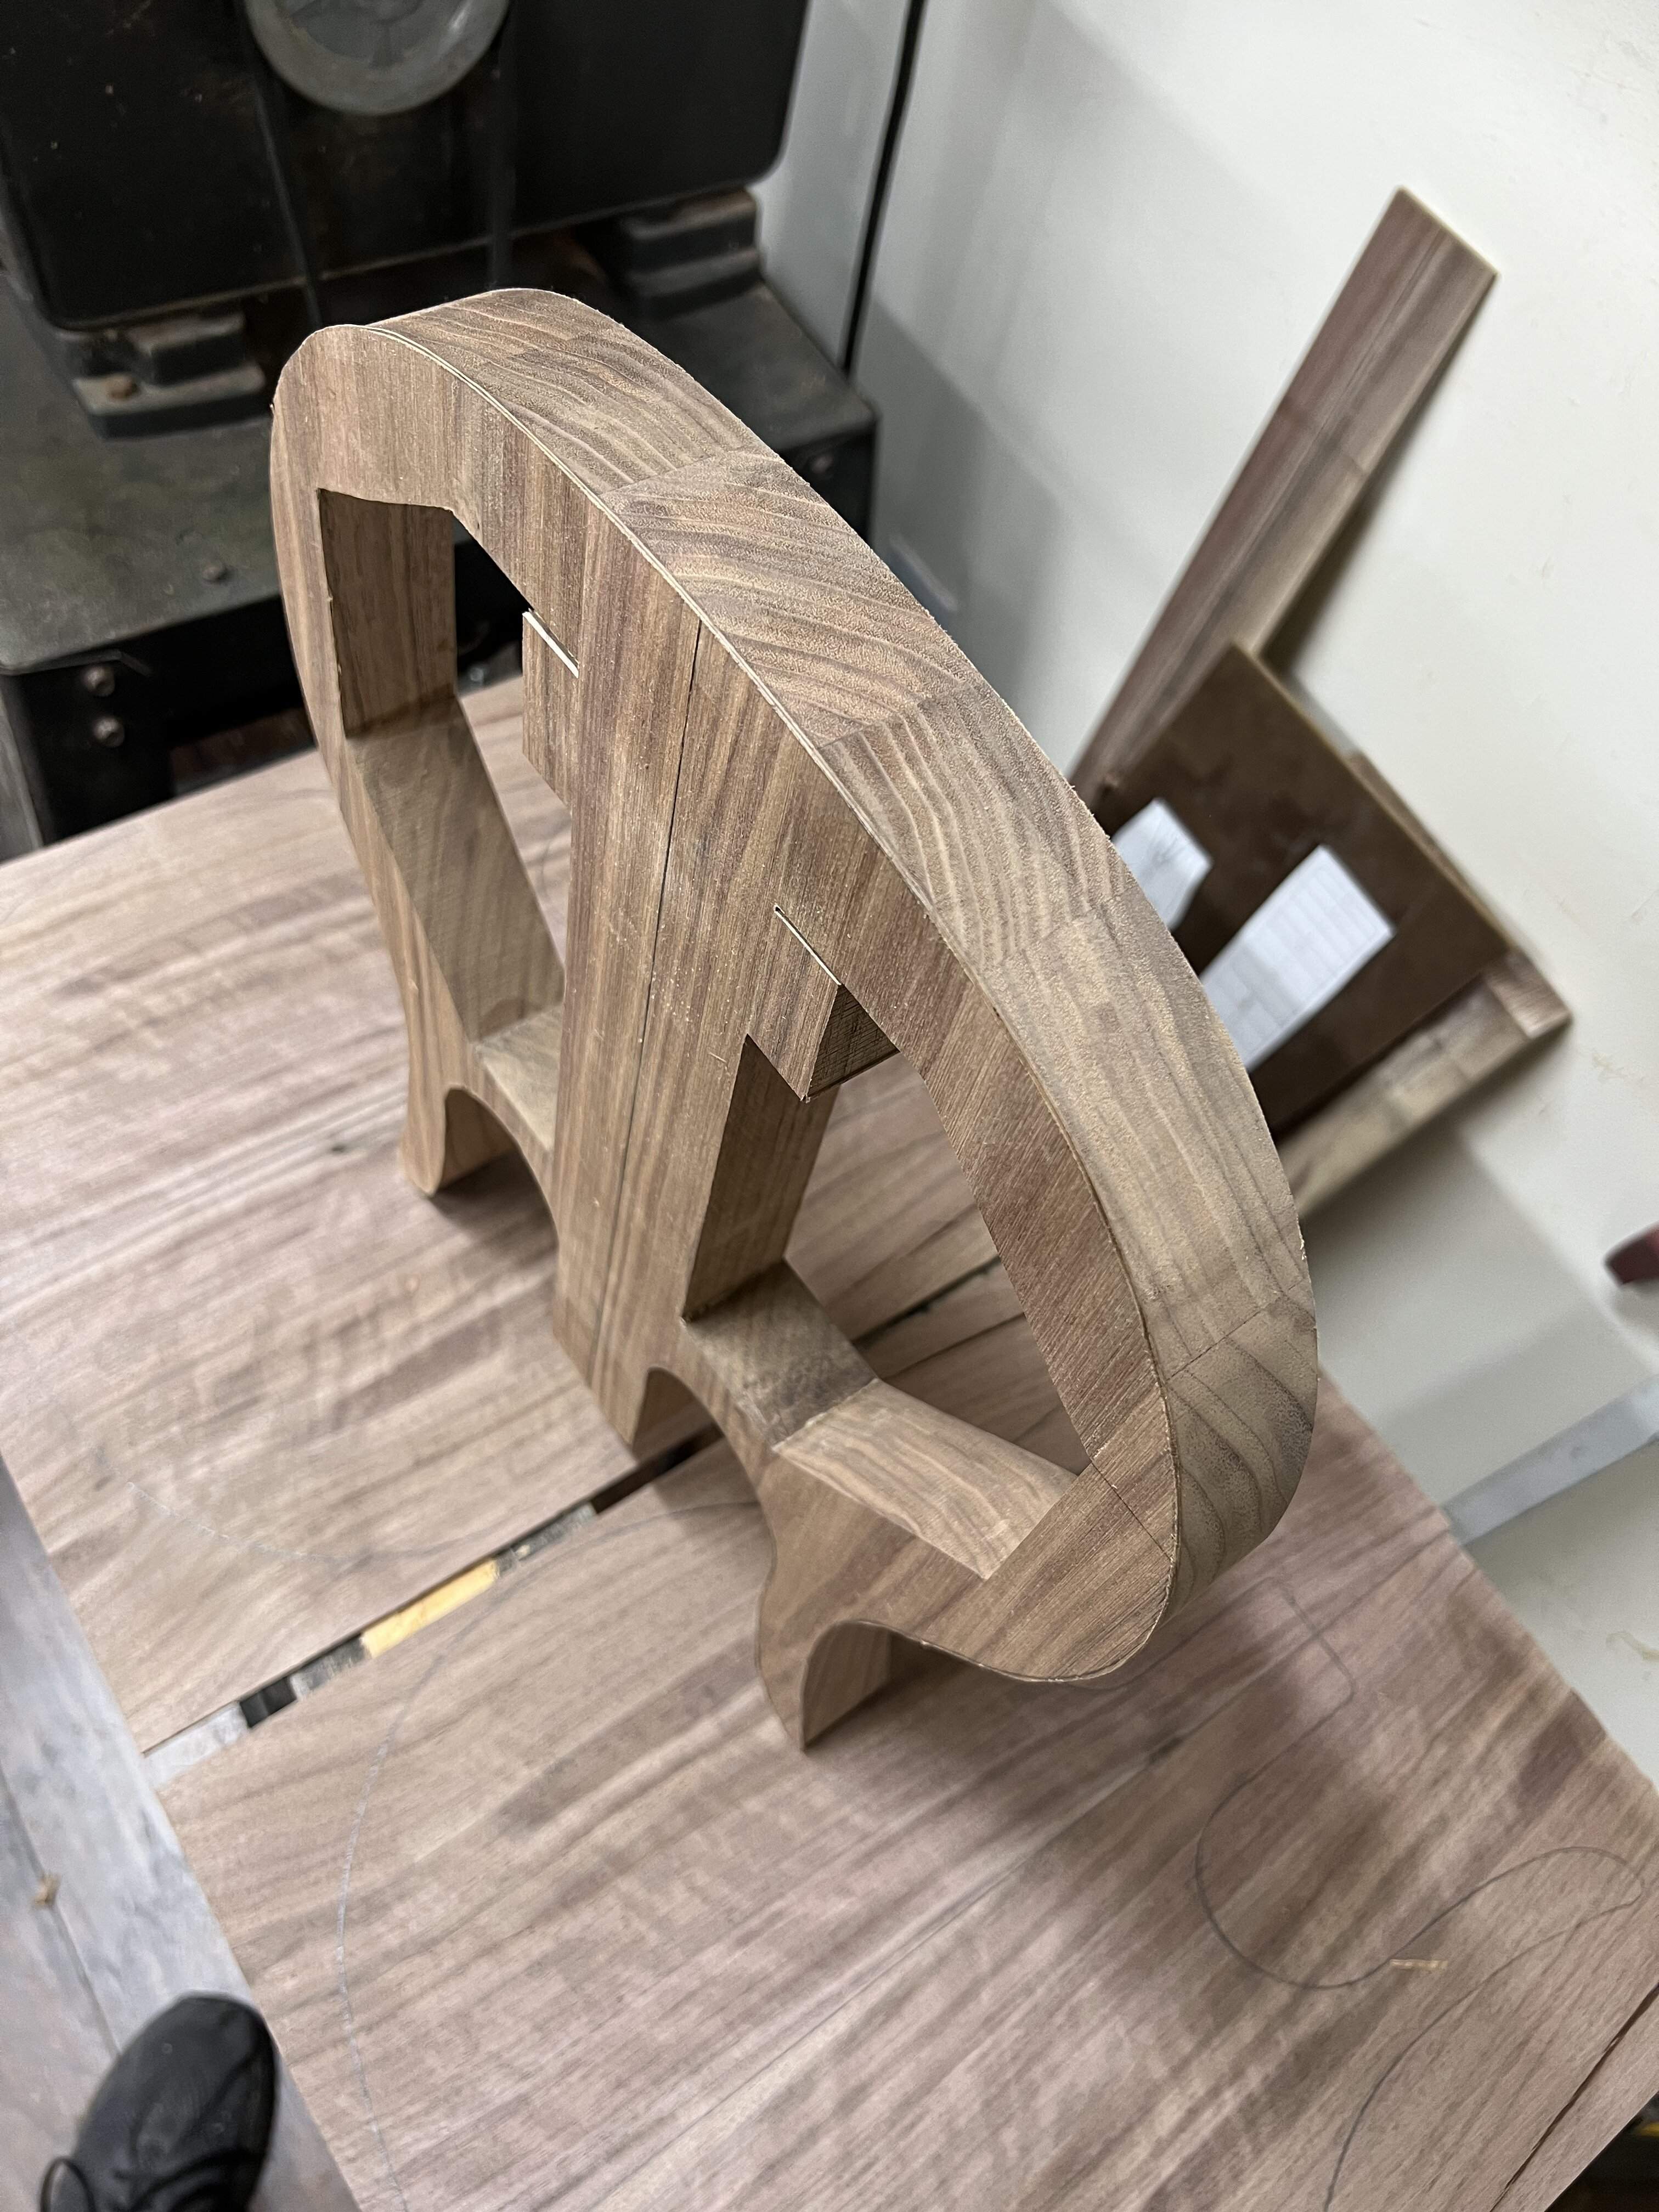
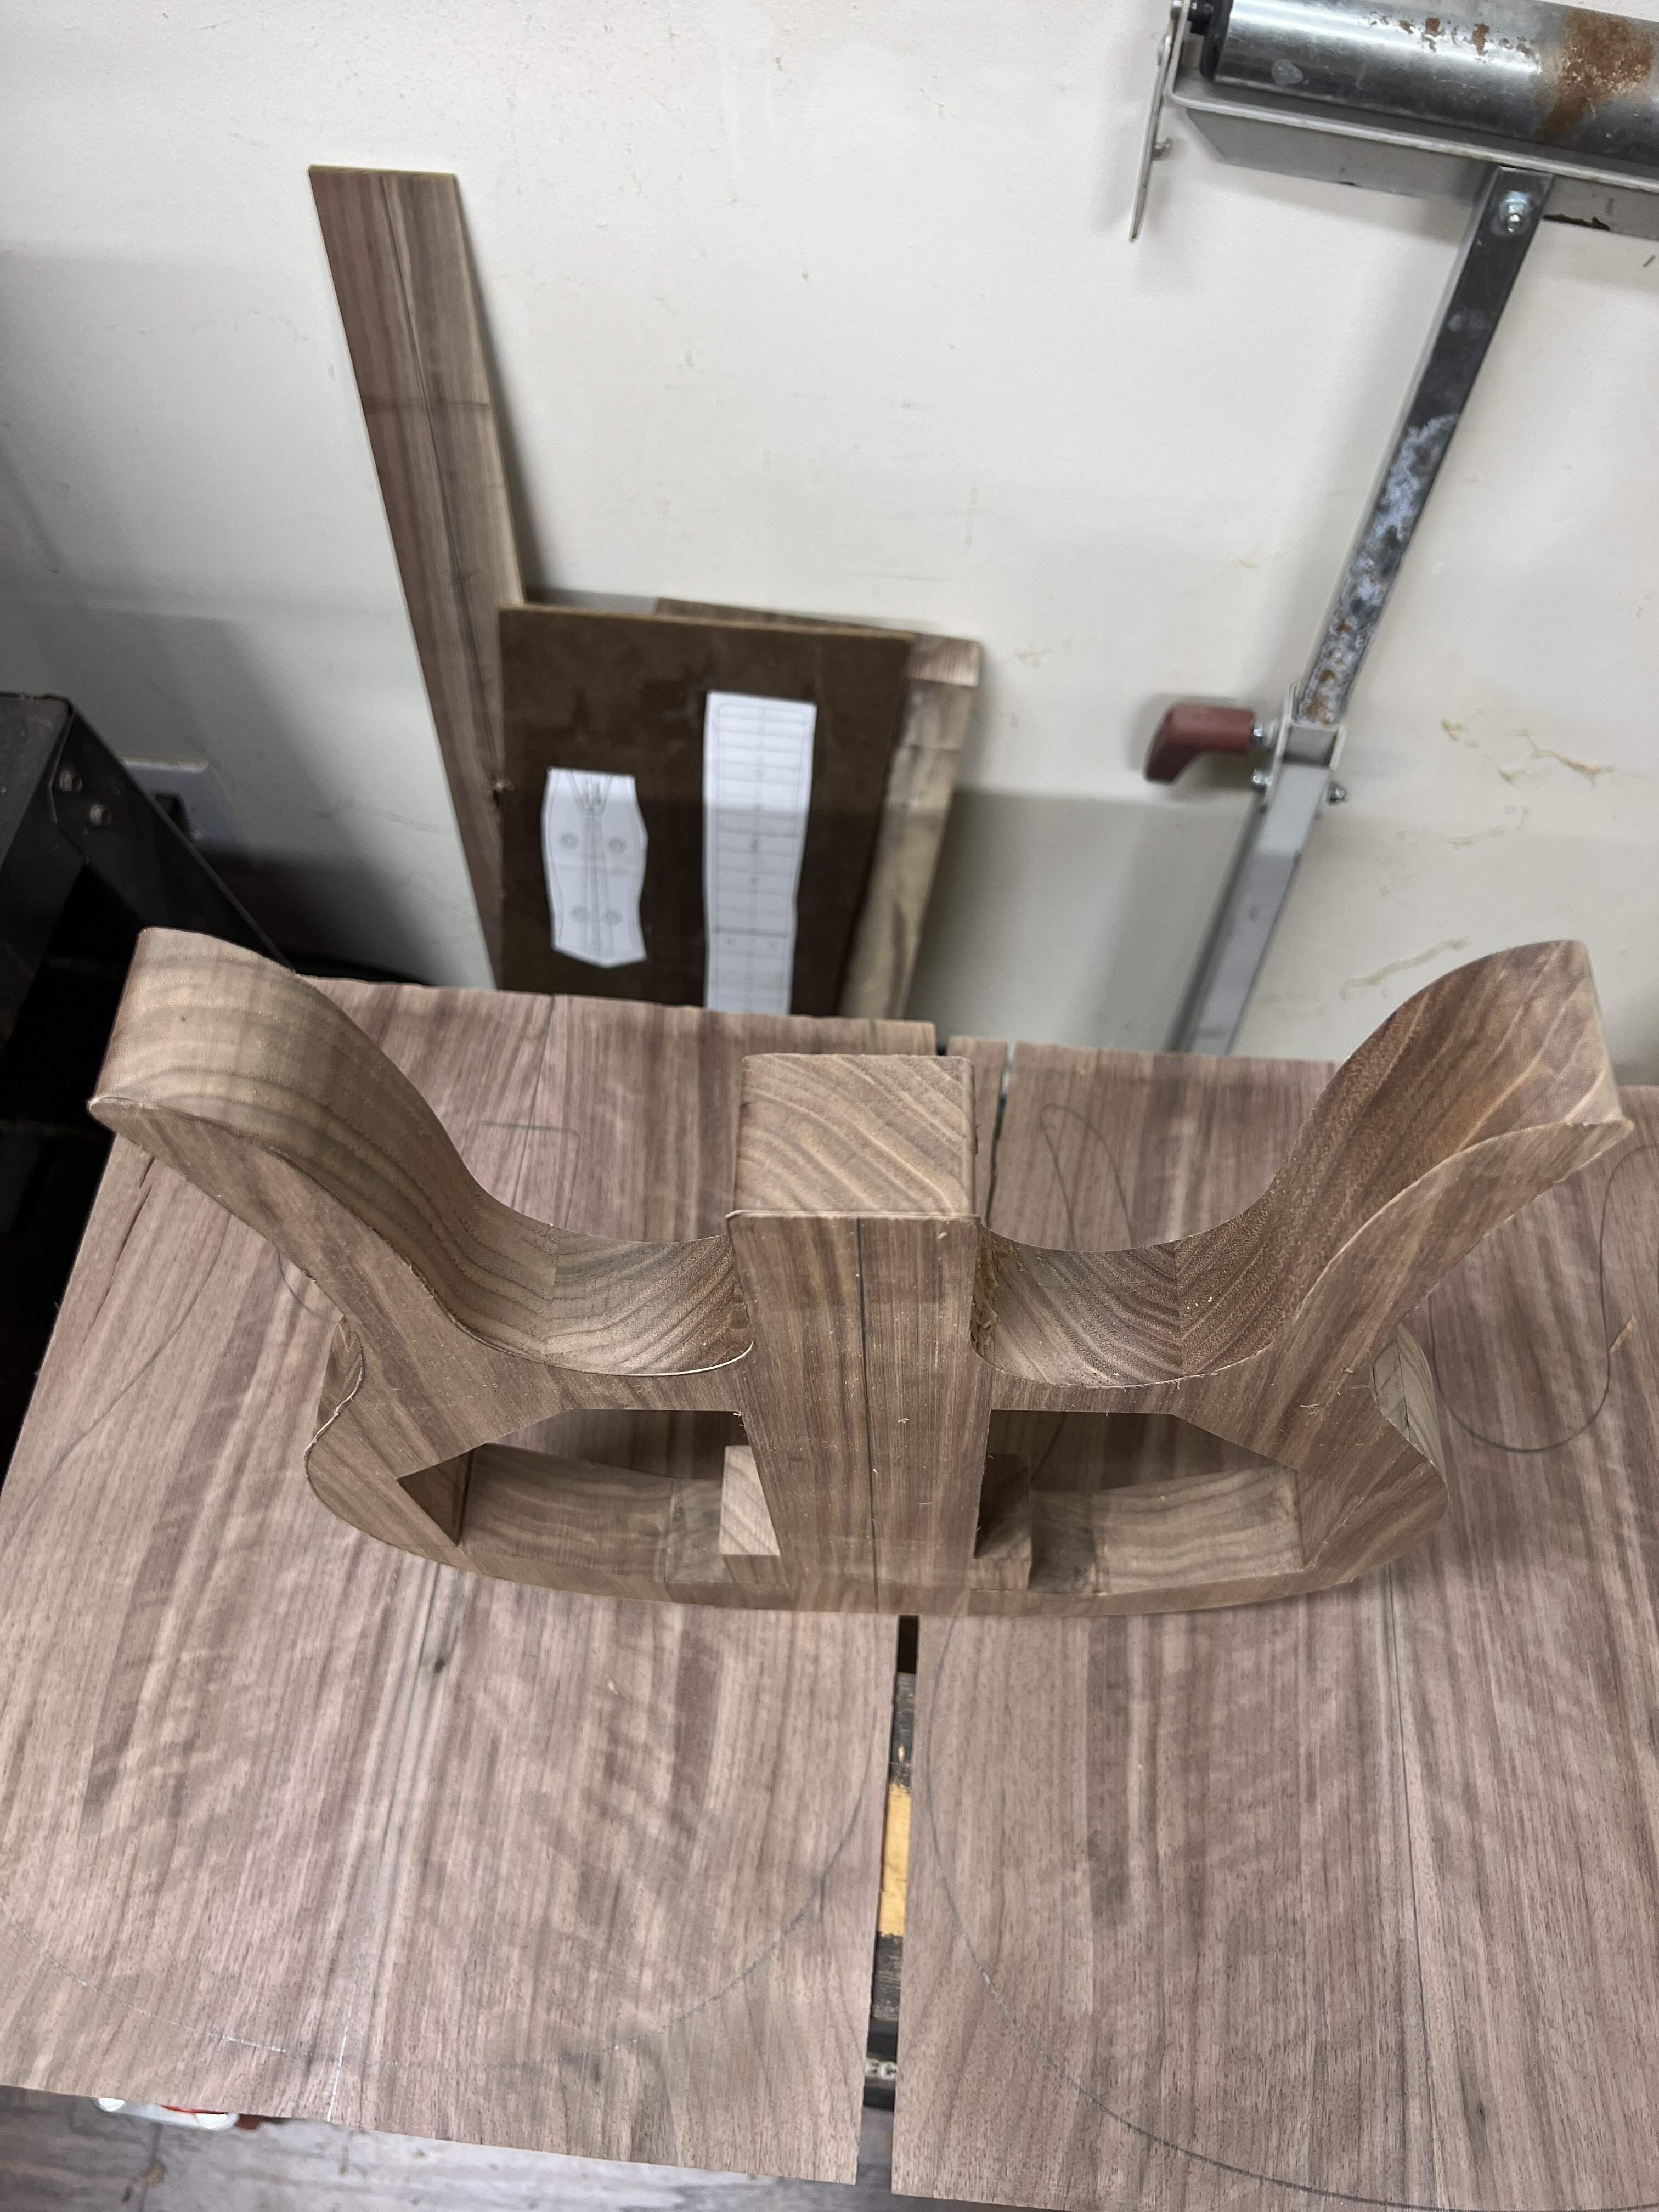
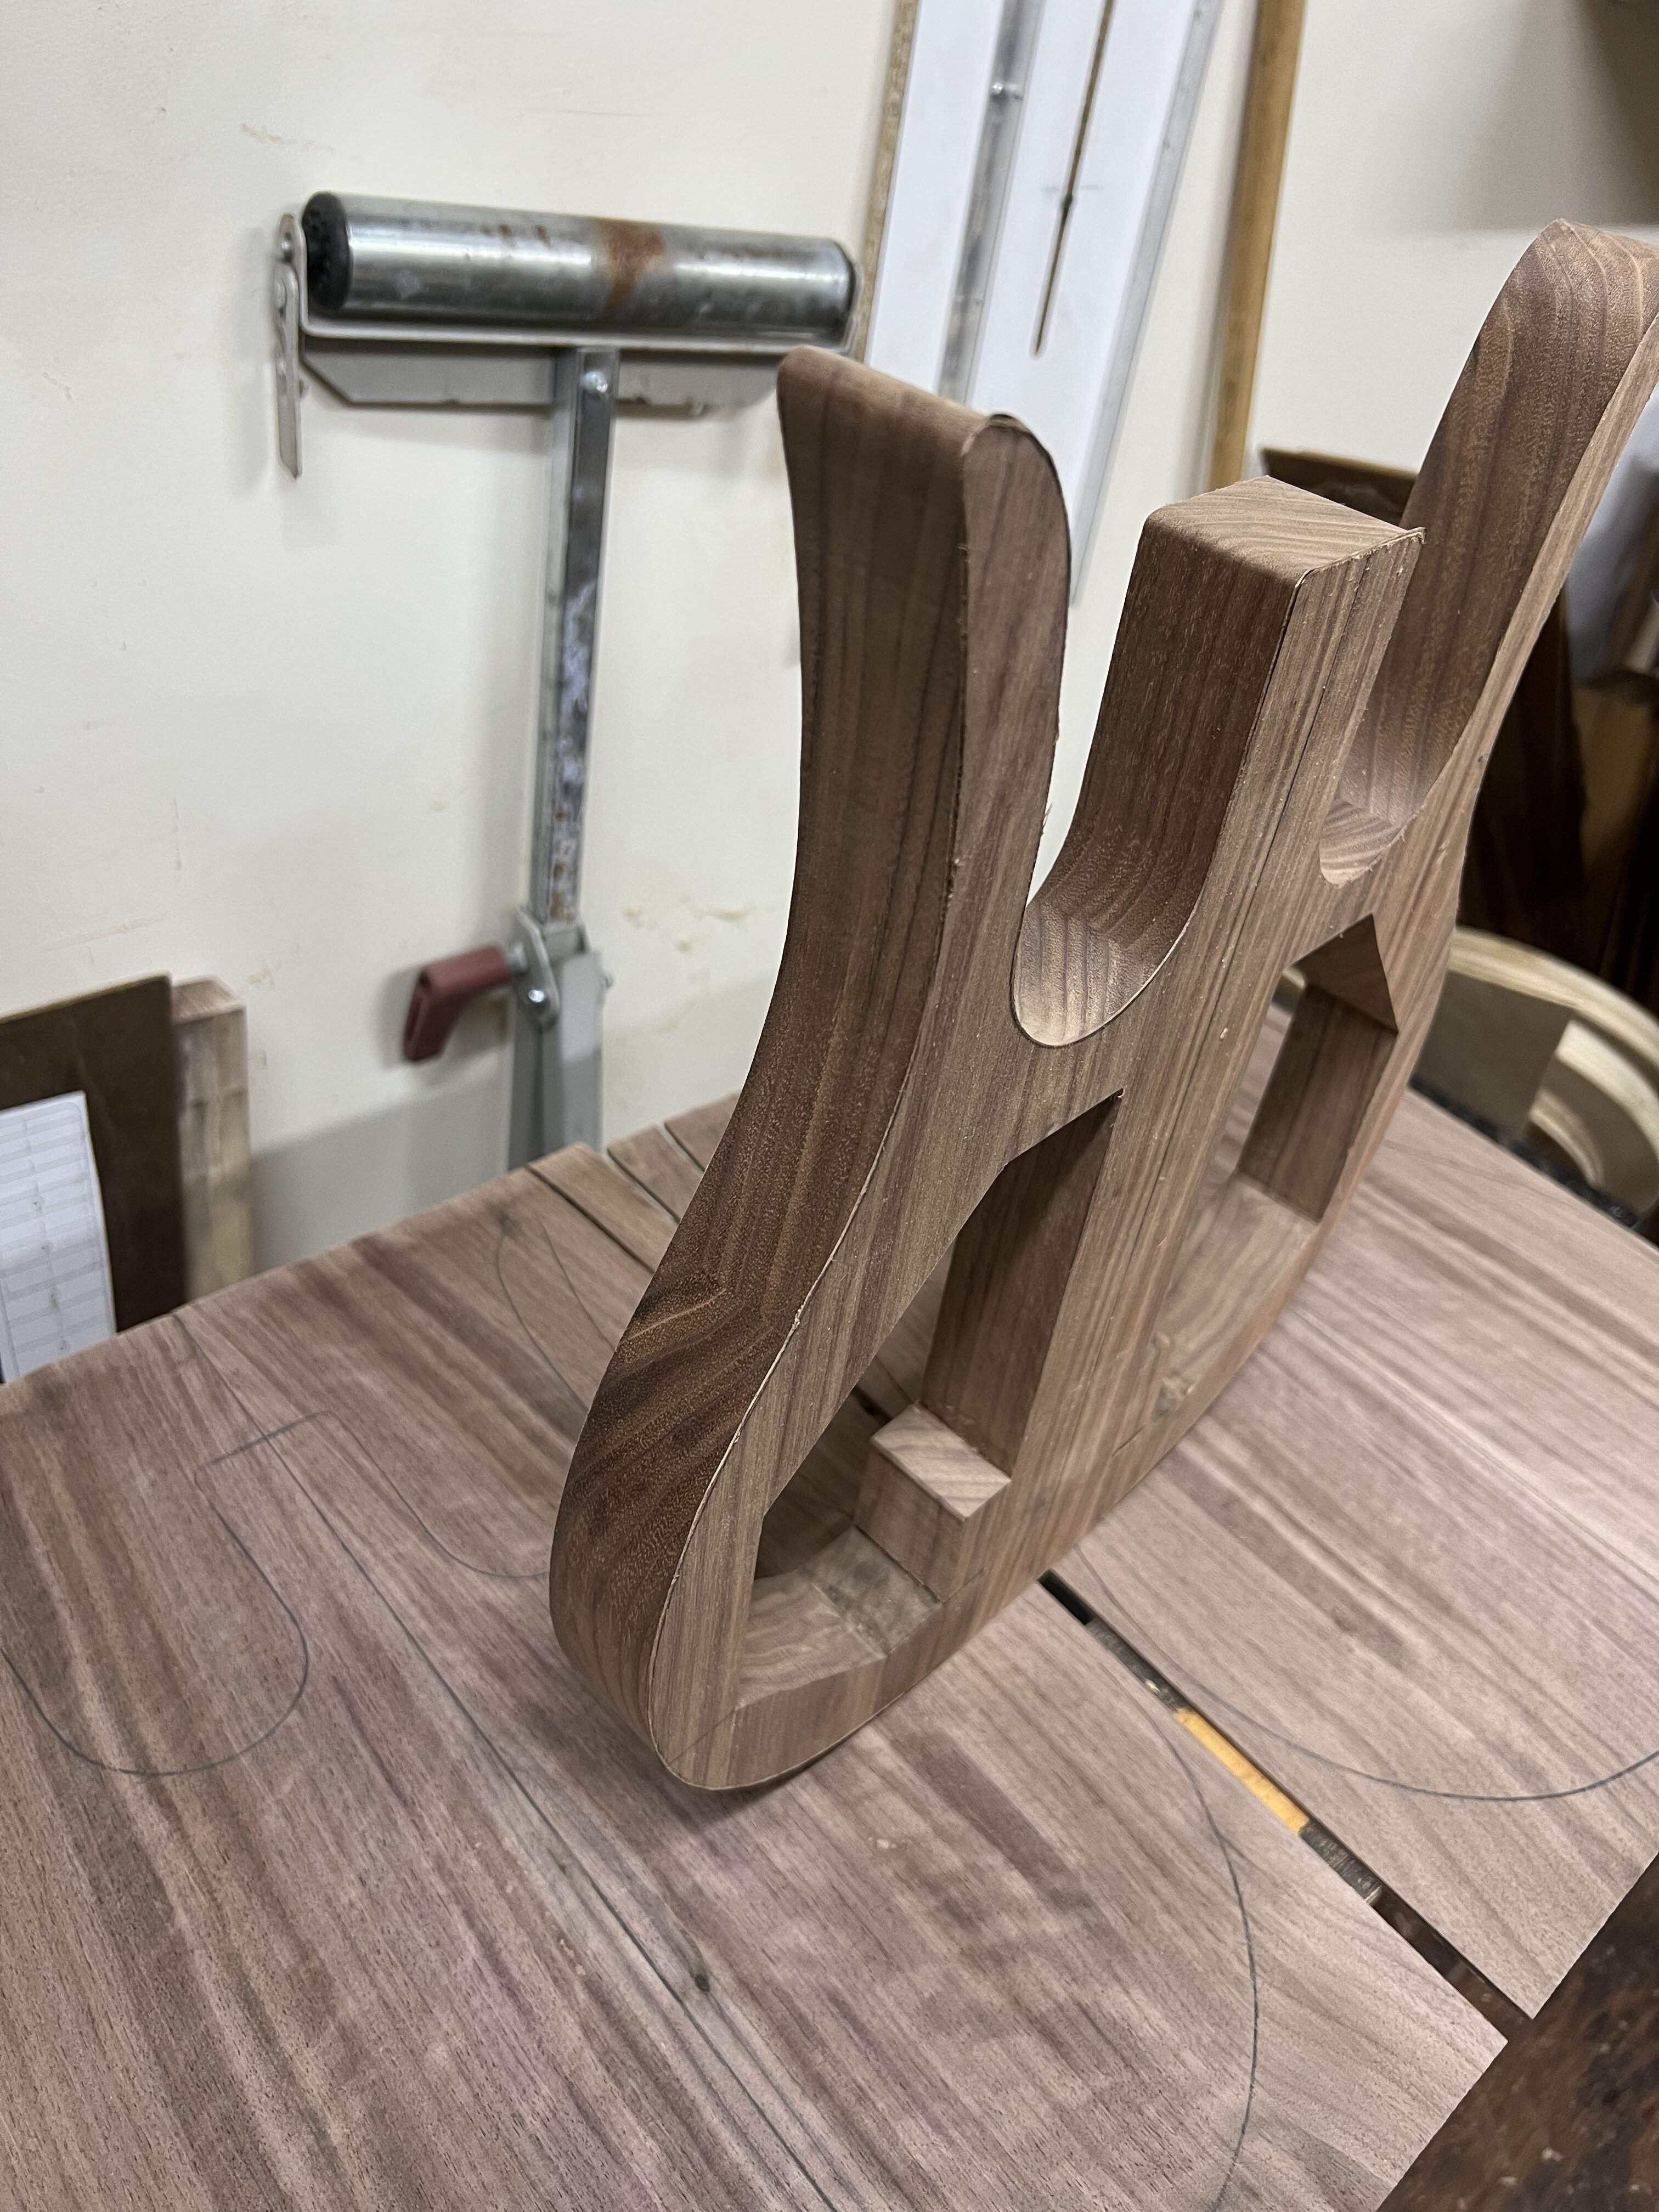
The shifting grain patterns were what made me nervous, but the glue joints are all airtight. It actually looks really cool, I was worried the cobbled skeleton would look silly on the sides but it doesn’t at all, very cool grain in this wood. Top and back go on tomorrow!
Did Danos have a round over? I have actually never played one.



Don't know about the originals, but my reissue has a round over of about 1/4" radius. More than the top and back thickness, but not much more.Did Danos have a round over? I have actually never played one.
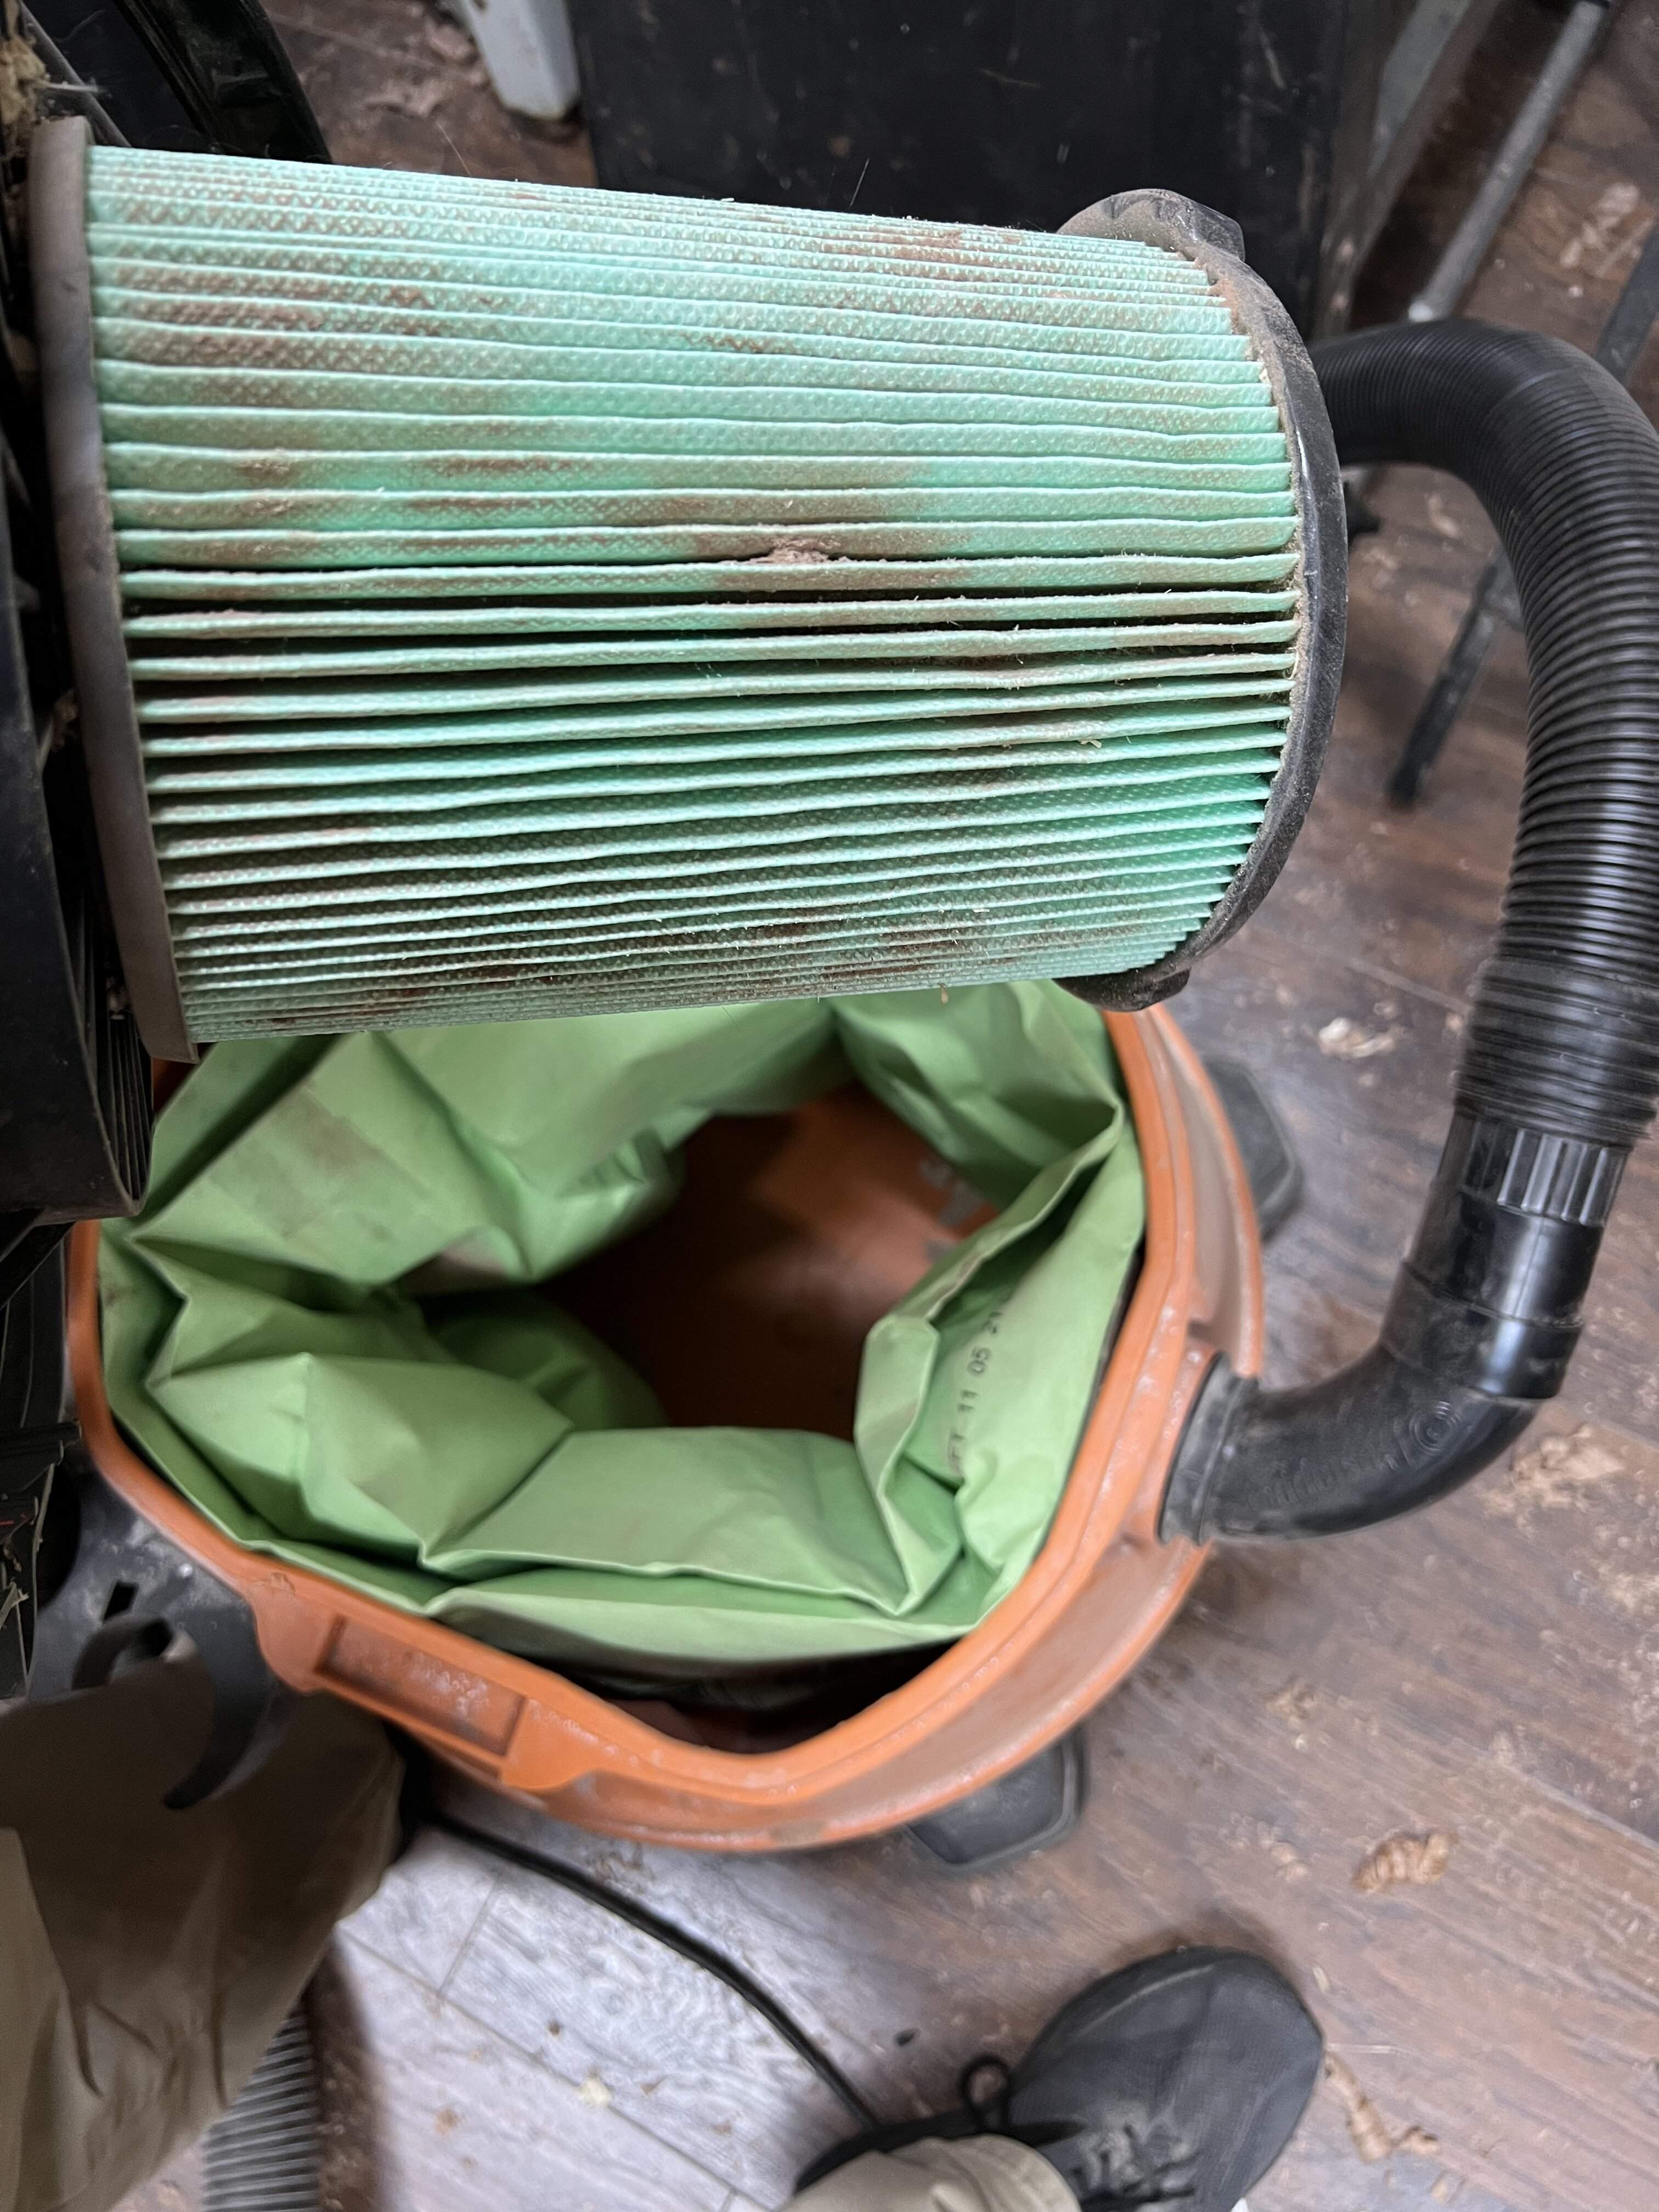
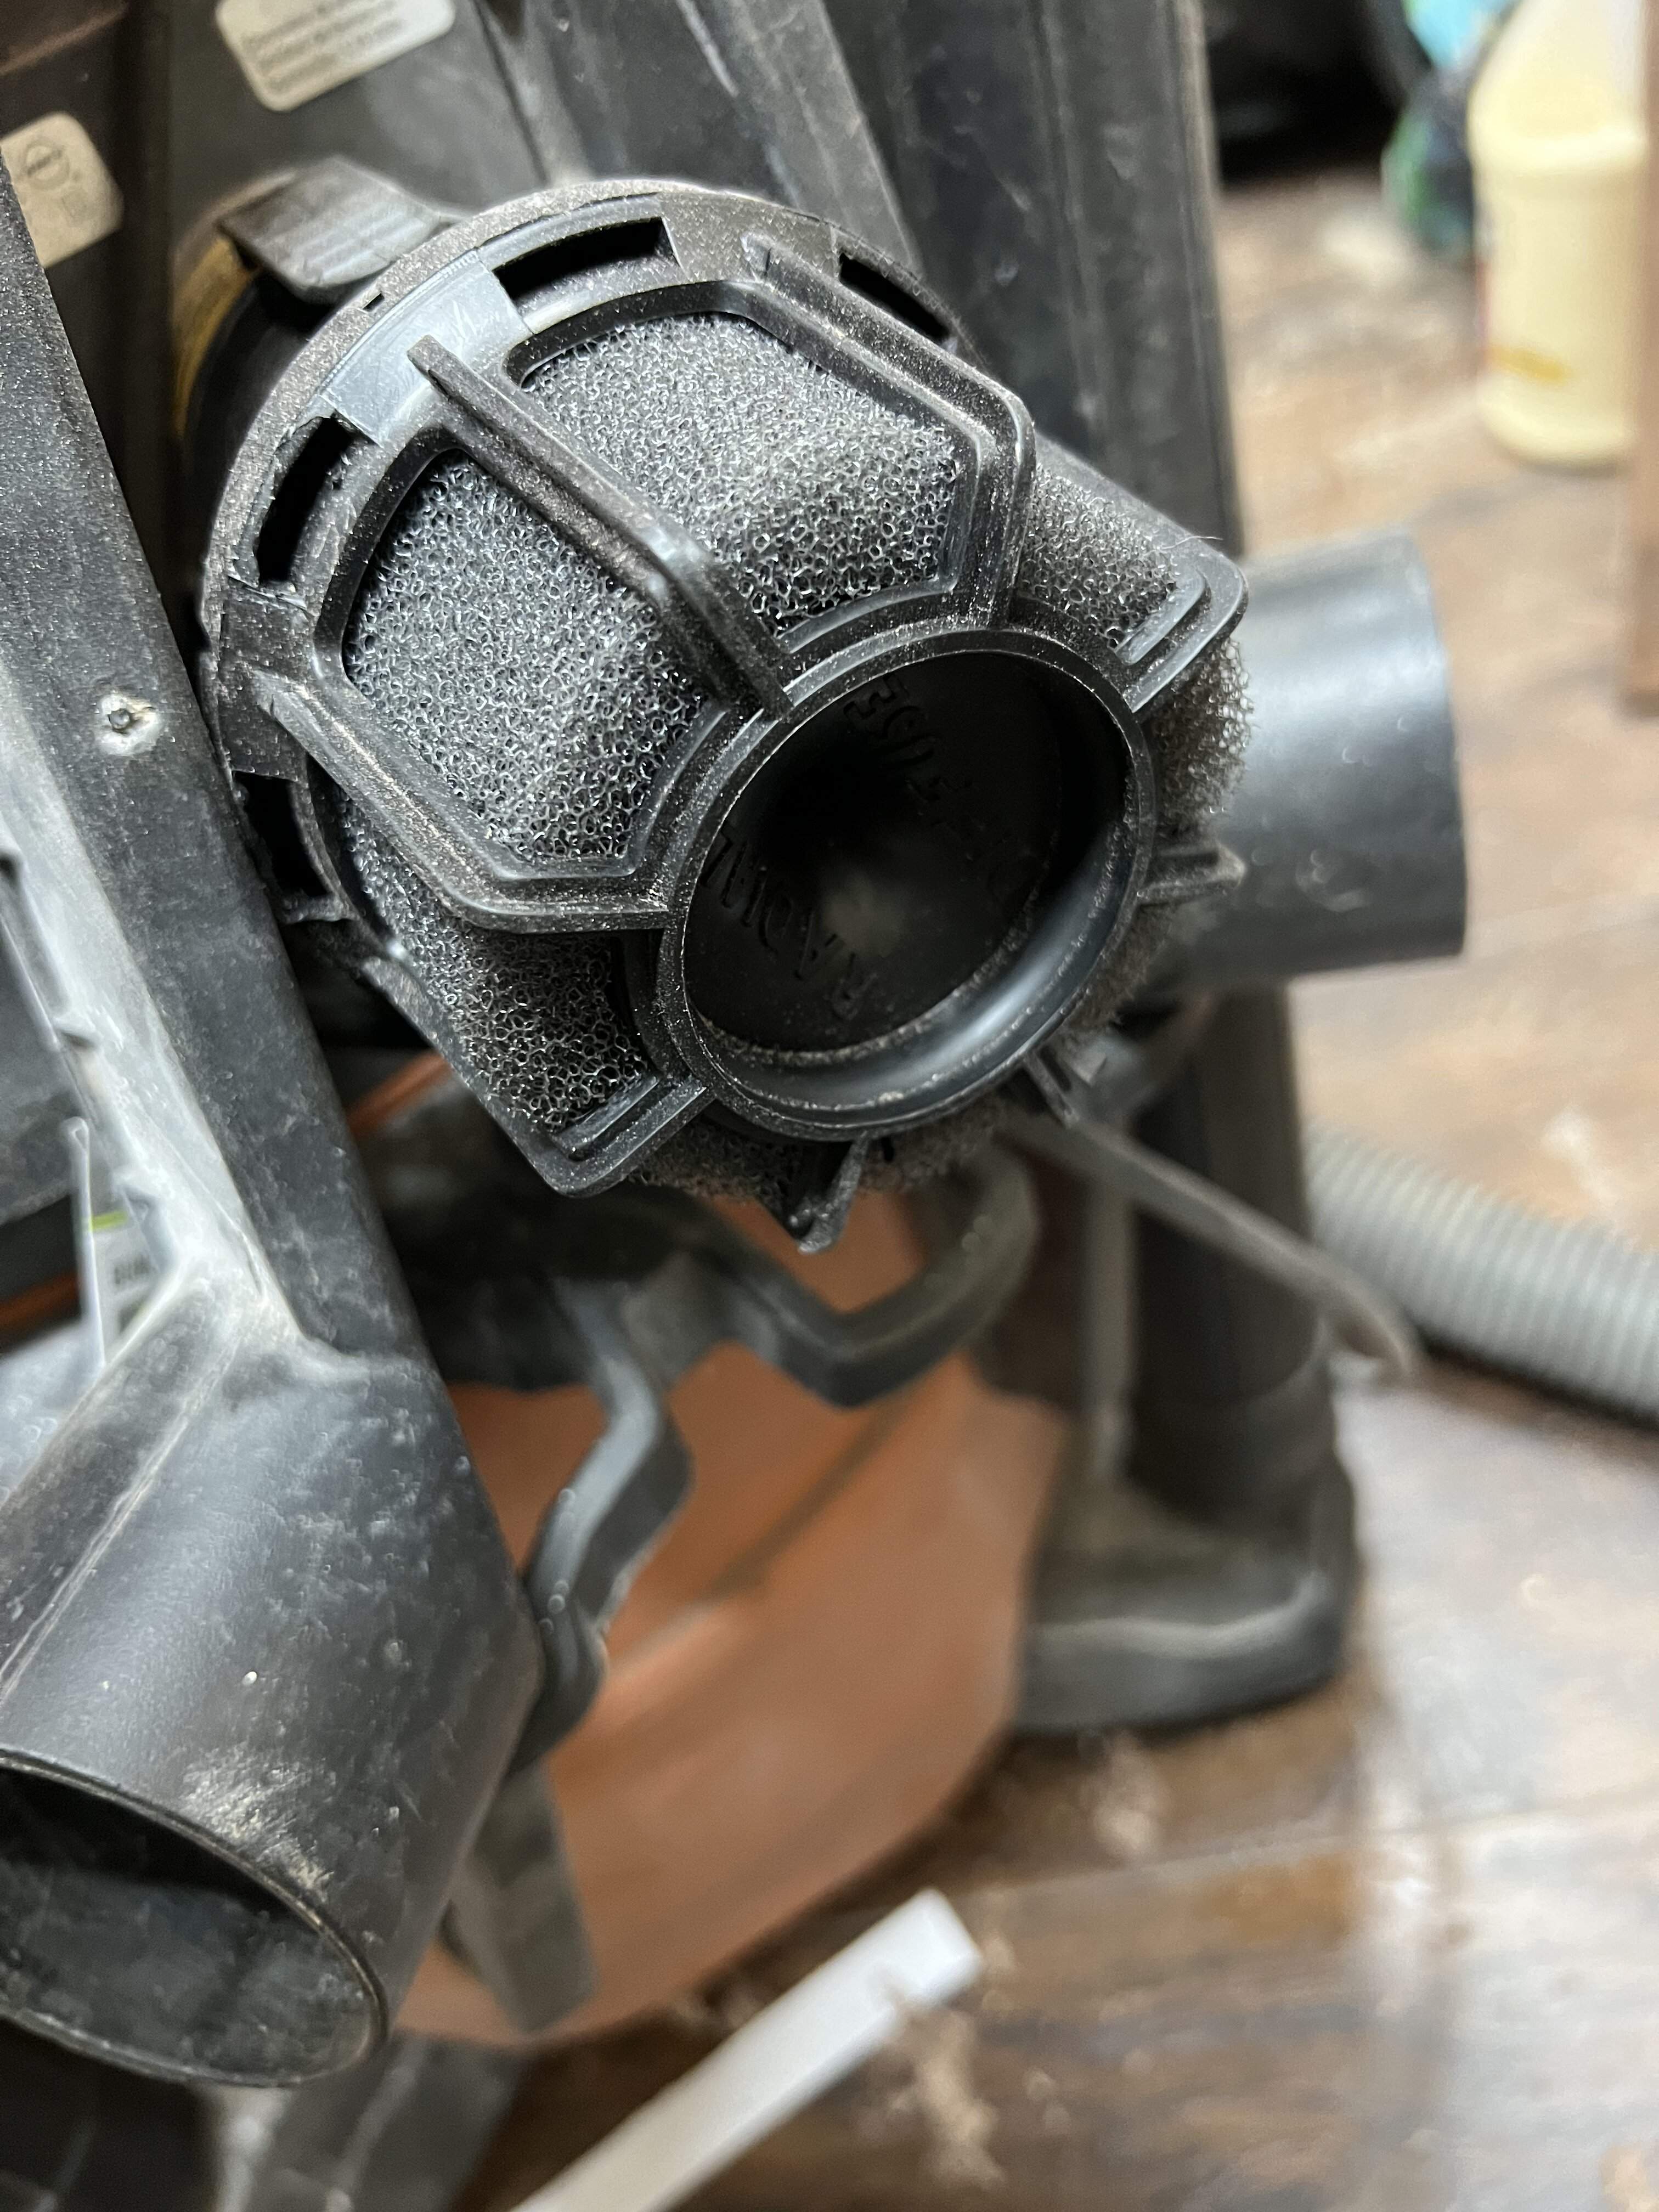
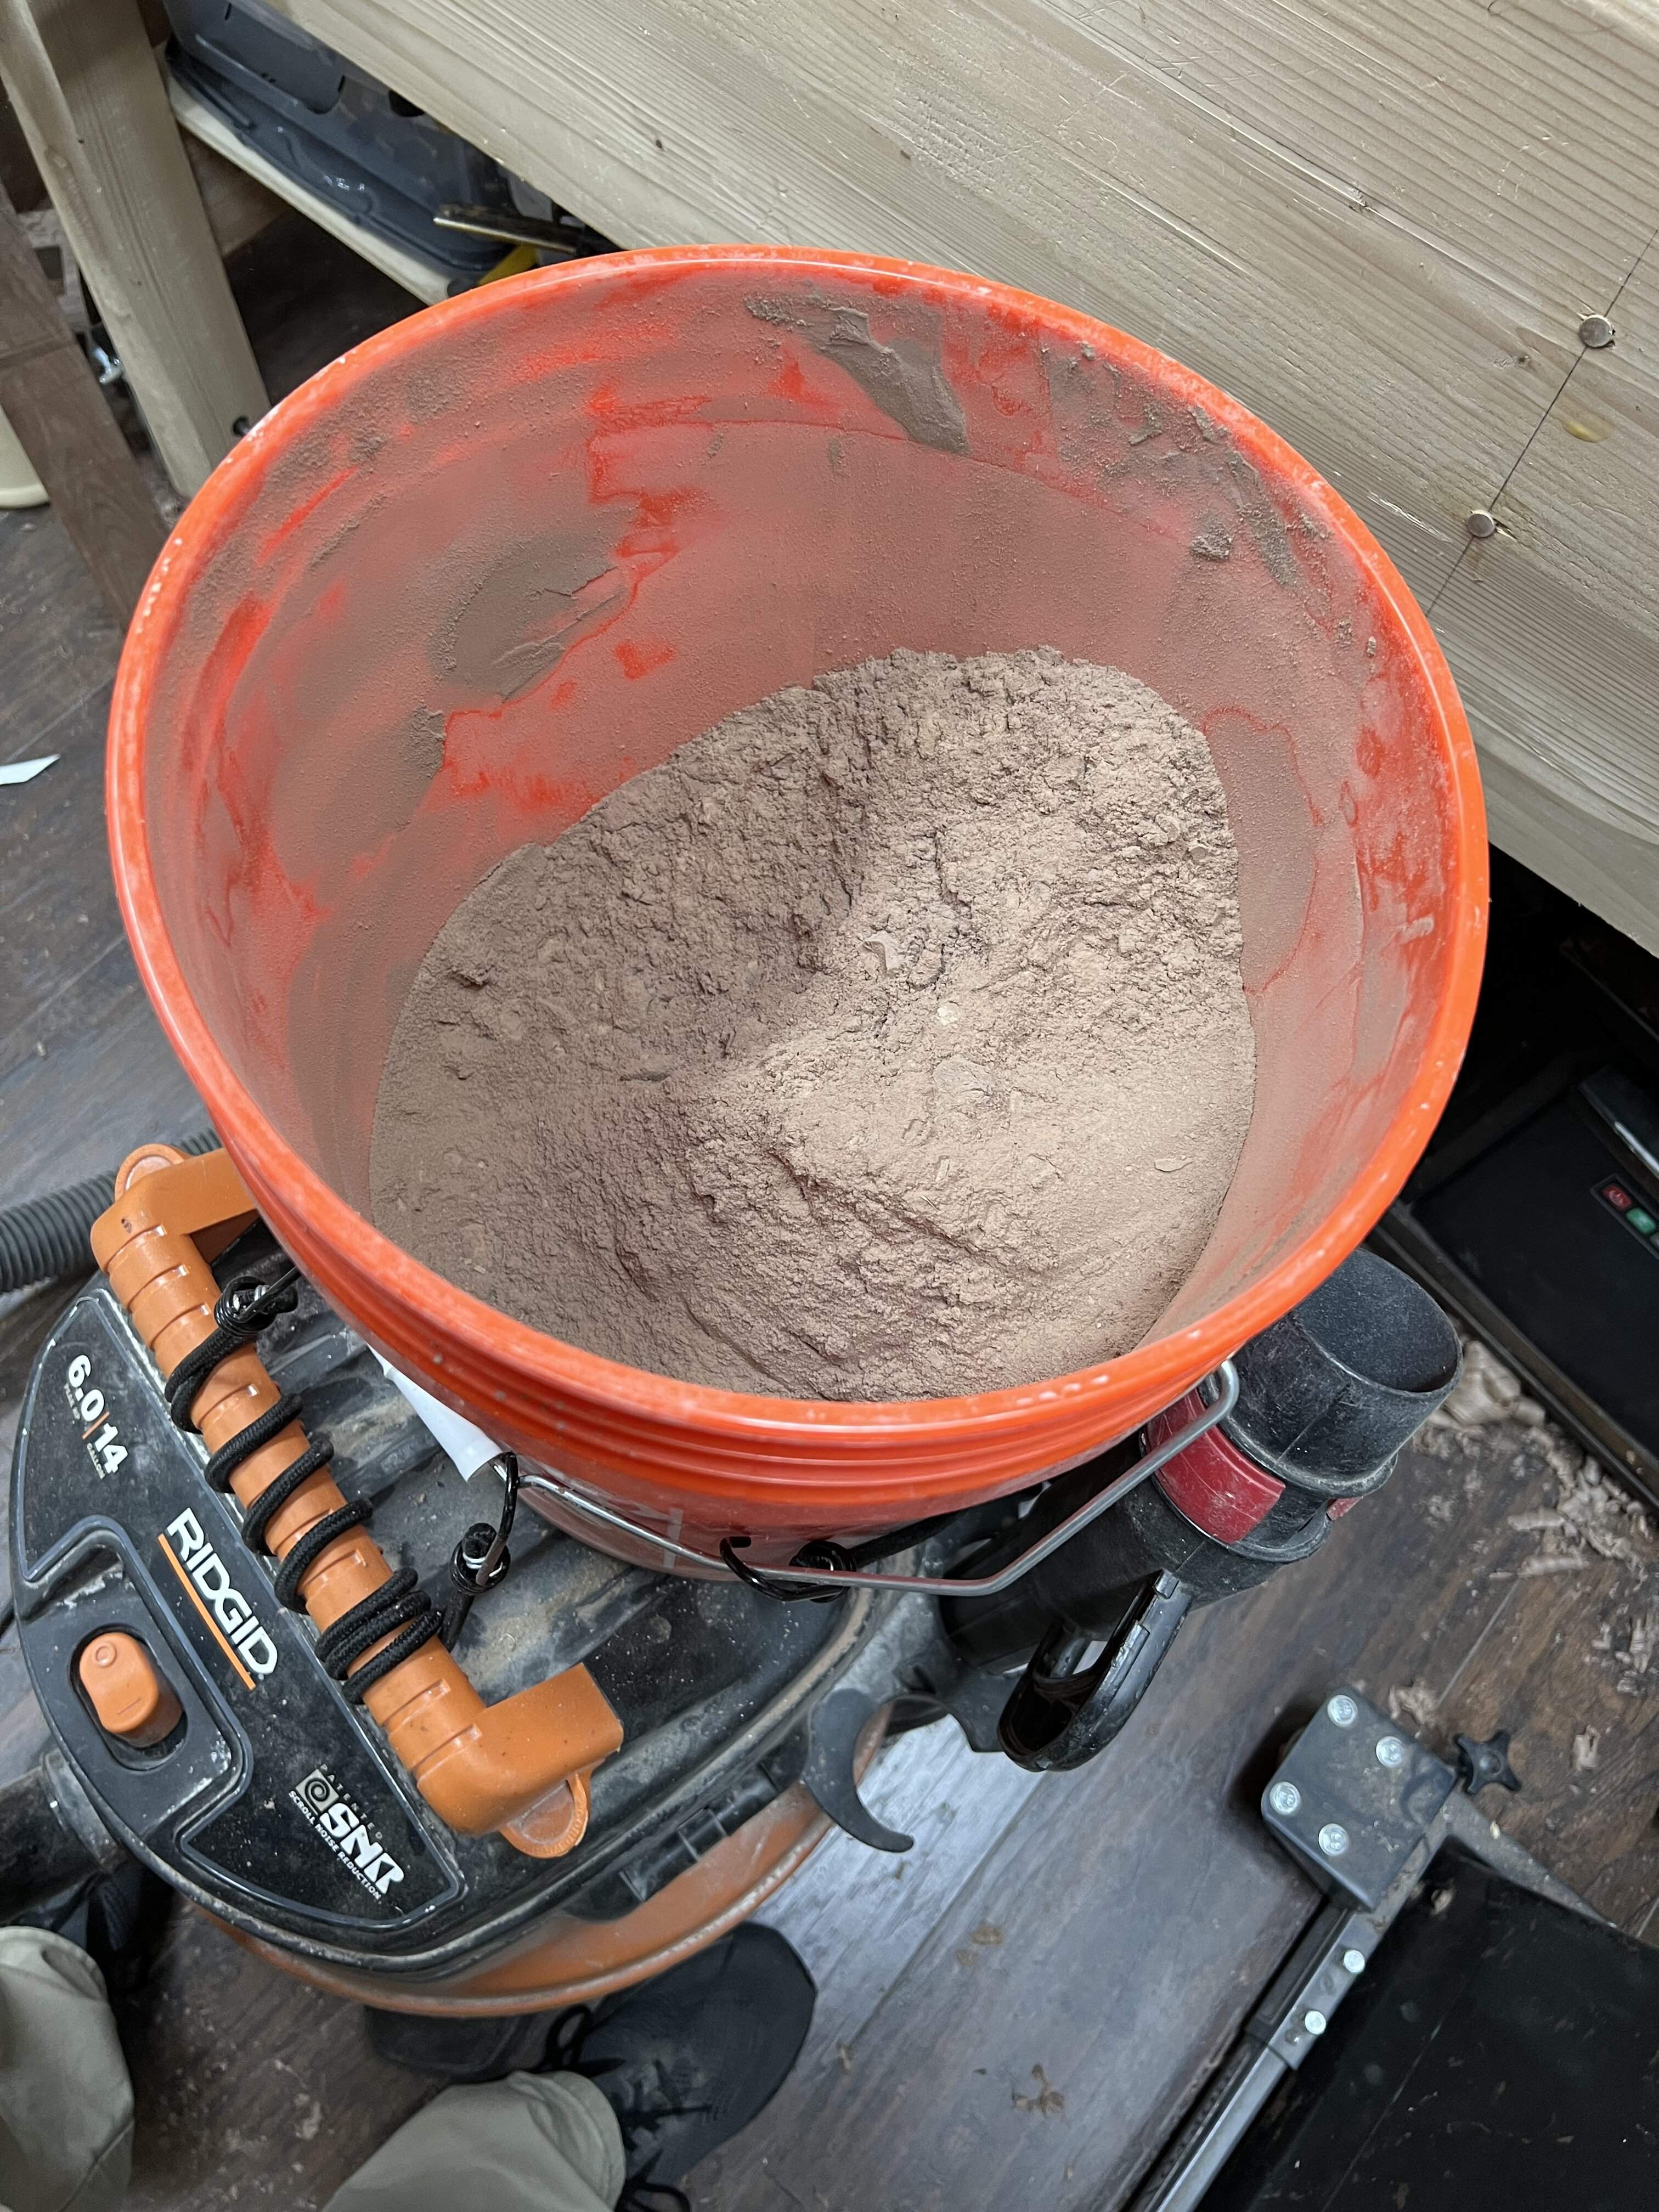
I haven’t emptied the dust bucket yet, thought I would check it out. I am very pleased with this setup so far. The bucket is about half full, suction has remained strong and consistent very little dust in the vac itself, filter seems to have caught some dust. Not seeing residue on the little diffuser unit either. I don’t know what’s in the hepa dust bag, but I didn’t feel anything but air. All in all I think this was a worthwhile investment.
I was thinking of using a small round over, like the one on the mustang bass.Don't know about the originals, but my reissue has a round over of about 1/4" radius. More than the top and back thickness, but not much more.

Yeah, I feel like I saw that one elsewhere here before as well, did you post on that one before?I don’t recall on the originals but in the blue one I posted above I did a chamfer on the top and back and left slightly more then the size of the tolex “binding” flat.
I think if I had planned this out I would have made the top and back plate thicker rather than swap them for the Masonite dimensions. Then, I could do a round over that terminates at the top and back join. Actually, I would aesthetically do a lot differently. Maybe if I enjoy this bass (having never played one) I’ll get some more scraps together.
Anyway, my only concern with a round over (smallest I have is 3/16”) is messing with that transition of the top and back.
Ultimately I am probably overthinking this, the EB3L I made with walnut really evened out once the amber shellac was applied.
Also, holding the frame you can already tell this is going to be a featherweight bass, the real ones must have weighed next to nothing! I’ll be curious to see the final weights of this and the mustang bass.
Yeah, I feel like I saw that one elsewhere here before as well, did you post on that one before?
I think if I had planned this out I would have made the top and back plate thicker rather than swap them for the Masonite dimensions. Then, I could do a round over that terminates at the top and back join. Actually, I would aesthetically do a lot differently. Maybe if I enjoy this bass (having never played one) I’ll get some more scraps together.
Anyway, my only concern with a round over (smallest I have is 3/16”) is messing with that transition of the top and back.
Ultimately I am probably overthinking this, the EB3L I made with walnut really evened out once the amber shellac was applied.
Also, holding the frame you can already tell this is going to be a featherweight bass, the real ones must have weighed next to nothing! I’ll be curious to see the final weights of this and the mustang bass.
I’ve posted a few pictures but that’s it. It’s one of many that I started to take pictures as I started building then…. didn’t.
 I’m trying to do better.
Going to get the top and back on tonight, found this old craftsman dado cover for my old table saw. Good thick steel, and I can get a bridge and a neck plate out of it.

Pickups are here! I just went with the allparts models for this build. I like Curtis Novak pickups, he does some beautiful work, but for this kind of bass it seems like Nat Daniels would have gone with the allparts.
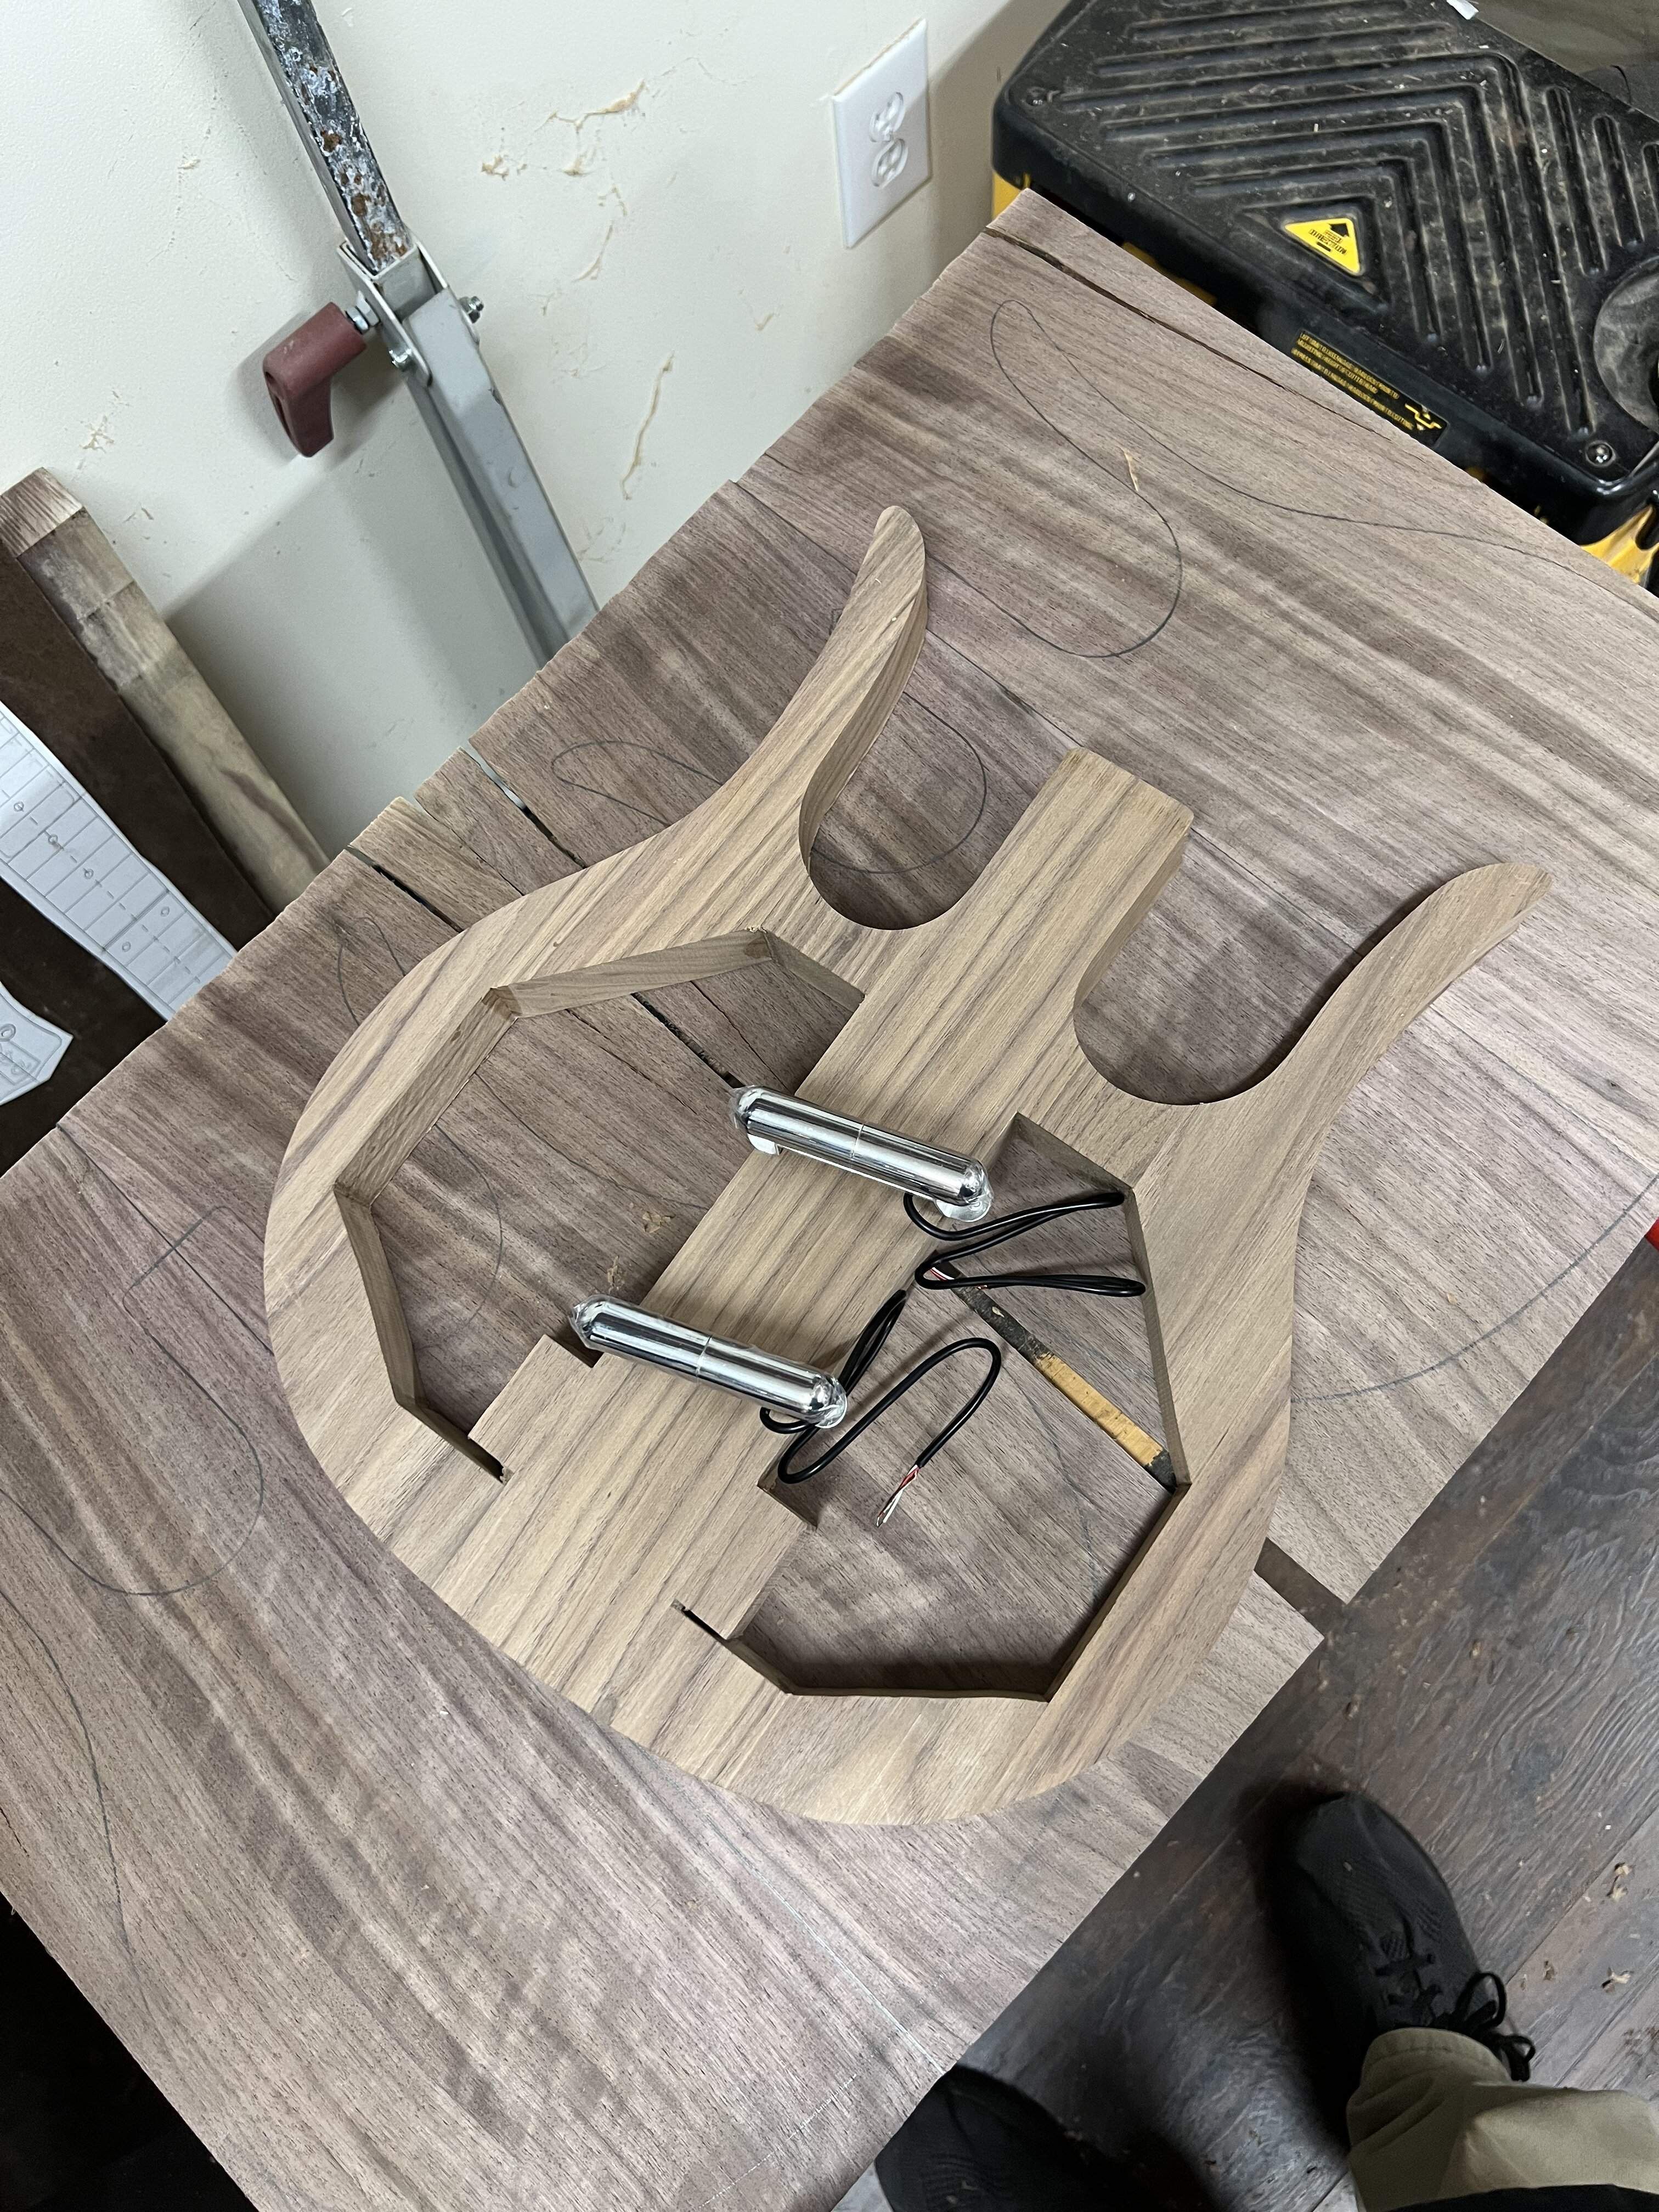
Cut out some cauls, cut the top and back. I unfortunately cut a bit too close on the back so it won’t be perfectly aligned, kicking myself there, rookie mistake. Best to let these overhang a bit extra and then trim back. I am sure it will be one of those things that only I will notice, but still..
Anyway, here is the clamp-o-rama. I used the staple gun to clip some alignment pins. Worked ok.
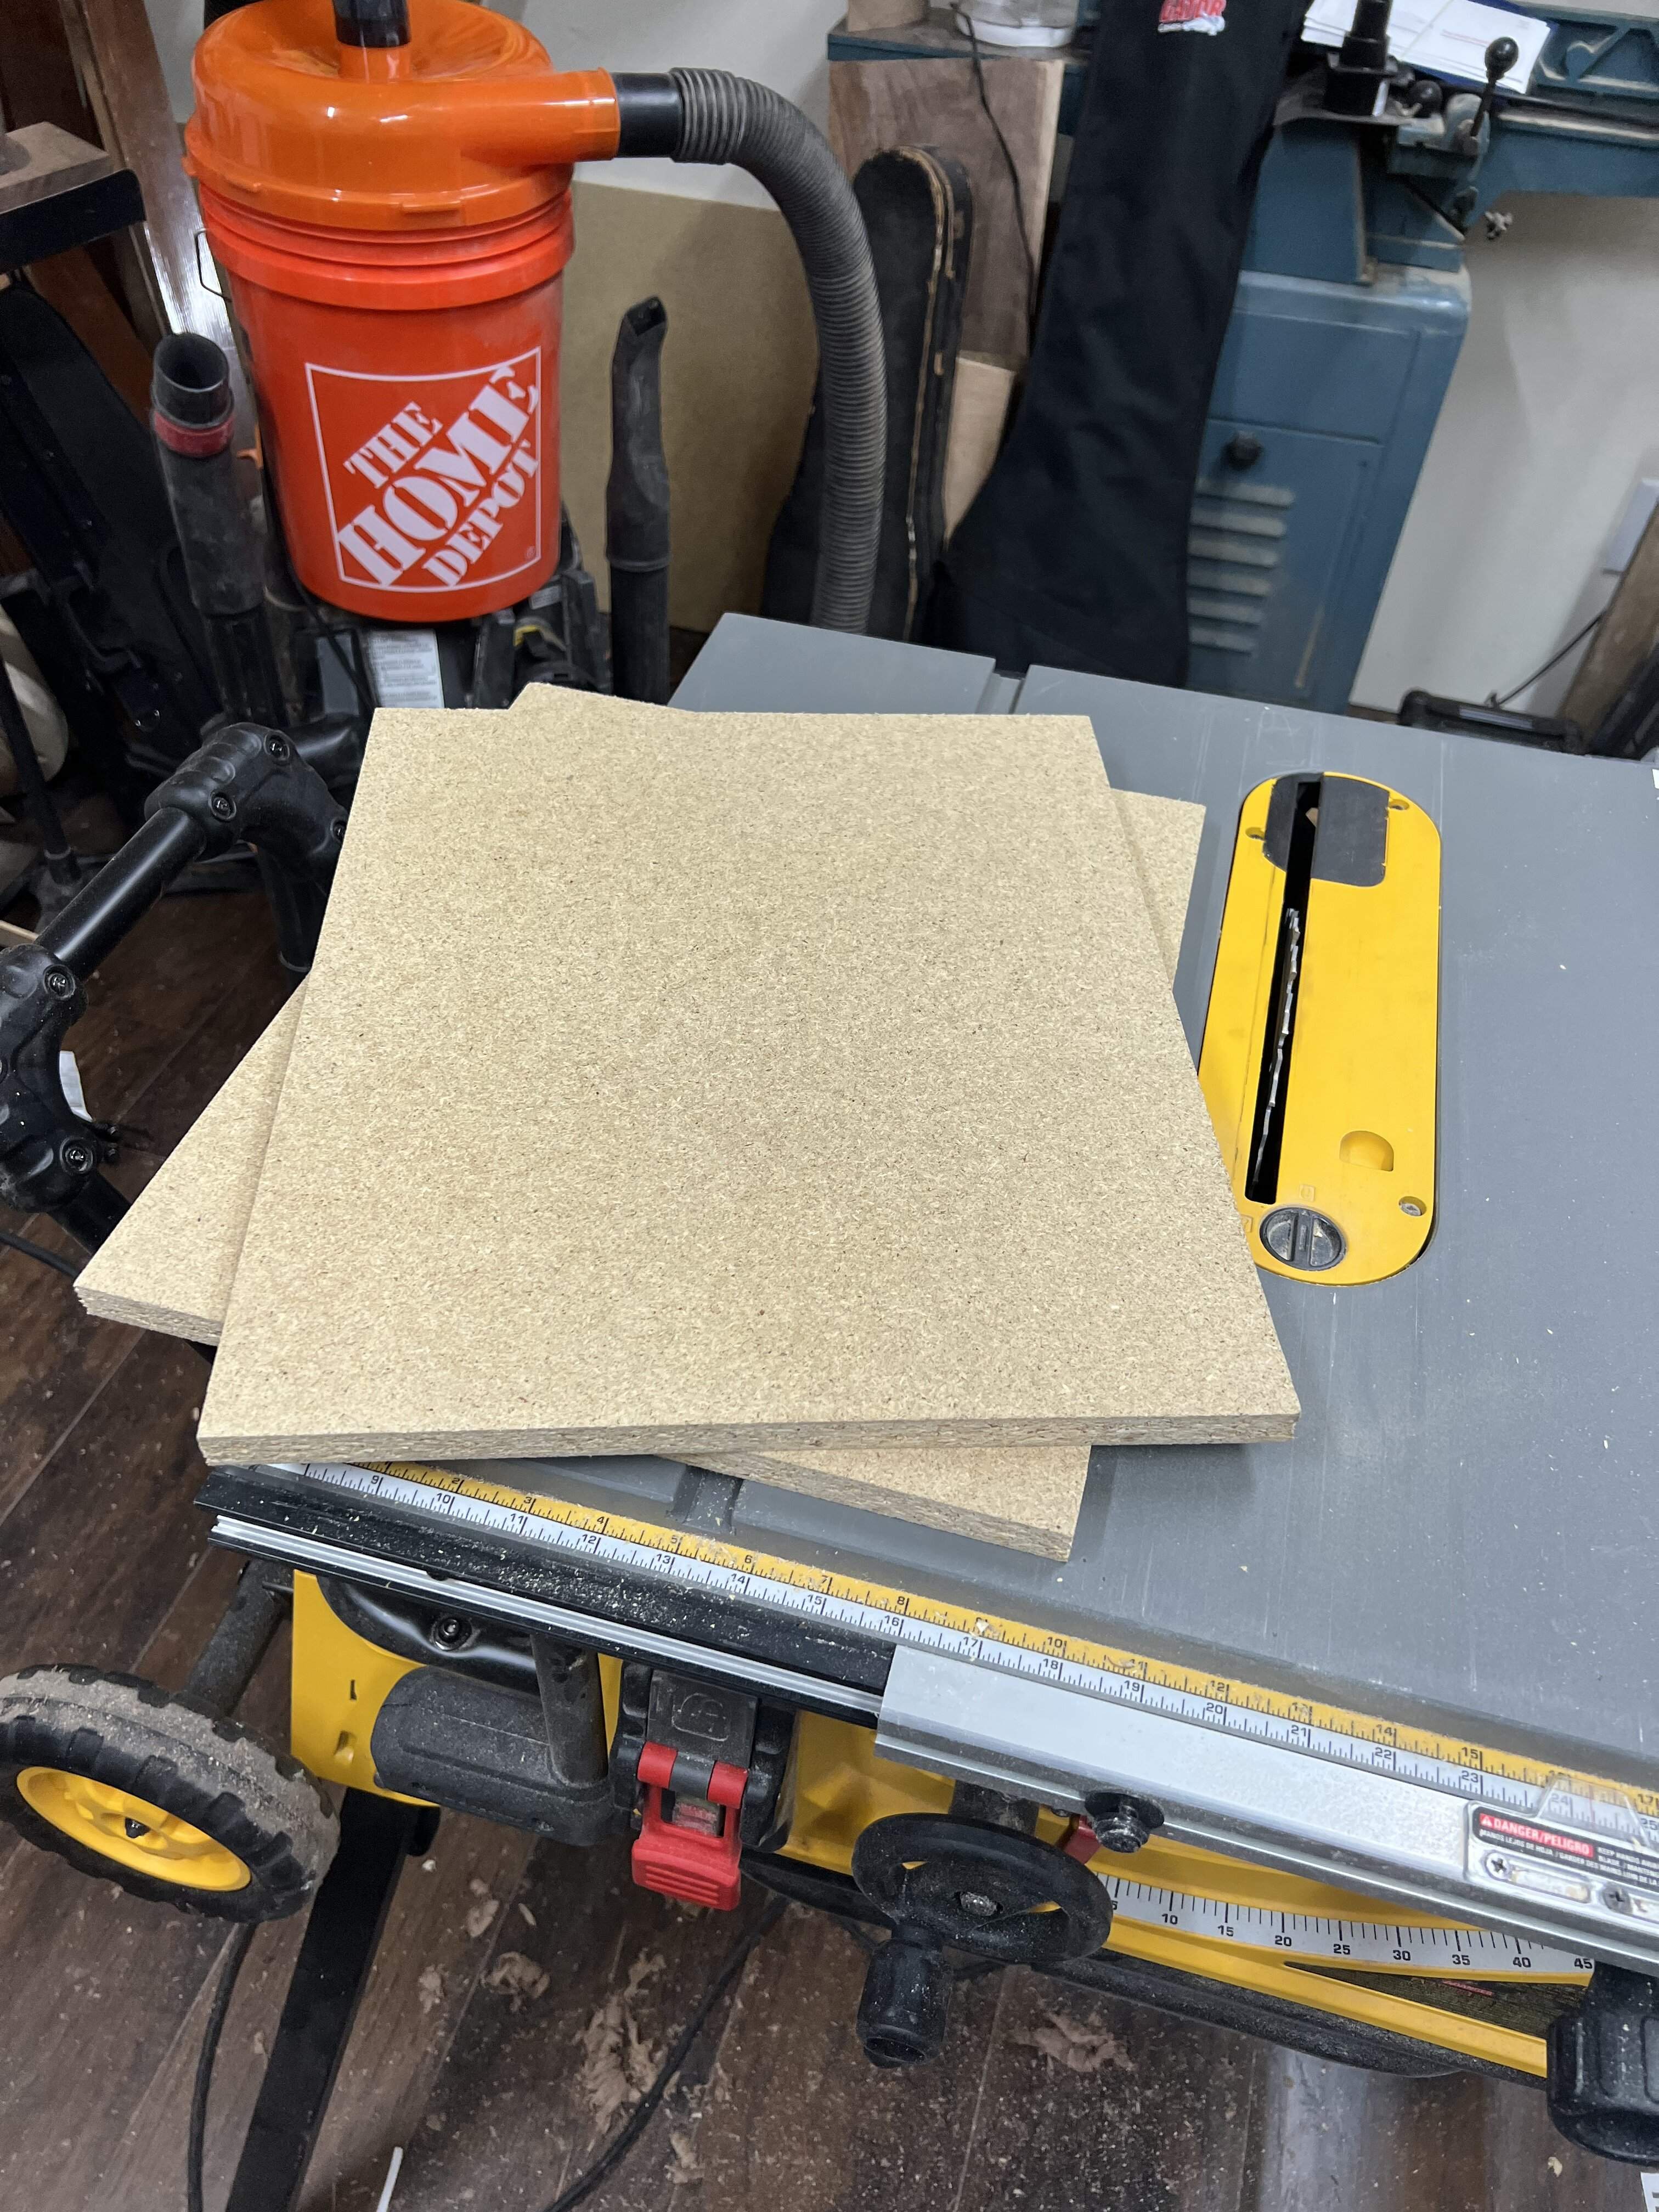
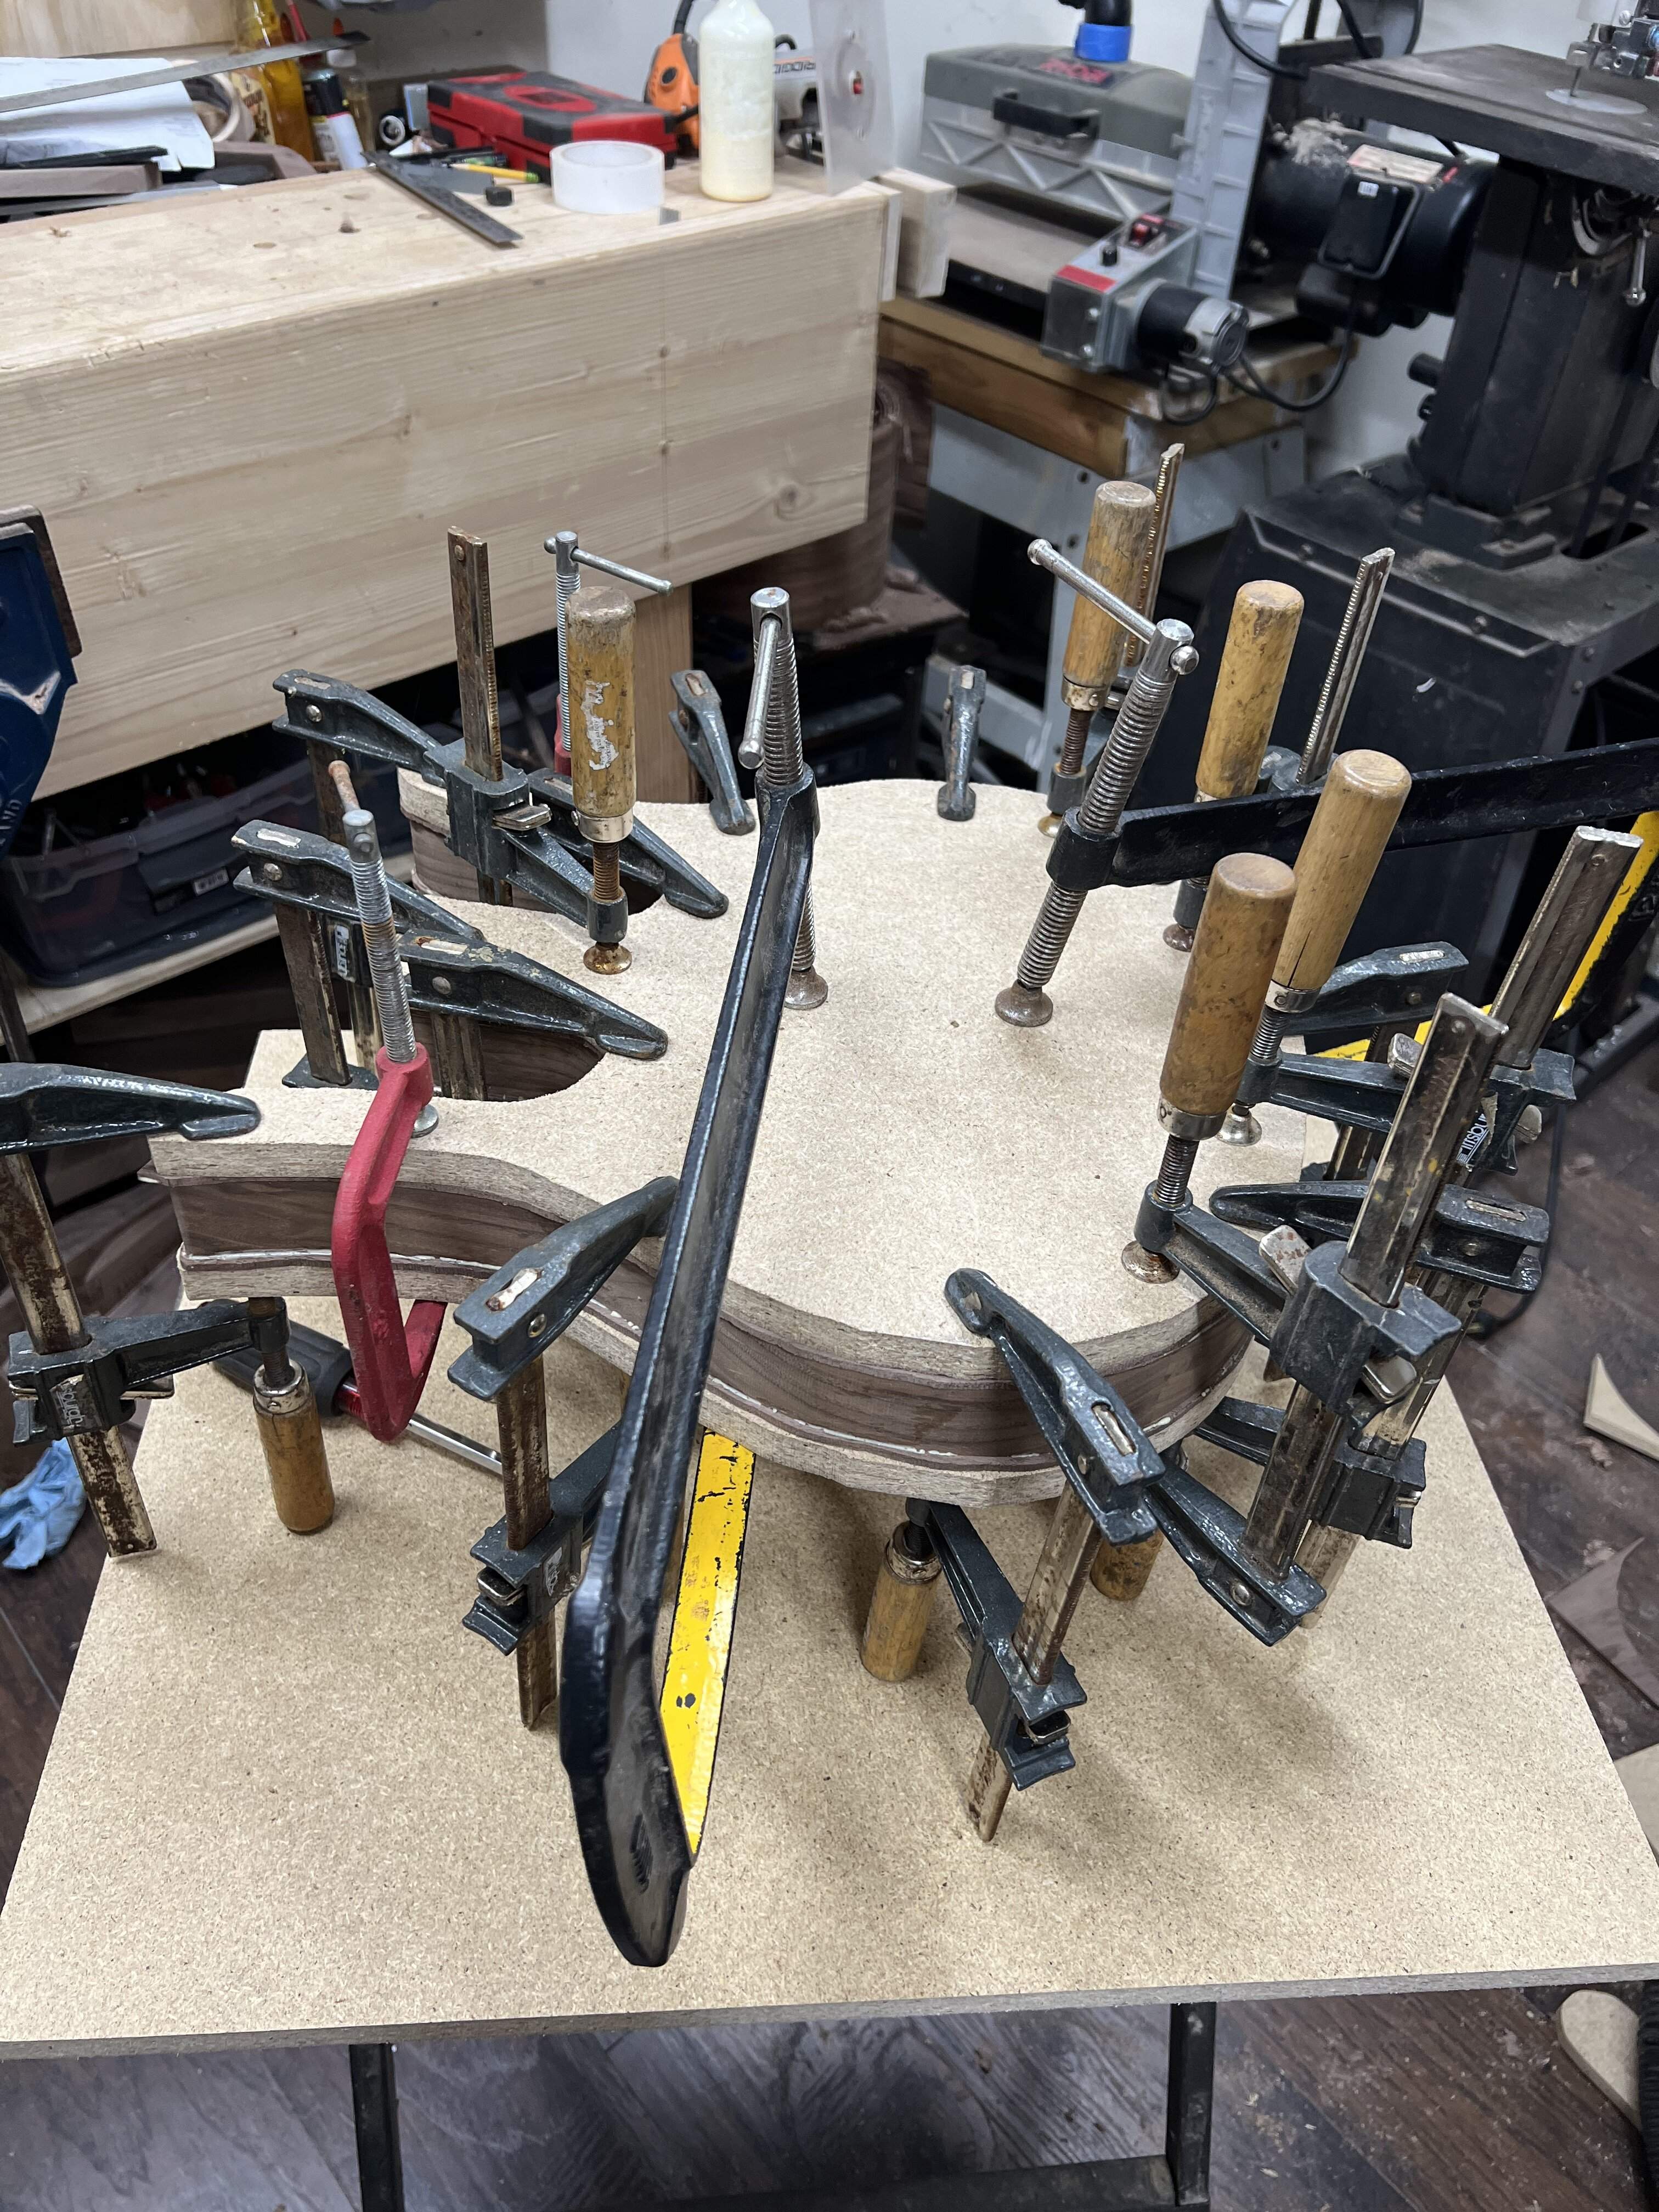
Anyway, here is the clamp-o-rama. I used the staple gun to clip some alignment pins. Worked ok.
So while this dries, I am going to tidy up a bit. Tomorrow my little mustang has a date with the truss rod jig. I found a maple and a walnut cutoff that I should be able to make into a nice neck. I also have a longish cutoff of the figured walnut, but it was set aside because it has a lot of knots. Don’t know that I can make it work. We will see tomorrow.


Have to do some more cleaning and organizing today. As the shop slowly comes together it becomes obvious when I am getting in my own way. All these little bits and pieces, smaller and less-used tools tend to congregate on benches and drill press tables. I have to sort them out, it really limits my steps in a small shop like this, I have to keep moving piles around so I can work in any given area.
I did round over the longhorn body, looks pretty cool. Here are a bunch of pics from different angles, and one with the short scale twins.
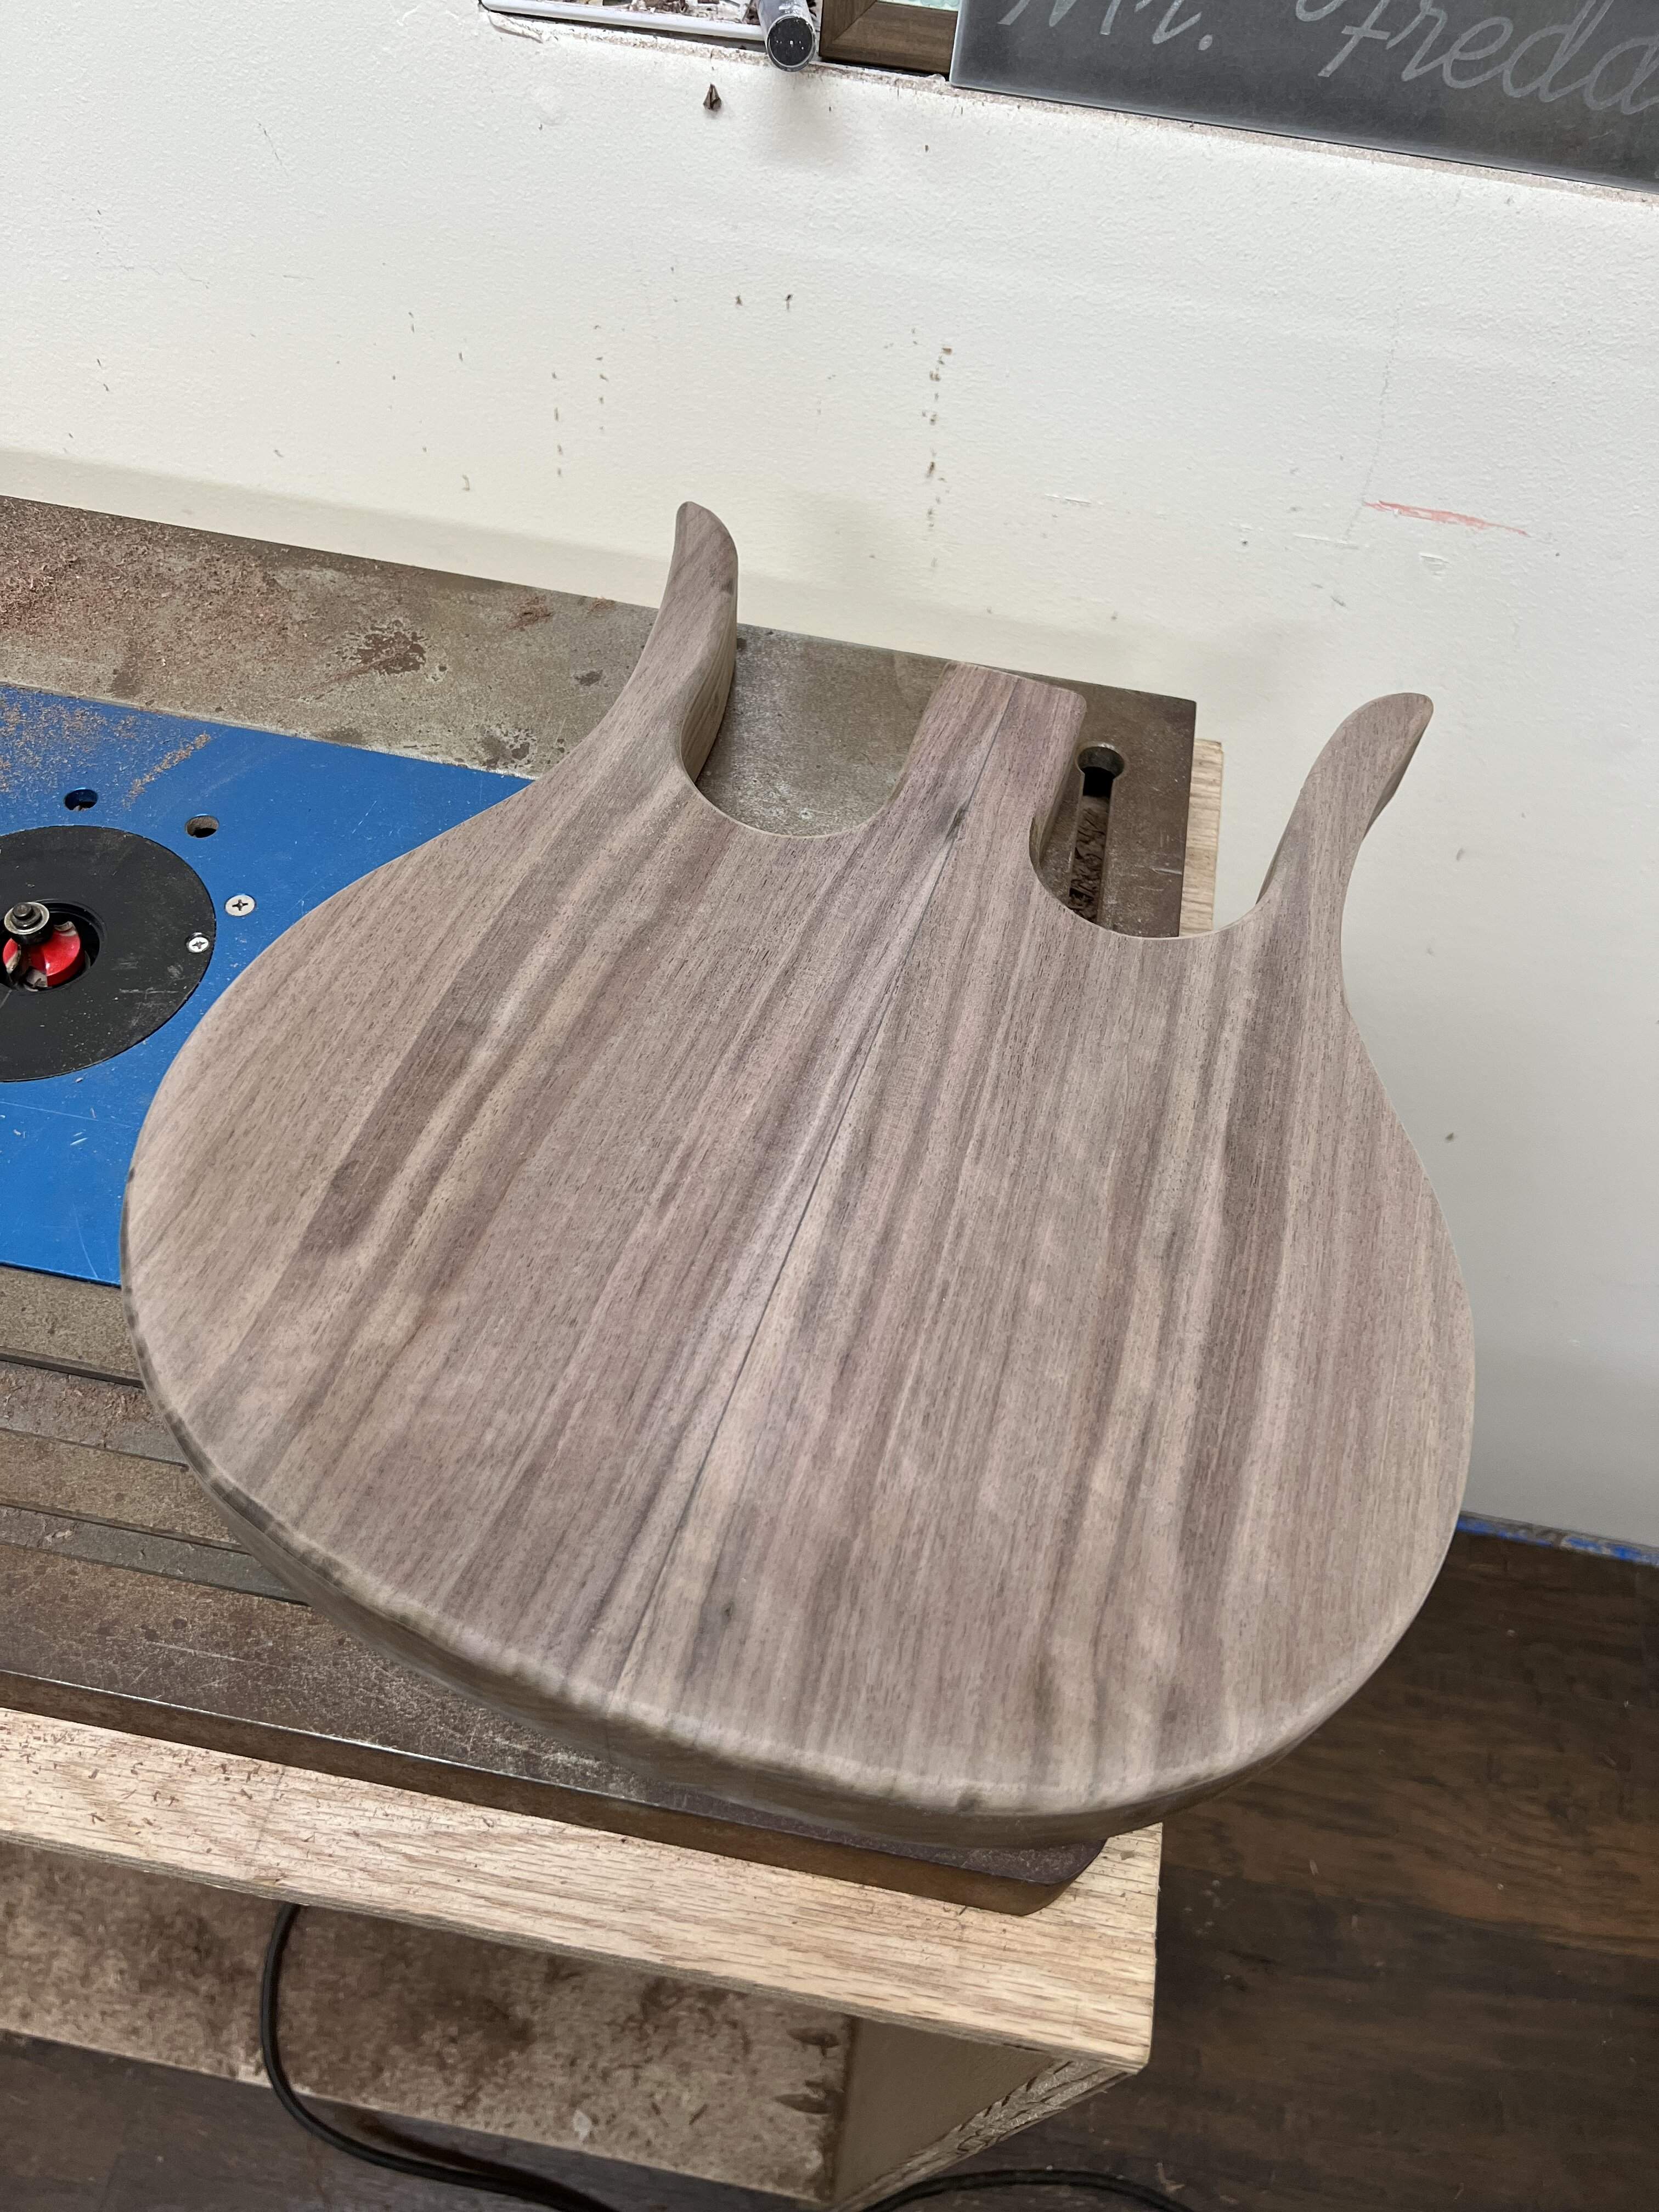
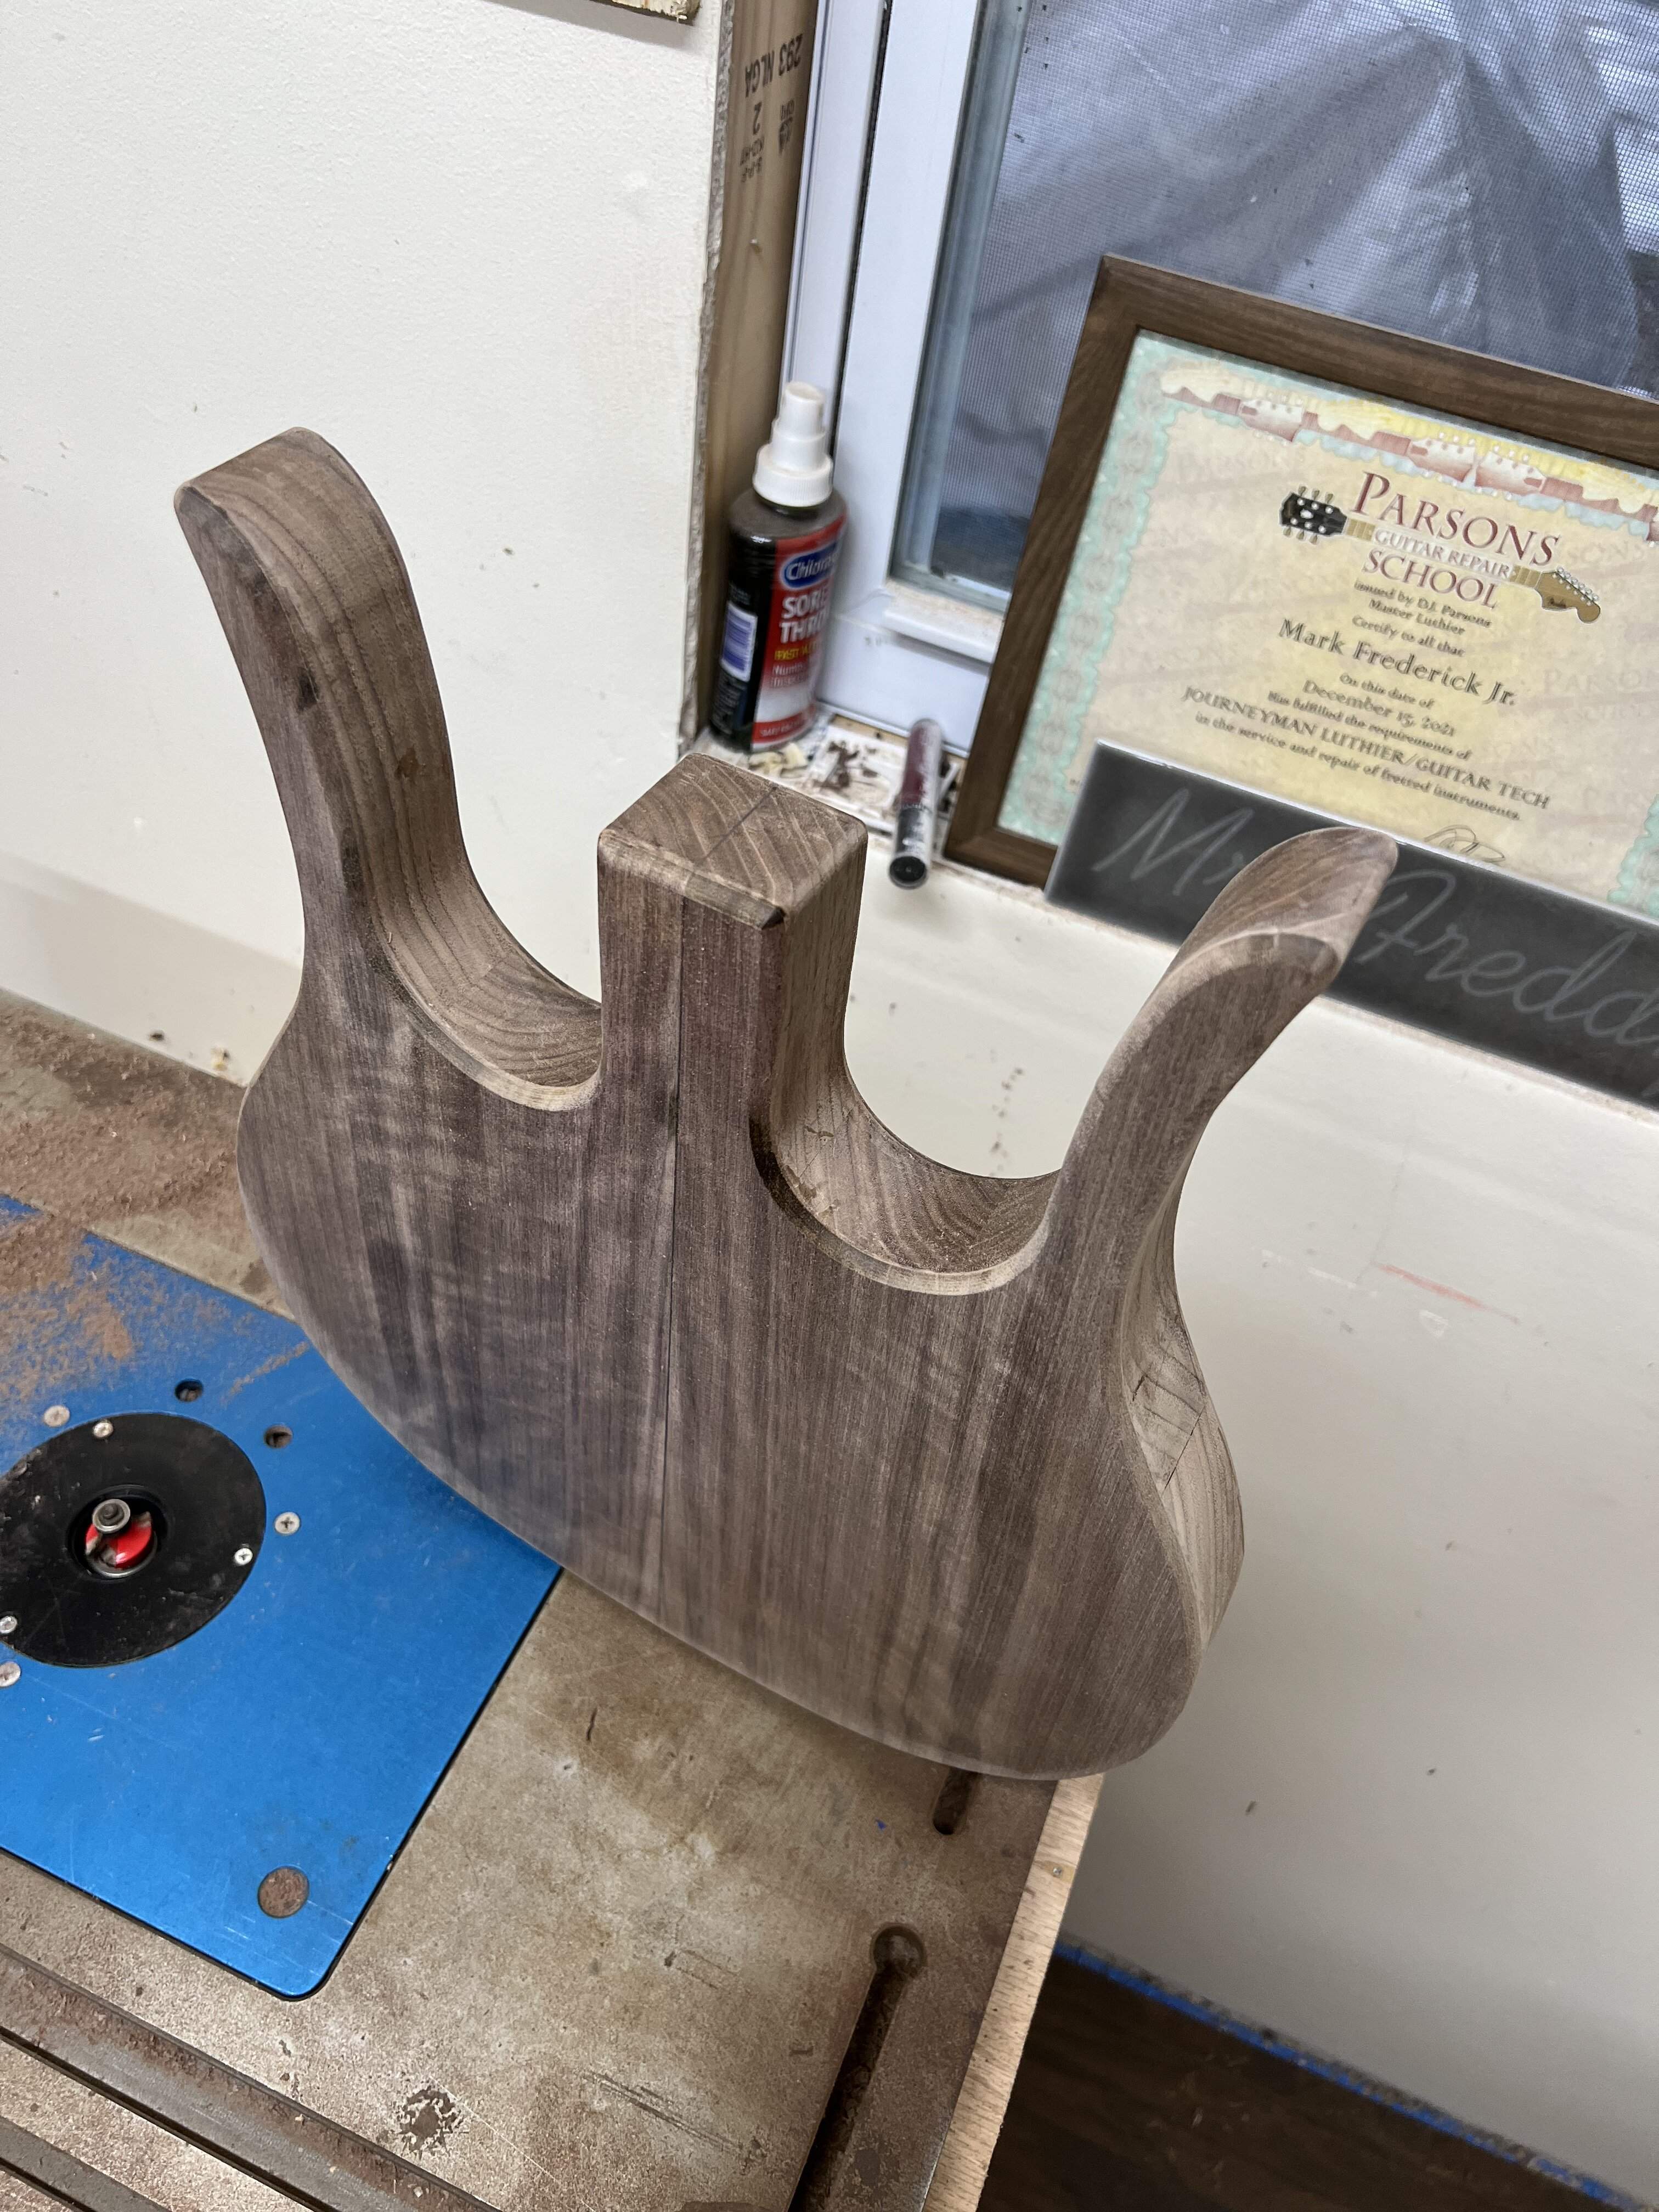
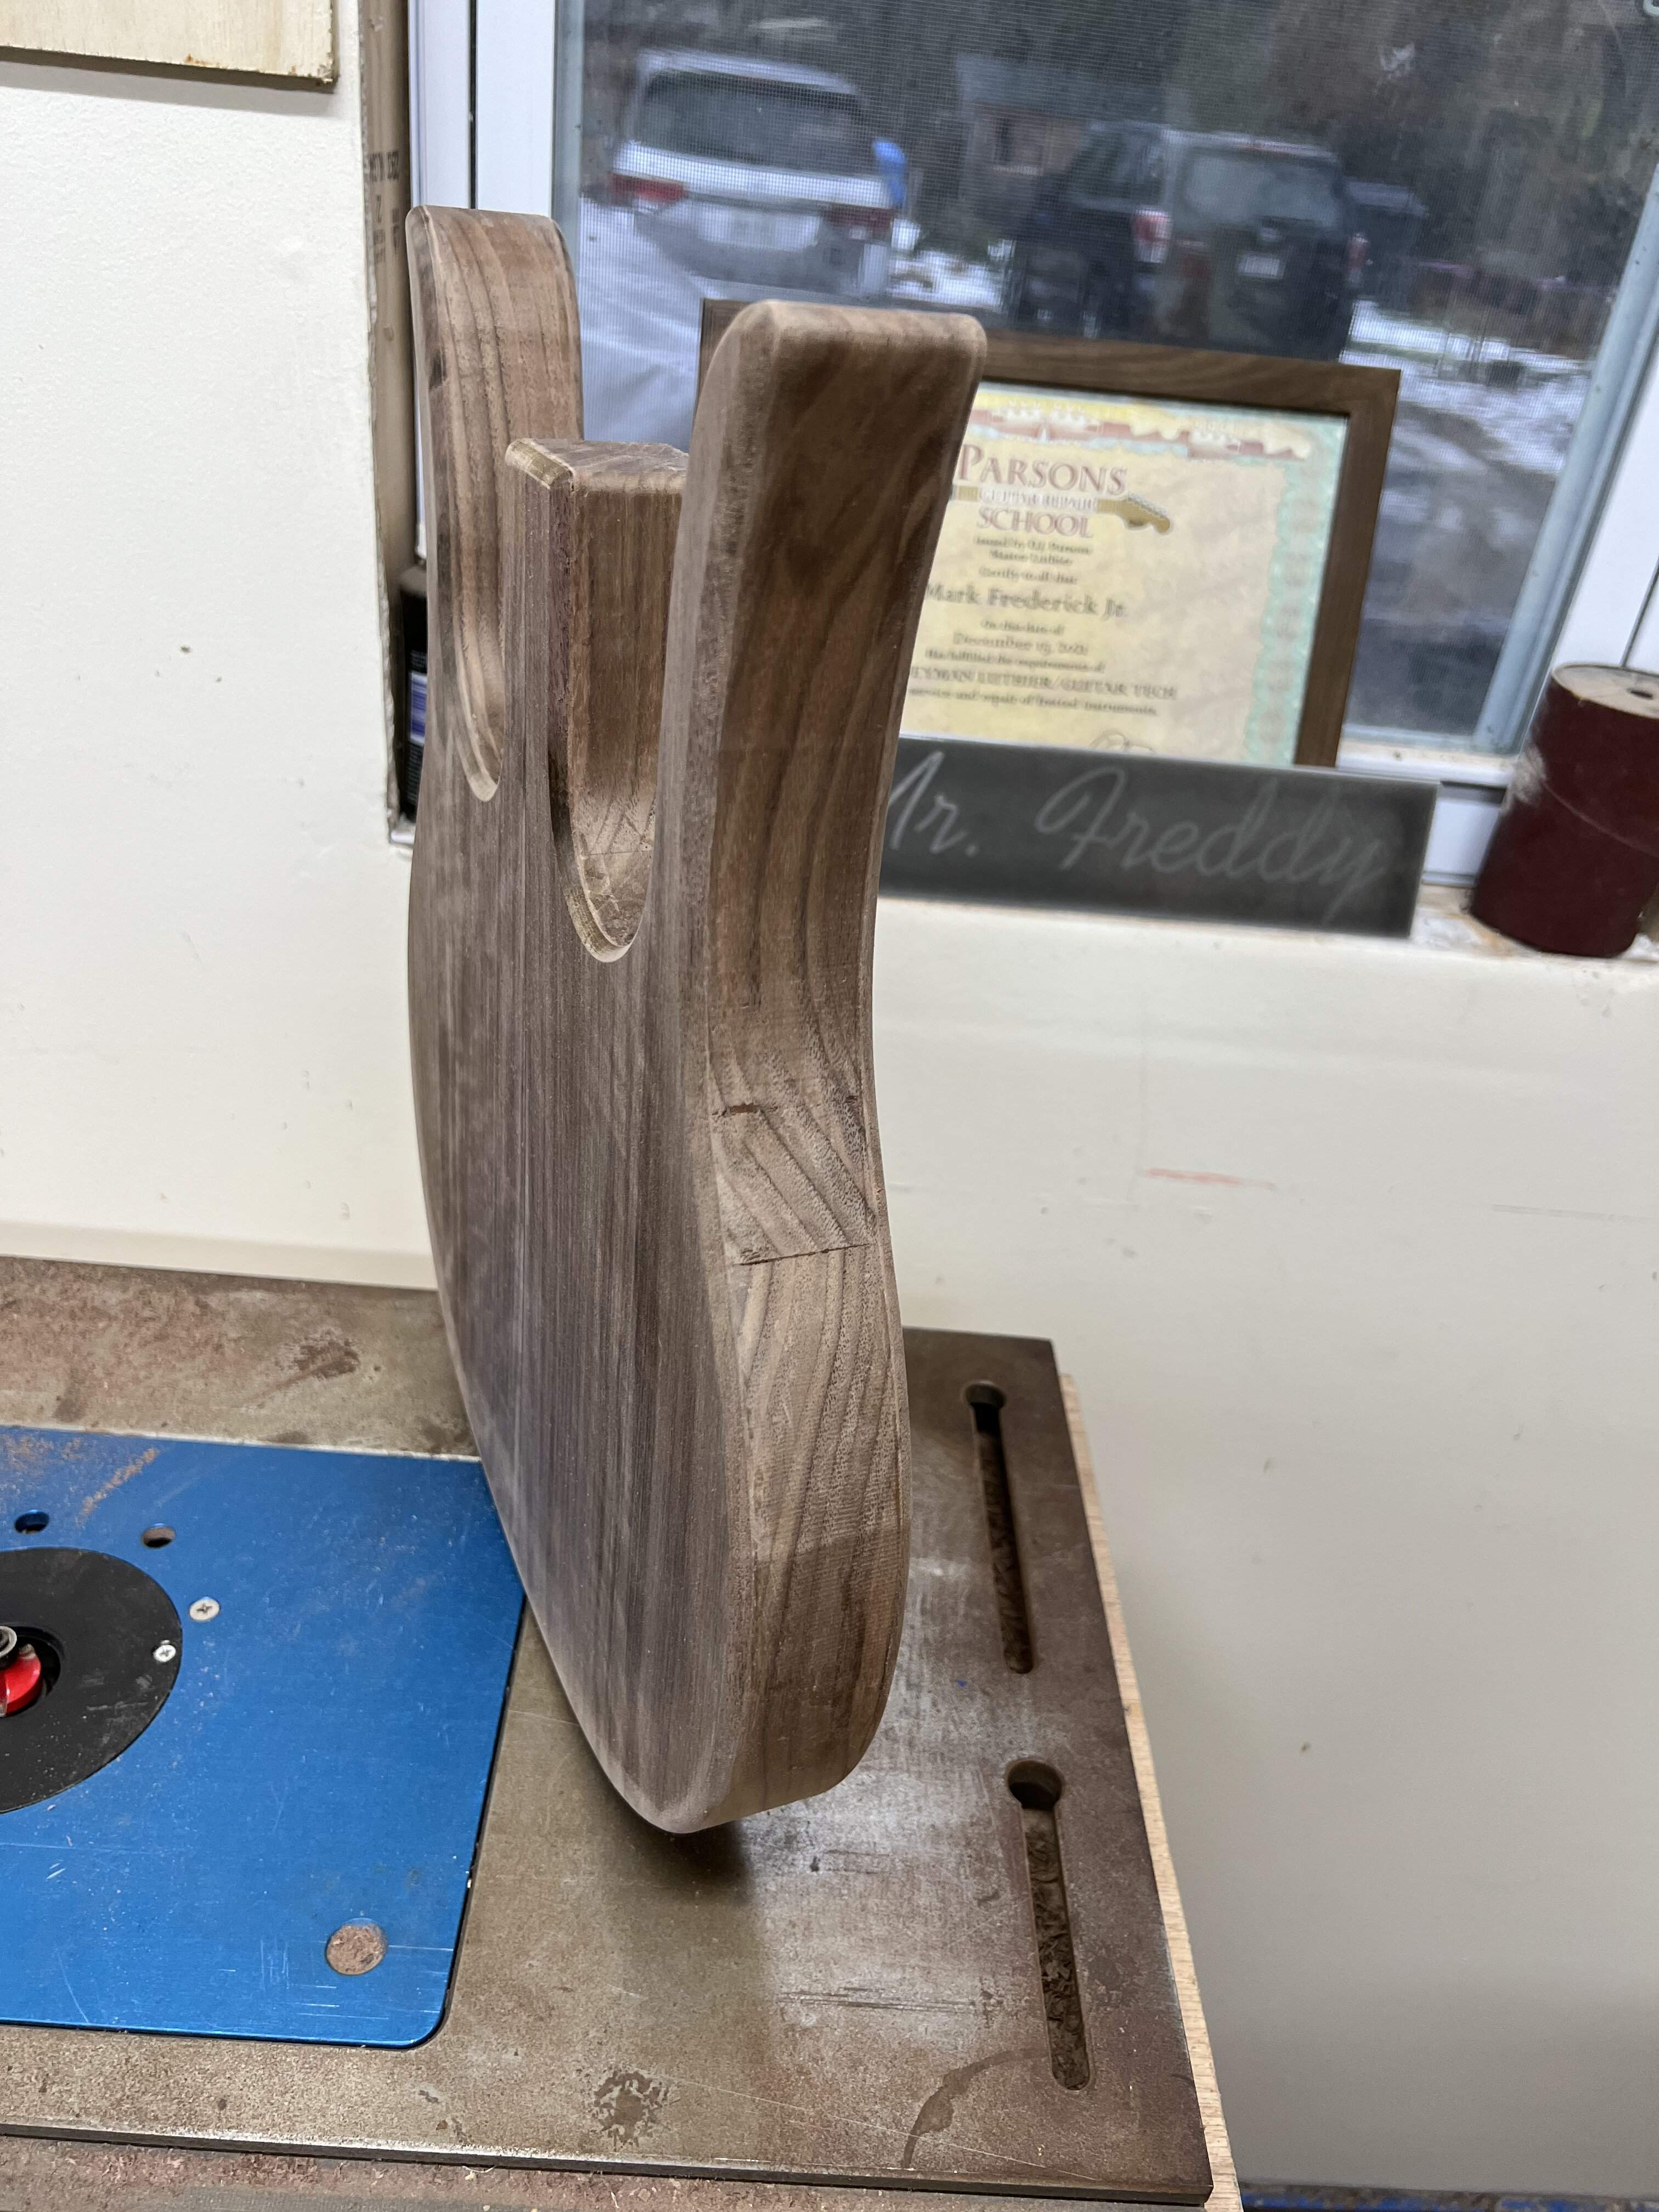

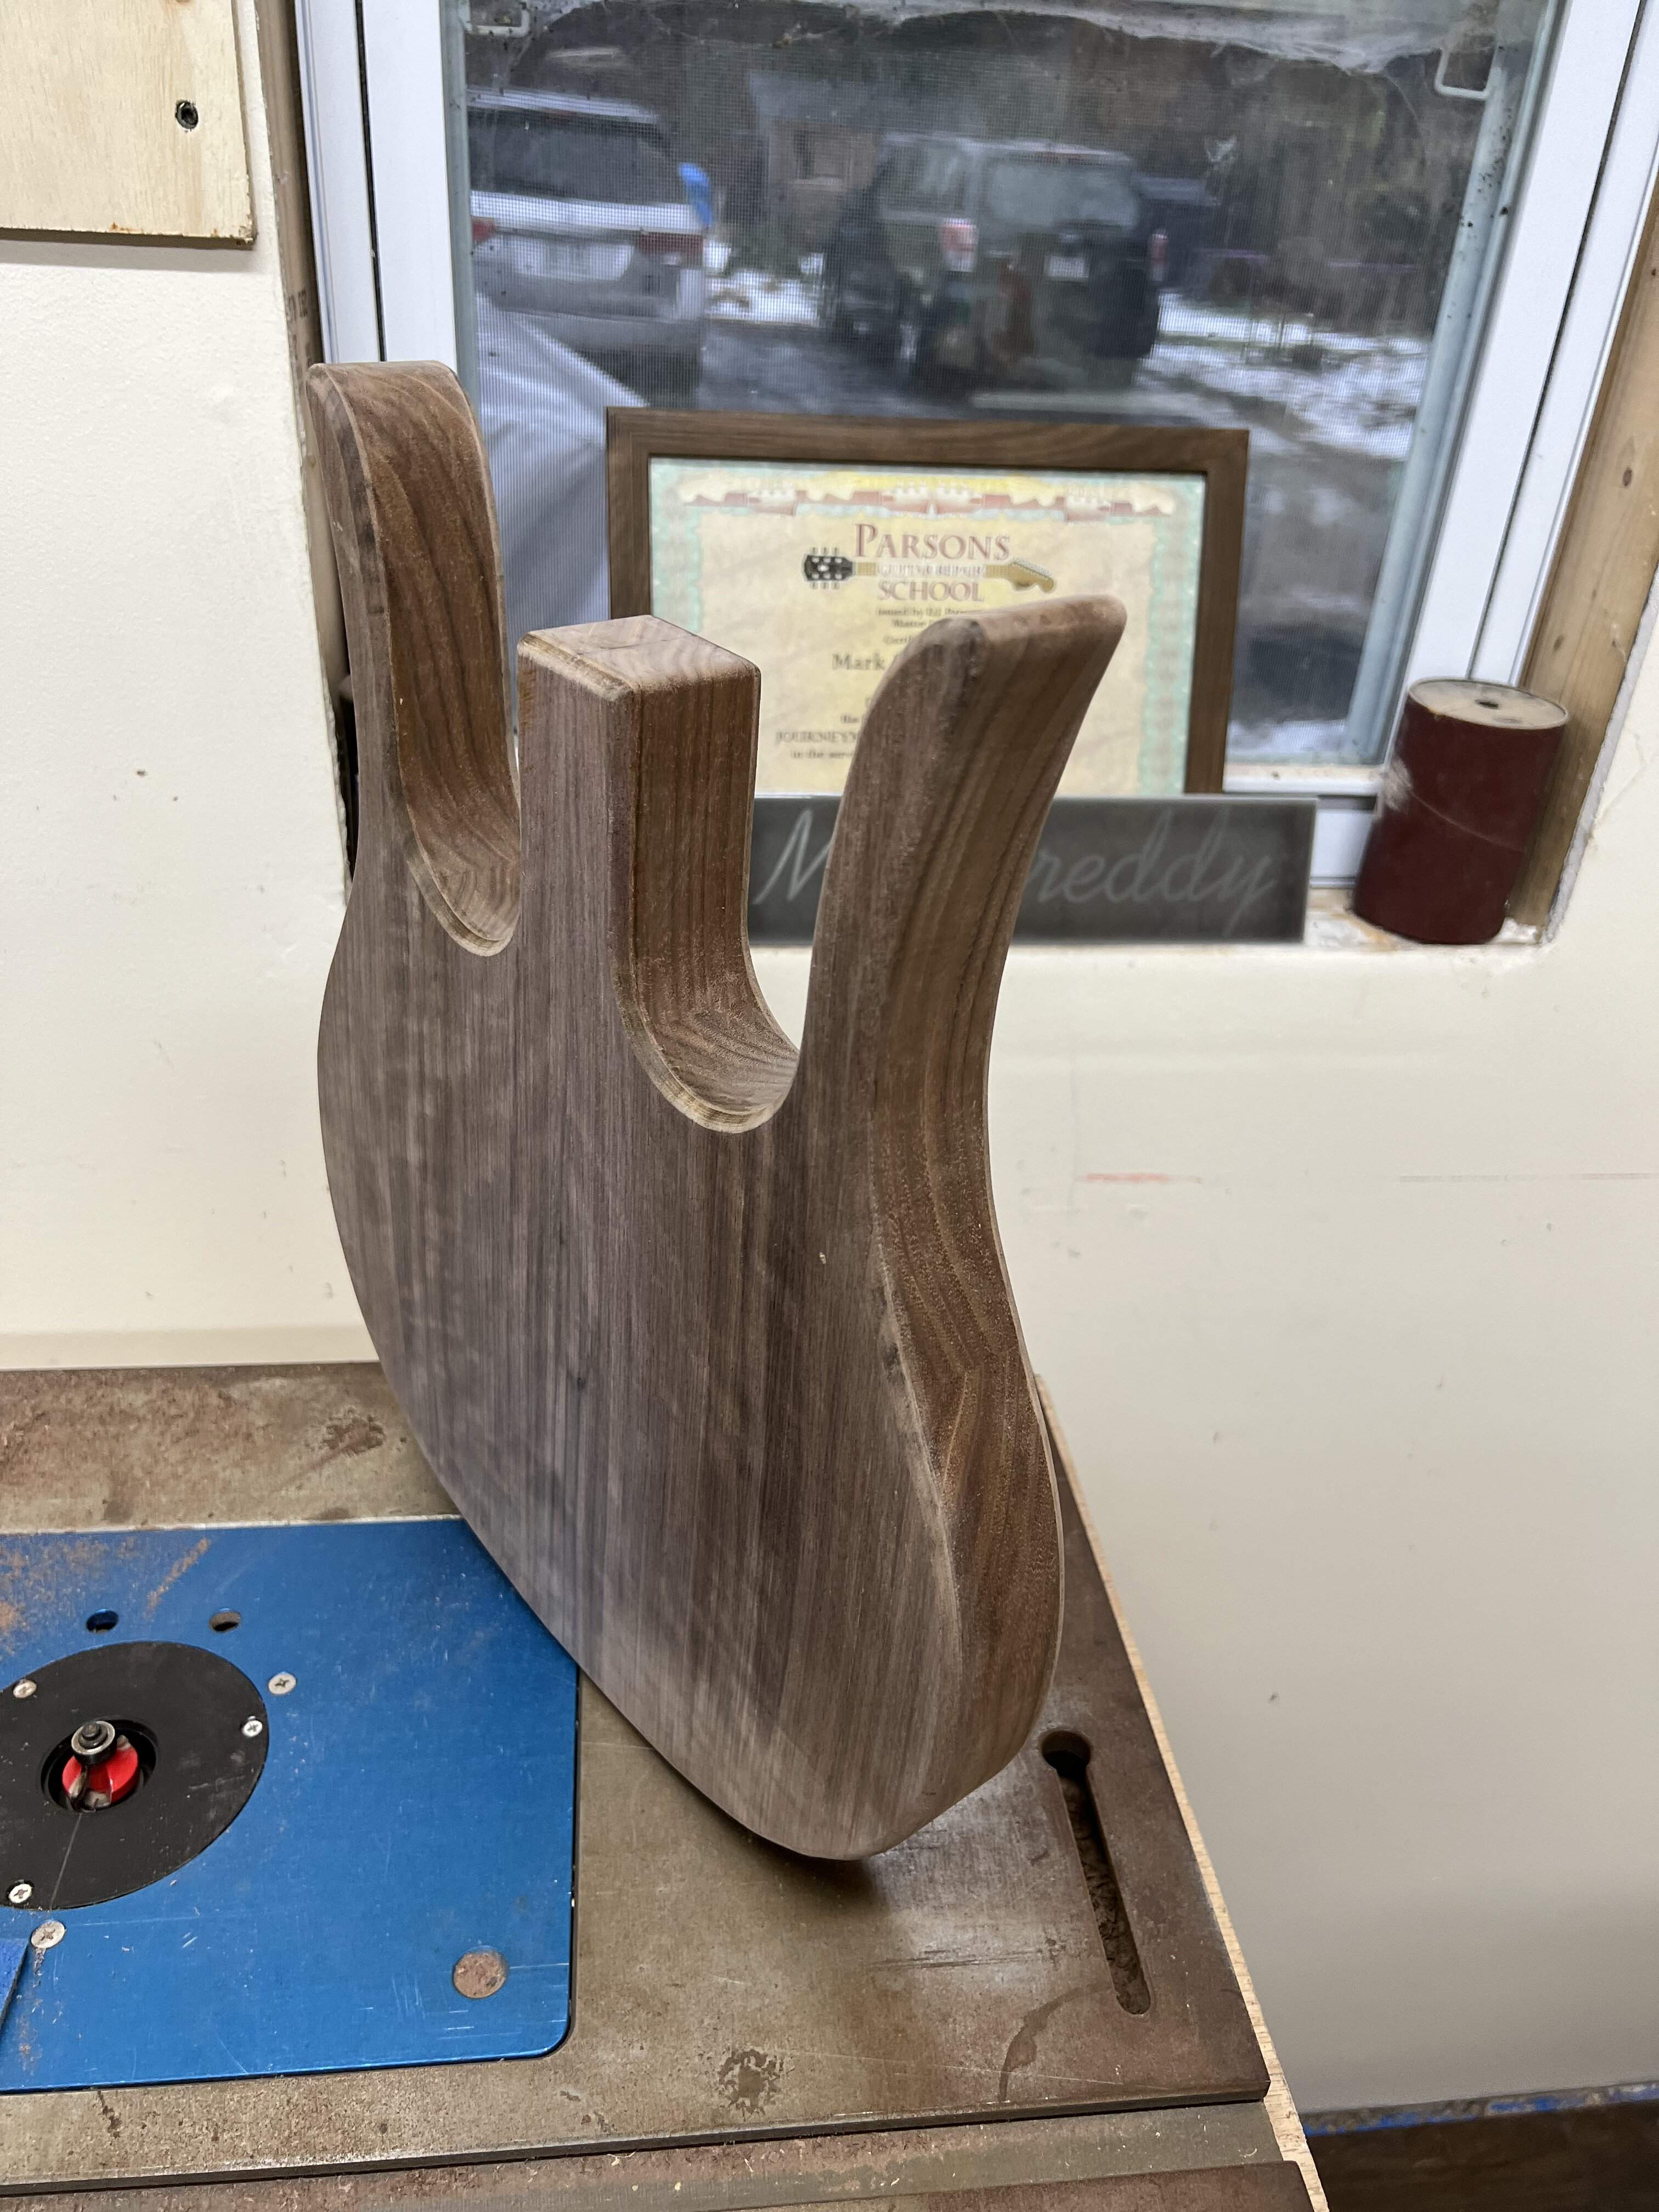
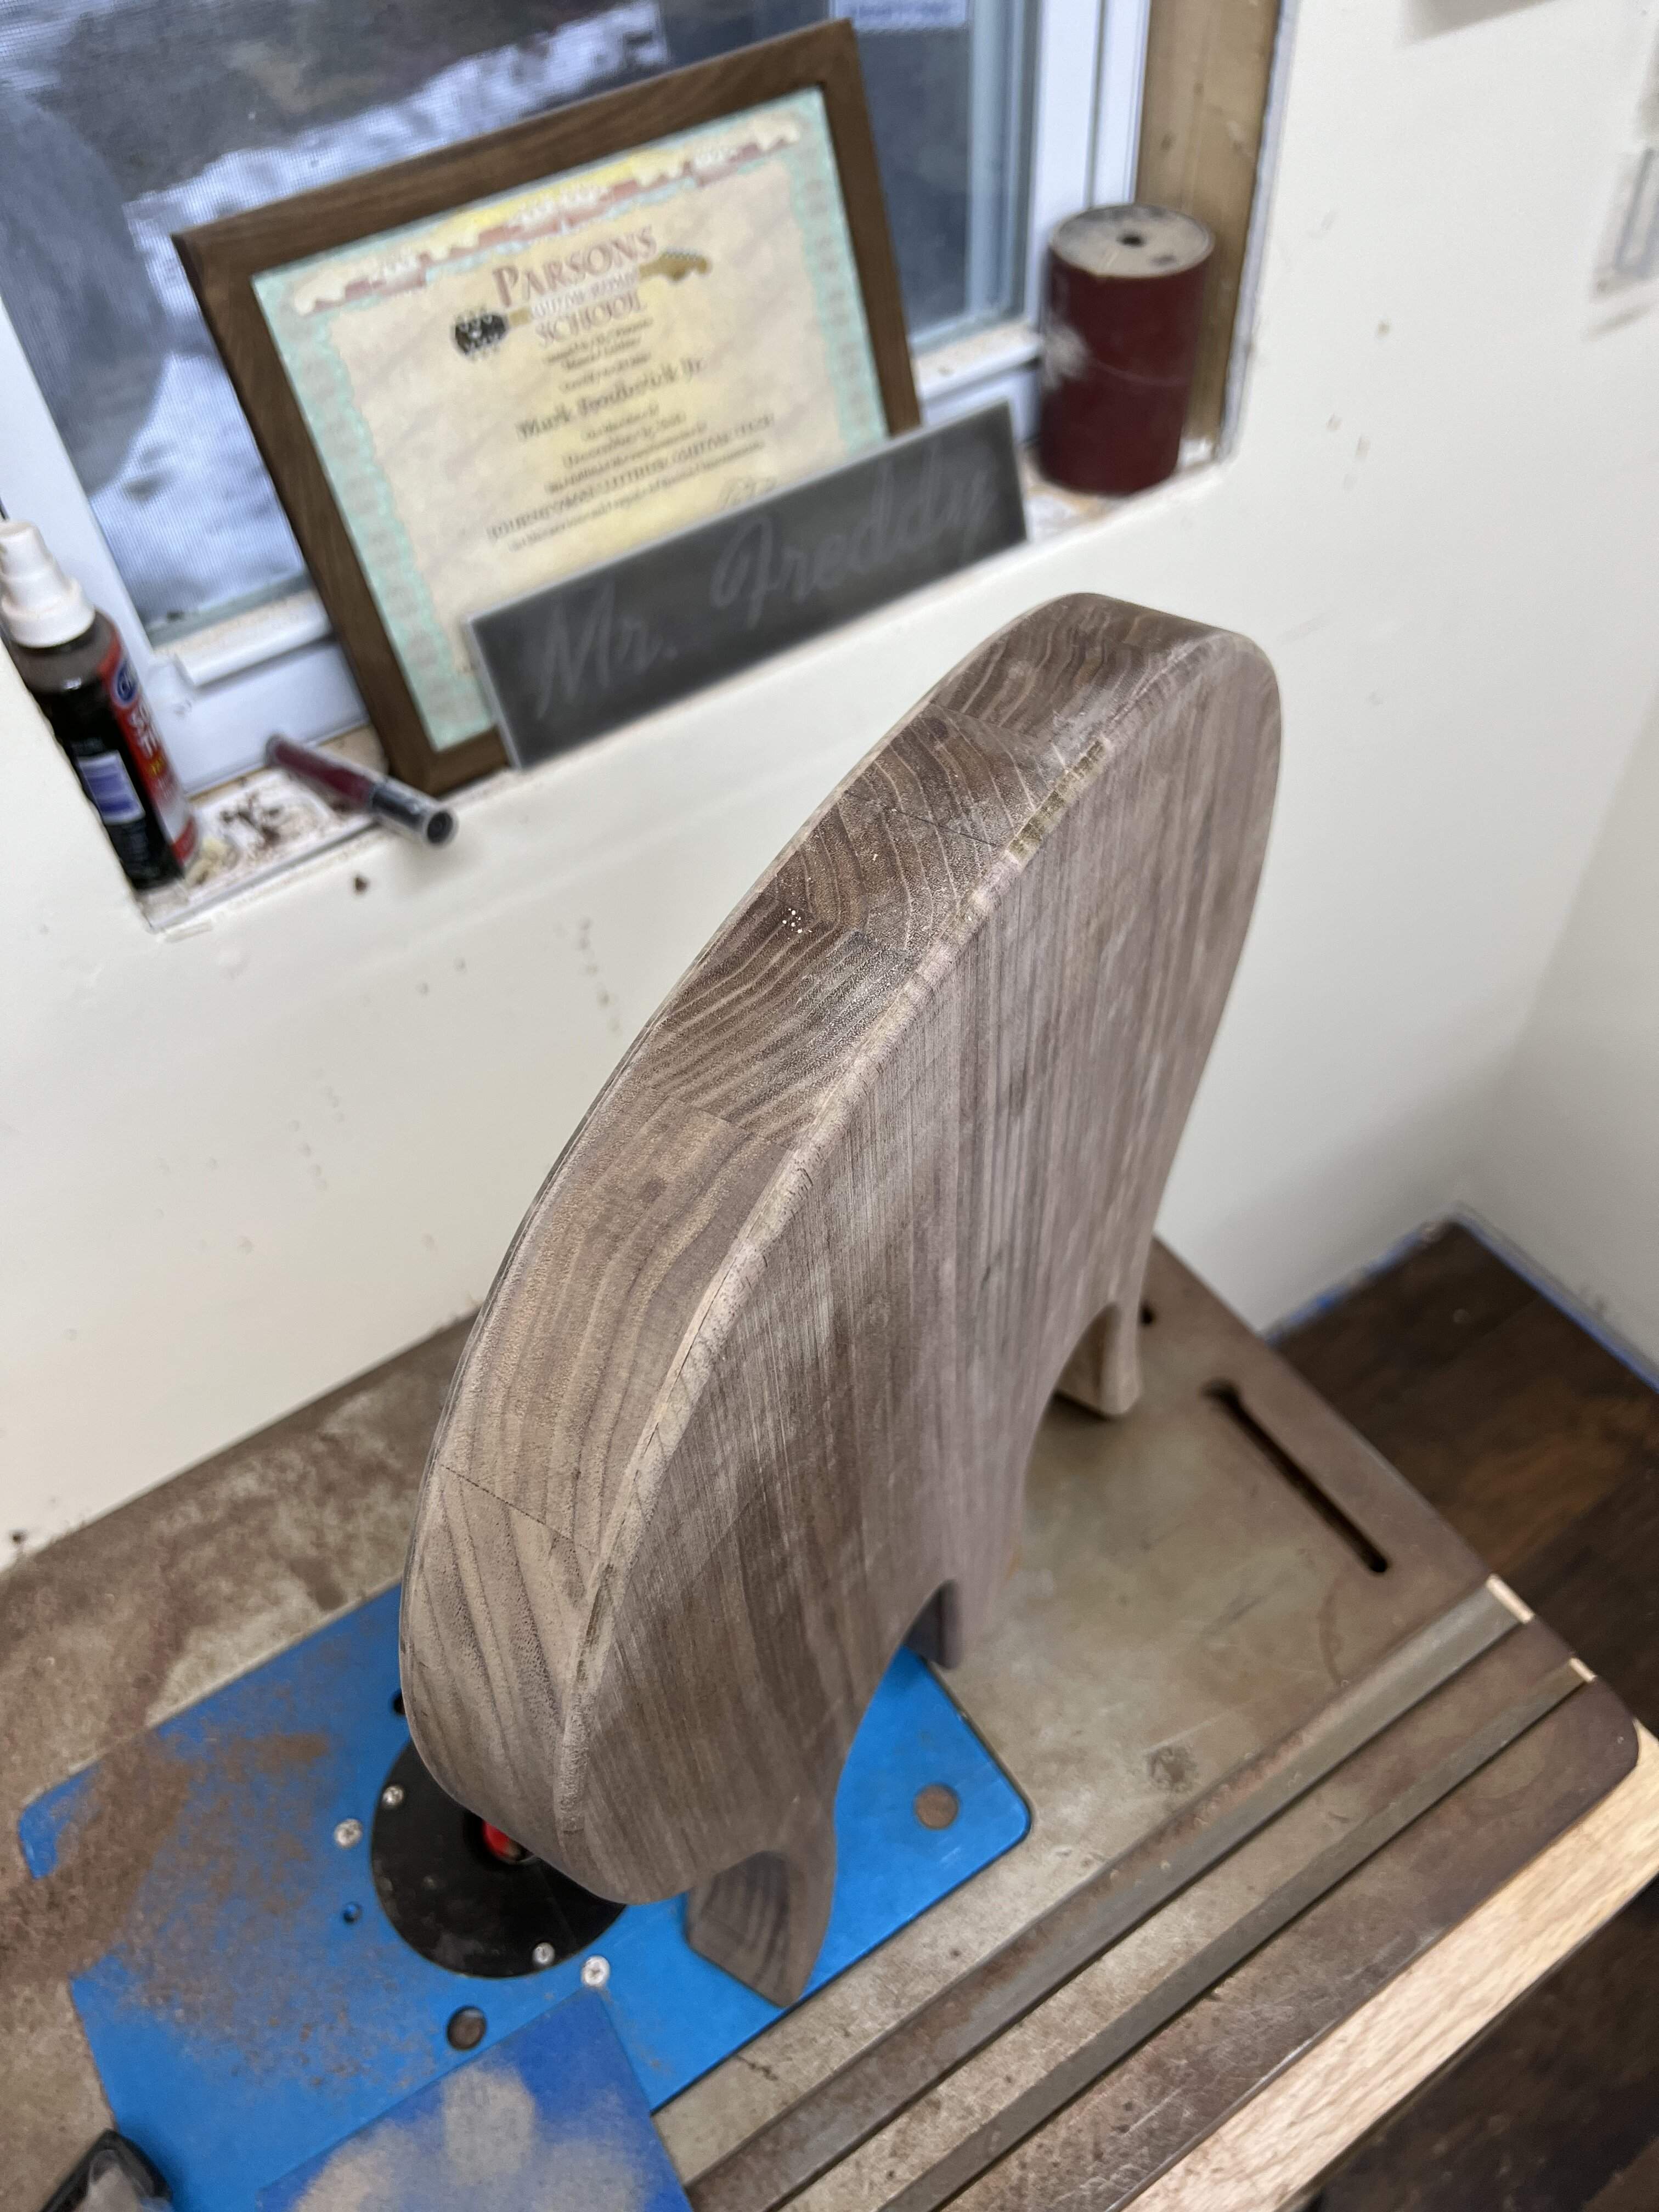
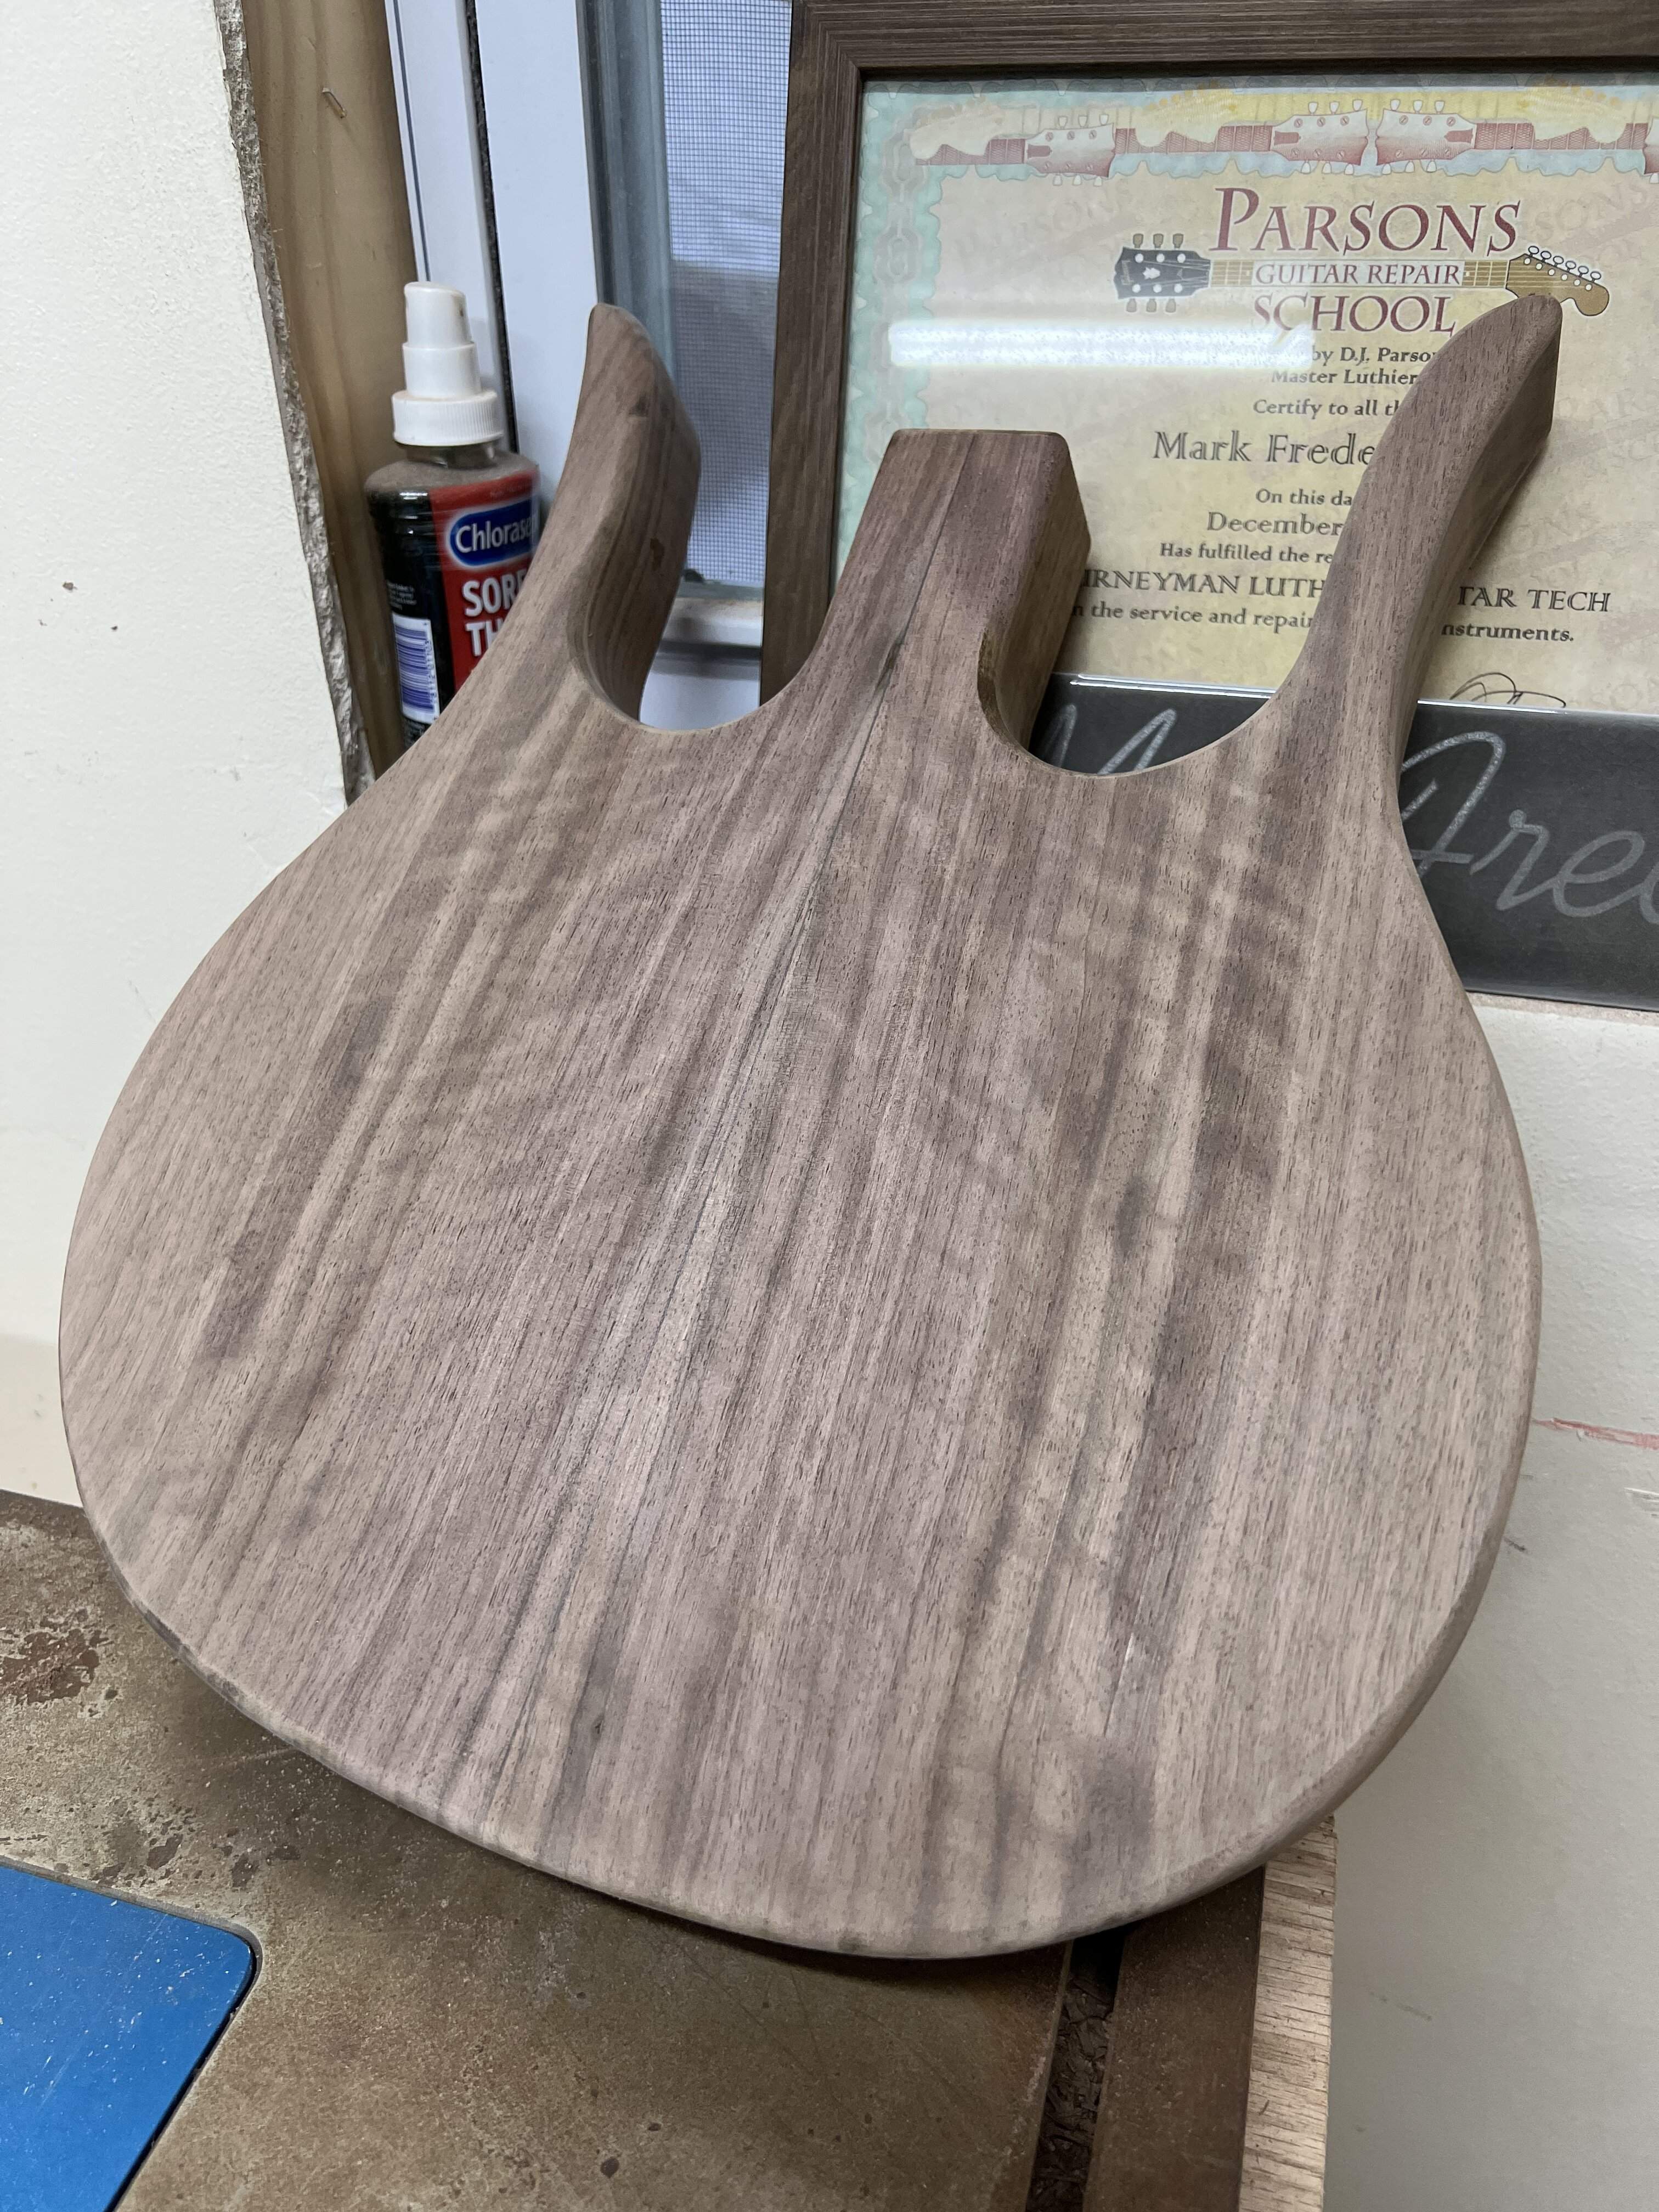
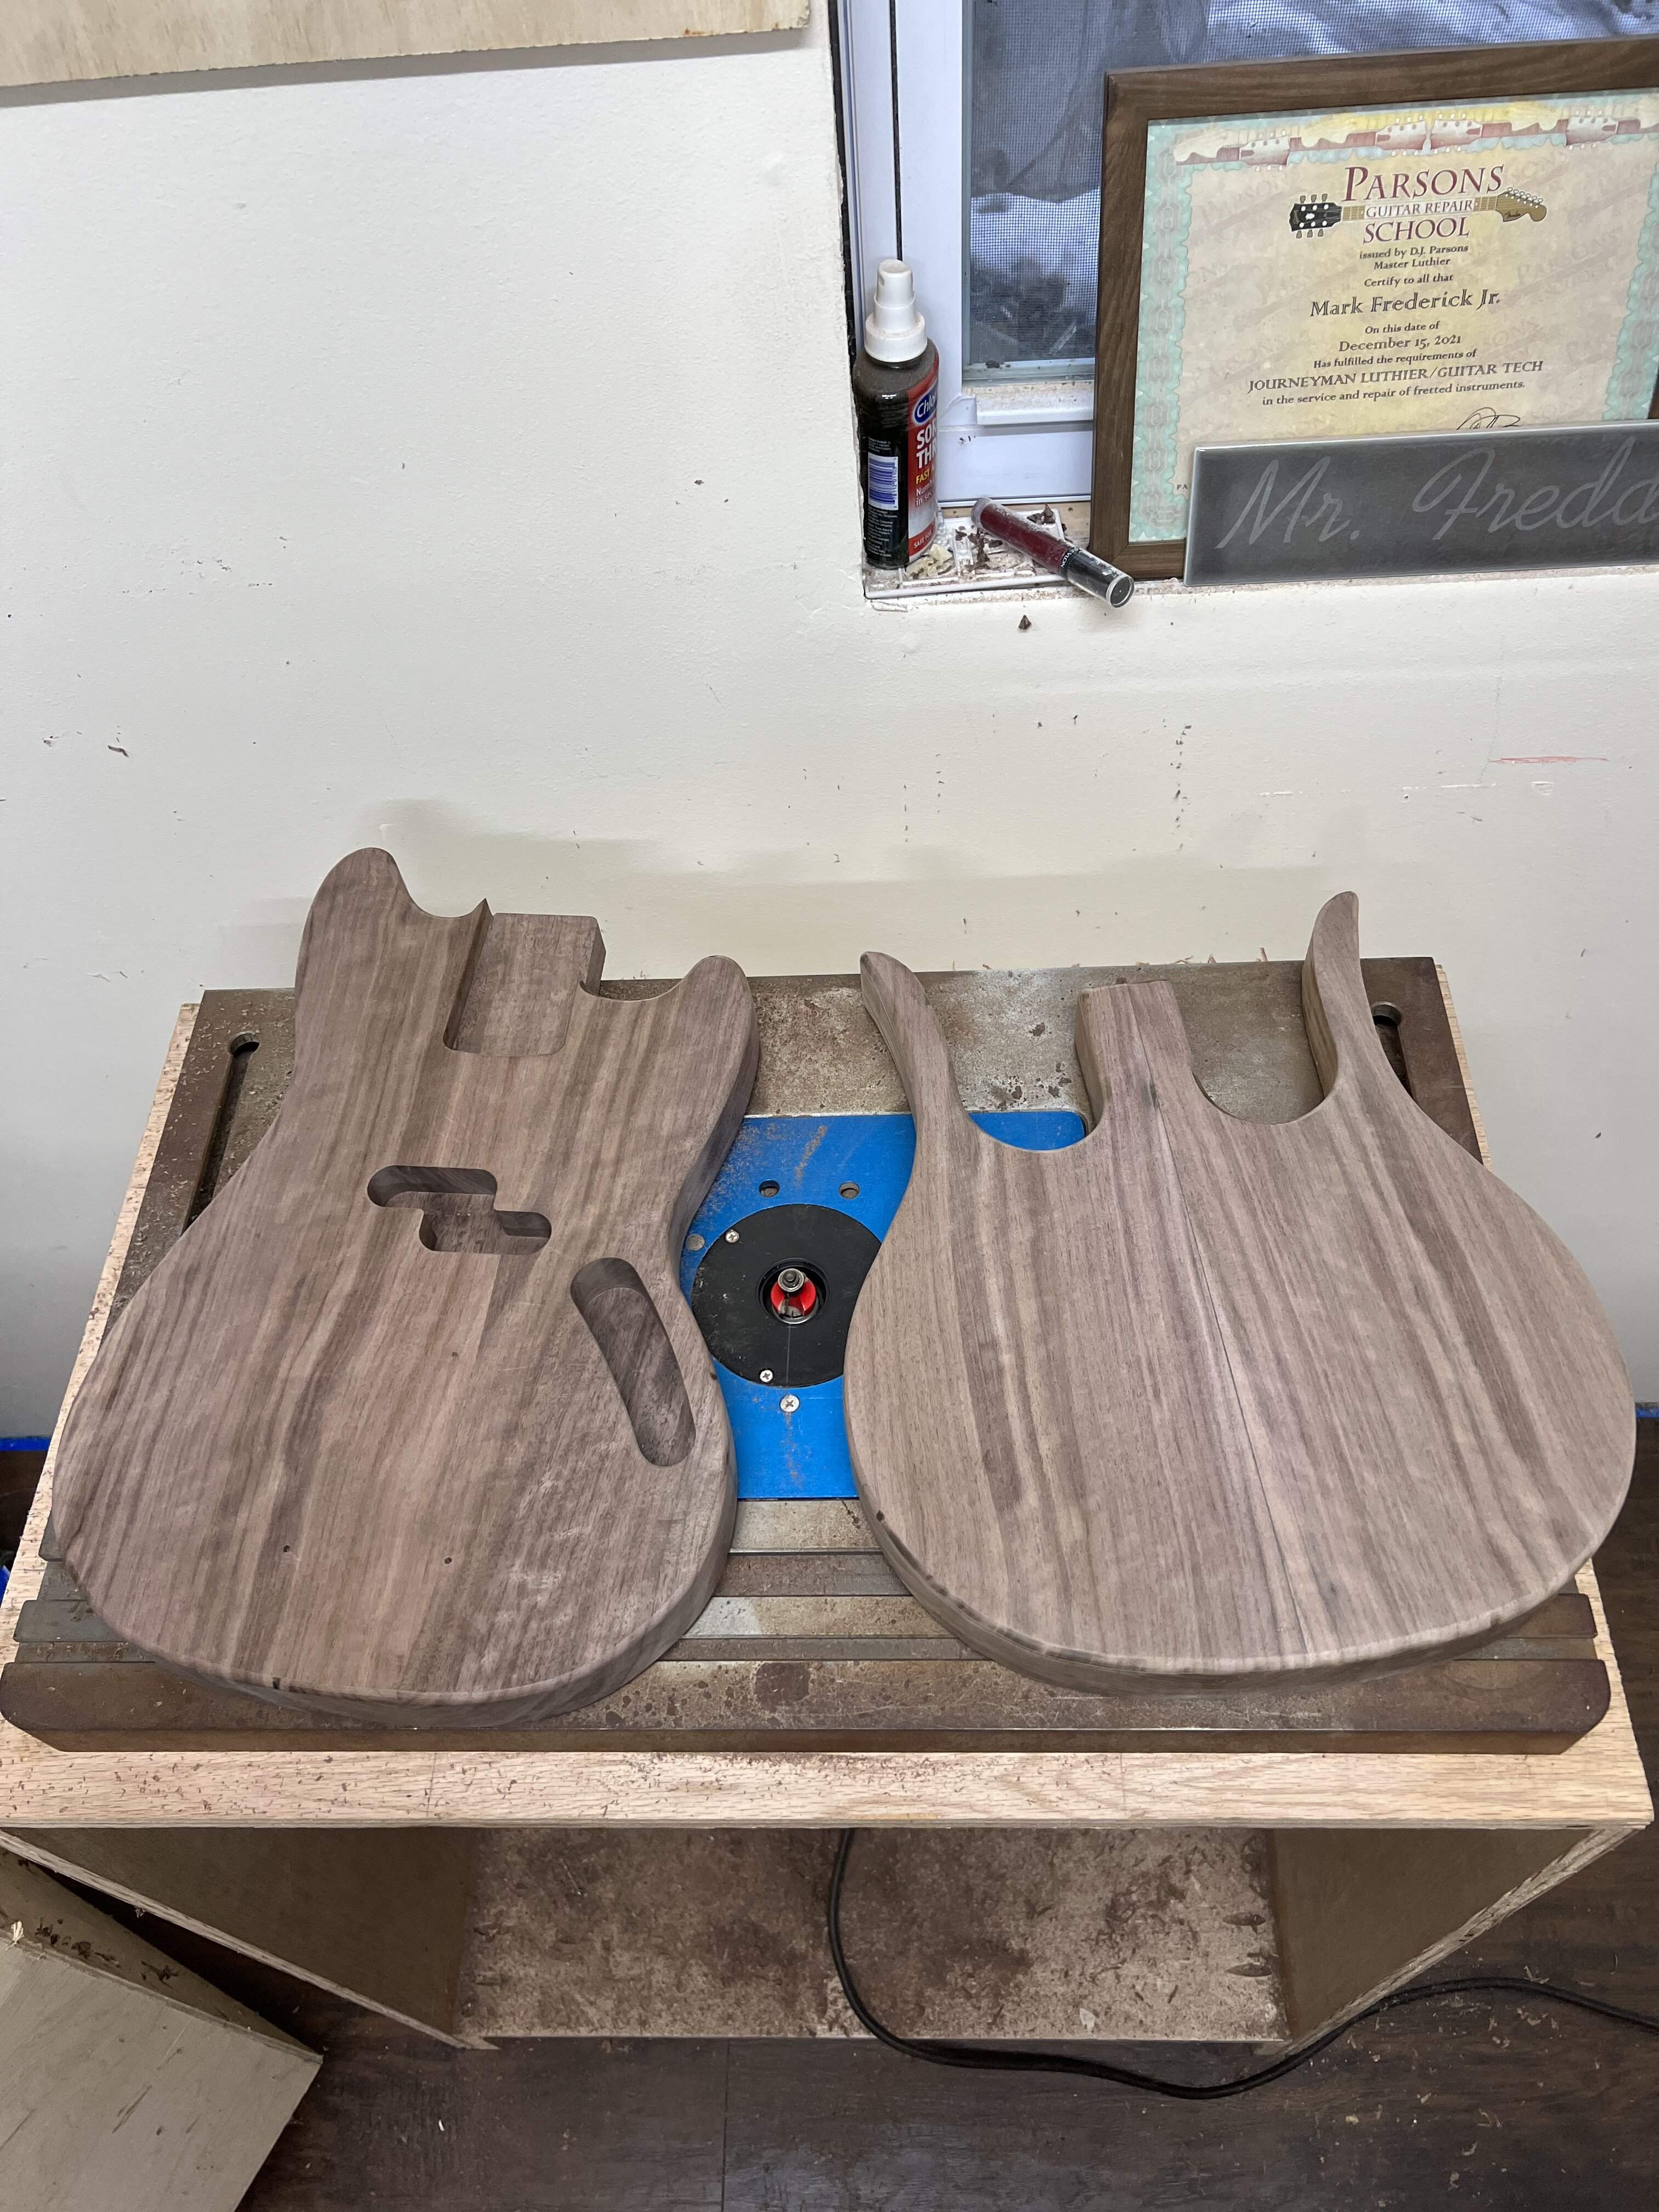
I did round over the longhorn body, looks pretty cool. Here are a bunch of pics from different angles, and one with the short scale twins.

Yes it does!I did round over the longhorn body, looks pretty cool.

Alright, so I had a leftover chunk of Home Depot maple I used for some homemade cam clamps, and a longish figured walnut cutoff from the archtop. The walnut had lots of knots in it, so I can’t use it as a neck. However, if I make a multi piece neck, I can avoid imperfections or place them in a spot they won’t be seen. An additional benefit would be some increased strength from the large amount of glue surface. Or that’s a thought anyway, glue creep over time is a thing.
So, I cut and sanded down 7 thin pieces of alternating maple and walnut, about 1/8”, and two bigger 1” squares of the walnut. I placed the worst knots on the big pieces on the outside surface where they would be cut off.
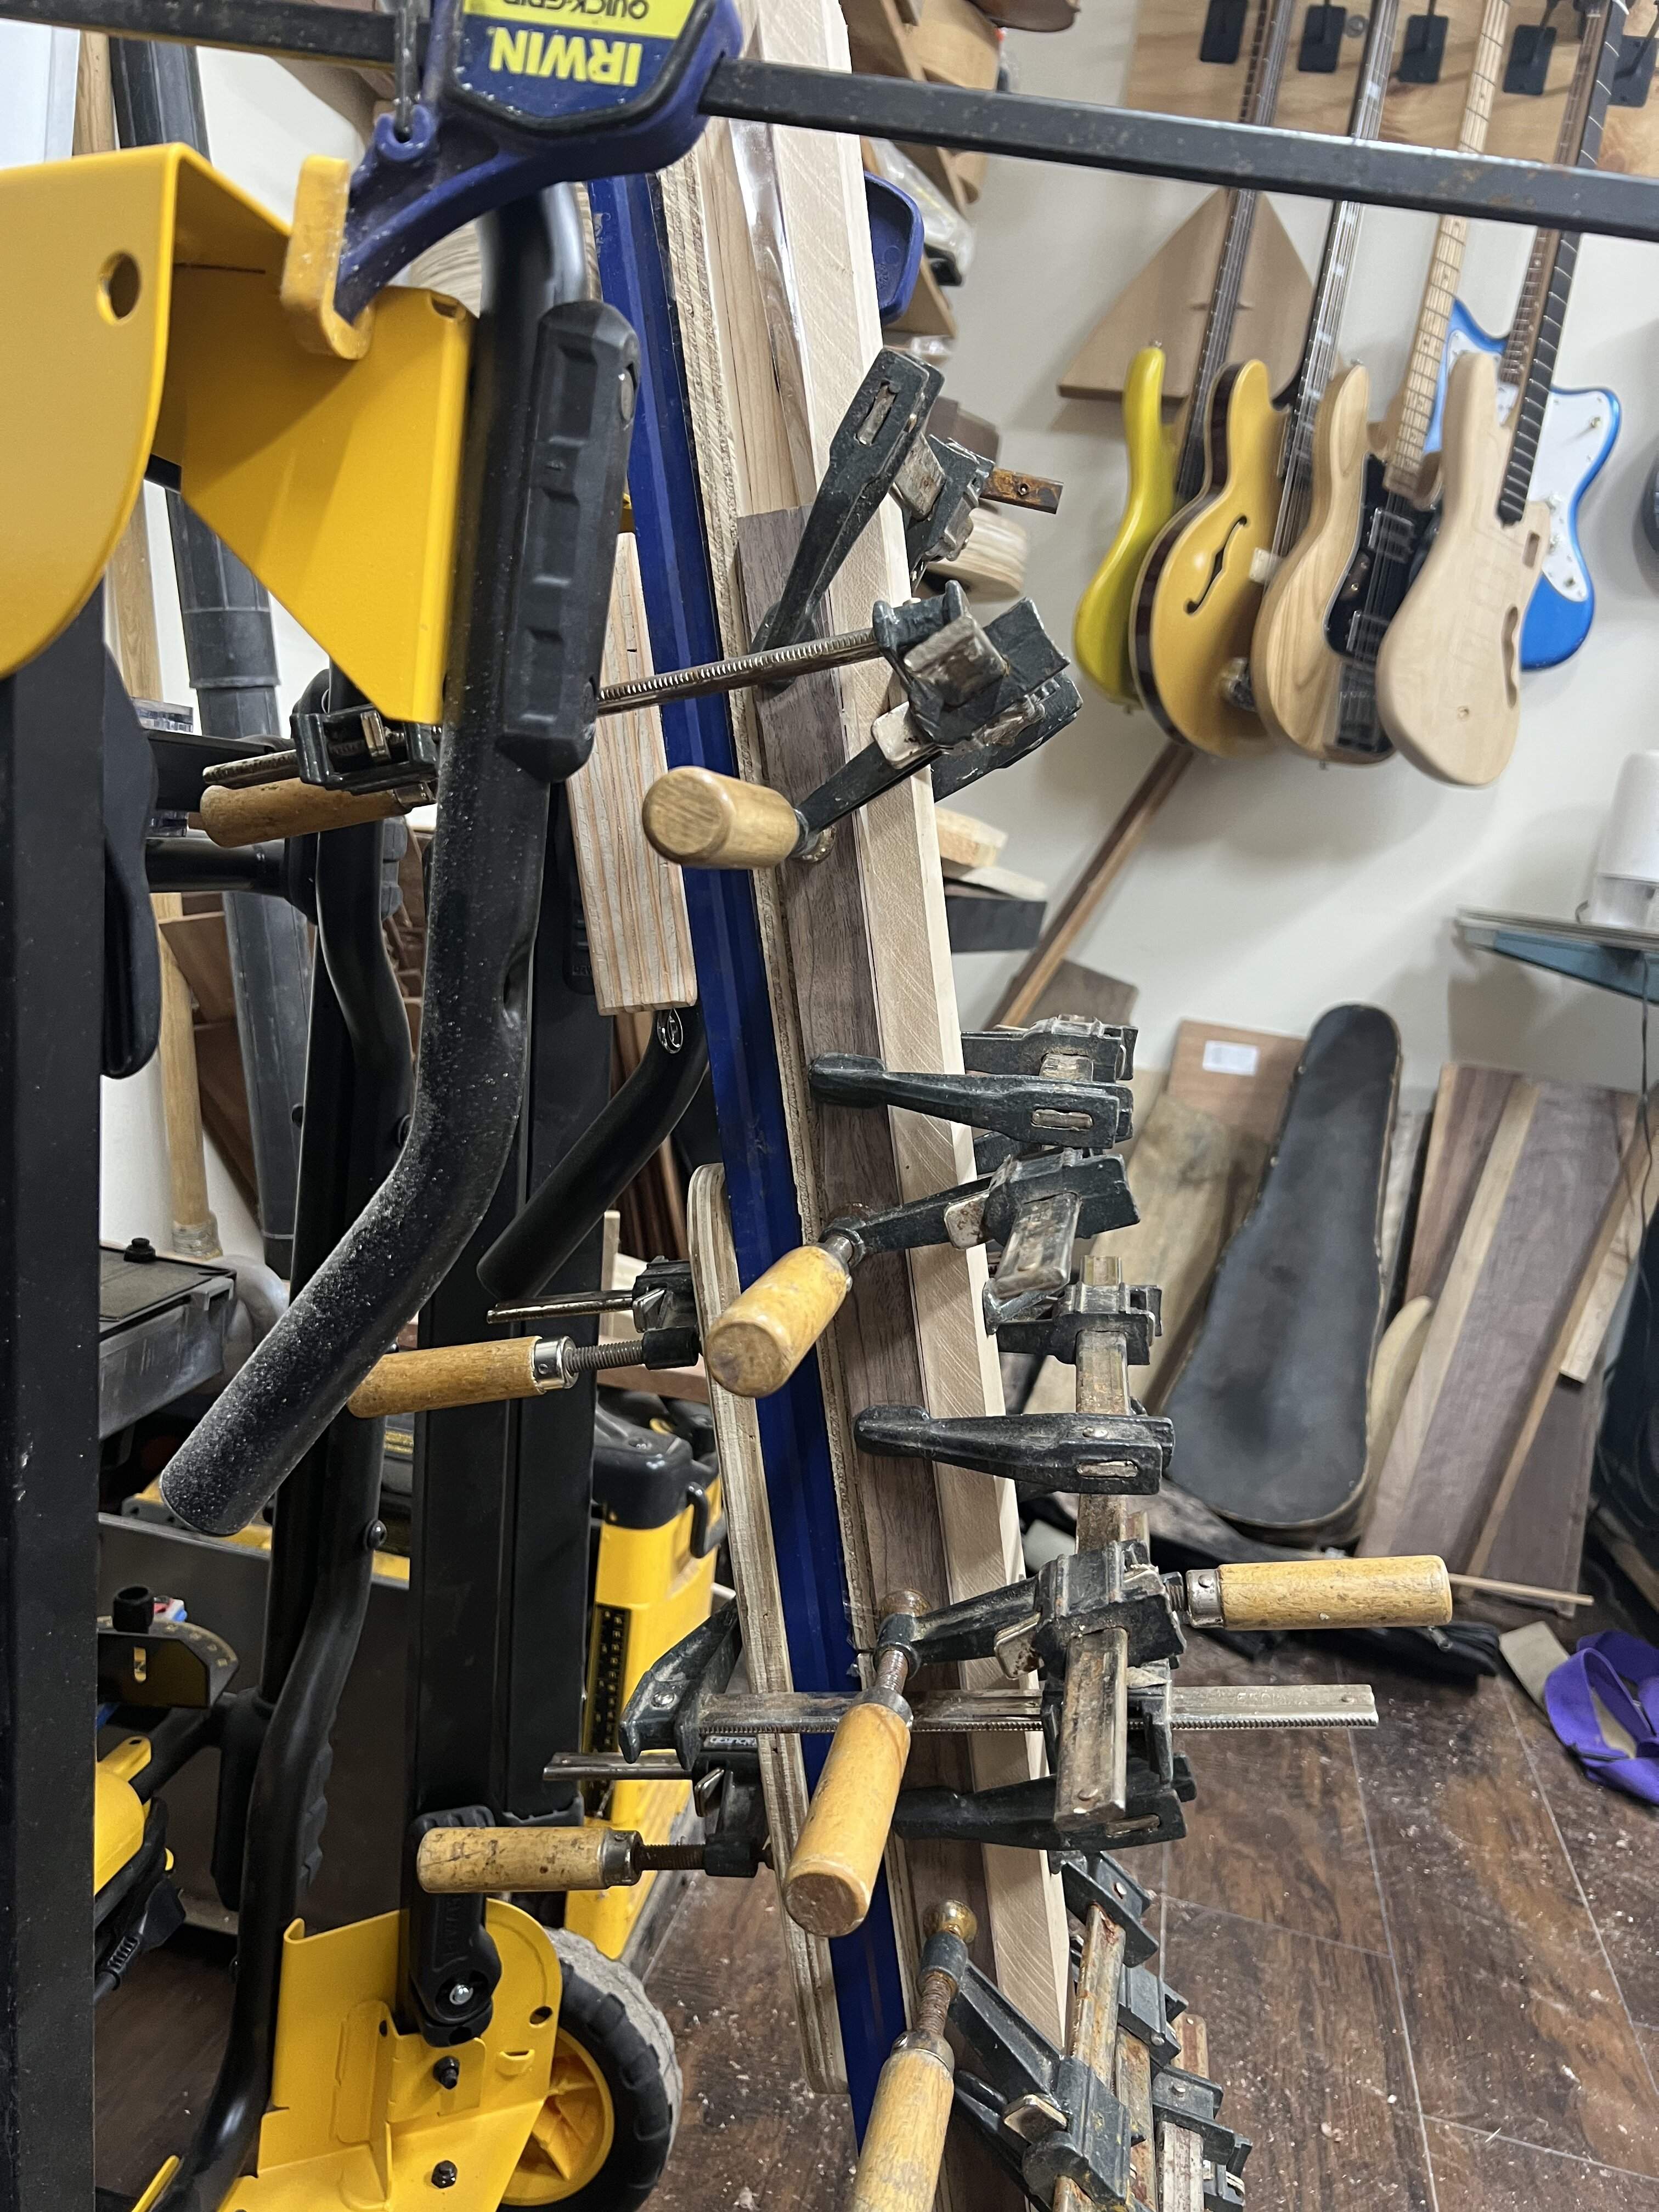
I then made an elaborate setup with a level and various boards to force the pieces into alignment along the length. Hopefully this saves a lot of time flattening everything. Then I used almost all the clamps.


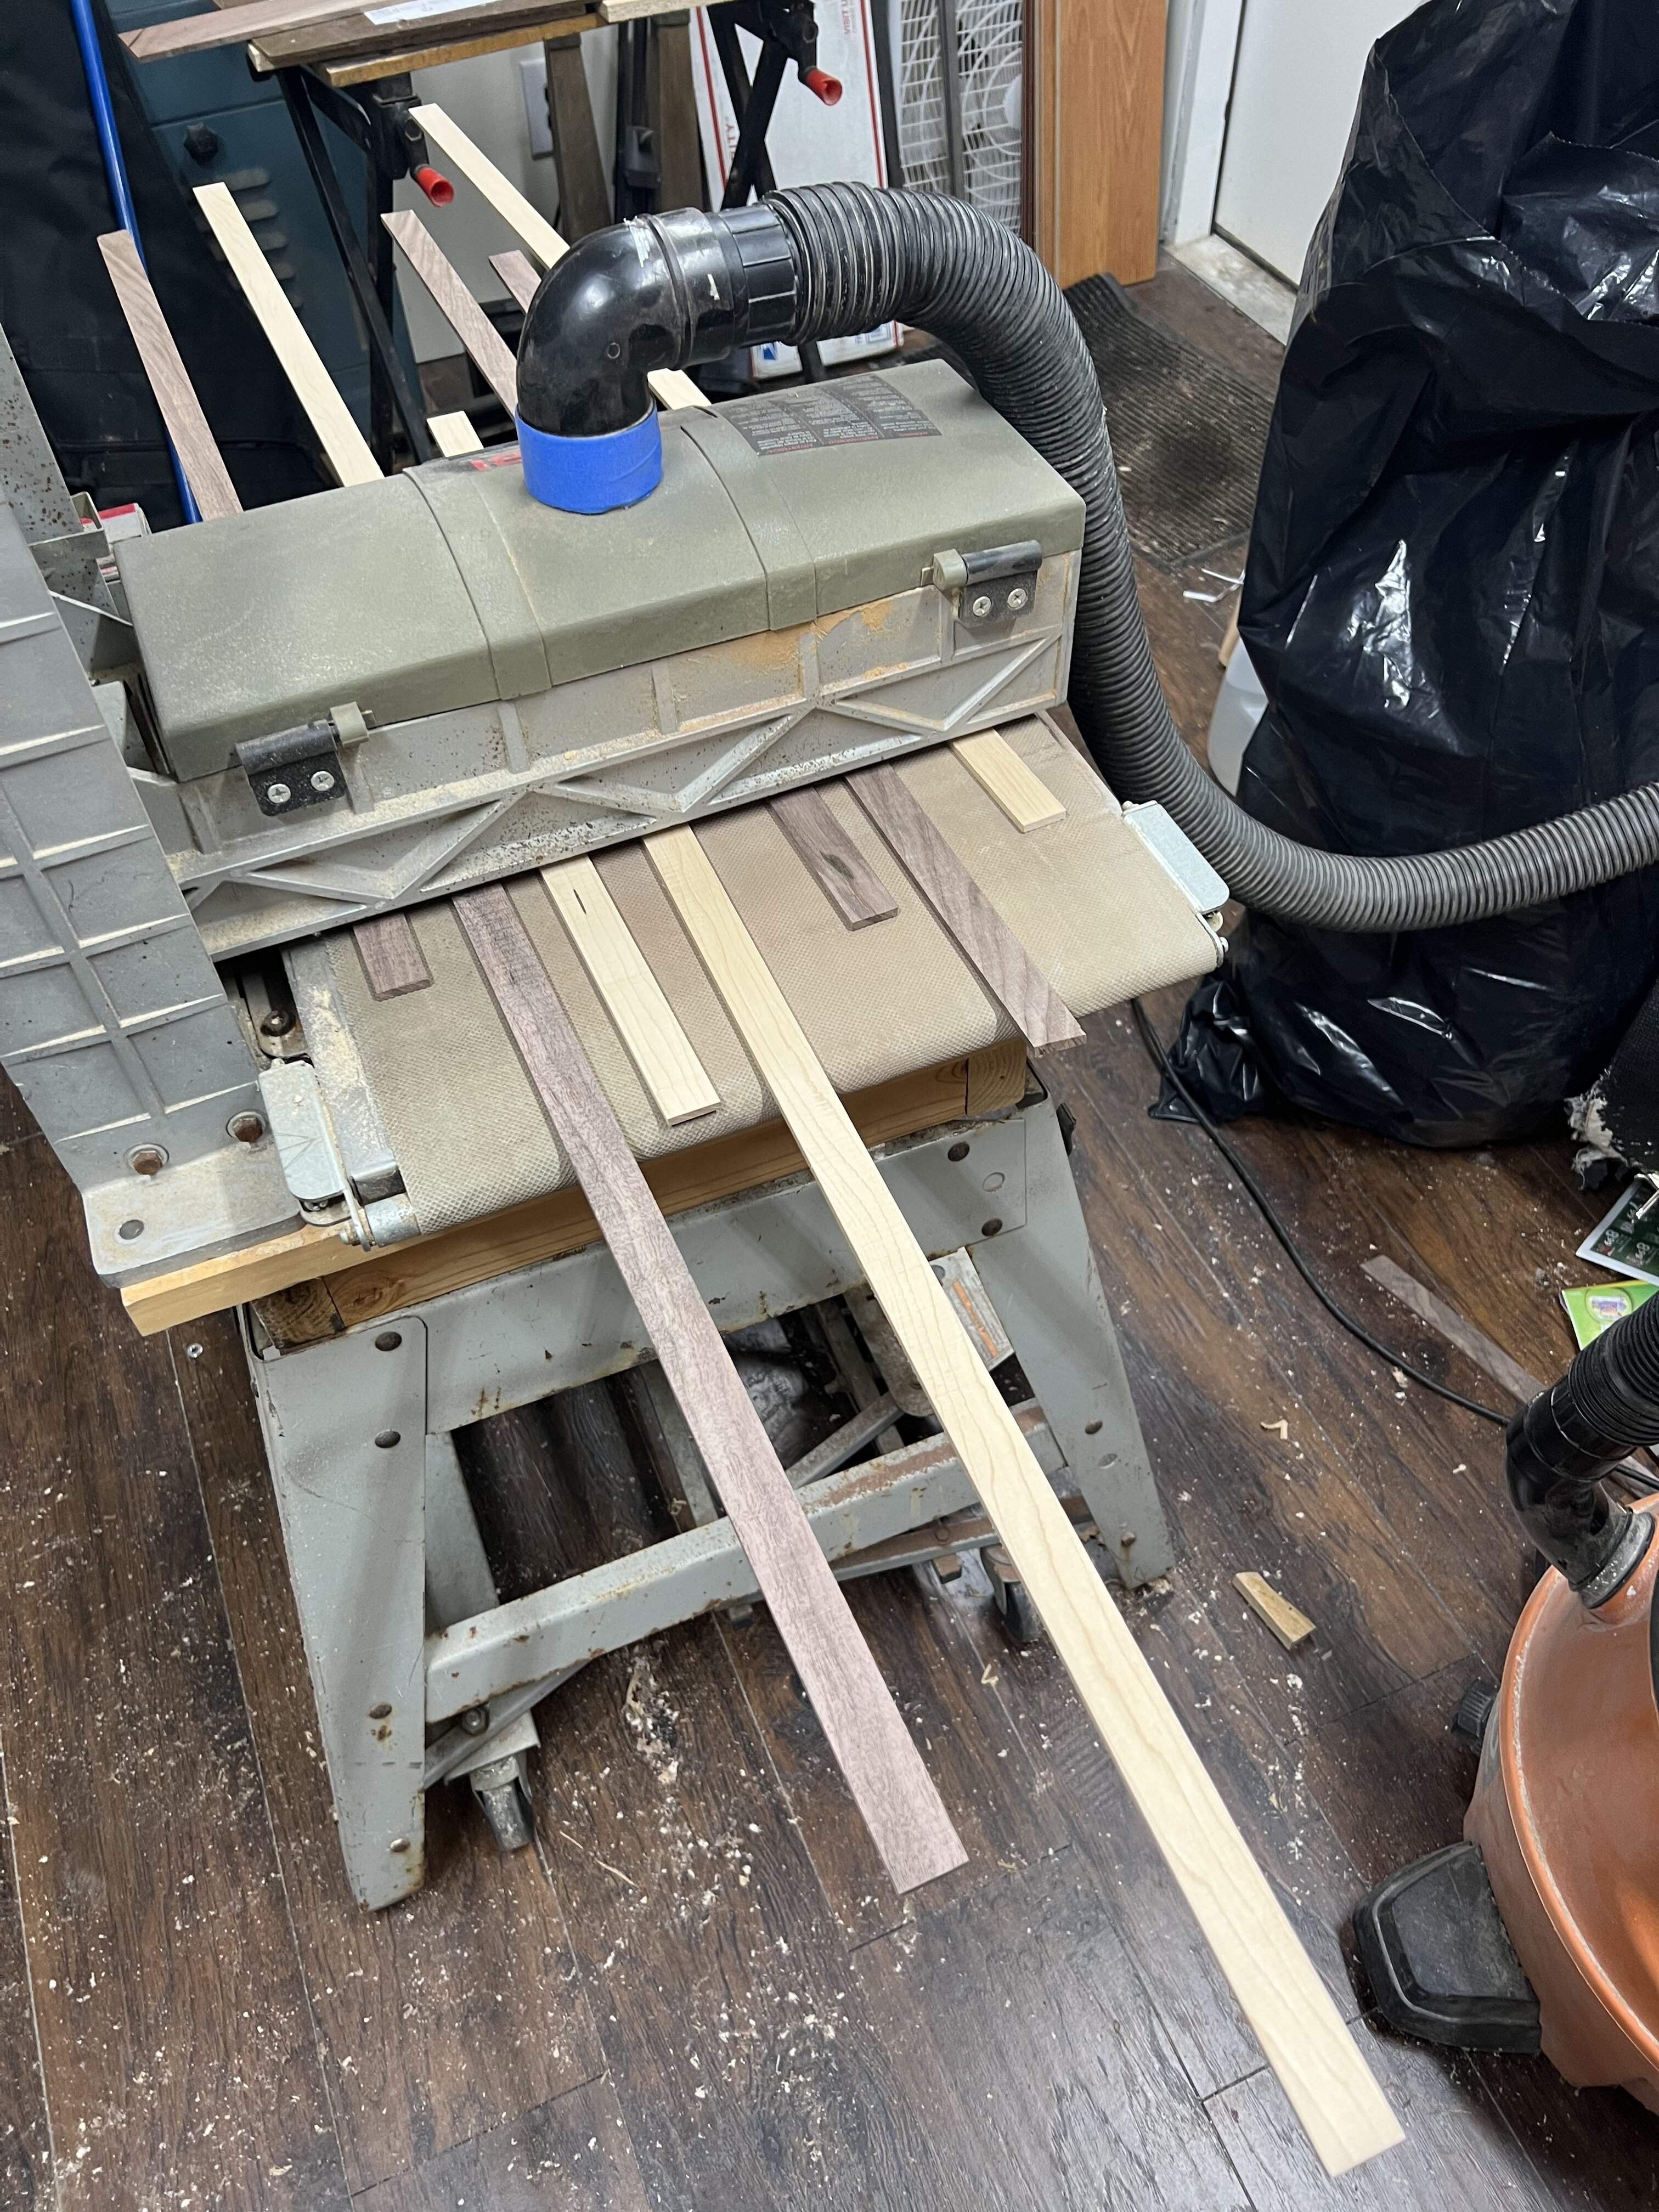

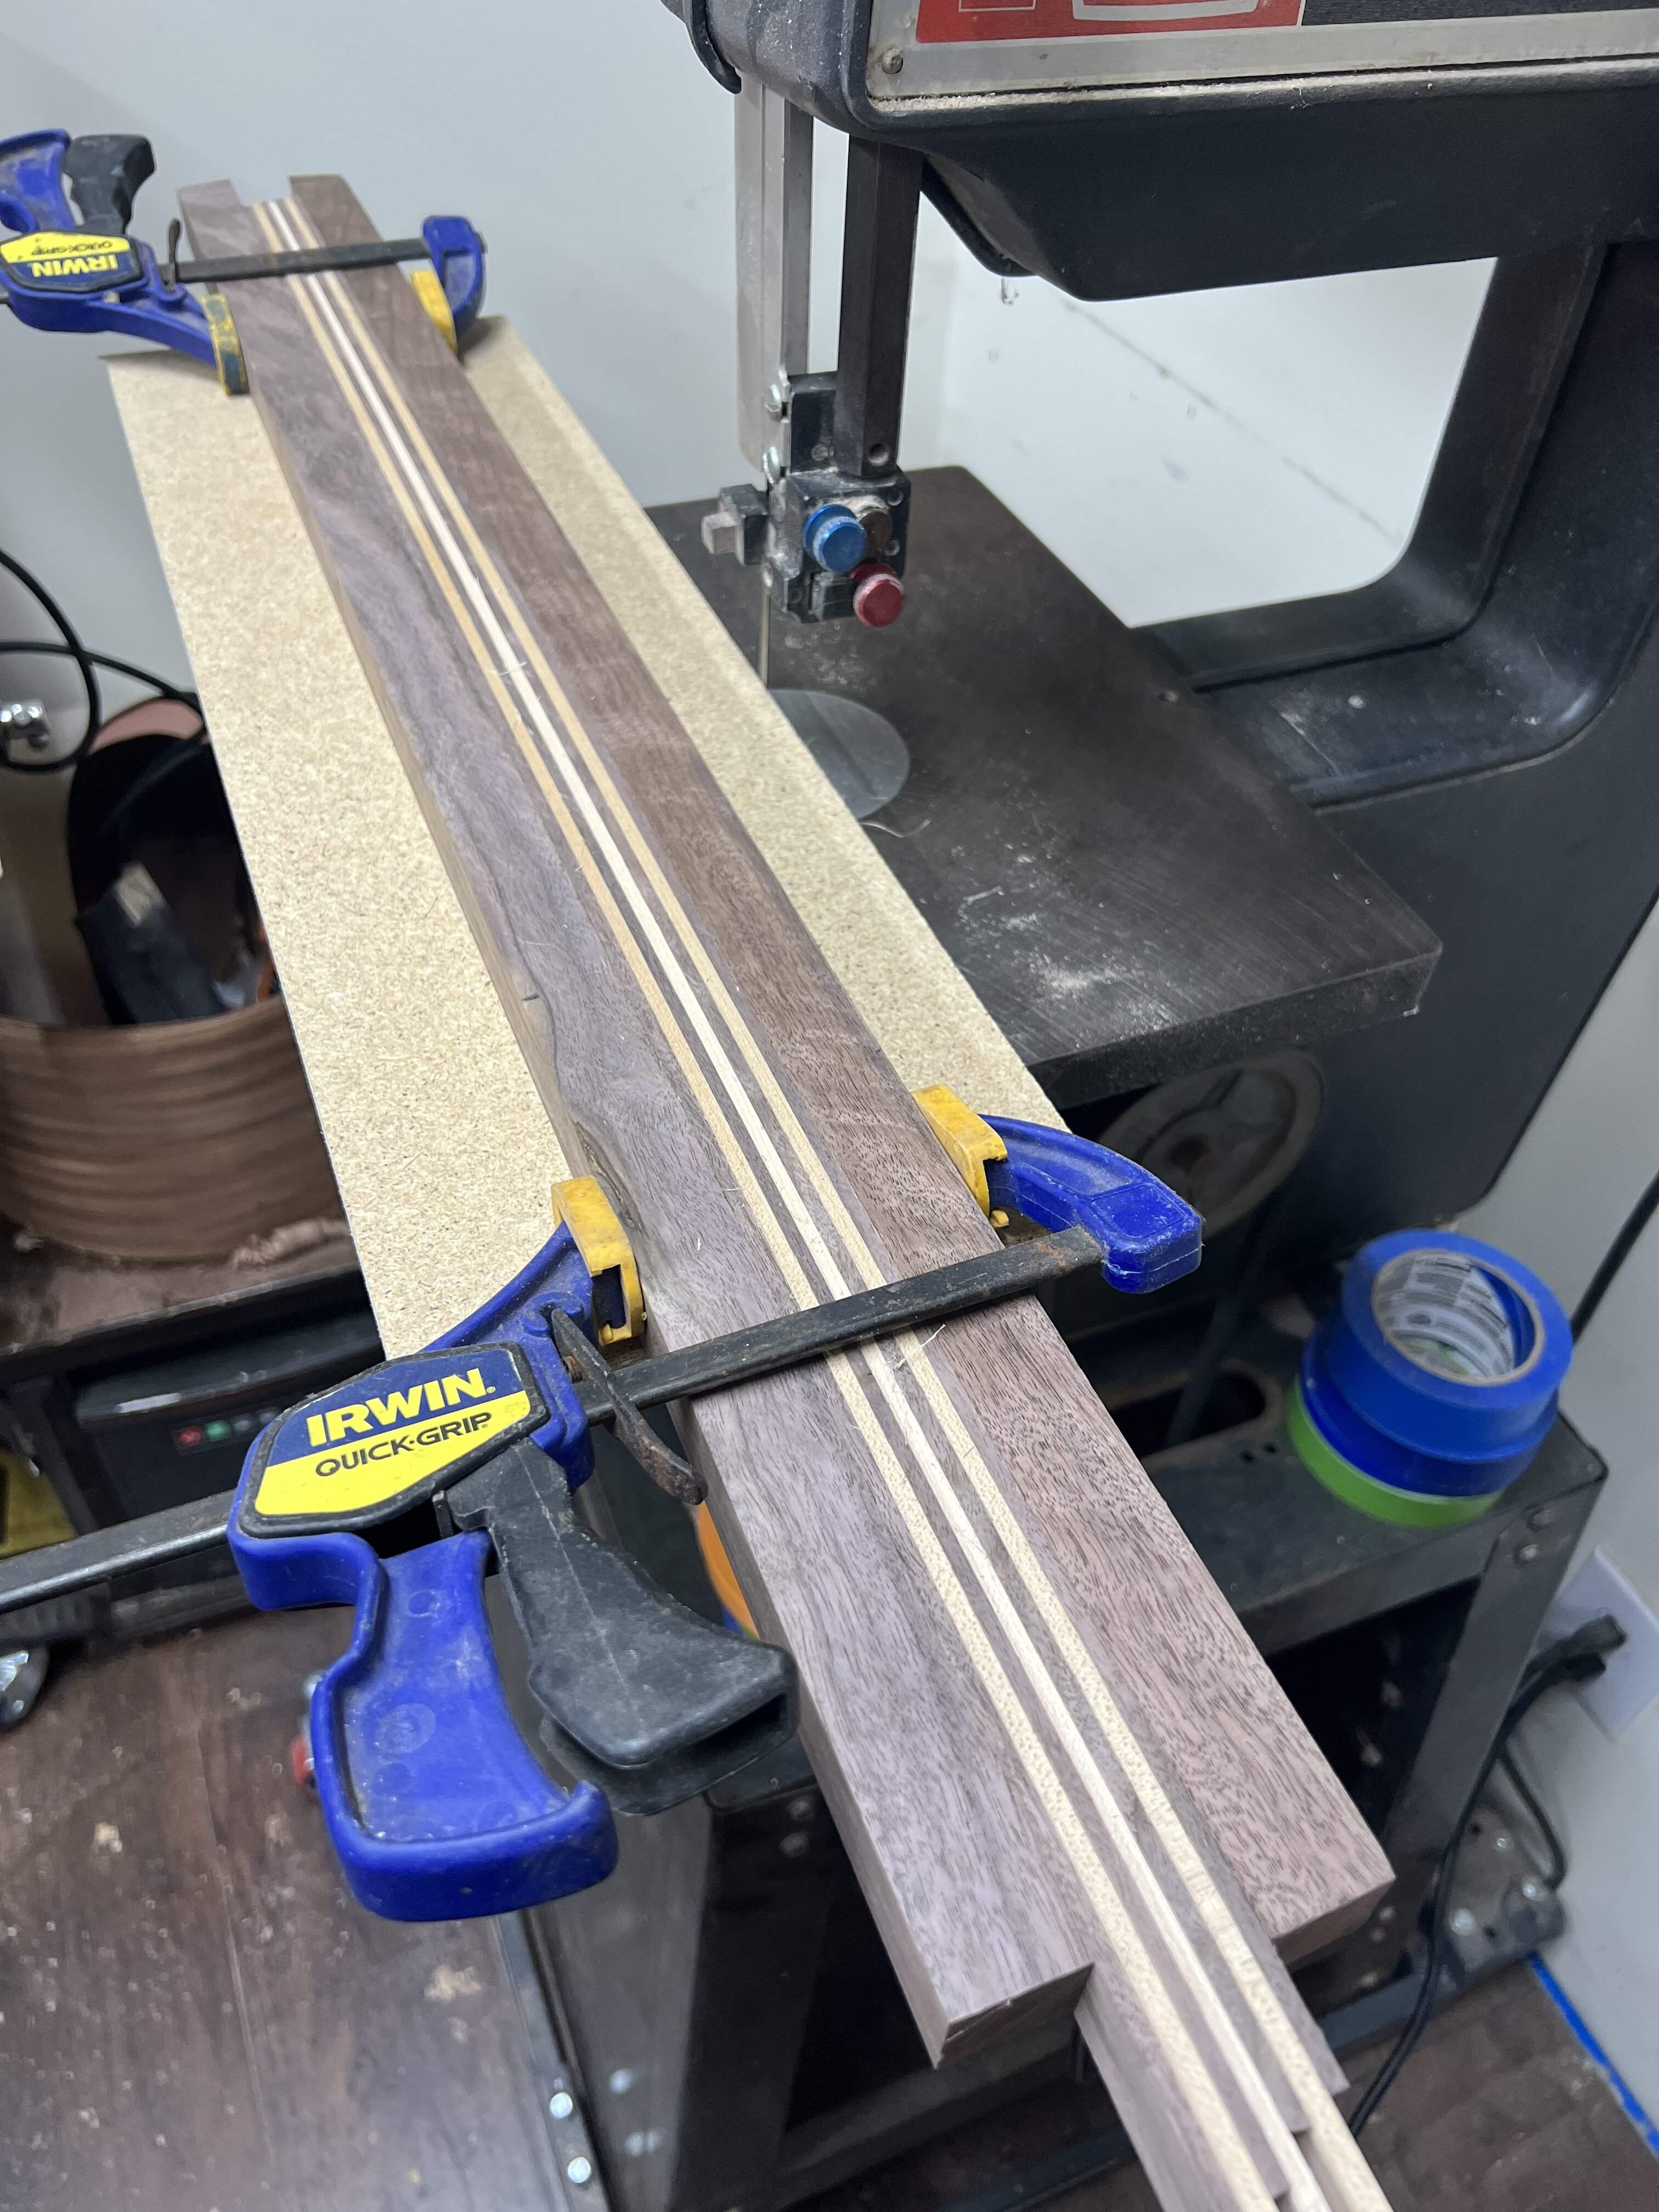
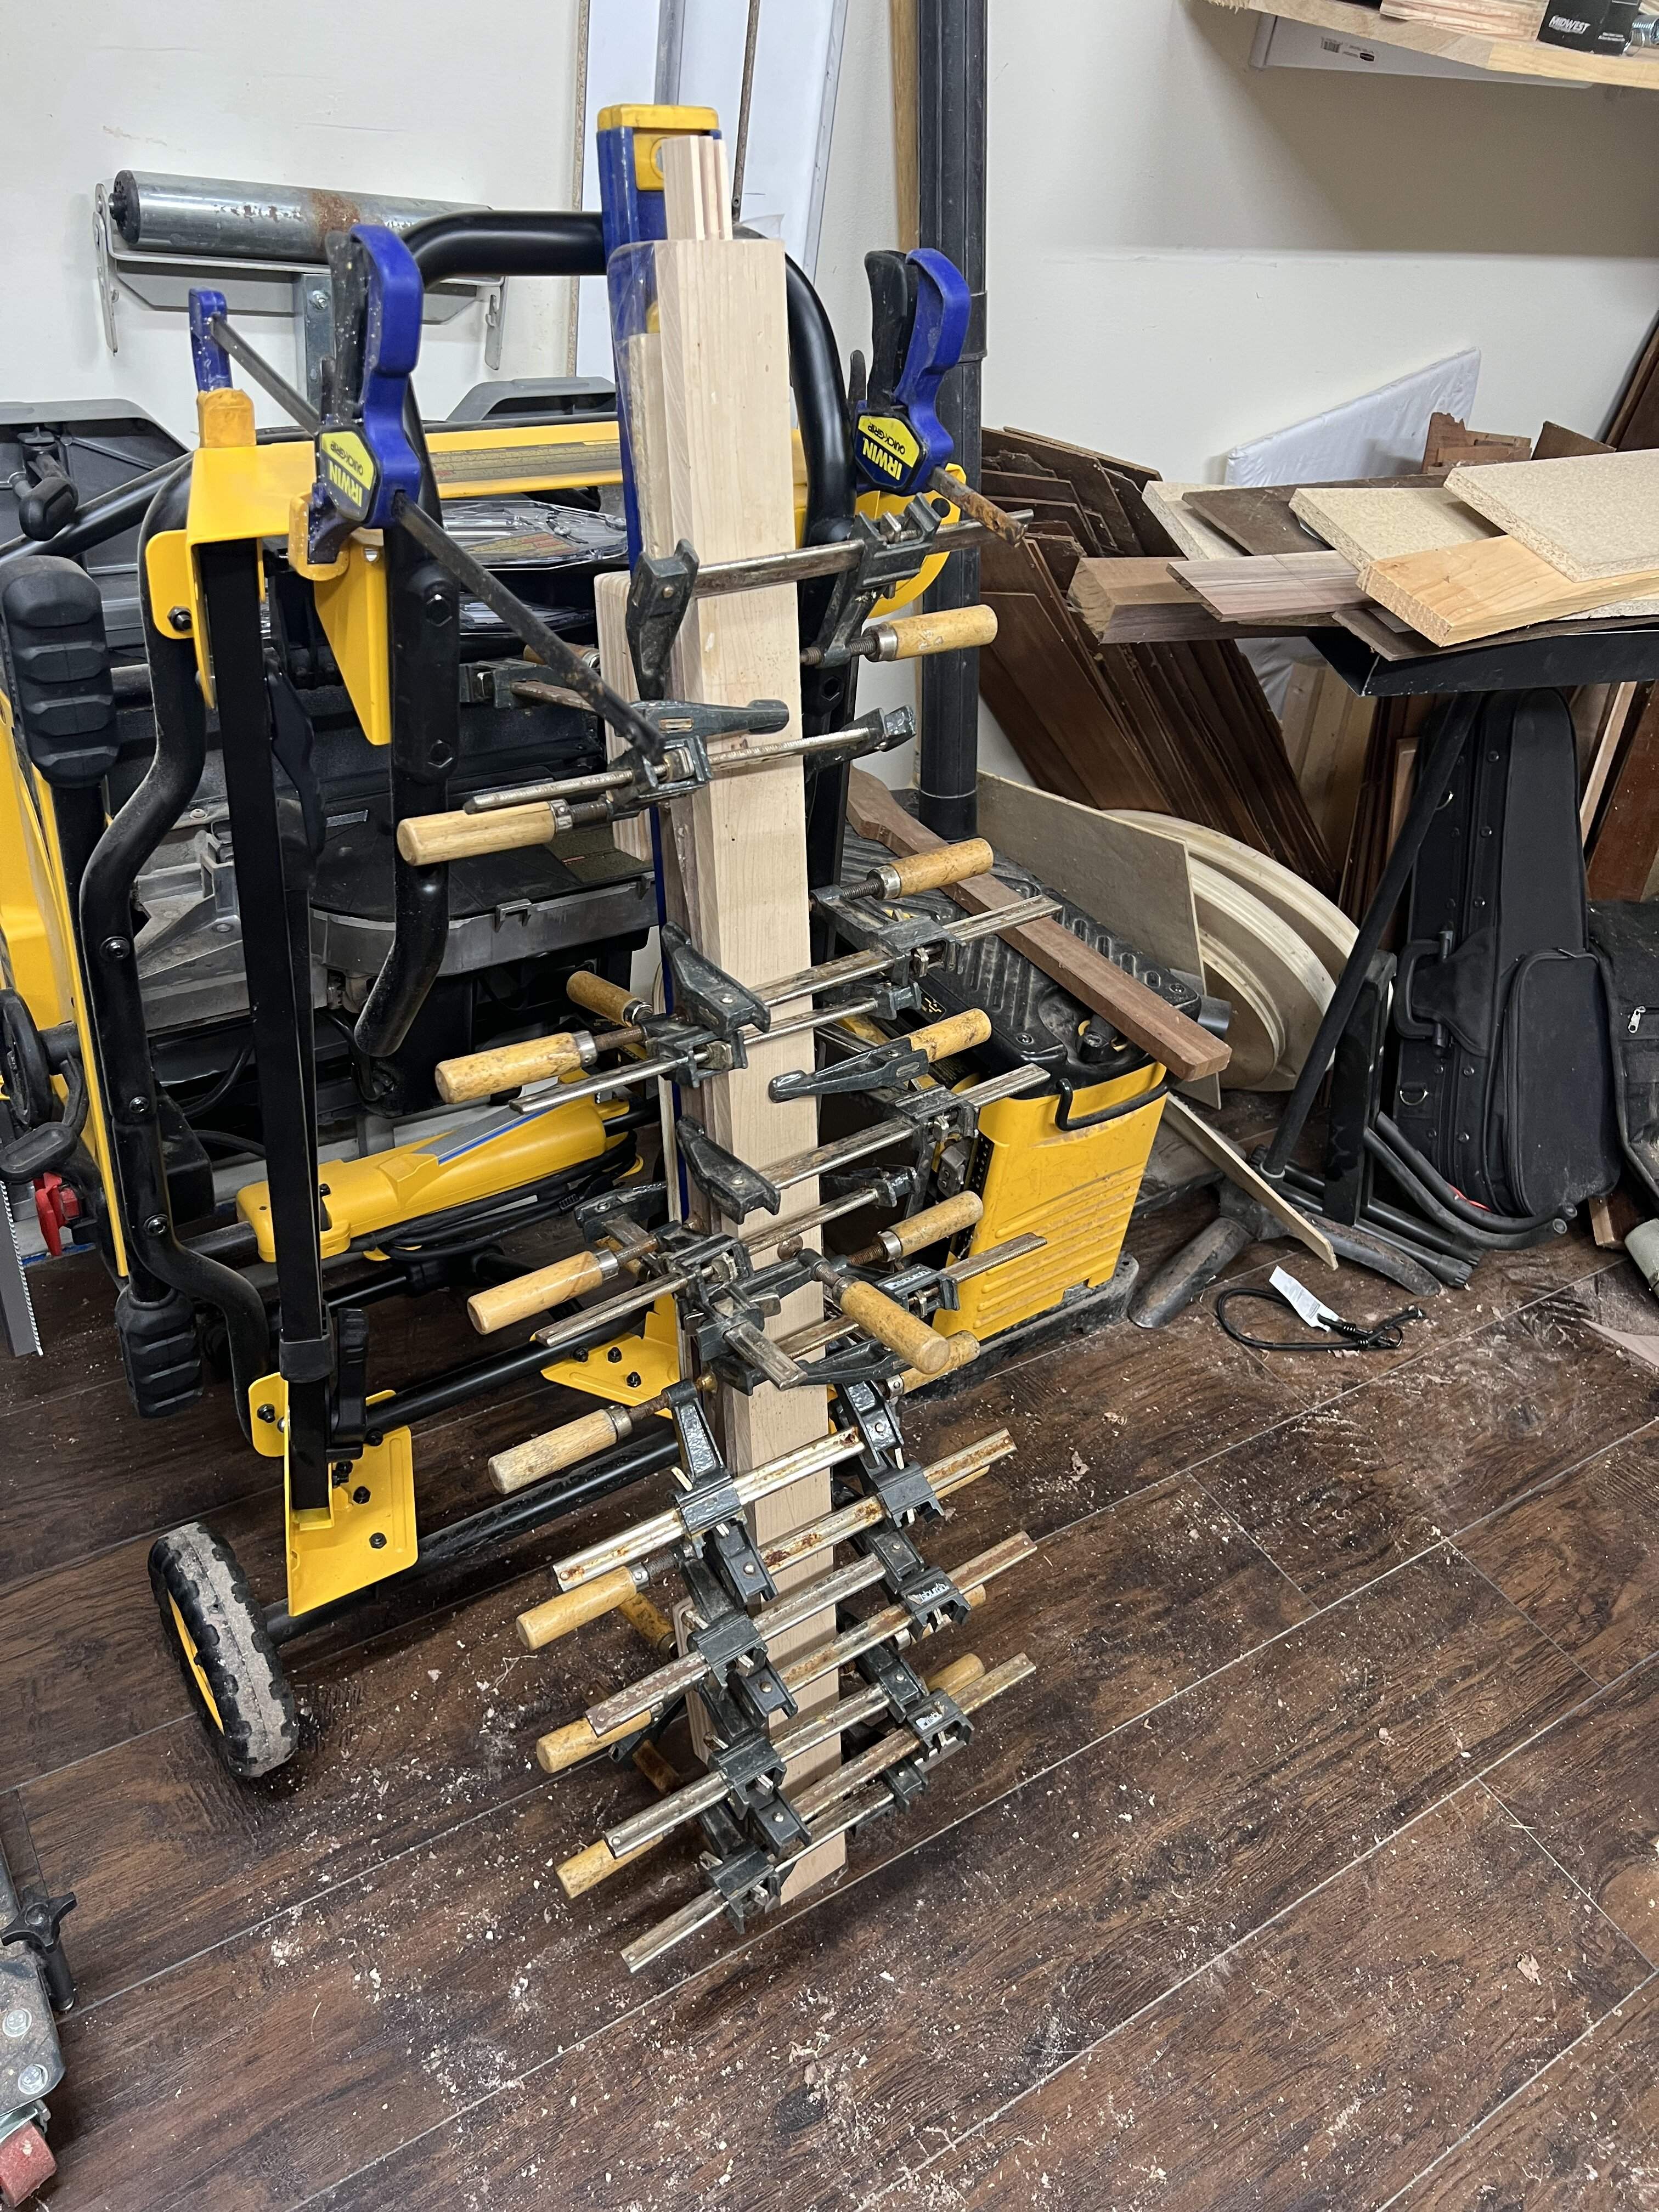

So, I cut and sanded down 7 thin pieces of alternating maple and walnut, about 1/8”, and two bigger 1” squares of the walnut. I placed the worst knots on the big pieces on the outside surface where they would be cut off.
I then made an elaborate setup with a level and various boards to force the pieces into alignment along the length. Hopefully this saves a lot of time flattening everything. Then I used almost all the clamps.
Last edited:
And technically Merry Christmas!


