• TalkBass has been independent since 1998. Add your voice.
    Create a free account to reply to discussions, view embedded media, and browse with fewer display ads.
    Join freeLog in
    Want zero display ads or expanded classifieds tools? Compare plans.

A little project

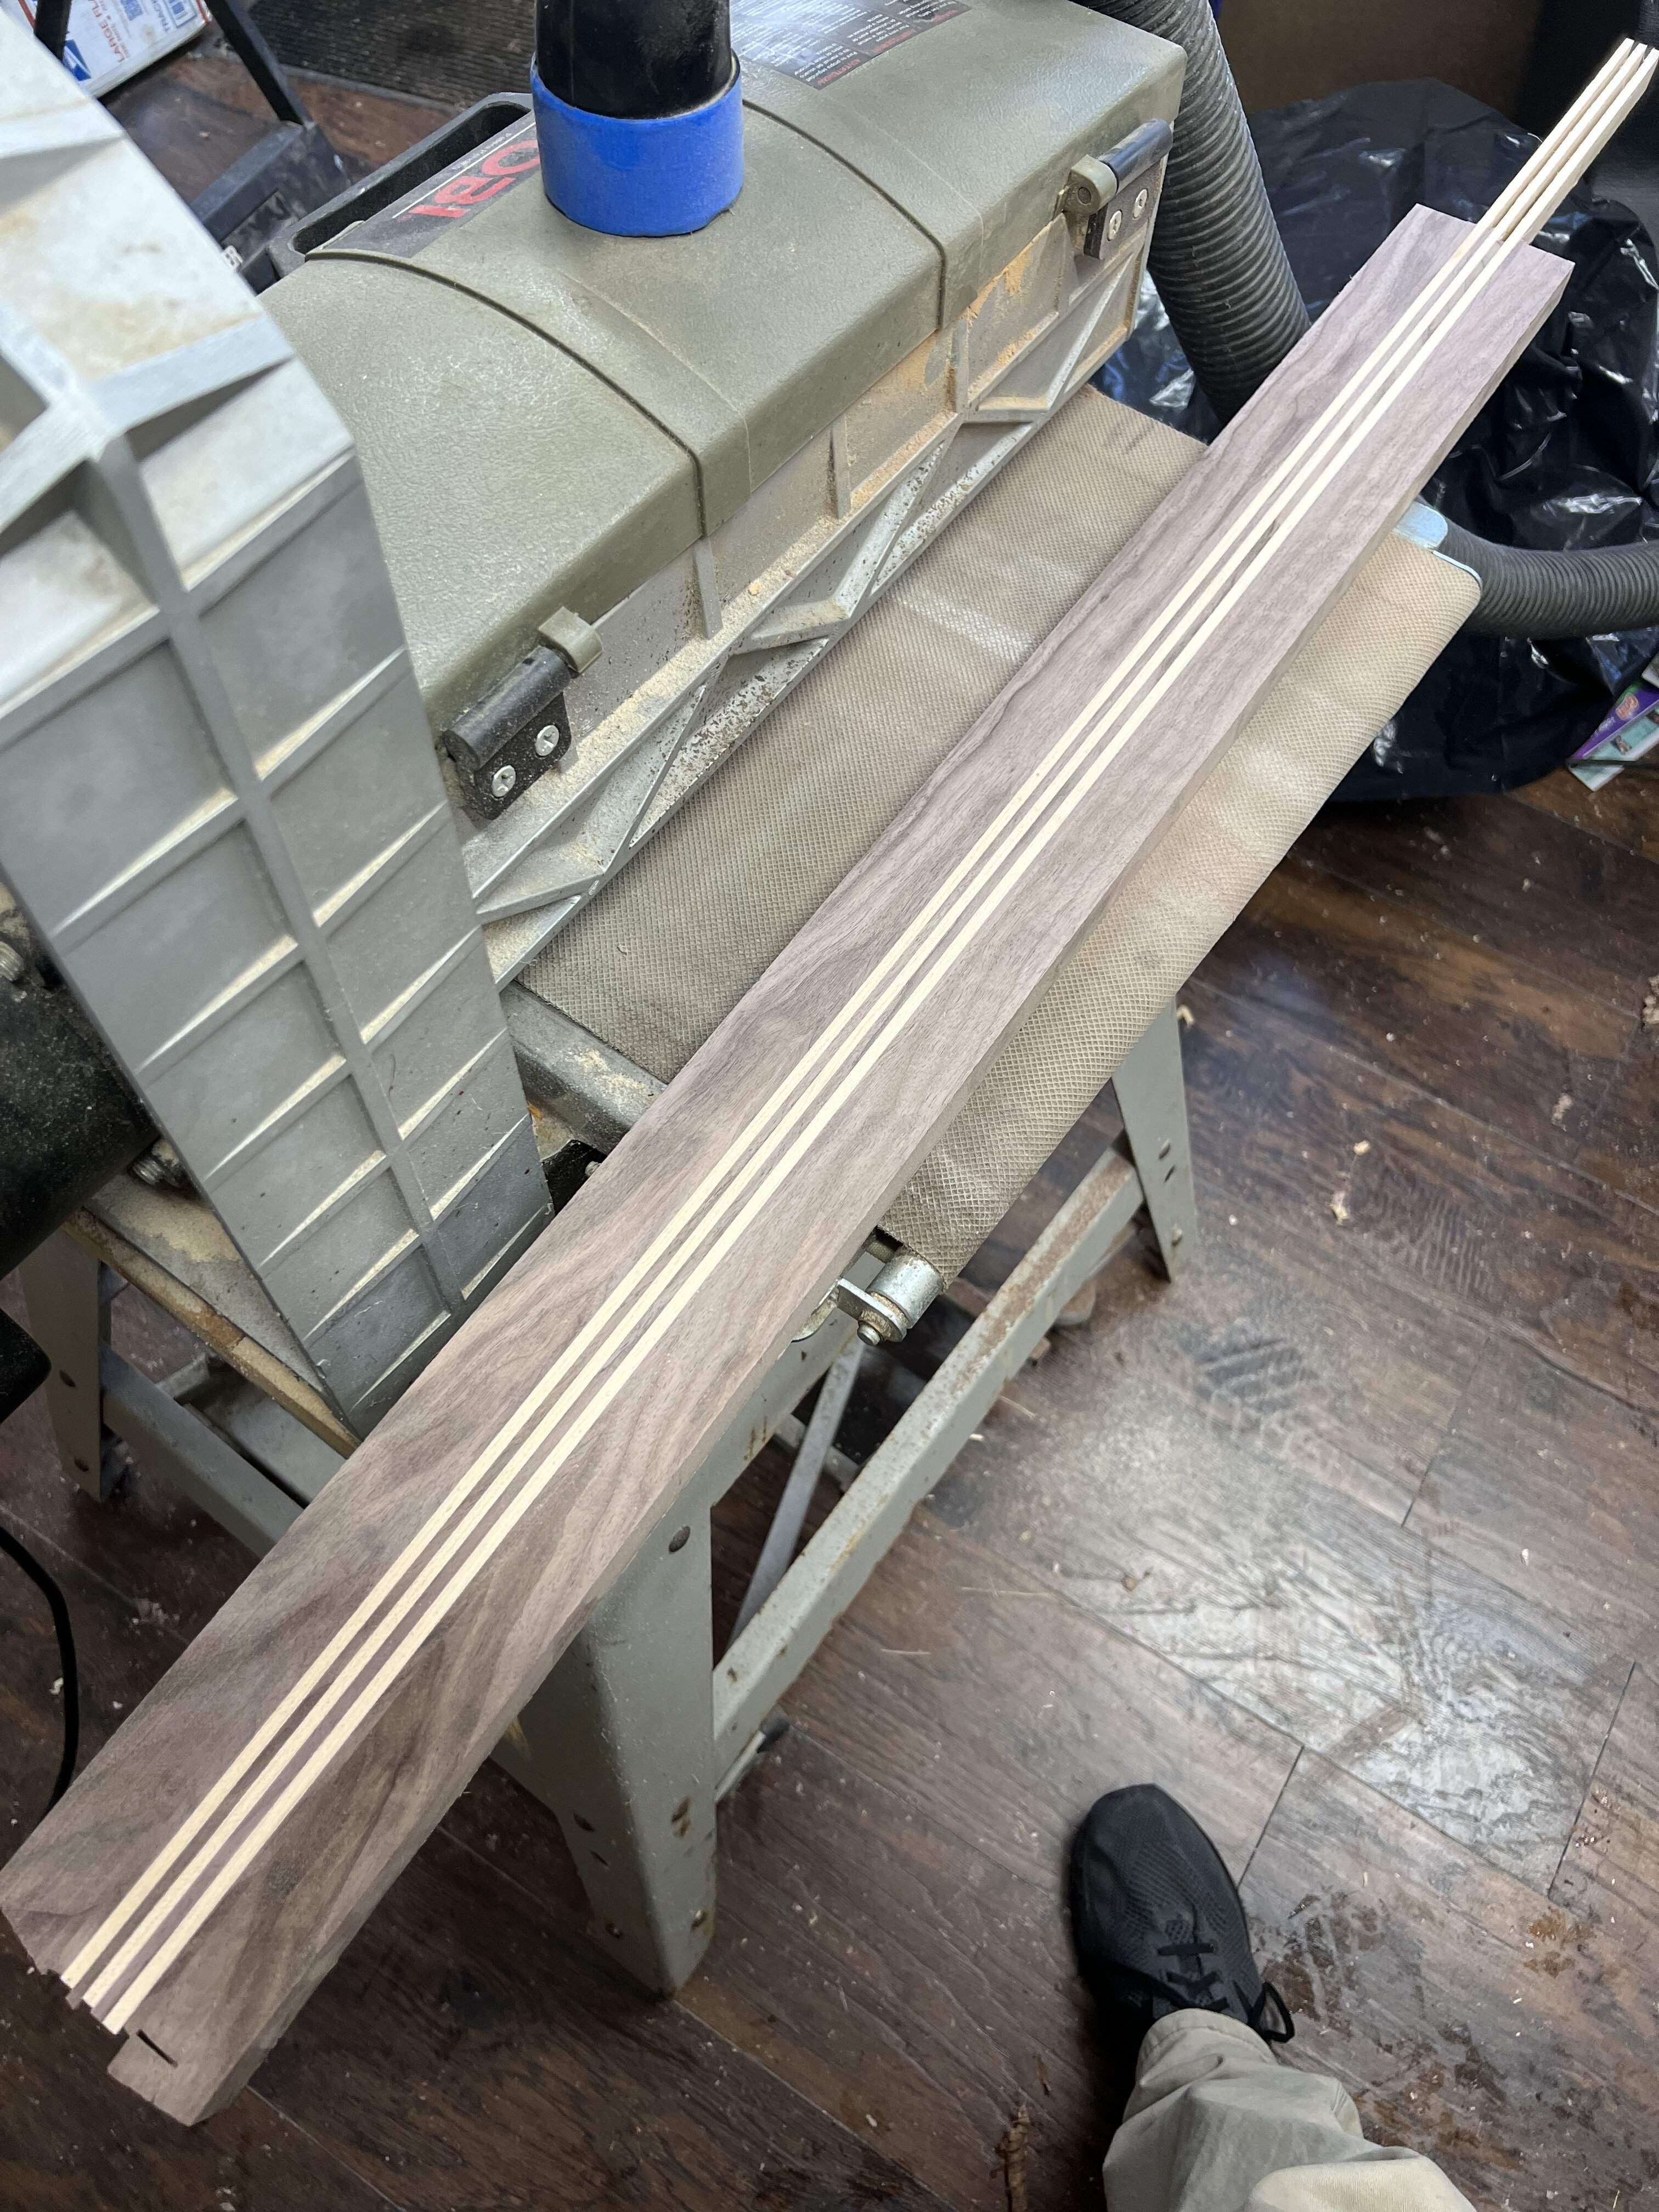
Well, my some visiting family gifted us a stomach bug, fortunately it passed quickly. Today I thinned down the blank to just over 3/4”. Then I made a cut for the headstock angle. I have seen between 5 degrees (originals) and 15 degrees (reissue), so I split the difference and made a 10 degree angle. I put the scarf on the headstock because I am going to make an overlay.

I managed to find some kluson mini bass tuners made for duesenburg basses. They have the small buttons, but regular bass shafts, so I won’t have to get the special strings for the longhorn.
1334006C-B795-4385-A5B0-0A9F38BFBEC3.jpeg
FAC48D92-29E3-43AD-A721-68E36D742B16.jpeg
3DEA8272-7167-4DA1-AF3A-5D1F05BE5F75.jpeg
274F925D-15A1-4A2A-AF24-4E4E7B4608B8.jpeg
082EF916-3CBA-4E1A-93AD-5E97935D0C51.jpeg
 
Scarf came out great, and walnut is really good at hiding joints like this. Unfortunately there was a small discrepancy in the glue up, so the lines aren’t perfect. The neck joint on this instrument is so odd, how the neck overhangs the pocket. I assume it was for ease of production?

I used my smaller compression bit for the neck and it worked great, no issues. No surprises for fellow builders here, the back of the neck lined up better than the front and the headstock plate will cover the join. Of course, anytime I use all the tools in my small shop there is a big old mess to tidy up, but no complaints, I am lucky to have the dedicated space.
6ACE5D39-E4E9-43A2-9D78-A971026AD6FC.jpeg
D99A42E1-0C61-4A7A-89FB-376453AAC9DE.jpeg
A78EF7F3-6BAB-4DBE-992A-845D09892556.jpeg
B47A39EC-B604-486A-8208-82CA2E7595D7.jpeg
555B802B-F39F-4275-831C-CF8C583DEF26.jpeg
 
I kind of like the way the width of the heel on the body is less than that of the neck. It’s a poor man’s version of the more elaborate heel shaping you see on more modern instruments to improve upper fret access.
I haven’t ever played one of these, it certainly looks like it has excellent access to all 24 frets. I am really curious if this was a design element for the player, or the result of more efficient use of lumber.
 
Routed the neck pocket, nothing notable, went just fine. I used the neck to line up straight templates. The only tiny mistake was rounding the corners before making the neck pocket, should have done it after and fit to the pocket. Small gaps in the very corners, more little issues that probably only I will notice, but good reminders to think ahead with every step.

Also made a master pickup template and pickguard template. For the pickup template I used a forstner bit to get the ends, then just connected the circles with straight lines and routed.
A3399D77-8183-48D0-8CE1-B1029896764C.jpeg
F3C53C7A-2A50-47DB-8AD4-E7CE7EB5B868.jpeg
07DAA476-B221-4E99-BA6B-D2C19E0FC196.jpeg
2382CA2C-B964-4E6C-ACE0-C52CCFFE2E8A.jpeg
 
Last edited:
I always shoot for a 13 degree headstock angle, but it never comes out at that, so I'm usually in that 12 to 14 degree range. #CloseEnough :roflmao:

Build is looking phenomenal. :cool:
I looked up that luthier school. Too far away from me. Not sure which graduate pic is you tho. ;)
Thanks, this has been a really fun project, really looking forward to stringing them up. My kids are also excited because they are basses that they will be able to ‘fit’.

Yeah, I was lucky to have DJ teaching locally, he was really nice and fun to work with. We didn’t do much in the way of luthiery, it was more centered around repair and maintenance work geared towards opening your own business doing setups and repairs. It was a good one on one experience and I learned a lot.

I also have been saving for a few years, and finally had enough to take an archtop building course this summer in Nazareth at American Archtops with Dale Unger (worked in Bob Benedetto’s shop). That was pretty great too, and a huge contrast in approach. More minimalist in tools and heavily reliant on feel and experience. The two courses complimented each other nicely.

Here are some pics of the archtop we made:
D08F5139-DCE5-4A4F-AEDB-26607A4ECBCA.jpeg
C7A8394E-84BE-4E50-8F68-E233DBFDC310.jpeg
9F80487B-2592-46DA-B520-D32CD310CA0C.jpeg
 
Truss rod time for the mustang. I usually order the blue rods. Good company. I wasn’t paying attention and ordered a dual-action for the longhorn and a two-way for the mustang. The two way has a smaller nut, which is nice.

My current jig is made of melamine, with aluminum angle to act as a router fence and to keep the melamine flat. I have a square plate for my trim router that fits in between. It is meant to sit on my workmate. The workmate clamps uneven shapes like a guitar neck. I just clamp the neck in and center the line between the routed center in the jig. For the two-way, you just use a 9/32” bit to open the end a tiny bit for the adjustment nut. I’ll glue a little cap on top to totally enclose the nut. Overall it works really well, although I want to remake this with iron to stiffen things up and tighten the tolerances.
818FB5A8-664B-4452-96C5-1212445A53B3.jpeg
AD4832E1-D78A-4A5A-8AD8-8B701C515030.jpeg
C30C8C06-040E-4736-BF53-05DDE9AC3FBA.jpeg
10E41302-A964-45D9-94BE-D8B8B5E606E0.jpeg
1634D001-BB26-44C9-B662-225362ED5439.jpeg
AE28ED2B-5C28-4050-9526-34AD29C58EFD.jpeg
2EF16E5B-19EA-420A-809D-9341CB238E92.jpeg
 
Last edited:
My vacation is winding down, still have a few more days left to enjoy building before life takes over again. Not complaining, family comes first, really enjoying the time when I get it.

I repeated the truss procedure for the longhorn, the only difference is I have that fancy stewmac reamer for truss rods. This style has the bigger nut, the reamer just follows the truss cavity and clears out the nut. It will also need a little nub to close it in, but no issues otherwise.
EB57D173-2642-4C3F-BB18-C4188631EDCE.jpeg
C3155FF6-352D-42AF-BA6C-C493CFE5A36D.jpeg
9CD5F9AA-EB2B-4EA8-8CC6-156F7D2BDCB8.jpeg
2CDDE4C1-3206-48DF-87F5-29B6F4BAB948.jpeg

I decided to do a pickup cavity as well, it can be tough to stop when you are on a roll. This is definitely trial and error time for me, never done this type of pickup cavity. The top is 1/8” thick, and the center beam lies where the legs go. However, the center beam lies inside the future adjustment screws, so that is nice. I routed into the top with a 1/2” x 1/2” pattern bit as far as it would go. That leaves the top pretty. Then I grabbed the proper forstner bit and used the walls I made to hog out the rest. Can’t drop the pickup in for a pic because I’ll never get it out, but it looks good!
B821B796-ADEC-4D38-BDAC-BC293B7FE3F9.jpeg
FB3D69A9-B188-4513-B751-BD489B69DB08.jpeg
 
Dude, that archtop is beautiful!
Thanks! Dale Unger (and his son, who is a great luthier himself) were awesome instructors. They did a great job balancing their level of involvement. They were really hands on with the students who have never built an instrument, but gave me a lot of room where I felt comfortable. They were always ready for questions, and popped over if they saw something i could be doing better or more efficiently. Excellent teachers who have mastered their craft. I can’t take full credit for that one, but it is definitely the nicest guitar I own, which feels really cool.
 
Today I routed the second pickup cavity and cleaned up the sides with a chisel. Same way as last time, seemed to work well enough. Silly mistake #3 for me was not taking the plastic off of the pickups, I made the slots a bit wider than I needed to. I may patch up the ends a bit for a tighter fit, but that’s not a big deal right now.

930F2273-59B0-4D73-815B-90F3E3134B5D.jpeg


So now I need to see the pickups in. I flipped the template and traced the pickup spaces on the back, and marked holes for the back mounted screws. I used some tape to hold them on by the corners so I could get to the head. Flipped the bass, used some needle nose pliers to drop the springs, lined up the screws, and pulled it all together. Looks neat!
6CA4F9CC-BFDC-447F-9CF2-1A60D757B67C.jpeg
2A590828-FAA3-4256-9F5F-9C9560A1752A.jpeg
1E52D038-BDAC-4321-A2D1-39EC06B6B1F3.jpeg
 
Happy 2023, hope everyone had a fun night. I stayed up with the kids and we ate junk food all night.

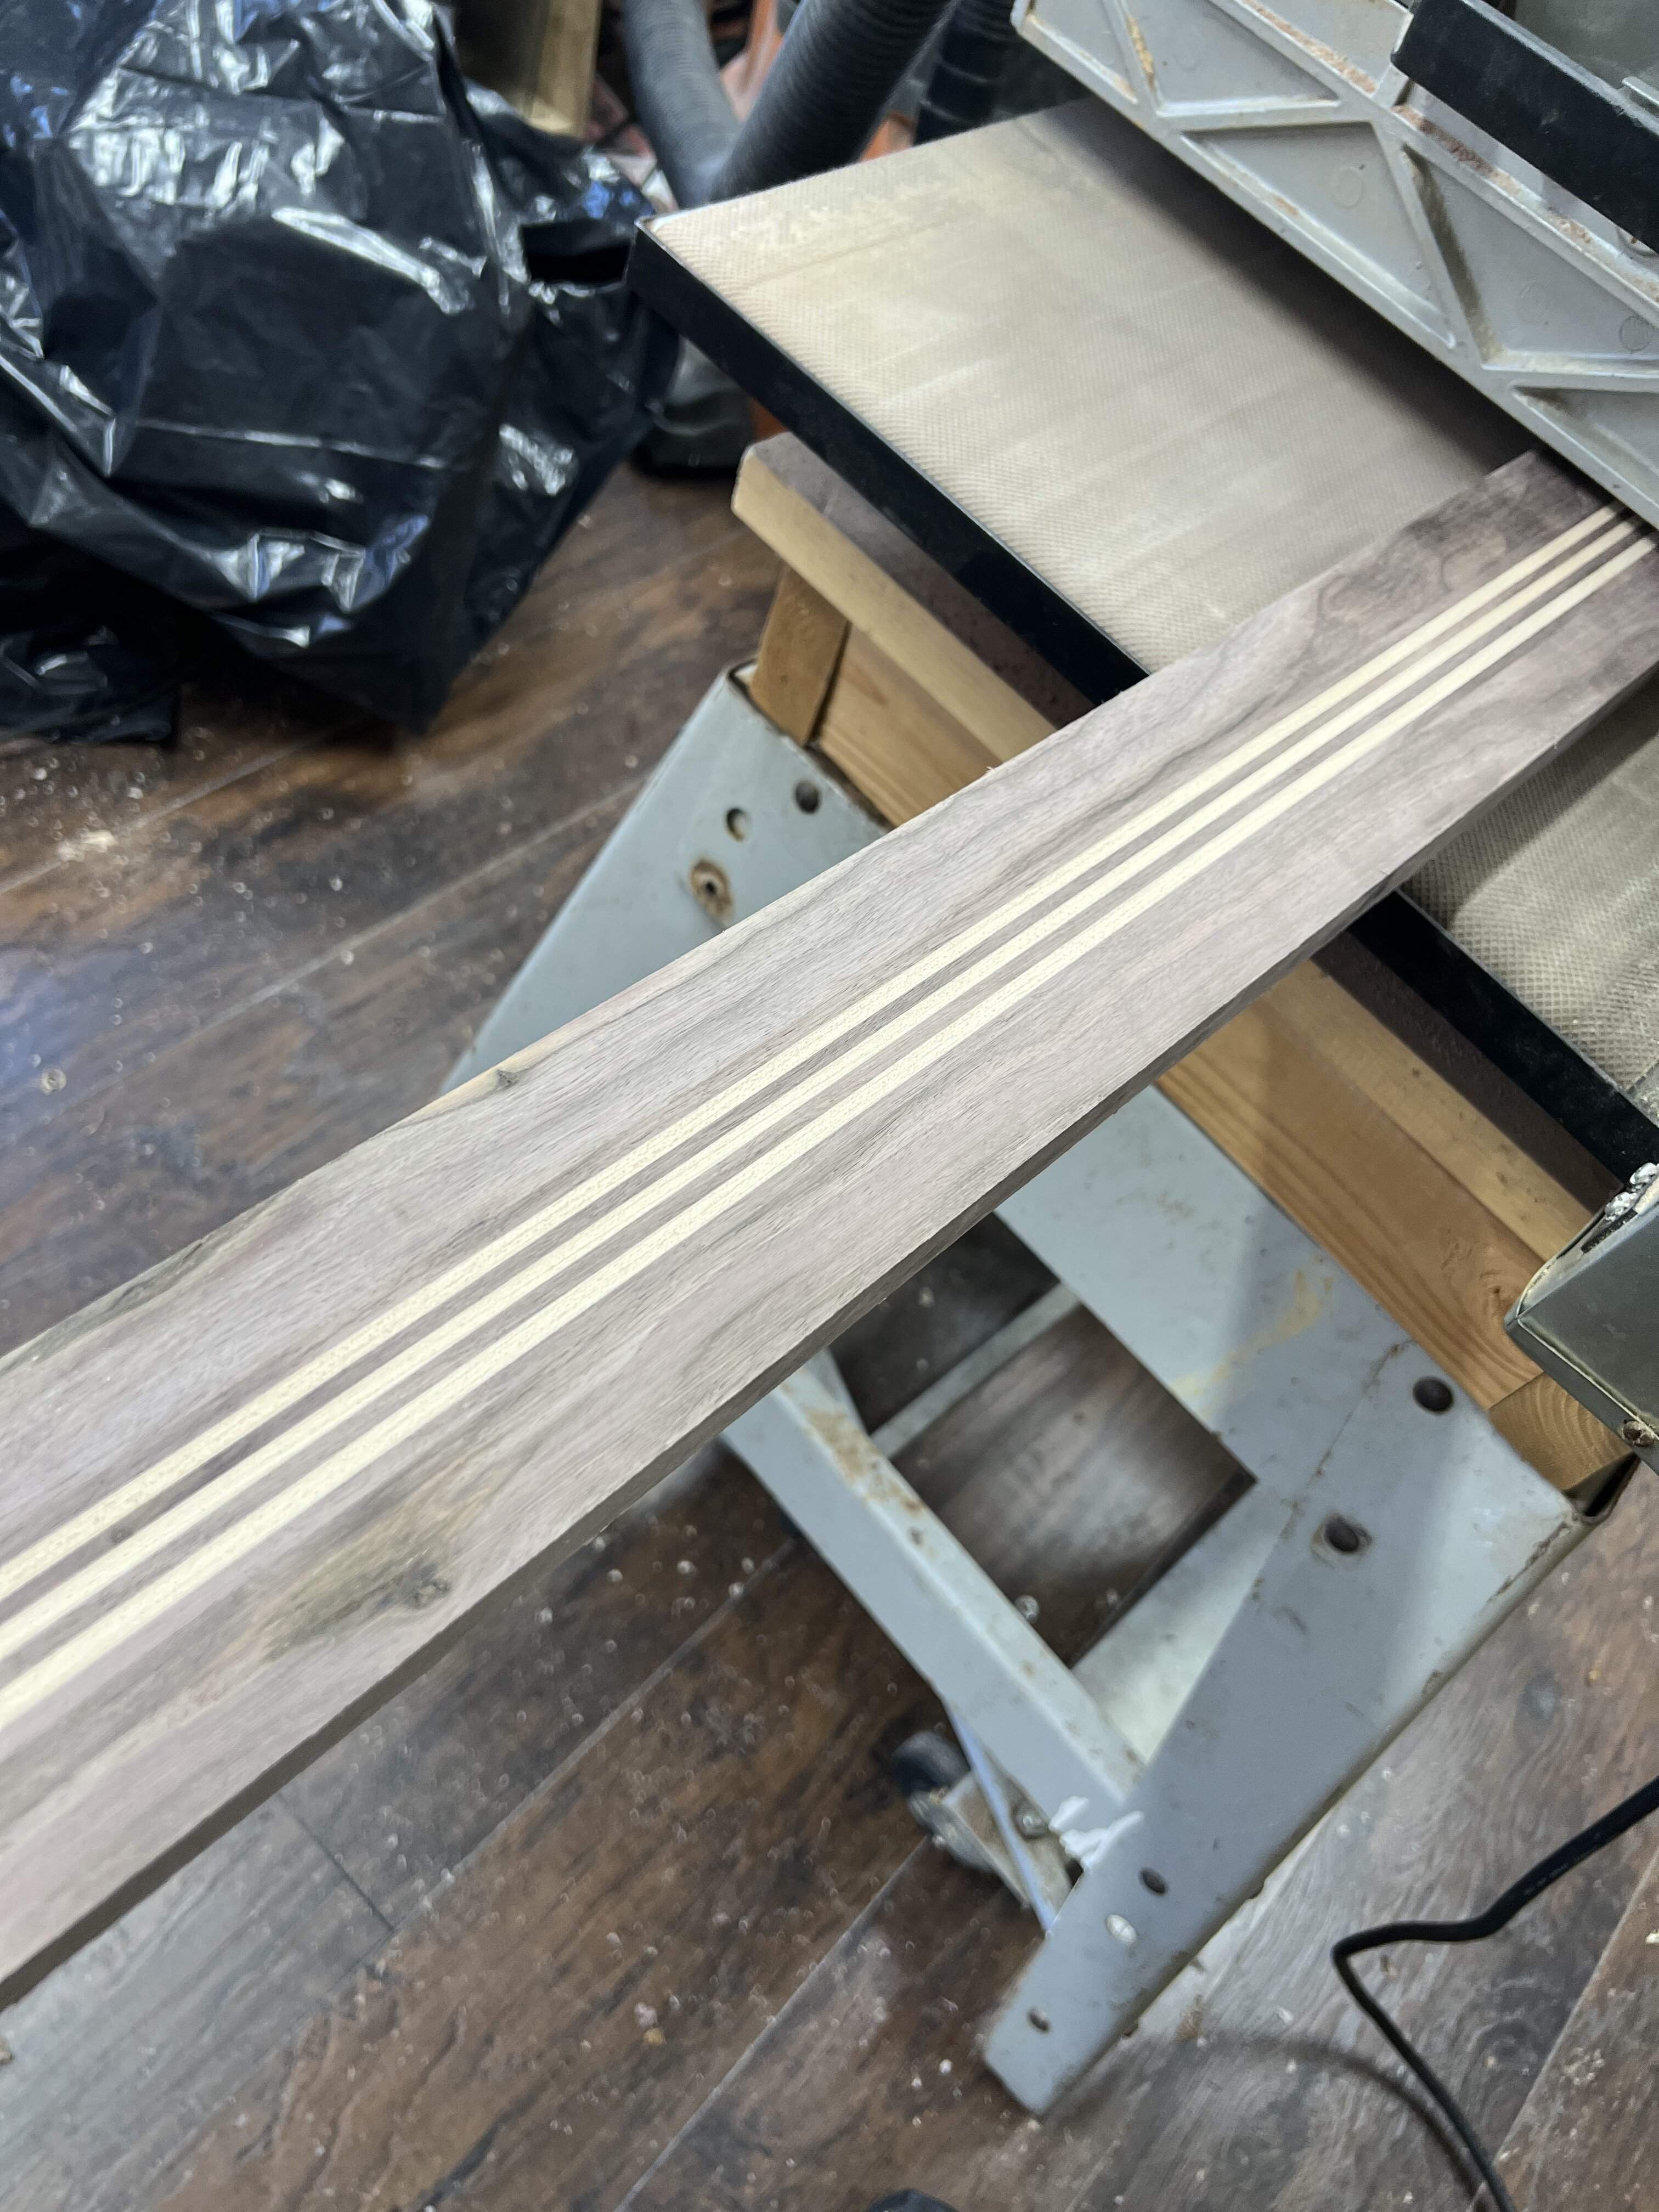
I put the mustang fretboard back in the box and lined it up, cut the last fret and made the marks for the nut. Then I used some fretboard cutoff for the little nub over the adjustment nut. Brought it to the drill press and made the cavities for the fret dots. Then I used a few staples for index pins and pressed it on so the center lines matched, and glued up. Looks tight, will give a pattern rout later today.
ECAA8FC9-1E95-419A-8511-7525283B8194.jpeg
C3D479BE-E7C4-4896-9386-B44686266576.jpeg
5A868018-CDAE-4336-910A-E302B599E039.jpeg
477DB797-FF4C-42E6-B229-4B8C29DCE90E.jpeg


My little duesenberg bass tuners for the longhorn came, they look and feel very nice.
1EC2FED9-8085-420B-87F2-E1119C8159BA.jpeg
3D69C244-9C32-42D6-B0BF-9DC8BFC6D637.jpeg


I am going for a theme with these instrument builds to match the EB3L I built. The general rules are walnut, sometimes with maple for the wood, which grows in abundance around here. Hardware will all be chrome/steel/nickel and plastic is black/white. Finish is clear crystalac over amber shellac. I found some fender jazz concentric knobs, and I have an idea to make them look bigger like a dano but keep the theme. Played a bit with the layout.
4EFFE57D-E3D5-41EE-BBAD-189C4DE64161.jpeg
 

Latest posts