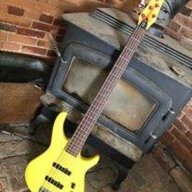
They seem really well built, and I believe it was a 16:1 gear ratio. The unfortunate thing is they seem to only be available in Europe. The price is very reasonable, but you get hit with the shipping. I think all told I paid $65 with shipping, this was through an eBay seller. However, at that price they were still in the ballpark for any other decent tuner set. I have used ultralites in most of my other bass builds, and even though I really like them they are very expensive comparatively.I like those tuners. I’m interested to see how they work for you. I have a Club bass that could be persuaded to accept some new tuners and those could work well.

Enjoy the benefits of a premium membership!
Upgrade Account
-
TalkBass has been independent since 1998. Add your voice.
Create a free account to reply to discussions, view embedded media, and browse with fewer display ads.
Join free Log in
Want zero display ads or expanded classifieds tools? Compare plans.
You are using an out of date browser. It may not display this or other websites correctly.
You should upgrade or use an alternative browser.
You should upgrade or use an alternative browser.
A little project
- Thread starter Verner
- Start date
More options
Who Replied?
Well, vacation time is over and I’ll be running all week getting back to normal life. I’ll keep these going mostly on the weekends, but the project will slow down. Hopefully I’ll get some time this coming weekend to move forward.
I’d like to thank everyone who chimed in and checked things out. This was a tough ‘break’ and this was one of the bright spots. Our visiting family brought colds and stomach flus to share, the house was filled with people and kind of chaotic all week, and my 90 year old grandmother took a fall at the beginning of the break and had a fast decline. We lost her yesterday, but thankfully we were able to say our goodbyes over the week. My little shop was my sanctuary and focusing on the project was a distraction I needed, as was the encouragement from this forum. I don’t normally get so personal on a forum, but I’m sure many can relate. It’s nice to have a corner to retreat to between rounds sometimes. I am enjoying the build-off threads, looking forward to seeing them come together.
I’d like to thank everyone who chimed in and checked things out. This was a tough ‘break’ and this was one of the bright spots. Our visiting family brought colds and stomach flus to share, the house was filled with people and kind of chaotic all week, and my 90 year old grandmother took a fall at the beginning of the break and had a fast decline. We lost her yesterday, but thankfully we were able to say our goodbyes over the week. My little shop was my sanctuary and focusing on the project was a distraction I needed, as was the encouragement from this forum. I don’t normally get so personal on a forum, but I’m sure many can relate. It’s nice to have a corner to retreat to between rounds sometimes. I am enjoying the build-off threads, looking forward to seeing them come together.
It has been a month since I last was able to do any work on the basses, which is unbelievable. Life is busy right now. I have had shop time though, and my wife and Mother in Law are taking the kids away for the whole weekend, so I am going to live in shop Friday evening through Sunday afternoon.
However, my wife just had a birthday, and I did some woodwork for her present. Thought a few may be interested, so I’ll post a few pics. We were out at a restaurant last month and they had old tools hanging on the walls. Hanging from the ceiling was an Amish style wheelbarrow. So I broke out the hand tools and made one, she kept mentioning how cool it was and how she would love to have one for our little farm. It actually came out really nice, I grabbed the wheel from a local destroyed old wheelbarrow. Hardwood is ash and bed and sides are cedar, all should do well with rot. I even got to do some metalwork making all the brackets. Cost, besides time, was very reasonable.
Anyway, bass stuff is coming!


However, my wife just had a birthday, and I did some woodwork for her present. Thought a few may be interested, so I’ll post a few pics. We were out at a restaurant last month and they had old tools hanging on the walls. Hanging from the ceiling was an Amish style wheelbarrow. So I broke out the hand tools and made one, she kept mentioning how cool it was and how she would love to have one for our little farm. It actually came out really nice, I grabbed the wheel from a local destroyed old wheelbarrow. Hardwood is ash and bed and sides are cedar, all should do well with rot. I even got to do some metalwork making all the brackets. Cost, besides time, was very reasonable.
Anyway, bass stuff is coming!

Oh man it is hard to get out to the shop most days. I absolutely destroyed my shop getting the wheelbarrow done in time for my wife’s birthday, and any time I had was spent cleaning up the piles and piles of scrap and shavings. Hand tools don’t make much dust, but they leave plenty behind. Shop is looking pretty, added some shelves and a few more tool holders, it’ll get there eventually.

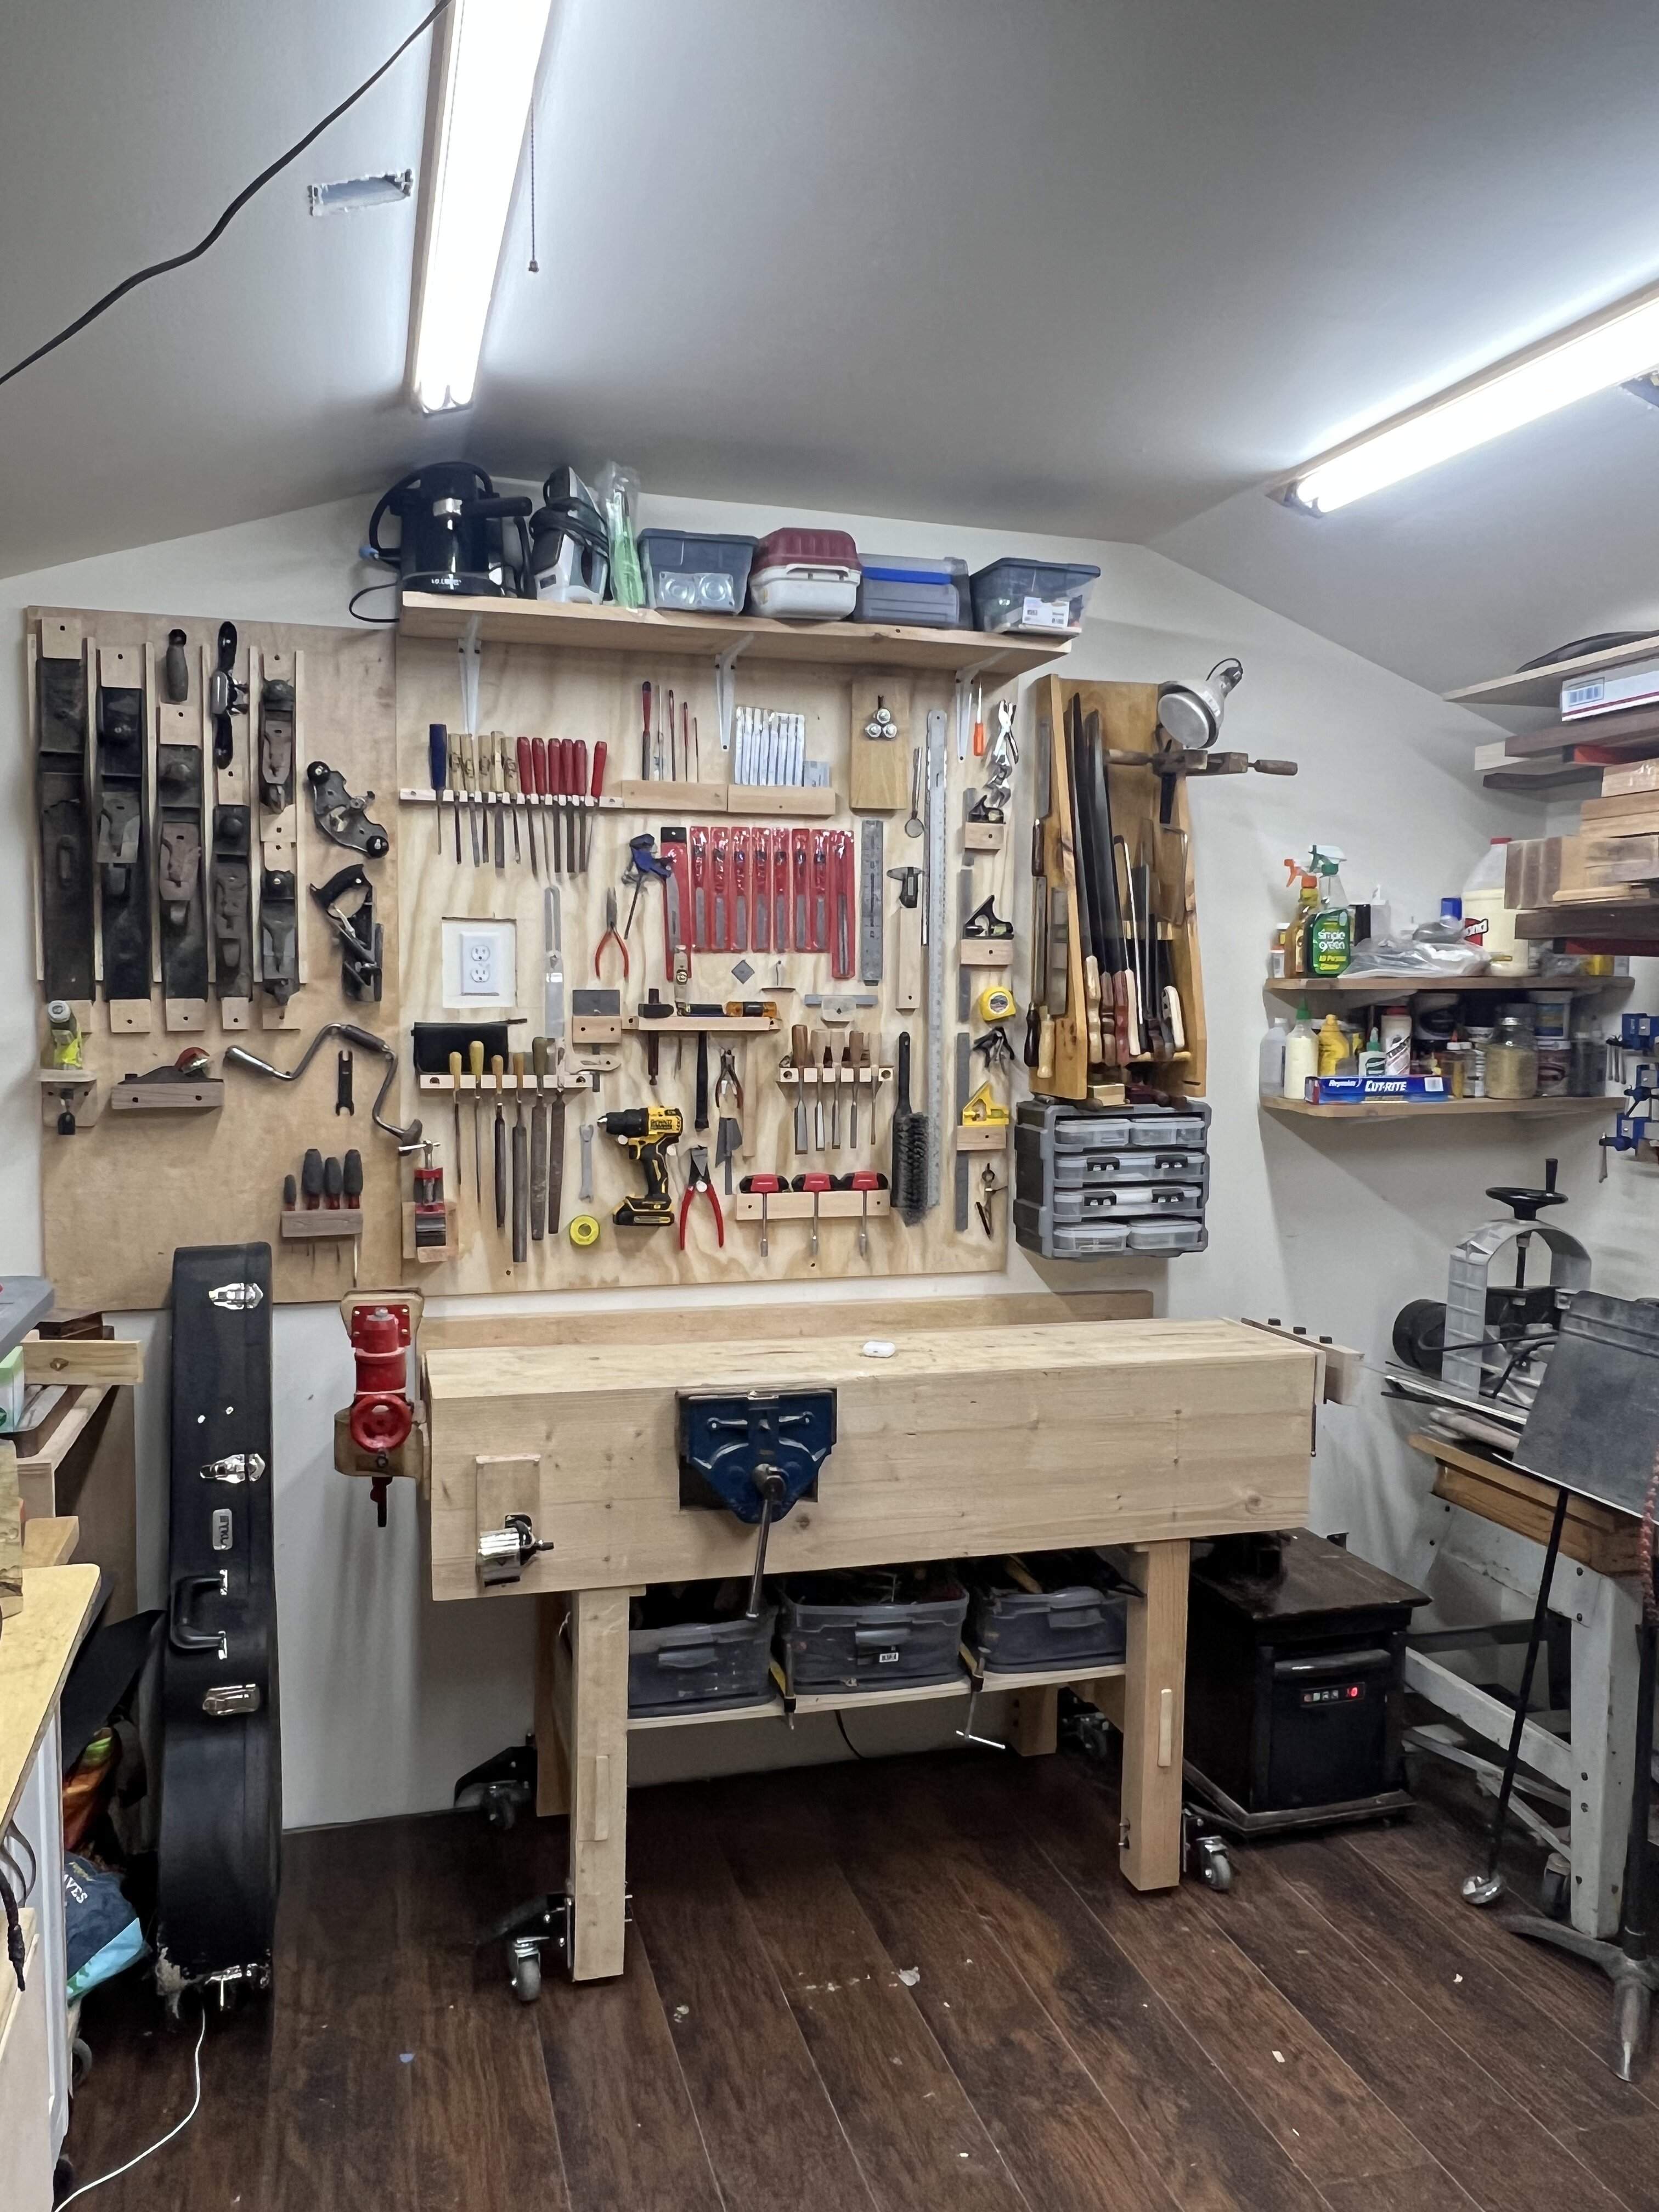

Except this little mess…

Ok, so back to this dano. Found a cutoff to cut a fingerboard, went through the usual bandsaw and sander. I was unsure about using walnut for the board, but my EB bass had one and it has held up perfectly. I suppose if I was performing regularly with these it may be an issue, but they only get a few hours each week.

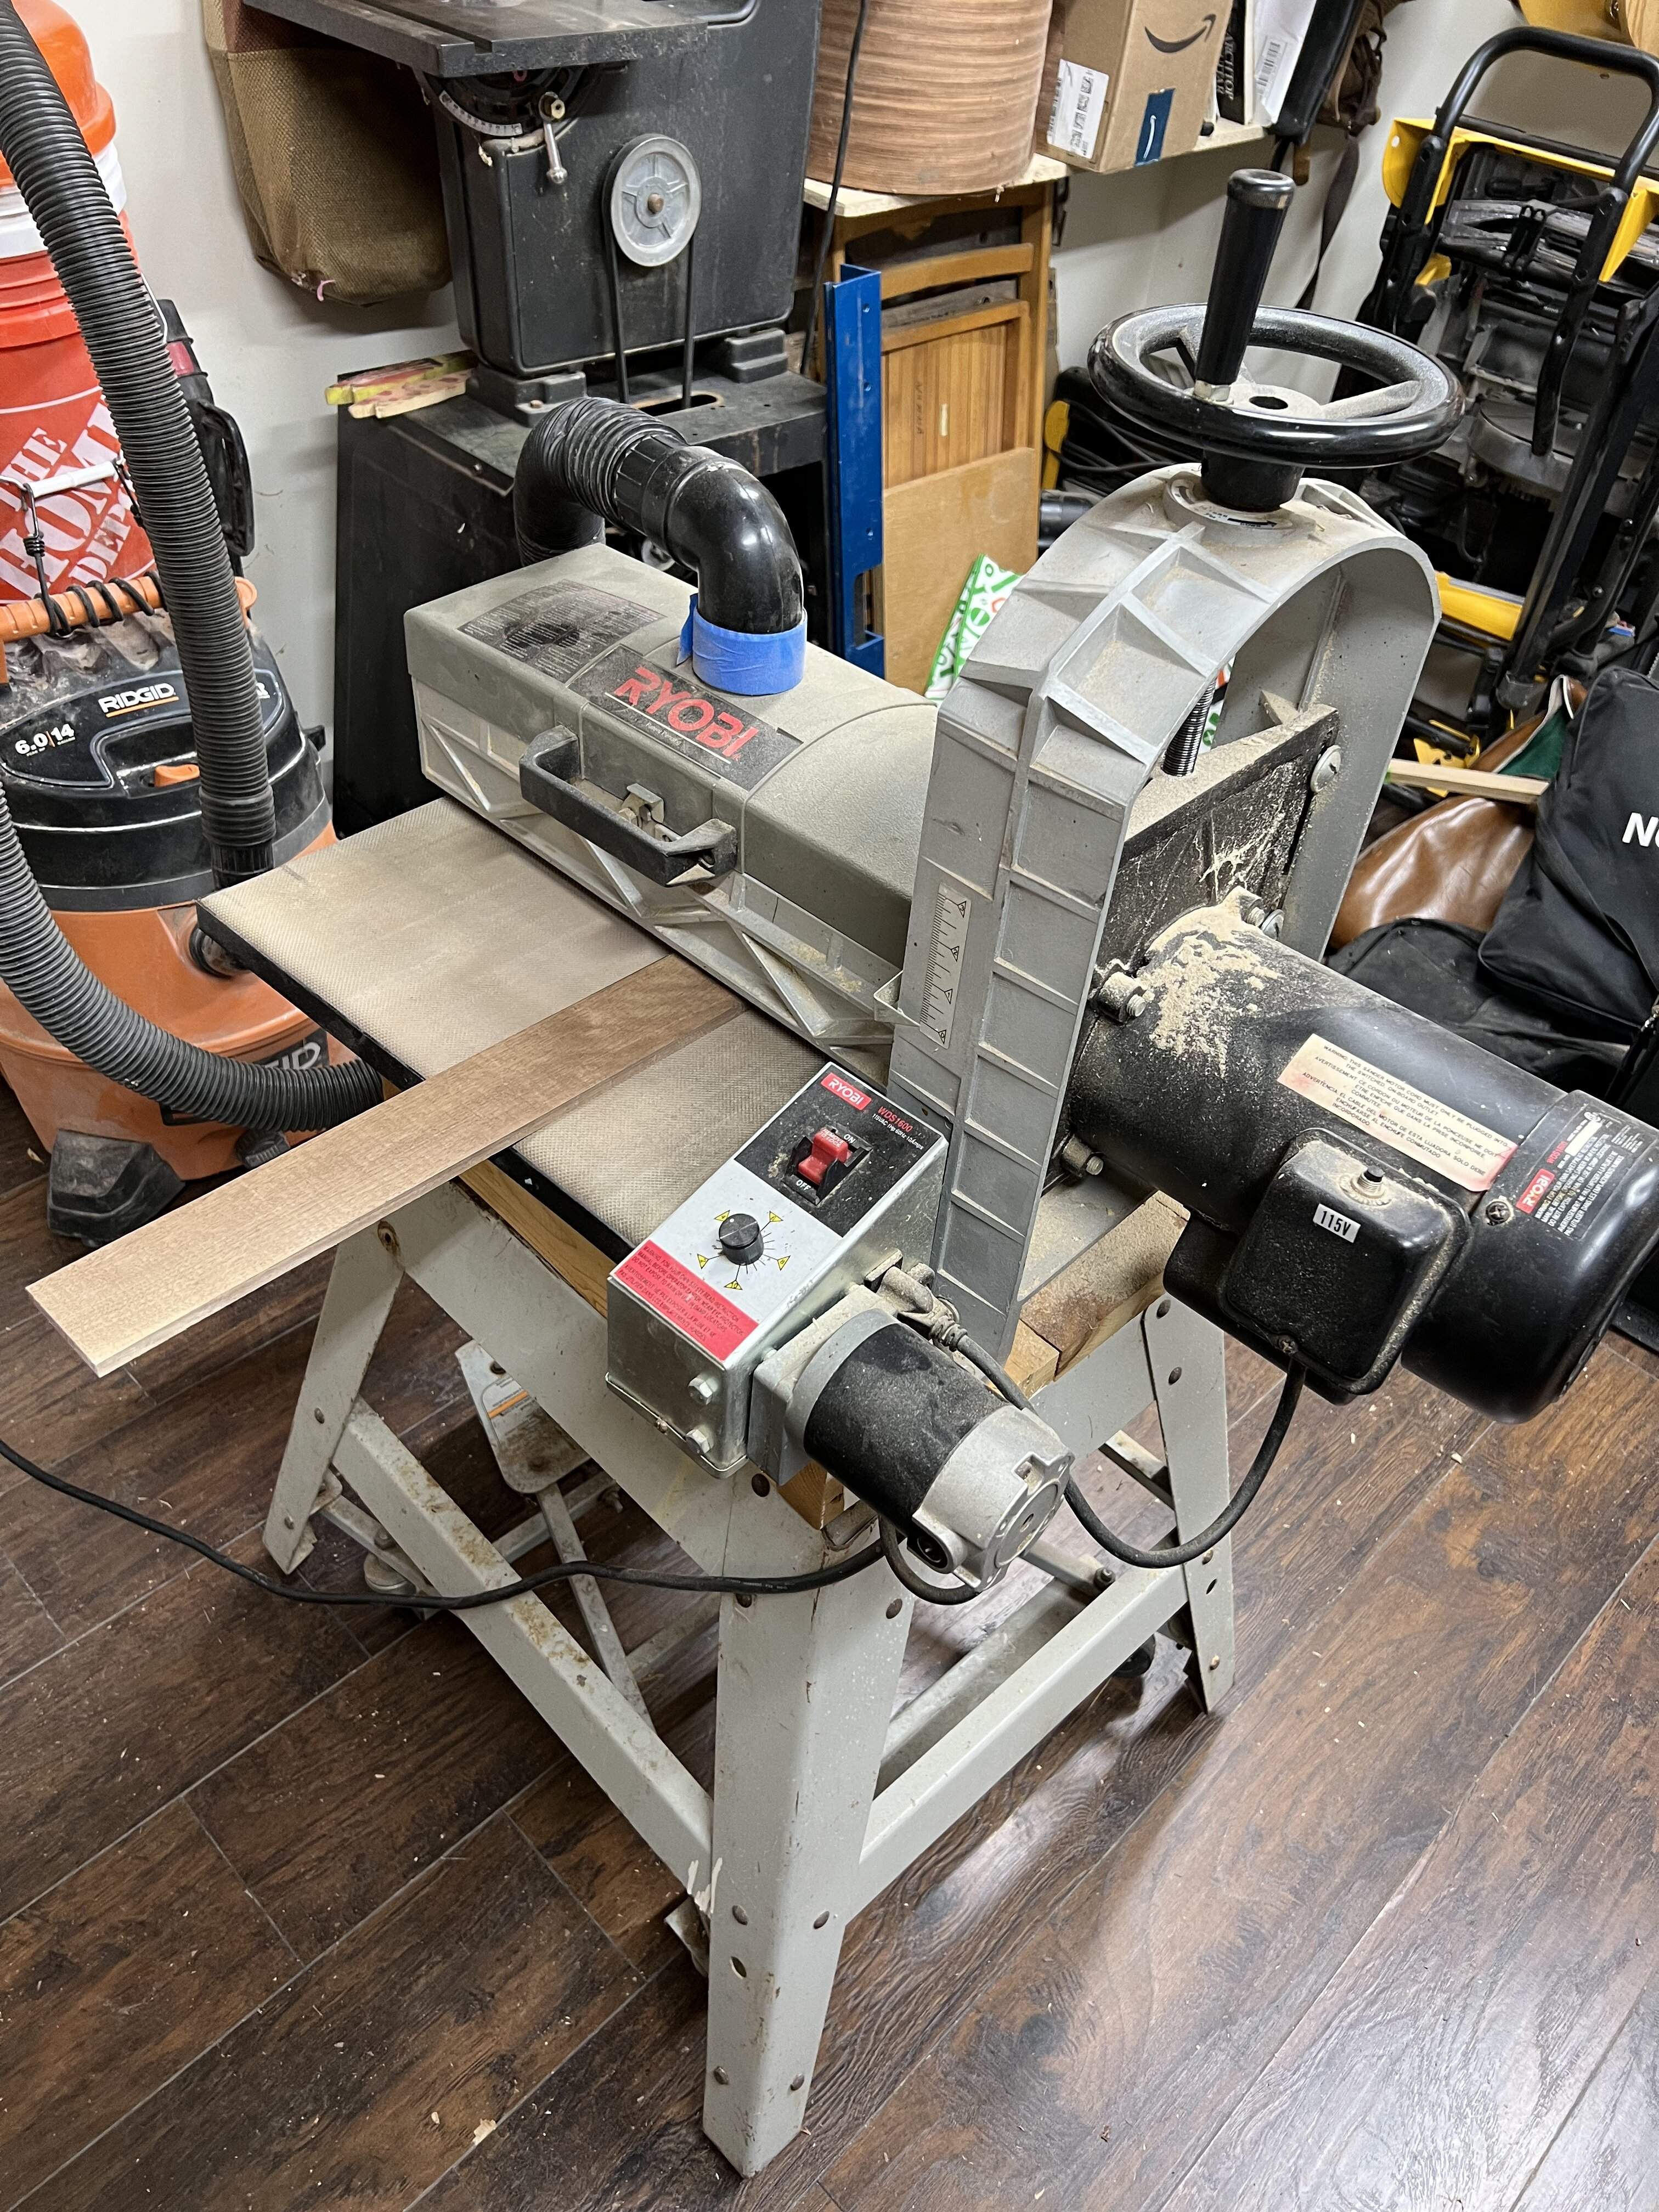
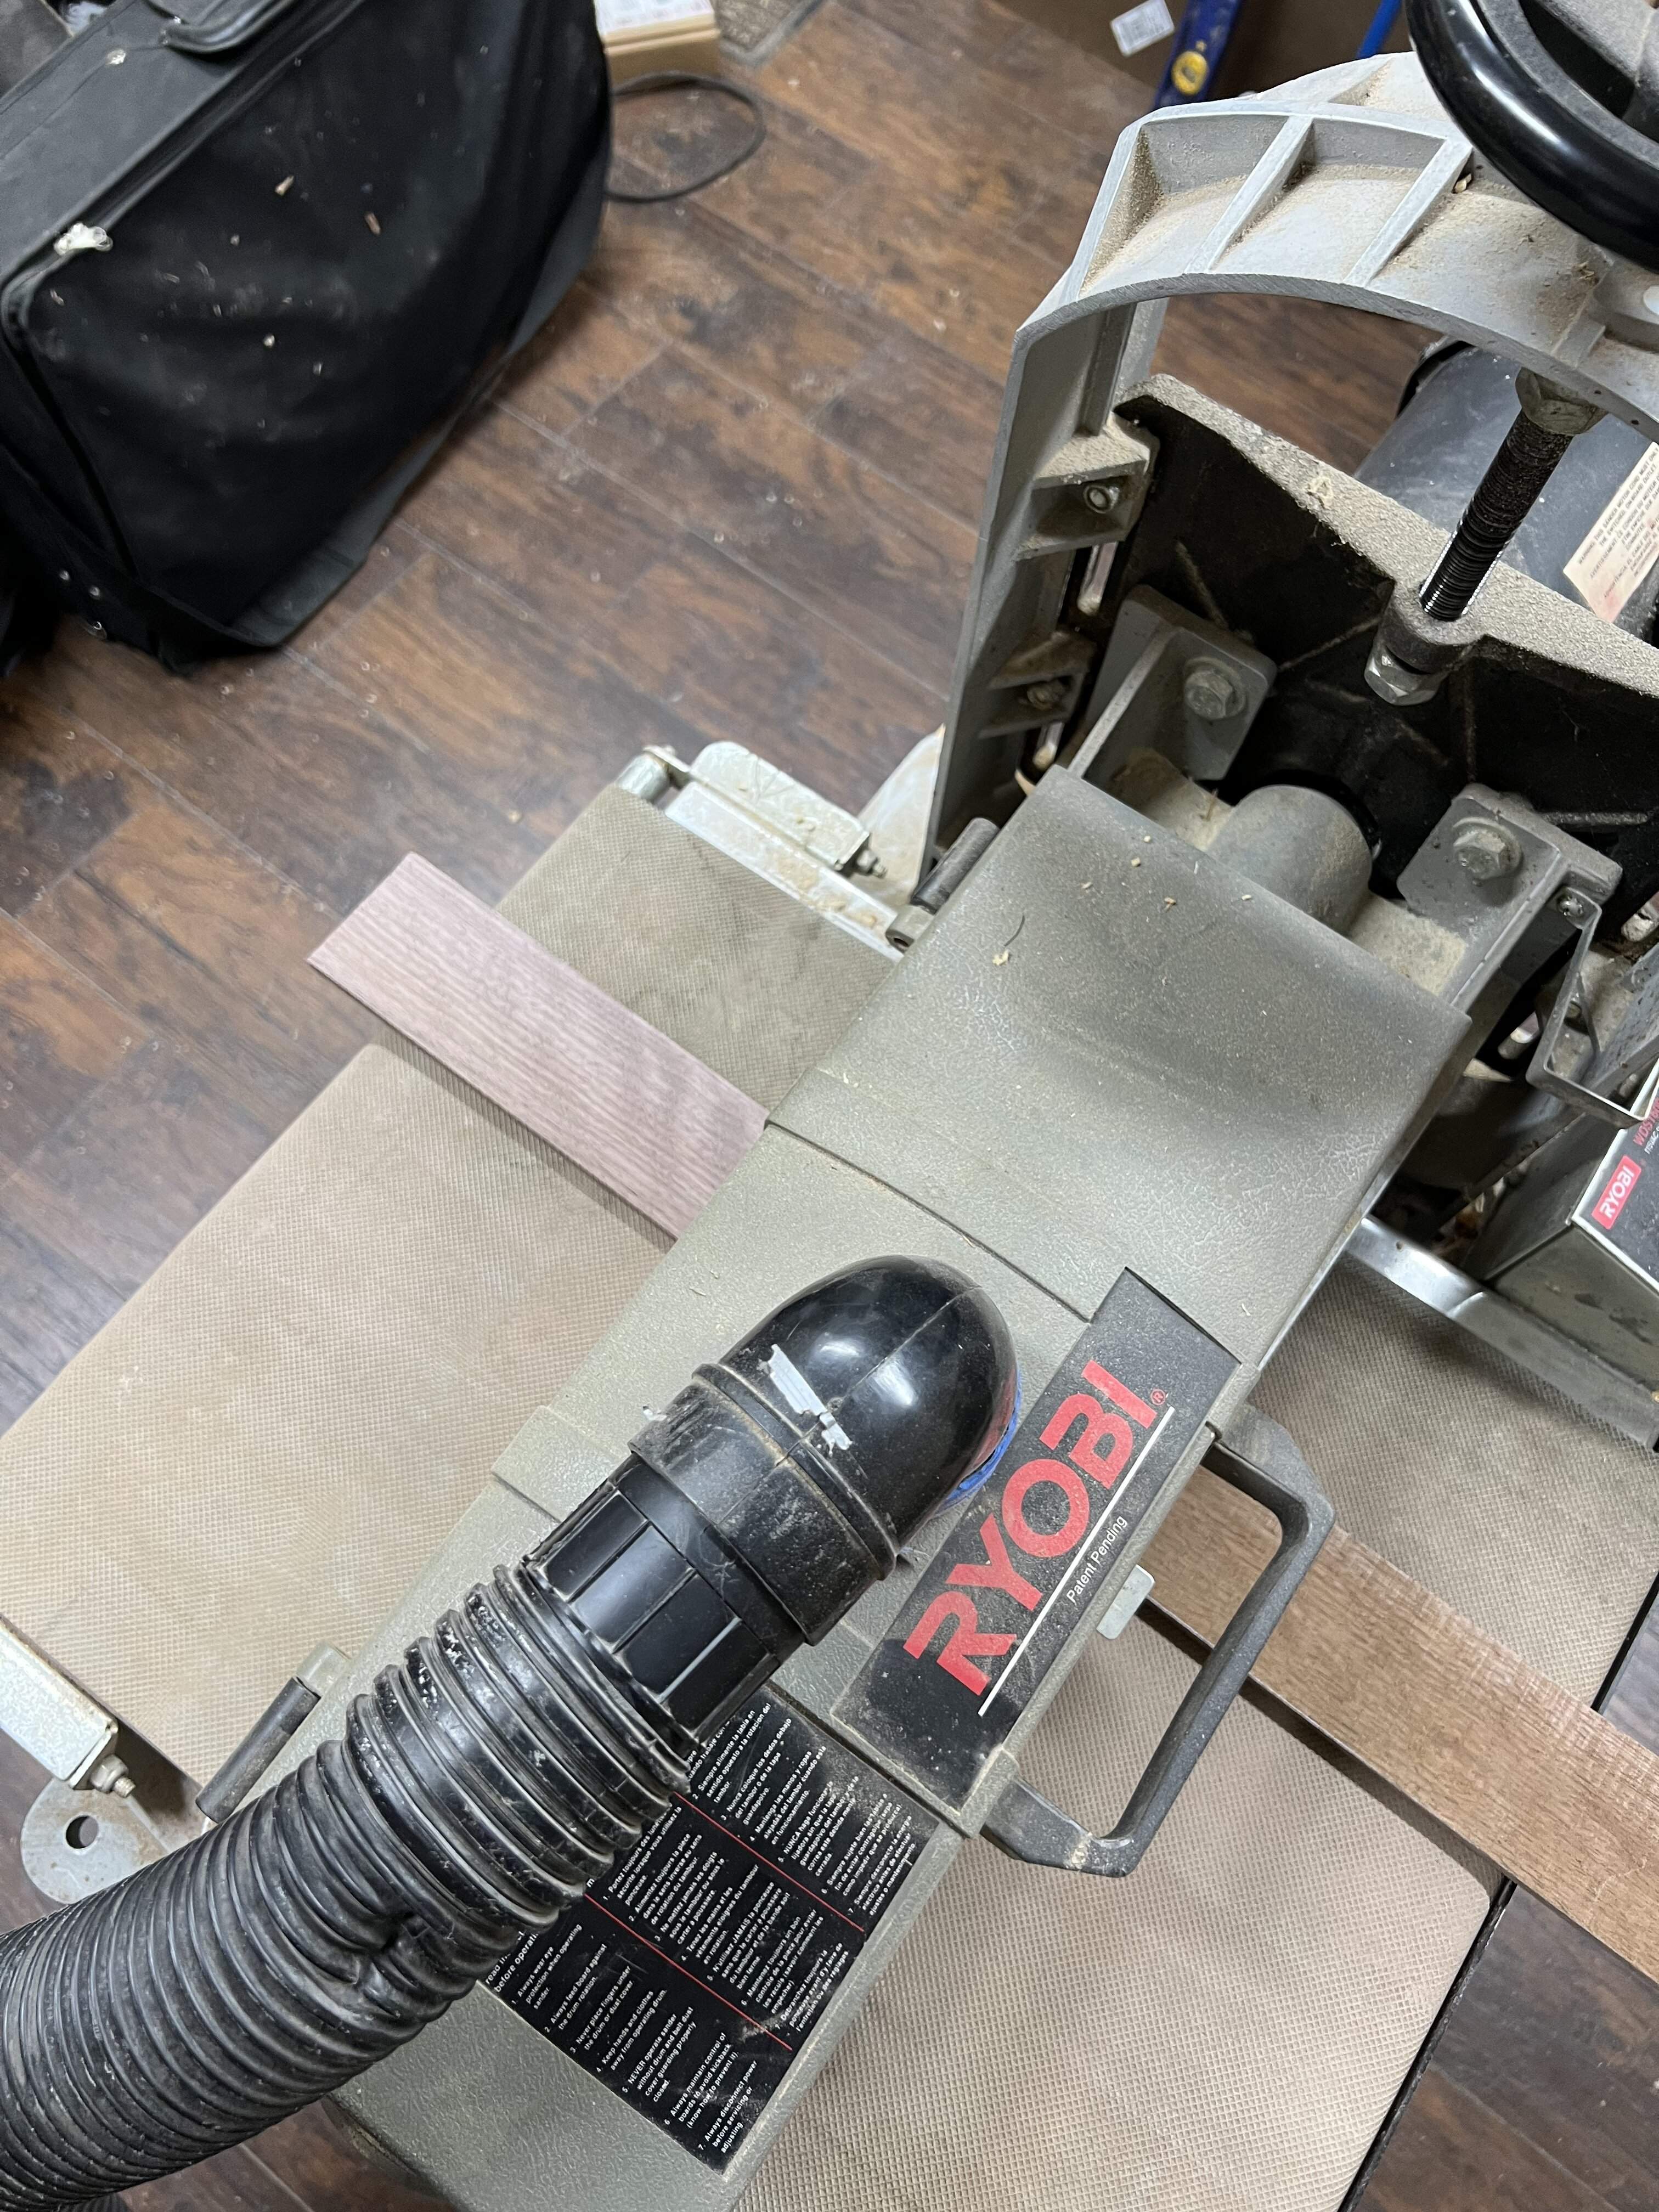
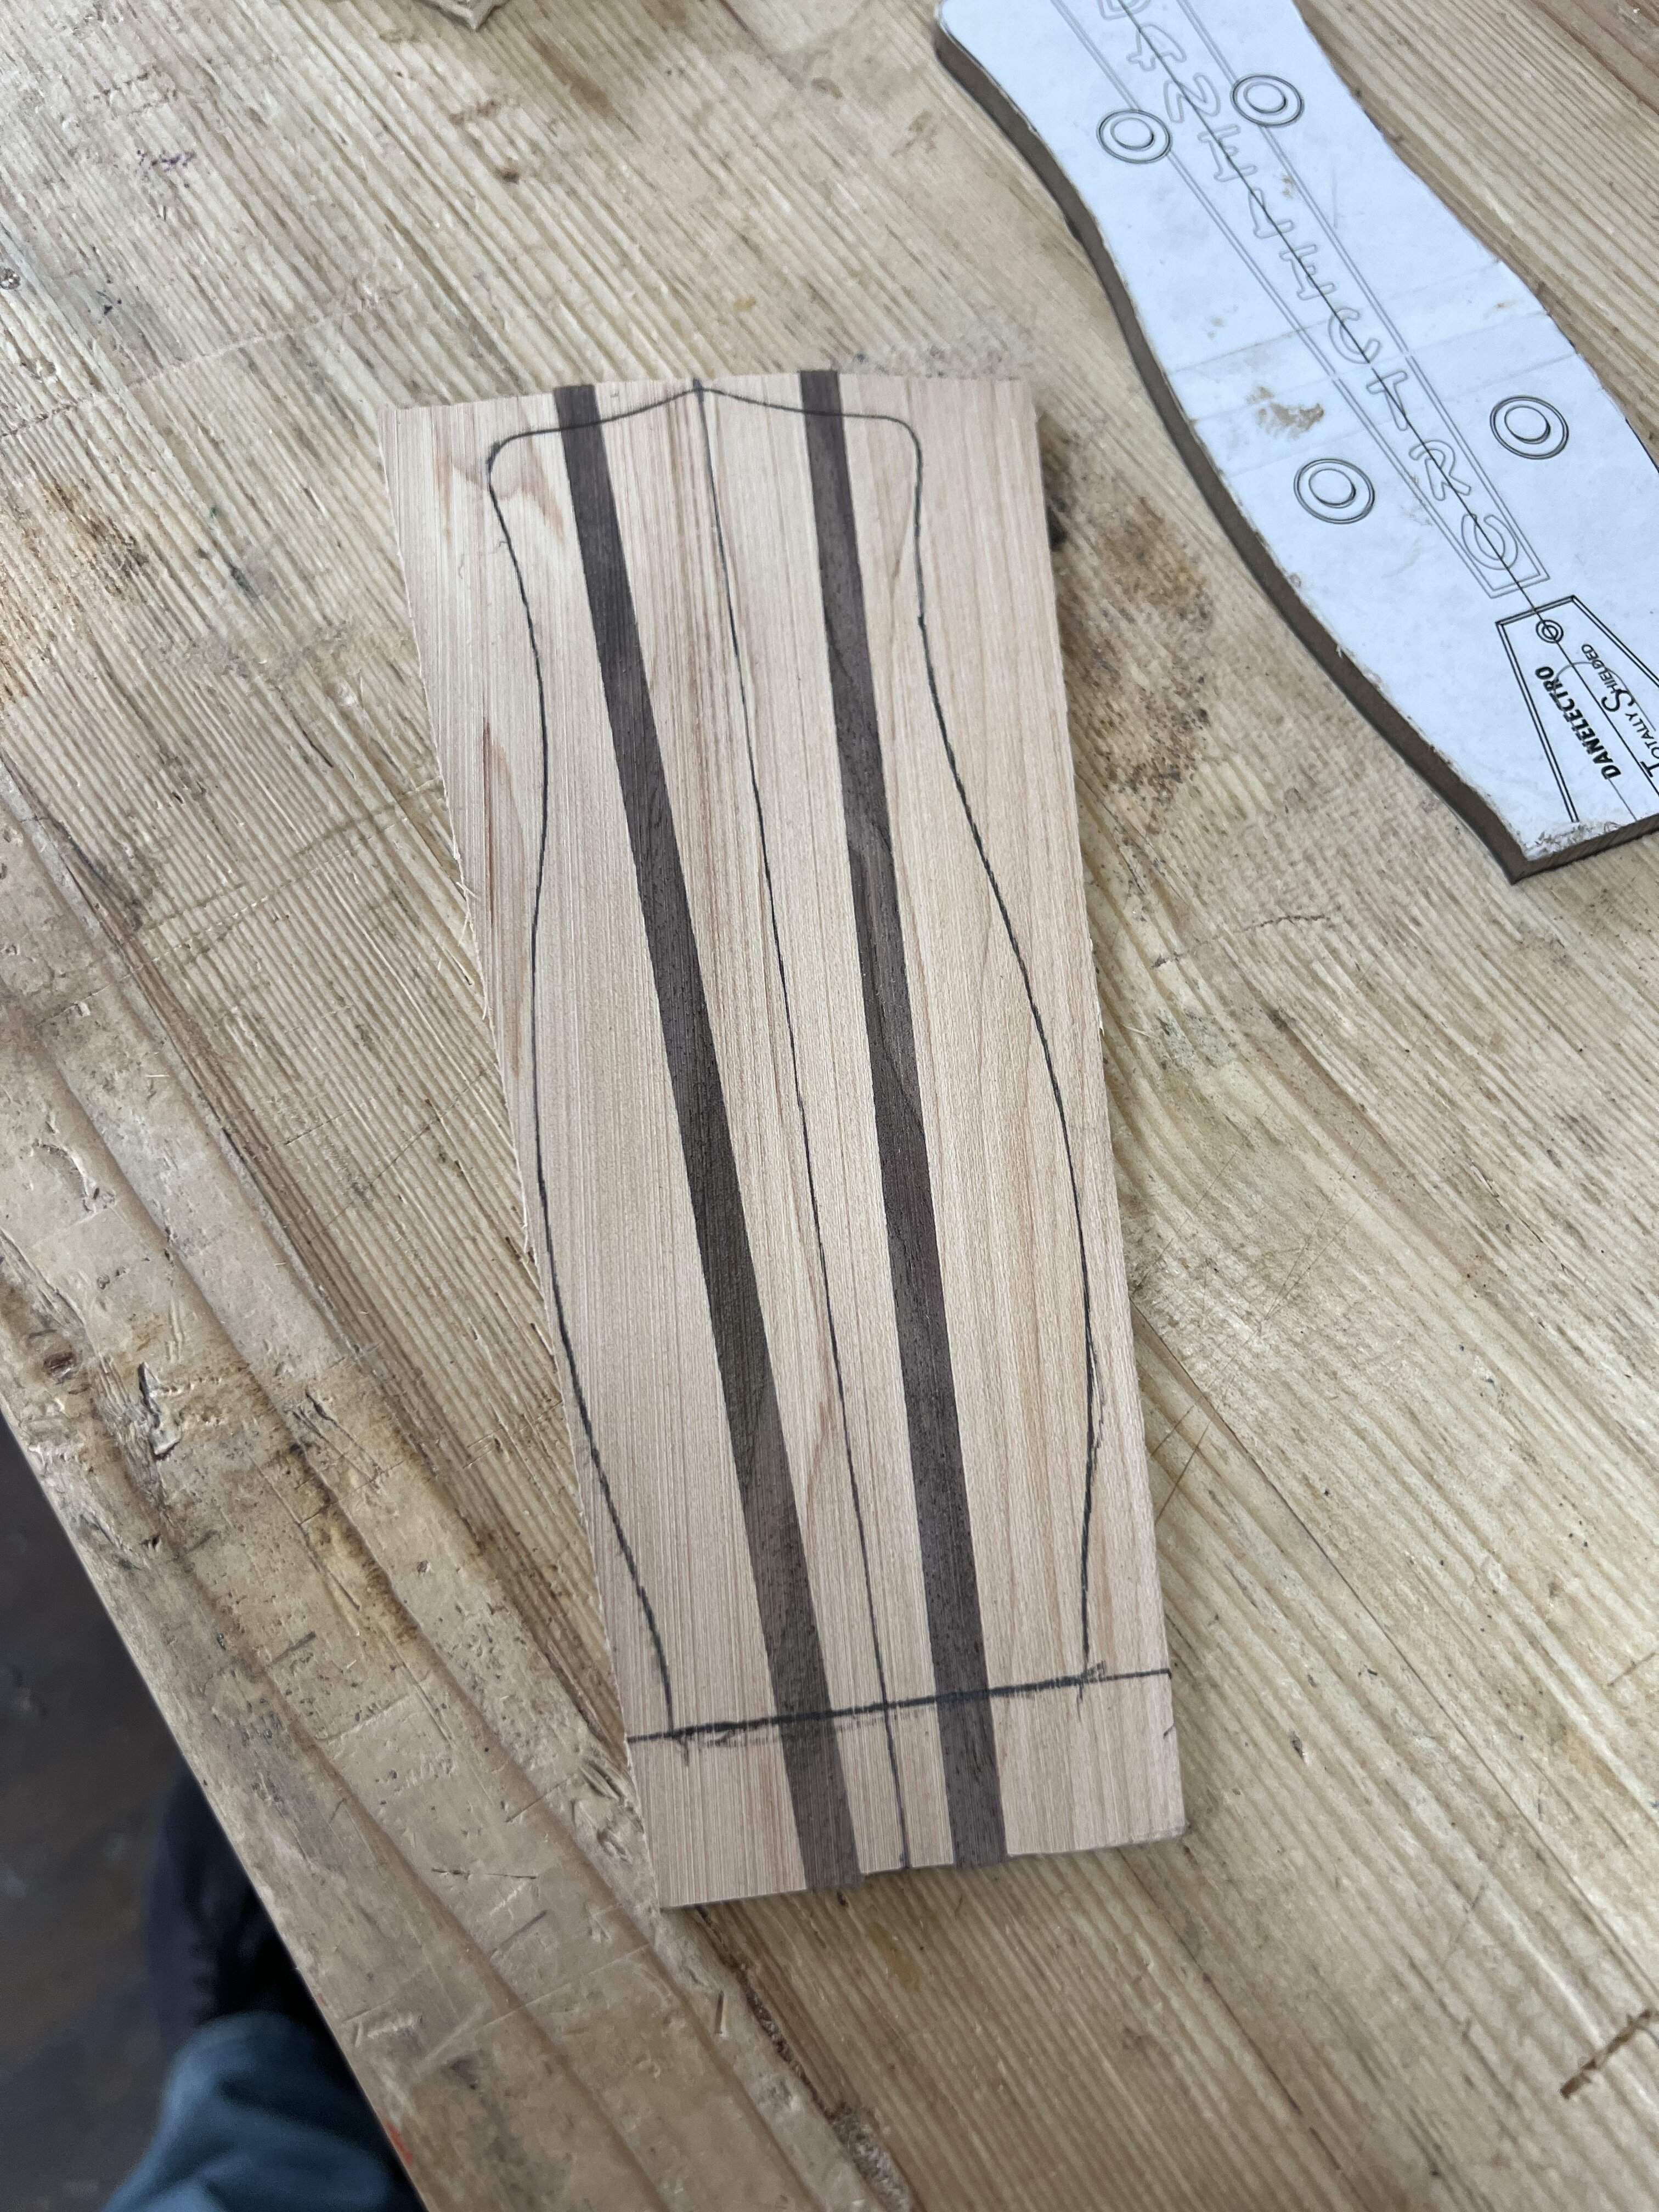
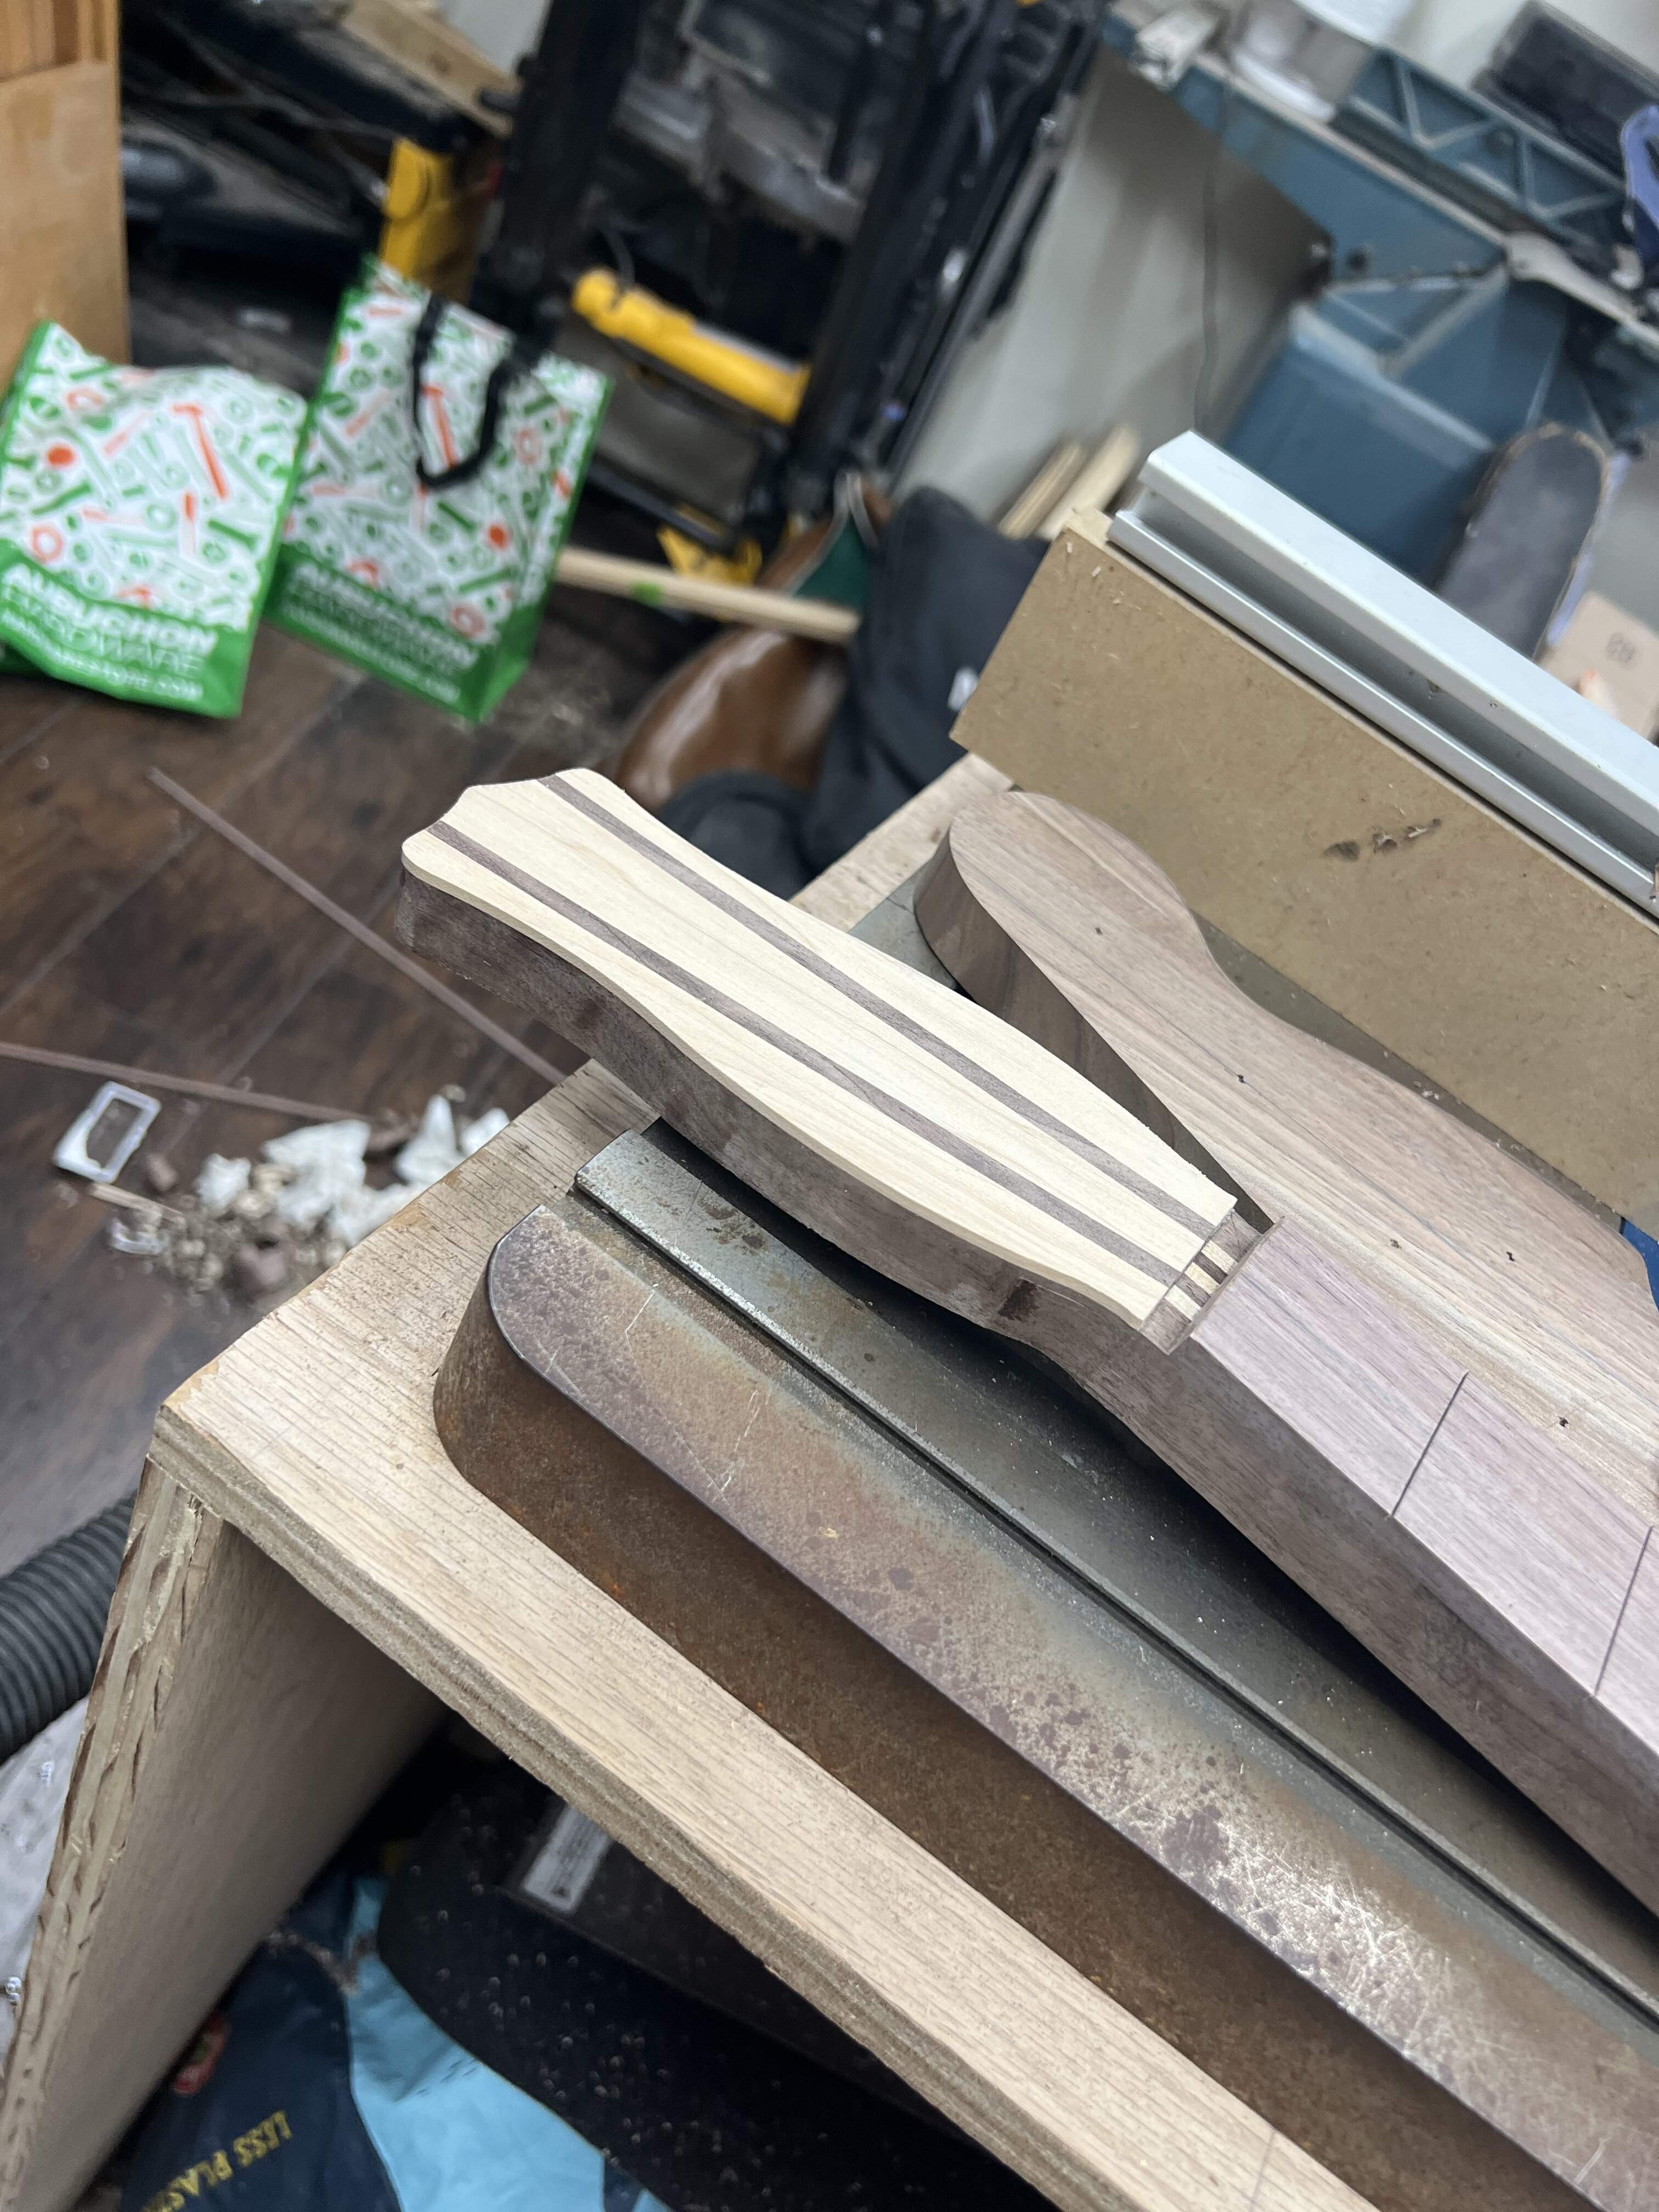
For the headstock overlay, I wanted to try and make the dano lines out of wood, and contrast all the walnut. Pulled some more scrap, old maple fretboard cutoff, and made some angles and shims. We will see how that looks tomorrow.

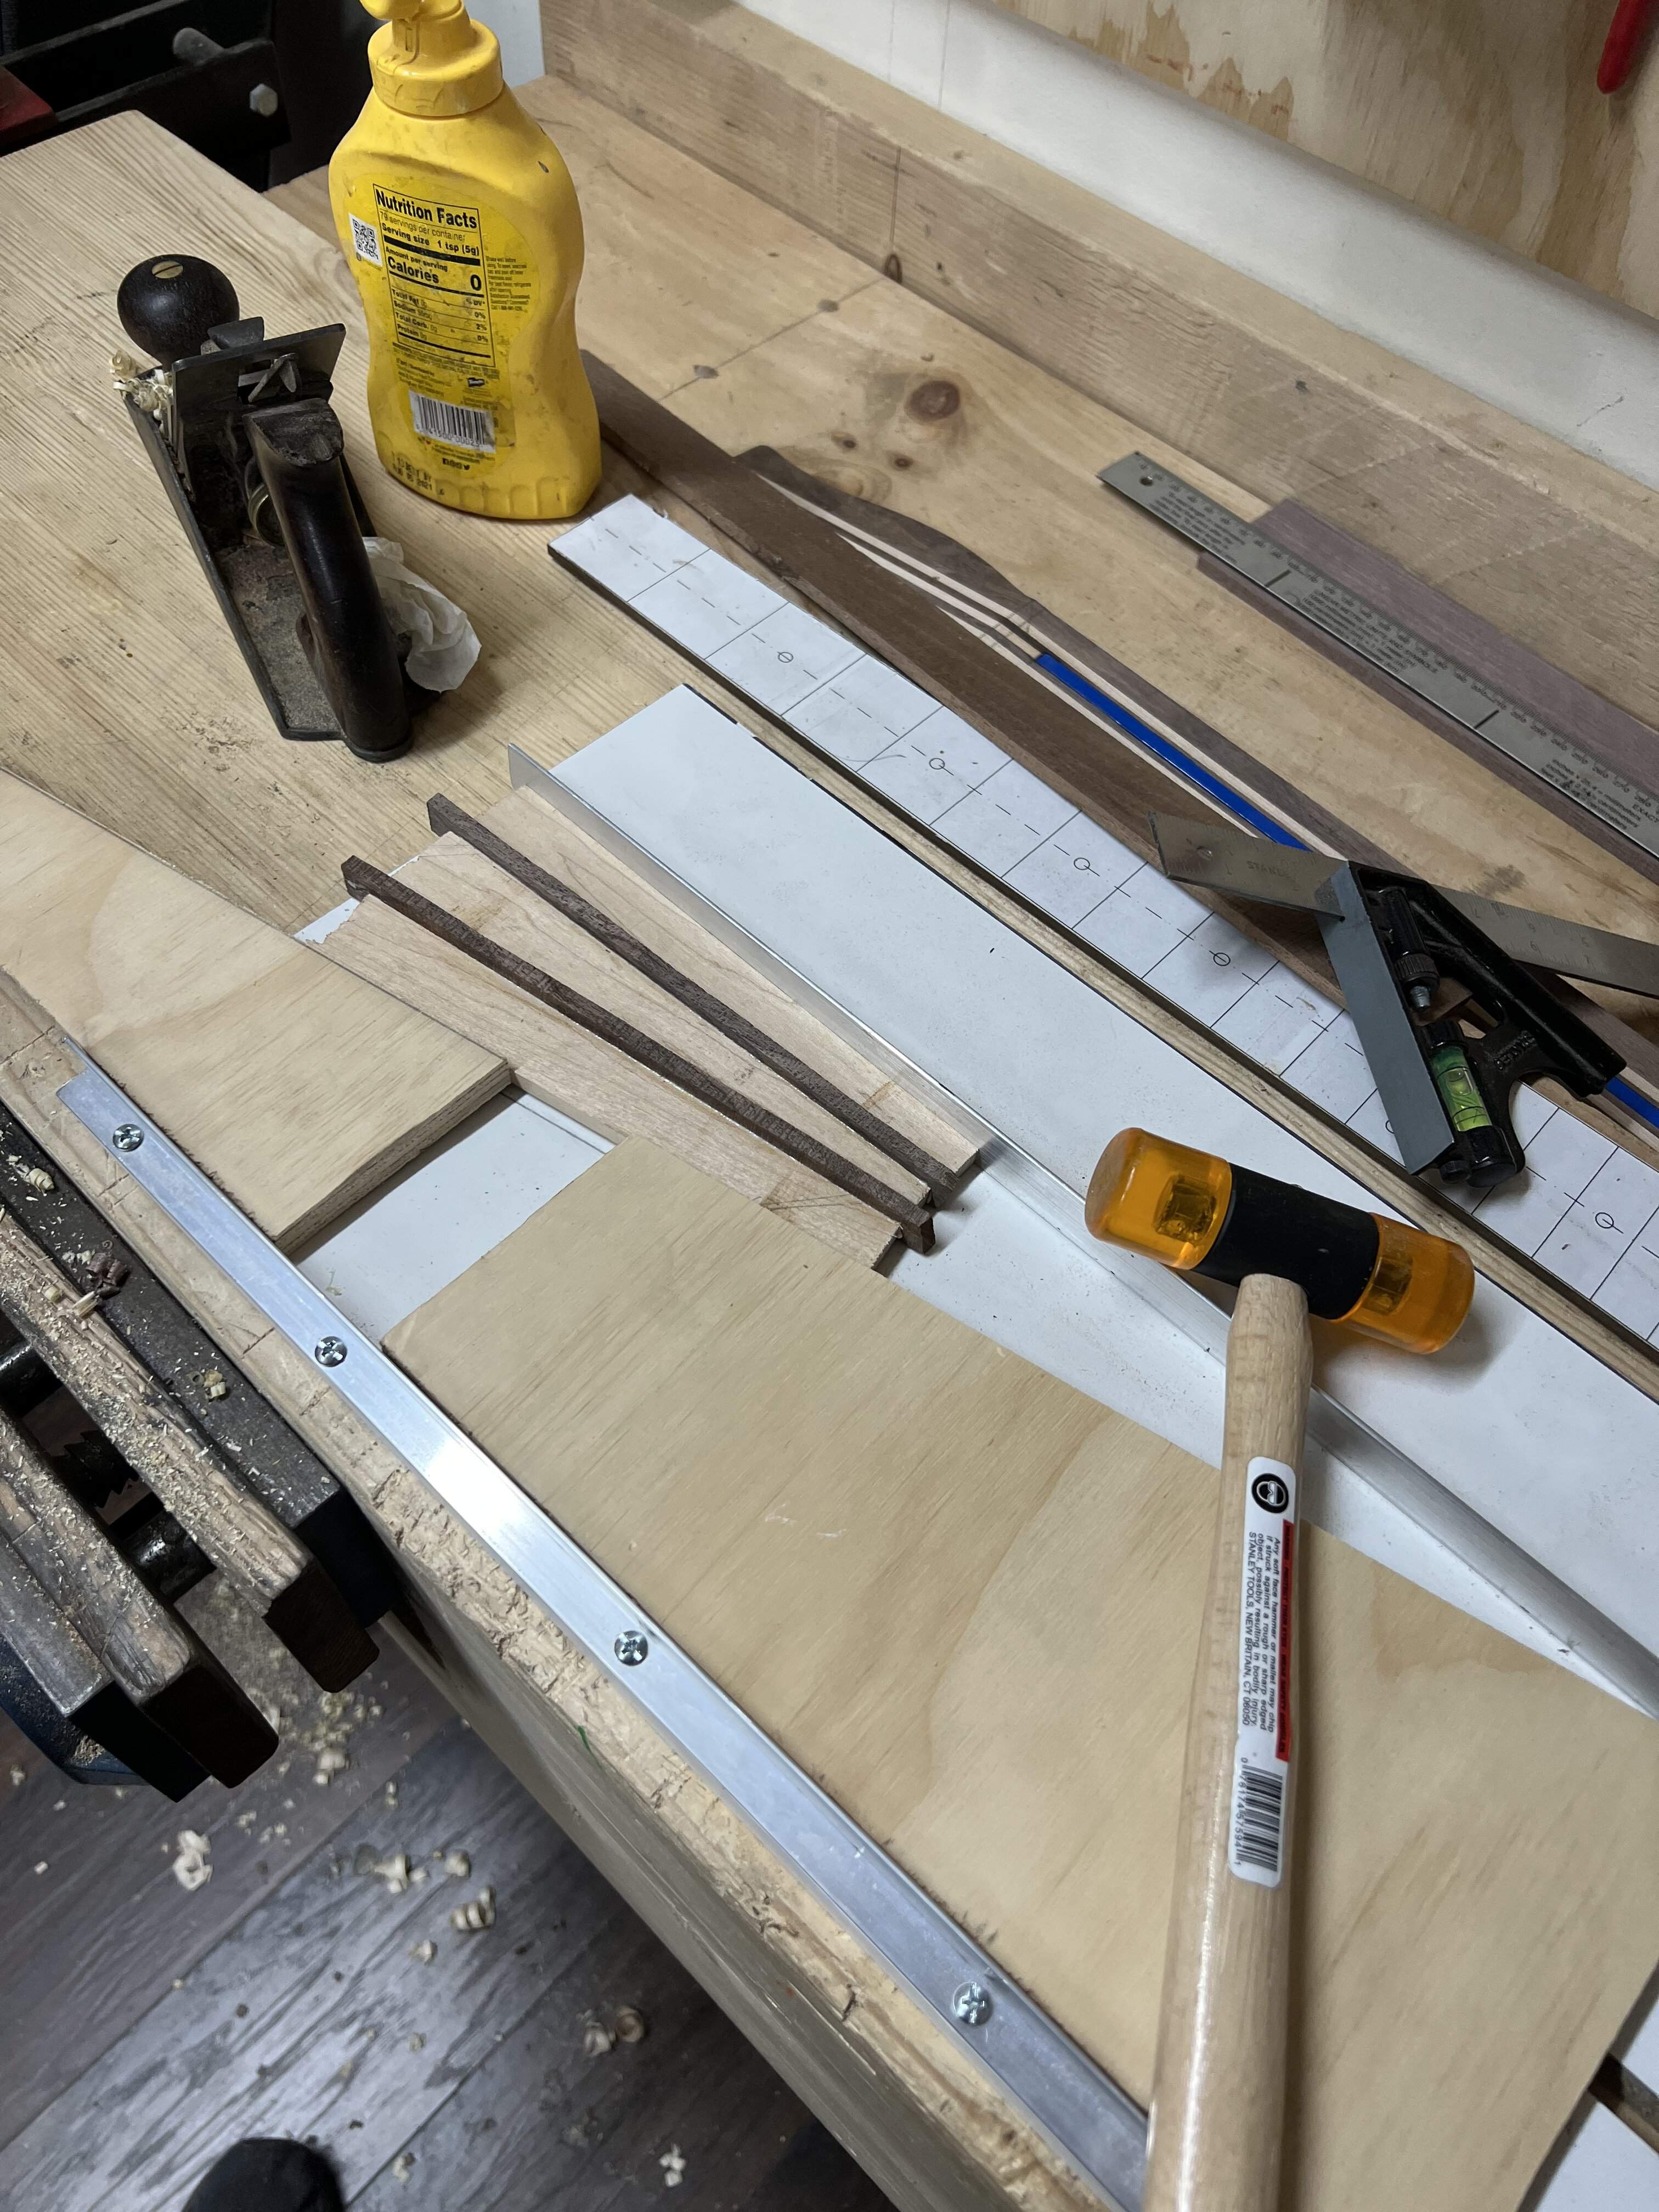
Except this little mess…
Ok, so back to this dano. Found a cutoff to cut a fingerboard, went through the usual bandsaw and sander. I was unsure about using walnut for the board, but my EB bass had one and it has held up perfectly. I suppose if I was performing regularly with these it may be an issue, but they only get a few hours each week.
For the headstock overlay, I wanted to try and make the dano lines out of wood, and contrast all the walnut. Pulled some more scrap, old maple fretboard cutoff, and made some angles and shims. We will see how that looks tomorrow.
The overlay came out really nice, hopefully the maple doesn’t look too goofy. I am kind of going for a faux mother-of-toilet seat look.
Recently, a retired violin repairman very kindly gave me his workshop worth of specialized tools. I repair and maintain our school orchestral instruments as the repair budget isn’t huge, and we get a lot of donor instruments that need a lot of work. Huge gift, and there are enough supplies and tools to last my career and beyond. I promised to pass them along when I shut the shop down. Most of the tools are specific to violin repair, and live at my little school shop, but I kept a few small clamps at home.
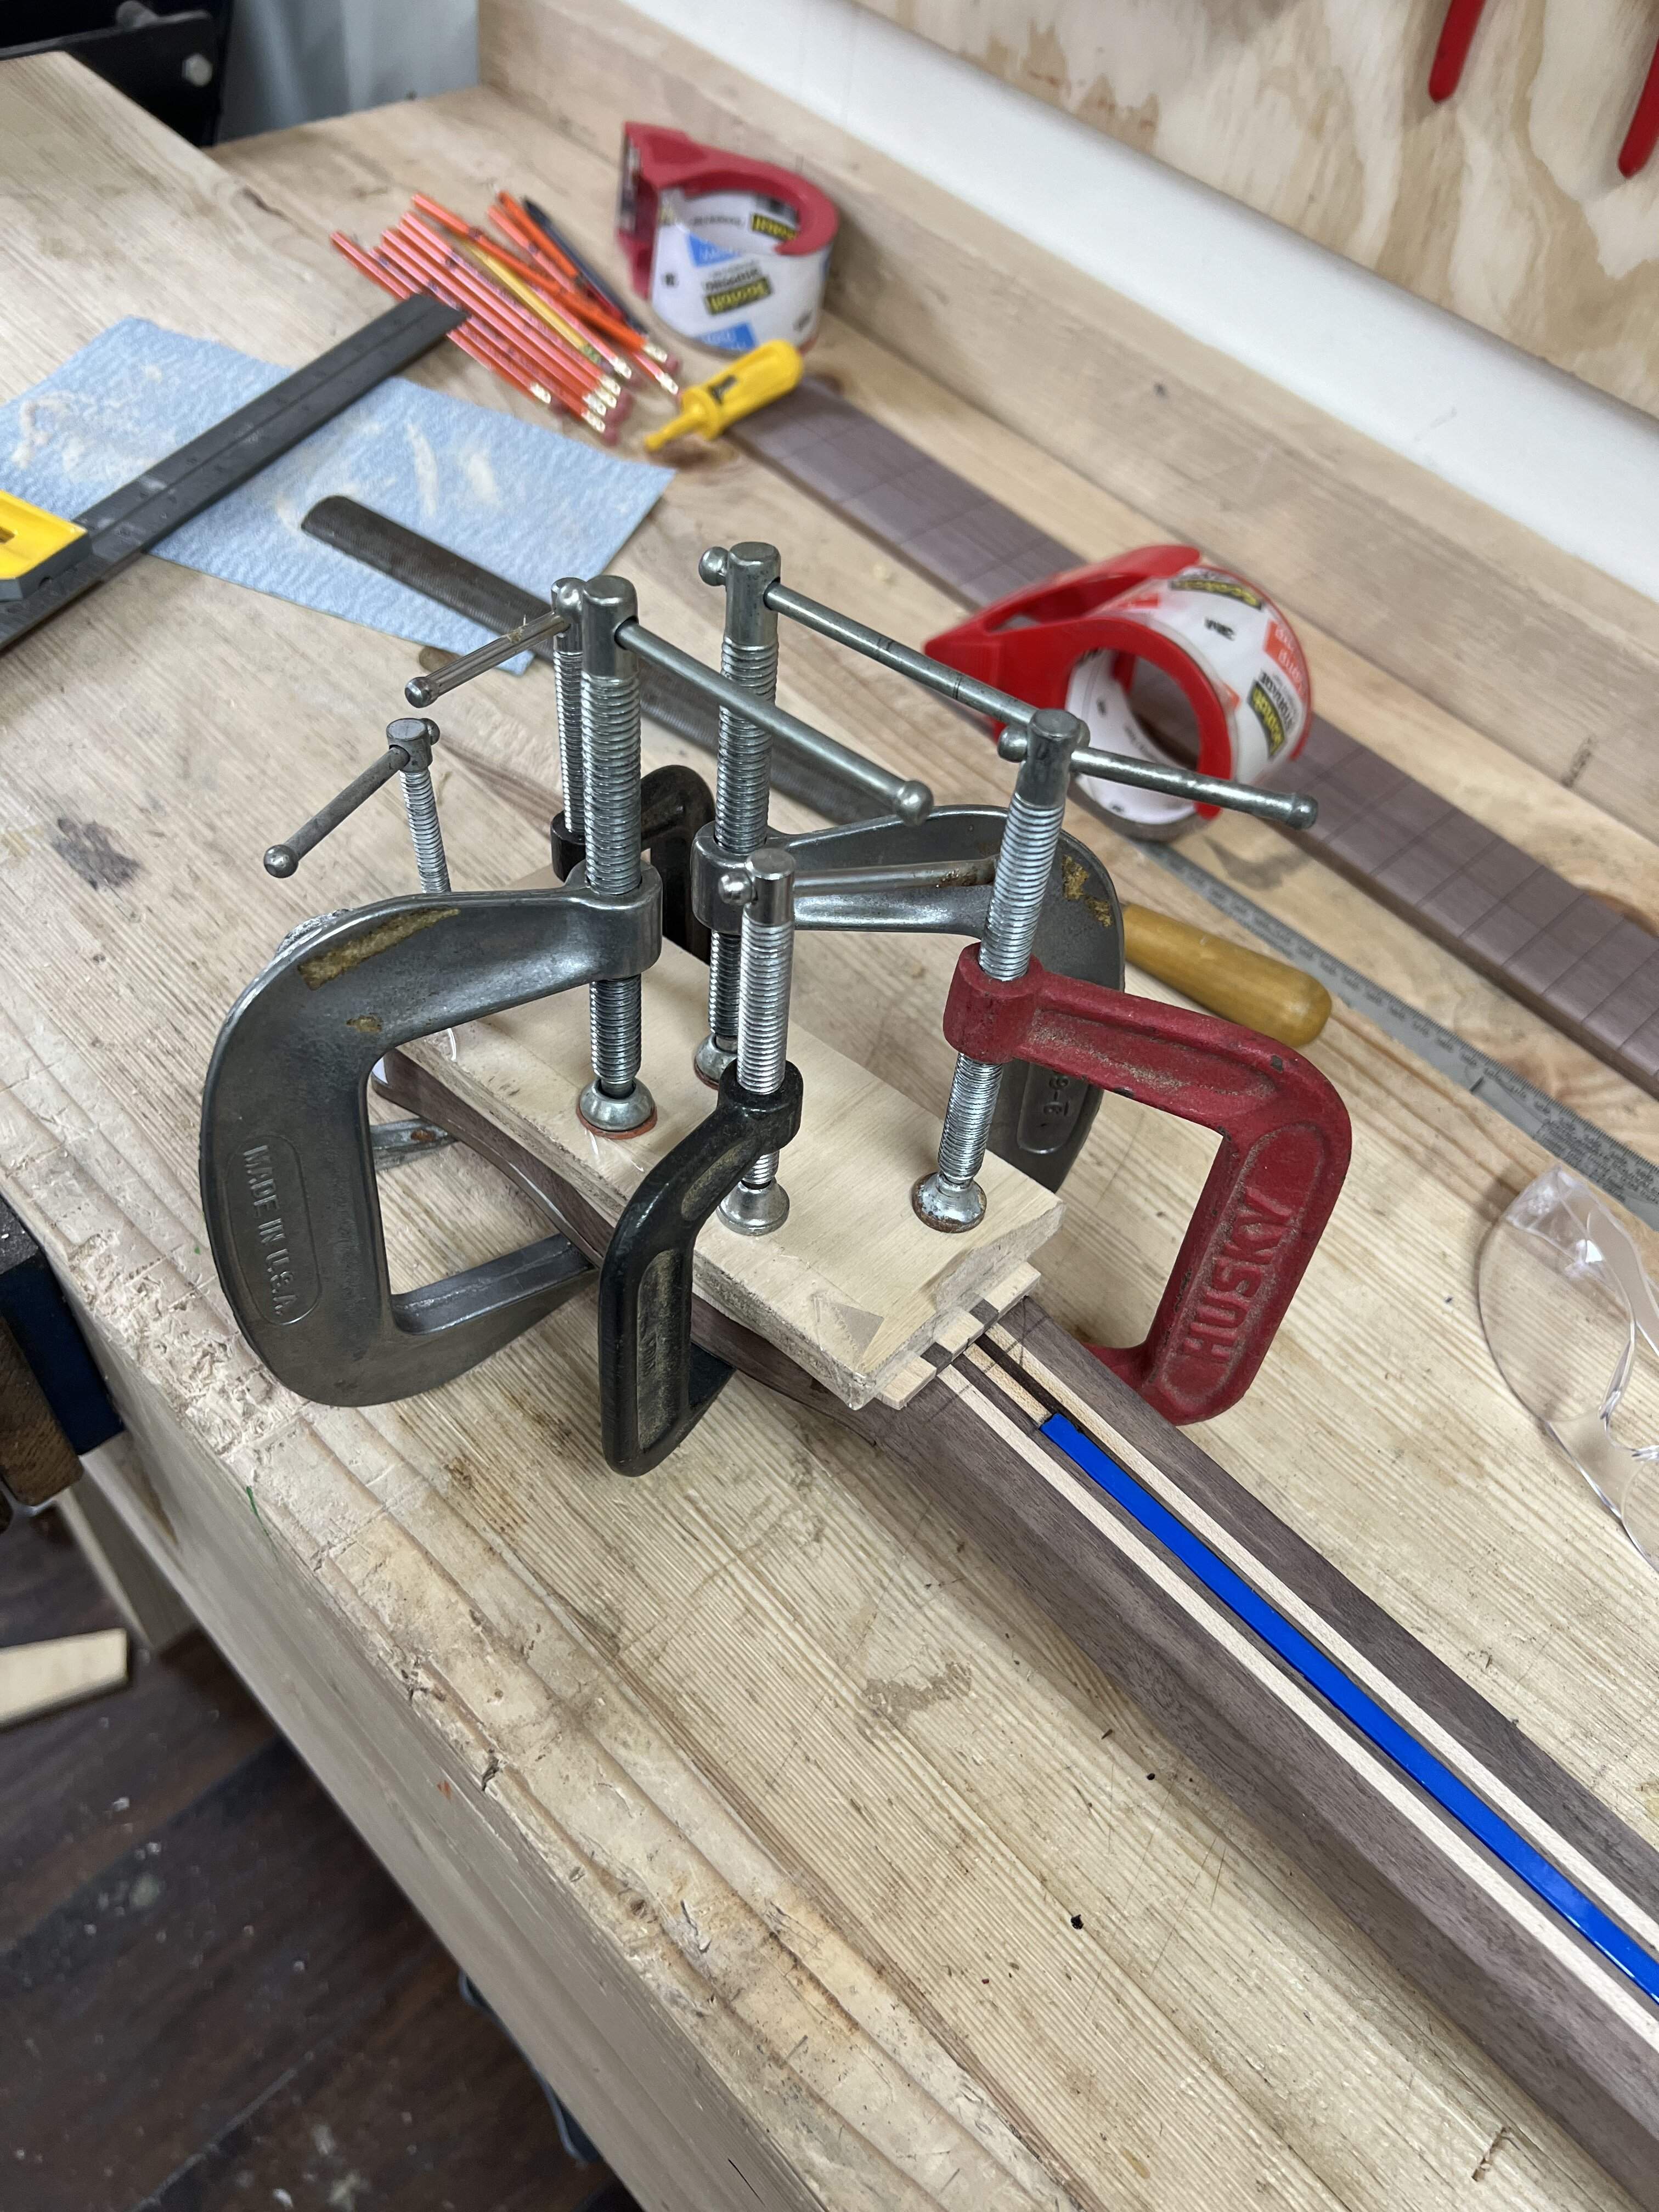
Glued the nub for the truss rod
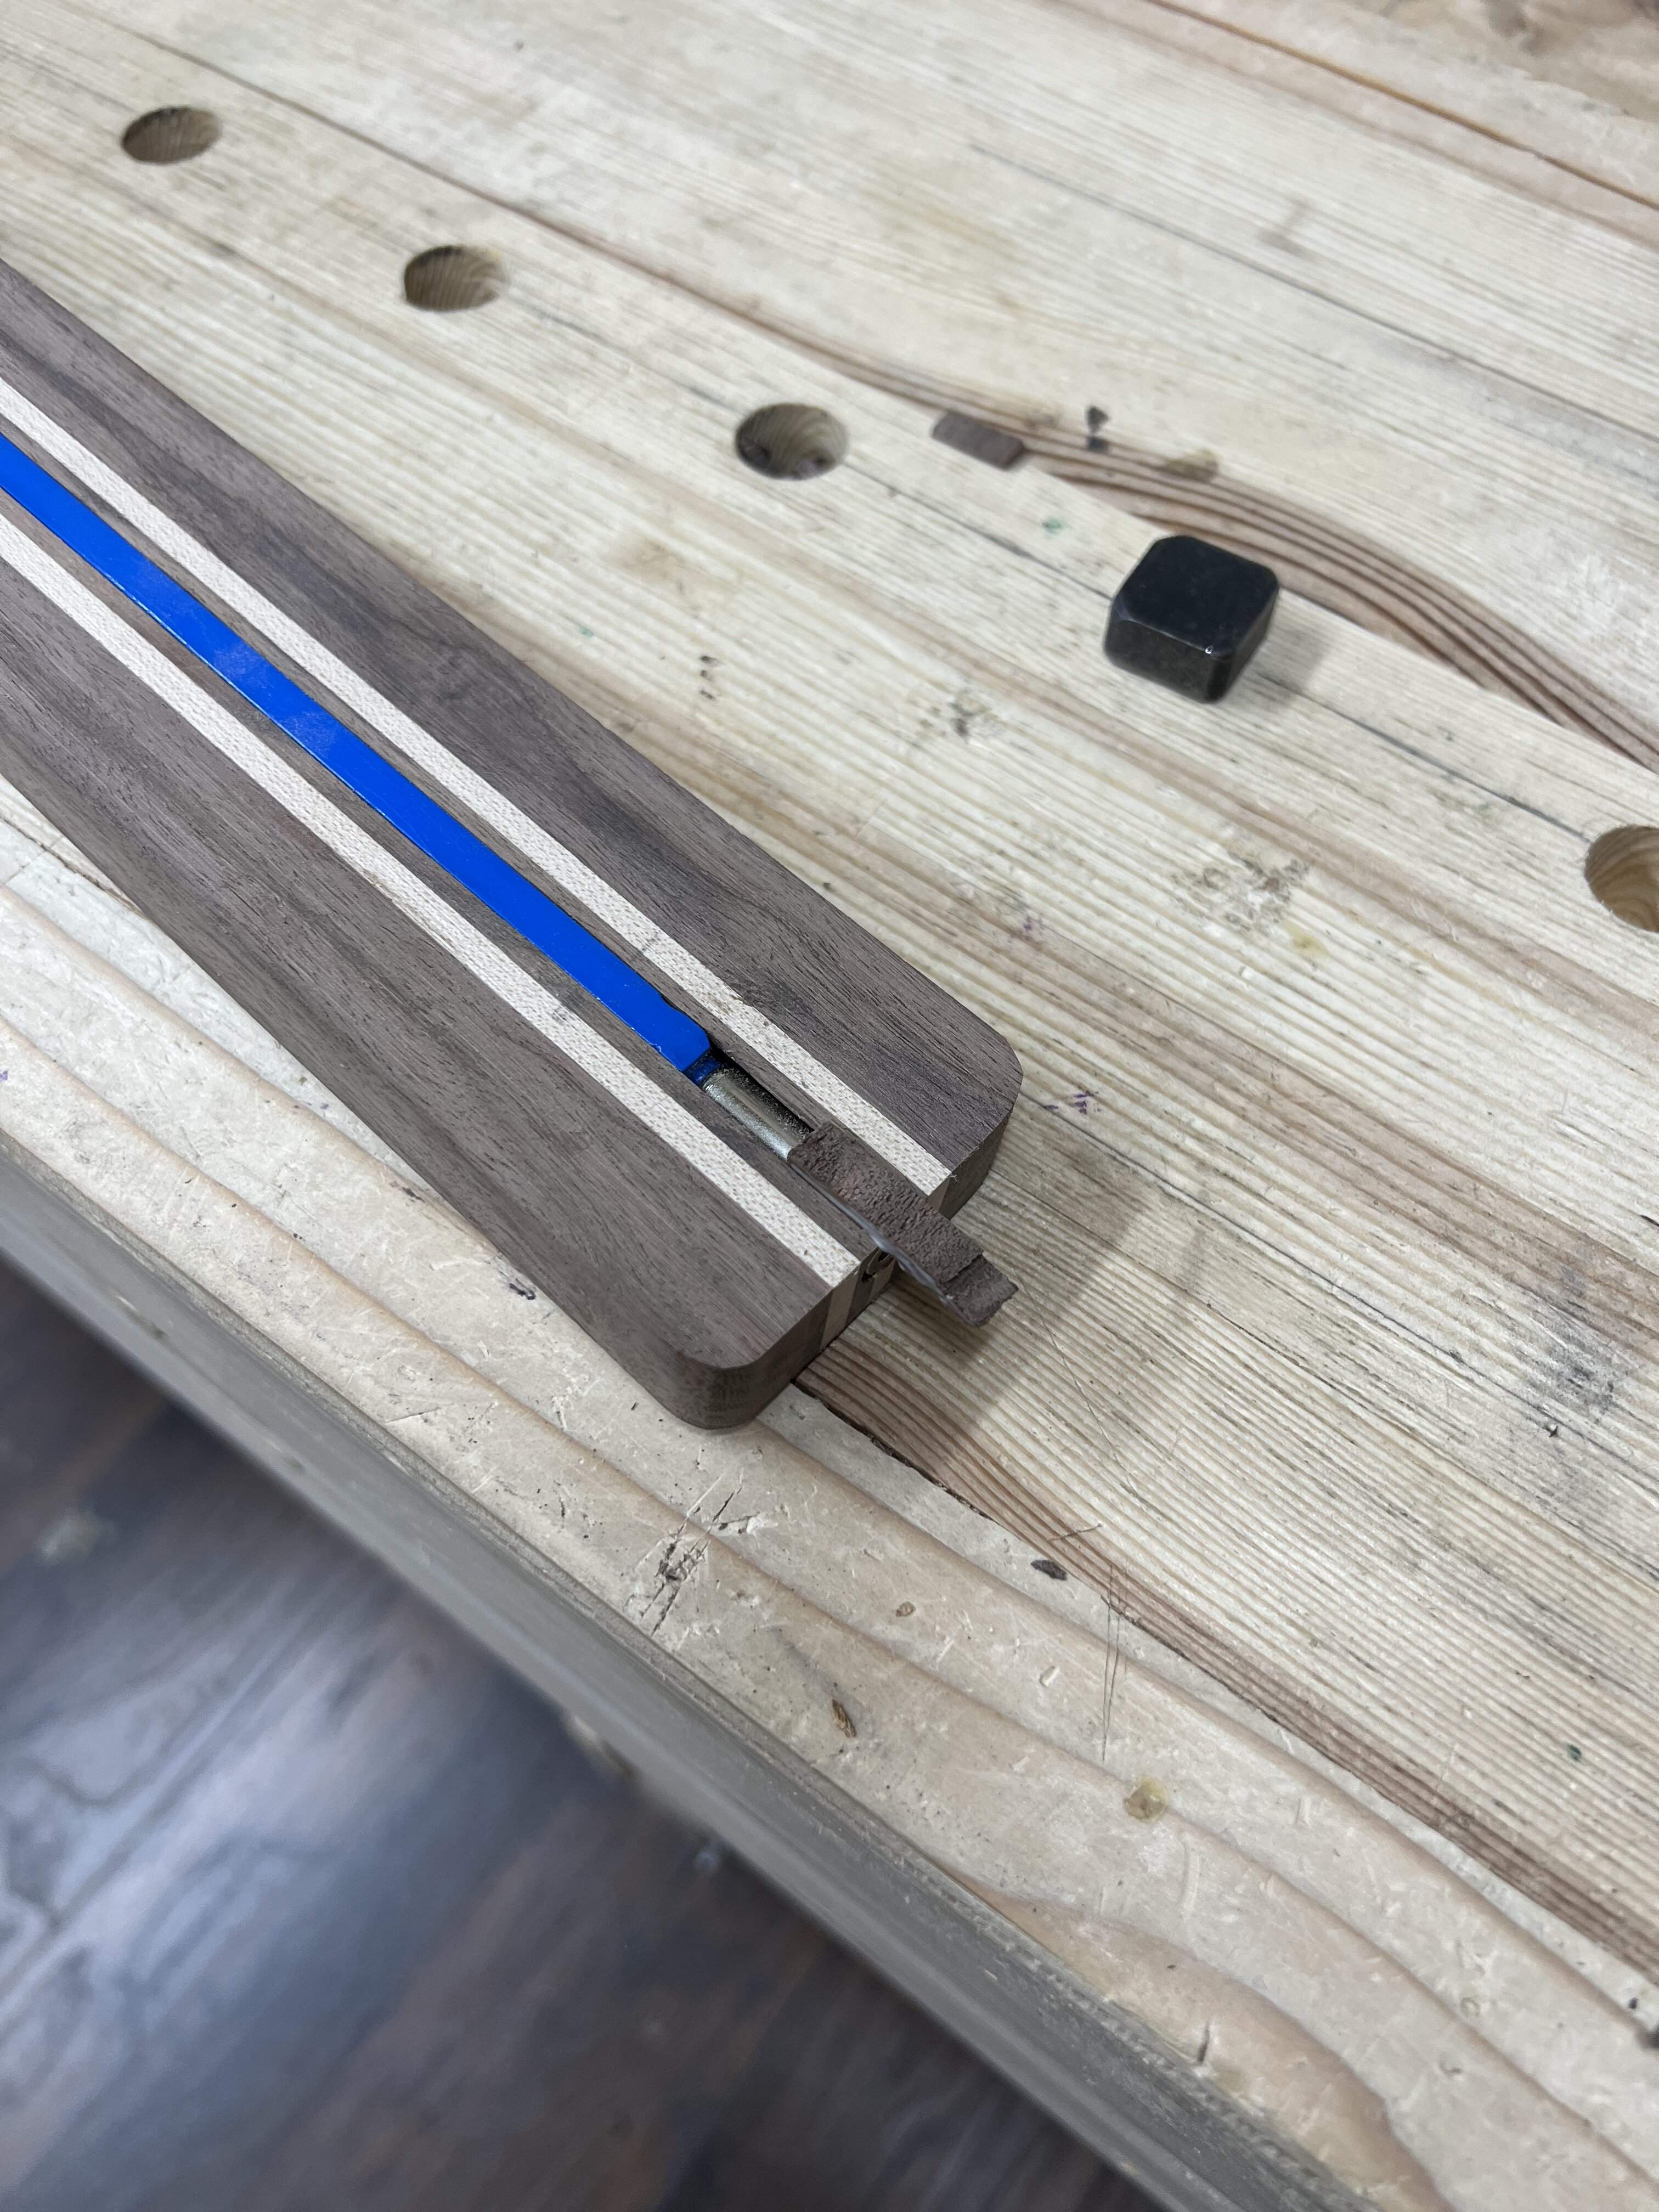
Put it away before you go to the next step, do it, just put it where it goes…

I don’t know why it is so hard to do this every time…
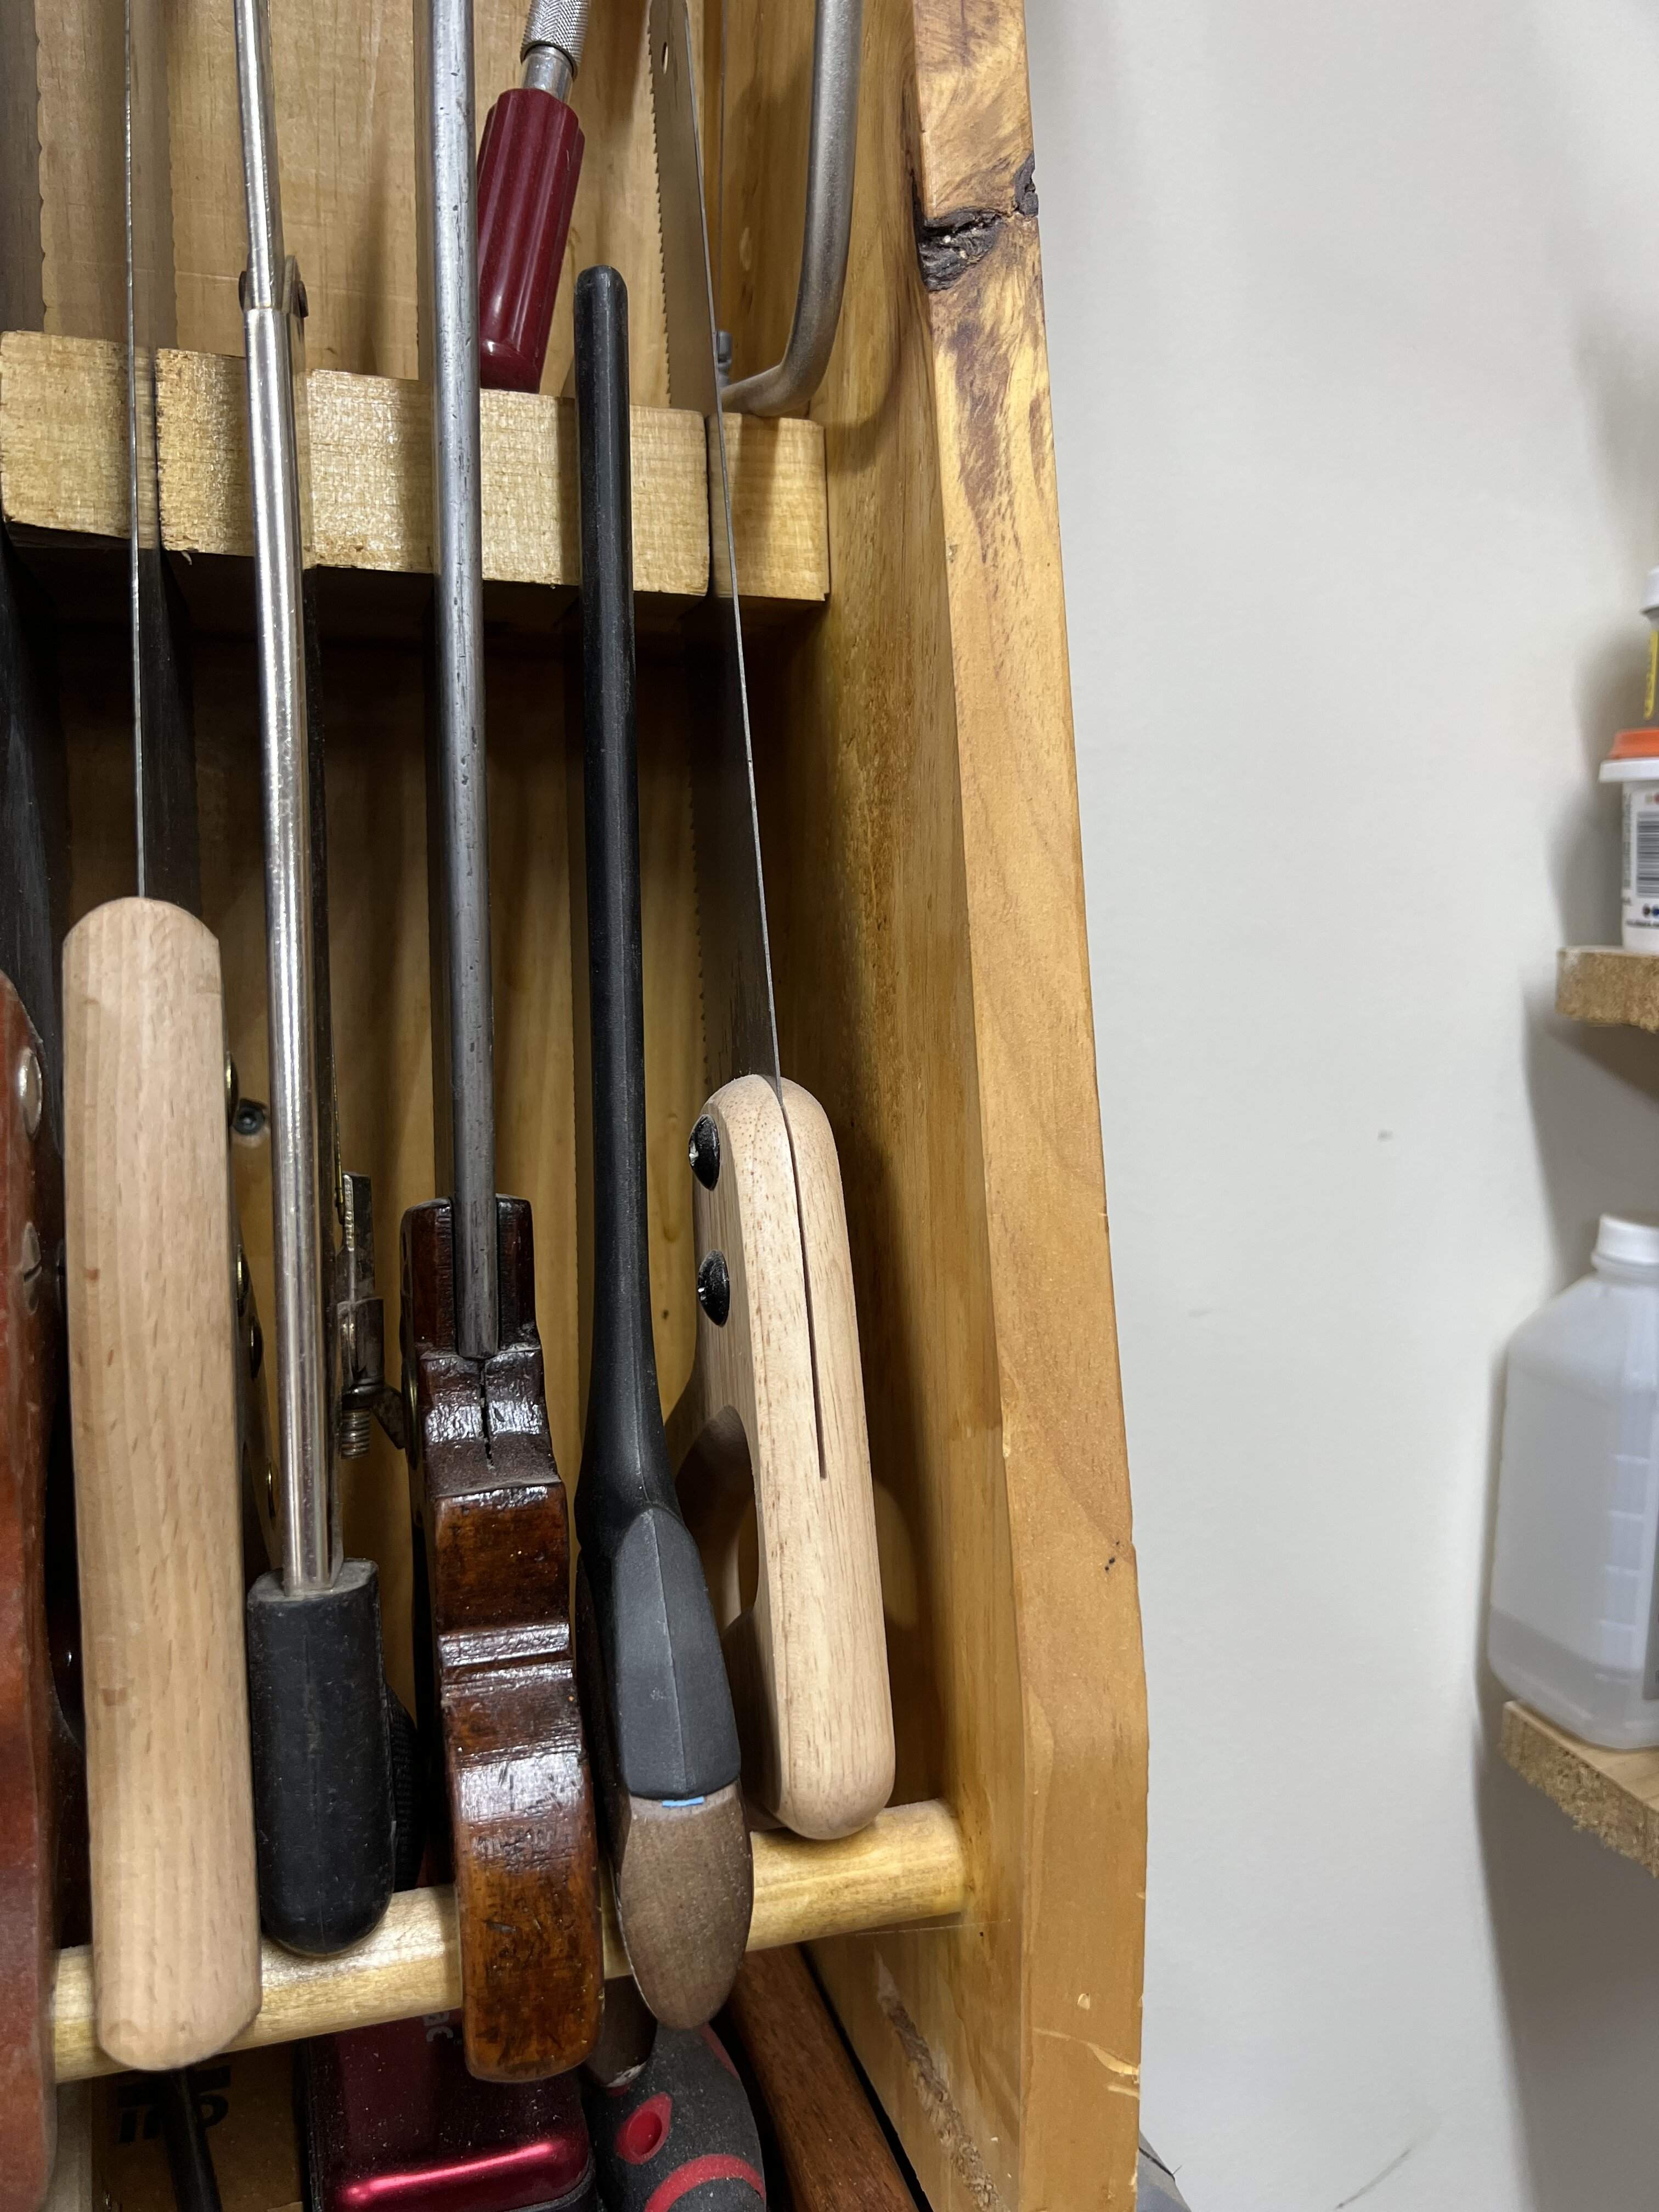
Recently, a retired violin repairman very kindly gave me his workshop worth of specialized tools. I repair and maintain our school orchestral instruments as the repair budget isn’t huge, and we get a lot of donor instruments that need a lot of work. Huge gift, and there are enough supplies and tools to last my career and beyond. I promised to pass them along when I shut the shop down. Most of the tools are specific to violin repair, and live at my little school shop, but I kept a few small clamps at home.
Glued the nub for the truss rod
Put it away before you go to the next step, do it, just put it where it goes…
I don’t know why it is so hard to do this every time…

I would love to share the violin stuff! I’ll post next week when I am at school!I was kind of hoping for some photos of finger planes and other violin-specific stuff.
Preferably with explanations.
Cut some fret slots, marked out dots, gave the board a rough cut just outside the lines, and glued that sucker down. There was a small knot right in the middle, so I popped it in the middle of a fret slot to hide it. Should have hidden it under a dot.
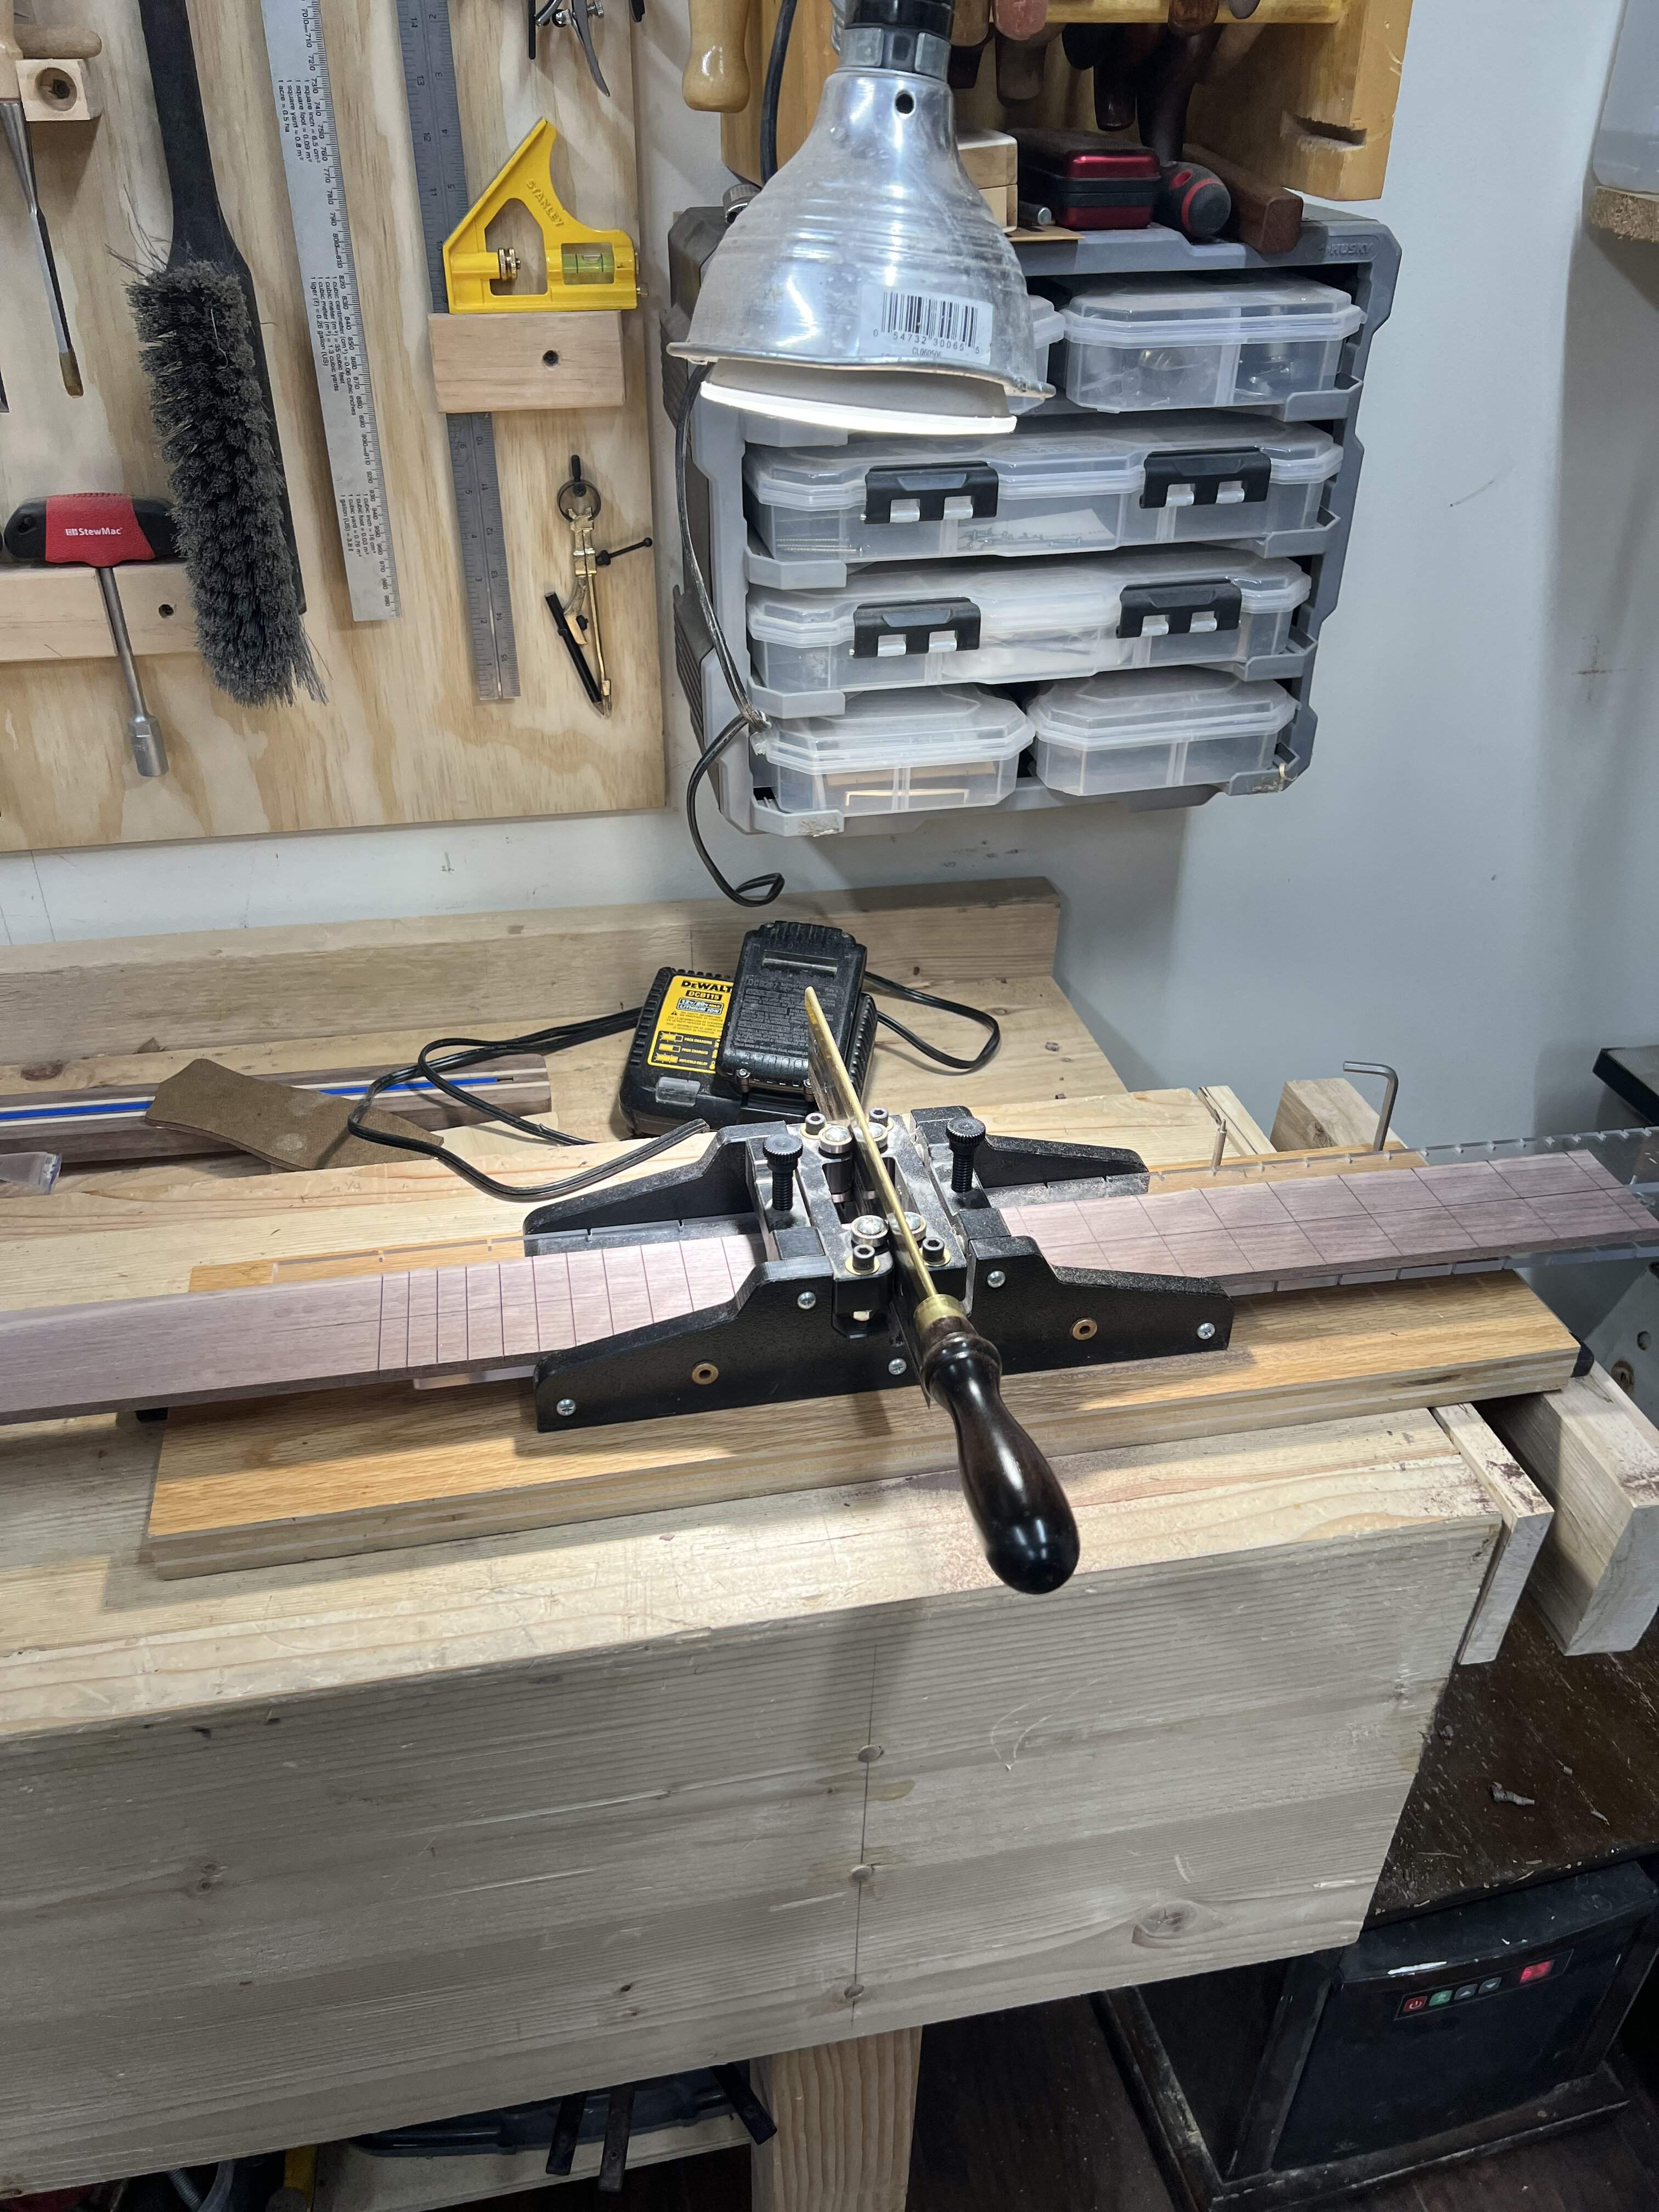

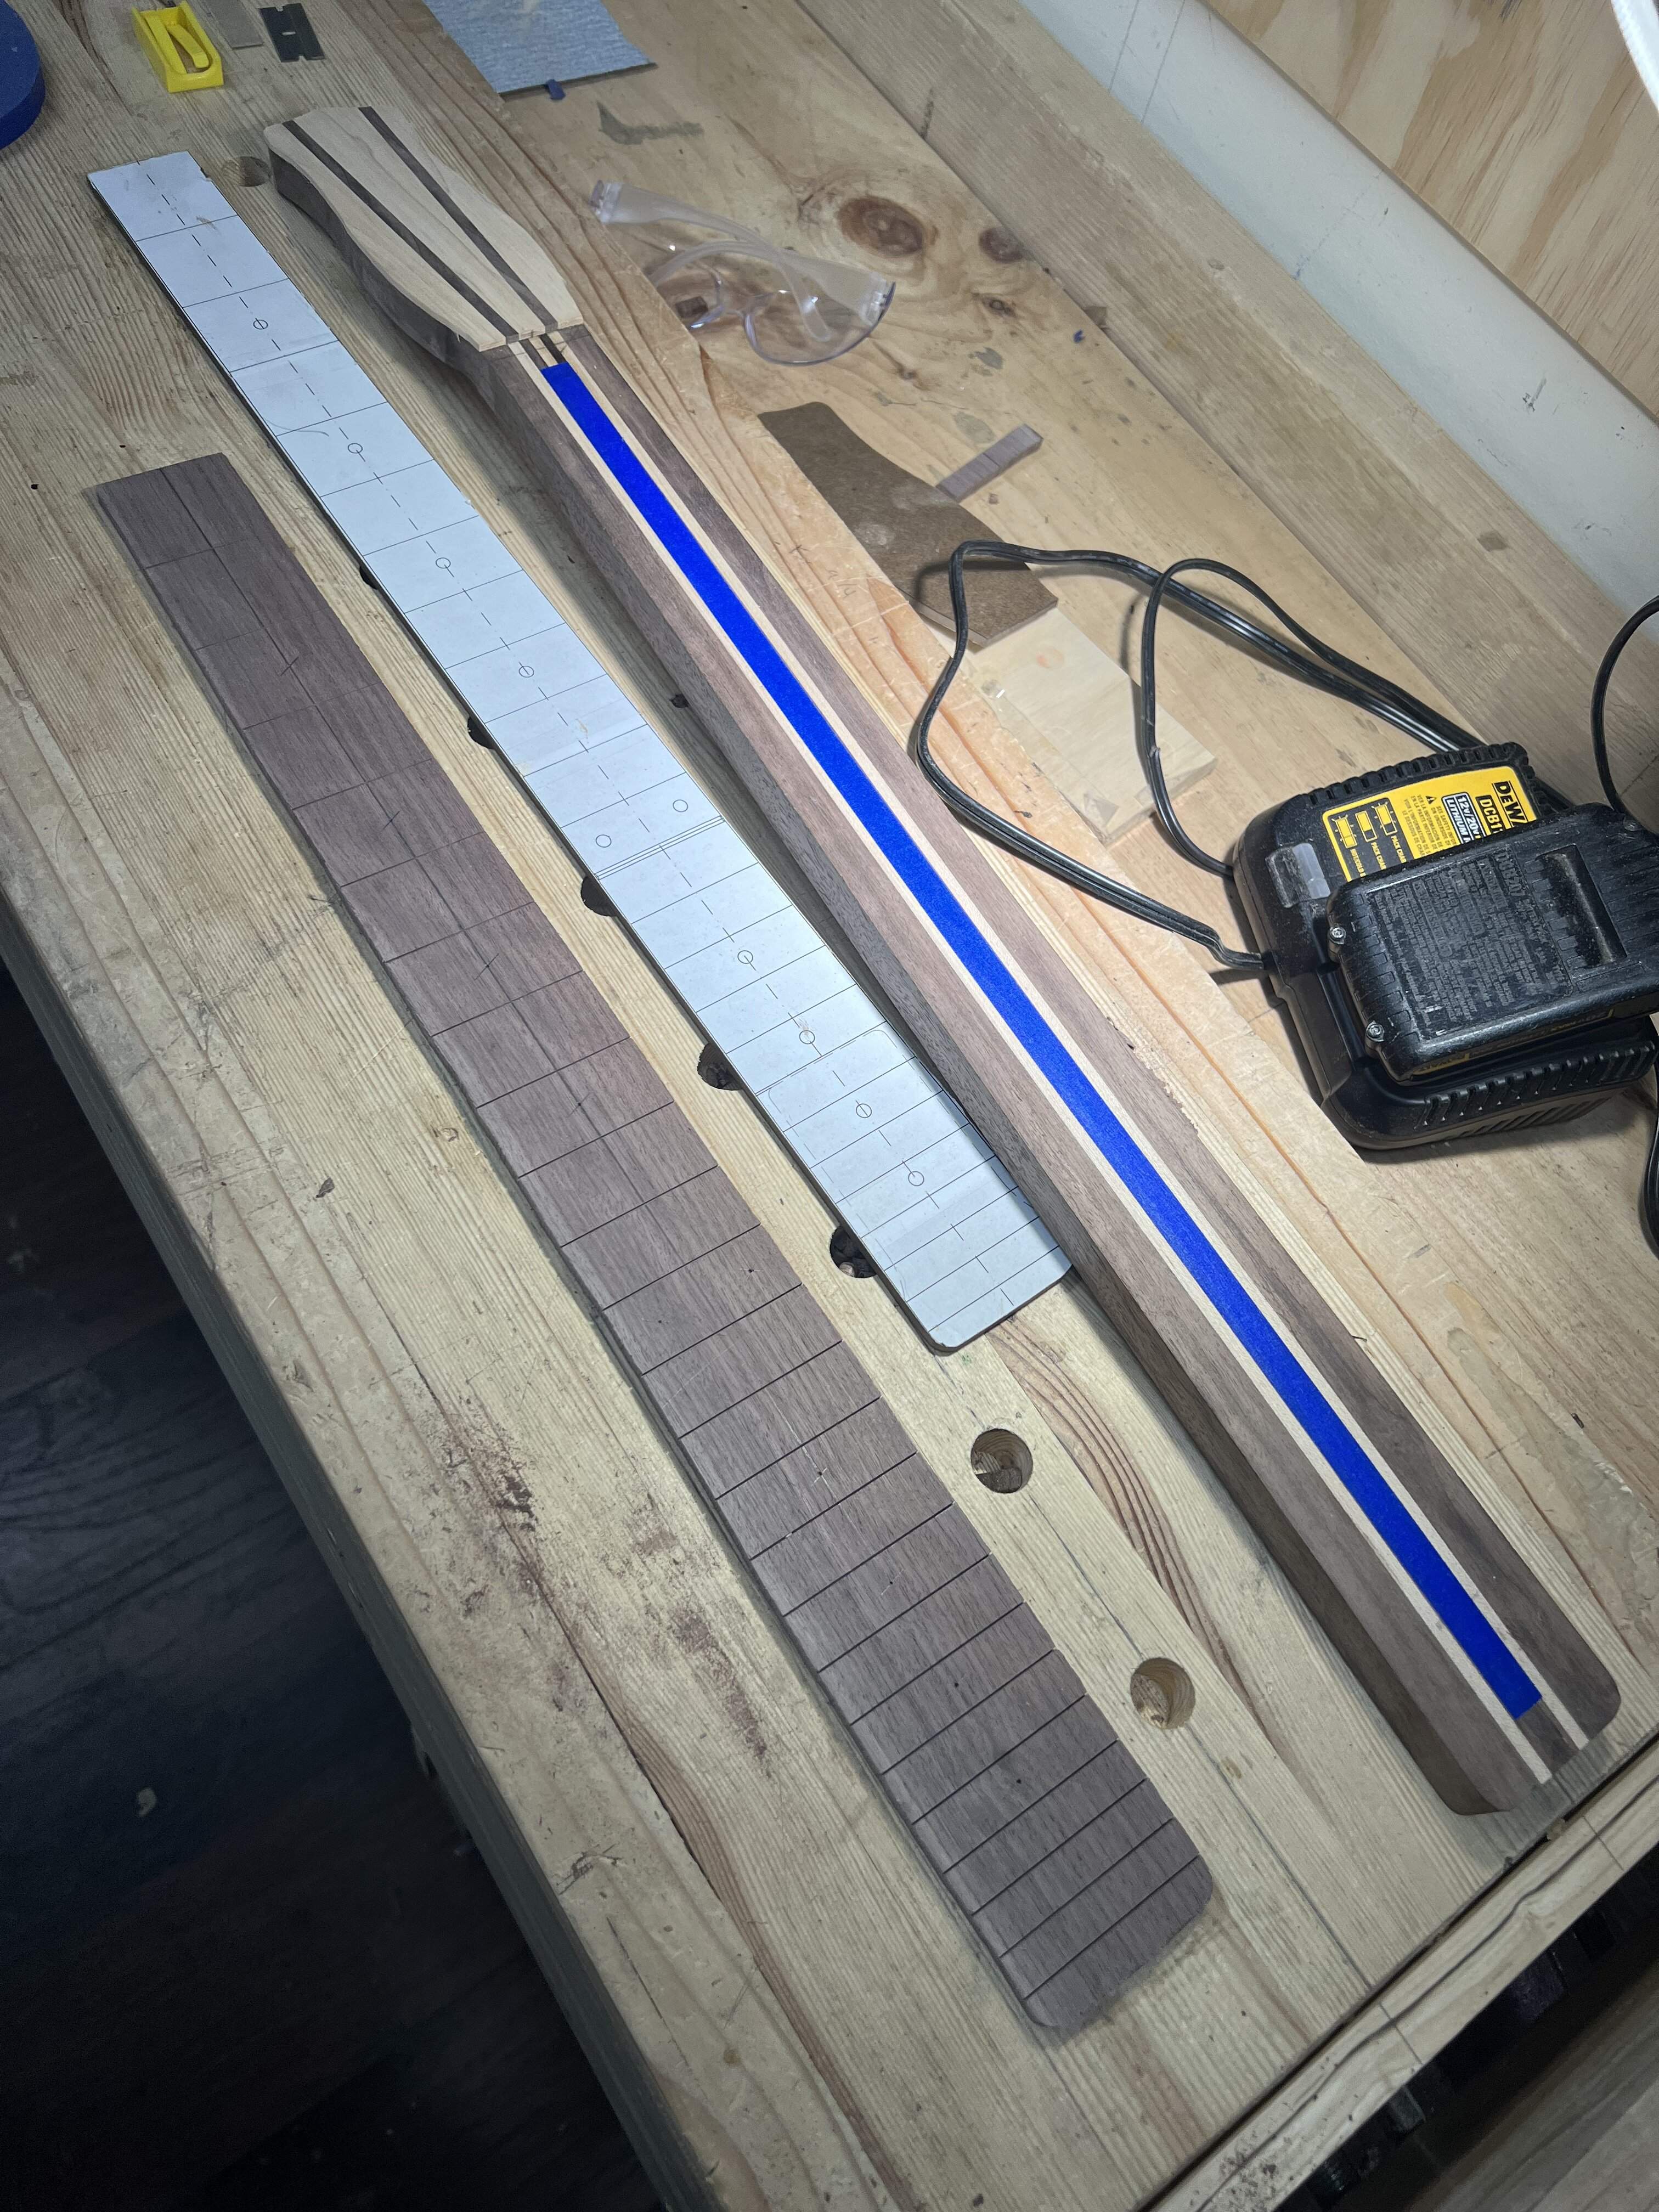
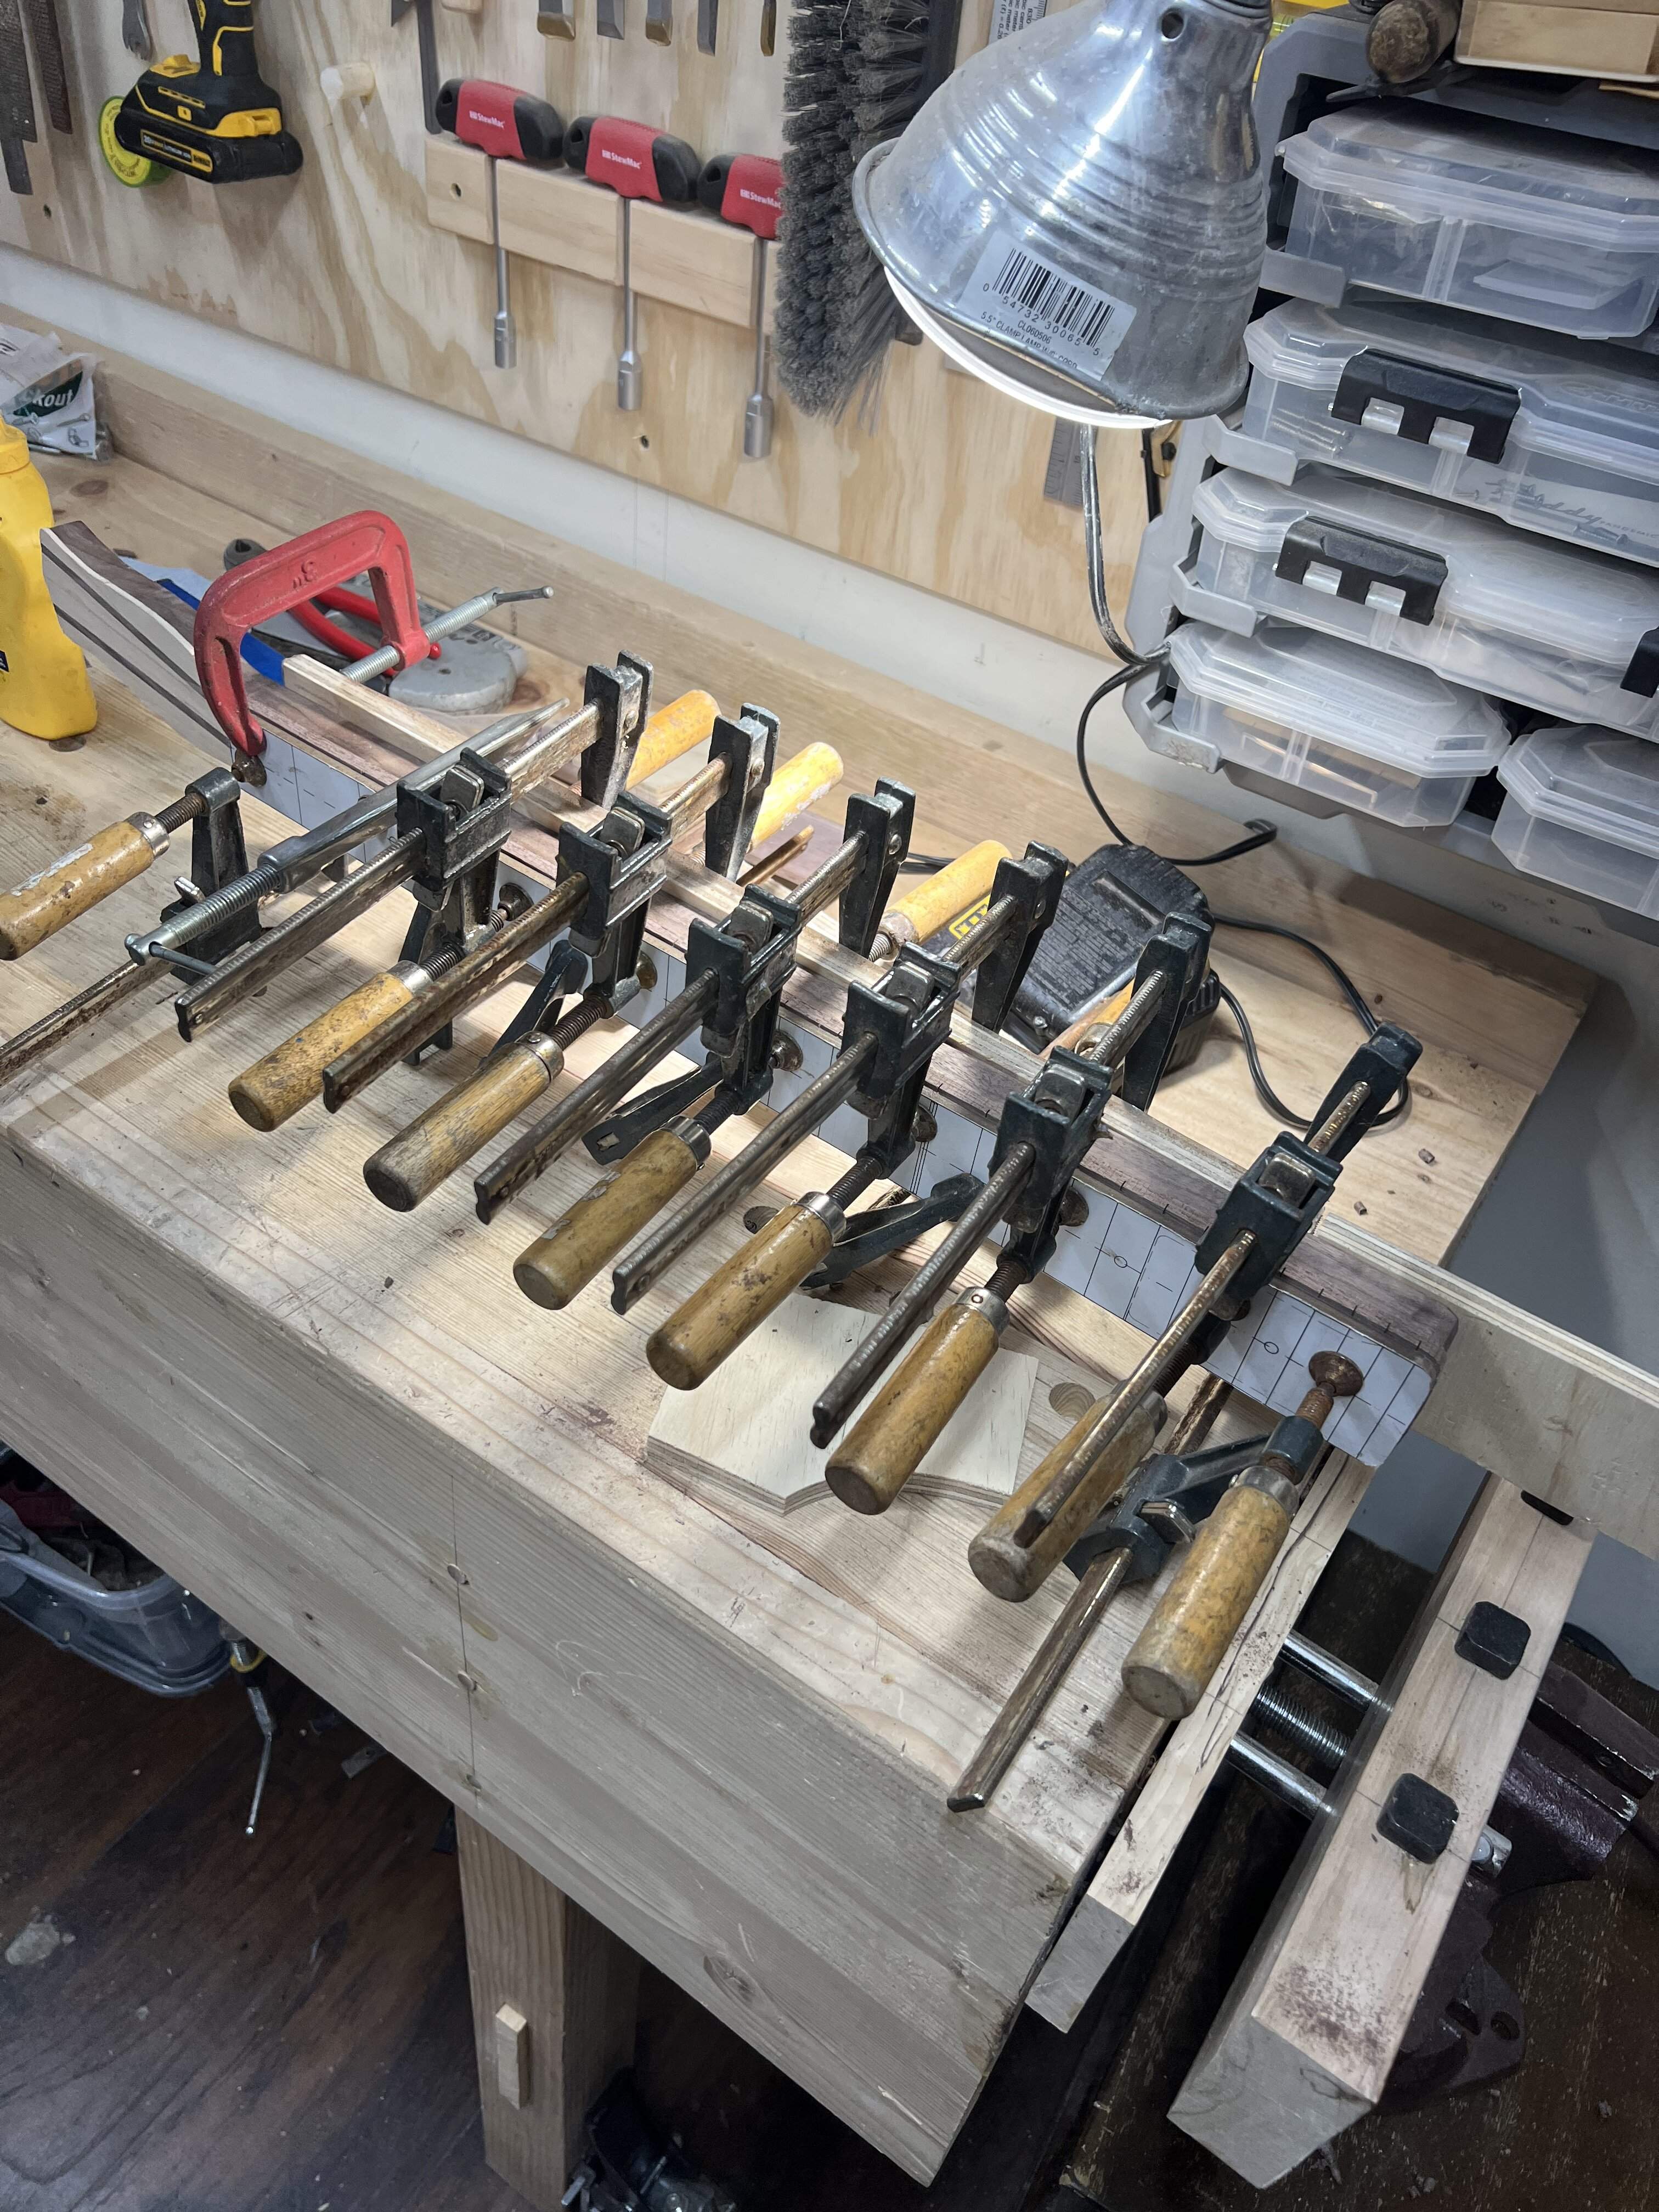
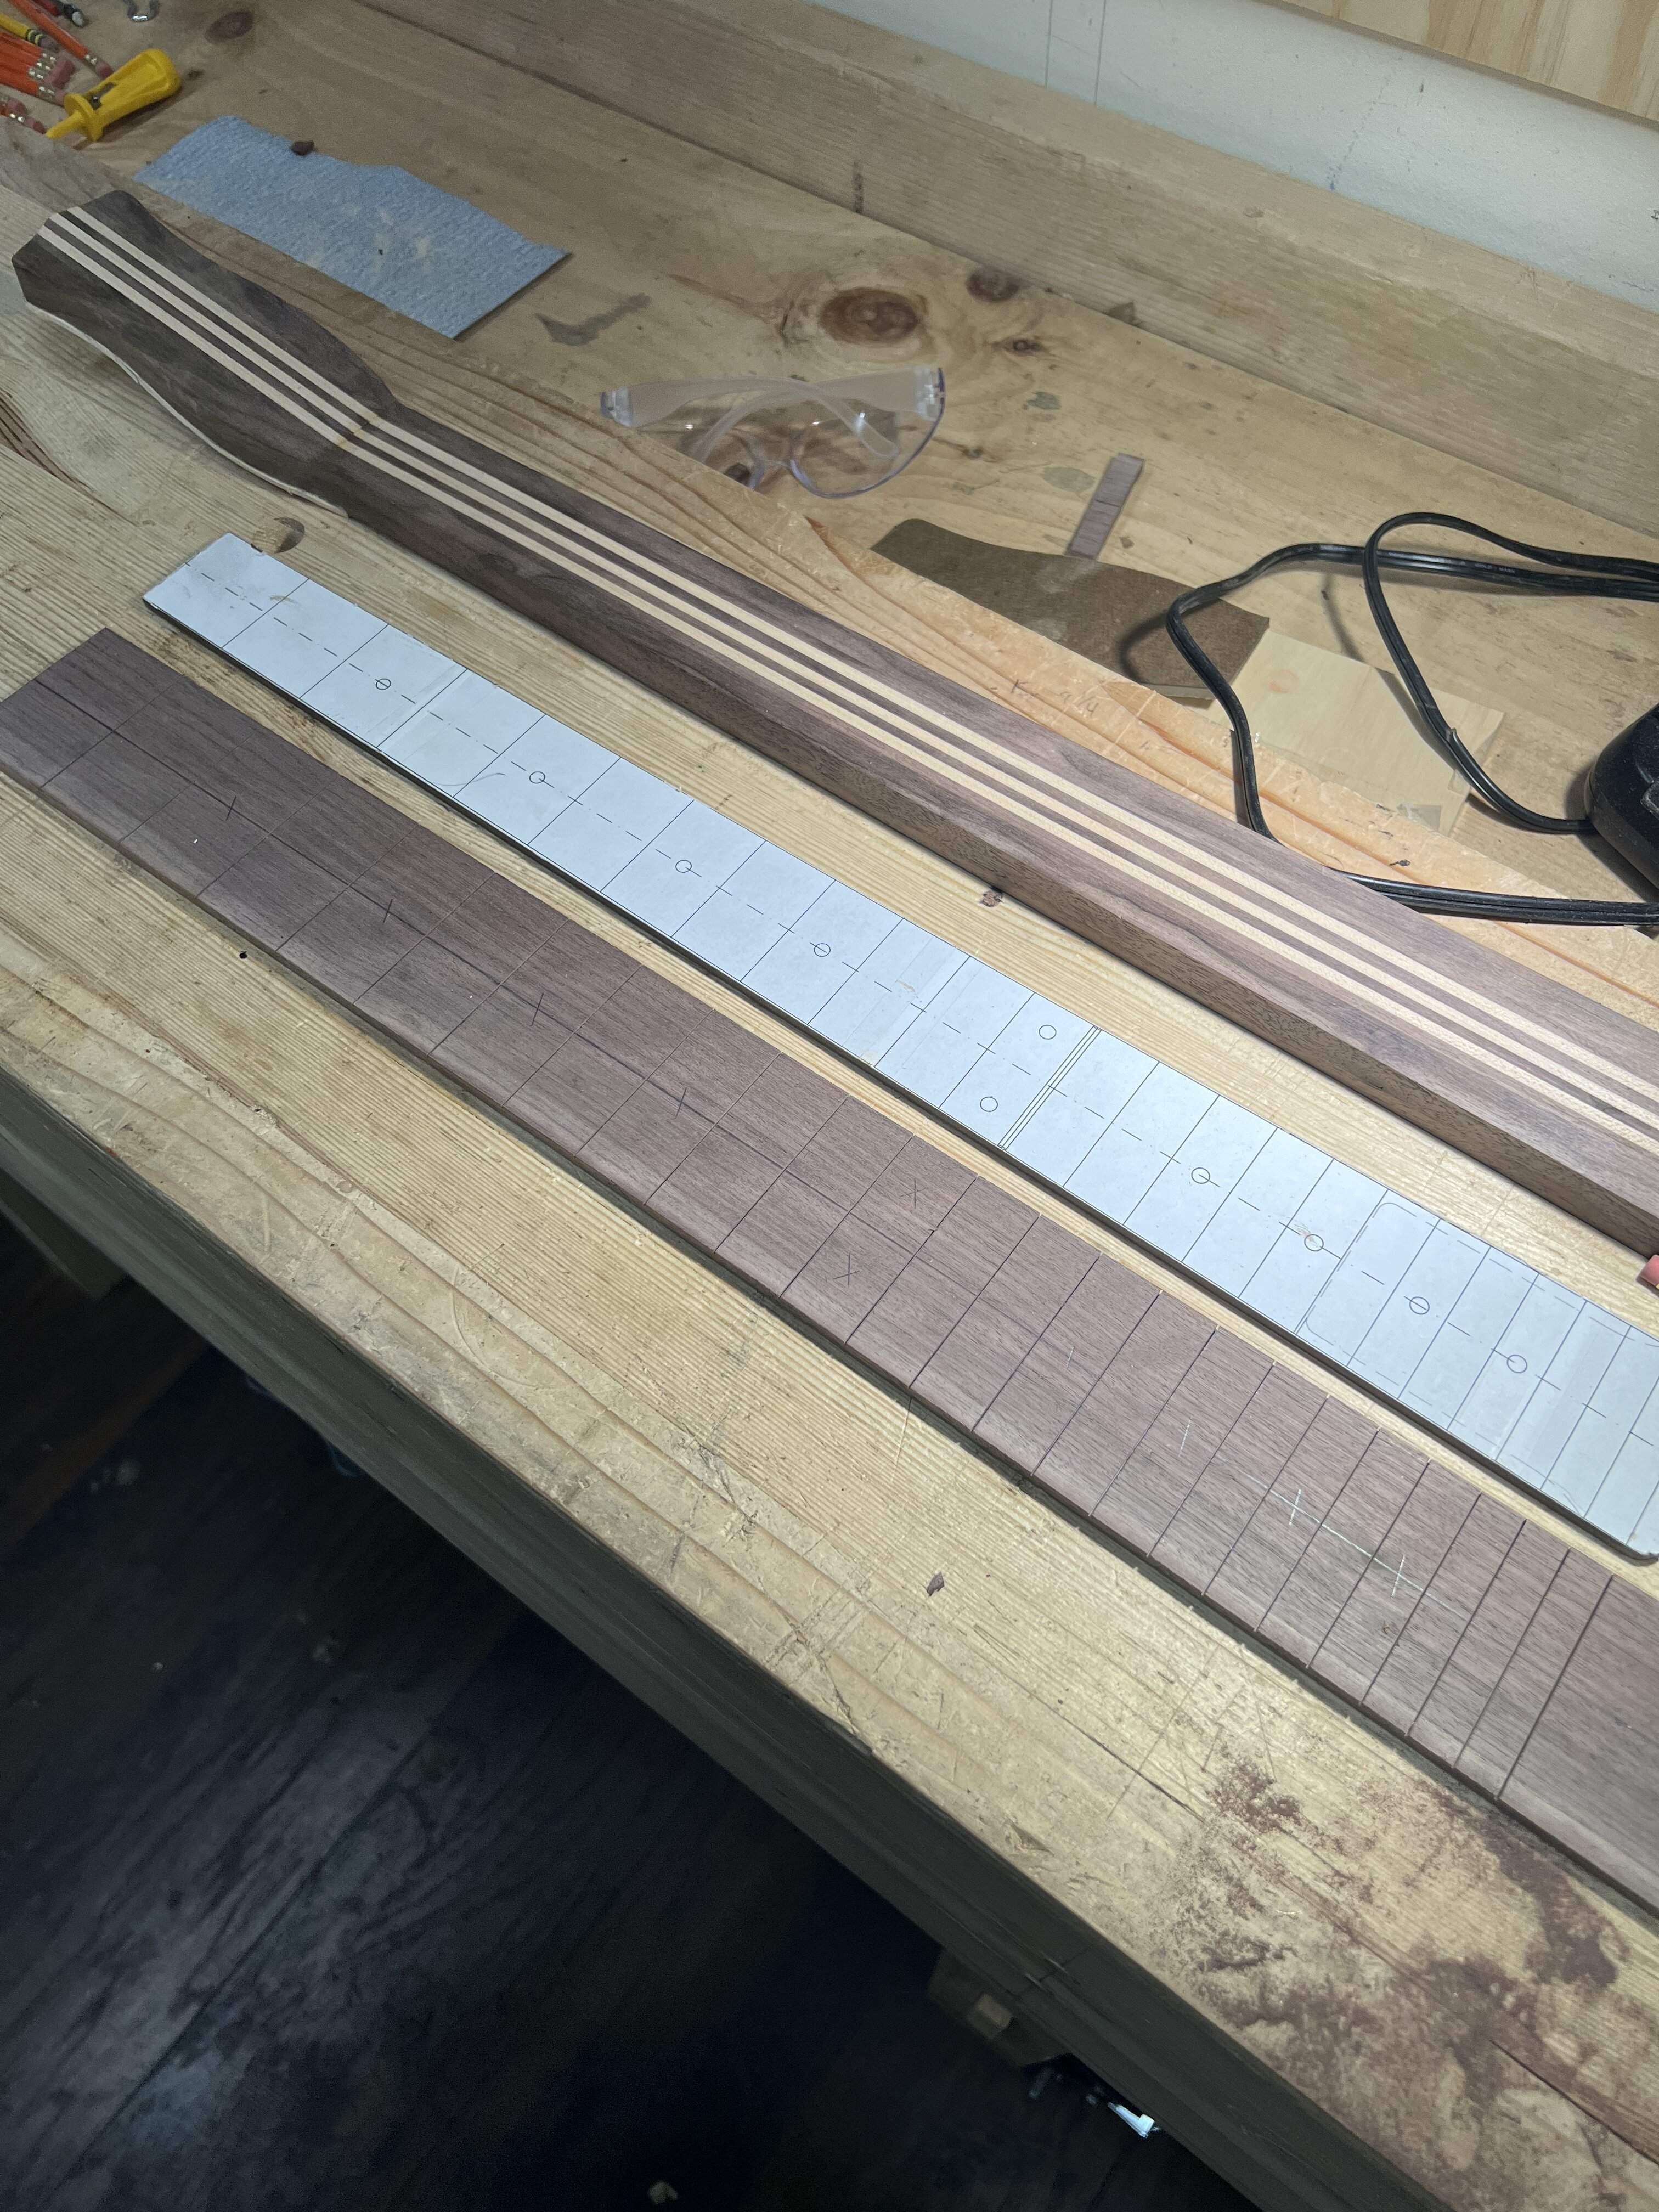
I am going to radius after, does anyone radius first? I think I did that with the previous two builds.
Oh, and for my mistake of the day, I forgot to thin the headstock before gluing the overlay. That tends to be a problem with weeks between steps, forgot where I was. I’ll have to take it off the back, figure I’ll shape the transition into a volute.
I am going to radius after, does anyone radius first? I think I did that with the previous two builds.
Oh, and for my mistake of the day, I forgot to thin the headstock before gluing the overlay. That tends to be a problem with weeks between steps, forgot where I was. I’ll have to take it off the back, figure I’ll shape the transition into a volute.
Last edited:
Quick shot of the twins before bed. Lots of neck shaping coming up. Fortunately a lot of the steps will be the same, so I can knock a few things out at the same time.
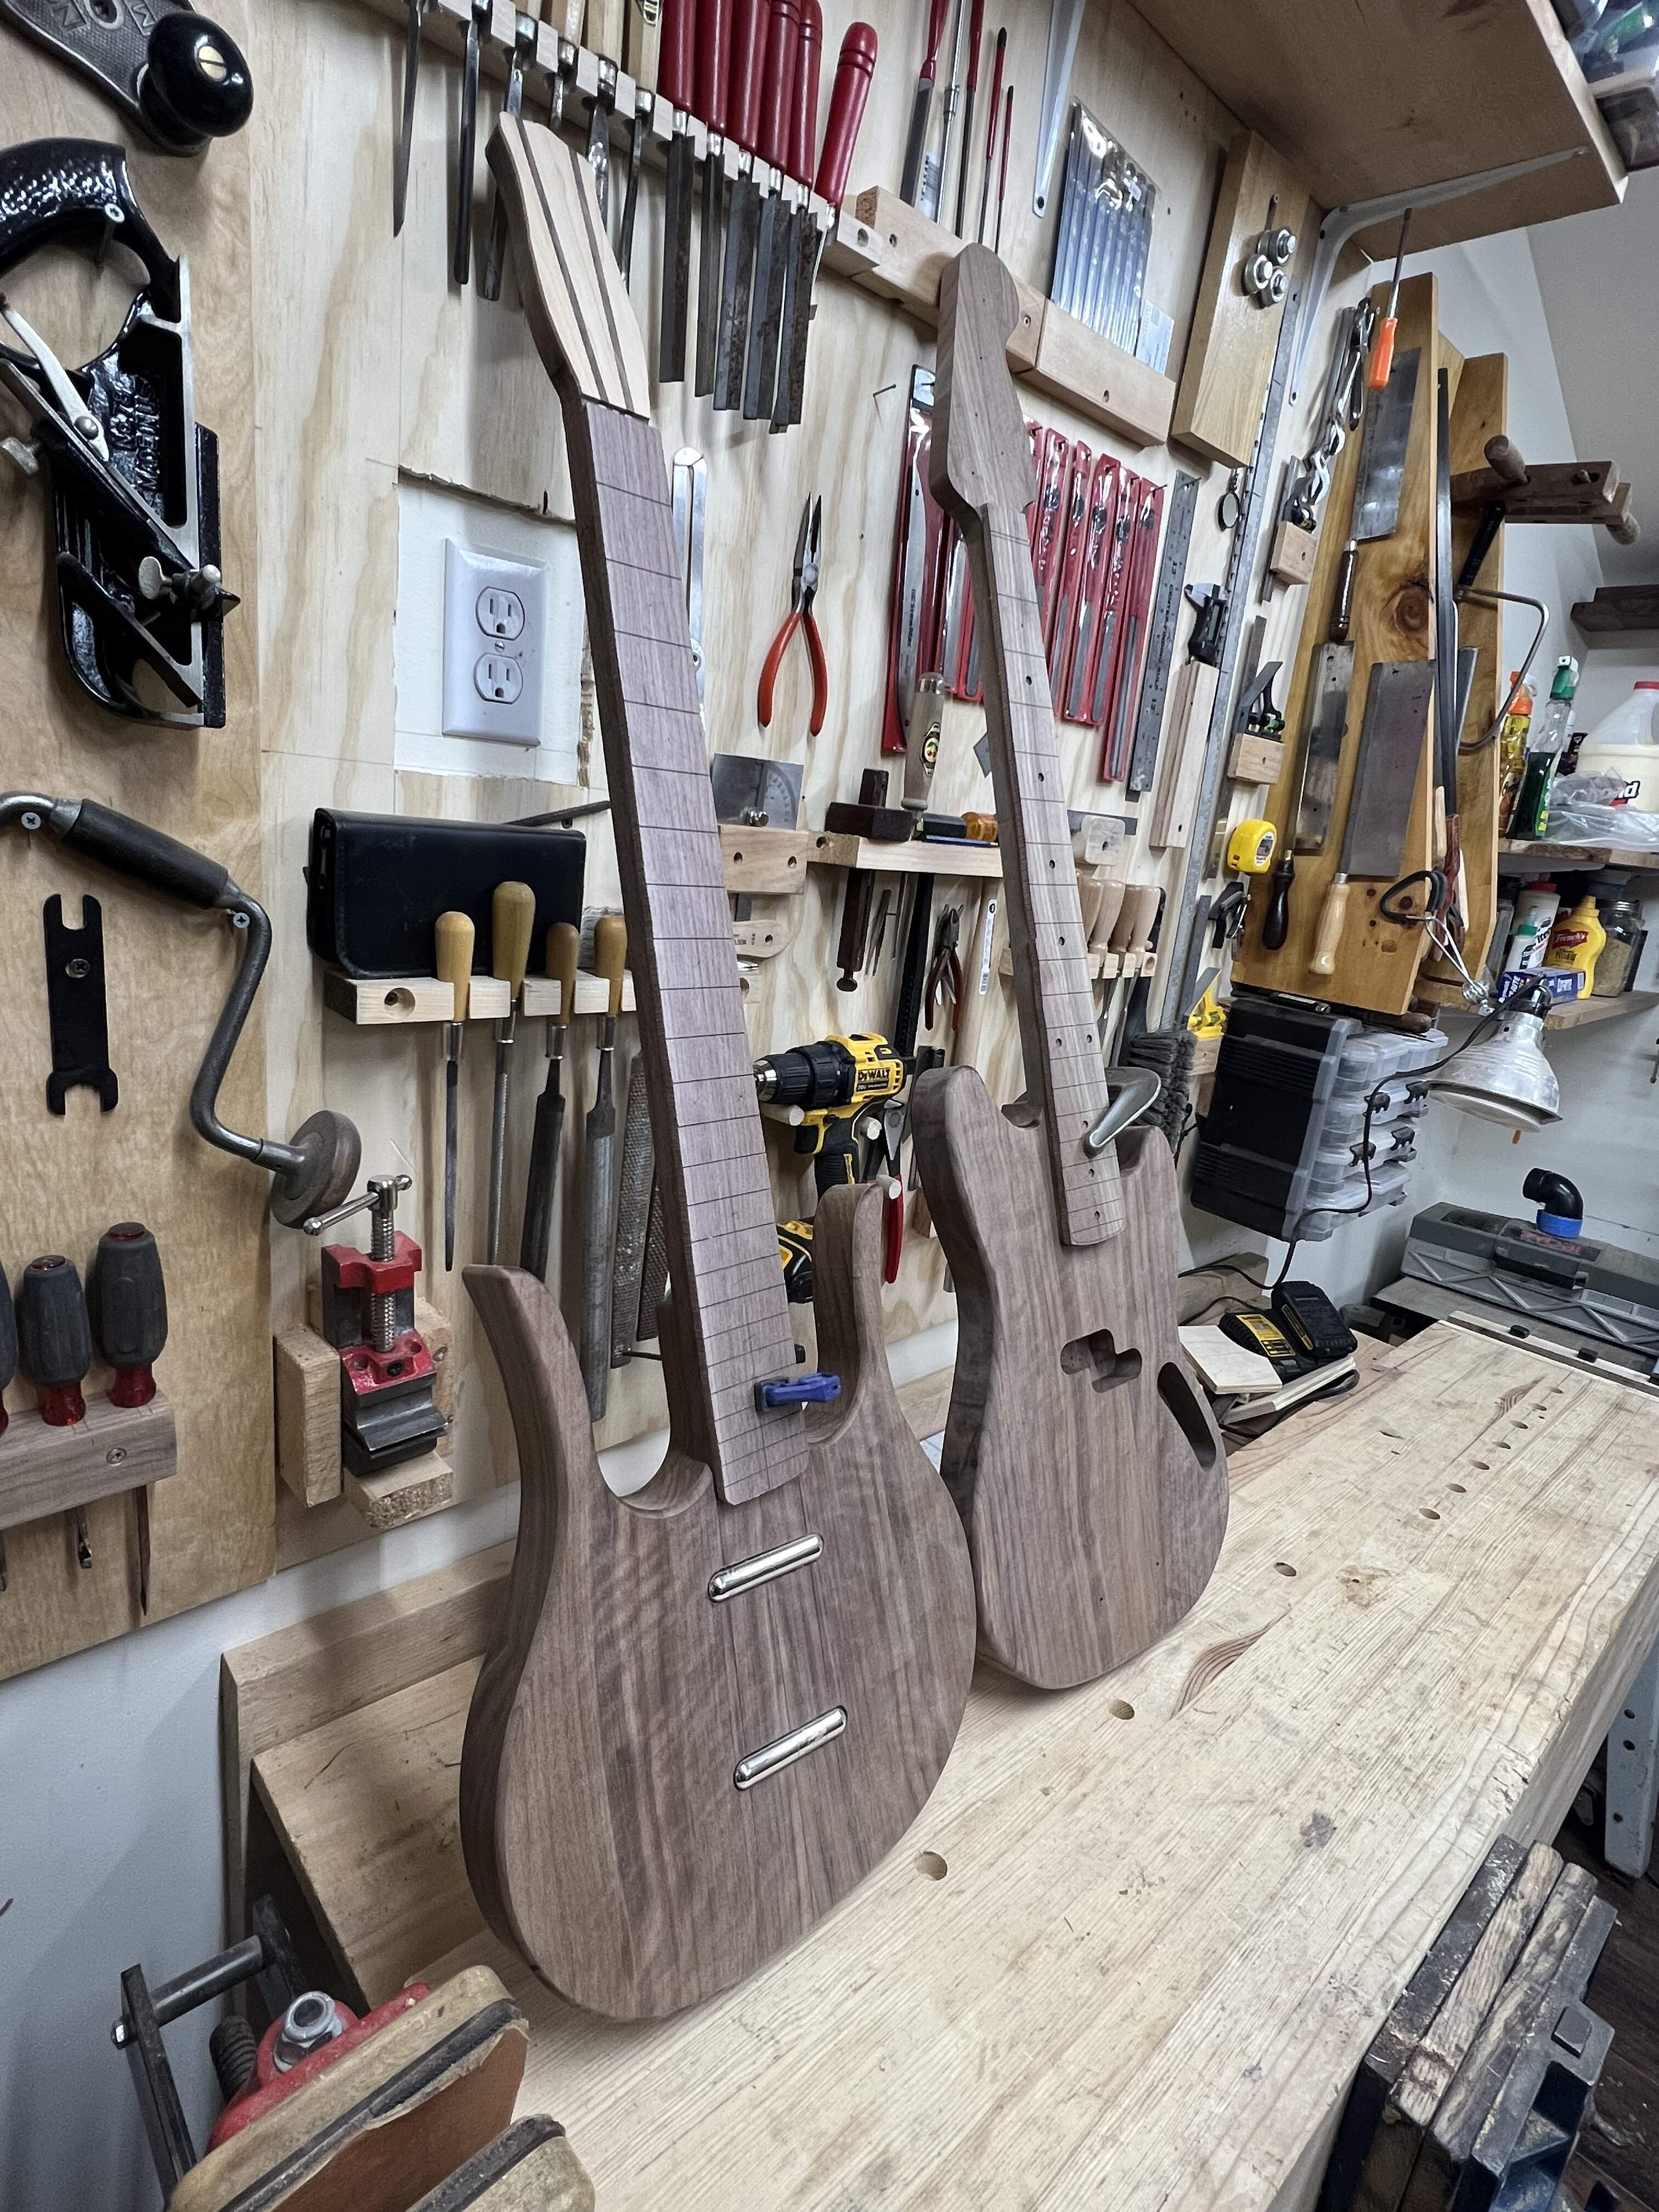
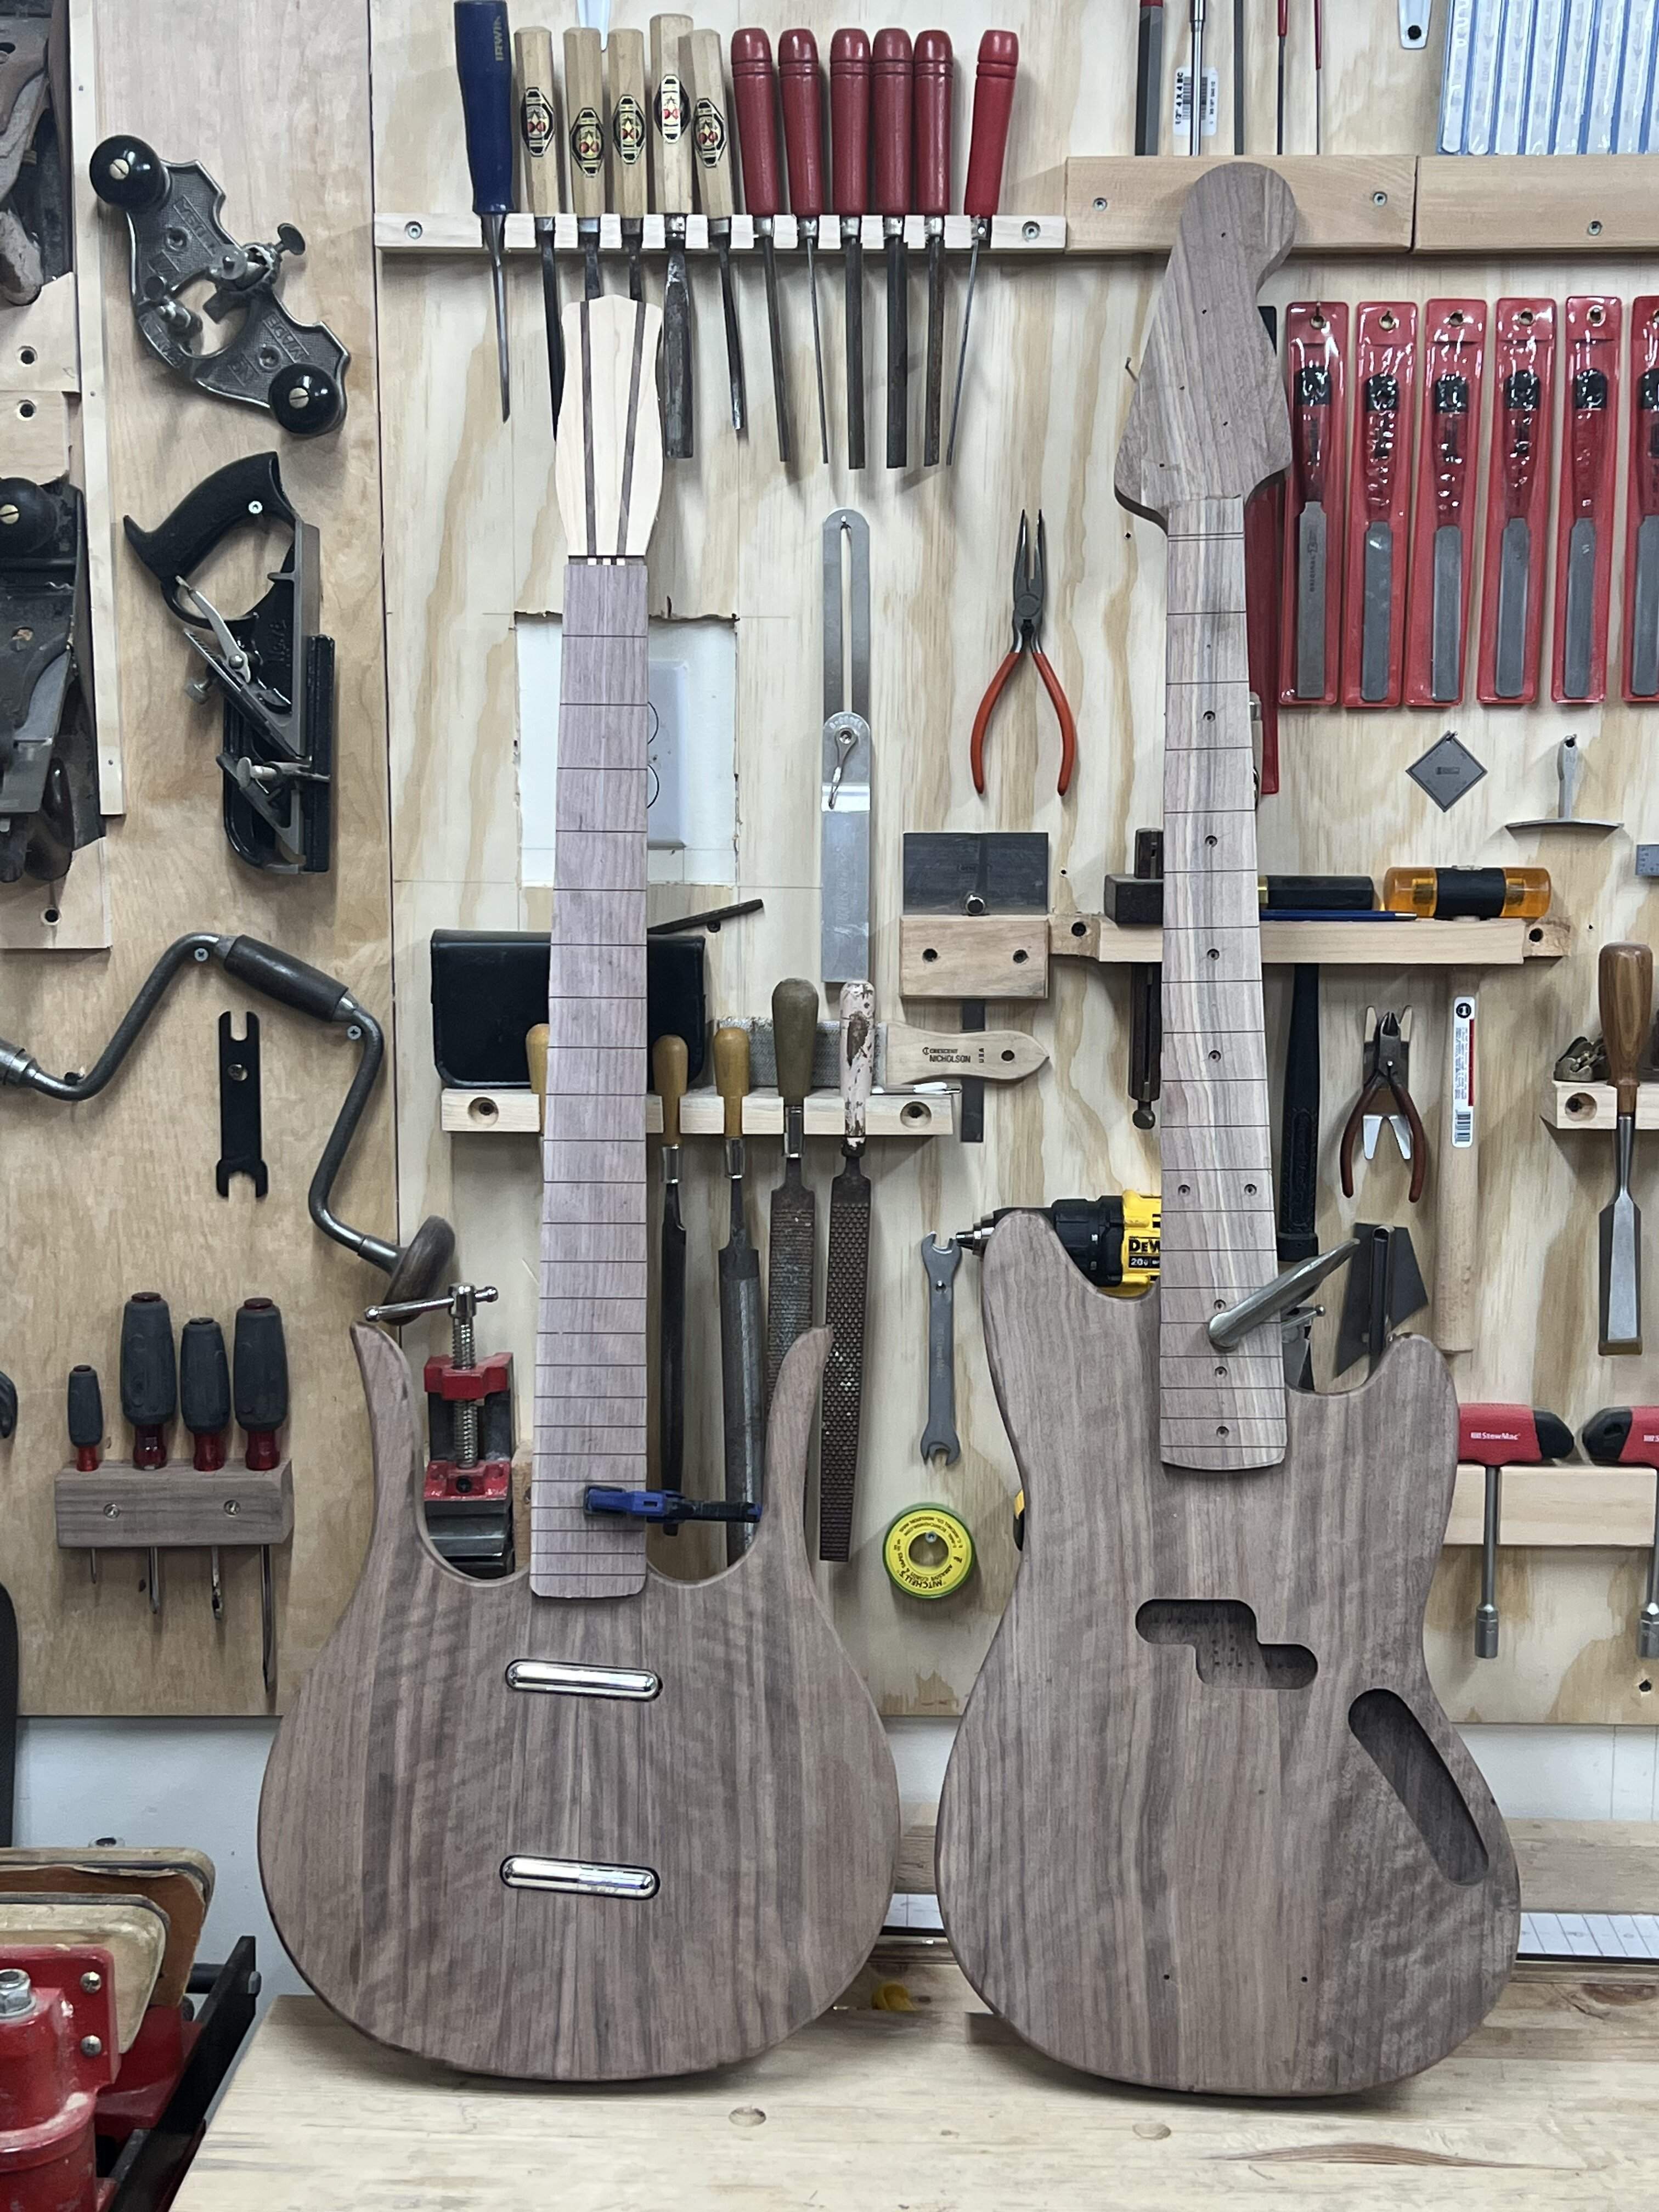
Unfortunately I’m not sure I like the maple overlay. The actual woodwork went really well, no complaints on the angles or joinery, it’s just a bit much. I think the amber shellac will take the brightness of the maple down to a tasteful degree. Or maybe I will grow to love it in time, who knows.
Unfortunately I’m not sure I like the maple overlay. The actual woodwork went really well, no complaints on the angles or joinery, it’s just a bit much. I think the amber shellac will take the brightness of the maple down to a tasteful degree. Or maybe I will grow to love it in time, who knows.
Routed the fingerboards and the dano headstock veneer. Routers still give me a little belly flutter.
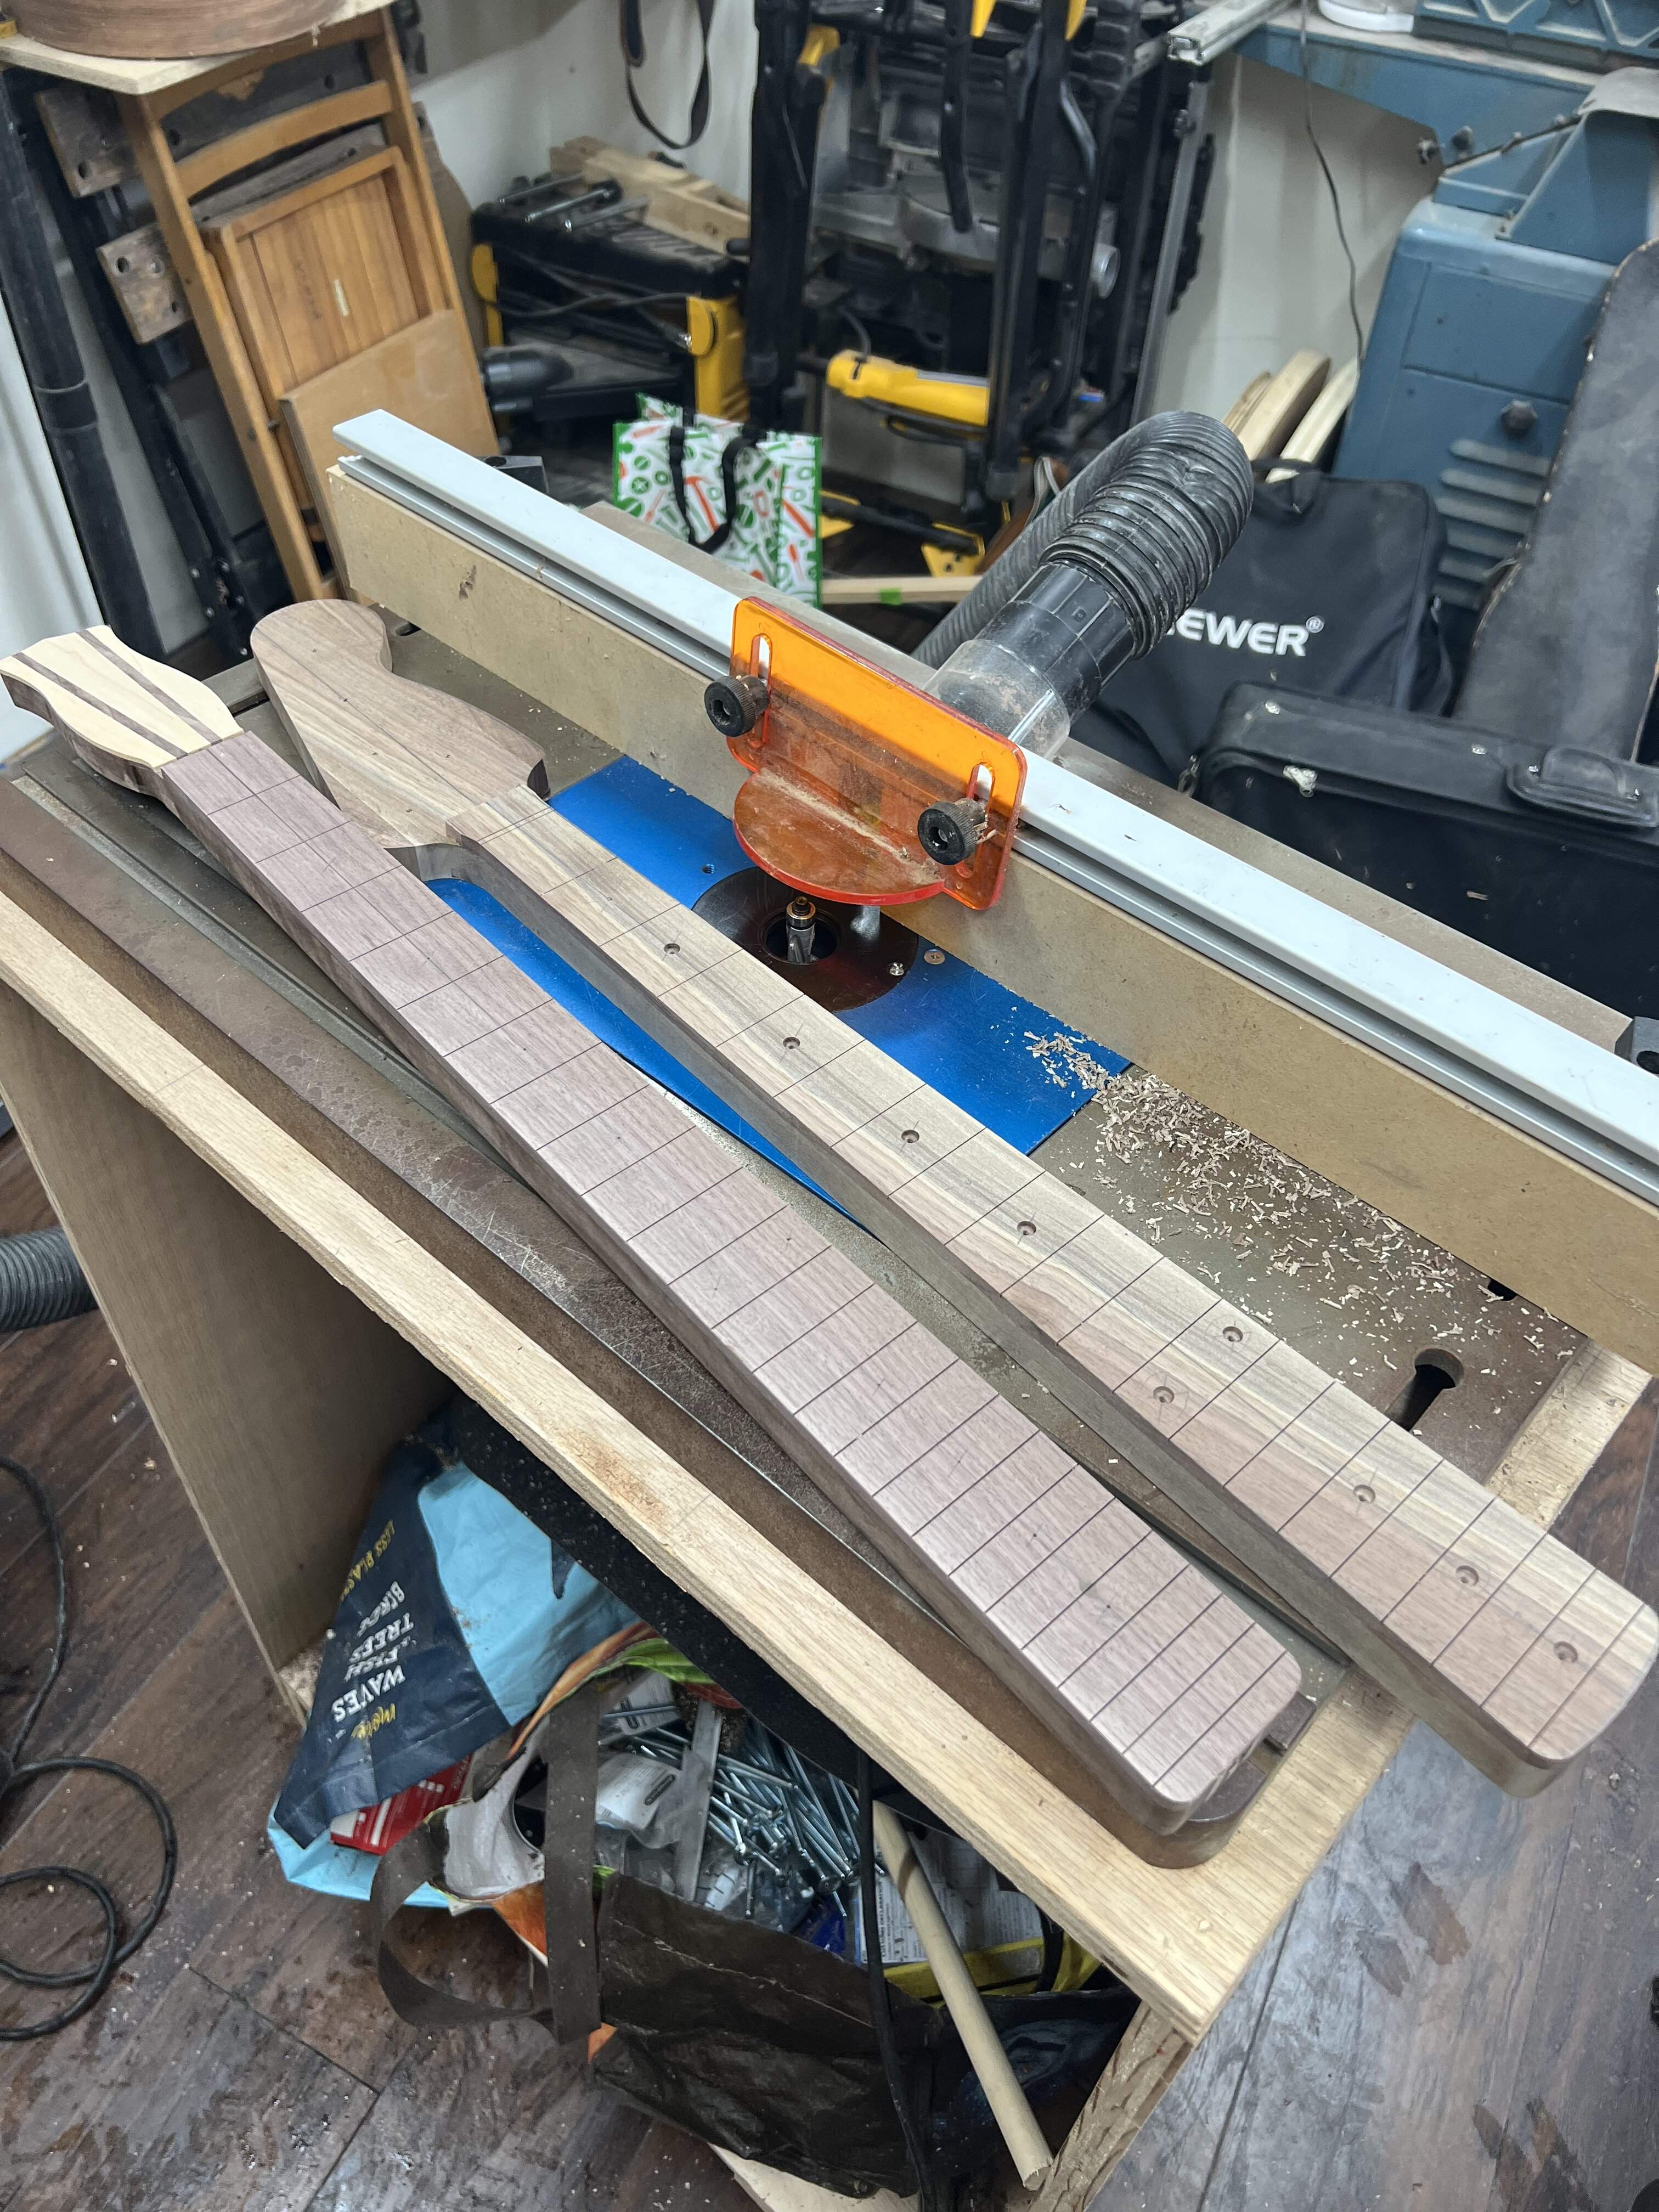

The bit is a compression bit from infinity tools. It is a very high quality bit. The carbide blade design cuts very cleanly, and I bet it lets you get away with a little less prep. You can’t sharpen the blades though. A decent big box bit costs half as much, and you can sharpen the straight blades, but they will dull more quickly and you have an increased chance of tearout. However, if you get everything really close in your prep, tearout is less likely anyway. I guess in the end you buy what you want and live with the results.
Anyway, for someone who may be wondering, this is an excellent bit. It makes tearout a little less likely, but good prep will always be key. And sometimes bad things will happens regardless, because of the deadly spinning blades.
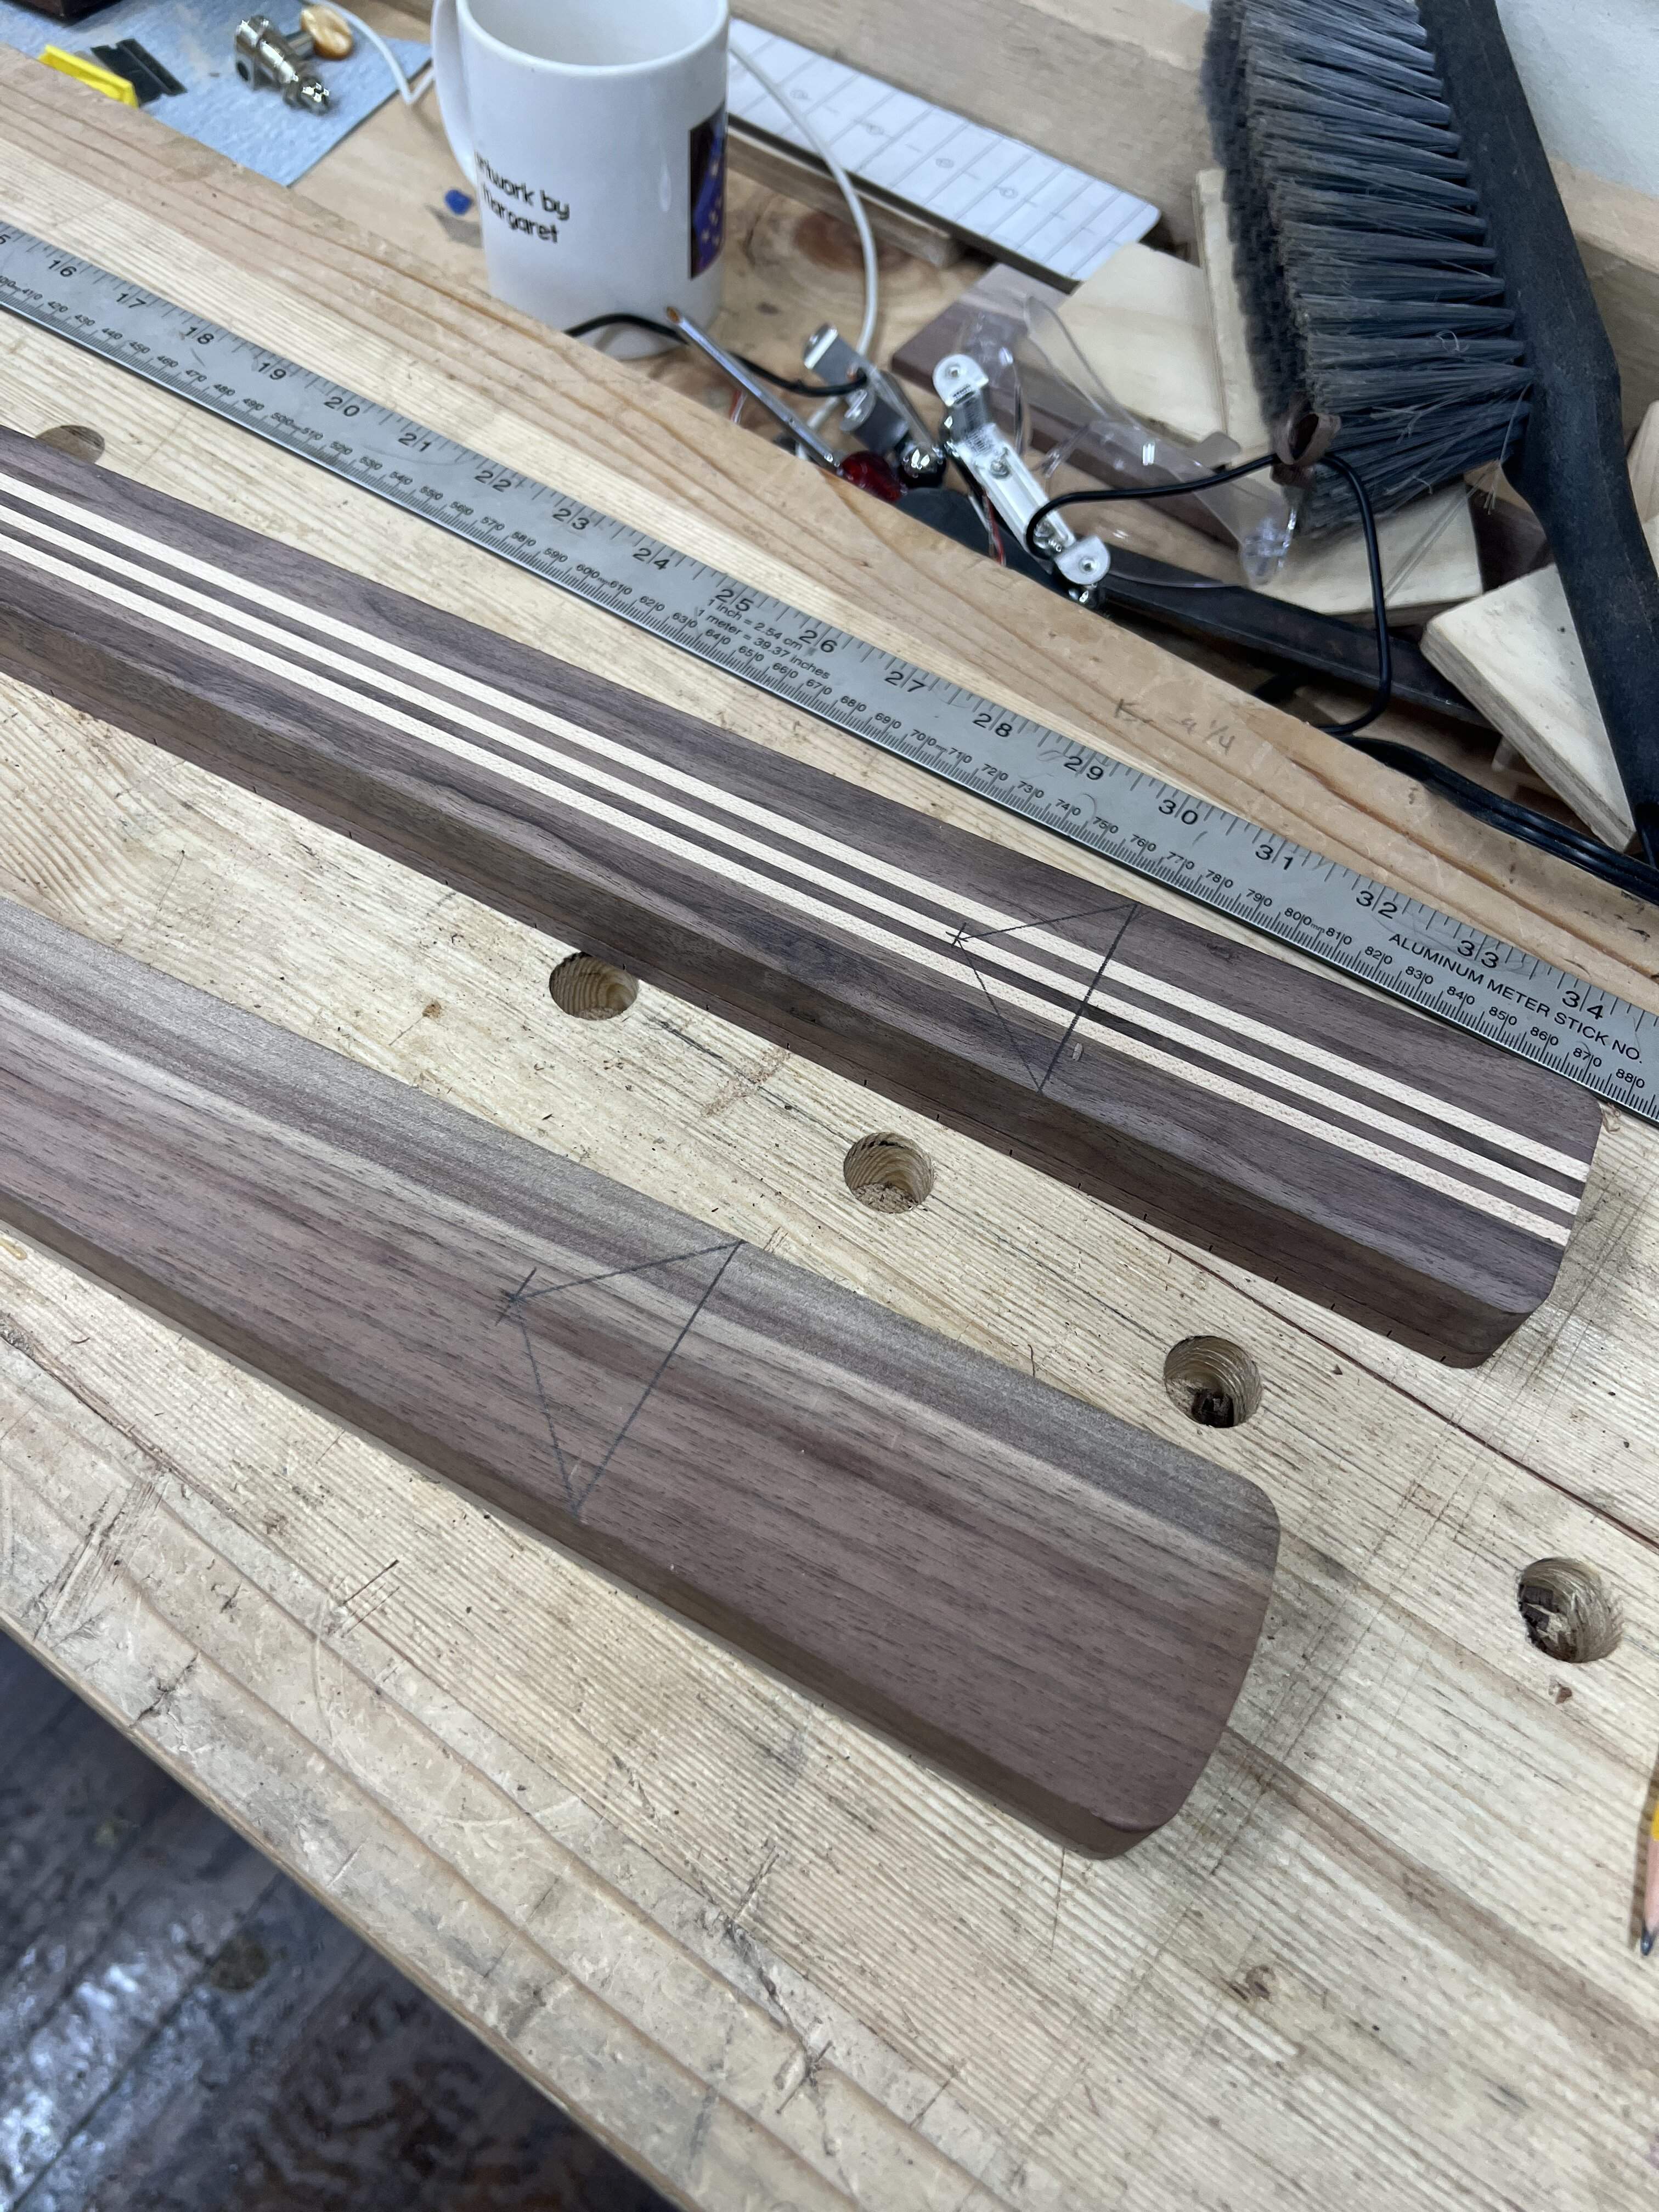
Marked out the heel profiles, almost time to shape! One of my favorite parts.
The bit is a compression bit from infinity tools. It is a very high quality bit. The carbide blade design cuts very cleanly, and I bet it lets you get away with a little less prep. You can’t sharpen the blades though. A decent big box bit costs half as much, and you can sharpen the straight blades, but they will dull more quickly and you have an increased chance of tearout. However, if you get everything really close in your prep, tearout is less likely anyway. I guess in the end you buy what you want and live with the results.
Anyway, for someone who may be wondering, this is an excellent bit. It makes tearout a little less likely, but good prep will always be key. And sometimes bad things will happens regardless, because of the deadly spinning blades.
Marked out the heel profiles, almost time to shape! One of my favorite parts.

I like it, but I think I get your concern with just that one area of maple on an otherwise brown instrument. Were you planning to have the Danelectro-style pick guard? What if you made that from maple as a visual counterbalance to the maple headstock overlay?Unfortunately I’m not sure I like the maple overlay. The actual woodwork went really well, no complaints on the angles or joinery, it’s just a bit much. I think the amber shellac will take the brightness of the maple down to a tasteful degree. Or maybe I will grow to love it in time, who knows.
That’s a definite possibility there, I have bwb material scraps for the pickguard, but it wouldn’t take much time to make a maple one to swap out.I like it, but I think I get your concern with just that one area of maple on an otherwise brown instrument. Were you planning to have the Danelectro-style pick guard? What if you made that from maple as a visual counterbalance to the maple headstock overlay?
I really like walnut, it is easy to work, looks and smells great, and it grows in my backyard. Here in upstate NY we are lucky to have a ton of great tonewoods growing everywhere, and lots of folks cutting it up and selling very reasonably.So much walnut!
I had some friends move from Oregon, and they are still amazed that you can buy cheap wood and burn it whenever you want.New York. The Tone Tree State.


Once in a while I’ll find some flame maple in my firewood pile, I have three or four ukes waiting to be made from old firewood I sliced up!
Well everyone, I decided I just don’t like the maple overlay, and it just messes with the aesthetic too much. I would rather have been shaping, but this would have bugged me. So I went about correcting things.
Glued up a new overlay, same idea but opposite wood selection. I was pondering making a router jig, but routers really have the potential to screw things up quickly, so I rigged up a fence on the bandsaw. That worked really well. I took a bit extra off the top and left a shelf at the nut, giving the nut 1/4” to rest on. Squared the nut shelf with a razor saw, pared with a chisel, and cleaned with a safe edge file. Sanded the saw marks out and checked that everything was flat again, all good.
I repeated the procedure on the back, which left a 1/16” shelf. I’ll be able to blend that in without much trouble. The tuner areas are clear.
Part of the fun in this is solving problems in the moment, so I’m not sorry about how things worked out.
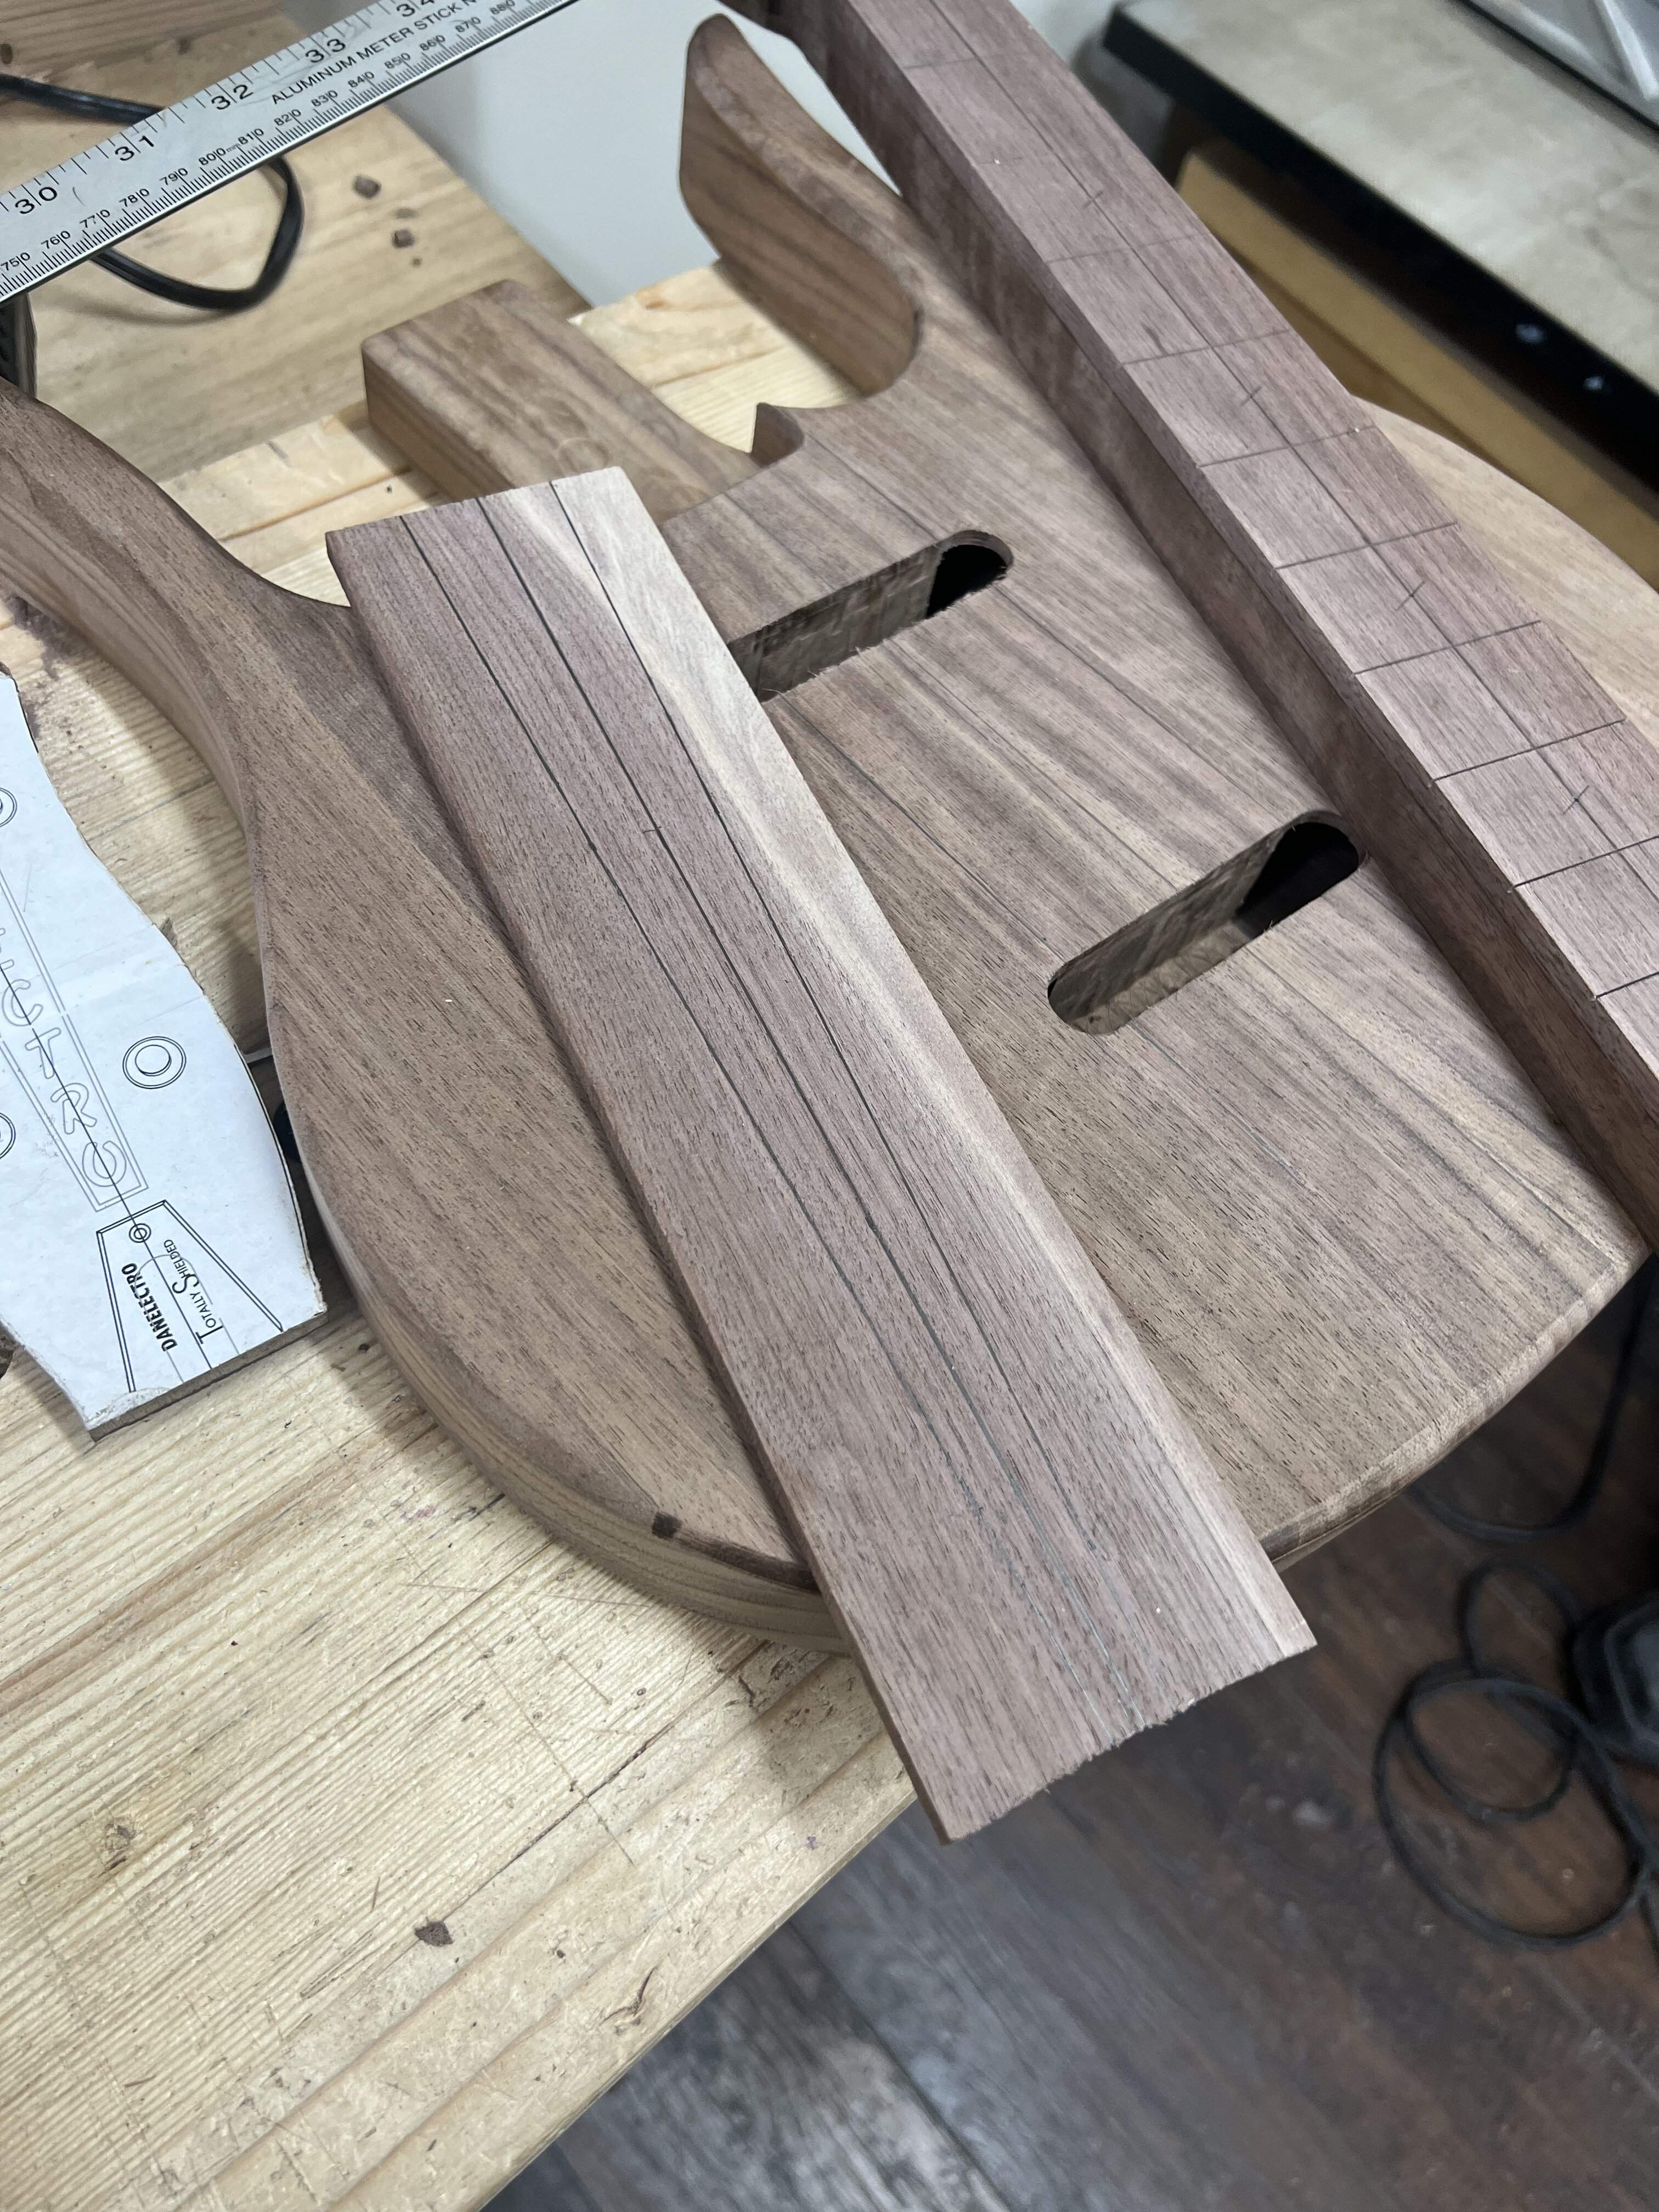

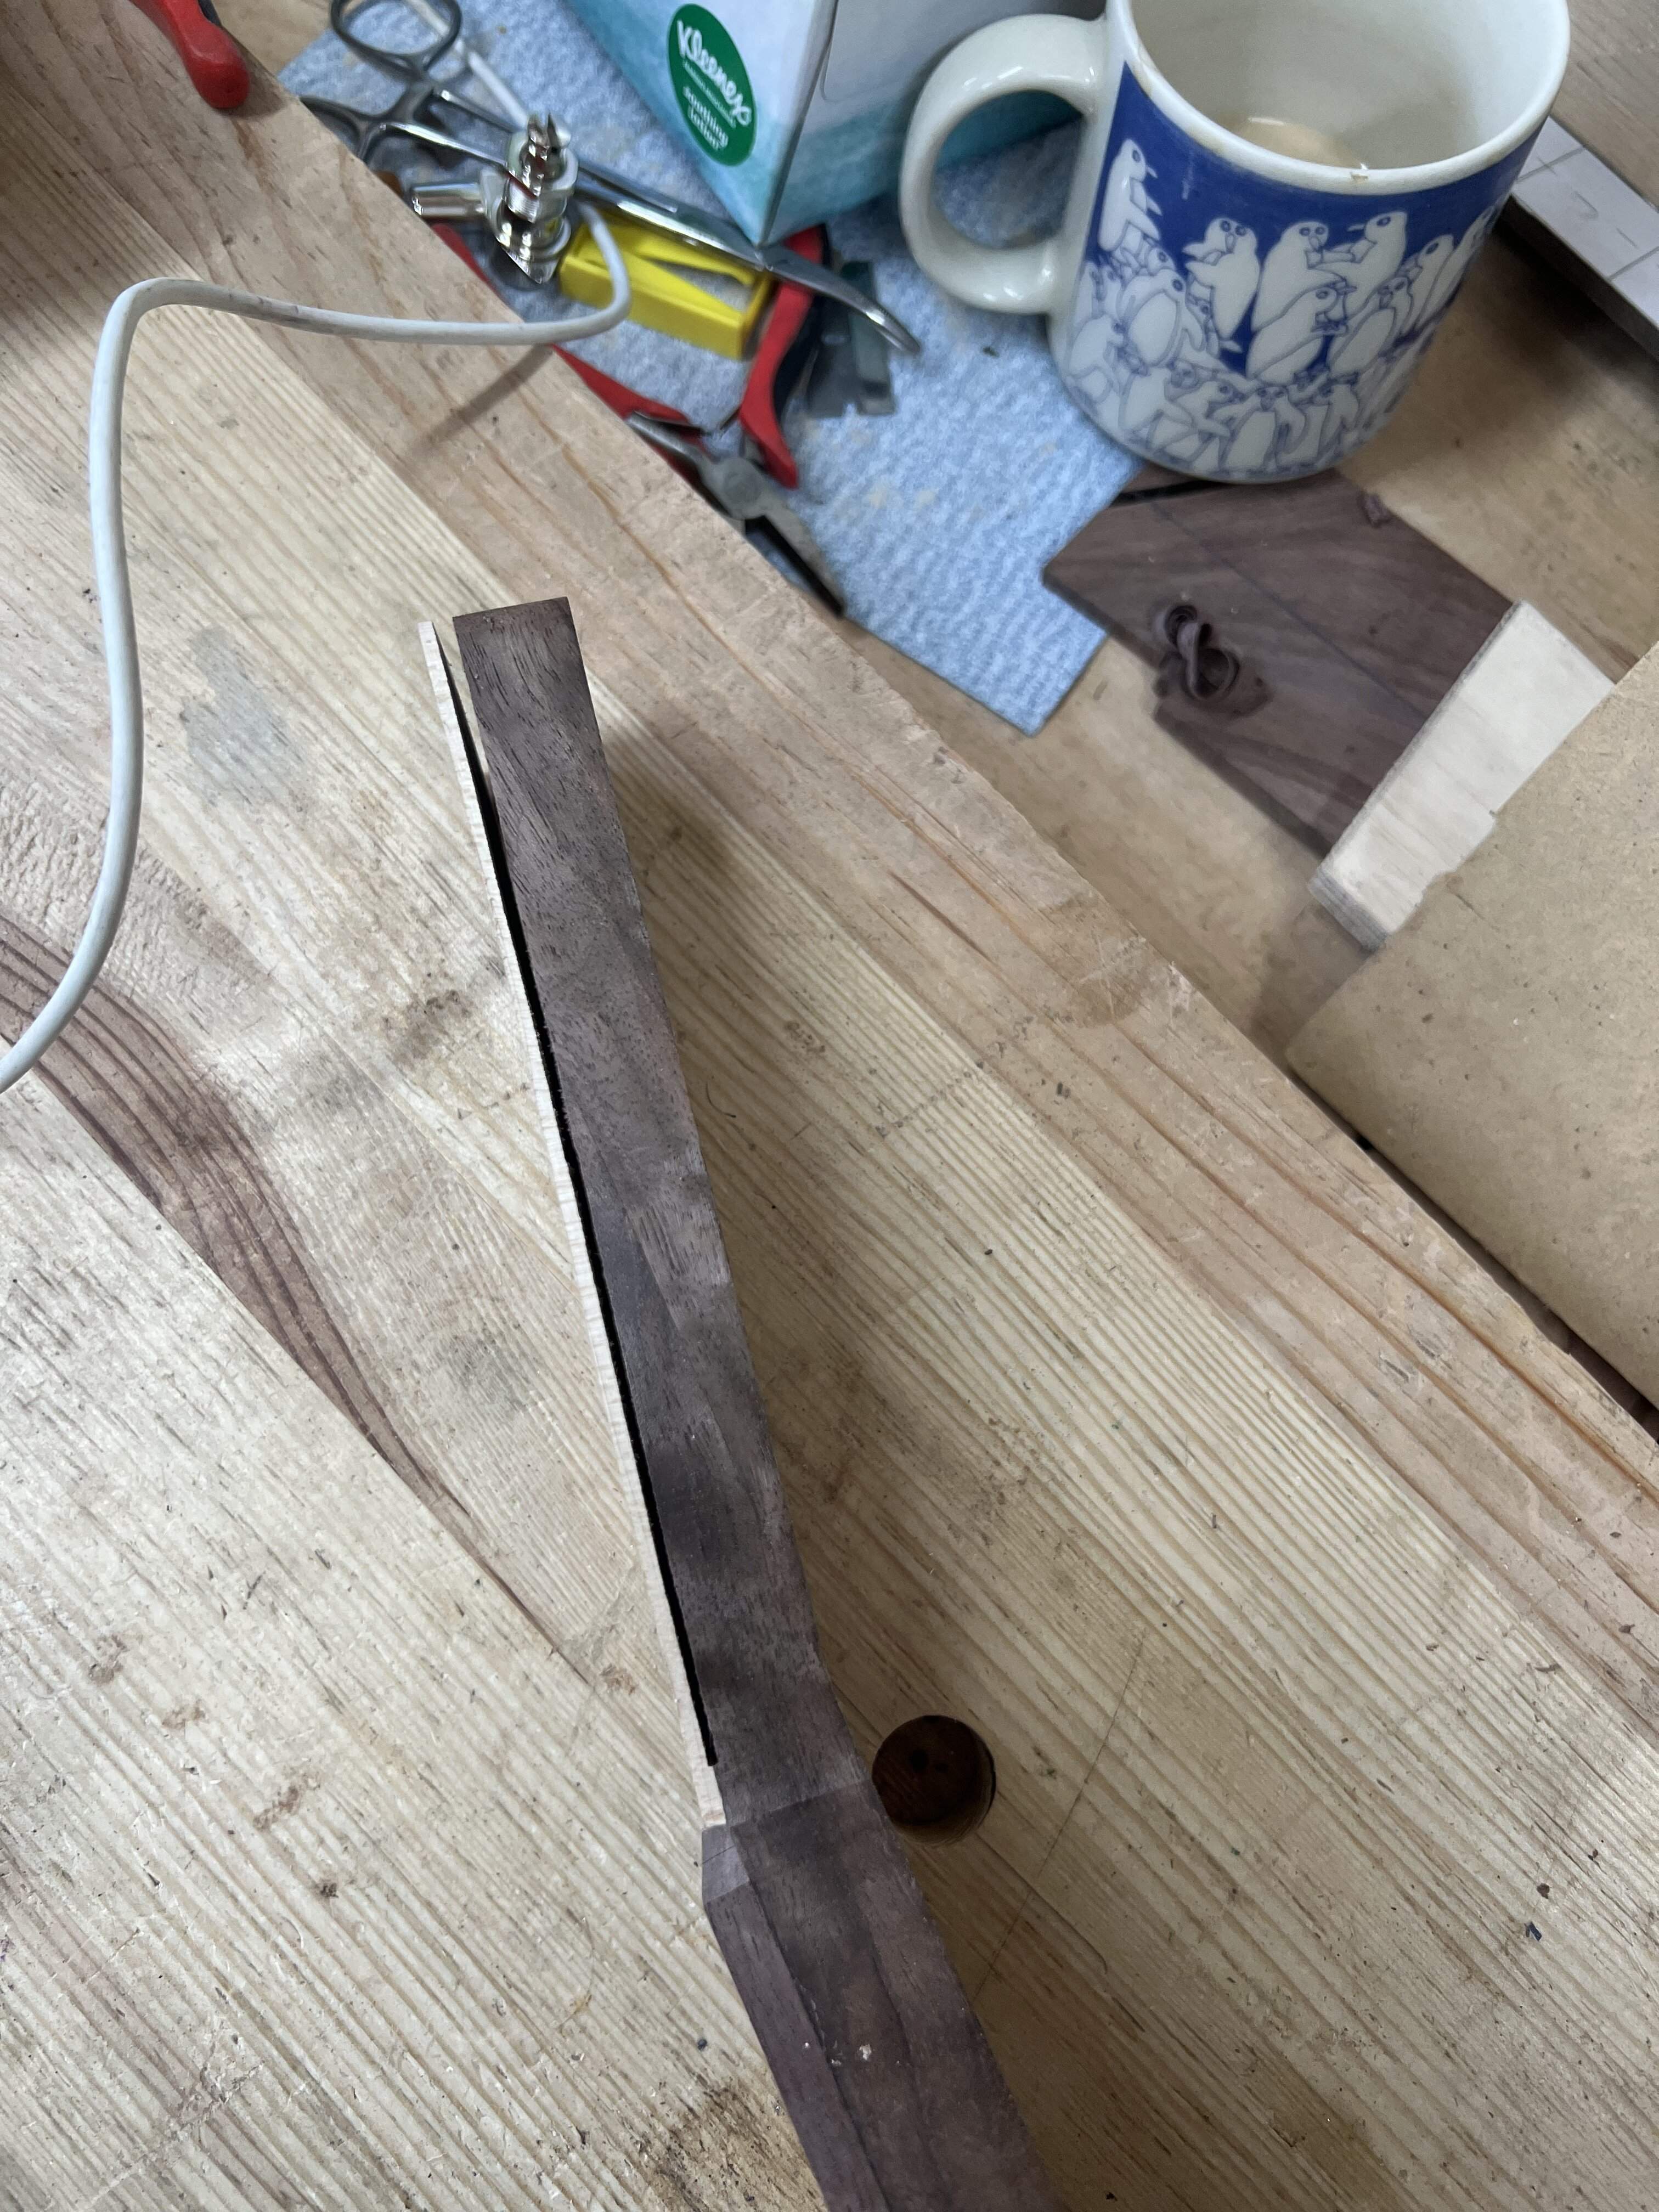
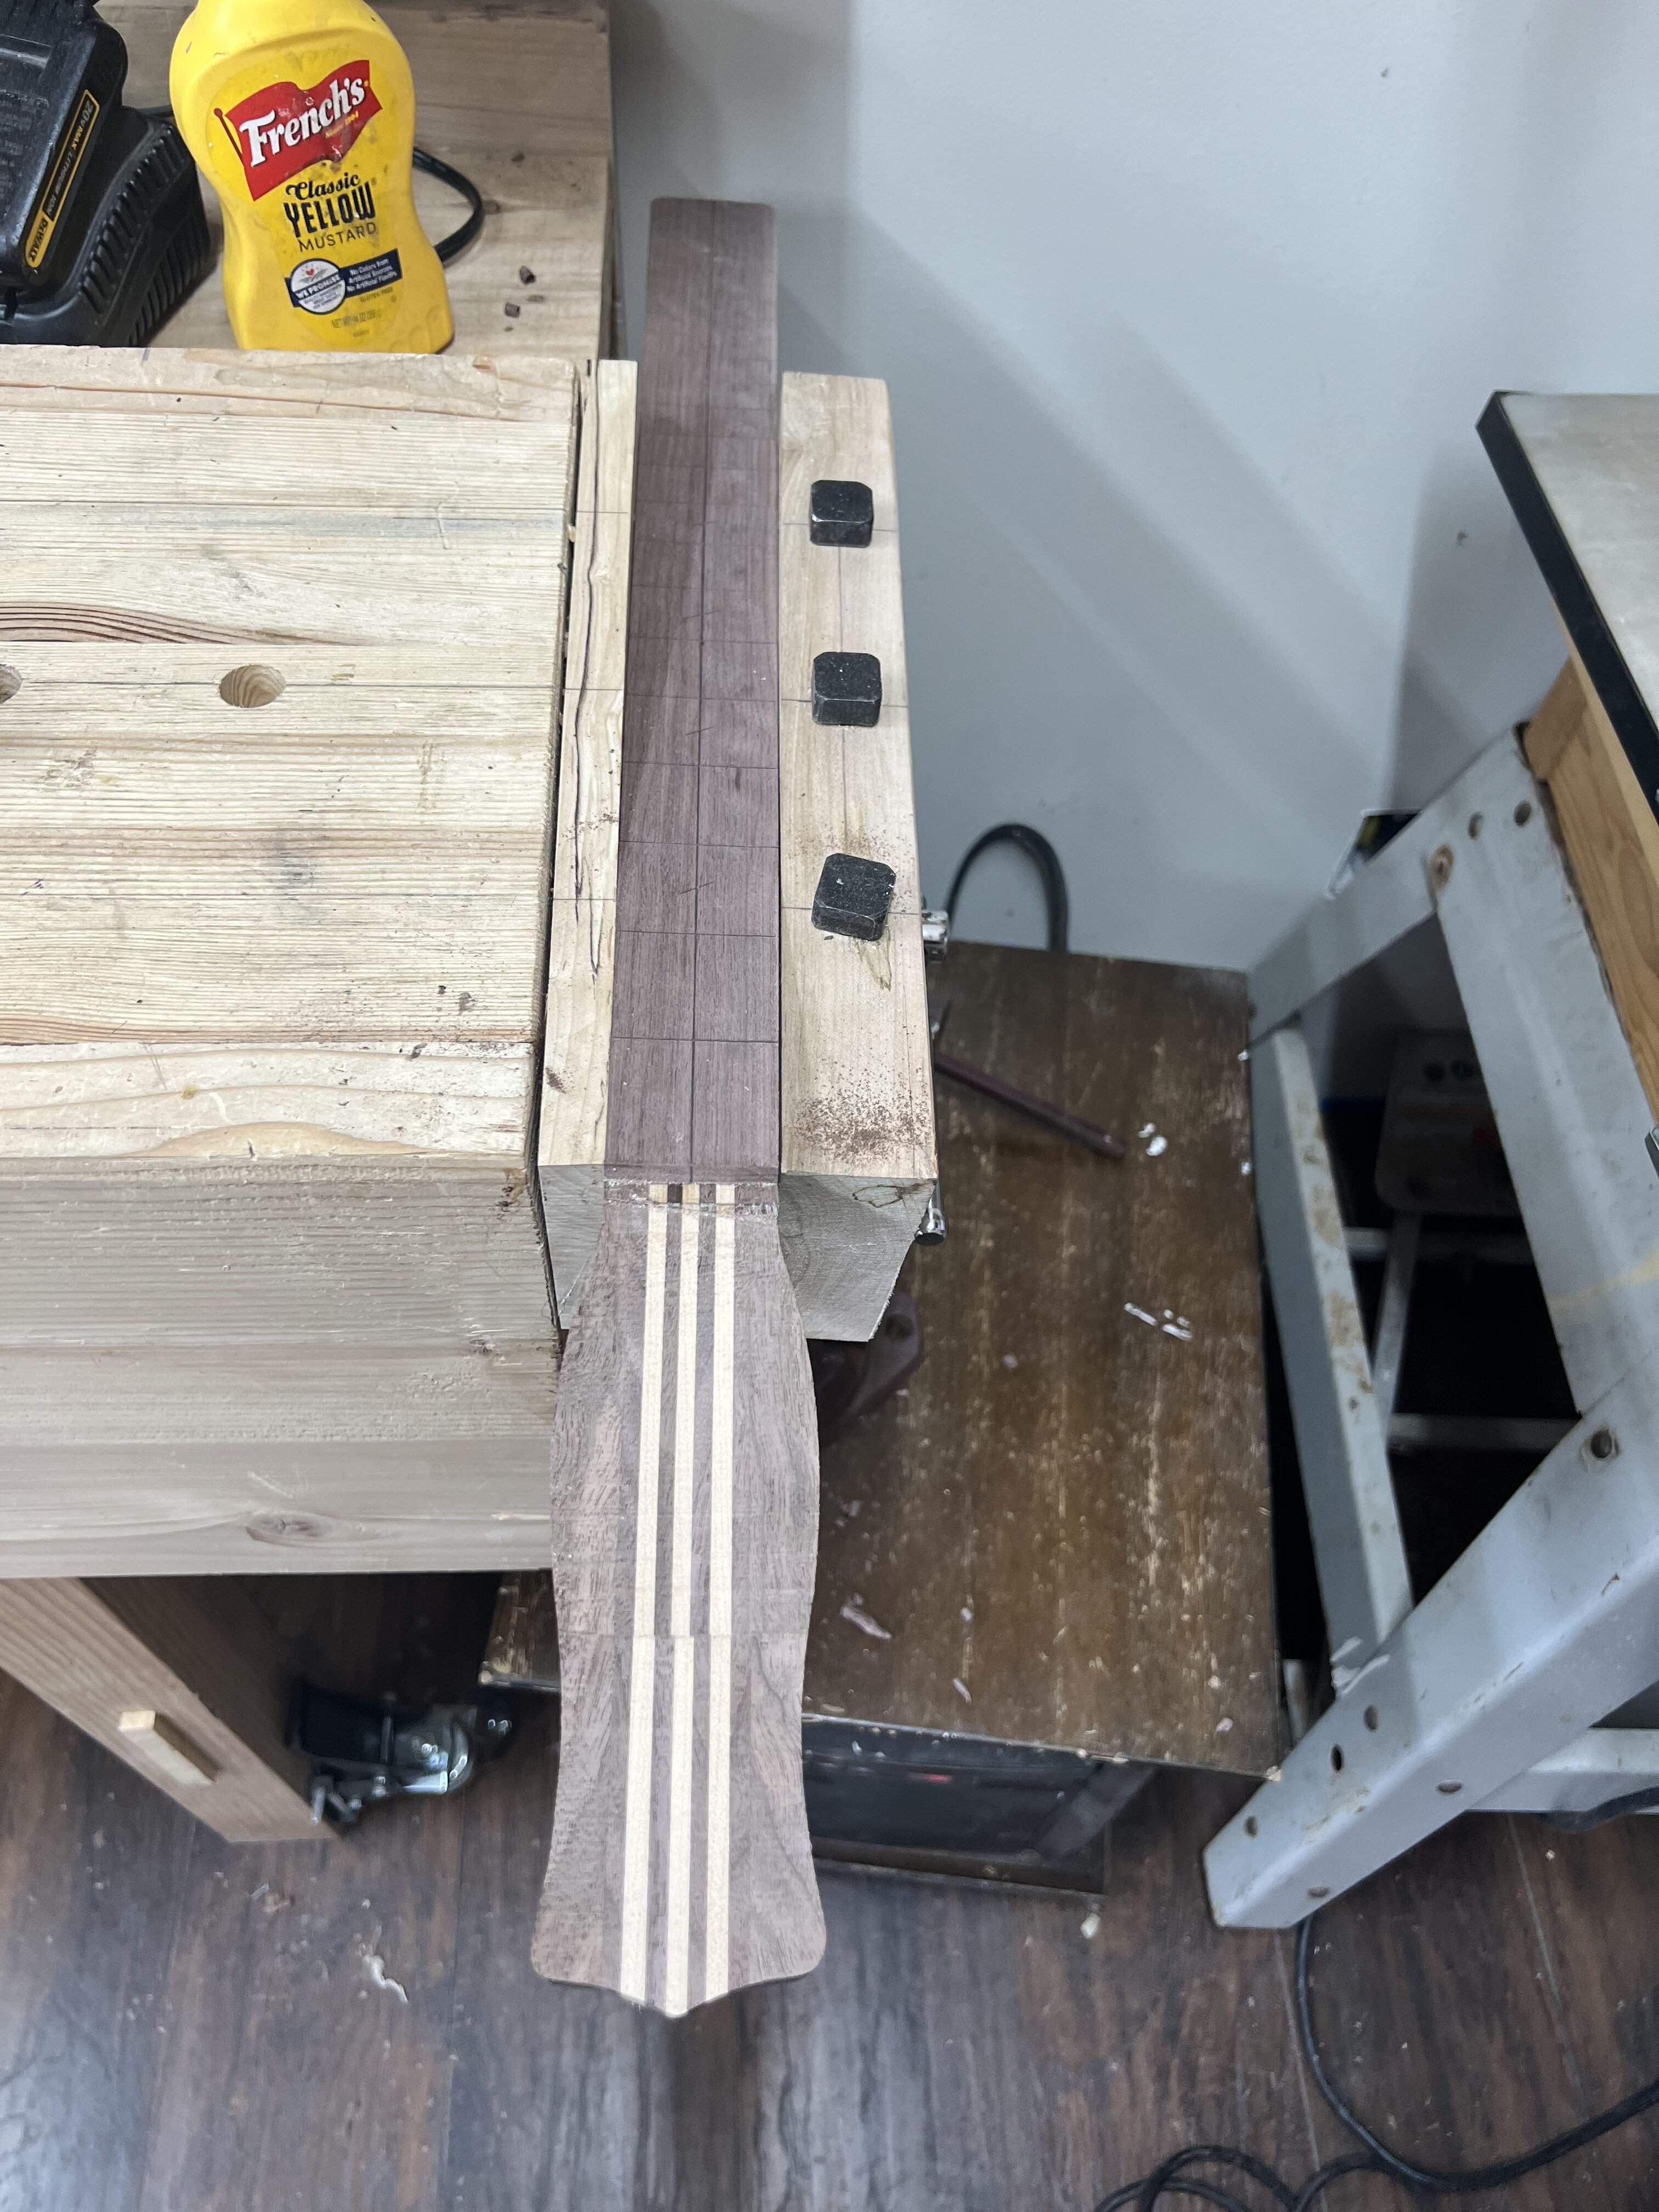
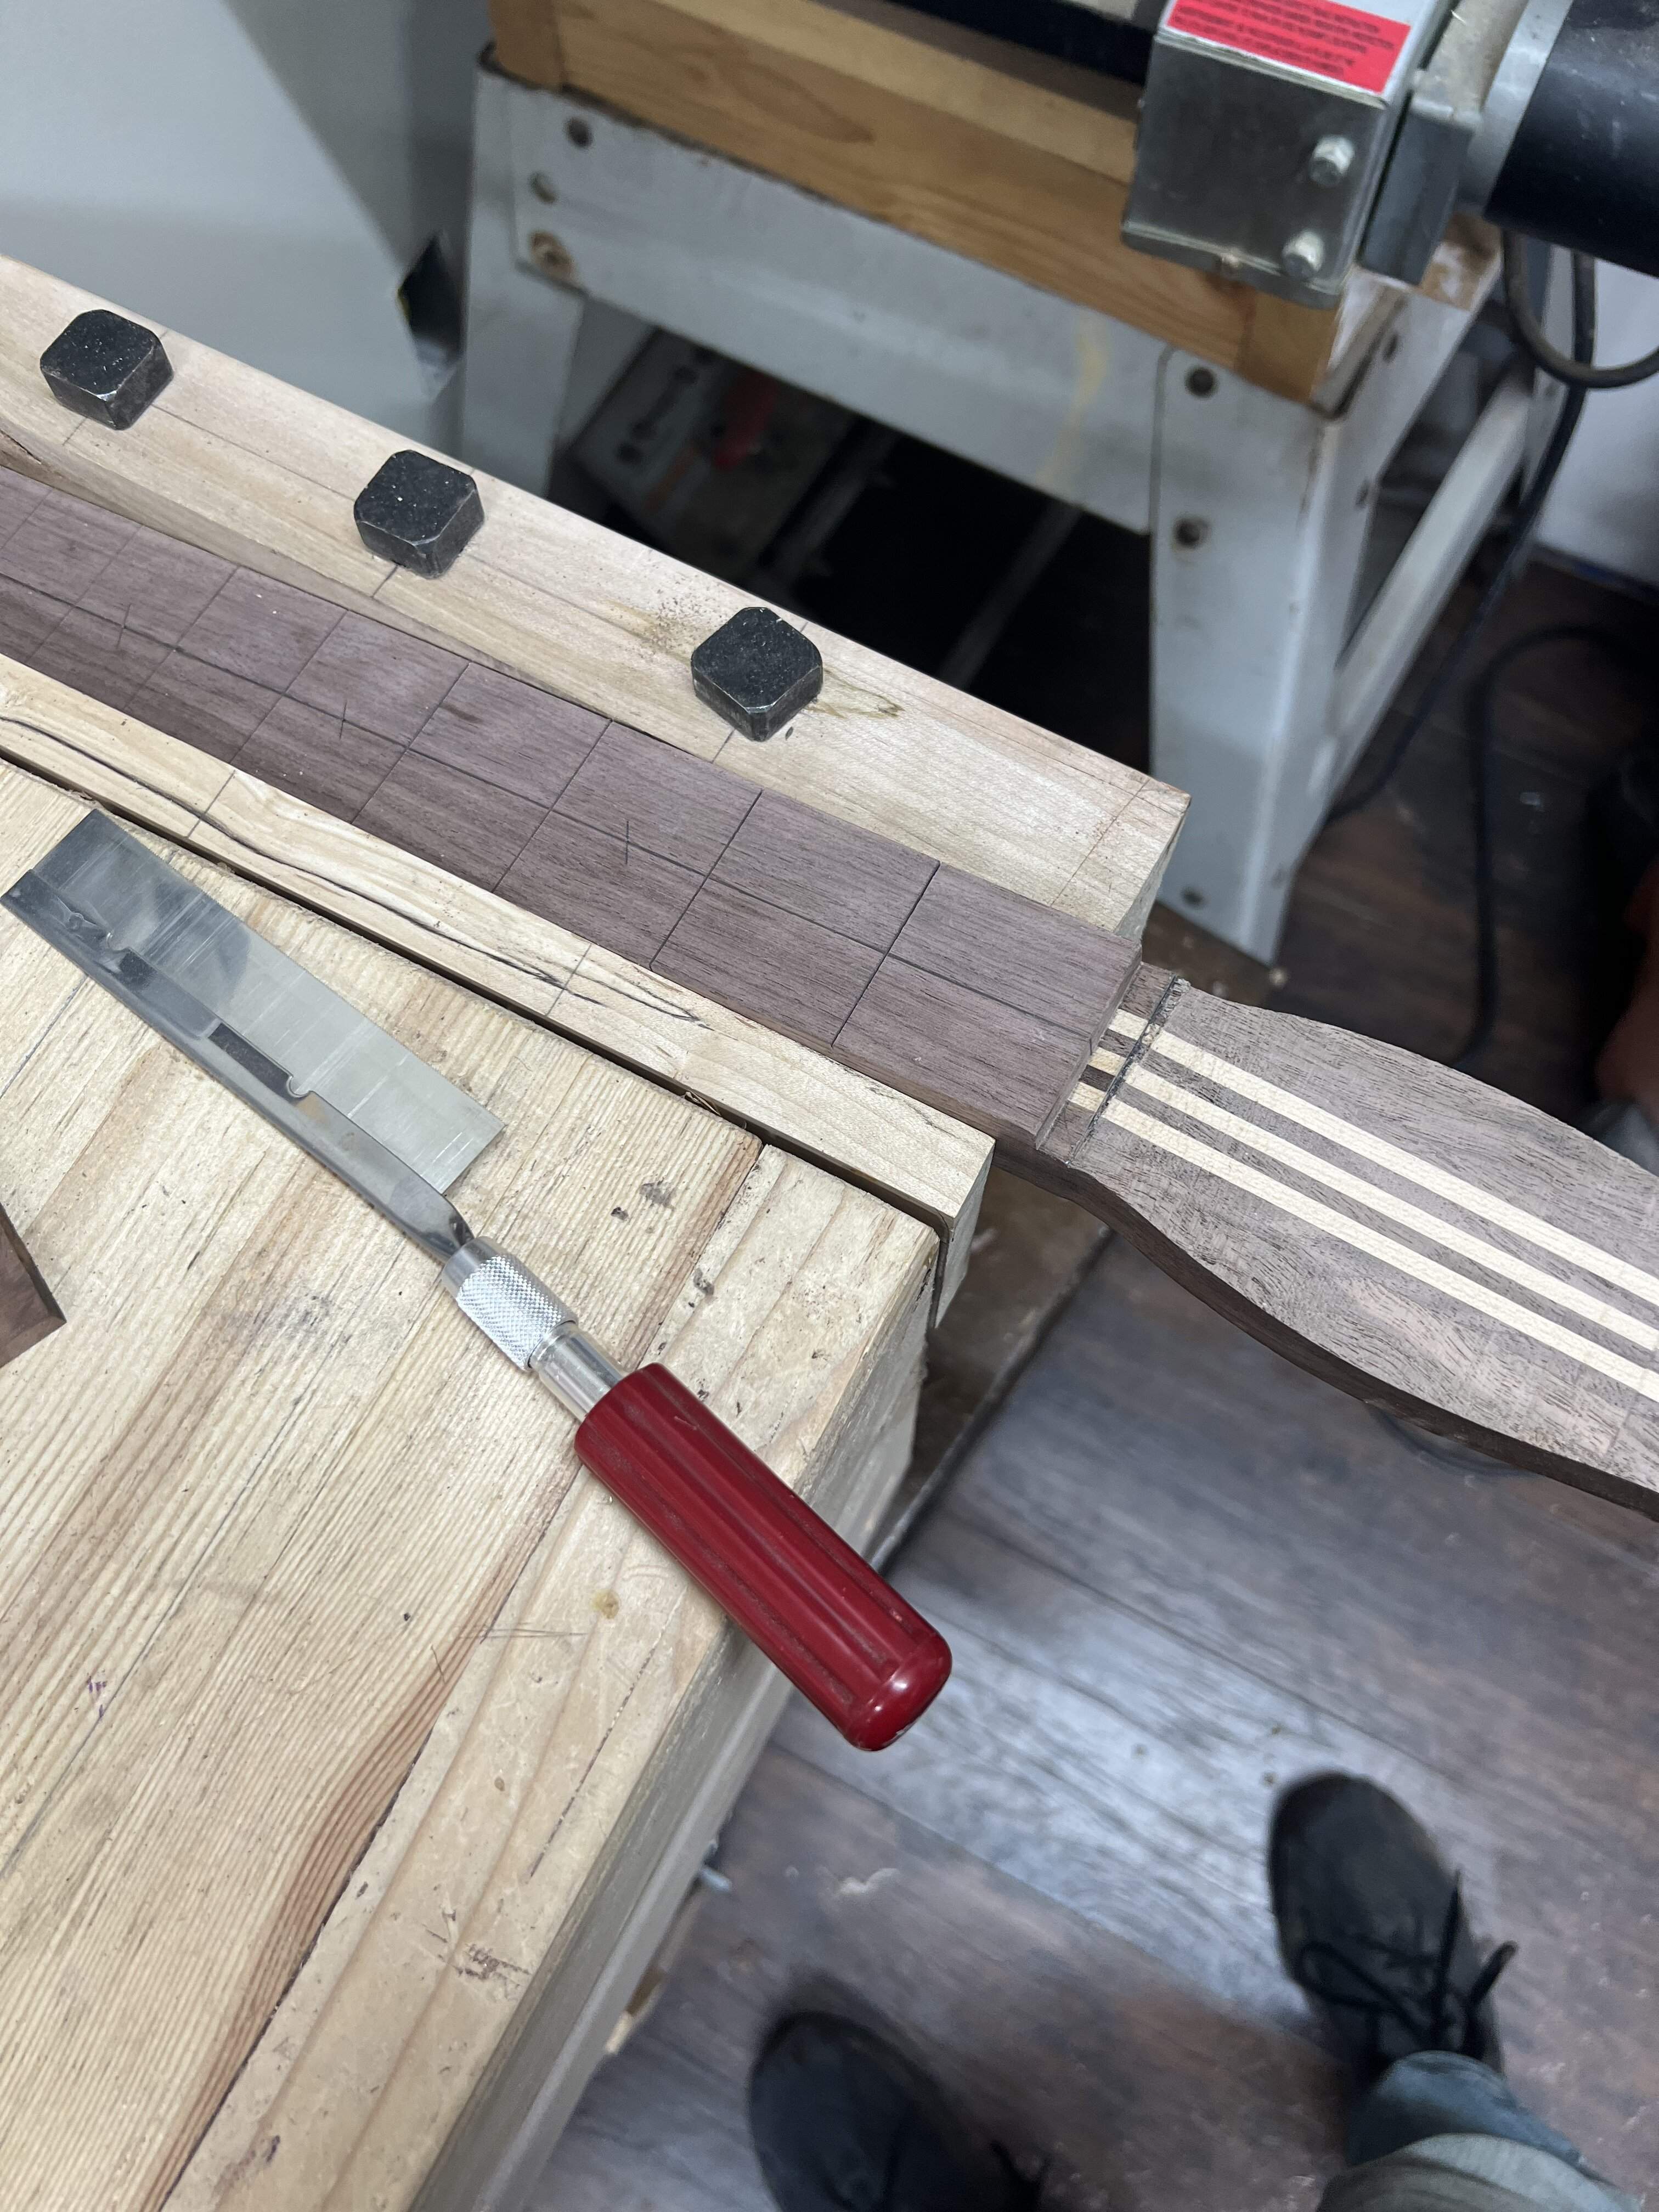
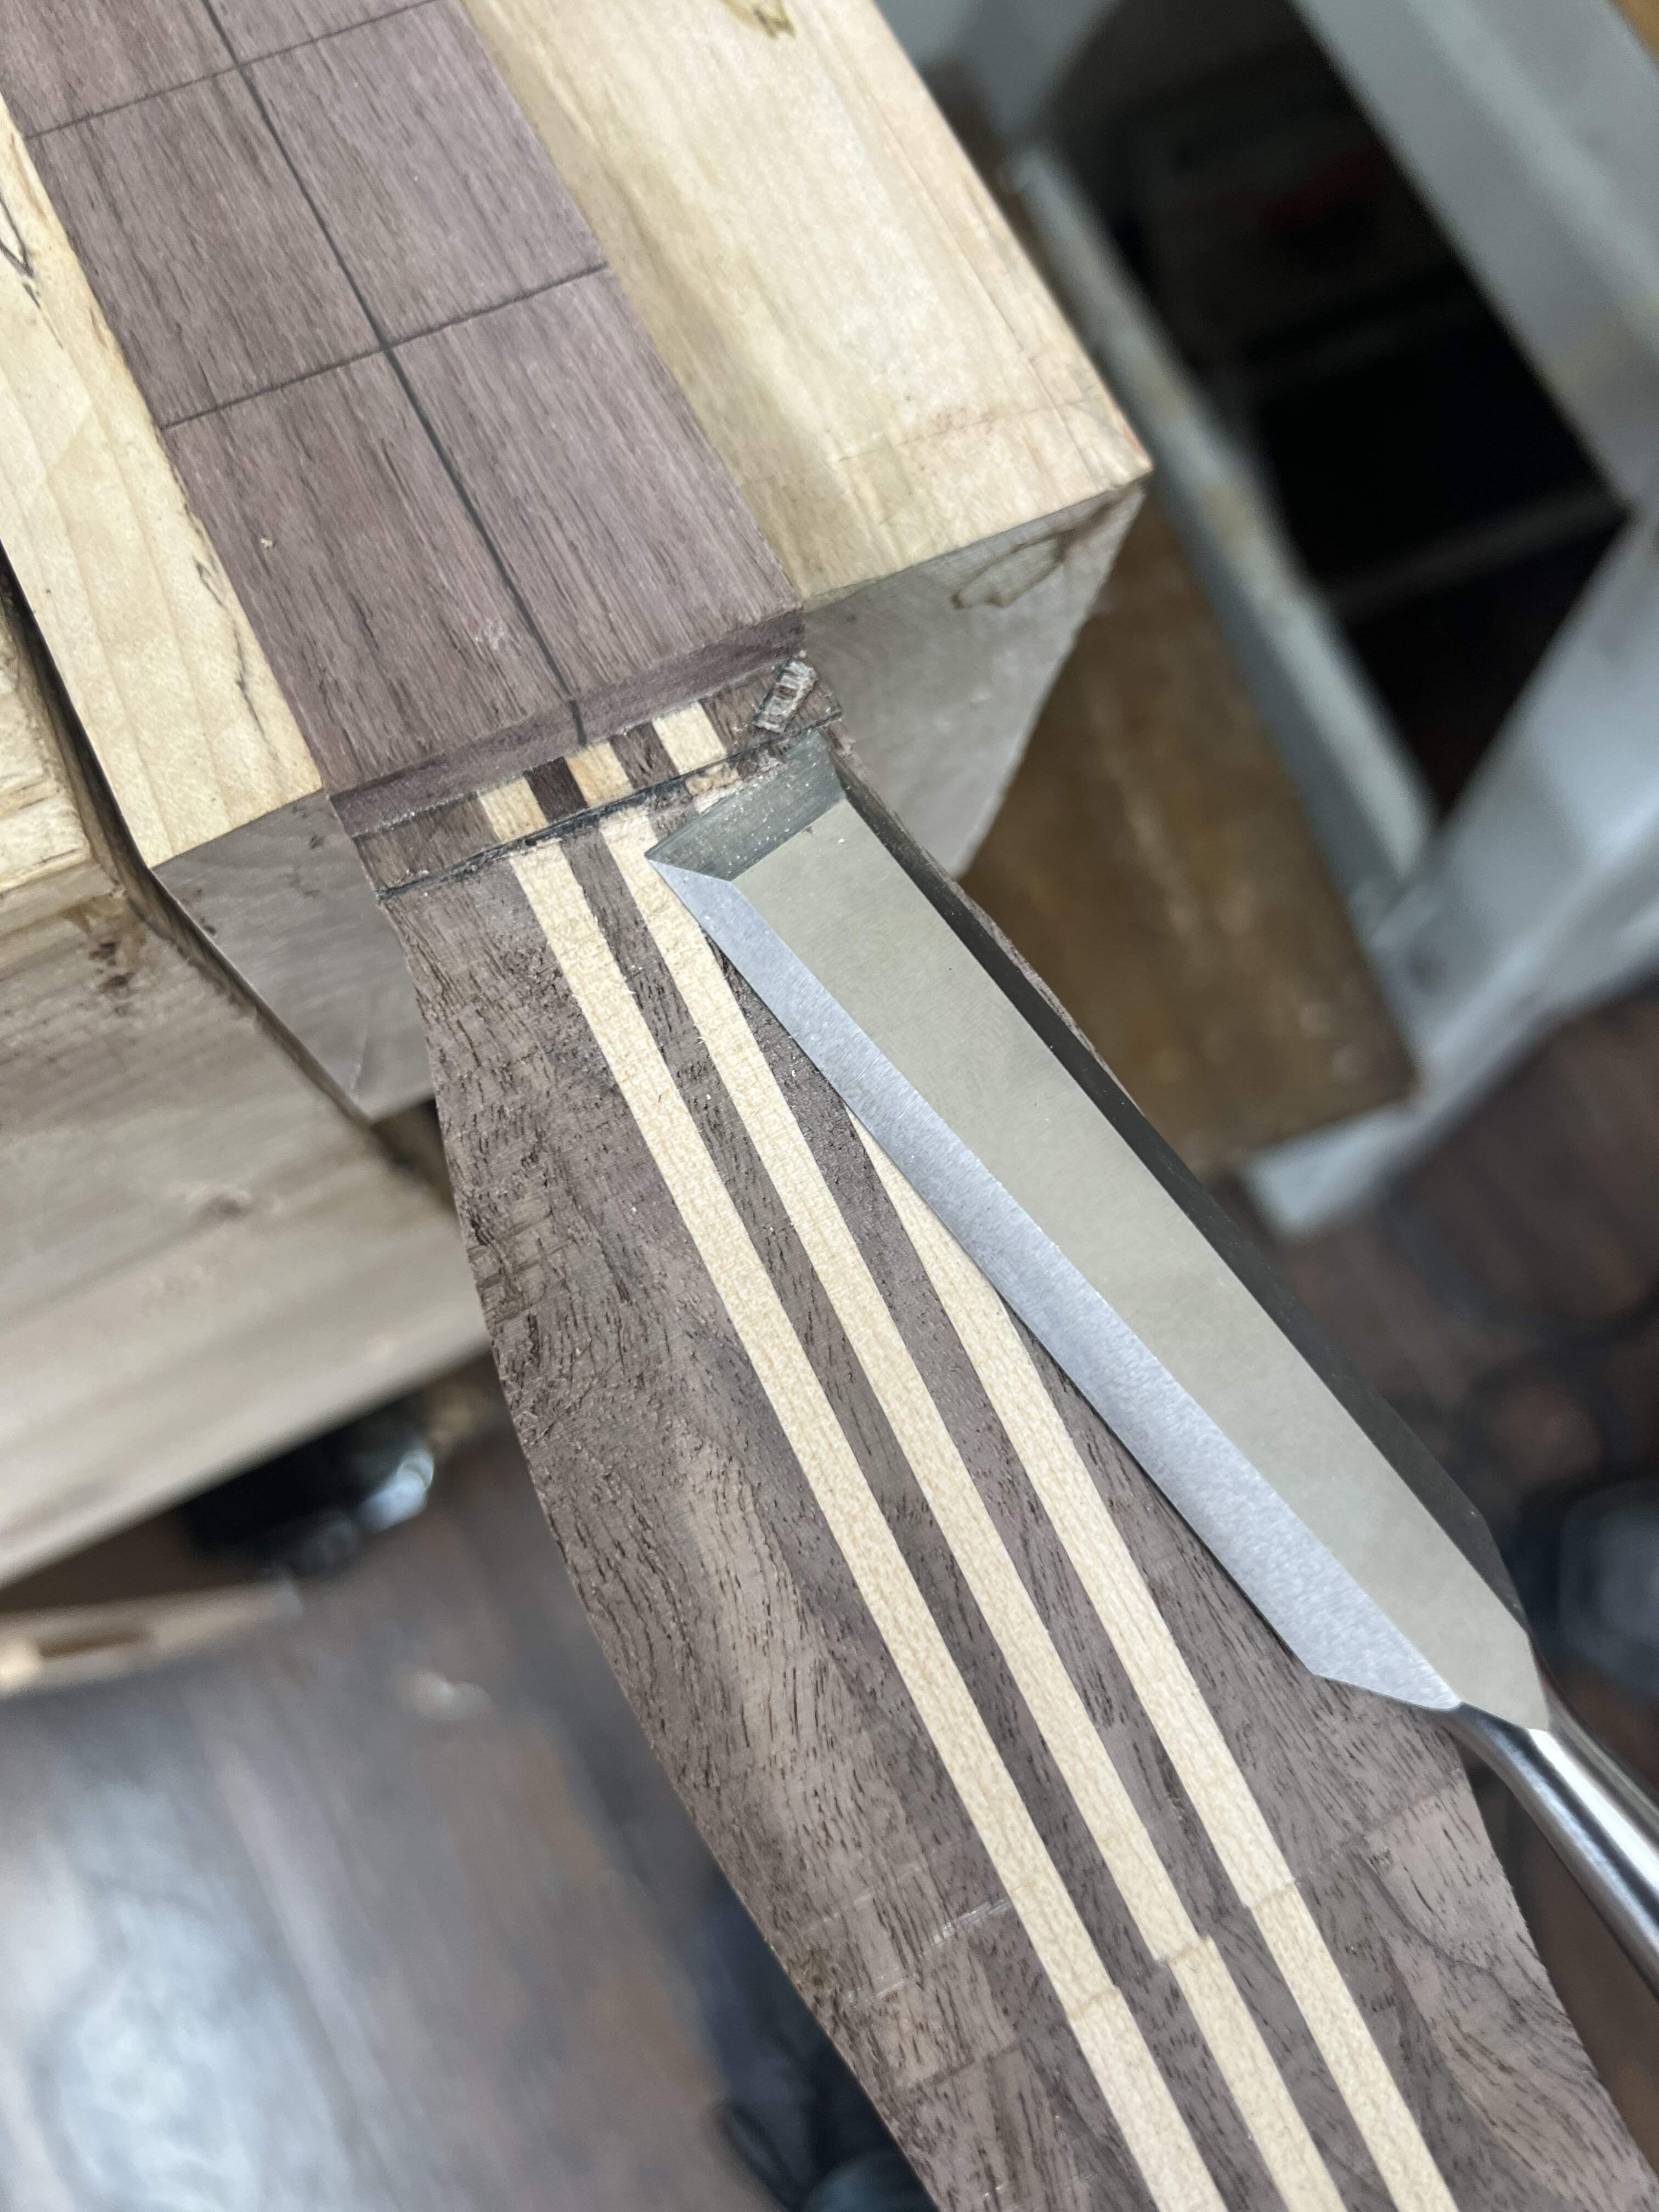
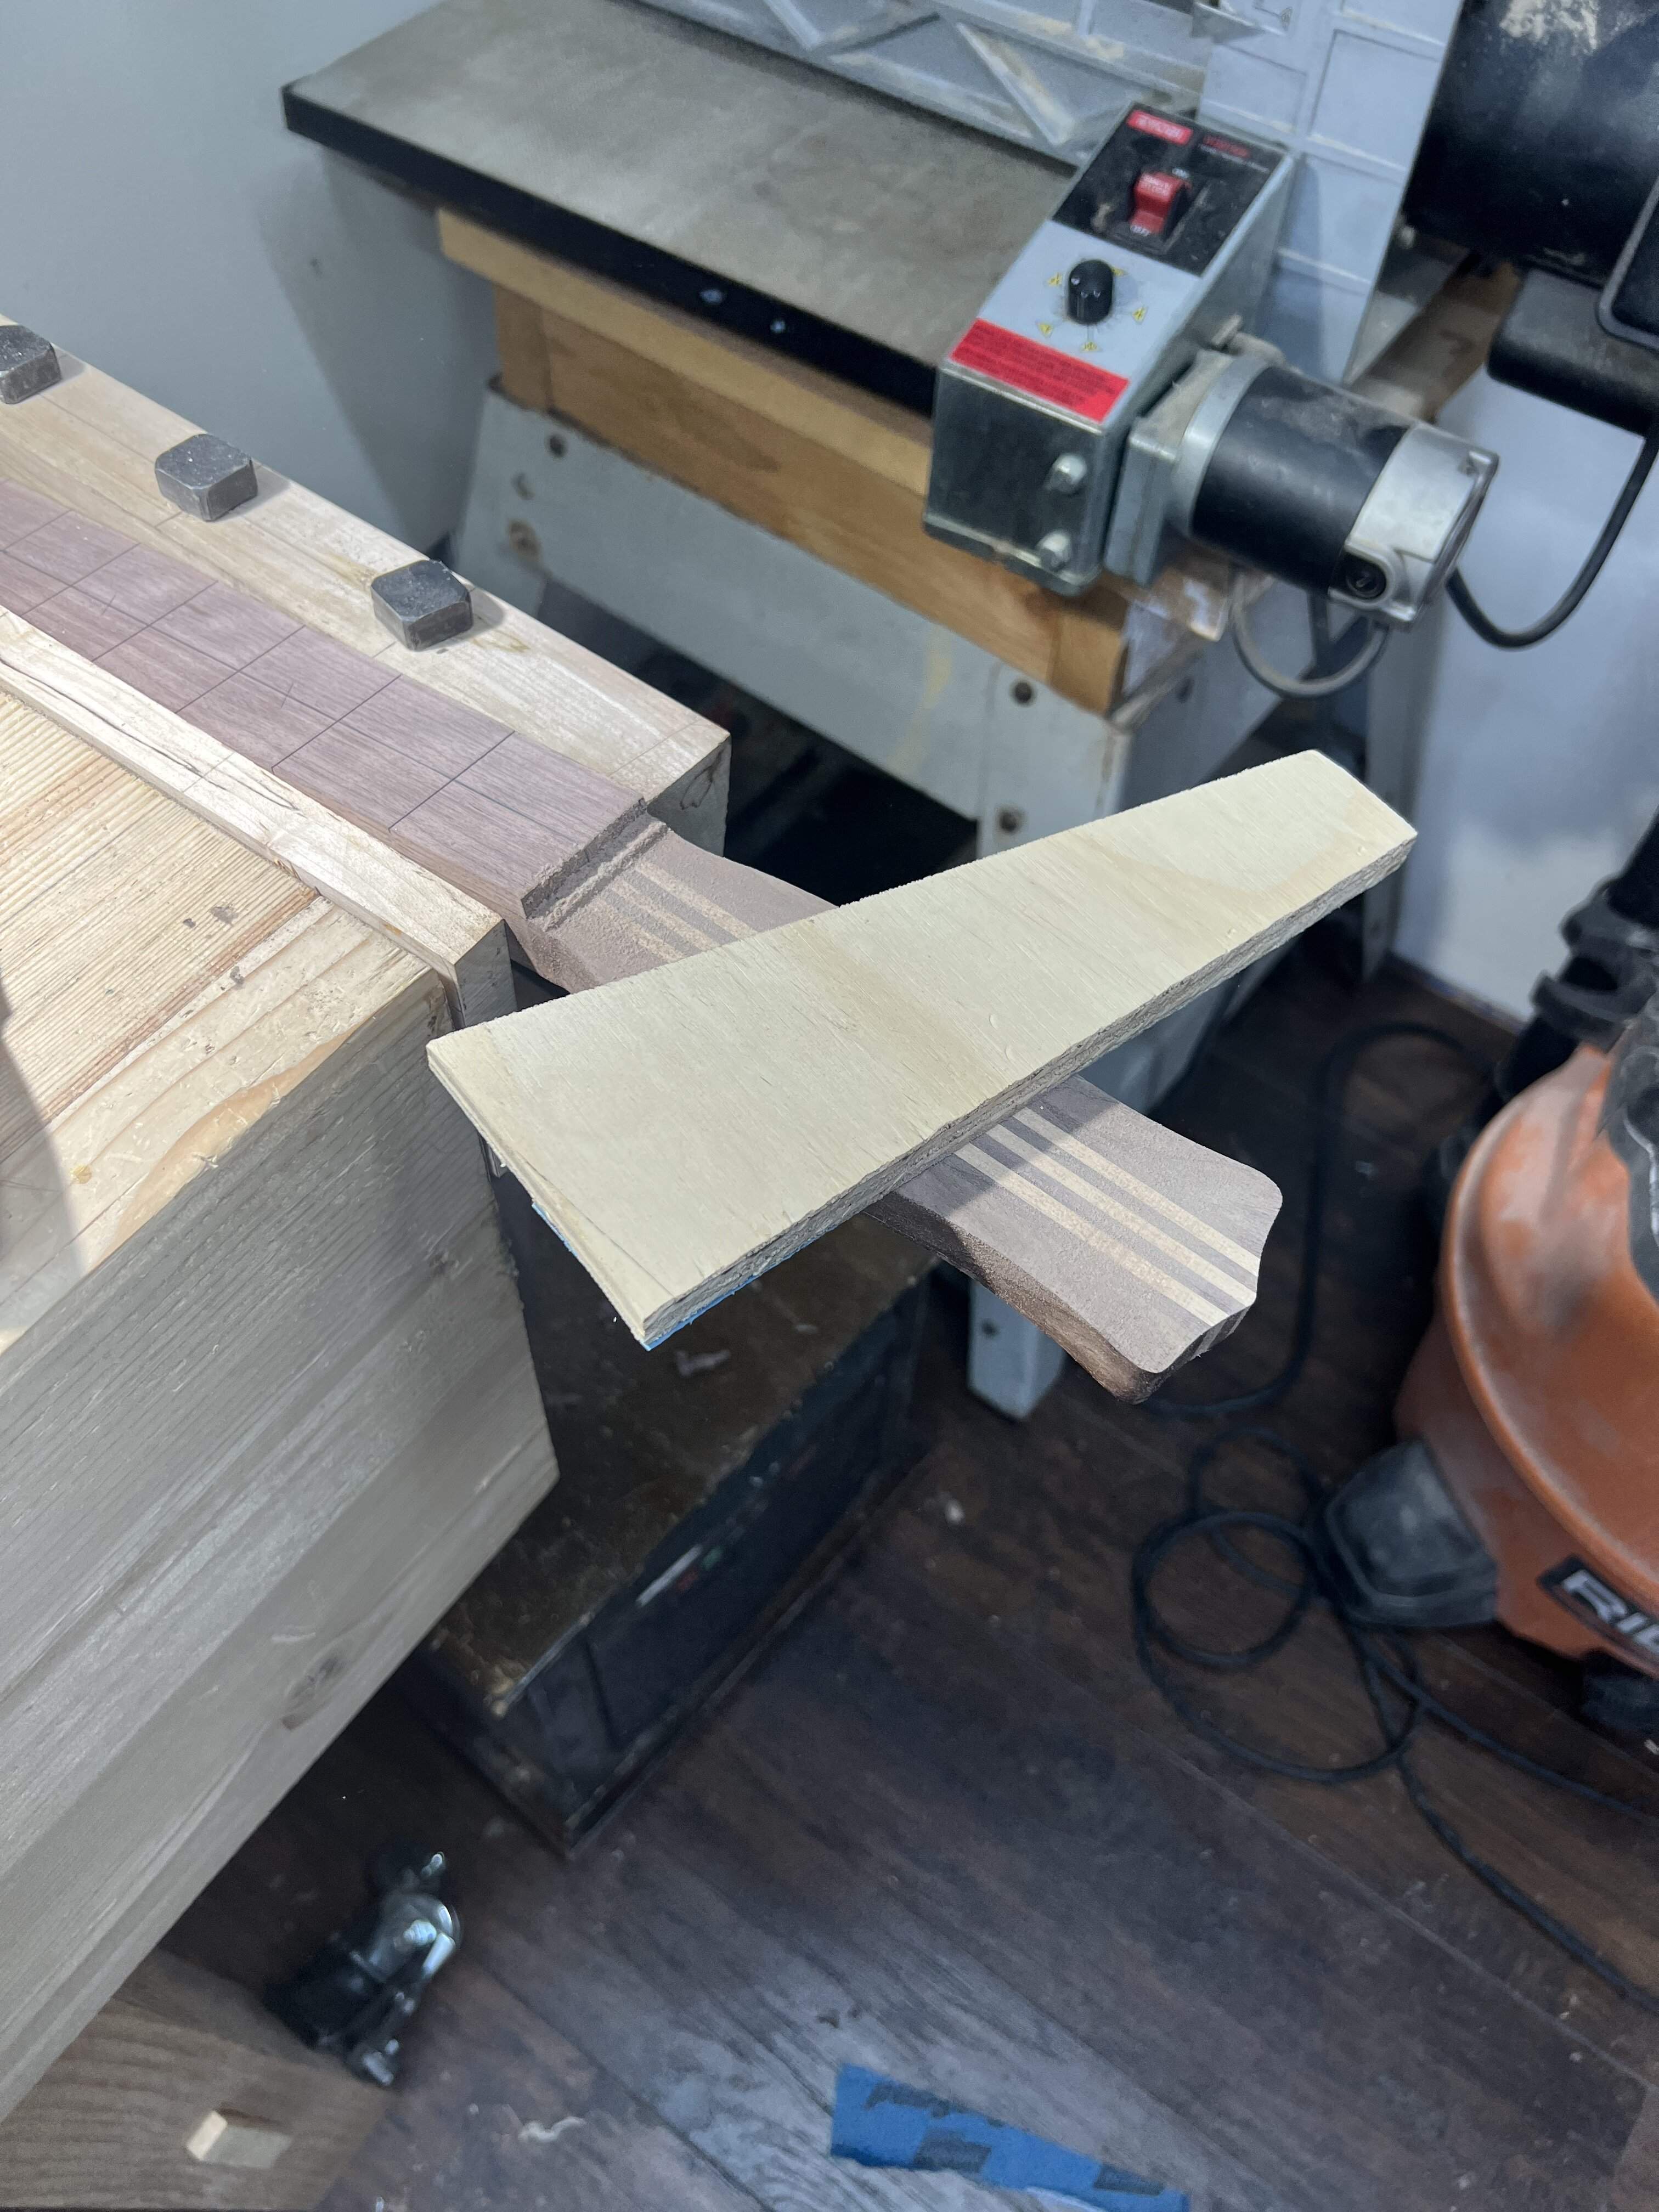

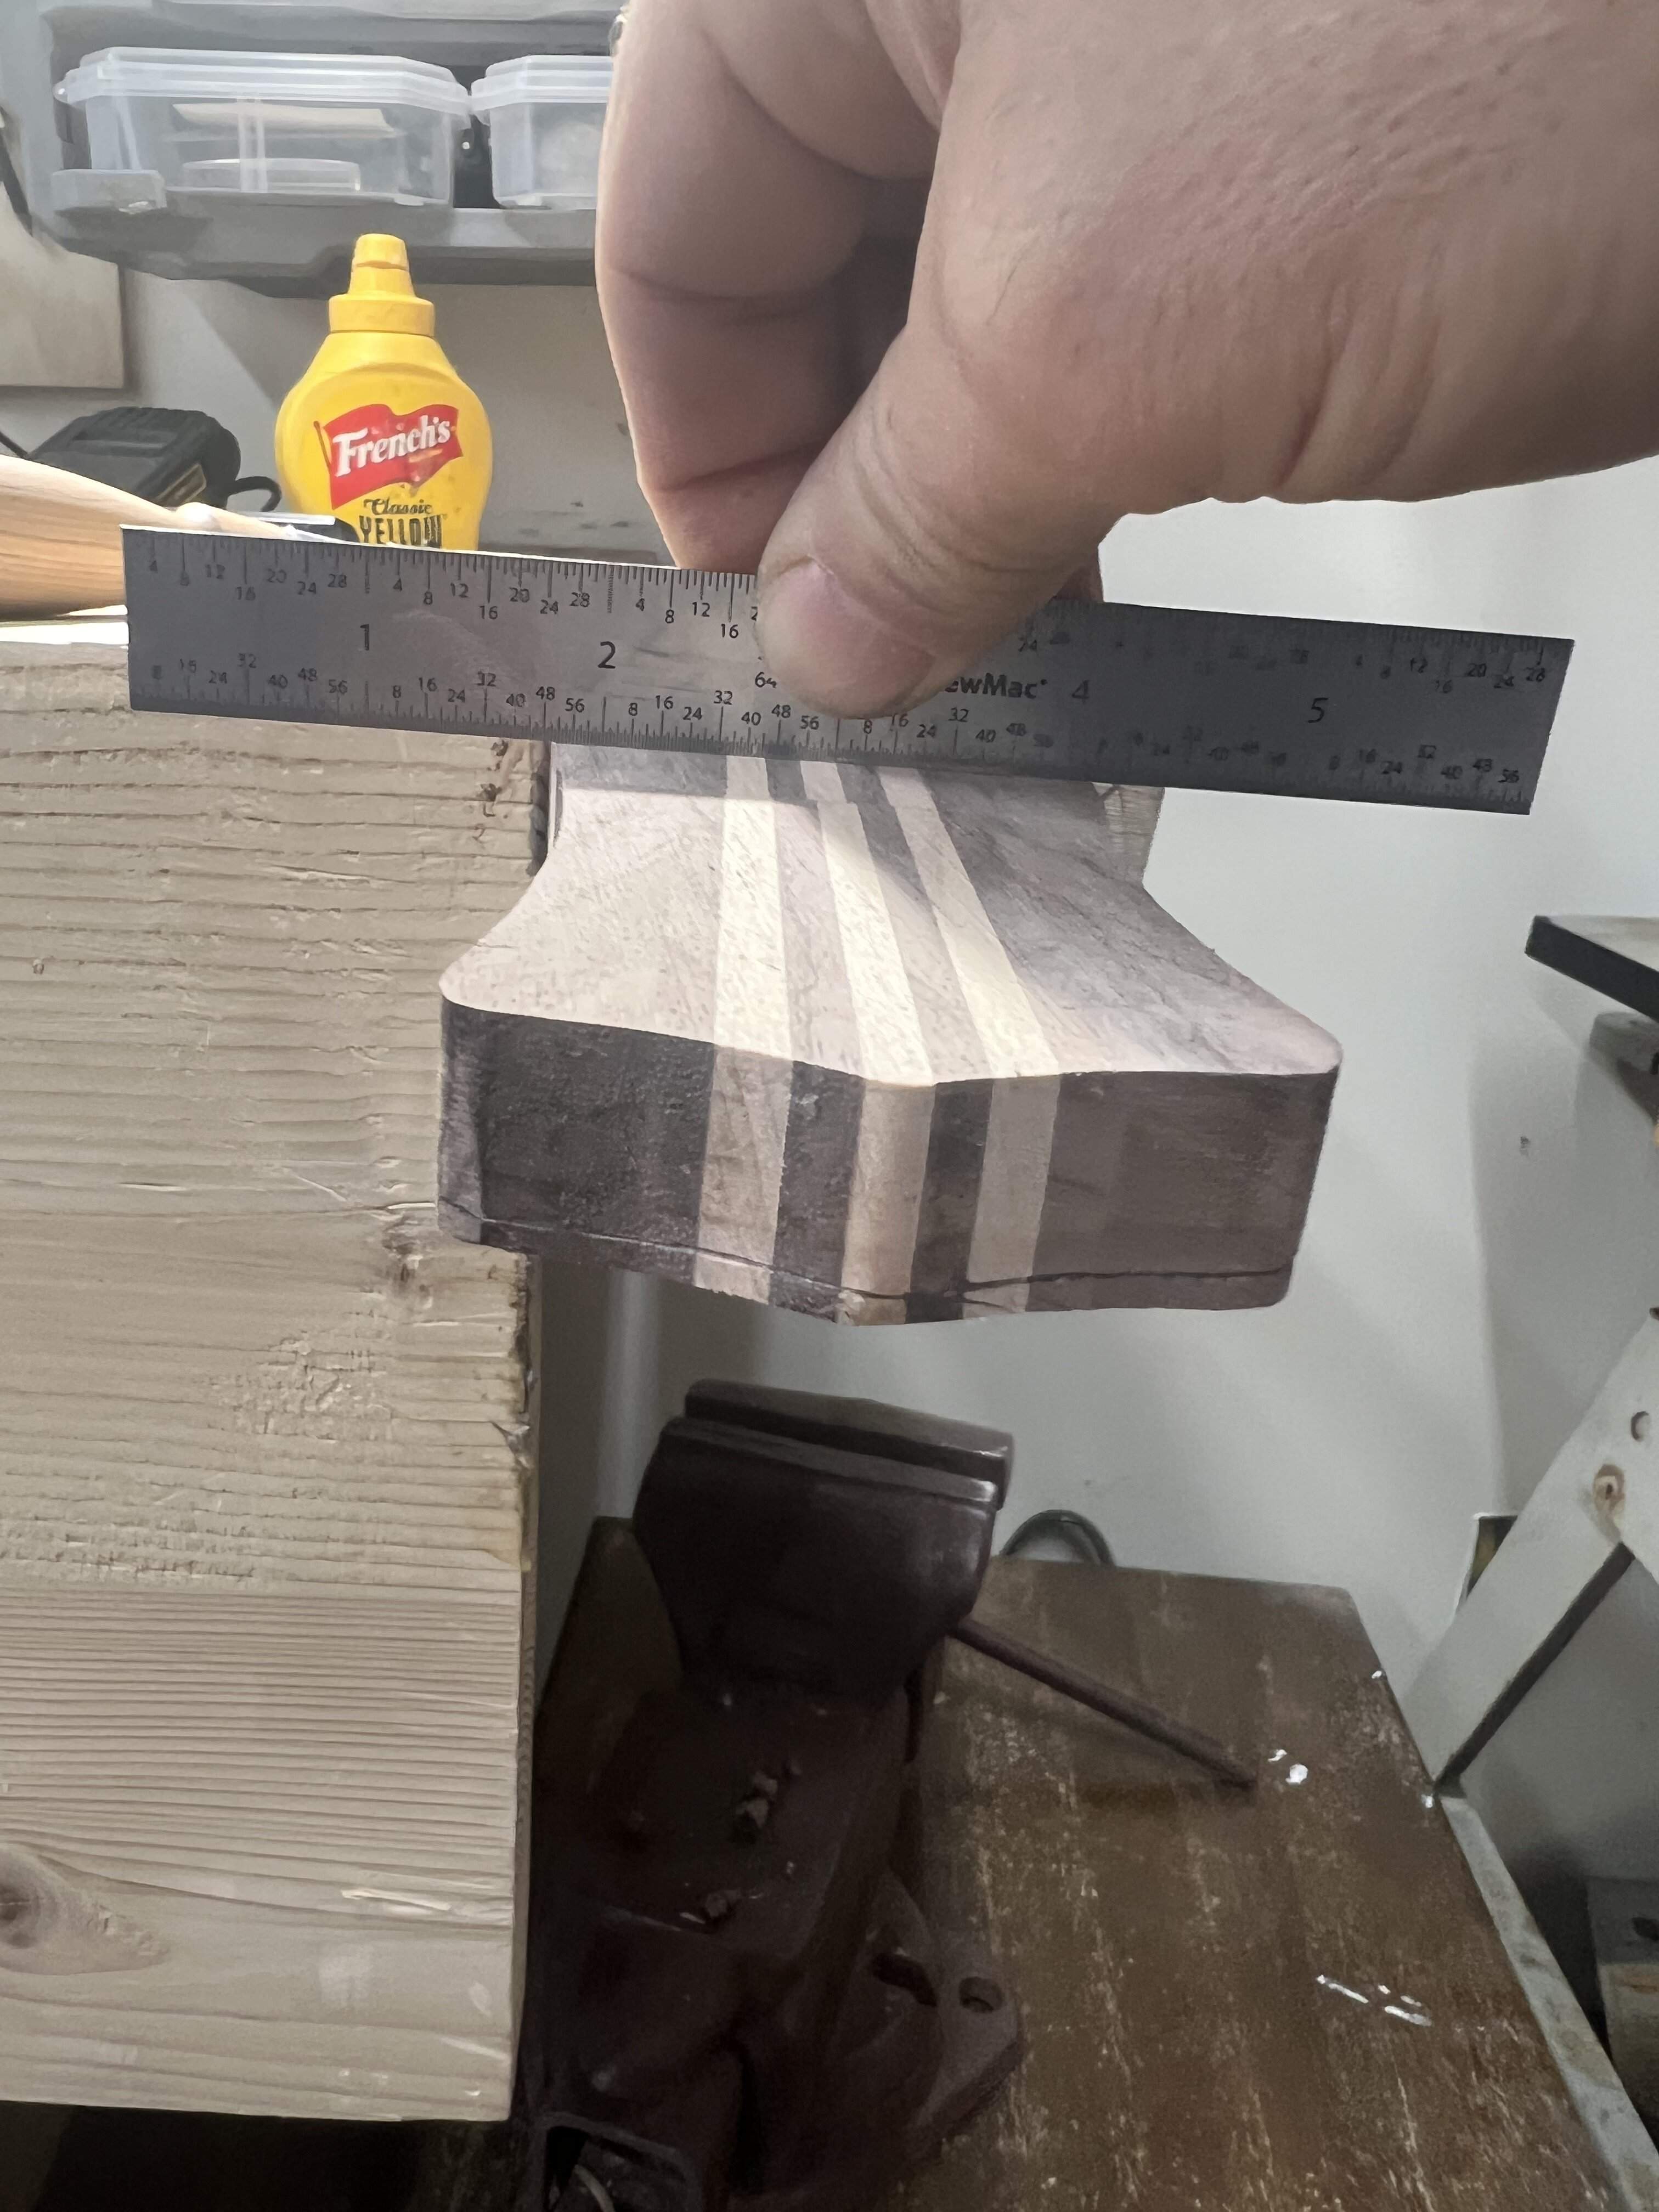

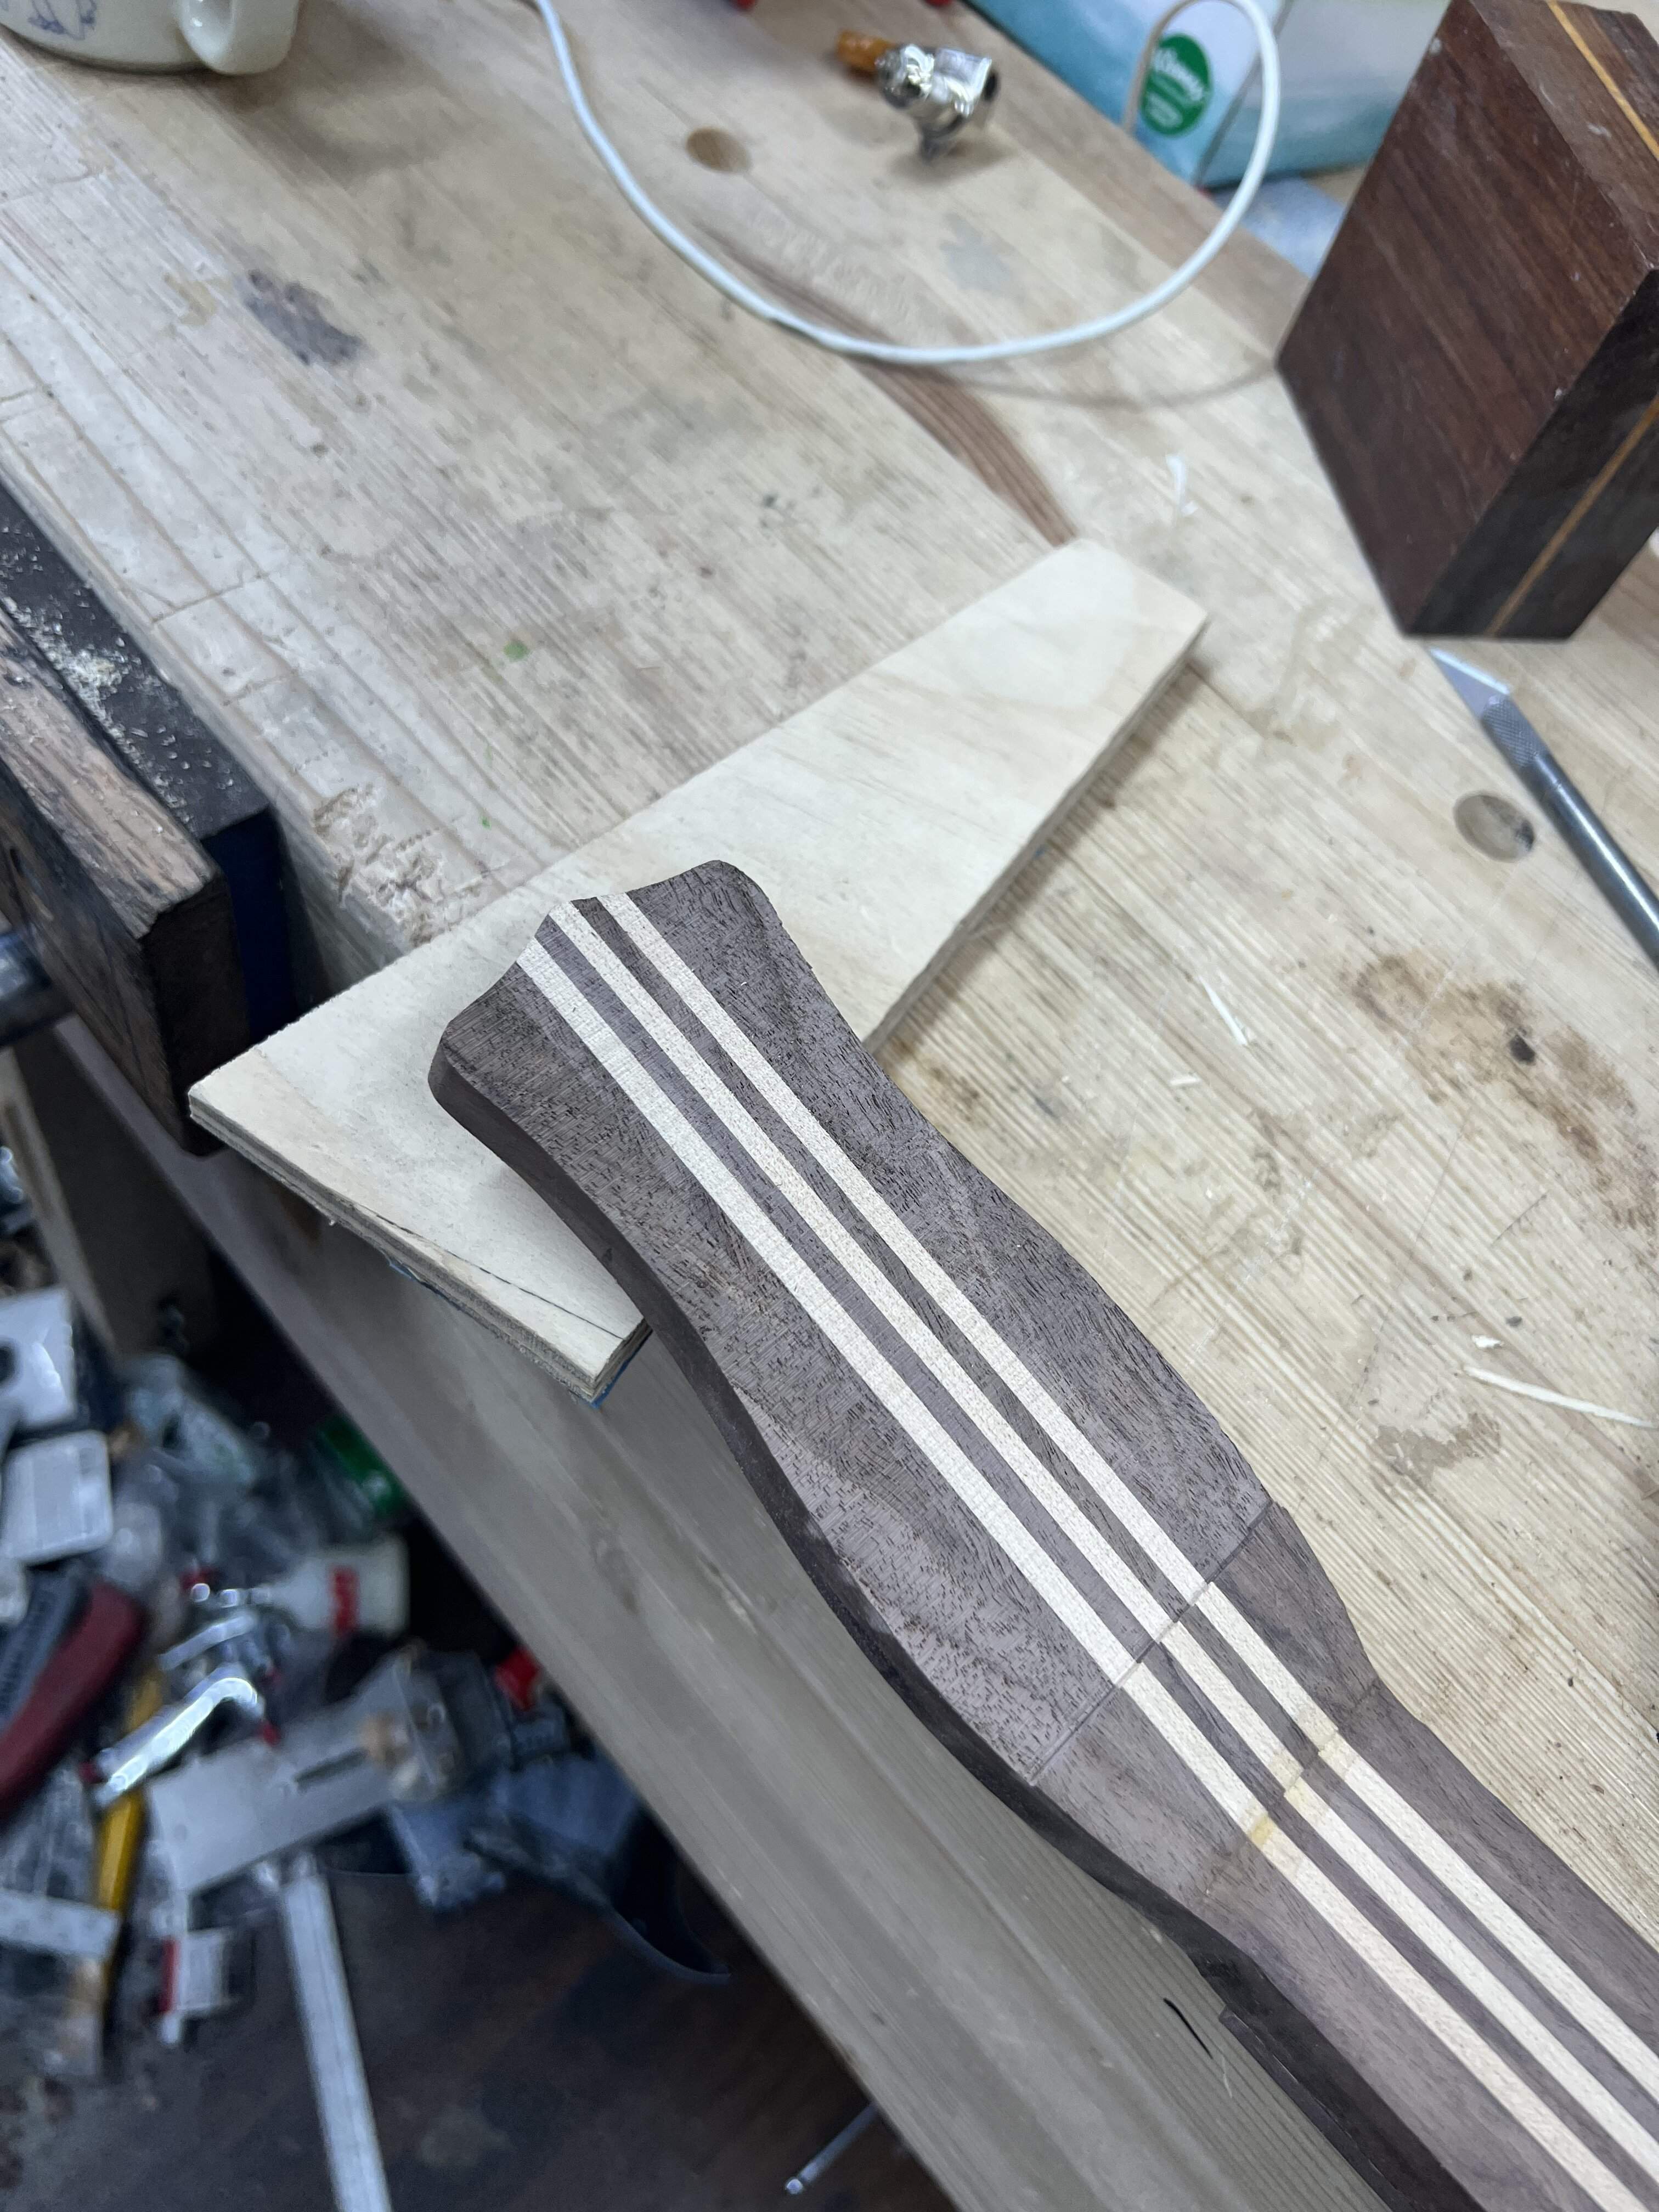
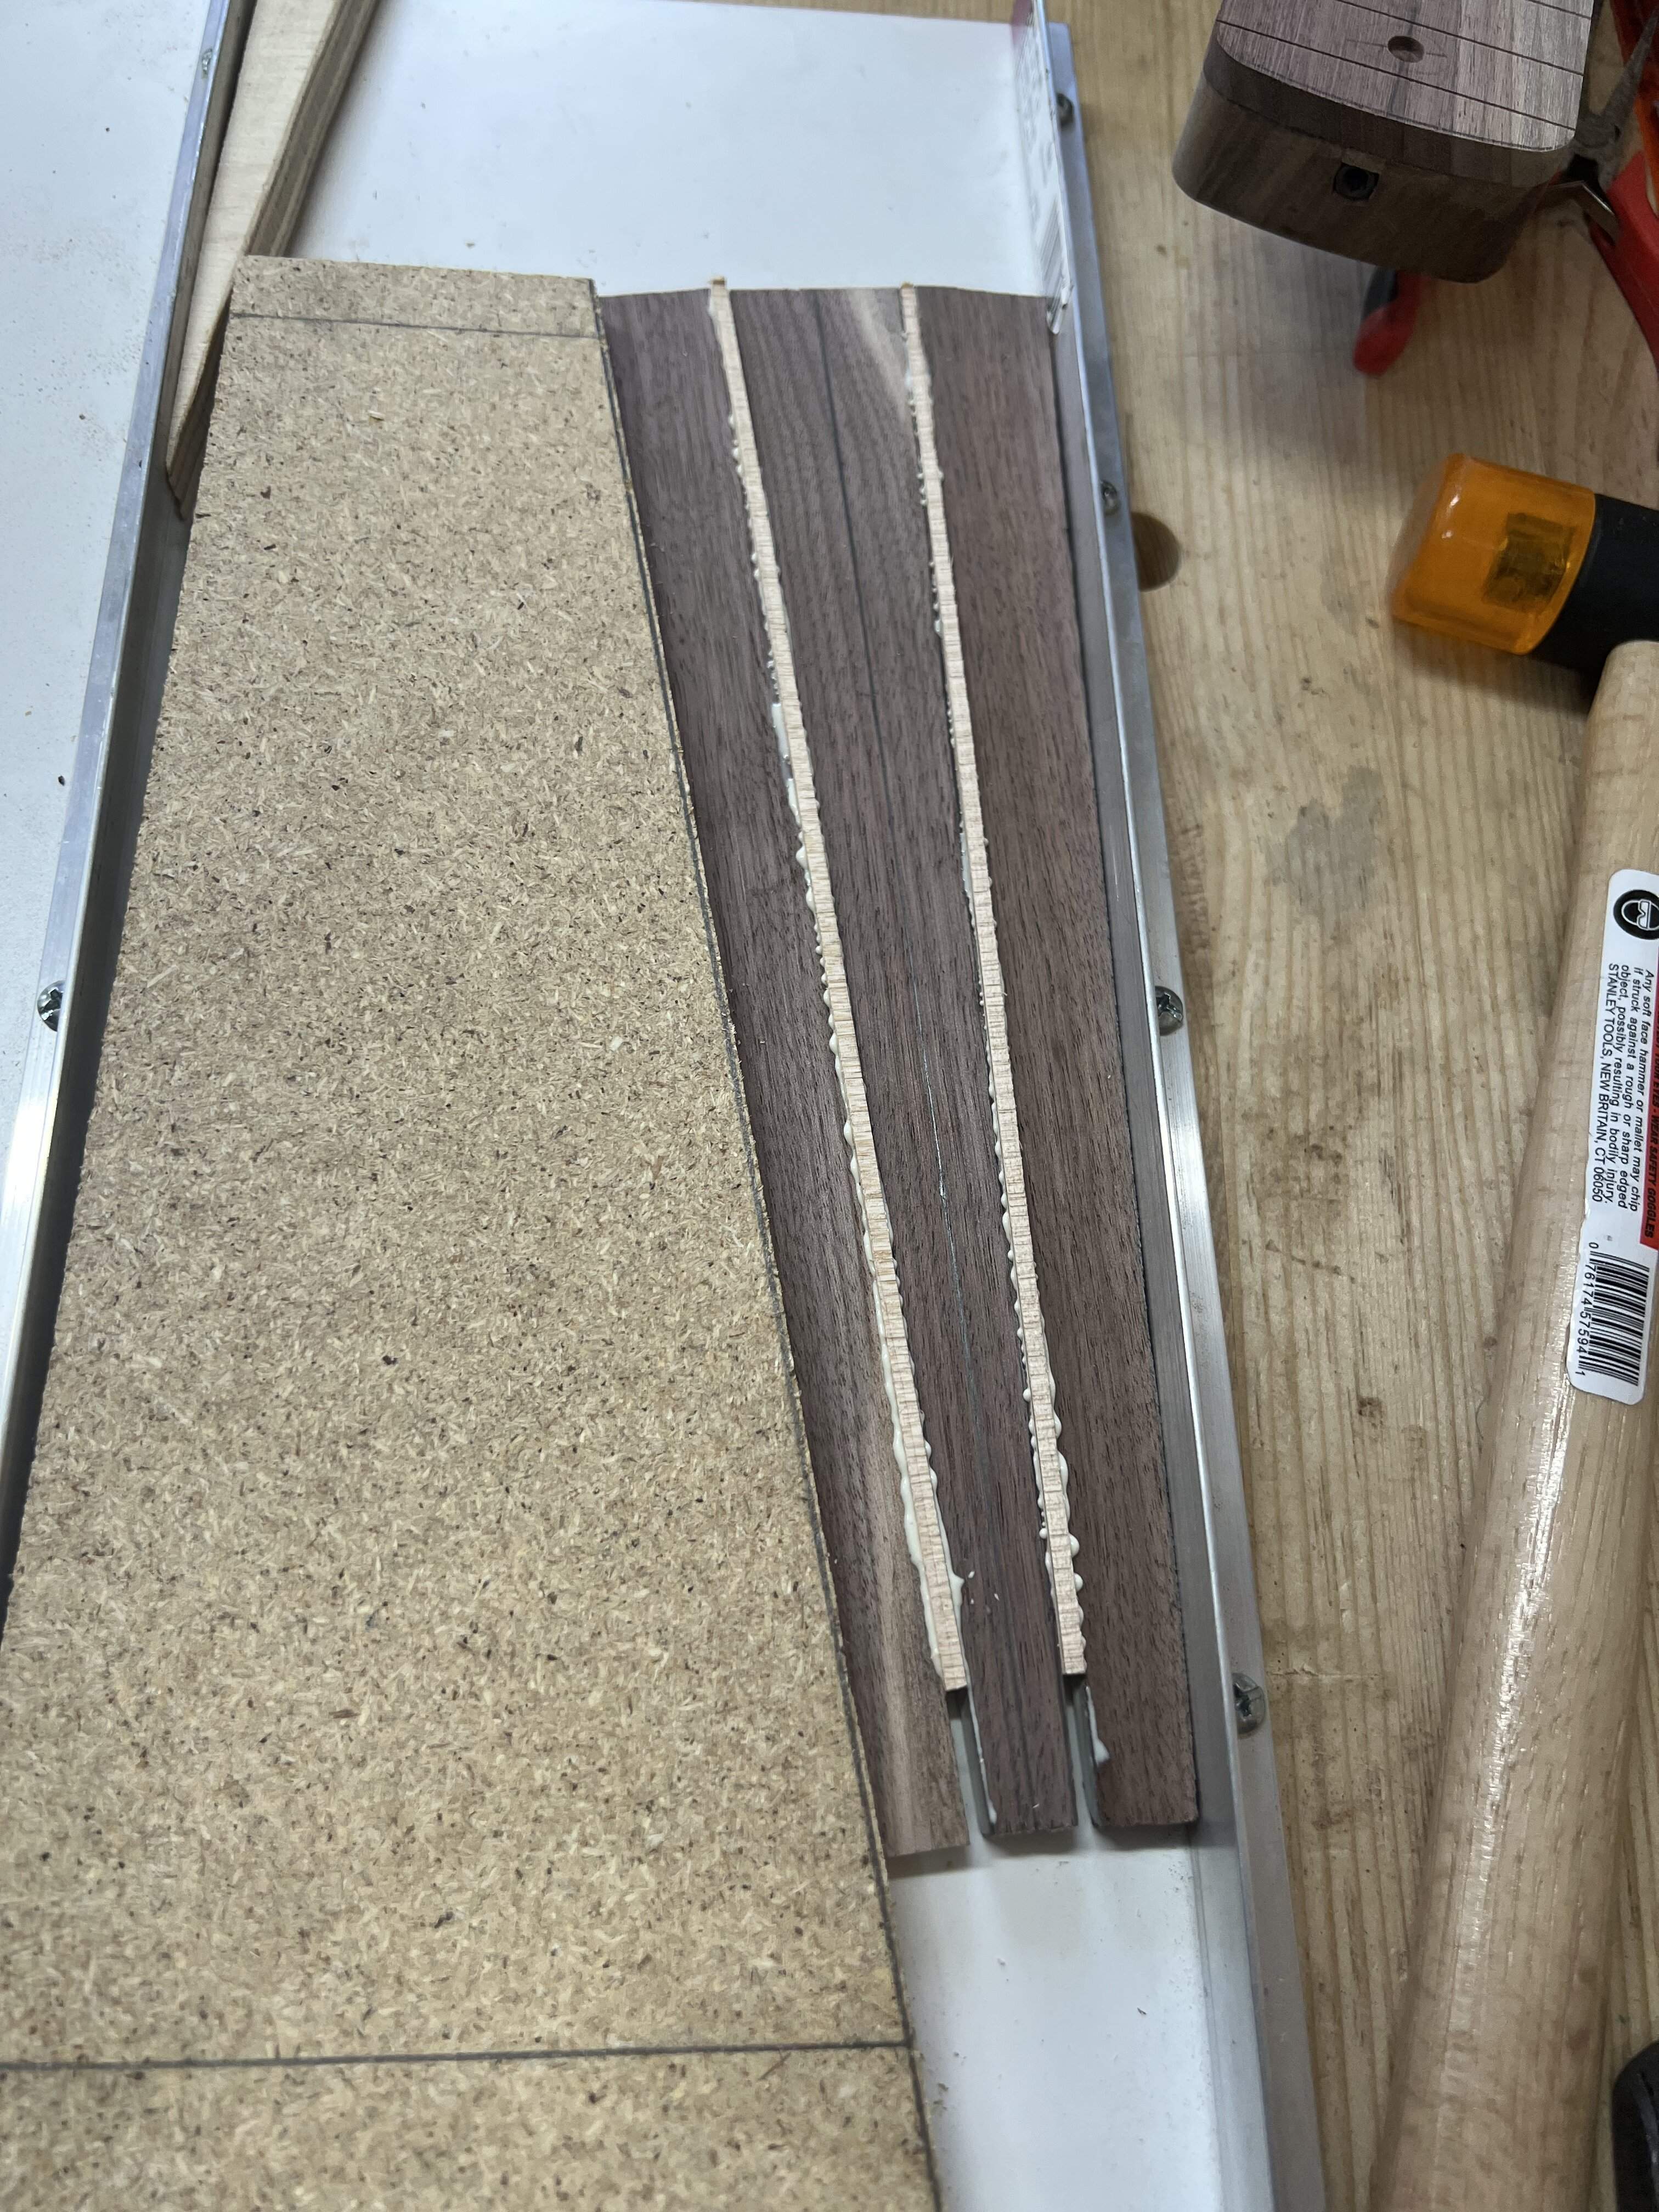
Glued up a new overlay, same idea but opposite wood selection. I was pondering making a router jig, but routers really have the potential to screw things up quickly, so I rigged up a fence on the bandsaw. That worked really well. I took a bit extra off the top and left a shelf at the nut, giving the nut 1/4” to rest on. Squared the nut shelf with a razor saw, pared with a chisel, and cleaned with a safe edge file. Sanded the saw marks out and checked that everything was flat again, all good.
I repeated the procedure on the back, which left a 1/16” shelf. I’ll be able to blend that in without much trouble. The tuner areas are clear.
Part of the fun in this is solving problems in the moment, so I’m not sorry about how things worked out.
Last edited:


