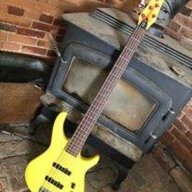
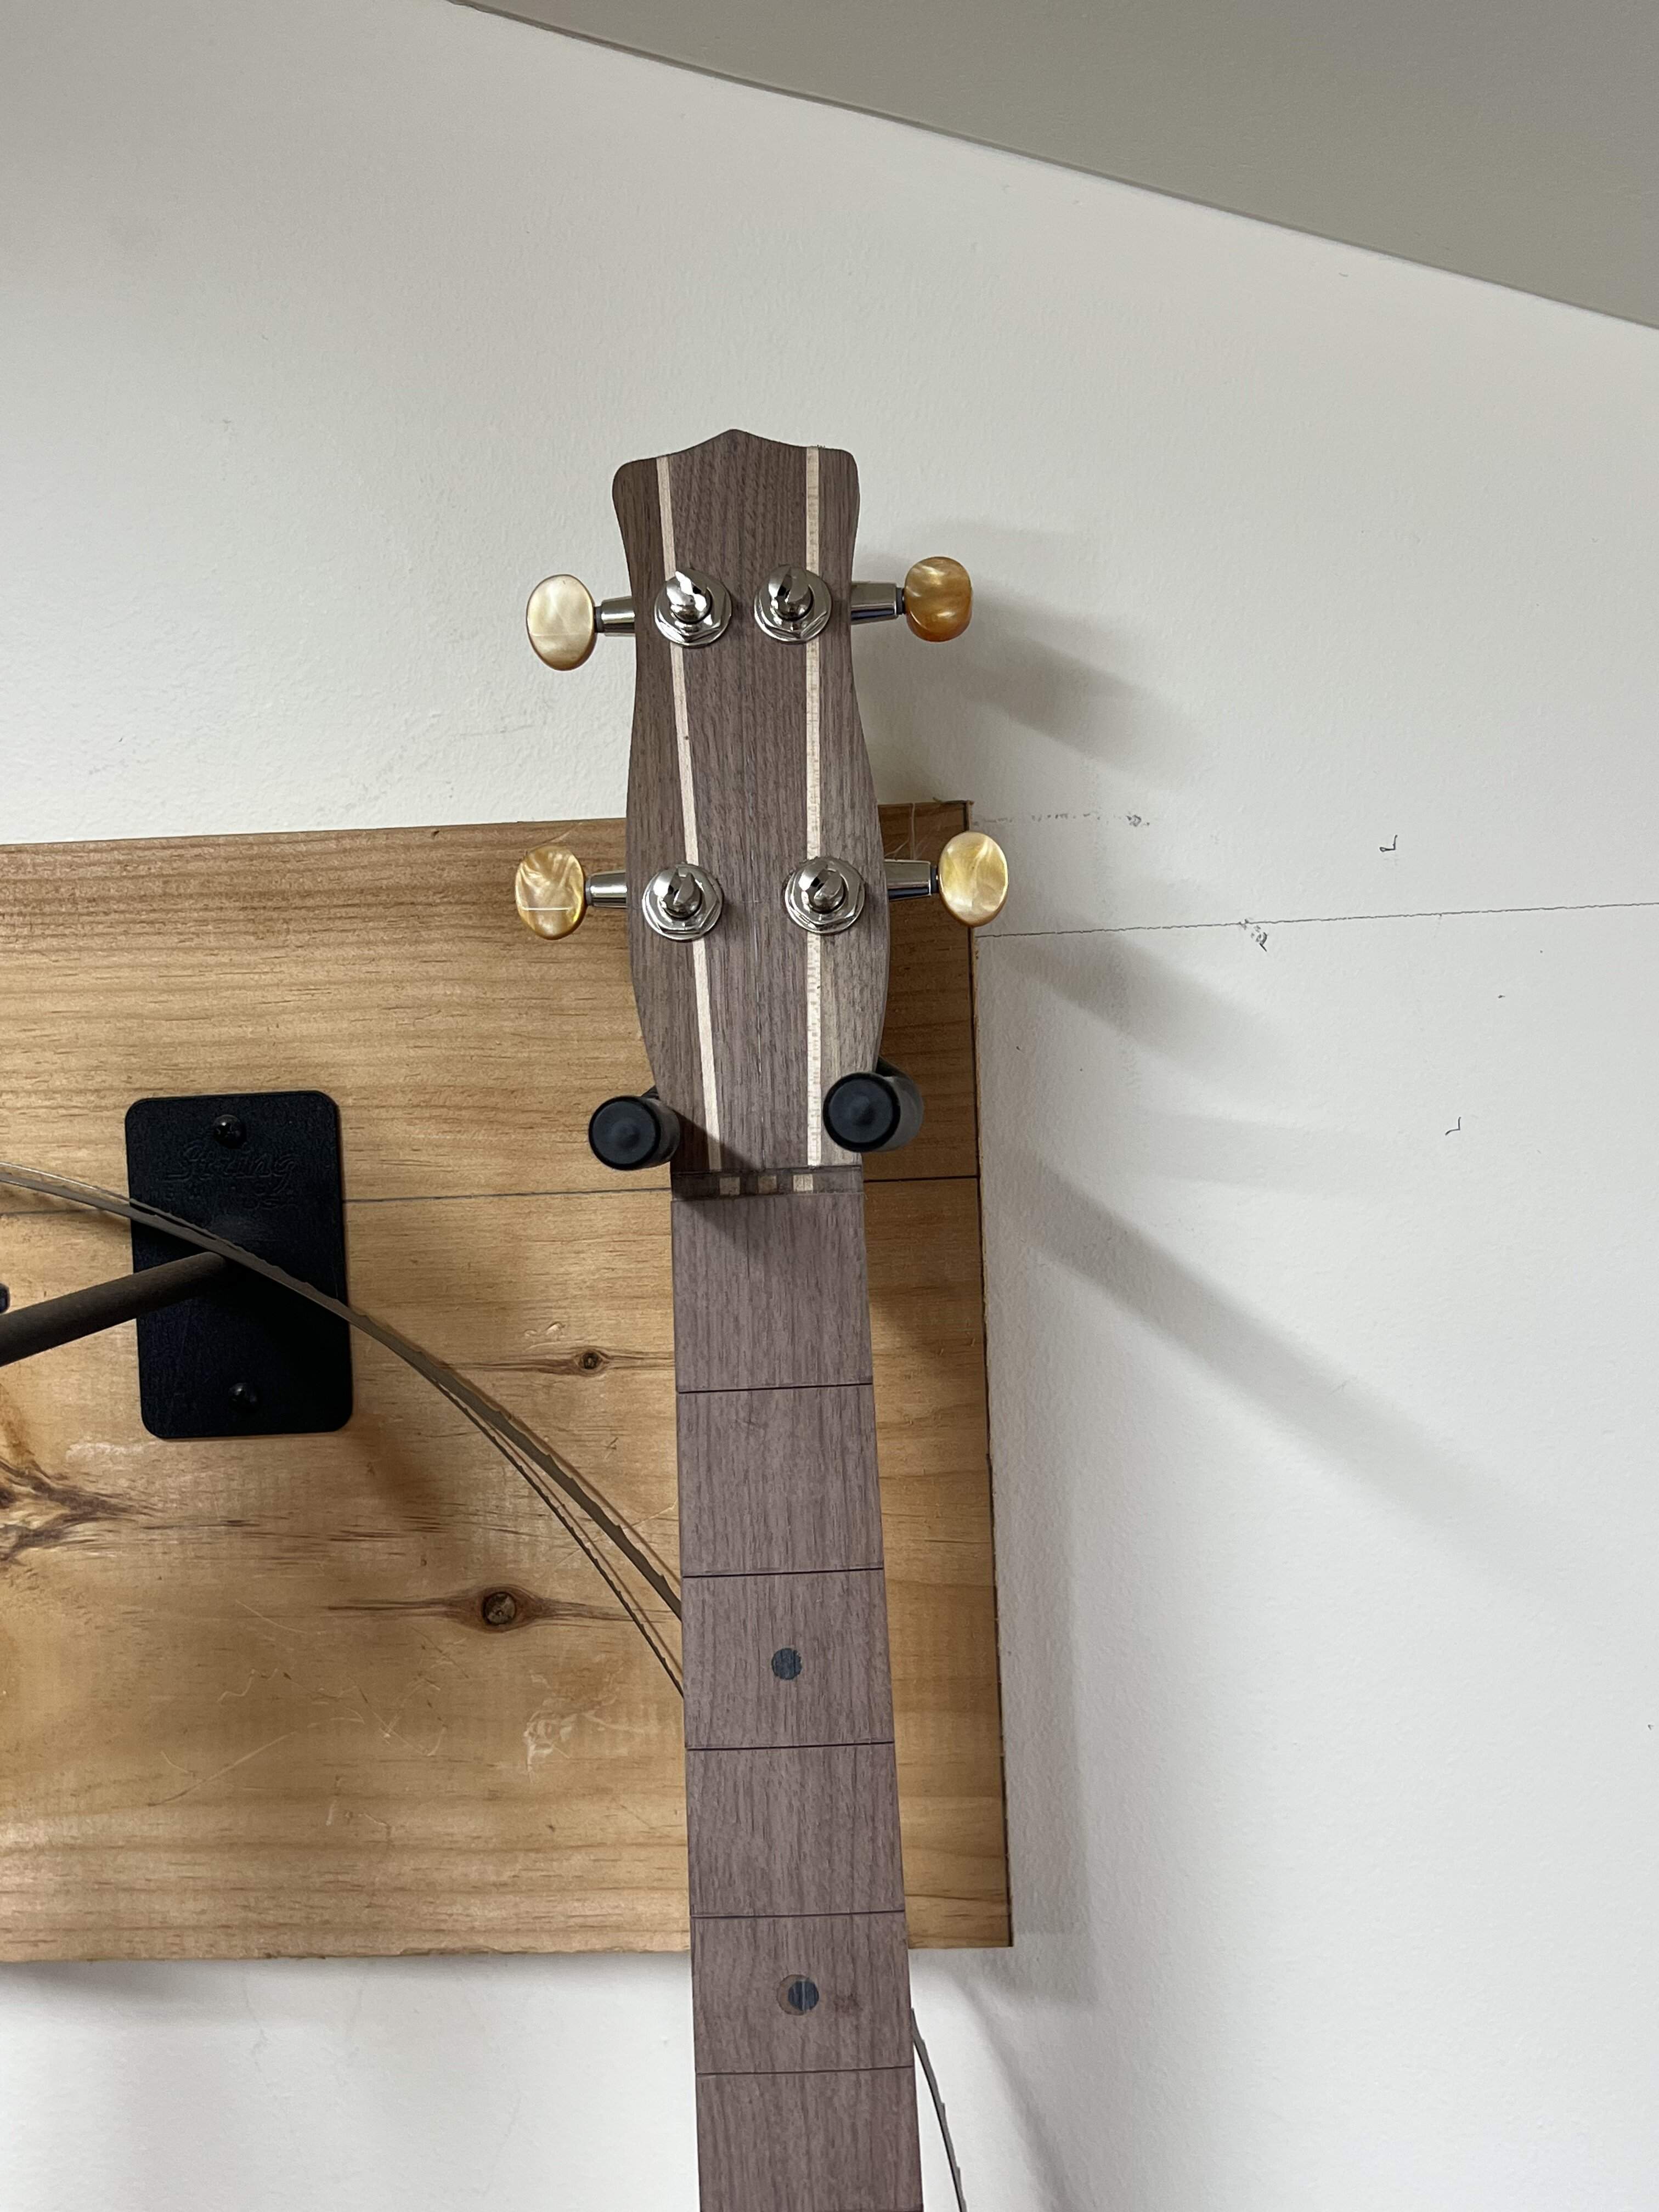
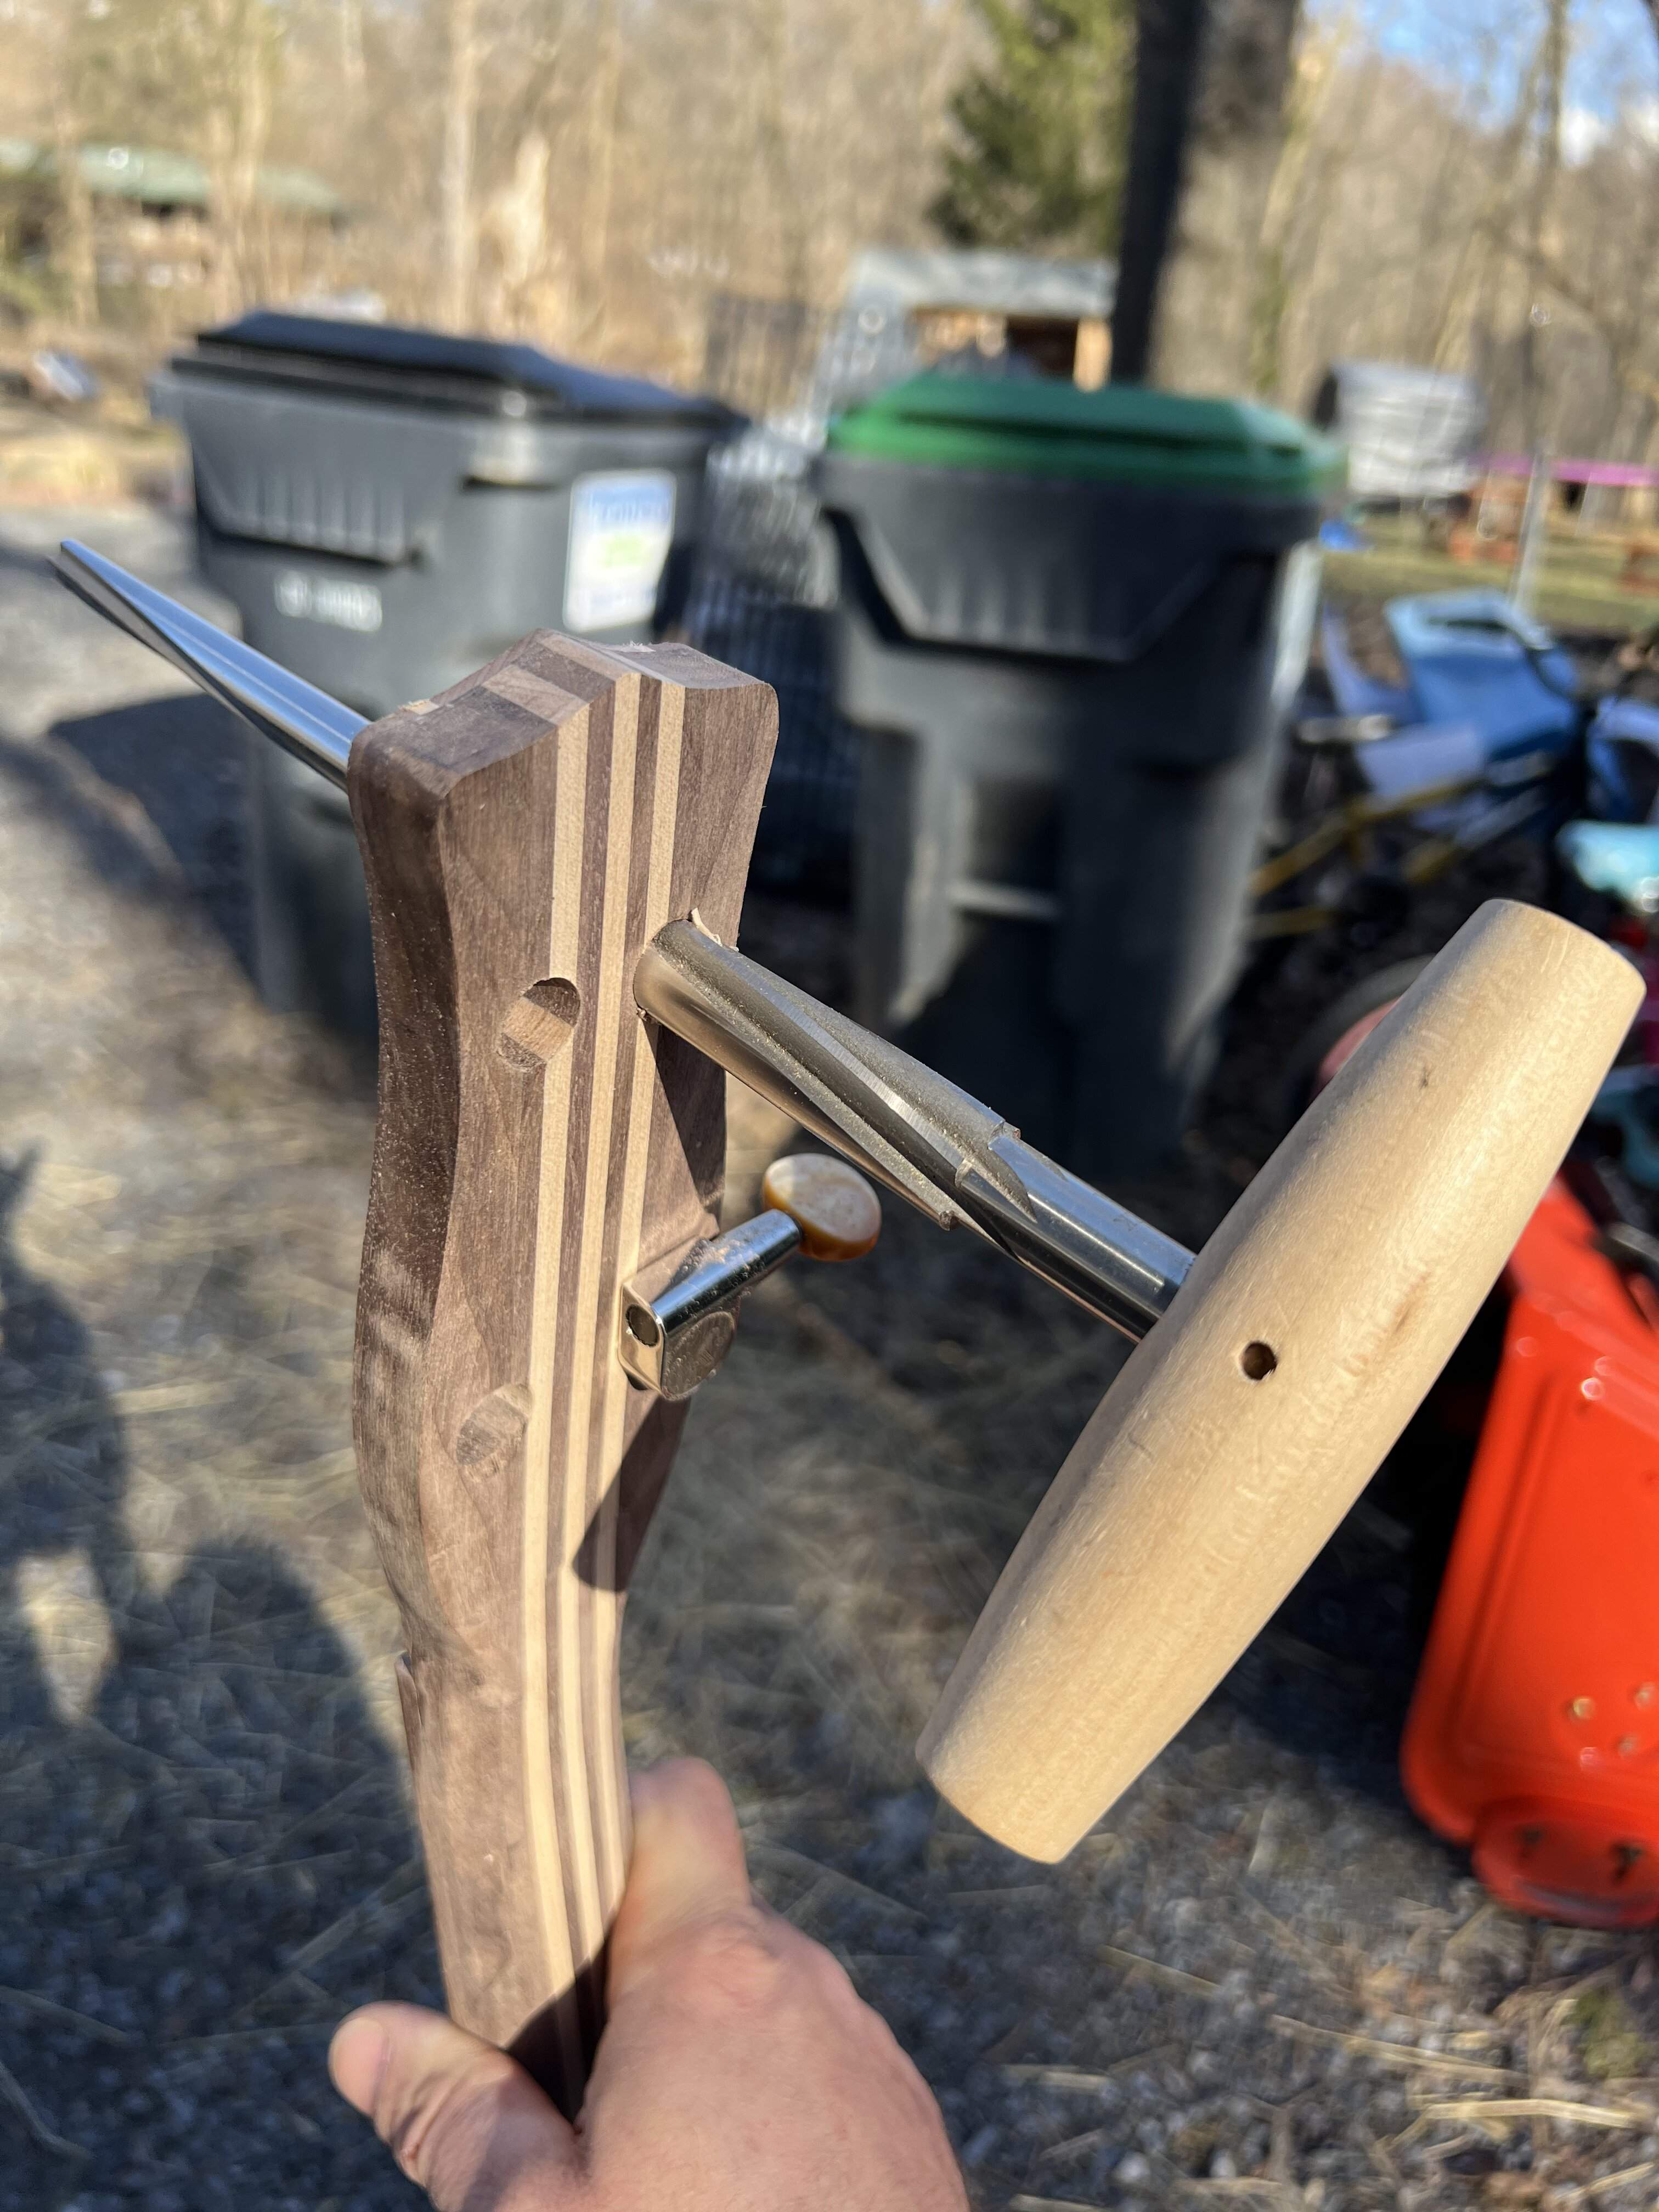
Been busy as usual, but found some time today and drilled some tuner holes in the dano. Followed up with a reamer for cello pegs, did the trick no problem. They take up more space than the guitar tuners, but feel very high quality.

Enjoy the benefits of a premium membership!
Upgrade Account
-
TalkBass has been independent since 1998. Add your voice.
Create a free account to reply to discussions, view embedded media, and browse with fewer display ads.
Join free Log in
Want zero display ads or expanded classifieds tools? Compare plans.
You are using an out of date browser. It may not display this or other websites correctly.
You should upgrade or use an alternative browser.
You should upgrade or use an alternative browser.
A little project
- Thread starter Verner
- Start date
More options
Who Replied?
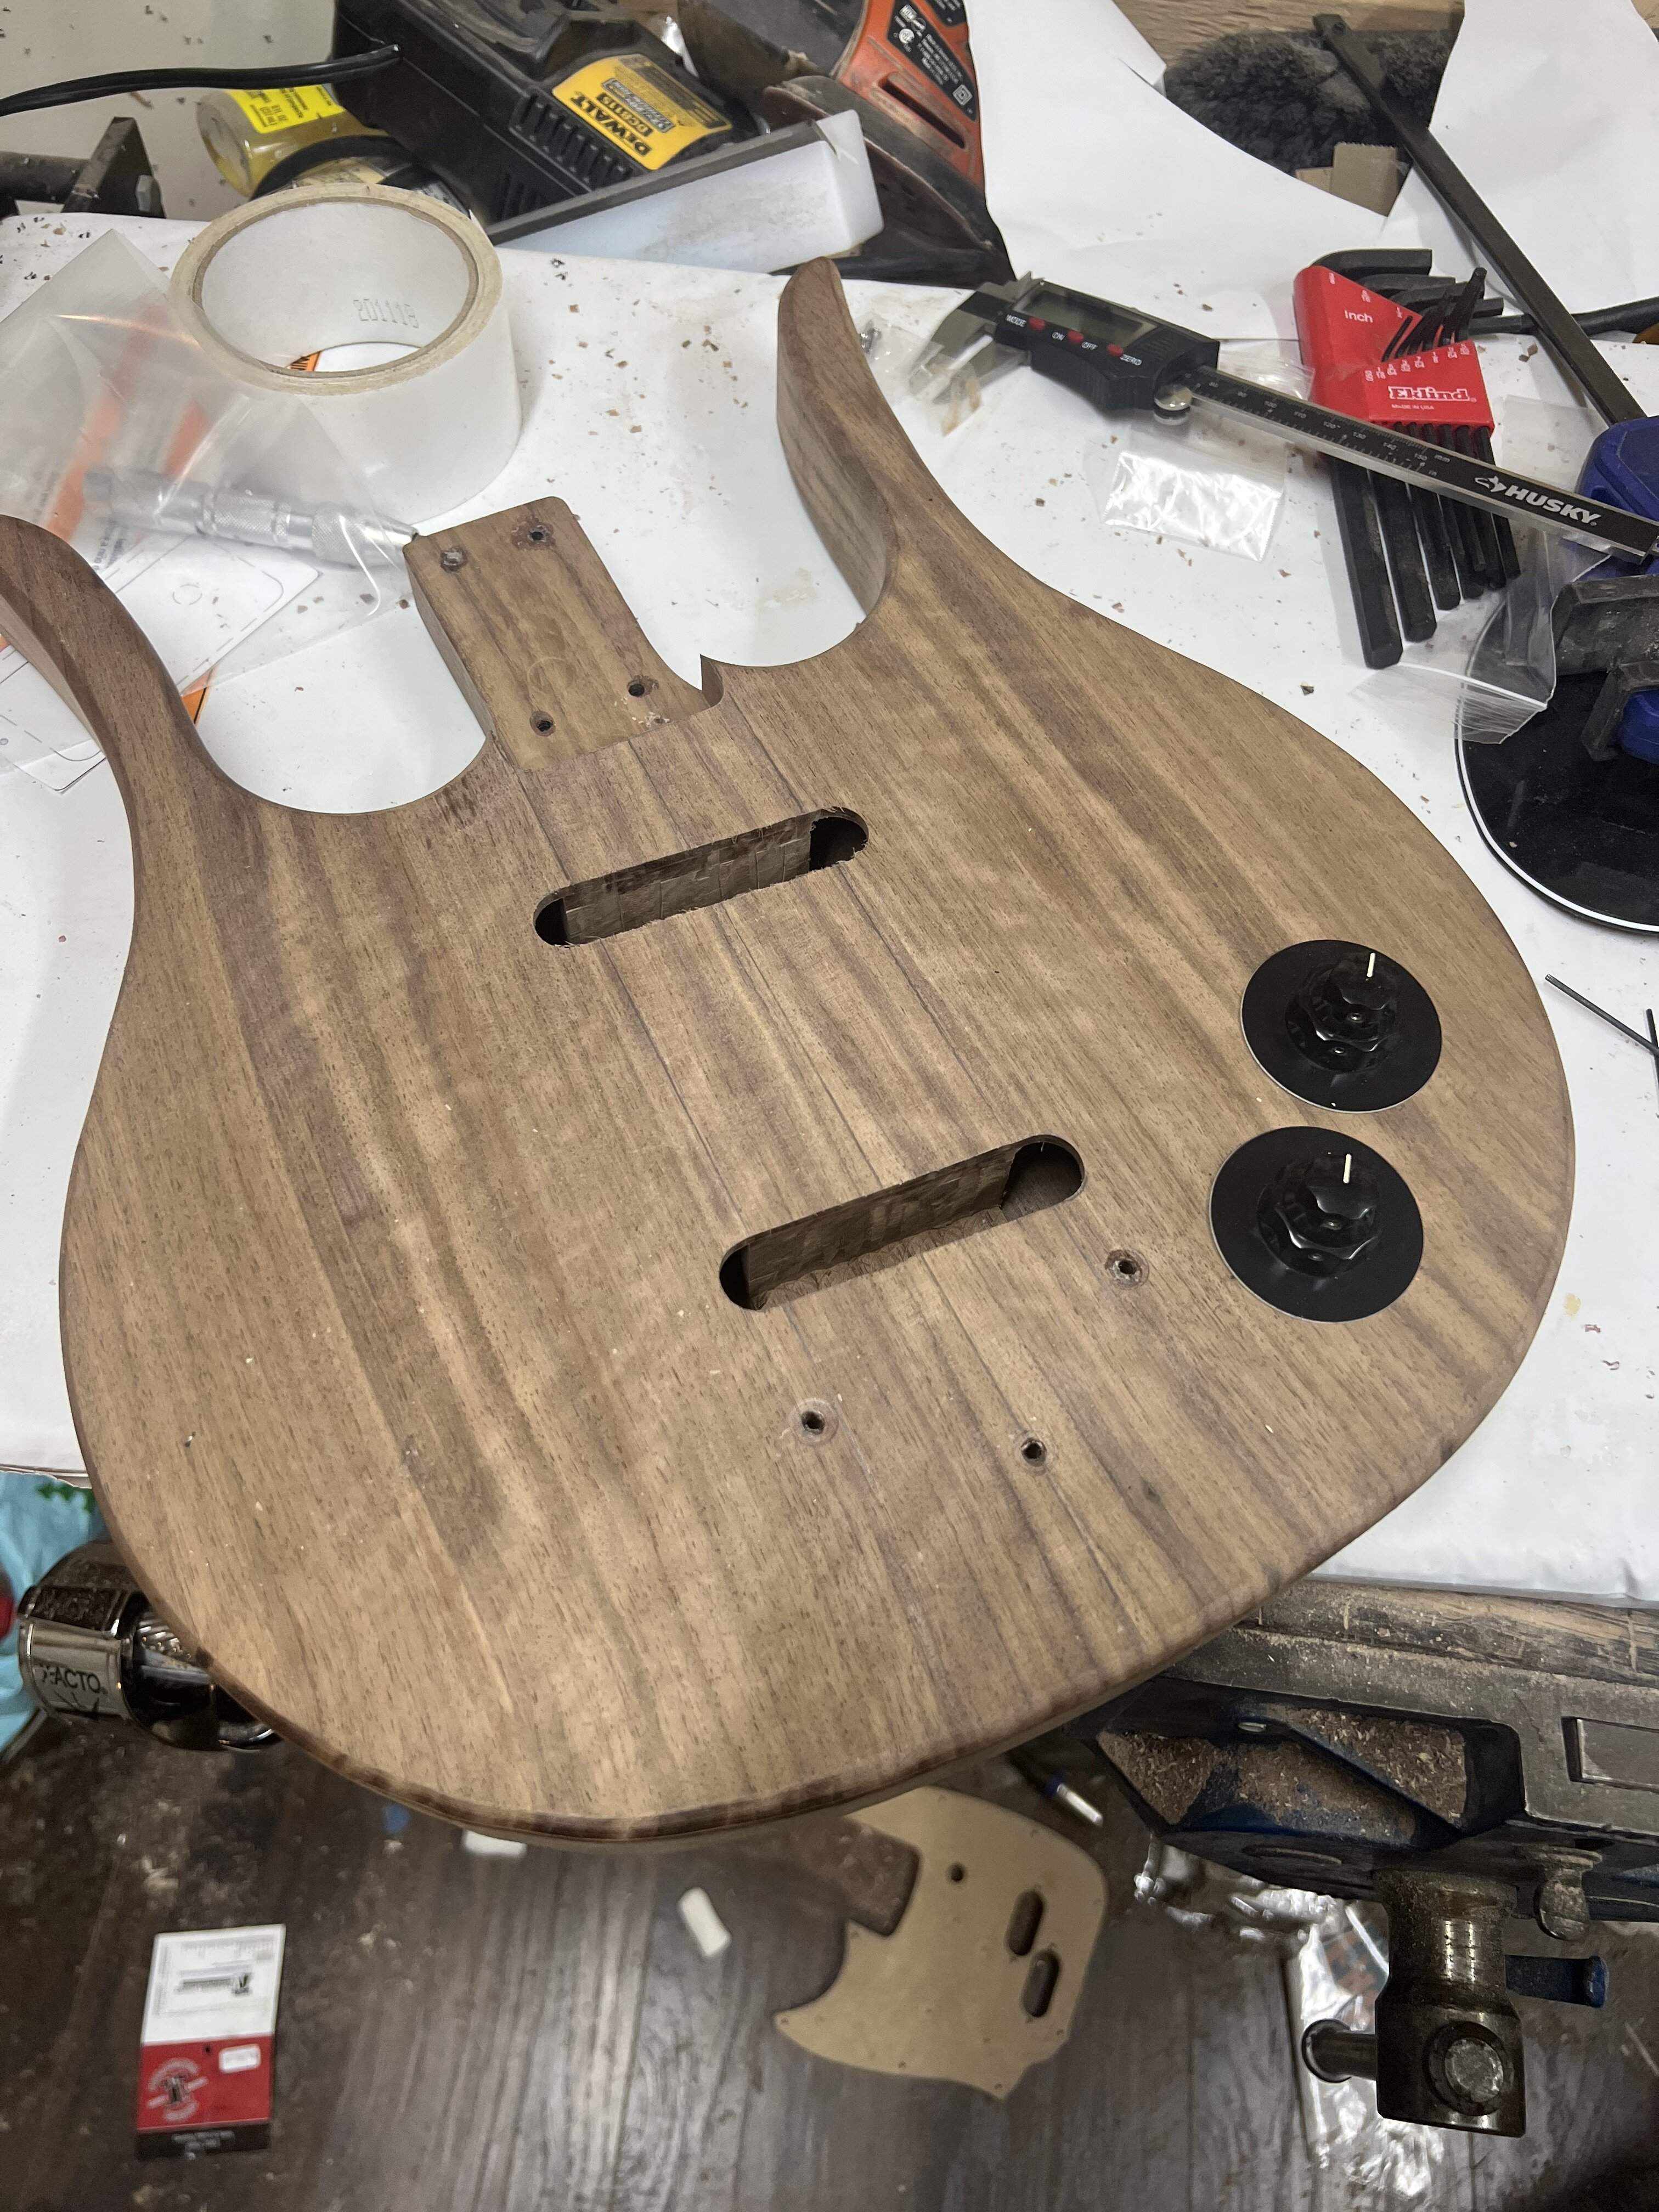
On to the mustang, picked up some screws and springs from the hardware store and got the pickups mounted. I checked the string spacing with the new bridge and I think we are going to be ok. I also mounted the pots and jack, and placed the knobs at 2 o’clock, which is well known to be the proper position for the best tone. She’s about ready to be strung up for some testing.
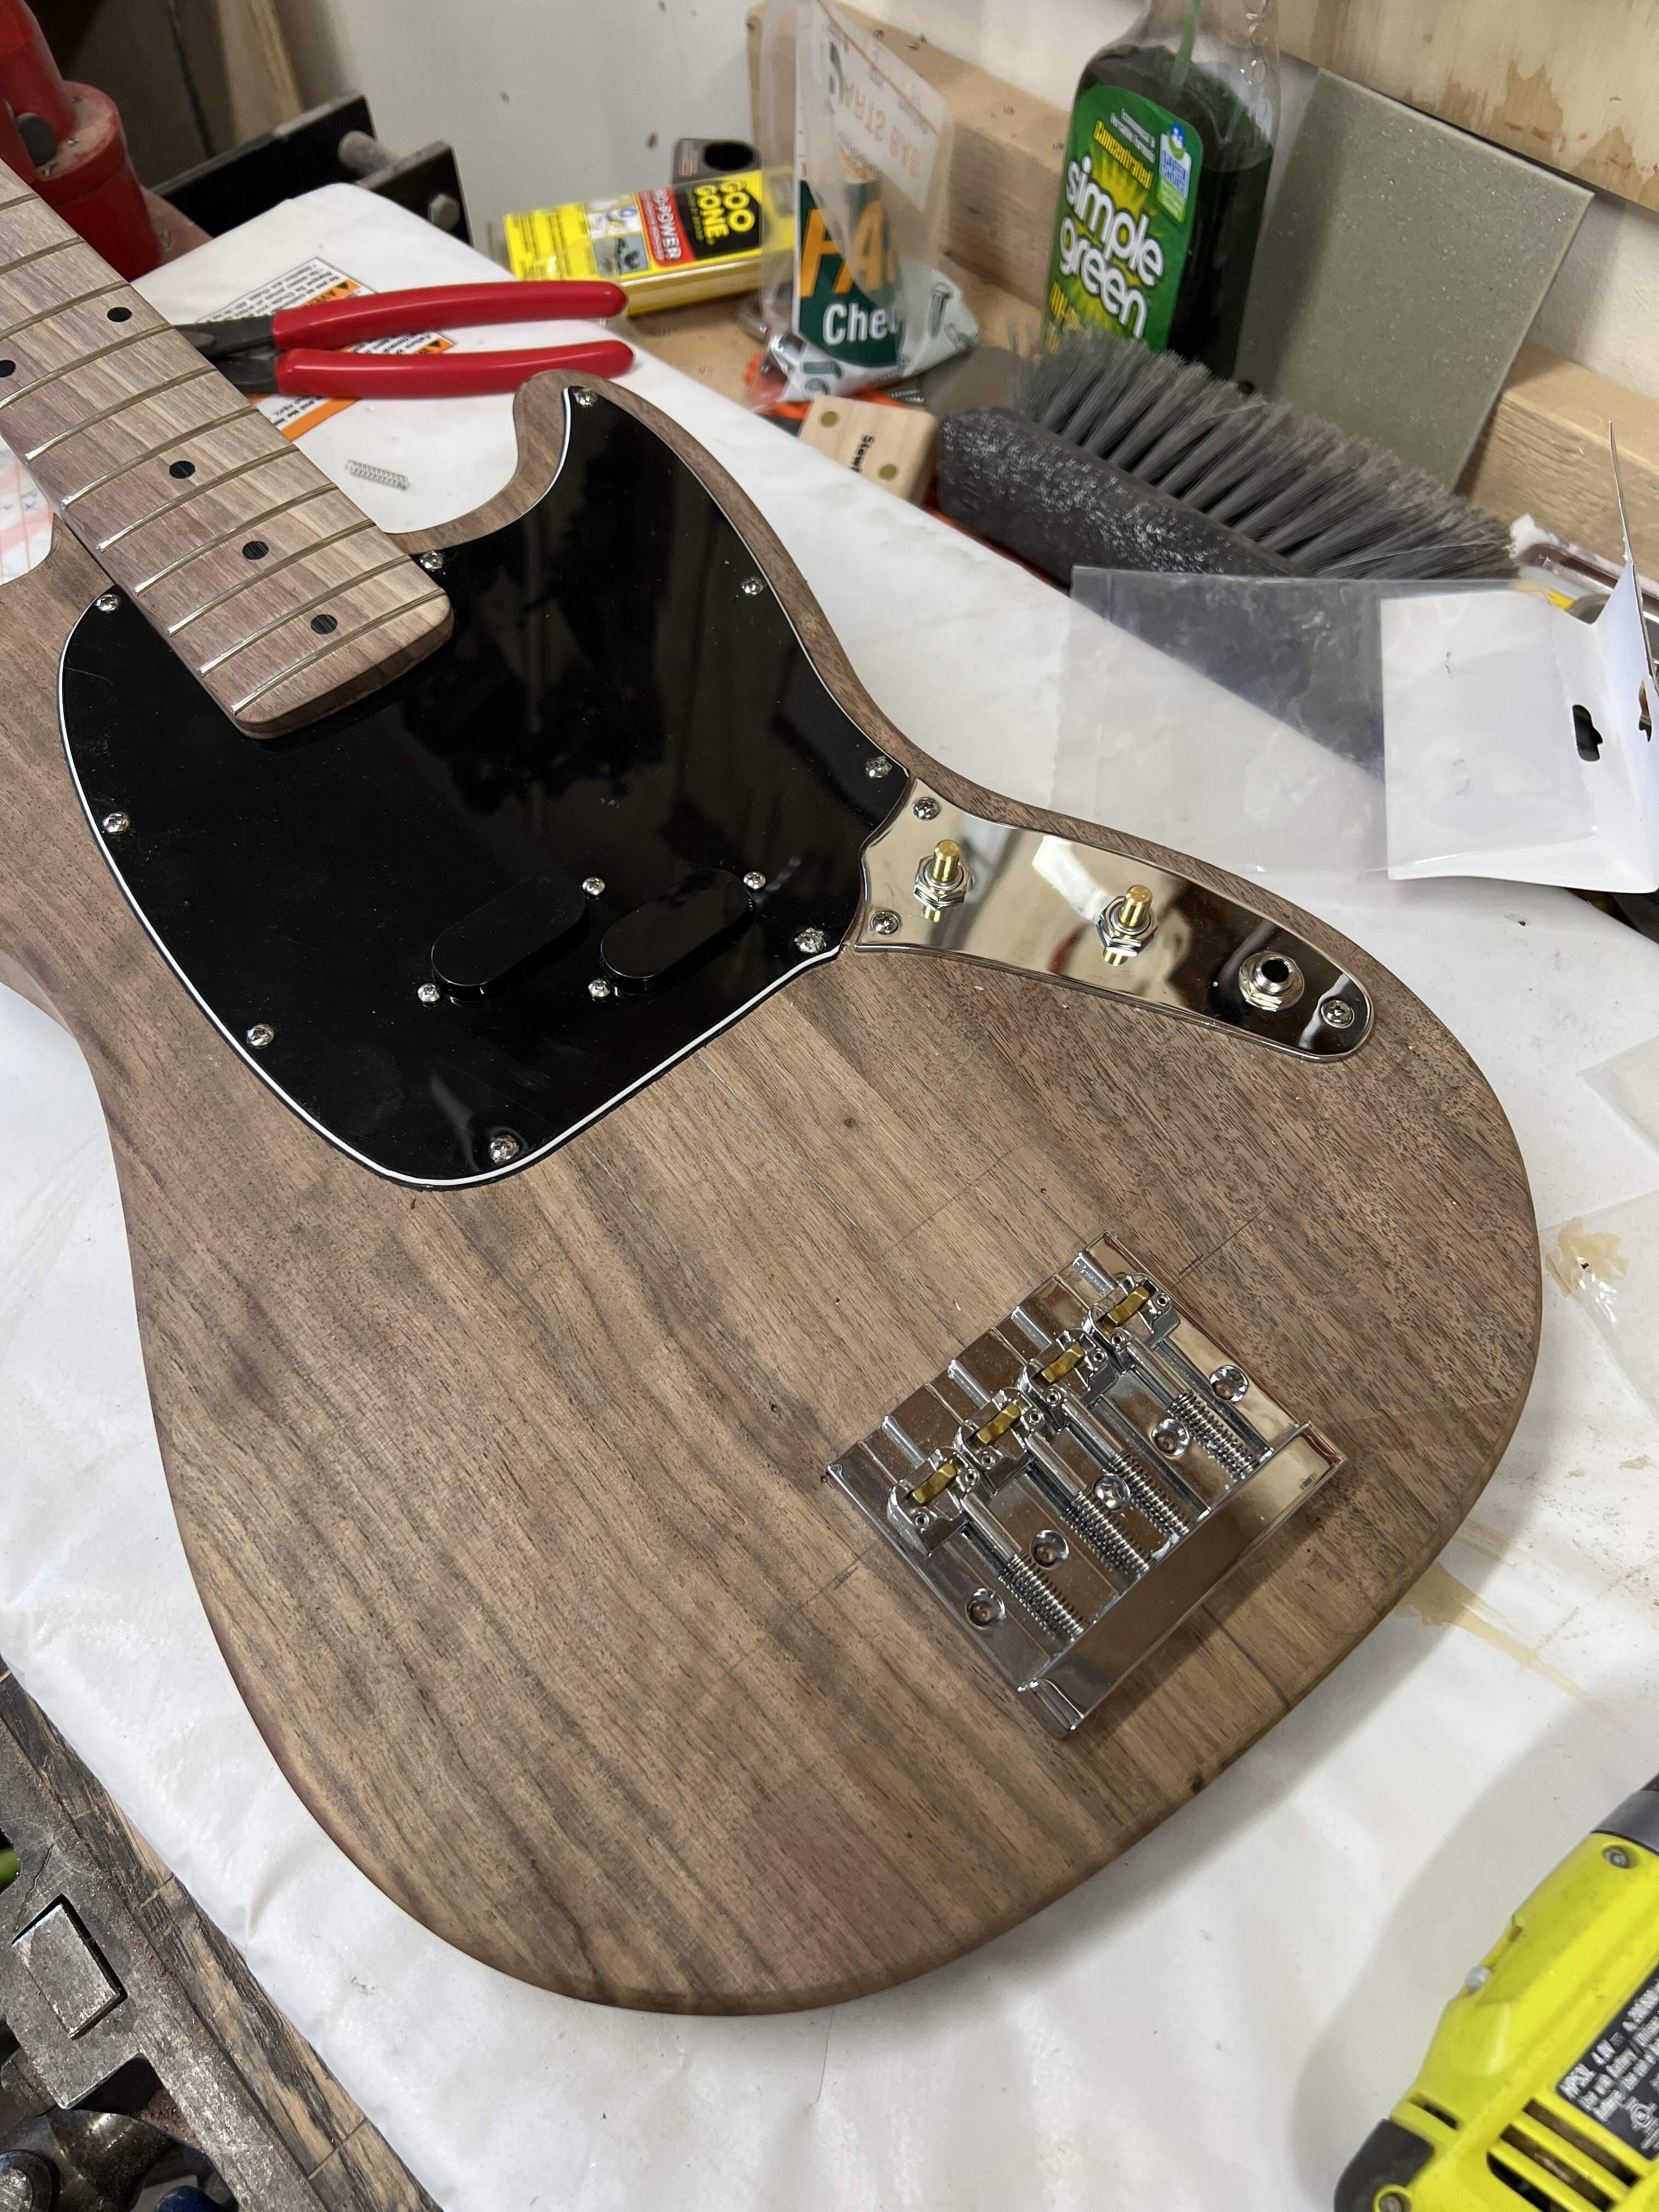
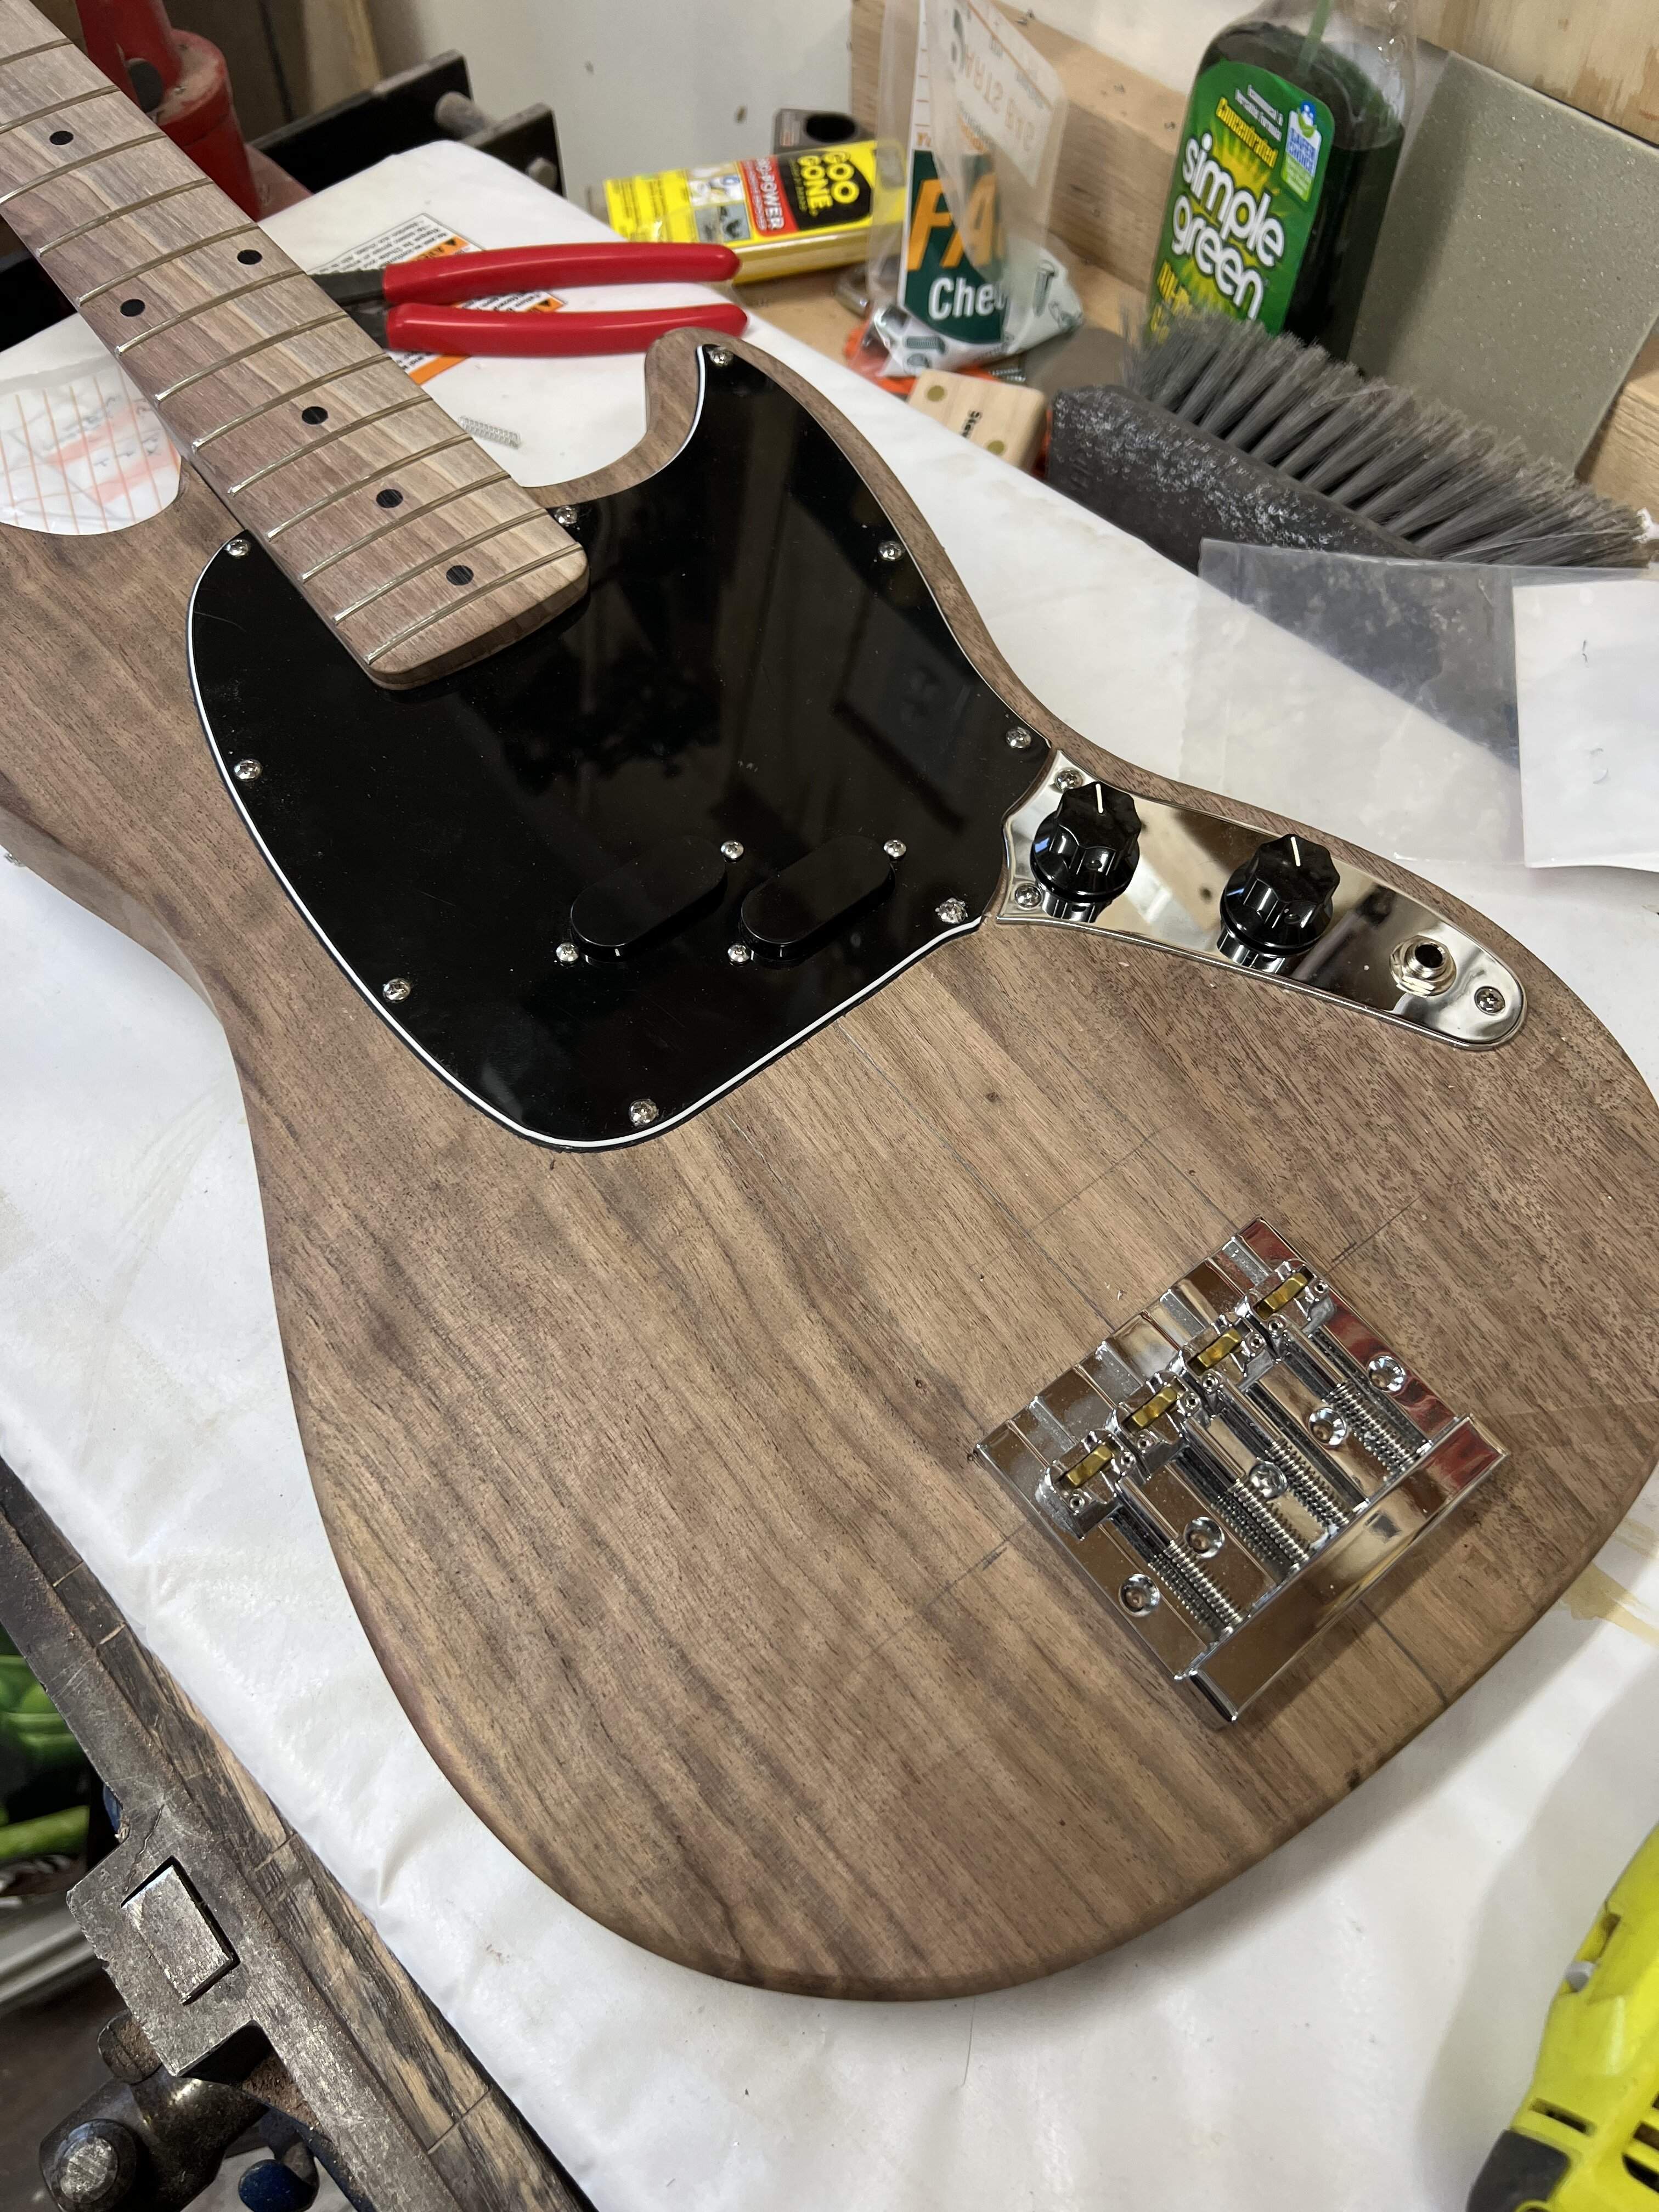
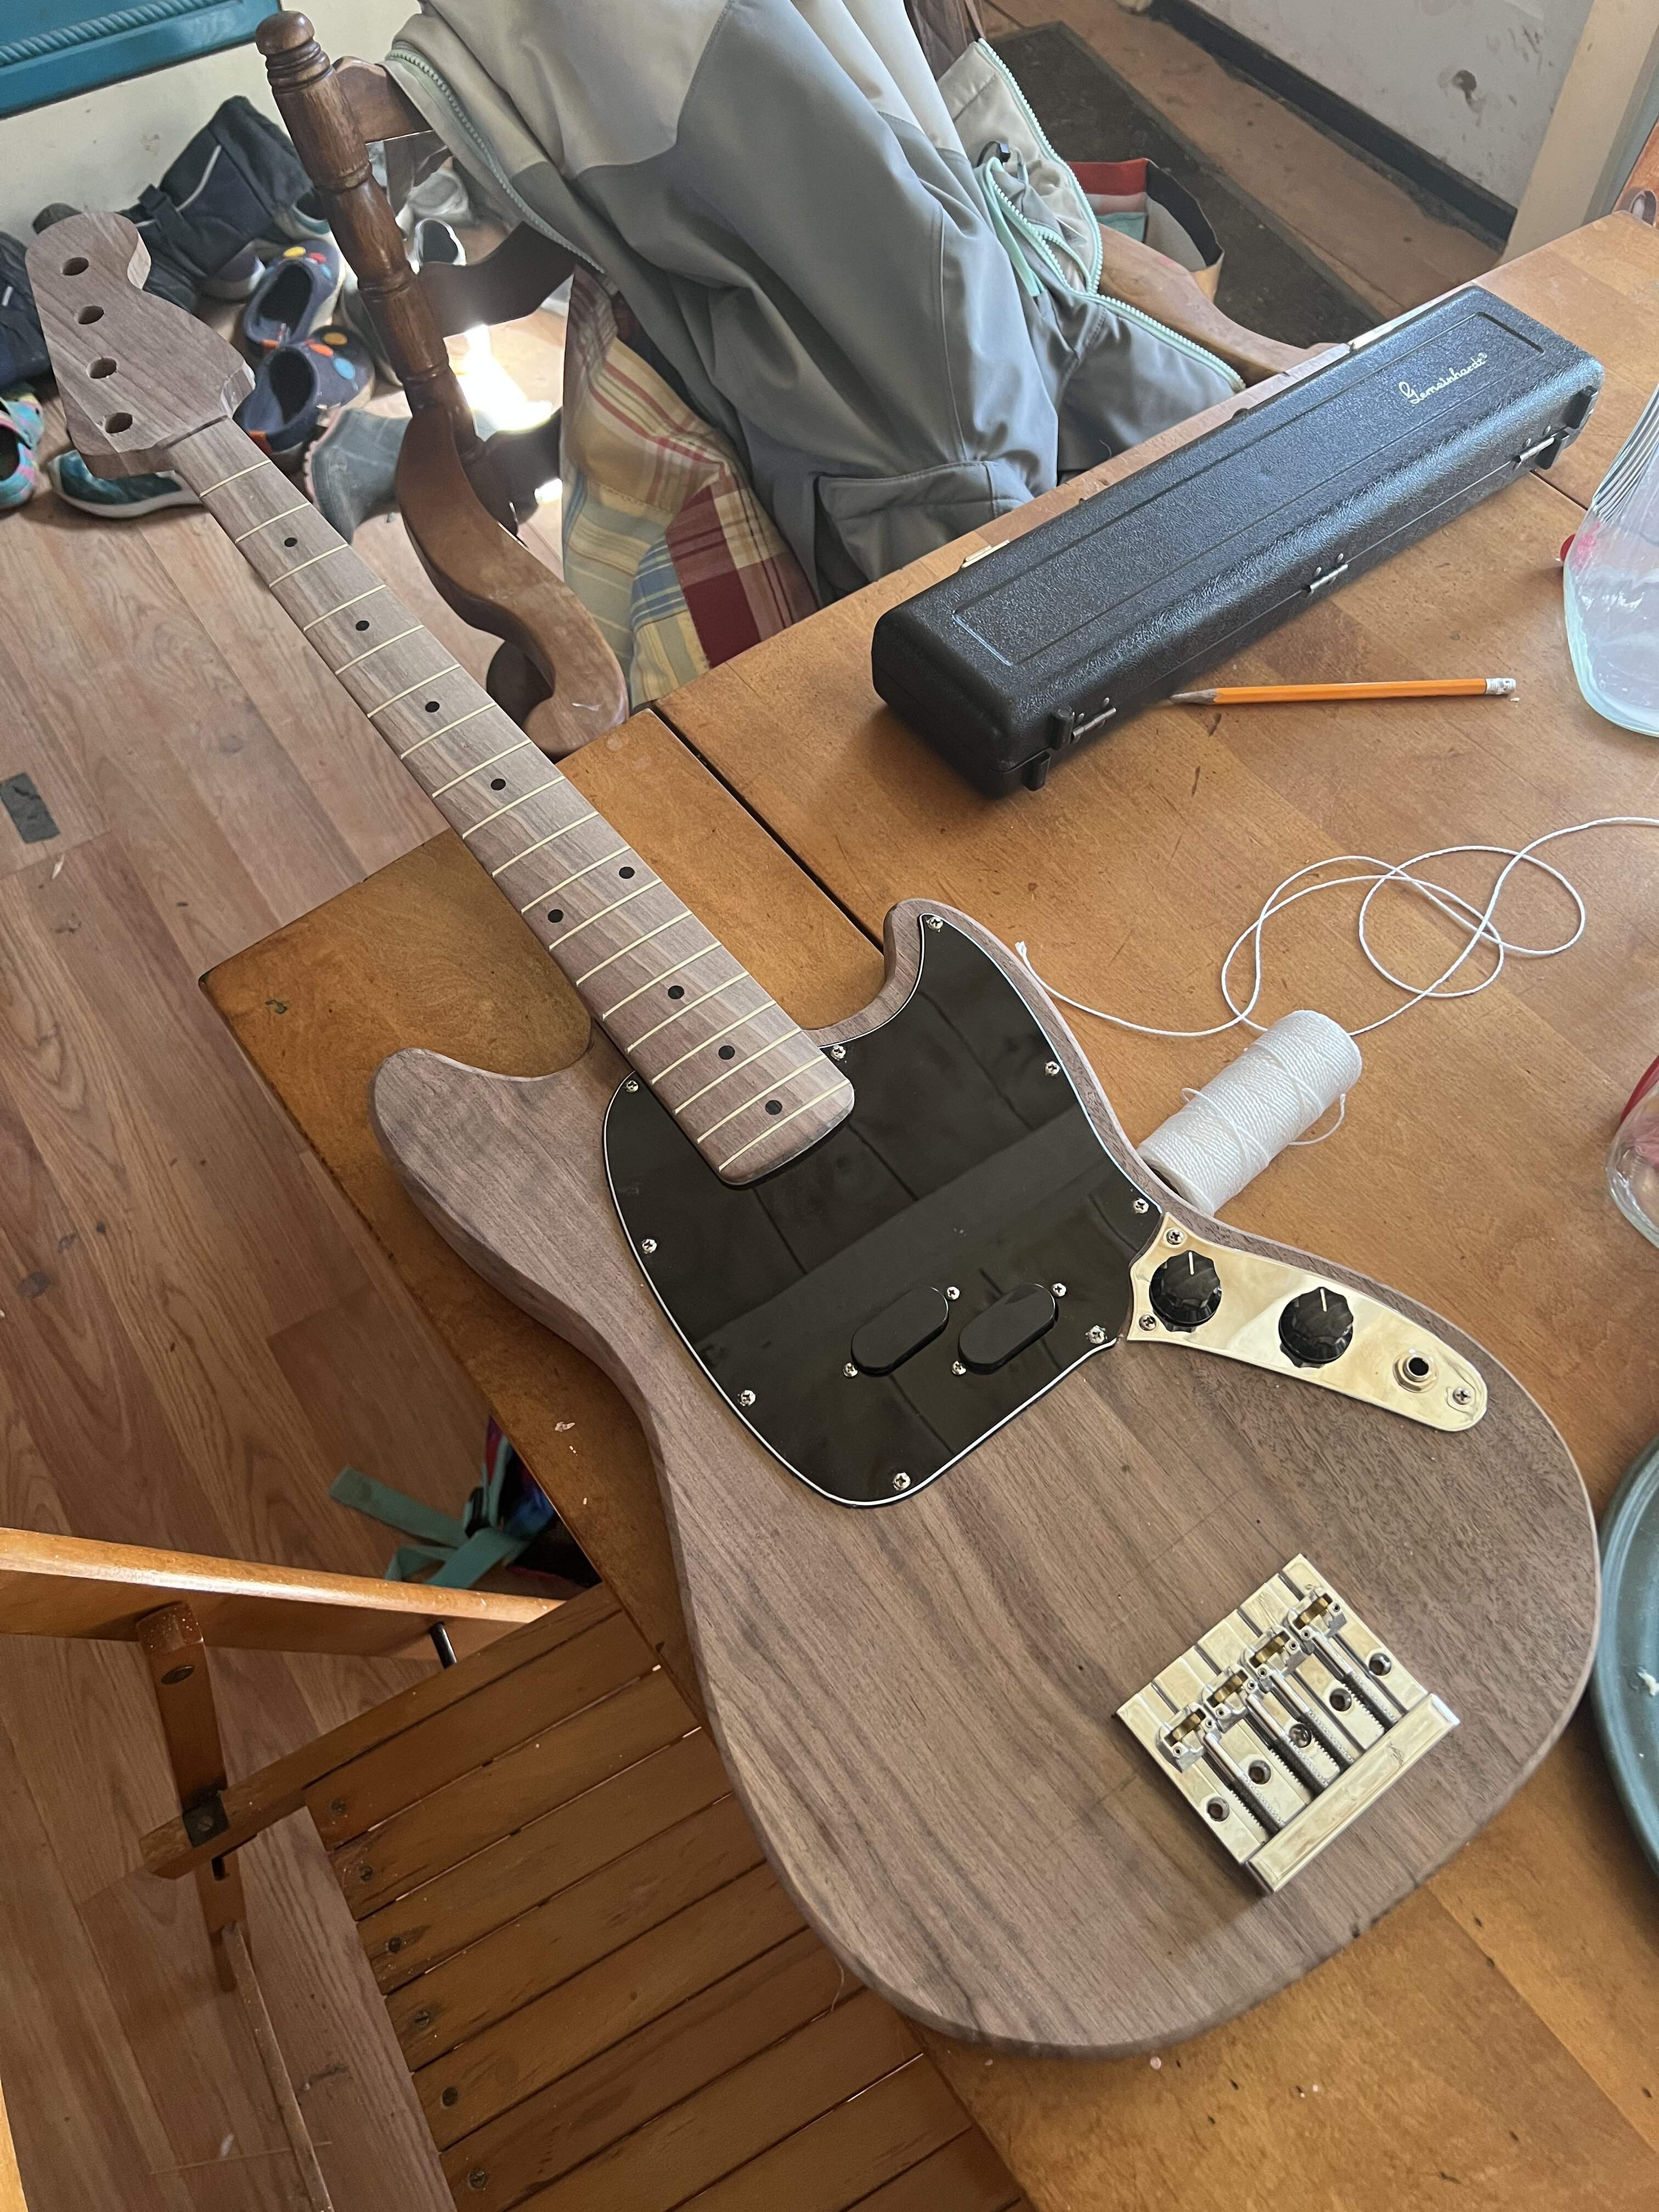
Please don’t mind the mess in our rustic kitchen, the kids and I are about to clean up so we have a clean slate to slowly destroy during the week.
Please don’t mind the mess in our rustic kitchen, the kids and I are about to clean up so we have a clean slate to slowly destroy during the week.

My oldest daughter is playing flute this year. She played violin last year but the school eliminated the program. She isn’t as big a fan of the flute.
Dano bridge! Fascinating piece. I cut down the old broken cello tailpiece and made a blank. I just made up a small shooting board and used a #4 plane for most of the shaping. Filed the edges, and gave it a 12” radius. Sanded to 220, although I have more sanding to get the bigger scratches out from the radius. Put a drop of oil on, looks nice!

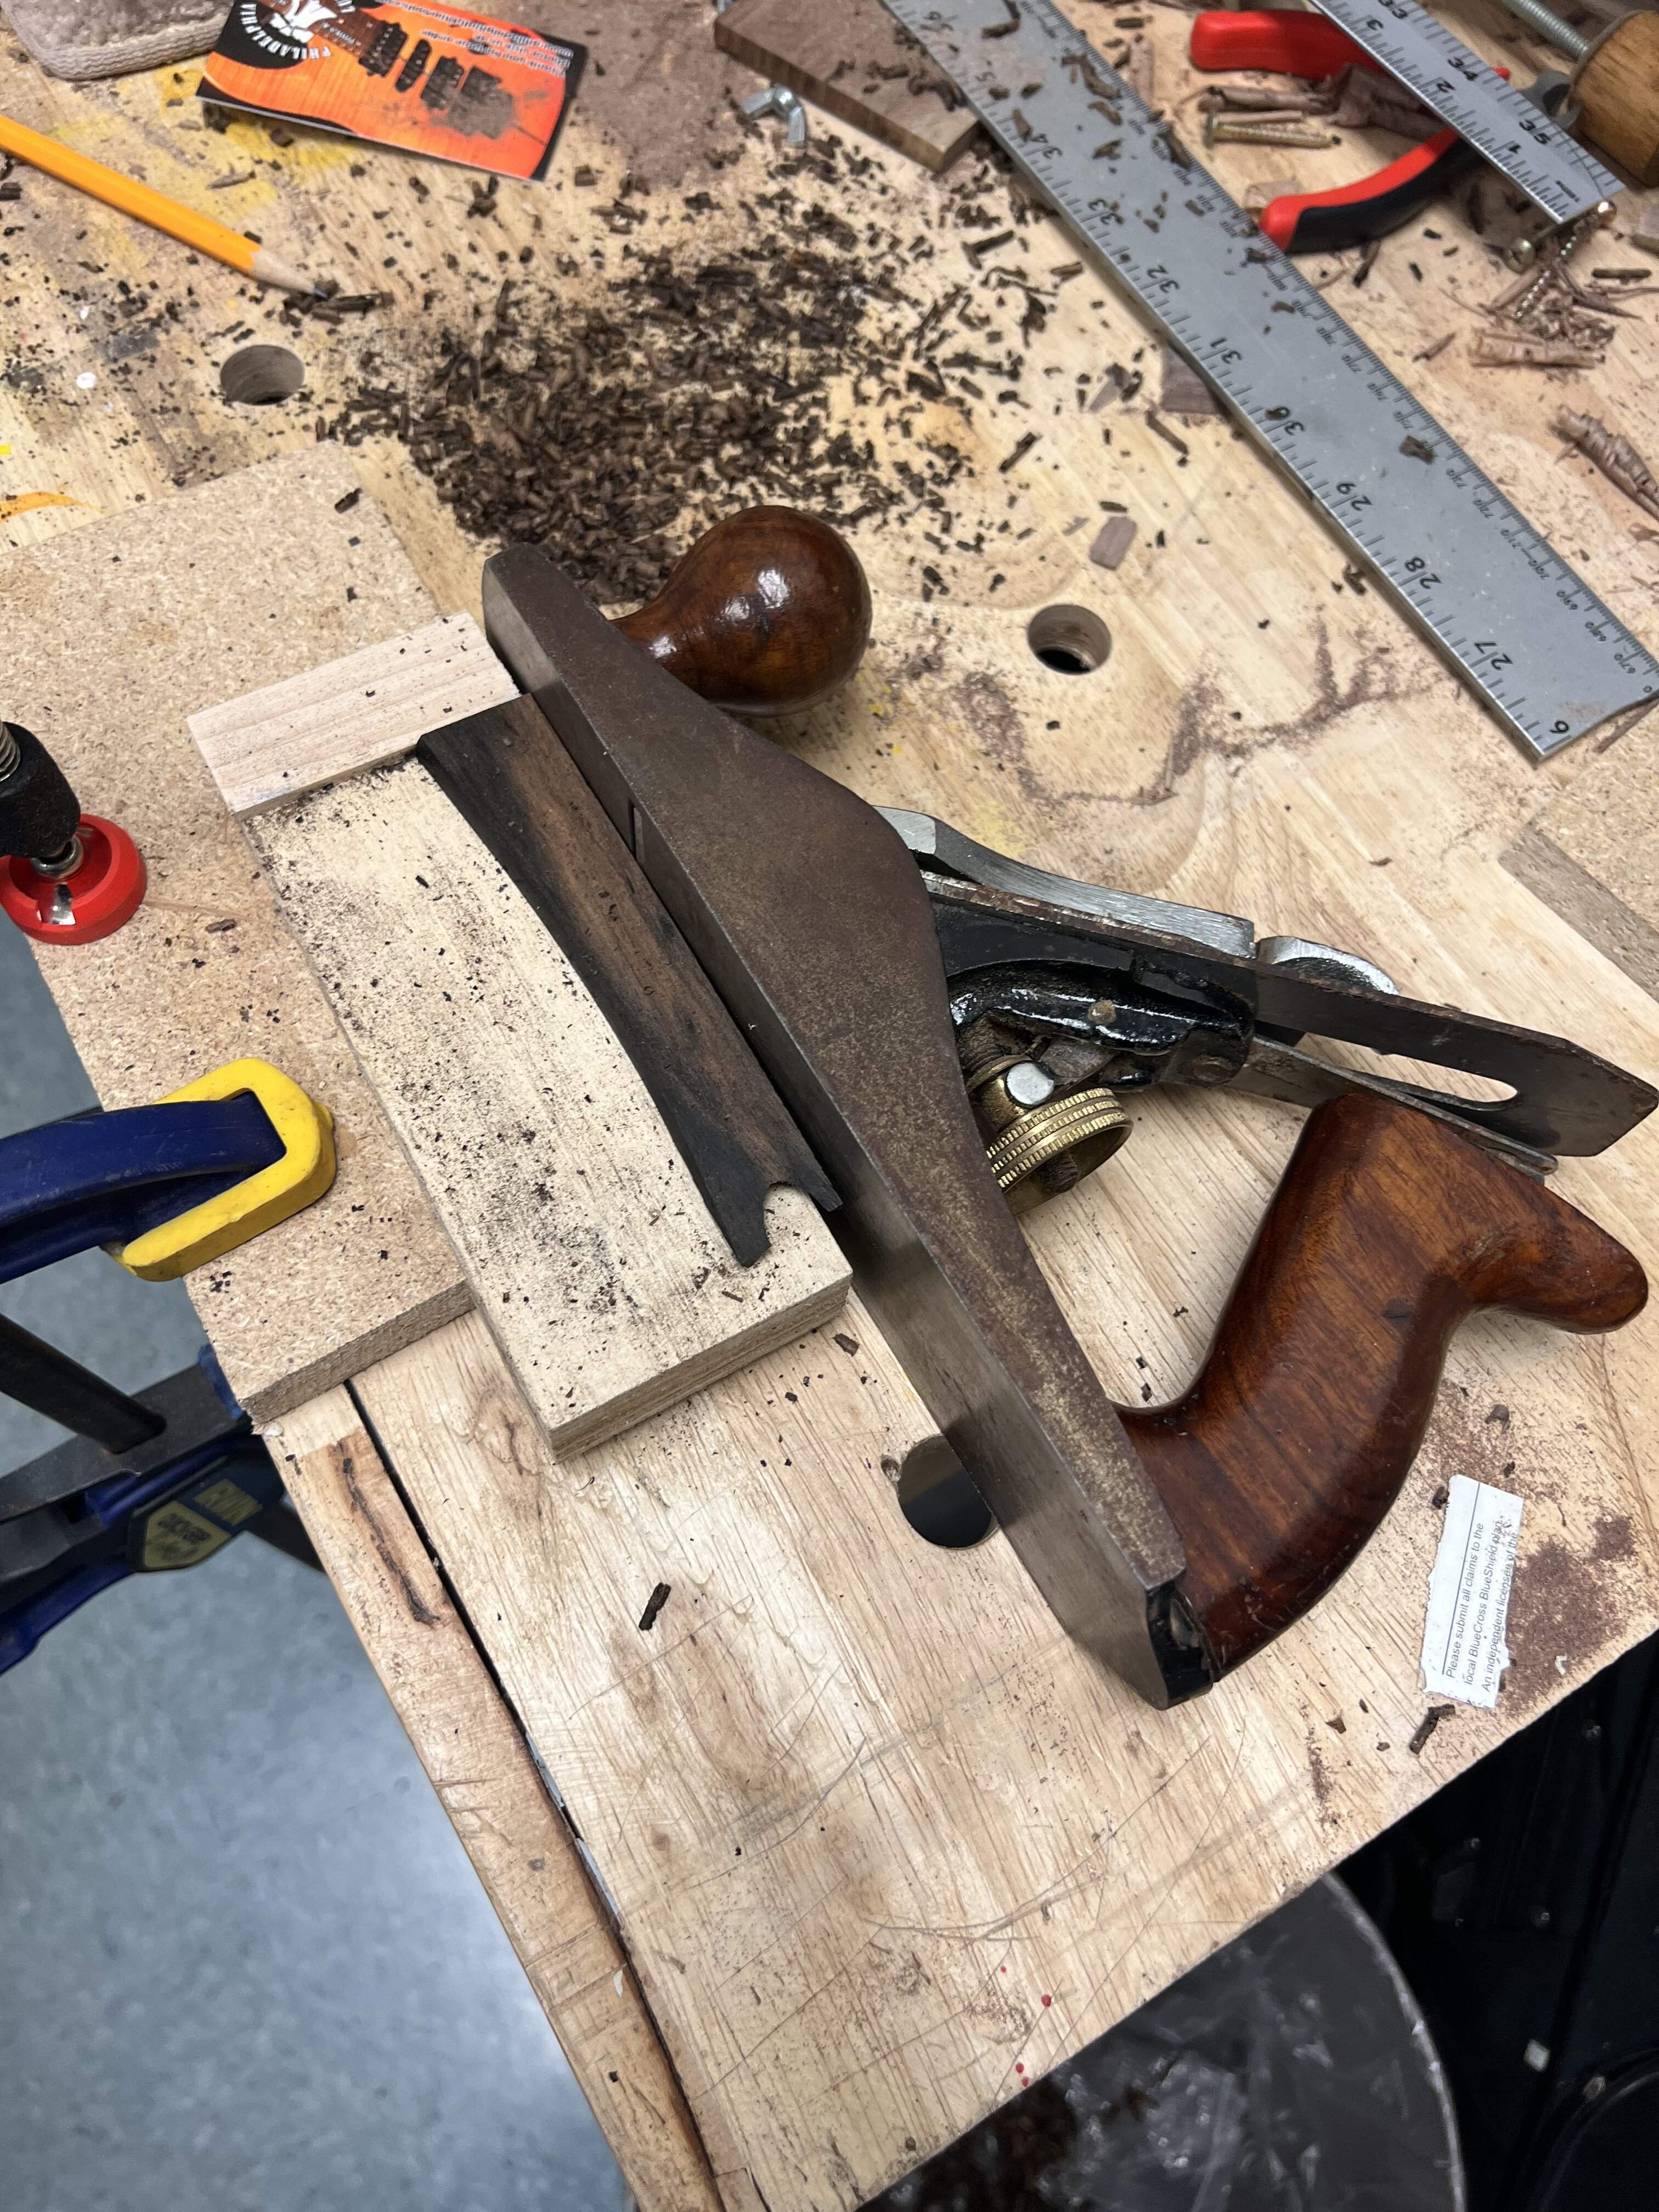
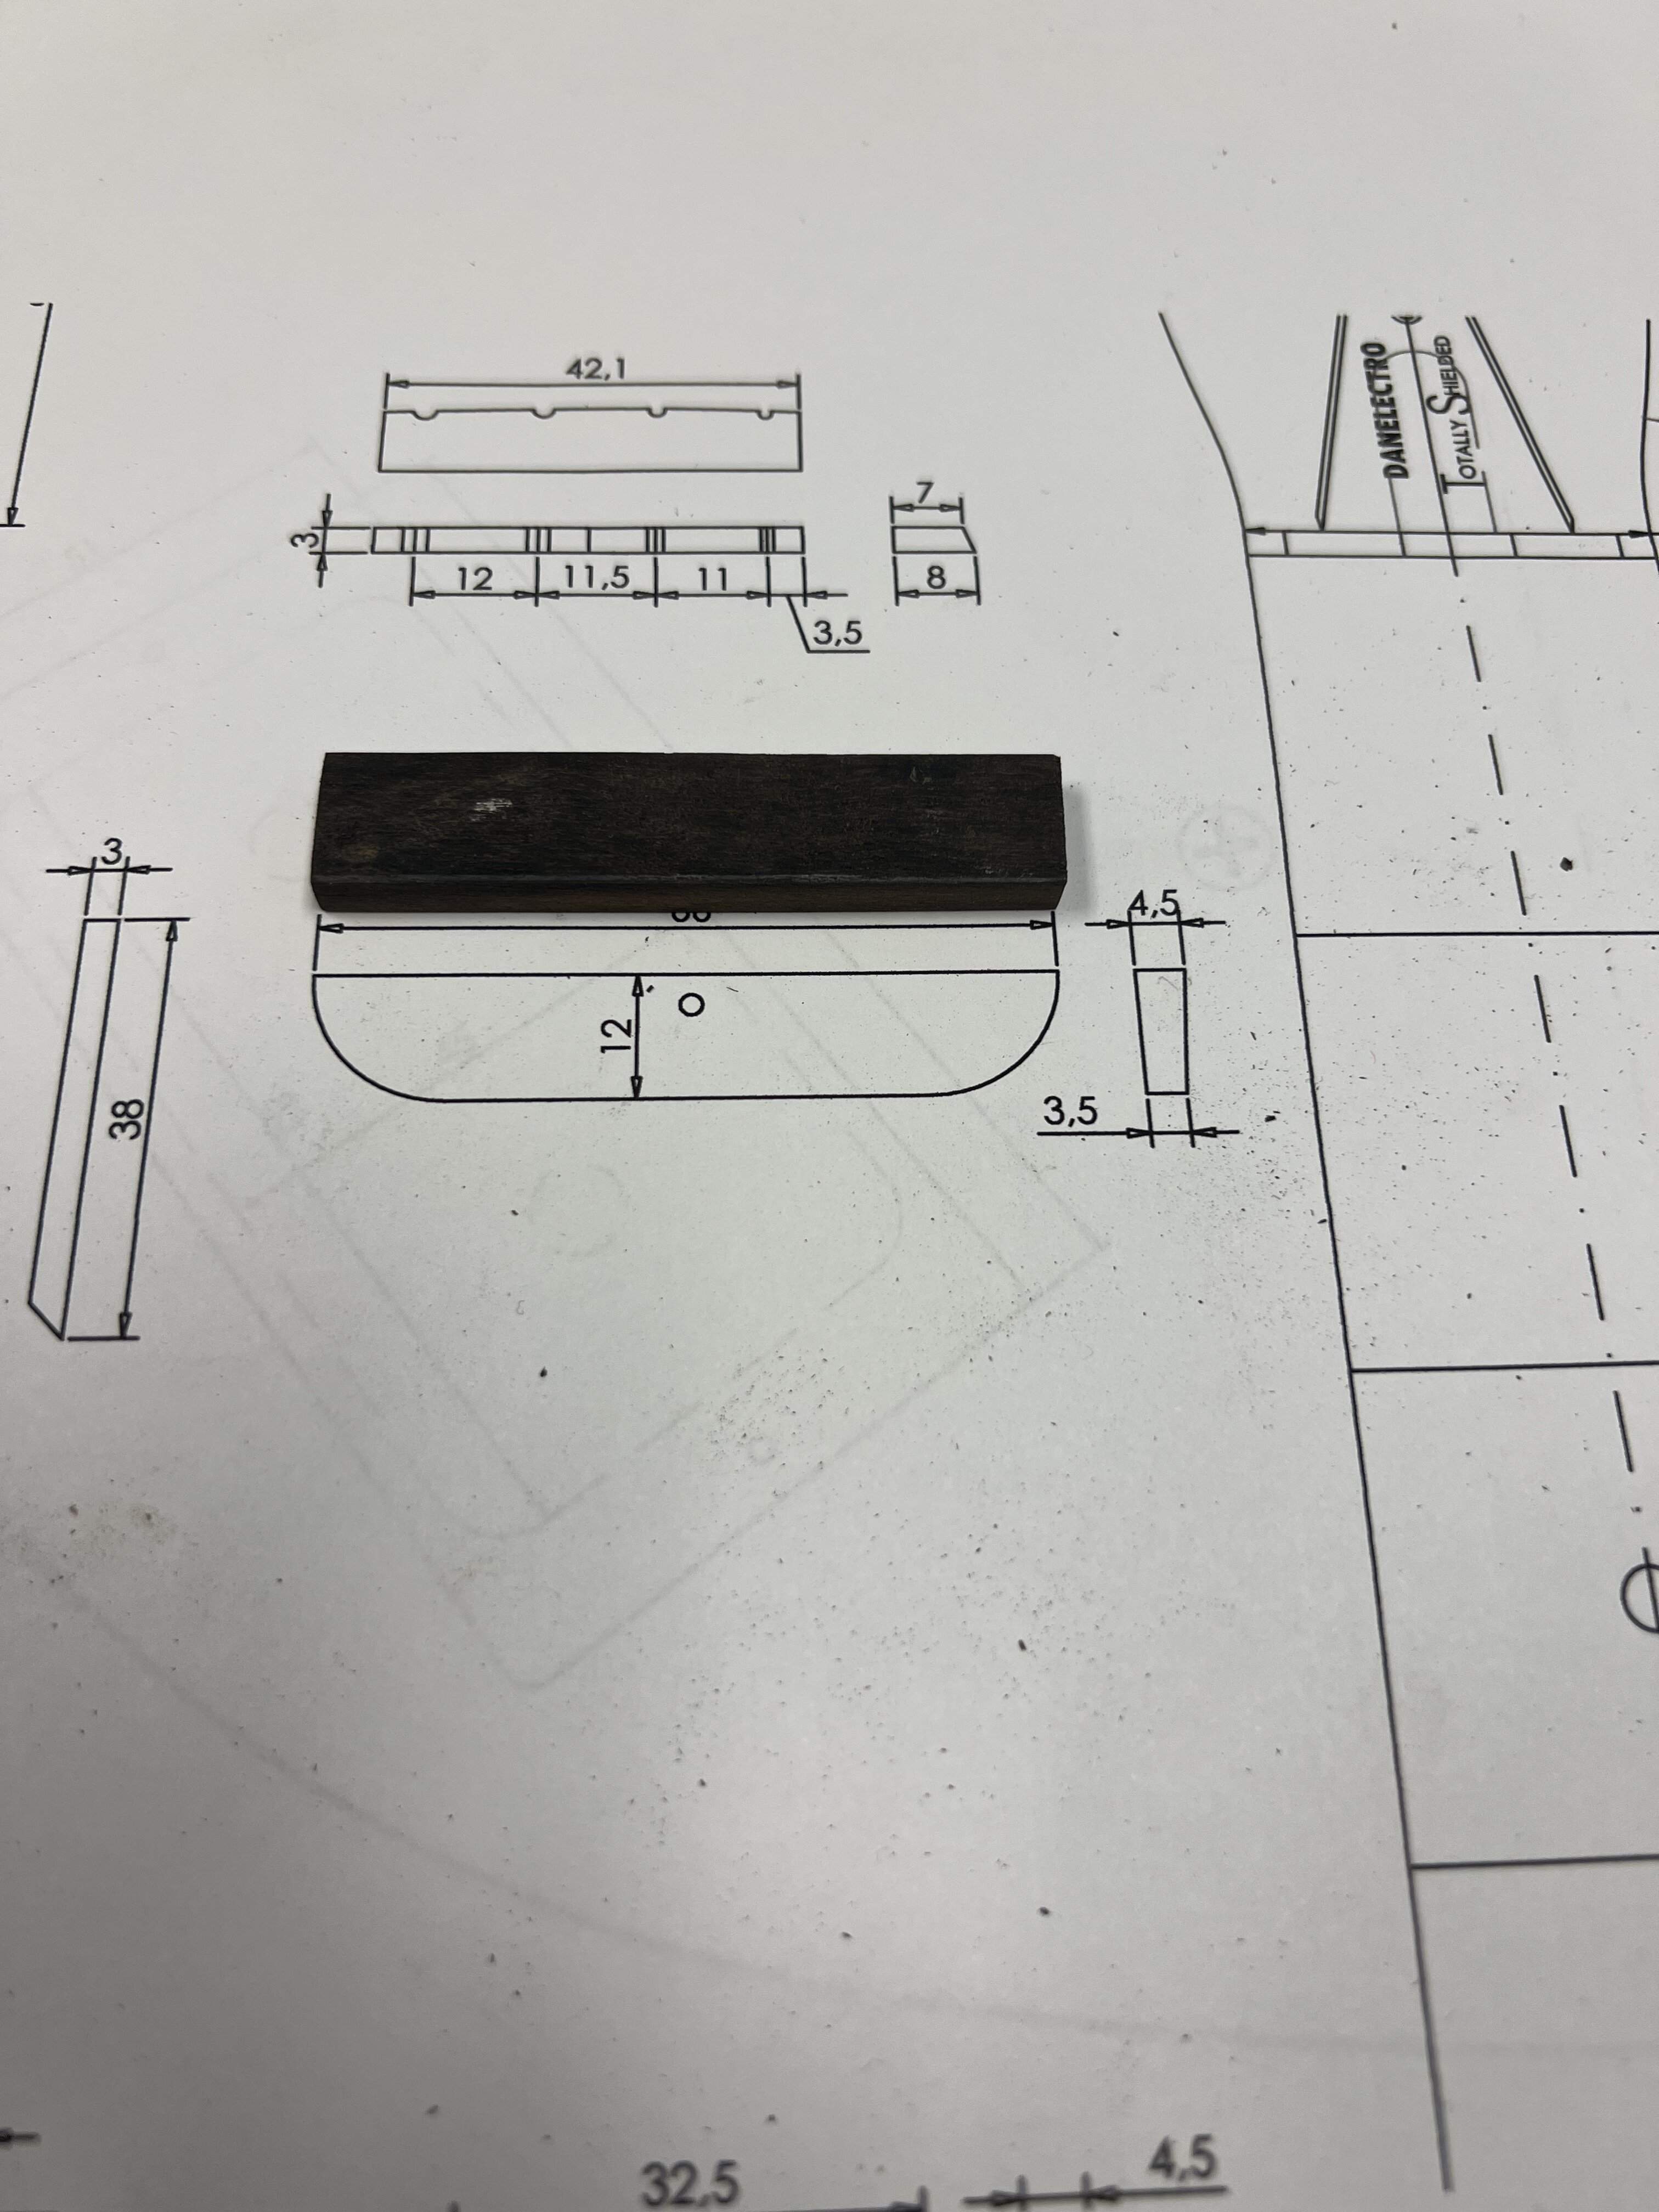
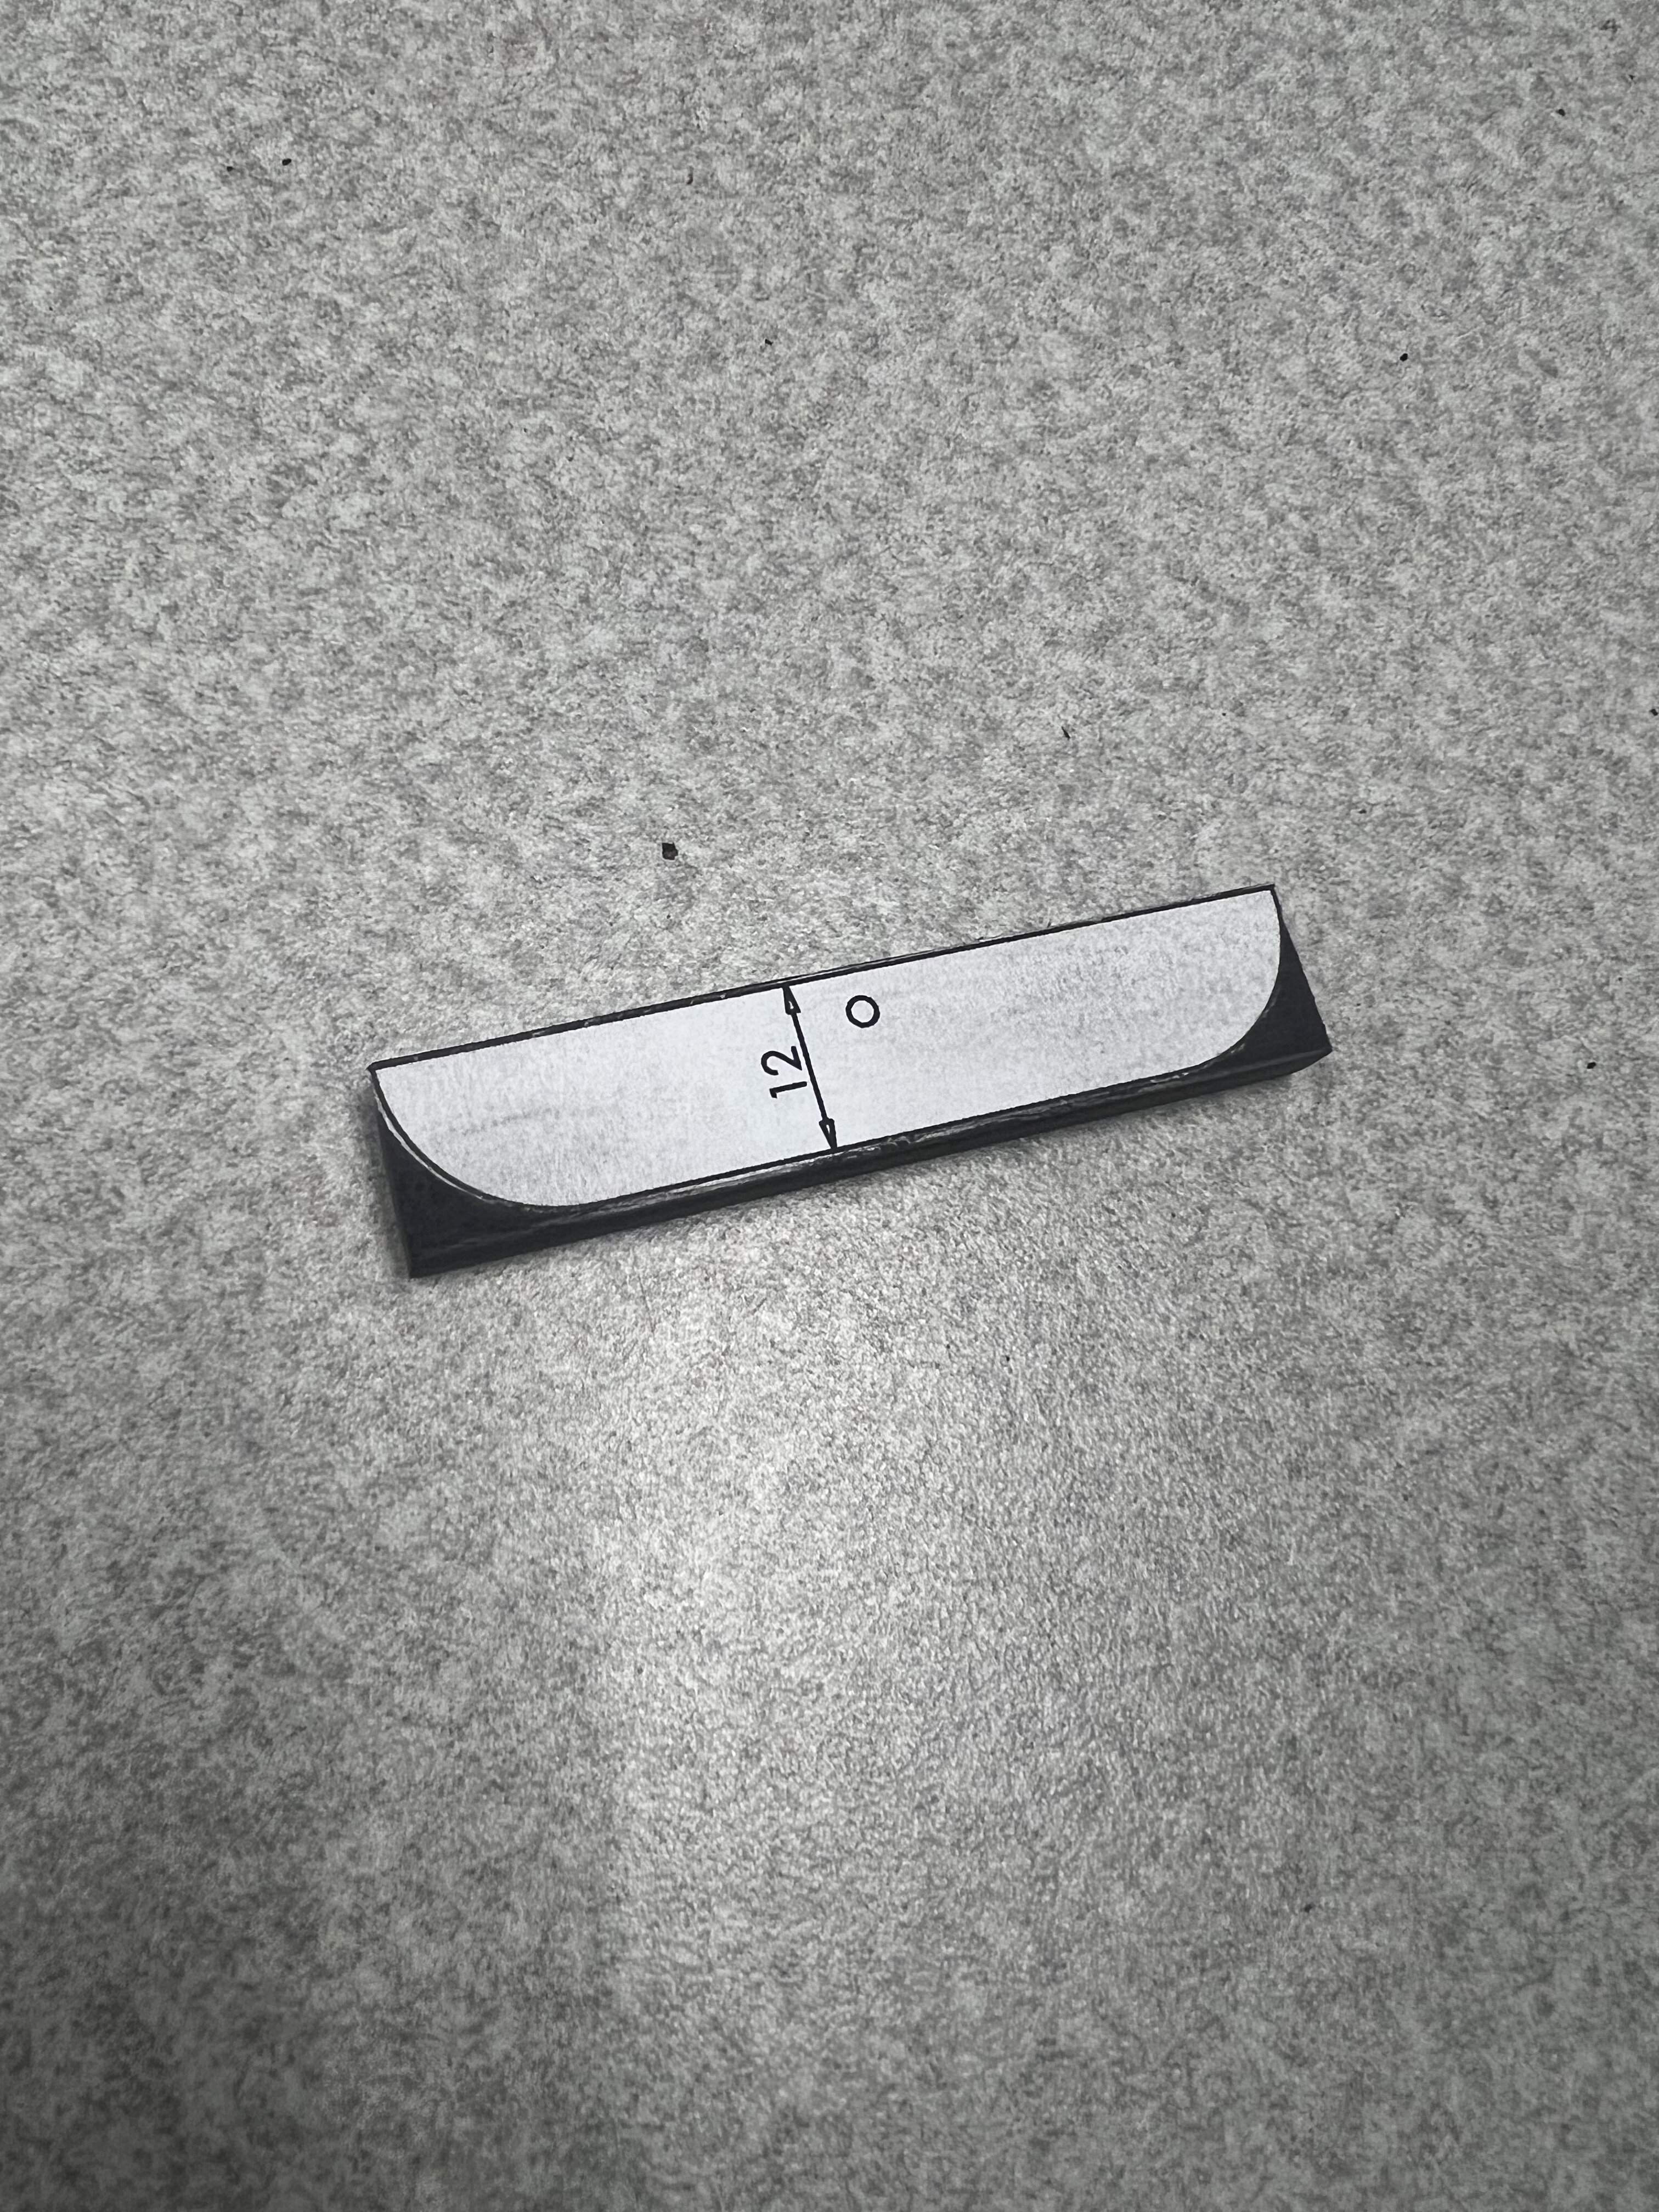
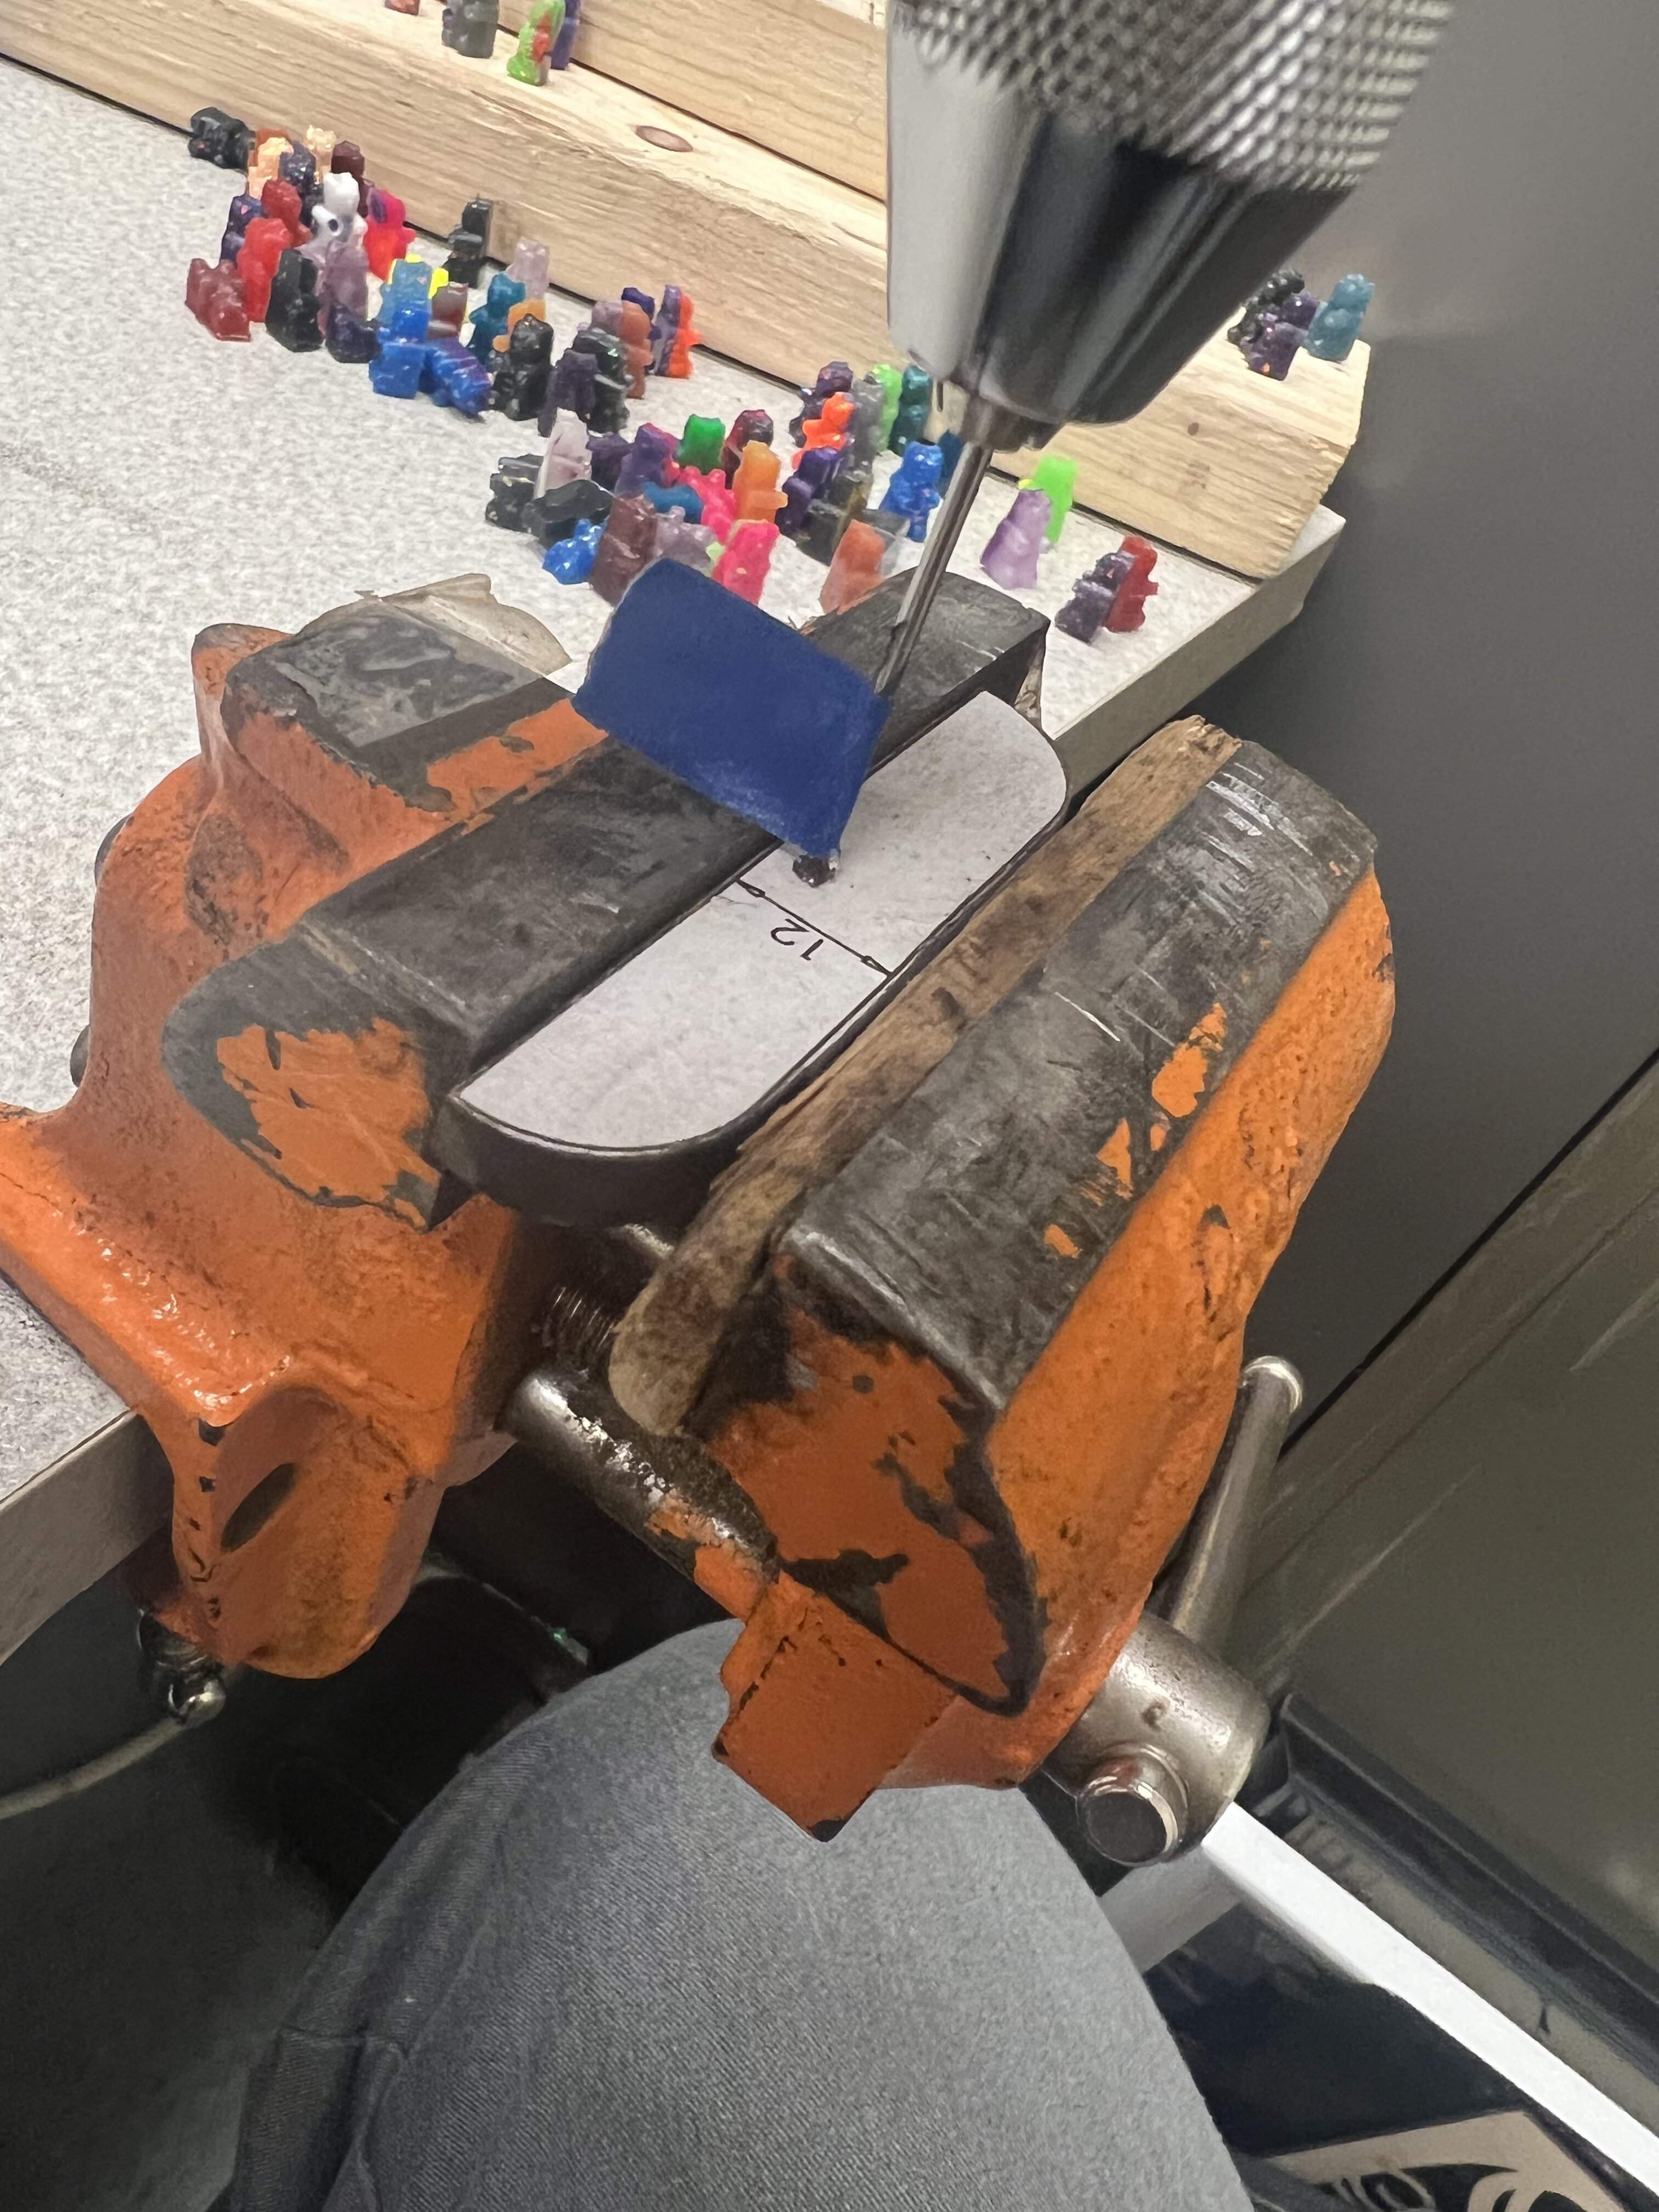
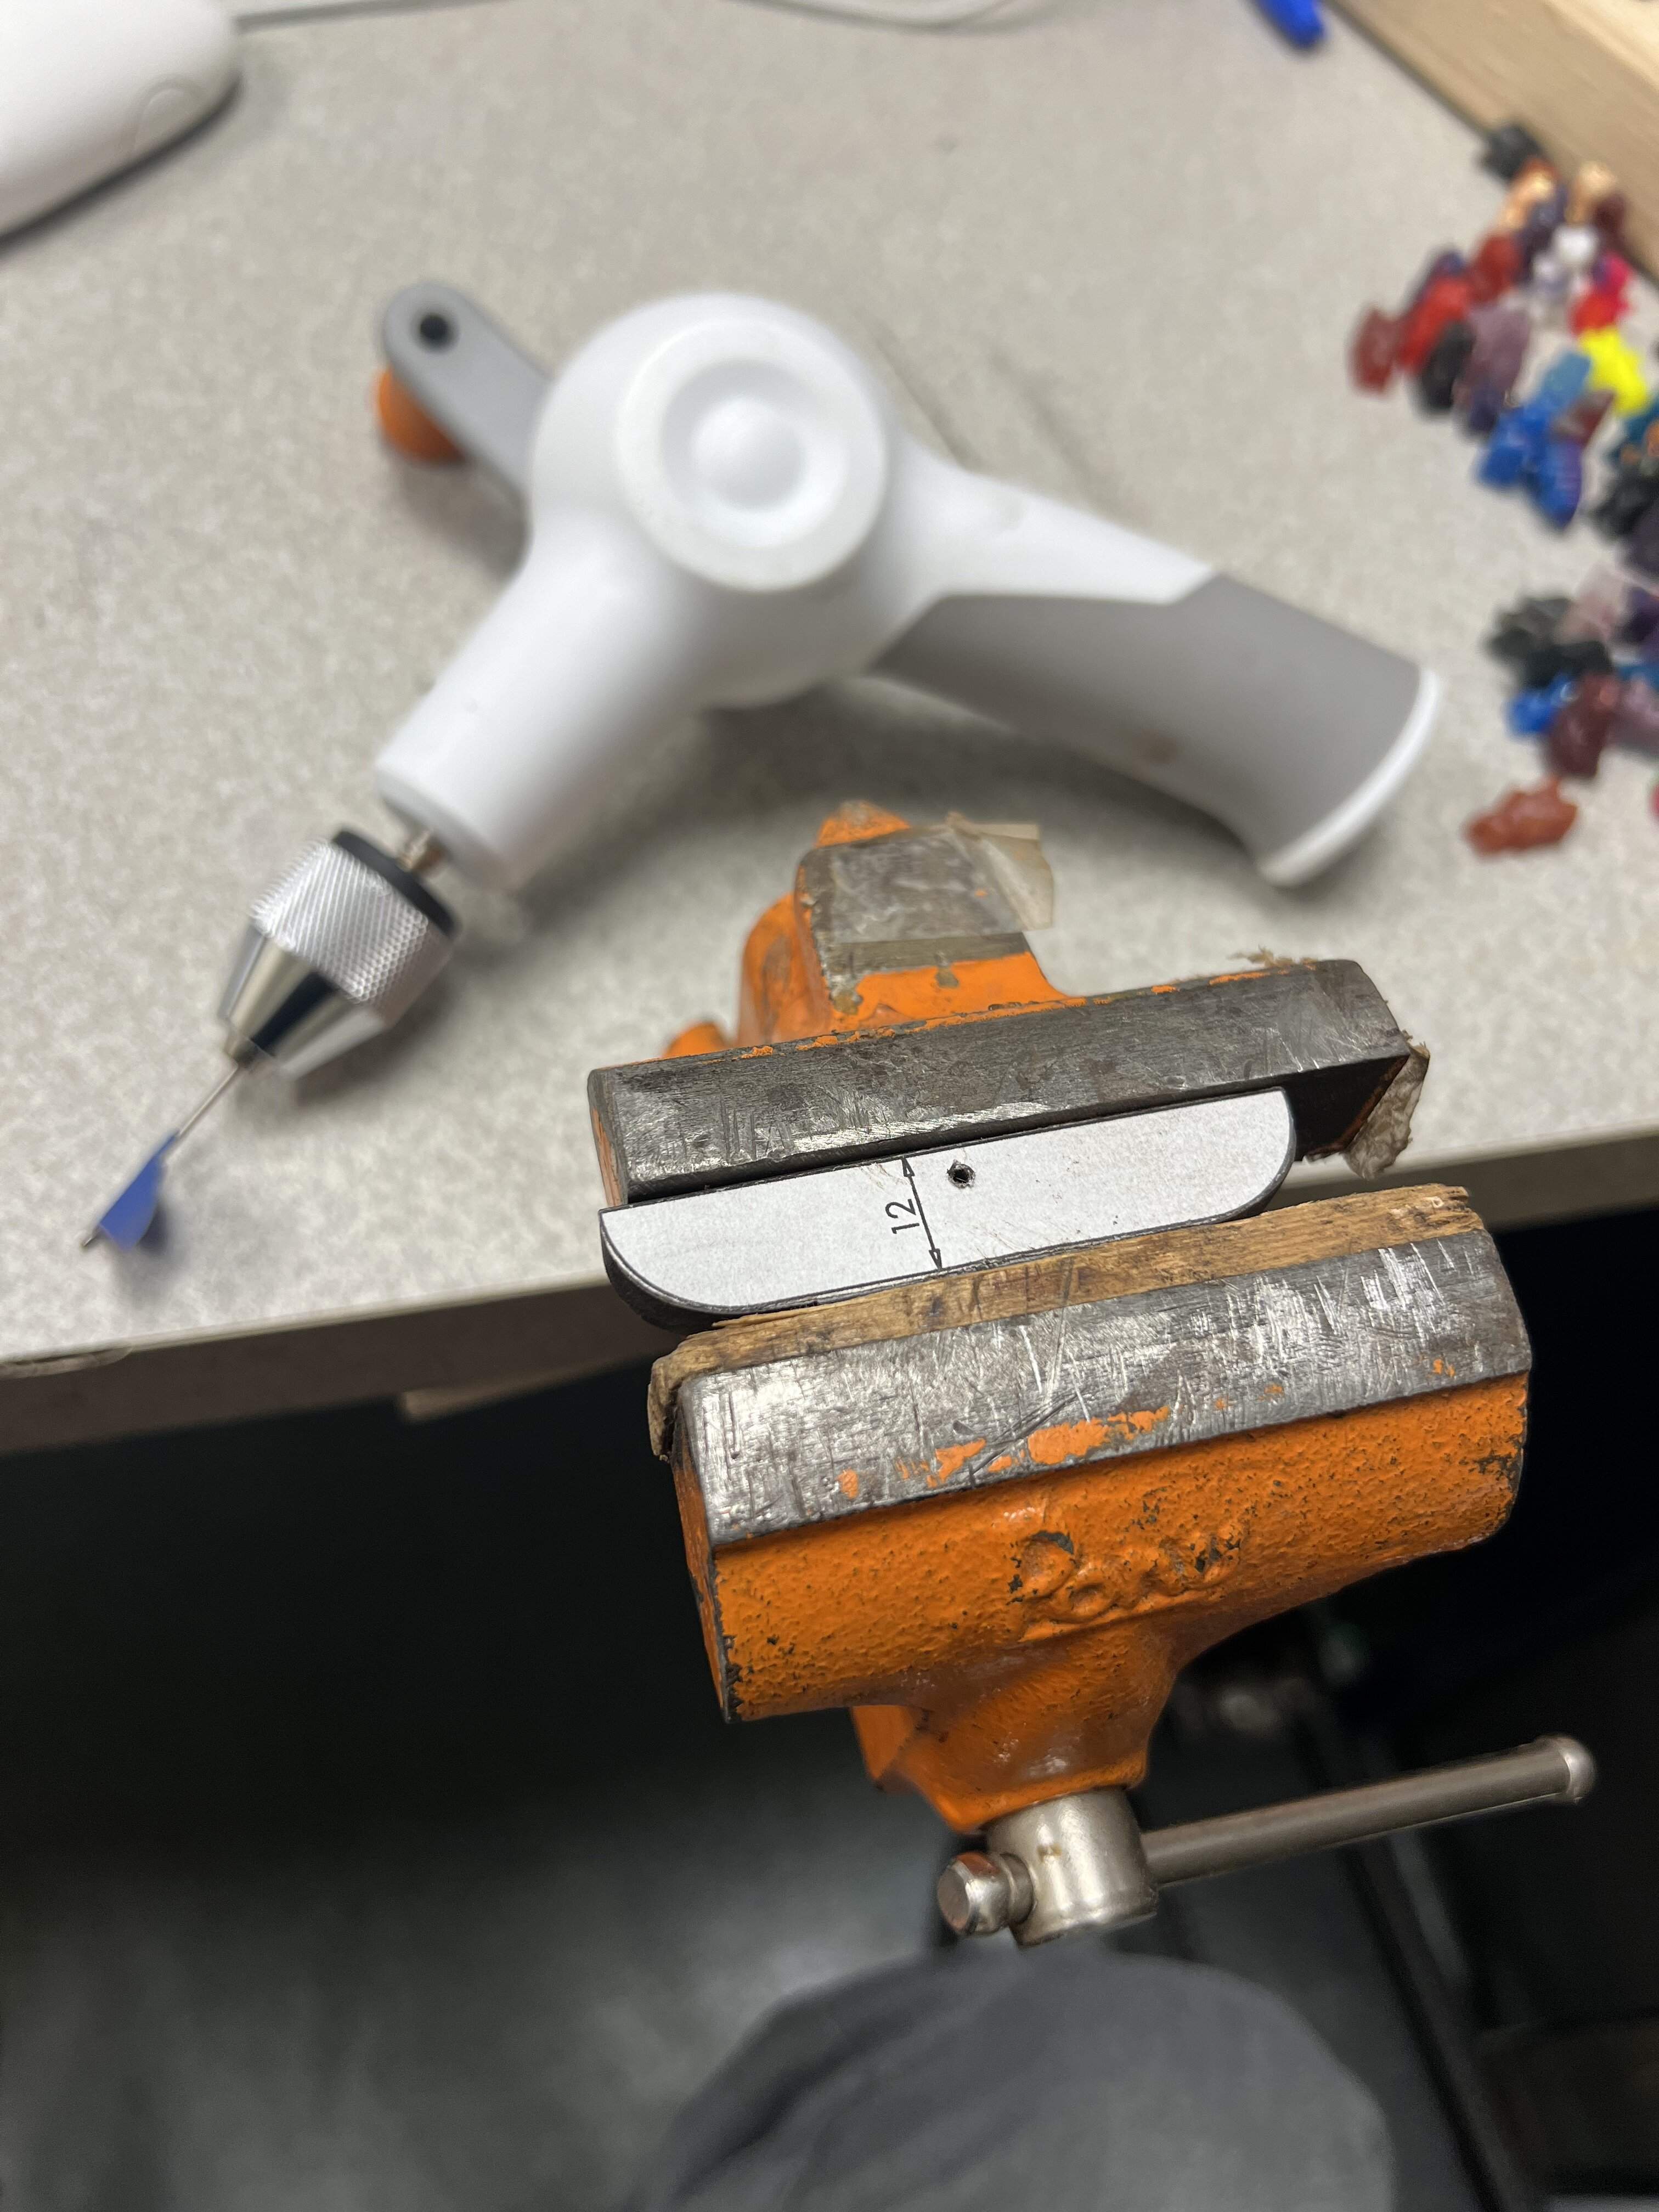
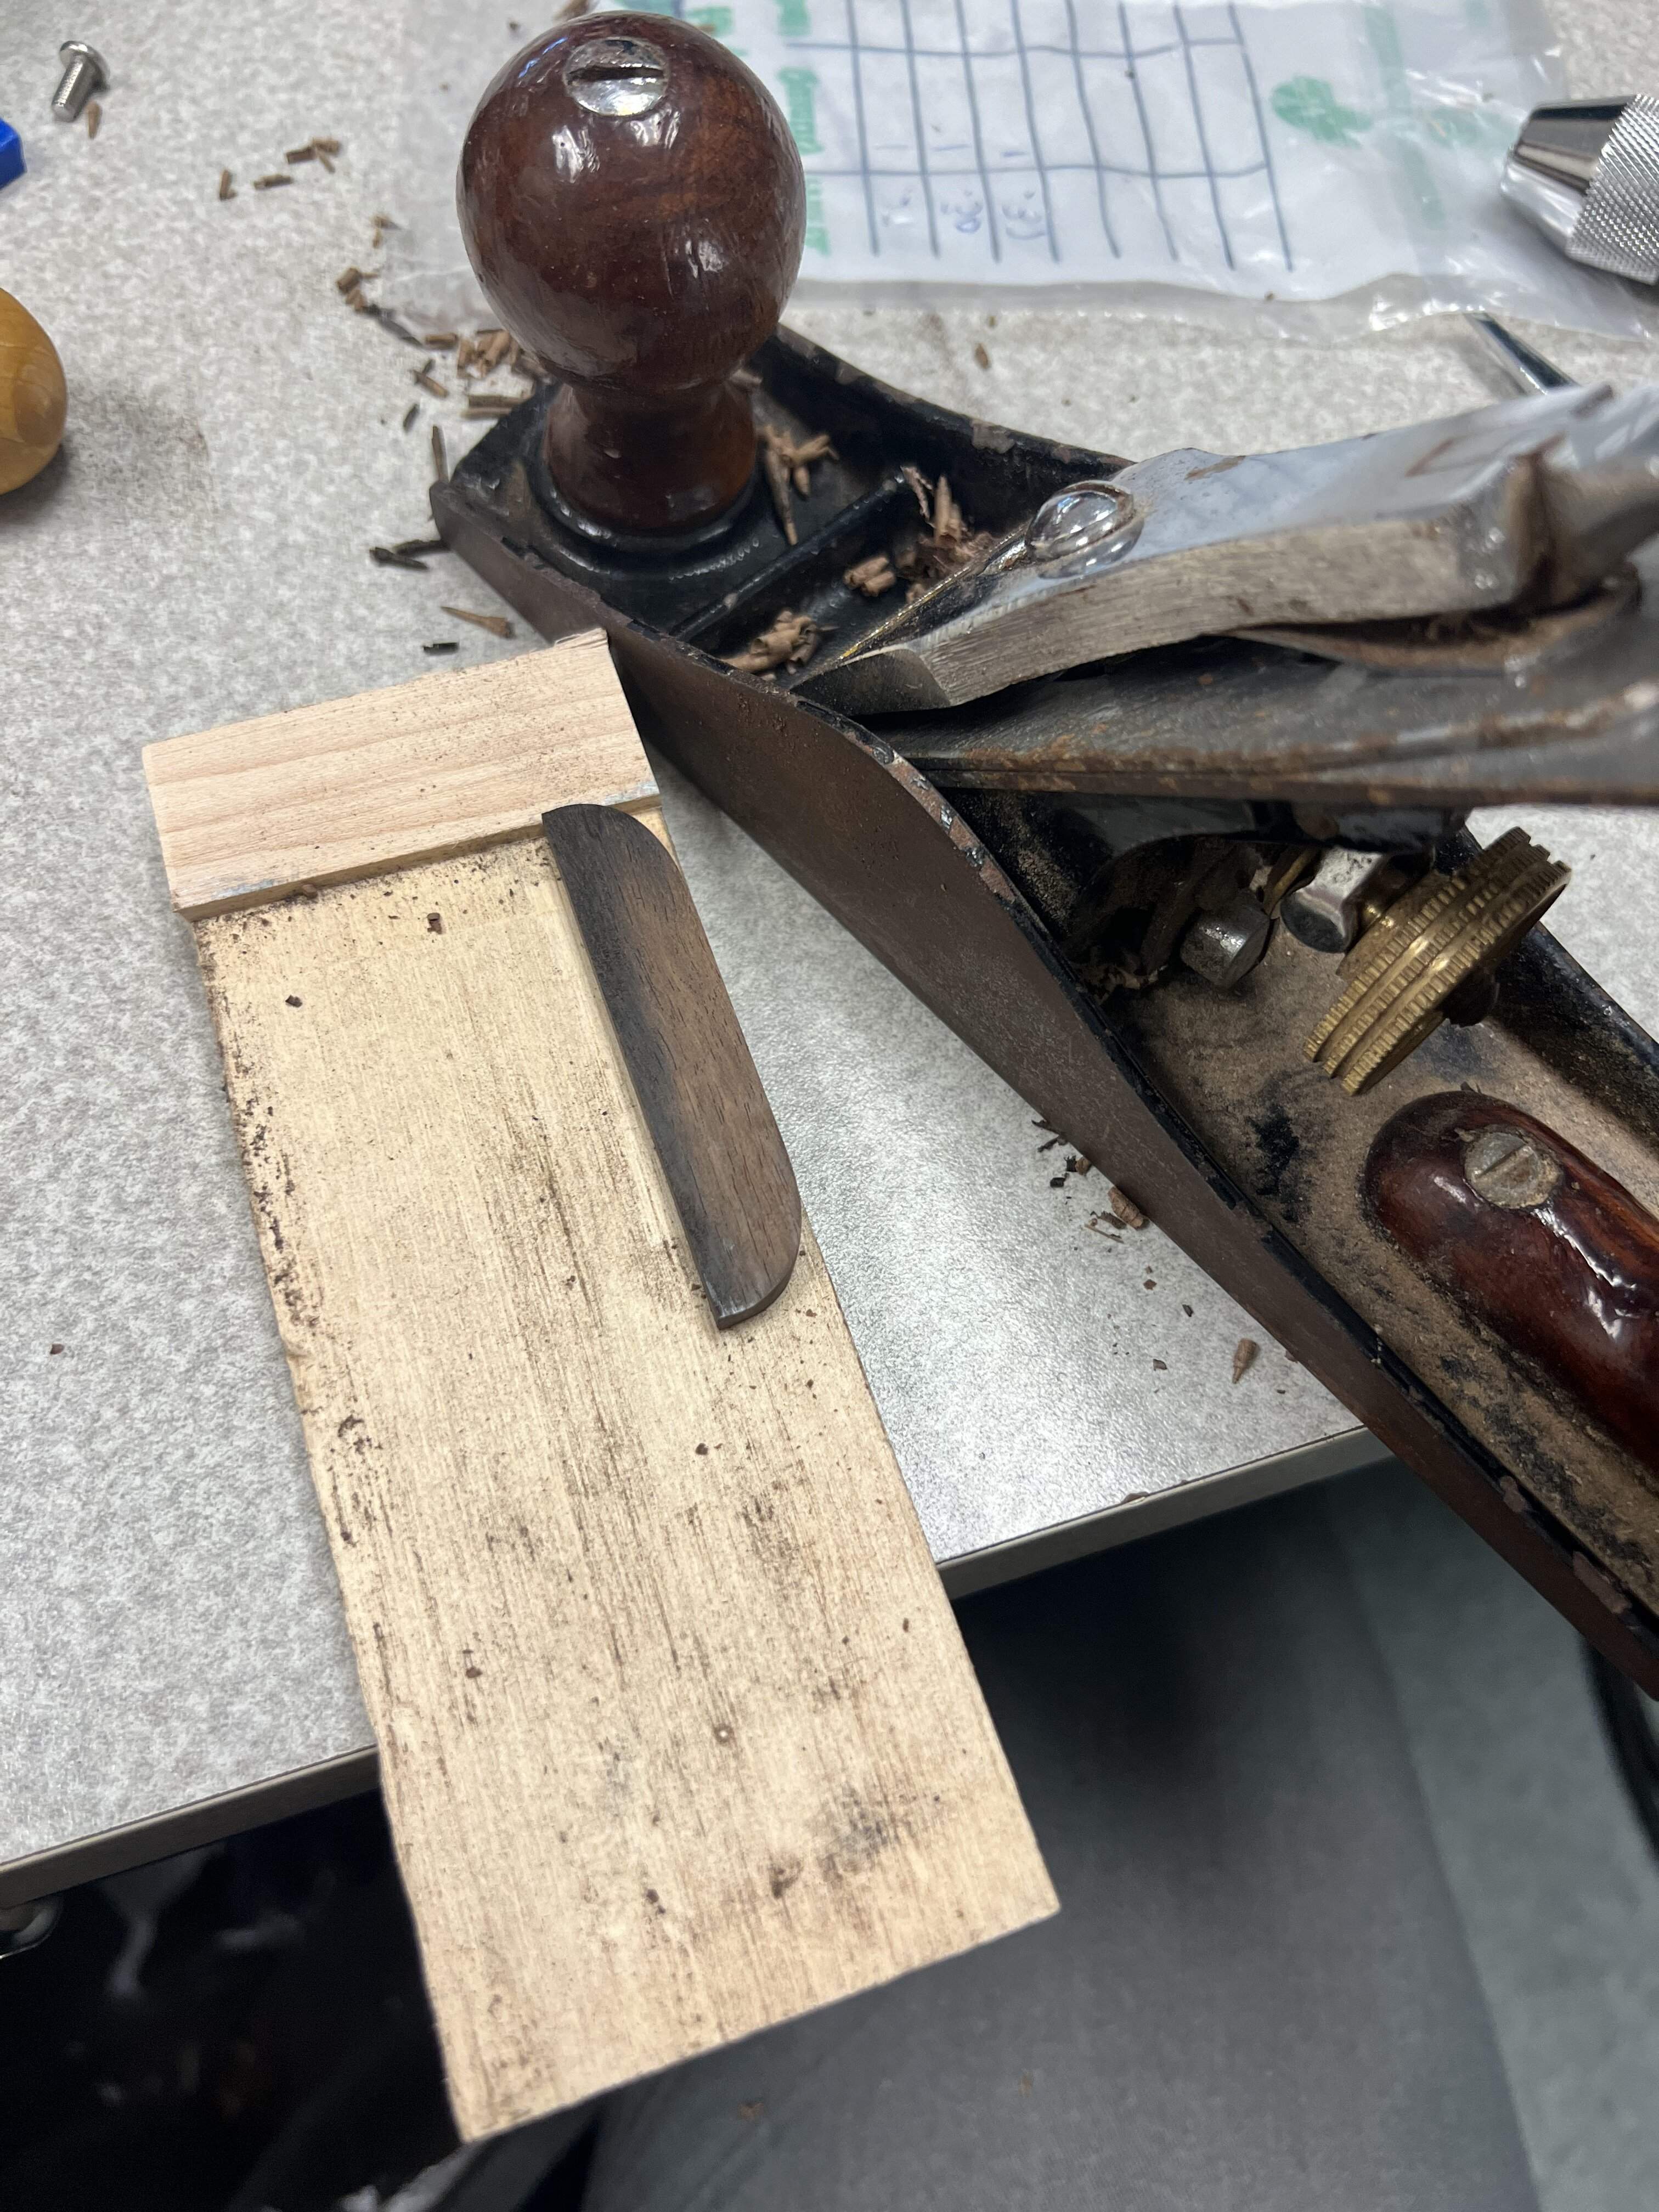
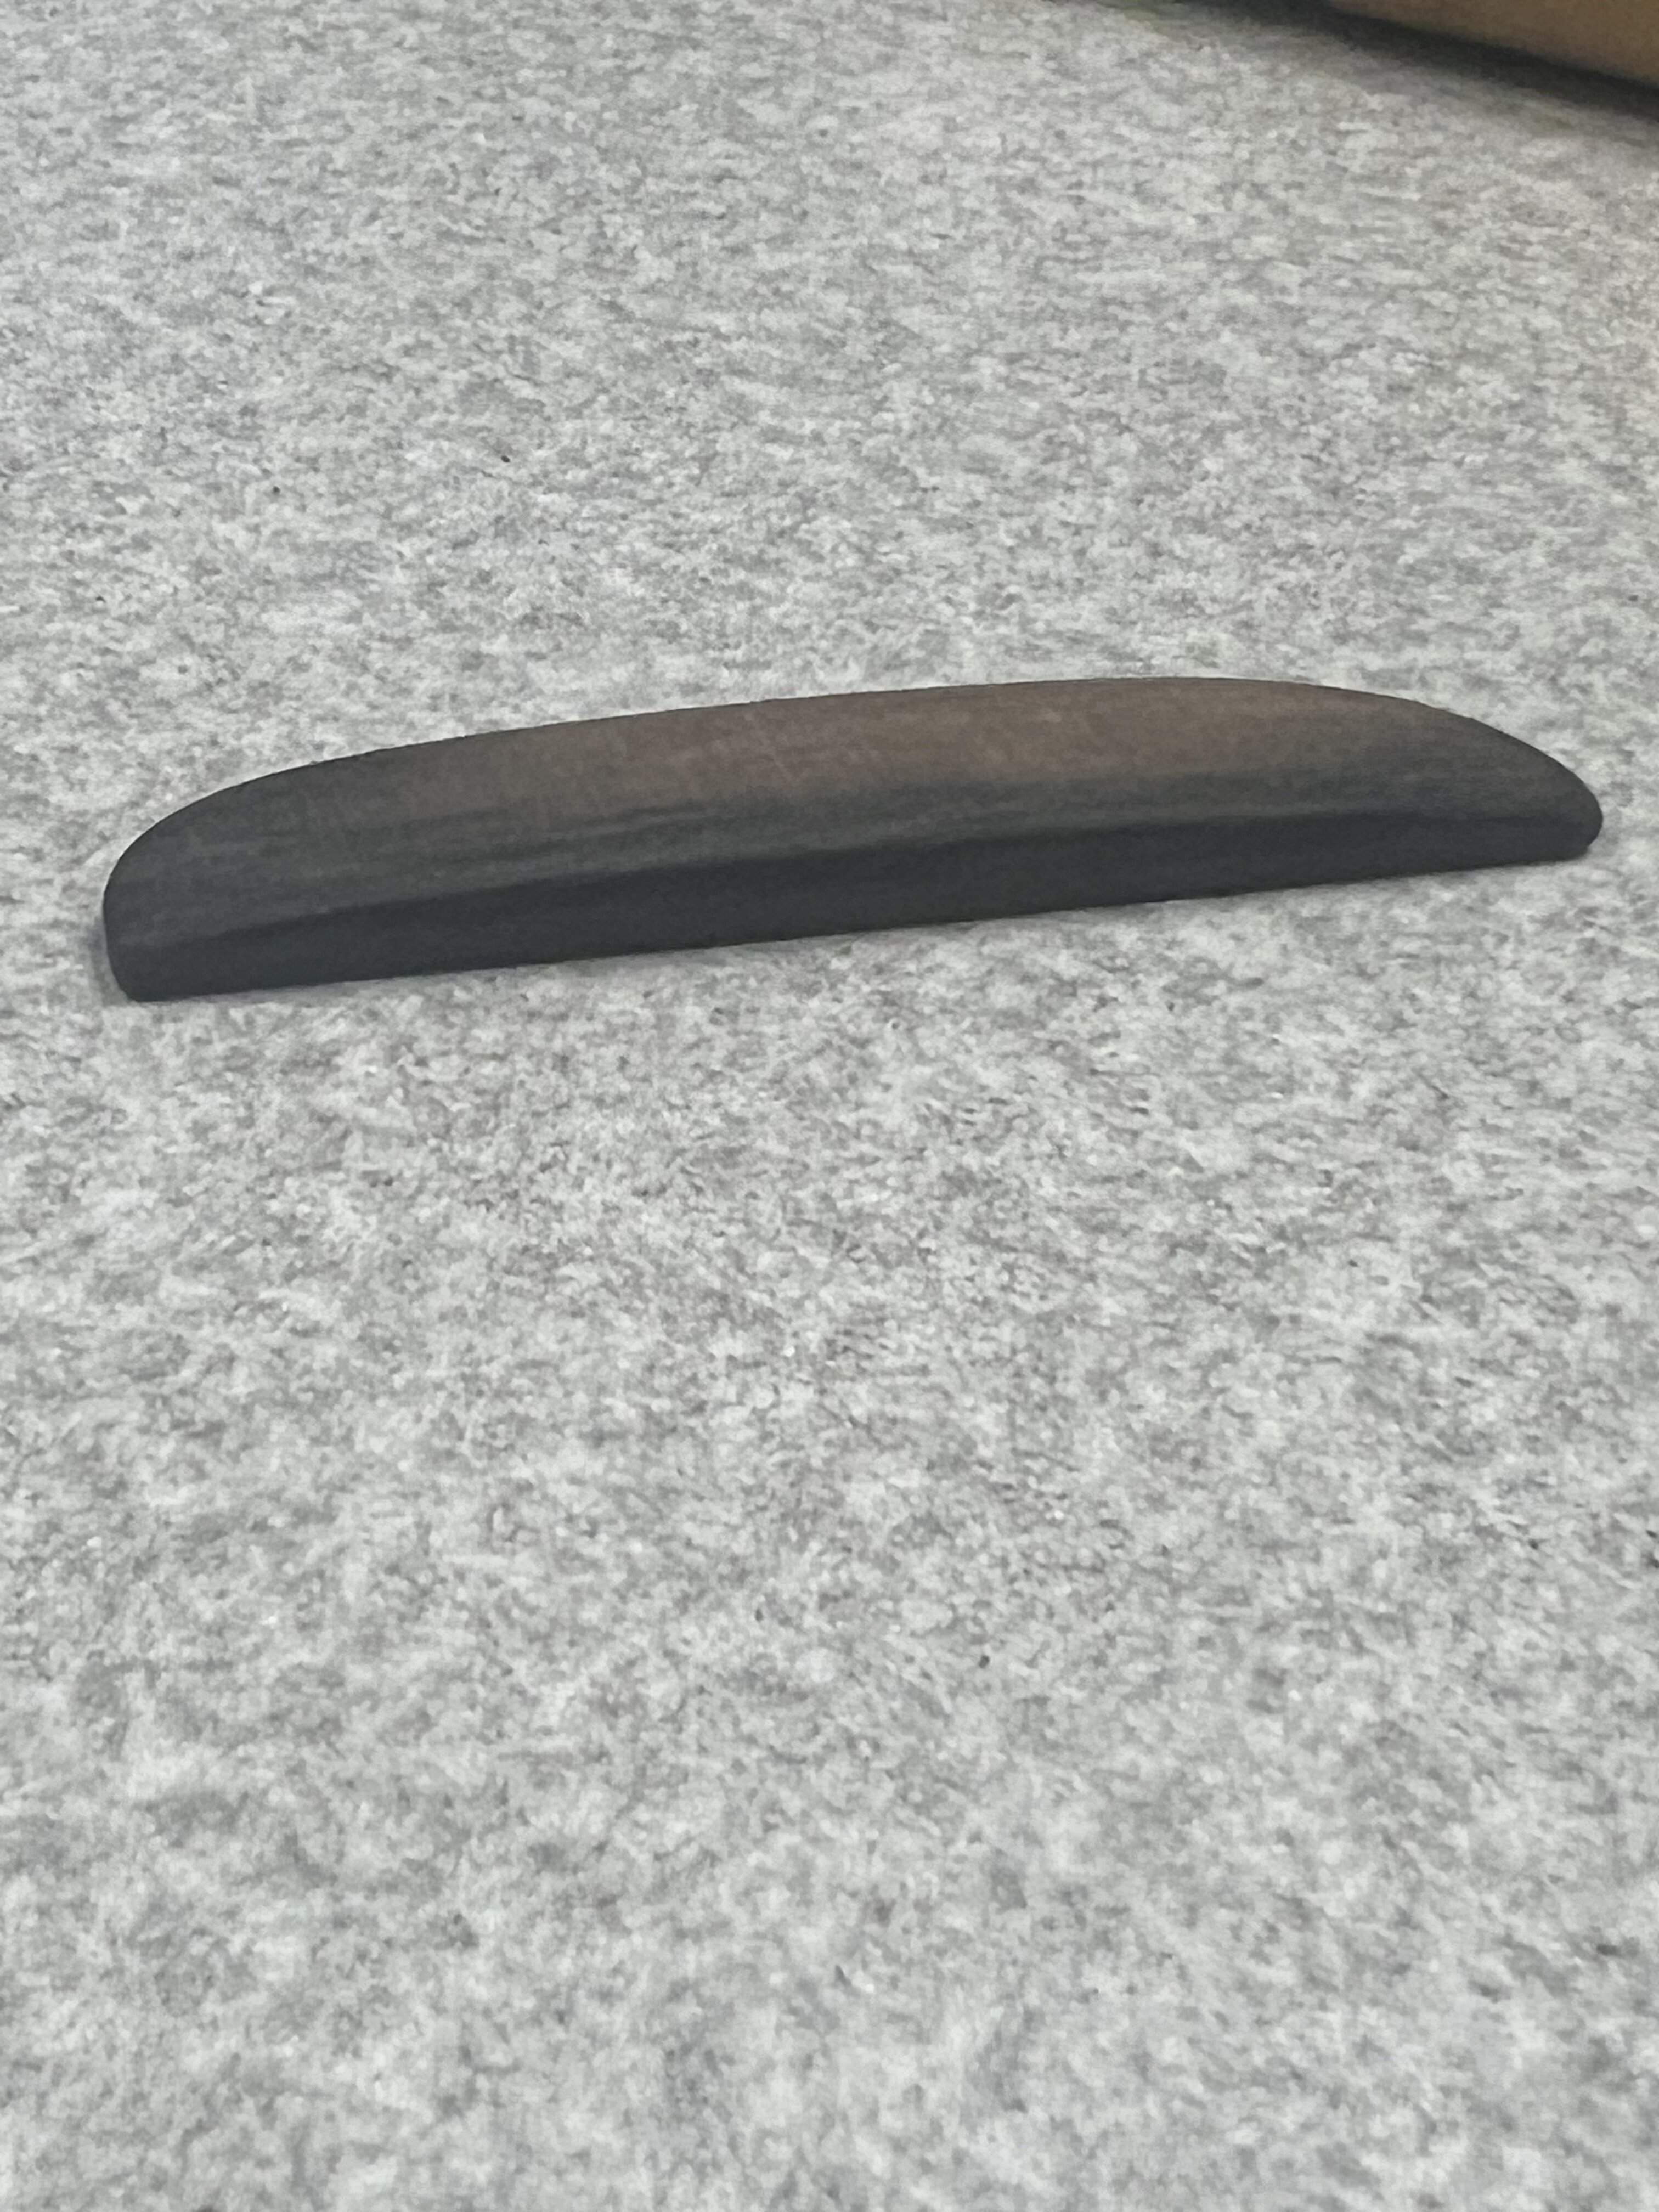
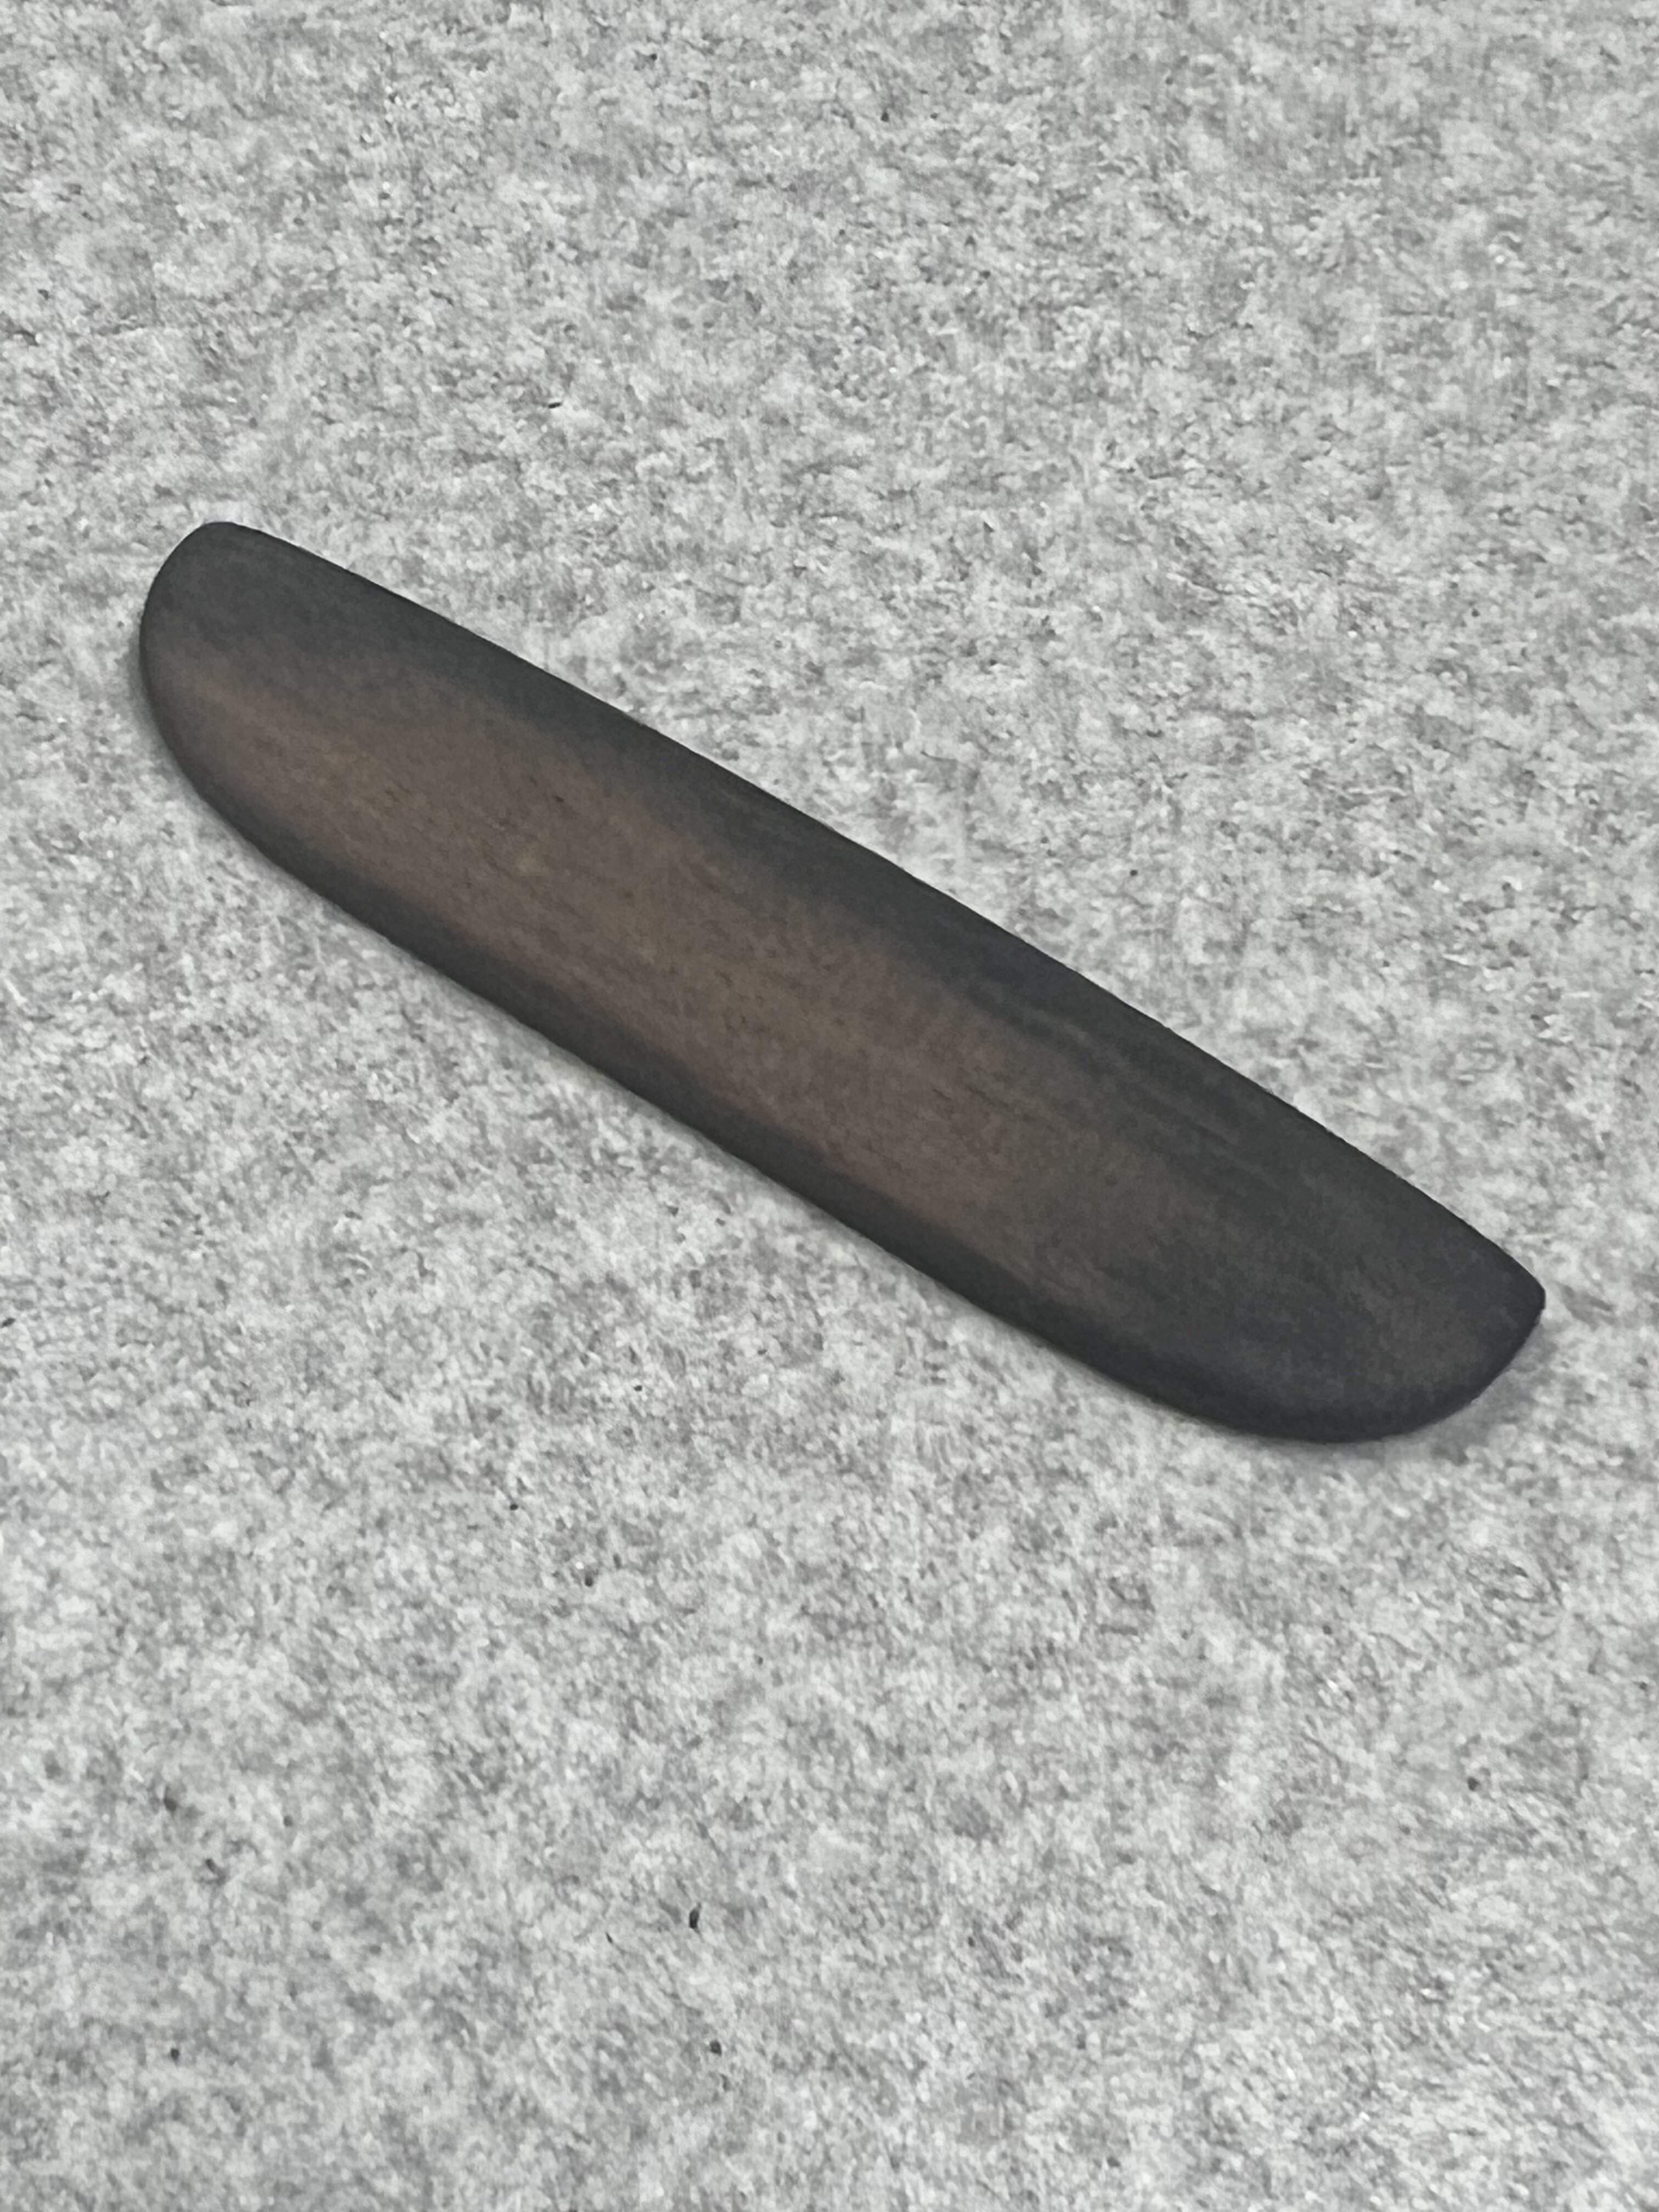
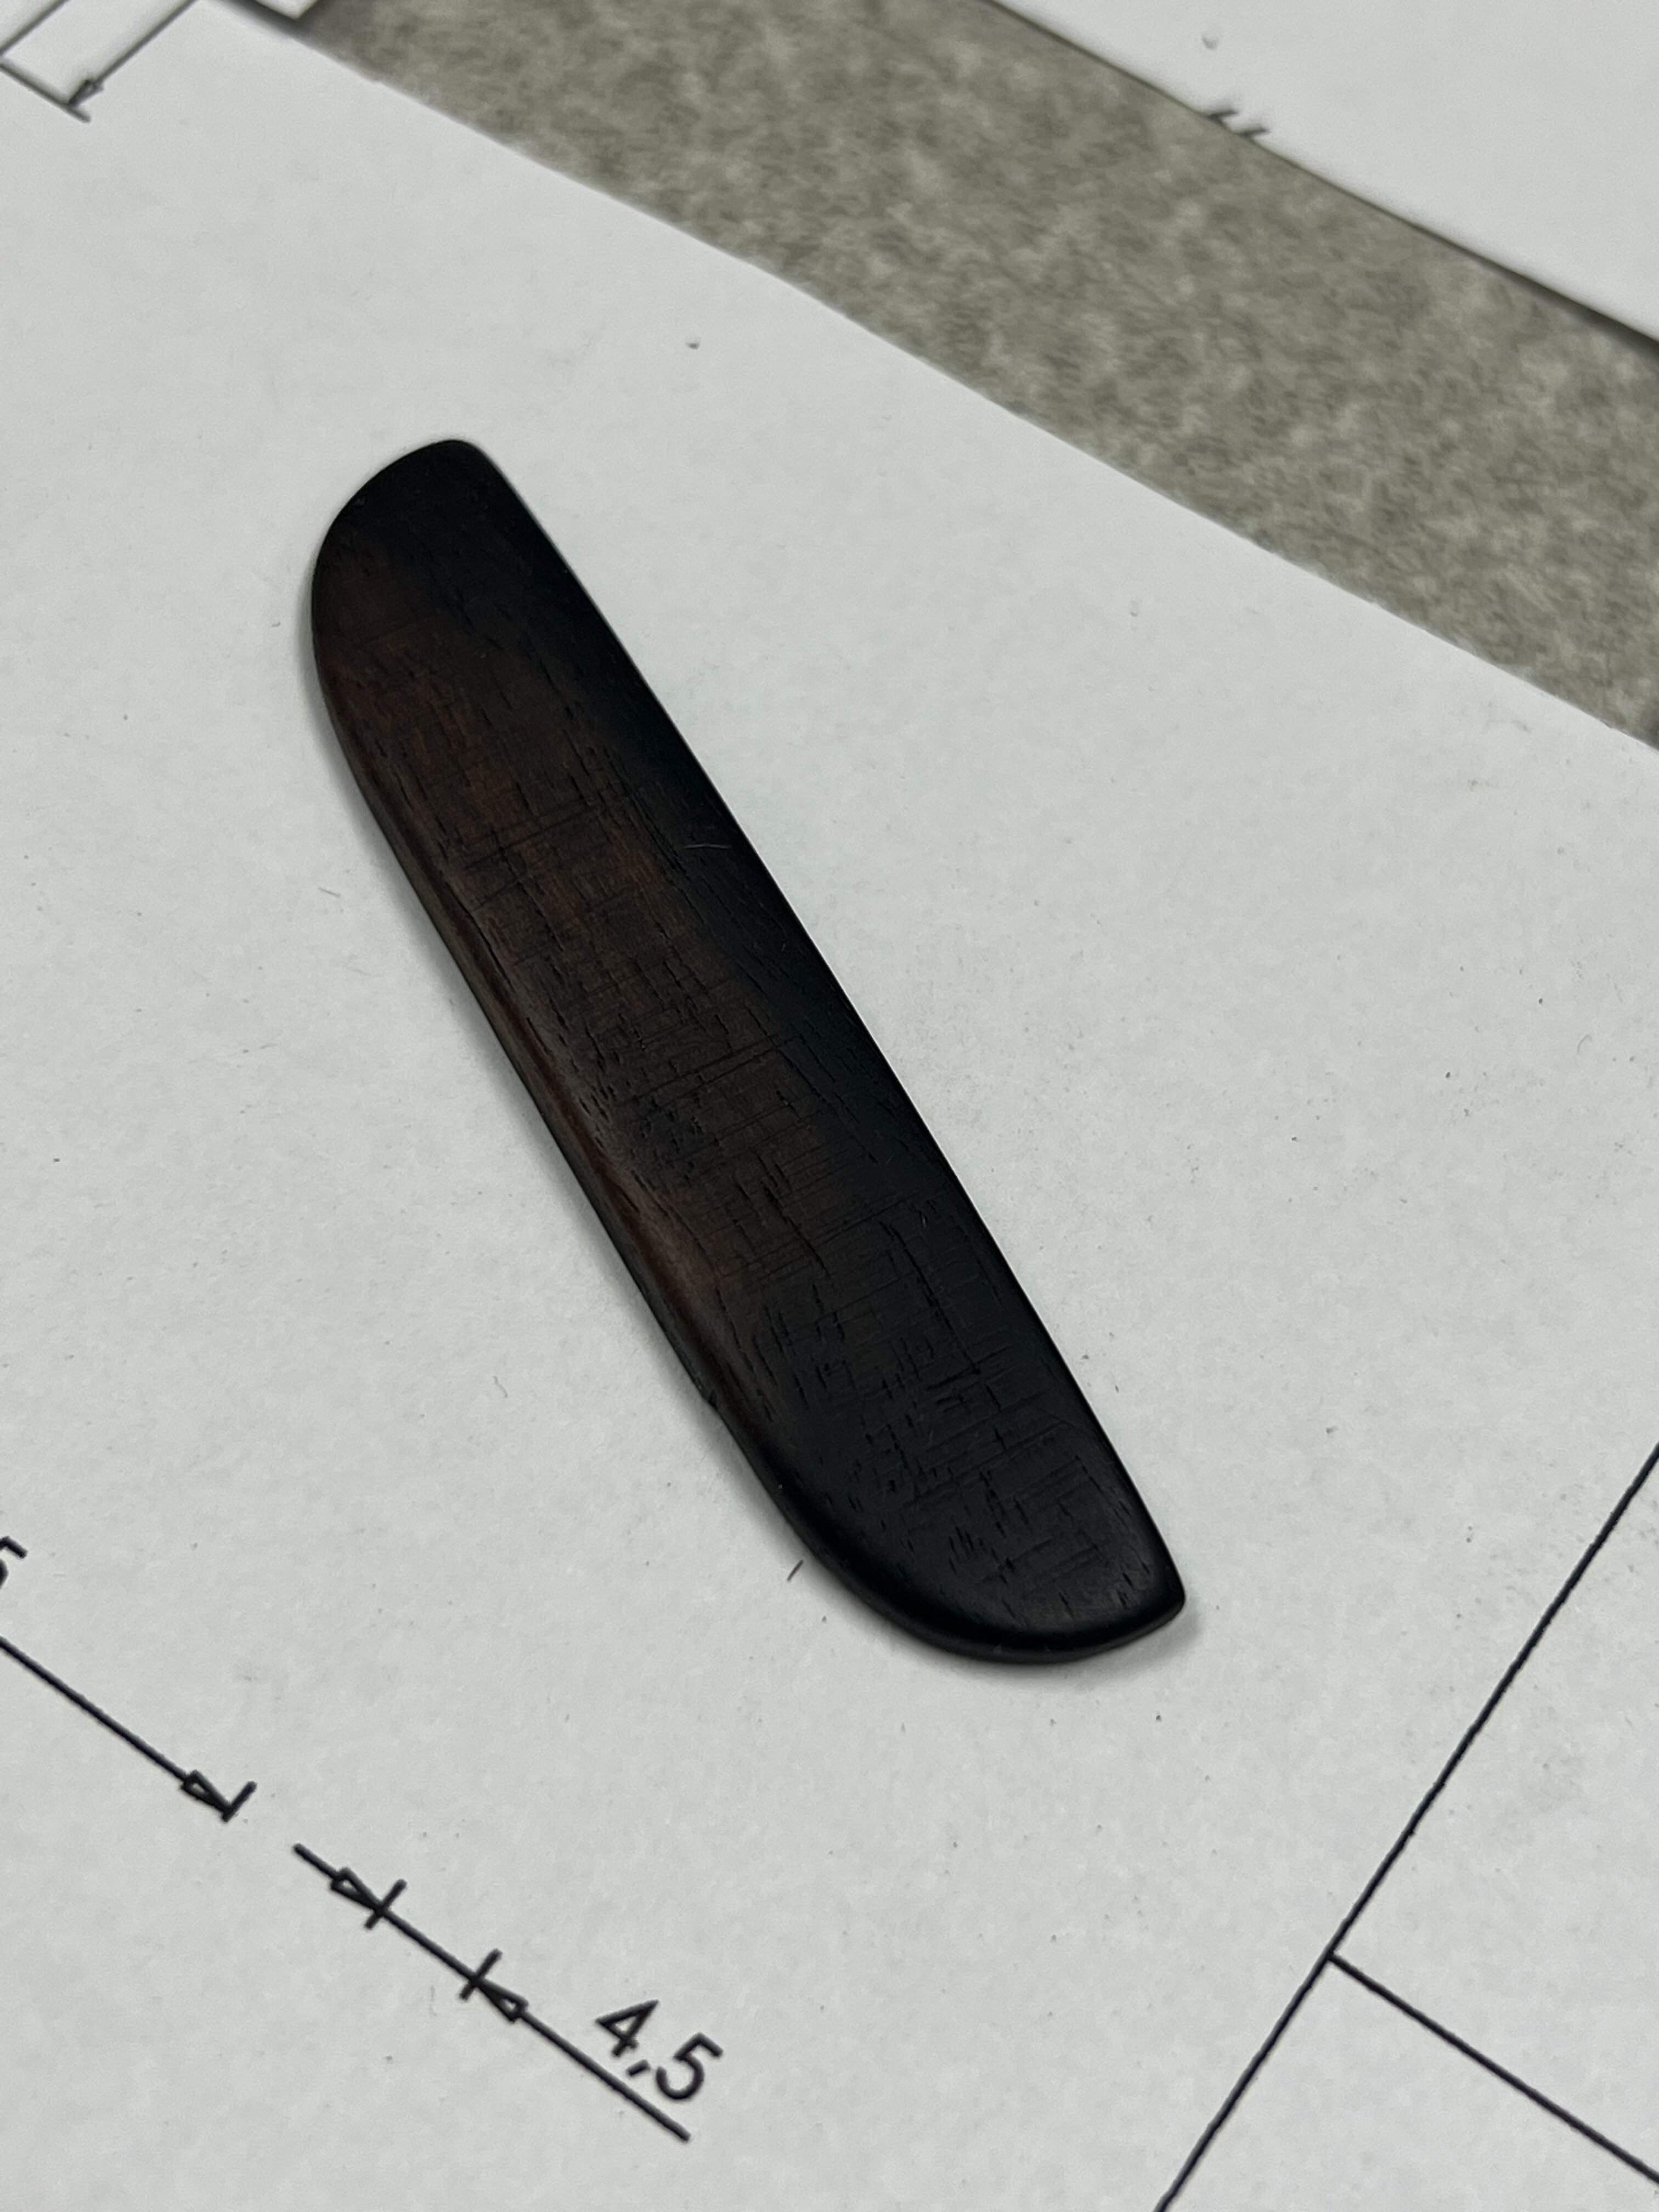
That was a fun little project, I did it on my lunch break at school. I almost exclusively use hand tools there, the teacher I share an office with is fastidious. Clouds of dust settling everywhere wouldn’t be appreciated. Violin repairs tend to be light on power tools anyway, it’s a very quiet luthiery.
I still have a lot of polishing to do on the bridge, but the back side kept some of the words that were stamped into the table saw insert I made it out of. I’ll keep that side as is, kind of neat.
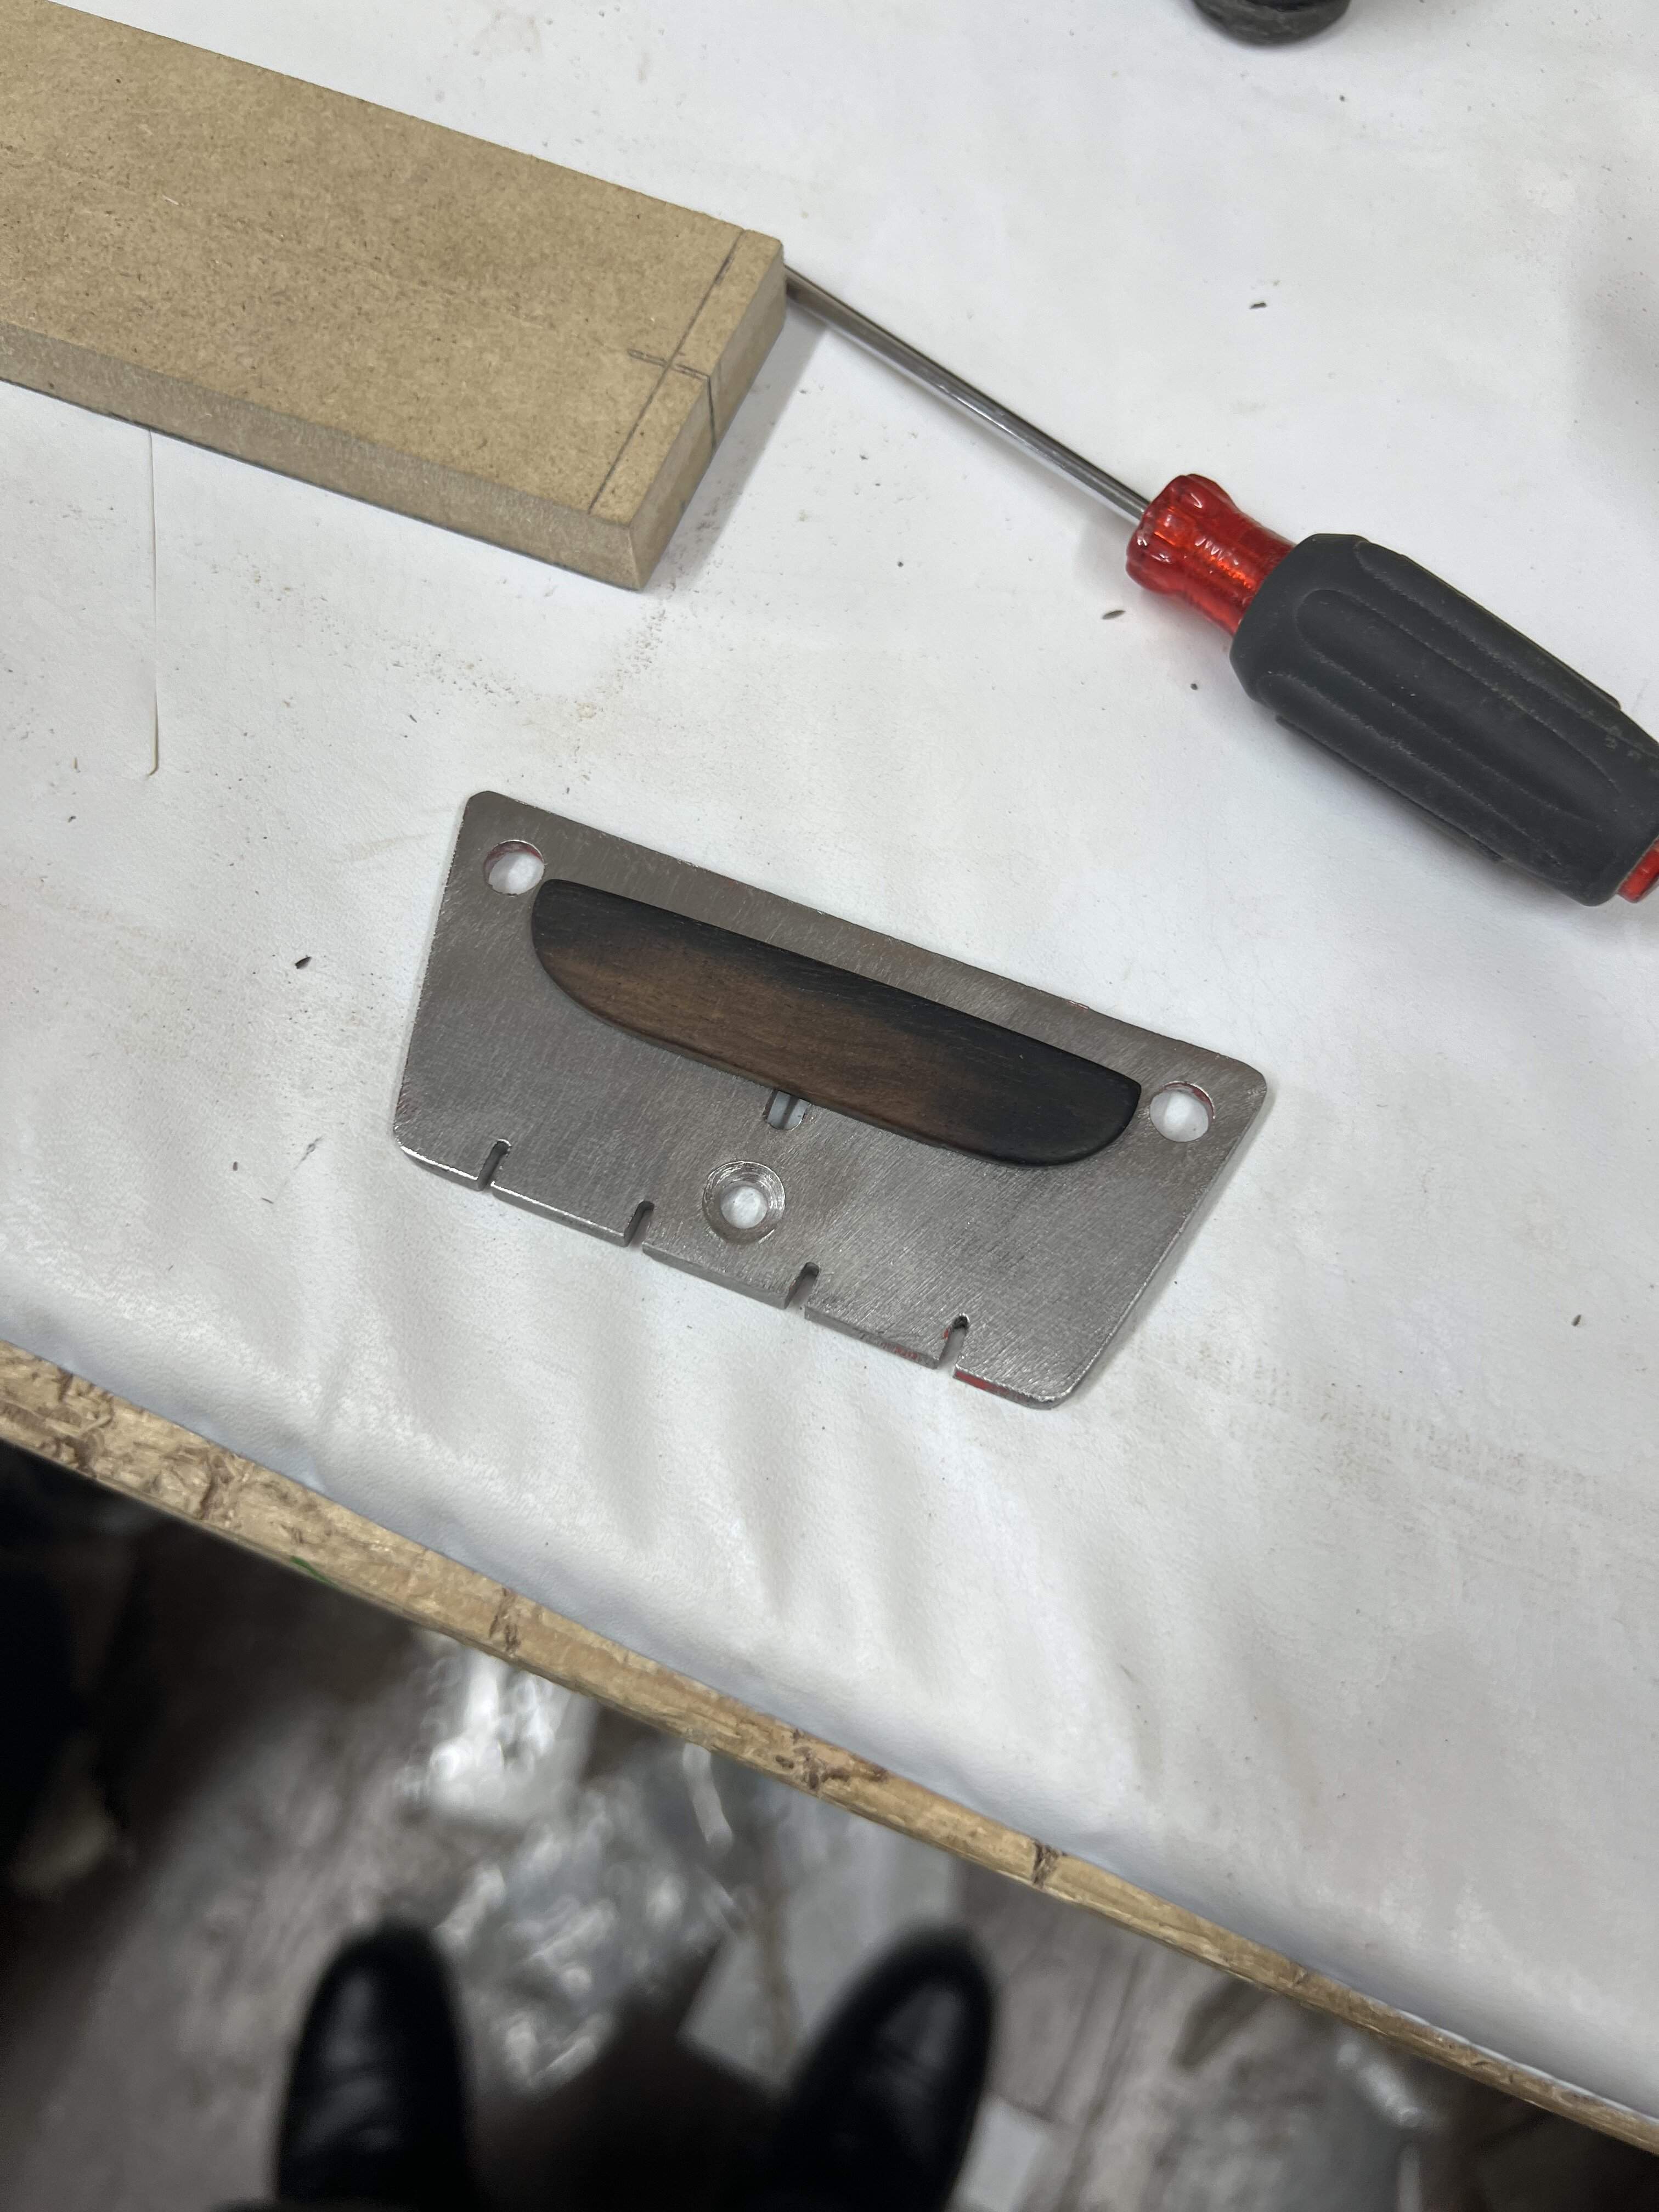
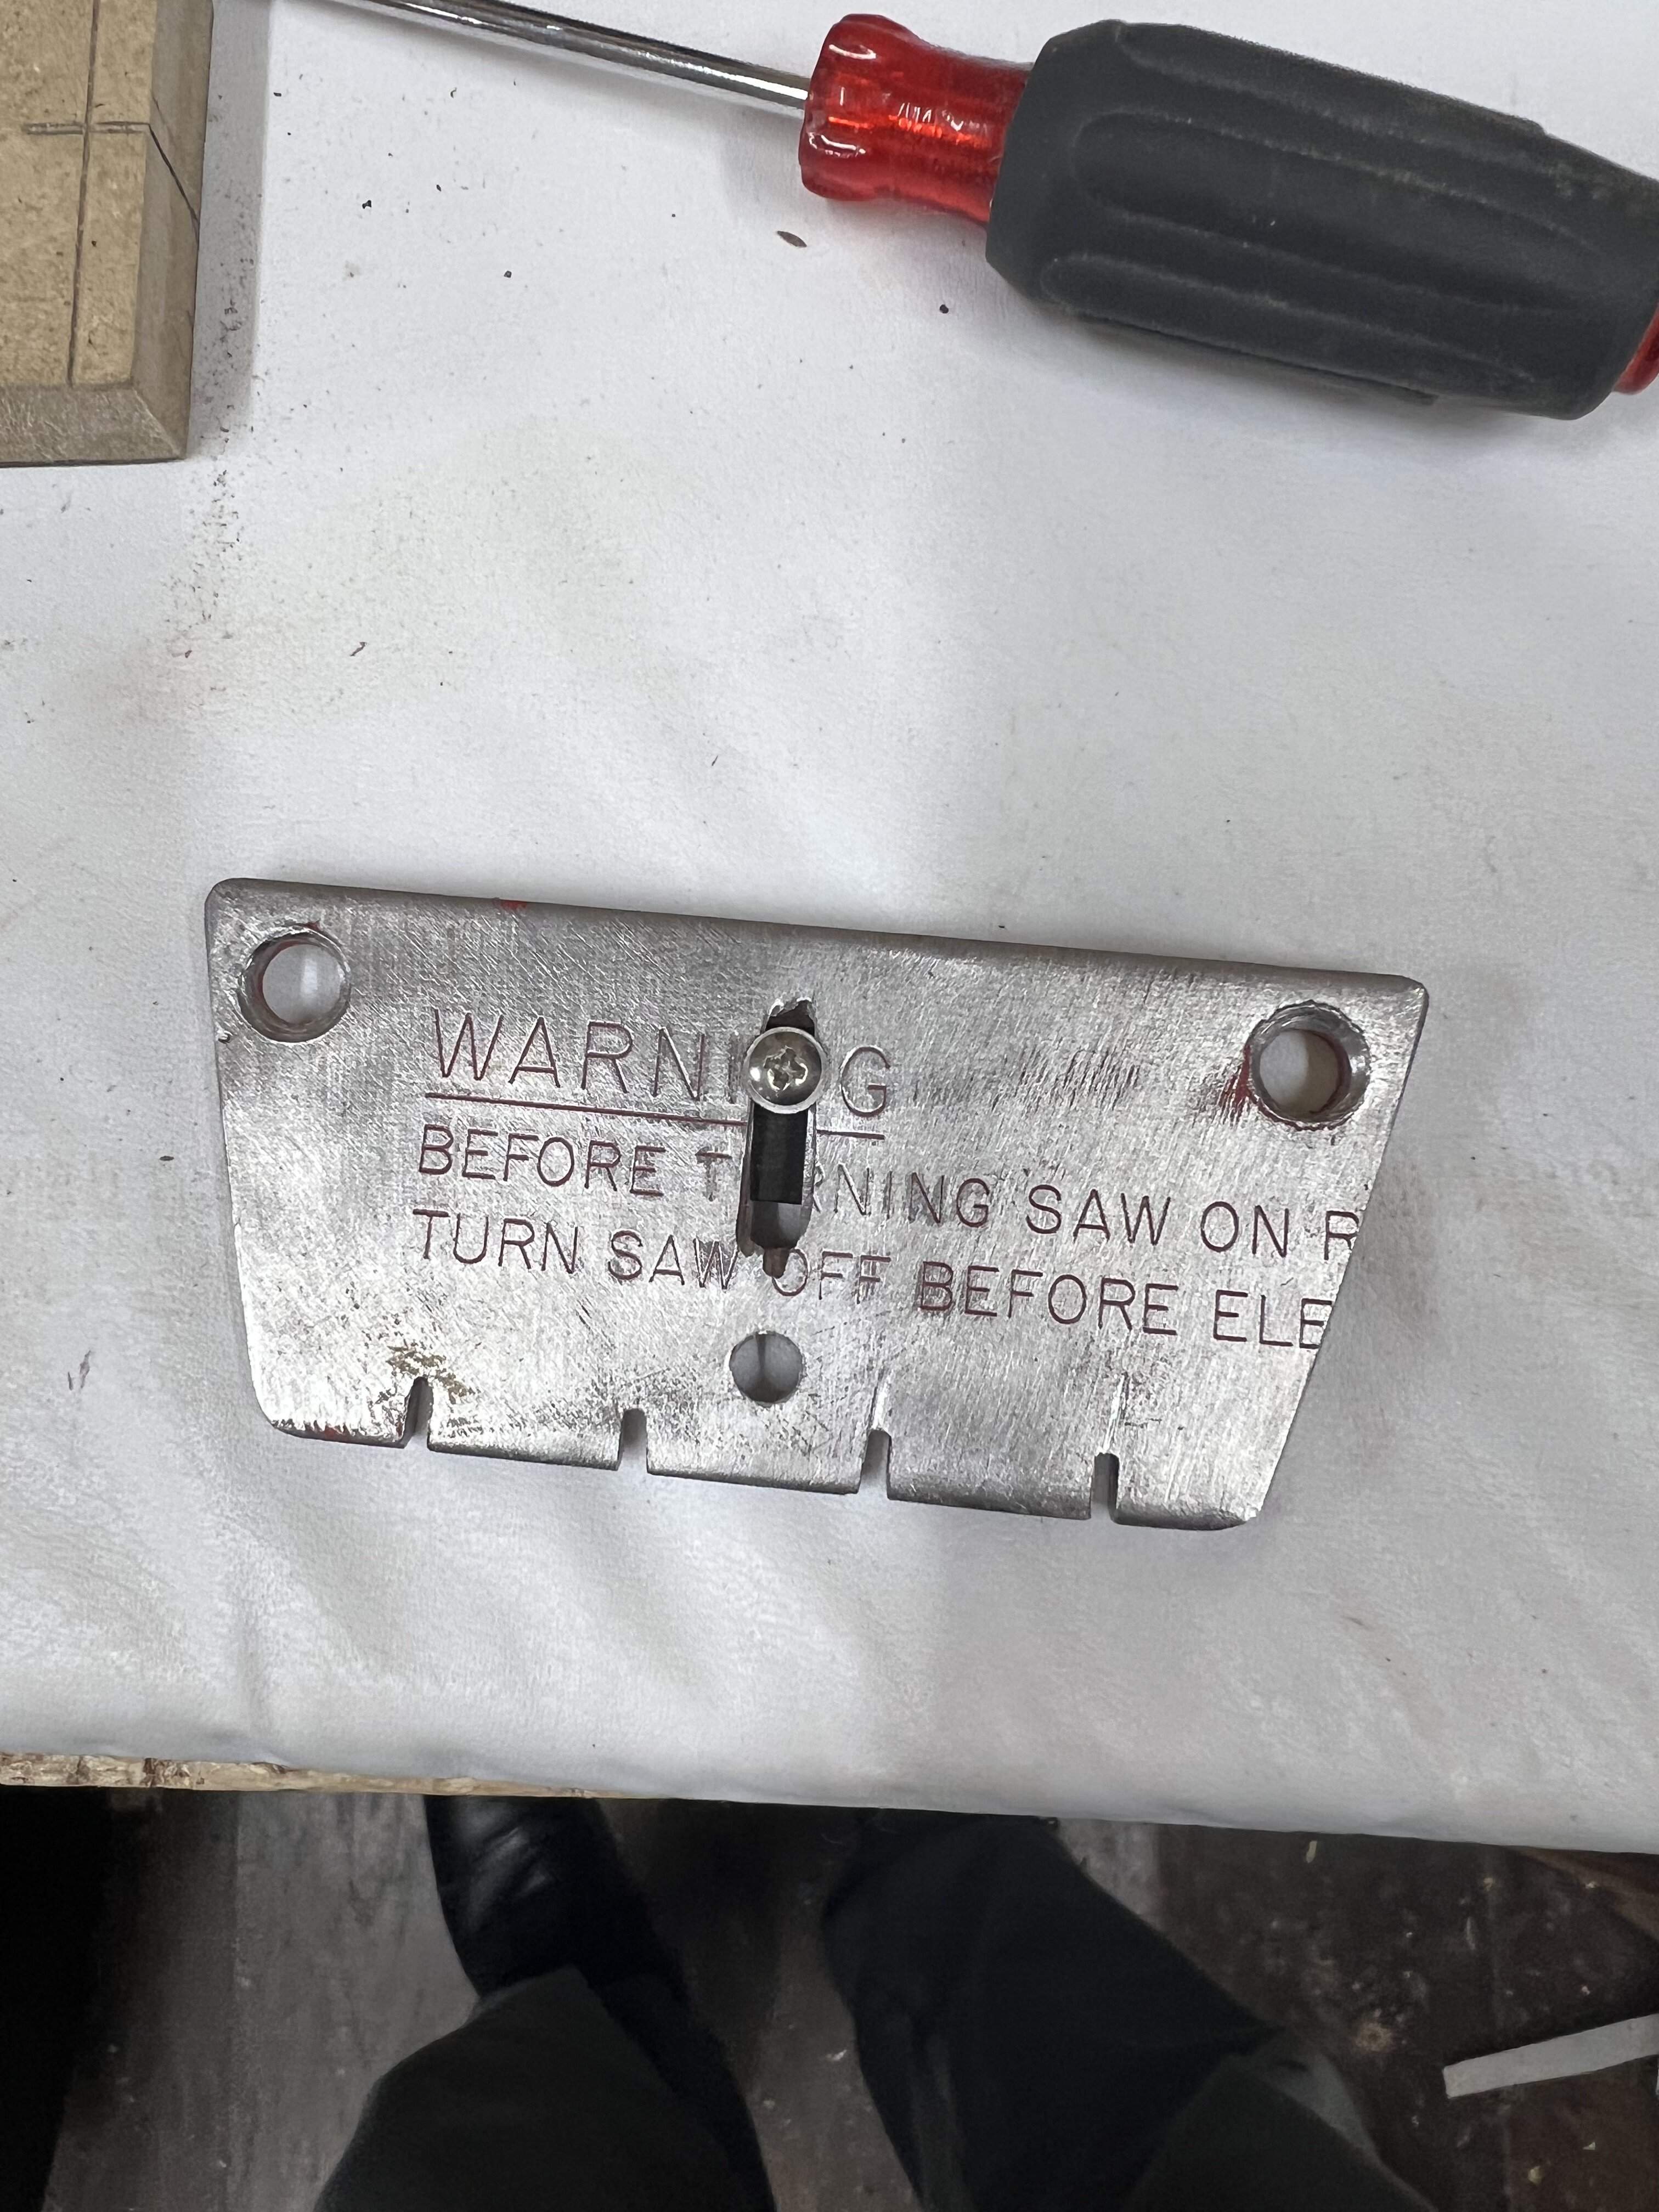
I still have a lot of polishing to do on the bridge, but the back side kept some of the words that were stamped into the table saw insert I made it out of. I’ll keep that side as is, kind of neat.
Tried the bridge out with some string, looks promising! It’s nice when the things line up.
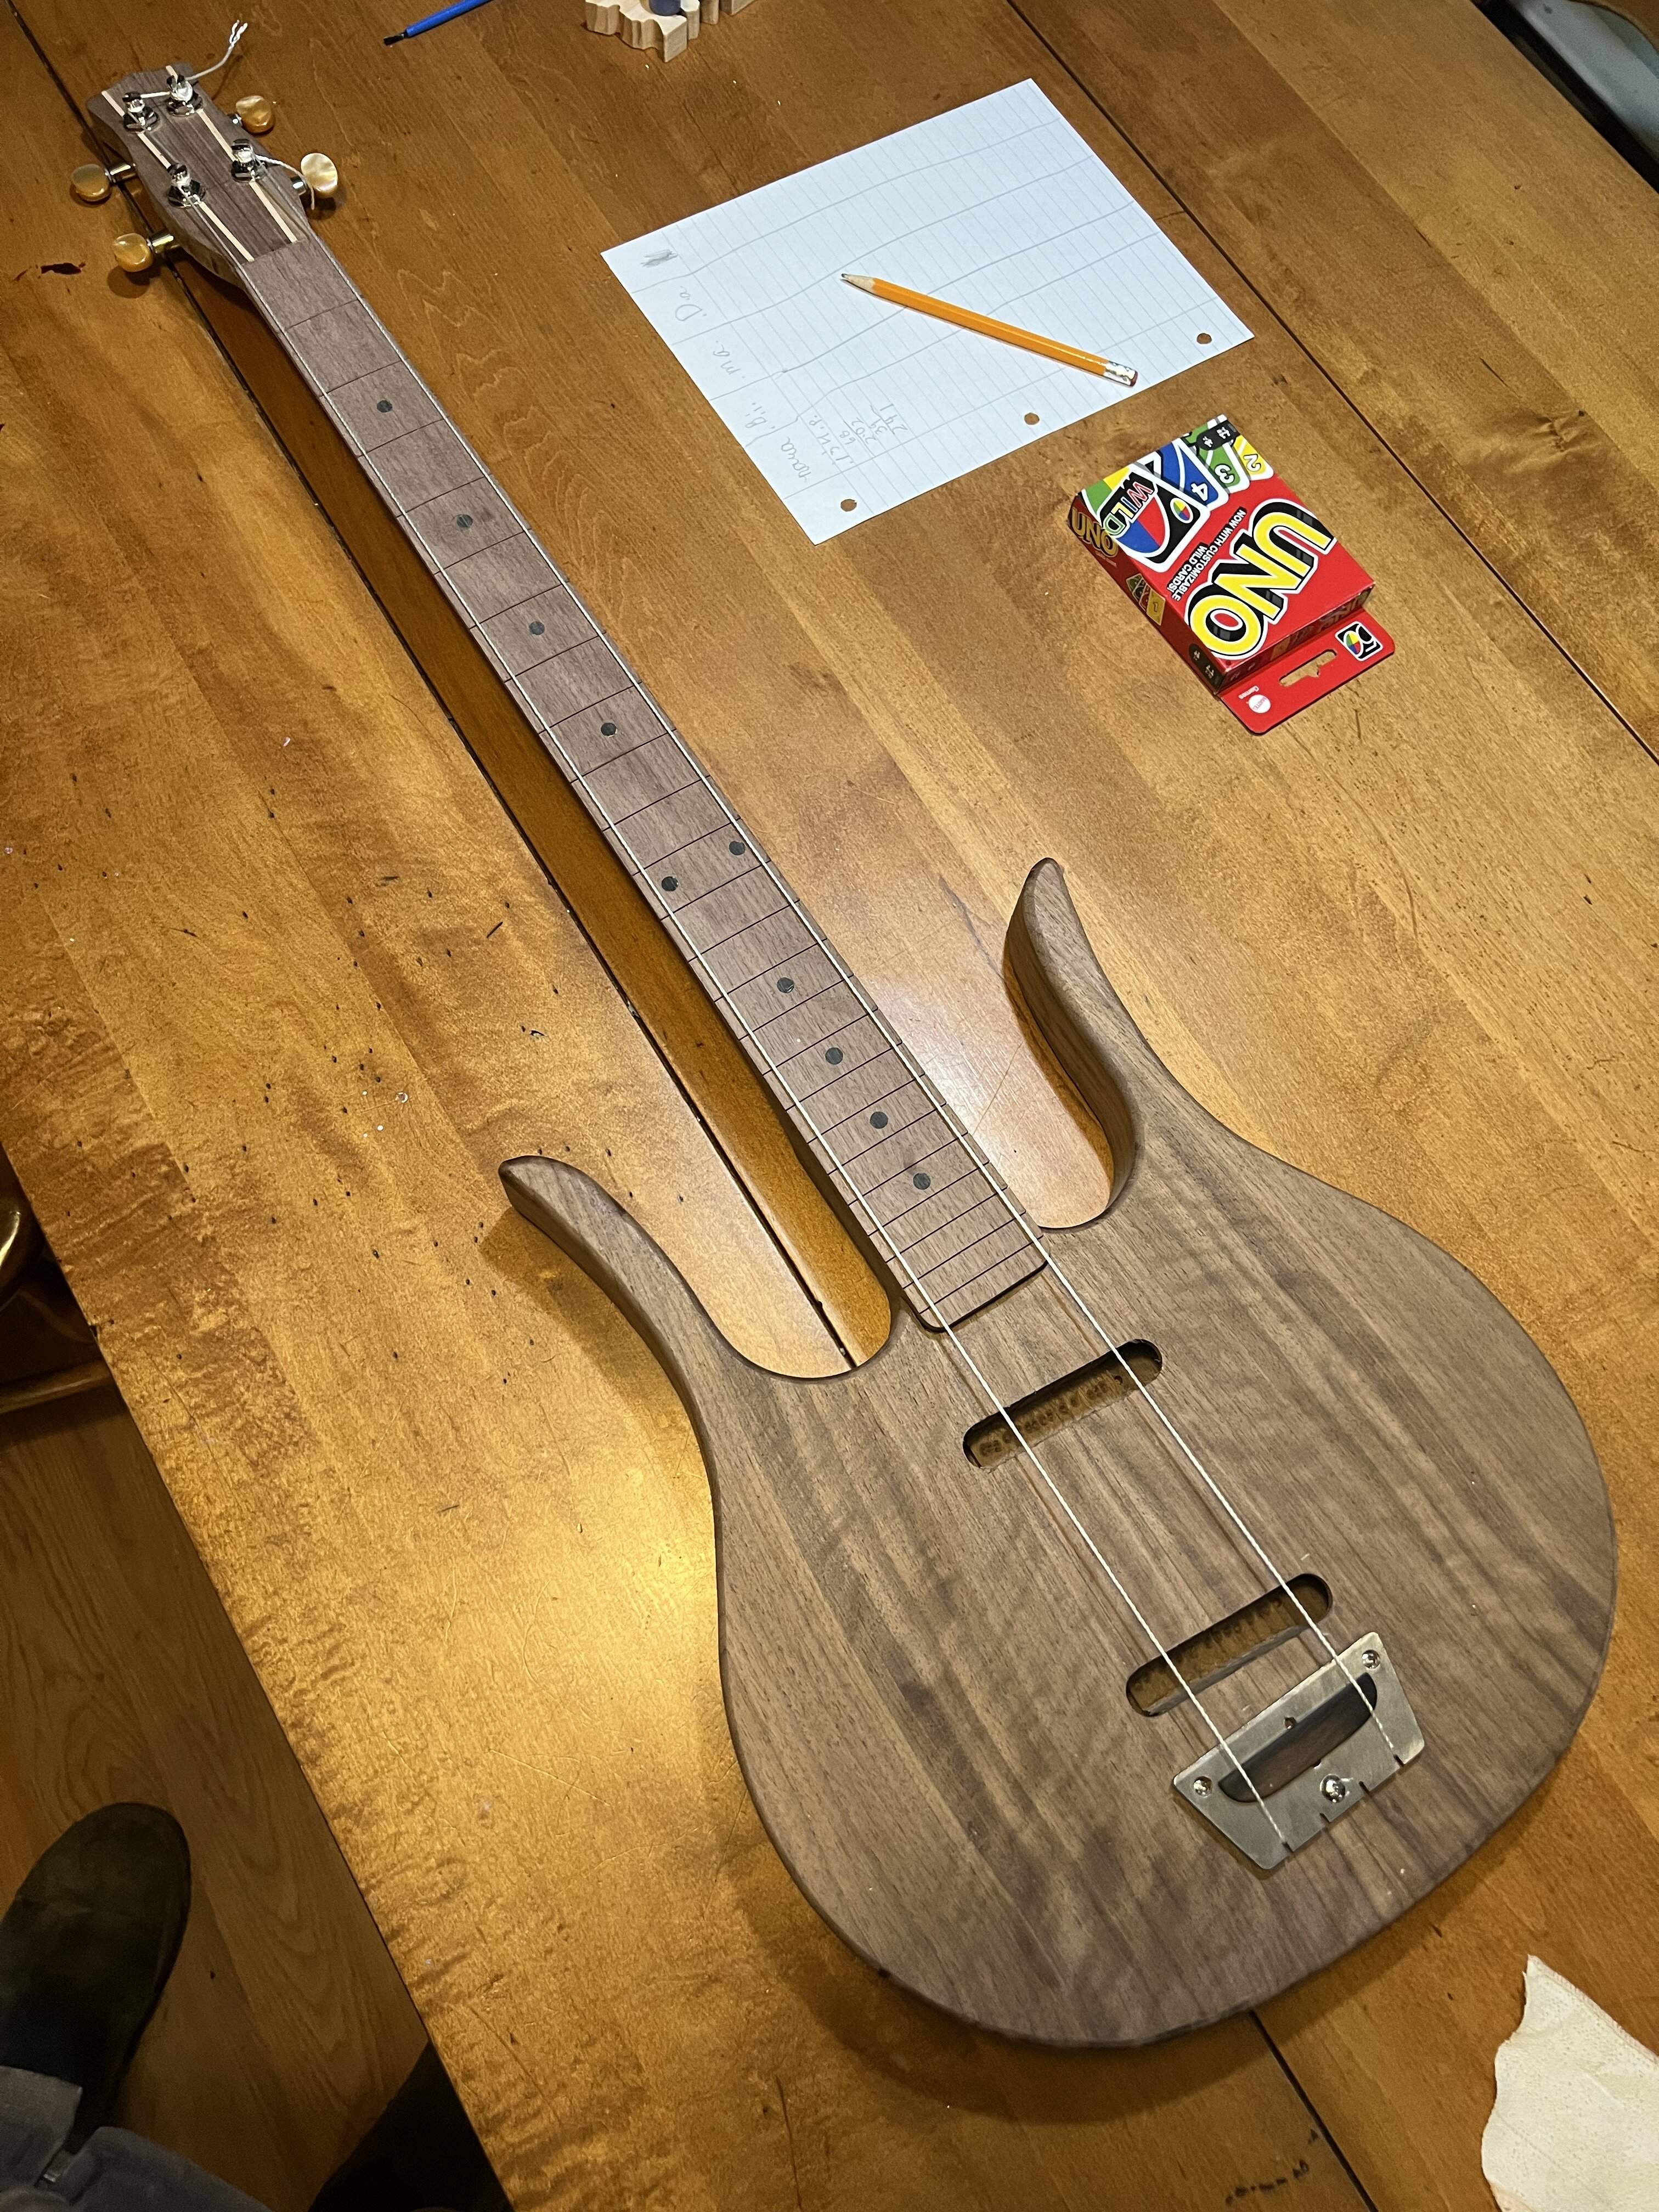
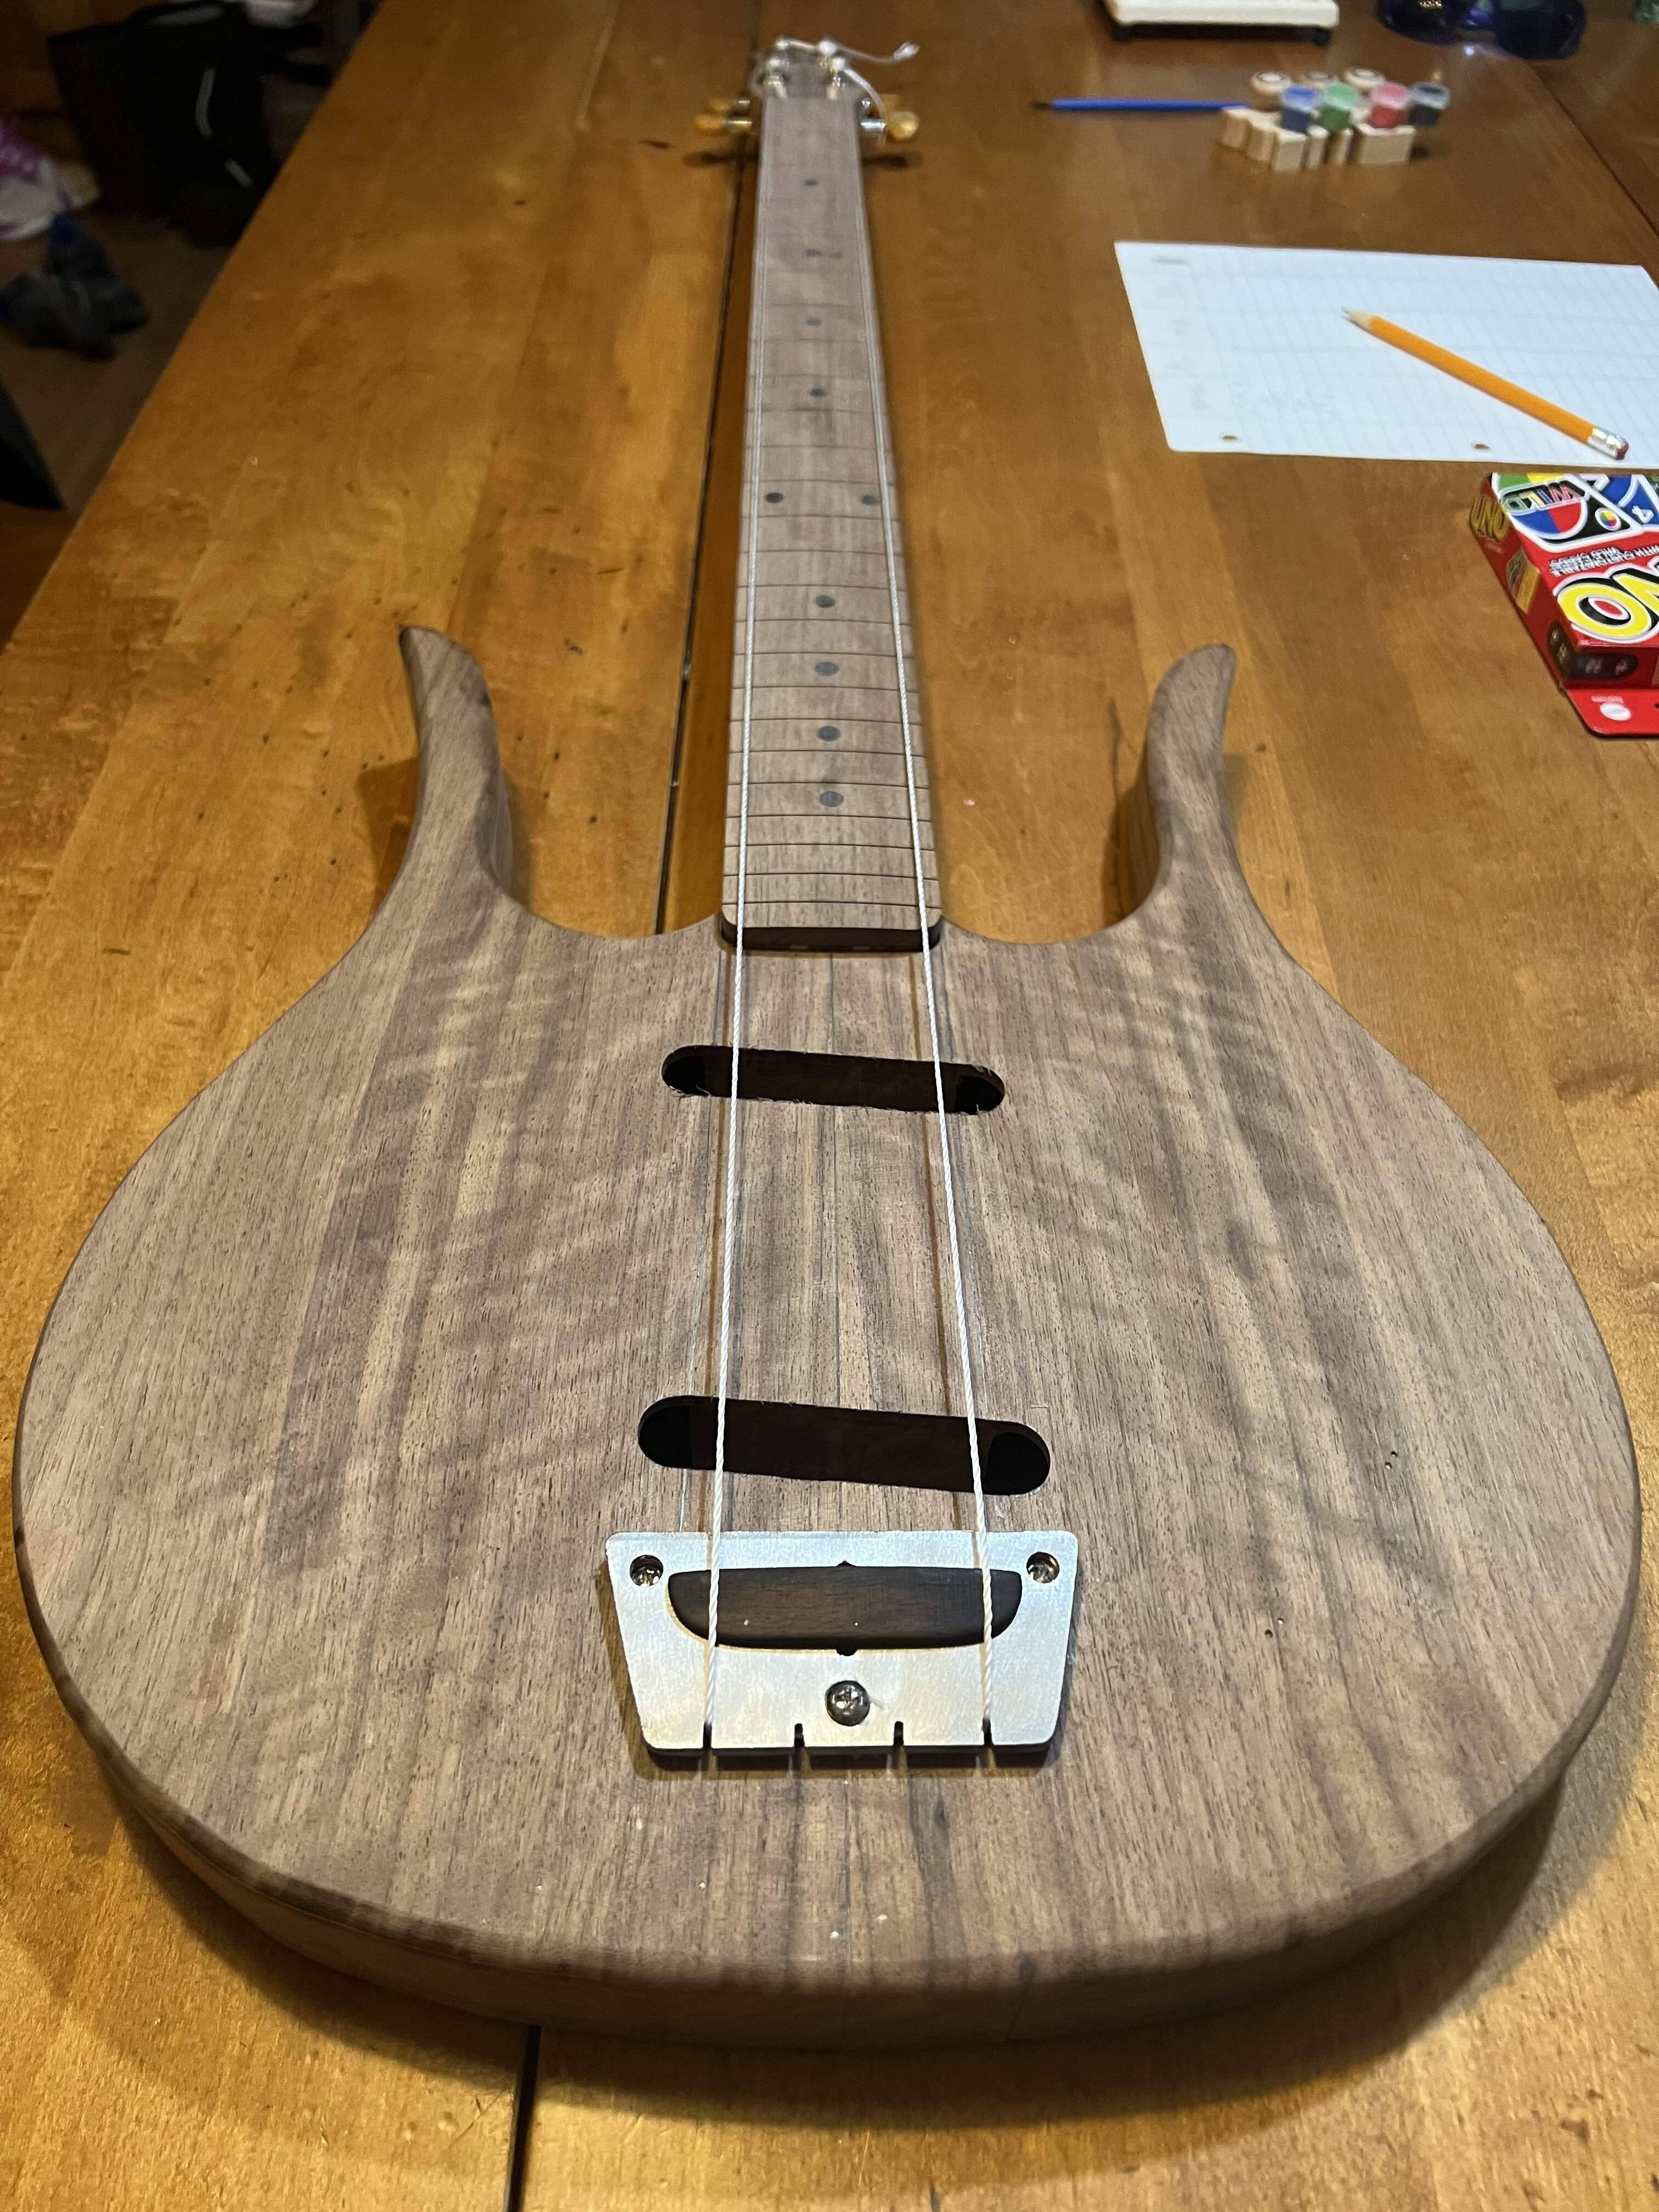
This bridge is really a clever design, despite the minimalist components. I have never seen one up close. Having it in front of you shows a true common sense solution.
This bridge is really a clever design, despite the minimalist components. I have never seen one up close. Having it in front of you shows a true common sense solution.
Last edited:
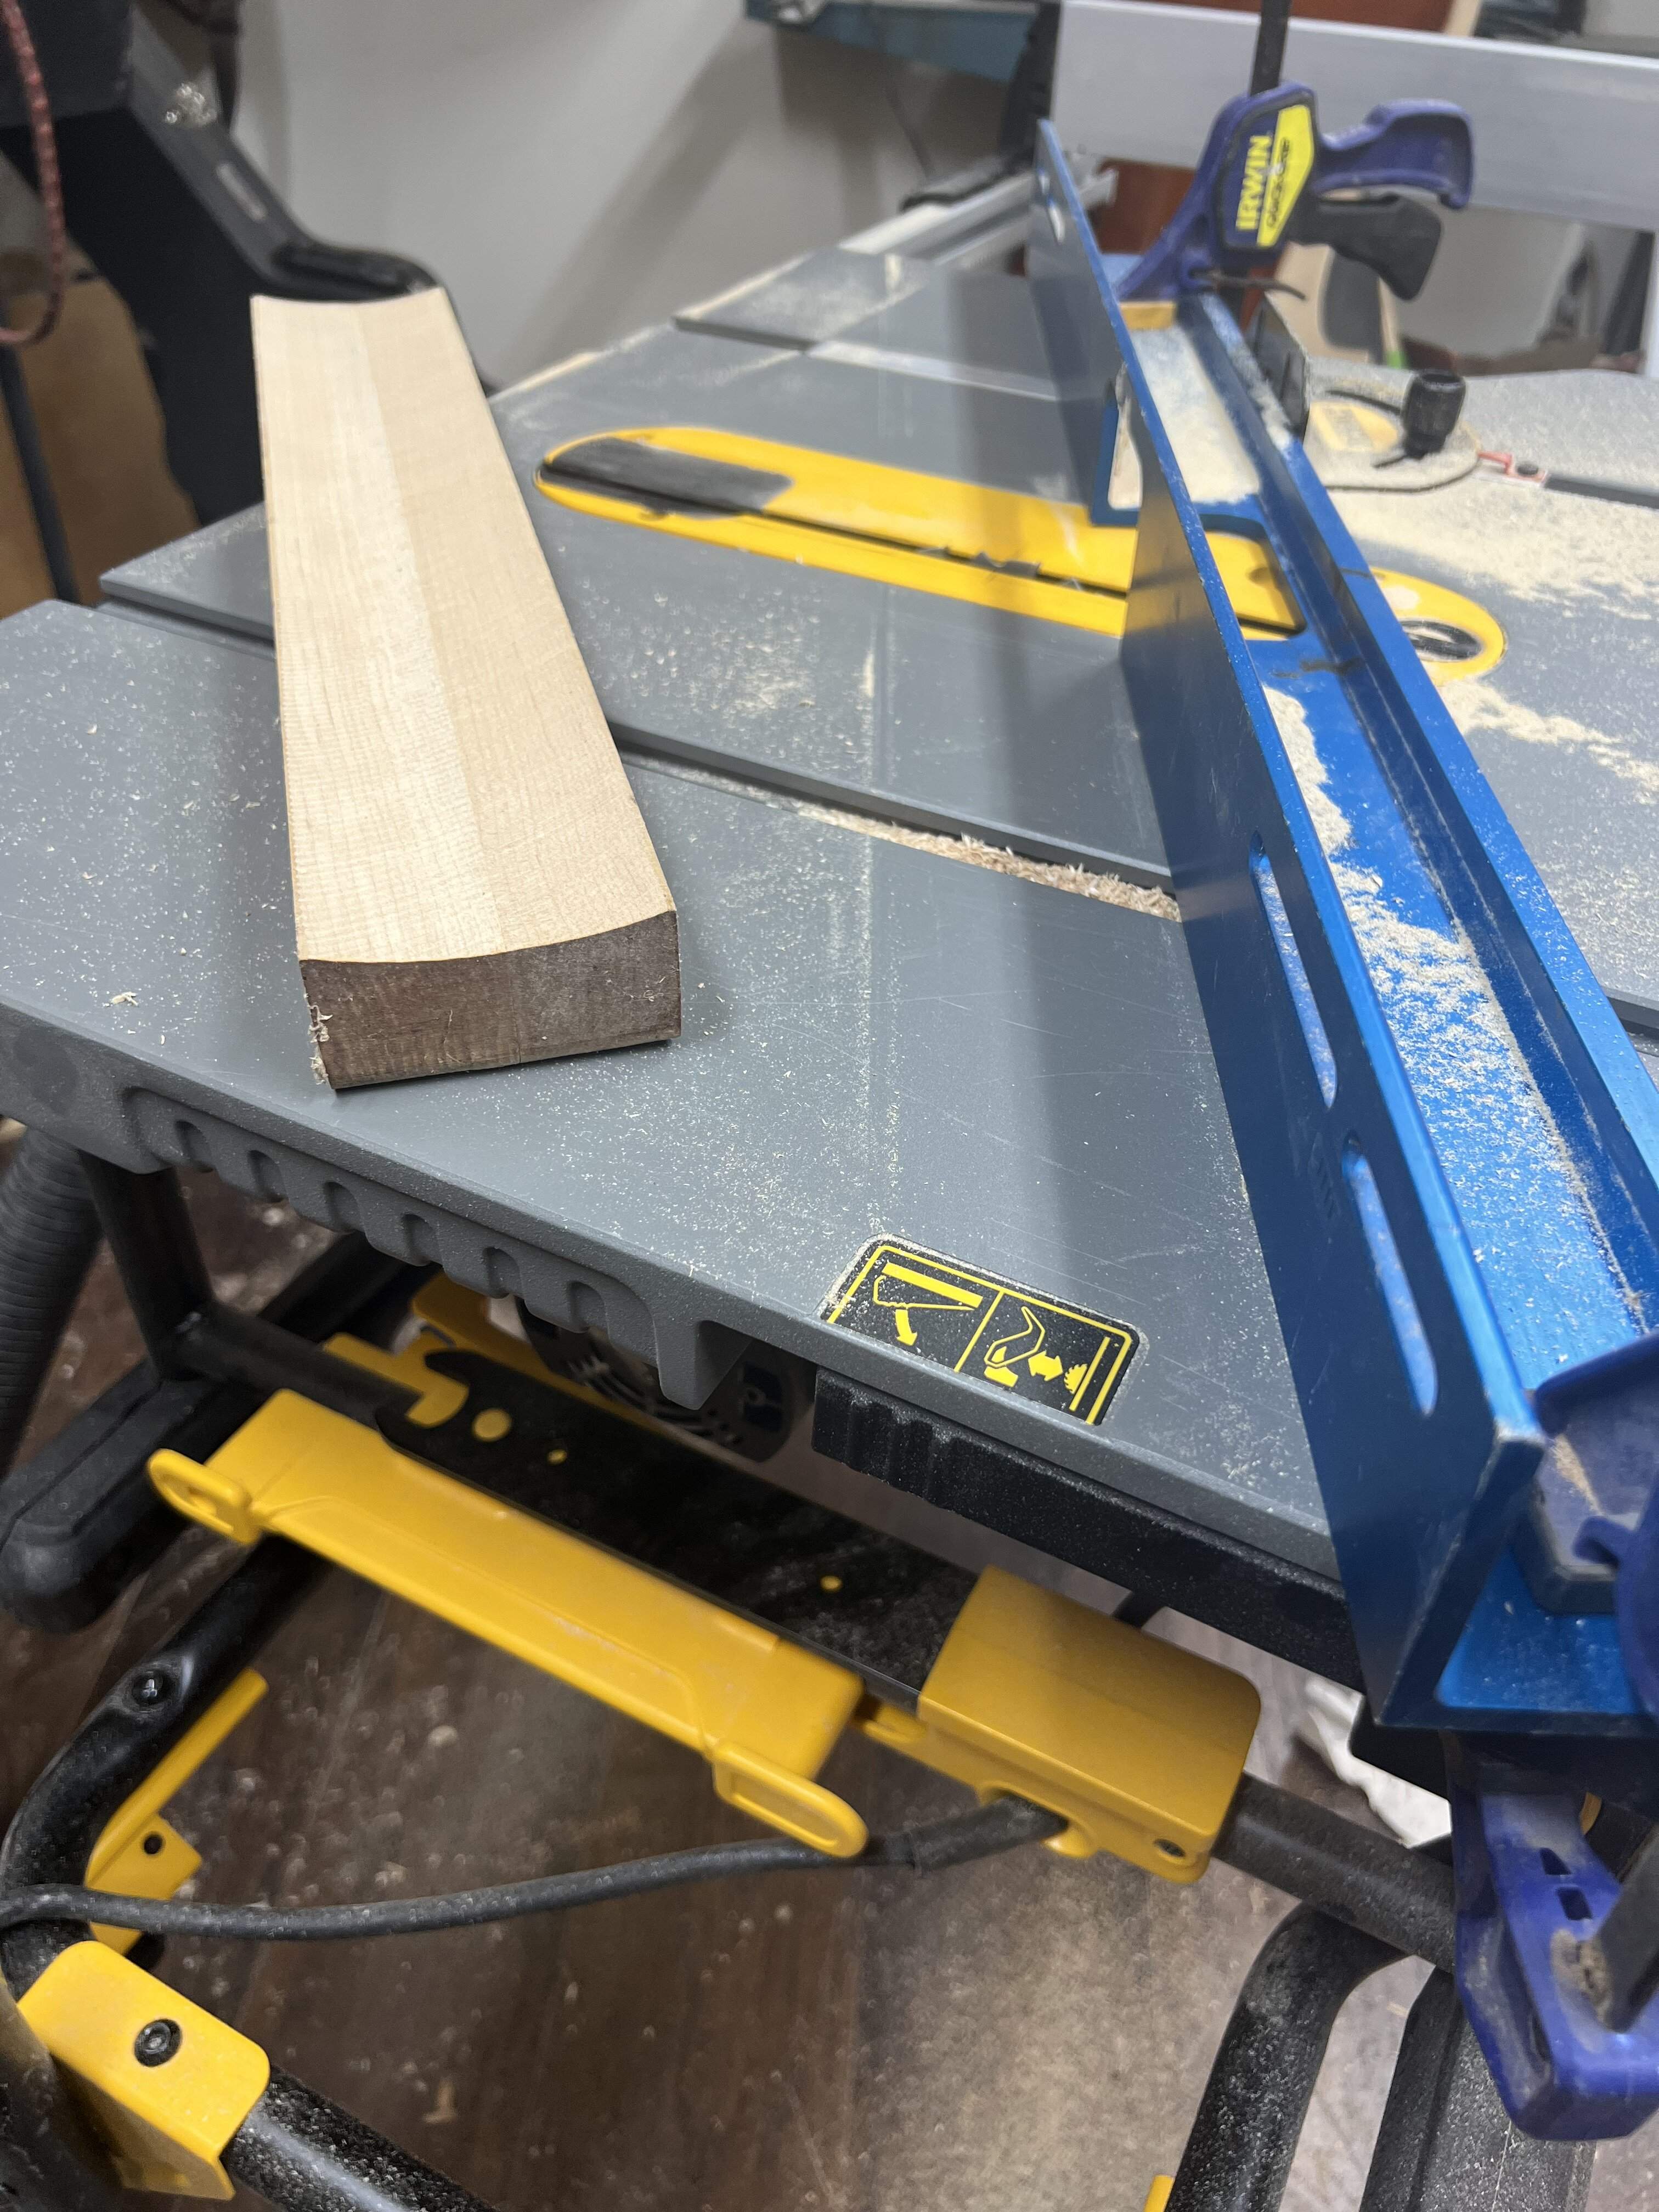
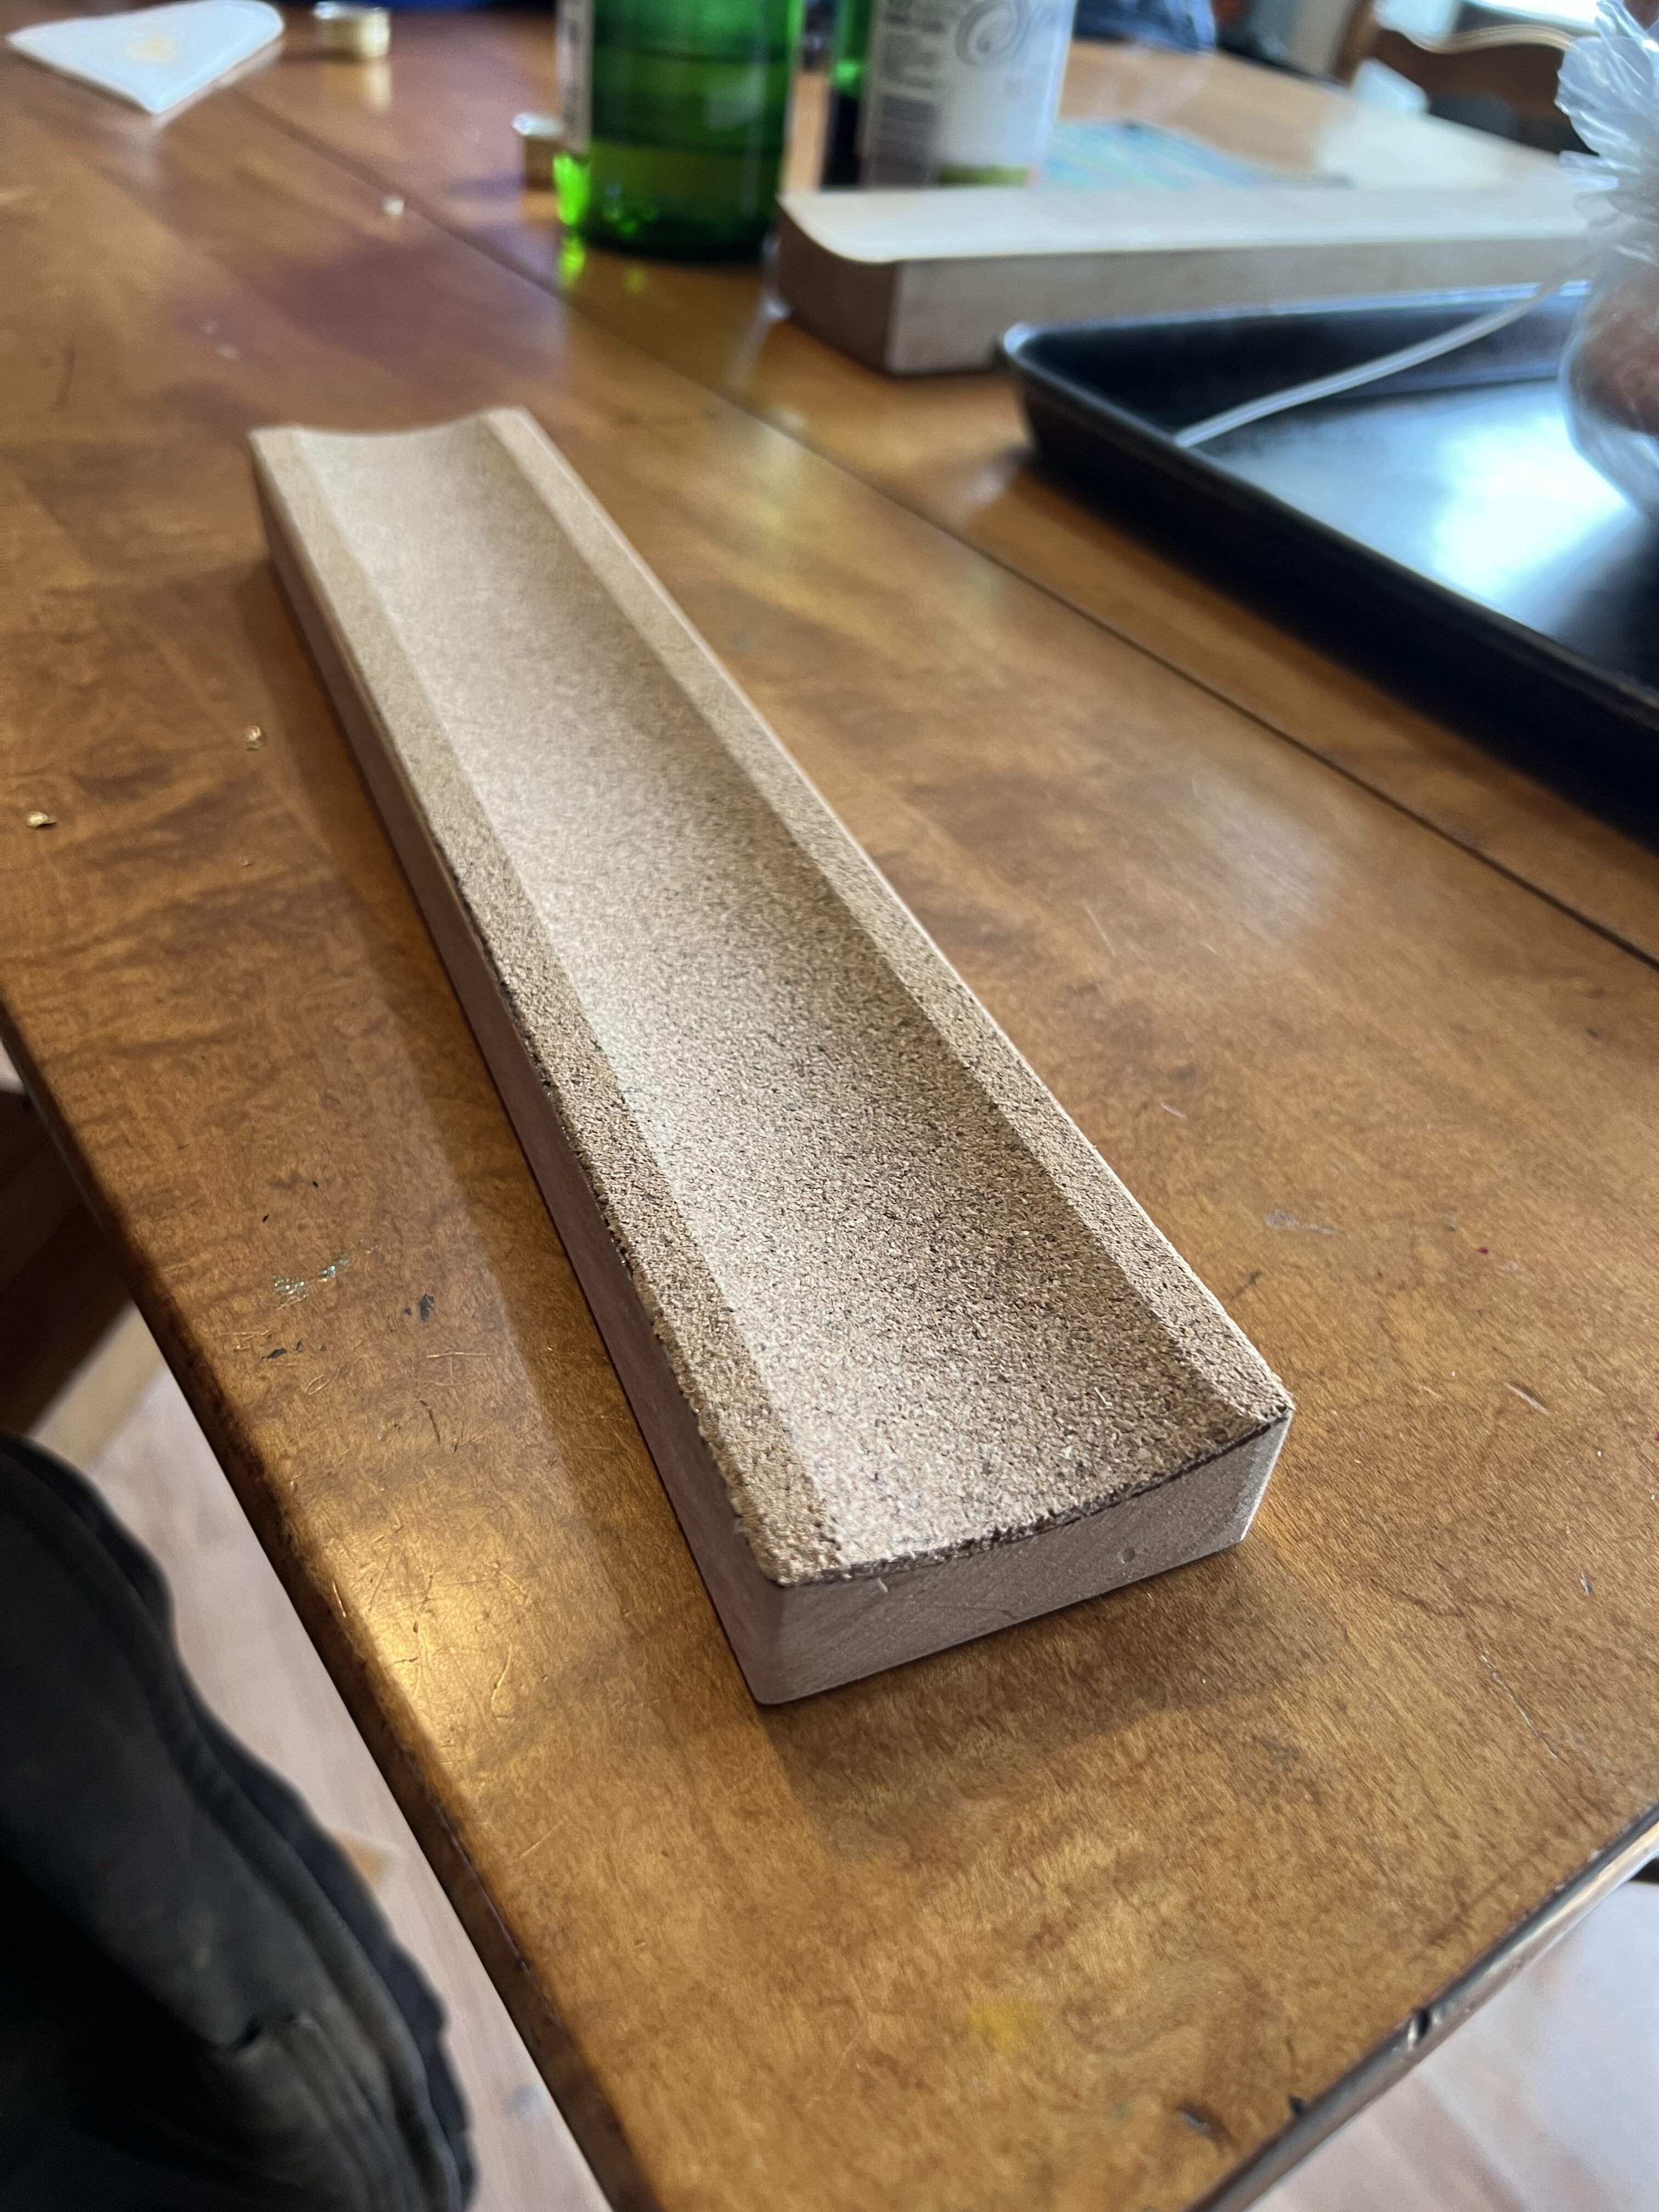
Time to fret the dano. I wanted to try and make a neck caul like the stew-mac press uses, so I set up a cove cut on the table saw. It came out pretty well, although I want to try another with a deeper well for the neck. I used an old cherry board from a bed stand, plan on making a few rocking neck rests with it. To glue the cork down, I used a pool noodle, clamping with another neck rest piece. It compressed enough to glue the whole surface down. Quick sand and it was done.
I used titebond with these frets, no adhesive in the mustang. I’ve used superglue in the past, but it can get messy. The archtop class used titebond, and I have also used nothing. Since these two basses will be completed at the same time, I’ll have a good idea if the titebond does anything significant over time.
I use a hammer and then press the frets in, the press gives a more uniform result for me. I clamped them with my 12” radius beam so the glue can dry with the frets pressed down.
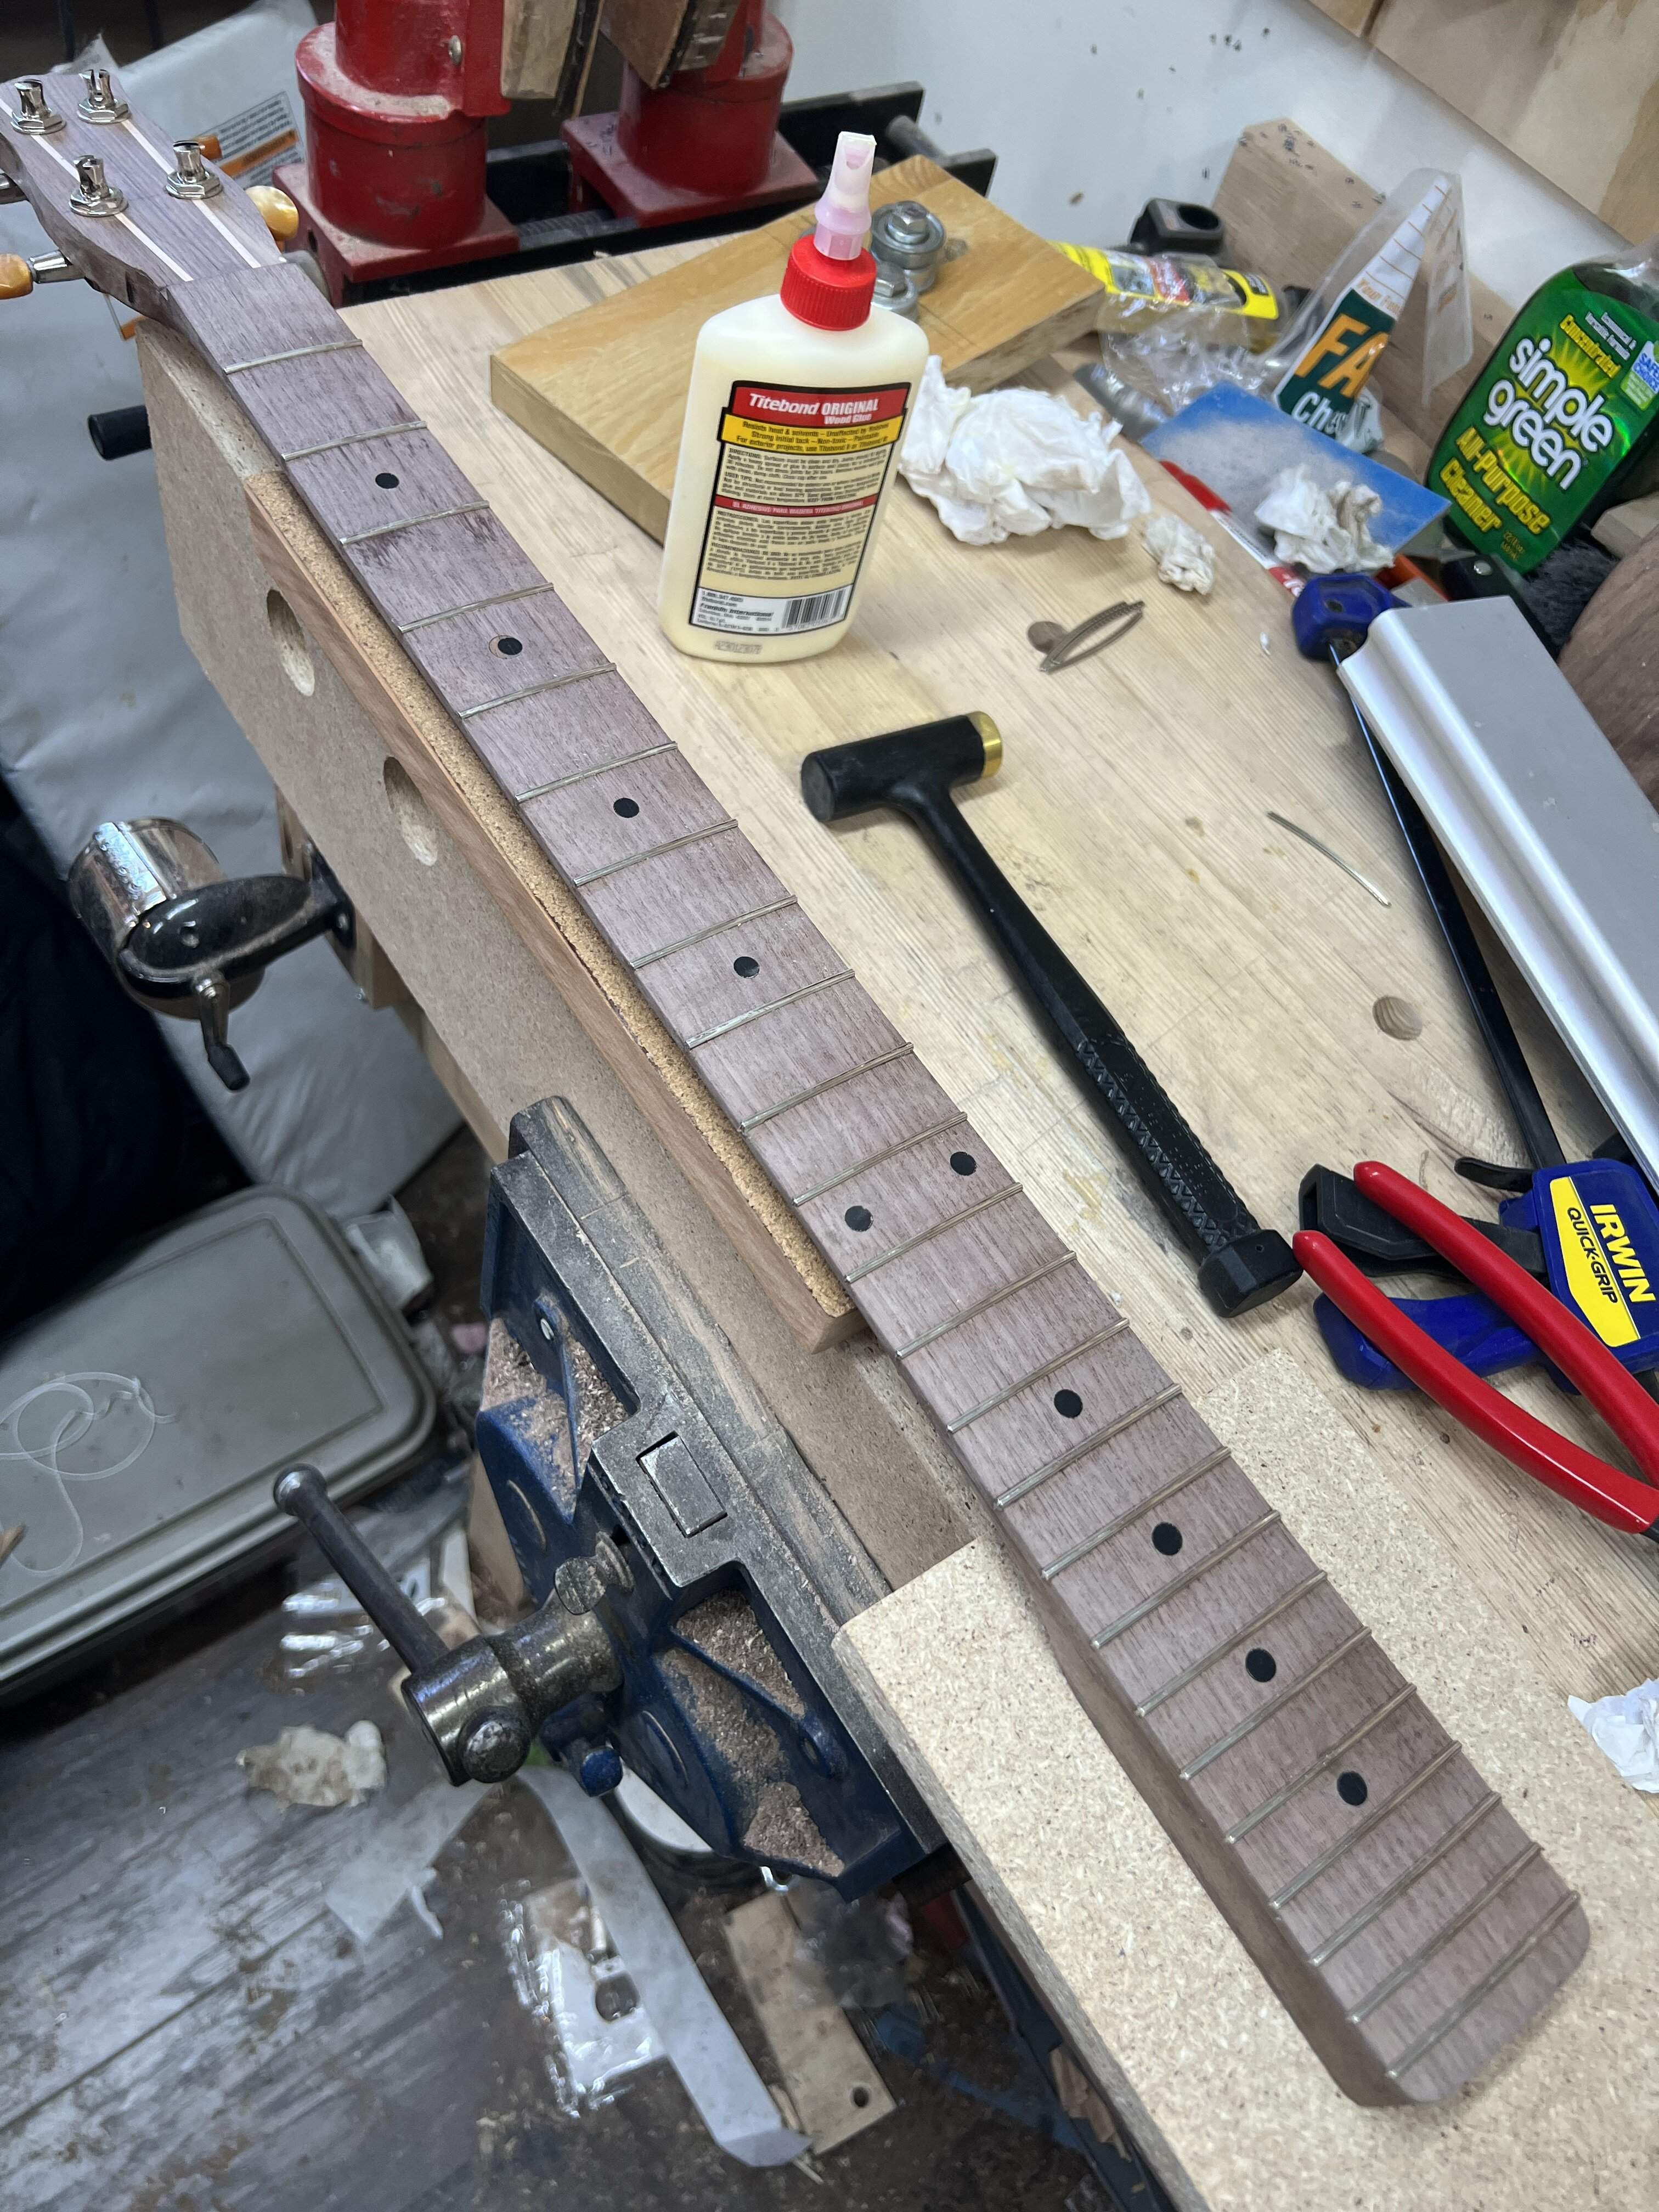
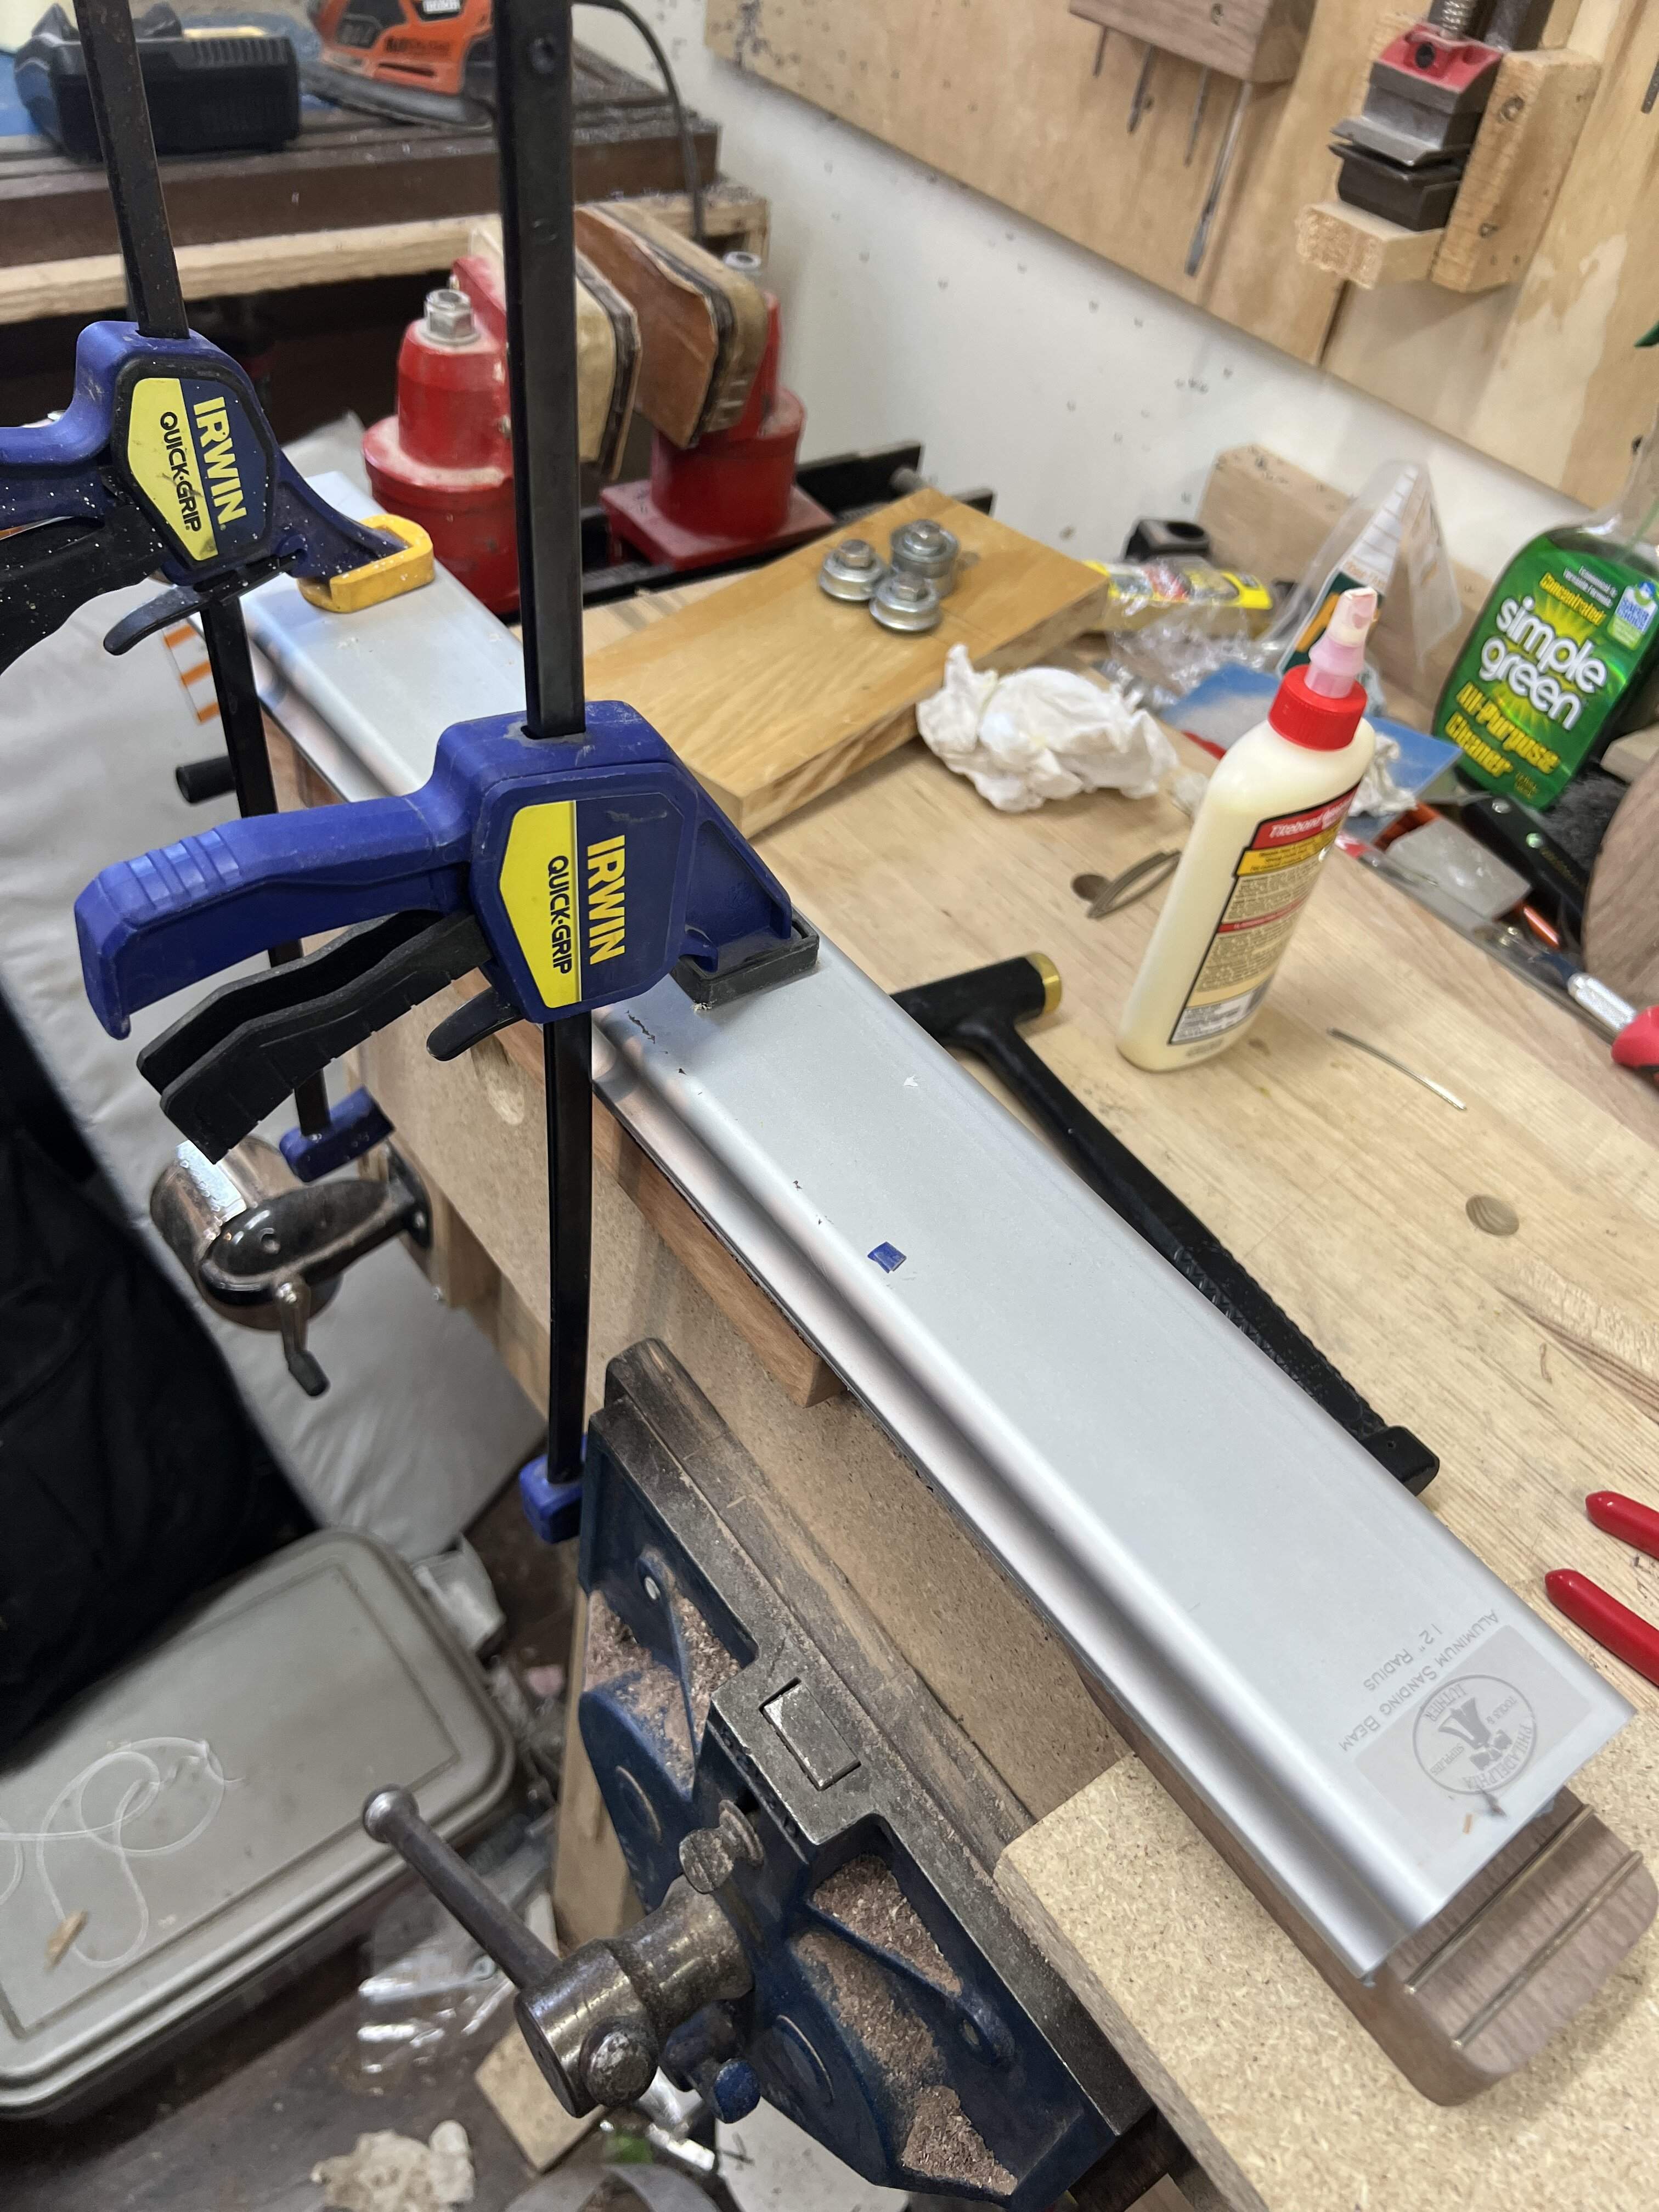
I used titebond with these frets, no adhesive in the mustang. I’ve used superglue in the past, but it can get messy. The archtop class used titebond, and I have also used nothing. Since these two basses will be completed at the same time, I’ll have a good idea if the titebond does anything significant over time.
I use a hammer and then press the frets in, the press gives a more uniform result for me. I clamped them with my 12” radius beam so the glue can dry with the frets pressed down.
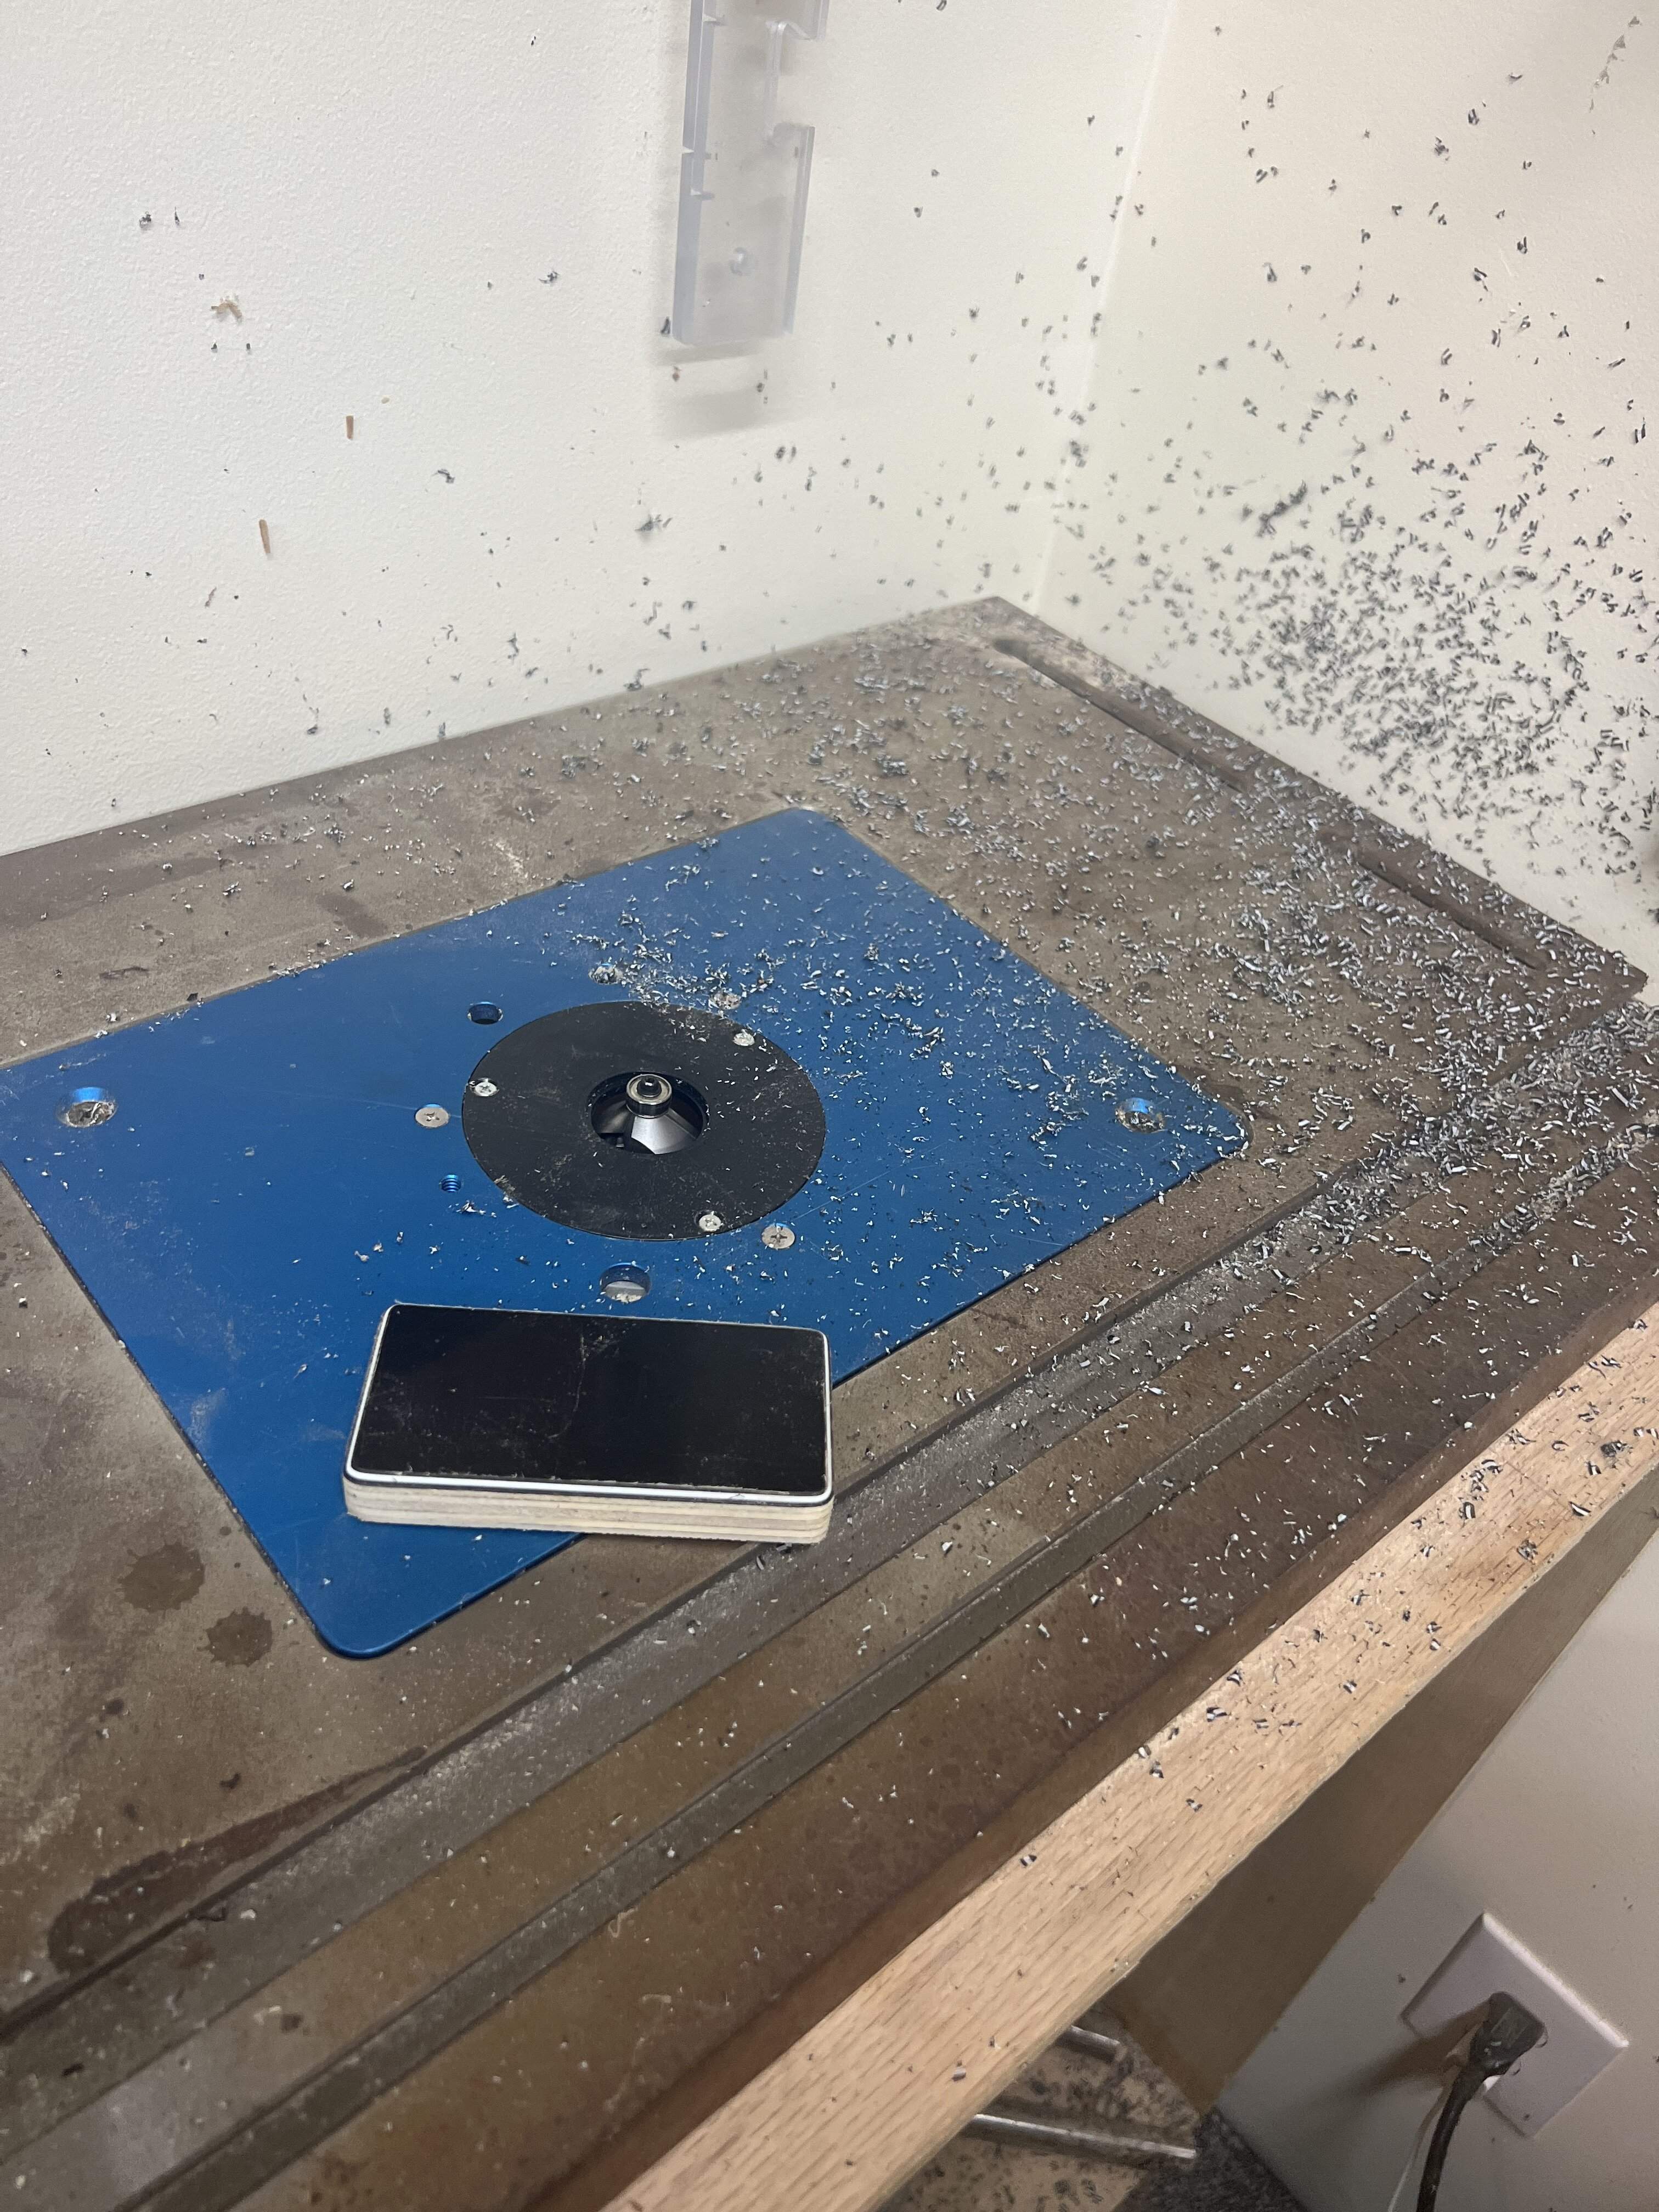
Getting some hardware in, I started by routing the control cavity. Made the plate next, nothing special there but the mess it left.
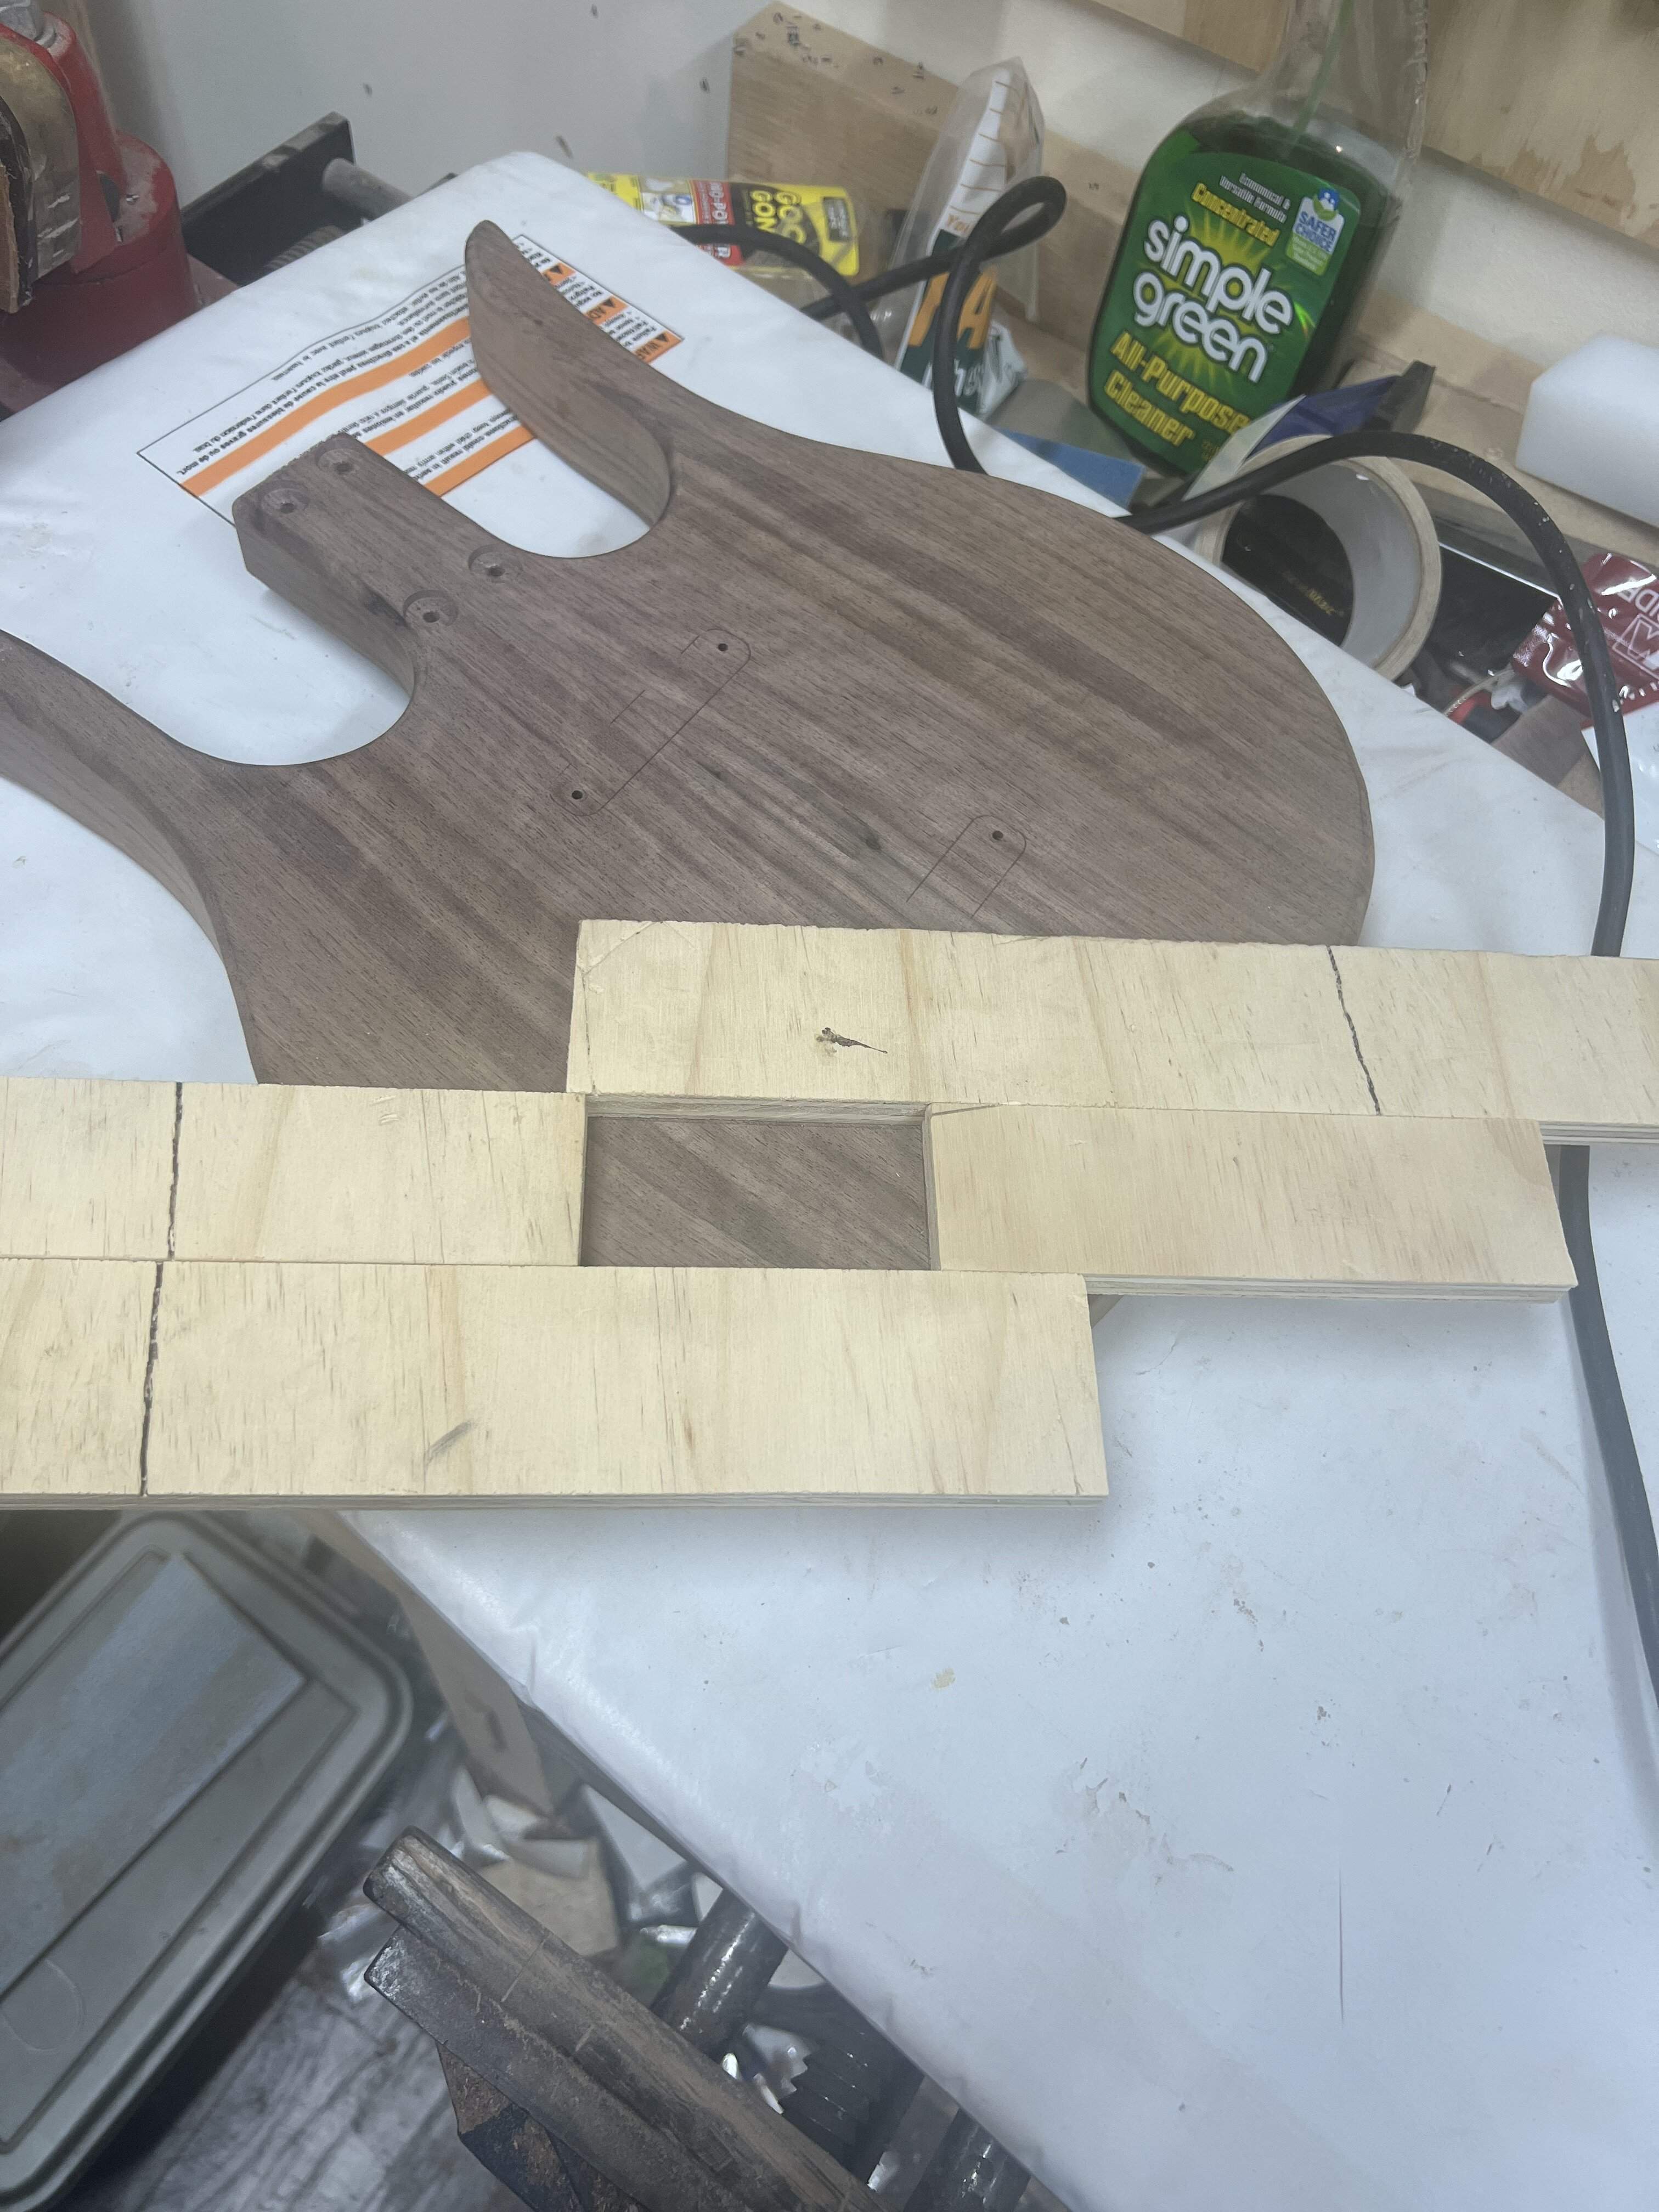
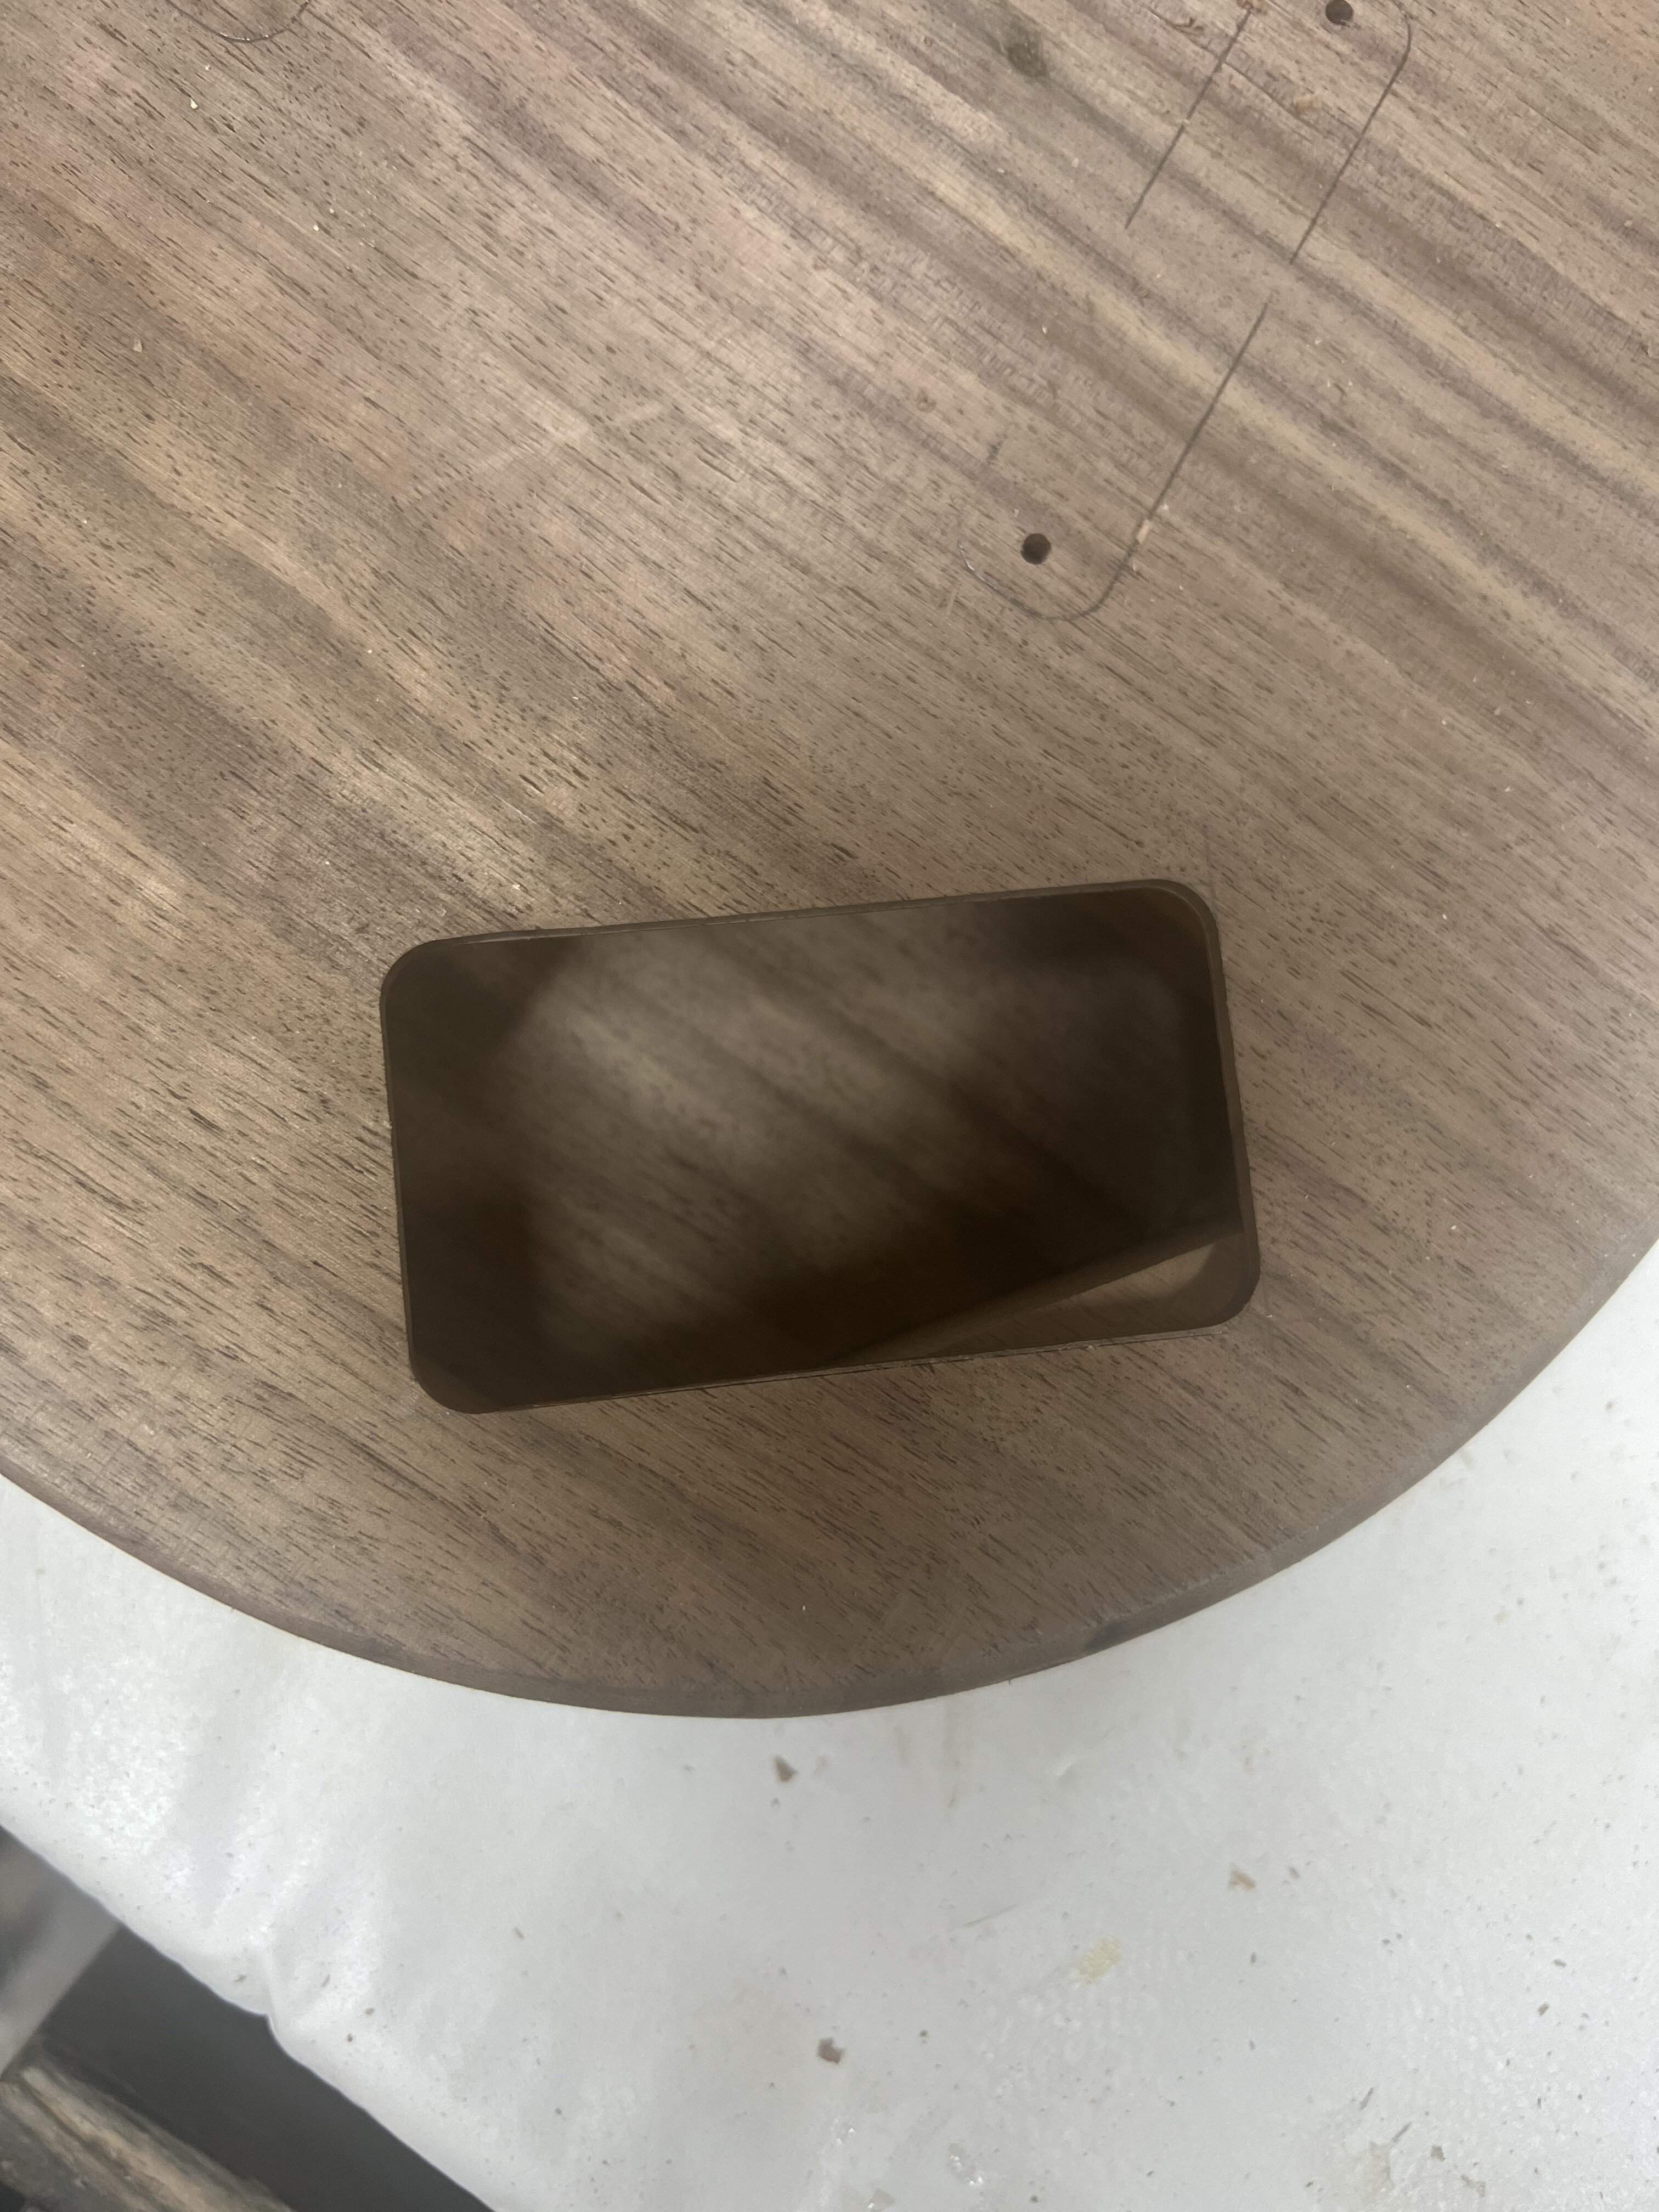
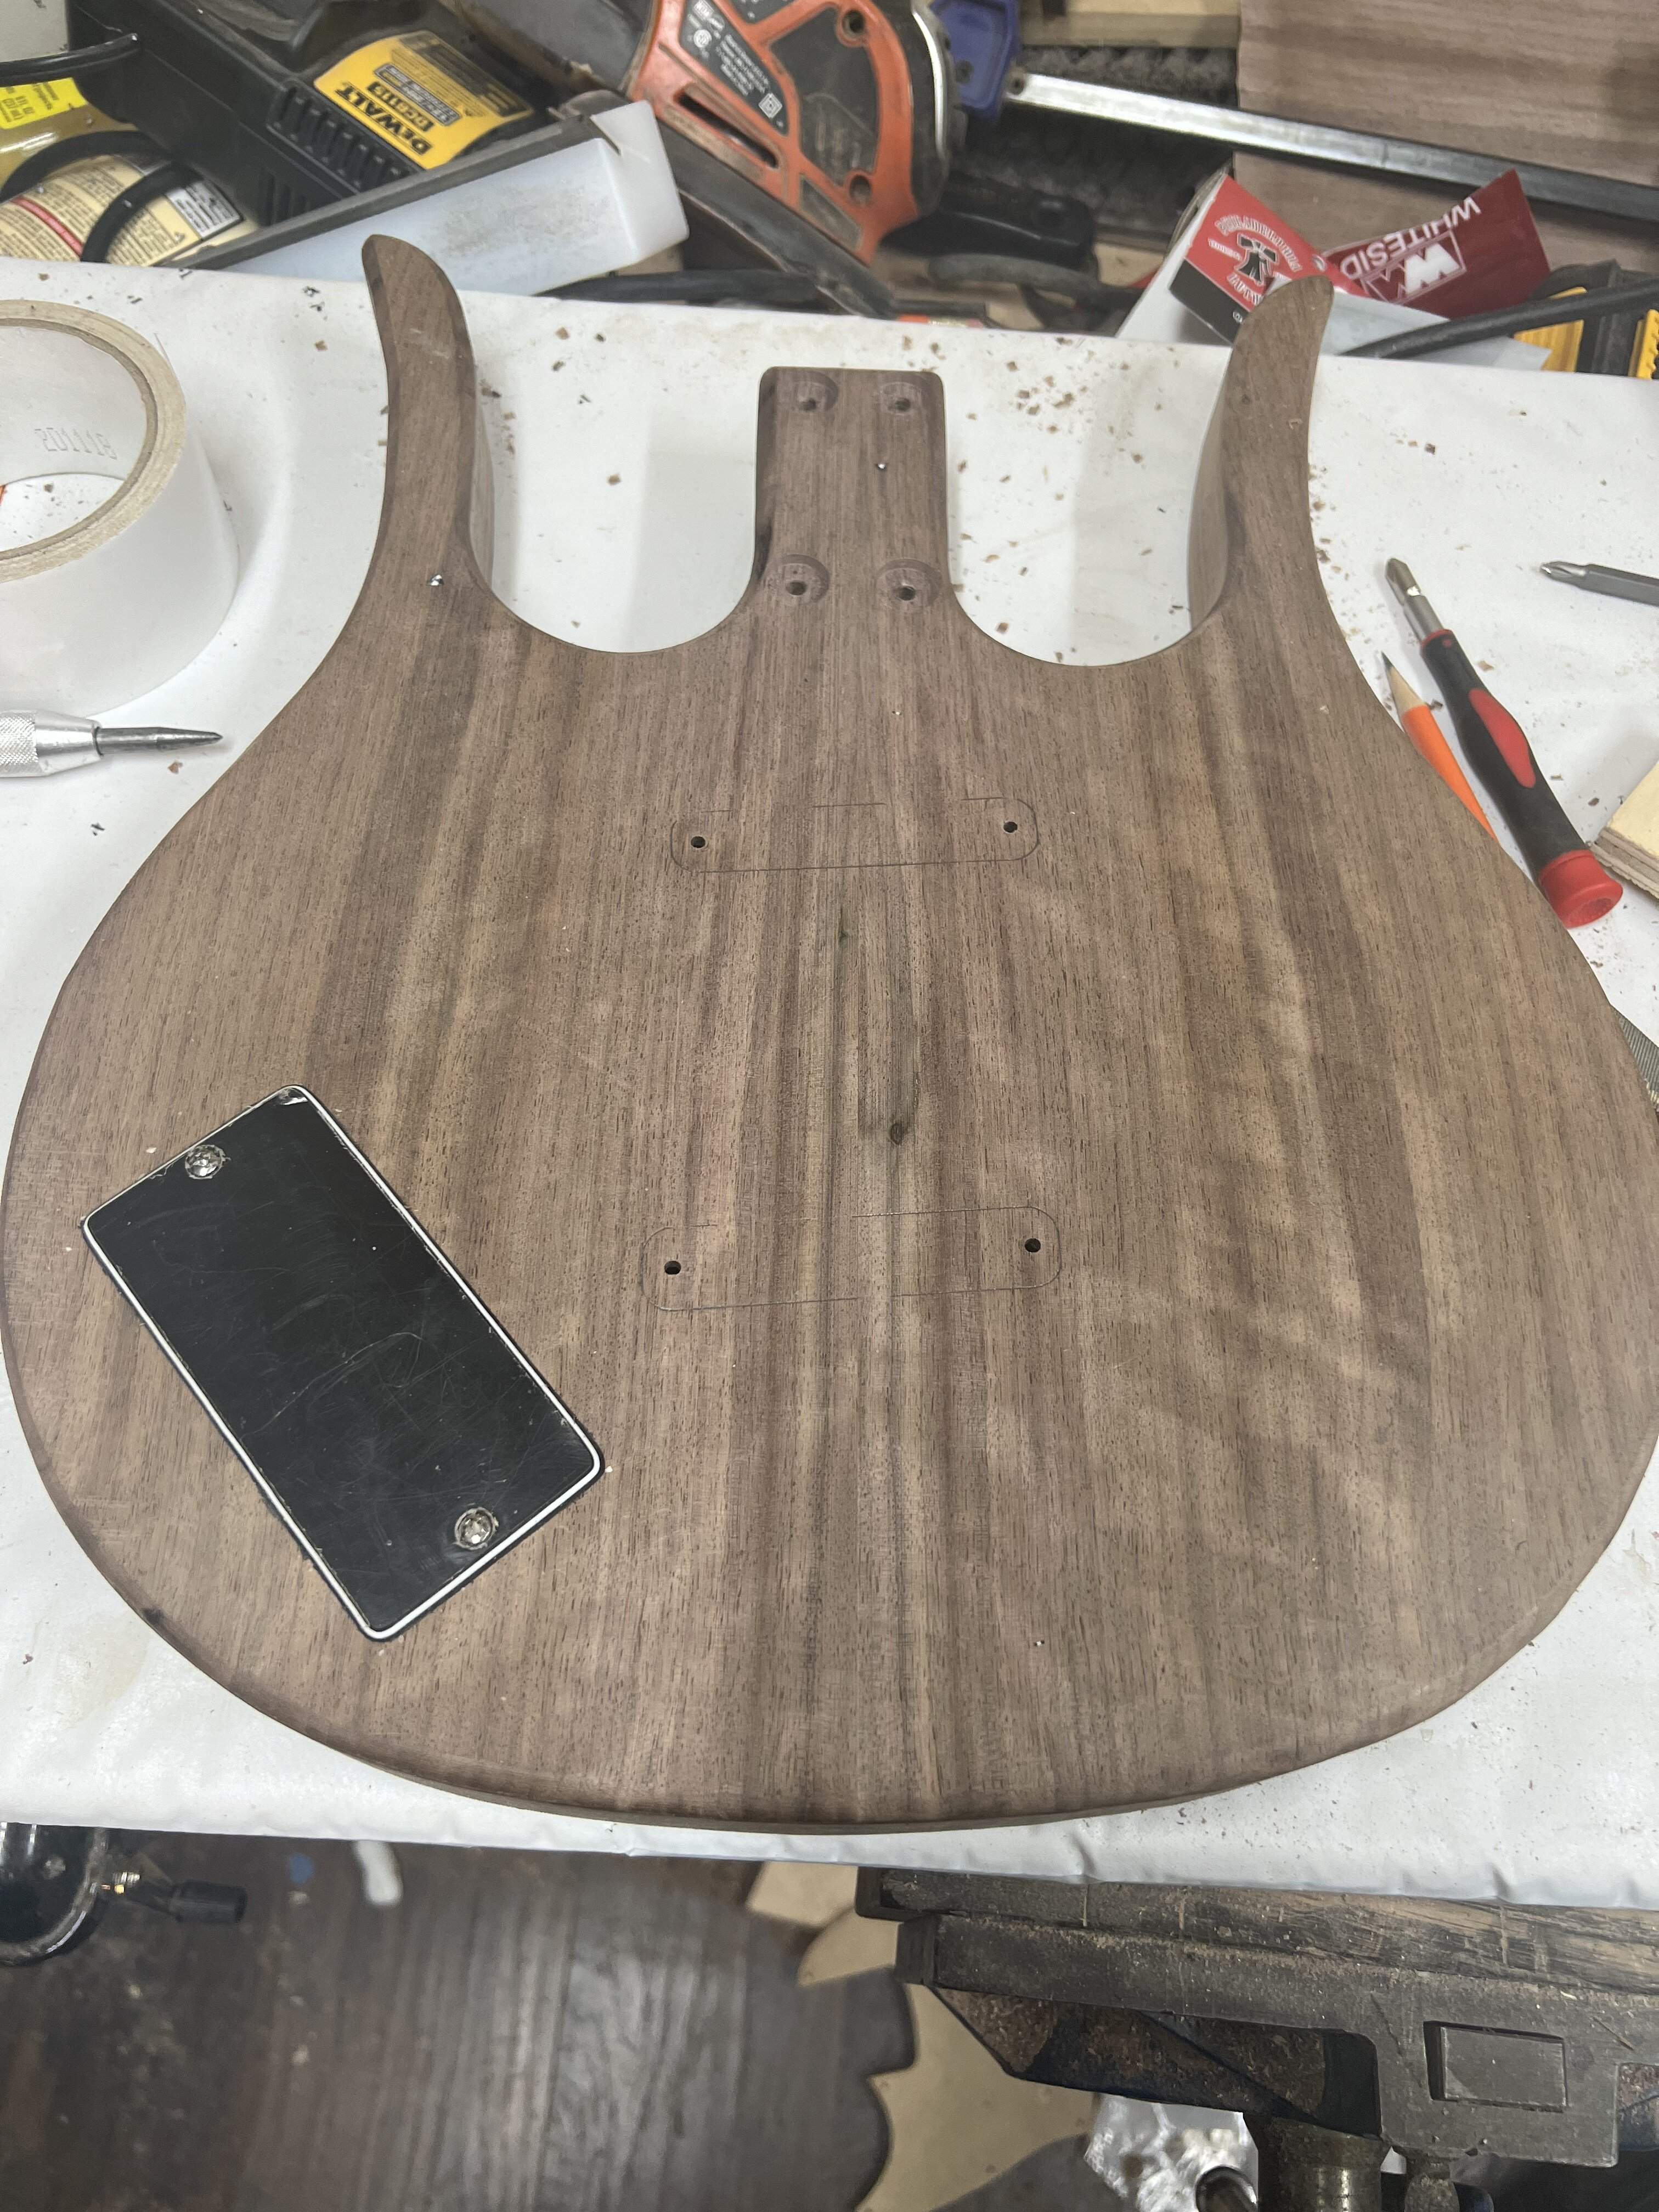
I made the holes for the pots next, and thankfully there was enough room for my little black discs. Aesthetically I wanted these to pay tribute to those giant dano knobs. The fender concentric pots have different values than the original dano circuit, but they are easily sourced and pretty close.
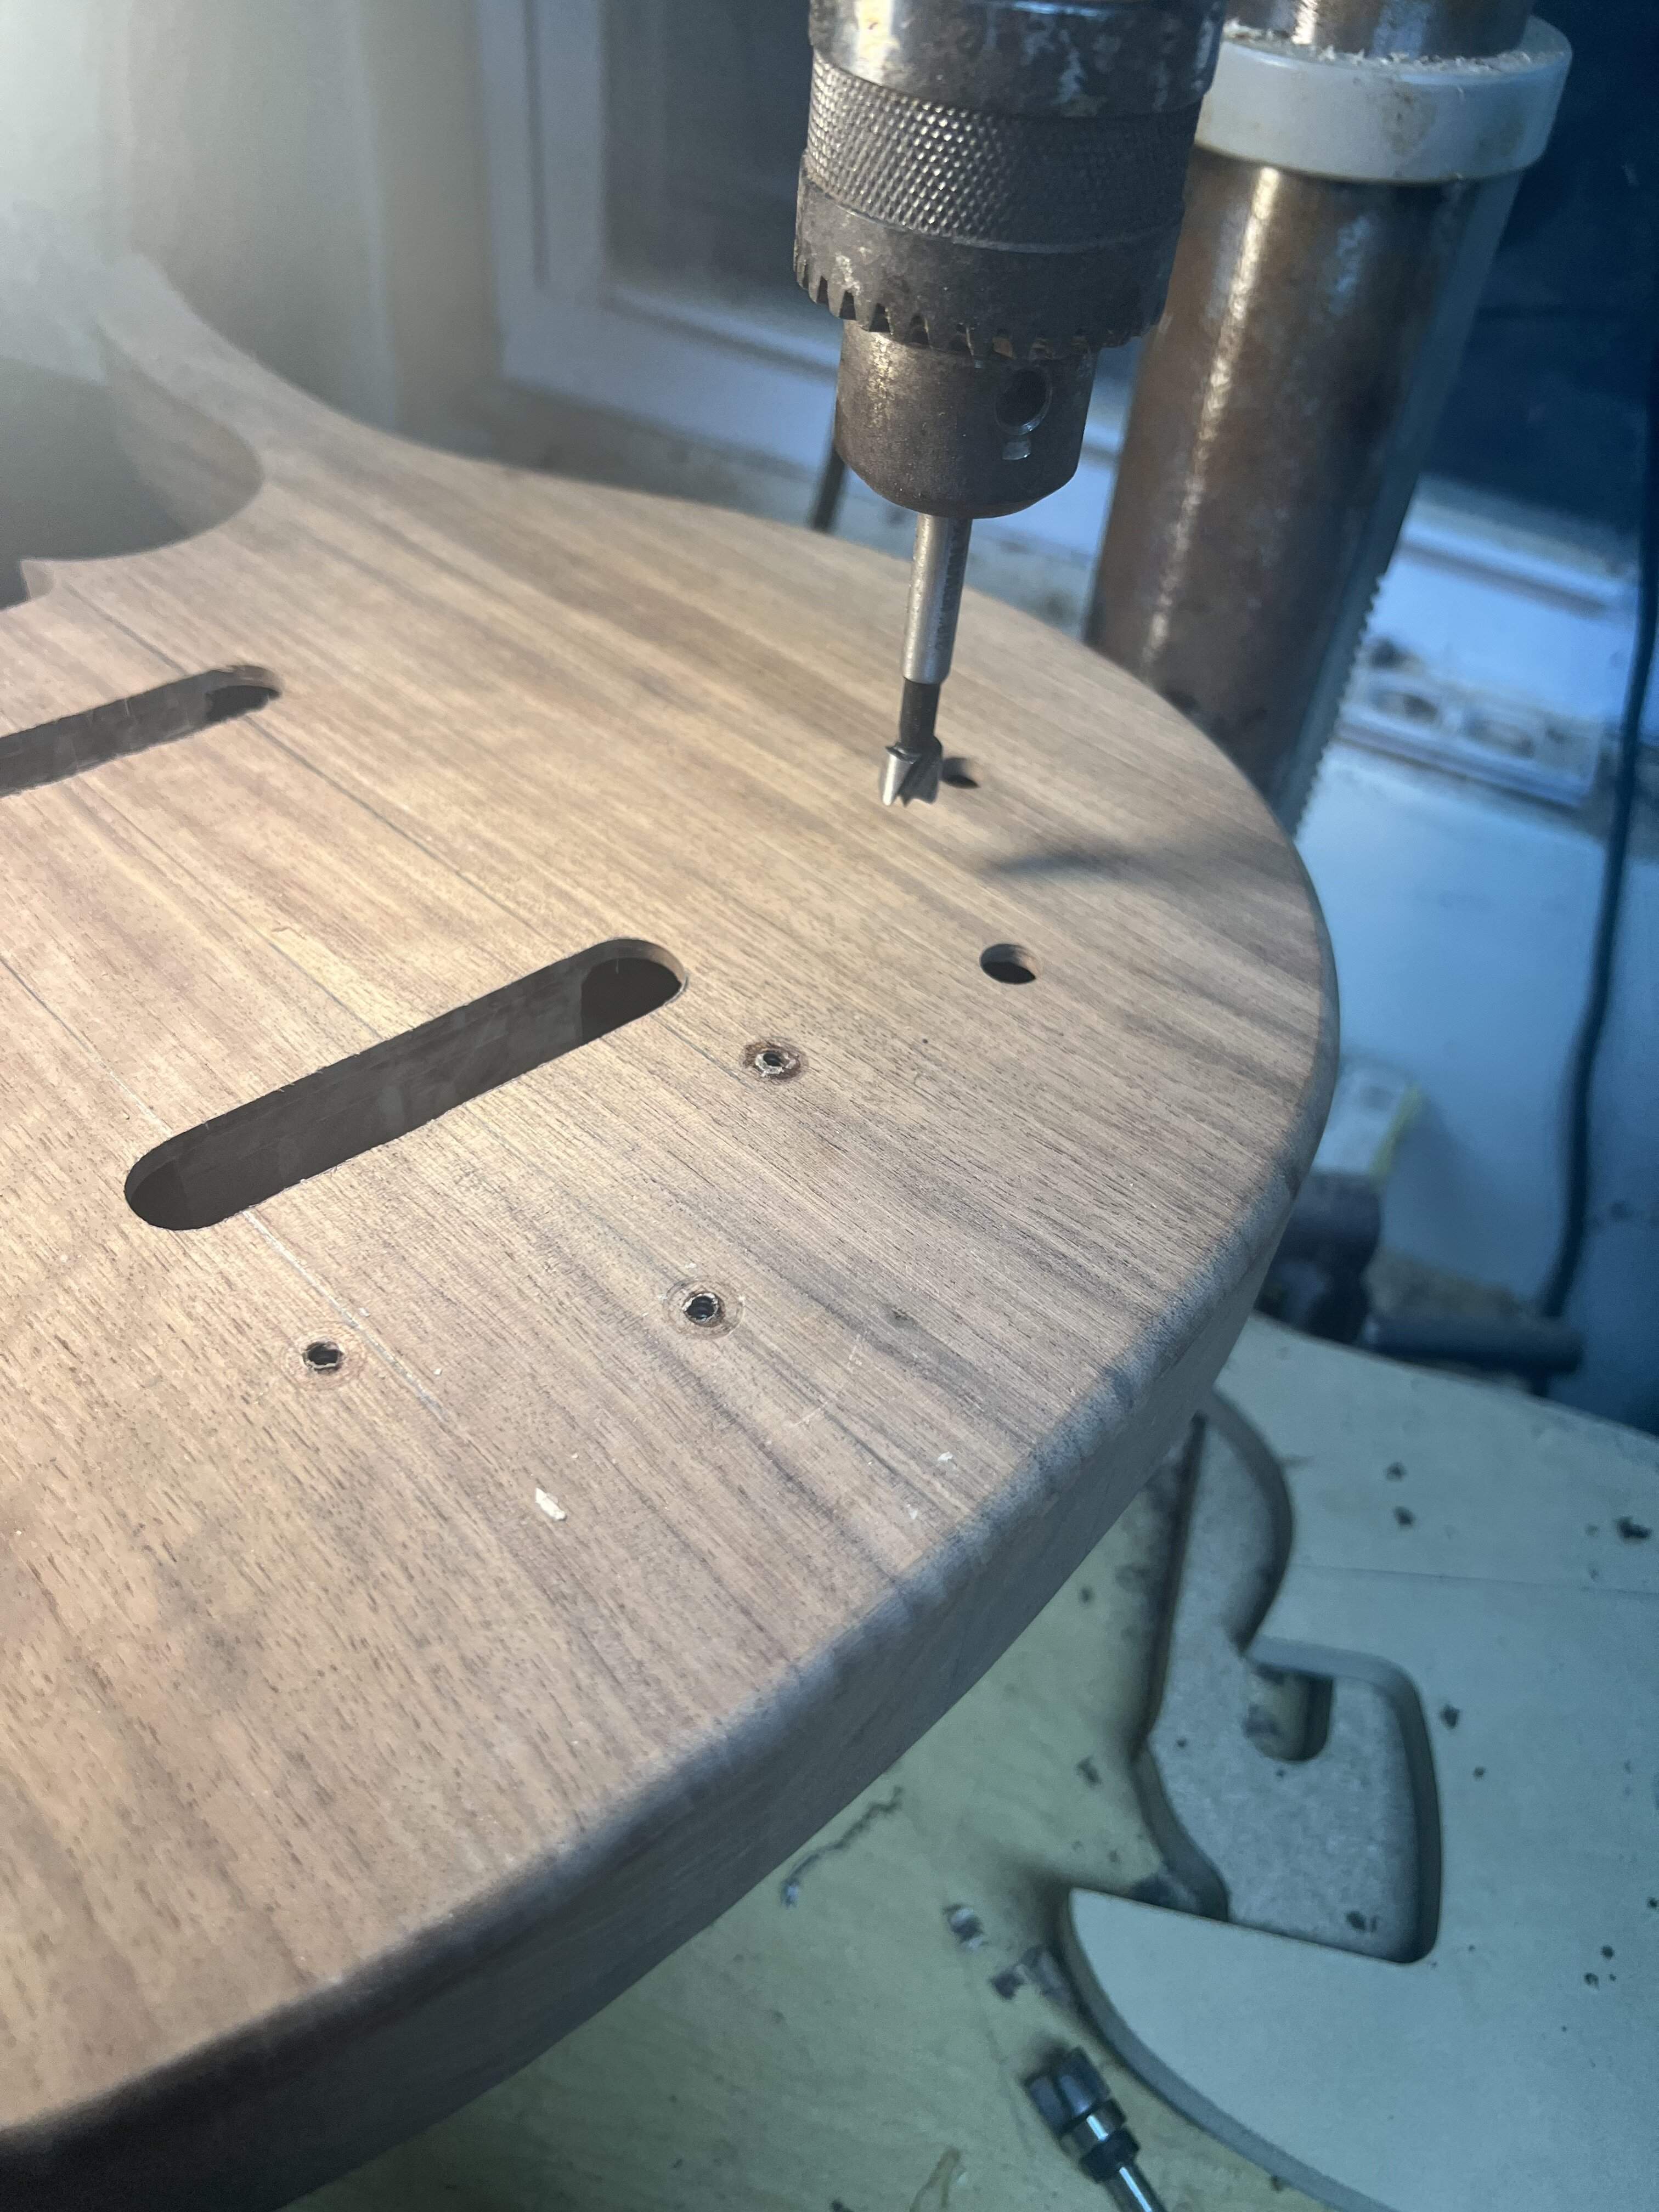
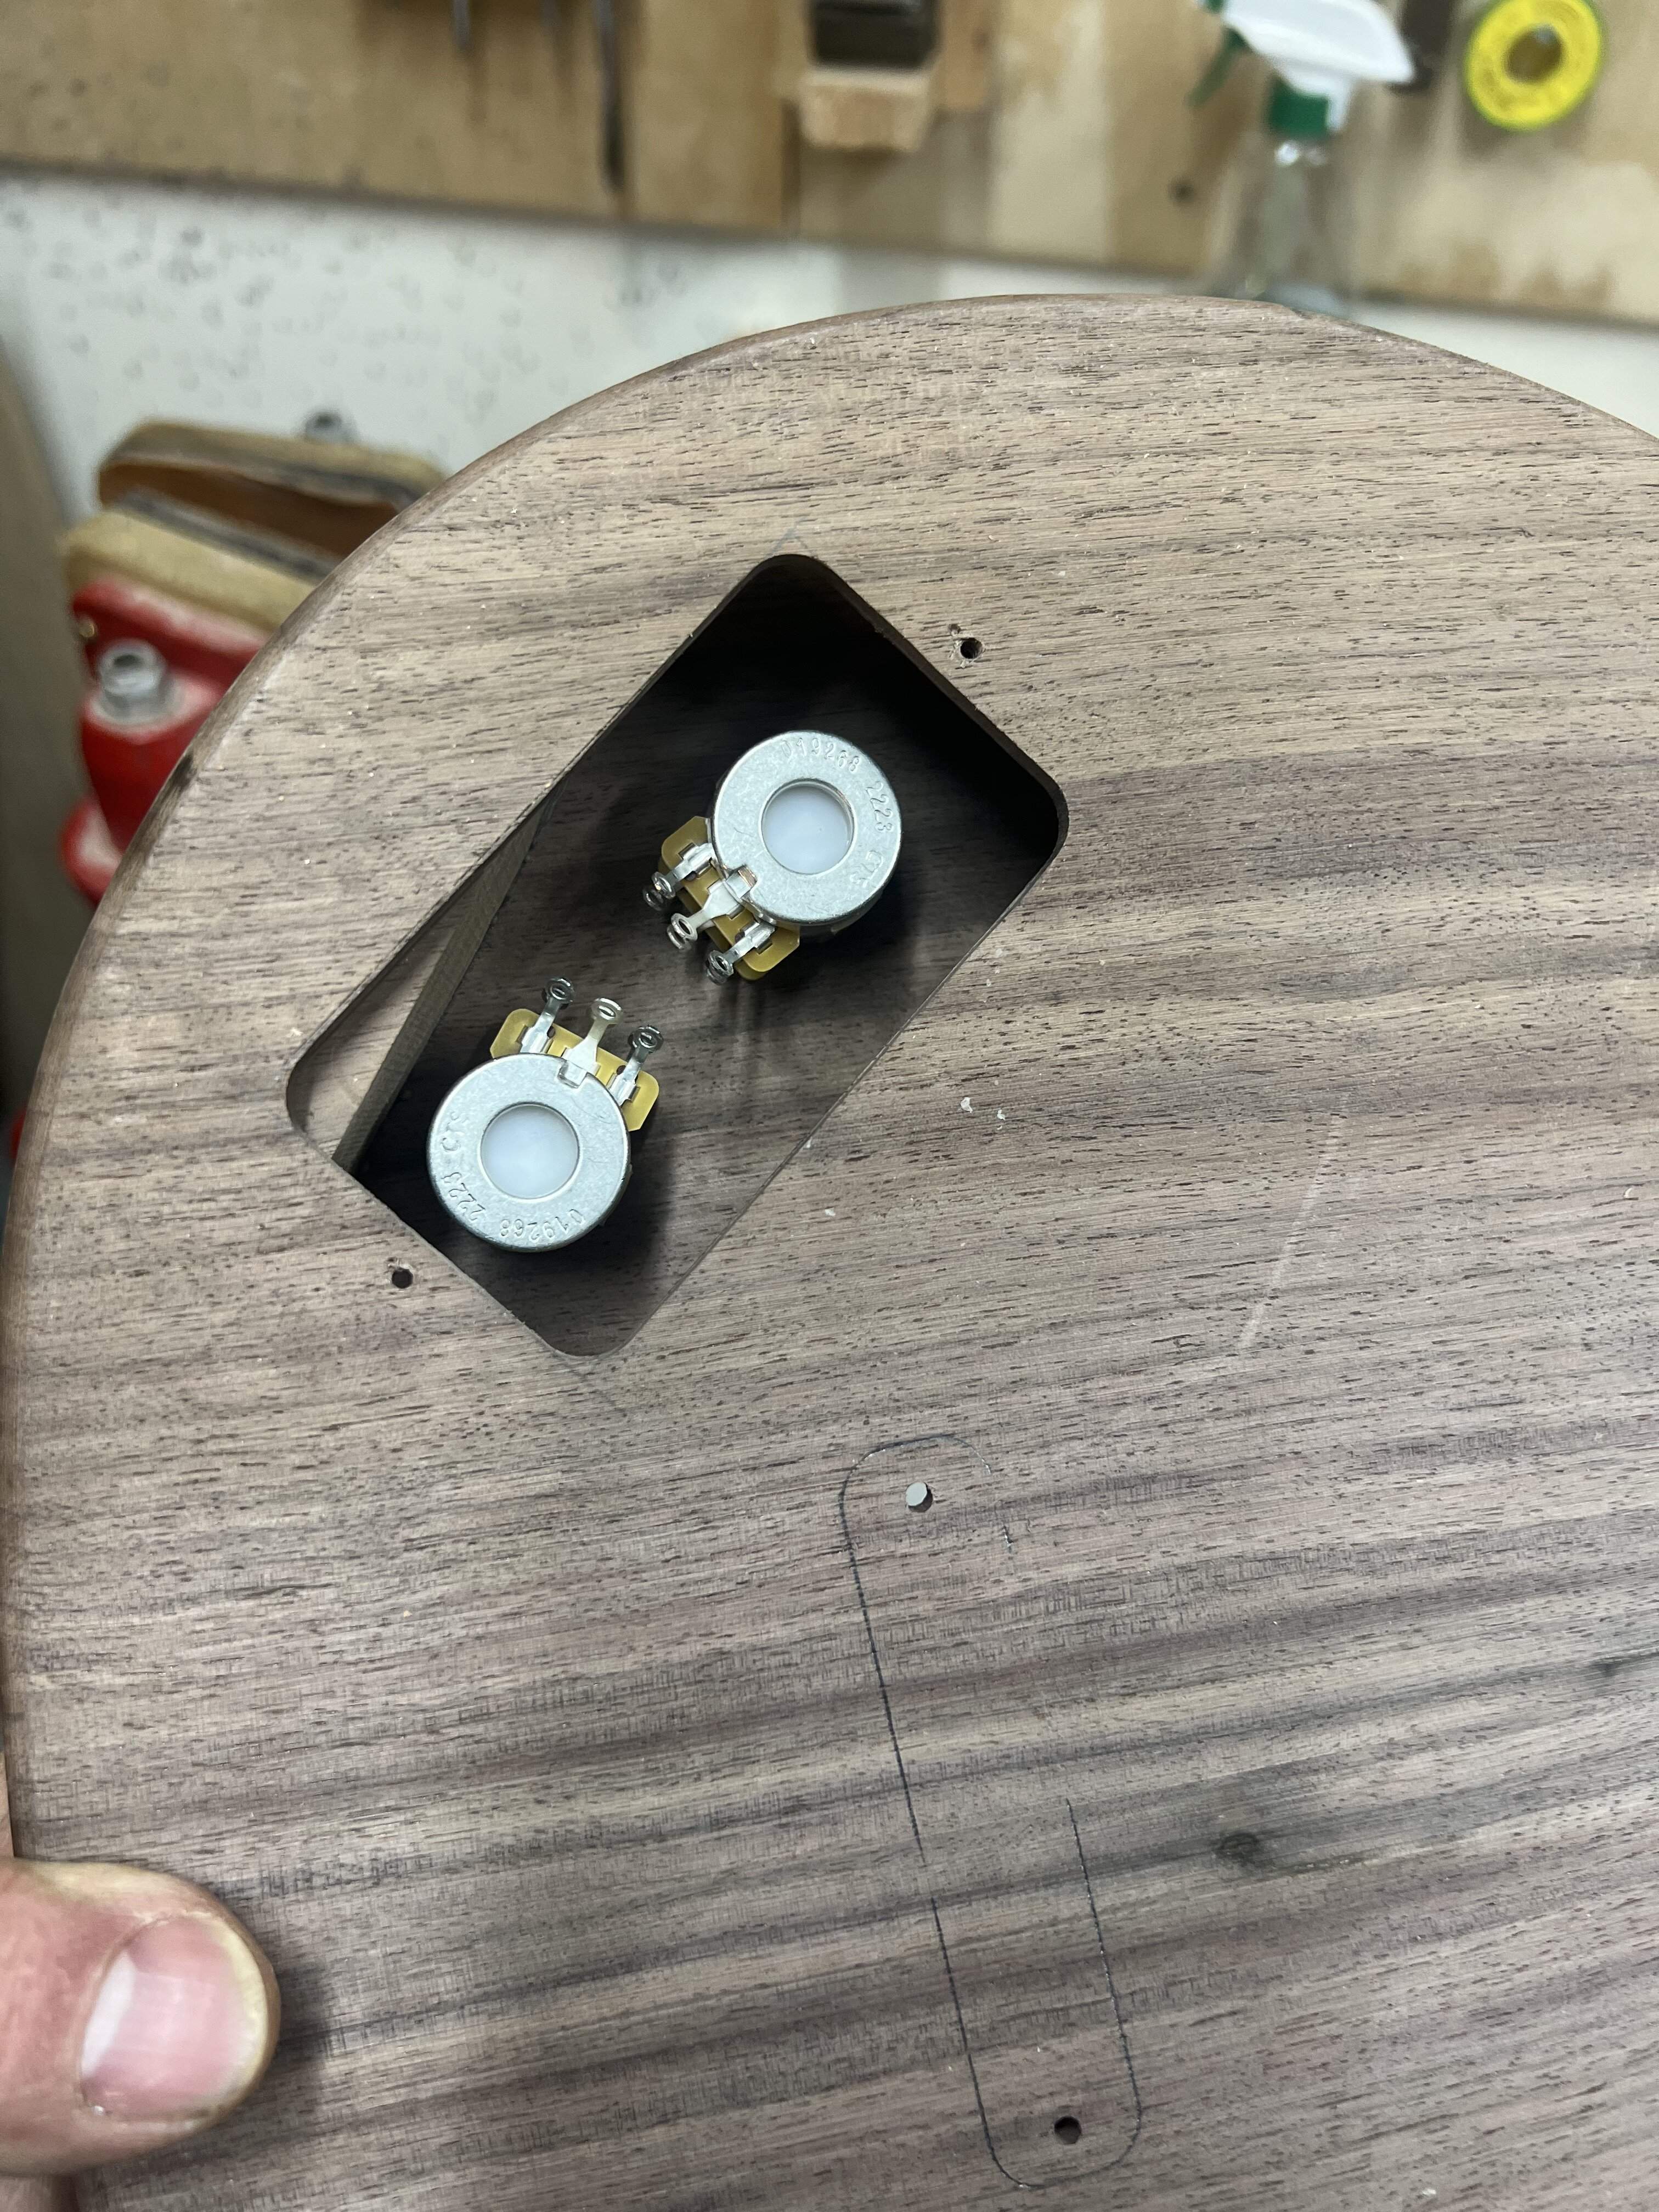
What was really odd were the knobs. The lower portions would not fit over the lower shaft. I drilled 1/64” over, and it was still too tight for comfort, 1/32” fit fine, but just a tiny bit loose. I wonder if there is some metric devilry afoot. The top knobs were fine as is. They also have different set screws.
Maybe the top knob and bottom knob had two different teams…
I made the holes for the pots next, and thankfully there was enough room for my little black discs. Aesthetically I wanted these to pay tribute to those giant dano knobs. The fender concentric pots have different values than the original dano circuit, but they are easily sourced and pretty close.
What was really odd were the knobs. The lower portions would not fit over the lower shaft. I drilled 1/64” over, and it was still too tight for comfort, 1/32” fit fine, but just a tiny bit loose. I wonder if there is some metric devilry afoot. The top knobs were fine as is. They also have different set screws.
Maybe the top knob and bottom knob had two different teams…
Ok, all hardware on, everything fits, string paths line up, I think everything is in order. Besides the nuts, I don’t need to make anything. All sanding and finish work from here on out. Winter is finally on its way out here in upstate NY, and temps will be creeping up to the 70s all week. Great temps for a lot of outdoor sanding! With any luck I’ll be ready for spray season in the next few weeks.
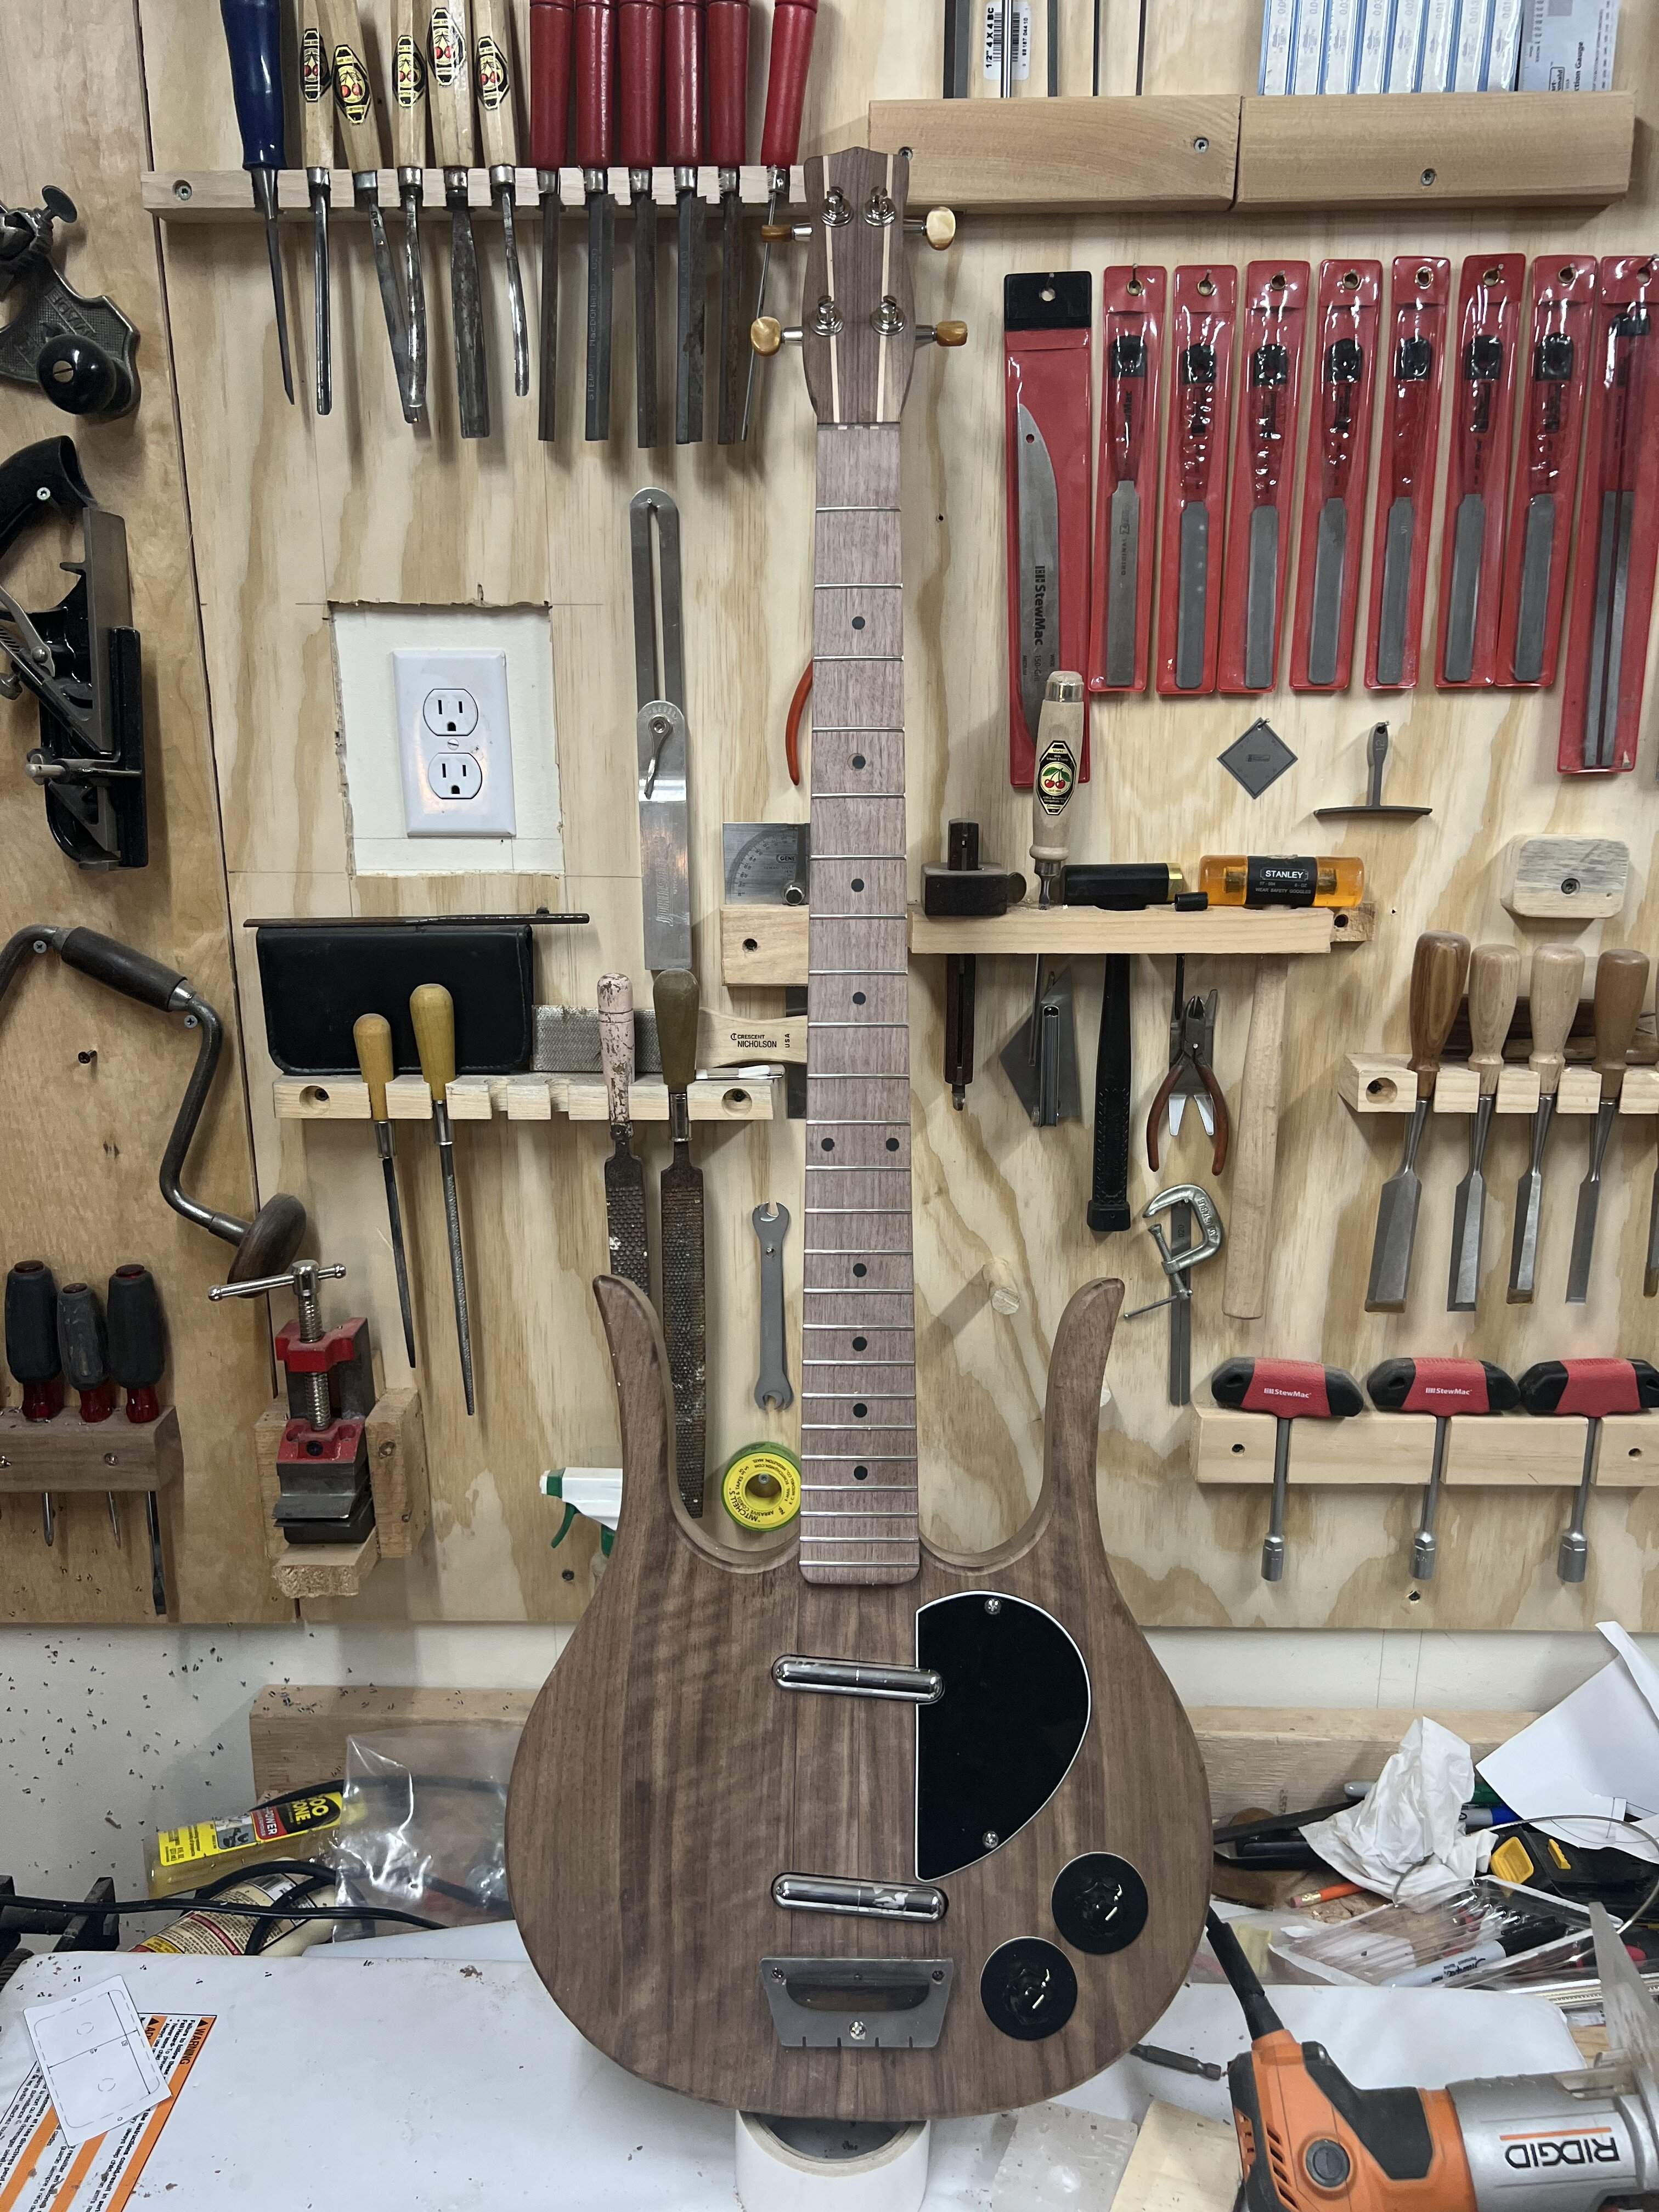
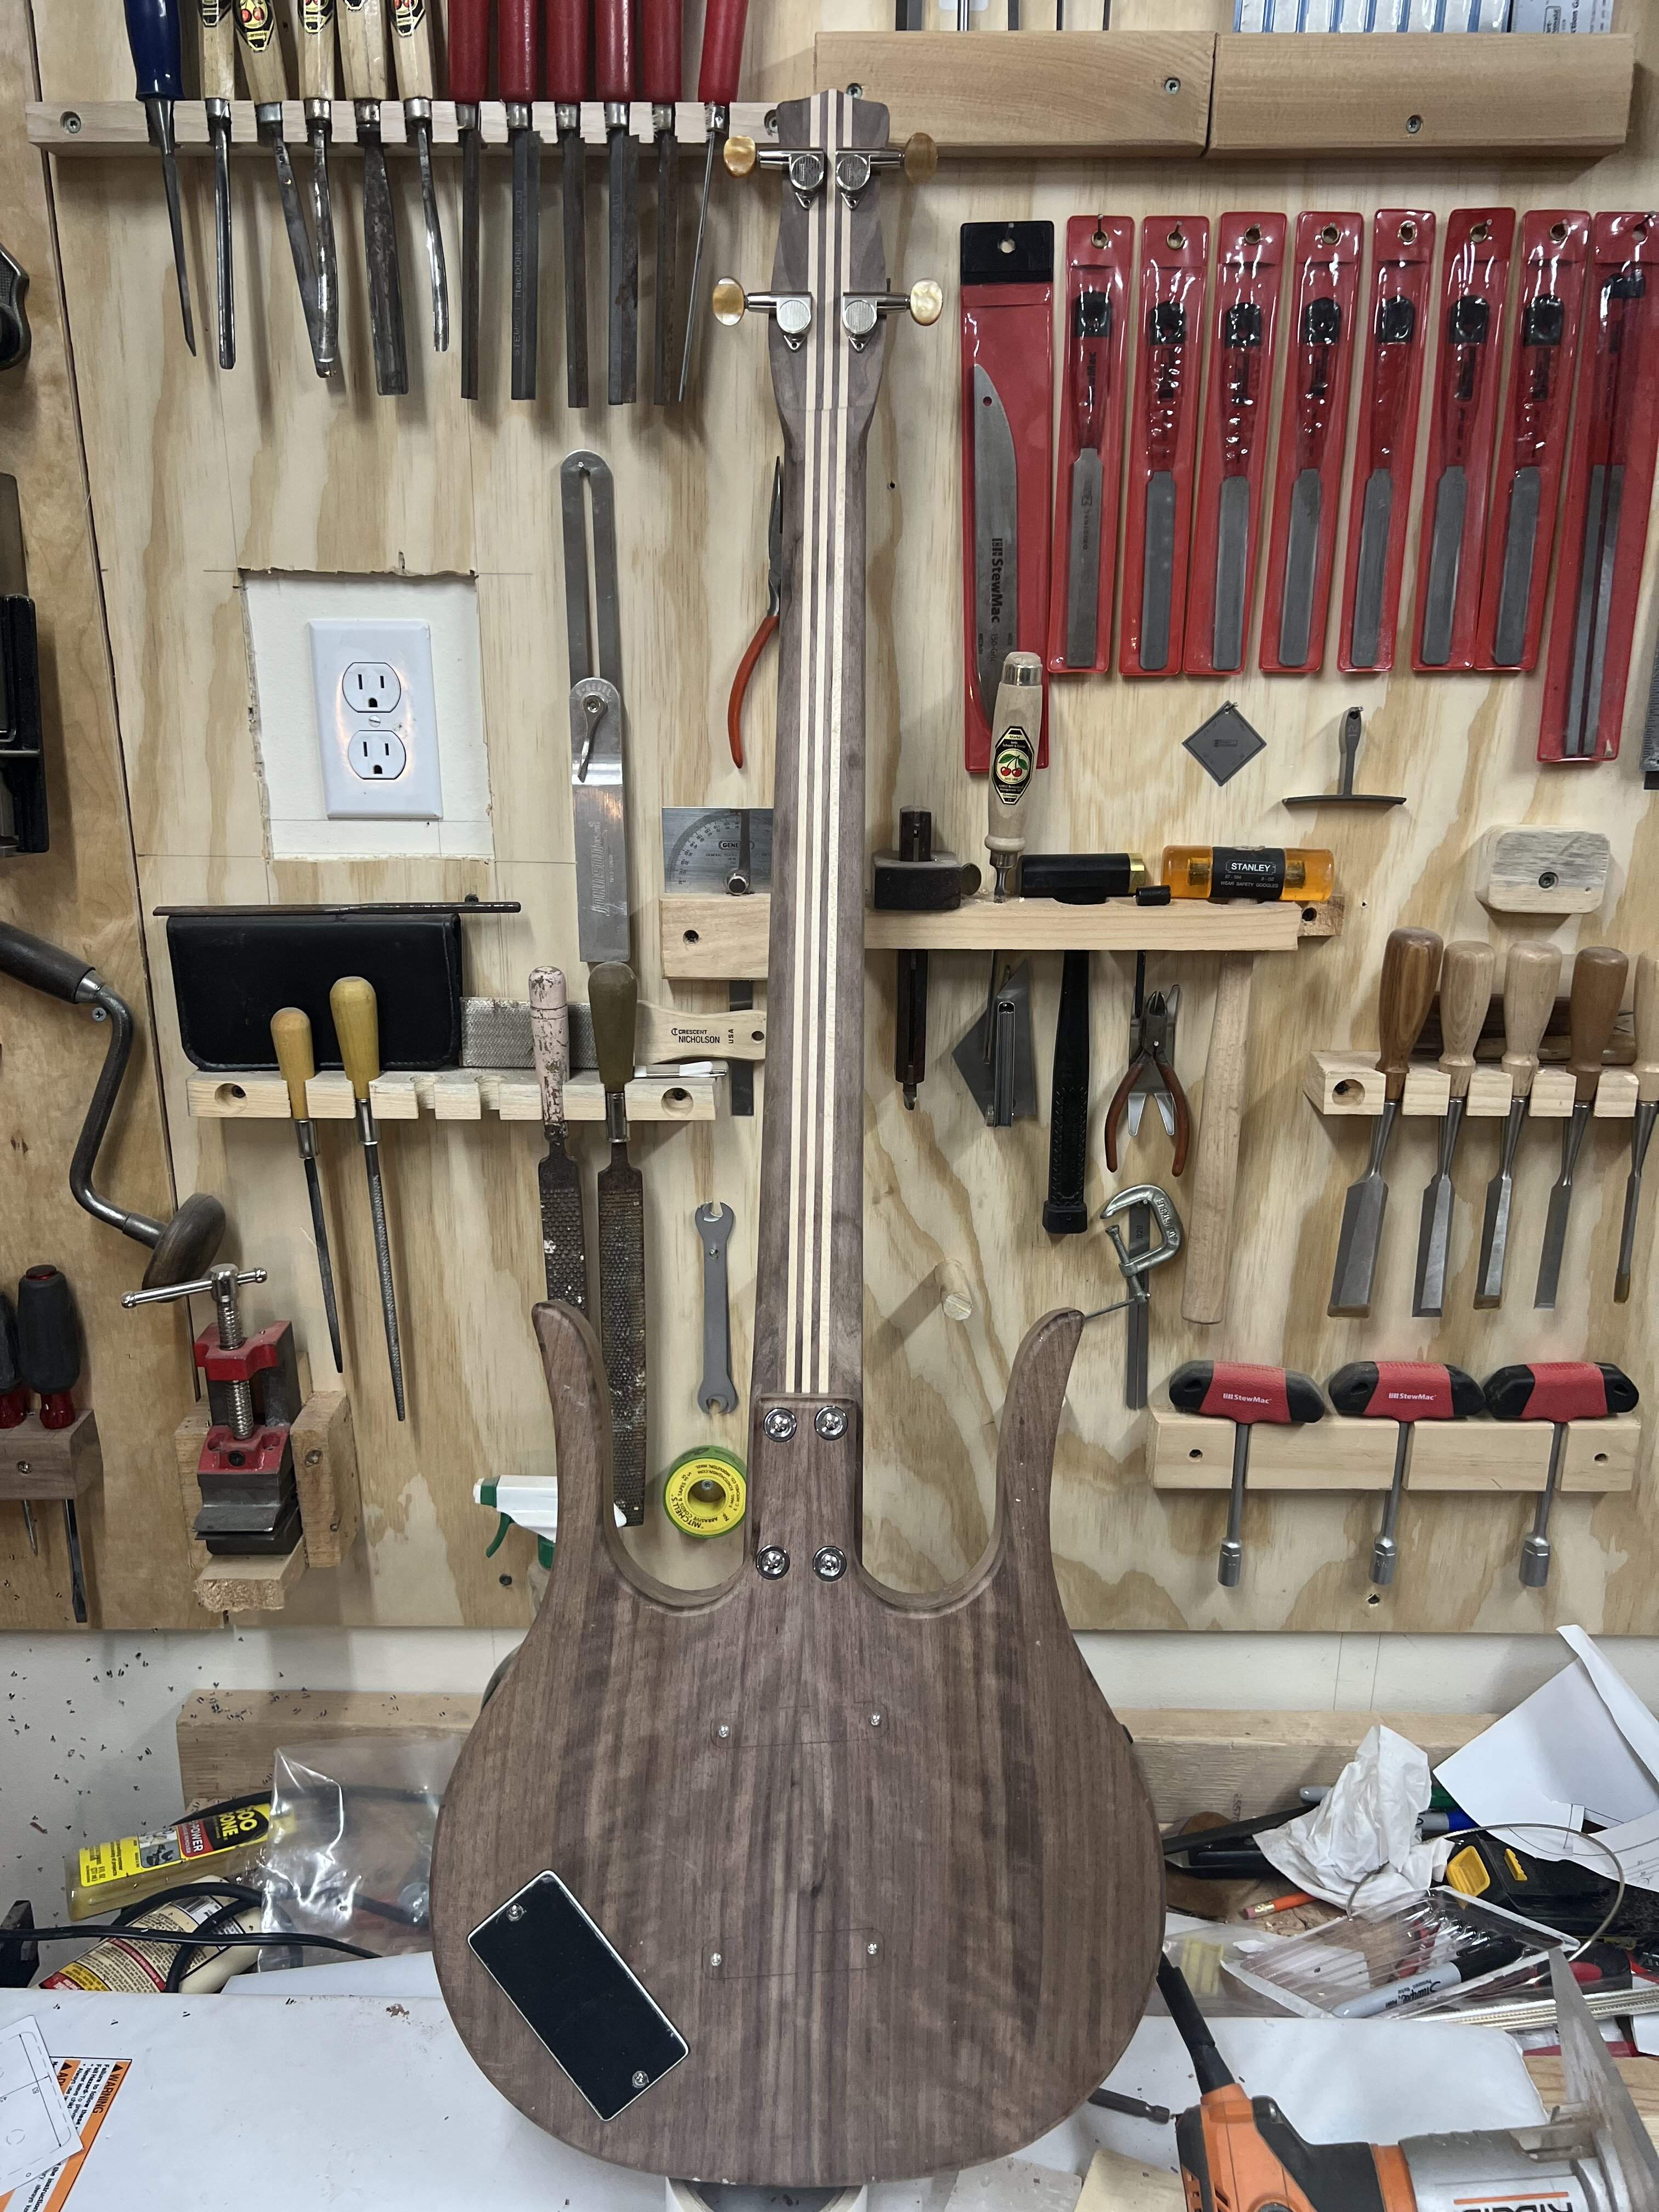
See what I’m going for? Fraternal shorts!
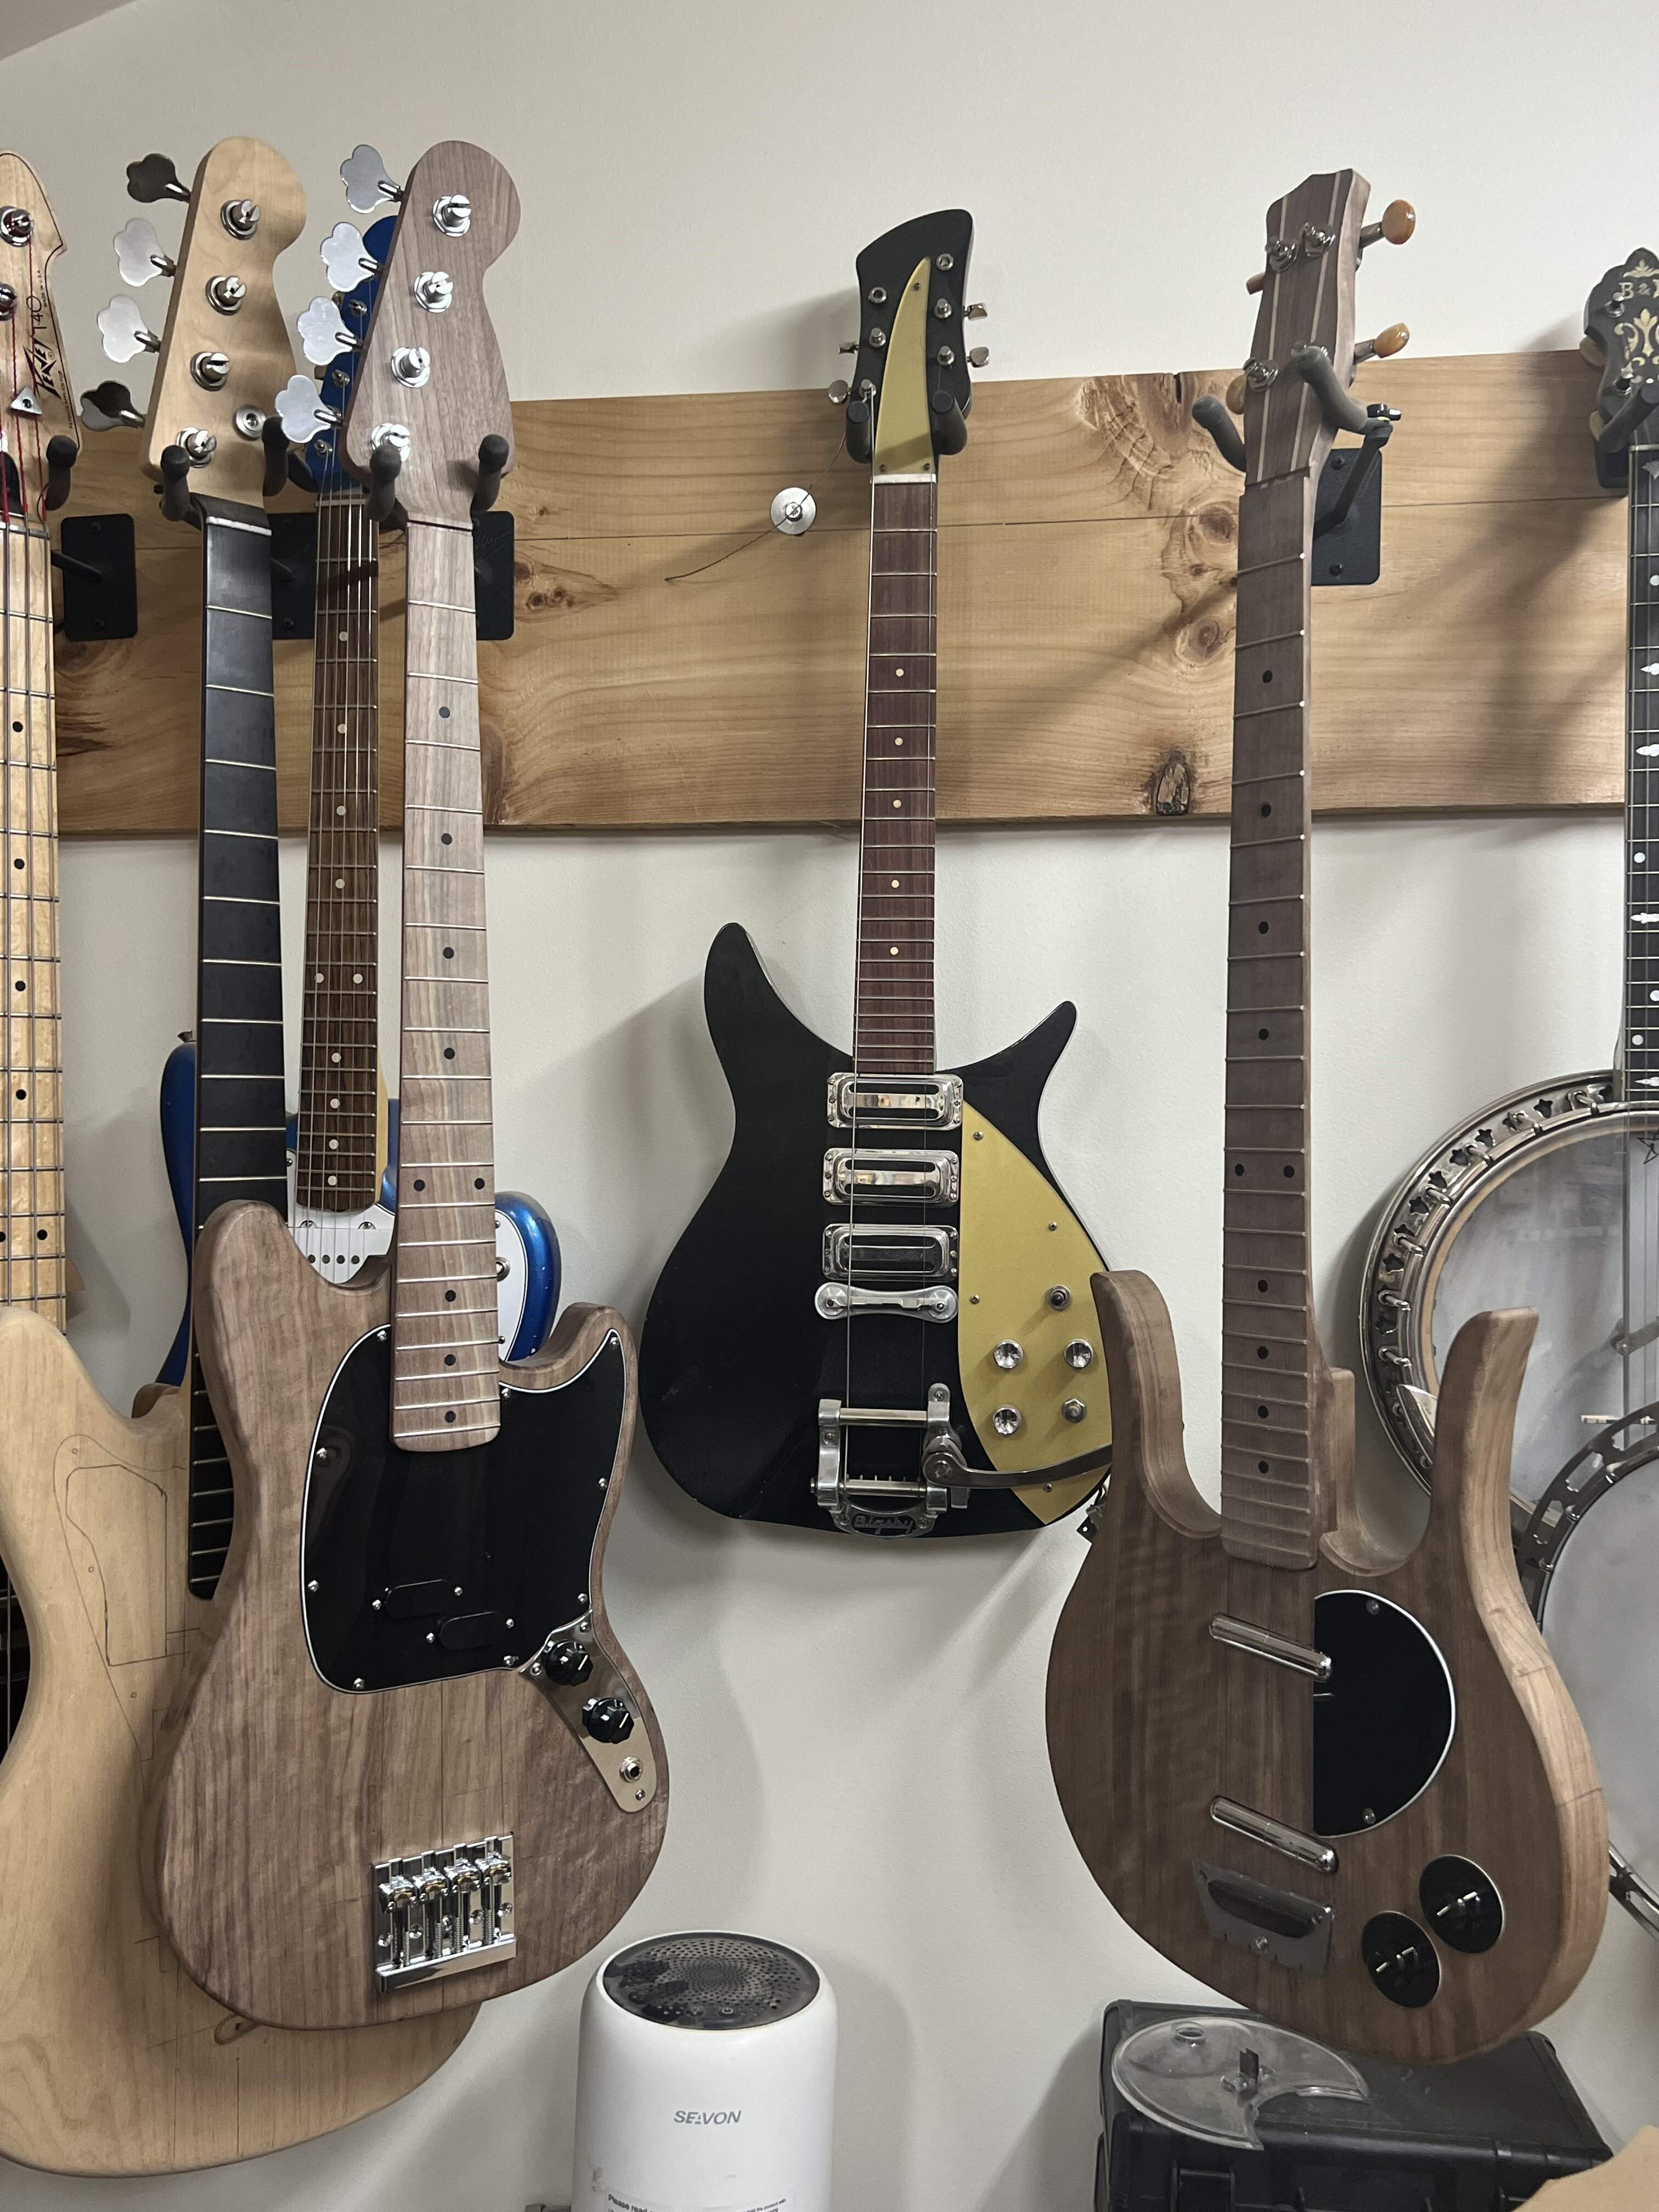
See what I’m going for? Fraternal shorts!

Yeah, at the risk of being predictable, I think I am going to make a series of basses with this scheme. I really like walnut, it is a pleasure to work and I can get it right down the street. With some amber on top it looks a bit like rosewood, but affordable.All that walnut...
This all came about because of a bass I never finished, a ric 4003 style with walnut and maple accents, inspired by the Harrison rosewood tele. I started it before the pandemic, but the build got lost in that madness. I had a bunch of walnut from that build, so I made the EB from some of that, and I liked it so much I just kept going with the theme.
I will go to work on the 4003 after the explorers are done with my student, I have half the woodwork done, and all the parts are just sitting around. Will probably be cathartic in a way, set that awful business aside. My wife is a nurse and it really was hard on her. As a teacher myself it was the hardest few years in my career. I lost a close former student and close family member to it, and haven’t been in a hurry to revisit the memories.
But that is way more than you need in an internet forum, my apologies. Walnut is nice wood.
What happens in our lives, and our thoughts and feelings, all has a bearing on how we feel about our builds and how we progress as builders. Sometimes the broader picture needs to be painted for our better understanding of how you see your woods, your basses, and how it all fits together.
One of the things that keep me around here is just how every now and then the talk will get more personal, and thereby more relatable. I don't stay on forums where the talk is strictly about the project.
It's your thread. Tell us about your life if you feel so inclined.
One of the things that keep me around here is just how every now and then the talk will get more personal, and thereby more relatable. I don't stay on forums where the talk is strictly about the project.
It's your thread. Tell us about your life if you feel so inclined.
Not sure if anyone is interested in the non-bass origins of these two, but most of the wood for the basses was scrap from the enormous blanks for two explorer style guitars. One of my seniors asked me to build an instrument with him, and we have been slowly working through it. I have to hit the gas on the guitars this week so we can get it finished before the end of the school year.
I routed the bodies today, using two smaller bits instead of my big one. There are really long sections that could encourage tearout, so smaller routs seem better for this model.
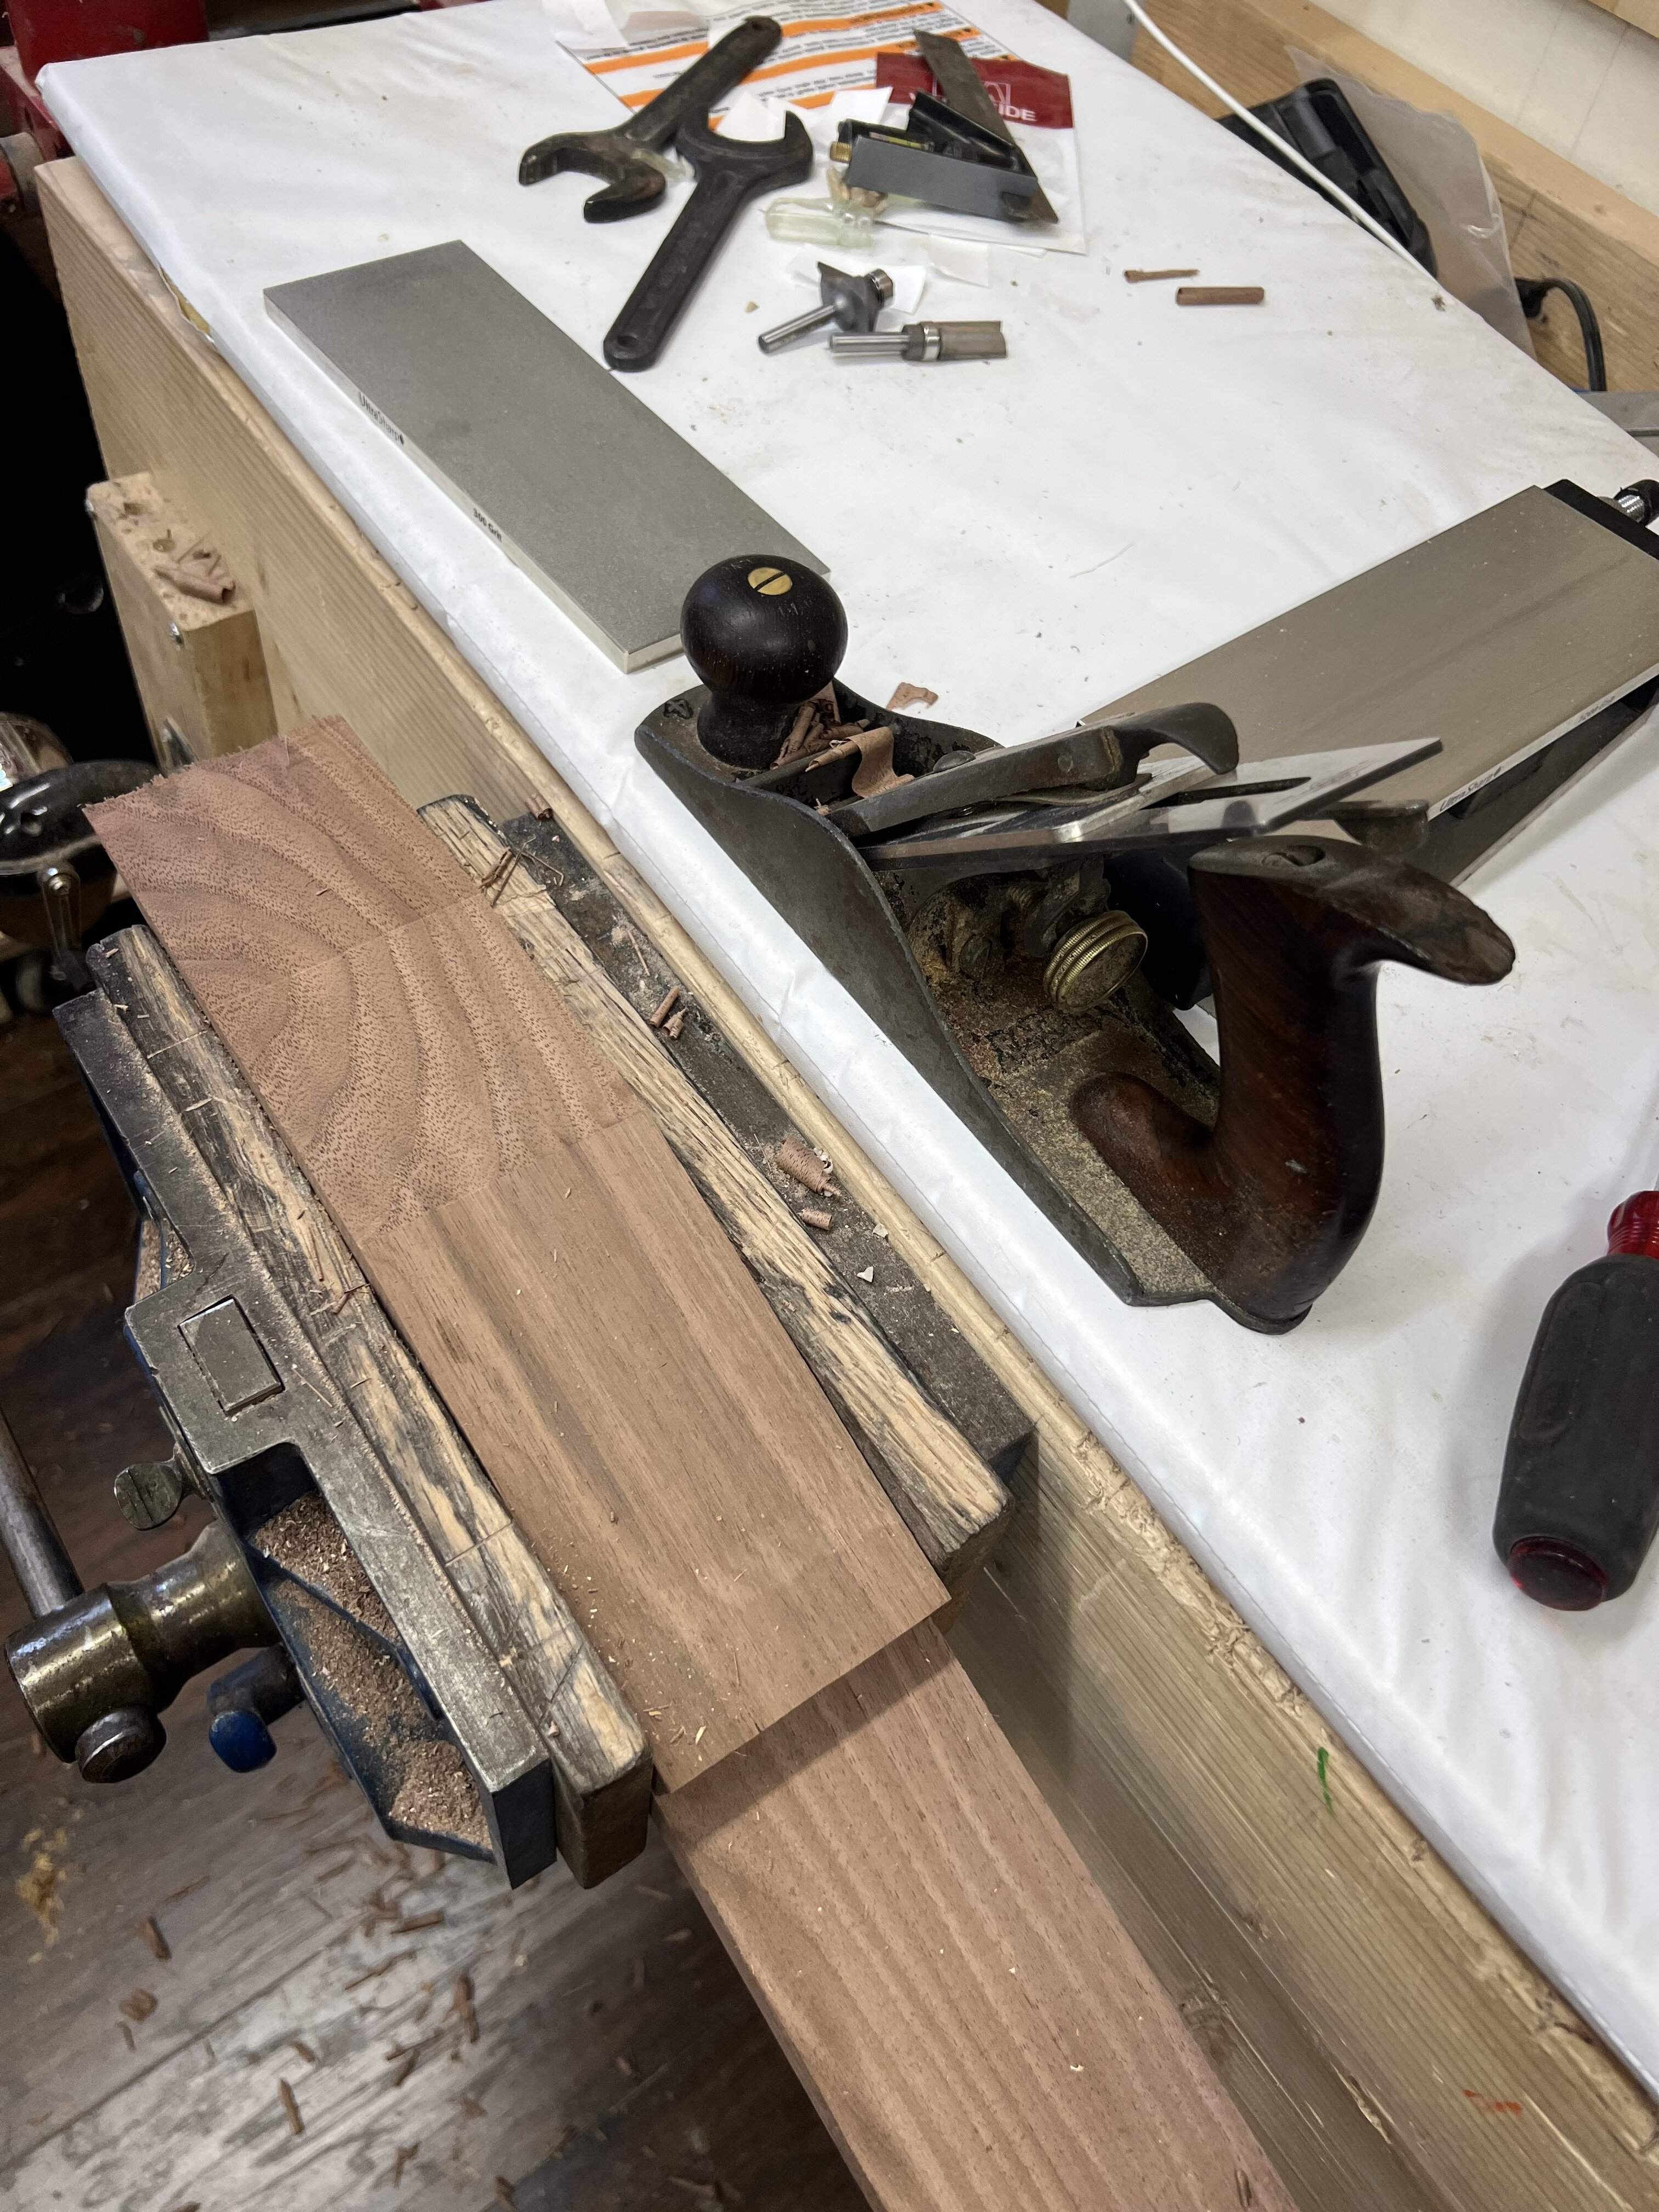
Cut and planed my scarf, we already did this at school on my student’s neck. It is so much nicer in my workshop, with all the specialty tools and a setup designed for workflow. Much less improv.
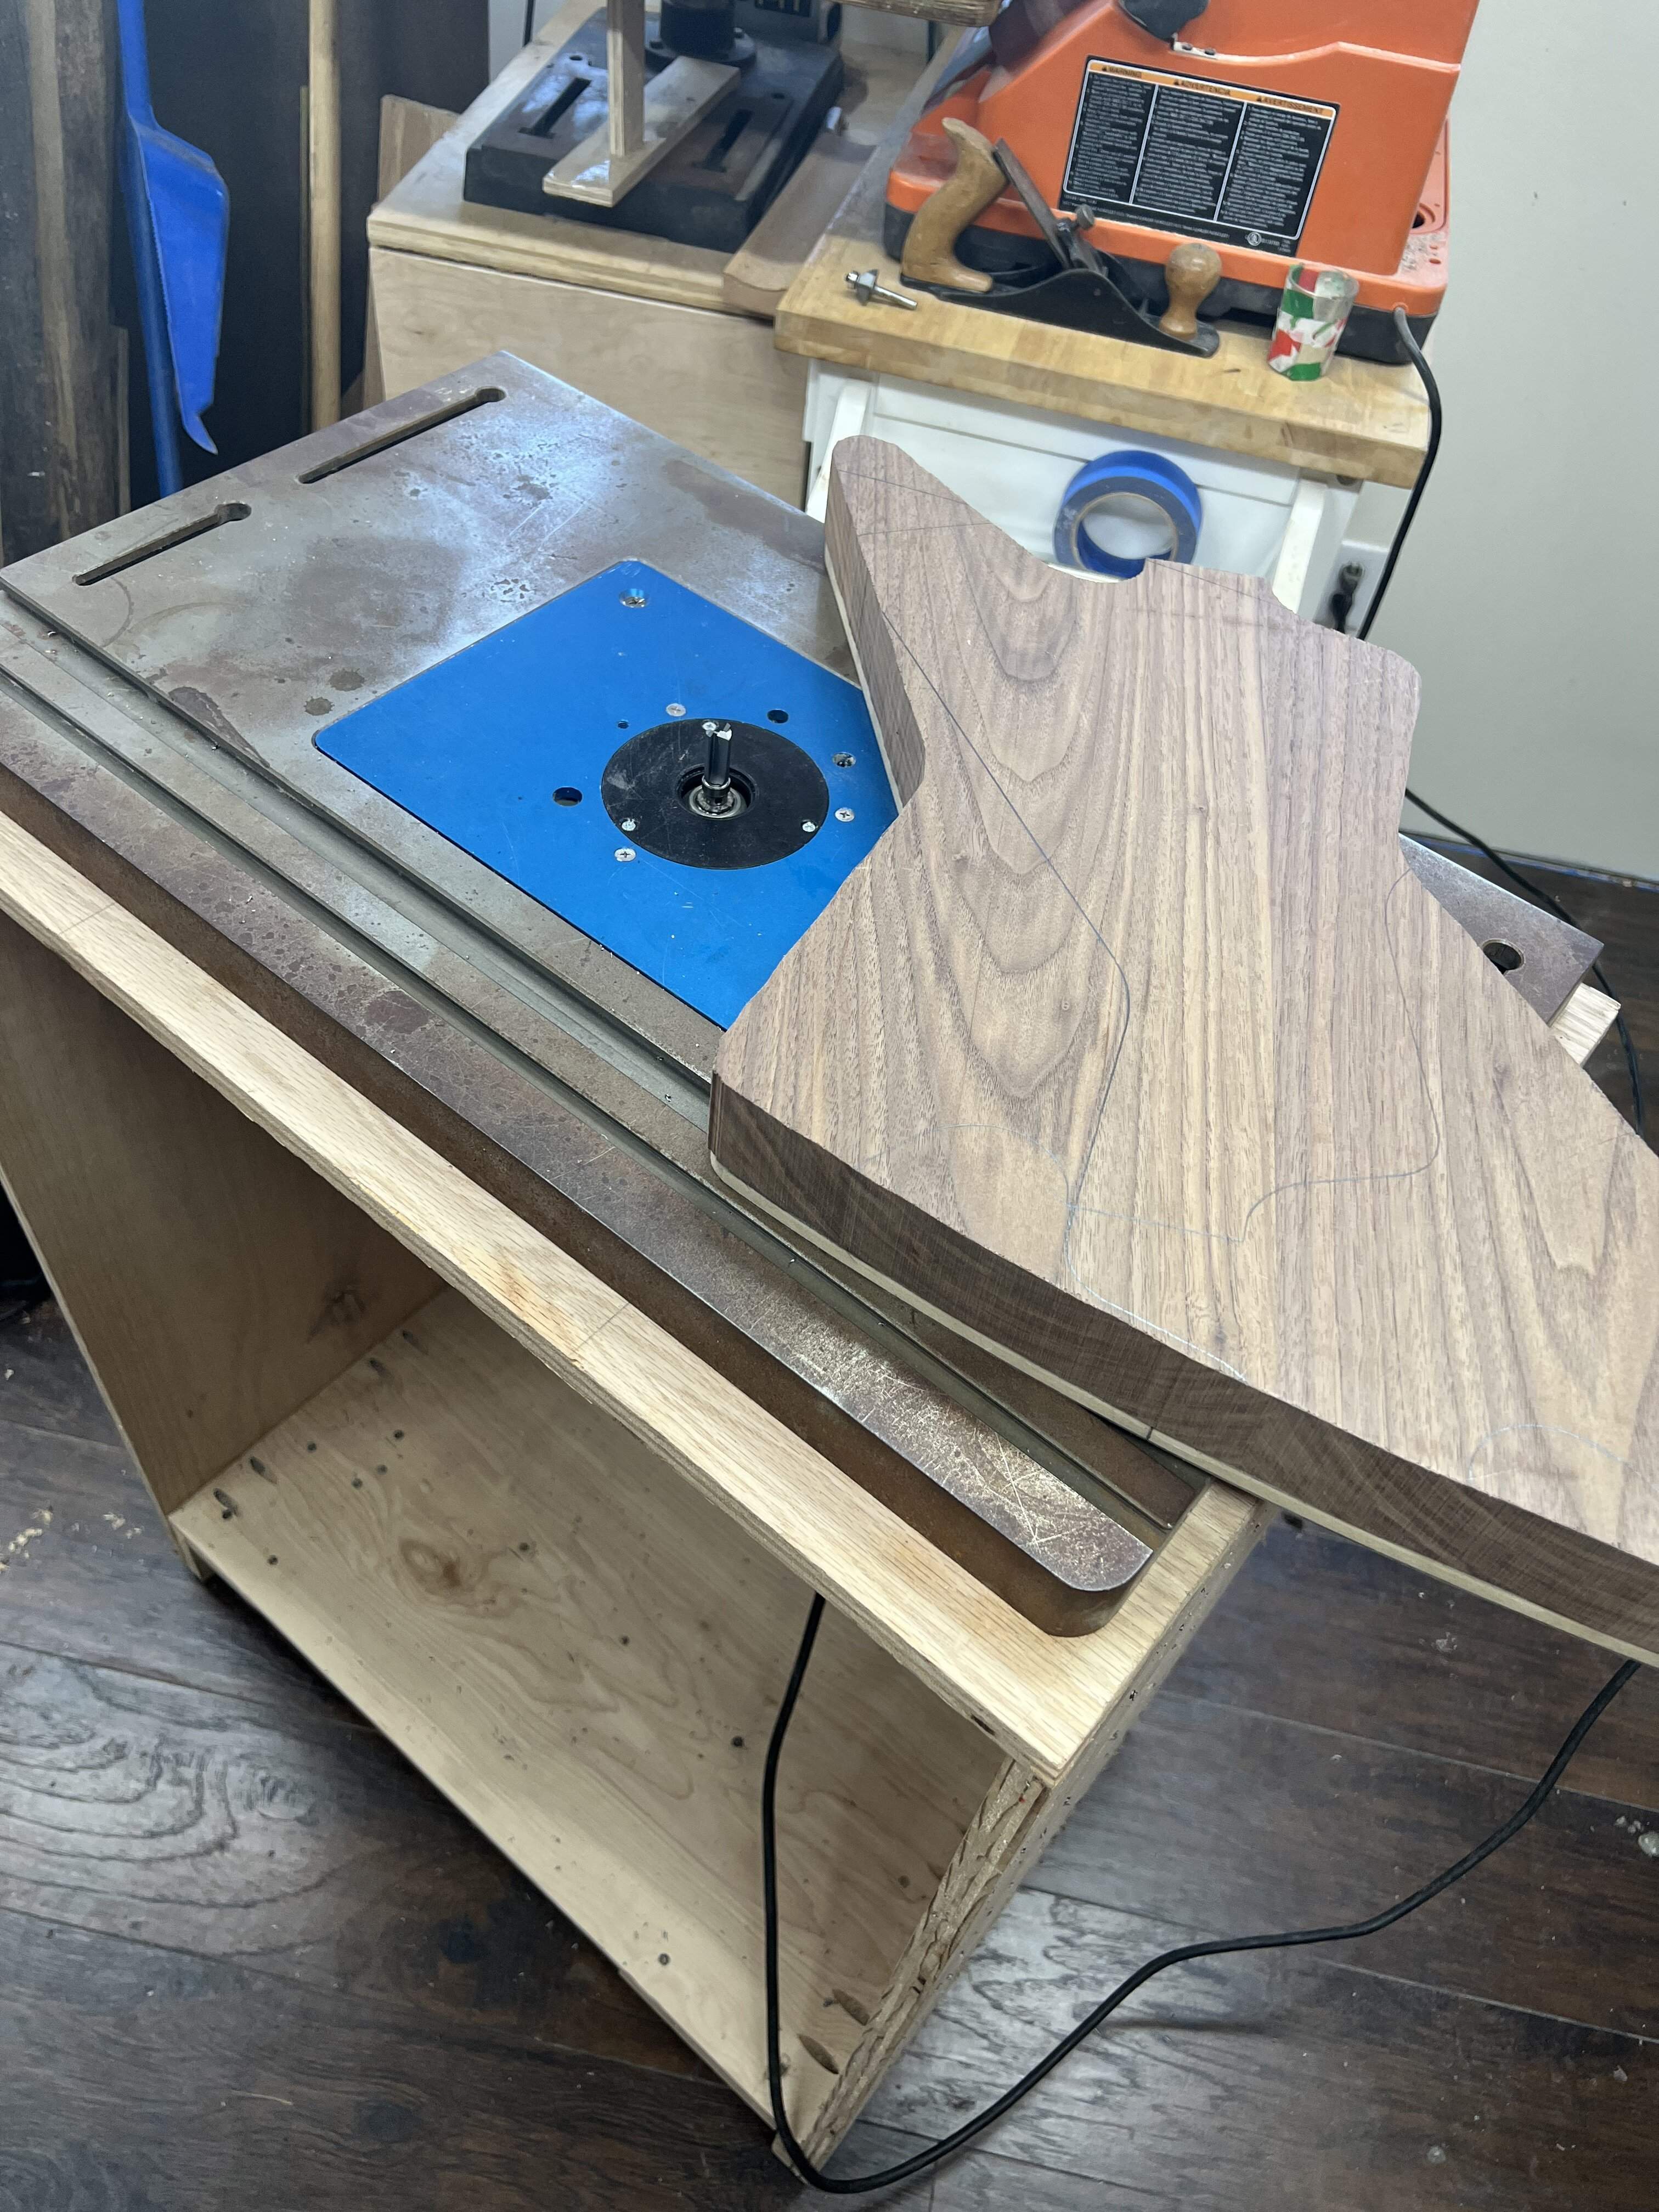
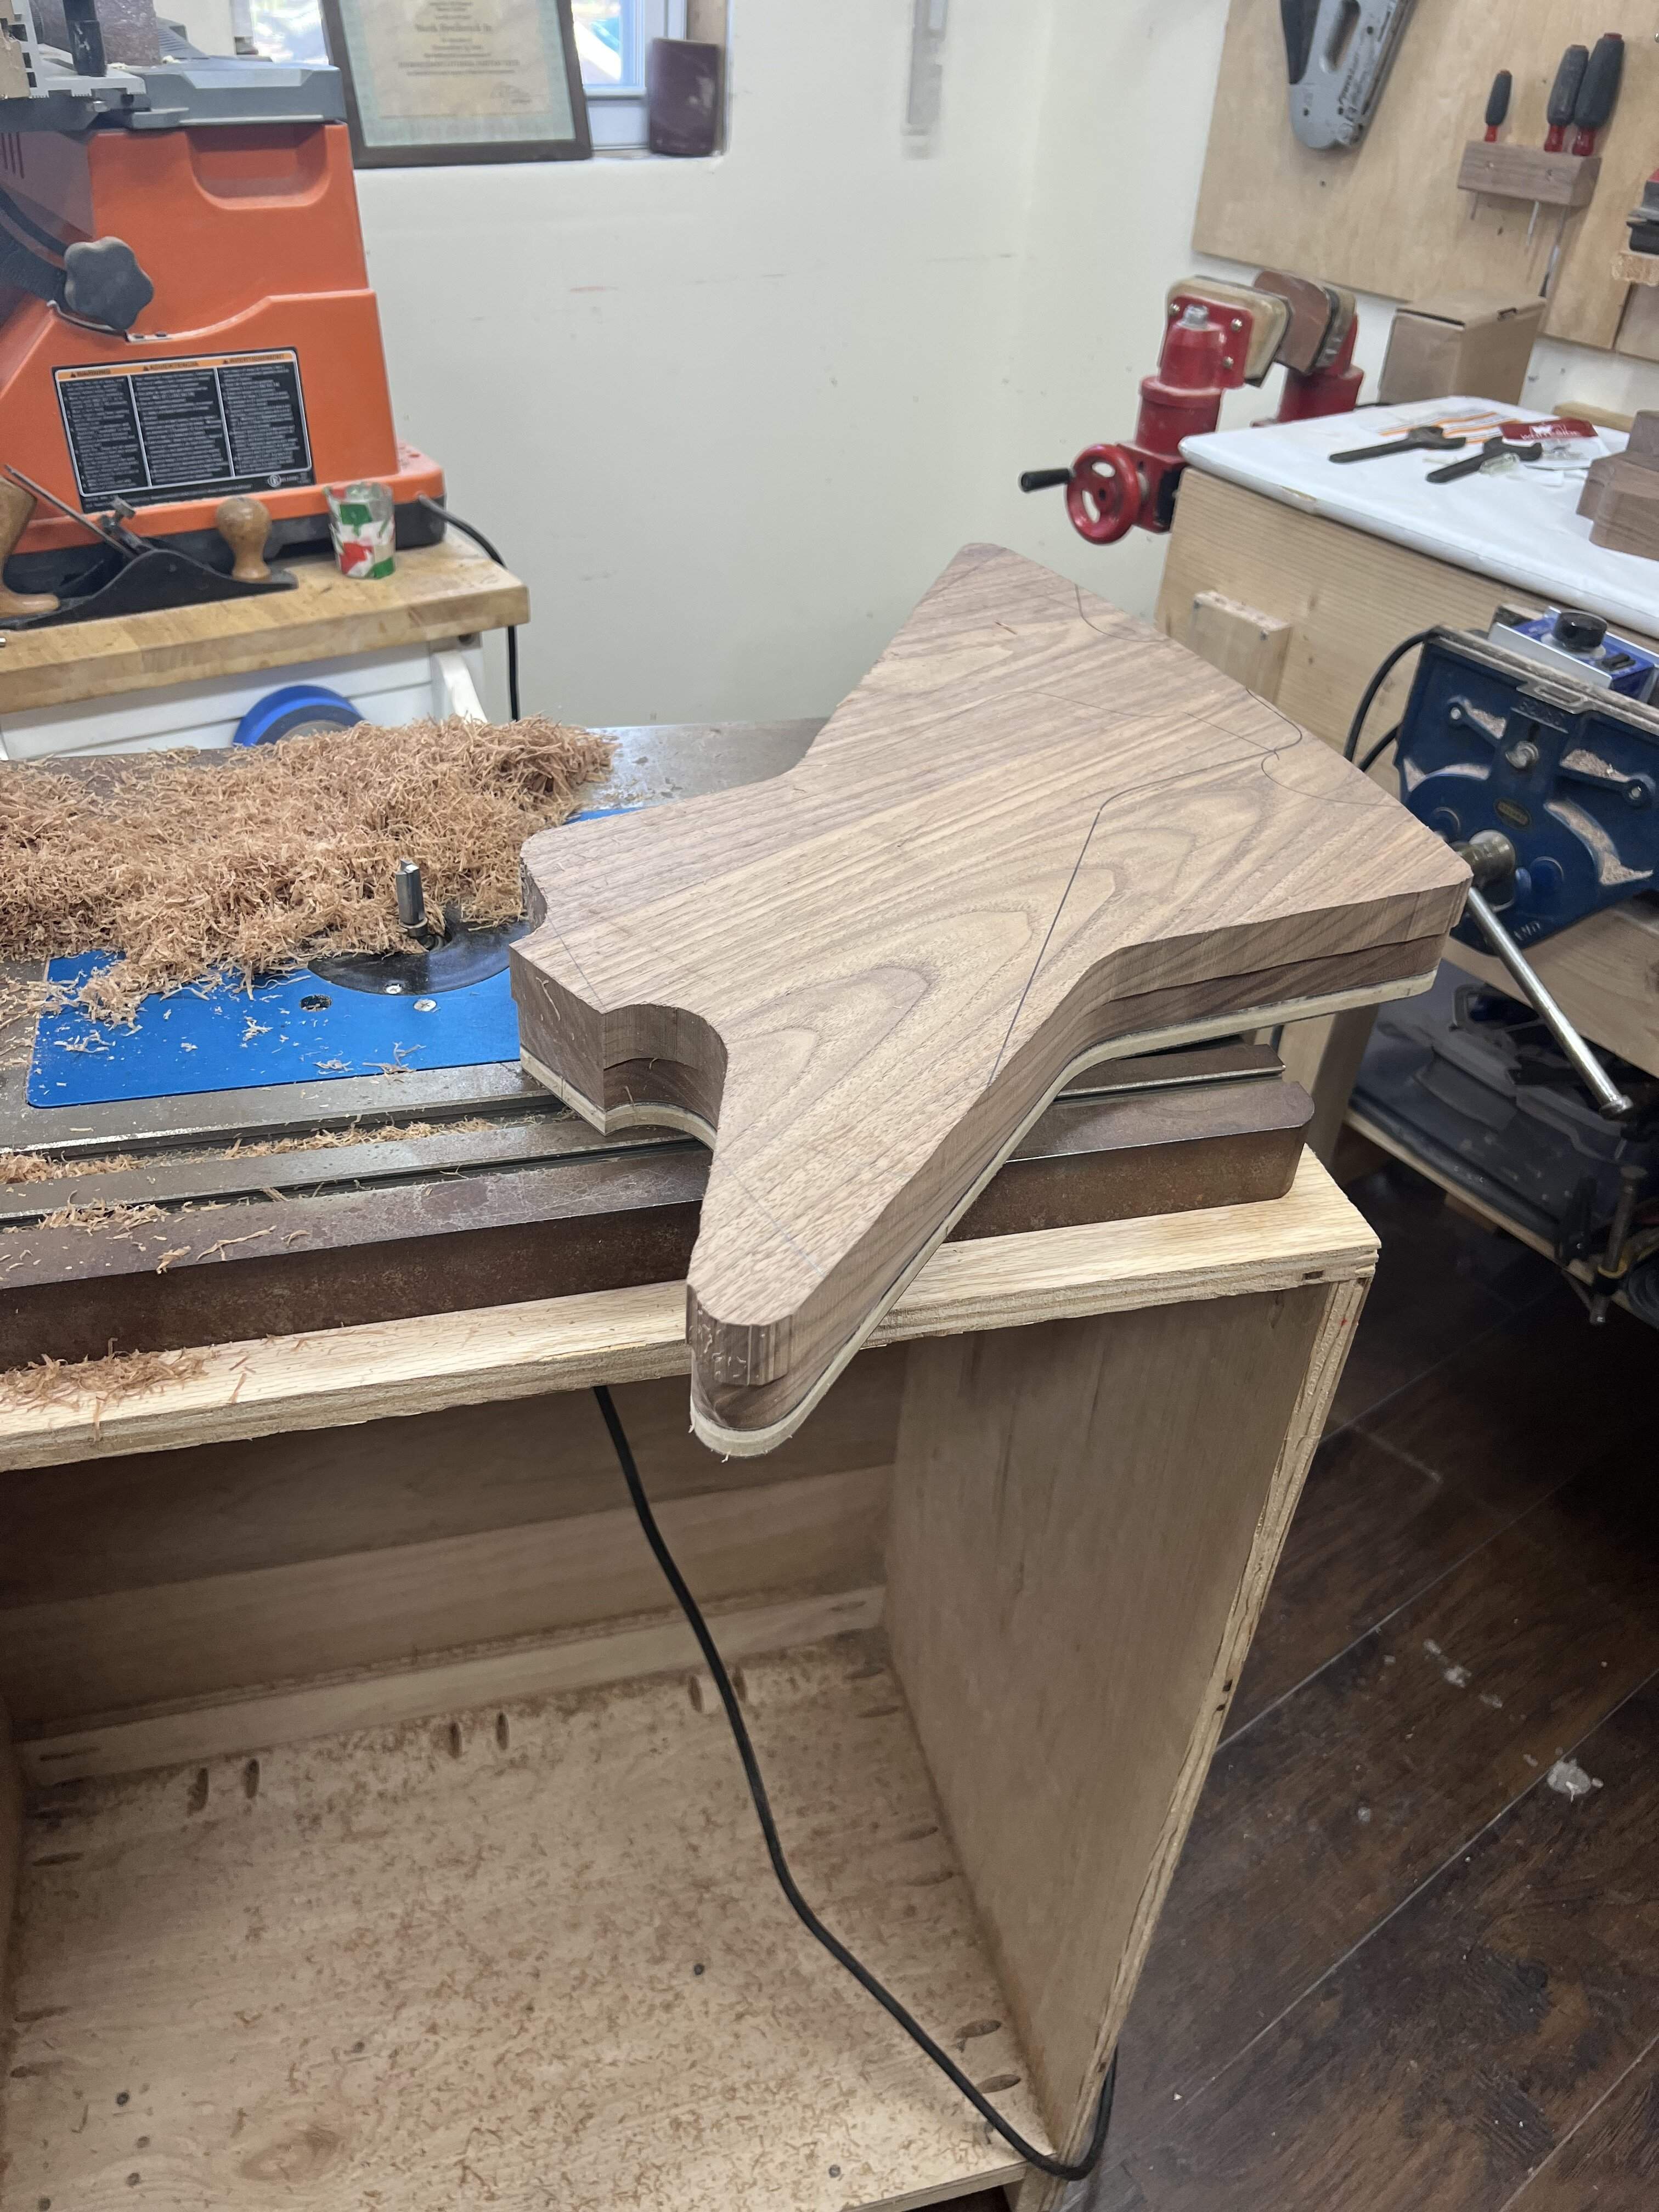
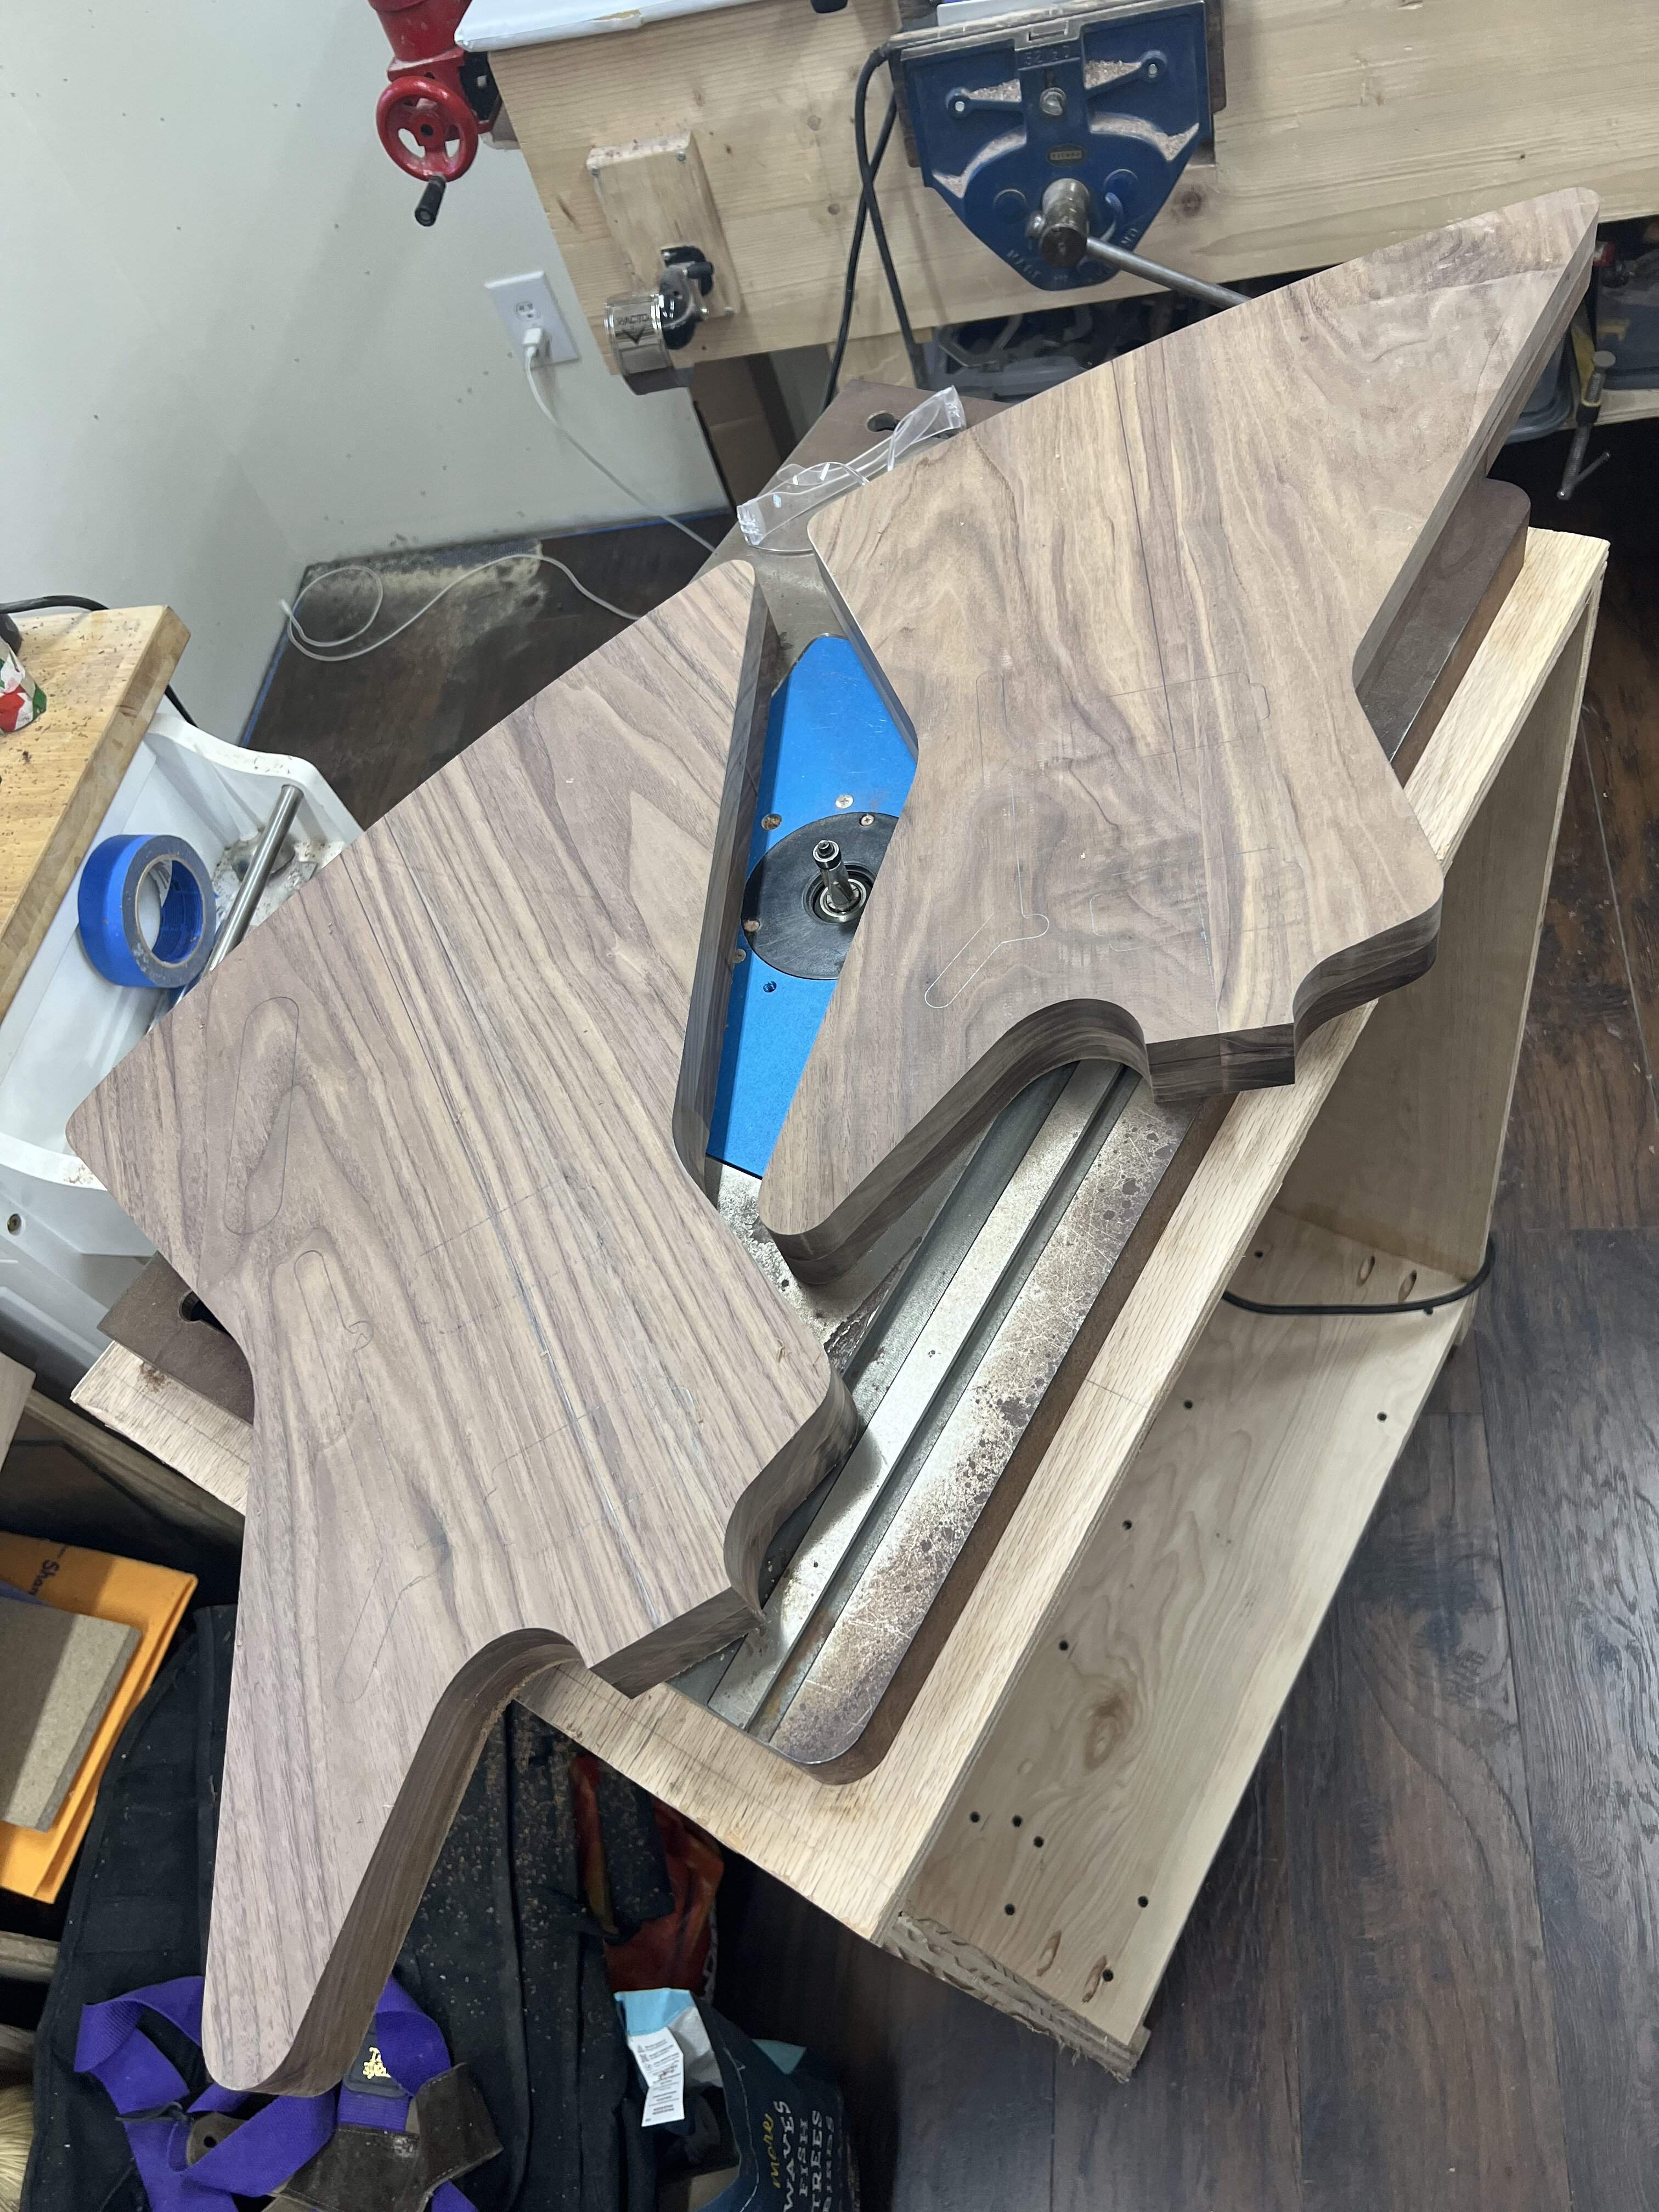
Does anybody have experience with the Gibson long tenon? Trying to decide where to put my neck angle. Leaning towards the tenon.
I routed the bodies today, using two smaller bits instead of my big one. There are really long sections that could encourage tearout, so smaller routs seem better for this model.
Cut and planed my scarf, we already did this at school on my student’s neck. It is so much nicer in my workshop, with all the specialty tools and a setup designed for workflow. Much less improv.
Does anybody have experience with the Gibson long tenon? Trying to decide where to put my neck angle. Leaning towards the tenon.
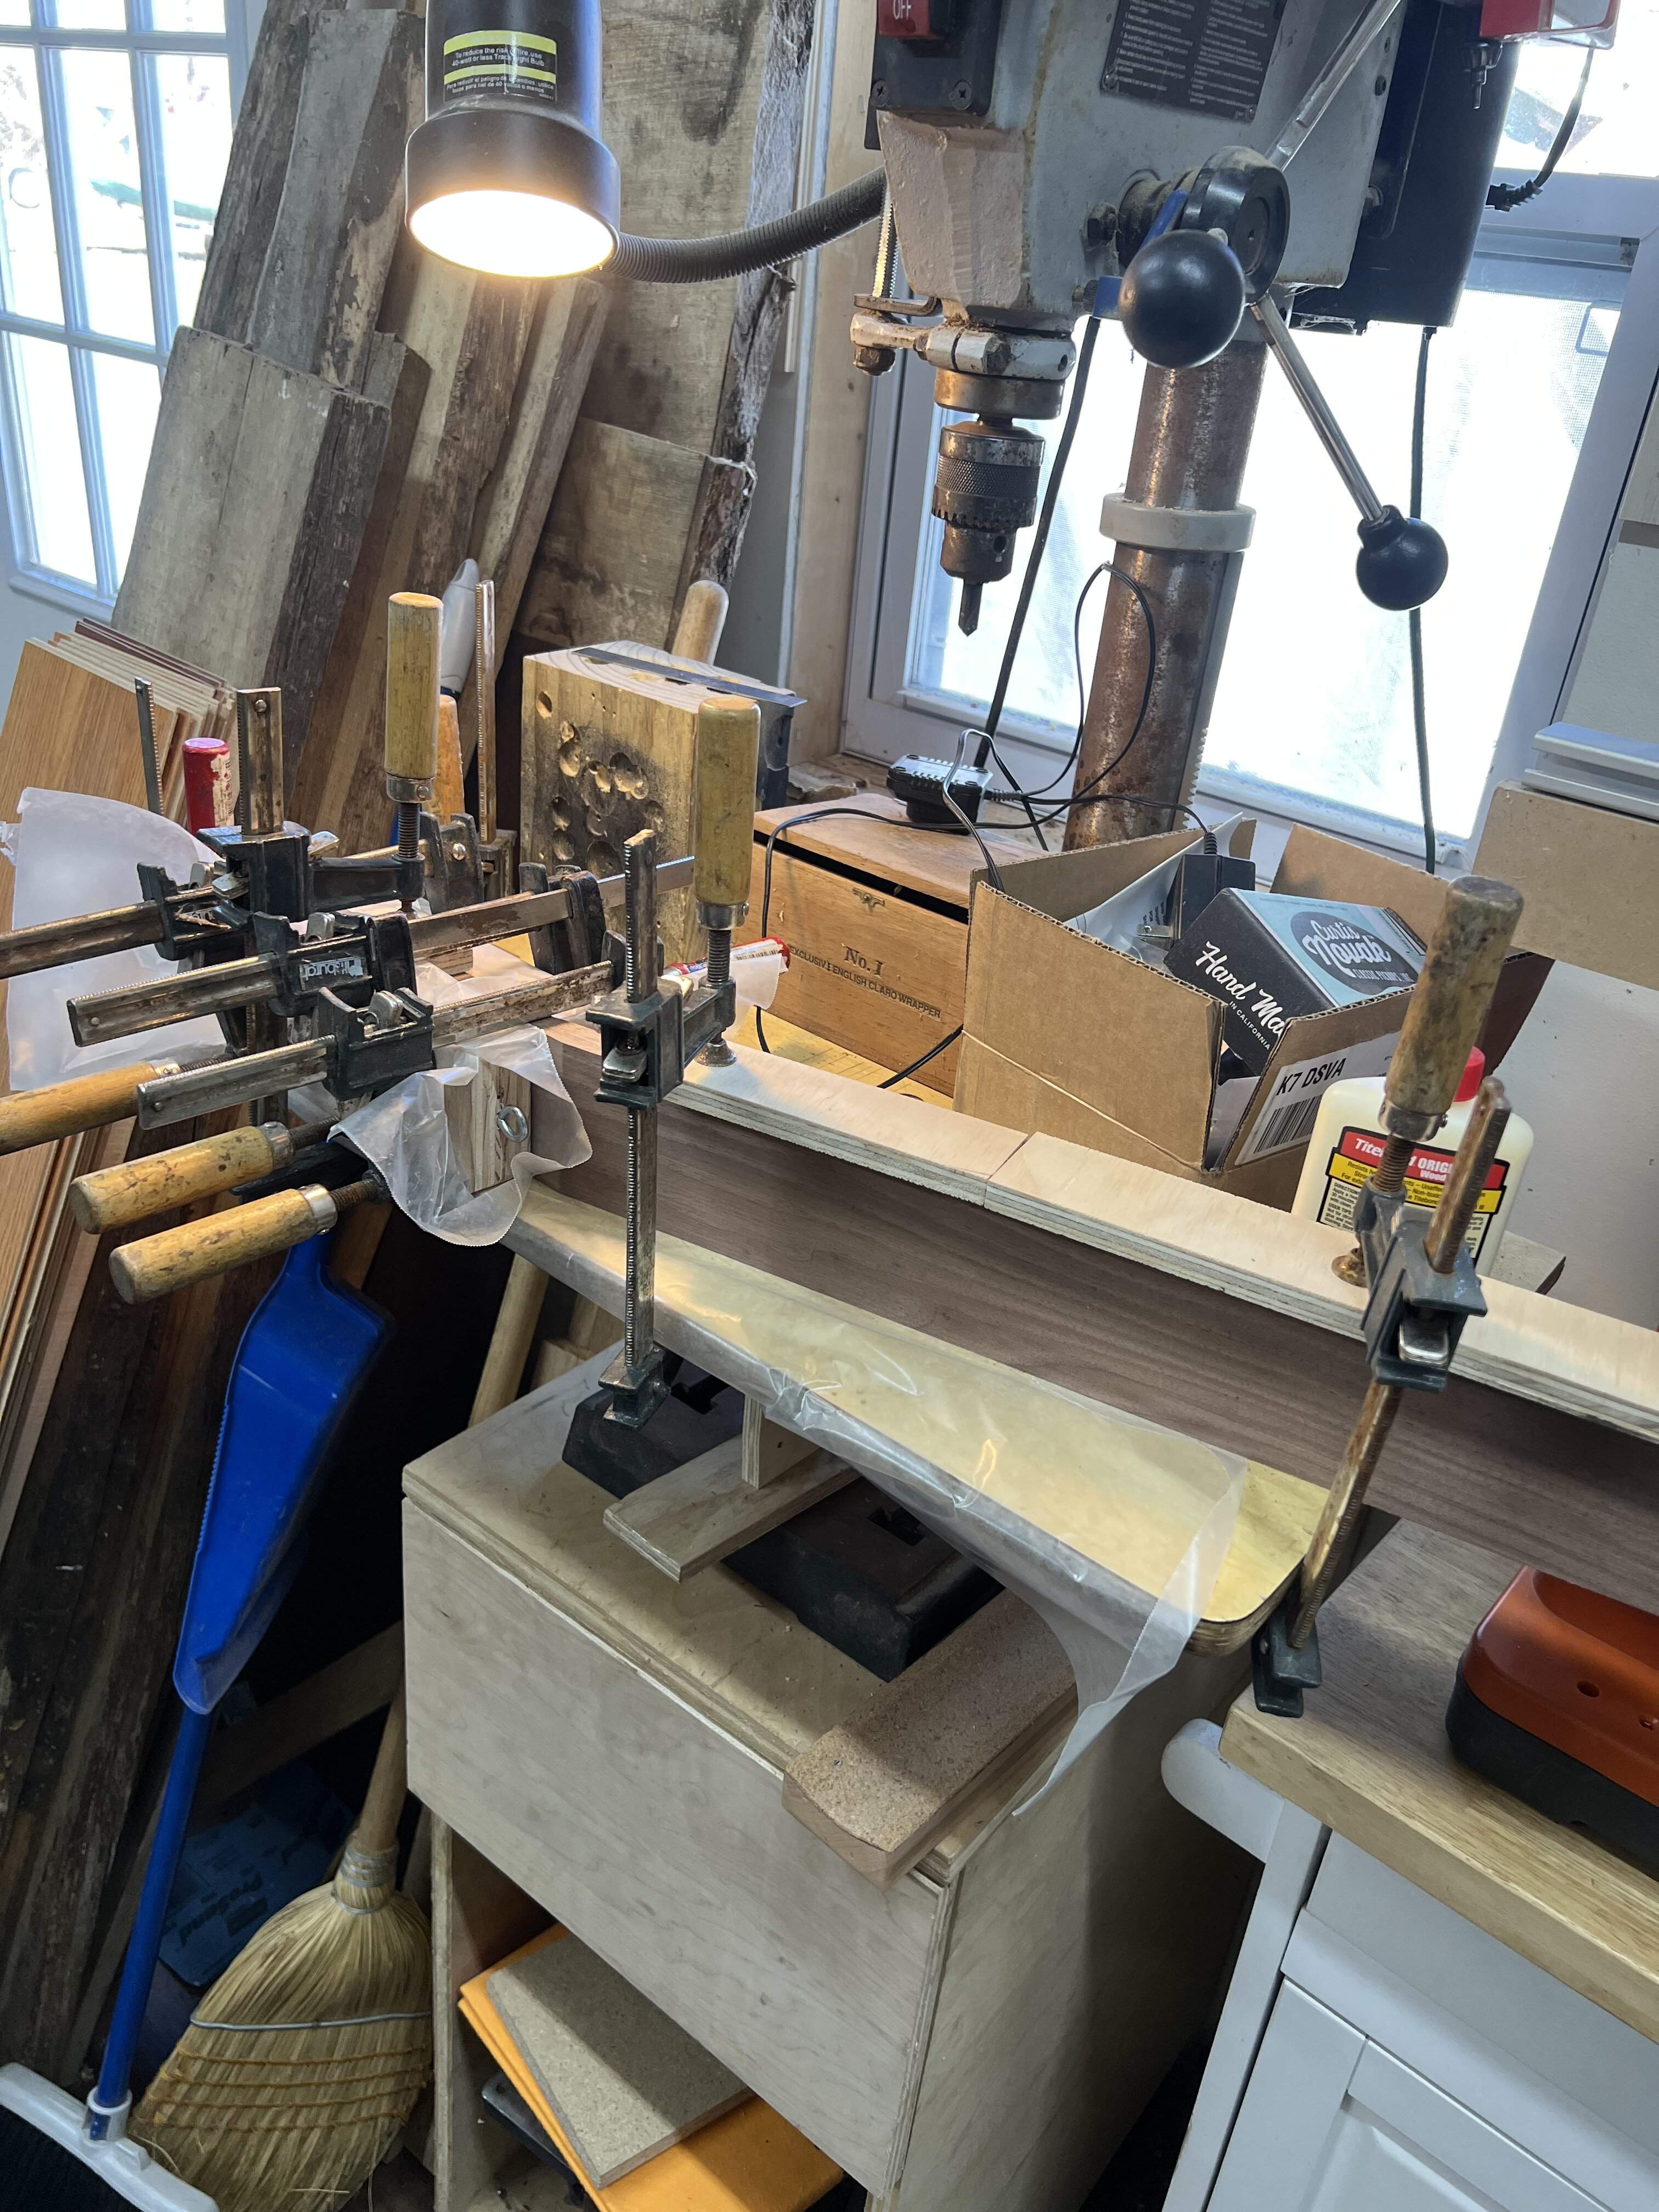
I remember many many years ago in my 20s attempting my first scarf joint. Way too much glue, not enough clamps, definitely didn’t think the setup through before I attempted. Age has contributed both experience and patience, and it pays off. Whenever a scarf comes out well I think back to that glue-up panic we have all had at some point. This joint came out so nice, one of those small things that I still celebrate when it looks like it should. I hope that never fades.
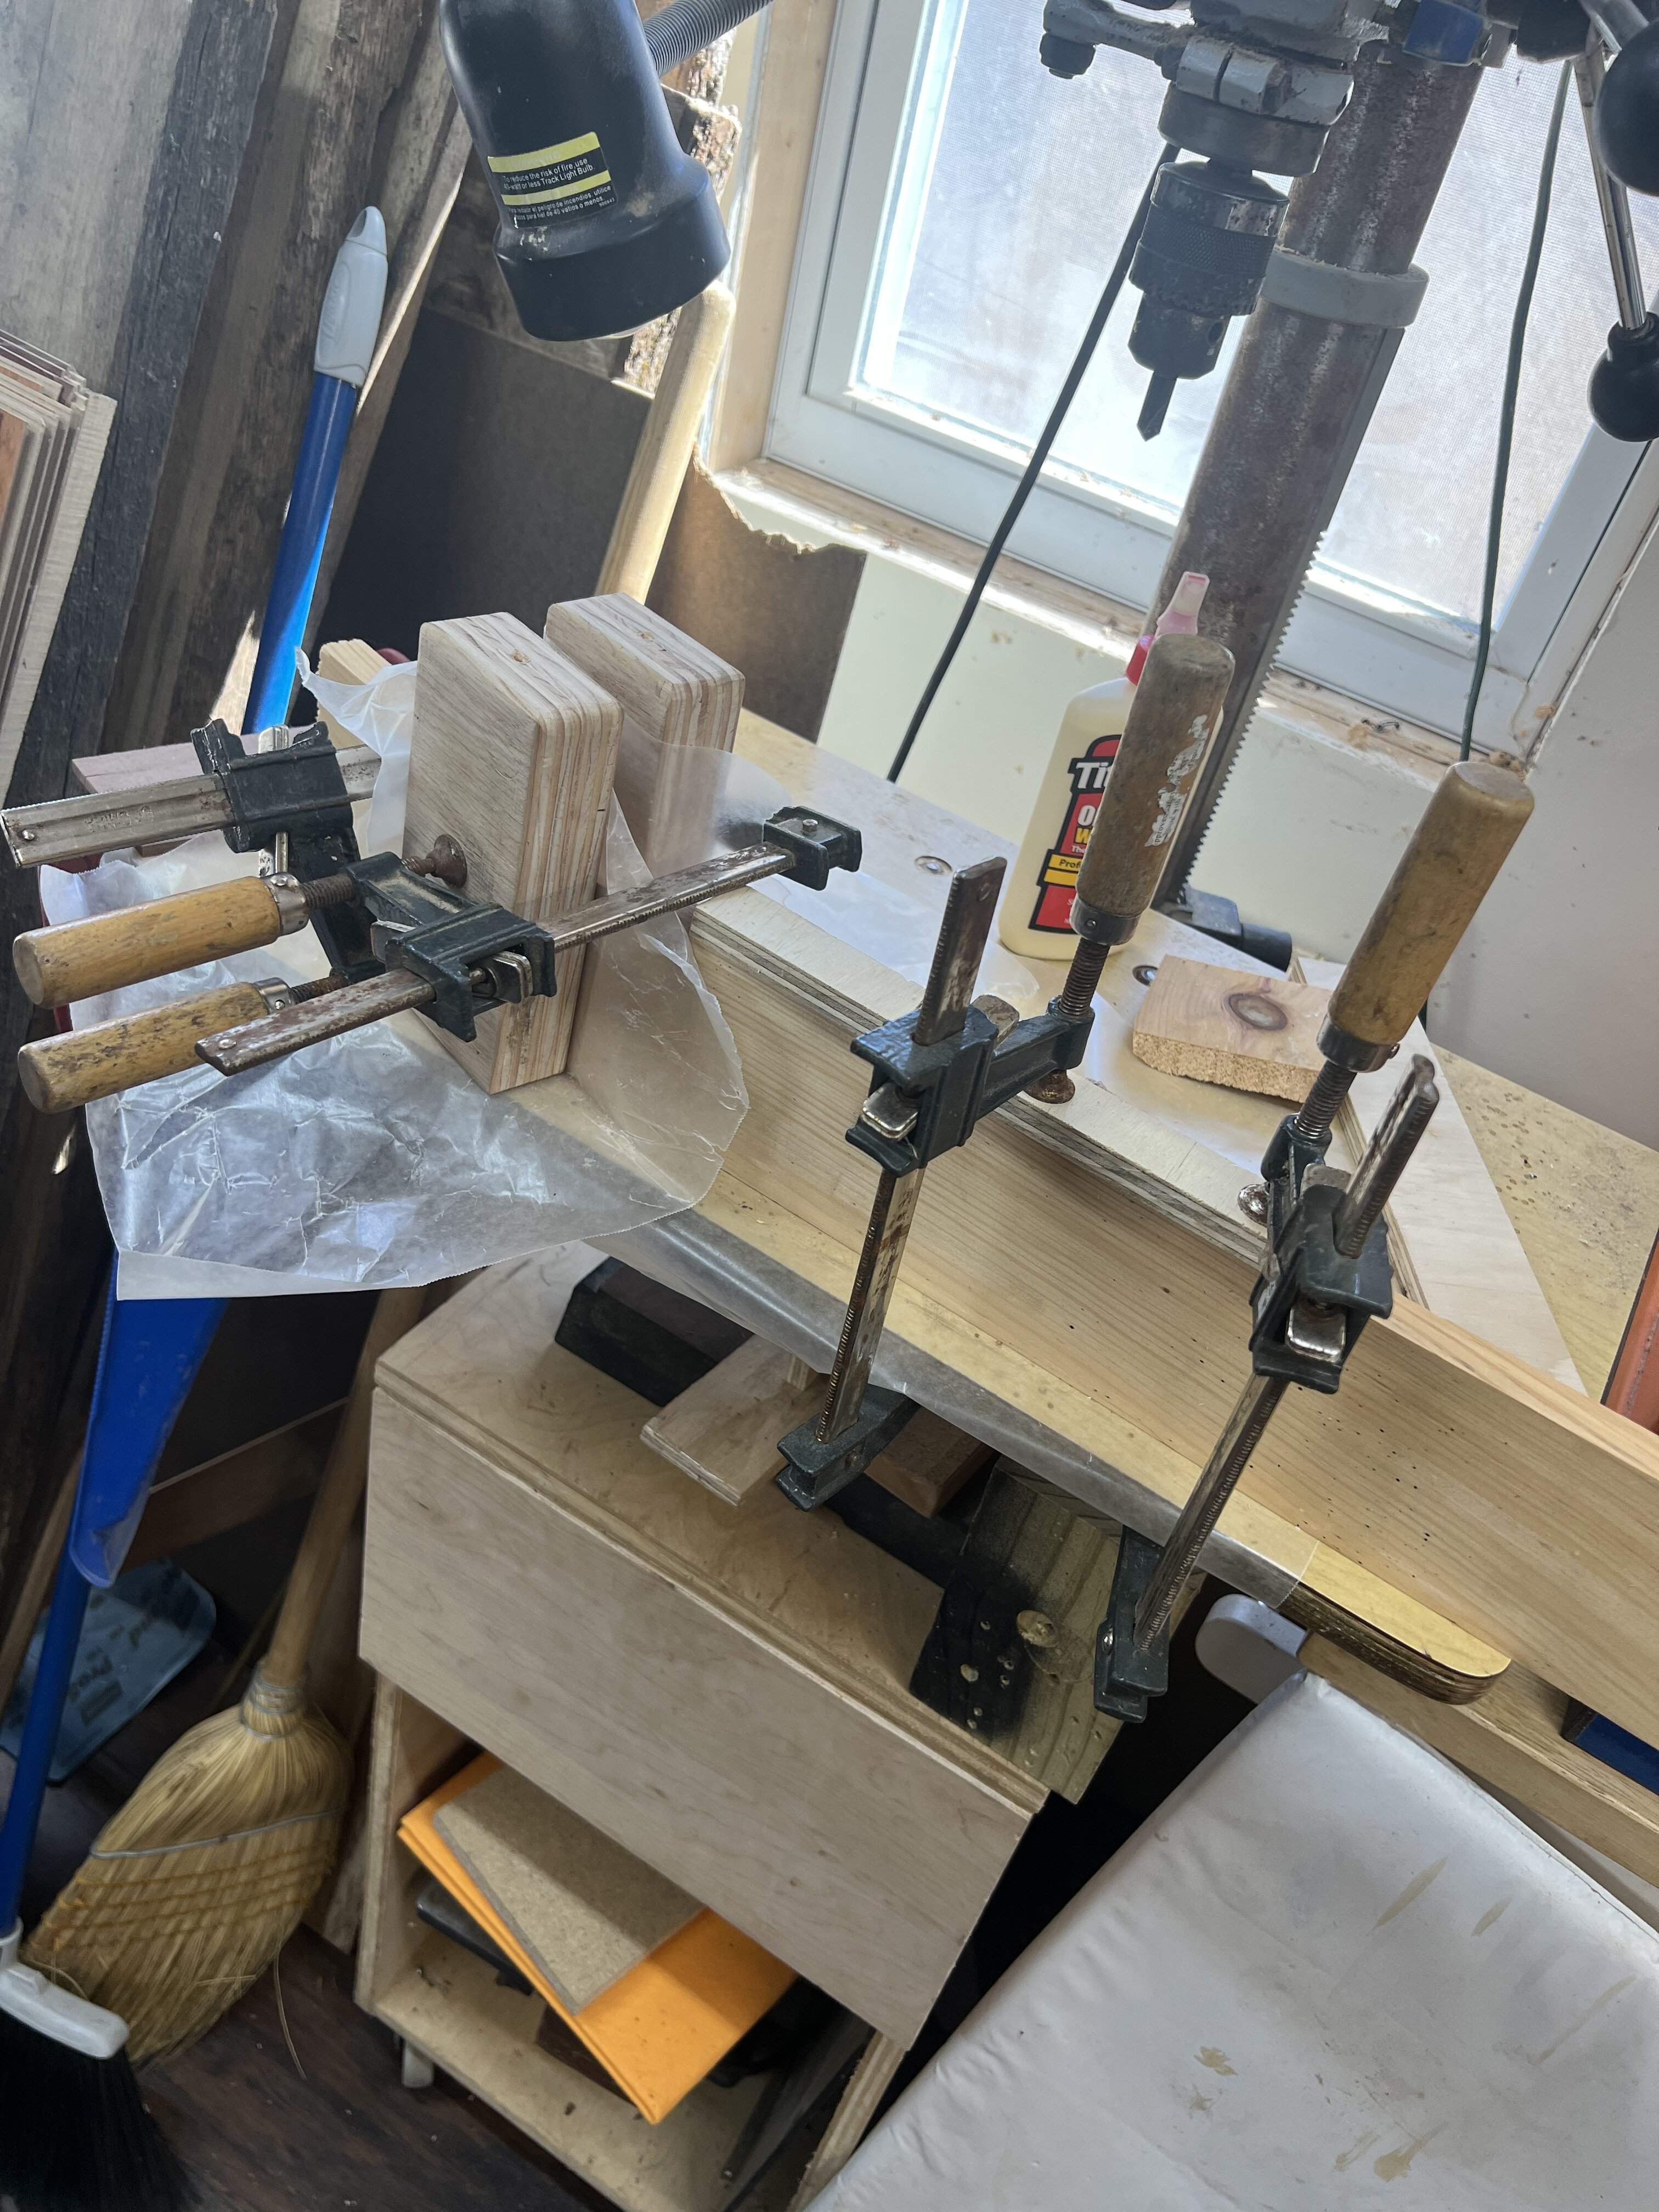
Since the Gibson neck peculiarities are pretty new to me, I decided to precede each step with a pine neck blank. Glued up the scarf, have a lot of ideas to try that are untested in my shop.
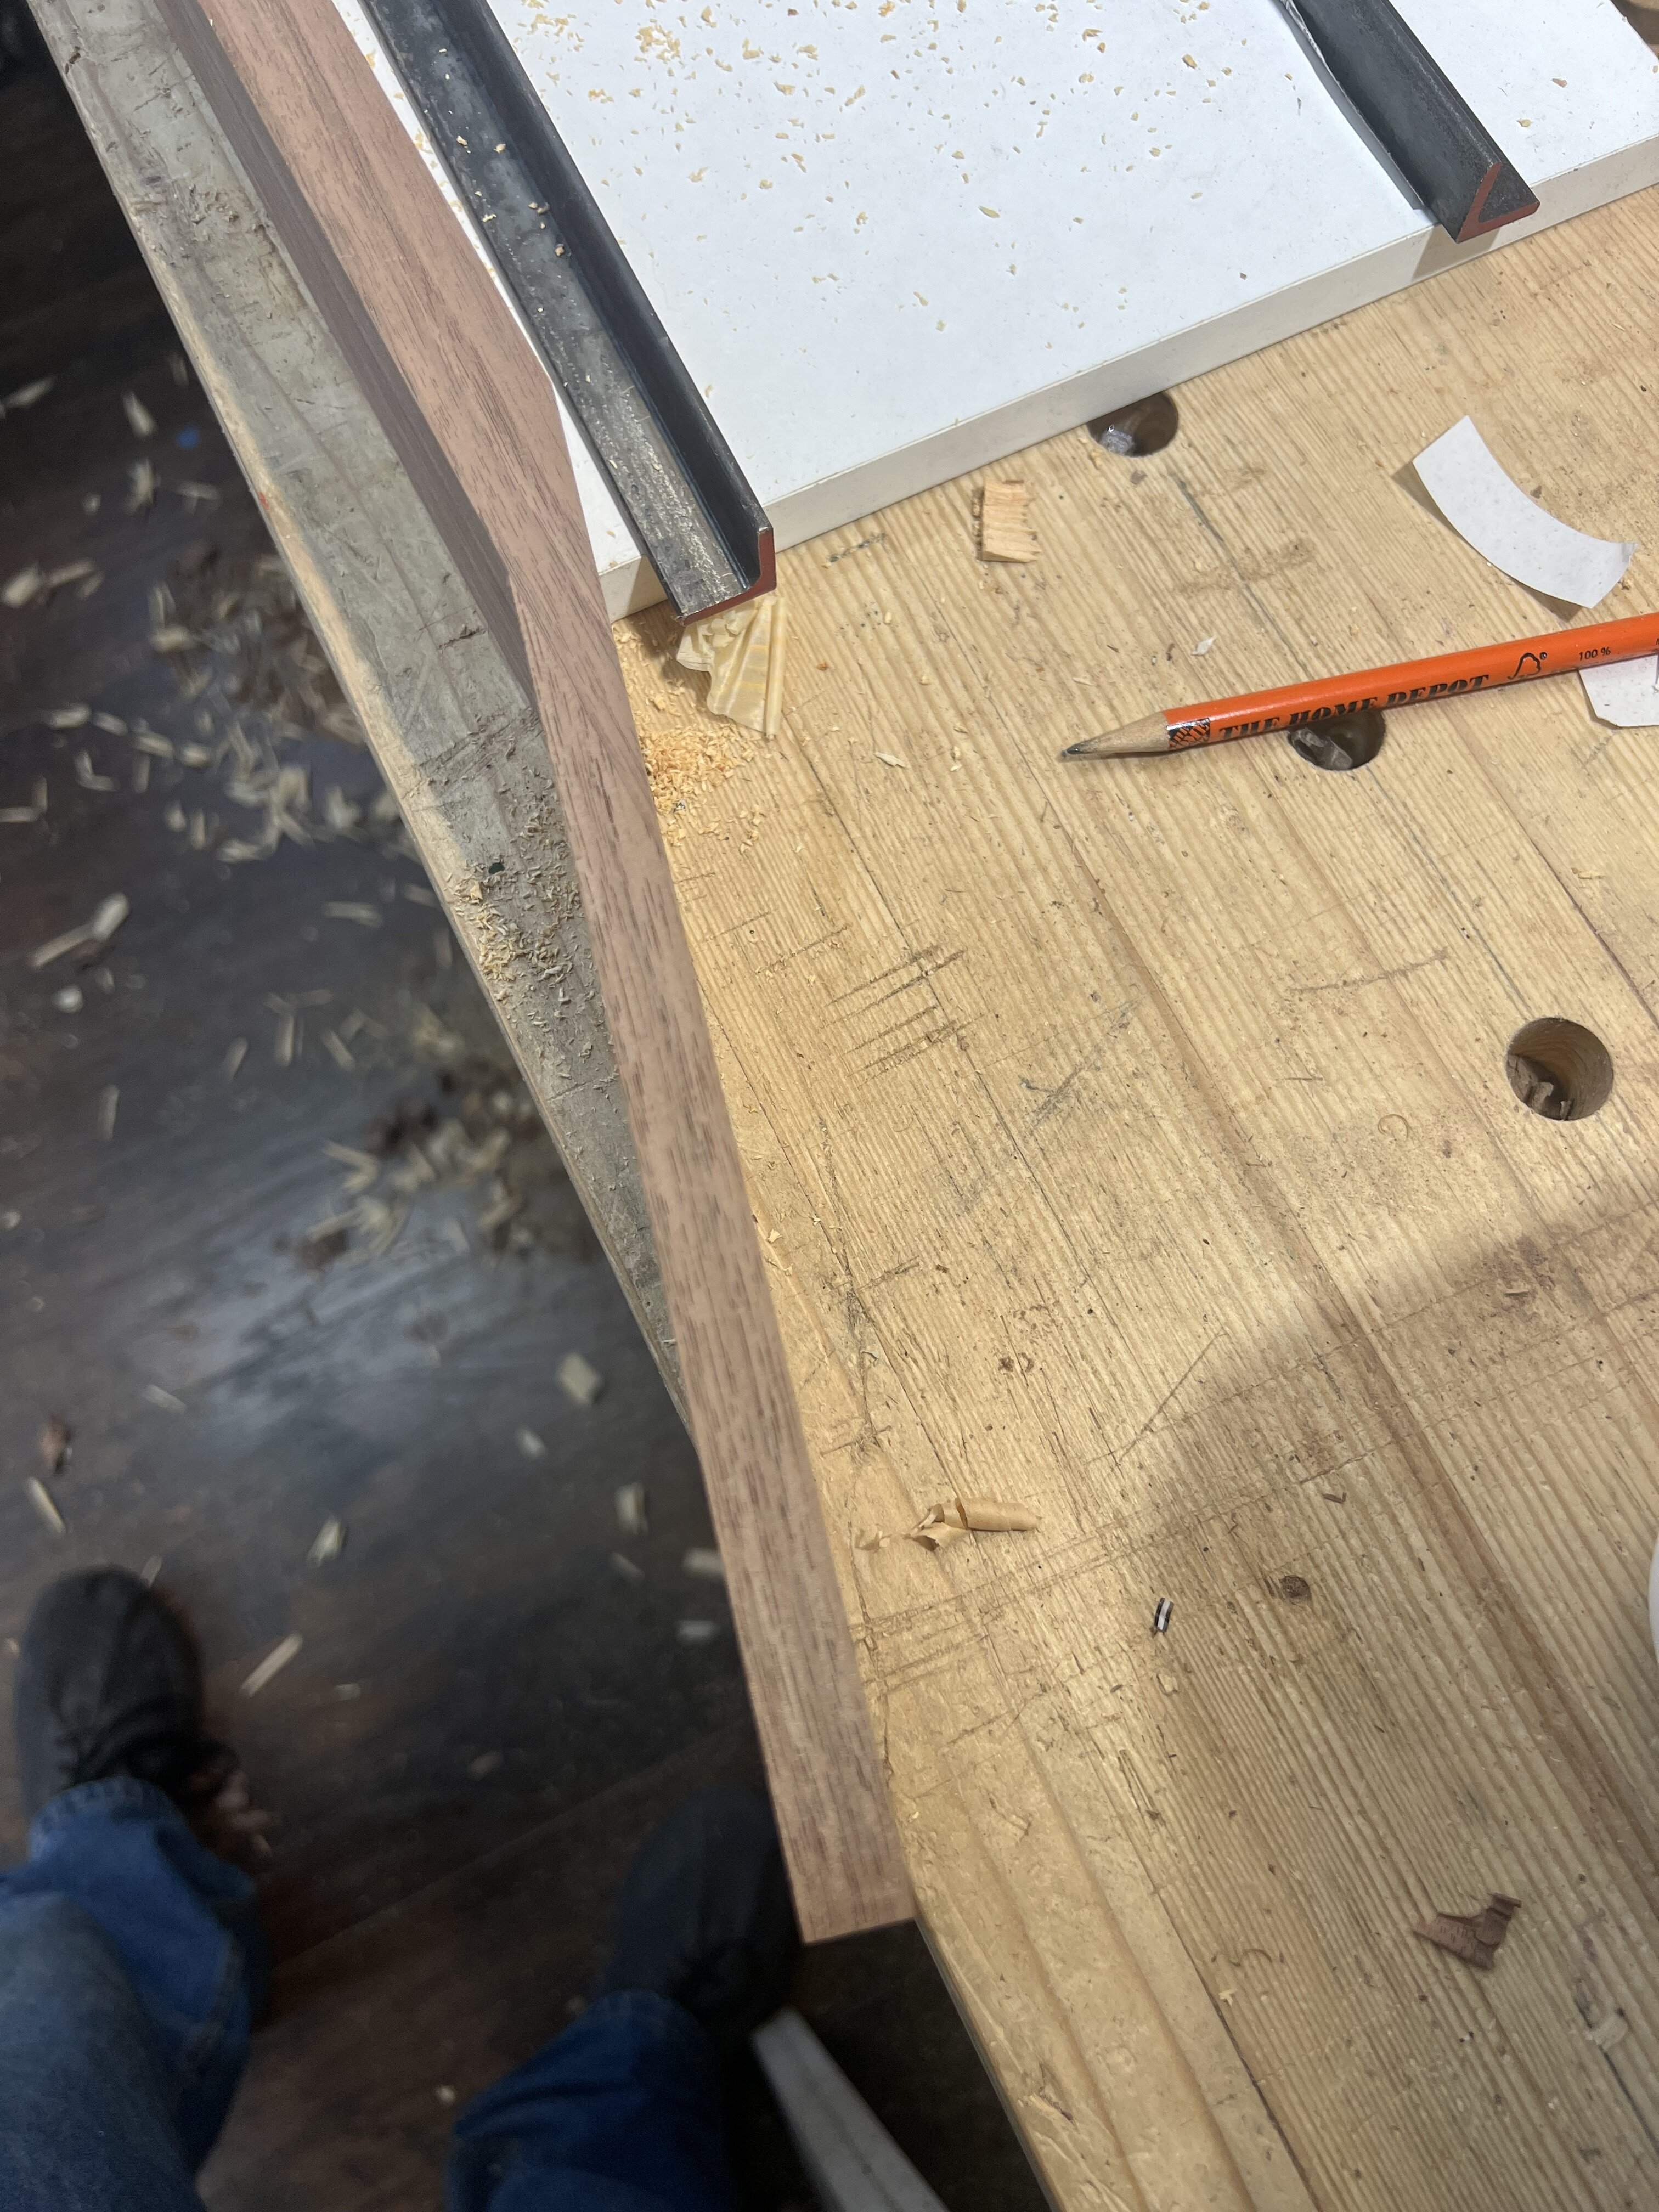
I am almost 100% on putting the angle in my tenon. I have an idea how to do it I want to try out that I haven’t seen yet. I also found a very neat jig that I can’t take credit for that will take care of the tenon cheeks and heel angle.
Since the Gibson neck peculiarities are pretty new to me, I decided to precede each step with a pine neck blank. Glued up the scarf, have a lot of ideas to try that are untested in my shop.
I am almost 100% on putting the angle in my tenon. I have an idea how to do it I want to try out that I haven’t seen yet. I also found a very neat jig that I can’t take credit for that will take care of the tenon cheeks and heel angle.
When I made mine, I didn’t trust myself to make a good strong scarf joint. So I laminated quartersawn pieces.
I would love an all black walnut bass like that with gold hardware. Back in woodshop class in high school, we had to have permission to use black walnut, because it was so expensive.
I would love an all black walnut bass like that with gold hardware. Back in woodshop class in high school, we had to have permission to use black walnut, because it was so expensive.
That must have been plenty strong!When I made mine, I didn’t trust myself to make a good strong scarf joint. So I laminated quartersawn pieces.
I would love an all black walnut bass like that with gold hardware. Back in woodshop class in high school, we had to have permission to use black walnut, because it was so expensive.
Funny story about walnut in shop class! The guy I buy from makes really good deals for me, and there are tons of homegrown sawmills popping up around here.
My wife got me a chainsaw mill for my birthday a few months back, can’t wait to try that out! Have some cherry in the woods that came down this winter to test it out.
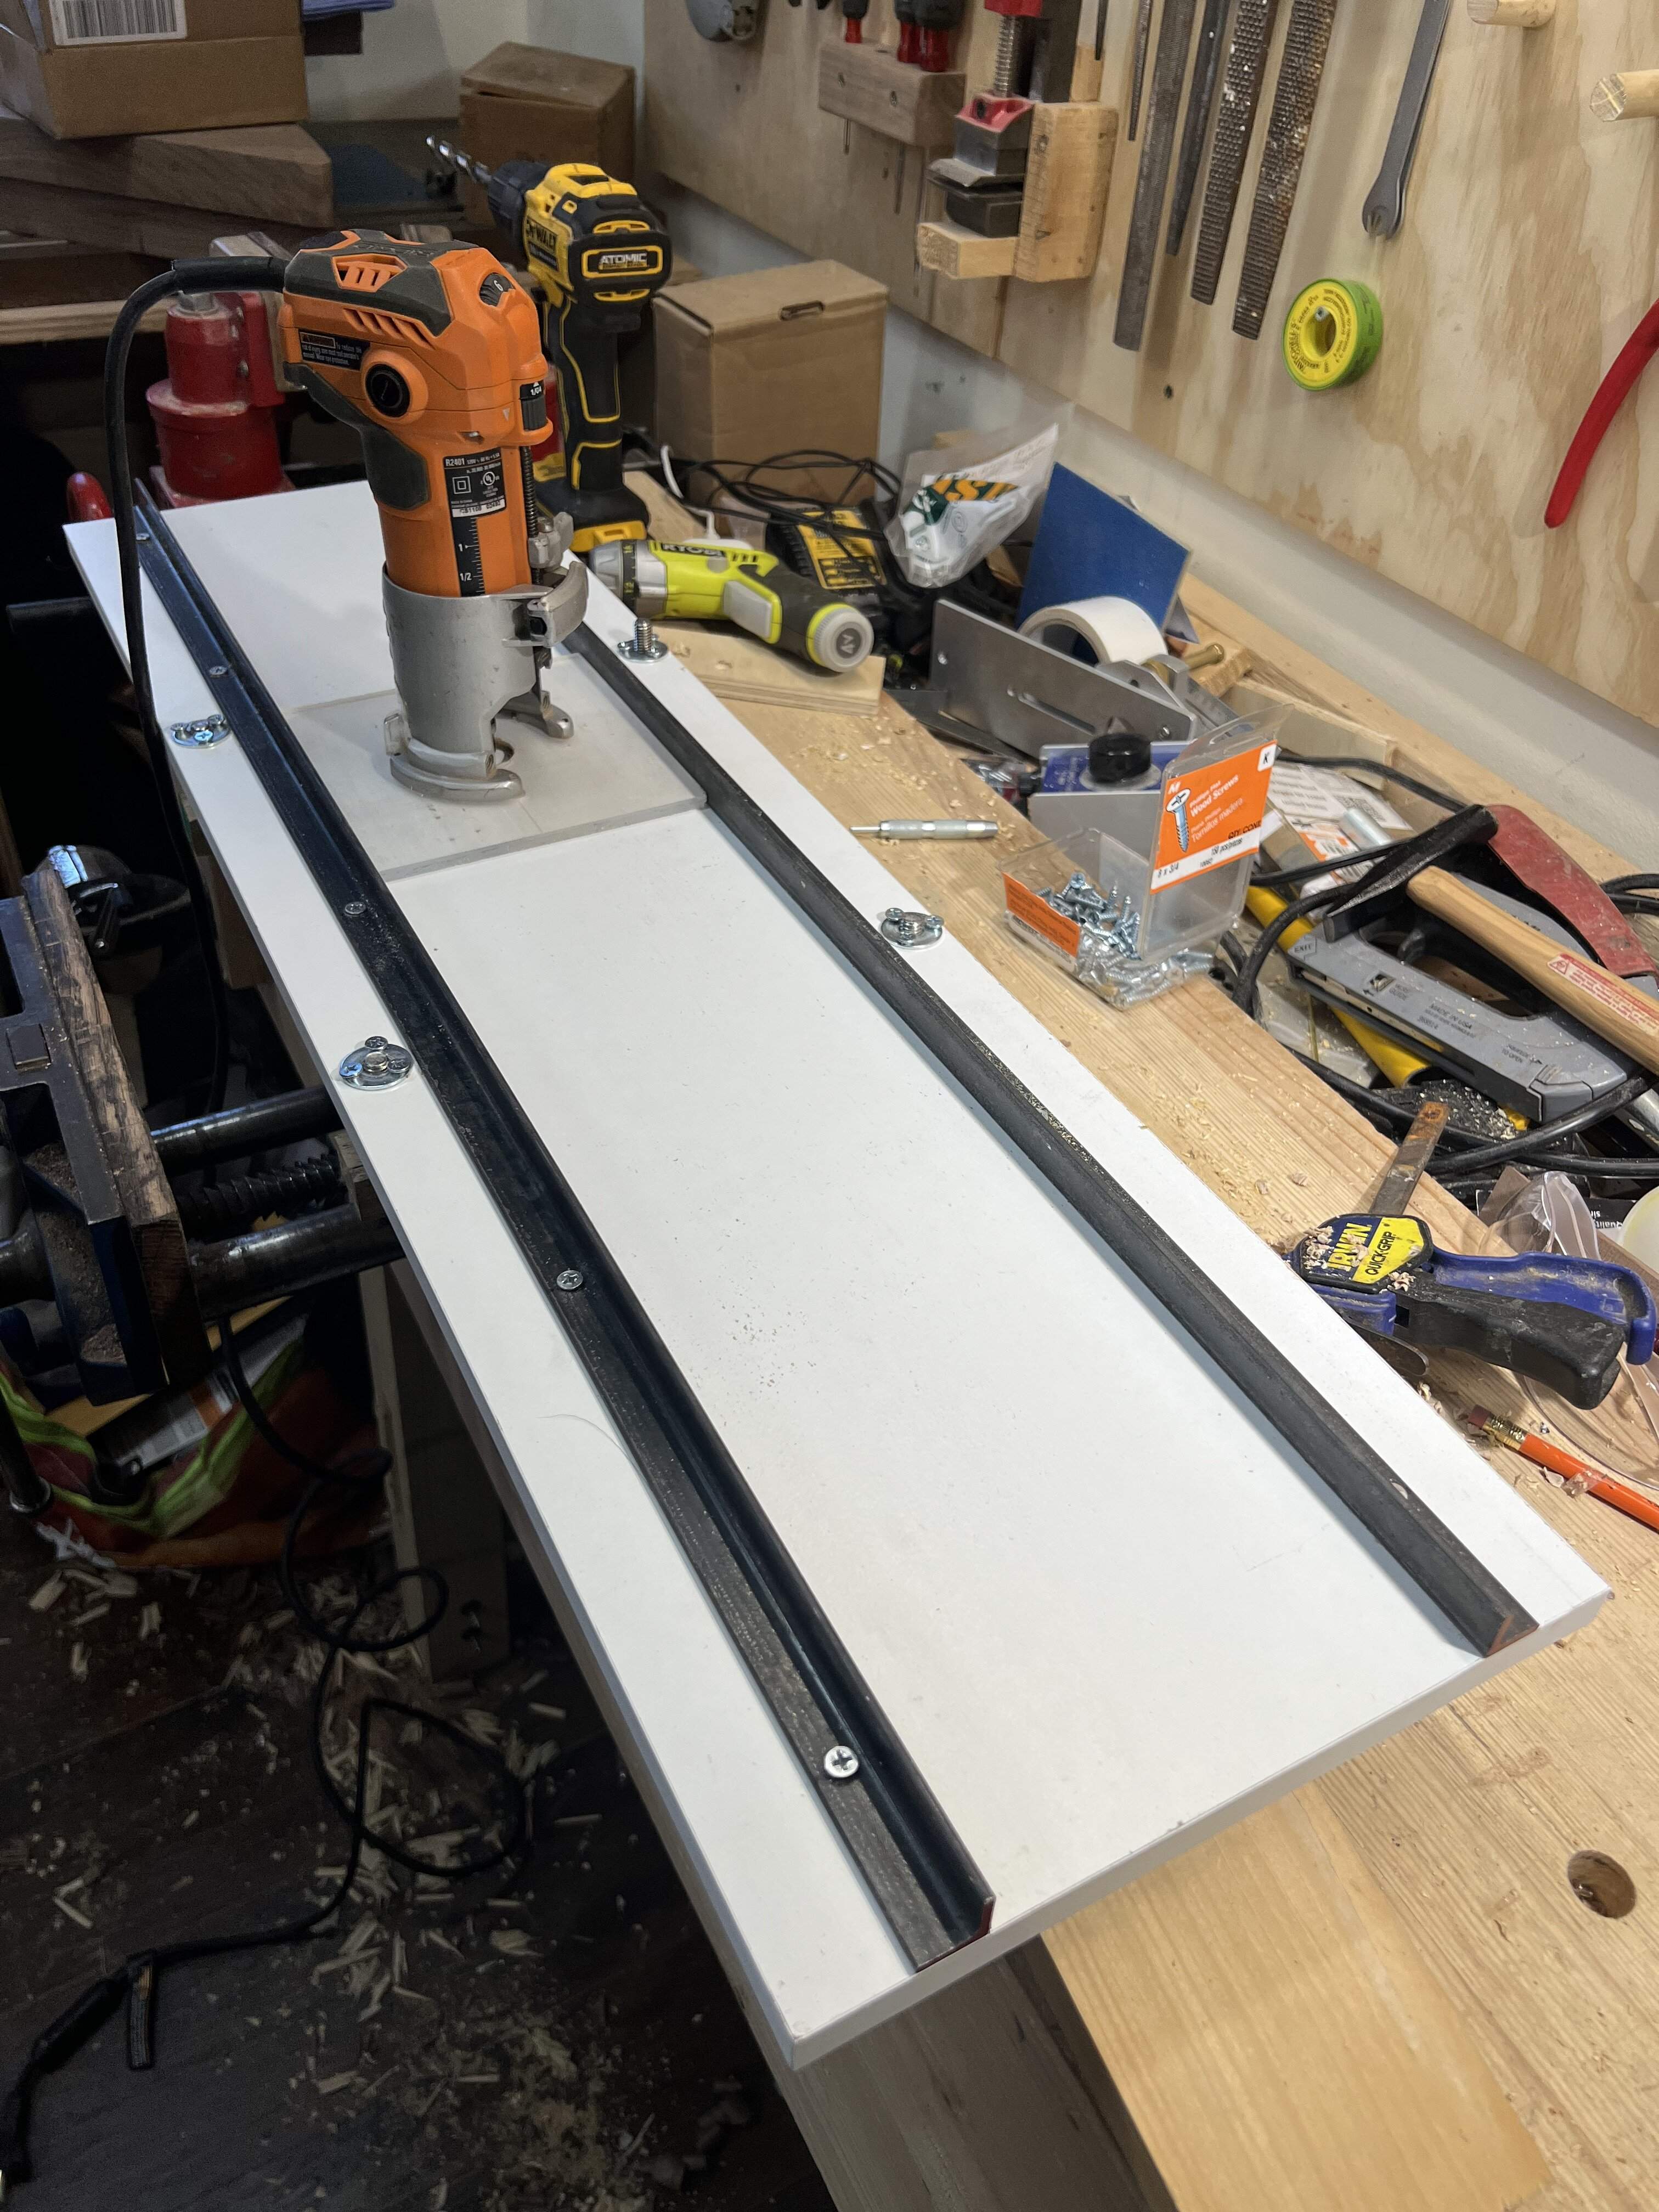
I have some jigs to prepare for the next step. First up is my truss rod jig. My old one worked ok, I used aluminum angle as a fence to guide the router. An added bonus is it kept the jig flat. Aluminum angle still has some flex in it though, so it wasn’t perfectly true as the screws were able to bend it out of alignment in places.
I also had used my workmate to hold the neck blank and laid the jig on it, but the workmate isn’t perfectly level, and the sideways clamping force didn’t always hold true, so the channel could be a little uneven as far as depth.
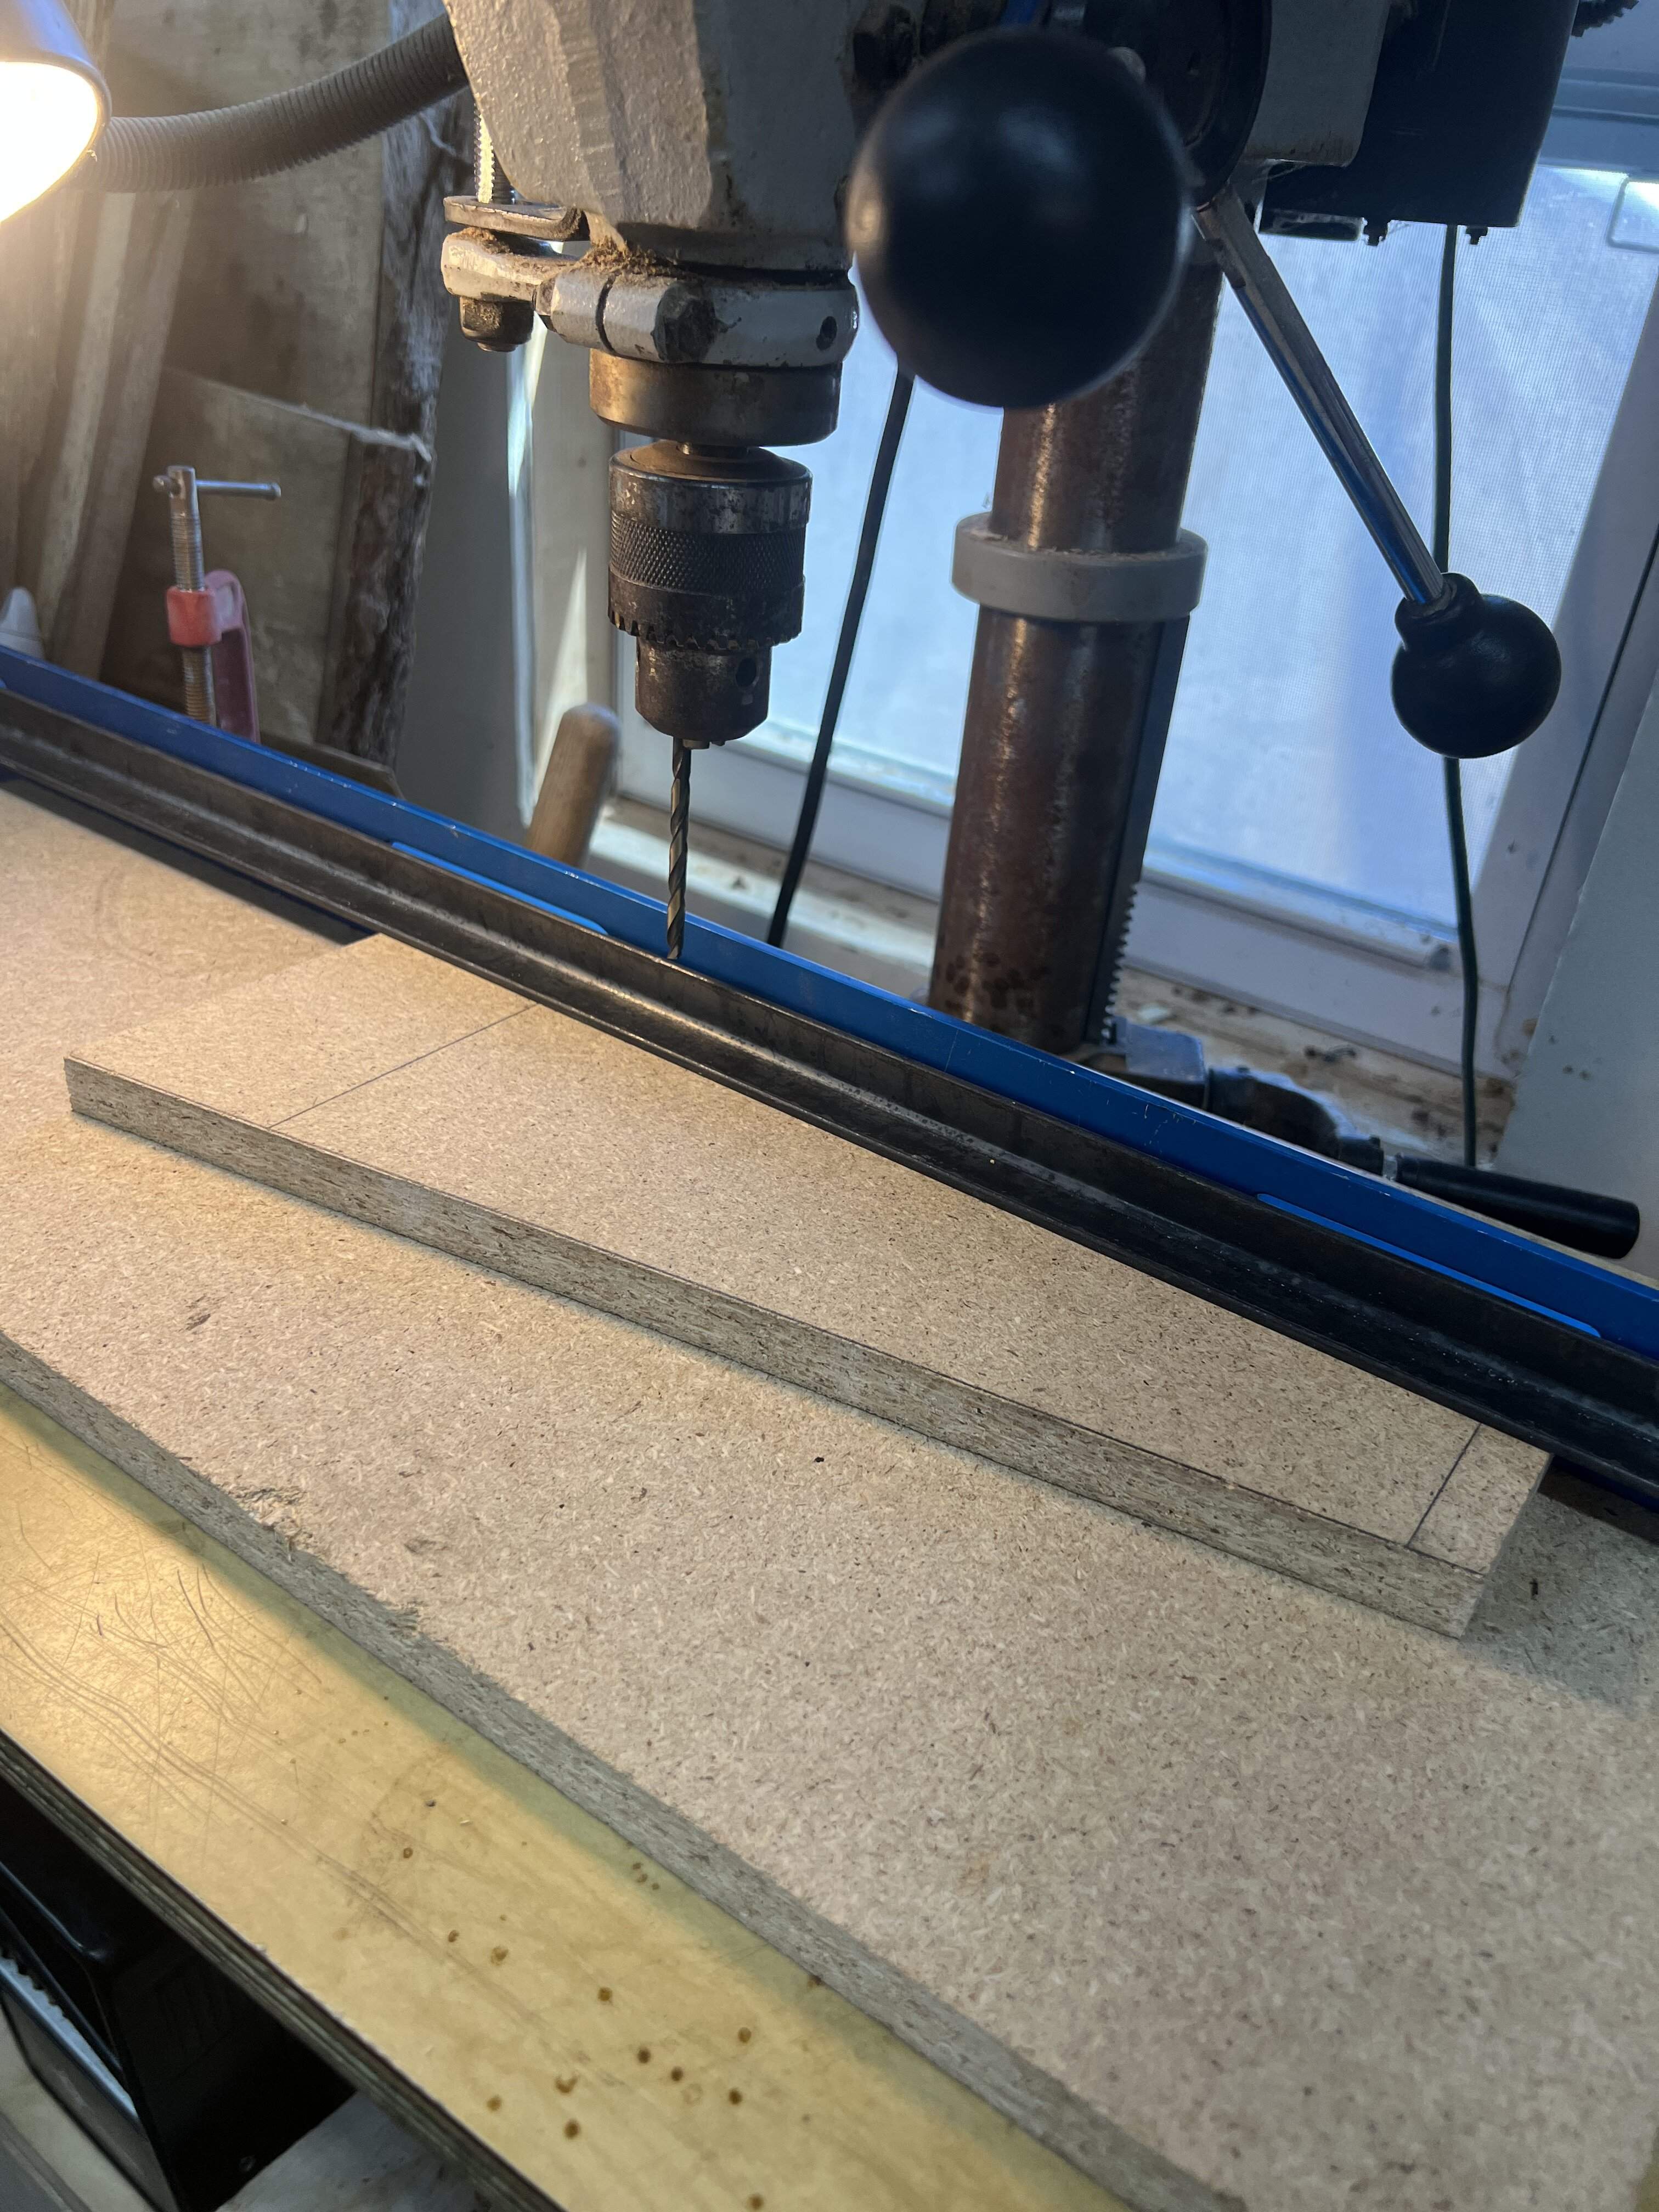
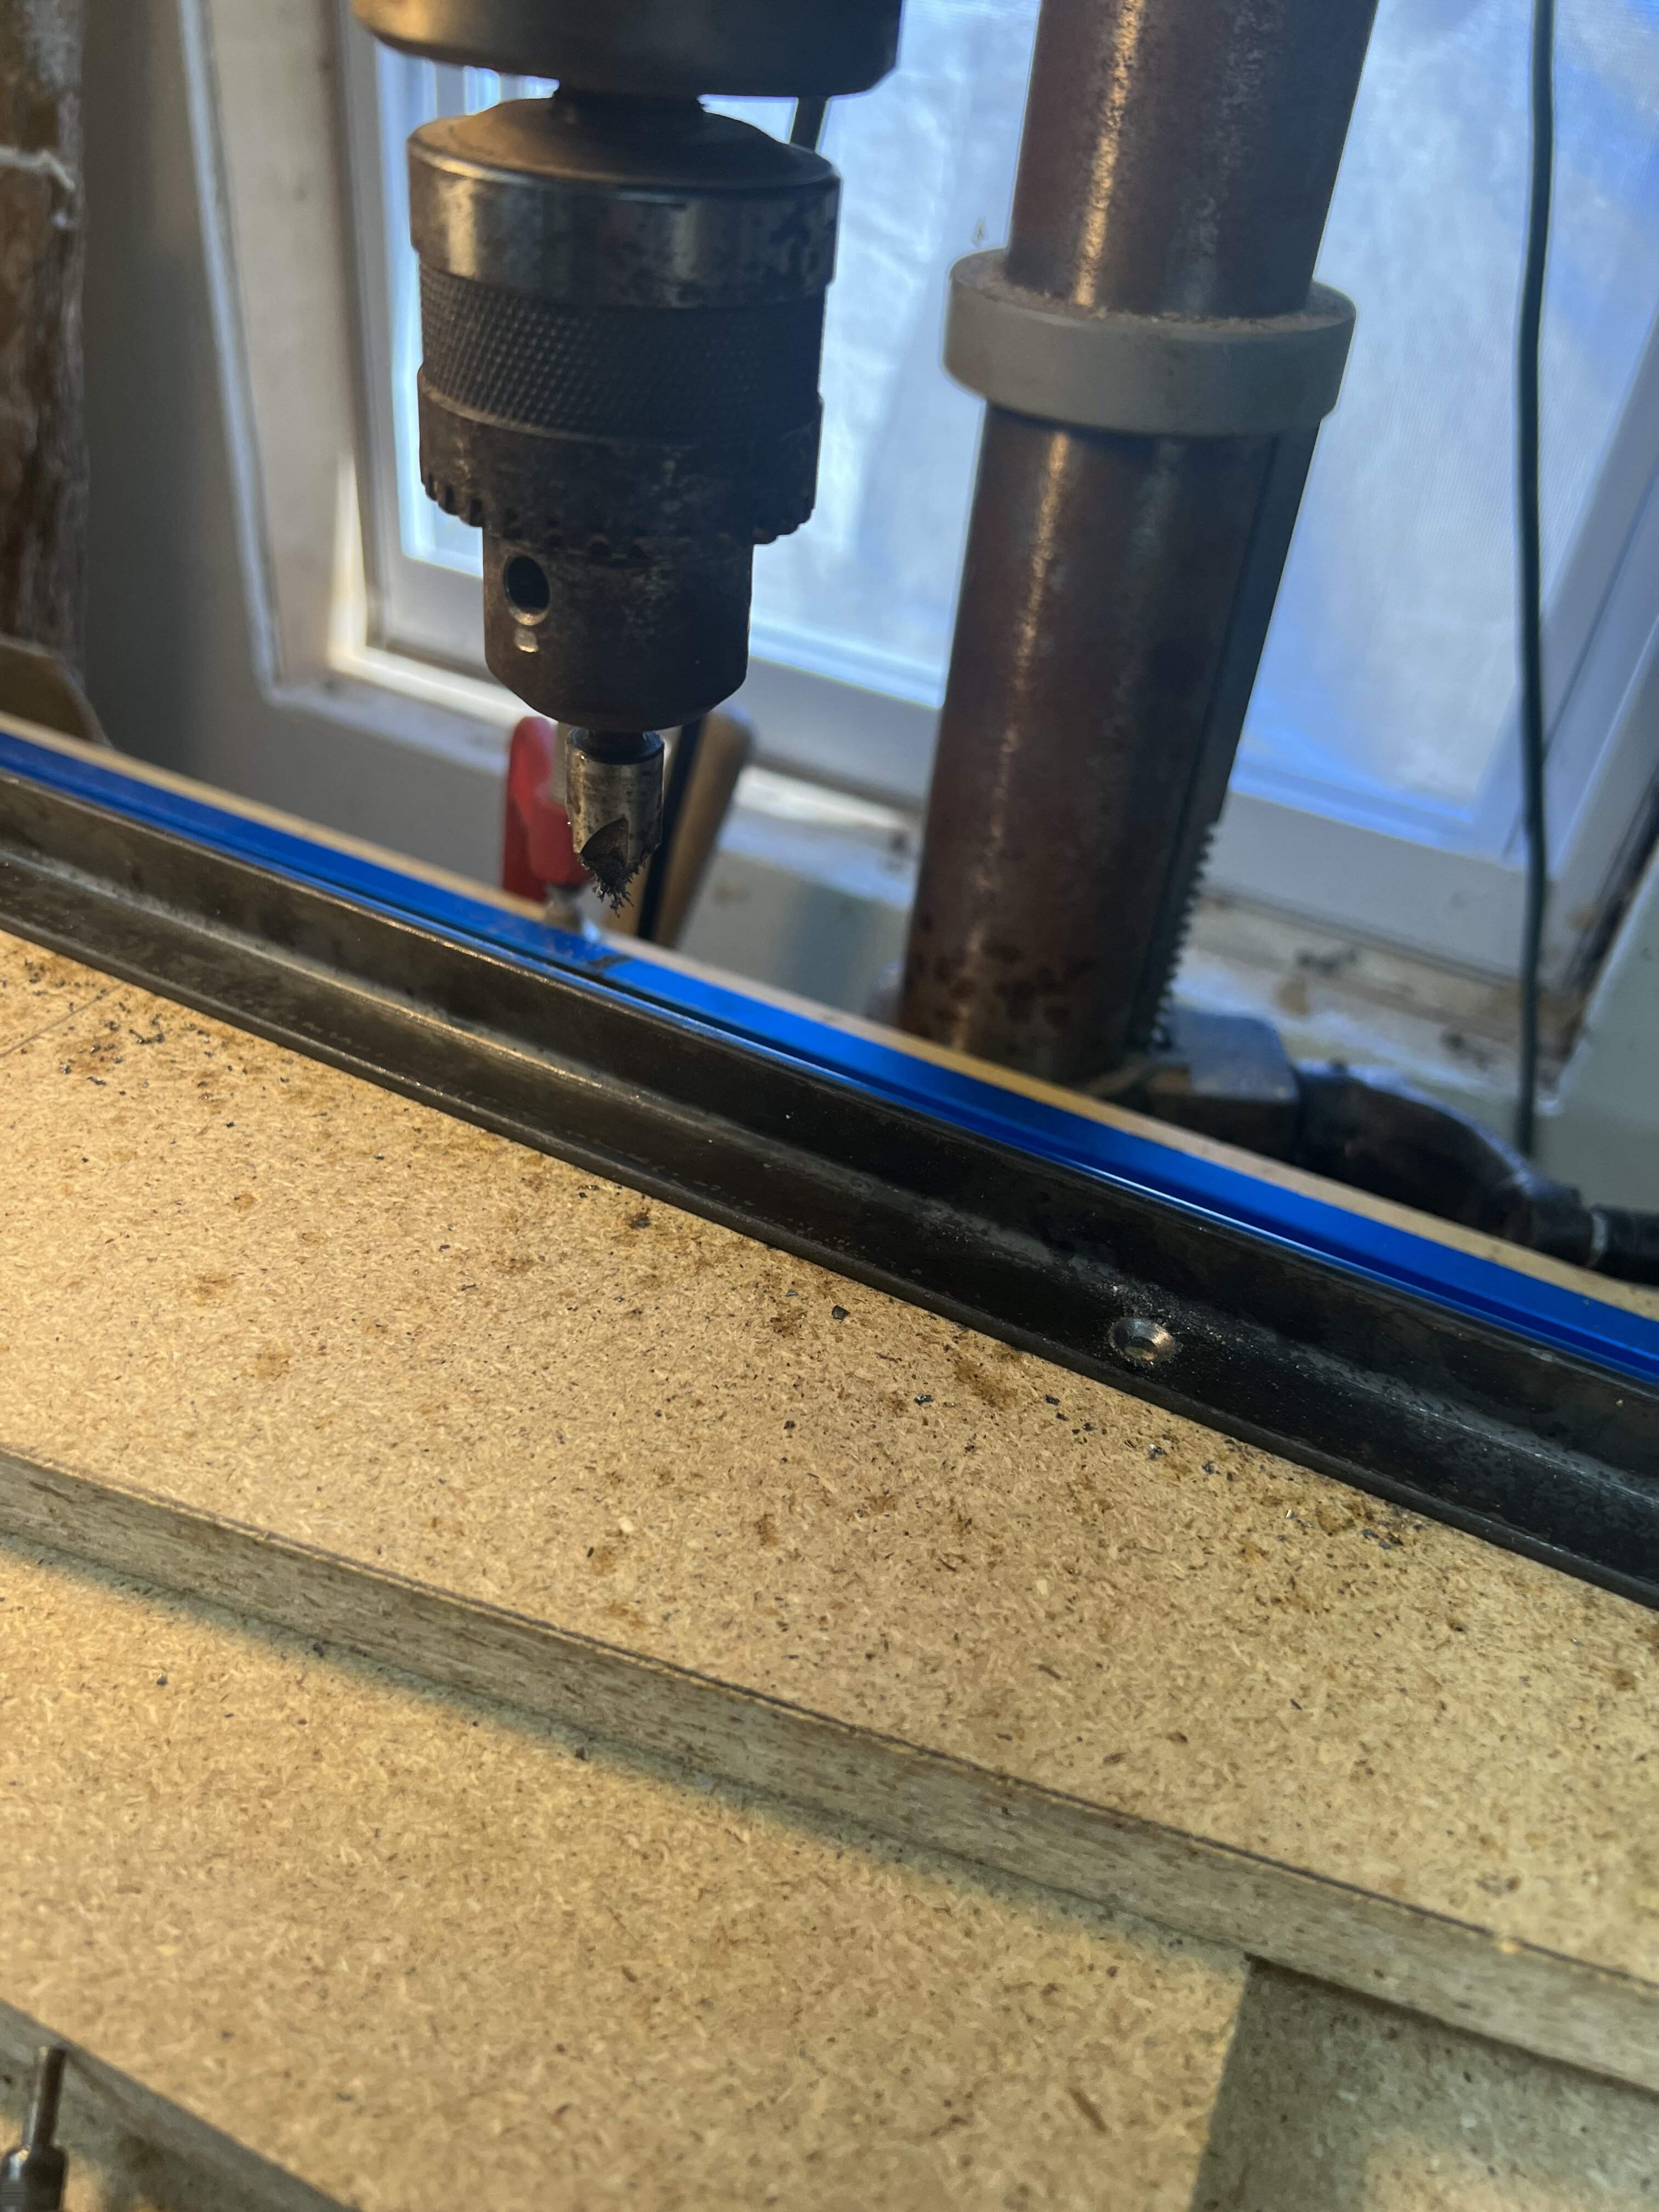
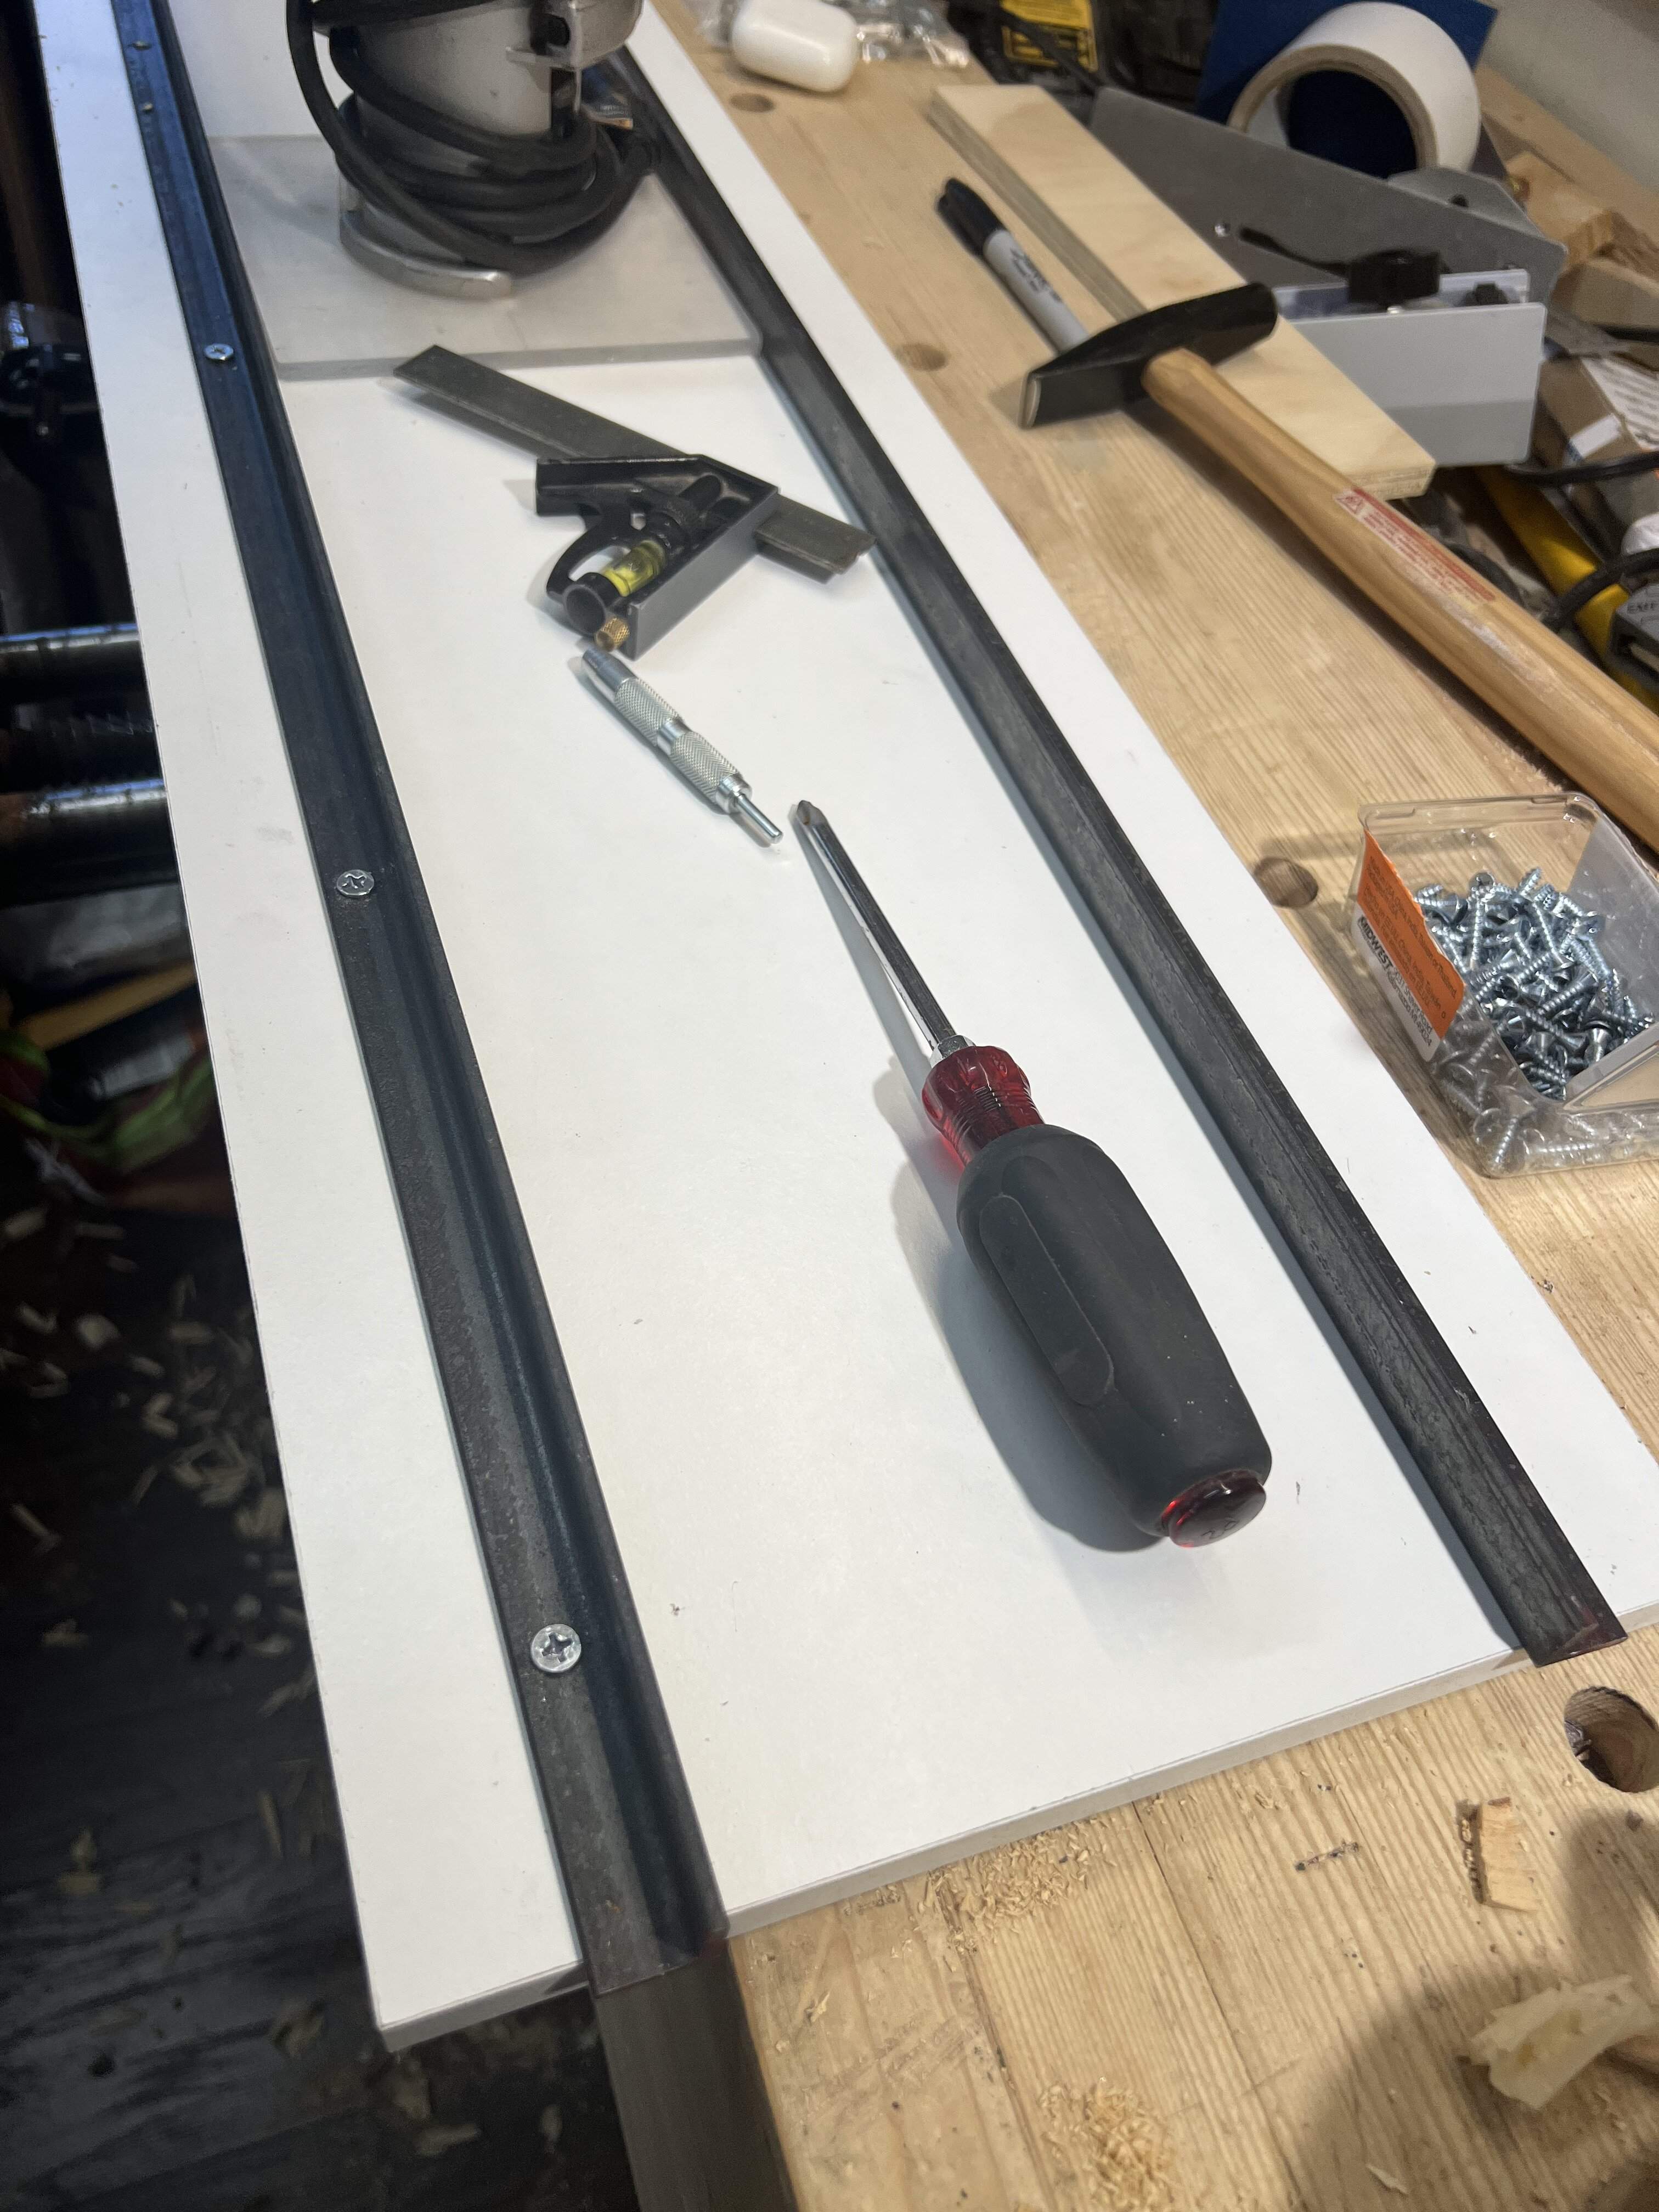
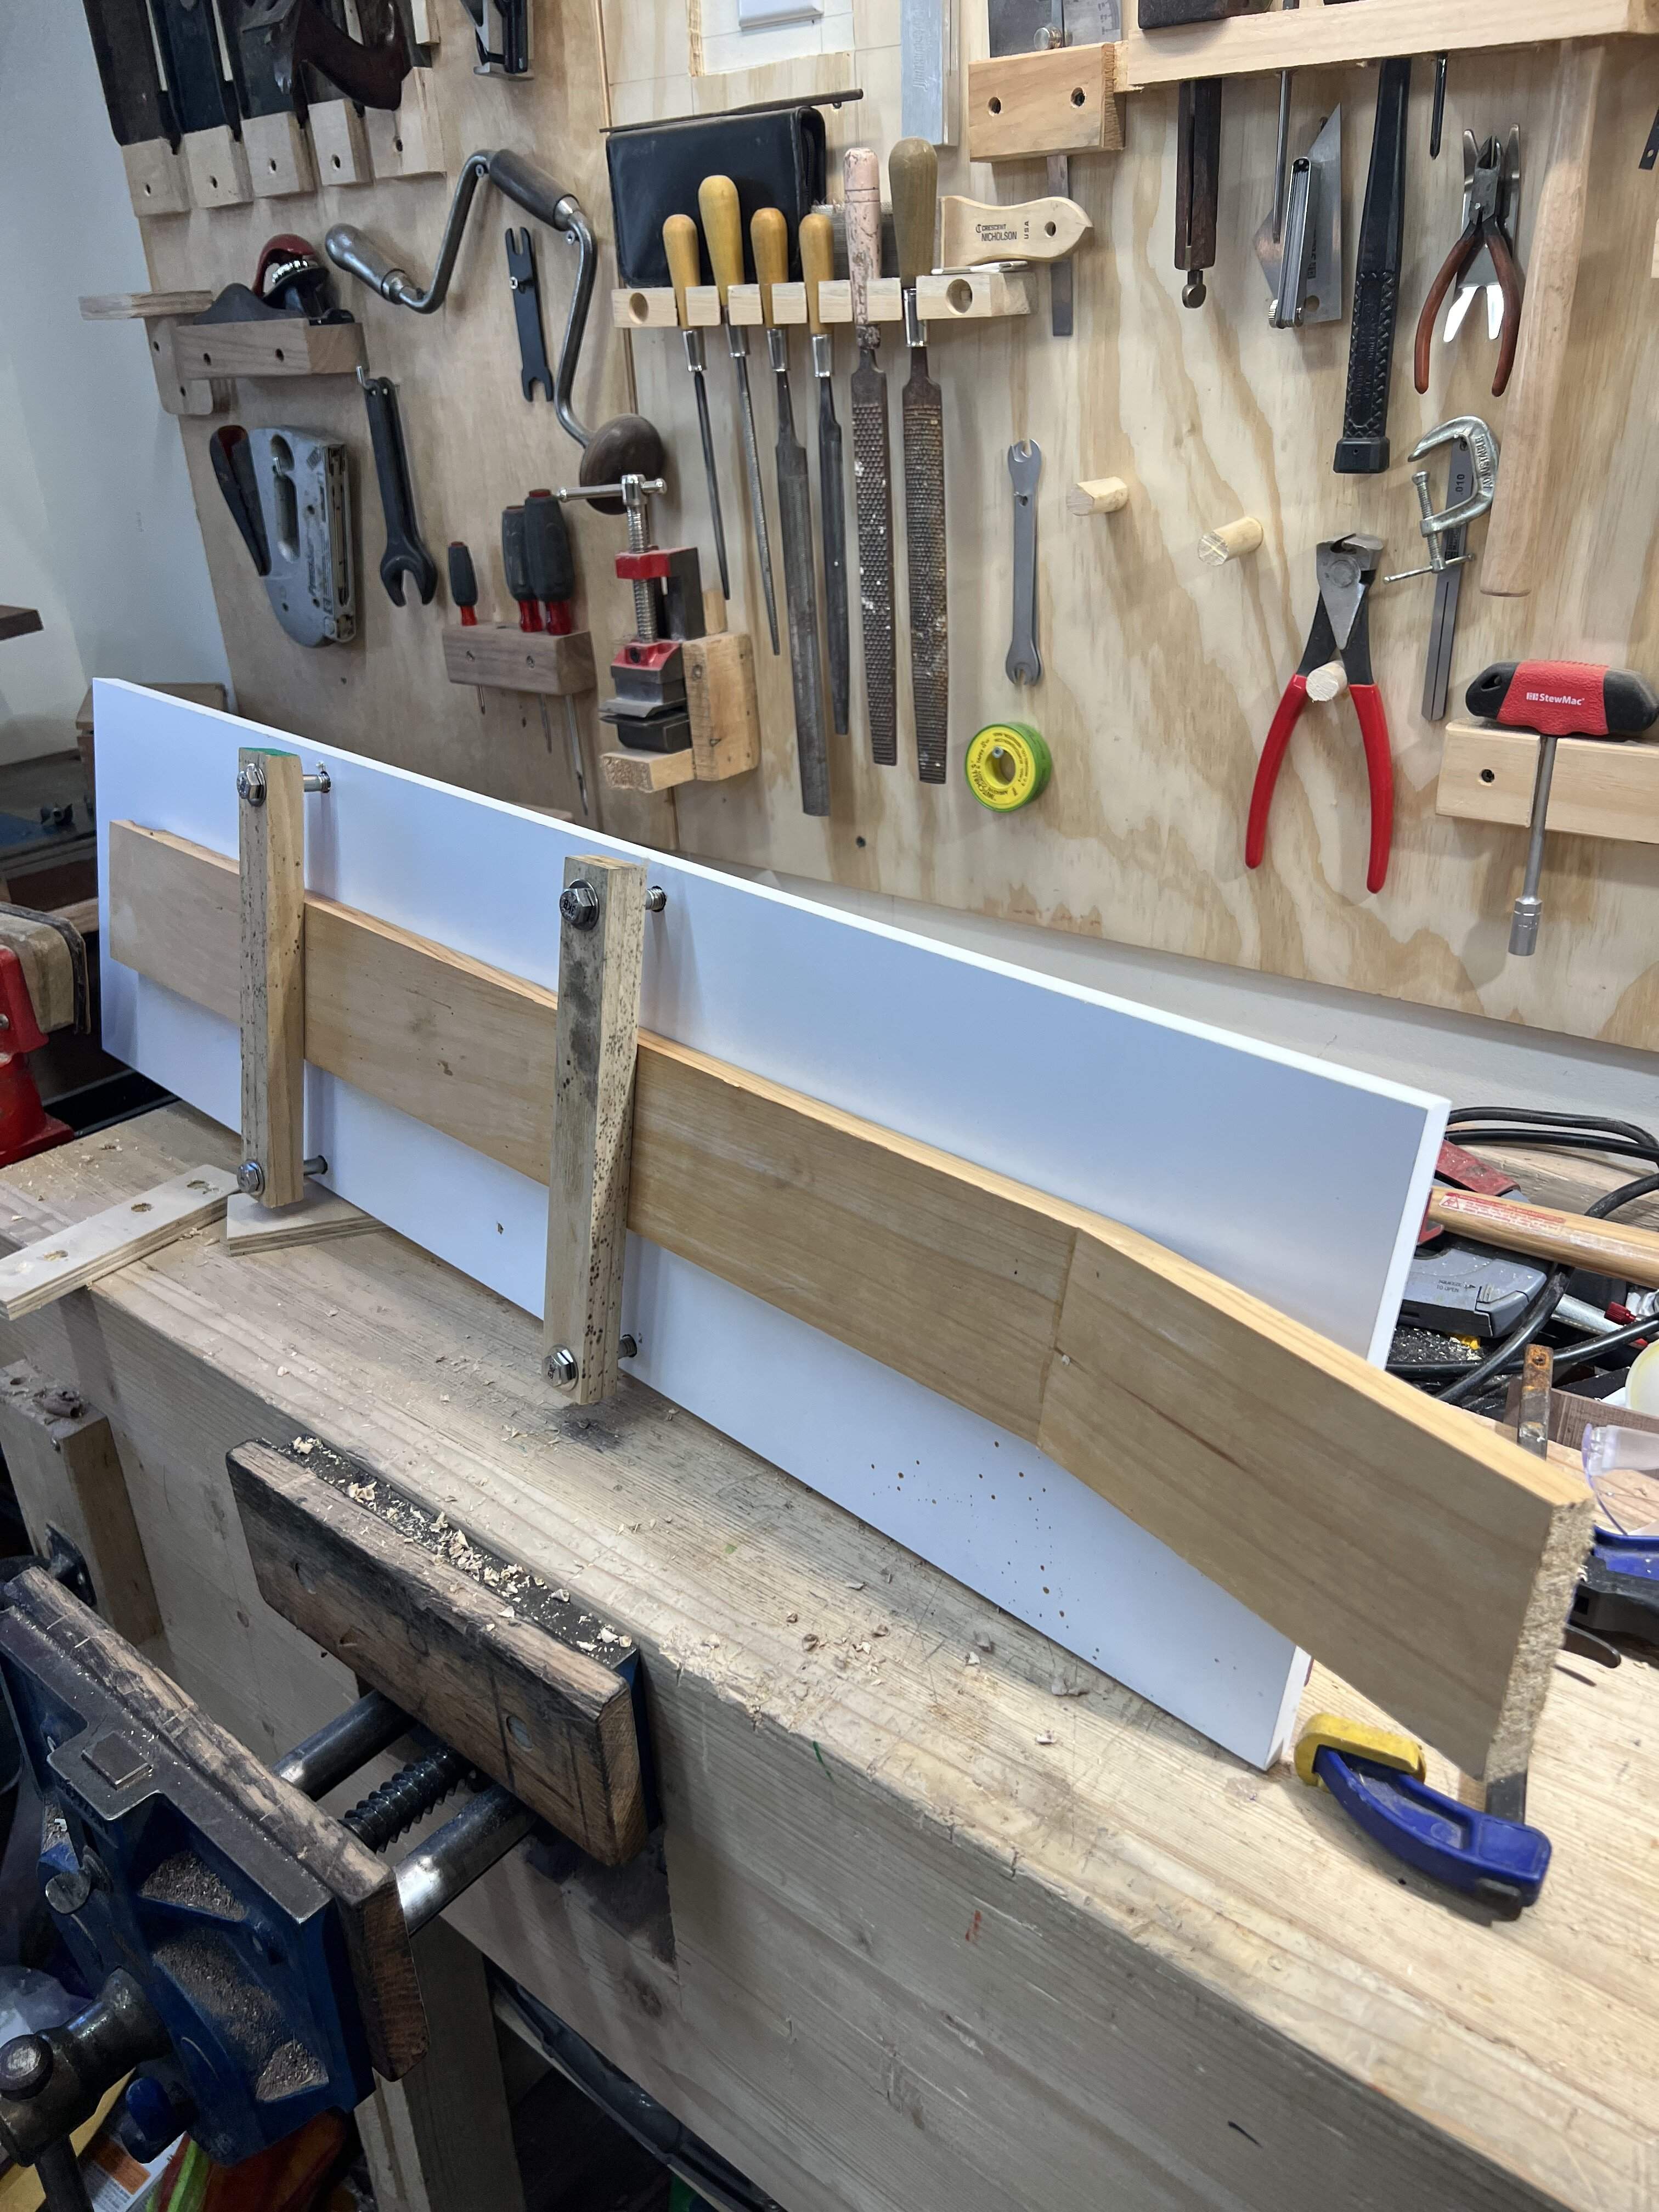
For version 2.0, I used beefier steel angle. This stayed true across its length much better. I also sunk some t bolts as attachment points for wooden cauls to hold the blank firm and flat to the jig. It all fits in my big vice so nothing moves.
I’ll route a 1/2” slot right down the center. Then I can measure 1/4” on either side of my center line and just line it up with the walls of the slot. I may add some fine adjustment screws to correct side to side alignment as well, but they probably aren’t necessary.
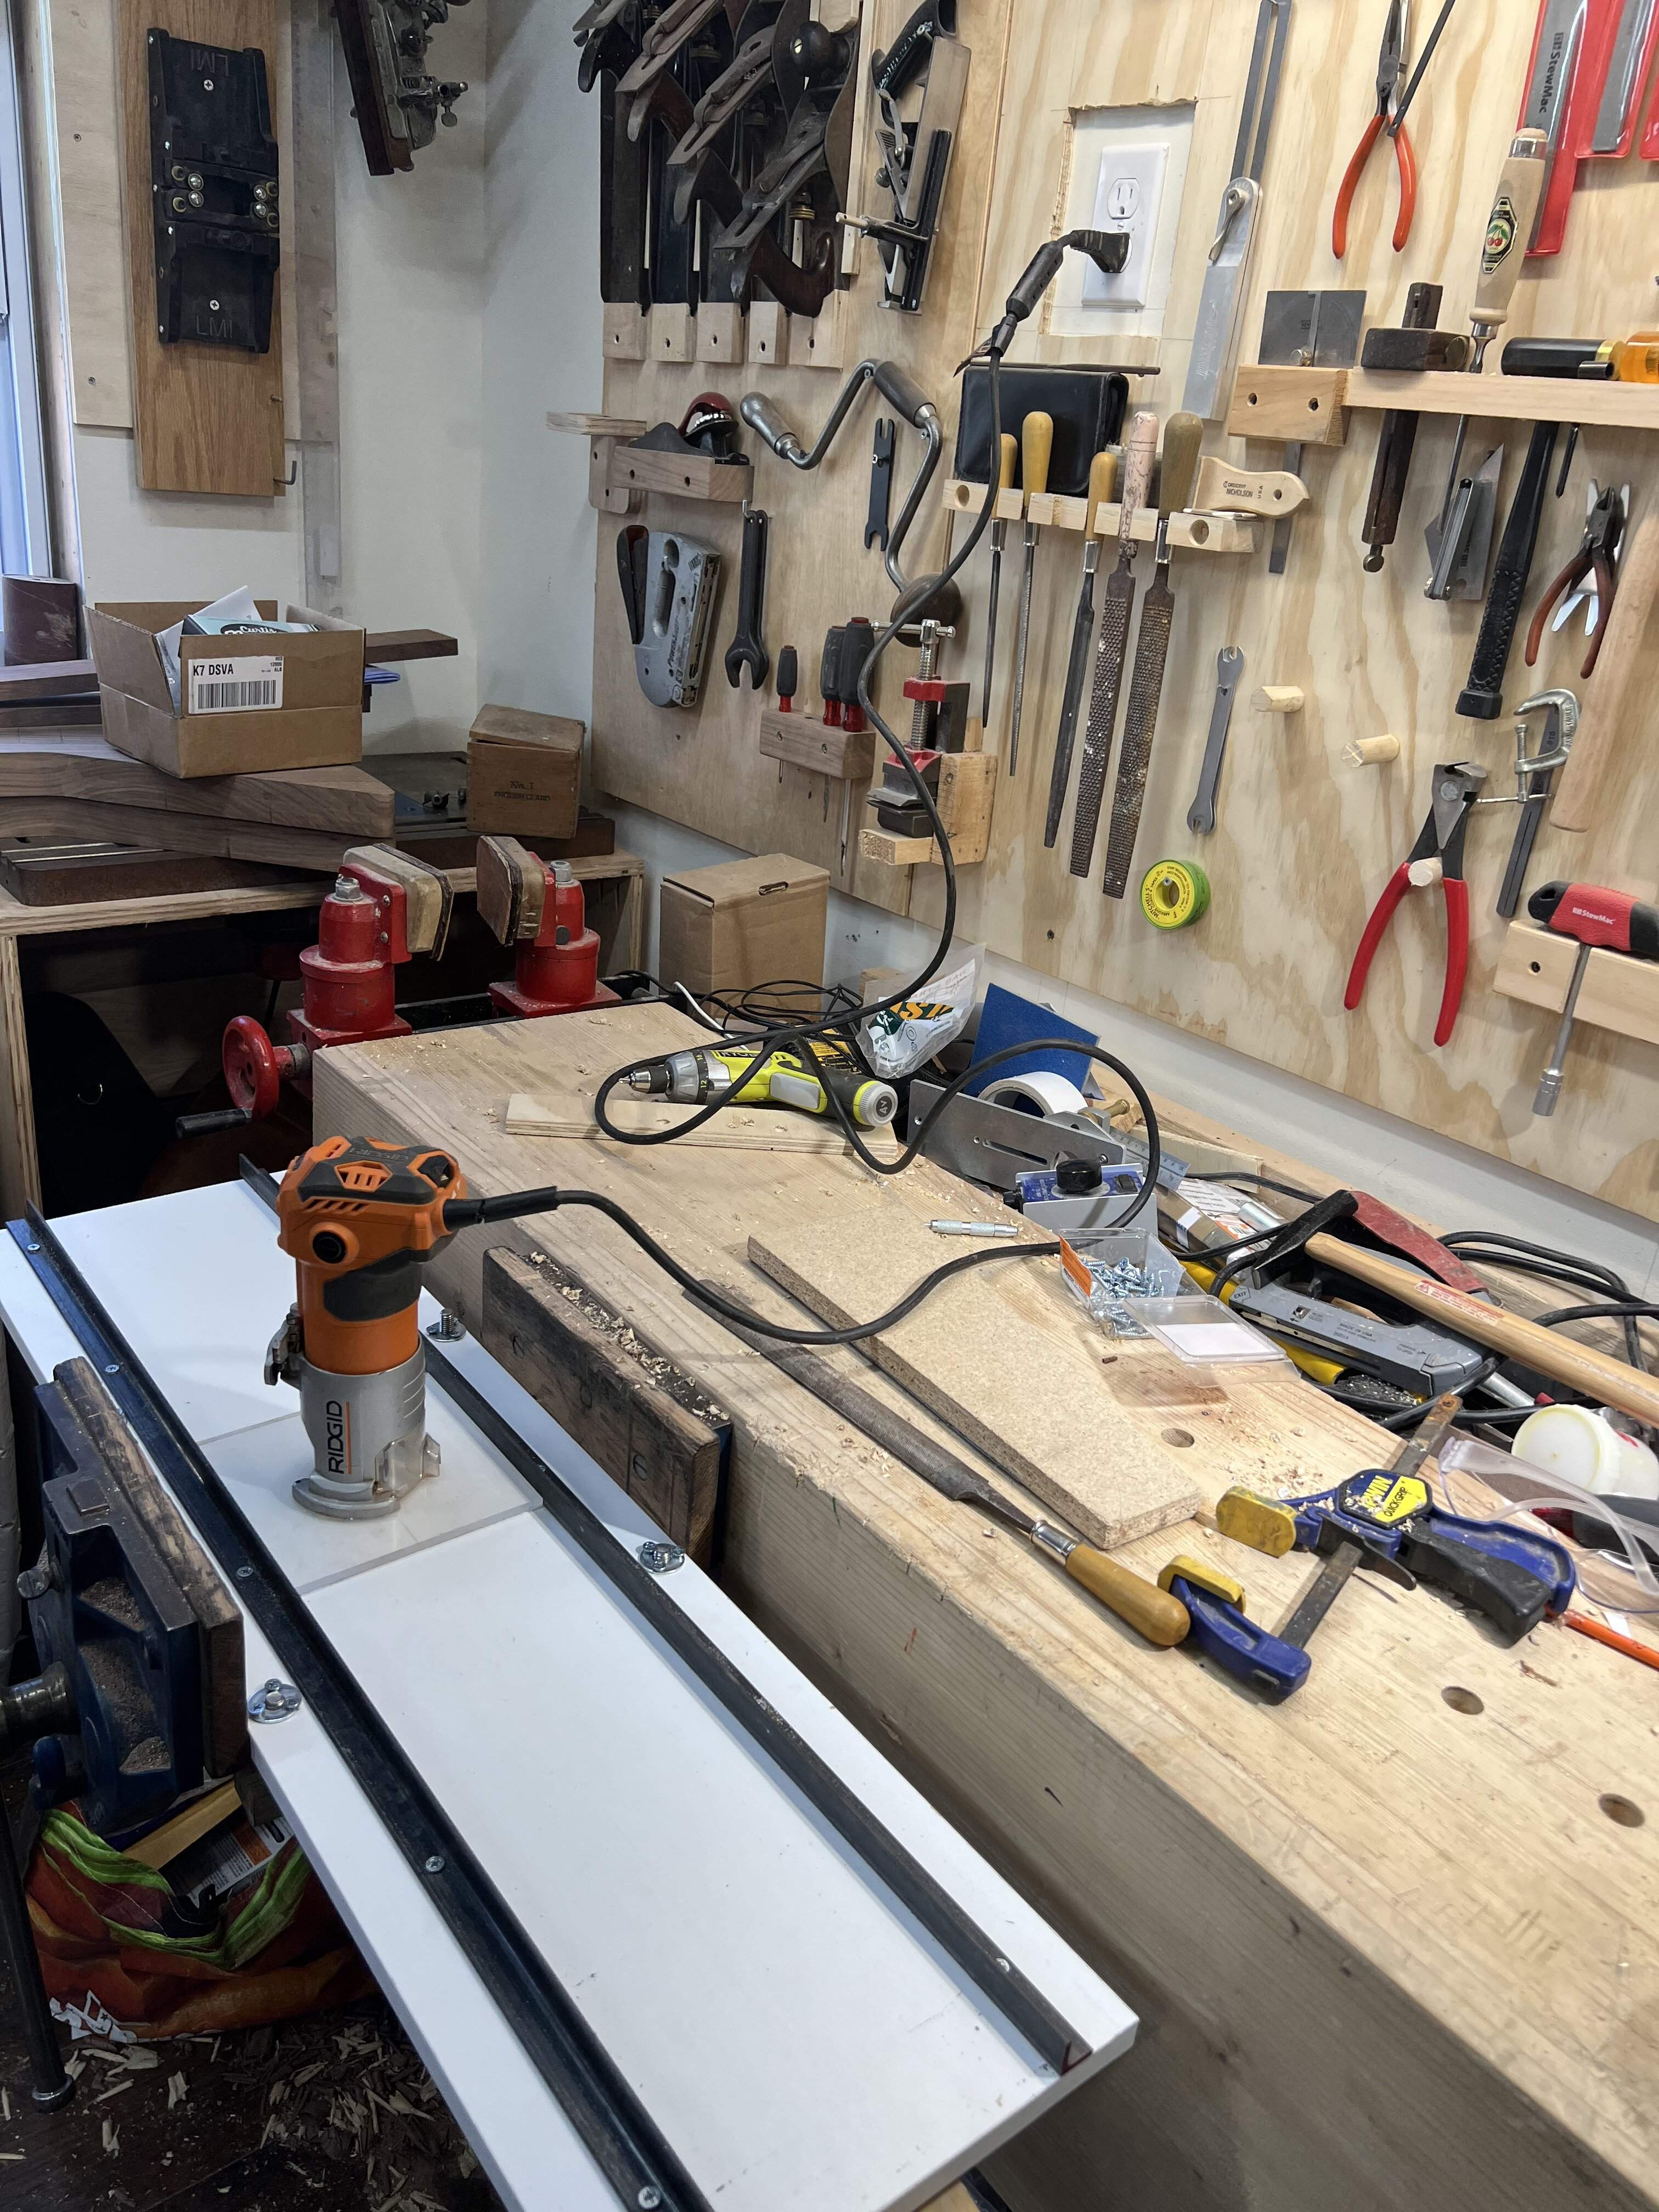
I also had used my workmate to hold the neck blank and laid the jig on it, but the workmate isn’t perfectly level, and the sideways clamping force didn’t always hold true, so the channel could be a little uneven as far as depth.
For version 2.0, I used beefier steel angle. This stayed true across its length much better. I also sunk some t bolts as attachment points for wooden cauls to hold the blank firm and flat to the jig. It all fits in my big vice so nothing moves.
I’ll route a 1/2” slot right down the center. Then I can measure 1/4” on either side of my center line and just line it up with the walls of the slot. I may add some fine adjustment screws to correct side to side alignment as well, but they probably aren’t necessary.
Tested the jig out on my pine blank, showing me exactly why that was the right move!
I marked the center line as well as the 1/4” on either side, as well as a stop point for the rod. The plexi base I made isn’t see-through anymore, so I made a little tool to place at the stop point. Then I can just stop the bit on it and clamp a stop for the base.
With my 1/4” bit, I can’t sink it quite all the way in the router, otherwise the lock nut comes in contact with the jig and makes it less pretty. Easy fix there.
I adjusted the bit, but unfortunately I went about 1/16” too deep. That screws up my next step. Thus the pine neck.
I have the stew Mac tool to bore out a hole for the as nuts using the 1/4” slot as a guide. Since my slot was a bit too deep, it didn’t stay on the bottom of the slot and I didn’t get a perfect truss access, but I know how to fix this. The pine wasn’t a fan and there was chipout, the walnut will do better with this.
Also, my old trim router seems to have finally developed a short in the cord and sputtered a few times. I’m glad it happened in the pine neck, because the intermittent stopping and starting tends to do some lateral damage. Time for a new trim router. I’ll probably order a new cord for this one and keep as a backup. Good excuse to get a plunge, I have wanted one for a while. Something that has better depth gauging for jobs like this.
Also, I need to install feet for this. The vice compresses the jig and tightens the rails up, making it bind in the middle. With the steel rails it is heavy enough to stay seated by itself on the bench. If I make the feet rails I can install lateral adjustment screws easily, although that would be unnecessary and more of a convenience, I had no issue getting the neck lined up. Adjustment screws would just allow me to do it without lifting the jig.
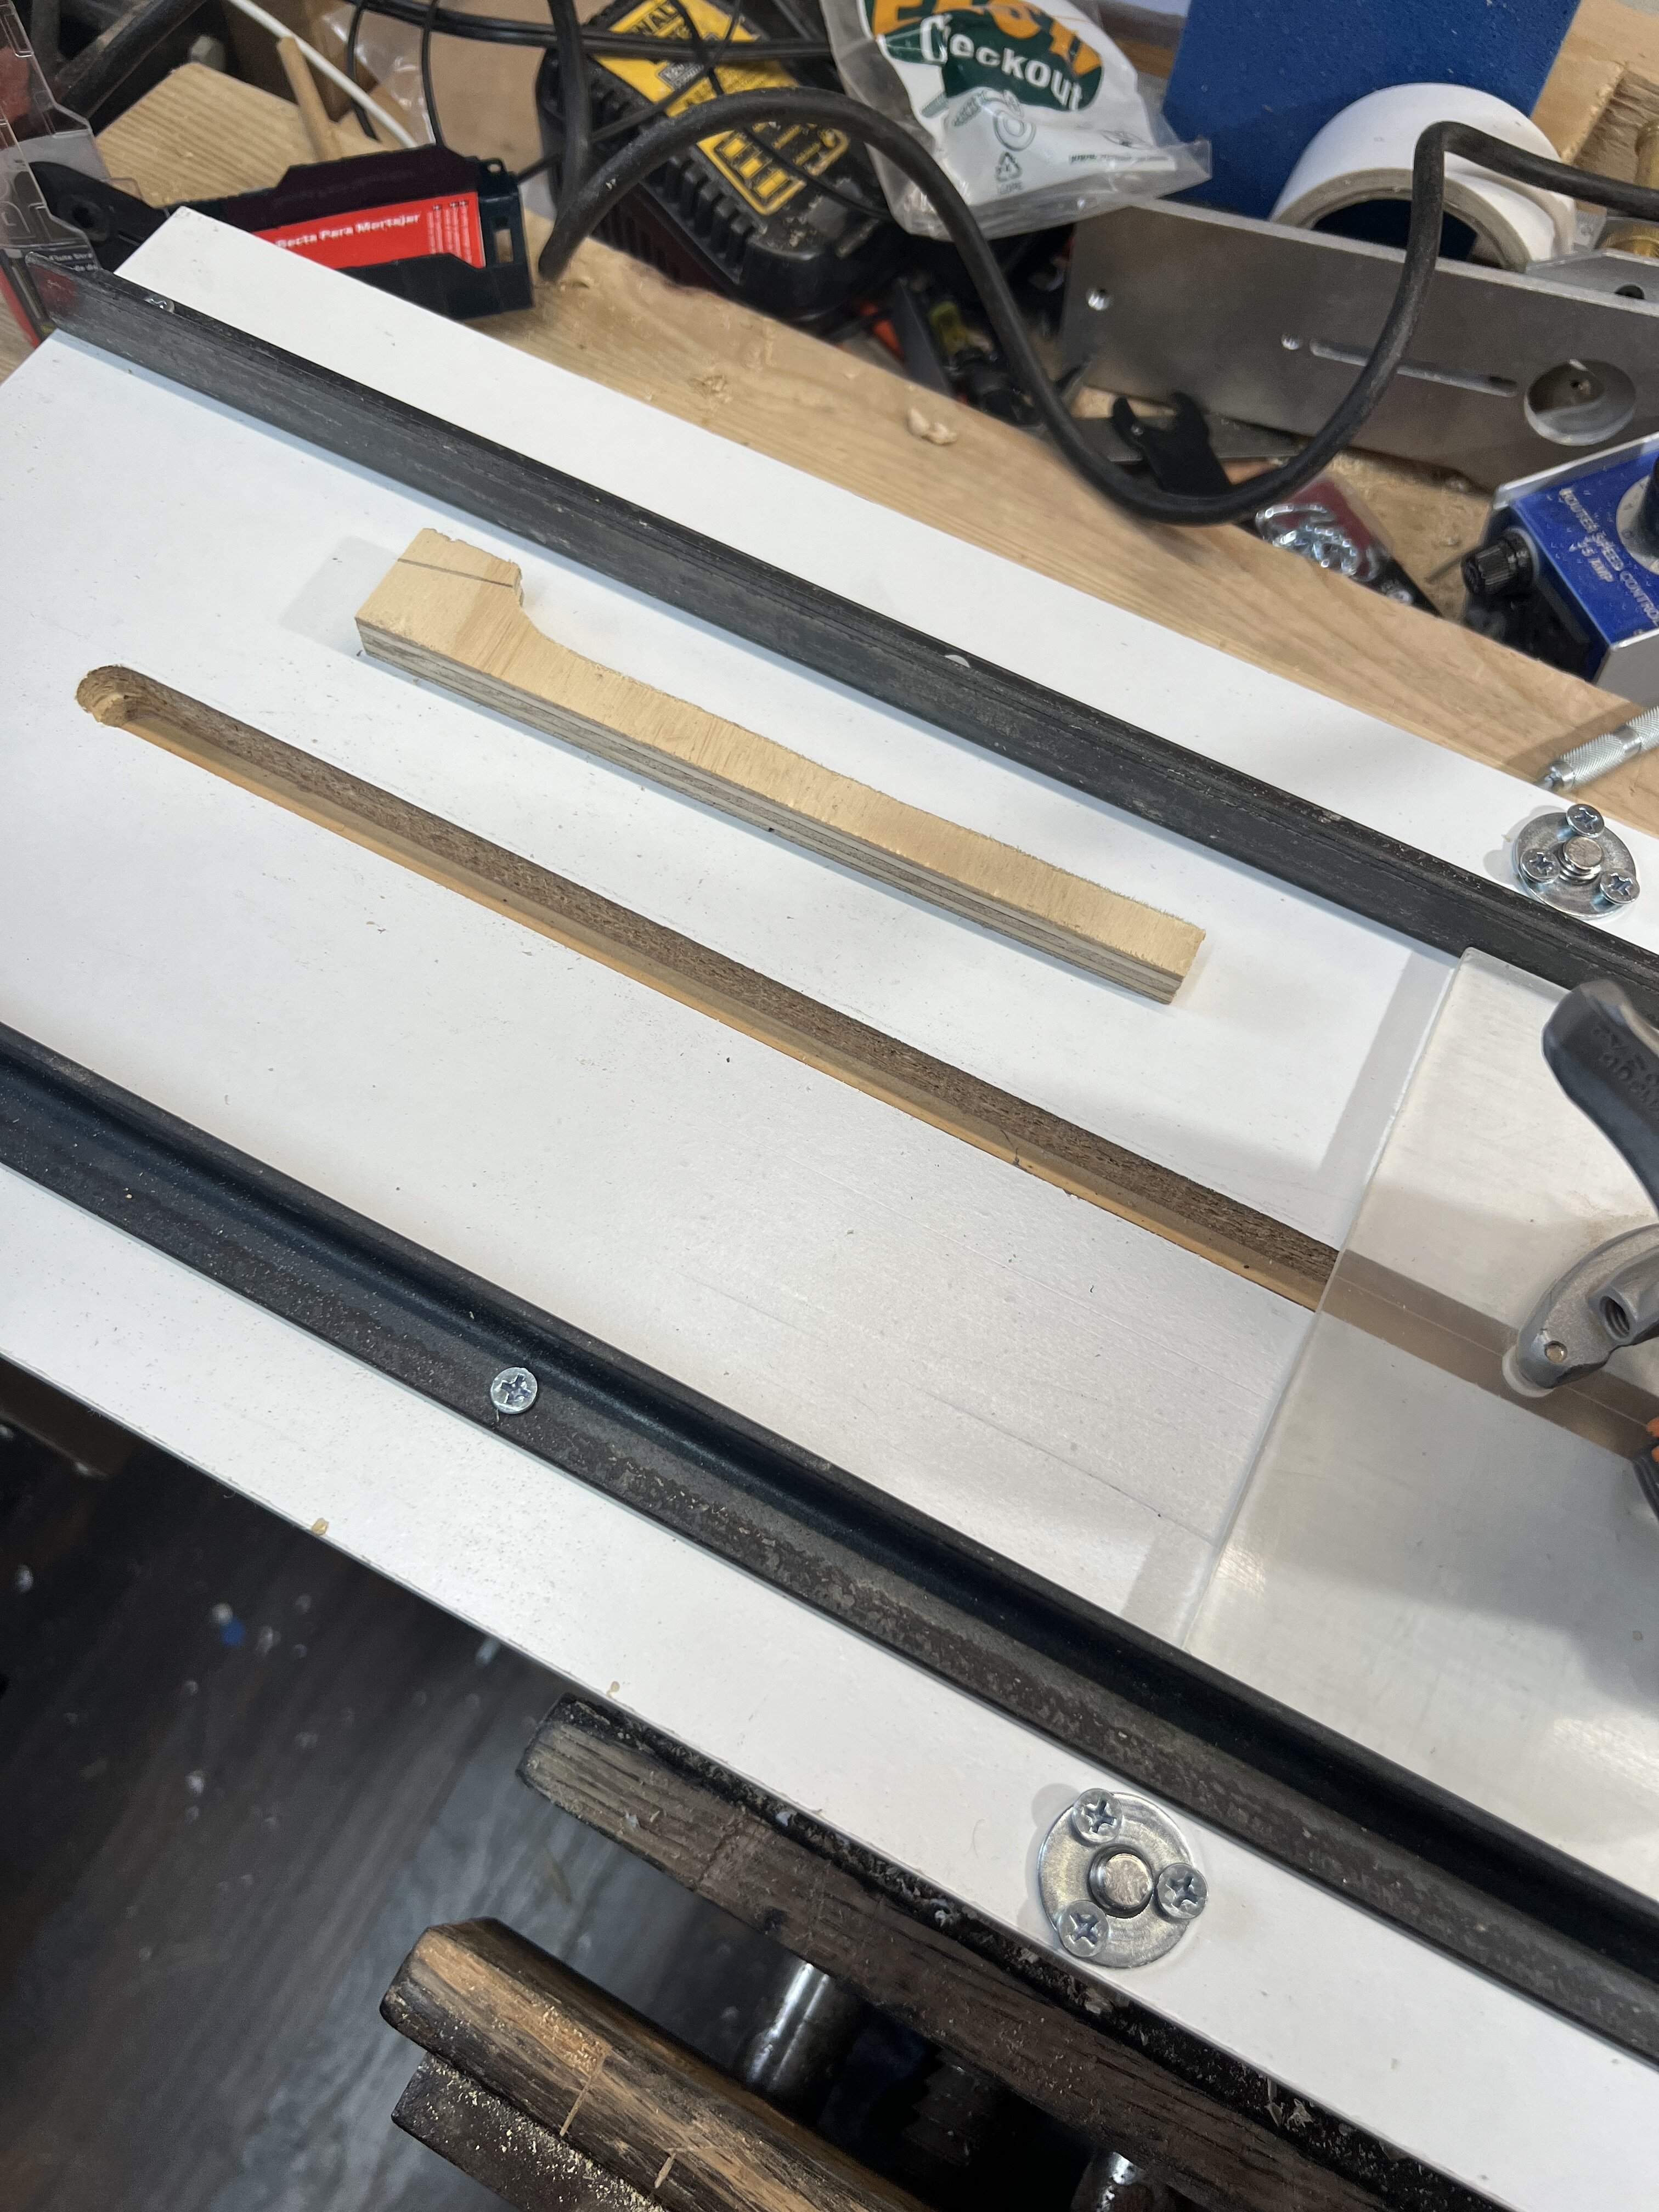
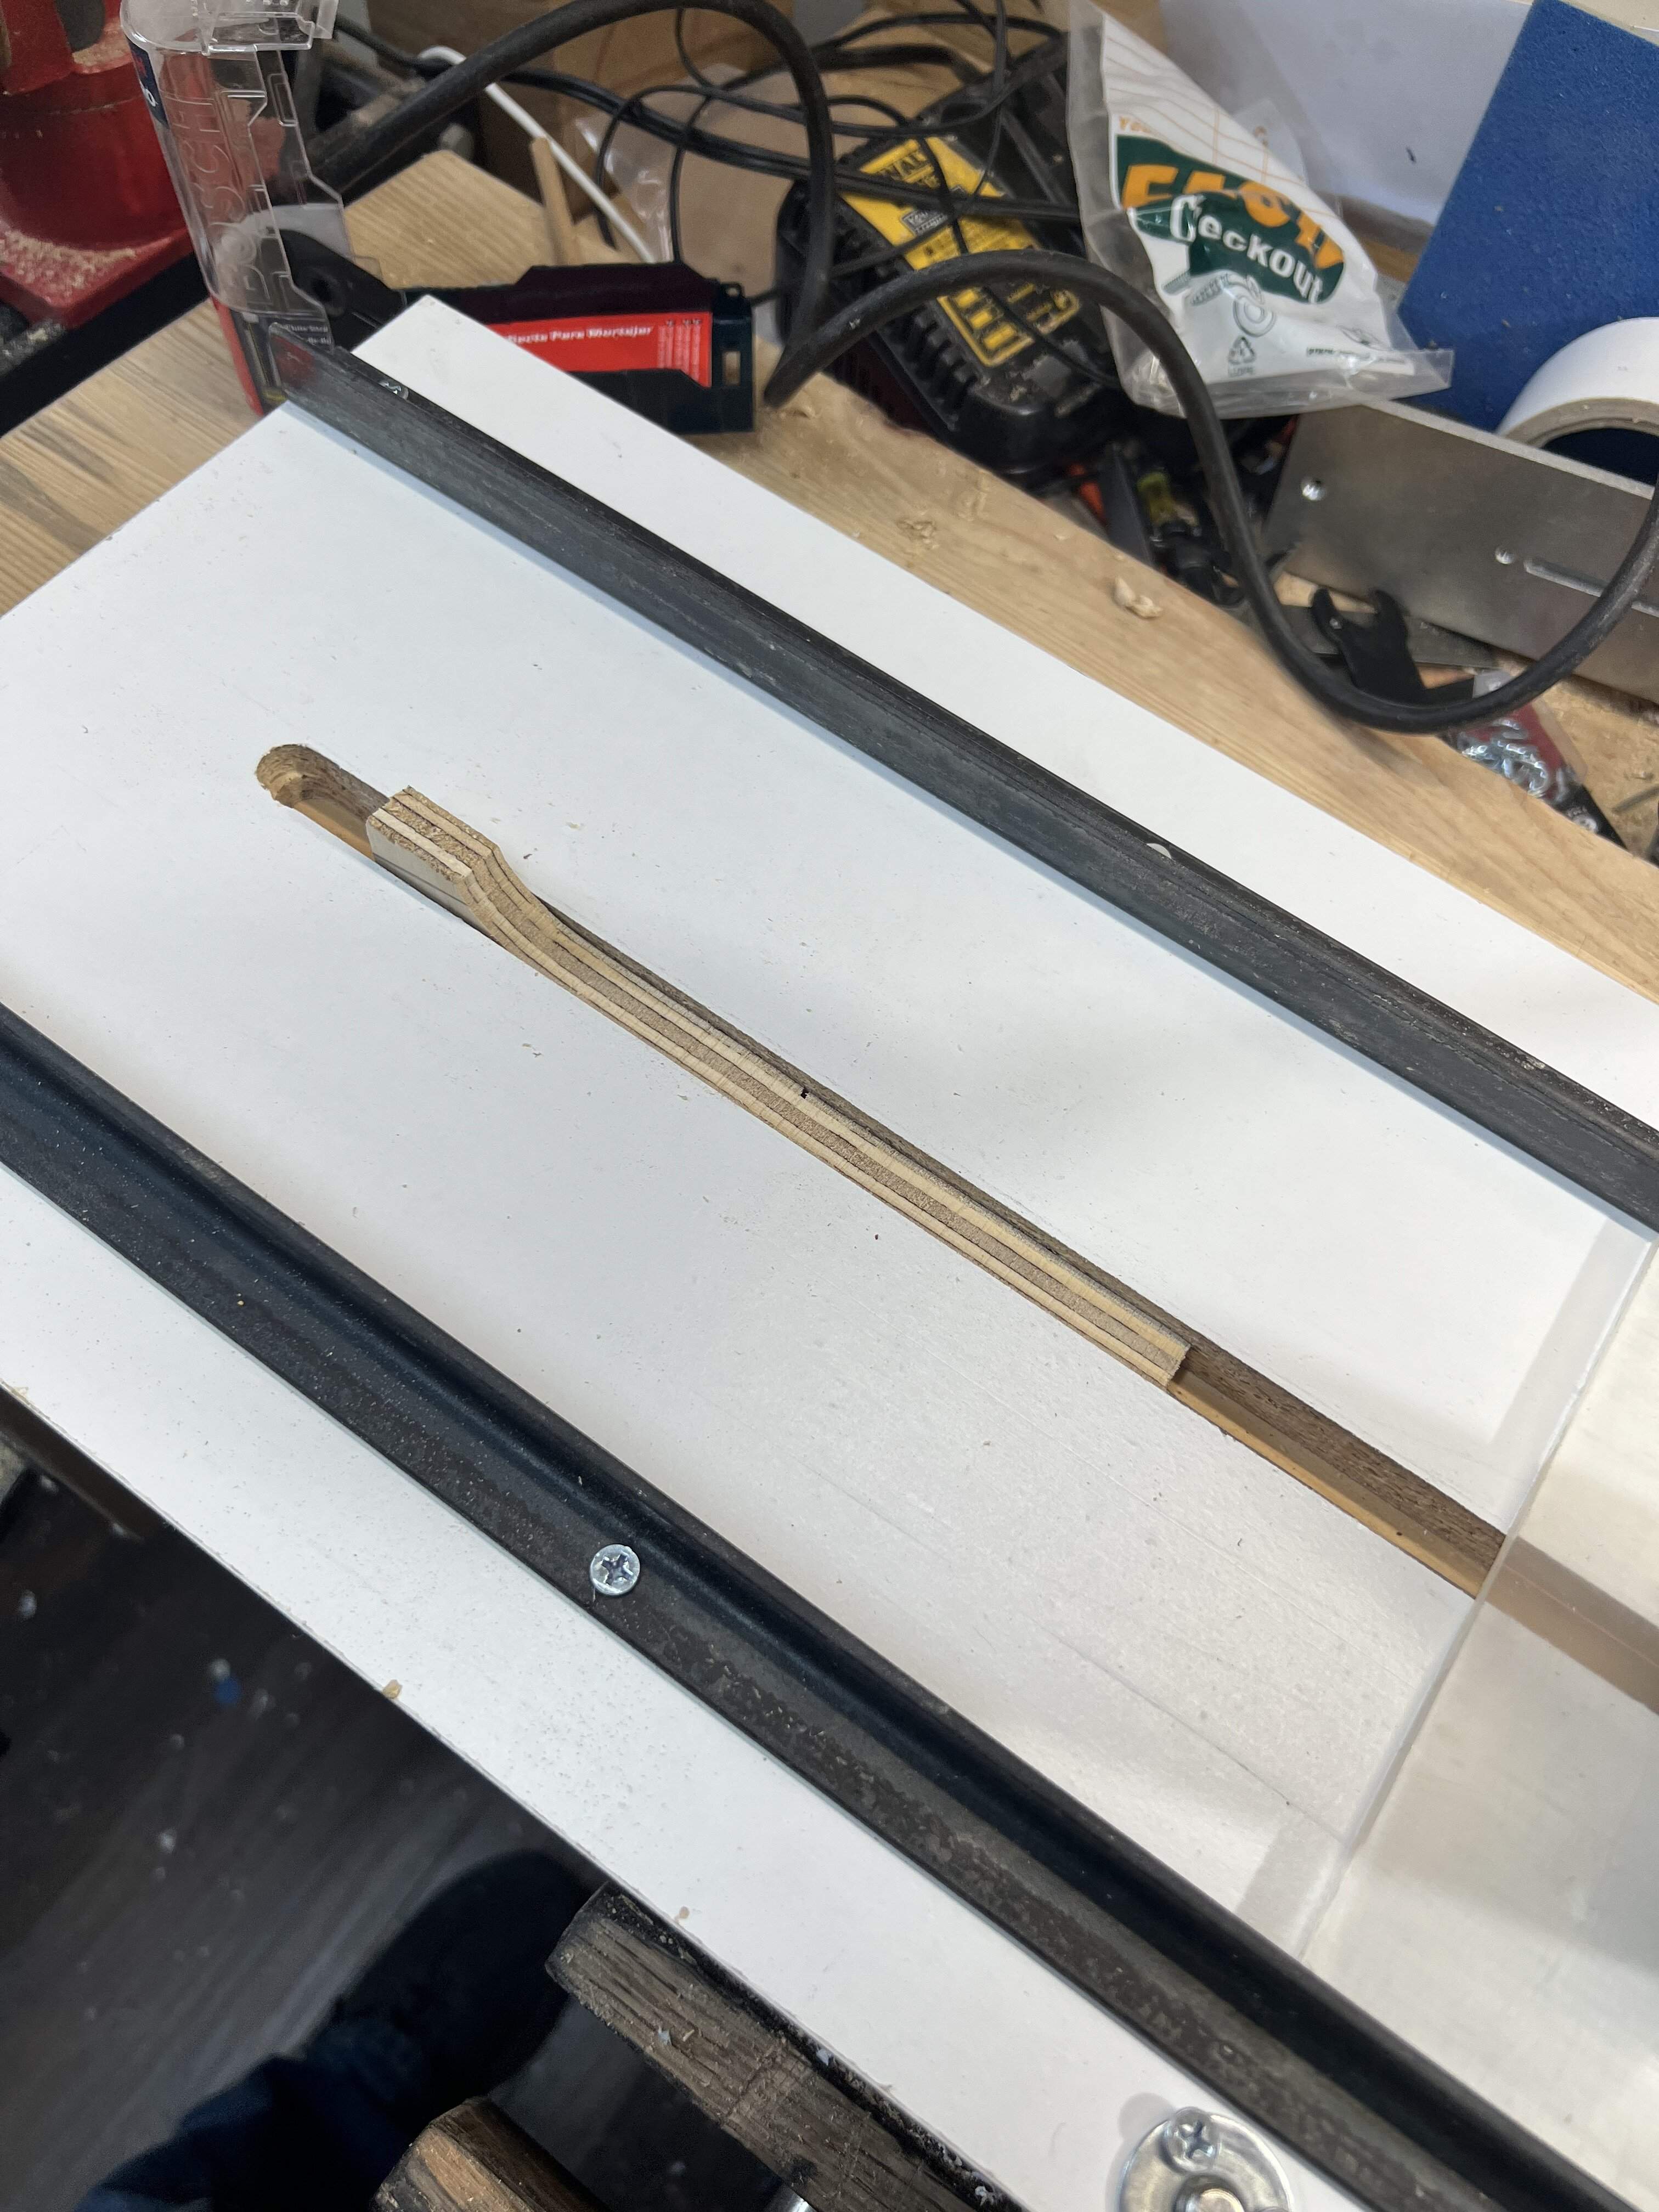
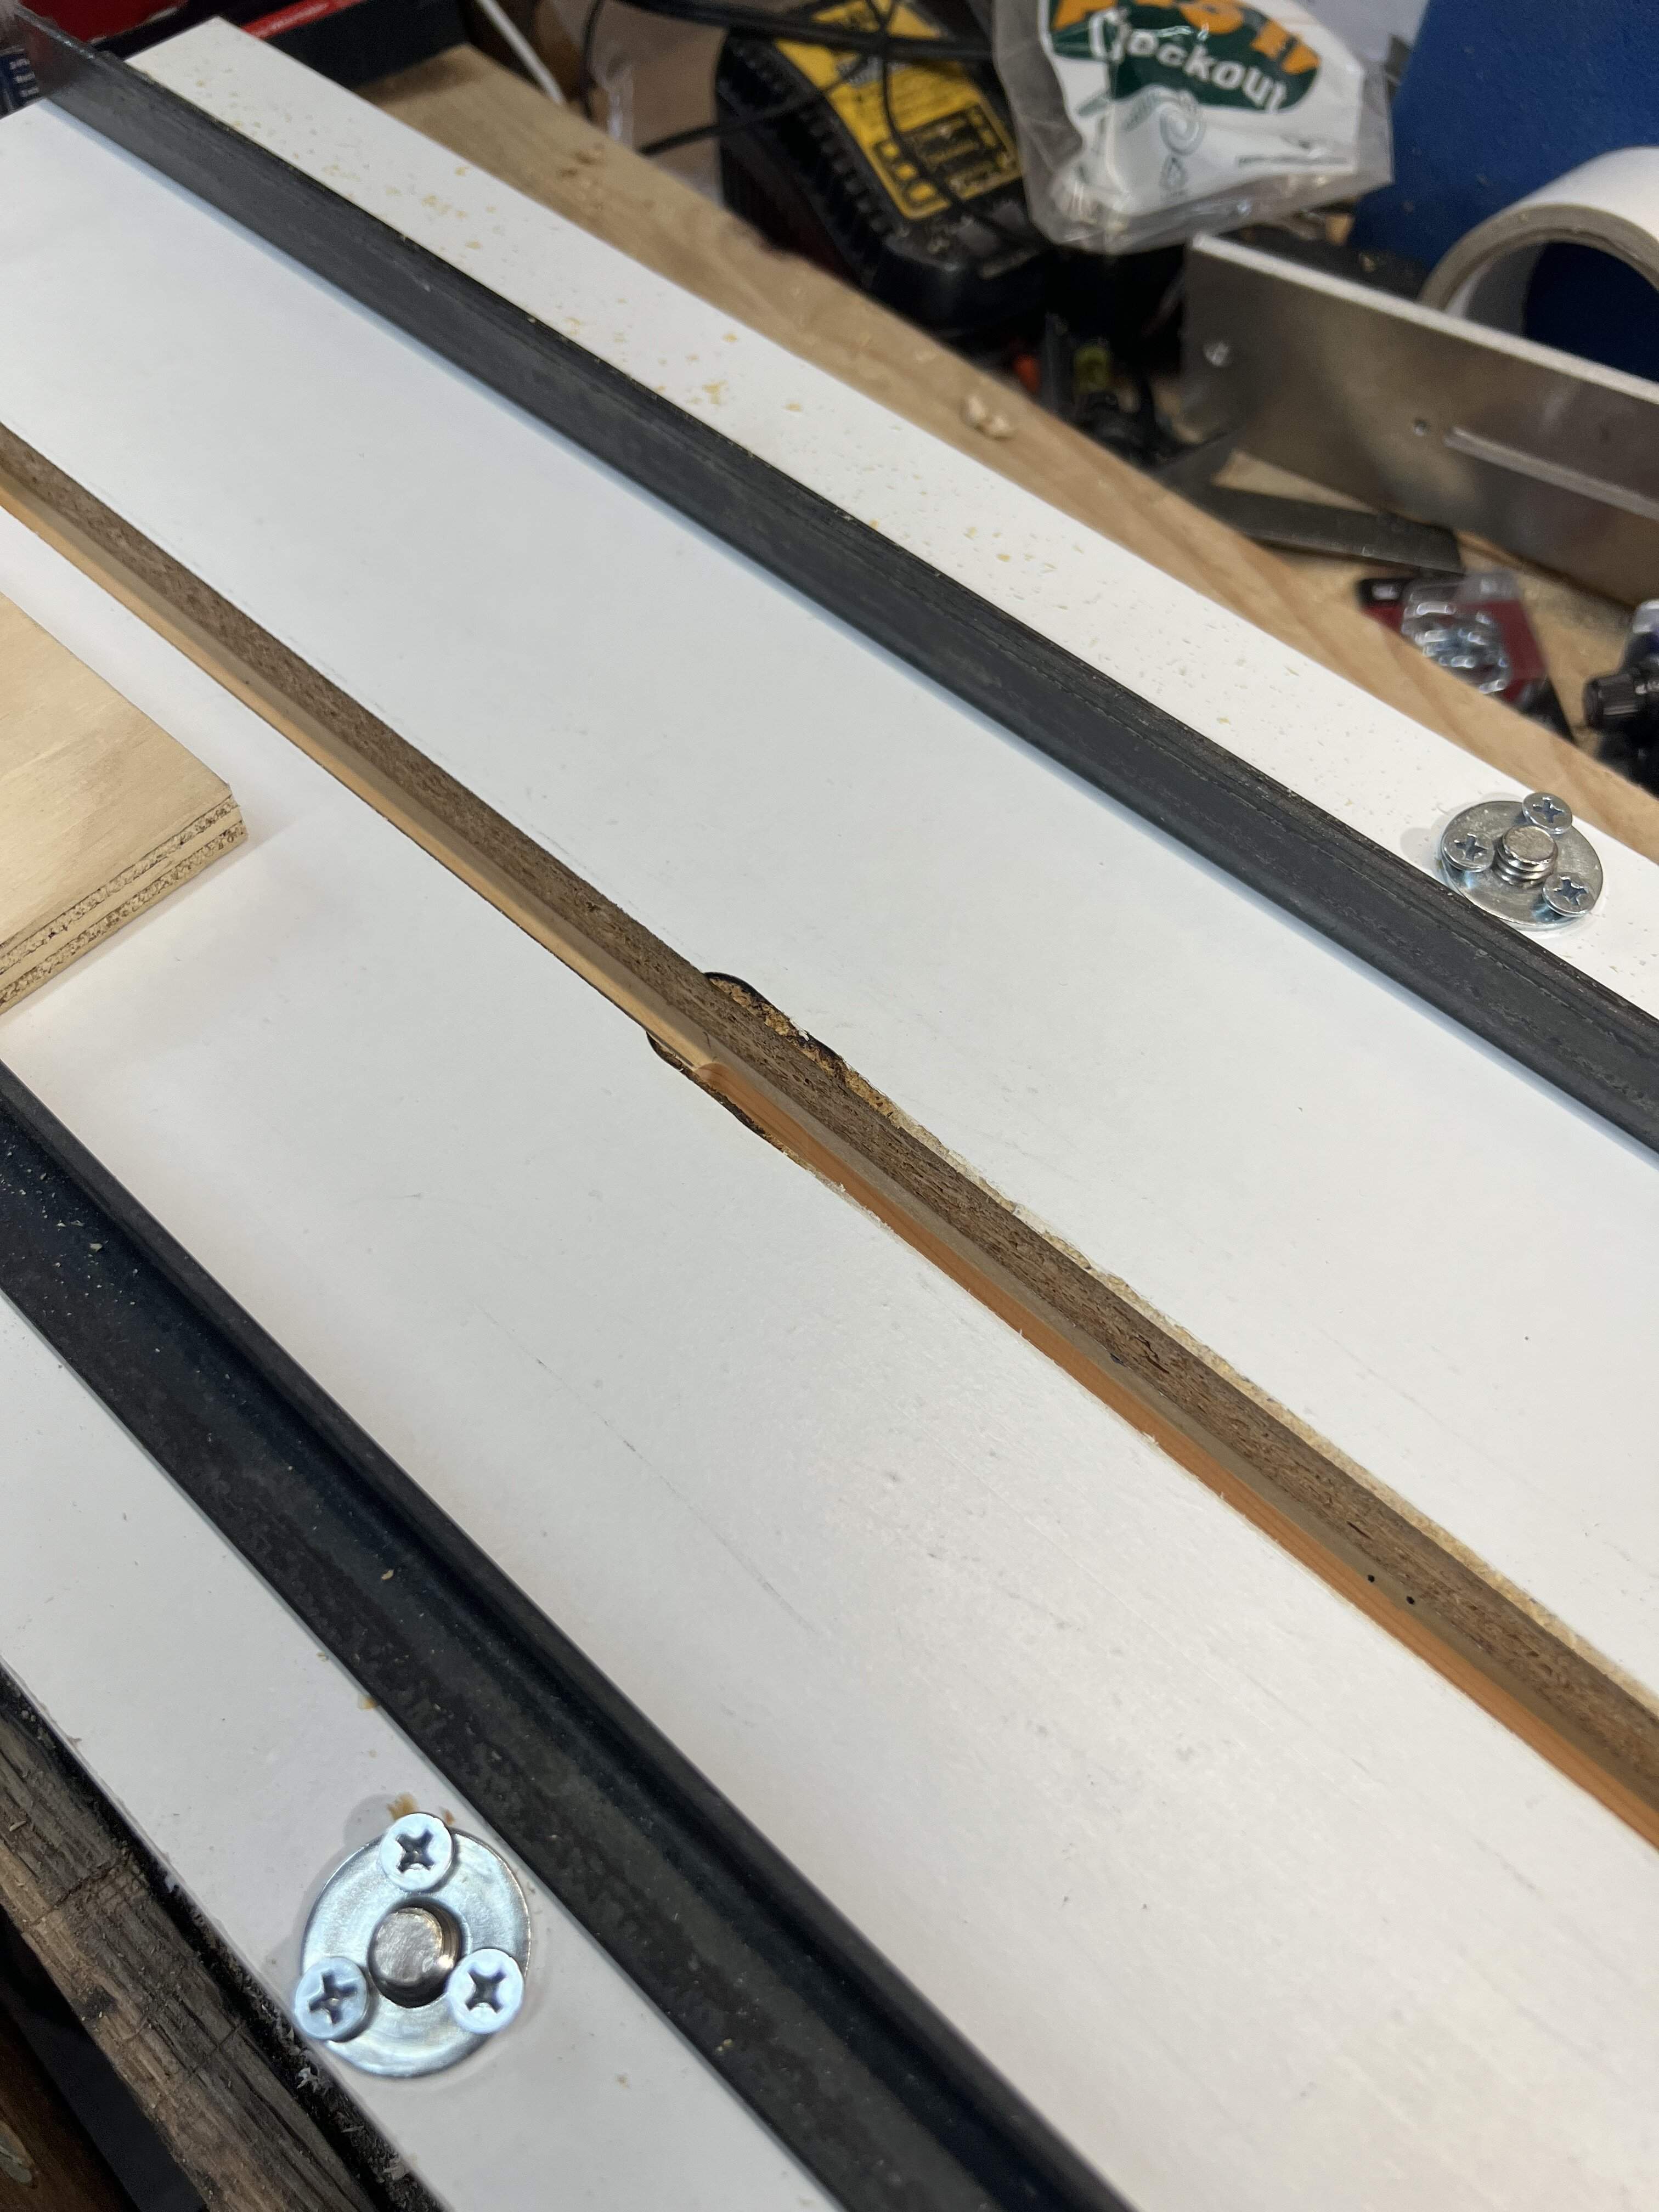
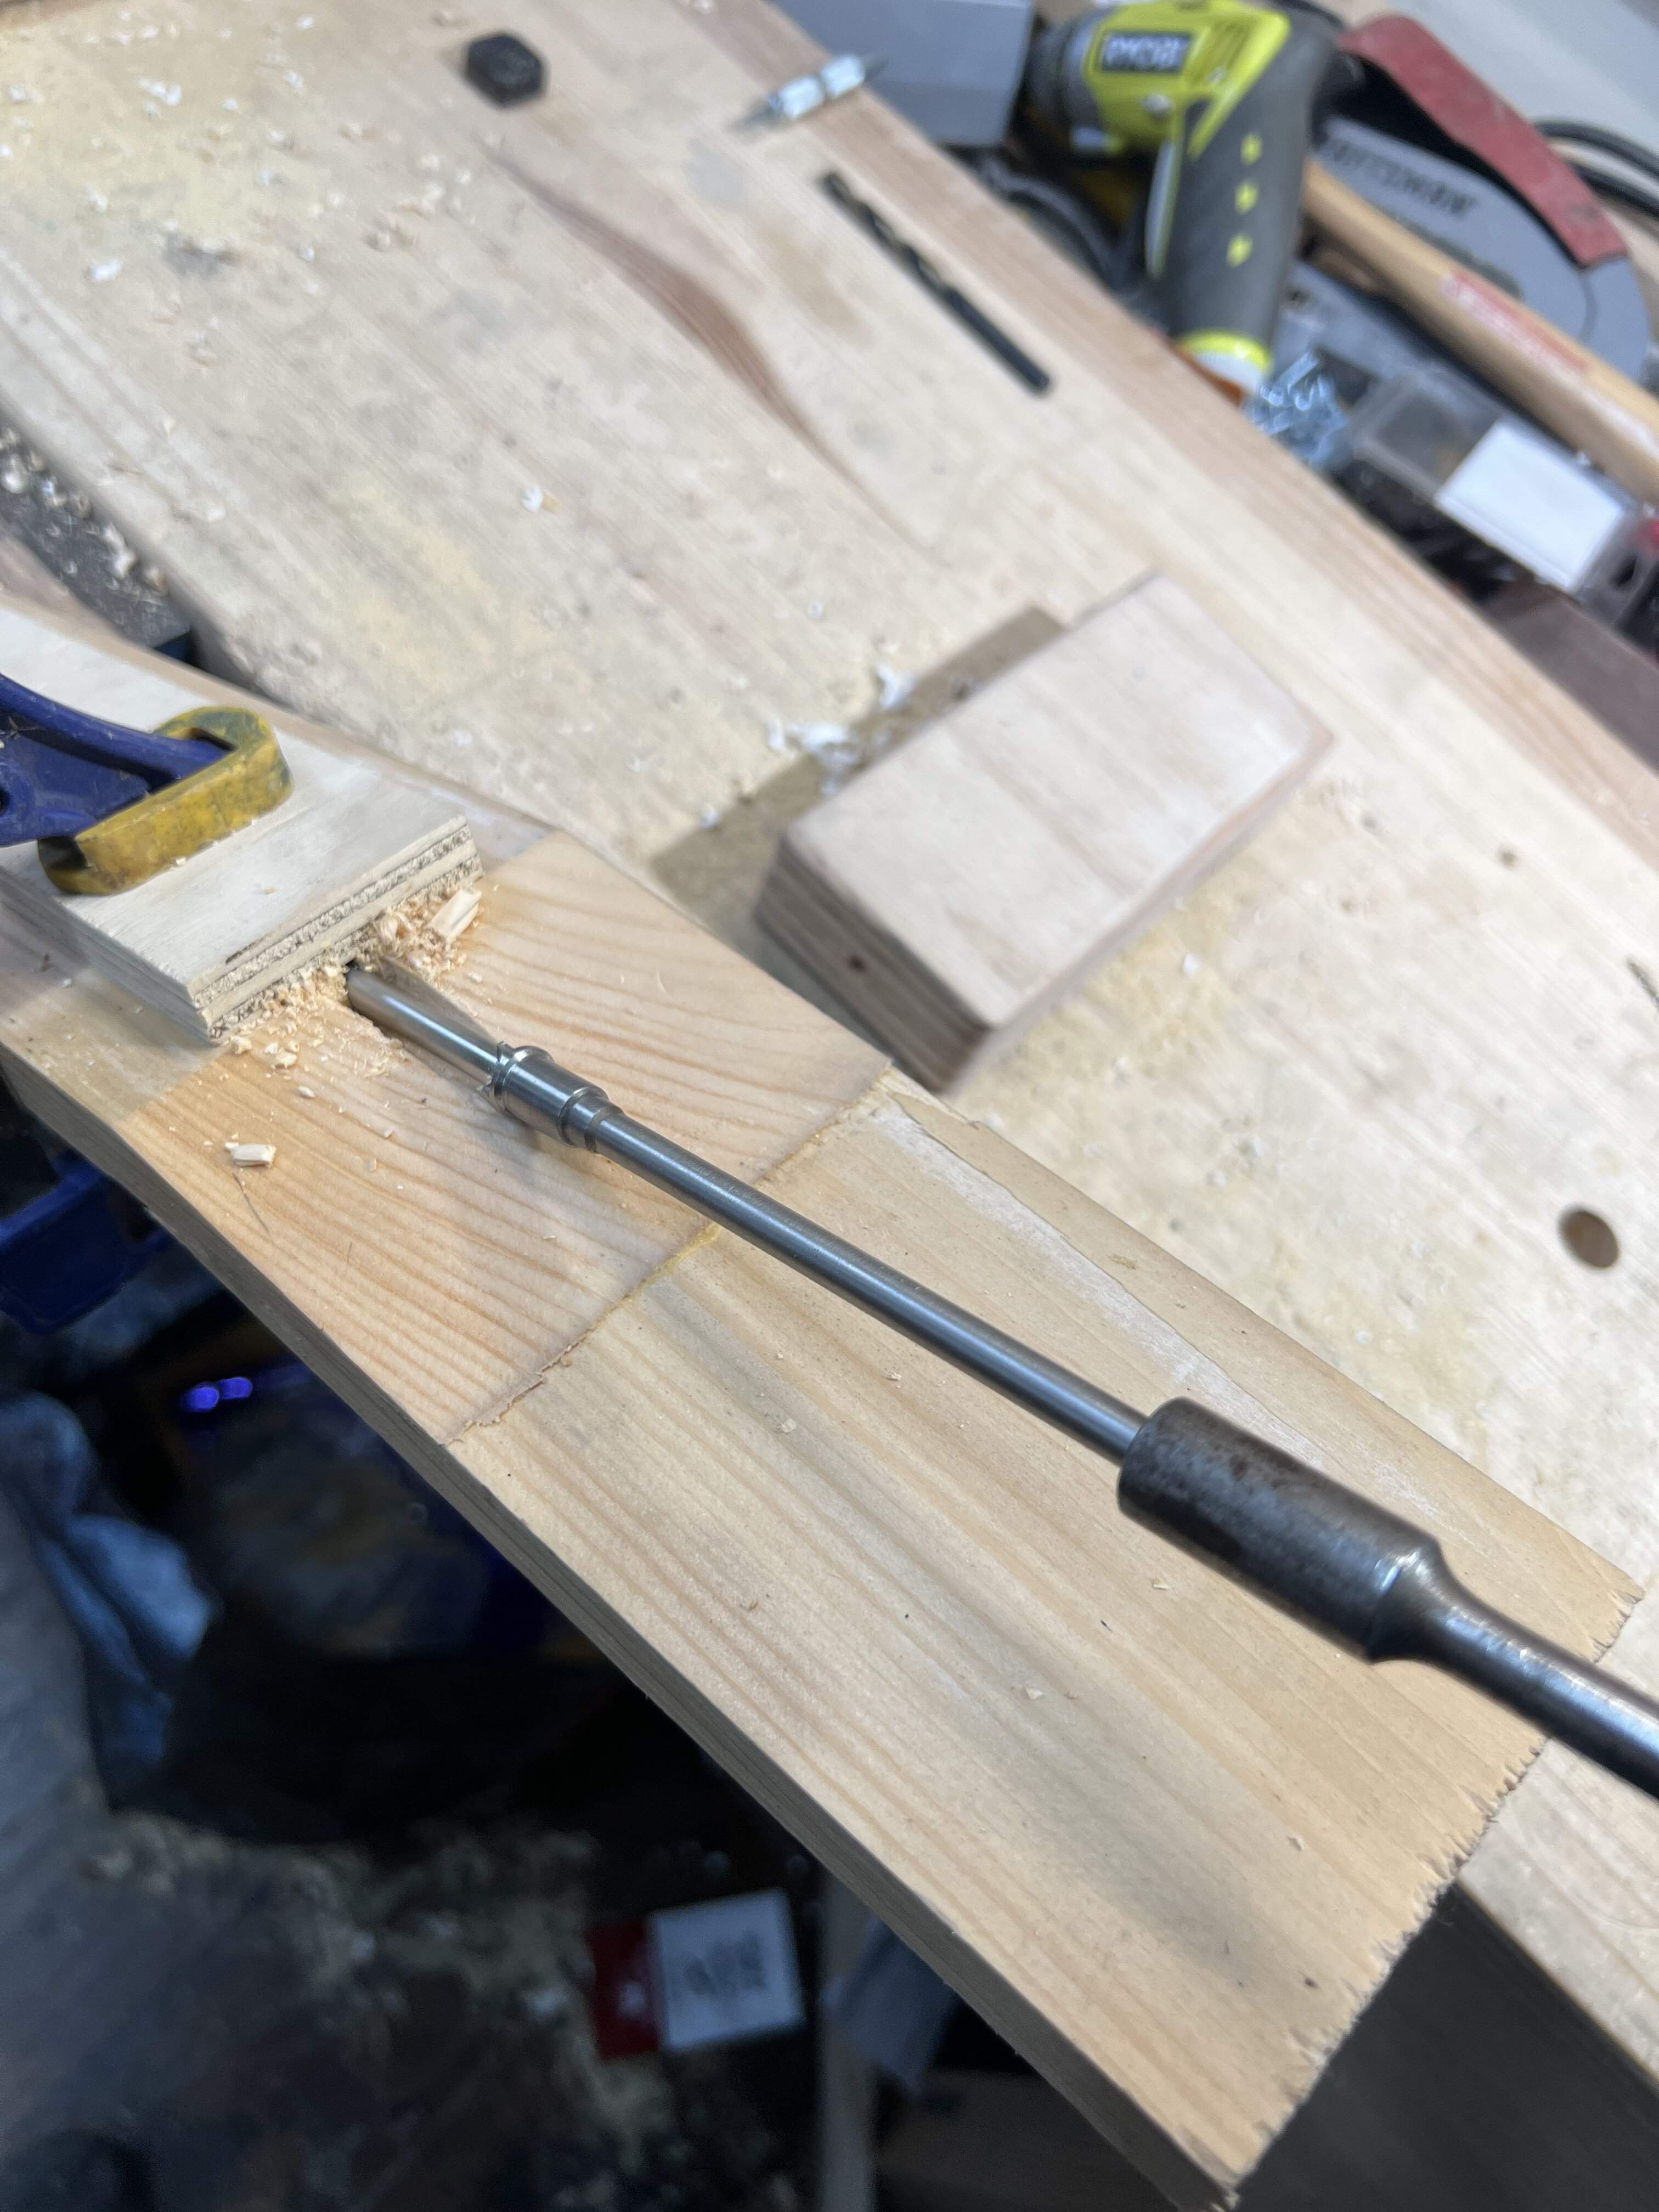
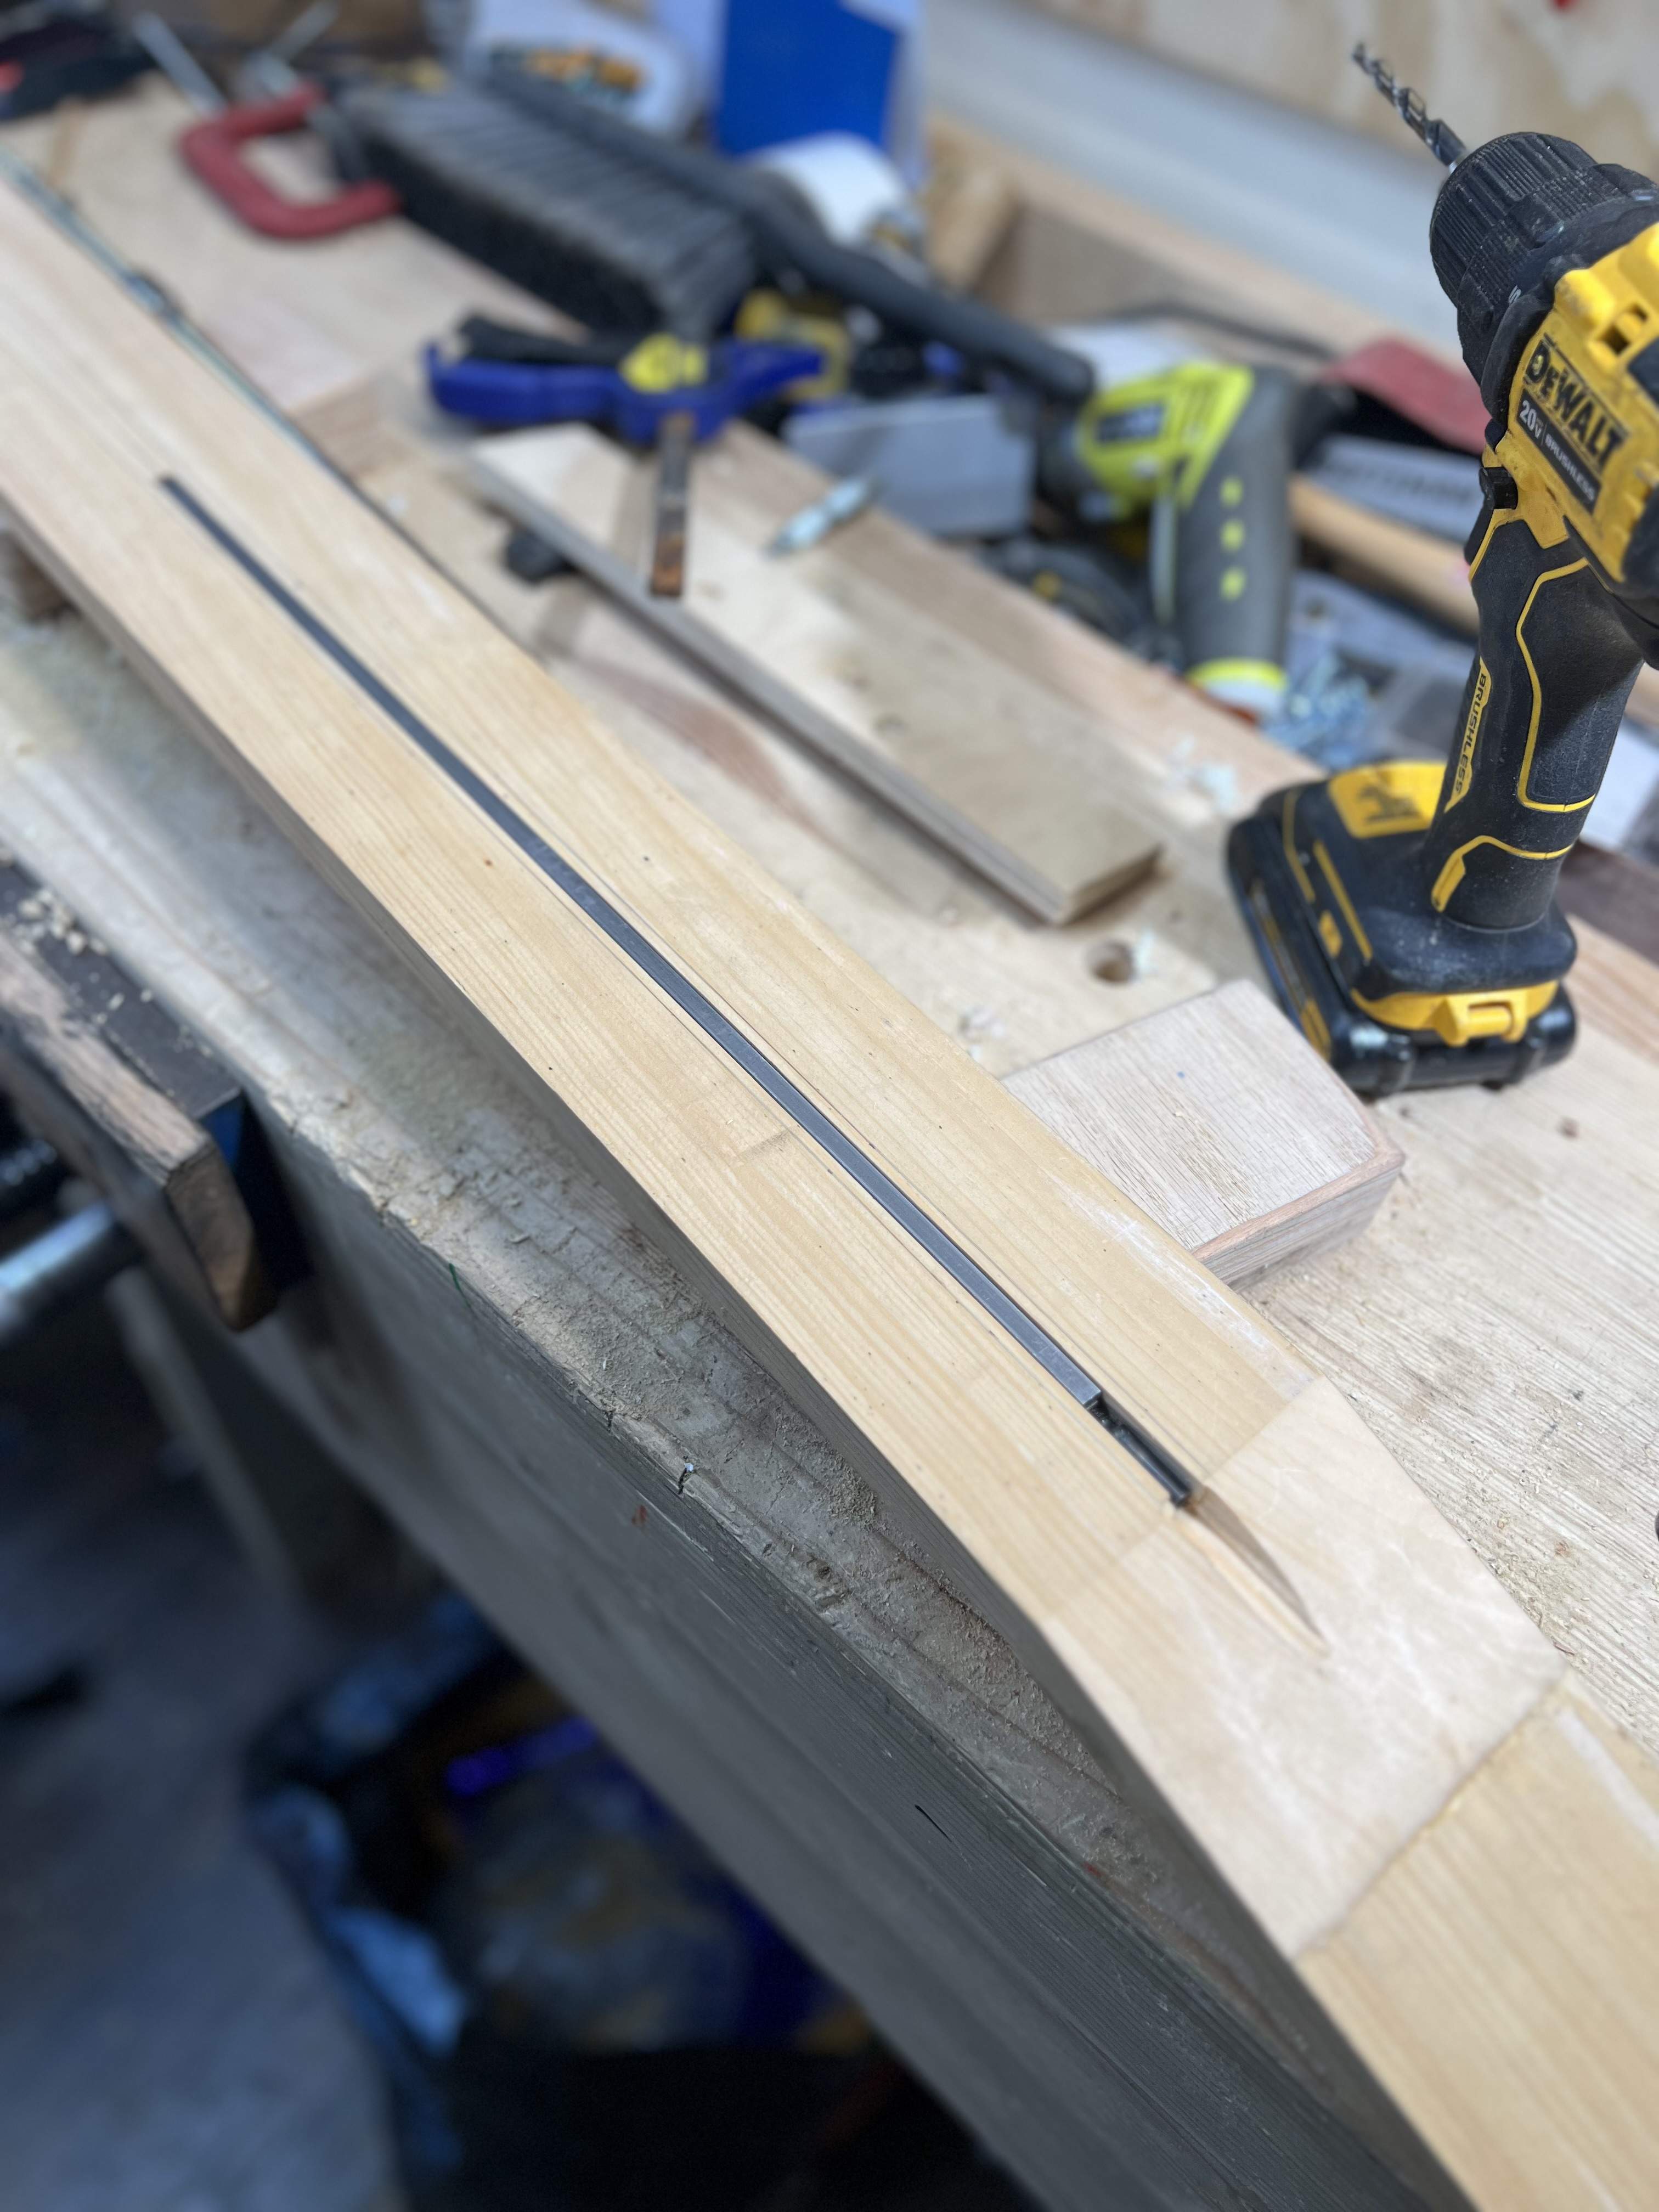
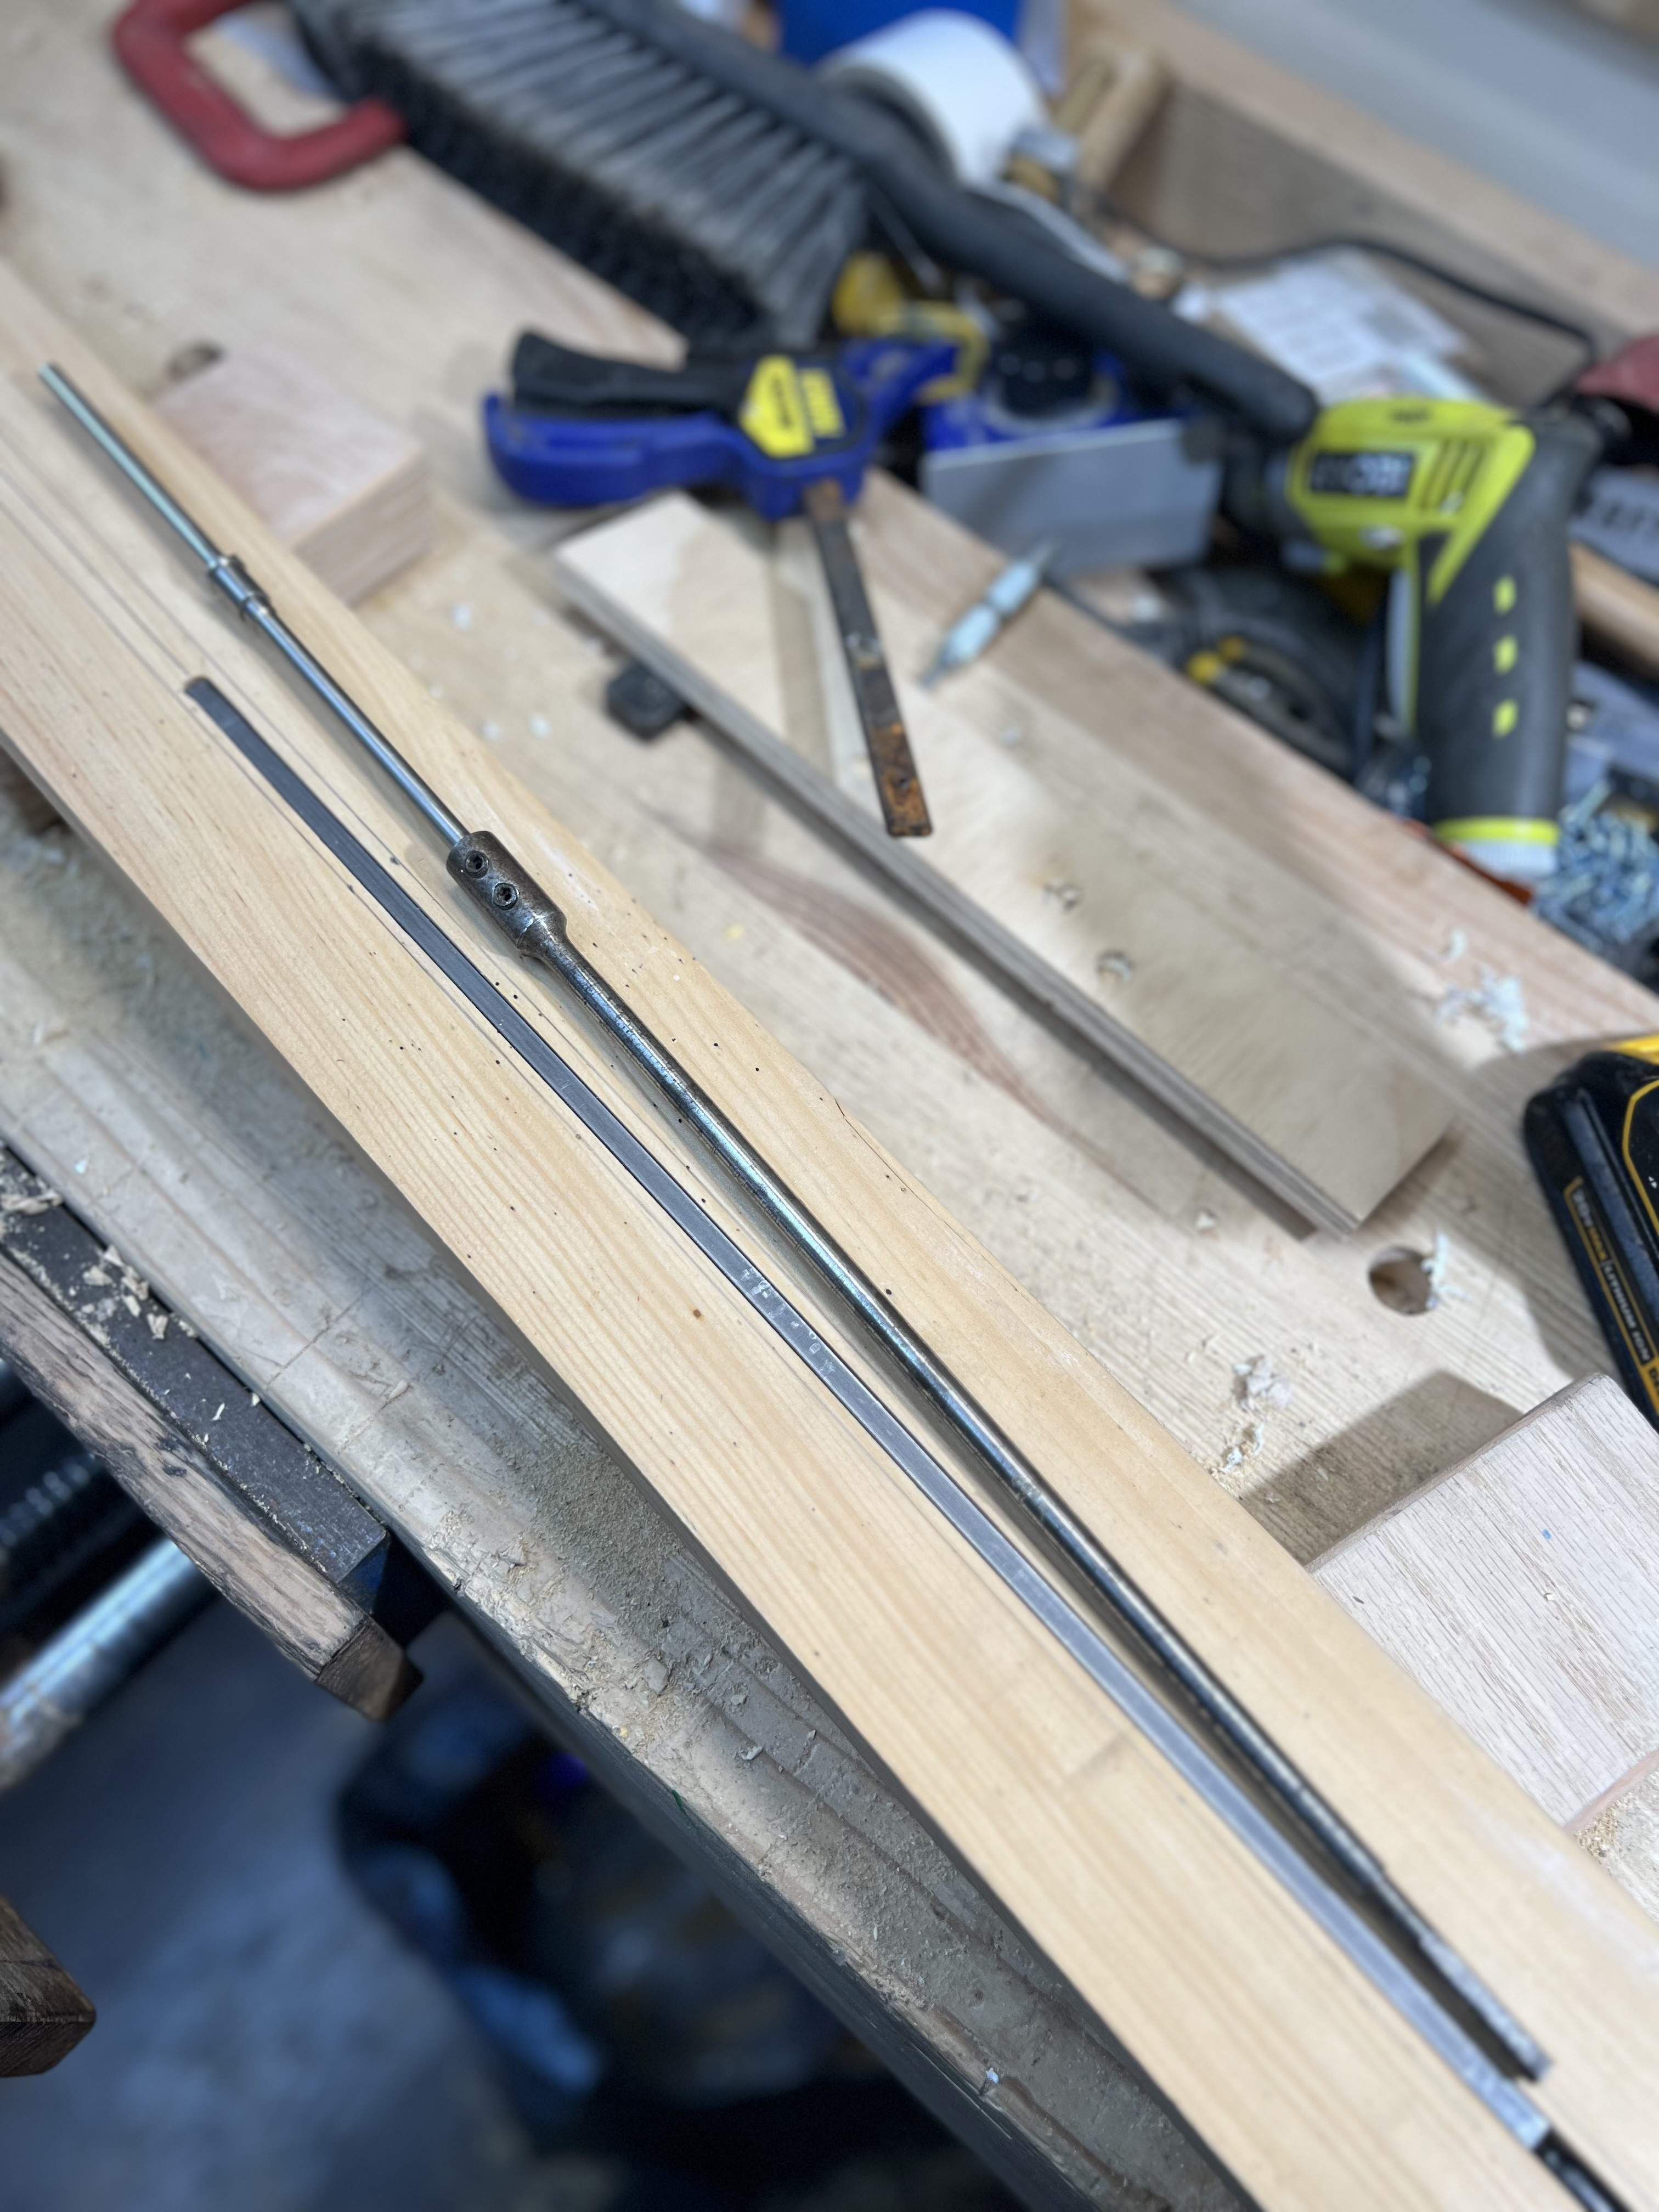
I marked the center line as well as the 1/4” on either side, as well as a stop point for the rod. The plexi base I made isn’t see-through anymore, so I made a little tool to place at the stop point. Then I can just stop the bit on it and clamp a stop for the base.
With my 1/4” bit, I can’t sink it quite all the way in the router, otherwise the lock nut comes in contact with the jig and makes it less pretty. Easy fix there.
I adjusted the bit, but unfortunately I went about 1/16” too deep. That screws up my next step. Thus the pine neck.
I have the stew Mac tool to bore out a hole for the as nuts using the 1/4” slot as a guide. Since my slot was a bit too deep, it didn’t stay on the bottom of the slot and I didn’t get a perfect truss access, but I know how to fix this. The pine wasn’t a fan and there was chipout, the walnut will do better with this.
Also, my old trim router seems to have finally developed a short in the cord and sputtered a few times. I’m glad it happened in the pine neck, because the intermittent stopping and starting tends to do some lateral damage. Time for a new trim router. I’ll probably order a new cord for this one and keep as a backup. Good excuse to get a plunge, I have wanted one for a while. Something that has better depth gauging for jobs like this.
Also, I need to install feet for this. The vice compresses the jig and tightens the rails up, making it bind in the middle. With the steel rails it is heavy enough to stay seated by itself on the bench. If I make the feet rails I can install lateral adjustment screws easily, although that would be unnecessary and more of a convenience, I had no issue getting the neck lined up. Adjustment screws would just allow me to do it without lifting the jig.
Last edited:

I will suggest verifying that that is the problem. I have a lovely new set of brushes for my old circular saw. Figured that was the problem, but didn't verify it. Old brushes were fine. Armature smoked, no idea why, but it was. Armature costs more as a part than a whole new saw, so it's junk (what I actually did was get a slightly used saw from the Habitat Restore for not much money at all) so the new brushes were a complete waste of money...router seems to have finally developed a short in the cord and sputtered a few times...I’ll probably order a new cord for this one and keep as a backup.


