• TalkBass has been independent since 1998. Add your voice.
    Create a free account to reply to discussions, view embedded media, and browse with fewer display ads.
    Join freeLog in
    Want zero display ads or expanded classifieds tools? Compare plans.

Advice needed on how to remove carpet from a speaker cabinet

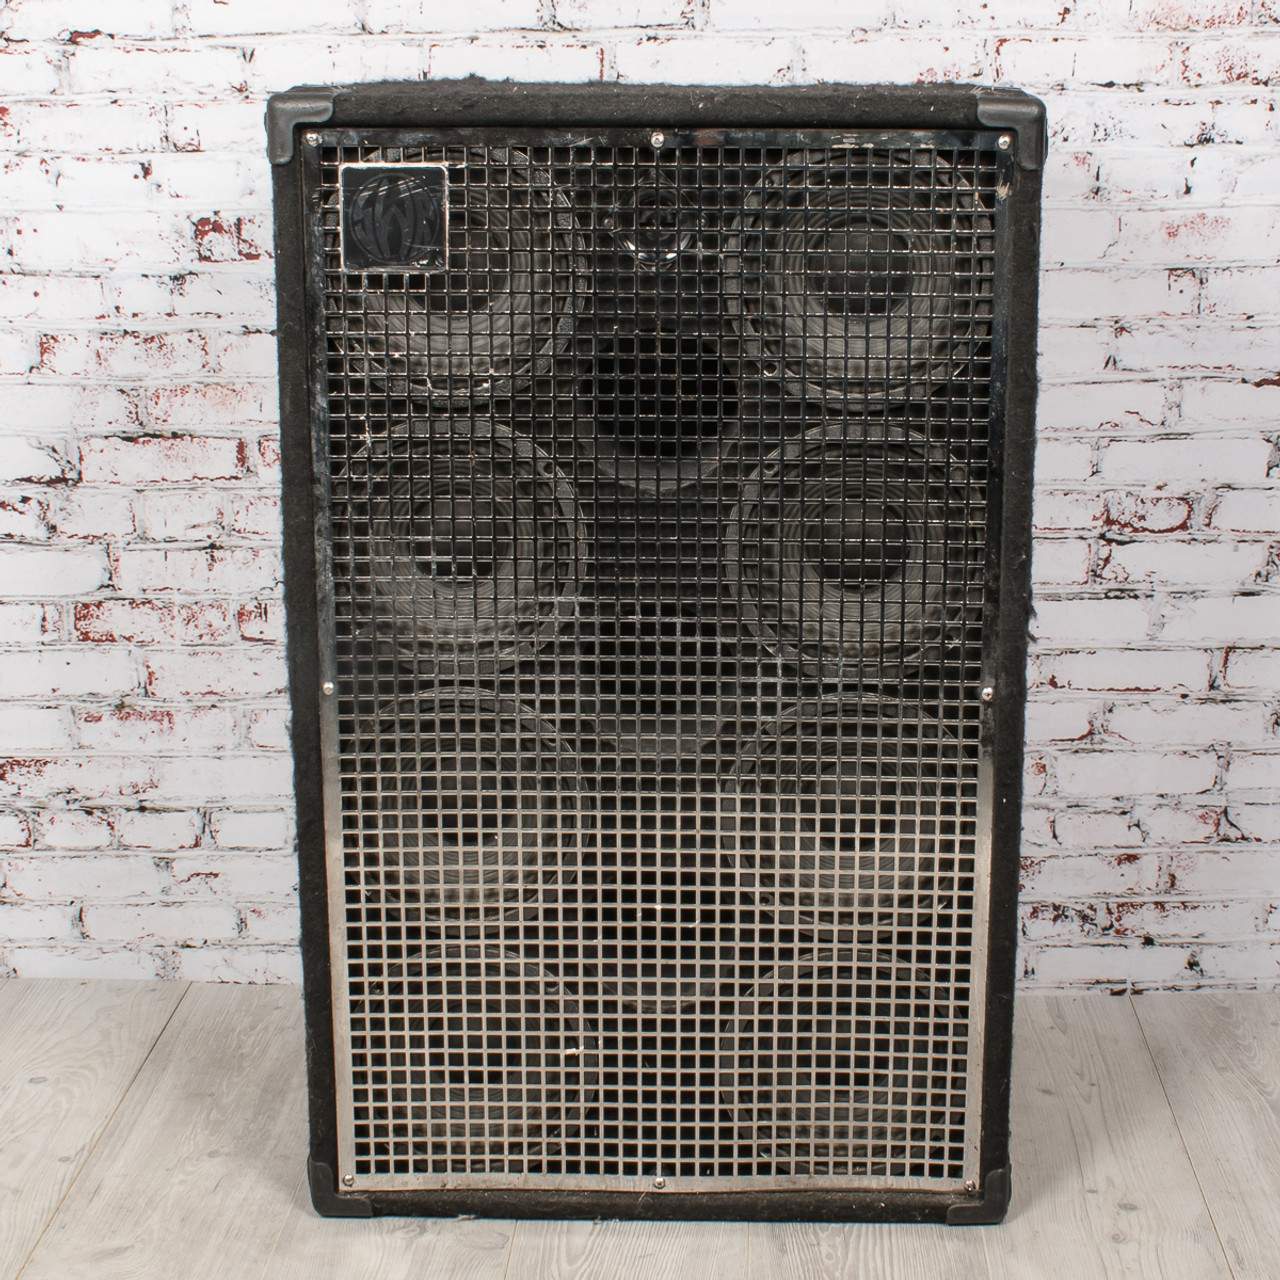
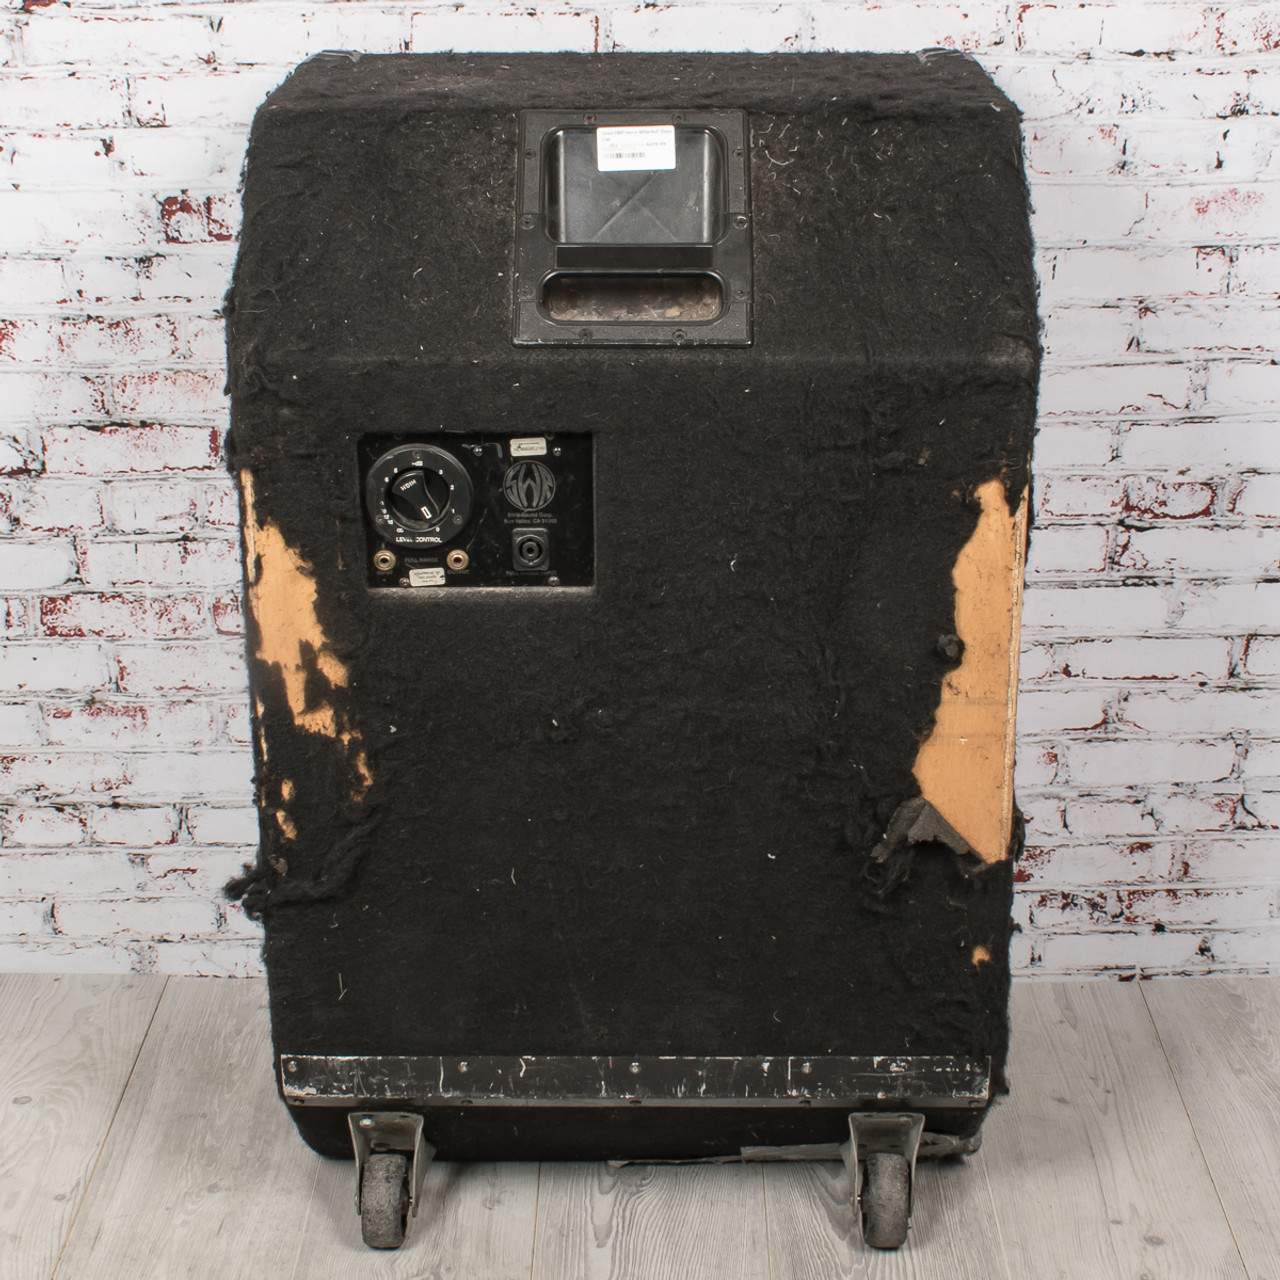
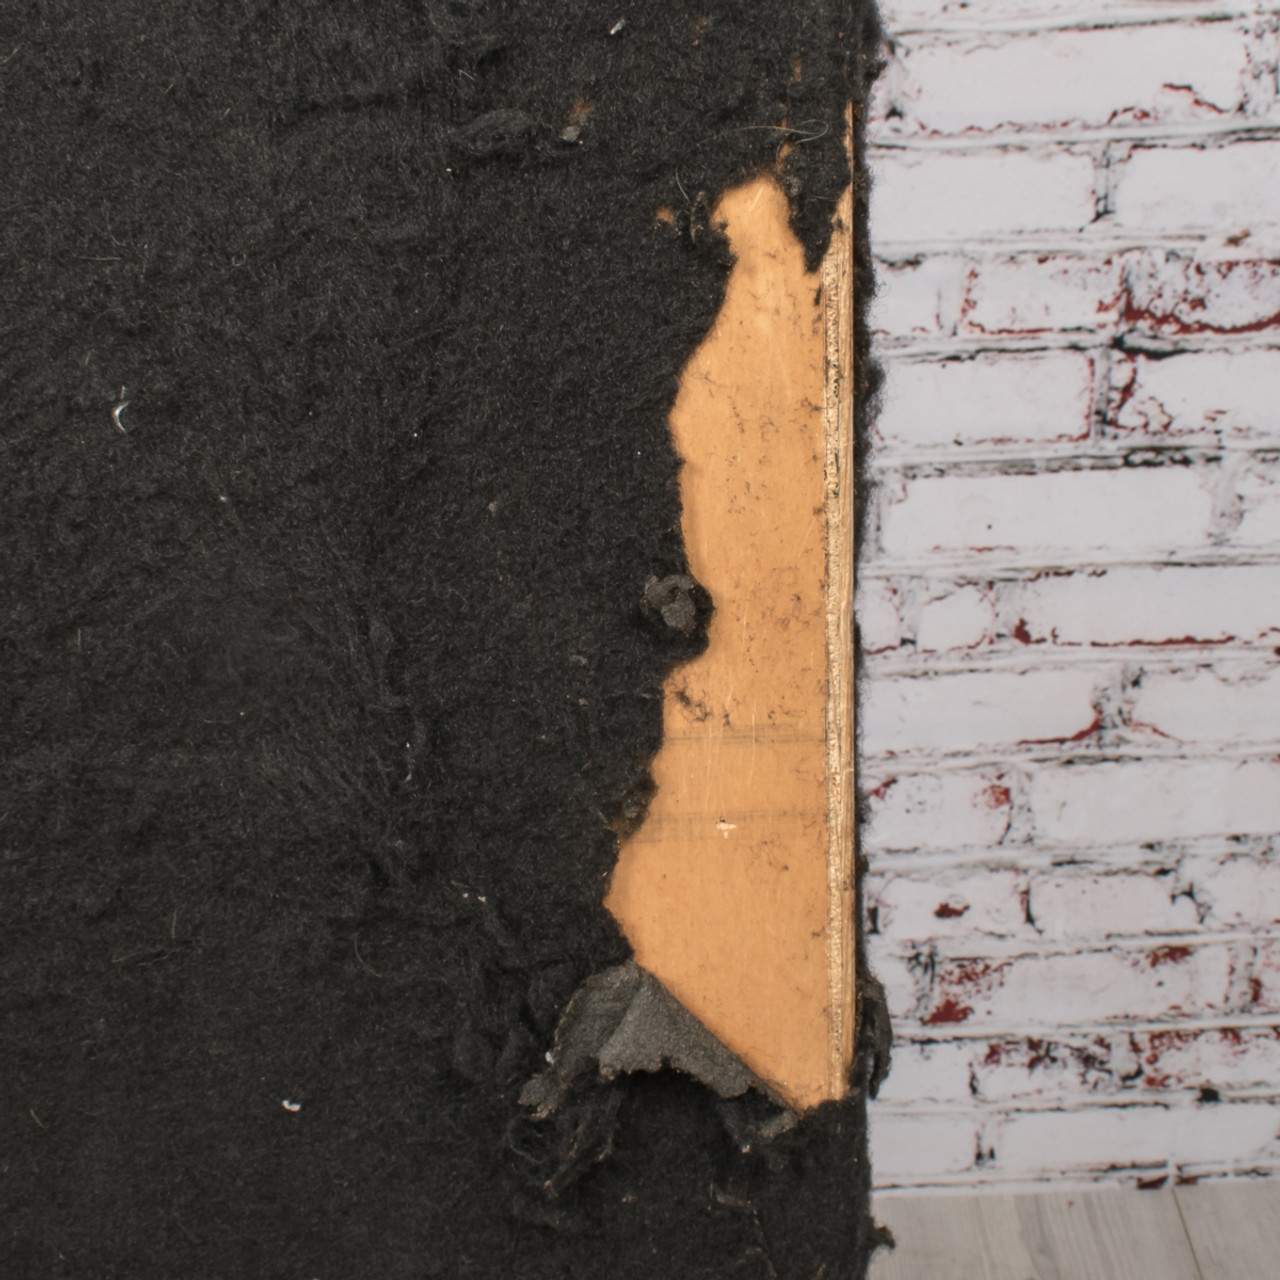
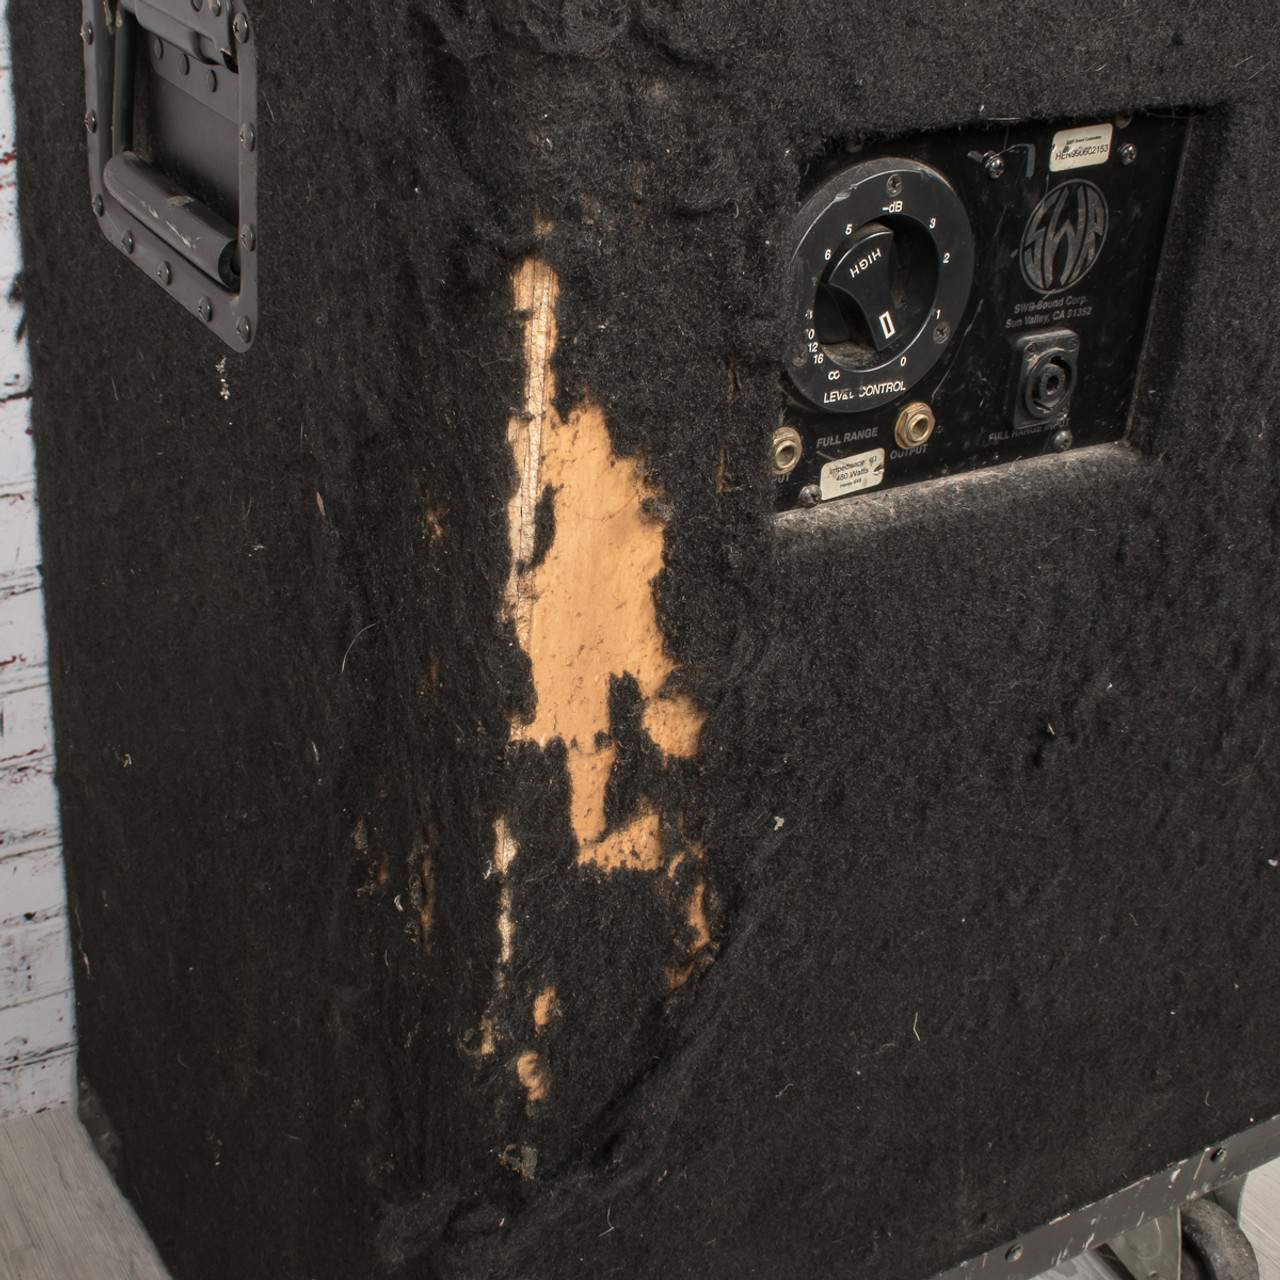
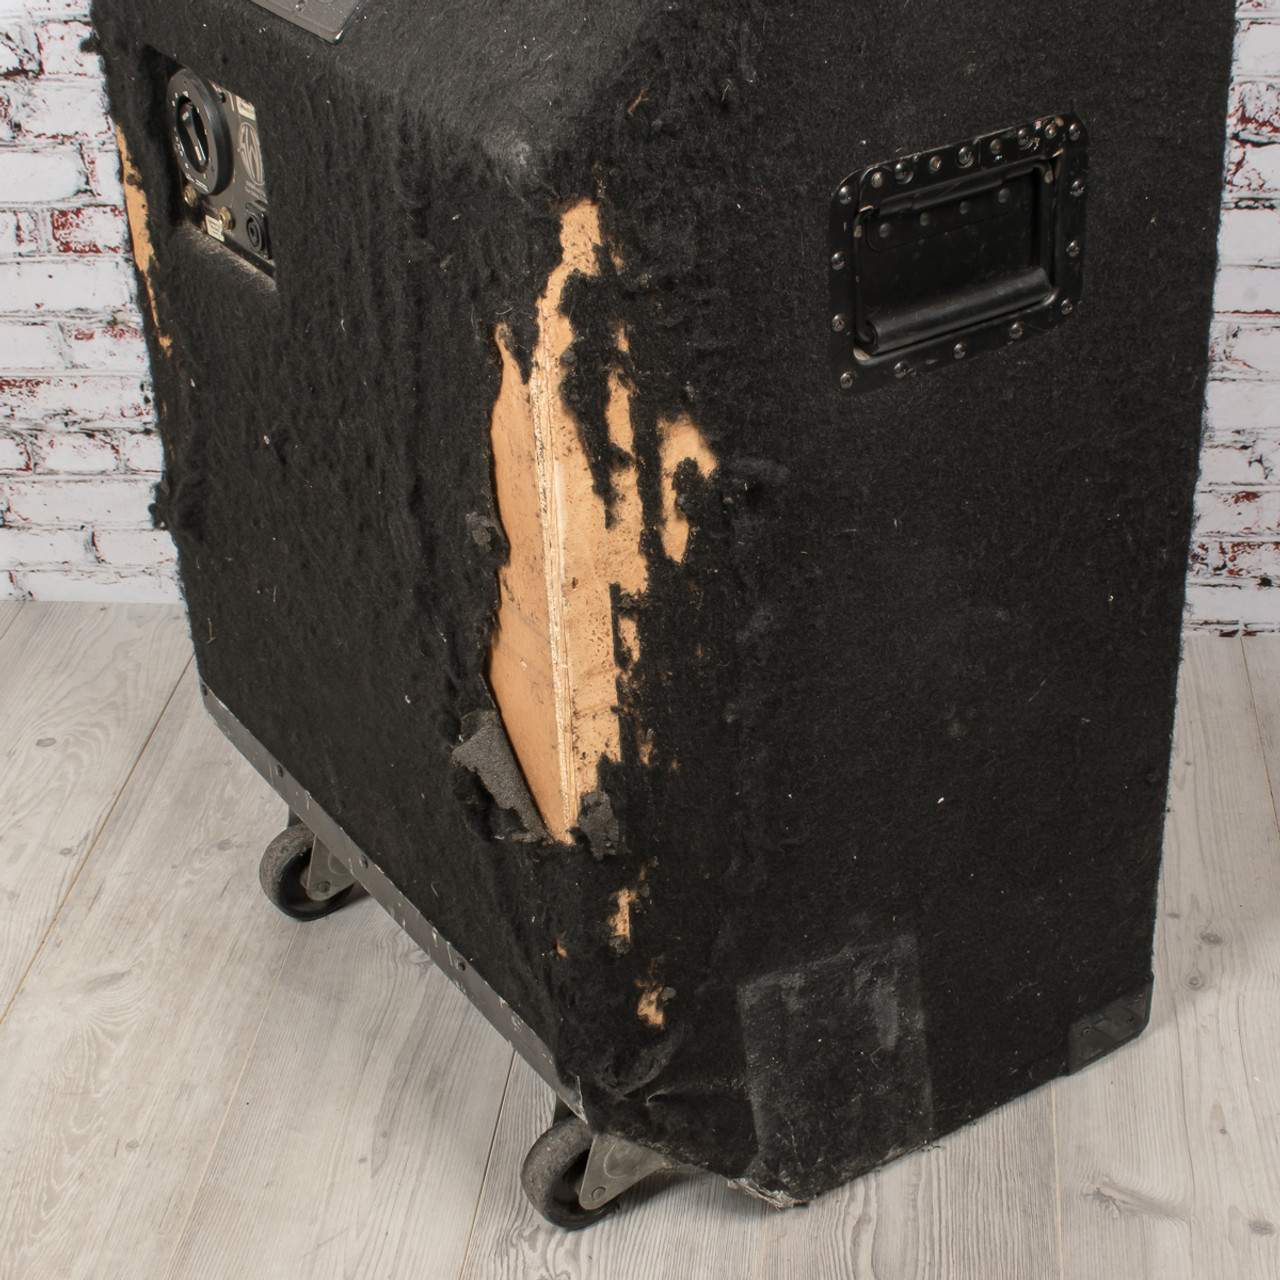
I picked up a used SWR Henry 8x8 the other day for a great deal. But the carpet covering is a wreak! See the pics. So I plan on removing the carpeting and painting the cab with black paint. So I am looking for advice on how to get the stuck on carpet and glue off so I can sand and paint it. I am sure most of the carpet will peel off. But I am also
DSC_0476__74080.jpg
DSC_0480__08183.jpg
DSC_0482__98424.jpg
DSC_0484__06472.jpg
DSC_0485__65382.jpg
sure there will be stubborn stuff that won't come off easy. Any advice would be greatly appreciated. Thanks in advance.
 
I picked up a used SWR Henry 8x8 the other day for a great deal. But the carpet covering is a wreak! See the pics. So I plan on removing the carpeting and painting the cab with black paint. So I am looking for advice on how to get the stuck on carpet and glue off so I can sand and paint it. I am sure most of the carpet will peel off. But I am alsoView attachment 4757797 View attachment 4757798 View attachment 4757799 View attachment 4757800 View attachment 4757801 sure there will be stubborn stuff that won't come off easy. Any advice would be greatly appreciated. Thanks in advance.
left behind adhesive after removing rat fur

Getting a small amp re-covered?
 
You will find that it's a worthy opponent, be sure you don't accidentally lop off a finger.

It looks like that carpet is not just damaged but it may actually be breaking down (like it can). It's pretty nasty to work with when it does, you might want to wear a mask and Nitrile too.

Be careful not to damage the underlying wood, the prep work is critical to it looking good in the end.
 
You're on your own getting that mess off.
However, if you're going to paint it (not bed liner stuff) and want a smooth finish (spelled "professional") scrape it, sand it, and remember that polyester auto body filler is your new best friend.
Just a skim coat, and sand most of it away.
Best of luck!
 
I've done several of these rehab projects and would like to share my thoughts on this. The most important thing to remember is patients and diligence, as this can go sideways and create a bigger mess.
DO NOT..repeat..DO NOT use a heat gun to remove the carpet covering. The goal is to remove as much of the carpet as possible then deal with the residual adhesive later.

TOOLS:
1) Screw driver (to remove existing hardware)
2) Sharp carpet knife
3) Straight edge (yard stick? level? 2x4?, something long and relatively straight)
4) Metal putty knife, or wide chisel

Prep:
1) Remove all exterior hardware and grill. Leave the input panel for now. Place the individual screws in their own jar or sandwich baggie and label them as to where they go. EX. "corners" "grill" "handles" etc.
2) Remove the drivers. Use a piece of masking tape to tape together the two leads of each driver and label them. EX. "top right" "bottom left" etc. Photo documenting this is also a good idea.
3) Leave the ports in the baffle. They are probably glued in and will break if you try to remove them. Personally, I would leave the baffle as-is and not try to strip it. It will provide a good substraight for the drivers, and is probably still in good condition.
4) Remove the input panel-crossover-cables in one piece.

Messy stuff:
PATIENTS...TAKE YOUR TIME...
1) Start with the back. Learn your lessons on a part that won't be as visible
2) With the carpet knife and straight edge, score a checkerboard pattern of approx. 6"x6" blocks. Don't cut too deep, just enough to cut the carpet and not damage too much wood. You are creating an array of manageable carpet blocks to remove.
3) Start with a center block as it probably doesn't have as much adhesive as the edges. Use the carpet knife and putty knife to start prying up the edges of the block. If it starts to pull, stretch, or tear, move to another area of the block. See if you can keep the block intact and remove it completely. The first few will be a learning process, but you'll get better and faster as you get a feel for it.
4) Remove all carpet blocks from the back. Take a break and congratulate yourself for a job well done.
5) Repeat steps 1-4 for all remaining sides except the baffle.

Report back on how that goes then we can talk about getting that nasty residual adhesive off.
 
Look into Duratex once you are ready to refinish.

Super easy to apply, safe for indoor use, no stinky or flammable fumes, cleans up with water. You can apply multiple coats and get the texture however you like. A little goes a very long way.

And it can be tinted if you want something other than black.

Agreed. I had an SWR (Fender) Combo year’s ago and wanted a nicer finish on it than the rat fur. It took weeks, but with scraping, peeling, sanding and sweating, I got it off and still maintained the finish.

Used the Duratex on it and the cab is currently sitting in a living room being used as a table with a lamp on it. Never fails to get a comment. The covered surface still looks as good as the day I applied it too.
 
I refinished a set of JBL speakers I got in a package deal. I used various size putty/spackle knifes to help get the rat fur removed. Use a random orbital sander to get the cabinet back to a smooth finish. I have used the Duratex on several cabinets, and it is very easy to work with. You will also be able to touch up any area that gets scuffed up on the road. Duratex will tell you to fill any small gaps with spackle, but I use a mix of saw dust and Durabond wood glue. Actually a pretty rewarding project, once you start making progress. Post some pictures of your progress.