
Enjoy the benefits of a premium membership!
Upgrade Account
-
TalkBass has been independent since 1998. Add your voice.
Create a free account to reply to discussions, view embedded media, and browse with fewer display ads.
Join free Log in
Want zero display ads or expanded classifieds tools? Compare plans.
You are using an out of date browser. It may not display this or other websites correctly.
You should upgrade or use an alternative browser.
You should upgrade or use an alternative browser.
Amp Guts Photos - Official Thread - Lets see those pics
- Thread starter svtb15
- Start date
More options
Who Replied?


Sure they aren't 5532s?They're 5534D's.
The 5534 is a single op amp, while 5532 is dual. Either way, these were good chips back in the 1970s, but still far behind something like the LME49990....

Sure they aren't 5532s?
The 5534 is a single op amp, while 5532 is dual. Either way, these were good chips back in the 1970s, but still far behind something like the LME49990....
Oops. You're right. They are 5532DD's

DUDE ***???? AM I FREAKING OUT???

Mr. Foxen
Commercial User

Musicman HD150 One Fifty
[Invalid or Expired Link Removed]
[Invalid or Expired Link Removed]
[Invalid or Expired Link Removed]
[Invalid or Expired Link Removed]
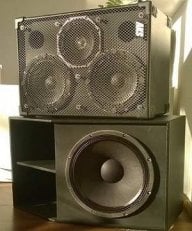
What about cab guts?
Here are the guts of my 210+coaxial cab (picture quality is a bit crap though)
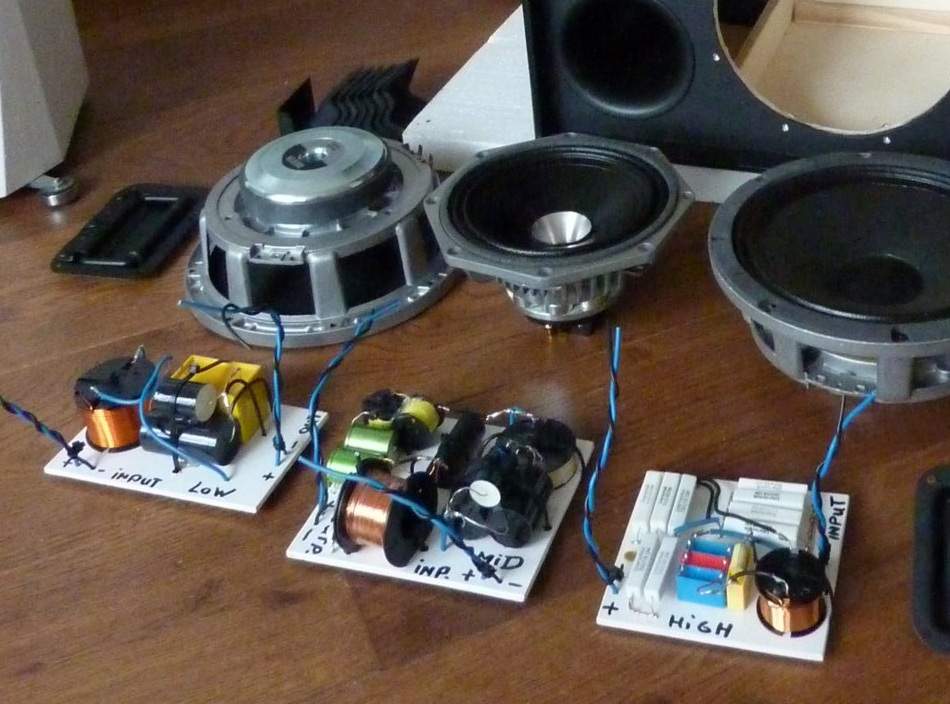
Here are the guts of my 210+coaxial cab (picture quality is a bit crap though)

My 100 watt Science Hellhawk.
Very well made. A work of art.
How does it sound?
Mr. Foxen
Commercial User
My 100 watt Science Hellhawk.
View attachment 549304
Very well made. A work of art.
How does it sound?
Indeed. Super clean layout.
Swapped sleeves on one of mine, so open for a shot.
It's nice when there's a lot of space on the chassis to lay the circuits out neatly. Some amps require a lot of disassembly to get at some sections. Not this one. I like the electrolytic capacitors mounted inside the chassis as opposed to cap cans on the top.
Mr. Foxen
Commercial User
It's nice when there's a lot of space on the chassis to lay the circuits out neatly. Some amps require a lot of disassembly to get at some sections. Not this one. I like the electrolytic capacitors mounted inside the chassis as opposed to cap cans on the top.
Enough pride went into making these that one of the assemblers recognised his wiring in one of the gut shots I posted and sent me pics of himself wiring that specific amp, 30 years later.

Just demonstrated: guts without photoshop ;-) These photos were taken during restoration / repair / modding work.
And now some bigger boxes. Anyone knows these?
(No, that one is not in the previous message. It is "twice that amp". That one should deliver about 90 W from a pair of (fresh) EL34.
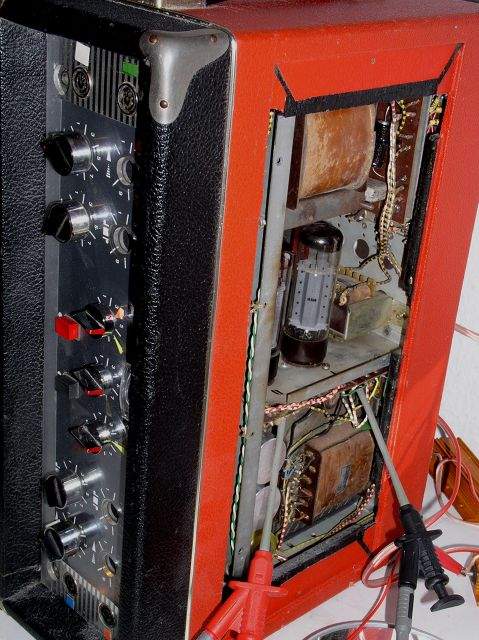
more power - 4x EL34 at 800 Volts.
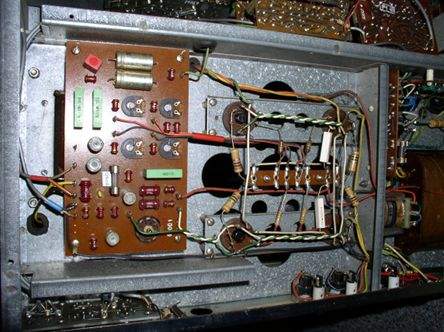
Even more power (that's a Mywatt 200)

And now some bigger boxes. Anyone knows these?
(No, that one is not in the previous message. It is "twice that amp". That one should deliver about 90 W from a pair of (fresh) EL34.
more power - 4x EL34 at 800 Volts.
Even more power (that's a Mywatt 200)

Mr. Foxen
Commercial User
Just demonstrated: guts without photoshop ;-) These photos were taken during restoration / repair / modding work.
And now some bigger boxes. Anyone knows these?
(No, that one is not in the previous message. It is "twice that amp". That one should deliver about 90 W from a pair of (fresh) EL34.
View attachment 549673
Dynacord, got one of those, really nice, and compact. https://ampstack.wordpress.com/2013/05/18/dynacord-eminent-i-1-guts-german-weirdie/

Not so much of amp gut shot pictures, as re-purposing an old destroyed amp.
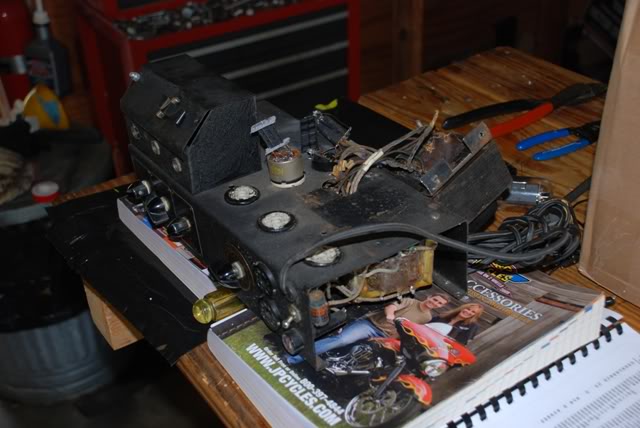
What would have been a really nice old PA amp to restore, turned out to be a shipping nightmare:
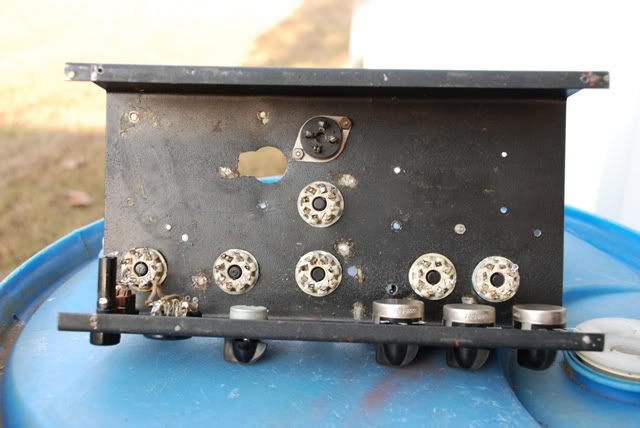
Stripped the chassis:
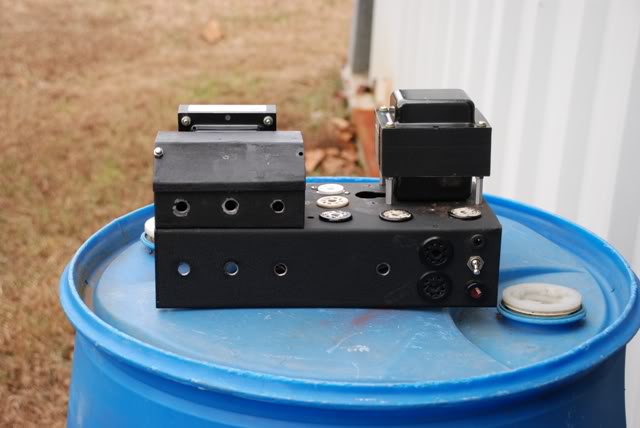
Installed new transformers:
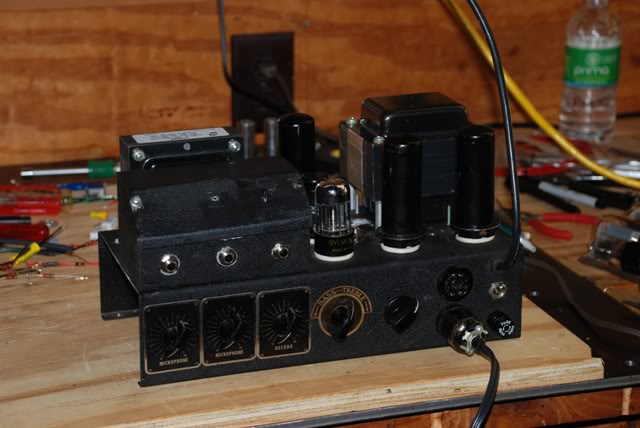
Made a custom build, utilizing the existing octal sockets:
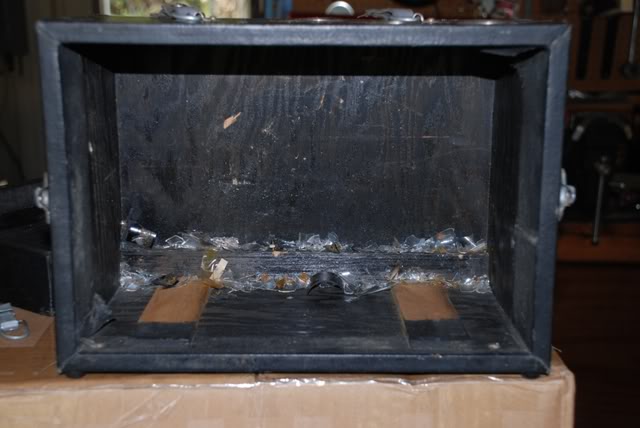
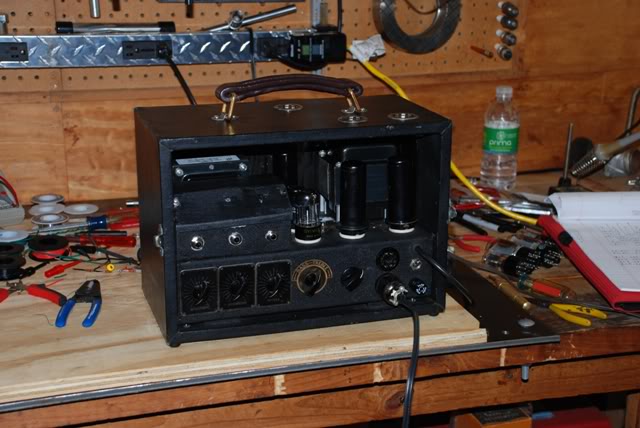
And finally, putting it back in the old head cabinet, after it had a good cleaning:
Though this project began and was completed over the Thanksgiving/Christmas Holidays in 2011, a few mods have been made over time. I wish that I had another like it, as I have a whole new concept amp to try out. But, love the look of these vintage cabinets and chassis' to put such in.
I've attached the final drawing of this amp, though not all the mods in the drawing have been implemented in the actual amp. Note that on Channel 1, I've installed a 'Triode/Pentode Morphing' circuit. The pentode alone is just way too much gain for a clean channel. Anything above 3 o'clock on the volume is overdriving hard. However, using the morphing pot, a nice clean to any level of breakup can be had on that channel.
Channel 2 has Normal and Bright inputs, that remain fairly clean below 2 o'clock on their volumes. Then, a little breakup afterwards.
Anyway, I don't do these projects often. Mostly repair/restore my old amps. But, I'm always looking.
Jack
What would have been a really nice old PA amp to restore, turned out to be a shipping nightmare:
Stripped the chassis:
Installed new transformers:
Made a custom build, utilizing the existing octal sockets:
And finally, putting it back in the old head cabinet, after it had a good cleaning:
Though this project began and was completed over the Thanksgiving/Christmas Holidays in 2011, a few mods have been made over time. I wish that I had another like it, as I have a whole new concept amp to try out. But, love the look of these vintage cabinets and chassis' to put such in.
I've attached the final drawing of this amp, though not all the mods in the drawing have been implemented in the actual amp. Note that on Channel 1, I've installed a 'Triode/Pentode Morphing' circuit. The pentode alone is just way too much gain for a clean channel. Anything above 3 o'clock on the volume is overdriving hard. However, using the morphing pot, a nice clean to any level of breakup can be had on that channel.
Channel 2 has Normal and Bright inputs, that remain fairly clean below 2 o'clock on their volumes. Then, a little breakup afterwards.
Anyway, I don't do these projects often. Mostly repair/restore my old amps. But, I'm always looking.
Jack


