• TalkBass has been independent since 1998. Add your voice.
    Create a free account to reply to discussions, view embedded media, and browse with fewer display ads.
    Join freeLog in
    Want zero display ads or expanded classifieds tools? Compare plans.

Brooks EXB-4-SA. Semi-hollow Explorer

Basvarken

Commercial User
Dec 3, 2010
1,743
10,606
Velp Rockcity
www.thegibsonbassbook.com
Disclosures
Hobby Luthier / Gibson Bass Book
Today saw the birth of a new bass:
The Brooks EXB-4-SA.

A semi-acoustic Explorer shaped bass with 4 strings.
- Mahogany body. Two large tone chambers
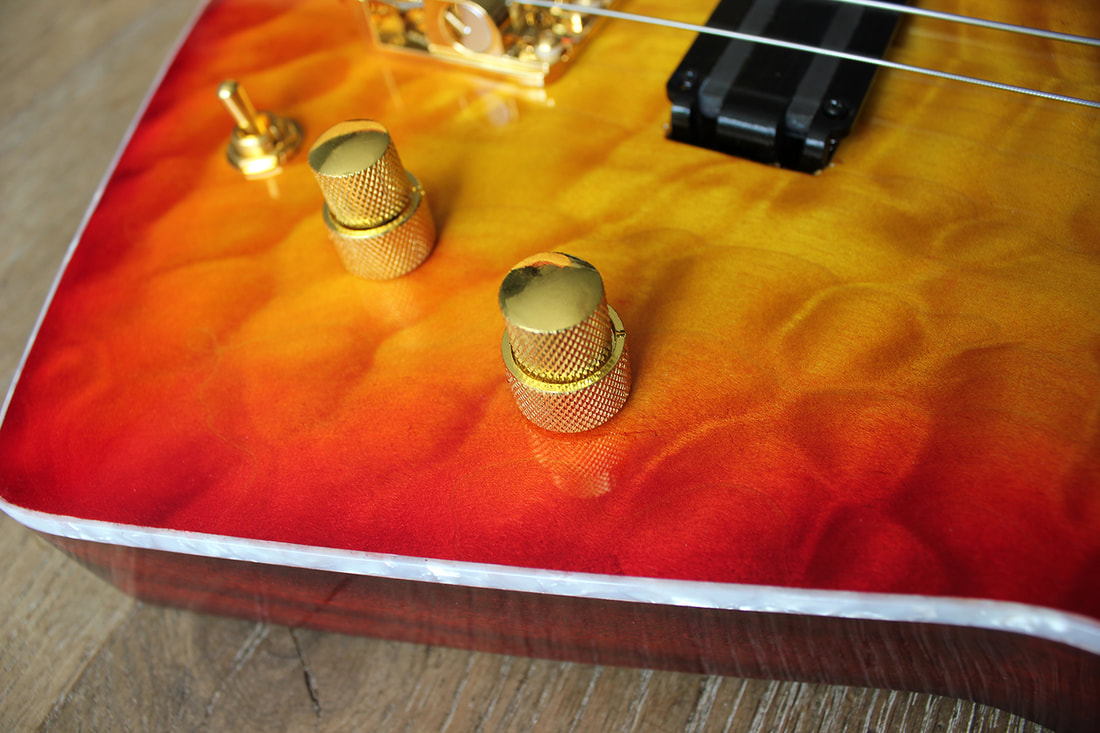
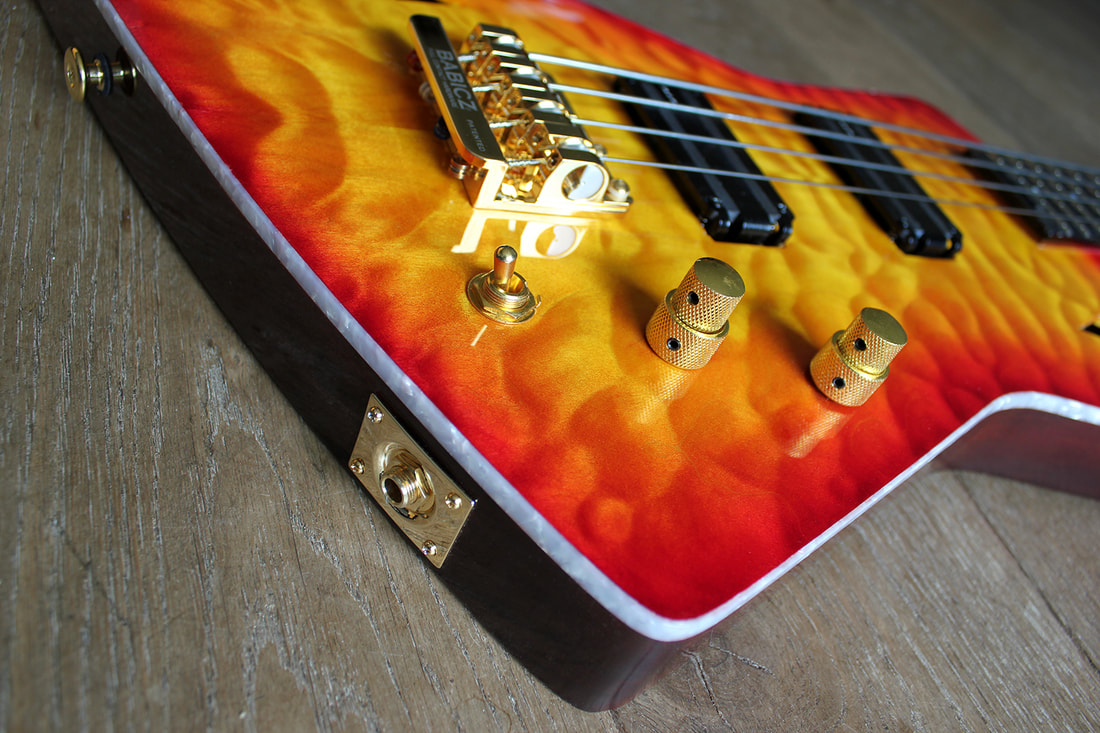
- Quilted Maple top, bookmatched
- Three piece Mahogany set neck. Glued in
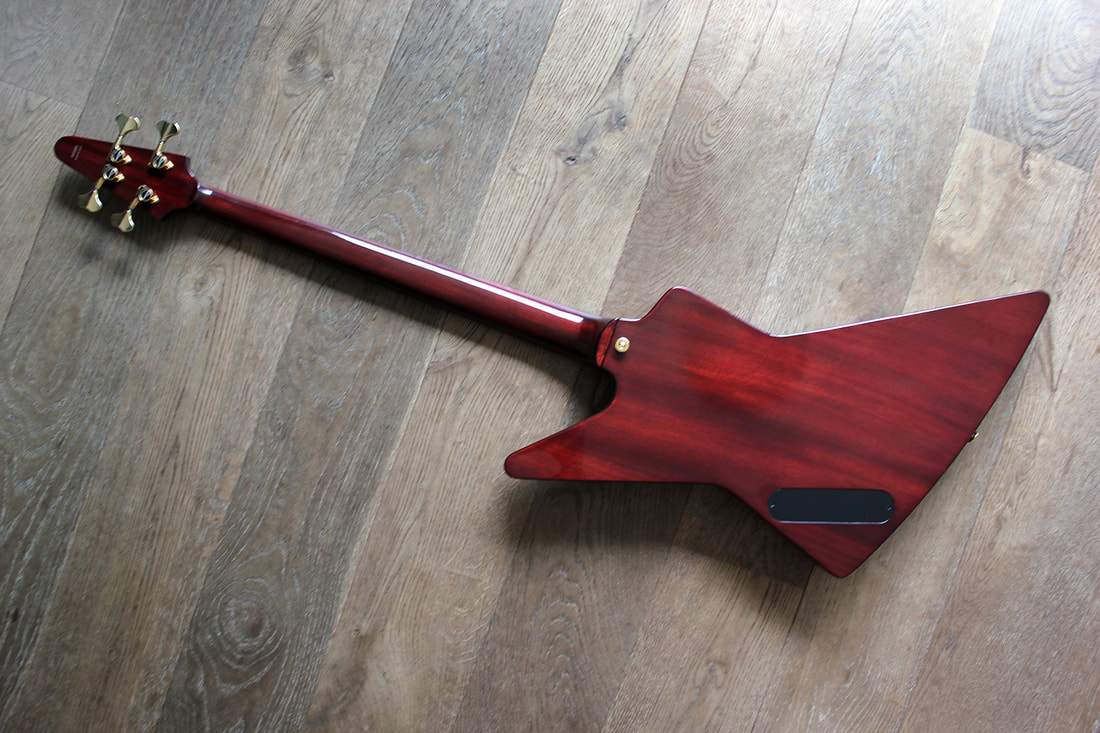
- Cherry Burst finish. Dark Mahogany back and sides
- Pearloid binding
- Ebony fretboard
- Pearl position dots. Aluminium ring in 12th position
- Jumbo frets
- 34" scale
- Buffalo horn nut
- Babicz FCH-4 bridge. Gold plated
- Spokewheel double action trussrod. Titanium
- Lace Alumitone Bass Bars 3.5
- Pure Tone output
- On-on Toggle switch
- Gotoh GB 350 lightweight bass tuners, Gold plated
- La Bella Flatwound Low Tension strings
- Weight: 3.2 kg (!)
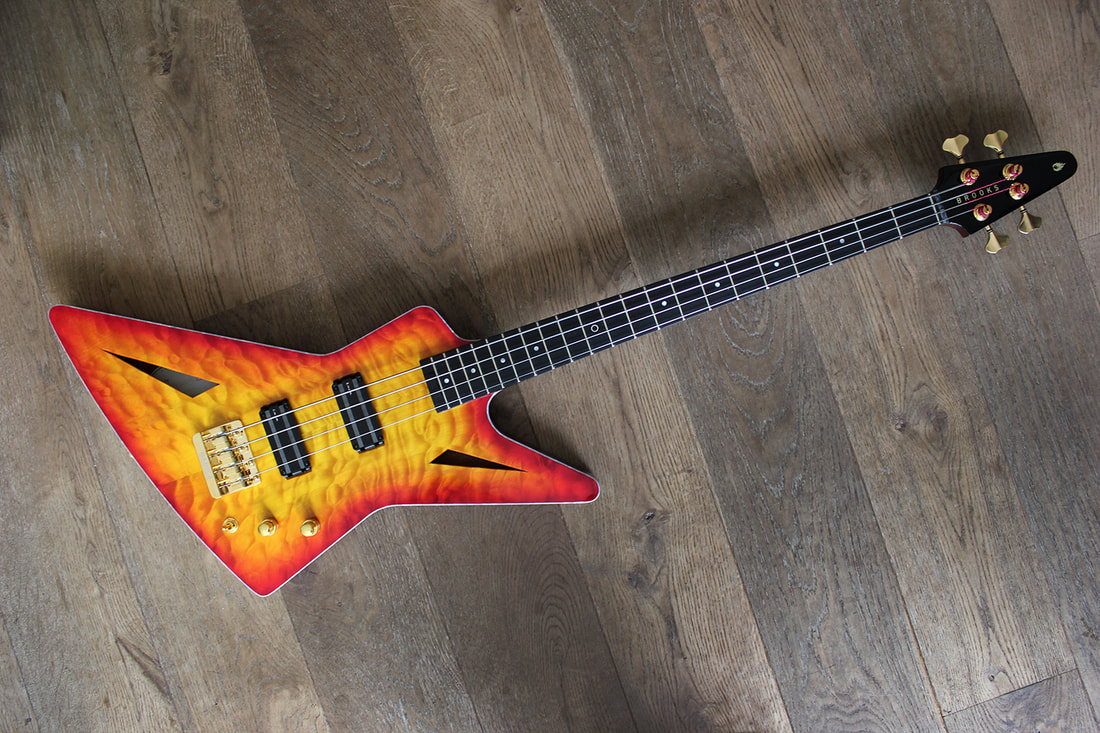

brooks-exb-4-sa-full-front-1500_orig.jpg

brooks-exb-4-sa-body-side-1500_orig.jpg

brooks-exb-4-sa-headstock-1500_orig.jpg

brooks-exb-4-sa-headstock-back-1500_orig.jpg

brooks-exb-4-sa-full-back-1500_orig.jpg

brooks-exb-4-sa-pickup-1500_orig.jpg

brooks-exb-4-sa-bridge-1500_orig.jpg

brooks-exb-4-sa-knobs-1500_orig.jpg

brooks-exb-4-sa-strapbutton-1500_orig.jpg

brooks-exb-4-sa-controls-1500_orig.jpg


I'll post pics of the build process in separate posts below
 
The build started with finding some slabs of very light weight Khaya.
For the neck I made a three piece blank. And for the body a two piece blank. Plus a nice bookmayched set if quilted maple.

I routed the truss rod slot.

brooks-exb-4-sa-outing-trussrod-slot_orig.jpeg

brooks-exb-4-sa-routed-trussrod-slot_orig.jpeg


I tried something new for the spokewheel truss rod. Normally the choice of spokewheel truss rods is very limited.
On a Spanish website I found a separate spokewheel part with a hex pin. Instead of a female hex that you see most of the time.
And this opens up a wide choice of regular truss rods that you adjust witha hex key.

As you may now I build quite a lot of 12-string bass guitars and the truss rods really are a big part of the weight of the neck.
Which is always a challenge in the battle against neck dive.
With this new spoke wheel part I suddenly had the opportunity to use titanium double action truss rods. These are substantially lighter than regular truss rods.

So I bought a couple of titanium truss rods. And some blue shrink tube.
And made my own titanium spokewheel truss rods.
The new (4-string) bass that I was going to build would be the first to get this new truss rod.

brooks-exb-4-sa-titanium-spoke-shrinkwrap_orig.jpg

brooks-exb-4-sa-titanium-trussrod_orig.jpg


brooks-exb-4-sa-spokewheel-trussrod-slot_orig.jpeg
 
Last edited:
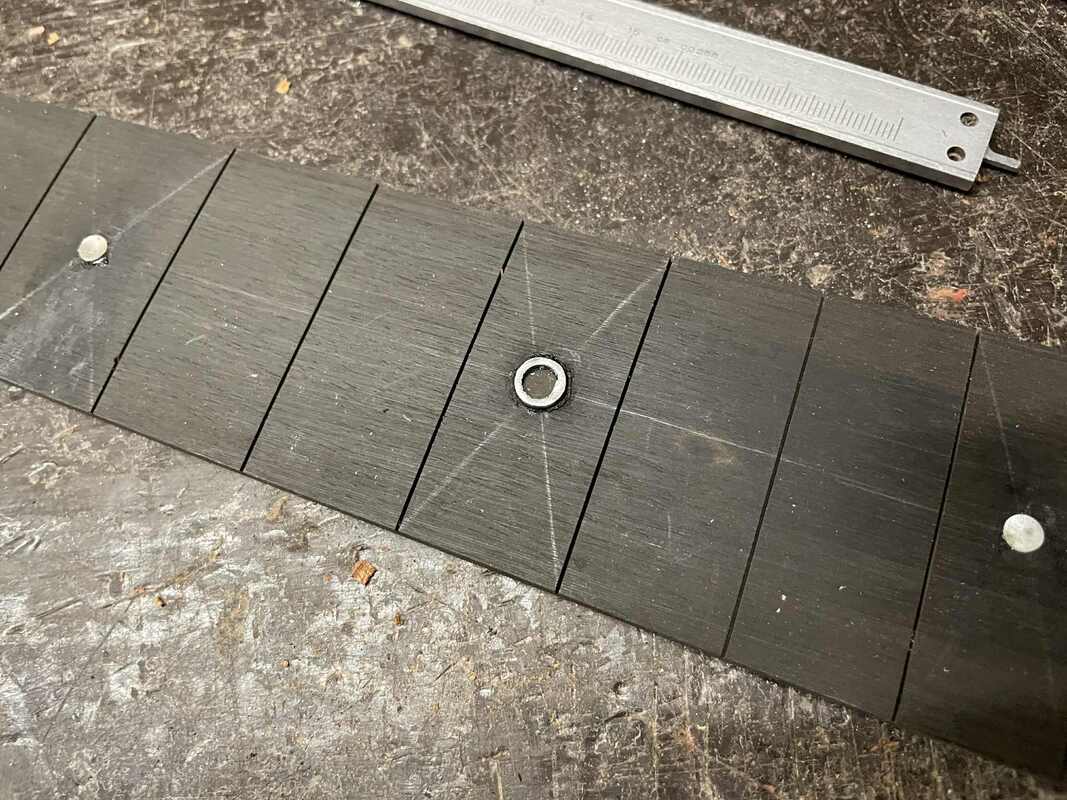
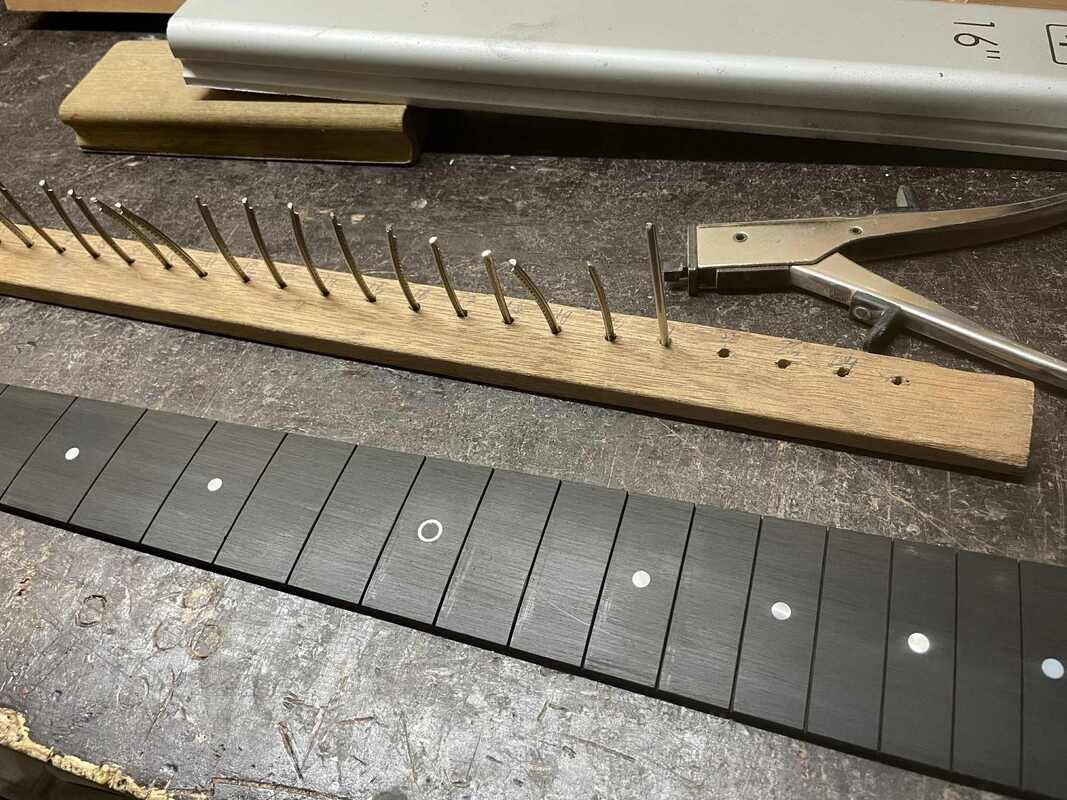
As with most of my builds I made a ring ilays for the 12th position.
Cut of part off an aluminum tube and put a 6mm black position dot inside

brooks-exb-4-sa-making-the-12th-position-marker_orig.jpeg


Drilled the holes in the fretboard for the position markers

brooks-exb-4-sa-drilling-fretboard_orig.jpeg


Glued the ring in and the mother of pearl dots for the other markers

brooks-exb-4-sa-position-ring_orig.jpeg


Sanded it flush with the fretboard using the 16" radius block

brooks-exb-4-sa-fretbboard-sanded-flush_orig.jpeg


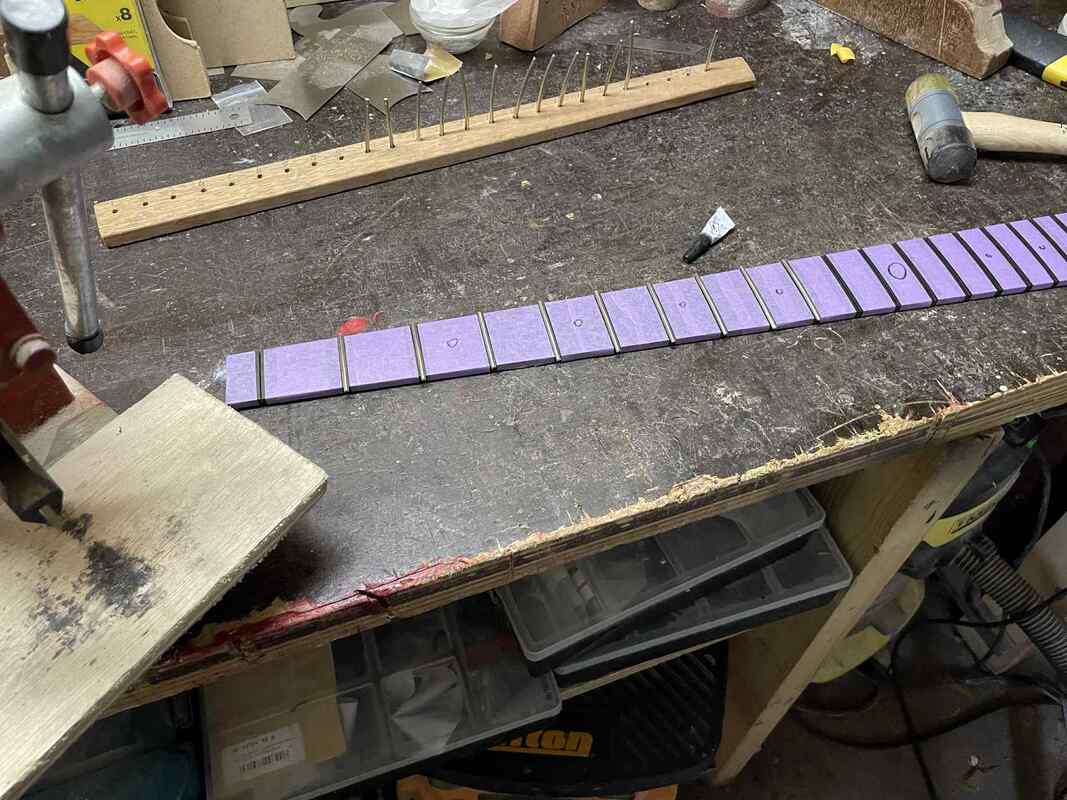
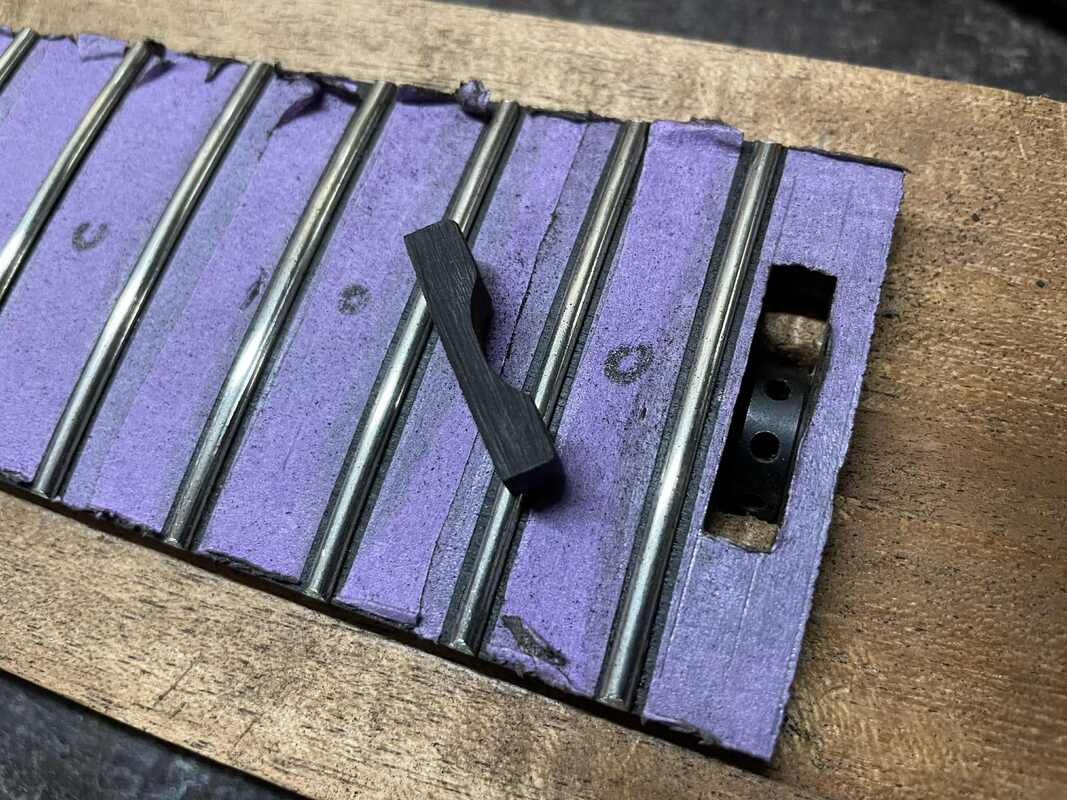
Prepared the frets for their slots. And the slots for the frets ;-)

brooks-exb-4-sa-slots-filed_orig.jpeg

brooks-exb-4-sa-taped-off-fretboard_orig.jpeg


And hammered (and pressed) them in.

brooks-exb-4-sa-fretting_orig.jpeg
 
Before I glued the fretboard on, I cut the headstock angle and planed it nice and smooth.

brooks-exb-4-sa-planed-headstock_orig.jpeg


Then cut out the rough outline of the neck

brooks-exb-4-sa-rough-neck-outline_orig.jpeg


And glued the fretboard in place.
Using tied together strips of inner bicycle tubes for even pressure clamping.

brooks-exb-4-sa-glueing-fretboard_orig.jpeg


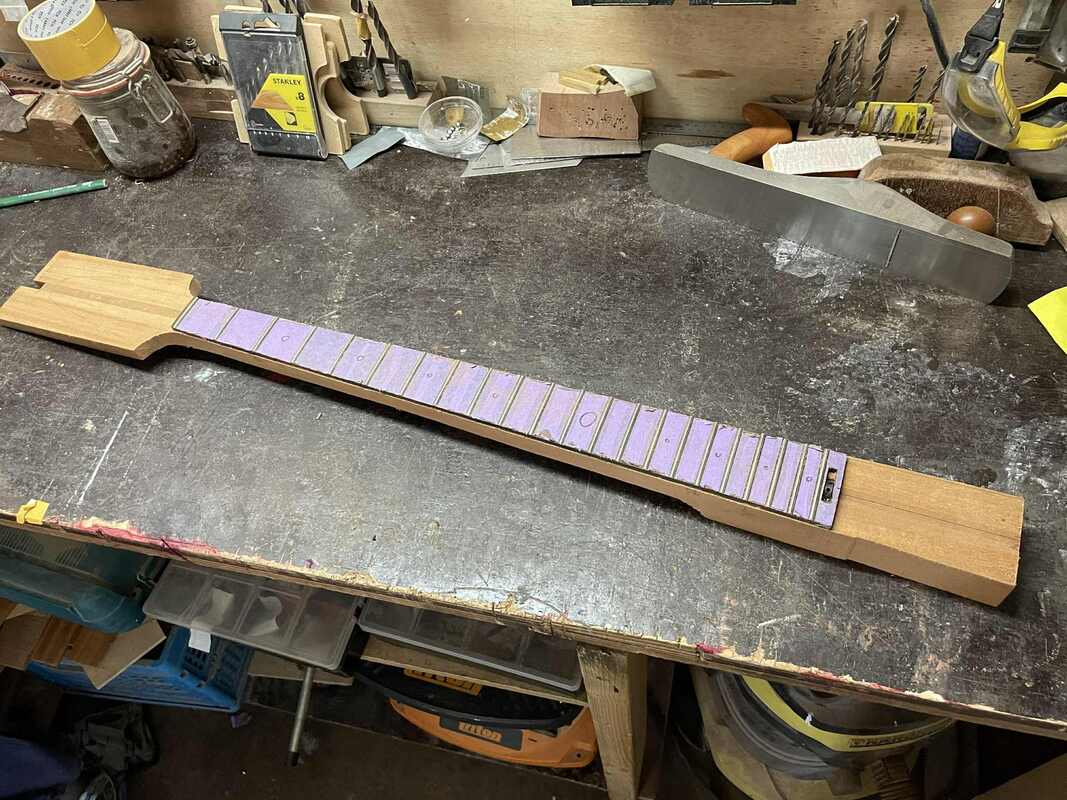
The result

brooks-exb-4-sa-rough-neck_orig.jpeg


As you can see I left quite a bit of wood at the end of the neck.
Which is really handy when you want to clamp the neck down to the work bench to work on the neck profile ;-)

brooks-exb-4-sa-working-on-neck-profile_orig.jpeg


The headstock surface and angle had not been fine tuned yet. And you can see it still had a slight tilt
I got rid of the tilt by scraping the headstock face. Always checking the two straight edges till they were parallel.

brooks-exb-4-sa-working-on-headstock-tilt_orig.jpeg


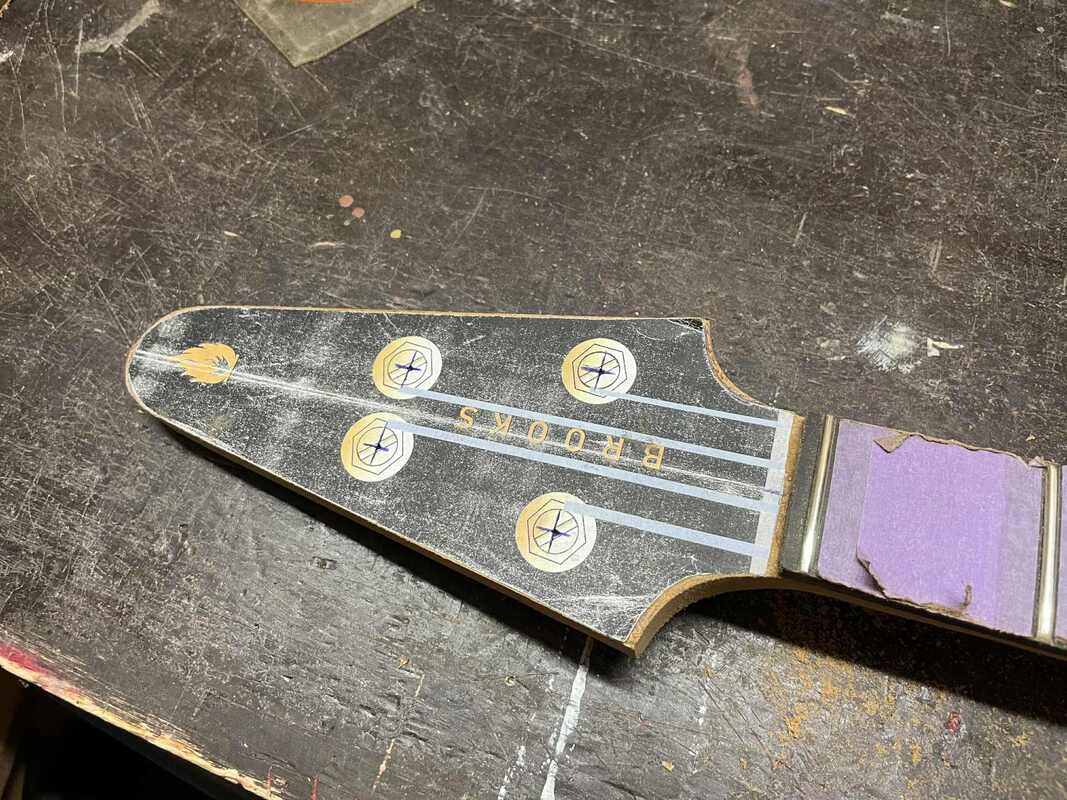
After that hurdle had been taken I gave the headstock its outline shape

brooks-exb-4-sa-ready-to-drill_orig.jpeg


brooks-exb-4-sa-headstock-shape_orig.jpeg


The drilled the tuner holes.
I never drill all the way through. But drill till the pointy bit in the middle comes out the back. And then flip the headstock and drill from he back with a smaller drill.

brooks-exb-4-sa-drilling-tuner-holes_orig.jpeg


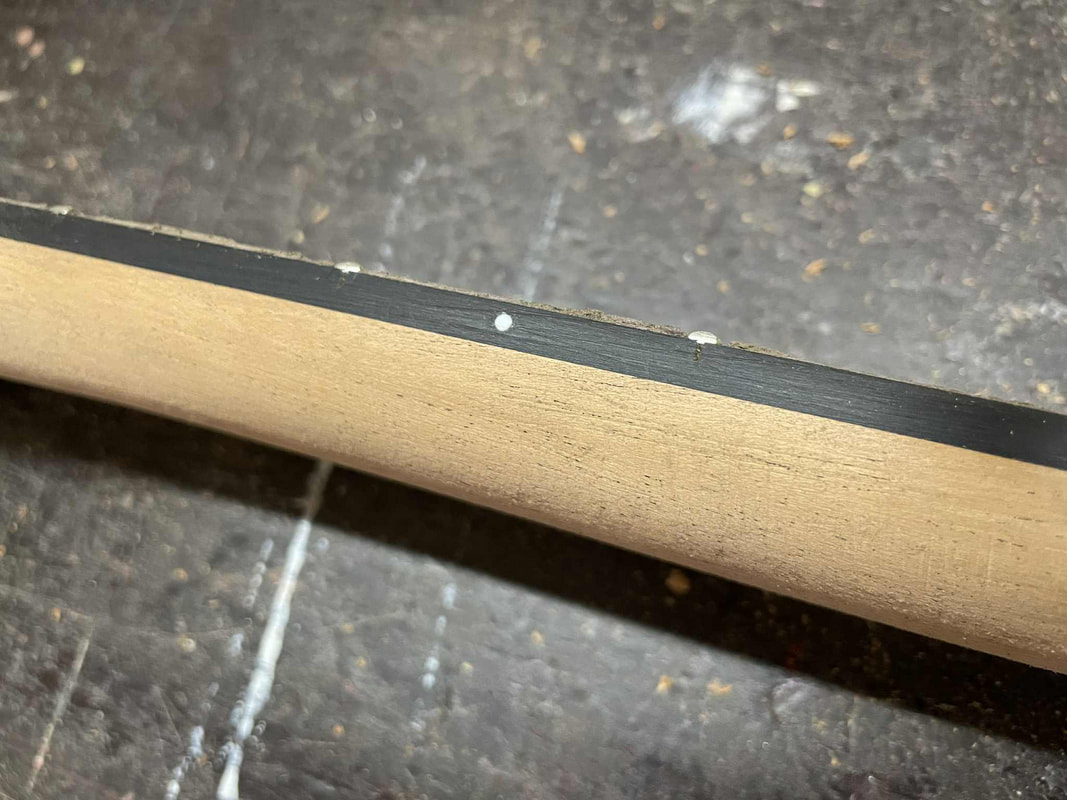
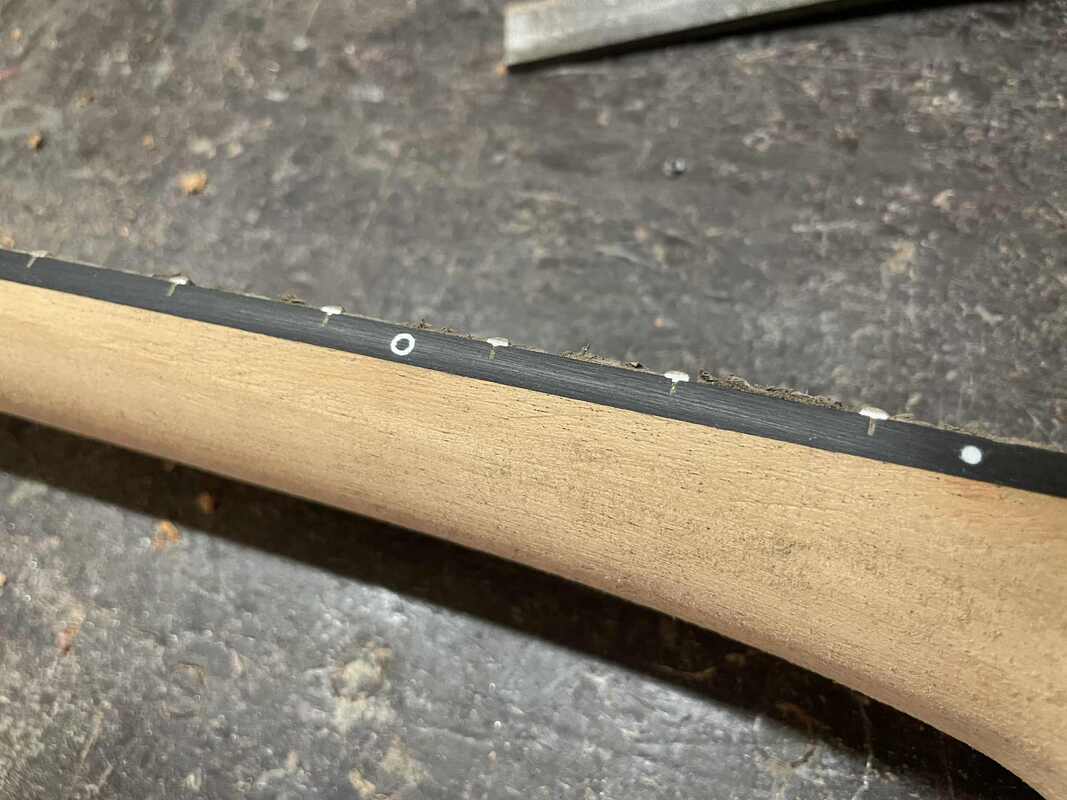
Next I drilled the holes for the side markers

brooks-exb-4-sa-drilling-side-markers_orig.jpeg


Glued the side markers in.

brooks-exb-4-sa-glueing-side-markers_orig.jpeg


And sanded them flush

brooks-exb-4-sa-side-markers2_orig.jpeg

brooks-exb-4-sa-side-markers_orig.jpeg
 
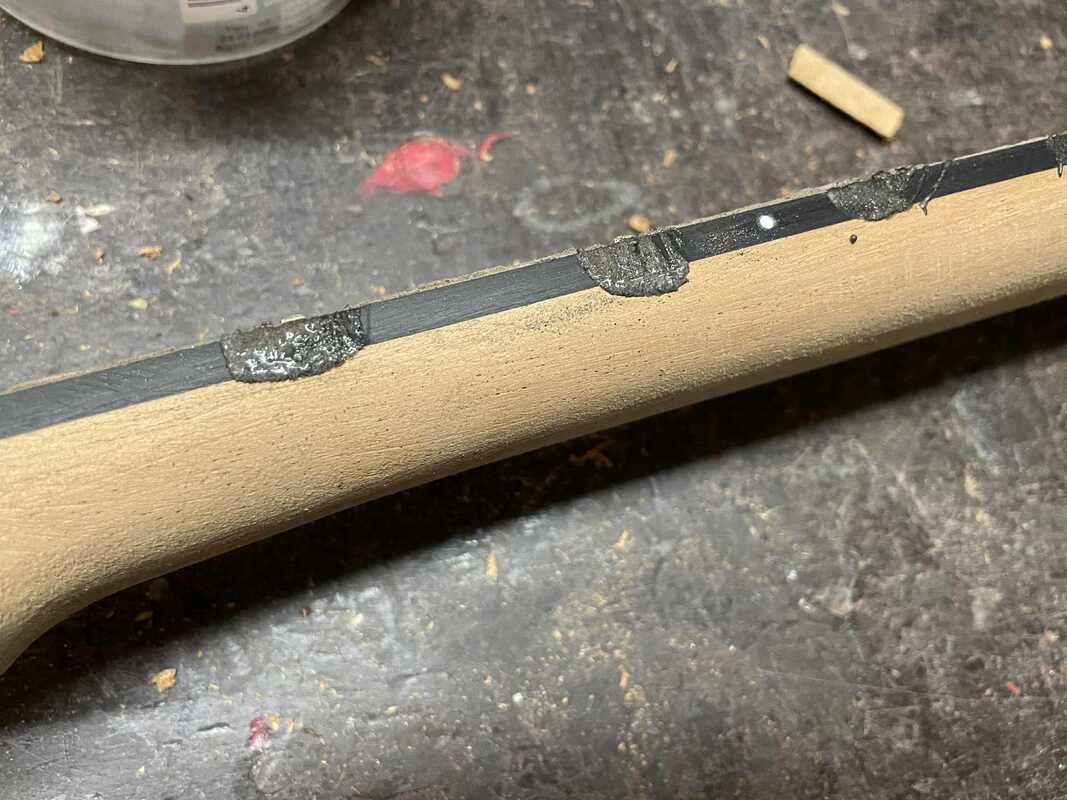
Filled the gaps underneath the fret ends with a mix of ebony saw dust and wood glue.

brooks-exb-4-sa-filling-gaps_orig.jpeg


The shifted my attention to the body.

Routed the tone chambers.

brooks-exb-4-sa-routing-chambers_orig.jpeg


And routed the controls cavity

brooks-exb-4-sa-controls-cavity-routed_orig.jpeg

brooks-exb-4-sa-controls-cavity_orig.jpeg


Routed the profile for the cover

brooks-exb-4-sa-routing-profile-controls-cavity_orig.jpeg


The bookmatched set of quilted maple was thickness to the desired thickness of 4mm by my wood supplier.
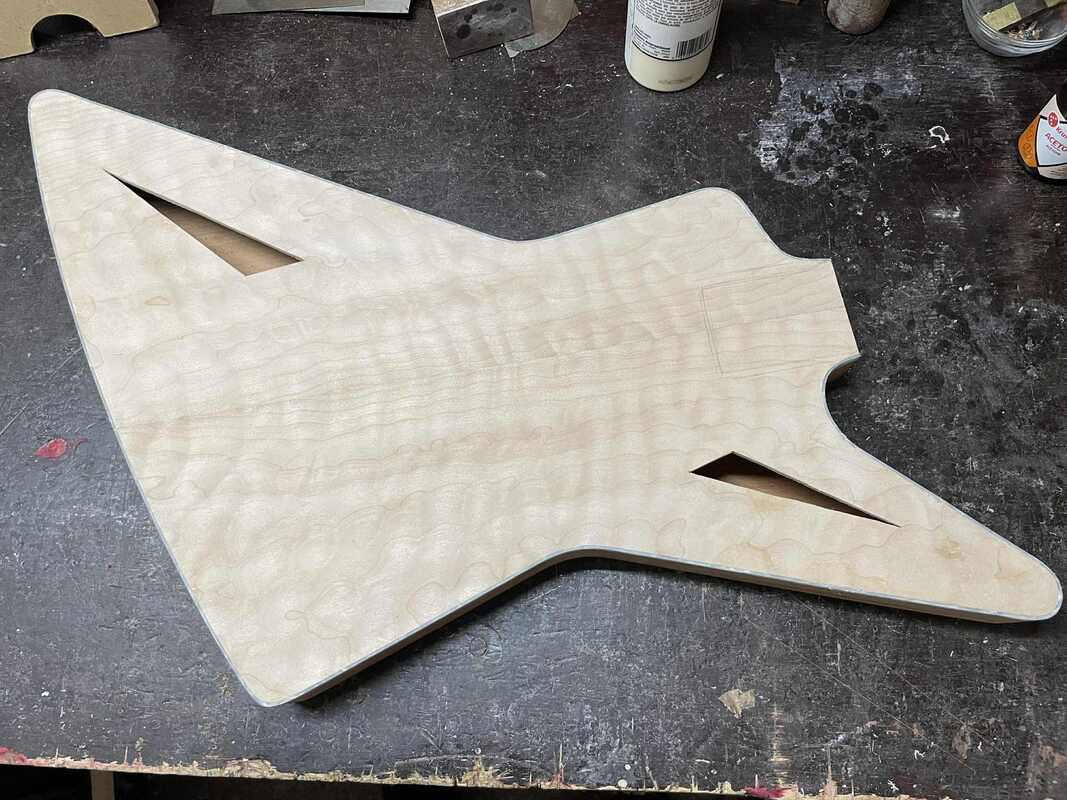
And when that was done, I sawed the triangular "F"-holes.


Ready to clamp the top down onto the chambered body

brooks-exb-4-sa-glueing-the-top_orig.jpeg


And when that was done I cut out the outline shape and routed it along the template (sorry no pics)

brooks-exb-4-sa-body-outline_orig.jpeg
 
Routed the profile for the binding

brooks-exb-4-sa-binding-profile_orig.jpeg


Glued the binding in. I seldom use glue. But I use acetone instead. This softens/dissolves the binding, so it adheres to the wood without leaving glue spill. This is essential because I use waterbased stain. And waterbased stain does not work on glue...

brooks-exb-4-sa-bindong-glued-and-clamped_orig.jpeg


brooks-exb-4-sa-binding-done-close_orig.jpeg
brooks-exb-4-sa-binding-done_orig.jpeg


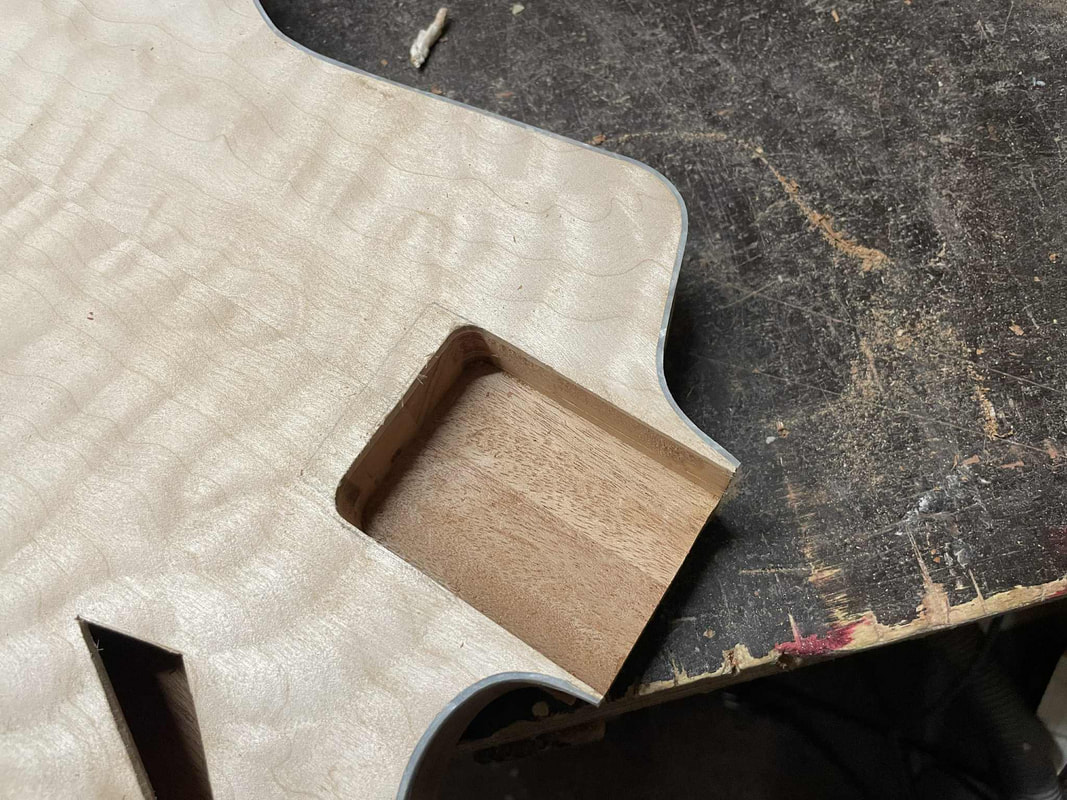
When the binding was done I routed the neck pocket

brooks-exb-4-sa-neck-pocket_orig.jpeg


Shaped the neck heel. Always checking the alignment. See the blue line on the purple tape.

brooks-exb-4-sa-fitting-the-neck_orig.jpeg


Routed the pickup cavities

brooks-exb-4-sa-routing-pickup-cavities_orig.jpeg


Drilled the holes for the potentiometers and switch

brooks-exb-4-sa-drilling-controls-holes_orig.jpeg


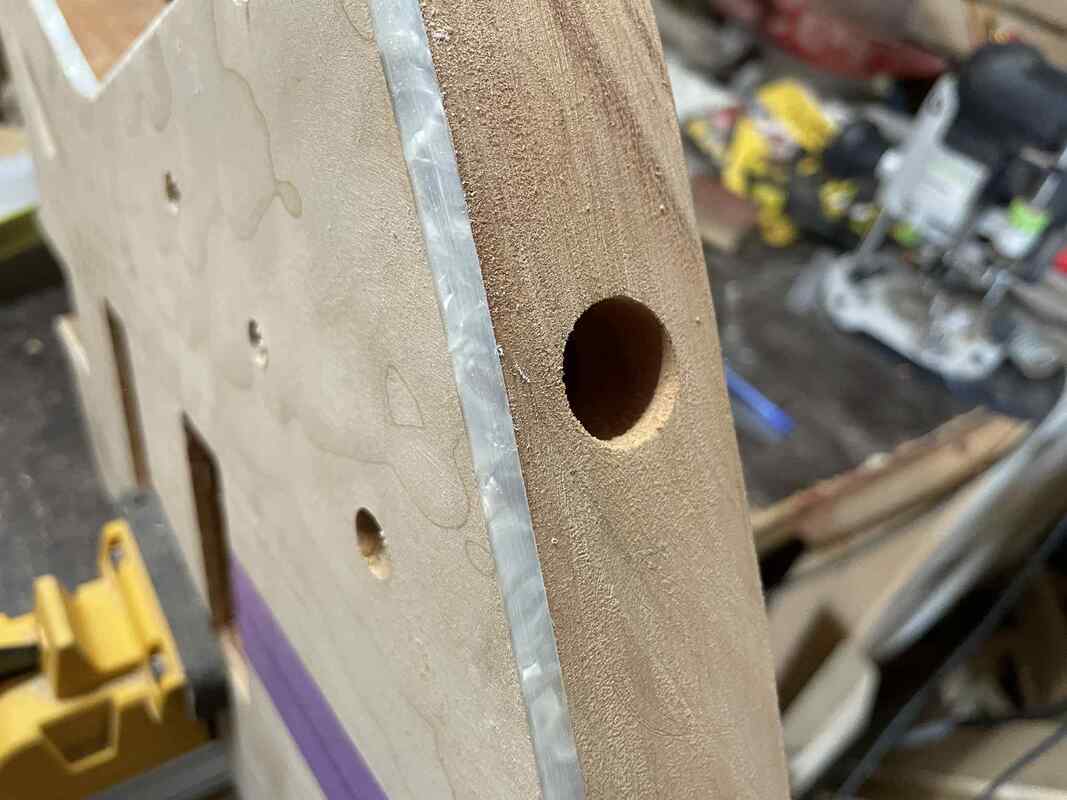
And the output hole on the side of the body

brooks-exb-4-sa-output-hole_orig.jpeg
 
Last edited:
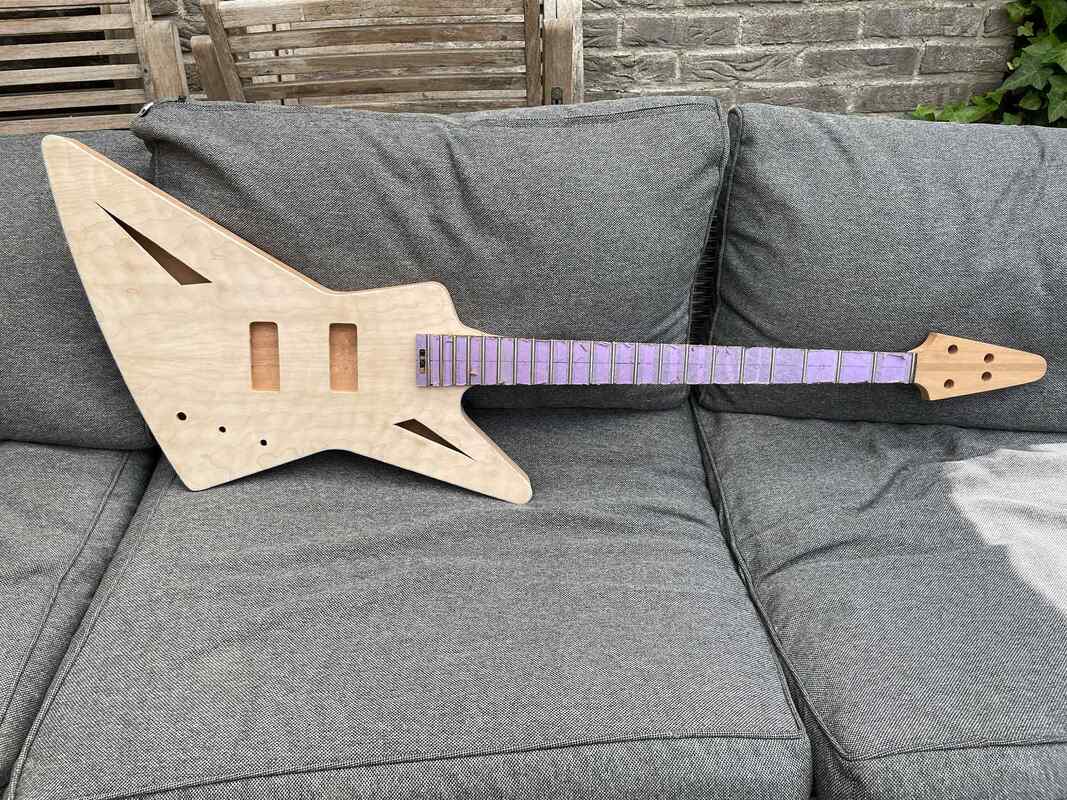
And after endless checking an fine tuning of the neck fit, I glued it in

brooks-exb-4-sa-glueing-neck-in_orig.jpeg


All of a sudden it looks like a bass...

brooks-exb-4-sa-neck-glued-in_orig.jpeg


Fine tuned the pickup cavities

brooks-exb-4-sa-chiseled-pckup-cavities_orig.jpeg


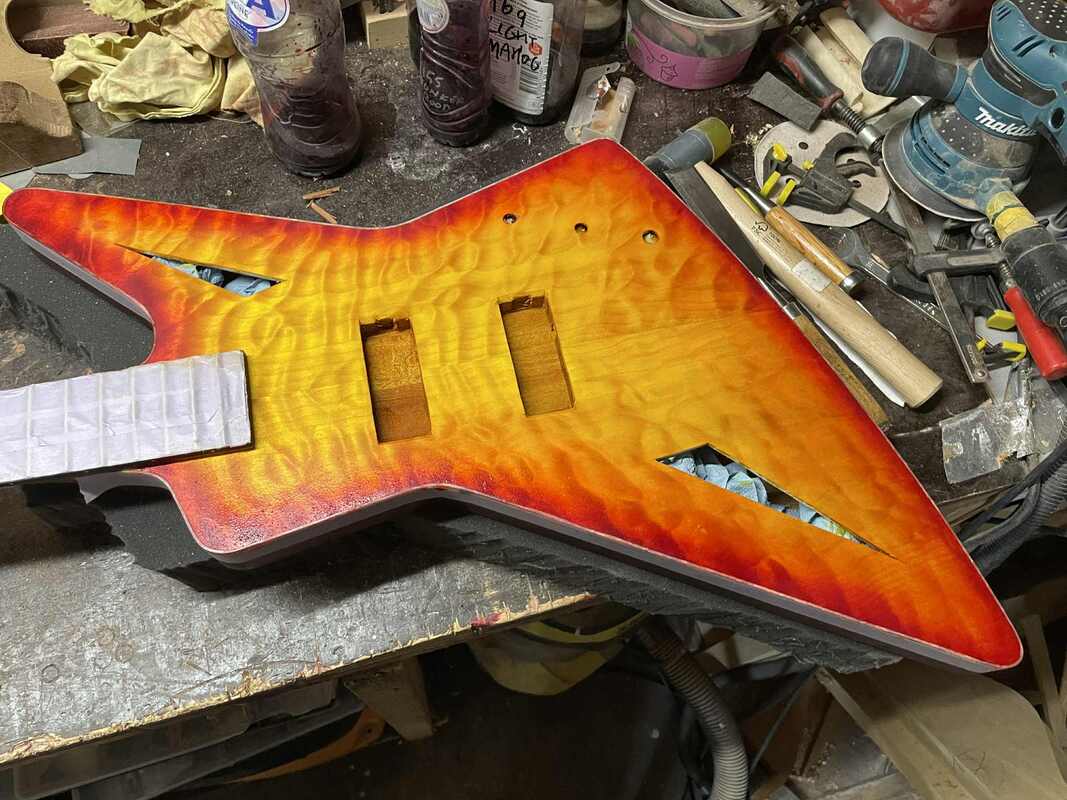
I stained the top.
Yellow first

brooks-exb-4-sa-yellow-stain_orig.jpeg


And red for the burst effect

brooks-exb-4-sa-burst-stain_orig.jpeg

brooks-exb-4-sa-burst-stain-ready_orig.jpeg


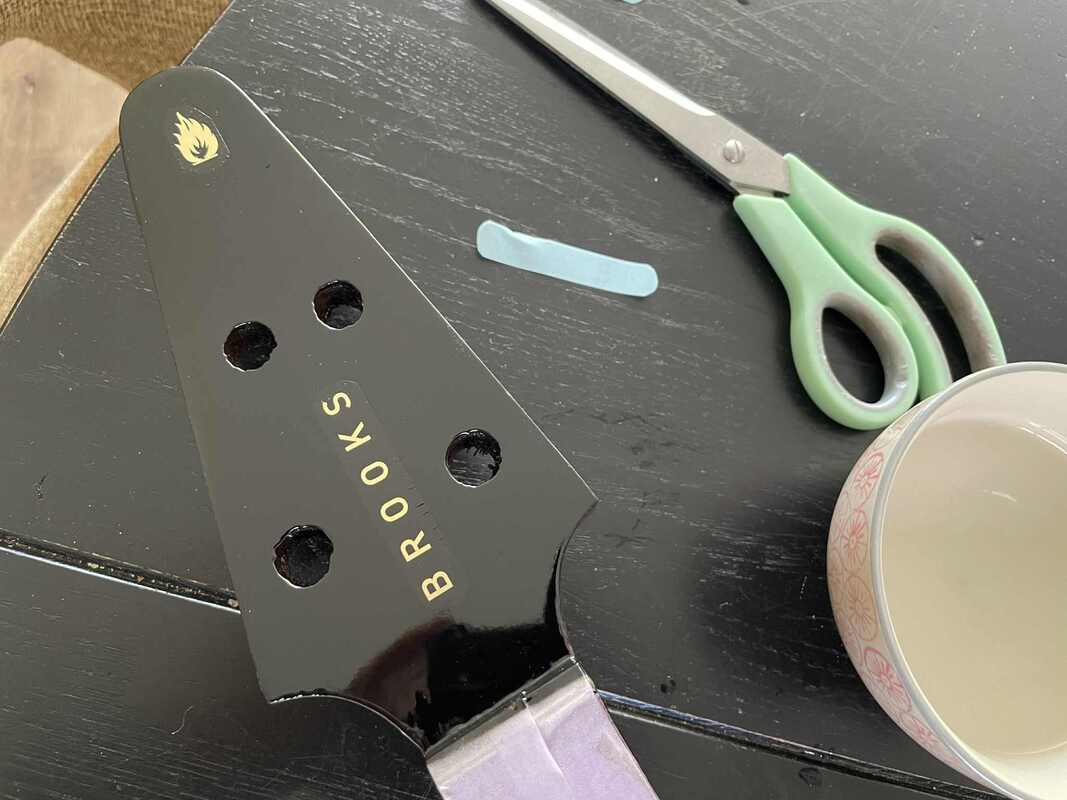
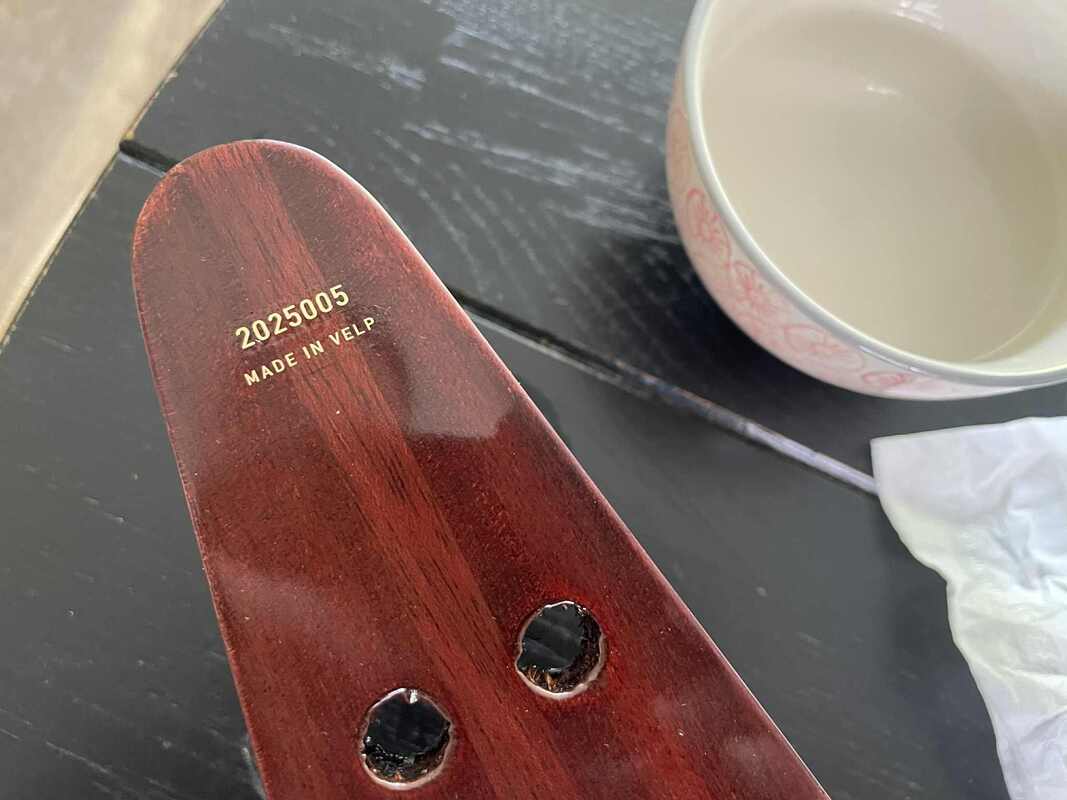
After many coats of clear and sanding in between, I applied the decals

brooks-exb-4-sa-logo-name_orig.jpeg

brooks-exb-4-sa-serial-number_orig.jpeg


Shielded the controls cavity.

brooks-exb-4-sa-shielding-paint_orig.jpeg
 
Last edited: