

Enjoy the benefits of a premium membership!
Upgrade Account
-
TalkBass has been independent since 1998. Add your voice.
Create a free account to reply to discussions, view embedded media, and browse with fewer display ads.
Join free Log in
Want zero display ads or expanded classifieds tools? Compare plans.
You are using an out of date browser. It may not display this or other websites correctly.
You should upgrade or use an alternative browser.
You should upgrade or use an alternative browser.
Build #2: Fretless Headless 5
- Thread starter Rickett Customs
- Start date
More options
Who Replied?
nice, looks good. whered you get the ebony?
Stu-mac, 27" x 3" x 1/4" ..... around $50

The ebony looks great - but you gotta treat yourself to some better snacks, man.
Ha! Economy sucks.......... If it's good for the dog, good enough for me

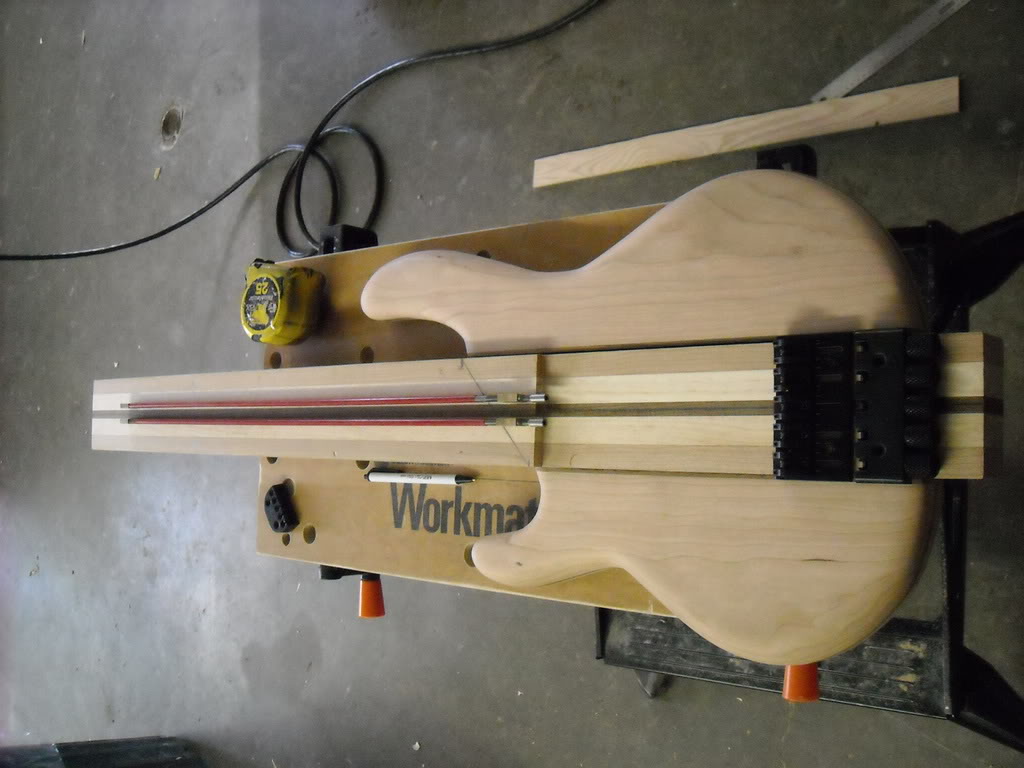
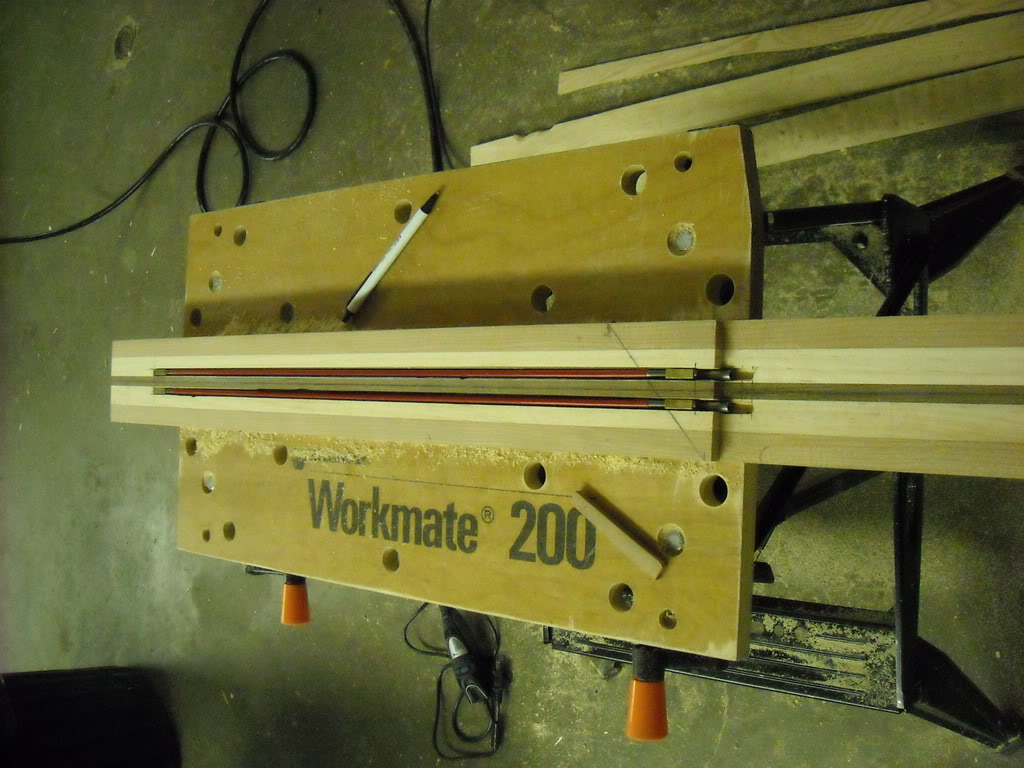
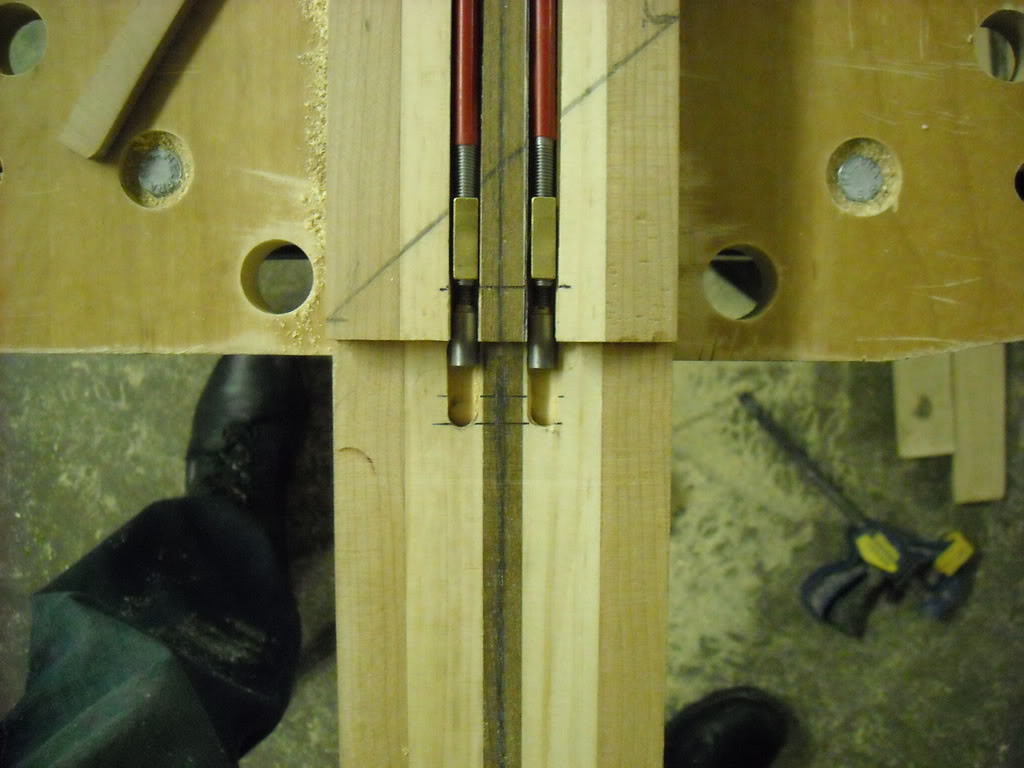
Got the ABM hardware today (Gotta give my drummer (machinist) the headpiece, to make an "opposite" version). Routed the truss rod channels and planed down where the finger board is, needs to come down a bit more (somewhere around 1/8"), so that the lowest position of the bridge is above the additional 1/4", once the fingerboard is glued.
Coming along very nicely! I'm really liking the body shape.
And don't listen to tZer - those bacon dog treats aren't too bad either!
And don't listen to tZer - those bacon dog treats aren't too bad either!
Coming along very nicely! I'm really liking the body shape.
And don't listen to tZer - those bacon dog treats aren't too bad either!
Thanks Erik.
It's an acquired taste
Once the top is acclimated, i'll be shaving about 1/4" off the top of the body wings and I ordered some .5mm veneer to go under it for an accent, then round it off the way it is now.
I may have fudged the spot where the fingerboard is (supposed to be 1/4" higher than the body, before adding the fingerboard), ran it through the planer twice, not thinking about the part that'll be made up in height from the 1/4" top

I can always add 1 or 2mm back if I need to (Just another LMII order, if so). Also the planer gouged the right corner edge where the fingerboard will end (Got some fixing on that edge to do).Truss rod channel needs to come down a hair more to be flush.
Regardless, It's still coming out the way I had intended, hope it stays that way

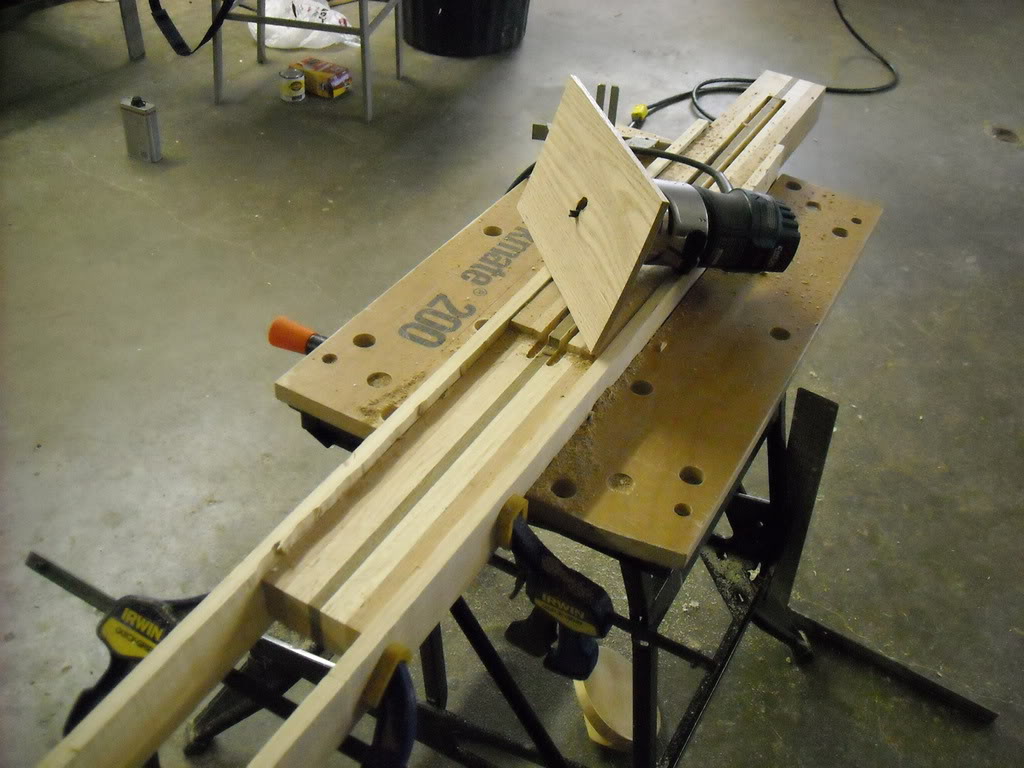
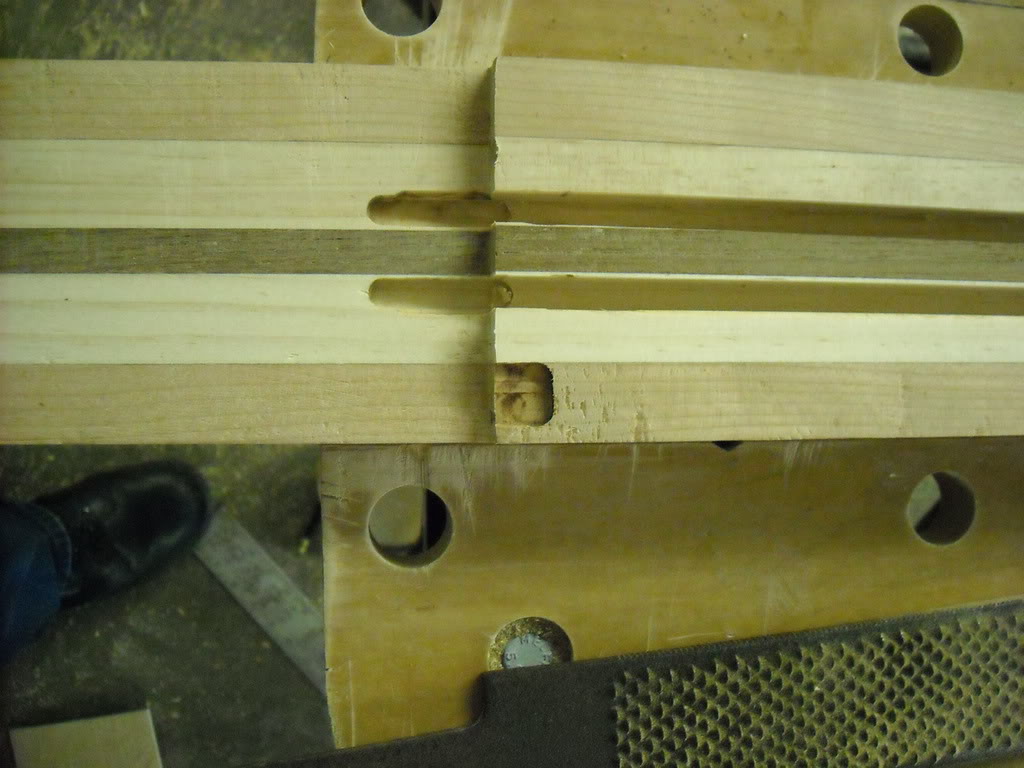
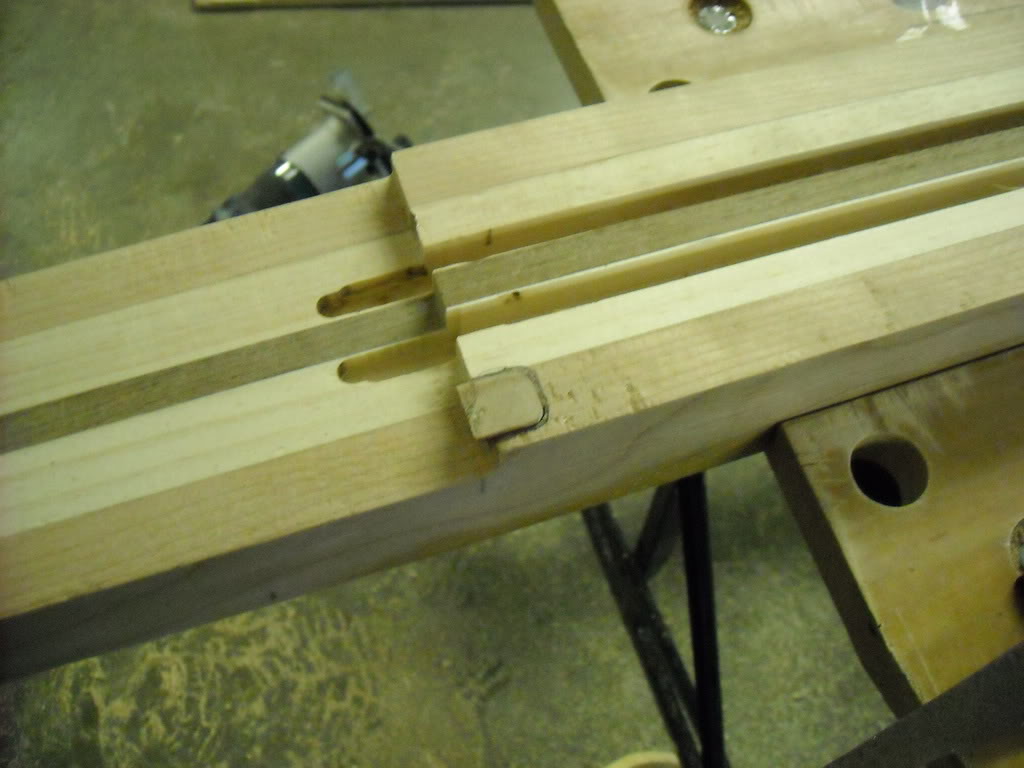
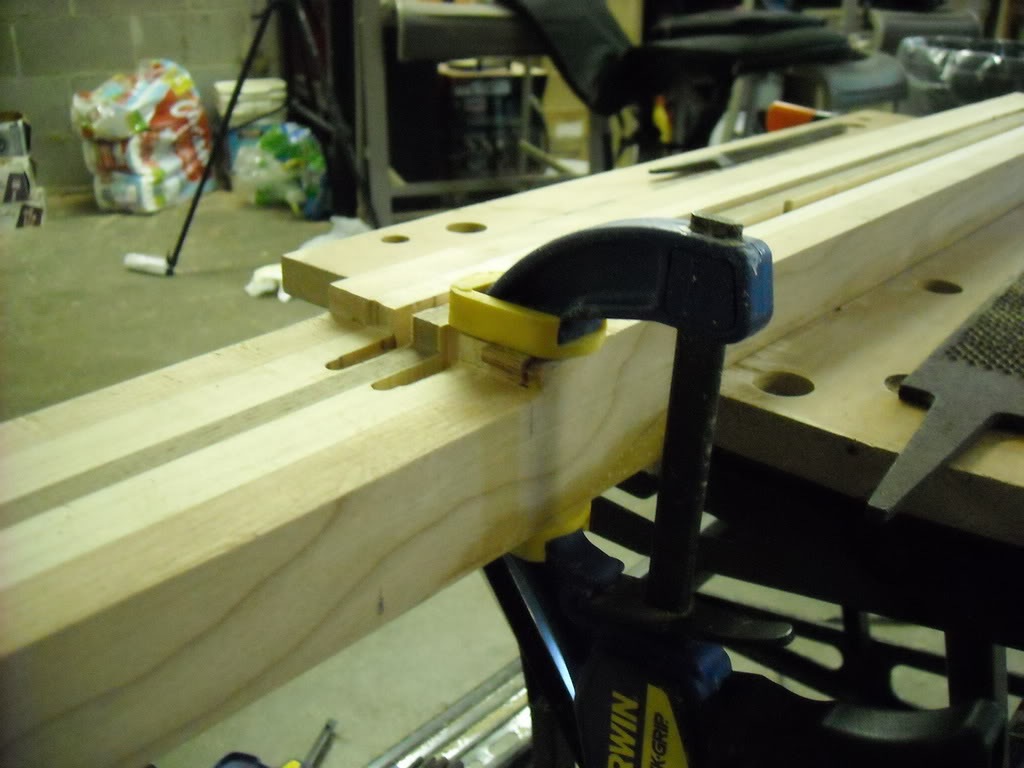
Did the body angle, routed out the rest of the truss rod channel (Had to go about 2mm) and repaired the gouge.
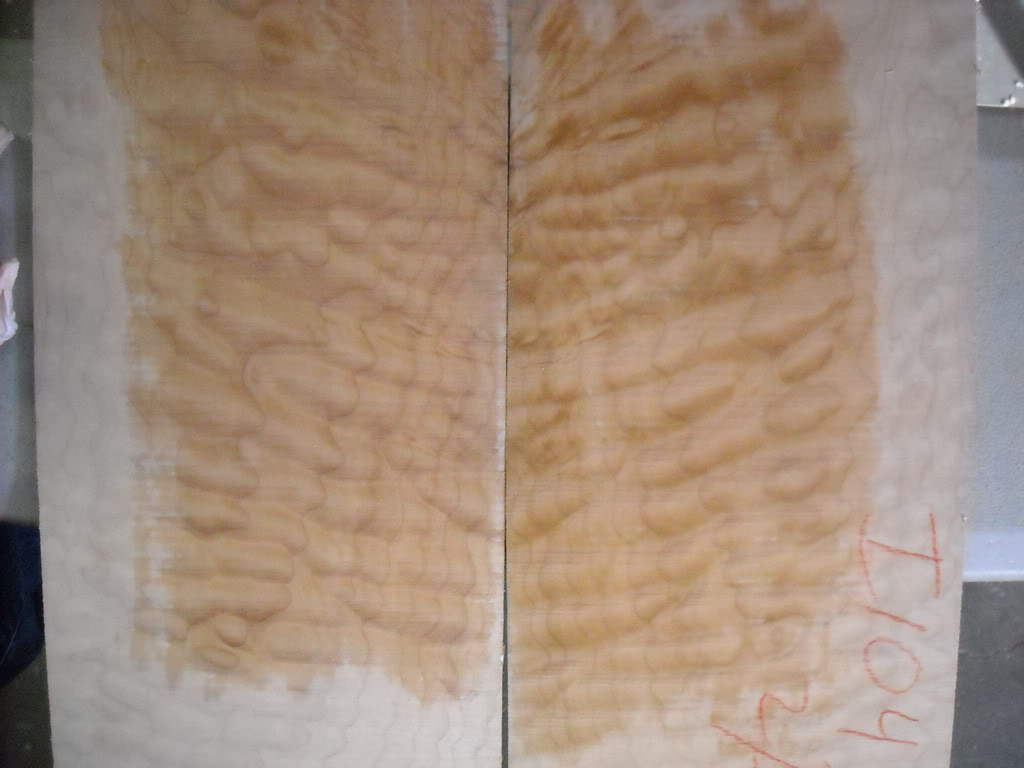
Wood came in, won't be using it though, too short after I cut the checks out of it about 18".
Had to make a guide for the angle.
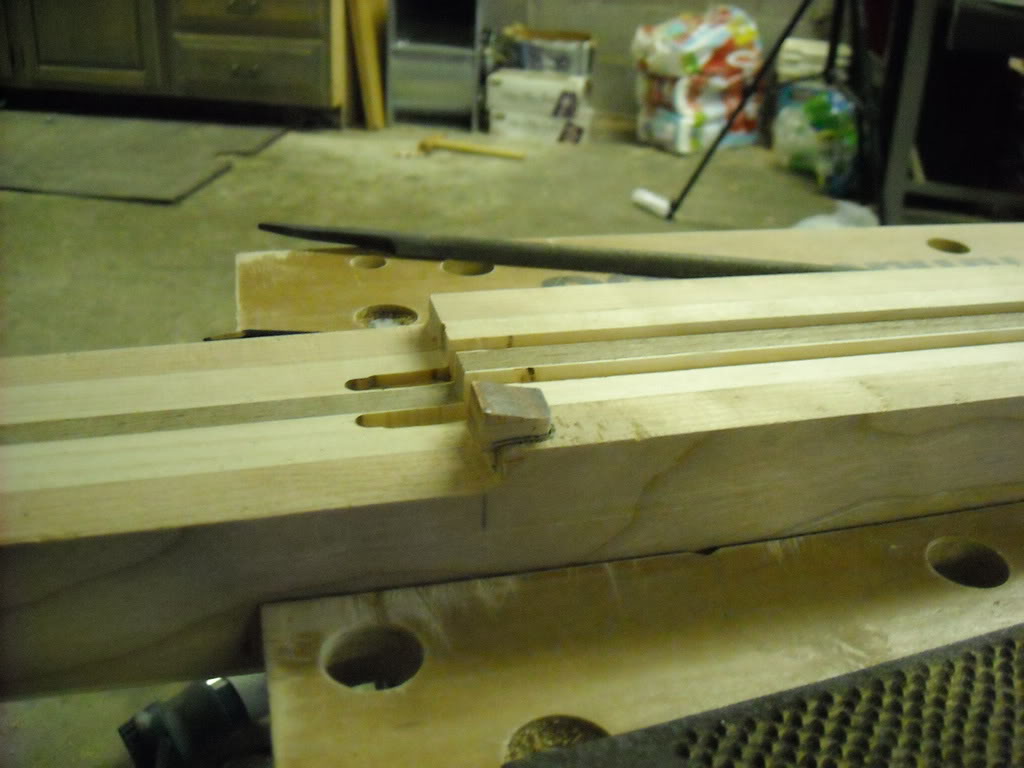
Routed out the gouge and cut another piece of cherry to fill it.
Wood came in, won't be using it though, too short after I cut the checks out of it about 18".
Had to make a guide for the angle.
Routed out the gouge and cut another piece of cherry to fill it.
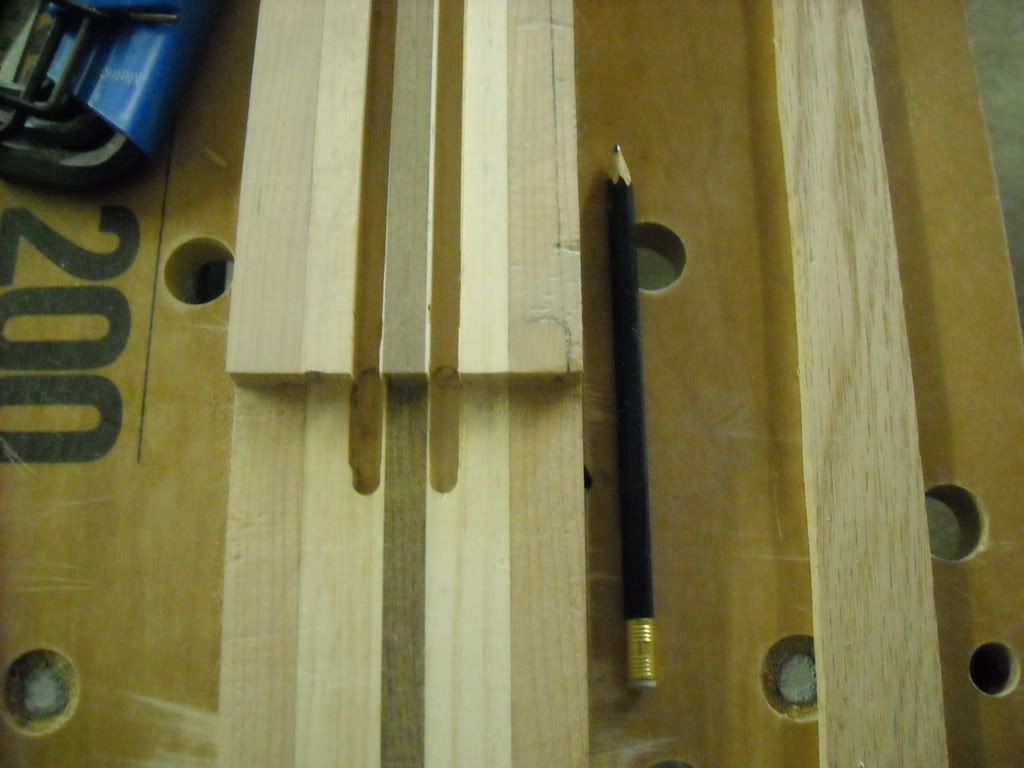
Ok, heres what the fixed portion looks like now:
Got the neck slimmed down (I'll be waiting to order a safe-t-planer, final neck thickness will be around 7/8". Right now at 1".)
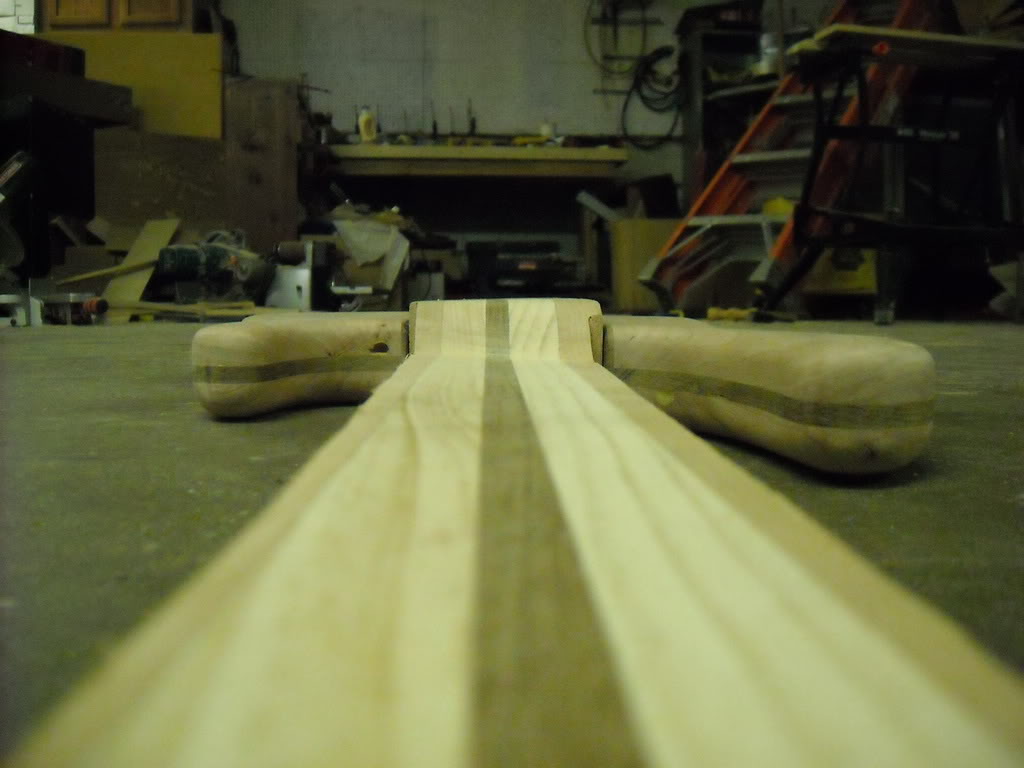
it sure looks like a small transition, but it won't be when it's done:
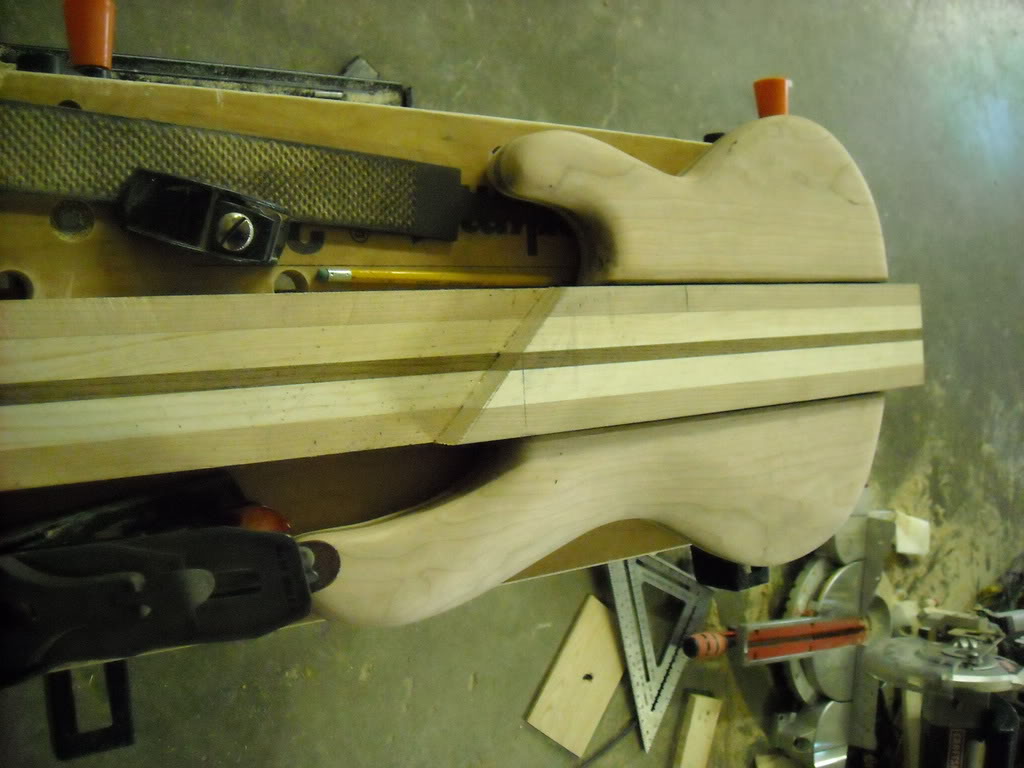
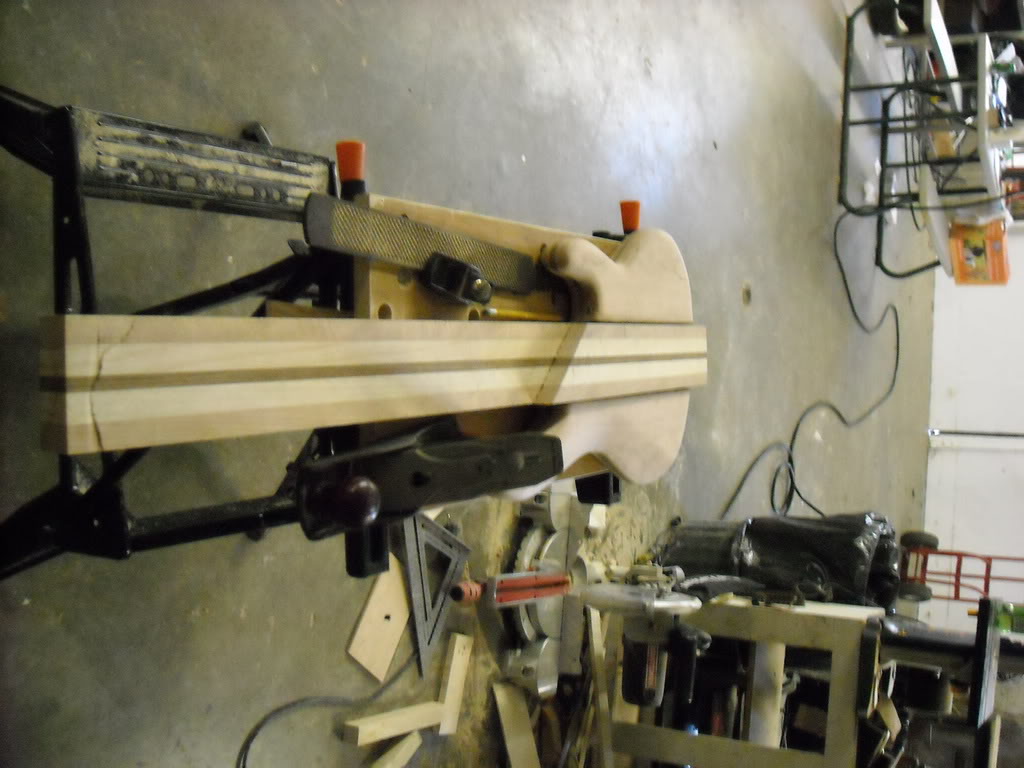
Cut the neck taper, at least up to the wings:
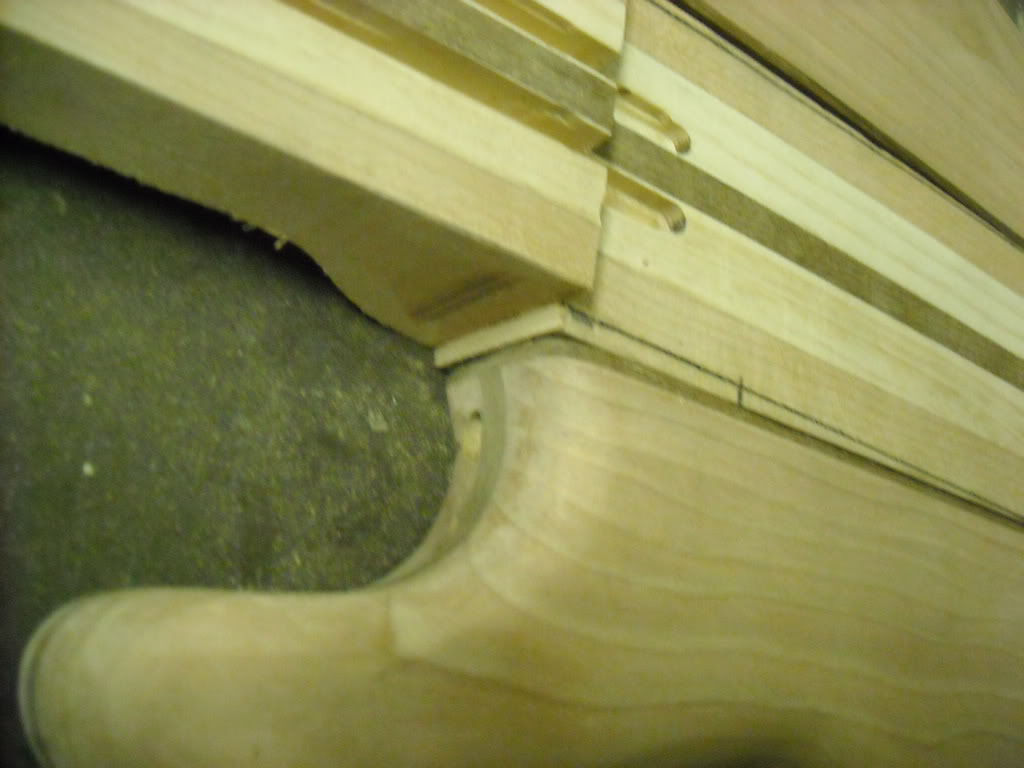
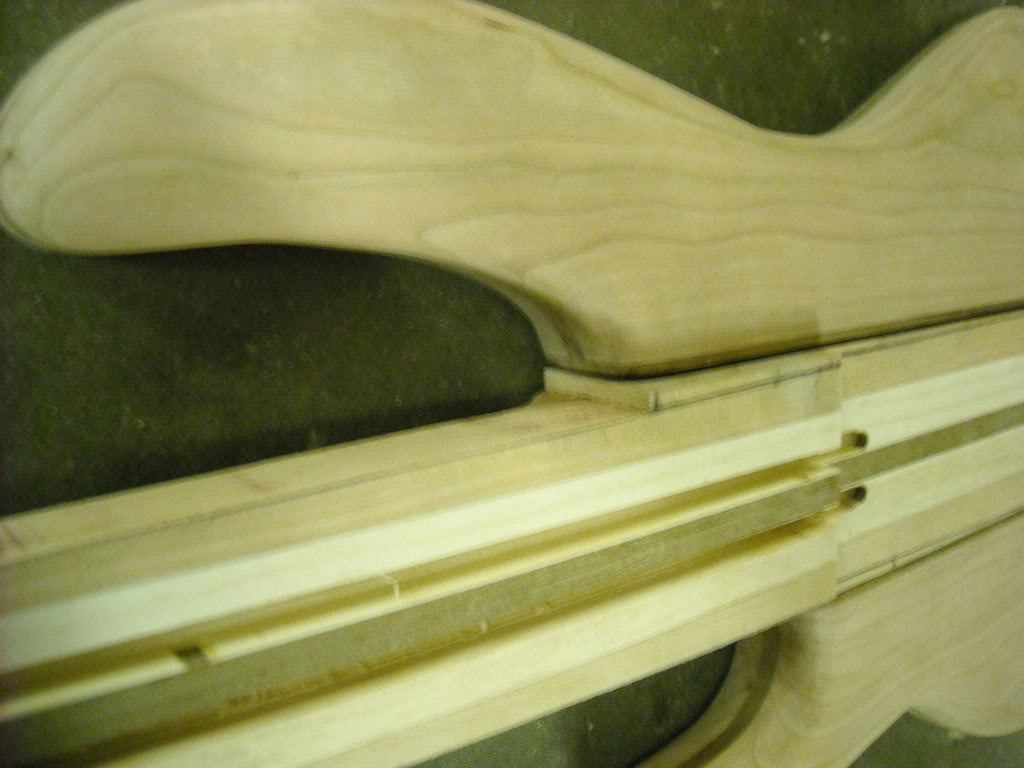
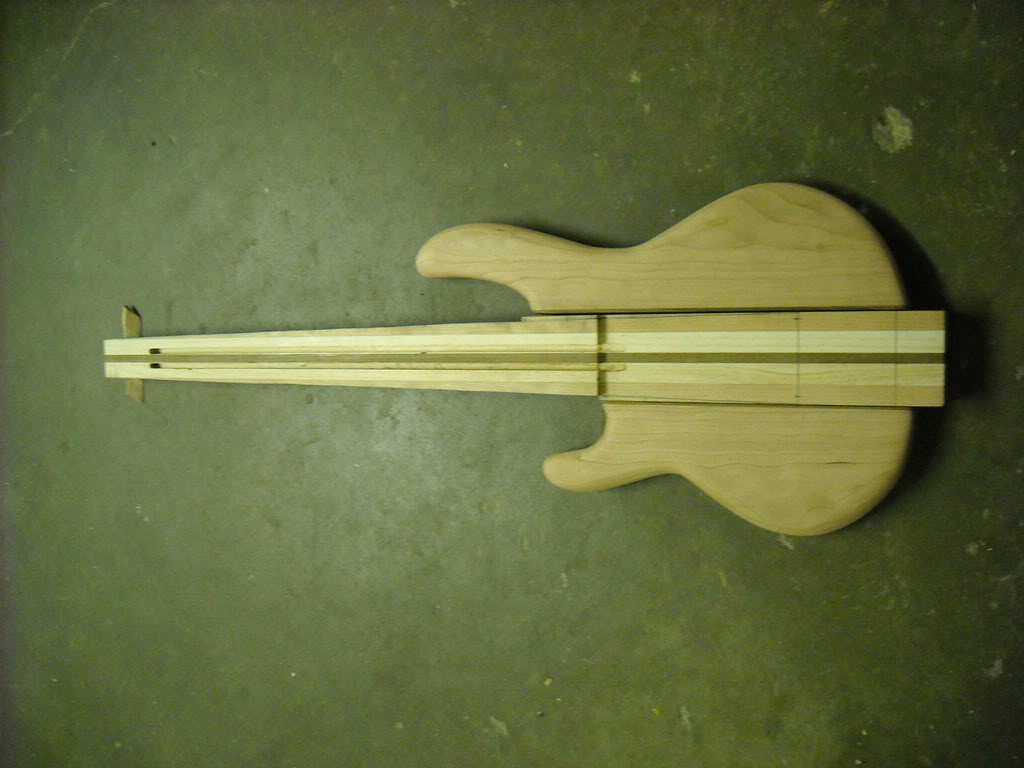
Overall shots:
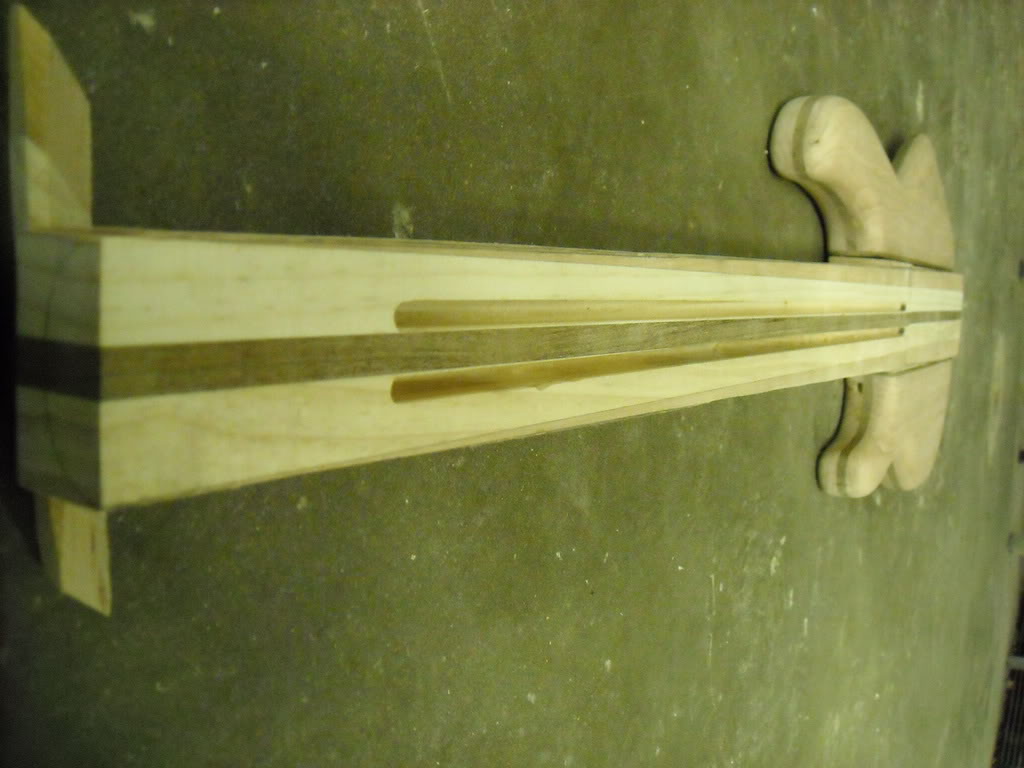
Got the neck slimmed down (I'll be waiting to order a safe-t-planer, final neck thickness will be around 7/8". Right now at 1".)
it sure looks like a small transition, but it won't be when it's done:
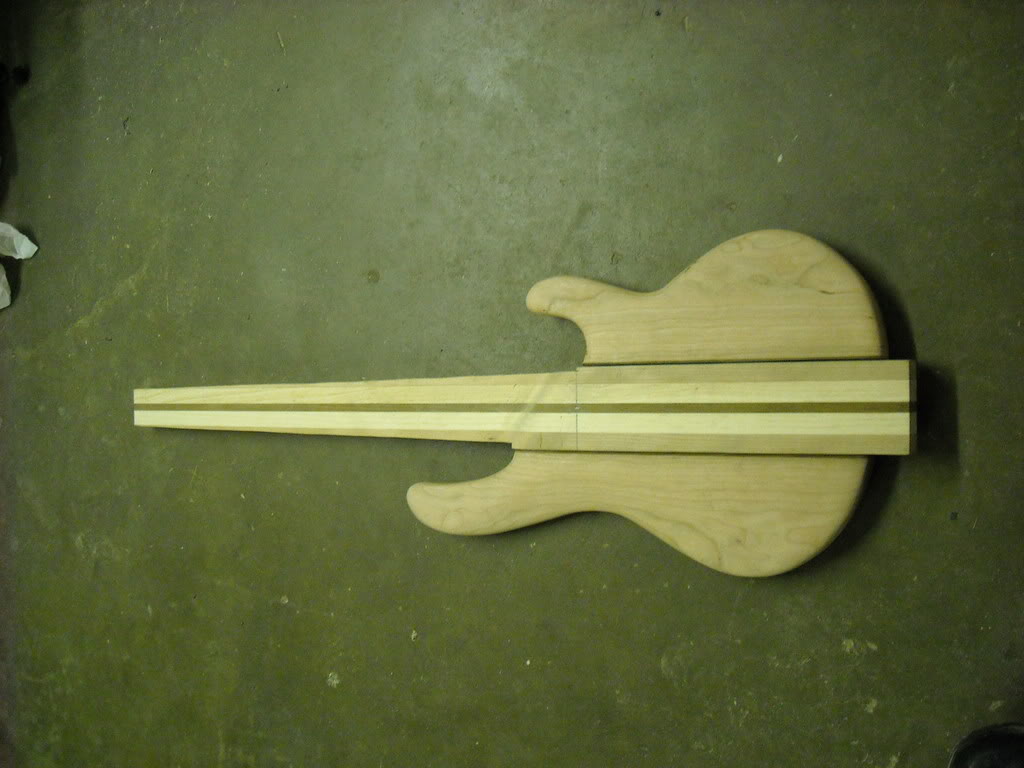
Cut the neck taper, at least up to the wings:
Overall shots:
Looking good! That's a good looking piece of maple, shame you can't use it.
Ahh, that's ok, I've got another piece coming that's longer and wider, it's flamed instead though.
Link Removed
And now, I made sure I was up by 8 this morning (although I had a gig the night before and didn't get to sleep until 3:30 am  )
)
Ran the wings through the planer, after I changed the blades on it. Also redid the depth of the body portion of the neck lam. Had to drill 1/2" holes for the dowel rods, to make it easier to glue up the wings.
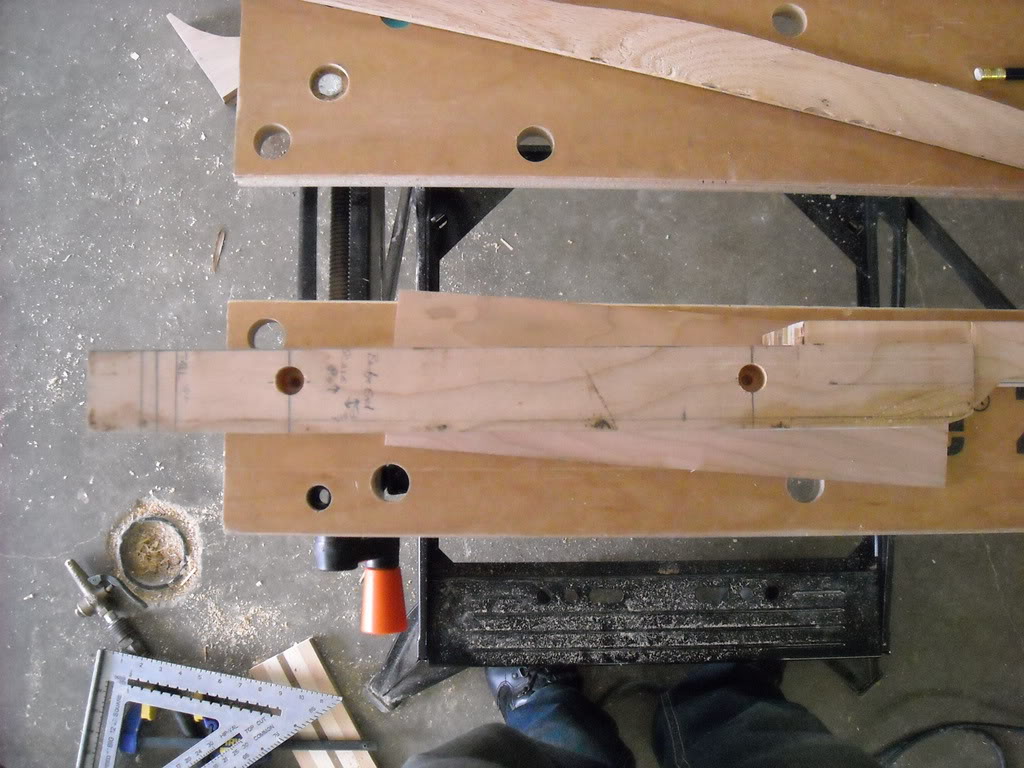
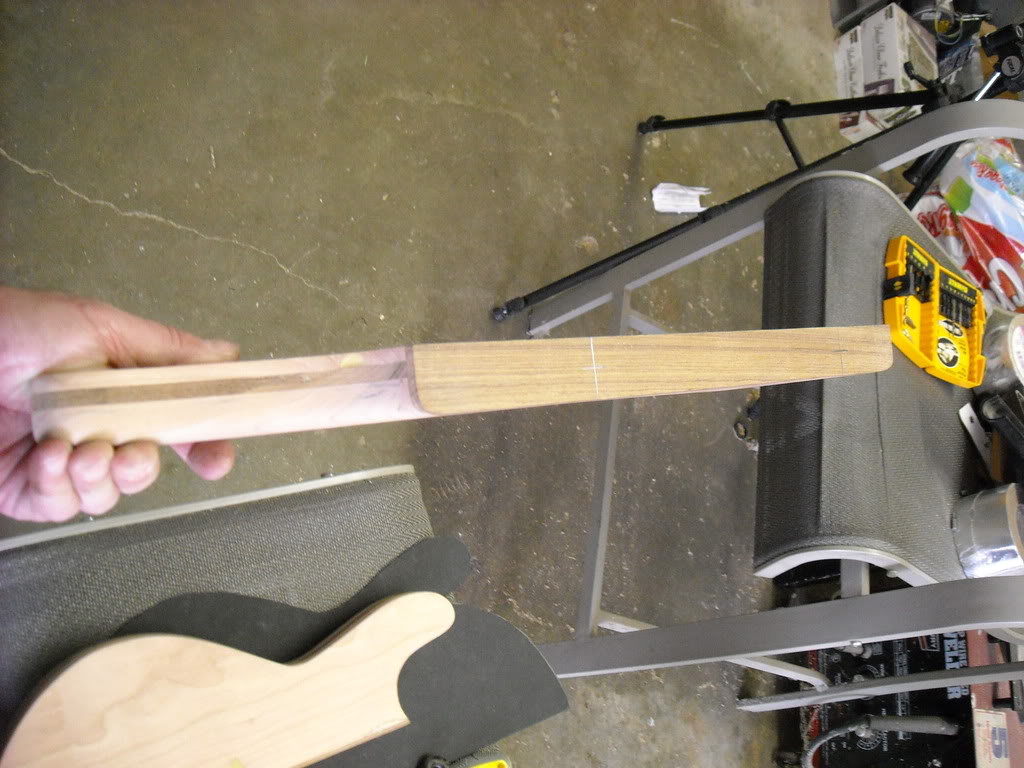
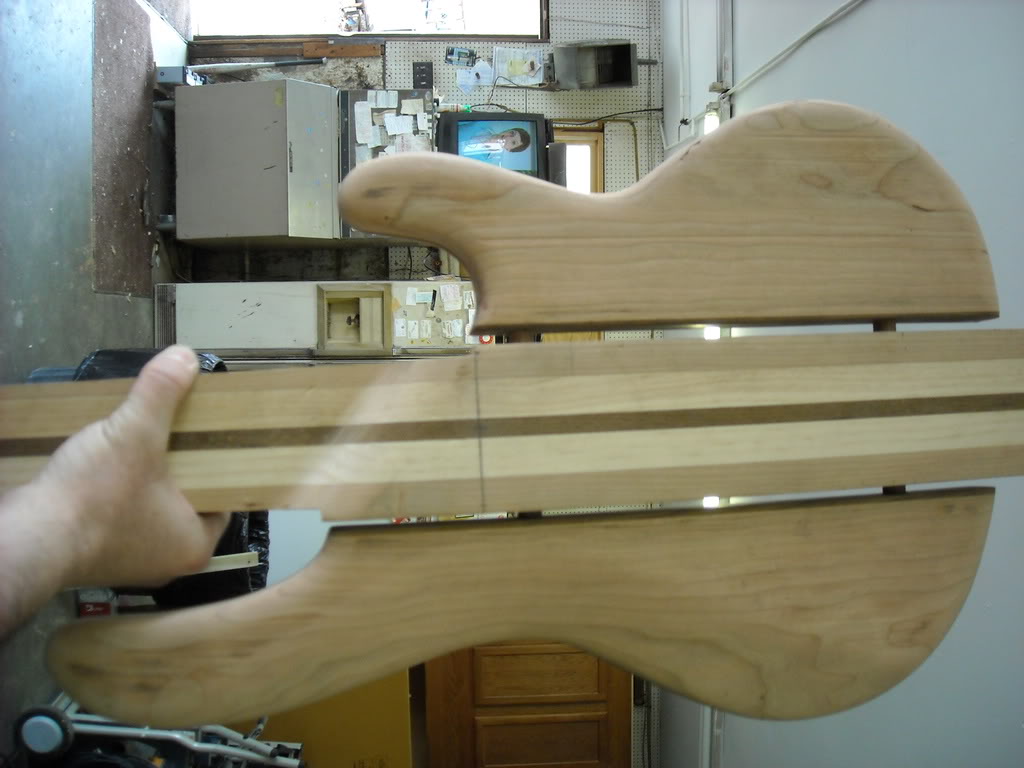
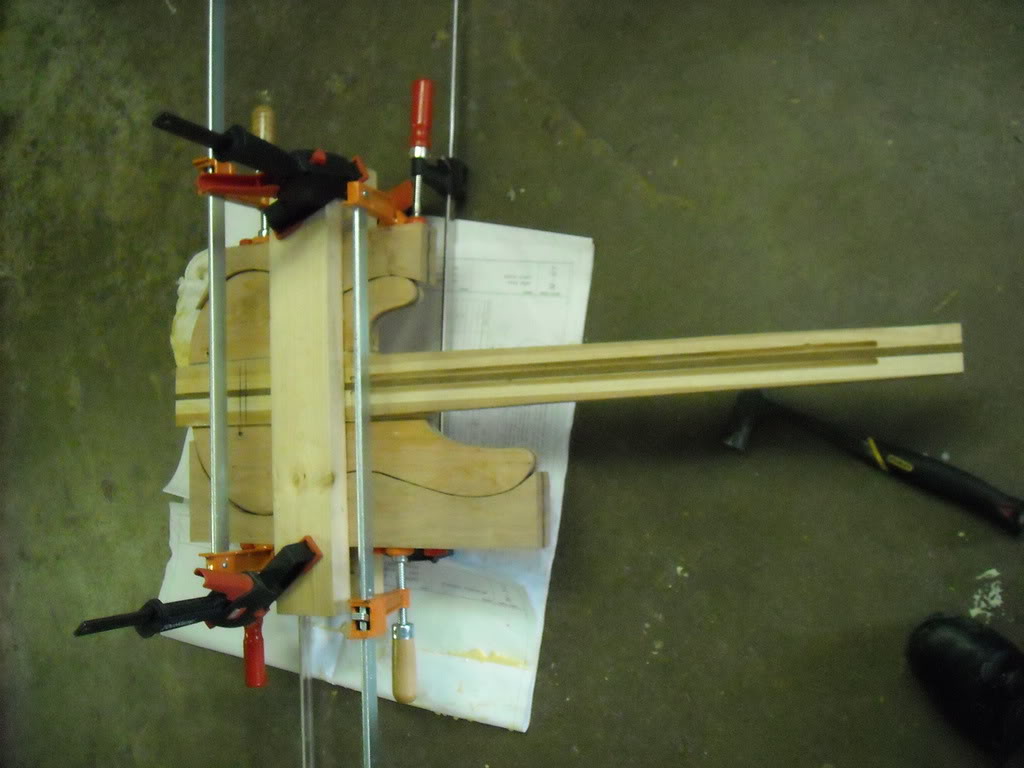
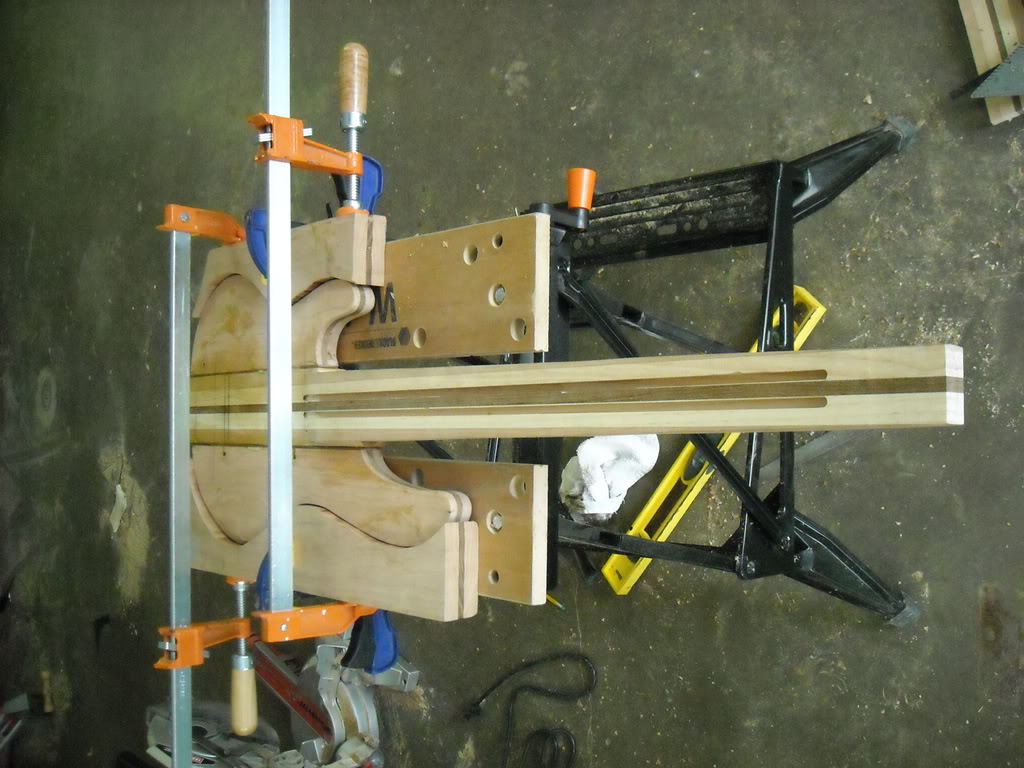
Cut out the small sheet of 2mm black veneer, to go between the top and the body.Did not have enough to do one piece, made due with what I had, i'll glue it down soon.
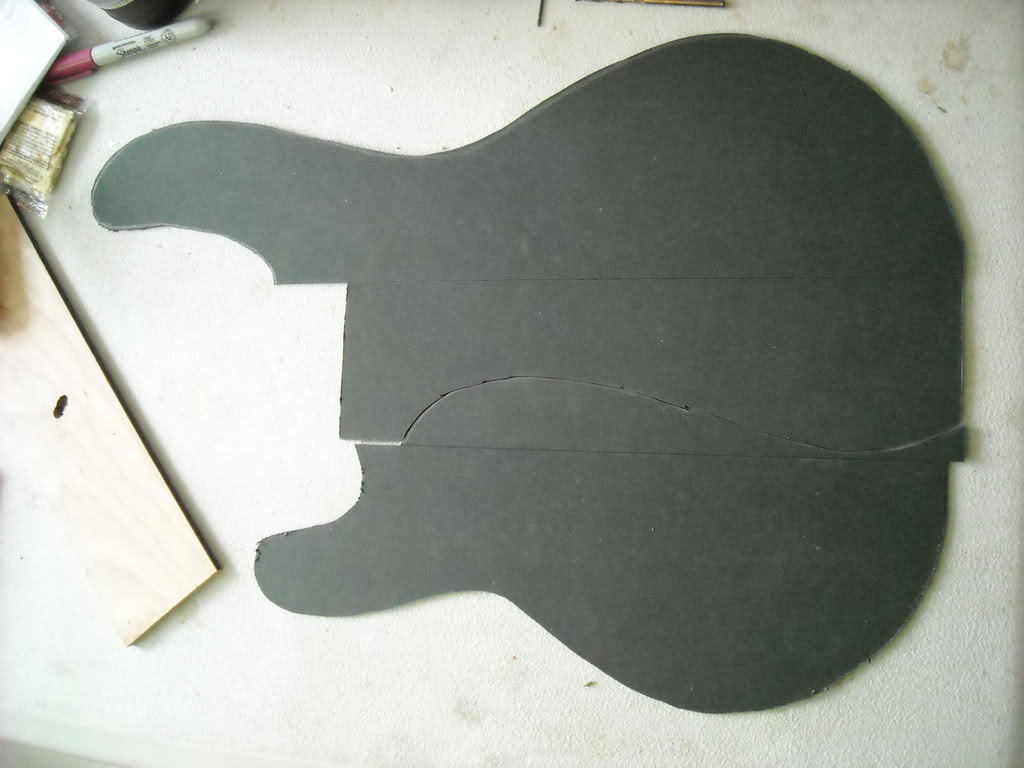
)Ran the wings through the planer, after I changed the blades on it. Also redid the depth of the body portion of the neck lam. Had to drill 1/2" holes for the dowel rods, to make it easier to glue up the wings.
Cut out the small sheet of 2mm black veneer, to go between the top and the body.Did not have enough to do one piece, made due with what I had, i'll glue it down soon.

LedBelli Bass
Fine, Handmade Custom Bass Guitars
Man, I been missin out here! Good job!
Question for anyone: on the "hot-rods" has anyone had trouble with the brass parts failing? The truss rod I use is all steel (from LMI) and I've shied away from the hotrod because of the brass parts.
Anyone?
Question for anyone: on the "hot-rods" has anyone had trouble with the brass parts failing? The truss rod I use is all steel (from LMI) and I've shied away from the hotrod because of the brass parts.
Anyone?
The word i had heard was, as long as the threads are slightly oiled before installation, the hot rods are fine. I have a set in the EUB I made (has 2 of them). I've put on and taken tension a few times, without issue so far, at least.
Looking really nice!
So what are you going to do with the quilted maple you can't use?
I'm building some mini-guitars that it would be plenty big for.
So what are you going to do with the quilted maple you can't use?
I'm building some mini-guitars that it would be plenty big for.
Looking really nice!
So what are you going to do with the quilted maple you can't use?
I'm building some mini-guitars that it would be plenty big for.
I haven't decided yet Matt. Although i had mentioned to my guitar player he could have dibs on it, if I build one for him, so in that case, you'd be second on the list.
PM'ed with info.


