A roadcase would be nothing for you to build, Mark. Well, I wouldn't say "nothing" because I can't do it  but for you, cake.
but for you, cake.
TalkBass has been independent since 1998. Add your voice.
Create a free account to reply to discussions, view embedded media, and browse with fewer display ads.
Join free Log in
Want zero display ads or expanded classifieds tools? Compare plans.
but for you, cake.
The biggest problem at the moment would be paying for the materials!A roadcase would be nothing for you to build, Mark. Well, I wouldn't say "nothing" because I can't do it

As the owner of a Heritage 810e, I can tell you how it will sound...freaking AWESOME! The Heritage speakers are as good sounding as the old CTS alnicos in the flatbacks, plus together they handle 800w before you even reach fartout, let alone voice coils blowing, so it will be a sound of beauty as well as a look of beauty.
Really turned out gorgeous, Mark. If I were you, I'd build it a live-in roadcase so your son doesn't beat it all up with his killer band




This cab makes me think there should be a market for "Relic'd" cabs.Awesome work!
Oh man he definitely could use a new cab.(no idea where this small txt formatting is coming from)
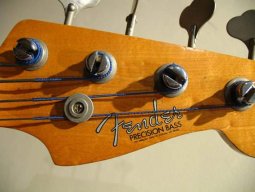
No, that's a bass he threw together himself from parts.Just checked out the band and they sound good. Gotta love a p-bass through an SVT. Is he rocking the Pino signature Pbass?

No, that's a bass he threw together himself from parts.
I don't hide it well, do I?Picturing a bit of a chest puffed out with fatherly pride when you typed that...


Well I tried the cabinet out with my Heritage B15 this morning and it makes sound! It's hard to get a sense yet of how it sounds musically because even with the HB15 it sounded like everything in the house was rattling, plus I'm not really a player. I need to have my son check it out with his SVT-CL, preferably outside.

Hard to tell. I've always been careful with the 15s since I can't get replacements for them.Which rattles the house more, the 810 or the 215's ?
Interesting perspective to see them side by side.
It's just the angle/lighting. They all look the same.Is it just the angle, or is that bottom left driver visibly different?


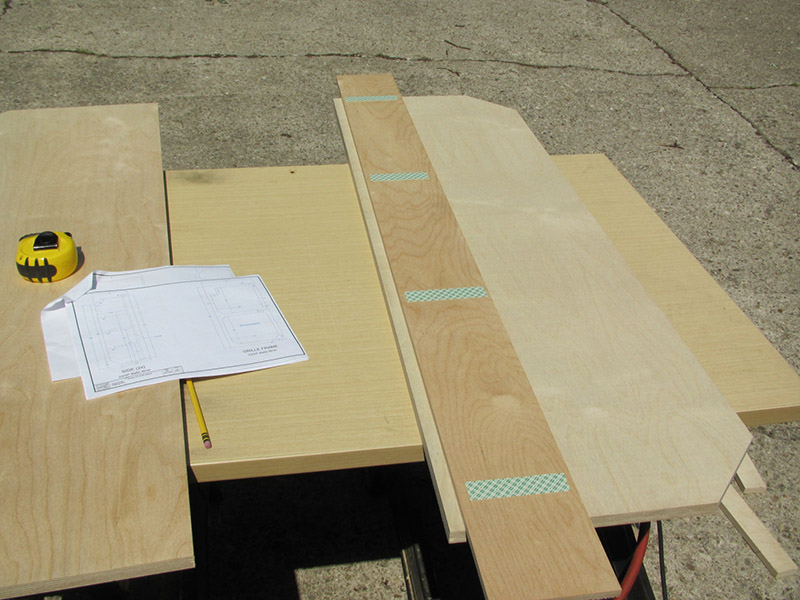
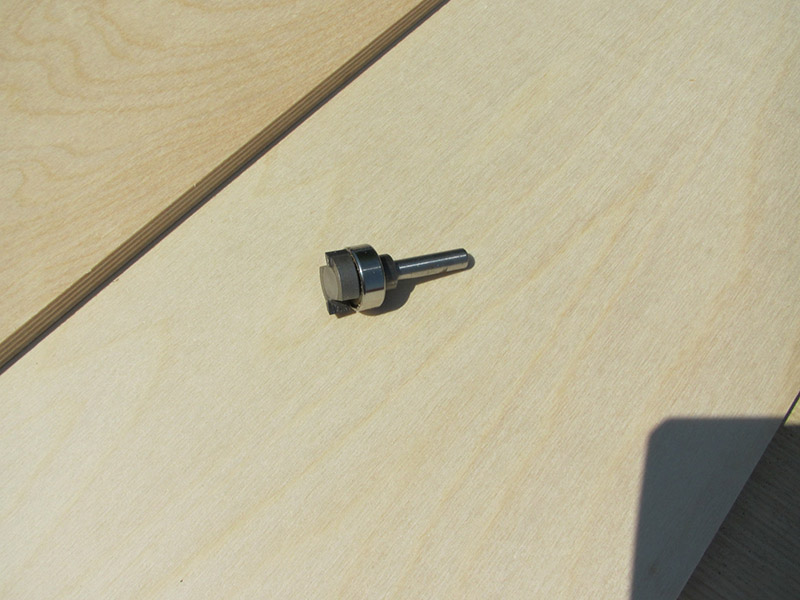
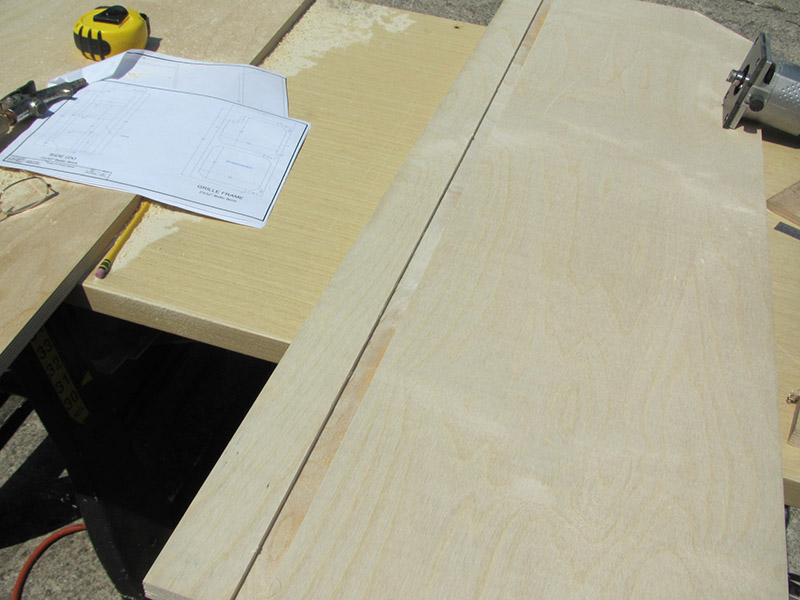
Next I began to setup to rout the dadoes in the sides. Each side has a vertical dado to receive the speaker baffle and (3) horizontal dadoes that will receive the shelves that divide the speaker chambers. I chose to use a straight edge and a trim router with a ¾” dado bit. Since the dado bit uses a ball bearing guide it allows me to layout where the dado should be, align the straight edge with my layout lines and rout the dado by following the guide. For this application I decided to use double-faced tape to attach the guide to the sides.
After thoroughly researching speaker specifications and designs, there are very few speakers which will work in your cabinet. Unfortunately, those speakers will not produce very low frequency's. You will probably achieve 55 hz. as your bottom end, and 5K on the top end unless you wire in for a tweeter, @4 ohms, with a max spl level of 128, and achieve 800 watts using this design. I would also consider building a low frequency cabinet as well.
Your speaker cabinet looks to be built better than the Ampeg SVT 810 cabinet. You have done an excellent job. Good luck.
Straight edge and one side:
¾” dado bit:
Resulting vertical dado:
Next came the setup for routing the dadoes for the shelves. To ensure that these dadoes would line up properly later I clamped the sides together, back-to-back, and did my layout as if I was working with one large piece of plywood.
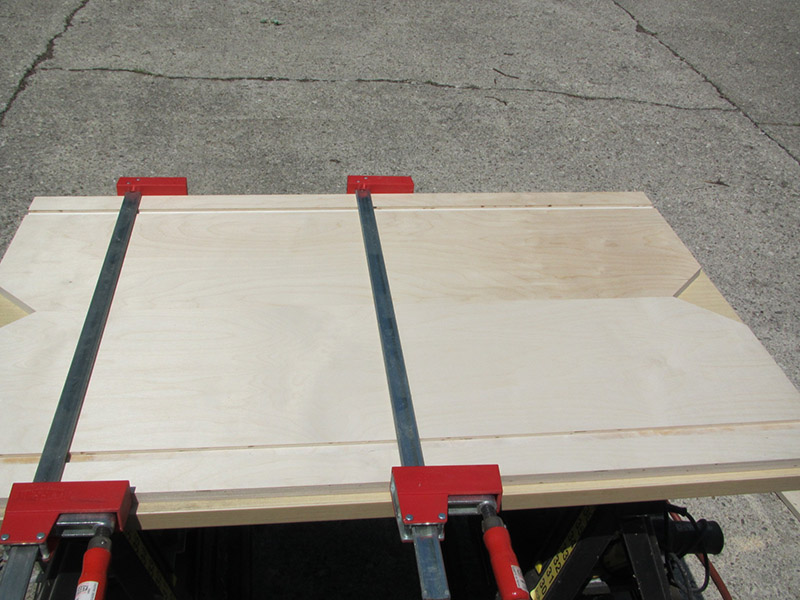
This way I could rout continuously across both sides, which ensures the dadoes line up.
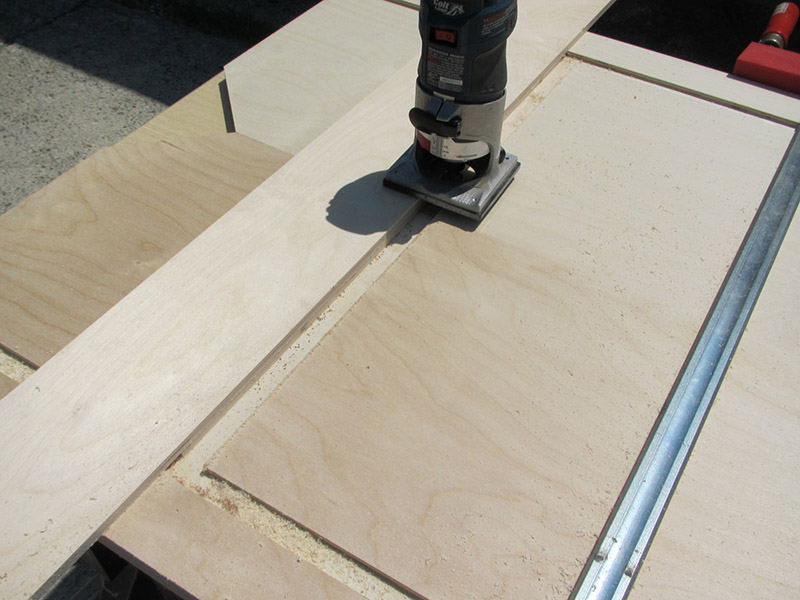
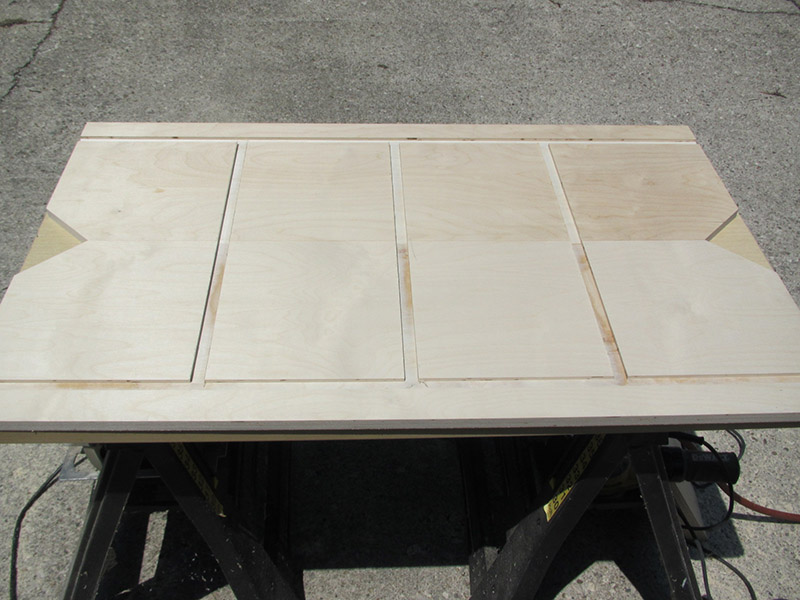
Here are the two sides with all the dadoes routed:
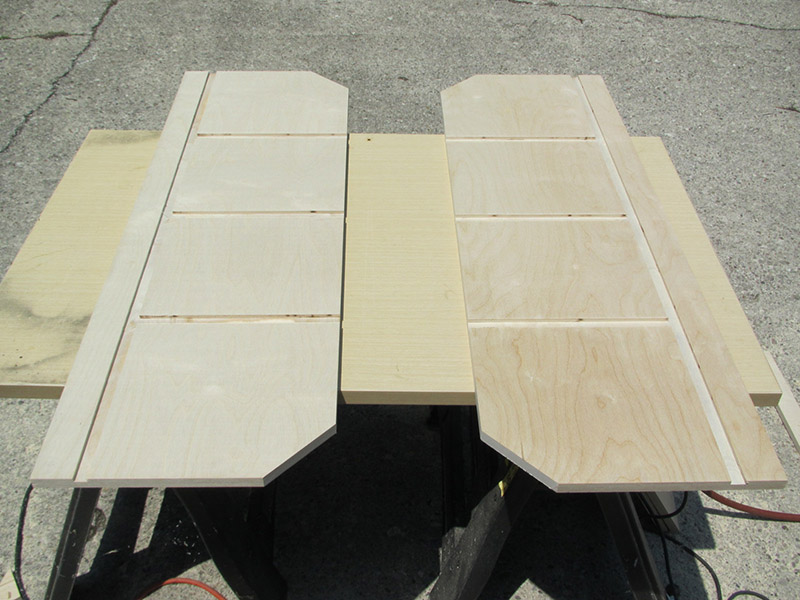
Next I needed to start working on the rest of the shell pieces. I first ran the plywood through the table saw to cut the stock to the correct width, then cut the pieces to the correct size. All of these pieces have a 1/8” deep rabbet routed on each side. These will later receive the side pieces. The back piece also gets three dadoes for the chamber dividers.
I used the same process to layout and rout the rabbets in all of these pieces. Using scrap pieces left over from the sides I set the straight edge in from the edge the thickness of the sides and used the trim router as before.
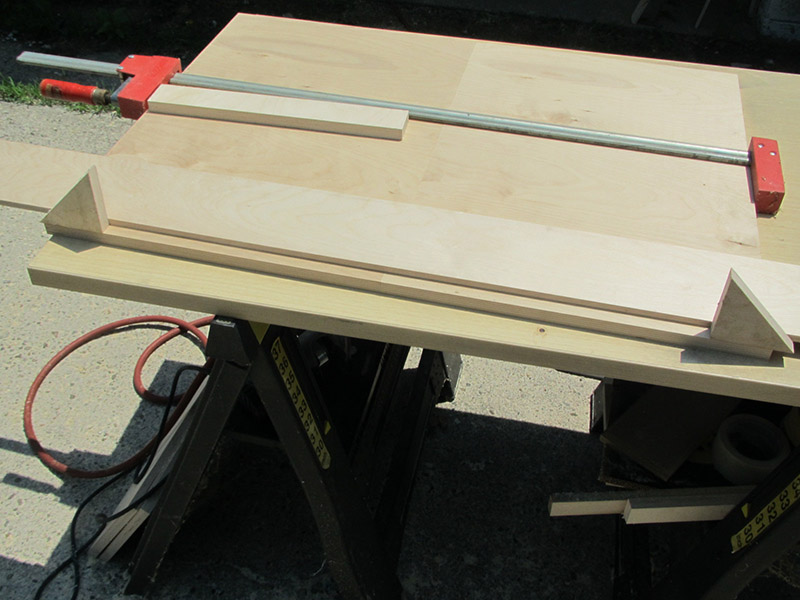
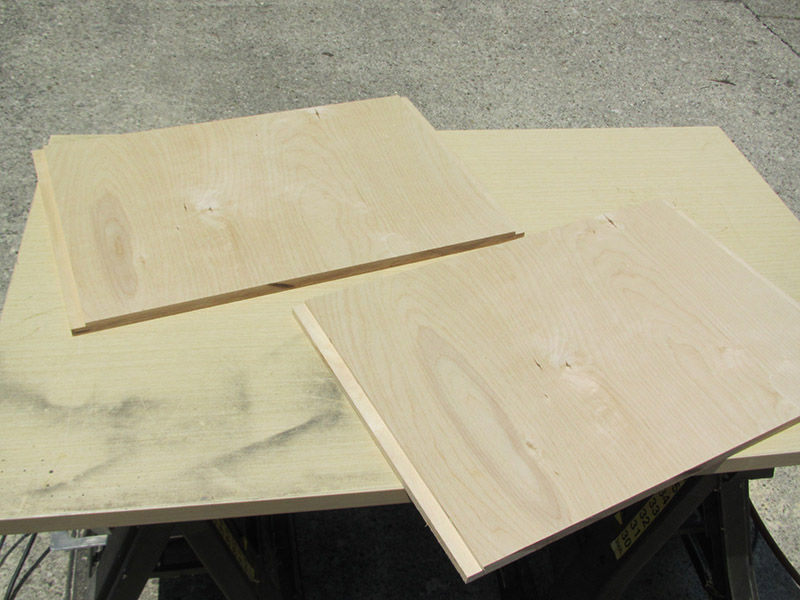
To be sure that the dadoes in the back lined up with the dadoes in the side I clamped the back and one of the sides together, aligning their midpoints. I could then insert a scrap of plywood in the dadoes in the side, butt the guide against the scrap to position it properly, and rout the dadoes as before.
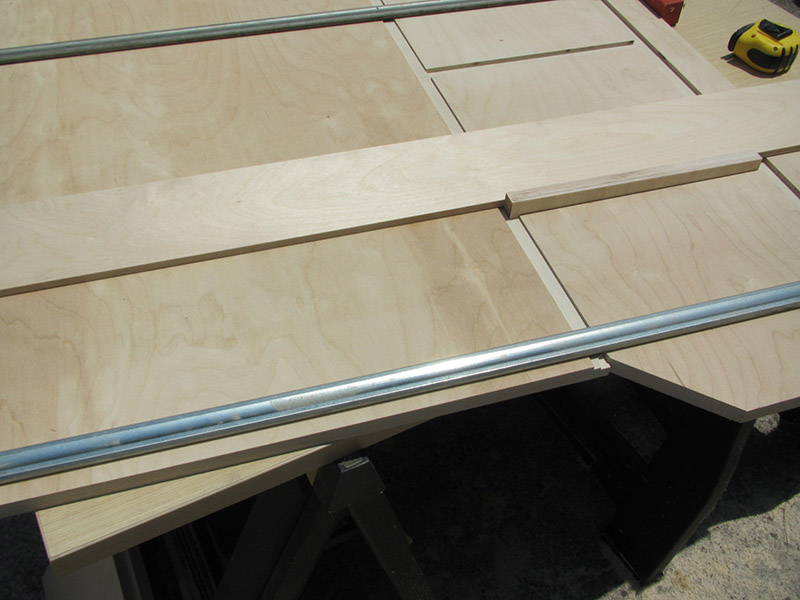
Back with rabbets and dadoes:
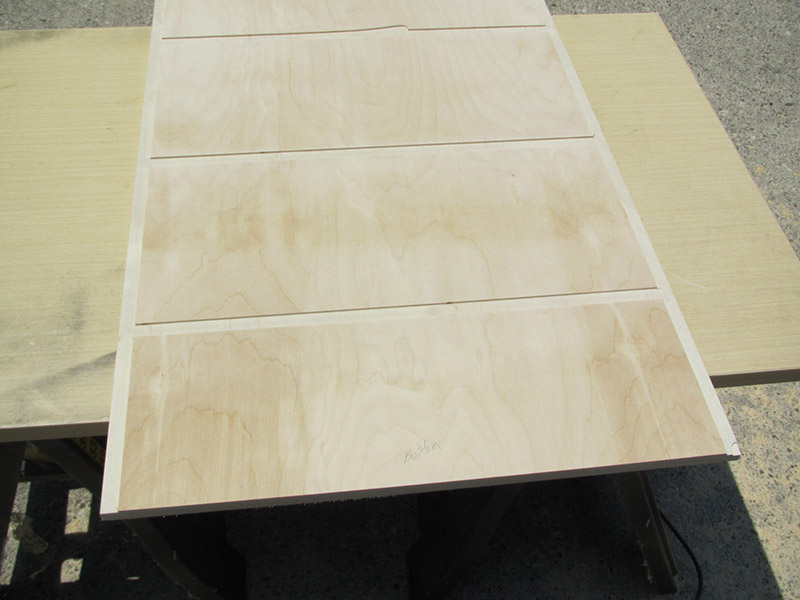
Here is one of the dangers of using double-face tape to hold down a routing guide. After a few uses the tape doesn't hold as well. If you get lazy and try to go too long before applying fresh tape the guide can shift on you and this happens:
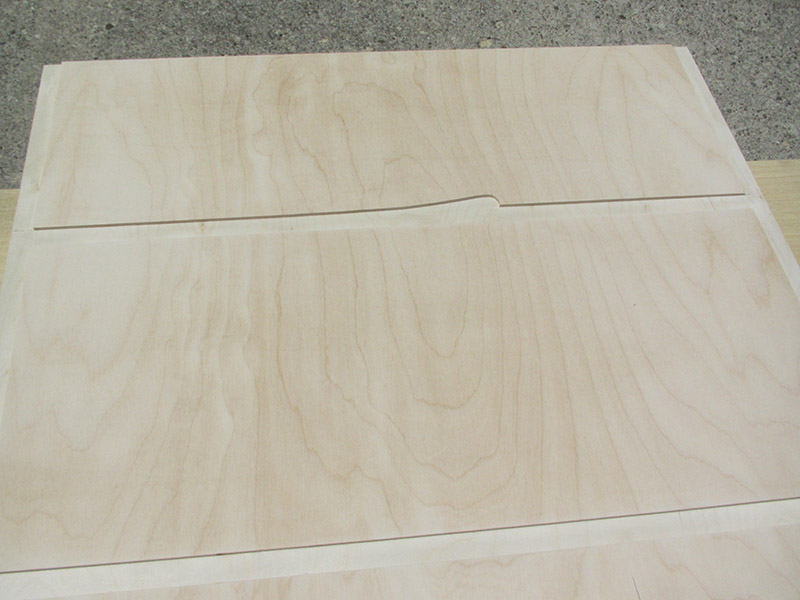
Luckily this ends up being more of a cosmetic error that won’t be visible in the finished cabinet but it is still annoying because it could have been avoided so easily.
Here are all of the shell pieces cut to size, with all dadoes and rabbets routed.
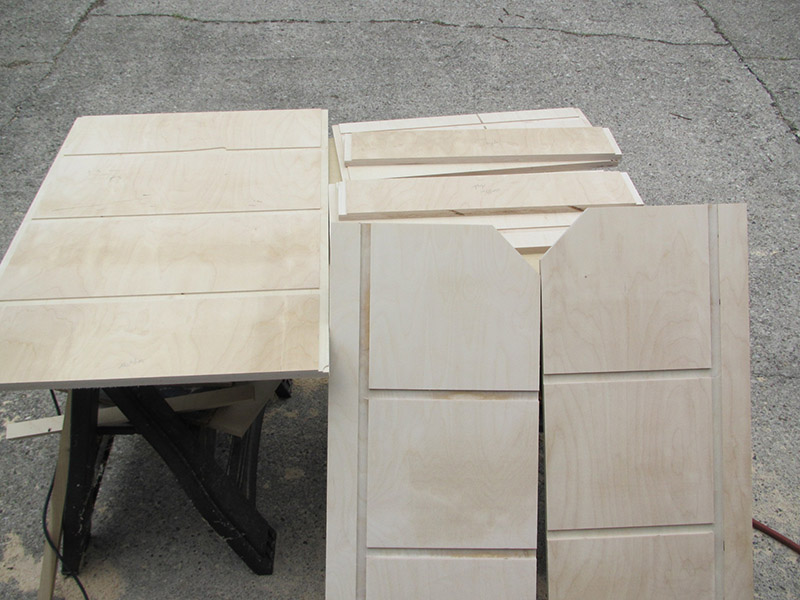
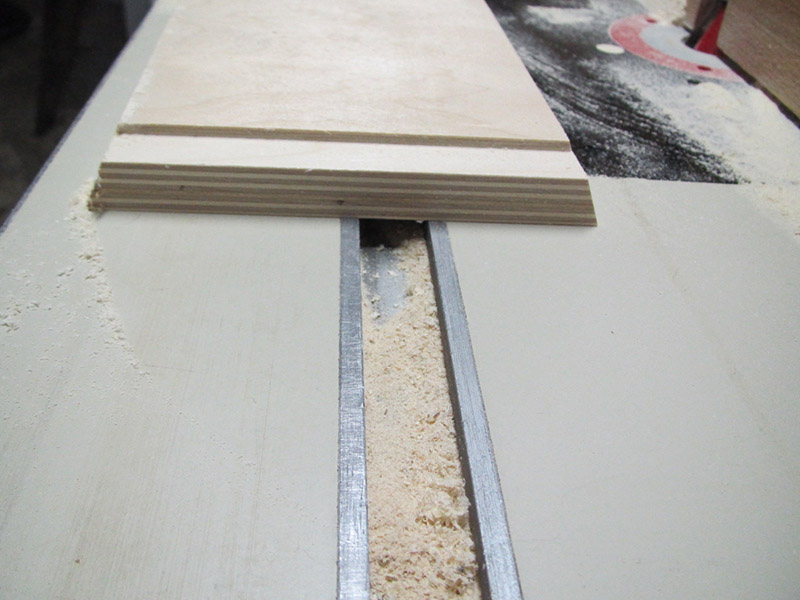
The last thing that needs to be done to the pieces of the shell is to cut some of the edges to a 22.5 deg. angle so that the pieces will fit around the angled corners of the sides. The top and bottom pieces each get one edge beveled while the back and top & bottom angle pieces each get two edges beveled. This could be done on the table saw or with a circular saw but since I already had a 22.5 degree router bit I did it on the router table.
22.5 deg. chamfer bit:
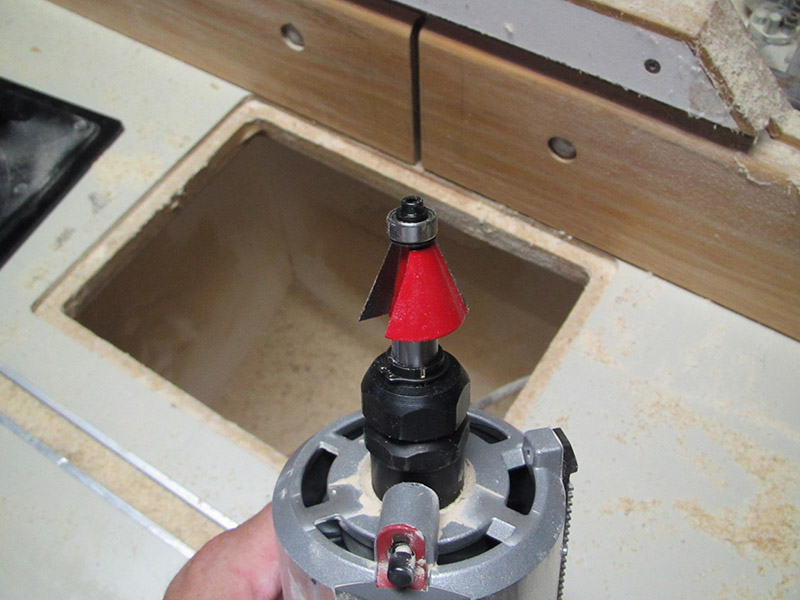
Router bit and fence adjusted to cut bevel:
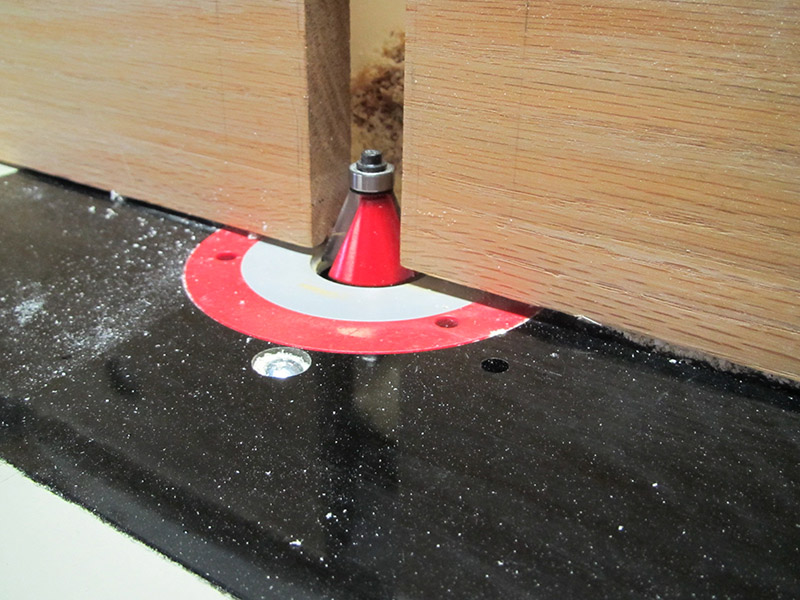
One of the pieces with two edges beveled:
At this point I was able to do a dry fit to see how things were looking:
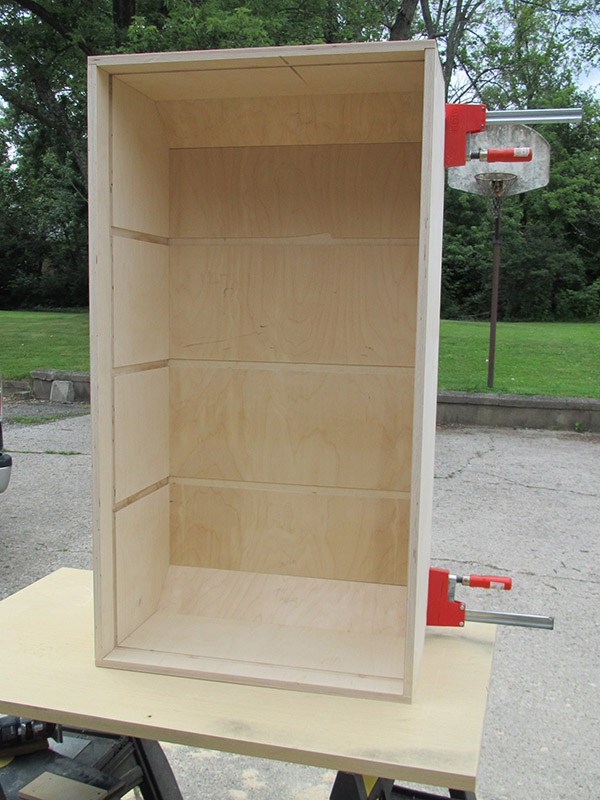
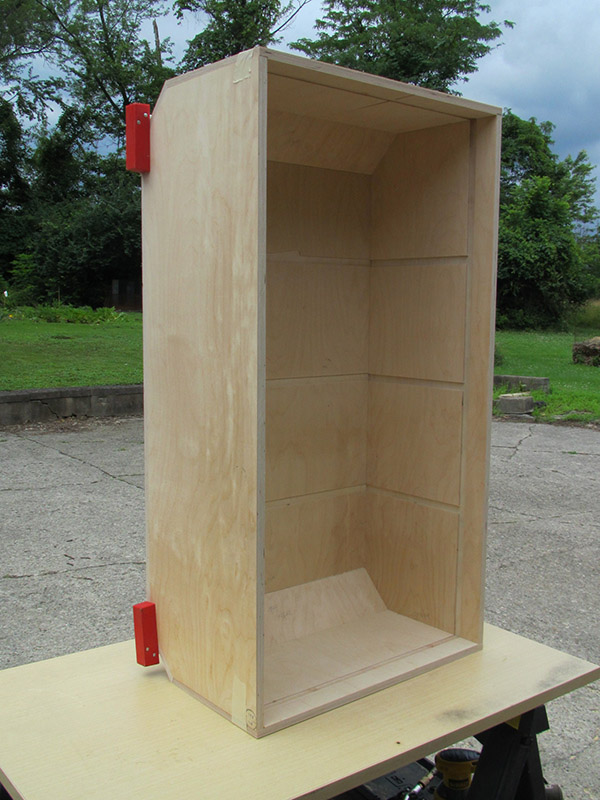
This is as far as I can go for now. There are a couple of things I need to do before I start assembly. First, the back needs to be routed out for the jack plate and that will be much easier to do before assembly. I have a jack plate on order and once I receive it I will create a routing template to use on the back. I also want to have the speaker baffle finished before starting assembly. As I've looked at how the cabinet is designed I've decided that my first step will be gluing the top, bottom and sides to the baffle. This will allow me to make sure everything is square and properly fit to the baffle. Once that is finished I can slide the divider pieces in and then install the back and angled pieces.
At some point I also need to start working on the frame for the grille. I've decided to go to the trouble of fabricating a reusable template for this, on the slim chance that I might ever build another one.