• TalkBass has been independent since 1998. Add your voice.
    Create a free account to reply to discussions, view embedded media, and browse with fewer display ads.
    Join freeLog in
    Want zero display ads or expanded classifieds tools? Compare plans.

Building an OM Bass

I decided to bind the headstock and fretboard and found some off-cuts of Victorian Blackwood from a previous project. Some of the headstock binding needs to be bent and I do this by dropping the piece of binding into boiling water for a minute or so and then clamping it between two formers and putting it in a low oven to dry out.
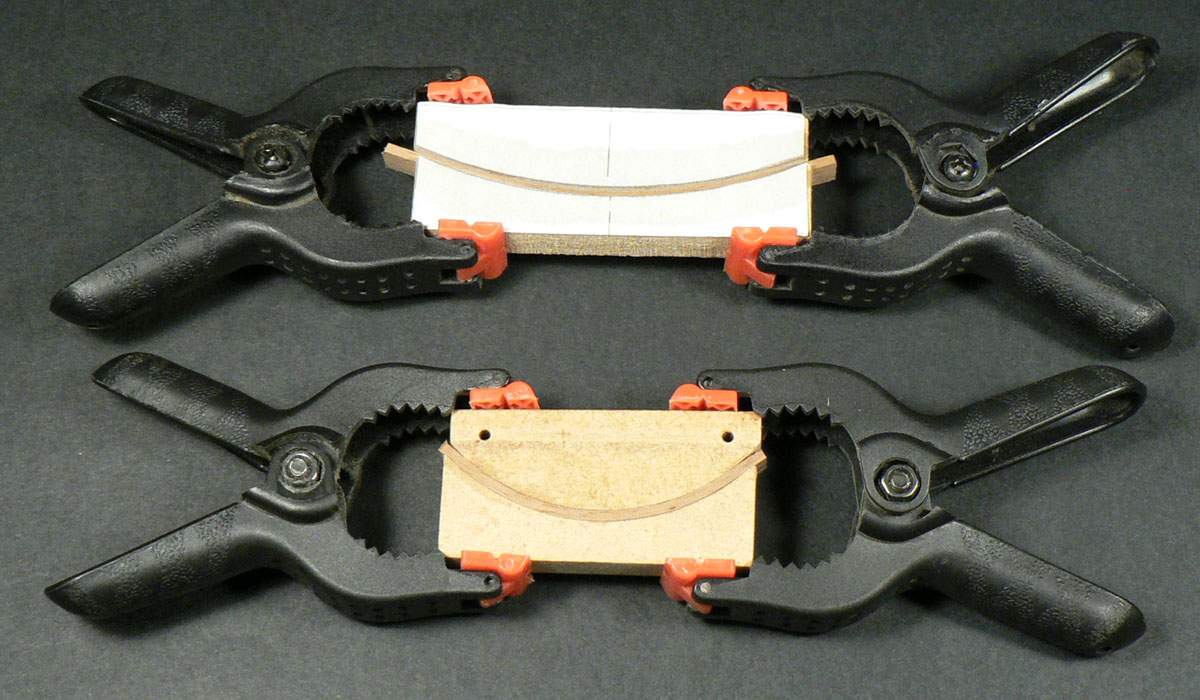
027.JPG


Gluing purfling strips to the binding.
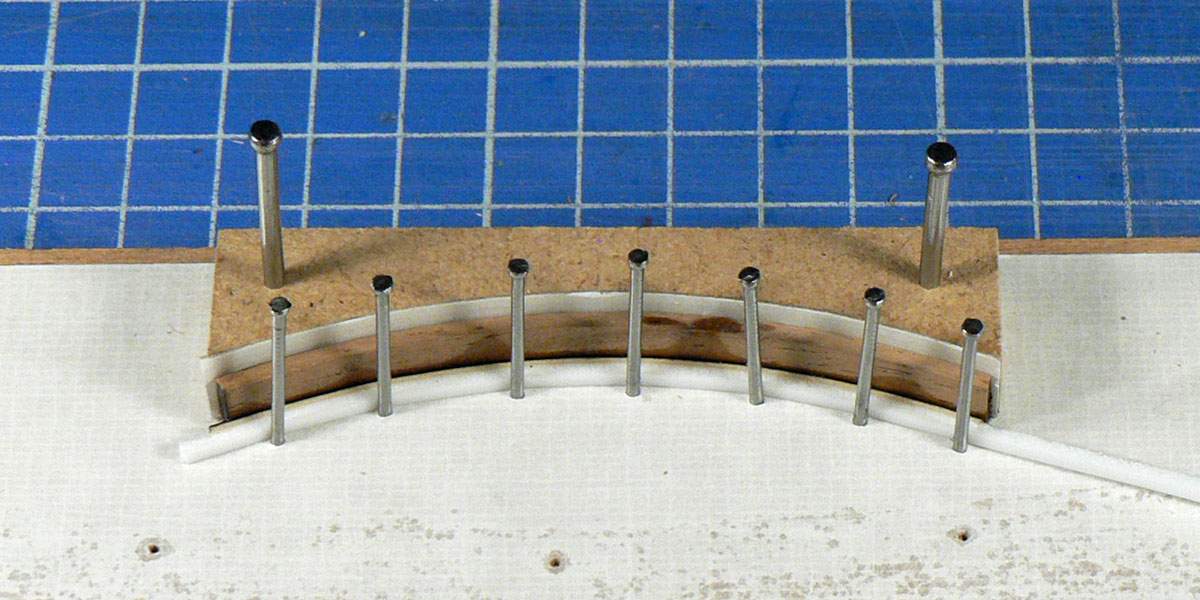
028.JPG


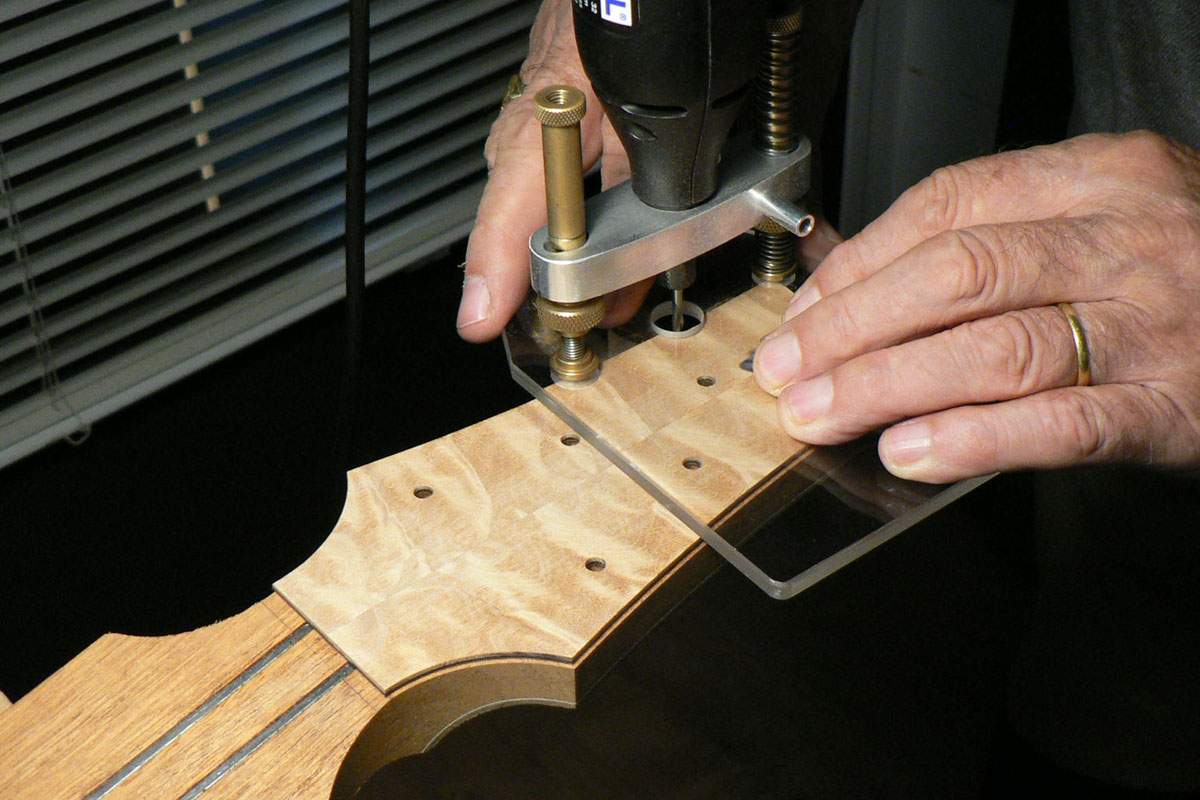
Cutting the rebates for the binding. I find the Dremel in the Stewmac base is OK for this sort of thing except that the Stewmac base is too small. It’s all too easy to let it wobble a bit and cut a divot out of the rebate, so I made a bigger base from acrylic sheet and it’s much more stable. I can also see what I’m doing.
029.JPG

030.JPG


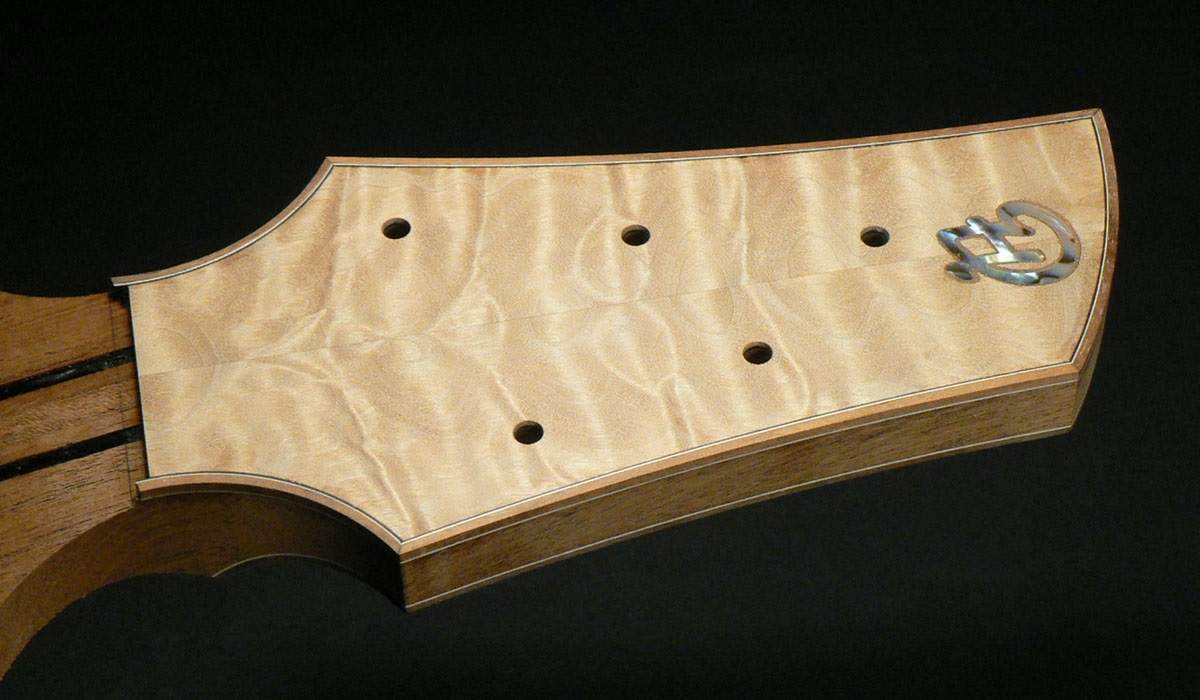
Binding glued in. Sorry, no photos. I make the rebates a bit shallower and narrower than the binding and, when the binding is all glued in, scrape and sand the top edges flush with the headstock veneer and trim the width flush on the router table.
031.JPG
 
Making up the binding and purfling strips for the fingerboard.
032.JPG


Cutting the fingerboard to finished width, minus two bindings, plus a bit for cleaning up before gluing the bindings on.
033.JPG


ng the bindings flush after gluing. The tape on the plane prevents the blade from cutting the fingerboard. I take very thin shavings and feel the edge after each stroke. When I can feel there’s hardly any more to take off, I stop . . .
034.JPG


. . . and sand the rest flush with a radiused sanding block.
035.JPG
 
I centred the fingerboard on the neck and nailed it on. Sort of. I drill small holes through the fret slots for locating pins. This is where I realised that the blackwood wasn’t the best choice of binding material as it’s exactly the same colour as the mahogany neck and nearly the same colour as the headstock veneer. Oh well.
036.JPG


The next step was to trim the width of the neck blank. To do this on the band saw I have to do it face down because of the angled headstock, so I attached 2 strips of wood about 3 mm from each side of the fingerboard and set the fence on the band saw so that the blade ran down the gap, I then took the fingerboard off and fixed a third piece of wood in its place.
037.JPG


In the photo it looks as if the neck blank is touching the fence, but it isn’t.
038.JPG


This left a small amount of wood to be trimmed flush with the fingerboard.
039.JPG
 
This is where I realised that the blackwood wasn’t the best choice of binding material as it’s exactly the same colour as the mahogany neck

You mean, that's when you realized your choice worked exactly the way you planned making it look like the neck wraps the fingerboard and this is clearly not a mistake but a key feature ;)
 
I trimmed the neck flush with the fingerboard on the router table. I had to mount it on small blocks because of the headstock again. The fingerboard isn’t glued on yet, as I still have several things to do which need the neck to be at its finished width, but which will be much easier to do without the fingerboard.
040.JPG


One of these things is drilling holes for the neck mounting bolts. First the holes for the screws. 7mm holes for 5mm screws to give them plenty of wiggle room.
041.JPG


Then the holes , for the barrel nuts. The wooden dowels in the screw holes ensure a clean intersection of the two holes.
042.JPG


I have a bag full of barrel nuts and drilled the holes to suit them. Then realised that they were for 6mm screws not 5mm. So I had to make some barrel nuts.
043.JPG
 
Now that the neck was at its finished width I made a template from it to route the neck pocket in the body. I didn’t need to hog out any wood using Forstner bits as there’s a cavity under that area slightly smaller than the neck pocket. The cavity was made when I made the centre block.
044.JPG


The corners were rounded on the neck to fit the pocket. Then, with the neck installed, holes were drilled through the body for the screws.
045.JPG

046.JPG


I soaked the end grain of the cedar in the pocket with CA to harden it up as the neck will press on this area under string tension. I also drilled a hole for access to the truss rod through the sound hole. The two brass discs are thrust pads for two screws to bear on to adjust the neck angle.
046a.JPG


The neck screw holes were counter-bored on the back for ferrules. CA was also applied to the holes to harden the cedar.
046b.JPG
 

Attachments

  • 044.JPG
    044.JPG
    135.7 KB · Views: 25
  • 045.JPG
    045.JPG
    101.3 KB · Views: 26
  • 046.JPG
    046.JPG
    78 KB · Views: 31
I trimmed the neck flush with the fingerboard on the router table. I had to mount it on small blocks because of the headstock again. The fingerboard isn’t glued on yet, as I still have several things to do which need the neck to be at its finished width, but which will be much easier to do without the fingerboard.View attachment 4883454

One of these things is drilling holes for the neck mounting bolts. First the holes for the screws. 7mm holes for 5mm screws to give them plenty of wiggle room.View attachment 4883455

Then the holes , for the barrel nuts. The wooden dowels in the screw holes ensure a clean intersection of the two holes.View attachment 4883456

I have a bag full of barrel nuts and drilled the holes to suit them. Then realised that they were for 6mm screws not 5mm. So I had to make some barrel nuts.View attachment 4883457

Do you do anything to keep the barrel nuts from rotating while the neck is not attached?
 
Do you do anything to keep the barrel nuts from rotating while the neck is not attached?
No, I just have to make sure they are lined up when fitting the neck. I thought about doing something to make them a tighter fit in the holes, but then I'd have to drill and tap a hole in the ends to be able to pull them out if I had to. Once the bass is finished and the neck bolted on, it will probably never come off again.
 
I think I’ve now done everything I need to do before gluing the fretboard on. I use a clamping caul like this one for a radiused fretboard to make sure the edges are clamped tight. The neck has masking tape on it to help cleaning up the glue squeeze-out.
050.JPG


Glued and clamped.
051.JPG


Clamps off and cleaned up. You may be able to see there’s a zero fret installed. I like zero frets. An idea I picked up from someone else (can’t remember who) is to use a different fret wire for this fret with a slightly higher crown and I happened to have some. It also has the nibs on the tang filed down so that it can be easily pushed into the slot and taken out again so, even if you have to use the same wire as all the rest, it can be taken out when levelling the others, which still gives it a chance of being slightly higher. It also means you don’t have to hammer it in and risk breaking off the 3mm of fretboard on the end.
052.JPG
 
Someone asked how I go about fretting a bound fingerboard so this is how. I don’t have any special jigs. If I made more than one or two instruments a year I might, but I don’t. I do have this plywood thing with slots in it, clamped to the bench, and a jeweller’s saw. I measure the width of the fingerboard, add a millimetre and cut a piece of fret wire (the tang is in a slot).
053.JPG
Then I turn the fret on its side and cut through the tang at both ends.
054.JPG


I then fit the fret into another slot on the side of the plywood thing and cut off those bits of tang.
055.JPG


The fret is then fitted into a slot on the front and the end rounded over with a fine file until it’s slightly shorter than the width of the fingerboard and then finished off with a fine grain sanding stick and polished with a little mop in a Dremel. I’ve done one or two instruments with semi-hemi-spherical fret ends, but now I just file the end round at an angle. The bit of wood on the top is just to give me a guide for the angle when filing.
056.JPG


The finished frets (and the zero fret in the photo) look like this.
057.JPG


I press the frets in on the drill press using a home-made fret press caul which is similar to the Stewmac one but didn’t cost $70. This photo is of another instrument which had semi-hemi frets.
058.JPG
 
Shaping the neck. I take the thickness and width of the neck (without fingerboard) at the first fret and the point where it starts to flare out into the heel and use these dimensions to draw elliptical cross-sections. I’ve always made necks this shape on the instruments I’ve made for myself and the few I’ve made for friends and family and nobody’s ever complained. I then draw facets touching the ellipses, starting with two big ones, then four small ones.
Facets.JPG


Lines drawn for the first two facets and notches cut at each end using a microplane. They only seem to be advertised as cooking implements these days but I find it excellent for this sort of thing, much better than a Surform
059.JPG


060.JPG


Joining up the notches, first with a spokeshave, . . .
061.JPG


. . .and then with a small block plane.
062.JPG


Four more facets are drawn and cut.
063.JPG


Then the corners are rounded off and finished with sanding sticks and finally the shoe-shine method using strips of sandpaper and I forgot to take photos. I bought a couple of the small Iwasaki carving files and used them to blend in the volute and the heel.
064.JPG


065.JPG
 

Latest posts