

Enjoy the benefits of a premium membership!
Upgrade Account
-
TalkBass has been independent since 1998. Add your voice.
Create a free account to reply to discussions, view embedded media, and browse with fewer display ads.
Join free Log in
Want zero display ads or expanded classifieds tools? Compare plans.
You are using an out of date browser. It may not display this or other websites correctly.
You should upgrade or use an alternative browser.
You should upgrade or use an alternative browser.
Building my Fenderbird
- Thread starter kbakerde
- Start date
More options
Who Replied?

Consult the Rattle Can Refinish Club here at TalkBass.
One thing the club is a bit light on is wood fill. I've done a lot of acoustic finish work and yes, wood fill is crucial, so be very thorough. Apply, wipe as clean as possible, scotchbrite, repeat if needed. Try not to be too dismayed at how many sanding scratches you see. Since you're going with a solid color, flatness of the surface is more important.
One thing the club is a bit light on is wood fill. I've done a lot of acoustic finish work and yes, wood fill is crucial, so be very thorough. Apply, wipe as clean as possible, scotchbrite, repeat if needed. Try not to be too dismayed at how many sanding scratches you see. Since you're going with a solid color, flatness of the surface is more important.

Love mine! Gotta lotta mileage! The pups used to be black! Go get 'em!
The Bar Band Bassman

View attachment 5088800
Love mine! Gotta lotta mileage! The pups used to be black! Go get 'em!
The Bar Band Bassman
is that a Musicman bridge?

Just some random thoughts from the cheap seats:
I'd also recommend checking out Mark Murray over at GuitarGuts YouTube channel. Mark does a TON of refinishes and he pretty much uses rattle cans exclusively. I think he even did a full video on his setup and technique. I'll second checking out Brad Angove as well. A lot of rattle can experience there and he uses Oxford. I think he even did a spray painting tips video just recently too. It's kind of a bummer, because I think Brad even has discount codes for Oxford stuff, or at least a discount code when ordering it through his sponsor Solo Music Gear. Don't quote me on that tho.
I don't know that I'd stress about the neck pocket. Keep in mind you are gonna add a few mills of thickness to the pocket when you finish the body, it may come right into line.
Love the project!
I'd also recommend checking out Mark Murray over at GuitarGuts YouTube channel. Mark does a TON of refinishes and he pretty much uses rattle cans exclusively. I think he even did a full video on his setup and technique. I'll second checking out Brad Angove as well. A lot of rattle can experience there and he uses Oxford. I think he even did a spray painting tips video just recently too. It's kind of a bummer, because I think Brad even has discount codes for Oxford stuff, or at least a discount code when ordering it through his sponsor Solo Music Gear. Don't quote me on that tho.
I don't know that I'd stress about the neck pocket. Keep in mind you are gonna add a few mills of thickness to the pocket when you finish the body, it may come right into line.
Love the project!

So I was checking out the channel, and I didn't get to the paint yet. But I did get to him unboxing this, which I might pickup:
SpinTwist Paint Rig Bolt On Version 2023 | Reverb
Looks like a rig very similar to the Fender Custom Shop painting rig. It's kind of pricey, but not exorbitant. I know I could build my own rig, but man this is nice and seems like it would really make the spraying easier.
That looks like a good rig. I think there’s 2 different versions. Unfortunately, I don’t have a dedicated spray area, I have to clean and rearrange the garage when it’s sprayin’ time and I don’t really have room to store that the rest of the time. I suppose I could get my wife’s stuff out of the garage…


That looks like a good rig. I think there’s 2 different versions. Unfortunately, I don’t have a dedicated spray area, I have to clean and rearrange the garage when it’s sprayin’ time and I don’t really have room to store that the rest of the time. I suppose I could get my wife’s stuff out of the garage…
So I watched a video on it. And you can disassemble the rig and store it in a box when you're not using it!

I think you're close enoughI am not. I will join once I have a guitar to join with.

So I watched a video on it. And you can disassemble the rig and store it in a box when you're not using it!
Not sure I have room for the box either.



Ok. Wiped the body with a damp cloth and raised the grain, then proceeded to sand down with 600 grit. Next step for me is grain filler. I’m using Oxford natural oil based grain filler.
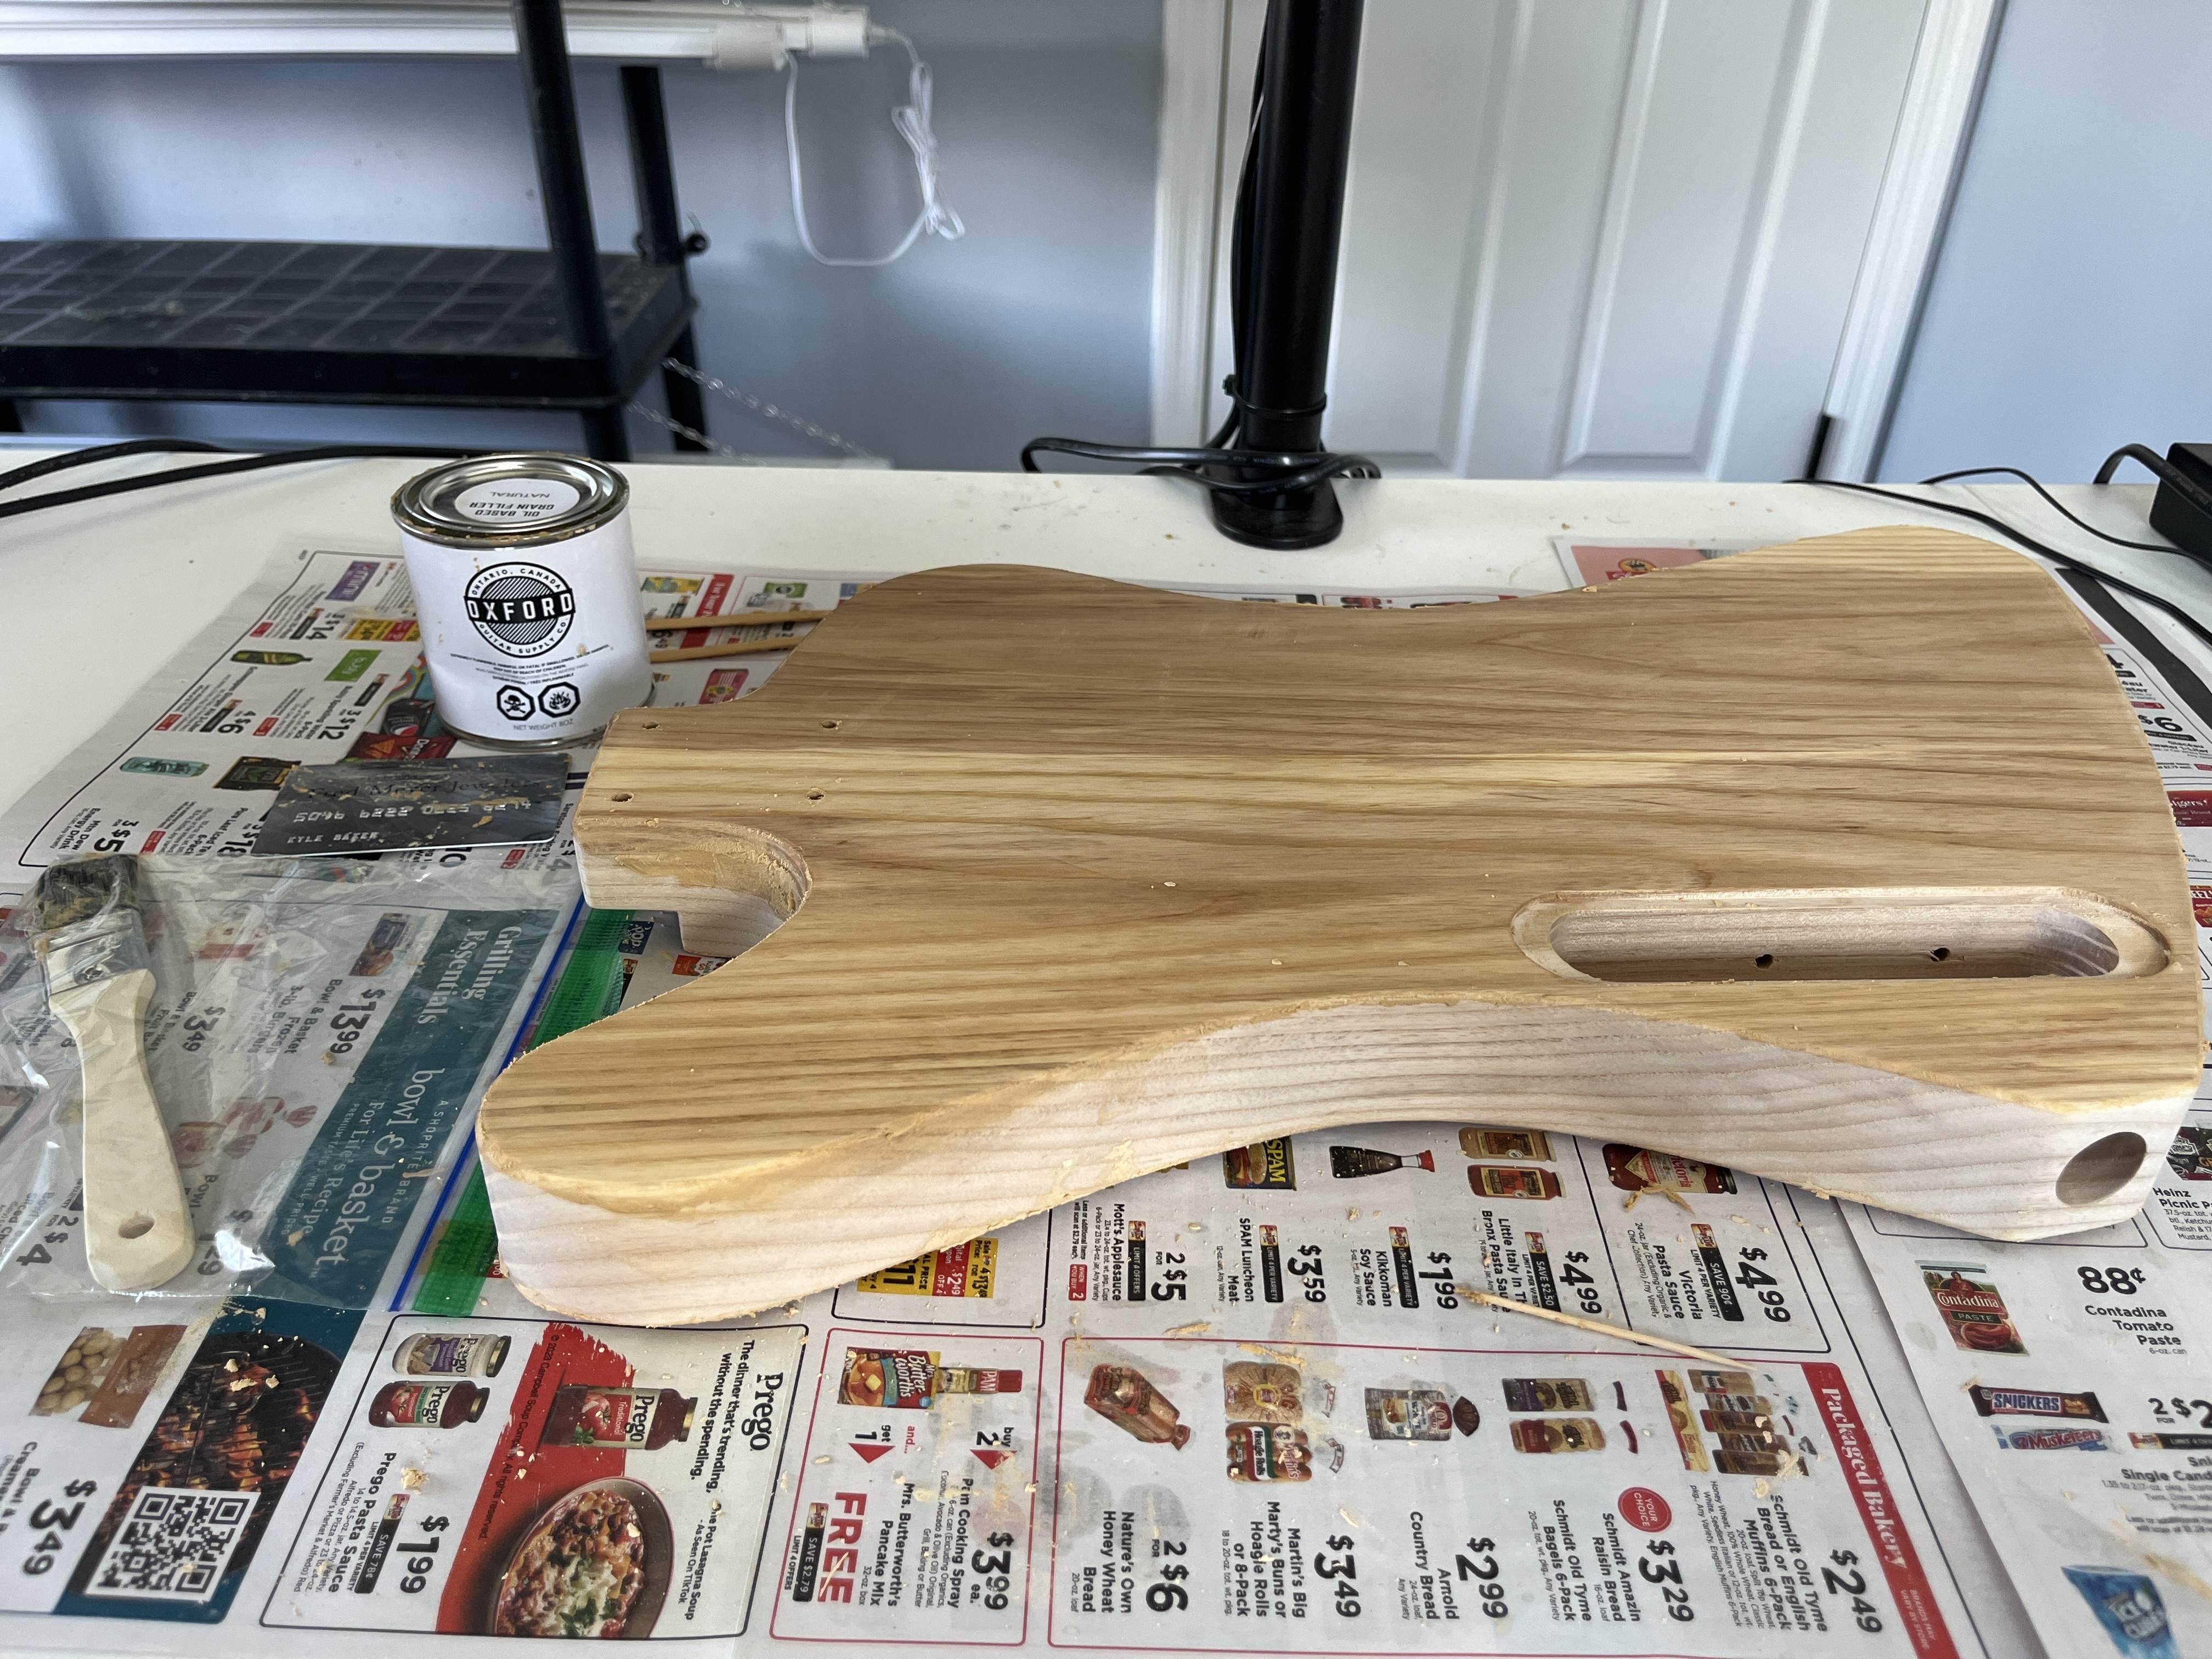
So far I’ve done one coat on the top and bottom. I used a brush to paint a thick layer of filler onto the body, then used an old credit card to scrape the excess off. I still have to do the sides, but I’m thinking of a slightly different approach.
I think for the sides and for a second coat, I’ll get some unreal spirits to thin the filler, and some latex gloves and work it by hand. I’ll scrape the excess again, but I won’t try to get it down to the wood like last time. Leave a bit more in. After that I need to decide to do a third coat first or sand.
So far I’ve done one coat on the top and bottom. I used a brush to paint a thick layer of filler onto the body, then used an old credit card to scrape the excess off. I still have to do the sides, but I’m thinking of a slightly different approach.
I think for the sides and for a second coat, I’ll get some unreal spirits to thin the filler, and some latex gloves and work it by hand. I’ll scrape the excess again, but I won’t try to get it down to the wood like last time. Leave a bit more in. After that I need to decide to do a third coat first or sand.
Here is the front after a coat
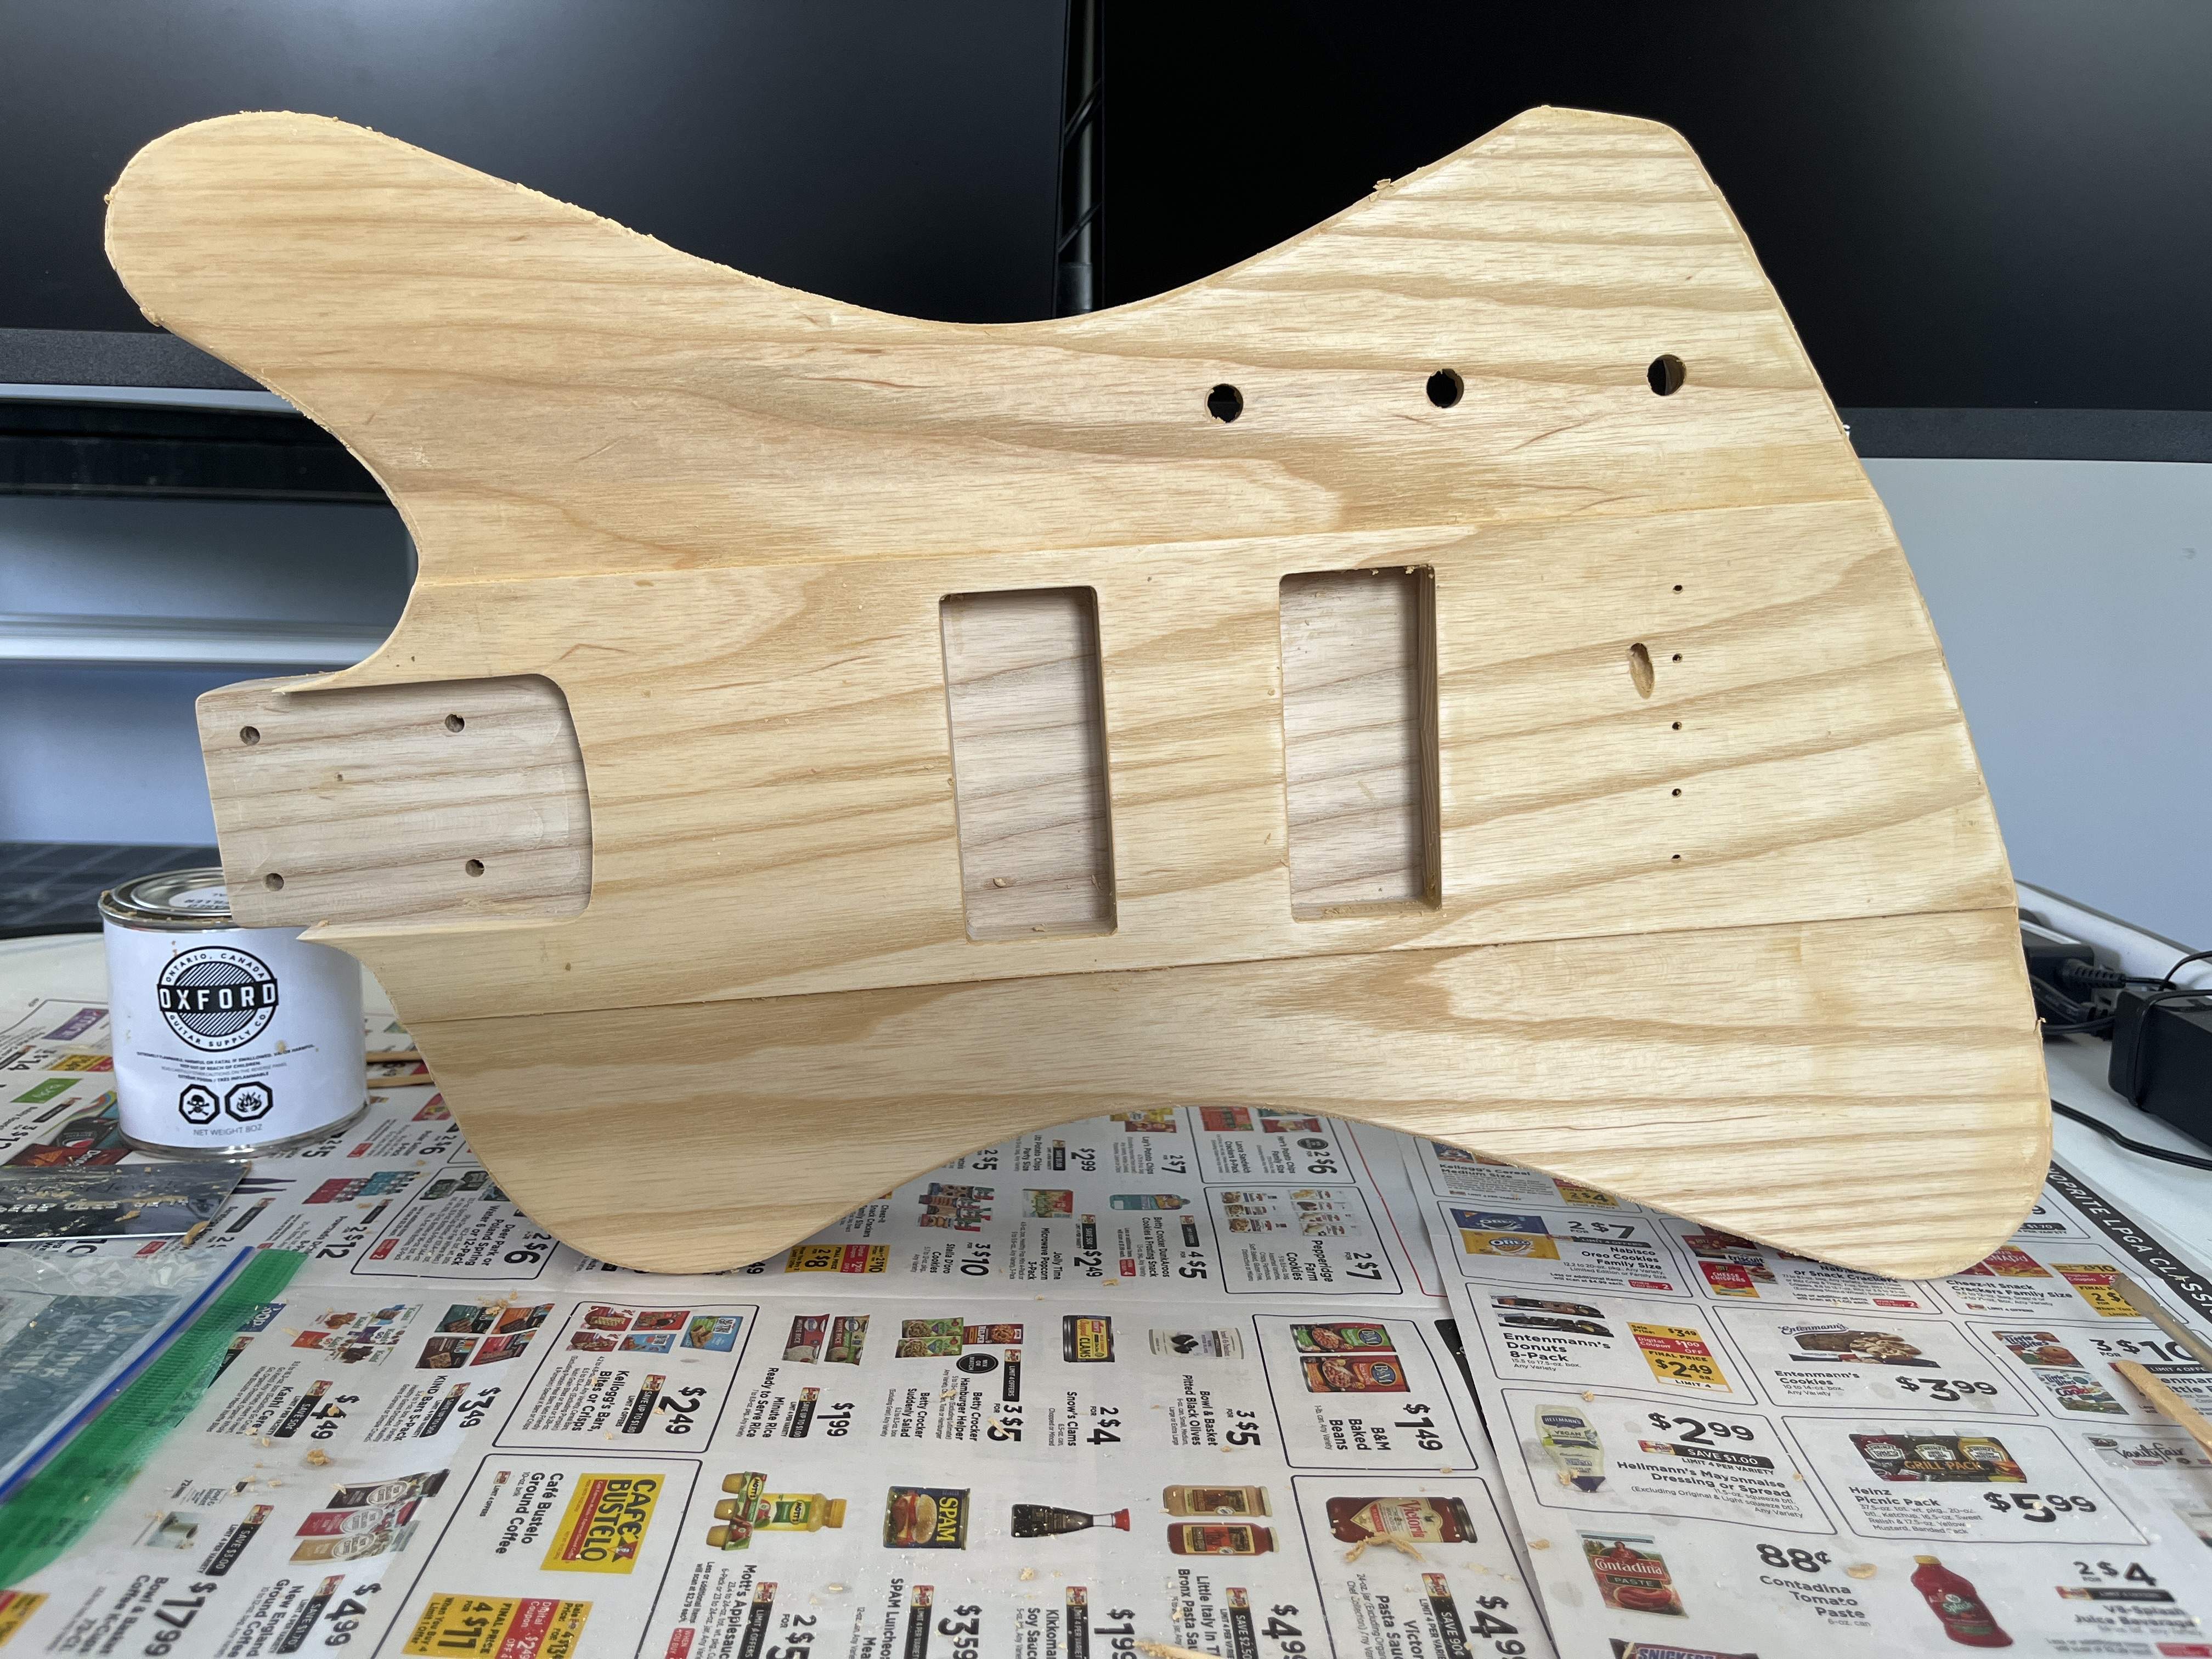
So far the front I can still feel the grain a bit. The back feels more flat. But I will do probably two more coats of filler. Then I’ll check with my hand and with a light to see how I’m doing.
So far the front I can still feel the grain a bit. The back feels more flat. But I will do probably two more coats of filler. Then I’ll check with my hand and with a light to see how I’m doing.


