
I recently stumbled onto an Instructable on how to make conductive paint from easily obtainable supplies ([Invalid or Expired Link Removed]). I used a variation of this technique to fabricate a stretchable strain gauge for a non-bass related project. The results were promising, so I decided to try using a similar concoction for cavity shielding. While the electrical conductivity achieved using this method is not as high as foil tape it should provide respectable electromagnetic shielding.
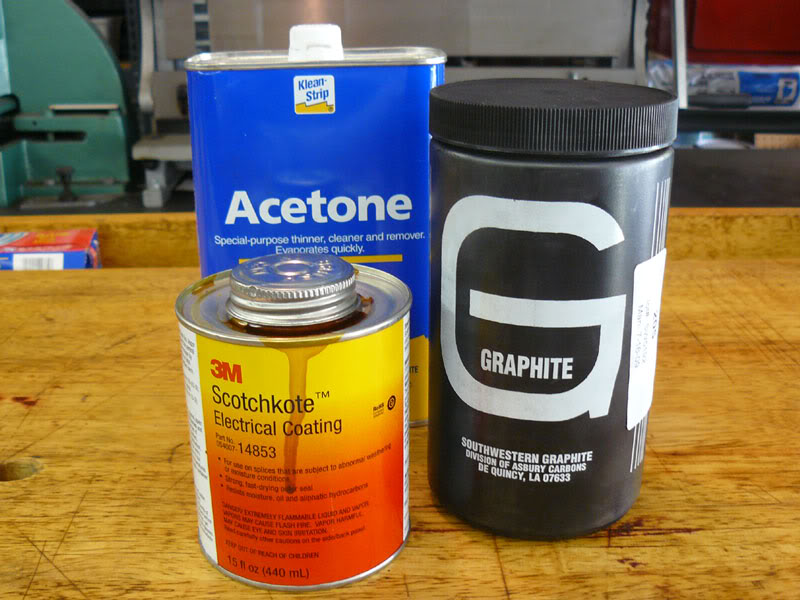
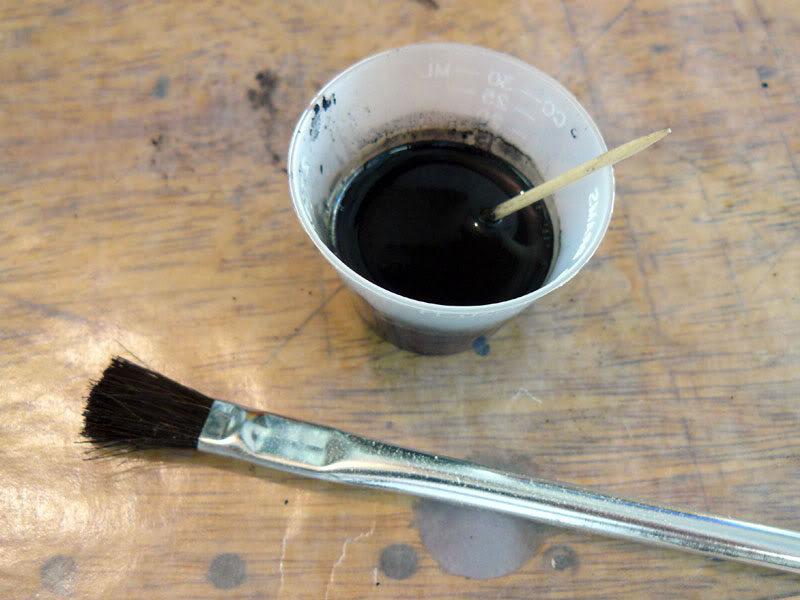
The basic idea is to create a paintable mixture containing graphite powder. Since graphite is highly conductive the surface painted with the graphite will have a low resistance once dry. The formula I used was one part 3M Scotchkote Liquid Tape, 1.5 parts graphite powder, and 1 part Acetone. I created the mixture in small batches, just enough for one coat since the solution starts to setup in about 10 minutes. The solution was painted on in three coats using disposable acid brushes allowing 20 minutes between applications.
The materials can be purchased locally at most hardware stores in small quantities. I bought my supplies from McMaster-Carr mainly because they sell graphite powder by the pound (around $10).
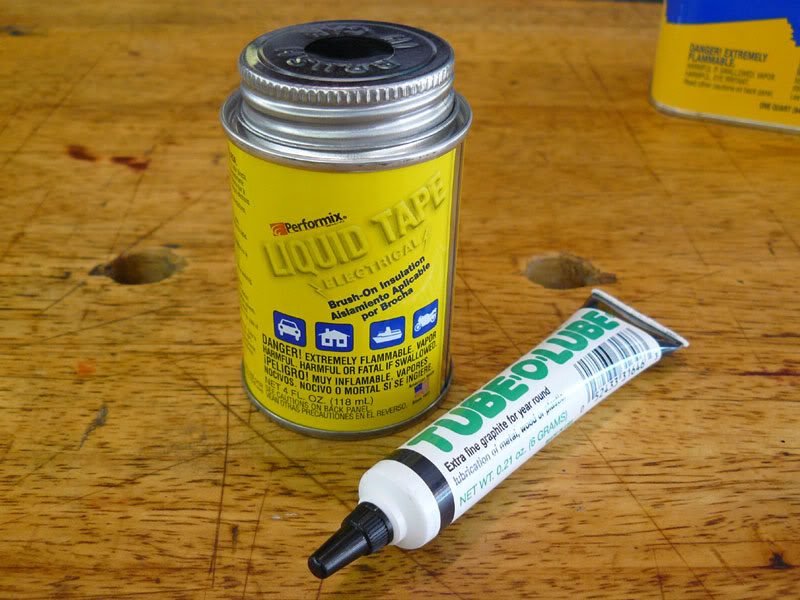
Home Depot or Walmart will have something more like this:
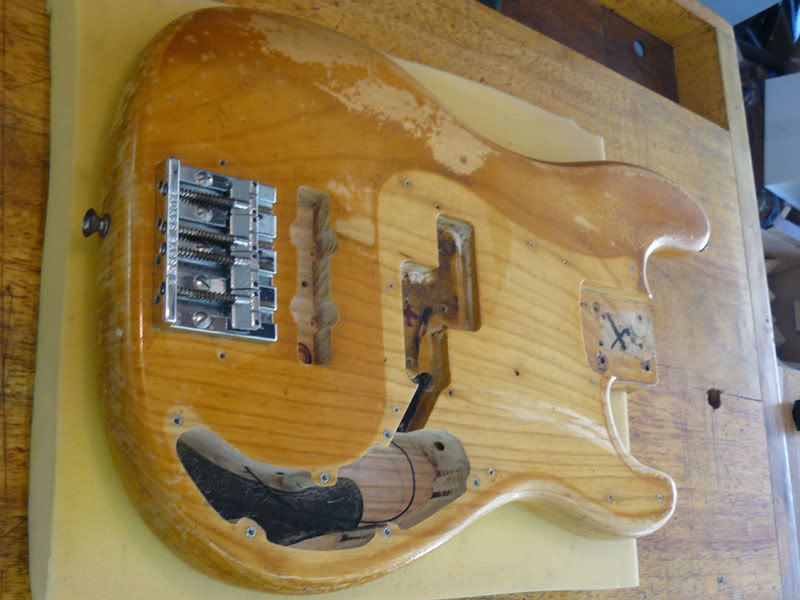
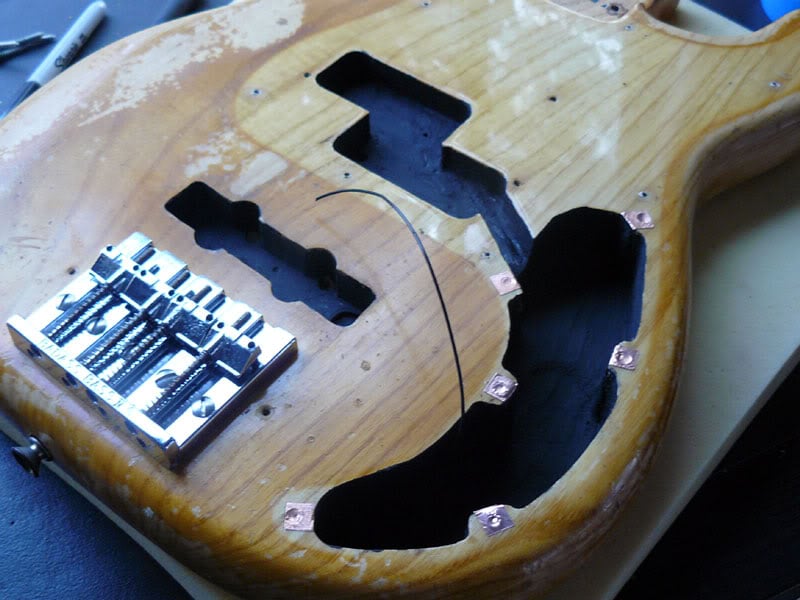
The test subject is a recently purchased '76 P-bass that had been modded for EMG's before I bought her. My plan is to clean her up and outfit with custom active pickups / electronics and an aluminum control plate. Here is the body with the control cavity cleaned-up and threaded inserts installed.
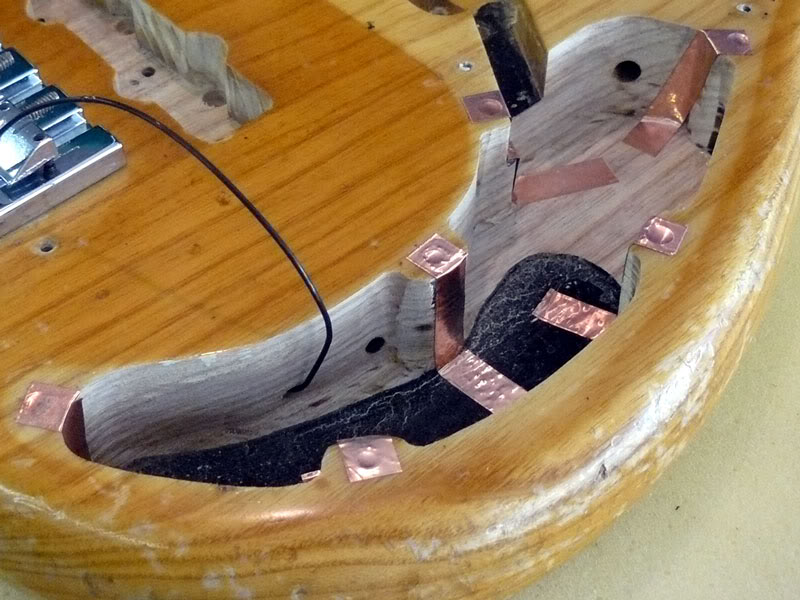
Copper tape strips were laid down over the lip of the control cavity at the inserts to provide a conductive path to the control cover.
The liquid tape was mixed with the graphite using acetone as a thinner.
The control cavity and pickup routs after three coats of conductive paint.
After drying for one hour the resistance was measured across the length of the cavity. A resistance of less the 100 ohms was measured between any two points in the control cavity.
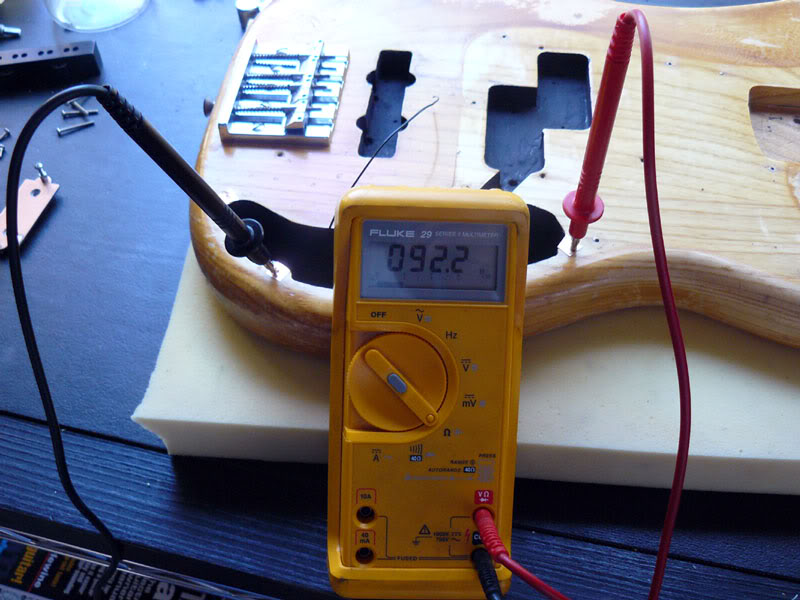
The resistance should continue to drop over the next 24 hours as the solvent evaporates. I will post an update with the final results.
--John
I am curious what the resistance was after a few days or currently. I want to know how effective that recipe is.