• TalkBass has been independent since 1998. Add your voice.
    Create a free account to reply to discussions, view embedded media, and browse with fewer display ads.
    Join freeLog in
    Want zero display ads or expanded classifieds tools? Compare plans.

First Build - And May My Mistakes Be Minimal

I think I've got maybe 2-3 coats to go. I drilled one of the potentiometer holes too close to the wall of the control cavity so I'll need to chisel some room. No big deal. Also, the cavity is too shallow for my jack, so I'll need to buy a new jack and likely go in from the corner. Should be fine.

All in all, I don't mind my sanding mistakes. She's looking pretty good.
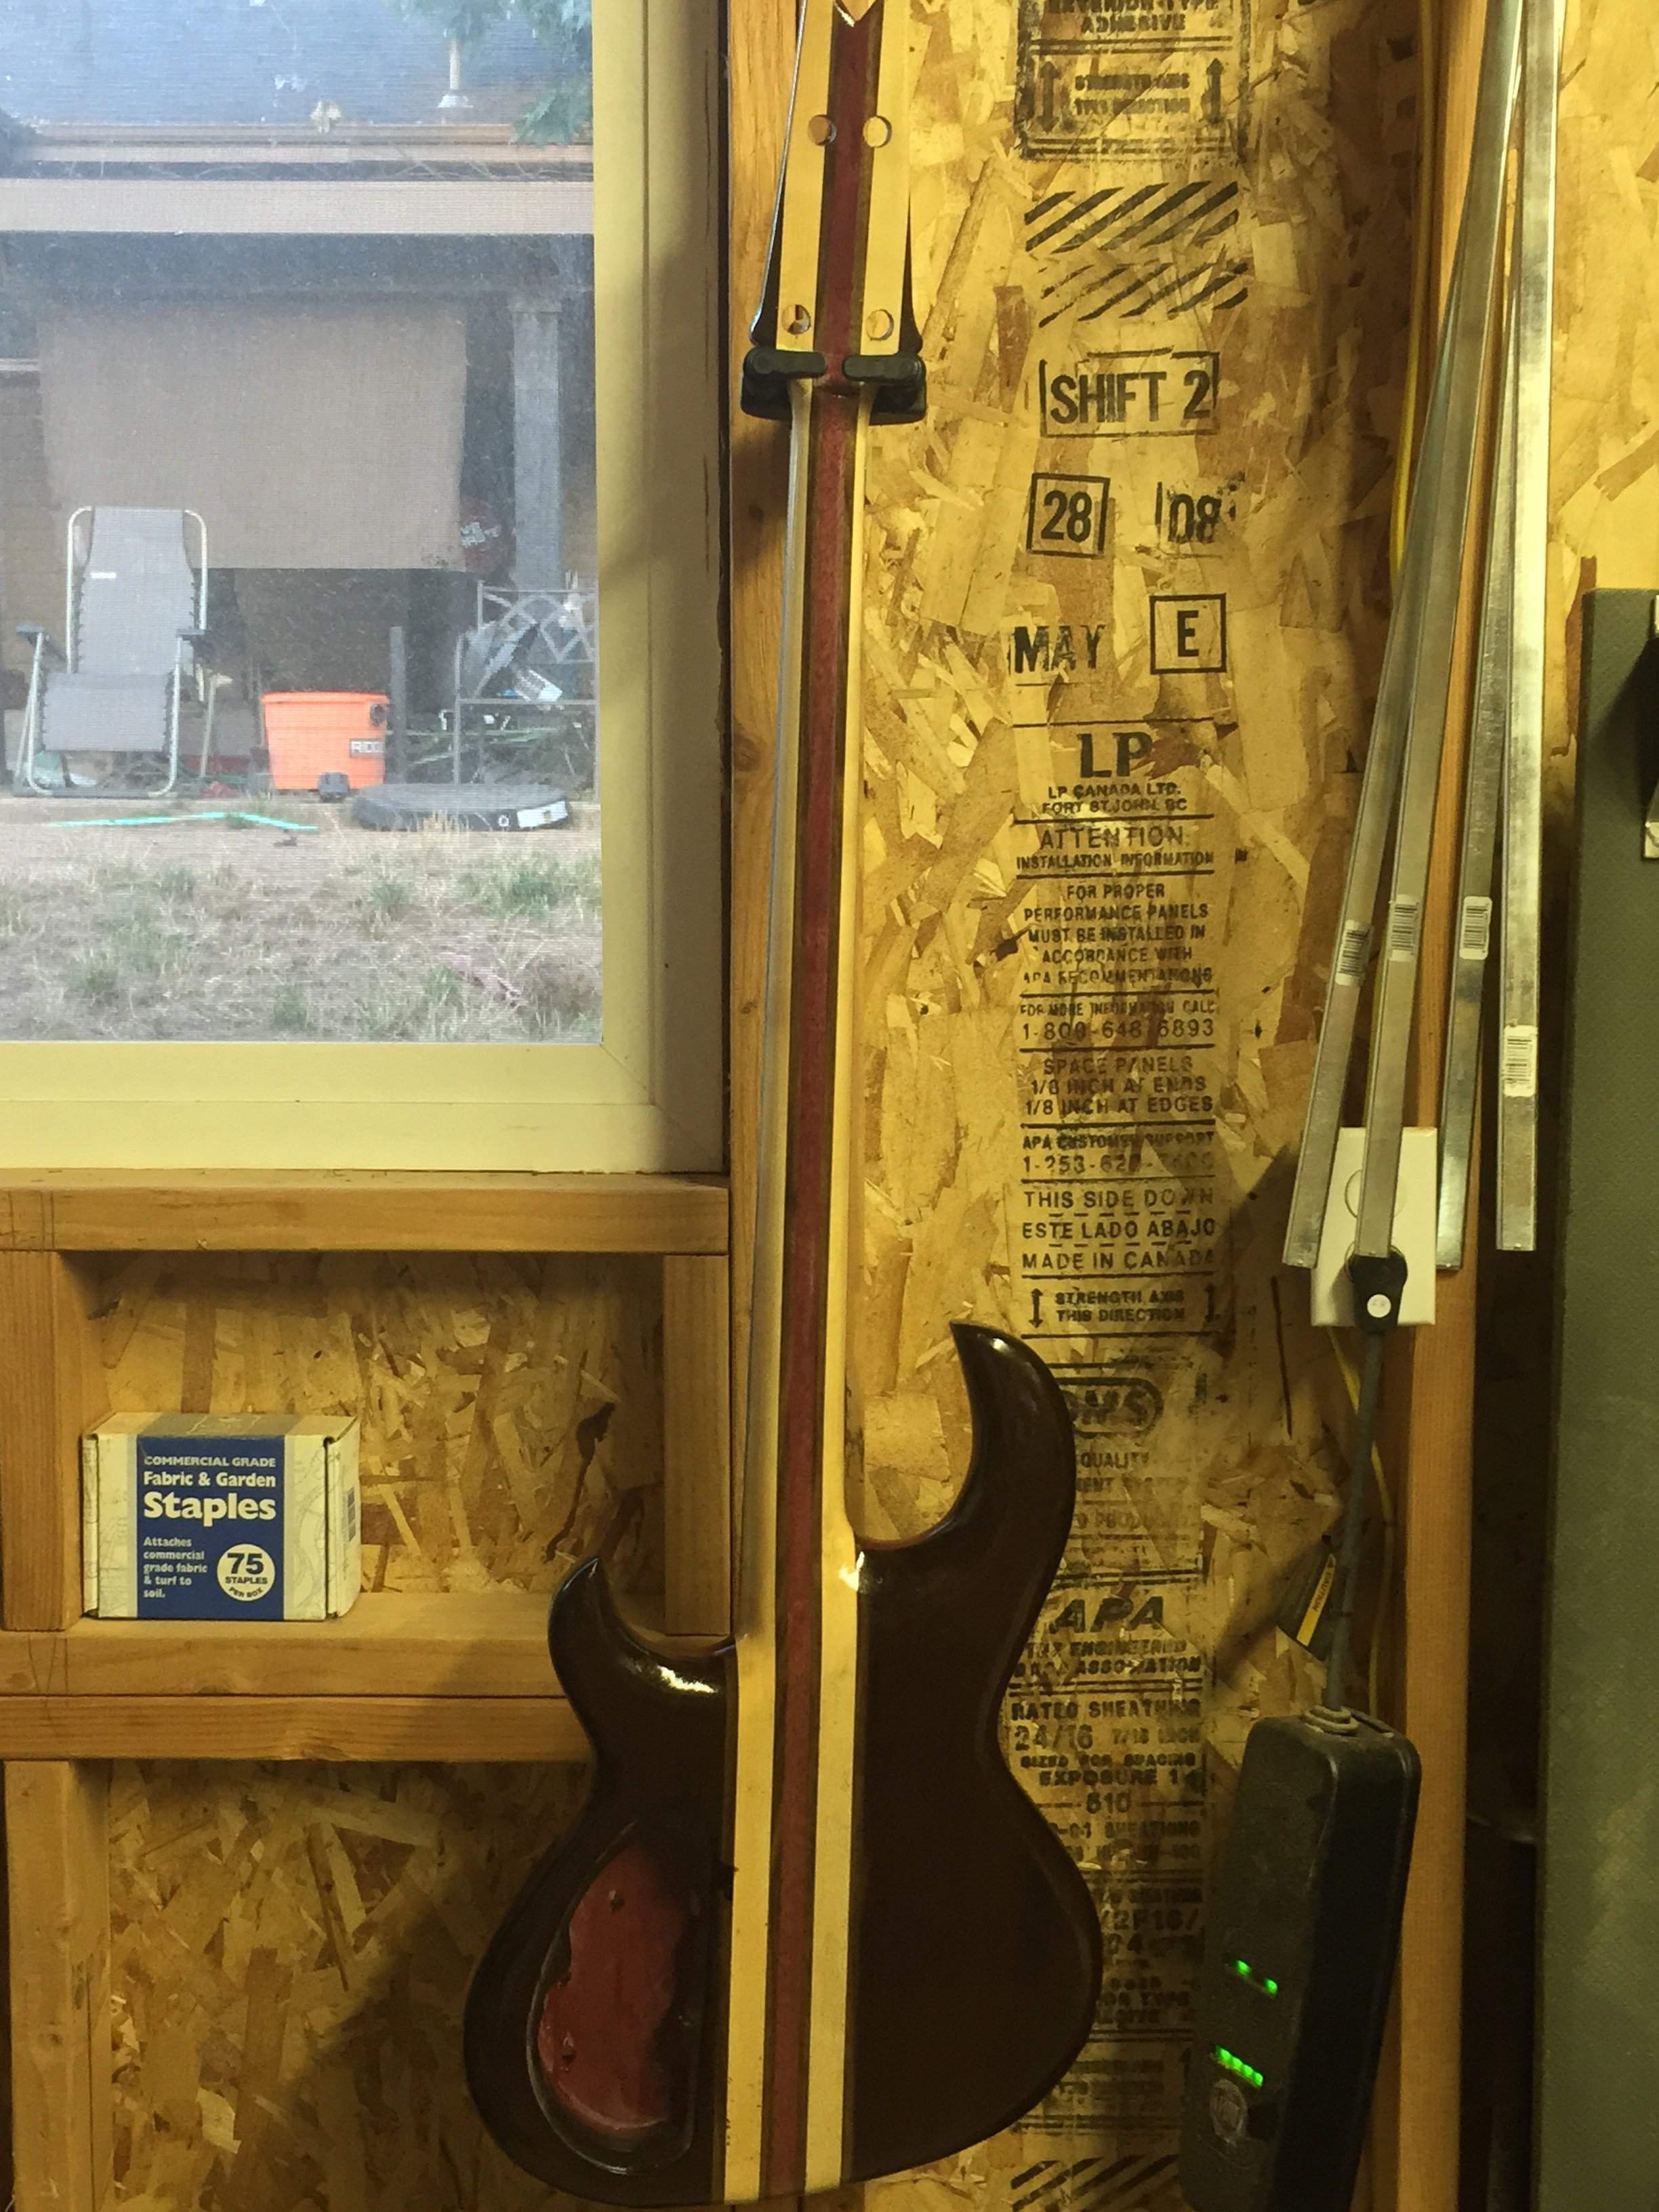
image.jpg
 
I needed to sand back a touch due to imperfections. I've since realized I am getting better success wet sanding with mineral spirits between coats.

So, I am back to being almost done with tru oil. Two more coats and then I will let cure for two weeks.

image.jpeg
 
Thank you sir. I think the grain filler helped a bit with this.

Prep surfaces to 320 grit

Apply wash coat of tru oil

Apply filler. I tinted the filler black, but it was more of a gray so next time I shall use more powdered dye in it. Wipe off excess with denim and let dry a few hours.

Apply thin coats of oil every few hours. You'll see the shine after a few. Apply oil with wadded up paper towel inside of clean t shirt. Applicator should be about the size of a golf ball.

After four or five coats, wet sand with mineral spirits between coats graduating grits starting at 800 to keep things flat. Wipe, dry, more oil!

I plan on doing one more coat after wet sanding with 2000-4000 micro mesh paper.

I will go over my polishing process once the oil cures for two weeks. Hopefully I get it right!
 
  • Like
Reactions: Canadian APII
Important to note for purpleheart: after final prep sanding prior to finish application, let it sit in the sun for an hour or so. This will help quickly bring the color out. Sanding turns the surface brownish. It'll darken over time to a red/brown, but it takes a long time. Uv resistant laquer can help prevent or slow this. Not sure on tru oil, but not concerned.
 
Important to note for purpleheart: after final prep sanding prior to finish application, let it sit in the sun for an hour or so. This will help quickly bring the color out. Sanding turns the surface brownish. It'll darken over time to a red/brown, but it takes a long time. Uv resistant laquer can help prevent or slow this. Not sure on tru oil, but not concerned.
You can also use white vinegar to "cranberry" the wood up. What I have been doing is to wipe down my pieces in white vinegar, give it a sun bath for a day or two, and then use some fine sandpaper to remove the raised grain.
 
  • Like
Reactions: PDX Rich

Solid blurb about purpleheart. As much as a pain it is to shape by hand, I am so glad I stuck it out to get a nice flat sand on it. However, there are a couple tiny voids that the grain filler missed. I suppose I can drop-fill with CA. That, and I have some scratches from sanding that I totally missed, but for a first project, I am completely happy with the results so far.
 
Solid blurb about purpleheart. As much as a pain it is to shape by hand, I am so glad I stuck it out to get a nice flat sand on it. However, there are a couple tiny voids that the grain filler missed. I suppose I can drop-fill with CA. That, and I have some scratches from sanding that I totally missed, but for a first project, I am completely happy with the results so far.
You results are spectacular! This is a bass to be proud of.
 
Thanks guys! I'd never have made it this far without the advice and encouragement from you fine folks. :) since this will be curing for a couple weeks, I'll have time to redesign the headstock a touch as well as begin build 2 and 3.
Appropriate I think, while using the beautiful SB body style to chose your own headstock design.
 
  • Like
Reactions: PDX Rich
Appropriate I think, while using the beautiful SB body style to chose your own headstock design.

I've got a couple ideas. Once everything is cured, I'll make the alteration. Quite frankly, the Aria headstock, while quite cool, just doesn't jibe with what I ultimately wanted to do. That, and it'd be more of a pain for me to do with limited carving skills.

That's not to say I am not super-proud of what I have done so far! It's just that once I started to feel like I could do this, my own design ideas started to take root and the headstock I want for future builds makes me want to just make this one unique, and likely not done like this again. ;)

Thank you all for the awesome compliments. It feels wonderful to have gone through this long build process, correct rookie mistakes, and have success. I feel like there is no limit to what I can accomplish and at the same time truly enjoy making this kind of art. :)
 
I've got a couple ideas. Once everything is cured, I'll make the alteration. Quite frankly, the Aria headstock, while quite cool, just doesn't jibe with what I ultimately wanted to do. That, and it'd be more of a pain for me to do with limited carving skills.

That's not to say I am not super-proud of what I have done so far! It's just that once I started to feel like I could do this, my own design ideas started to take root and the headstock I want for future builds makes me want to just make this one unique, and likely not done like this again. ;)

Thank you all for the awesome compliments. It feels wonderful to have gone through this long build process, correct rookie mistakes, and have success. I feel like there is no limit to what I can accomplish and at the same time truly enjoy making this kind of art. :)
I am considering a full build myself. I was looking at a half stash for the headstock or even bumping it out to half a YinYang look.
 

Latest posts