

Enjoy the benefits of a premium membership!
Upgrade Account
-
TalkBass has been independent since 1998. Add your voice.
Create a free account to reply to discussions, view embedded media, and browse with fewer display ads.
Join free Log in
Want zero display ads or expanded classifieds tools? Compare plans.
You are using an out of date browser. It may not display this or other websites correctly.
You should upgrade or use an alternative browser.
You should upgrade or use an alternative browser.
First Build - "Lucifer"
- Thread starter TerribleTim68
- Start date
More options
Who Replied?

First, a quick thank you to everyone for the comments of encouragement. You guys all build some amazing stuff, so the bar is pretty high around here. I'm really fumbling through some of this, but your help has been amazing!

In all honesty, Dingwall places the parallel fret "somewhere around the 8th fret", but not exactly at the 8th fret. I've even had Sheldon state that it isn't exactly the 8th fret. Whereas mine will be exactly the 8th fret. So some differences for sure, but within reason with what I'm working with.
It does get thinner at the nut. Here is my "FretFind2D" file I used showing all the dimensions. But yeah, the angled nut does play tricks with your eyes. As for knowing what I like, I really don't. This will be my first ever 5 string and first ever multiscale, so I'm just guessing a ton here. I did a full scale drawing with the nut spacing tighter and it just seemed way too tight to me, so I opened it up a bit and landed on the link above. I tried to pattern it after a Dingwall 5 string, or at least as close as I could with the limited info available on the interwebs and what FeretFind2D will allow you to input.Can I ask a question about the neck profile on this? Maybe it is a trick of the fan fret thing, but does your neck get thinner towards the headstock? The wide nut thickness seems unconventional, but seeing how well the build is going, you obviously know what you like.
In all honesty, Dingwall places the parallel fret "somewhere around the 8th fret", but not exactly at the 8th fret. I've even had Sheldon state that it isn't exactly the 8th fret. Whereas mine will be exactly the 8th fret. So some differences for sure, but within reason with what I'm working with.
Neat, thanks! The drawing does appear to get thinner, I think it is just an optical illusion. I'm sure that one it is all built up it'll appear normal. 1.8, doesn't seem that wide of a nut width for a 5 string. You obviously have a lot of wood working experience. I wish I had about a 1/4 of the guts and half the tools. Great job.First, a quick thank you to everyone for the comments of encouragement. You guys all build some amazing stuff, so the bar is pretty high around here. I'm really fumbling through some of this, but your help has been amazing!
It does get thinner at the nut. Here is my "FretFind2D" file I used showing all the dimensions. But yeah, the angled nut does play tricks with your eyes. As for knowing what I like, I really don't. This will be my first ever 5 string and first ever multiscale, so I'm just guessing a ton here. I did a full scale drawing with the nut spacing tighter and it just seemed way too tight to me, so I opened it up a bit and landed on the link above. I tried to pattern it after a Dingwall 5 string, or at least as close as I could with the limited info available on the interwebs and what FeretFind2D will allow you to input.
In all honesty, Dingwall places the parallel fret "somewhere around the 8th fret", but not exactly at the 8th fret. I've even had Sheldon state that it isn't exactly the 8th fret. Whereas mine will be exactly the 8th fret. So some differences for sure, but within reason with what I'm working with.
I'm gonna be terribly honest here, I really don't. I've never built anything like this before. I do have plenty of experience fabricating with metal, we run race cars and I've been building those since about 1989. So when it comes to chop saws, welders, cutting torches, sheet metal brakes, stomp sheers, all of that kind of stuff, I'm super comfortable! But this wood stuff is totally new to me. This is my very first attempt at building a bass guitar (or any guitar) from scratch. I've done a few parts builds and plenty of refinishes, but never anything like this....You obviously have a lot of wood working experience. I wish I had about a 1/4 of the guts and half the tools. Great job.
As for tools, I'm insanely lucky because my boss has a huge wood shop where him and his dad used to build cabinetry. He has opened his shop doors to me any time I want it, so I use his shop and his tools. My tool collection is growing as I run into things I want that he doesn't have, but for the most part it's just having access to his shop.
As for guts, I've never been shy there. I enjoy building things and I often just jump in and go "I can do this, how hard can it be?" But again, I'll be brutally honest here, it's the support of everyone here in the Luthier's Corner that has really made this thing come out as good as it has to this point. The gang here is amazing, and their input and advice has been paramount. I really can't thank them enough, and I'm far from done.

This certainly is looking great, Tim! I'm about to start some zebrawood builds and this stuff is getting me itchy, beautiful, can't wait to see it finished 

The Saga Continues.....
aside from the router table. But the router table is just a big giant Porter-Cable mounted to the bottom of a table, I'm not sure how you'd attach a vac to it anyways.
Suck from underneath - enclose it a bit (y'know, with a door or panel to open when you need to get at the router) helps. When doing edge-work suck from on top too (you have a Y on that dust collector) behind/above the fence. Catch what you can, it doesn't have to be perfect to be helpful. Best to suck "just below the table" underneath due to the default cooling fan airflow of most routers, but don't let the perfect be the enemy of the good enough.
A Little More Work: Slow Progress
I recently purchased a nice DeWalt Random Orbital Sander (RoS). Not that I really needed one, but I wanted one, and for $20 I wasn't gonna pass it up. It's one of the 5" round hook-n-loop style dudes, corded, because I don't feel the need to recharge batteries non-stop. I picked it up yesterday from my local OfferUp, it was maybe 5 minutes out of my way from the racecar shop so not even a big detour. The wife said "Buy a DeWalt" so I listened. Pretty sure she still bleeds yellow. Funny side story, we're at the local box hardware store buying sanding discs for it and she sees a guy holding a DeWalt screwgun, she immediately went into sales mode and started helping him find exactly what he needed. The store employee was clearly lost so she just jumped right in front of him, as soon as she said "I worked for DeWalt for 18 years....." the guy kind of pushed the store employee aside.
Anyways, back to what I was saying.....
Sanding: And More Sanding
I kind of feel like I'm at a point where I have a TON of sanding to do. But luckily I'm also at a point where until I store up some money to buy my electronics I'm gonna come to a grinding halt real soon. So I'm trying to take this opportunity to get a jump start on this sanding. So I put the RoS to work with some 60 grit to take off all my rasp and file marks. I was really shocked at how quickly the RoS took those marks out and how smooth the thing started to feel with just 60 grit. I have some 120 grit, 220 grit and 320 and I plan to work my way up through them. But then I got sidetracked....
Sidetracked: Actually, Side Markers (See What I Did There?)
So my plan had been to do glow-in-the-dark side markers, and I had recently ordered some of this stuff -
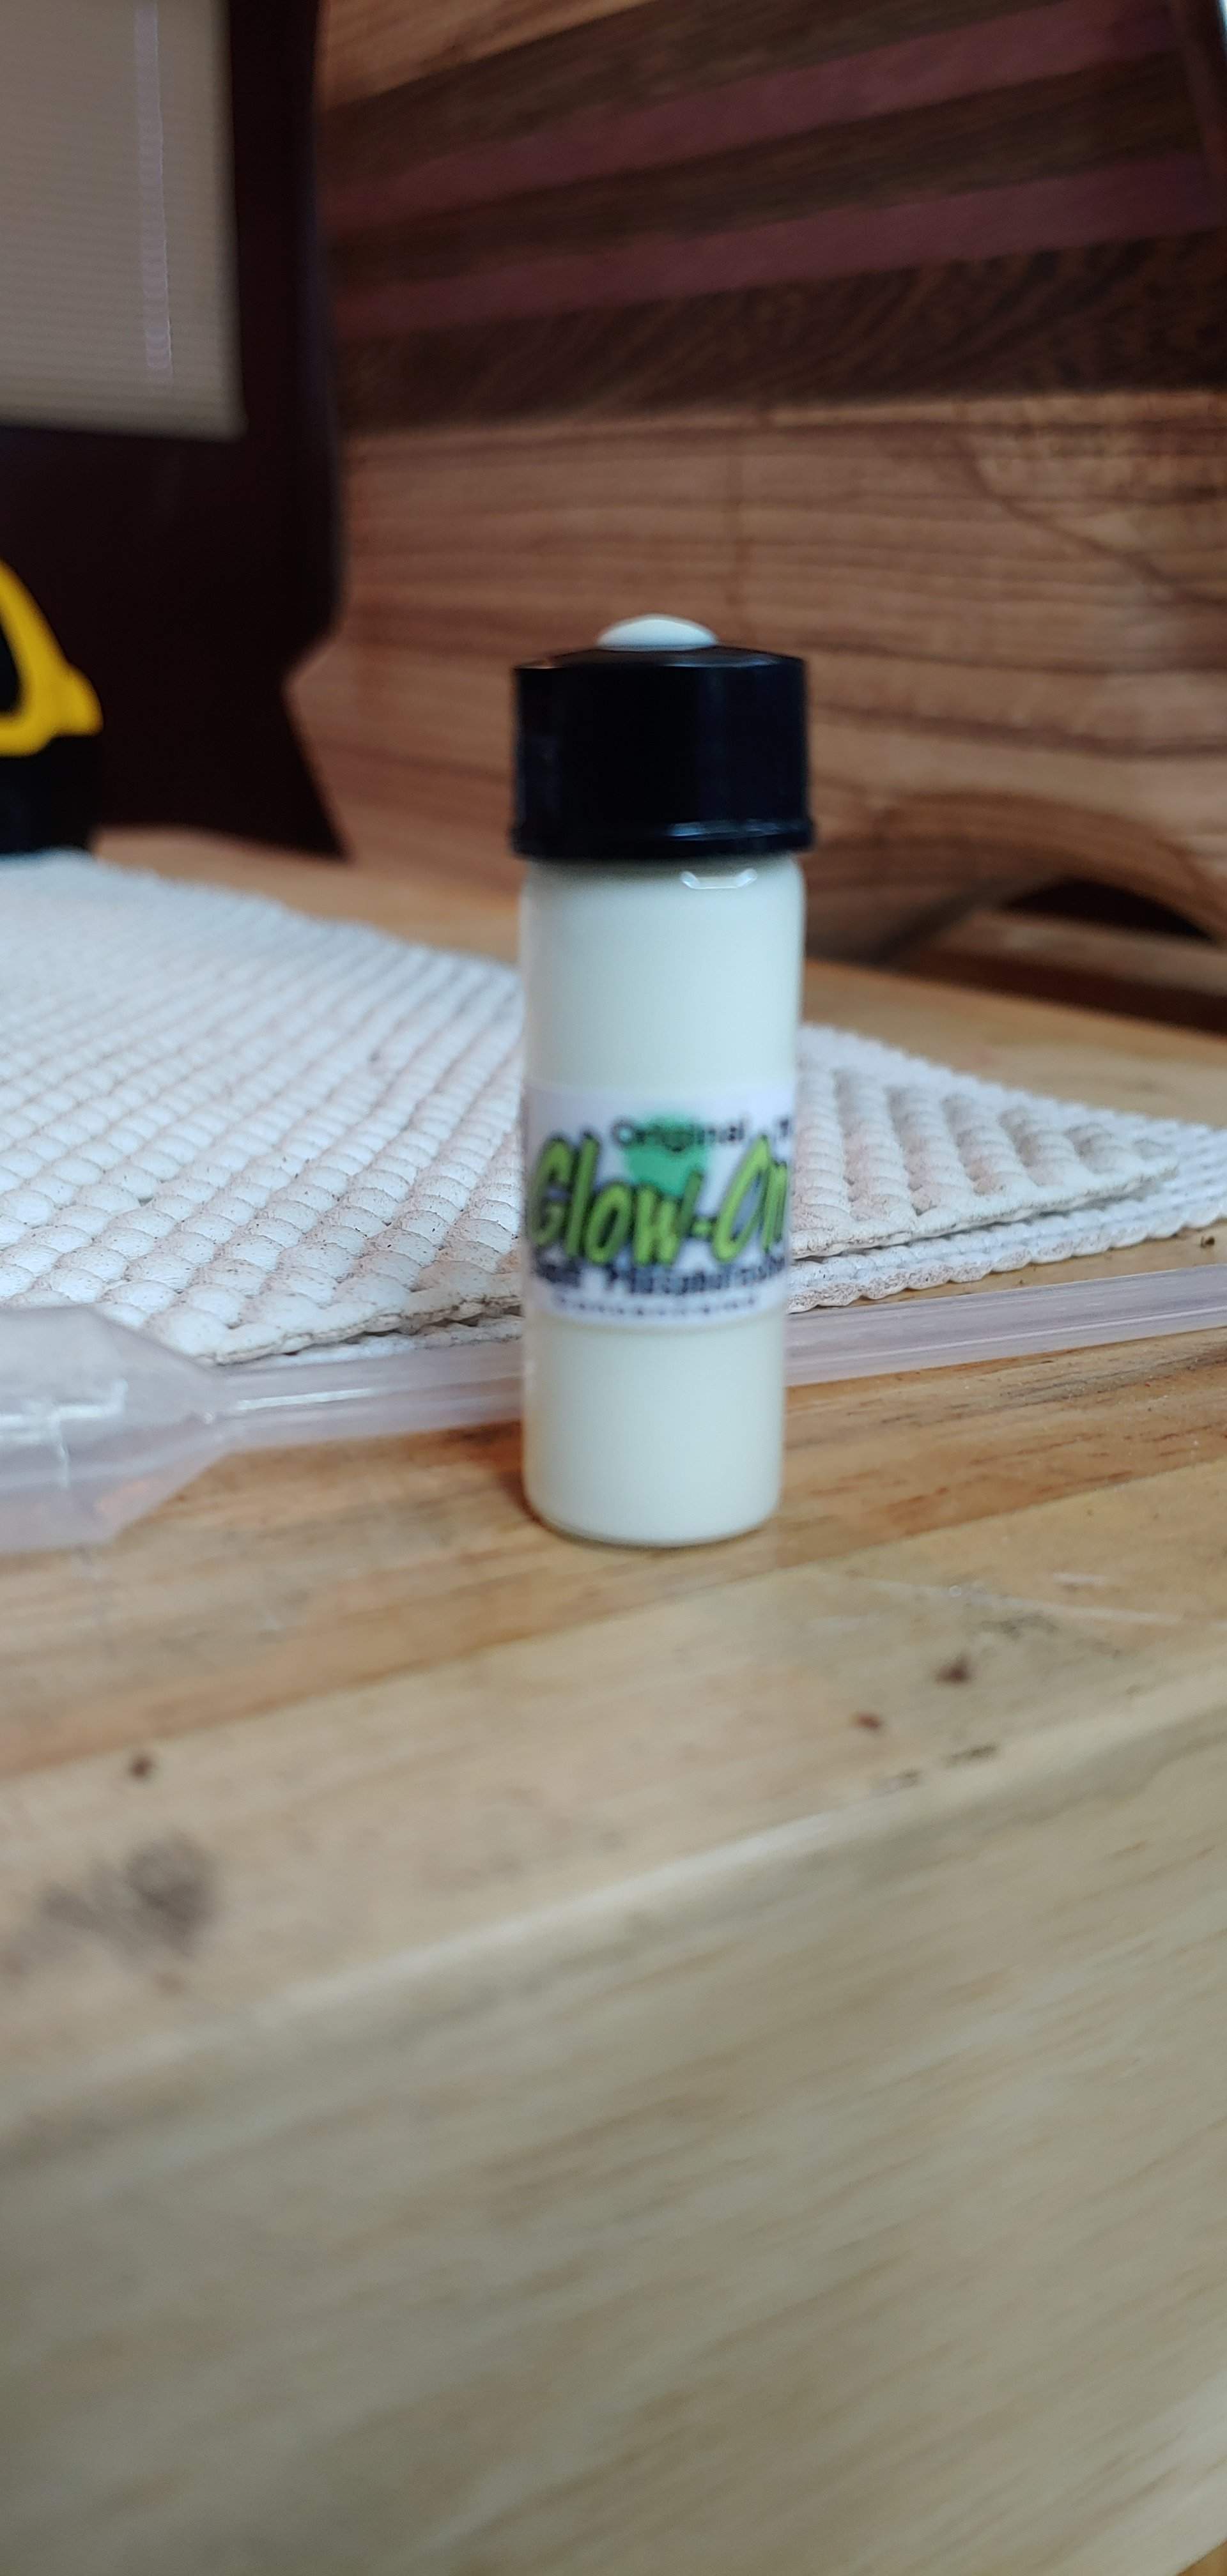
Yup, it's called "Glow-On", and it's actually gun sight paint. I figure, if it's good enough for marksmen, it should work for me! Stick a flash light on the bottle, turn the lights out and.....

I'm feeling fairly confident at this point.
Okay, so we need some holes to put this stuff in. Do some marking for layout......woops. I marked the 3rd, 5th, 7th and then thought I was marking the 12th. Son of a.....
Okay, don't panic, all we did was put a small dimple in it, or two maybe. Slow down, rethink and mark them correctly. Then, grab a small drill bit and start making holes.....
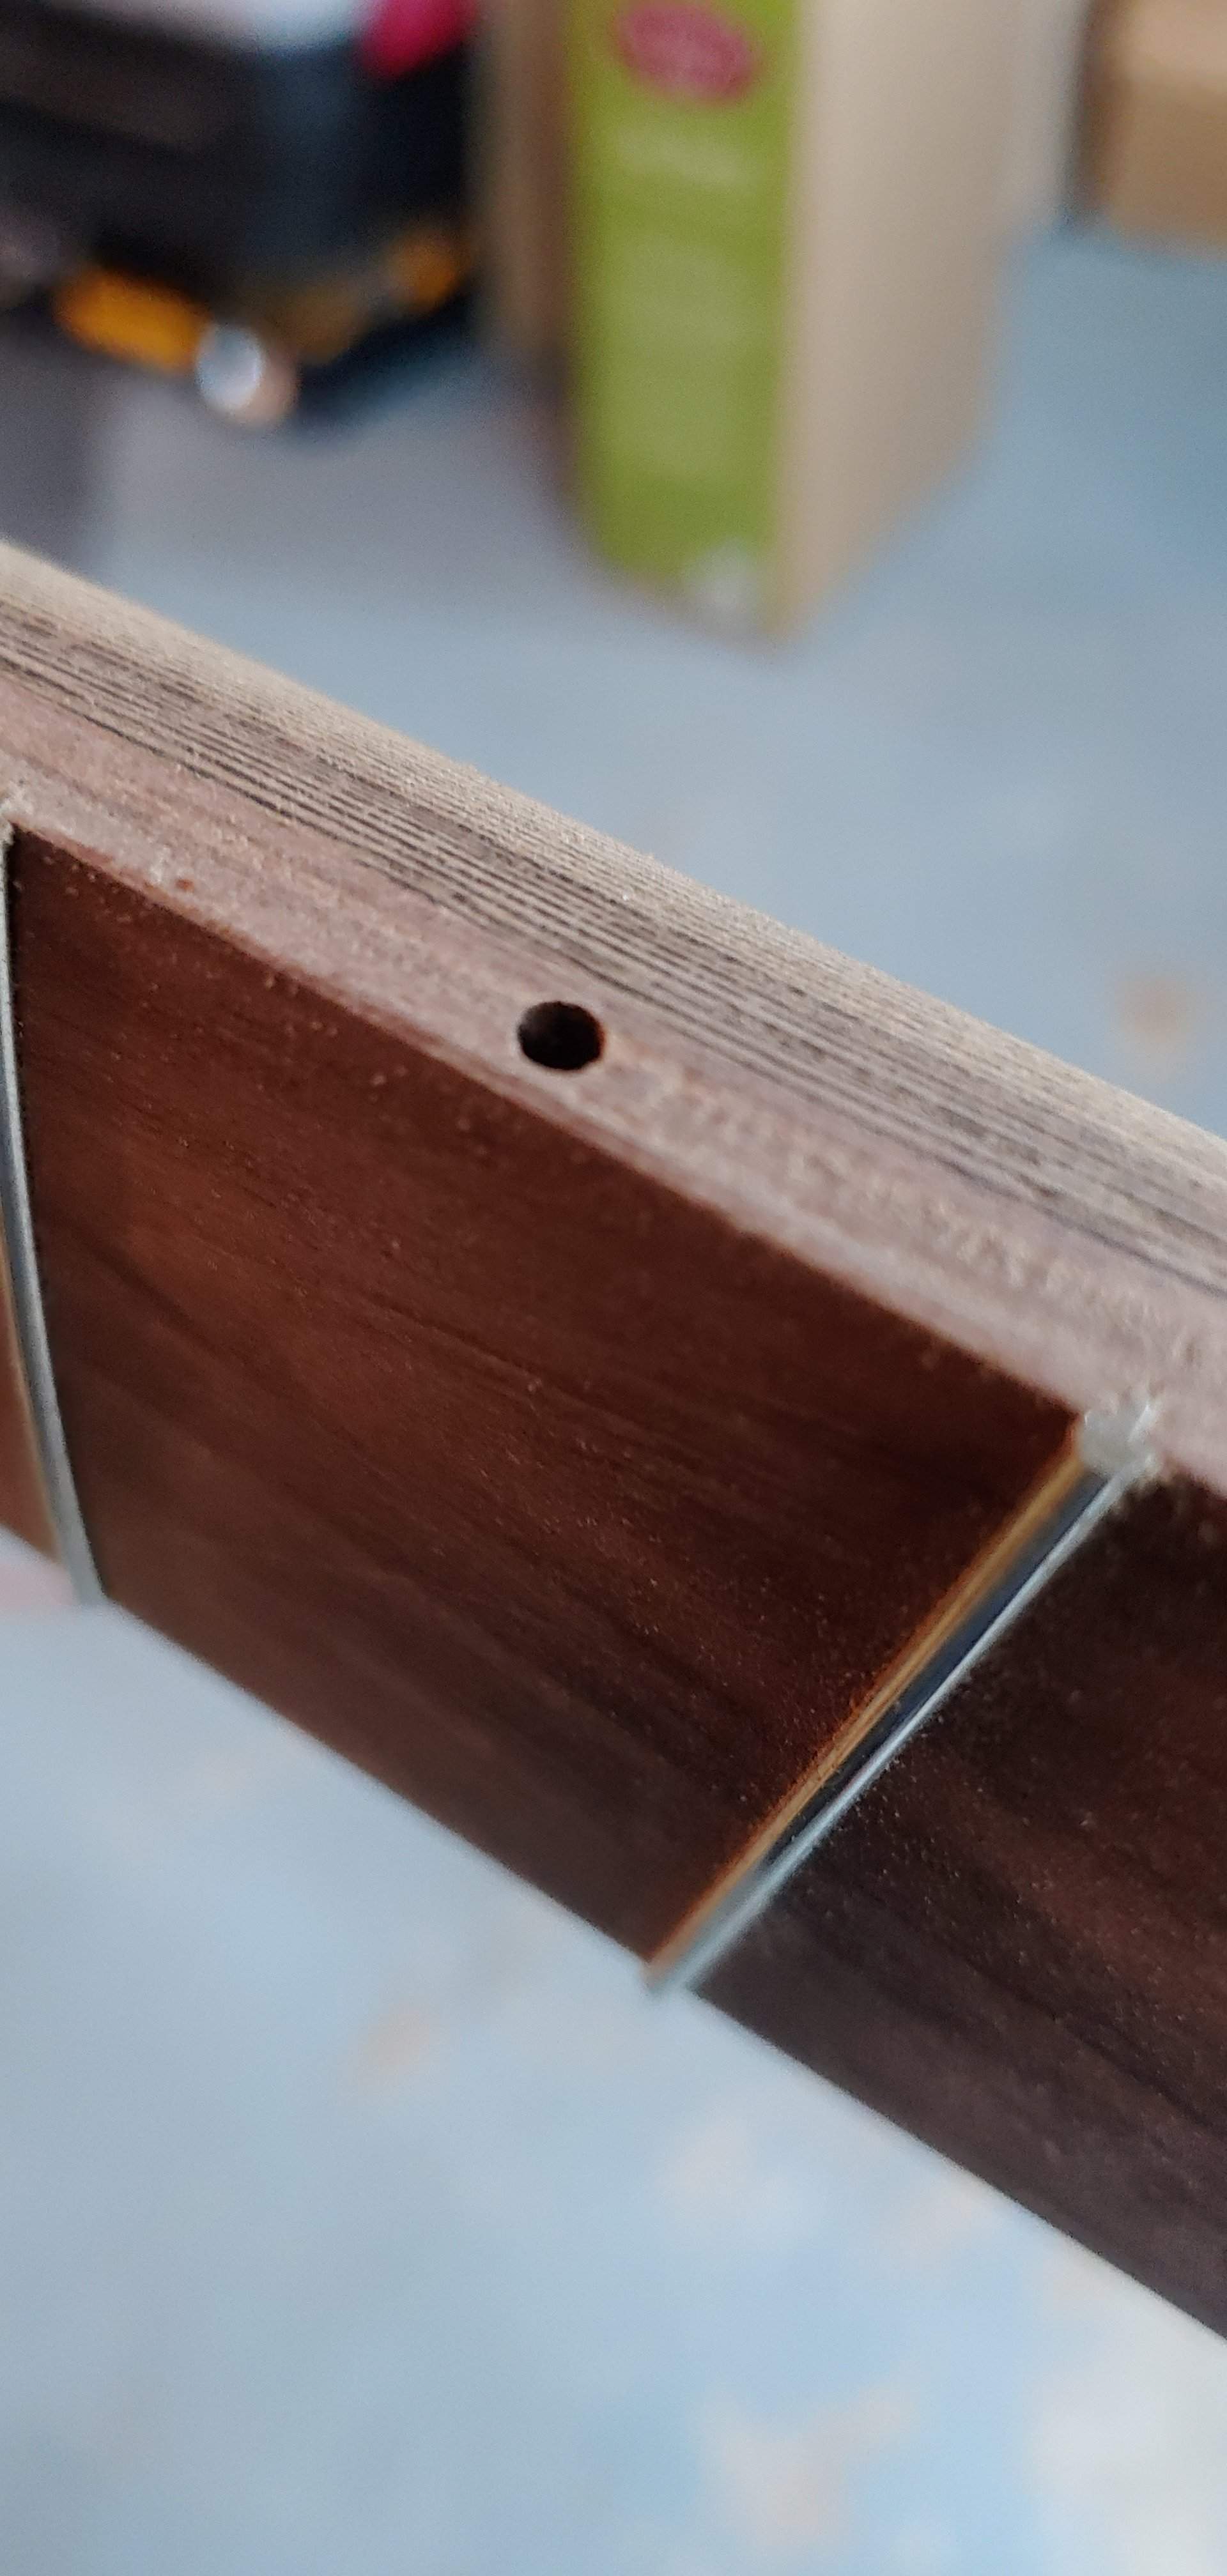

Originally I had planned on using a hollow alooominooom rod and filling that with the glowy stuff, but finding a source for the proper size rod left me frustrated and I just said "you know what, to heck with the rod." So I tried using an eye dropper type deal to put the glow-on in the holes, it's too thick to do that, doesn't work very well. What you end up with is a dollop of glow-on sitting on top of your hole, so I just used my finger to smoosh it down in there. and then try to clean it up a bit. We then had something like this -

I can see that it's already shrunk back a bit, not flush with the wood. So I think it's gonna take a second application.
So Glowy: The Part You Want To See
I know, just shut up and turn the lights off, right? Fine....

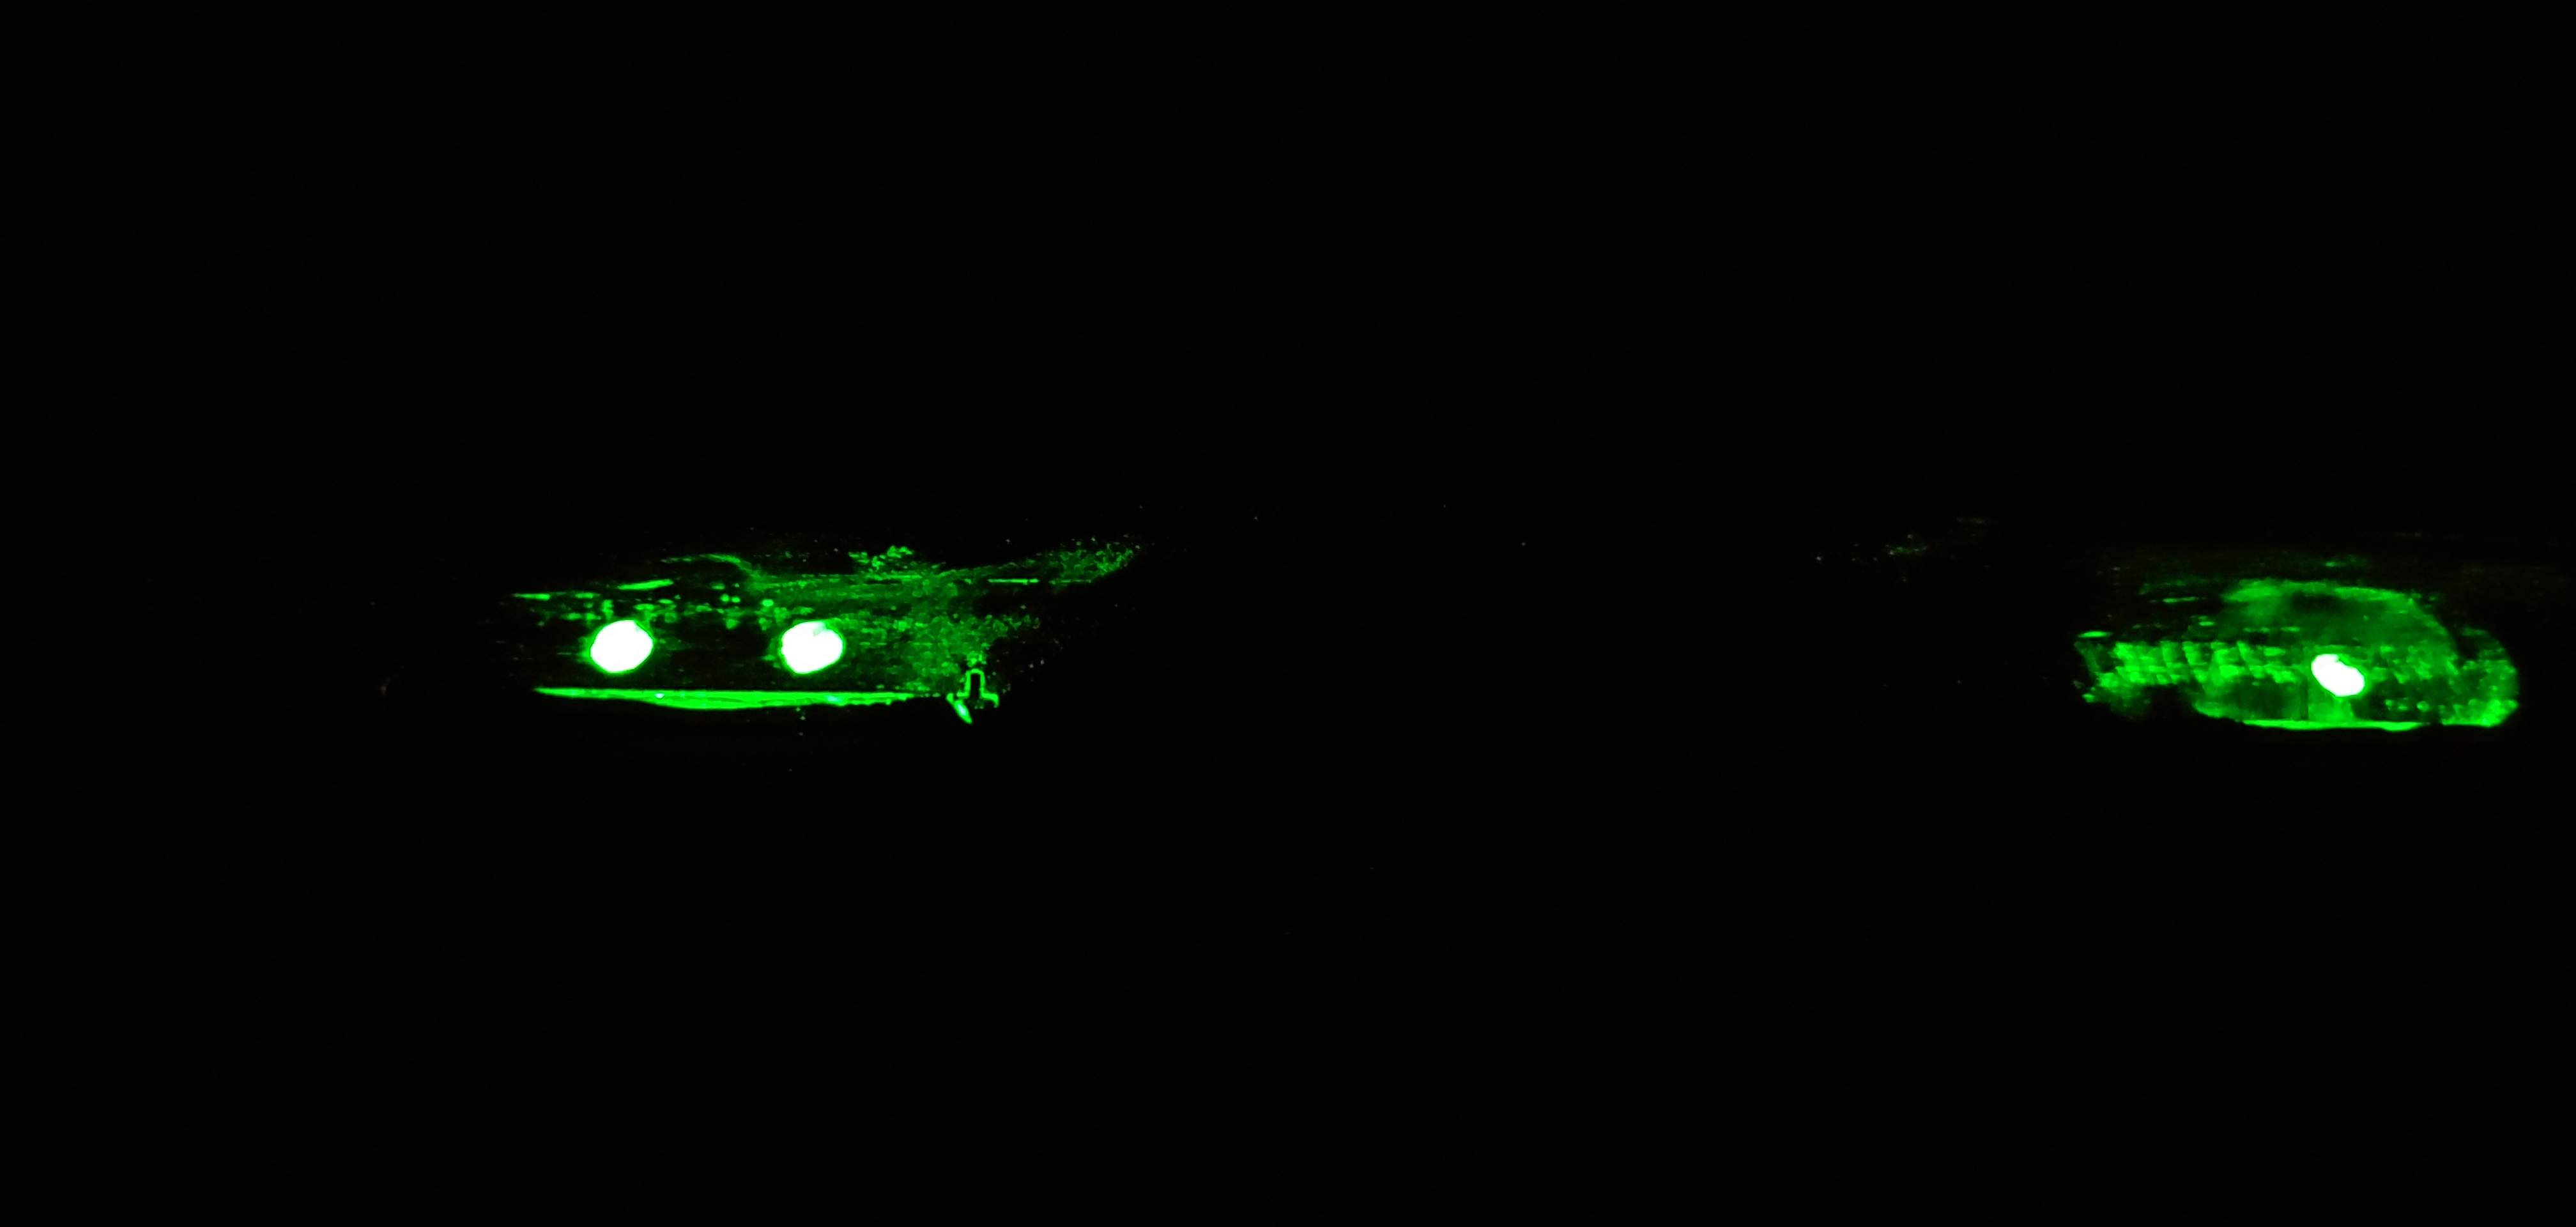
I've got some cleaning up to do, and I'm hopeful that the thin layer of glow-on around those dots will sand off. I really hope it doesn't soak down into the wood grain and sands off with no trouble.
But yeah man, I'm fairly happy with this right now.
Ms. Terrible poked her head out in the garage and said "Oh good lord...." so I know I'm on the right track.
Moving Forward: What Comes Next
Like I said, this is the part where I'm pretty sure I'm gonna stall out on this build for a bit. I can keep doing the sanding and finish up these fret markers. I have some wenge dust I saved that I can also use to fill in those dimples from where I marked the frets wrong. I also still need to finish beveling the ends of the frets and cut the nut. I'm approaching the point where I can lay out bridge saddles too. But the electronics are gonna hold me up for a bit, I'm just not interested in routing cavities until I have everything because I want to know for sure that everything will fit in the control cavity rather than guessing at it. So it may get a bit slow from this point on, but I gotta say, I'm really happy with the progress I made over the summer on this thing.
I may shift my focus to my Diva build if things get too stalled here. I have lumber to resaw and then start gluing up sandwiches for that, so that won't cost anything. We'll see, I hate to start another one until I'm done with this one.
I recently purchased a nice DeWalt Random Orbital Sander (RoS). Not that I really needed one, but I wanted one, and for $20 I wasn't gonna pass it up. It's one of the 5" round hook-n-loop style dudes, corded, because I don't feel the need to recharge batteries non-stop. I picked it up yesterday from my local OfferUp, it was maybe 5 minutes out of my way from the racecar shop so not even a big detour. The wife said "Buy a DeWalt" so I listened. Pretty sure she still bleeds yellow. Funny side story, we're at the local box hardware store buying sanding discs for it and she sees a guy holding a DeWalt screwgun, she immediately went into sales mode and started helping him find exactly what he needed. The store employee was clearly lost so she just jumped right in front of him, as soon as she said "I worked for DeWalt for 18 years....." the guy kind of pushed the store employee aside.
Anyways, back to what I was saying.....
Sanding: And More Sanding
I kind of feel like I'm at a point where I have a TON of sanding to do. But luckily I'm also at a point where until I store up some money to buy my electronics I'm gonna come to a grinding halt real soon. So I'm trying to take this opportunity to get a jump start on this sanding. So I put the RoS to work with some 60 grit to take off all my rasp and file marks. I was really shocked at how quickly the RoS took those marks out and how smooth the thing started to feel with just 60 grit. I have some 120 grit, 220 grit and 320 and I plan to work my way up through them. But then I got sidetracked....
Sidetracked: Actually, Side Markers (See What I Did There?)
So my plan had been to do glow-in-the-dark side markers, and I had recently ordered some of this stuff -
Yup, it's called "Glow-On", and it's actually gun sight paint. I figure, if it's good enough for marksmen, it should work for me! Stick a flash light on the bottle, turn the lights out and.....
I'm feeling fairly confident at this point.
Okay, so we need some holes to put this stuff in. Do some marking for layout......woops. I marked the 3rd, 5th, 7th and then thought I was marking the 12th. Son of a.....
Okay, don't panic, all we did was put a small dimple in it, or two maybe. Slow down, rethink and mark them correctly. Then, grab a small drill bit and start making holes.....
Originally I had planned on using a hollow alooominooom rod and filling that with the glowy stuff, but finding a source for the proper size rod left me frustrated and I just said "you know what, to heck with the rod." So I tried using an eye dropper type deal to put the glow-on in the holes, it's too thick to do that, doesn't work very well. What you end up with is a dollop of glow-on sitting on top of your hole, so I just used my finger to smoosh it down in there. and then try to clean it up a bit. We then had something like this -
I can see that it's already shrunk back a bit, not flush with the wood. So I think it's gonna take a second application.
So Glowy: The Part You Want To See
I know, just shut up and turn the lights off, right? Fine....
I've got some cleaning up to do, and I'm hopeful that the thin layer of glow-on around those dots will sand off. I really hope it doesn't soak down into the wood grain and sands off with no trouble.
But yeah man, I'm fairly happy with this right now.
Ms. Terrible poked her head out in the garage and said "Oh good lord...." so I know I'm on the right track.
Moving Forward: What Comes Next
Like I said, this is the part where I'm pretty sure I'm gonna stall out on this build for a bit. I can keep doing the sanding and finish up these fret markers. I have some wenge dust I saved that I can also use to fill in those dimples from where I marked the frets wrong. I also still need to finish beveling the ends of the frets and cut the nut. I'm approaching the point where I can lay out bridge saddles too. But the electronics are gonna hold me up for a bit, I'm just not interested in routing cavities until I have everything because I want to know for sure that everything will fit in the control cavity rather than guessing at it. So it may get a bit slow from this point on, but I gotta say, I'm really happy with the progress I made over the summer on this thing.
I may shift my focus to my Diva build if things get too stalled here. I have lumber to resaw and then start gluing up sandwiches for that, so that won't cost anything. We'll see, I hate to start another one until I'm done with this one.

I guess it's a day late and a dollar short, but if you decide to do aluminum tube dots on another bass (maybe the Diva?), look in model railroading hobby shops. Or ebay:
K&S 8102 Aluminum Tube 1/8" x 12" (3) 614121181021 | eBay
K&S 8102 Aluminum Tube 1/8" x 12" (3) 614121181021 | eBay
As an eBay Associate, TalkBass may earn a commission from qualifying purchases.

This build looks incredibleA Little More Work: Slow Progress
I recently purchased a nice DeWalt Random Orbital Sander (RoS). Not that I really needed one, but I wanted one, and for $20 I wasn't gonna pass it up. It's one of the 5" round hook-n-loop style dudes, corded, because I don't feel the need to recharge batteries non-stop. I picked it up yesterday from my local OfferUp, it was maybe 5 minutes out of my way from the racecar shop so not even a big detour. The wife said "Buy a DeWalt" so I listened. Pretty sure she still bleeds yellow. Funny side story, we're at the local box hardware store buying sanding discs for it and she sees a guy holding a DeWalt screwgun, she immediately went into sales mode and started helping him find exactly what he needed. The store employee was clearly lost so she just jumped right in front of him, as soon as she said "I worked for DeWalt for 18 years....." the guy kind of pushed the store employee aside.
Anyways, back to what I was saying.....
Sanding: And More Sanding
I kind of feel like I'm at a point where I have a TON of sanding to do. But luckily I'm also at a point where until I store up some money to buy my electronics I'm gonna come to a grinding halt real soon. So I'm trying to take this opportunity to get a jump start on this sanding. So I put the RoS to work with some 60 grit to take off all my rasp and file marks. I was really shocked at how quickly the RoS took those marks out and how smooth the thing started to feel with just 60 grit. I have some 120 grit, 220 grit and 320 and I plan to work my way up through them. But then I got sidetracked....
Sidetracked: Actually, Side Markers (See What I Did There?)
So my plan had been to do glow-in-the-dark side markers, and I had recently ordered some of this stuff -
View attachment 3999380
Yup, it's called "Glow-On", and it's actually gun sight paint. I figure, if it's good enough for marksmen, it should work for me! Stick a flash light on the bottle, turn the lights out and.....
View attachment 3999381
I'm feeling fairly confident at this point.
Okay, so we need some holes to put this stuff in. Do some marking for layout......woops. I marked the 3rd, 5th, 7th and then thought I was marking the 12th. Son of a.....
Okay, don't panic, all we did was put a small dimple in it, or two maybe. Slow down, rethink and mark them correctly. Then, grab a small drill bit and start making holes.....
View attachment 3999391
View attachment 3999392
Originally I had planned on using a hollow alooominooom rod and filling that with the glowy stuff, but finding a source for the proper size rod left me frustrated and I just said "you know what, to heck with the rod." So I tried using an eye dropper type deal to put the glow-on in the holes, it's too thick to do that, doesn't work very well. What you end up with is a dollop of glow-on sitting on top of your hole, so I just used my finger to smoosh it down in there. and then try to clean it up a bit. We then had something like this -
View attachment 3999395
I can see that it's already shrunk back a bit, not flush with the wood. So I think it's gonna take a second application.
So Glowy: The Part You Want To See
I know, just shut up and turn the lights off, right? Fine....
View attachment 3999398
View attachment 3999399
I've got some cleaning up to do, and I'm hopeful that the thin layer of glow-on around those dots will sand off. I really hope it doesn't soak down into the wood grain and sands off with no trouble.
But yeah man, I'm fairly happy with this right now.
Ms. Terrible poked her head out in the garage and said "Oh good lord...." so I know I'm on the right track.
Moving Forward: What Comes Next
Like I said, this is the part where I'm pretty sure I'm gonna stall out on this build for a bit. I can keep doing the sanding and finish up these fret markers. I have some wenge dust I saved that I can also use to fill in those dimples from where I marked the frets wrong. I also still need to finish beveling the ends of the frets and cut the nut. I'm approaching the point where I can lay out bridge saddles too. But the electronics are gonna hold me up for a bit, I'm just not interested in routing cavities until I have everything because I want to know for sure that everything will fit in the control cavity rather than guessing at it. So it may get a bit slow from this point on, but I gotta say, I'm really happy with the progress I made over the summer on this thing.
I may shift my focus to my Diva build if things get too stalled here. I have lumber to resaw and then start gluing up sandwiches for that, so that won't cost anything. We'll see, I hate to start another one until I'm done with this one.

Seeing the ambition and that its your first, I sub'd the thread thinking it could end up being a train wreck...
...and it is not at all that

I wonder if a light solvent would clear the excess glow goop from your fretboard edge? I guess it would depend on what it's diluted with as to whether naphtha (which is what I'd try 1st anyway), mineral spirits, or acetone would be right. I might brush all around the area being careful not to hit the dot, give it 30 seconds, and try to vacuum it out with a tip on the vacuum to intensity the suck
. Those pores are deep and if you can avoid sanding like crazy, seems to me to be worth a shot.Next time, consider some masking tape (the good stuff) on the fingerboard edge, and drill right through it (brad point probably the best bet for a clean hole in it - or drill, tape, and precision knife work) - but one sees the appeal of glowy stuff hardened in a tube that just glues into a hole and no masking/cleanup needed.
I bet that'll clean up fine - might try a scraper instead of sandpaper to avoid making glowy dust.
I’m not sure what it’s diluted with, but I do know the label instructions say “if the paint is too thick, add 1 drop of water to bottle and shake vigorously”.
Yeah, masking tape might have been a great idea.
Thanks for the kind words Reed! I’m doing my best. So far I’ve managed to overcome the few spots where things went wrong. I fixed my fretboard chip out and solved the two spots where the router got away from me on the body template. I’m learning that no build is without mistakes, it’s just how you manage those mistakes that matters. You guys have been a huge help and inspiration, I thank you all for that.
Yeah, masking tape might have been a great idea.
Thanks for the kind words Reed! I’m doing my best. So far I’ve managed to overcome the few spots where things went wrong. I fixed my fretboard chip out and solved the two spots where the router got away from me on the body template. I’m learning that no build is without mistakes, it’s just how you manage those mistakes that matters. You guys have been a huge help and inspiration, I thank you all for that.
I totally agree. Especially because of the shrink back issue. You could make your own with the paint. Use a mold, wax it lightly and then fill it and dry it. It'd probably still save a bunch of money compared to luminlay.Next time, consider some masking tape (the good stuff) on the fingerboard edge, and drill right through it (brad point probably the best bet for a clean hole in it - or drill, tape, and precision knife work) - but one sees the appeal of glowy stuff hardened in a tube that just glues into a hole and no masking/cleanup needed.
I wonder if you could "extrude" a bunch of that product into one of those 1/8" aluminum tubes, let it cure, and then slice off your own dots ready to go...
That would be awesome! As long as the "middle" dries. My experience with paint is that it'll skin over and then the middle doesn't dry. But would totally be worth the experiment.I wonder if you could "extrude" a bunch of that product into one of those 1/8" aluminum tubes, let it cure, and then slice off your own dots ready to go...

Rôckhewer
Commercial User
- Feb 28, 2015
- 2,922
- 9,028
- Disclosures
- Owner/Builder- RockHewer Custom Guitars LLC
I kinda like the little phosphorescent shmear around the dots... and how it ....
... wait a minute...
I need a bottle of that.
I'm gonna use it as grain filler!
... wait a minute...
I need a bottle of that.
I'm gonna use it as grain filler!
Not the same product, but very similar idea, and using epoxy as the carrier so it will cure and won't shrink - see what @Fat Freddy is up to in his self-deprecating tour-de-force of just hopping on the LC wagon train and executing some awesome ideas, including awesome glowy ideas. I think @chinjazz also made some version of glow-epoxy tubes due to the Luminlay supply problems, but I might be delusional.I wonder if you could "extrude" a bunch of that product into one of those 1/8" aluminum tubes, let it cure, and then slice off your own dots ready to go...
Rôckhewer
Commercial User
- Feb 28, 2015
- 2,922
- 9,028
- Disclosures
- Owner/Builder- RockHewer Custom Guitars LLC
Sorry for the derail... but you gave me a bitchin idea.
A "ceruse" finish on open grained wood, using glowey stuff as the filler.
Kinda like this... but glowey.

A "ceruse" finish on open grained wood, using glowey stuff as the filler.
Kinda like this... but glowey.
Sorry for the derail... but you gave me a bitchin idea.
A "ceruse" finish on open grained wood, using glowey stuff as the filler.
Kinda like this... but glowey.
That is such a bitchin idea I might have to steal it...
Yeah, I been following @Fat Freddy's amazingly awesome tales of Luthiery. Honestly, I'm not sure I can compete with the sheer awesomeness of his thread, but I'm trying. I'm 18 pages behind thus far!Not the same product, but very similar idea, and using epoxy as the carrier so it will cure and won't shrink - see what @Fat Freddy is up to in his self-deprecating tour-de-force of just hopping on the LC wagon train and executing some awesome ideas, including awesome glowy ideas. I think @chinjazz also made some version of glow-epoxy tubes due to the Luminlay supply problems, but I might be delusional.
Dude, this is amazing. DO IT!!!!Sorry for the derail... but you gave me a bitchin idea.
A "ceruse" finish on open grained wood, using glowey stuff as the filler.
Kinda like this... but glowey.

Latest posts
-
 Adding J pup to P bass, should I go 60’s or 70’s spacing?
- Latest: Gianni "Orlandez" Orlati
-
-

-

