
Enjoy the benefits of a premium membership!
Upgrade Account
-
TalkBass has been independent since 1998. Add your voice.
Create a free account to reply to discussions, view embedded media, and browse with fewer display ads.
Join free Log in
Want zero display ads or expanded classifieds tools? Compare plans.
You are using an out of date browser. It may not display this or other websites correctly.
You should upgrade or use an alternative browser.
You should upgrade or use an alternative browser.
First Build, Performer Copy
- Thread starter mapleglo
- Start date
More options
Who Replied?

Hey man - I just today got those tuners I posted a pic of - for the price (under $30) they are awesome! They are probably heavier than the ultralight-types, but are WAY cooler aesthetically !If it were me - there is no contest.
So many tuners, so few builds...
As you may have noticed from the multiple changes with the headstock, i can easily obsess about the smallest details. Fortunately, I am over budget on the tuners, so I'm going to have to stick with the Gotohs.
At least, for now...
Definitely like the peghead, really like the Performer, kinda bummed that you're (I think) another East-sider.
Was kinda hoping I could impose and play it.
Watching, regardless. Looking good...
North Central, Sunnyslope specifically. I saw a thread in Social Events & GTG's about a Phoenix gathering...
I cut out the basic shape with the jig saw. Unfortunately, when I went to use the router to shape it to the template, it bit off the tip of the wood, and broke it into 2 pieces.
Fortunately, it was a clean break, so I should be able to glue them back. The glue bottle says clamp for 30 minutes but don't stress the joint for 24 hours, so work on the headstock is done for today.
I started cutting the body wings. Using the correct jig saw blade makes a huge difference. Reading the manual is highly recommended.

- Jun 30, 2010
- 49,600
- 222,001
- Disclosures
- musician/artist/owner - Gildaxe

The headstock is close to being completely shaped, but as I feared, the addition doesn't match very well.
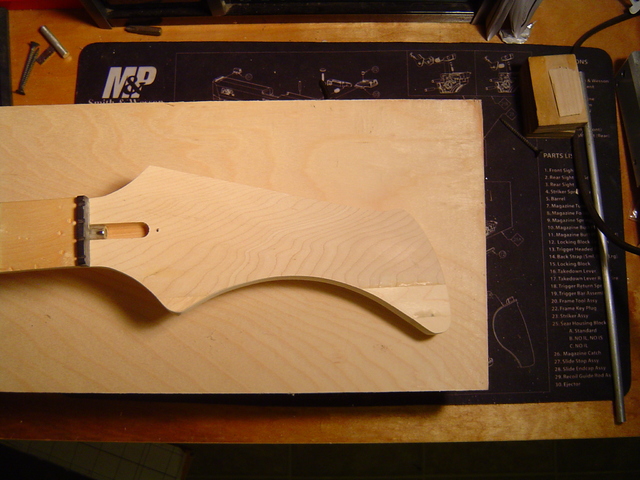
So I'm glueing on the maple laminate, which also doesn't match the rest of the neck very well, but at least it's one consistent color.
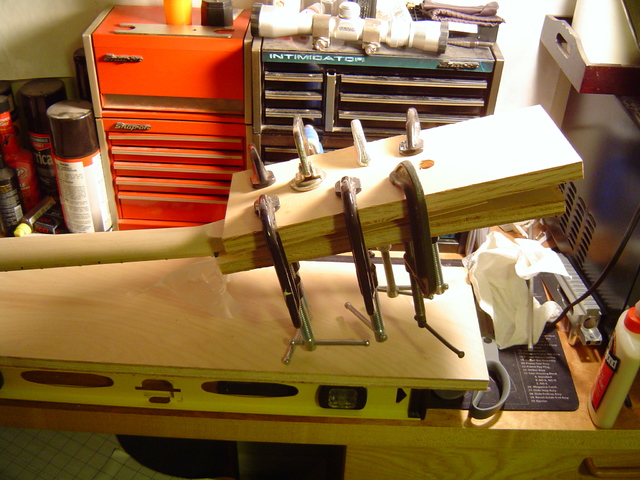
Not quite a sea of clamps, but getting there.
The body is another story. The router did a number on the upper body wing. Some tear out, and troubling gouges. I'm thinking of picking up another piece of maple to redo them.
I've gained a new appreciation for the skill of manufacturers who make natural wood finished instruments. This would be a lot easier to do if I filled the mistakes with bondo and painted the darn thing white.
My Dad, who taught me pretty much everything I know about mechanical things and woodworking, used to tell me that "a poor craftsman always blames her tools". As a result, I've always tried to buy the best tools I could afford, so that I'd have no excuse. I'll say that this project would go somewhat smoother if I had a proper workbench. Now that it's a bit cooler outside here in Phoenix, perhaps I'll build one in the car port. If I ever get to the point where I have to glue up the body wings, I'll need the space.
In the mean time, I ordered a 14 mm brad point drill bit (those wacky Japanese and Europeans with their crazy measurement systems) for the tuning machine holes, and a better set of drum sanders. They both shipped, and I'm hoping they'll arrive before the long weekend.
So I'm glueing on the maple laminate, which also doesn't match the rest of the neck very well, but at least it's one consistent color.
Not quite a sea of clamps, but getting there.
The body is another story. The router did a number on the upper body wing. Some tear out, and troubling gouges. I'm thinking of picking up another piece of maple to redo them.
I've gained a new appreciation for the skill of manufacturers who make natural wood finished instruments. This would be a lot easier to do if I filled the mistakes with bondo and painted the darn thing white.
My Dad, who taught me pretty much everything I know about mechanical things and woodworking, used to tell me that "a poor craftsman always blames her tools". As a result, I've always tried to buy the best tools I could afford, so that I'd have no excuse. I'll say that this project would go somewhat smoother if I had a proper workbench. Now that it's a bit cooler outside here in Phoenix, perhaps I'll build one in the car port. If I ever get to the point where I have to glue up the body wings, I'll need the space.
In the mean time, I ordered a 14 mm brad point drill bit (those wacky Japanese and Europeans with their crazy measurement systems) for the tuning machine holes, and a better set of drum sanders. They both shipped, and I'm hoping they'll arrive before the long weekend.

(those wacky Japanese and Europeans with their crazy measurement systems).
Don't you mean those wacky Americans still clinging on to the imperial system?

http://www.zmescience.com/other/map-of-countries-officially-not-using-the-metric-system/
Don't you mean those wacky Americans still clinging on to the imperial system?
http://www.zmescience.com/other/map-of-countries-officially-not-using-the-metric-system/
Yes. Metric measurements are so much more logical, and easier to work with. I'm only mad because the only drill bits I have are imperial.


Hopkins
Commercial User
Don't you mean those wacky Americans still clinging on to the imperial system?
http://www.zmescience.com/other/map-of-countries-officially-not-using-the-metric-system/
We don't want to have to learn how to read a tape measure again
We don't want to have to learn how to read a tape measure again
Wait a minute, are we supposed to be using a tape measure?!?!?
In other news, I trimmed the laminate around the headstock today.
It looks much better, except from the side or back. Not sure what I'll do about that. I also received the 14 mm drill bit today for the tuning machine holes, and drilled a few test holes. I'm a little disappointed that the fit isn't tighter. I might have just used the 9/16" bit I had. Probably karma getting back at me for disrespecting the metric system.
- Jun 30, 2010
- 49,600
- 222,001
- Disclosures
- musician/artist/owner - Gildaxe
Wait a minute, are we supposed to be using a tape measure?!?!?
In other news, I trimmed the laminate around the headstock today.
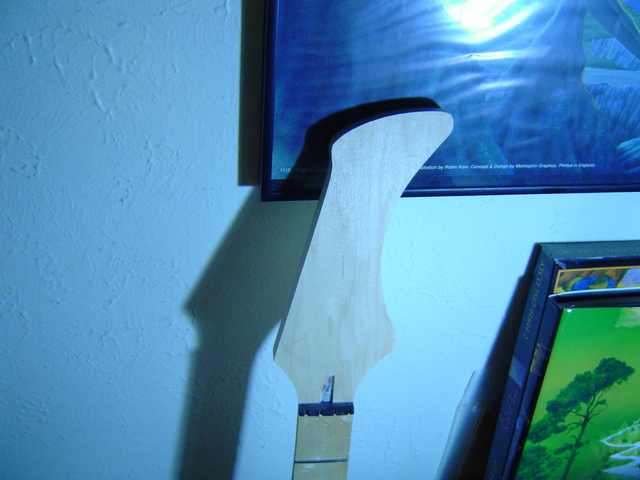
It looks much better, except from the side or back. Not sure what I'll do about that. I also received the 14 mm drill bit today for the tuning machine holes, and drilled a few test holes. I'm a little disappointed that the fit isn't tighter. I might have just used the 9/16" bit I had. Probably karma getting back at me for disrespecting the metric system.
show all and we can offer advice!
Drilled the tuner holes this morning. The tuners are a bit closer than I had expected (darn that ruler!), but I think it'll be ok.
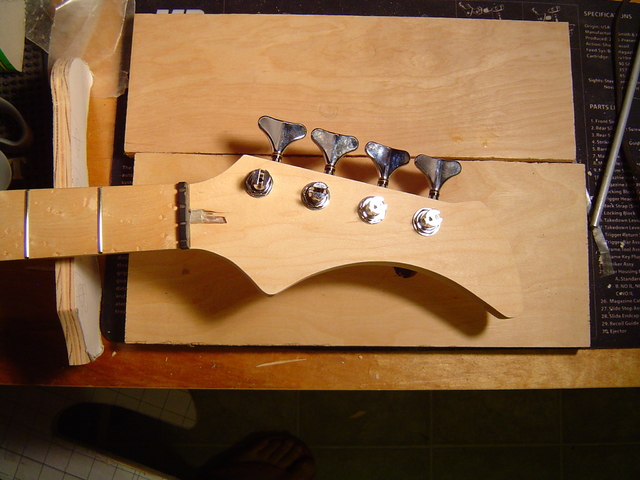
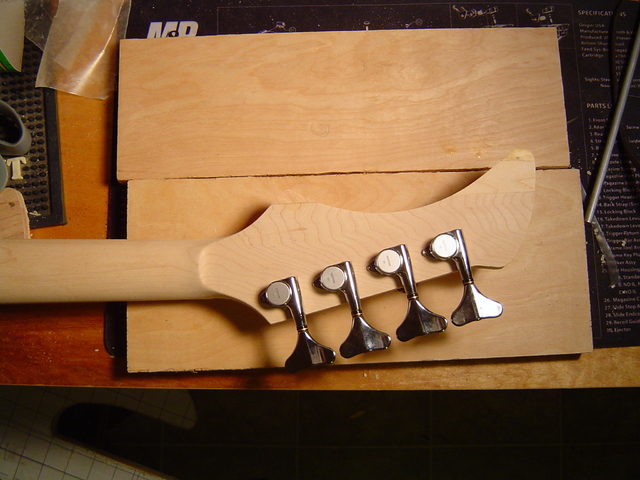
The back shot shows the added pieces of wood on the head stock. I had thought to cover it up with another piece of laminate, but I might just live with it.
The back shot shows the added pieces of wood on the head stock. I had thought to cover it up with another piece of laminate, but I might just live with it.
So the neck from Carvin is slightly too deep, so I shaved it to just thicker than the body wings with the router. I'll sand it down to size after I glue everything together.
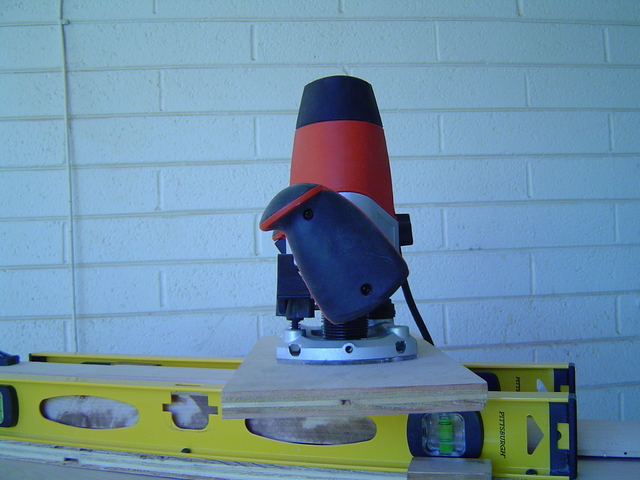
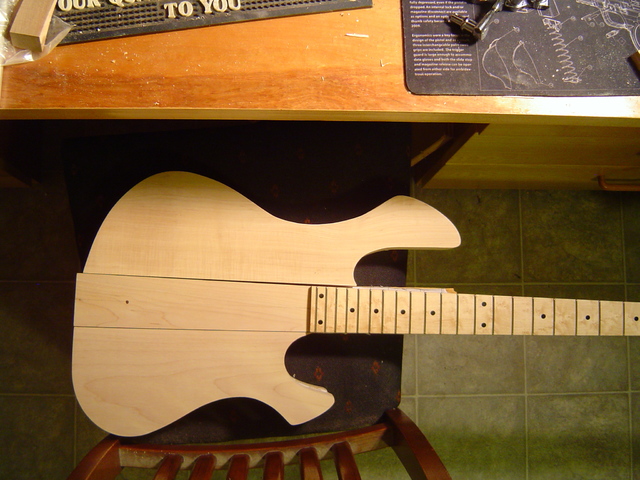
I also spent some time yesterday and the day before sanding the body wings to shape. They're pretty much done, ready to be glued on to the neck.
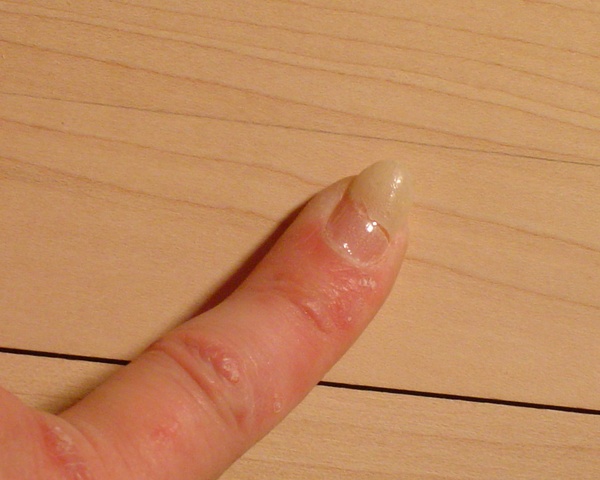
And at the risk of sounding too girly, I broke a nail! Ouch!
For the rest of today, I think I'm going to glue a piece of laminate to the back of the headstock, to cover the visible glue lines and mismatched wood.
Also, in Carvin's infinite wisdom, they made the neck through portion of the neck, that part that is through the body, thinner at the top than at the bottom. So I'm somewhat concerned that when I glue the body wings on, they'll slip upward under clamping pressure. I'm thinking of using a couple of dowels, going right through the neck, into the body wings to hold everything in place while glueing and clamping, to prevent movement.
I also spent some time yesterday and the day before sanding the body wings to shape. They're pretty much done, ready to be glued on to the neck.
And at the risk of sounding too girly, I broke a nail! Ouch!
For the rest of today, I think I'm going to glue a piece of laminate to the back of the headstock, to cover the visible glue lines and mismatched wood.
Also, in Carvin's infinite wisdom, they made the neck through portion of the neck, that part that is through the body, thinner at the top than at the bottom. So I'm somewhat concerned that when I glue the body wings on, they'll slip upward under clamping pressure. I'm thinking of using a couple of dowels, going right through the neck, into the body wings to hold everything in place while glueing and clamping, to prevent movement.
Glued and clamped some laminate to the back of the headstock.
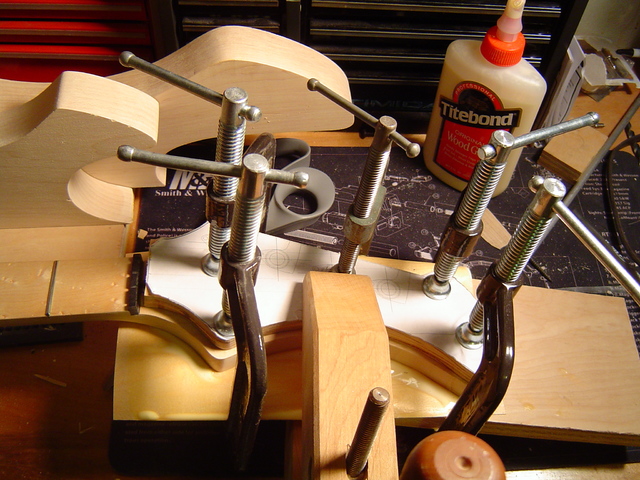
I also stopped by Home Depot to pick up a 1/4" dowel. Do they train their cashiers? "Is this 3/4"?"...
Sheesh.
I also stopped by Home Depot to pick up a 1/4" dowel. Do they train their cashiers? "Is this 3/4"?"...
Sheesh.
I think I'm finally done with the headstock. What a long, strange trip it's been.
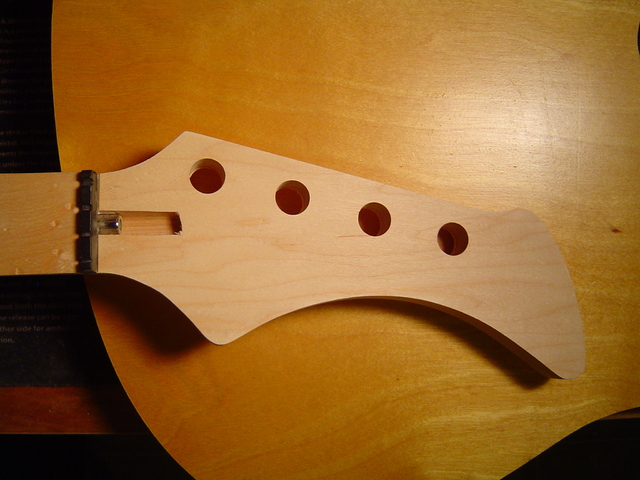
and the back:
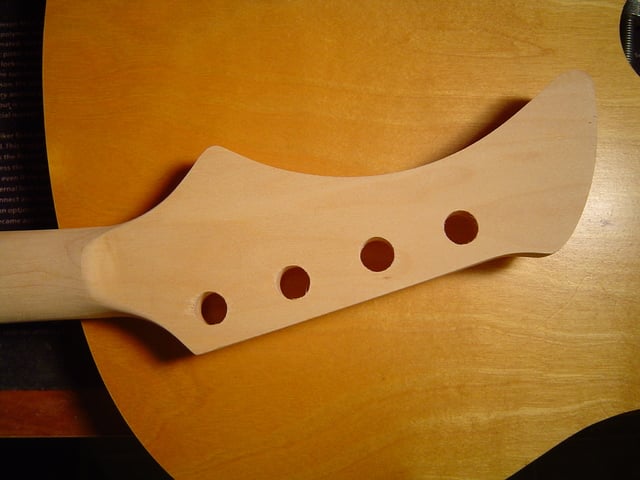
Next, I'll have to decide what kind of a round over I'll do on the body, if any, before I glue and clamp it to the body.
and the back:
Next, I'll have to decide what kind of a round over I'll do on the body, if any, before I glue and clamp it to the body.

The headstock looks amazing! On a side note, have you thought of glueing a laminate layer onto the broken nail?
I tried nail polish and crazy glue, but never laminate. That might be worth a try


Hopkins
Commercial User


