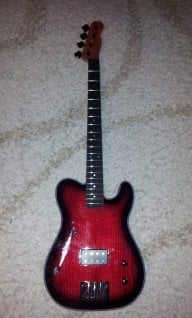
Crazy concept, looking forward to see it go forward. I'm just thinking of the finishing. If you plan on using lacquer, you're going to have to sand it all around..

TalkBass has been independent since 1998. Add your voice.
Create a free account to reply to discussions, view embedded media, and browse with fewer display ads.
Join free Log in
Want zero display ads or expanded classifieds tools? Compare plans.


This presents three problems you would have to overcome.As for the frets, I have two options, firstly, the top fingerboard layer, I can just laser cut grooves clean through the sheet. Imagine say a 3mm bit of wood, with the slots cut, joined at either end of the slot, so I will trim the tang of the fret wire a little short.
This is a pic of my phone case.Secondly, you can etch a shallow line in wood/acrylic, no doubt you have seen laser etching? Well its exactly the same as a cut, its just putting less power through the laser. So you just need to pick a power setting that is more than an etch, but less than a cut. There is a slightly higher chance of charring/fire with that option though.
This method can't work. First, it would require a method to apply consistent sideways pressure while applying the main downward clamping pressure. Second, that would still not guarantee that there is proper pressure on the barbs of the fret tangs. Third, there would be a cumulative position error with each glue-up, and by the time you got to the body end of the neck, the frets would be in the wrong place.A 3rd option which I would need to try, is to actually laser cut each 'section' between frets as a separate piece, then I just glue the first one is, place the fret wire against the side and glue the next one in. This might work nicely, as the result will be frets that are held in really firmly.
This presents three problems you would have to overcome.
1. Fret slot widths are extremely critical. .001-.002 too narrow, and the neck will bend back when fretted; .001-.002 too wide and the the fret will not stay in, unless you glue it in. So, you will need to do fretting test pieces to see.
Yes, I reckon if I go with a hole all the way though, I could actually glue and clamp it all at the same time, frets included.2. You will have to figure how to remove the glue squeeze into the slots when mounting the slotted layer to the solid layer.
I have done a lot of fairly delicate work, yes it can break, however if one is careful it should be fine. If it does break though, fairly quick to laser cut another!3. If you use this method you will find it necessary to do so on an un-tapered (still rectangular) neck. If you had a a tapered top piece with the slots also in it, this would mean there are 42-48 narrow little bridges holding it together at the sides, highly likely to be broken by the time you handle, glue, align, and clamp.
This is a pic of my phone case.
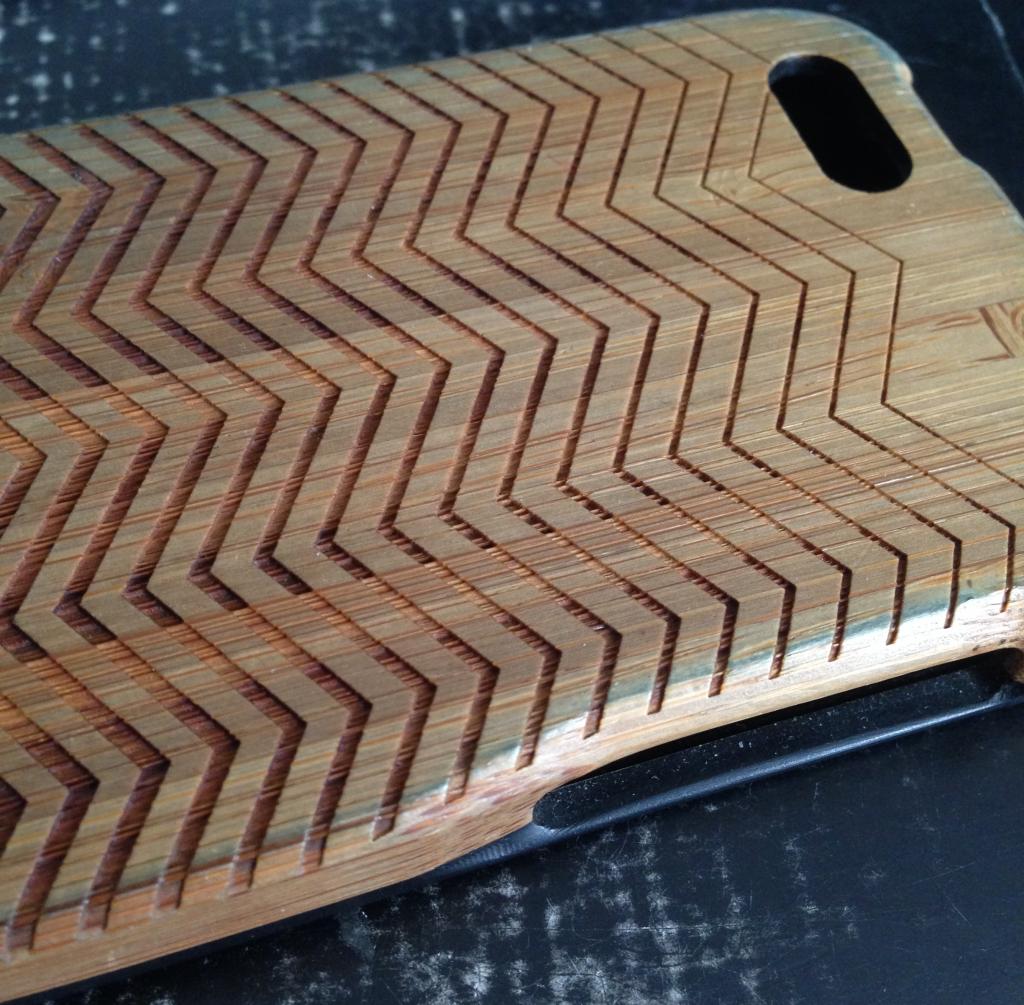
The variation in height is even more than you can make out in the photo. If the laser power or time were increased in order to burn those capillary tubes down to .070 or so to clear a fret tang, it would have also burnt clear through the soft parts between the tubes.
Now, maple is not bamboo, but maple has other complications--along with the capillaries running longitudinally it has the growth rings running tangentially, plus medullary rays running radially. So, you must test to see what the heck happens. And you can expect it to react differently depending on grain orientation (flat/rift/quartered) of your samples.
All the laser-etched plaques and photo frames I've seen have this kind of roughness in the etched areas, but one may not notice because those area are just "the dark part" and are easily ignored. Until you look closely.
This method can't work. First, it would require a method to apply consistent sideways pressure while applying the main downward clamping pressure. Second, that would still not guarantee that there is proper pressure on the barbs of the fret tangs. Third, there would be a cumulative position error with each glue-up, and by the time you got to the body end of the neck, the frets would be in the wrong place.
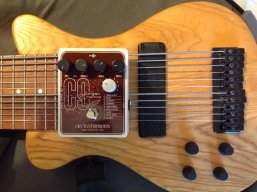



I agree that going with a fretless may give you a good palette and artistic real estate on the fretboard like you said.So, not only did I recently get my Ash and Acrylic bass playable, but I also got another fretted bass back that I had lent to a friend.
Having learned on, and enjoyed playing a fretless bass I am left thinking I don't need another fretted bass.
So to that end, I had a go at a fretless design. I had wanted to have a go at a fanned fretted neck, maybe that will just have to wait until next time?
Fretless does leave me with a lot more freedom to do something creative with the fingerboard.




I had a sneaky suspicion about you. I also am a graphic and multimedia designer. Rock on!Thanks for the font suggestions, I actually work as a graphic designer during the day. I am starting to think I should do a glitched version of the Rickenbacker logo. Perhaps @mapleglo has a version of it as a vector?



Then again, there's no reason not to try it, you can always fret it later on.Yeah, fretless is nice and all, but I see no real need for multi scale fretless.
I had a sneaky suspicion about you. I also am a graphic and multimedia designer. Rock on!
I'm at work right now, pm me and I'll respond once I get home.
I couldn't find the "watch thread" button fast enough.
Then again, there's no reason not to try it, you can always fret it later on.
I did the same with a DIY 35 inch scale six string bass, after having found out my muscle memory just could not adjust to the minute difference this inch makes I fretted it and never looked back.
I'm going to enjoy seeing how this bass will develop.
Illustrator is my weapon of choice as well; I do almost all of my designing with it. I recently also just got into AutoCAD and that's a pretty slick program that really has some advantages over Illustrator that are certainly worth checking out if you ever have the time. The bass project I've got in my hopper was drawn completely with AutoCAD, which is my first such project.Sweet, you wanna know the best bit? I can export my designs from illustrator as DXF, which is what most laser cutters use.


