
Enjoy the benefits of a premium membership!
Upgrade Account
-
TalkBass has been independent since 1998. Add your voice.
Create a free account to reply to discussions, view embedded media, and browse with fewer display ads.
Join free Log in
Want zero display ads or expanded classifieds tools? Compare plans.
You are using an out of date browser. It may not display this or other websites correctly.
You should upgrade or use an alternative browser.
You should upgrade or use an alternative browser.
Harrison inspired 4001 ric build
- Thread starter Verner
- Start date
More options
Who Replied?

- Apr 18, 2008
- 16,007
- 1
- 31,705
- Disclosures
- I'm highly opinionated and extremely self-assured
@SlingBlader thanks for the tip, I have not used titebond III, will add it to the toolbox!
The first few builds I did used Titebond III. No particular reason, that’s just what I plucked from the store shelf.
They’re still glued together, no prob.



I used the Titebond II for dark wood on the walnut bass, it dries a brown color that doesn't clash with walnut. Never tried Titebond III, some people say it "creeps", but I think that can be true of any aliphatic. A lot of builders have switched to epoxy, might try that next time.

I used the Titebond II for dark wood on the walnut bass, it dries a brown color that doesn't clash with walnut. Never tried Titebond III, some people say it "creeps", but I think that can be true of any aliphatic. A lot of builders have switched to epoxy, might try that next time.

Oboy, the only thing that gets more contentious than a glue debate is a tonewood opinion....
- Apr 18, 2008
- 16,007
- 1
- 31,705
- Disclosures
- I'm highly opinionated and extremely self-assured
I'm staying out of all of those debates. I have my opinions, of course, but because my opinions are correct, I see no need to debate them. 
No glue debate here! Use what you like, I don't think it matters going on, some are more or less easy to remove with heat or steam later, the most common being a fingerboard removal, which I hope I never have to do. Tonewood however.......Never mind! I'm an agnostic Unitarian.
Alright, so I planed the walnut center section down, so a good news/bad news thing:
Good: The joins are perfect, and I think the contrasting colors will look really neat on either side of the neck when I get to carving.
Bad: I ran out while my kids ate lunch (my wife is a nurse on the weekend graveyard shift, so it is just me and my 7, 4, and 2 year old on the weekends) to plane the boards with 1.25" on the brain. I planed it with a few thou to spare for sanding, and walked away proud of my speedy planing. Then, pondering my next step, I remembered the ric needs a 1/8" "step" for the fingerboard.
Rookie mistake... So embarrassing. At the very least I could have shredded a finger a little to garner some sympathy. My apologies for the lack of consideration.
So I will be milling a 3/8" fingerboard as well as a 1/8" riser from my walnut. I am pondering, though not leaning towards, a maple 1/8" riser instead of walnut, just not sure how well that will blend into the headstock.
Any thoughts?
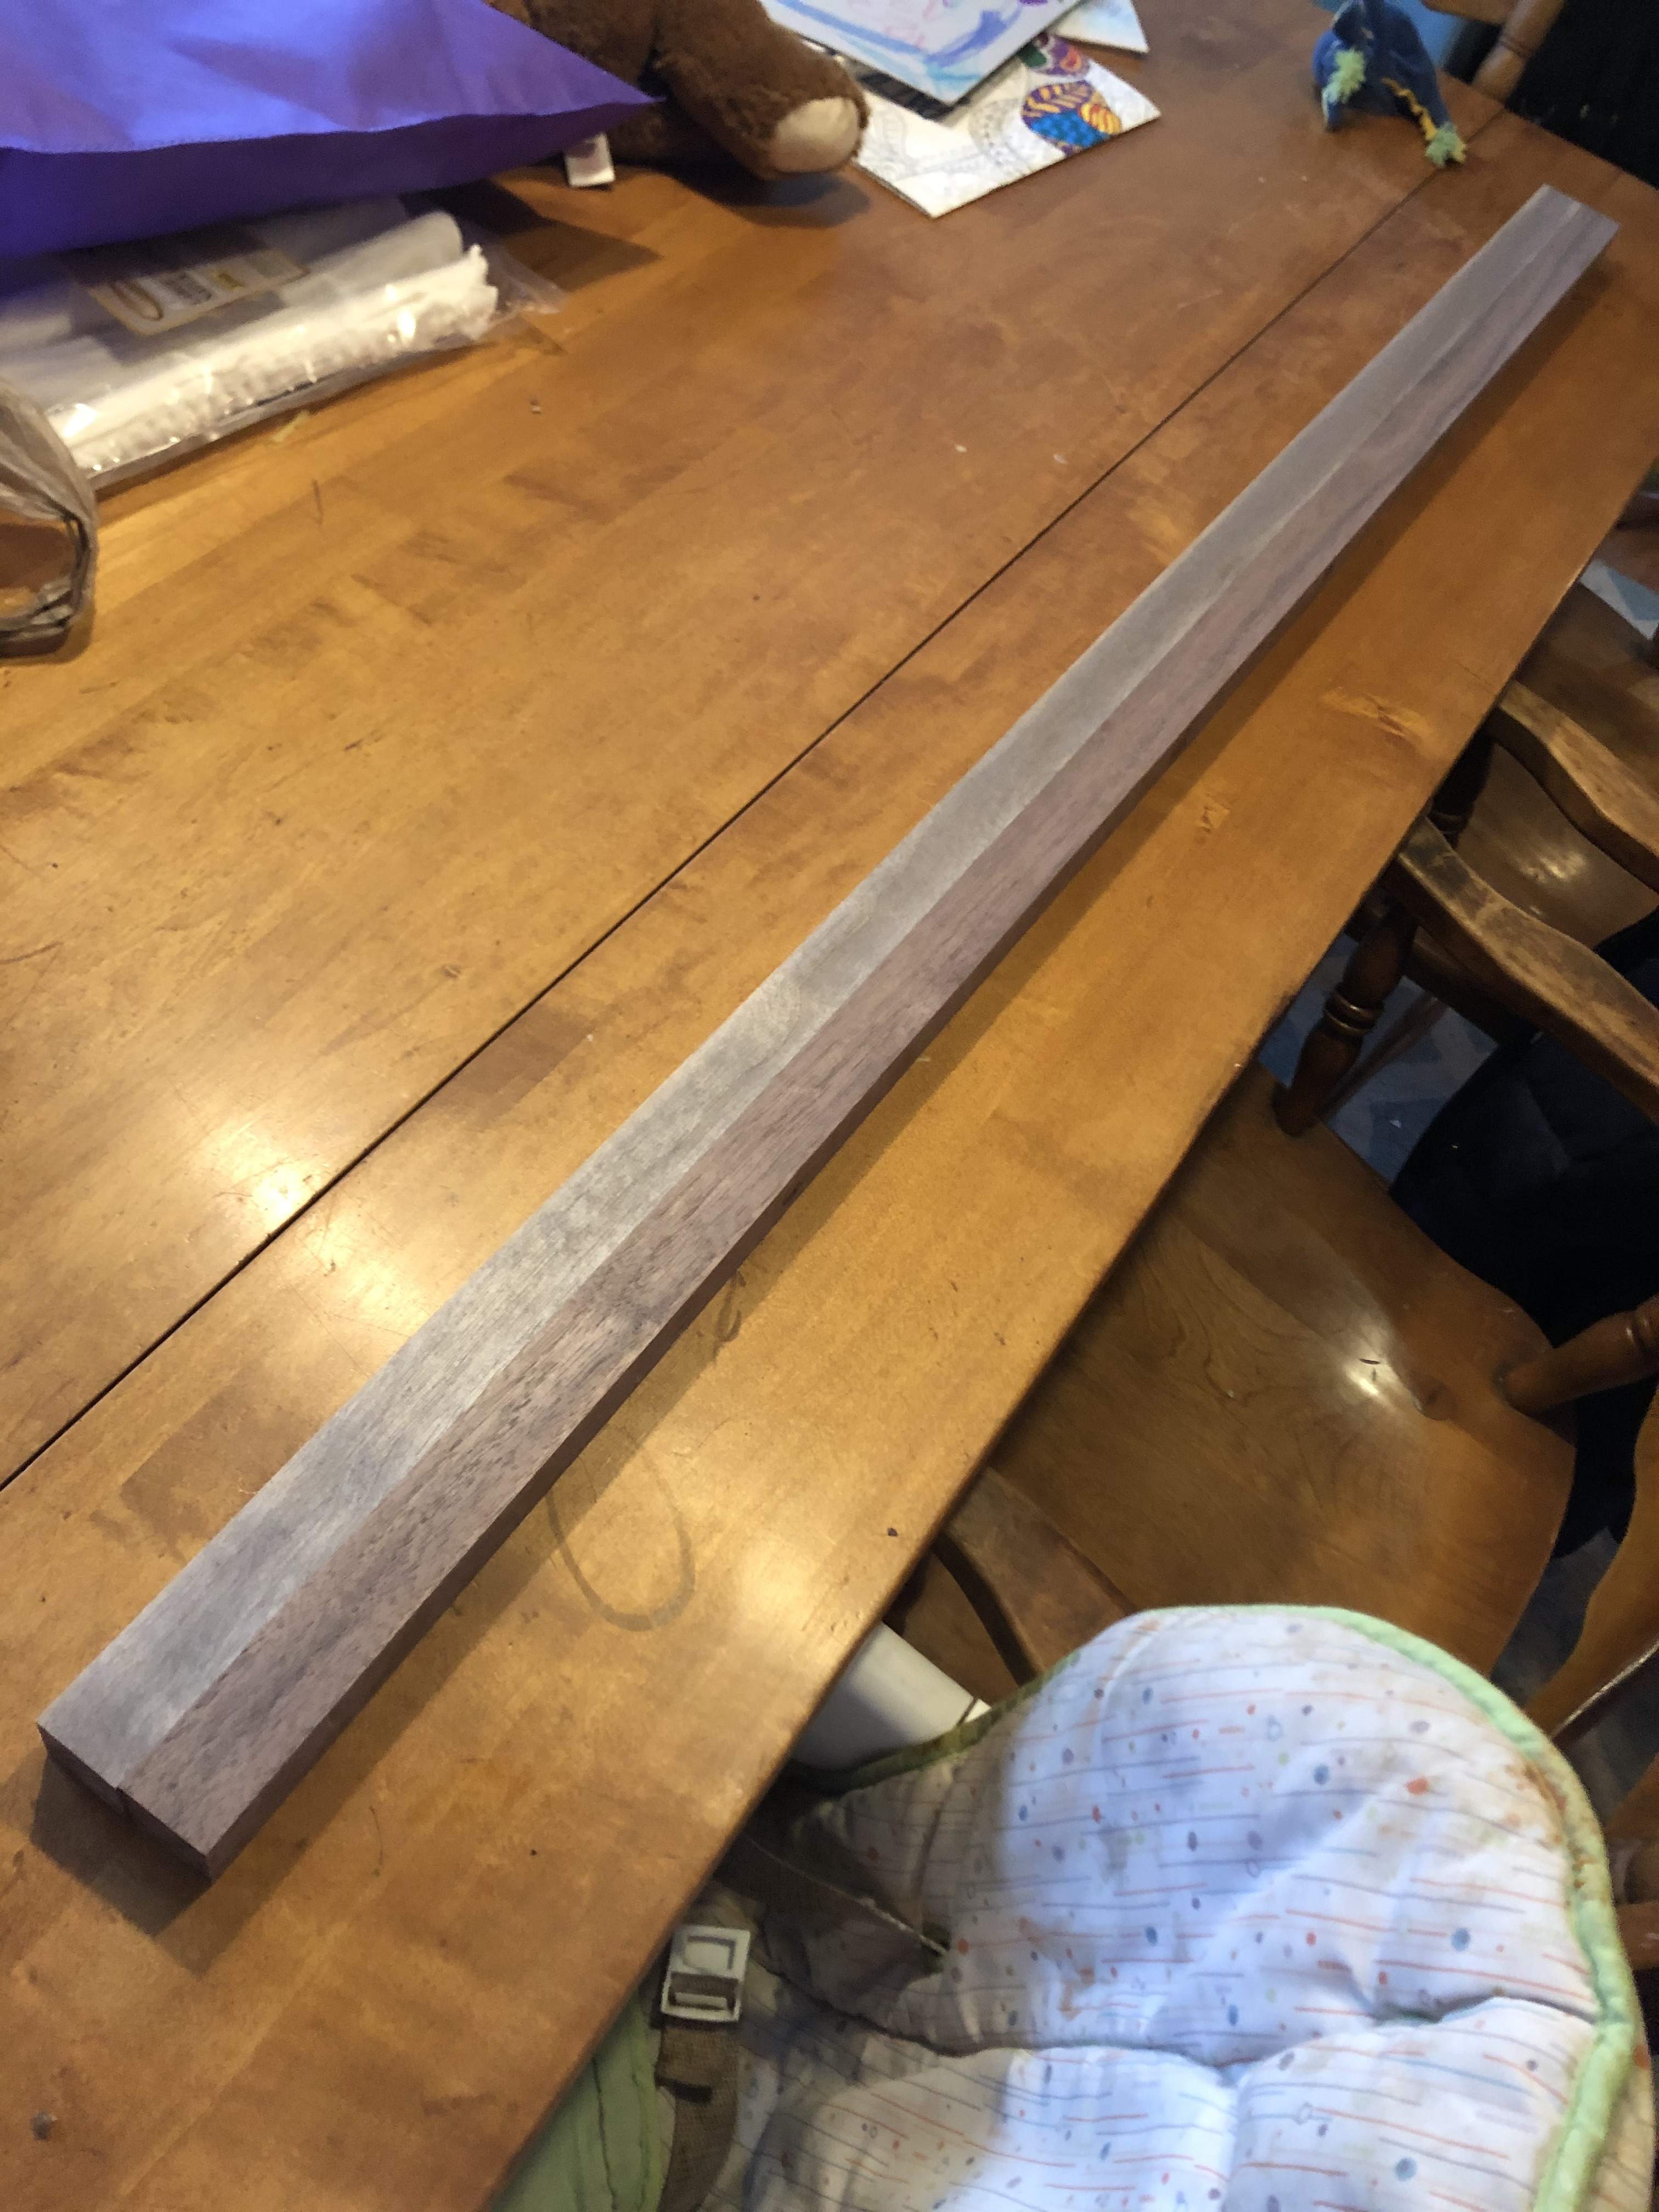
Good: The joins are perfect, and I think the contrasting colors will look really neat on either side of the neck when I get to carving.
Bad: I ran out while my kids ate lunch (my wife is a nurse on the weekend graveyard shift, so it is just me and my 7, 4, and 2 year old on the weekends) to plane the boards with 1.25" on the brain. I planed it with a few thou to spare for sanding, and walked away proud of my speedy planing. Then, pondering my next step, I remembered the ric needs a 1/8" "step" for the fingerboard.
Rookie mistake... So embarrassing. At the very least I could have shredded a finger a little to garner some sympathy. My apologies for the lack of consideration.
So I will be milling a 3/8" fingerboard as well as a 1/8" riser from my walnut. I am pondering, though not leaning towards, a maple 1/8" riser instead of walnut, just not sure how well that will blend into the headstock.
Any thoughts?
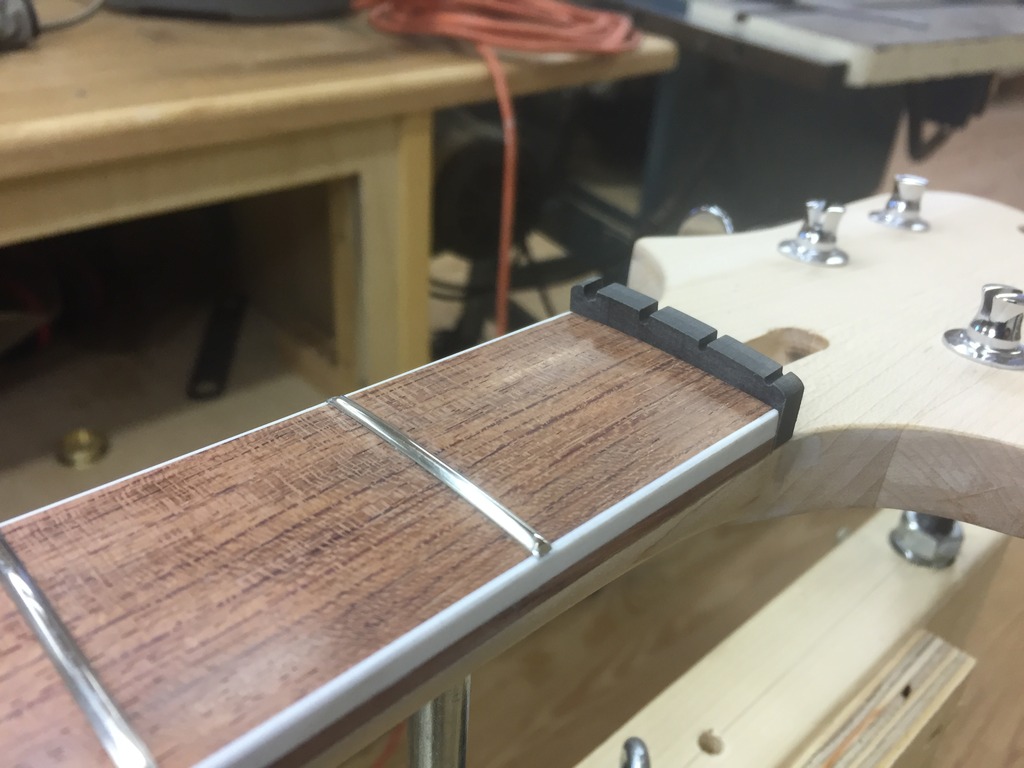
That sounds really familiar, almost did that myself on the HF1. Gluing a riser on would be nearly invisible, but a contrasting layer might look cool. The stock Ric boards are 3/8" thick, with 1 /4" tall binding, which leave a 1 /8" strip of exposed bubinga between the binding and actual neck beam along the neck edge. This isn't a mistake, it's an Opportunity! I had lots of Opportunities in my build . 
Edit: on a real ric, that strip of exposed bubinga stops right at the nut, so it doesn't have any effect on the headstock. The nuts on a Ric are really tall, extending all the way down to the neck beam. BTW, I highly recommend getting a stock Ric bakelite nut from Pick of the Ricks. It's pre-slotted at correct string spacing, but oversize in height, so it's easier to just take material off the bottom. It's very hard, so it polishes up to a high shine (Ric leave them dull and un-polished for no good reason).
Edit: on a real ric, that strip of exposed bubinga stops right at the nut, so it doesn't have any effect on the headstock. The nuts on a Ric are really tall, extending all the way down to the neck beam. BTW, I highly recommend getting a stock Ric bakelite nut from Pick of the Ricks. It's pre-slotted at correct string spacing, but oversize in height, so it's easier to just take material off the bottom. It's very hard, so it polishes up to a high shine (Ric leave them dull and un-polished for no good reason).
Last edited:
Here's a shot of that situation. Imagine the exposed strip of bubinga is your "riser" glued to top of the neck beam. It could be anything, maple, purple heart, or just plain old walnut. In your shoes, I'd do a maple riser for contrast, it will look like maple binding, but it stops at the nut. this would also have the advantage of letting you get a standard 1/4" thick fingerboard blank, I had to special order one 3/8" thick from a place I found online, then send it to LMI for fret slotting. I don't know if you plan on doing your own slotting, I figured I couldn't compete with CNC accuracy, so I had LMI do it. Thats the stock Ric bakelite nut in the photo, before final height adjustment and polishing.
Last edited:
Dimensionally though, the fretboard and riser need to be 1/2" above the body, right? I have only built fender style necks until this summer when I built a set neck 325 (funny guitar, same size as my kid's toy guitar). I was going to cut my own 3/8" blank from the same walnut rough cut stuff I have and do my own fretting. Wouldn't be that much more work to cut off and plane down a 1/8" piece from that same stock. Oh man choices are dangerous...
My inclination is to follow my original design inspiration, which is the rosewood tele lines. As long as my joints are tight I want it to look like it was carved from a single walnut tree, unbound and with simple dot inlays.
My inclination is to follow my original design inspiration, which is the rosewood tele lines. As long as my joints are tight I want it to look like it was carved from a single walnut tree, unbound and with simple dot inlays.
I didn't find it brittle. They ship them way high though, I think I took about 1/8" off the bottom edge to get it to right height. I took very little off the top, just rounded the edges and polished up to about 1000 grit. I didn't notice any smell at all. I only had to file the nut slots a tiny bit once I got it close filing just the bottom.
Yeah, the fingerboard at its highest point in the radius should be just a hair under 1/2" above the body plane to work with a stock Ric bridge, so your riser height depends on your fretboard thickness. If you use a different brand of bridge, you might have to adjust that up or down.
Yeah, the fingerboard at its highest point in the radius should be just a hair under 1/2" above the body plane to work with a stock Ric bridge, so your riser height depends on your fretboard thickness. If you use a different brand of bridge, you might have to adjust that up or down.
Last edited:
- Apr 18, 2008
- 16,007
- 1
- 31,705
- Disclosures
- I'm highly opinionated and extremely self-assured
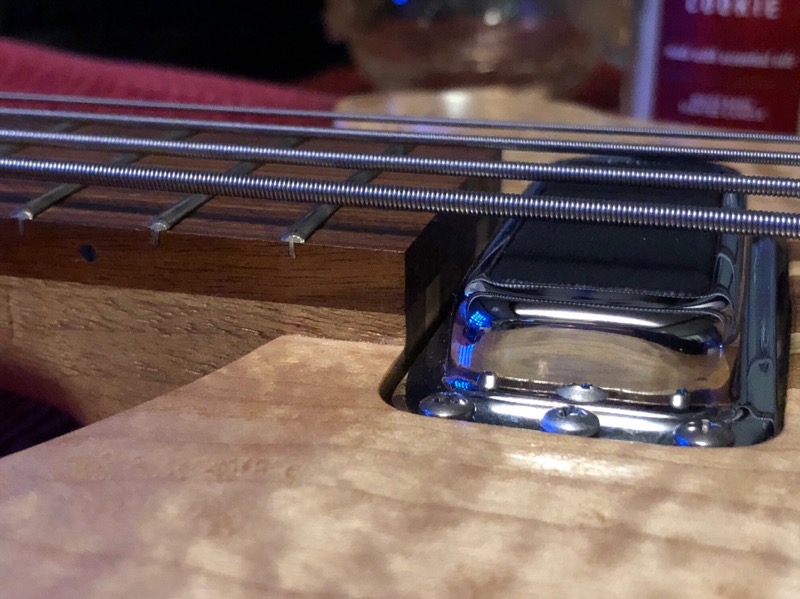
Yes, my dimensions are similar. I wasn’t trying to make a replica, just something similar. My fingerboard is a 1/4” slab of Pau Ferro from LMII, and I planed a 0.20” step in the neck blank, so the top of the fingerboard is about 0.45” above the top of the body.
Edit: here’s a photo:
Edit: here’s a photo:
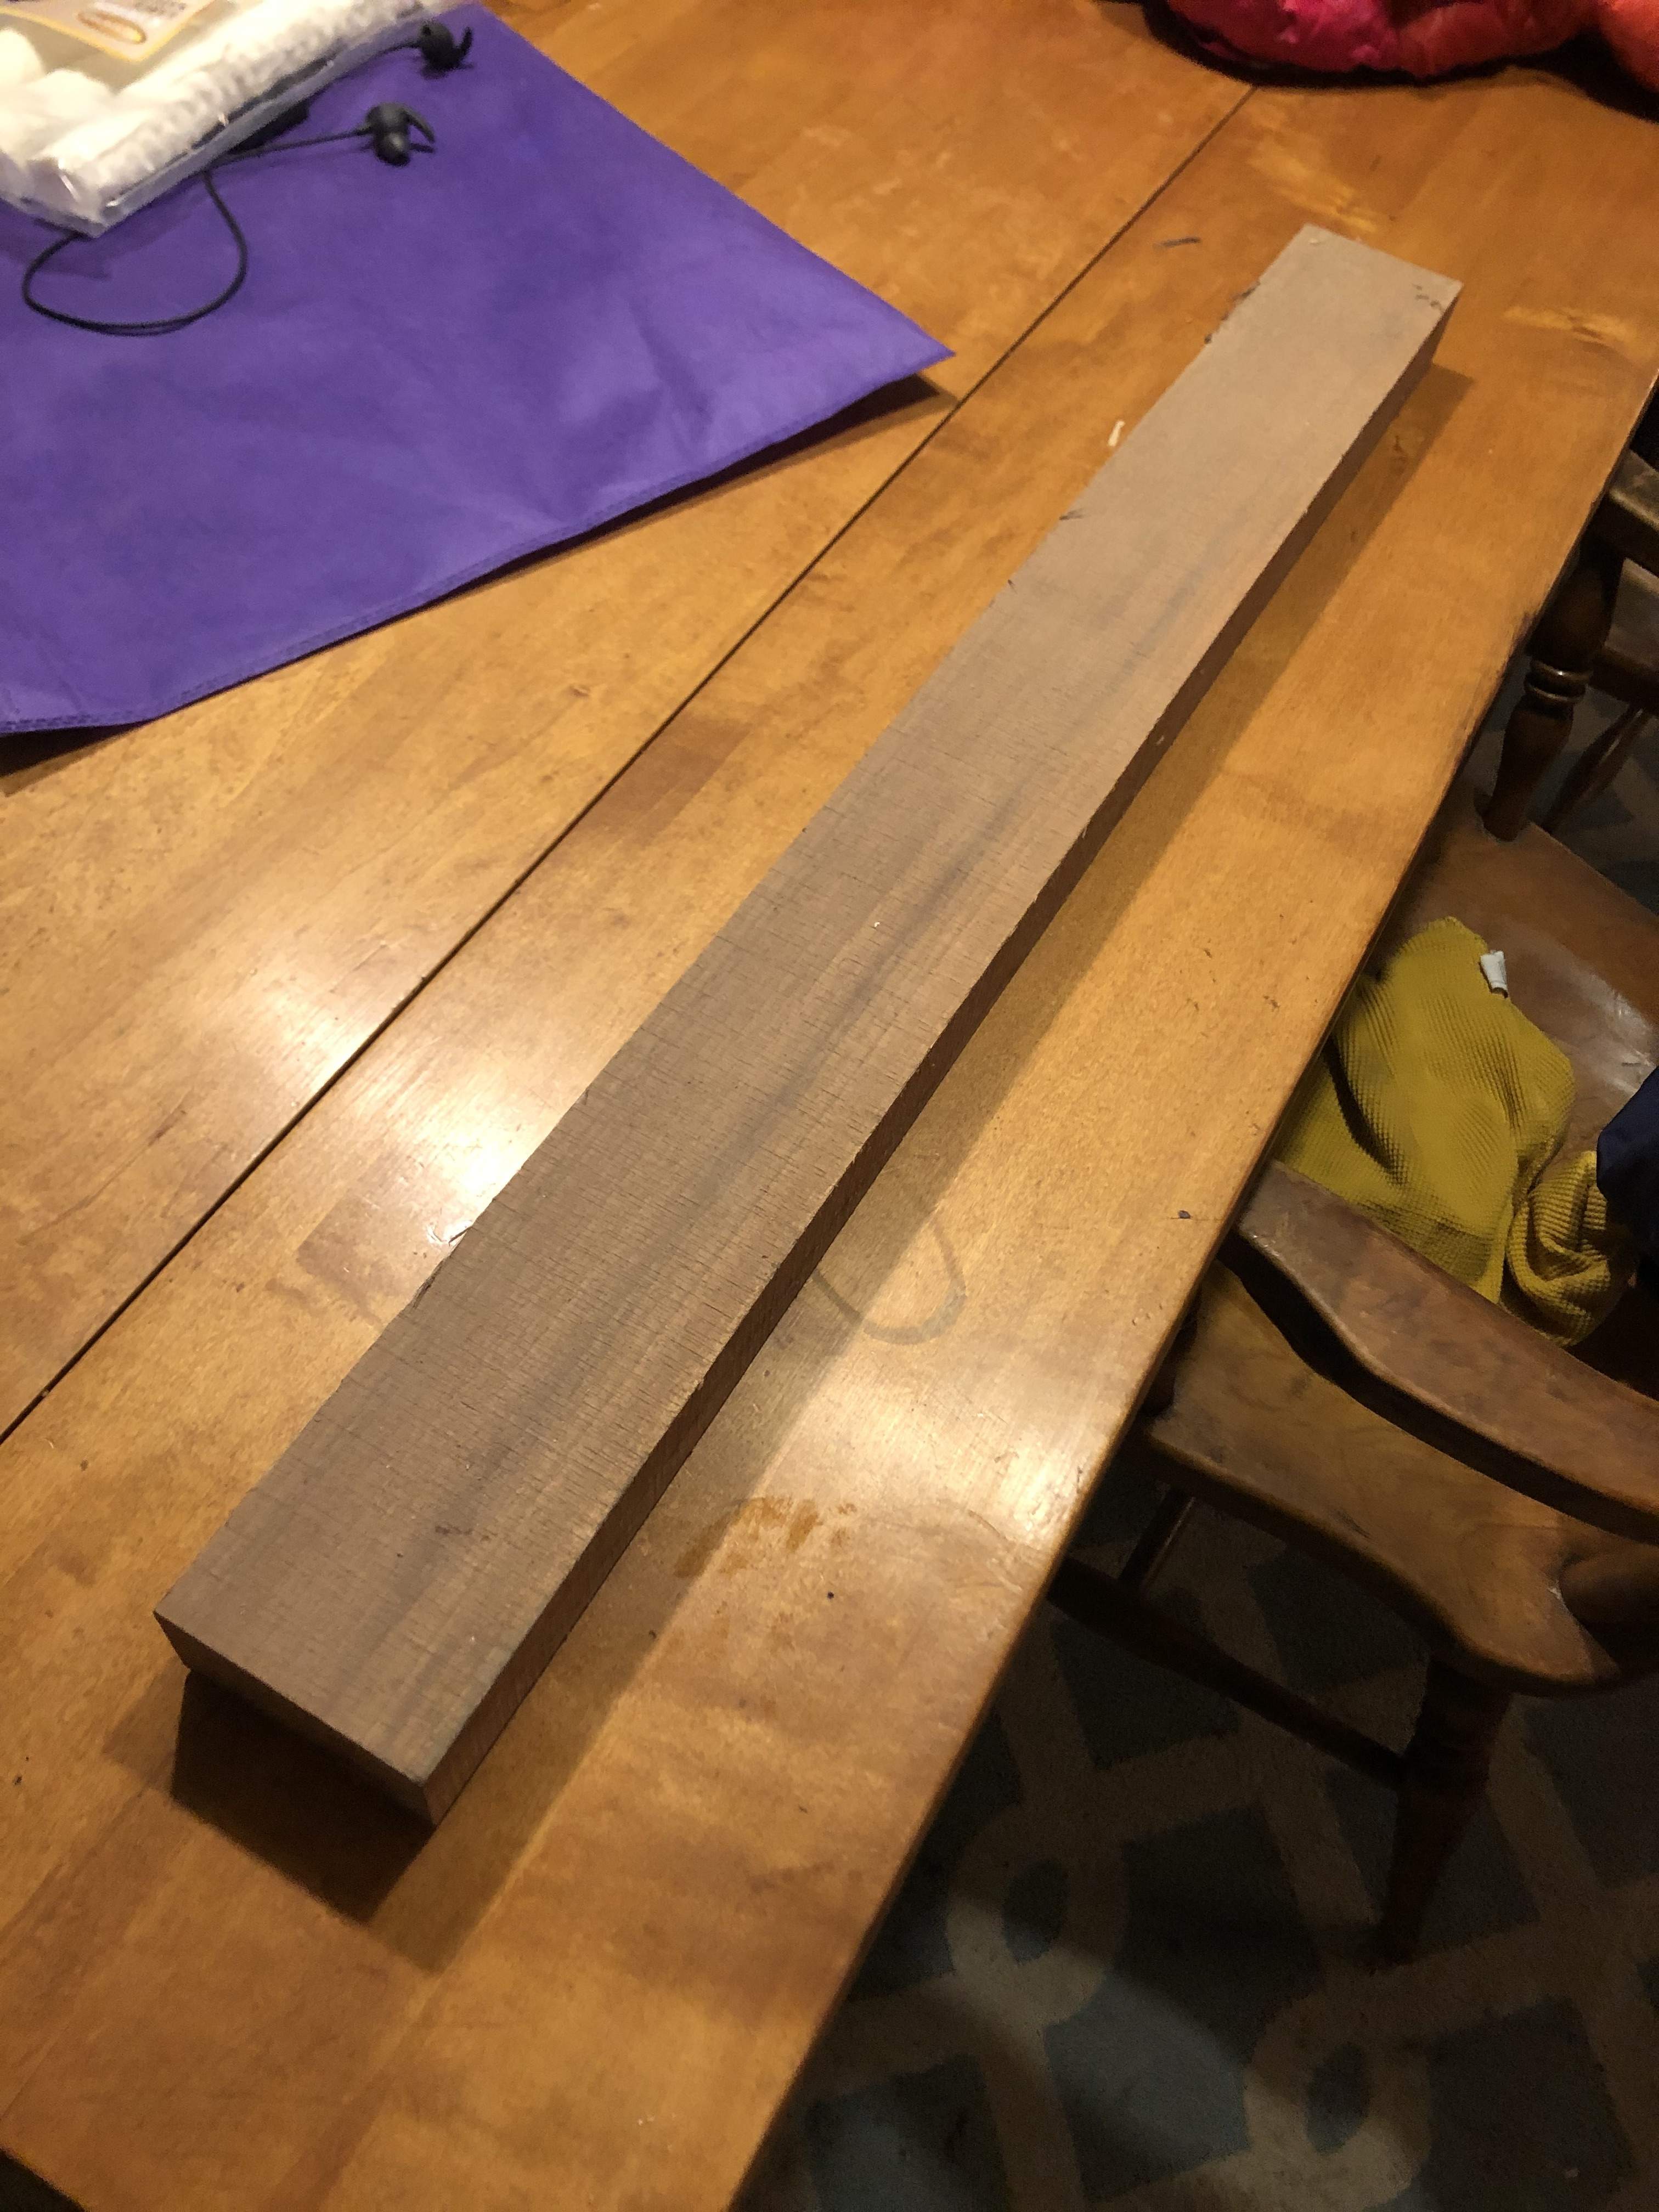
Ok, youngest in bed and oldest two in the shower. I cut off a chunk of rough sawn walnut, run it through the planer, and cut it into oversize fingerboard/riser blanks on the table saw. The planer bottoms out at a few thou over 3/8", so later this week I will make a sled of mdf to plane down the smaller piece to 1/8". The larger is just about right as is, I will most likely finish by hand with a hand plane or sanding. Looks to be some nice figure there!
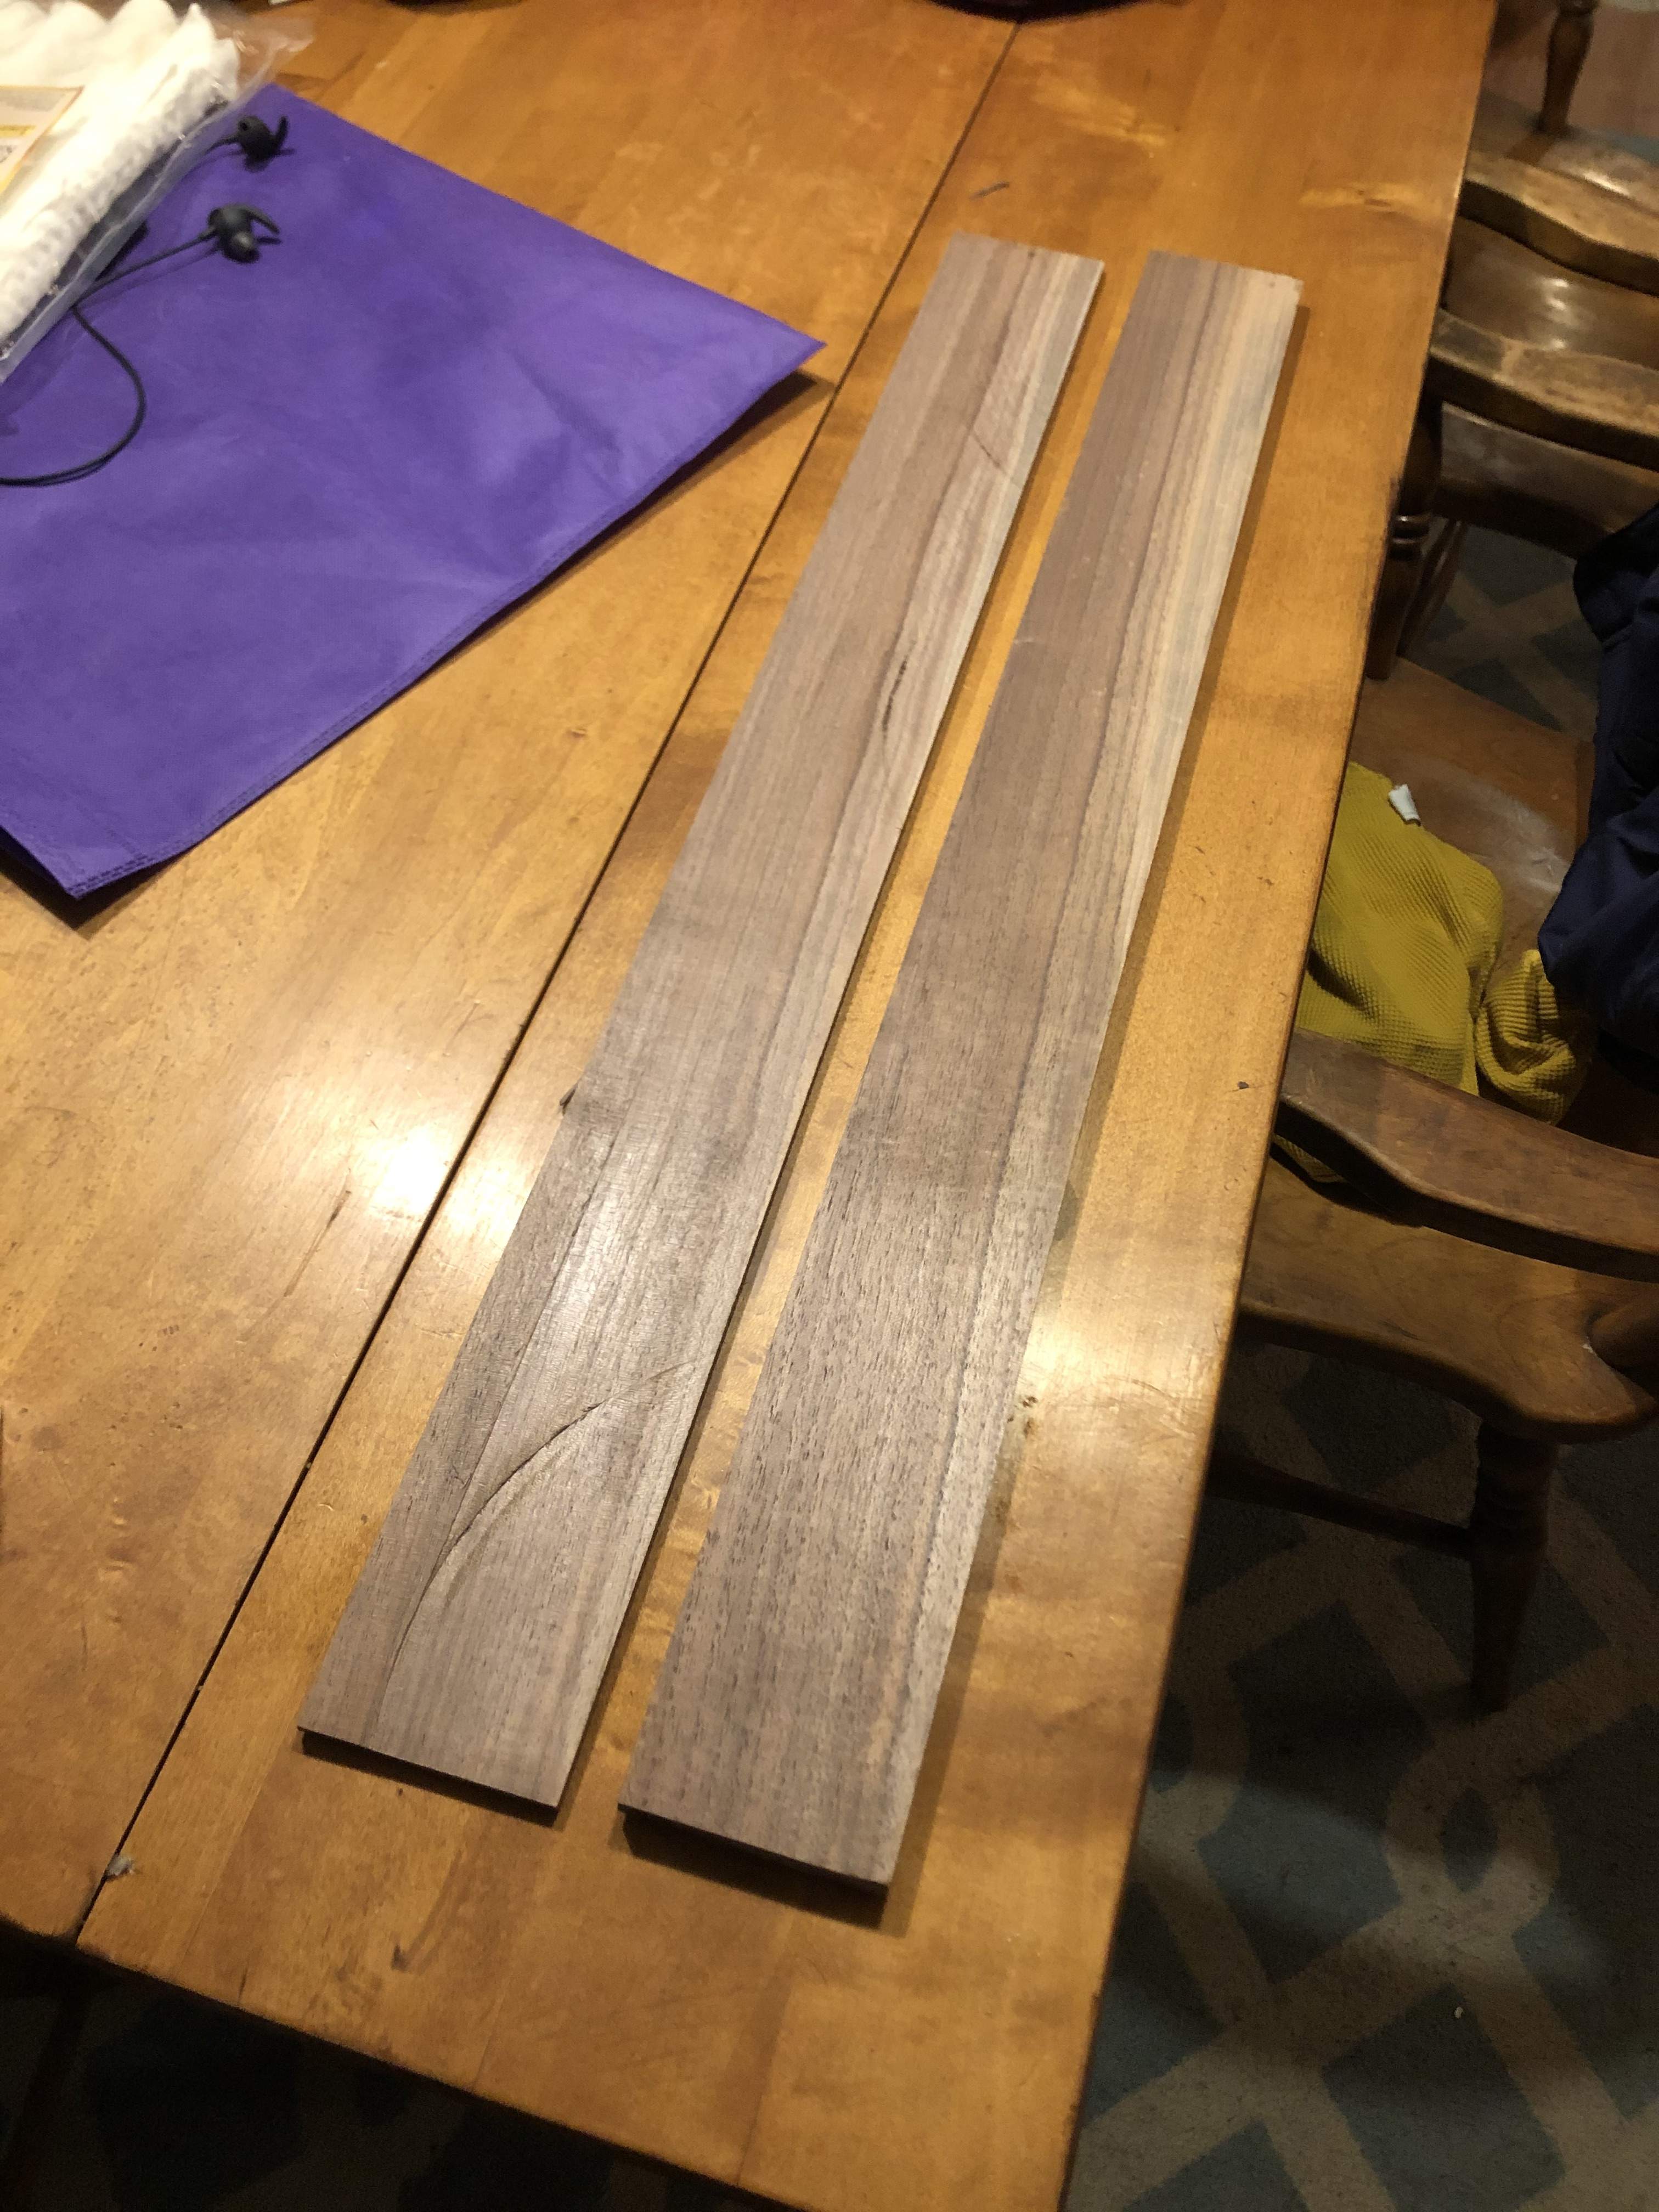
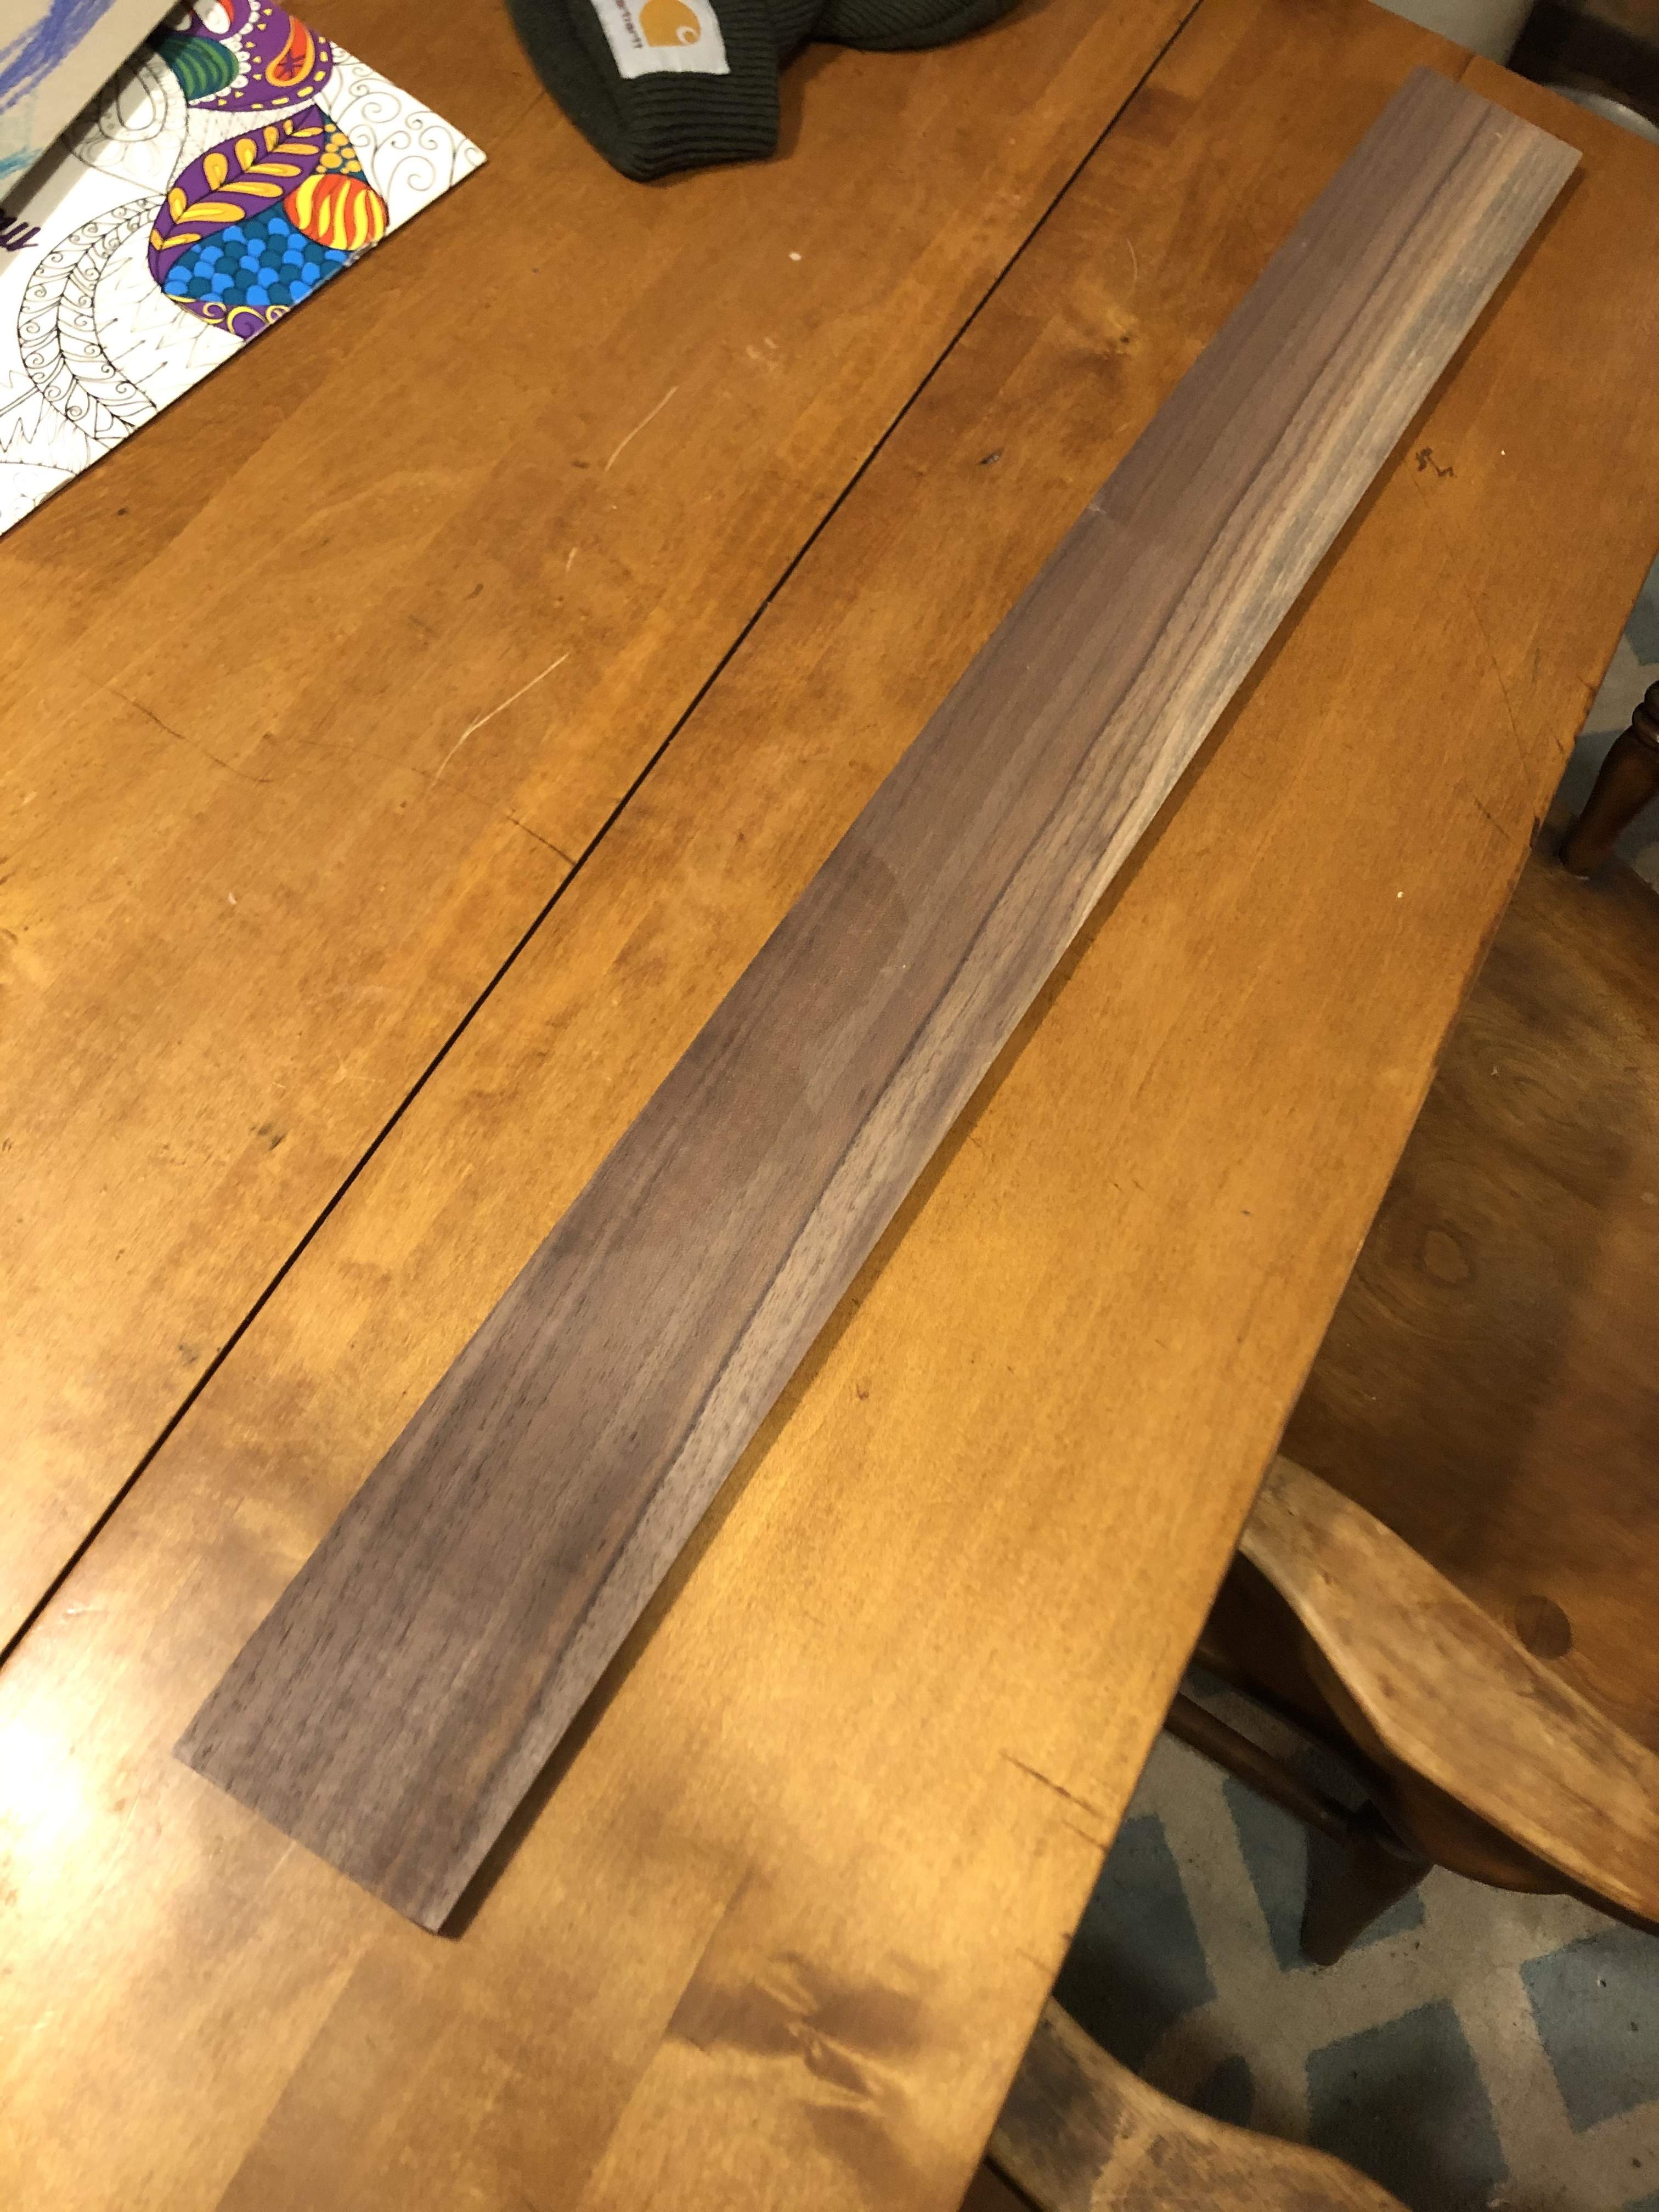
@ctmullins I was thinking along those line originally. Seems like if the step was bigger, the truss wouldn't have to be so deep into the meat of the neck, and you could have a thinner neck overall. Or the same thickness but with more wood directly under the truss rod for stability.
- Apr 18, 2008
- 16,007
- 1
- 31,705
- Disclosures
- I'm highly opinionated and extremely self-assured
Did you already state what kind of truss rod you’re using? I always use the double-layer rods from LMII, which only require a shallow channel with a straight bottom. Much easier to install, and works fine.
The forces acting on the truss rod result in the ends of the rod pushing “down” (towards the back of the neck), and the middle of the rod pushing “up” (towards the fretboard). This means you don’t need much neck wood in the center section. The heel at the body and the volute at the headstock take the downward load.
The forces acting on the truss rod result in the ends of the rod pushing “down” (towards the back of the neck), and the middle of the rod pushing “up” (towards the fretboard). This means you don’t need much neck wood in the center section. The heel at the body and the volute at the headstock take the downward load.
@ctmullins I have a 24" stewmac low profile rod and a bitterroots guitars 22" rod, going to have to decide which to use. Both require a 3/8" slot. The 24" seems like it may be pushing the limit of what could fit.
For my 325 Capri build I cut a regular rod down and had my brother in law weld it, that is a possibility with the 24" rod.
For my 325 Capri build I cut a regular rod down and had my brother in law weld it, that is a possibility with the 24" rod.


