
Enjoy the benefits of a premium membership!
Upgrade Account
-
TalkBass has been independent since 1998. Add your voice.
Create a free account to reply to discussions, view embedded media, and browse with fewer display ads.
Join free Log in
Want zero display ads or expanded classifieds tools? Compare plans.
You are using an out of date browser. It may not display this or other websites correctly.
You should upgrade or use an alternative browser.
You should upgrade or use an alternative browser.
Jaco Tribute Bass Build
- Thread starter bassgod76
- Start date
More options
Who Replied?

Last night I was finally able to start my Jaco build after finishing my two P Bass refurb projects. I'm very excited about this build, because I haven't owned a Jazz bass in almost 8 years. I'm also thrilled I don't have to do any painting or sanding. Thank you Jesus!
I don't have to do a whole lot to this piece. Most of the work will be split among Dan Atkinson, Kevin Kaufman, and my wallet
Tonight, I started shielding. Since I don't have the pickups yet, I was forced to only shield the control cavity, and to lay down a bridge strip. I would do the pickup cavities, but god forbid, there's a fit issue. Knowing my luck; there will be.
First, I cleaned up the bottom of the cavities coated in rough paint. I used my Dremel to do the work.
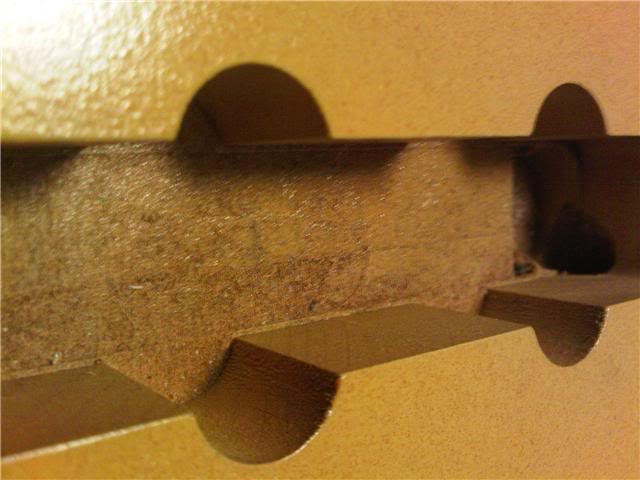
Paint removed!
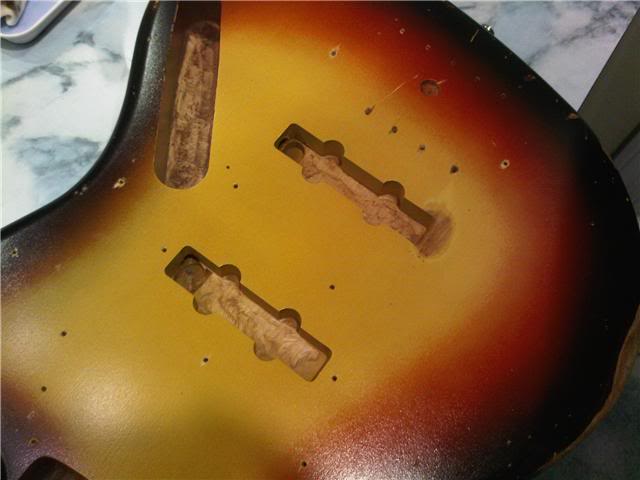
Next, I messed around with the bridge grounding wire to make sure the small hole would accomodate thick cloth wire.
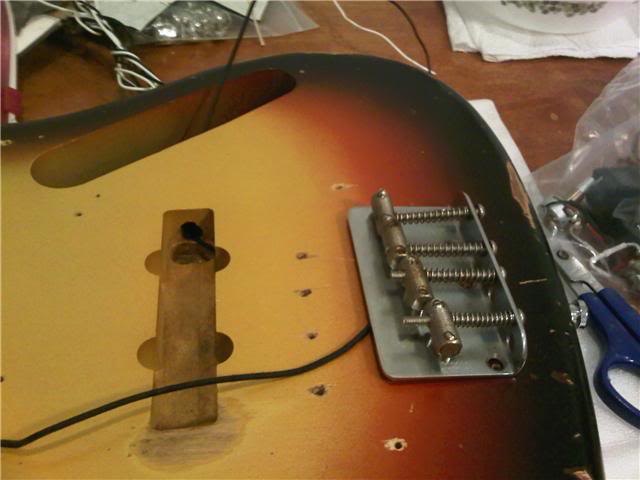
Then, I started laying down the bridge grounding strip. It's not essential, but Jaco had one on his, and I will follow suit. I had to check several pics to make sure I was applying it in the right area, just left of center of the bridge.
For kicks, I shielded the control cavity plate.
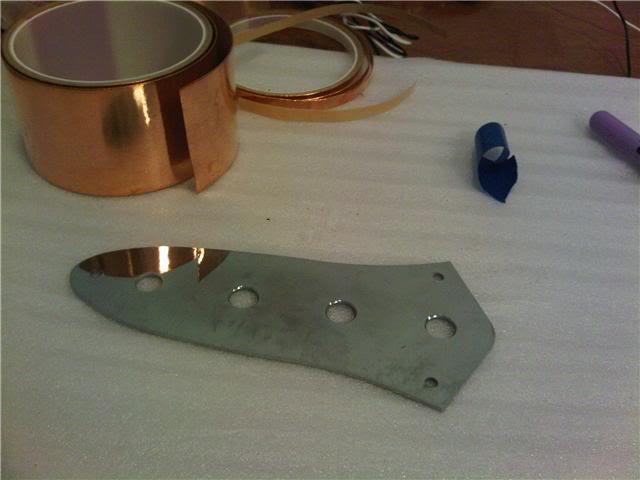
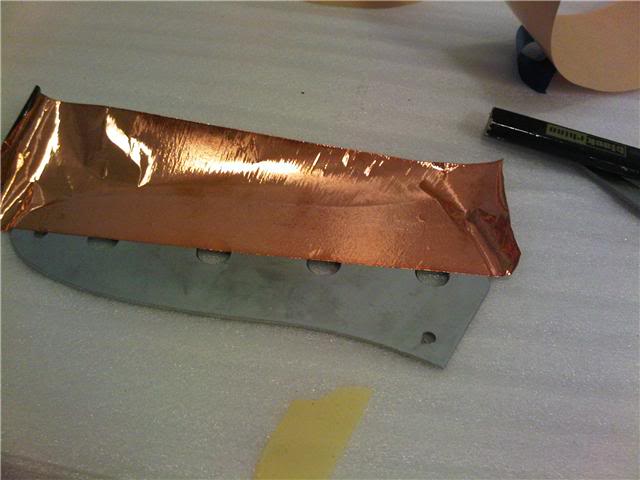
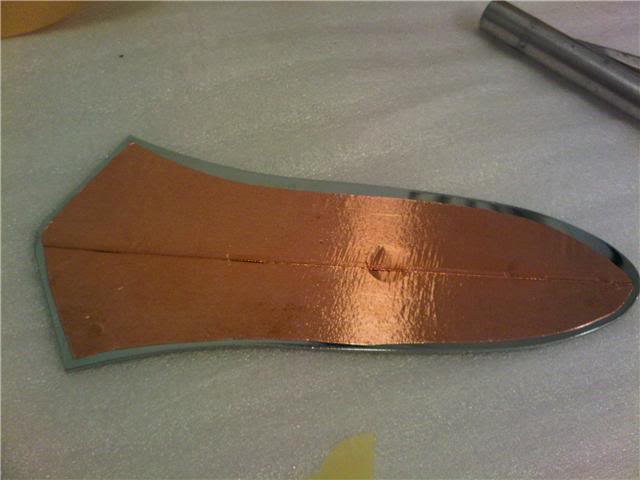
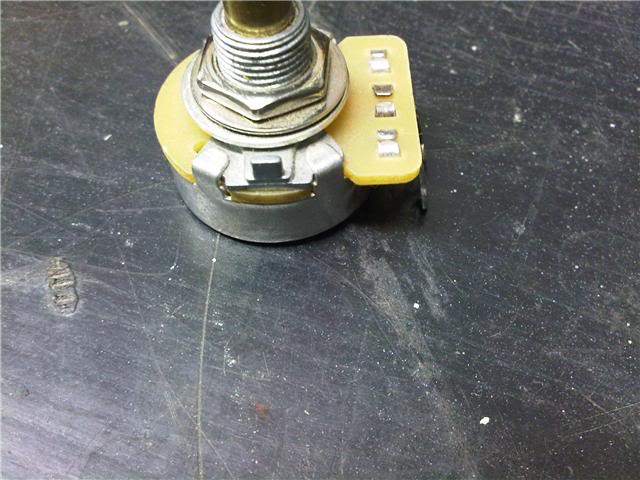
Looking at the pots, I noticed a metal tab which is to prevent the pot from spinning. It worked great on my P Bass. I just drilled out a small notch in the plastic pickguard and it worked fine. No such luck with a metal Jazz Bass plate. This forced me to grind the metal tab off.
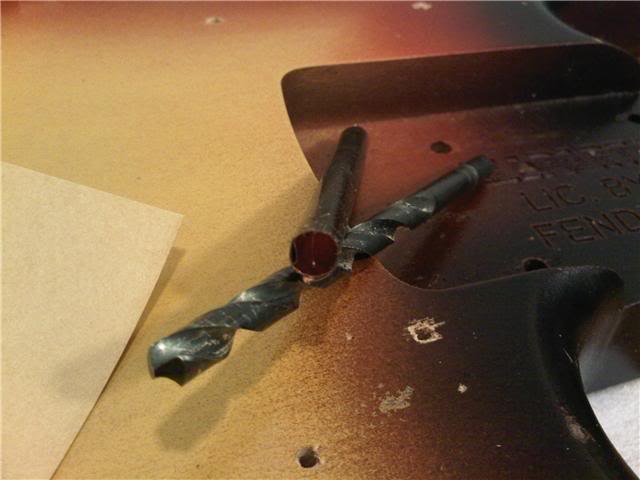
I resumed shielding the control cavity. I also shielded the channels connecting the pickup and control cavities. I used a drill bit and wide shielding tape.
This is cut so after it is inserted, I can open it up and stick the flanges to the side of the cavity walls.
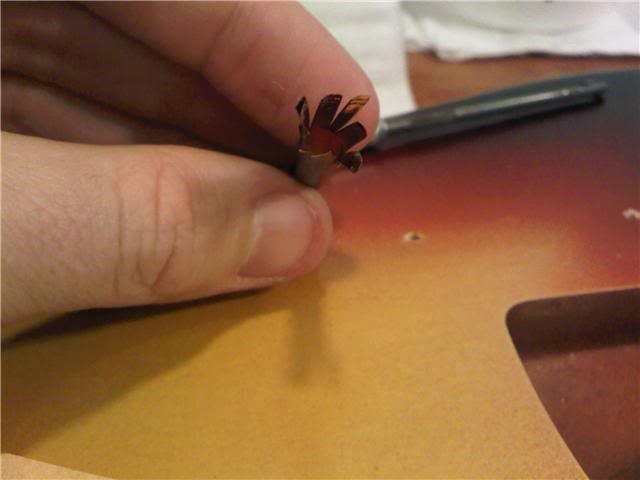
Shielding almost done.
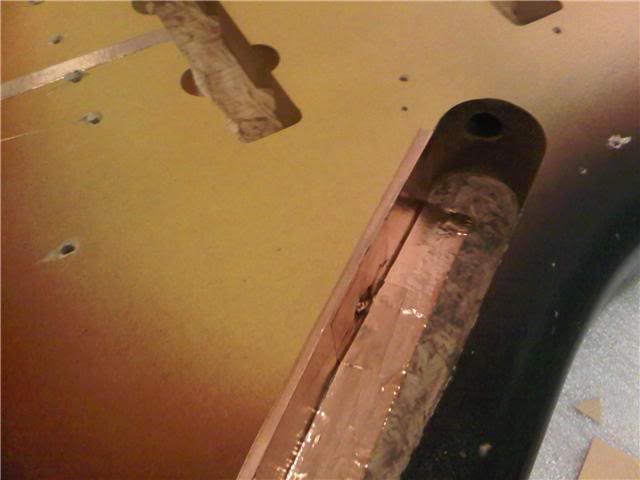
Cavity is done!
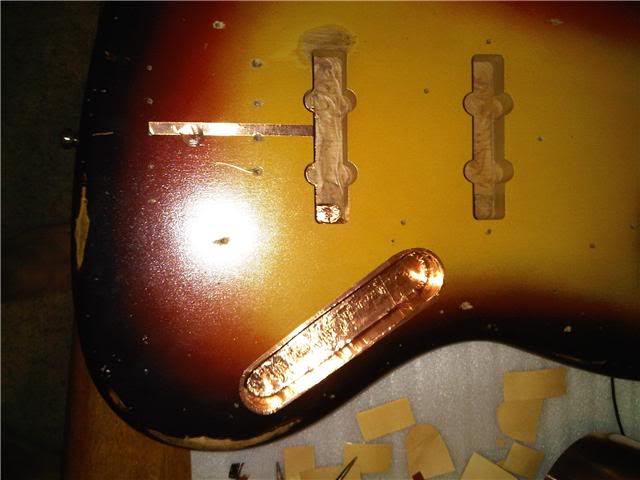
I don't have to do a whole lot to this piece. Most of the work will be split among Dan Atkinson, Kevin Kaufman, and my wallet
Tonight, I started shielding. Since I don't have the pickups yet, I was forced to only shield the control cavity, and to lay down a bridge strip. I would do the pickup cavities, but god forbid, there's a fit issue. Knowing my luck; there will be.
First, I cleaned up the bottom of the cavities coated in rough paint. I used my Dremel to do the work.
Paint removed!
Next, I messed around with the bridge grounding wire to make sure the small hole would accomodate thick cloth wire.
Then, I started laying down the bridge grounding strip. It's not essential, but Jaco had one on his, and I will follow suit. I had to check several pics to make sure I was applying it in the right area, just left of center of the bridge.
For kicks, I shielded the control cavity plate.
Looking at the pots, I noticed a metal tab which is to prevent the pot from spinning. It worked great on my P Bass. I just drilled out a small notch in the plastic pickguard and it worked fine. No such luck with a metal Jazz Bass plate. This forced me to grind the metal tab off.
I resumed shielding the control cavity. I also shielded the channels connecting the pickup and control cavities. I used a drill bit and wide shielding tape.
This is cut so after it is inserted, I can open it up and stick the flanges to the side of the cavity walls.
Shielding almost done.
Cavity is done!
cool build! im a little confused by the strip of sheilding tape running from the bridge pup to the brigde....
cool build! im a little confused by the strip of sheilding tape running from the bridge pup to the brigde....
Take a look at the bridge area on the Fender relic. Answer your question?
http://bass-guitars.musiciansfriend.com/product/Fender-Jaco-Pastorius-Relic-Jazz-Bass?sku=510539

Phew, Im excited to see this finished!
And your other two P basses are awesome too!
In other words, youre the man.
And your other two P basses are awesome too!
In other words, youre the man.
Phew, Im excited to see this finished!
And your other two P basses are awesome too!
In other words, youre the man.
Thanks! It was a lot of fun, but I will need a break, after this. The Jaco is my final build for 2009.
2010, I'm rolling out an Ibanez SR 300/EMG/Hipshot refurb. Thinking about changing the boring dark blue body to International Orange!
Also, I'm doing a boogey woogey wonderland 70's"ish" Jazz in Olympic white body (CBS era pickup spacing), maple neck with maple fretboard with white paerloid block inlays. Audhere preamp, Nordstrand Nj4se, and old school Hipshot HB2 tuners, Hipshot vintage bridge. Back pickguard.
Late 2010 I will be trying my hand at a James Jamerson tribte bass.
Stay tuned!



Take a look at the bridge area on the Fender relic. Answer your question?
http://bass-guitars.musiciansfriend.com/product/Fender-Jaco-Pastorius-Relic-Jazz-Bass?sku=510539
wierd. never noticed that before. is that something jaco did?
wierd. never noticed that before. is that something jaco did?
I'm not an expert, but I think a lot of old Fenders used to ground the bridge via bridge pickup.
"subscribed"
i'm excited for ya! i just received a "jaco tribute" fretless from a fellow TB'er and i can't put it down. the '62 re-issue neck is amazing and its not close to broken-in. gl.
I'm very jealous at your good fortune. Hopefully mine can replicate the euphoria you are currently experiencing.

subbed!! how many projects do you have going on bassgod??
I just finished a Red Squier refurb and a Black Fender P. You can check my postings on my profile. They go in for setup in early November. Thanks for your interest!
dang your down in boca?? im in broward! i really enjoyed watching your joan rivers p bass lol cant wait for your jaco project
Thank you so much. Joan had her challenges, but this bass will be a less insane build.
Boca is home of my parent's garage, and the birth place of many fabrications.



wierd. never noticed that before. is that something jaco did?
'61 and '62 jazz basses have a grounding strap running from the bridge to the bridge pickup cavity. I believe in '63 fender moved to the wiring channel from the bridge to the control cavity. In the originals the strip was much thinner than the ones you see on the repros, and I don't think the originals were copper either. You can still find the copper strips, but the tape serves the purpose, and gives it the look it needs IMO. Good job so far. I'm looking forward to seeing the finished product.
'61 and '62 jazz basses have a grounding strap running from the bridge to the bridge pickup cavity. I believe in '63 fender moved to the wiring channel from the bridge to the control cavity. In the originals the strip was much thinner than the ones you see on the repros, and I don't think the originals were copper either. You can still find the copper strips, but the tape serves the purpose, and gives it the look it needs IMO. Good job so far. I'm looking forward to seeing the finished product.
Well, a fellow TB'er is kindly sending me a grounding strap. We'll see how it looks and fits.


