• TalkBass has been independent since 1998. Add your voice.
    Create a free account to reply to discussions, view embedded media, and browse with fewer display ads.
    Join freeLog in
    Want zero display ads or expanded classifieds tools? Compare plans.

Double Bass Learning some basic DB repair/setup-- how far should I go?

I purchased a second upright last weekend (a very inexpensive mid-80's Englehardt M-1) as a B-bass to take to those you-just-KNOW-someone-is-going-to-spill-their-beer gigs. I am also hoping to use it to learn a little basic repair/setup since I don't exactly want to tinker around with my main instrument.

After some play time and a careful inspection I believe it could use all of the following work:

1. The back of the beck and the fingerboard still have the thick factory coat of finish on them-- that needs to go.

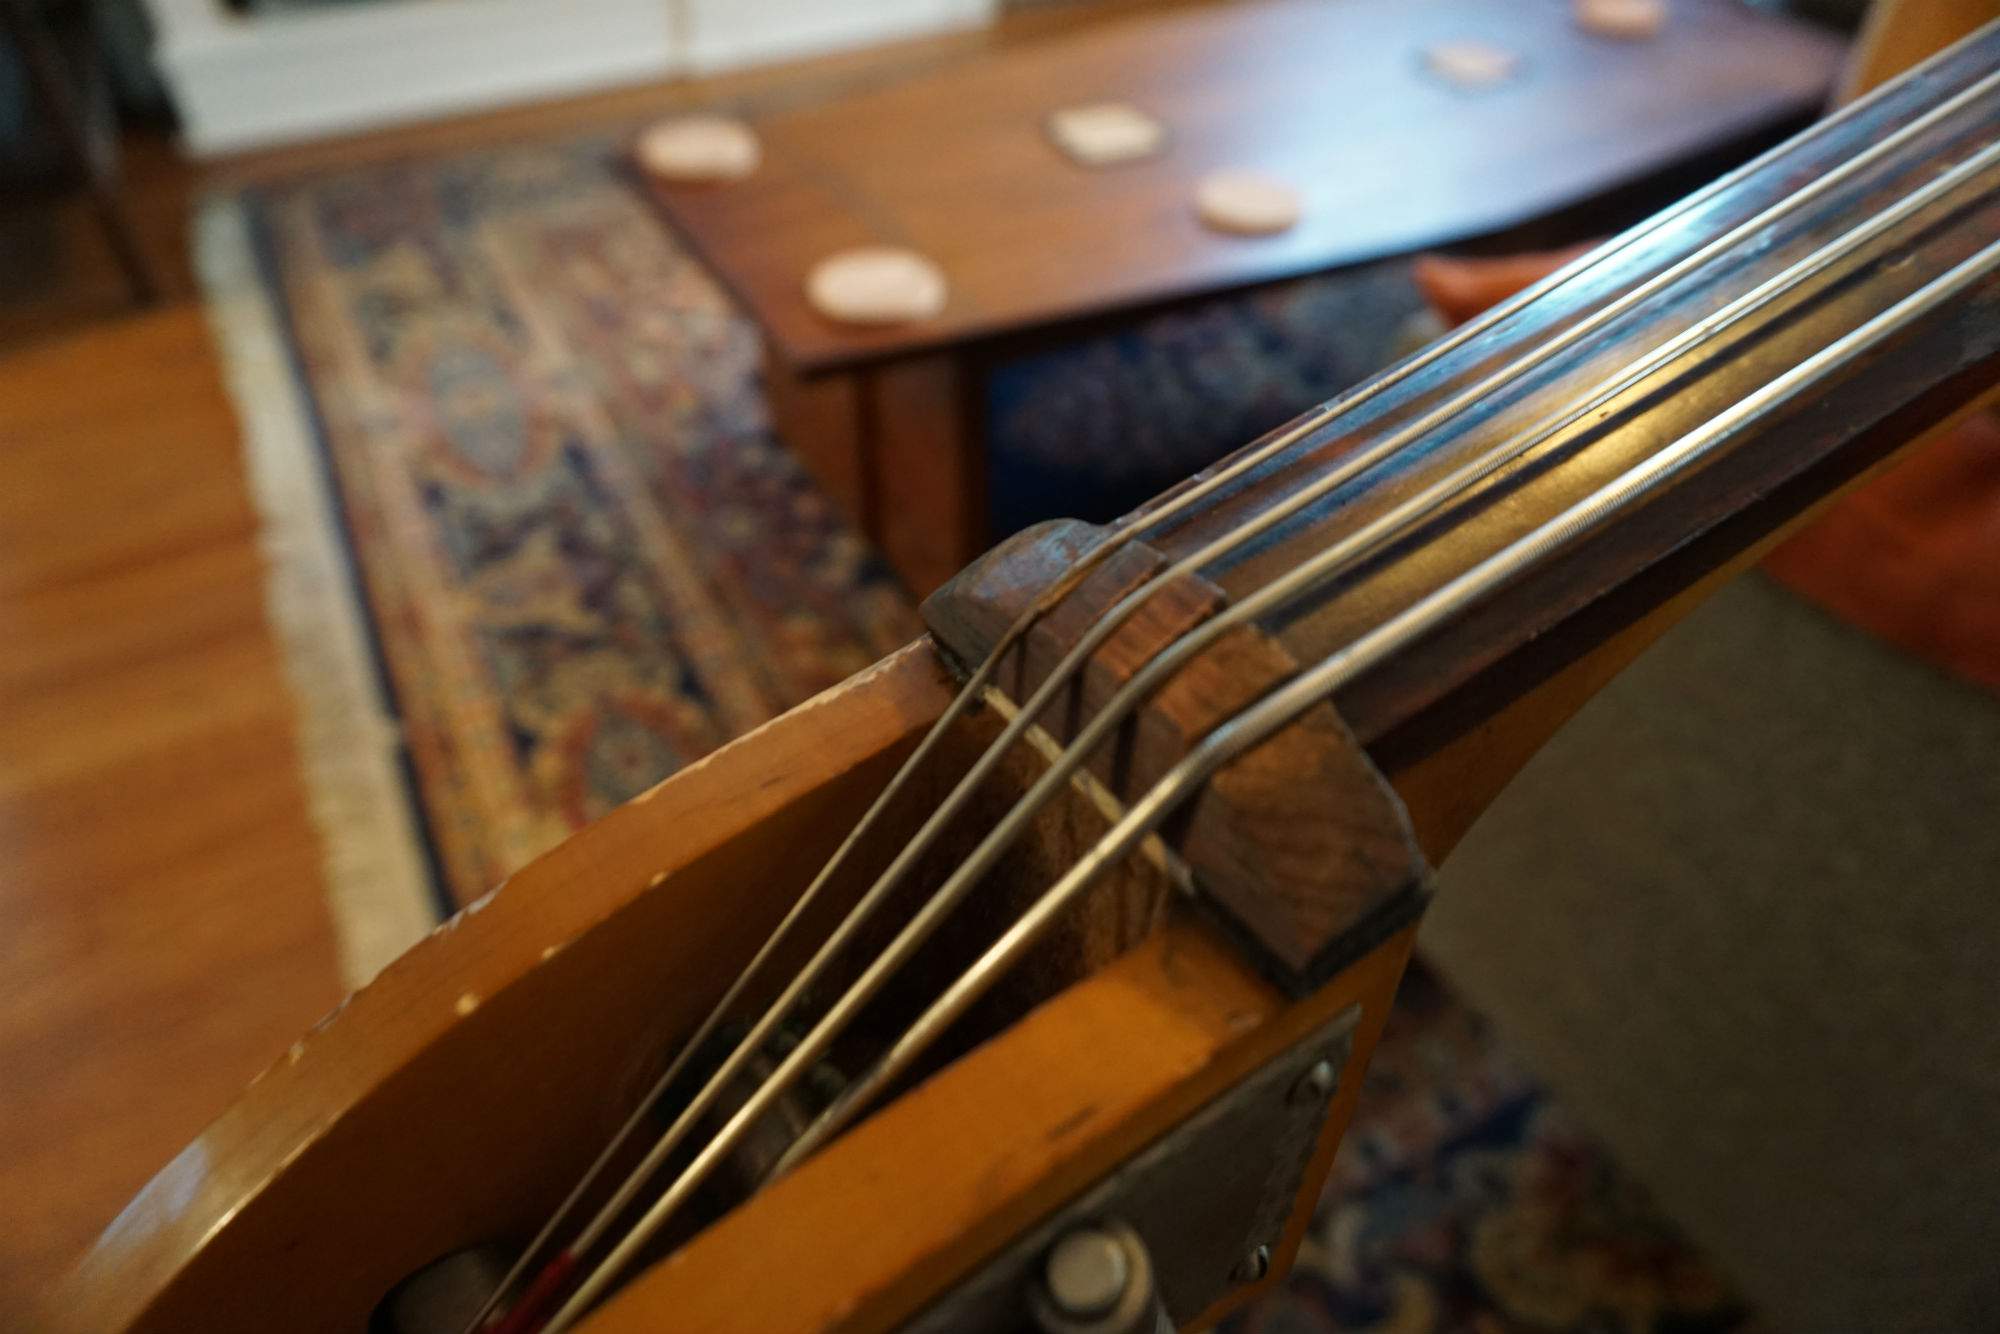
2. The nut, while functional, seems to have been cut from a smaller piece of wood than was called for and shimmed up with piece of laminate. I believe a new solid nut would make for better tone and volume.
3. The end-pin & tail wire are pretty old and gross and could be replaced.

4. There are some worn/splintery spots on the bottom edges of the top and back. It's not really a problem, but I'd like to mend/seal/whatever them so it doesn't progress any further. Maybe slap a few of those bumper things on their for good measure.

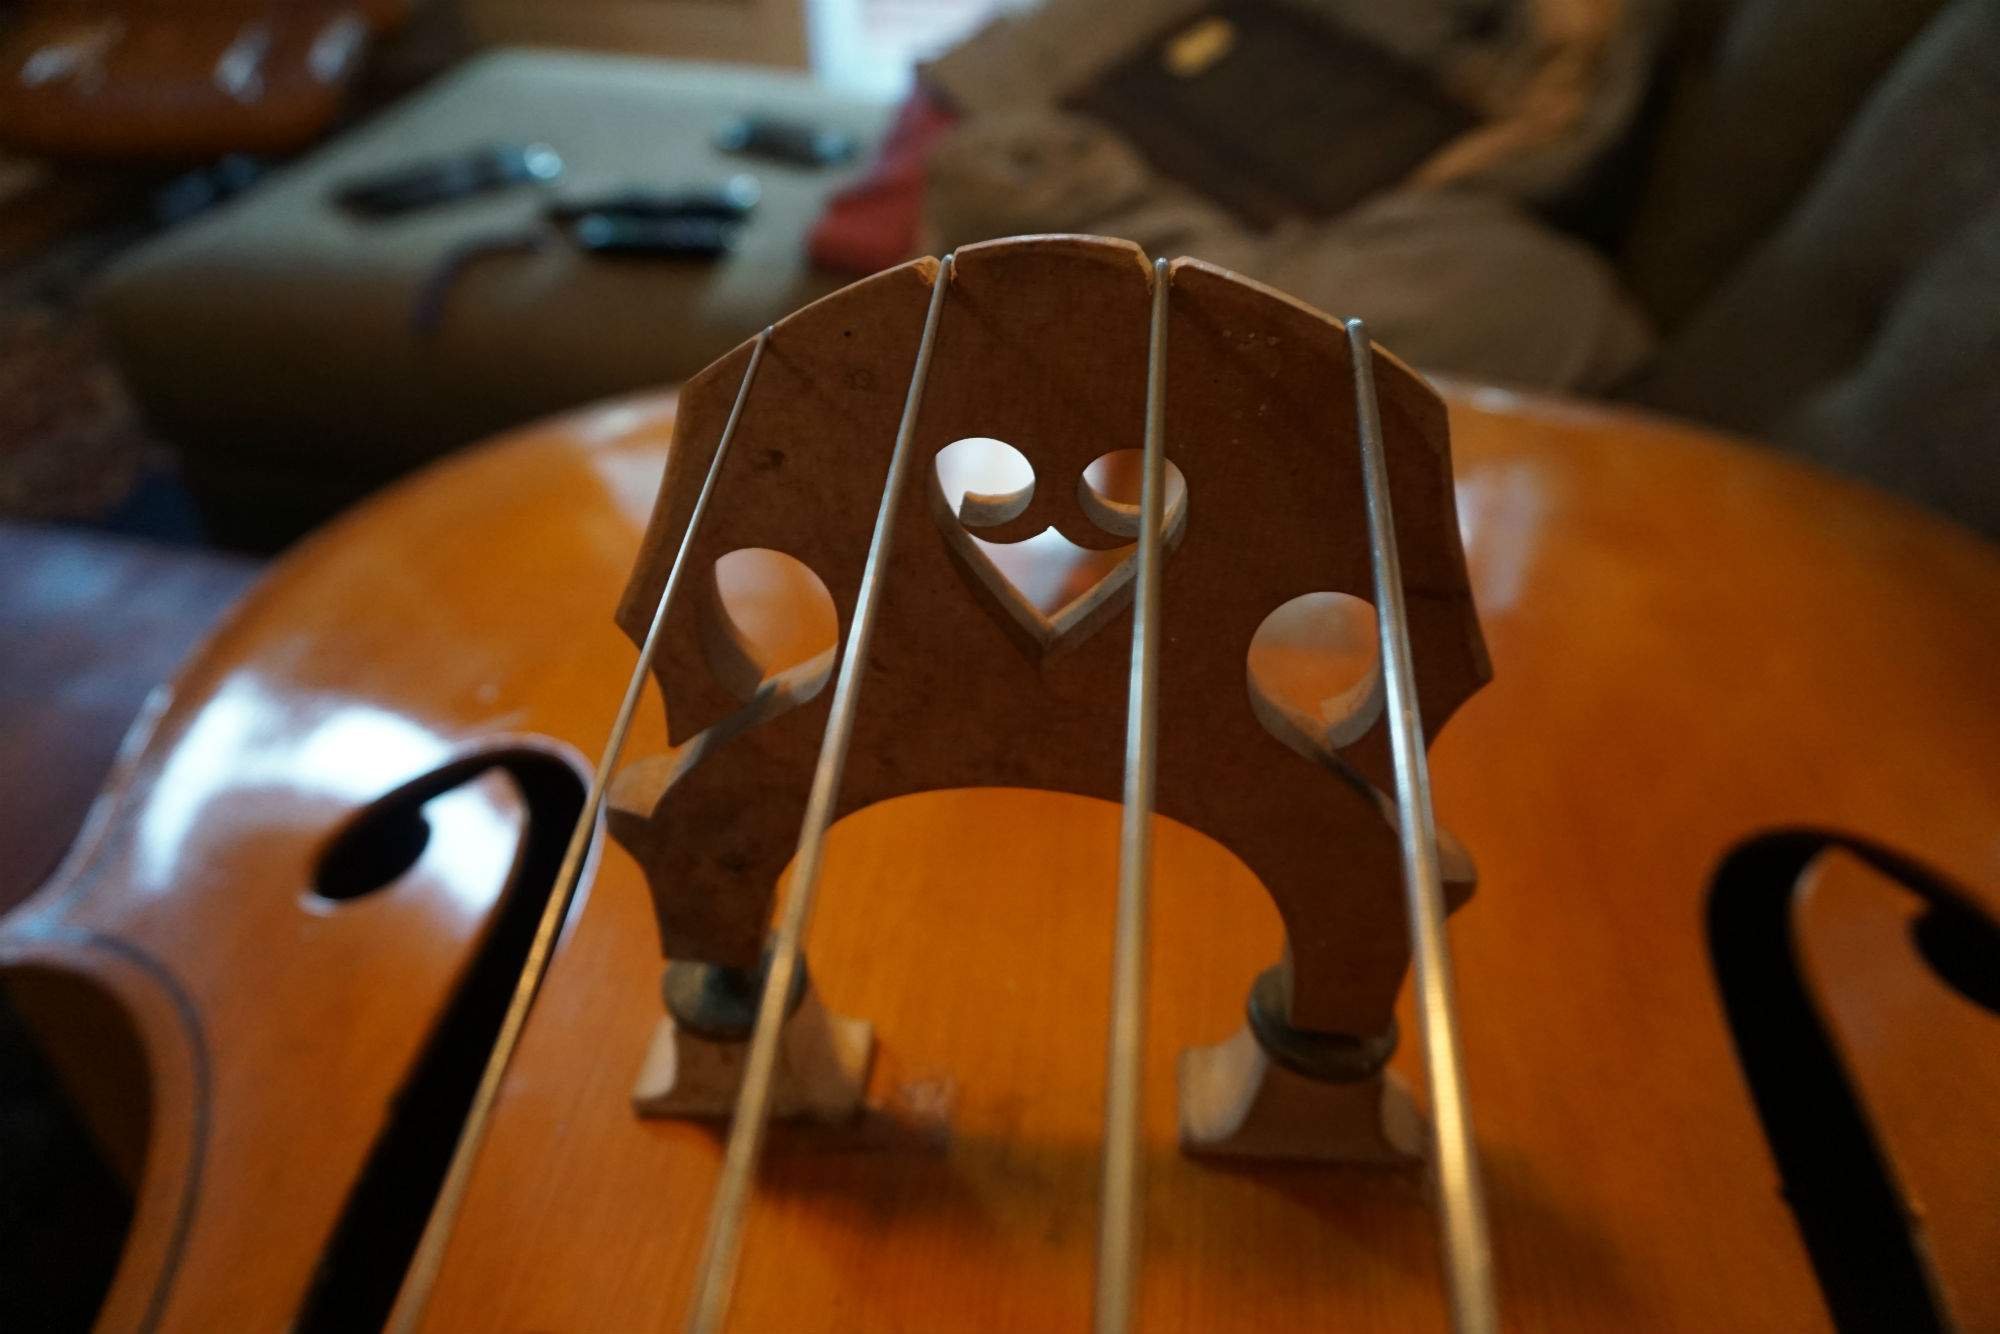
5. The bridge is a complete disaster. It looks like it was cut the wrong shape and the string indentations are WAAY too deep.
6. There is a very small amount of top sag on the G-side-- I'm hoping this is just due to the sound post being too short and I'm hoping that replacing the post and having a proper bridge will mitigate any further sag.
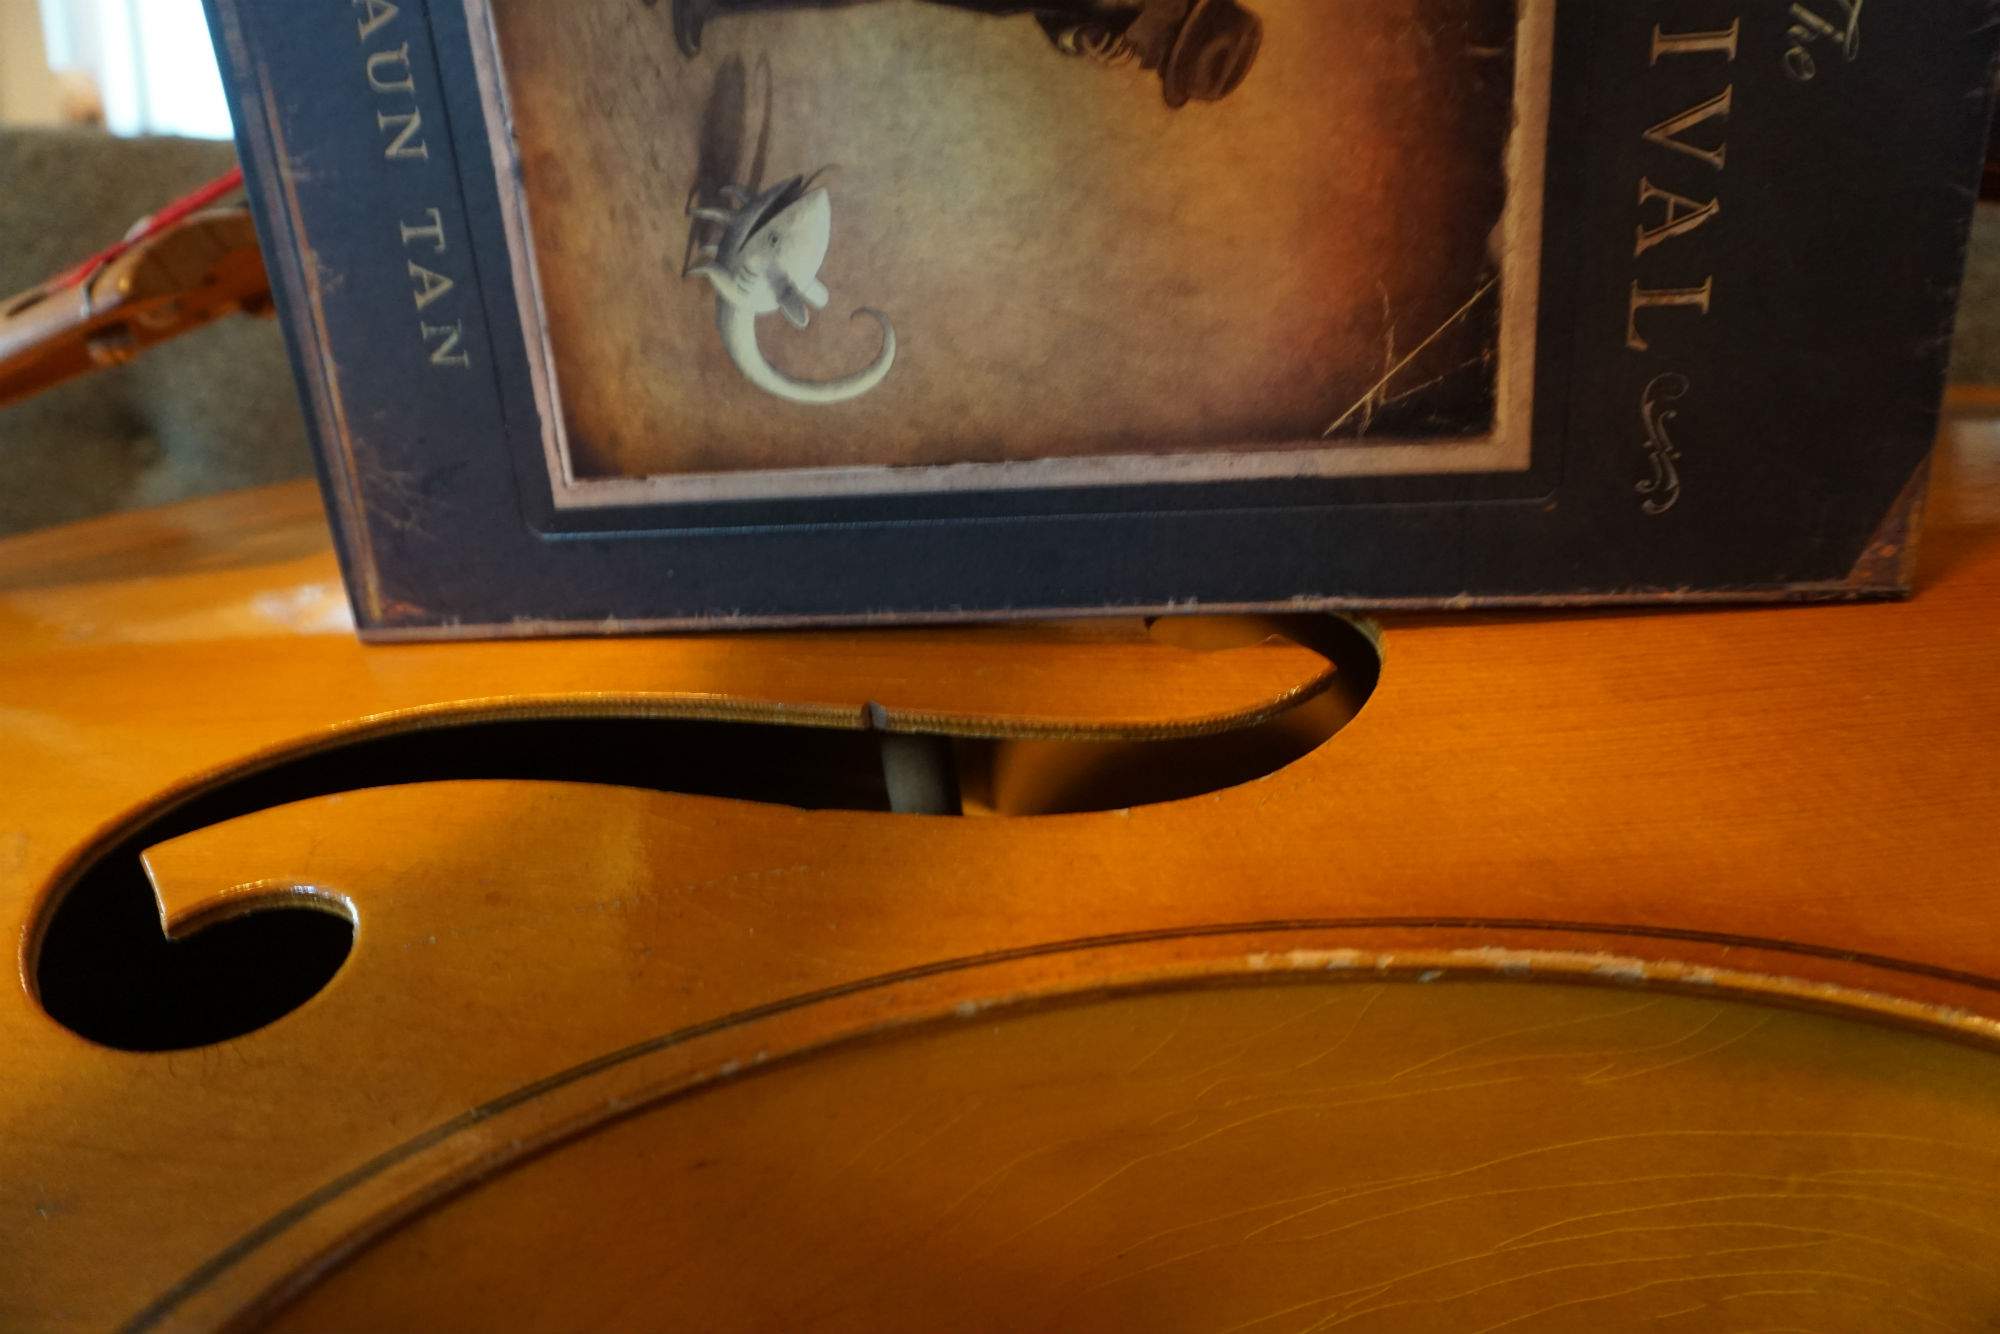
So here's the question, given this laundry list-- is there anything on there that a relatively savvy fellow shouldn't try to do on his own? Keep in mind I have highschool wood-shop level carpentry skills at best, but I'm fairly coordinated, generally good with my hands.

Thanks for your thoughts TalkBass folks!
 
Last edited:
There's only one way to find out. To wit:

1. Tape off the top and bottom of the neck and abrade off all the crap with a green scrubby pad. The factory sprayed the entire instrument in one go. Really.

2. That's the factory nut and it looks a little high but not too bad. You can refine the string paths with rattail files.

3. Their stock endpin and tailgut are pretty bad. I like a braided steel tailgut and a hollow Ulsa endpin.

4. That wear is chicken feed. Don't sweat it.

5. Is your bridge upside down? It happens.

6. Pretty normal for one of those. Don't make the post too long or it will choke the sound and bulge the back.

Fitting new bridge feet and routing the bottom block for a decent endpin will be the worst parts of the job. You need lots of patience for the first, and an expensive reamer for the latter.

Have fun...
 
  • Like
Reactions: Ian Knox
Oh I can't wait to hear the stories on this one.. subscribing!


I think it's not going to be too tough for you. We've all seen so much worse here, and it looks like you can handle most of it from those pictures.

please document all the disasters... I mean modifications and fixes, when you do them!

Pictures or even video if you got an iphone/ipad!

I'm looking forward!

also, how does it feel right now? like garbage or does it actually play well now?
 
  • Like
Reactions: Ian Knox
Lol. Thanks for the vote of confidence @bassfacer22. I'll be sure to update the thread on my progress.
As for it's current playability, it's actually not bad at all. The only issues are that the action is a touch high for my tastes (but not unreasonable) and it feels really odd playing on the finished fingerboard.
The reason for most of these fixes is to try to make it sound better. I know it'll never hold a candle to my main instrument (a 1900-ish saxon flatback), but hopefully we can make some improvements.
 
Your call. There isn't much risk to the bass in your effort.
If you choose to go for it, you need to get the soundpost right before doing the bridge.
The nut may be fine but I would sand it and generally clean it up. Hardwood veneer as a shim is fine.
The first thing to check is the fingerboard and high spots should be addressed with a sharp plane, sanding block and progressively finer paper. Save the dust to fill in the low holes under that A string and hit them with thin super glue. Sand that smooth.
I would leave the endpin but replace the hanger with aircraft cable.
If you make this a career, you can look back on this bass as your first.
It takes a few dozen to begin to figure out so don't sweat it too much.

Oh, don't forget to buy a soundpost setter.

Good luck.
 
Do you think it would be a good idea to replace that nut anyway? I can't believe that the piece of laminate under it isn't dampening the string vibrations some.

I think the rest of the instrument is probably doing a fine job at damping string vibration, so how could you tell? :smug:

The shim is probably there to cure an open-string buzz. Your bass, your call.
 
  • Like
Reactions: Ian Knox
Looking at the nut and shim, I'm wondering if maybe the nut slots at some point got cut too deep. The shim is to provide clearance. Remove the shim and it looks to me like the strings will choke against the fingerboard around 1/2 position.

Of course, the shim also could be to remedy a badly-cut bridge.
 
  • Like
Reactions: Ian Knox
I probably would replace the shim by one that goes end to end (this one seems to be in the middle only). I might also curve the nut at the tailpiece side a bit mor so that the string doesn't get a kink at the edge, but it's not so bad as it is.
The tailwire should be replaced by something more flexible like an aircraft cable. Befor you do that measure the length of the underlength or saddle to tailpiece distance if you want the tailpiece at the same place than before. But you might want to adjust the underlength to pitch (two octaves and a fourth higher than the open string if I remember correctly).
Cleaning the endpin and the endpin assembly might be worth if it holds the endpin well. And a new rubber foot with a metal insert (or a washer) inside to stop the spike from cutting through the rubber would be a good investment.
Lowering the action is not that much work, but don't go too low. For the first change and if you want to stay with steel or synthetic core strings go no lower than 6 mm on G and 12 mm on E. Play that for a while until you decide to go lower or not. If you go too low you either need a new bridge, install adjusters (luthiers job) or shim under the bridge feet (not a perfectly working solution since the shims won't match the top curvature as well as a well setup bridge).

If you would keep the high action (that you might need for gut strings), get away from steel core strings and try synthetic core or gut since they stretch the same amount with less power than steel core strings (by pressing down the string you make the string longer and even more with higher action).
 
  • Like
Reactions: Ian Knox
Annnnd here we go!

Supplies from Home Depot and Gollihur:
syWEqnS.jpg


Workspace setup:
NBa9BkL.jpg


So let's start with the easy stuff!

I opted to simply replace the pin and set screw for the endpin rather than install a full new one. I know the original ones aren't great but I'm not about to buy a $400 reamer to replace it myself (the bass itself only cost me that much).

First I pulled the retention piece from the endpin with a pair of pliers so I could install it "backwards". This keeps the point end away from hardwood floors when I wear out the rubber bit on the end.
eB0qPrQ.jpg


Installed with the new set screw-- that'll totally work.
godeCYN.jpg


Next time to take the strings /bridge off and get to work on the fingerboard.

Marking the soundpost.
qaR9tCy.jpg

0Os76dK.jpg


Loosen the string, take off the bridge and tailpiece.
f0XPEM6.jpg


It was very obvious right off the bat that sanding off this super thick layer of 1985 varnish was a non-starter. Good thing I bought a paint scraper.
Cc51Gmg.jpg


Man this stuff is a giant pain in the butt to get off...
GoHbjkV.jpg

Y8qsevU.jpg

9A6mAq7.jpg


Once I did the lion's share with the scraper, I moved on to sandpaper from 80 grit through 1000.
LFGgMPt.jpg

zyCBYvC.jpg


Well that was a lot of work, but jeez-o-petes it feels and looks so much better!

Next: The back of the neck--
m6Taa9Z.jpg


I didn't even try to the sandpaper and went straight for the scraper.
ElBWk6w.jpg


ipeau3B.jpg


Then sandpaper...
OcpB23f.jpg


Then the Watco Danish Oil (as advised by Refinishing Bass Neck)
CxwTObl.jpg
 
Last edited:
  • Like
Reactions: Rodger Bryan
So far I'm pretty happy with the way things are turning out.

I don't love that the way the finish cracked while I was trying to remove it from the edges of the fingerboard (you can see it in the last picture), but I can try to touch that up later I guess.

Also, surprisingly the soundpost didn't fall when I took the bridge off! I suspect maybe it's too long?

Stay tuned next week when I put the new tail gut on, try to pry out that narsty nut and contemplate whether or not I'm a good enough woodworker to deal with carving the bridge!
 
  • Like
Reactions: tbplayer59
The bridge isn't really hard as far as what you have to do. The hard part is being patient enough to do it very slowly. Fitting the bridge and soundpost (if it's to long) are easy to do as long as you can deal with all the sanding and re-setting that goes with it. Use the old bridge to get in the ballpark then slow right down. Go slow with the string slots on the nut and bridge. They can get screwed up fast

Some people make every repair on the DB sound like a major woodworking project when it actually just requires patience and common sense.
 
There are some jobs I won't consider doing on my instruments, but the type of projects you are tackling are rewarding and are great opportunities to learn. Making careful observations, seeking advice from knowledgable folks and working on an instrument such as this is a great way to get started.

The only thing I would add would be to get to know hot hide glue for fixing up chipped edges, seams, etc.
Looks good to me!
 
  • Like
Reactions: Ian Knox
Well, I think I've come to the end of what I feel I can do/have the patience for. A few weeks ago I replaced the nut, the tailgut, and was somewhat successful of getting the feet of the new bridge fitted. At that point it became very clear that carving a new bridge is beyond me so it's off to the lovely and talented Invalid Link Removed to finish it up.

Pictures below of the most recent work session.

Removing the old nut. I had to cut it off since the previous repairer has used wood glue :(
eW2iMjR.jpg


All clean and ready for a replacement
jF8BjPf.jpg


Trimming the edges of the replacement
z276ZWs.jpg


All glued in and ready for shaping
Av4j010.jpg


New tailgut
Ji7gMEb.jpg


After clipping the wire
tmVFhXr.jpg


I tried about a dozen different ways to shape the bridge feet. This sort of worked but it took a long time.
9xbeezz.jpg


The tolerances looked good to me but it's probably still too much wood on there.
yK6nh0U.jpg


At this point I started trying to plan how to carve the top of the bridge blank and it was clear that I neither had the right tools or the know-how to do this step, so here the story ends.
 
Last edited:
I'll tweak an already carved bridge, but I'm not sure I'd try a blank either. (unless I had a working spare)

It's fun and satisfying doing this stuff isn't it?

edit: It's funny; I'm so used to the bare neck on my upright that I'm going to sand my P bass neck next
 
  • Like
Reactions: Ian Knox
Trying to install a bridge blank that is already adjustable will make you insane. Fit the feet, use a file to cut string grooves of the appropriate height into the crown, trim excess height and thickness from the crown.

Then you drill through the bridge legs, remove an equivalent amount of wood from the legs to match the adjusters you choose, and tap the holes in the feel.

Sanding maple bridge feet will also make you insane. It's OK to use a bandsaw or belt sander to get them relatively close and a sharp blade to do the final fitting.

Put Saran Wrap onto the belly and apply a heavy coating of red lipstick to the witness points. Follow the same principles as chalk fitting. Any spot with lipstick is a high spot. Finish with sandpaper.

I've been where you are. You can do this.