• TalkBass has been independent since 1998. Add your voice.
    Create a free account to reply to discussions, view embedded media, and browse with fewer display ads.
    Join freeLog in
    Want zero display ads or expanded classifieds tools? Compare plans.

Major body mod/refinishing my Hamer SB4f - Project Thread

Hey, this seemed like the best subforum to put this in, let me know if I need to put it somewhere else.

I posted some of this stuff in the Hamer Club and Hotrodded Cheap basses threads, figured I would consolidate that and put the updates in this thread, so I dont end up totally spamming those threads.

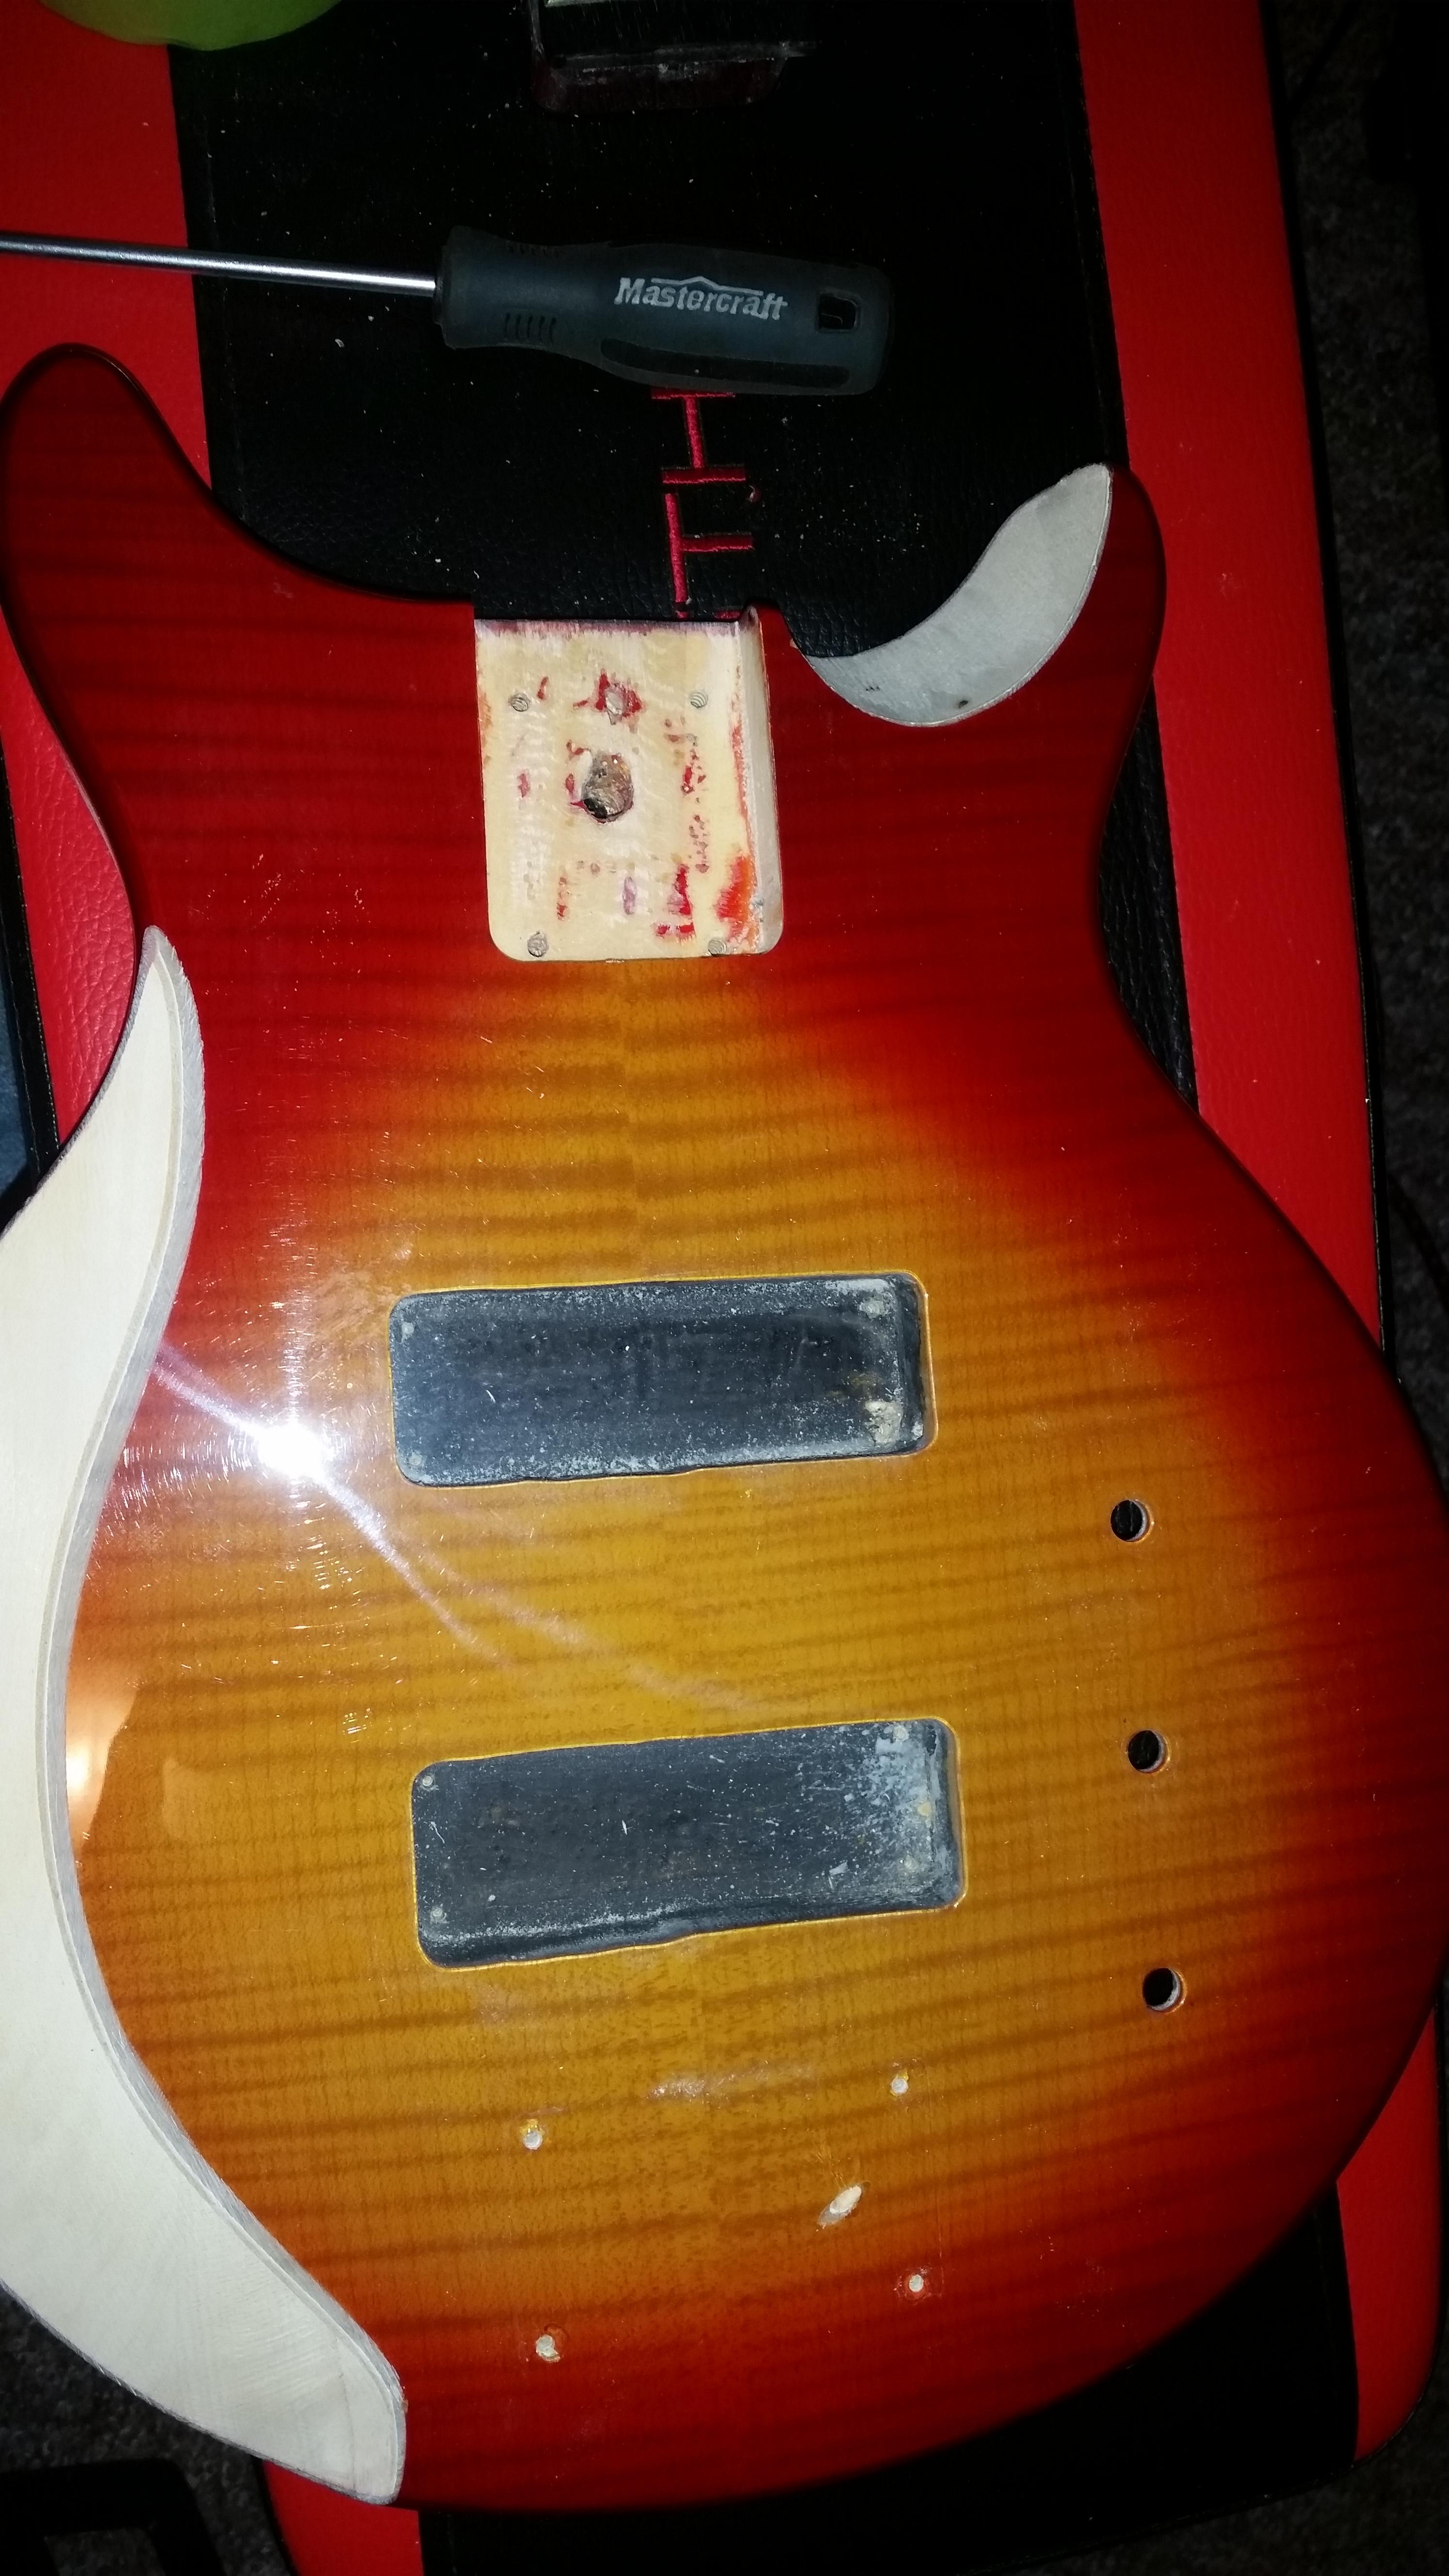
Been after a 30" bass for a while, found a Slammer SB4F-CS for 190$ canadian in a pawnshop that I really enjoyed the sound/playability on. Way cheaper than most of my guitars/basses(Kiesel, Carvins, Japanese Ibanez, etc), but this has a dead straight neck, good fretwork, really good tuning stability and great tone. And since its cheap, I wont feel too bad making some major changes!

Invalid Link Removed

Ok, as for what I have planned: I'll be adding a arm cut/bent Laurel burl veneer top, probably a belly cut and burl veneer back as well. Will be doing a PRS style lower horn bevel so I can reach a few of the higher frets. Likely using leftover burl veneer and removing/replacing the black painted headstock/slammer logo. Unsure if I will do an oil finish on the body afterwards or try a gloss.

Really like how it plays, but with a tendonitis issue in my right arm going on 2 years recovering, the slab sided body is really uncomfortable. This was the first thing that made me want to modify it at all, that and I find having 3-4 of the high frets being nearly unusable to be annoying. While it will change the look significantly, the boring photoflame top is something I dont mind losing, and I tend to prefer less thick/opaque translucent finishes, or just the plain wood look.

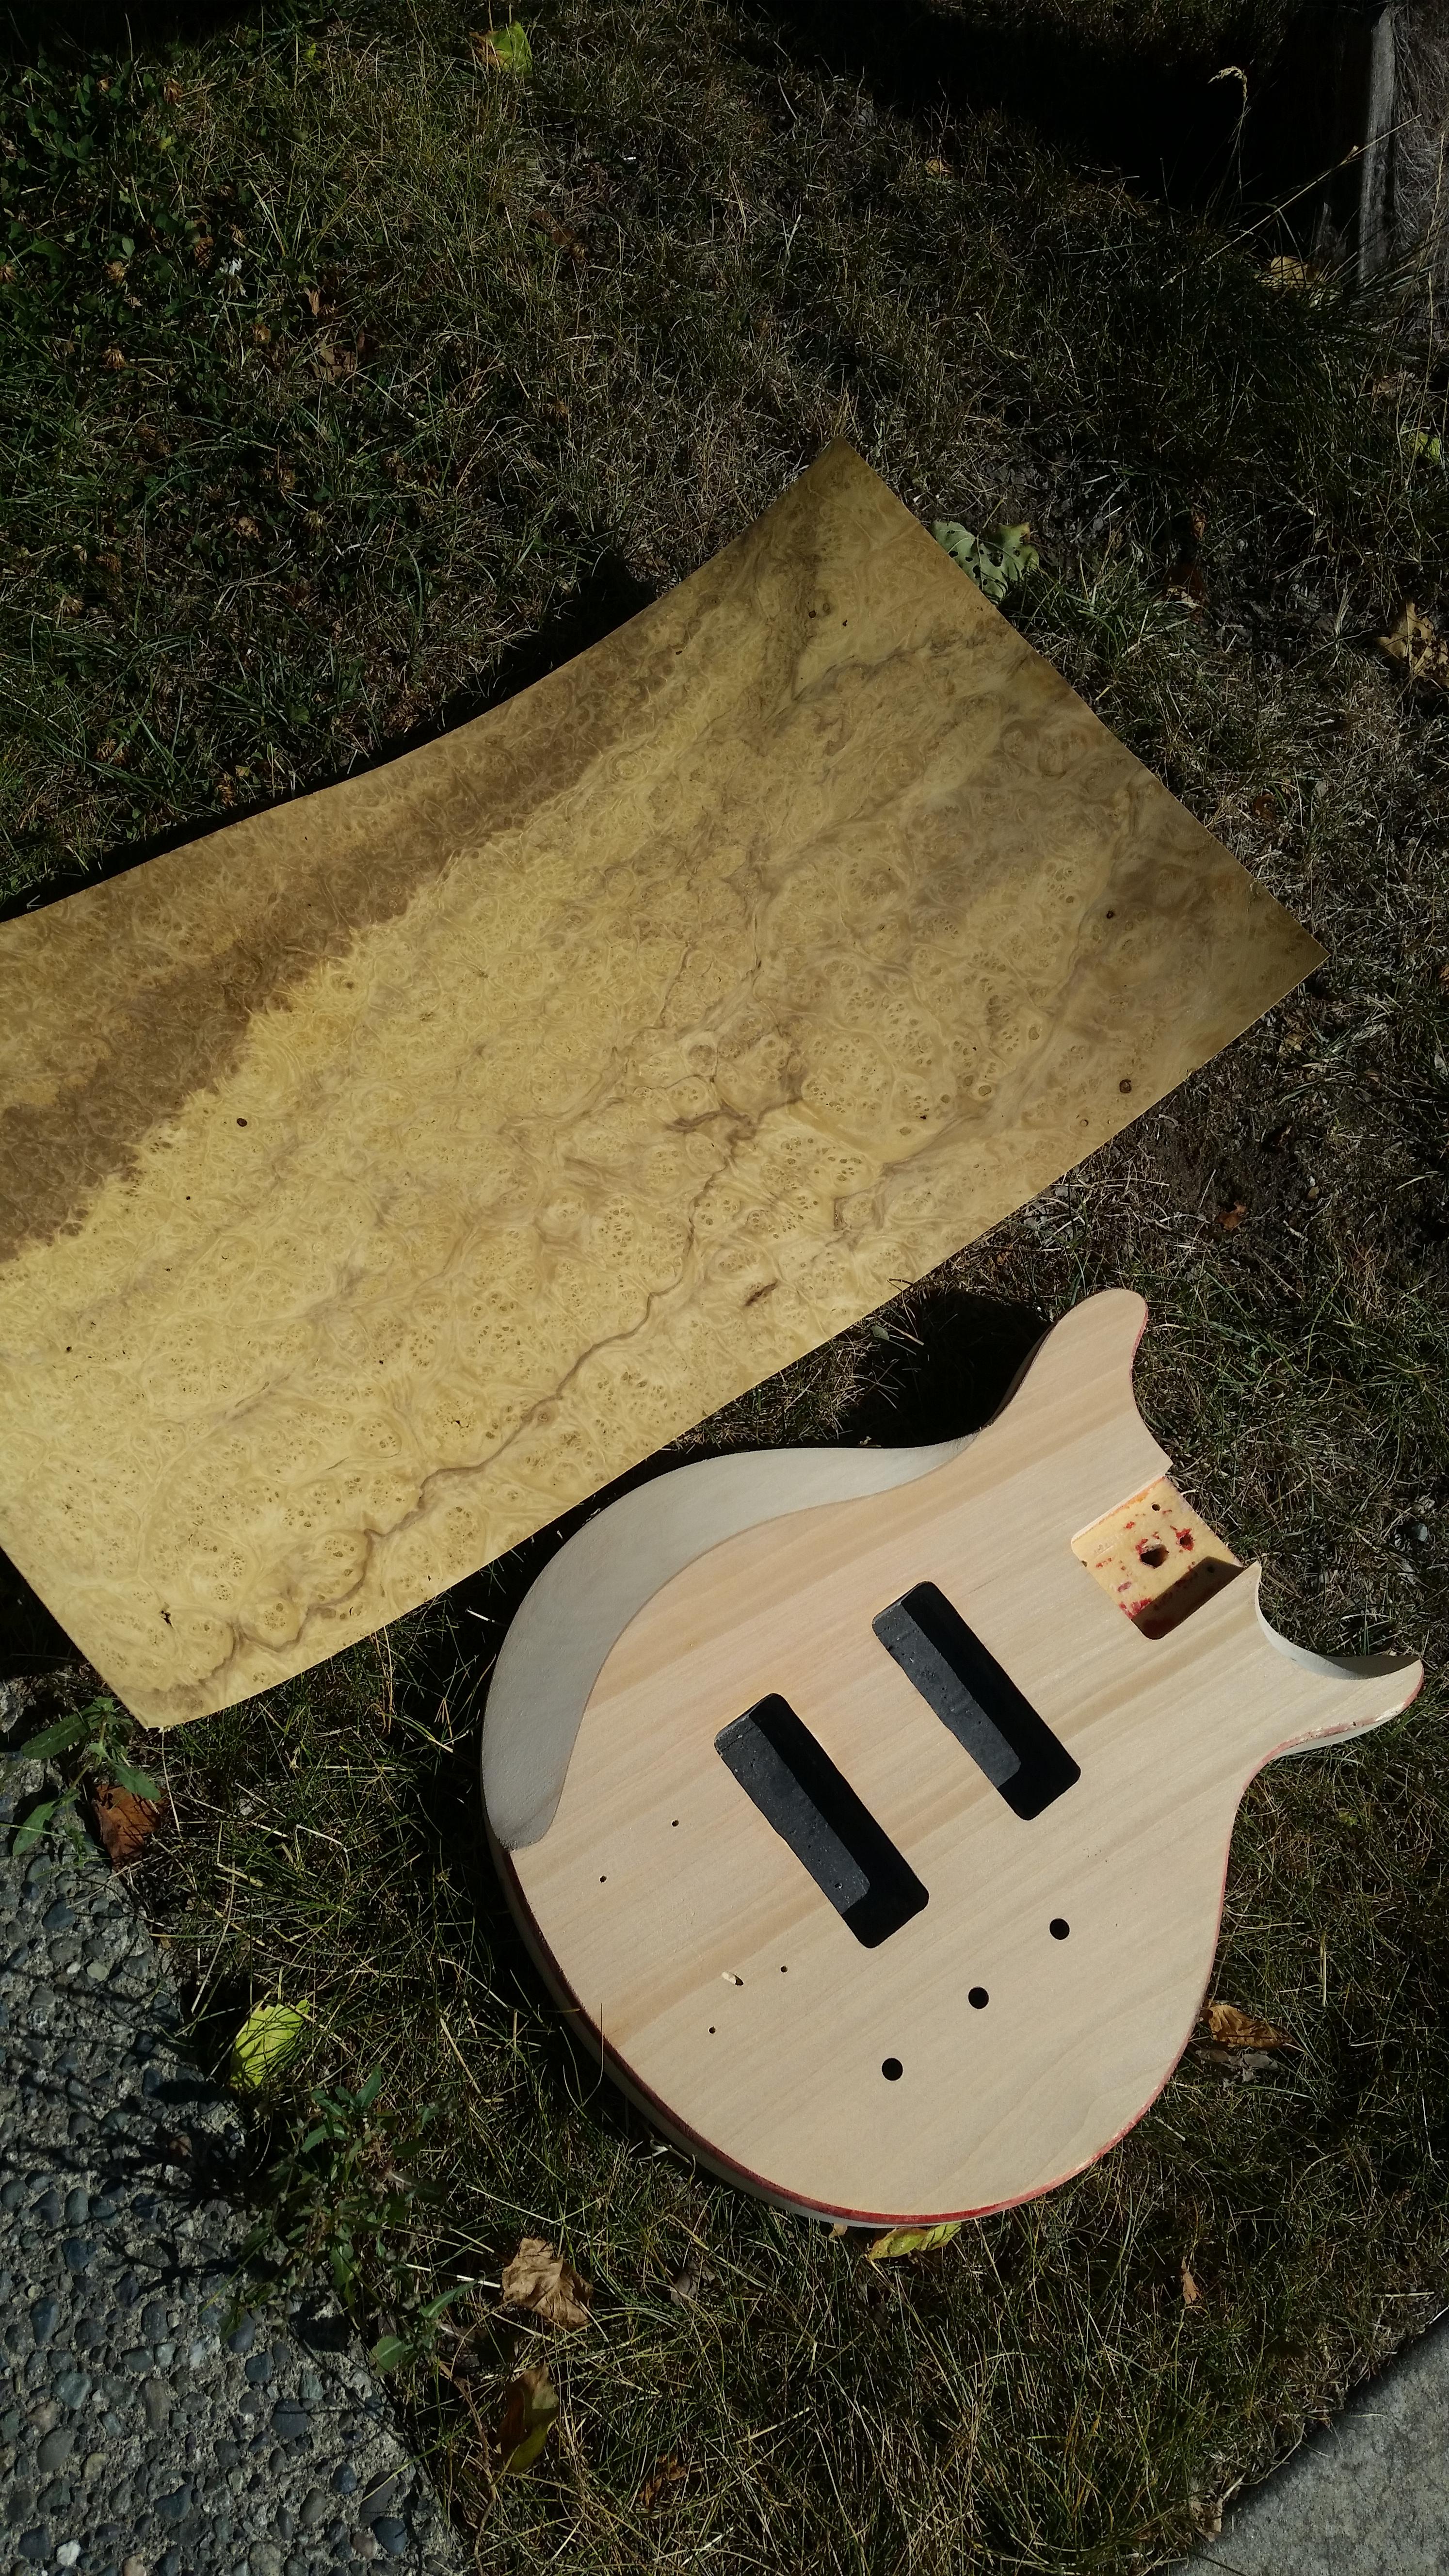
Here is a picture of the veneer tops I have ordered. 15"x28"x1/42", big enough to do a single piece over the body without bookmatching, I got 4 pieces coming. One for top and bottom and two leftover for practicing the veneering method and testing finishes.
Invalid Link Removed


So far I intend to leave the electronics as is, though I may swap down the road if I find a good set that fits the same routes. the Chrome bridge is pretty chintzy, I ordered a black Hipshot Kickass bridge with brass saddles.

the PRS style cutaway ( https://www.12fret.com/wp-content/uploads/ngg_featured/PRS-Custom-24-25th-cutaway-1.jpg ) should also get rid of a really visible finish defect in that area. looks like a spot of wood filler maybe 2cm across visible through the gloss.
 
Pics from when I got the veneer pieces. Was 35$ American, plus 20 or so in shipping to canada for 4 pieces (15x28x1/42") which is pretty affordable for a project like this.

Invalid Link Removed


Veneers allowed me to do top and bottom without needing to plane the body down for thickness like you would with a 1/4" top piece, and there is no way i could get even a single piece with this amount of figuring without spending several times as much. It does have its own challenges, and I ended up using iron on methods for attaching it, more later.
 
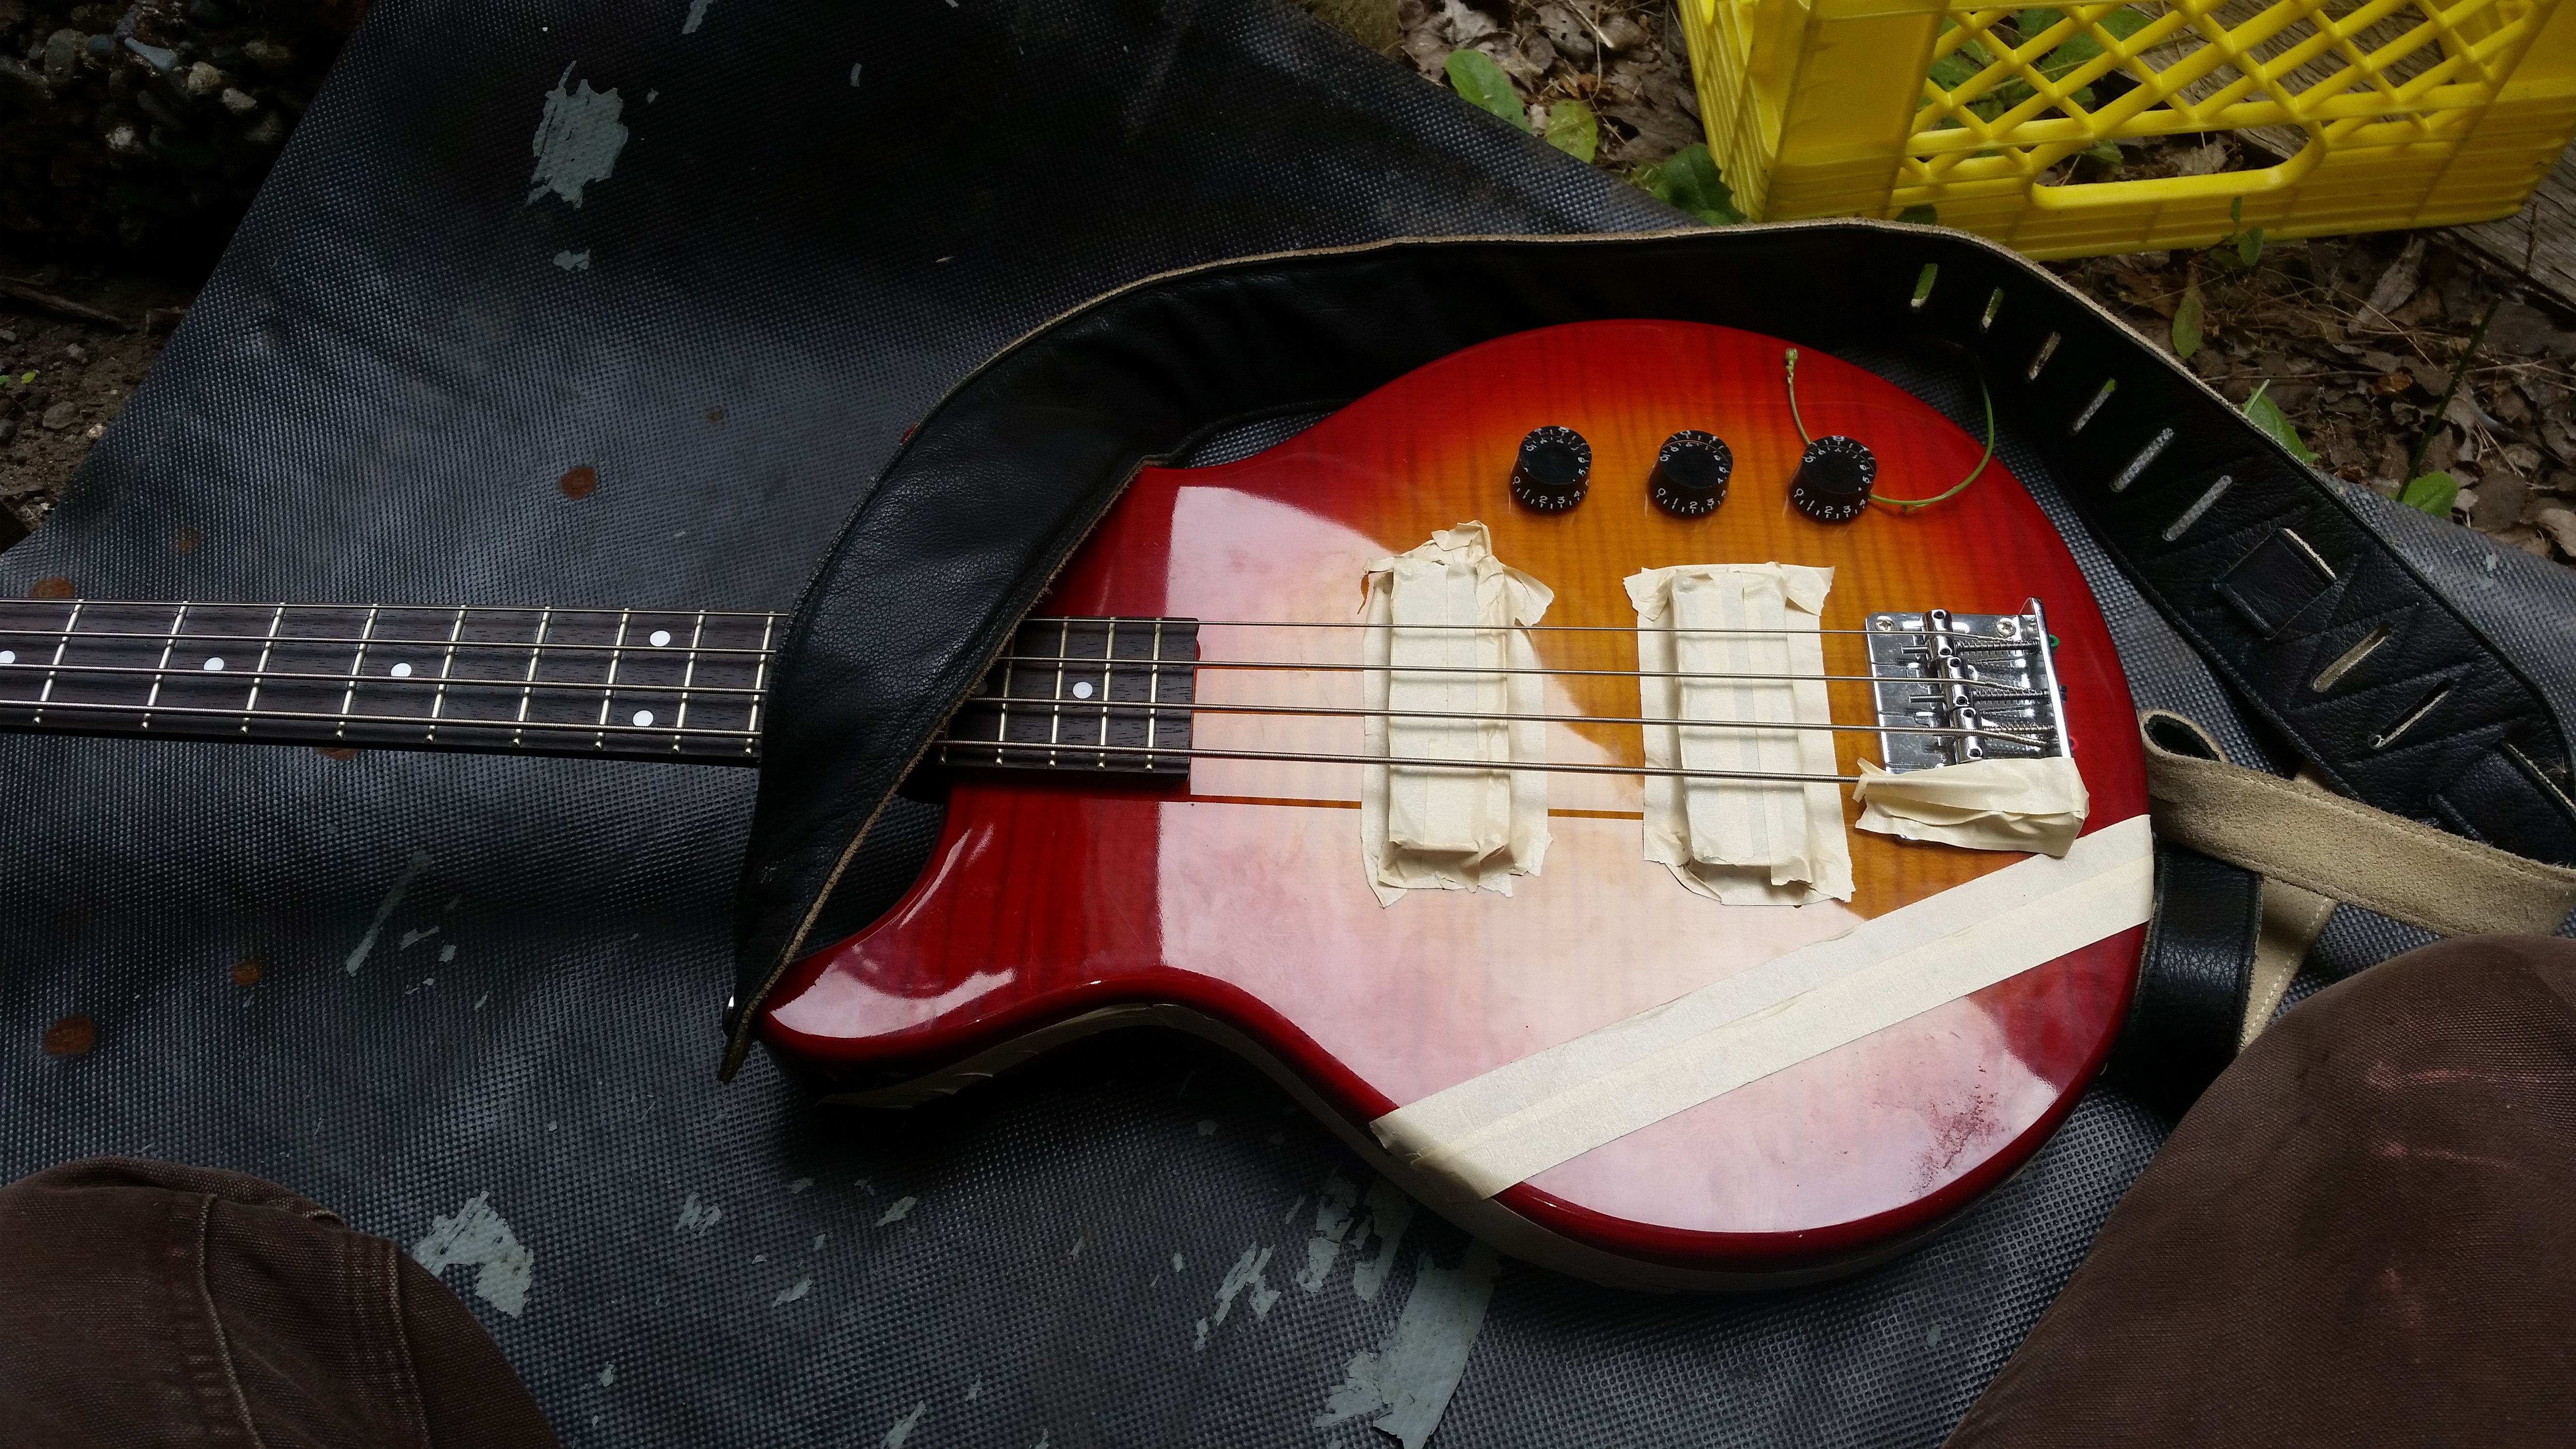
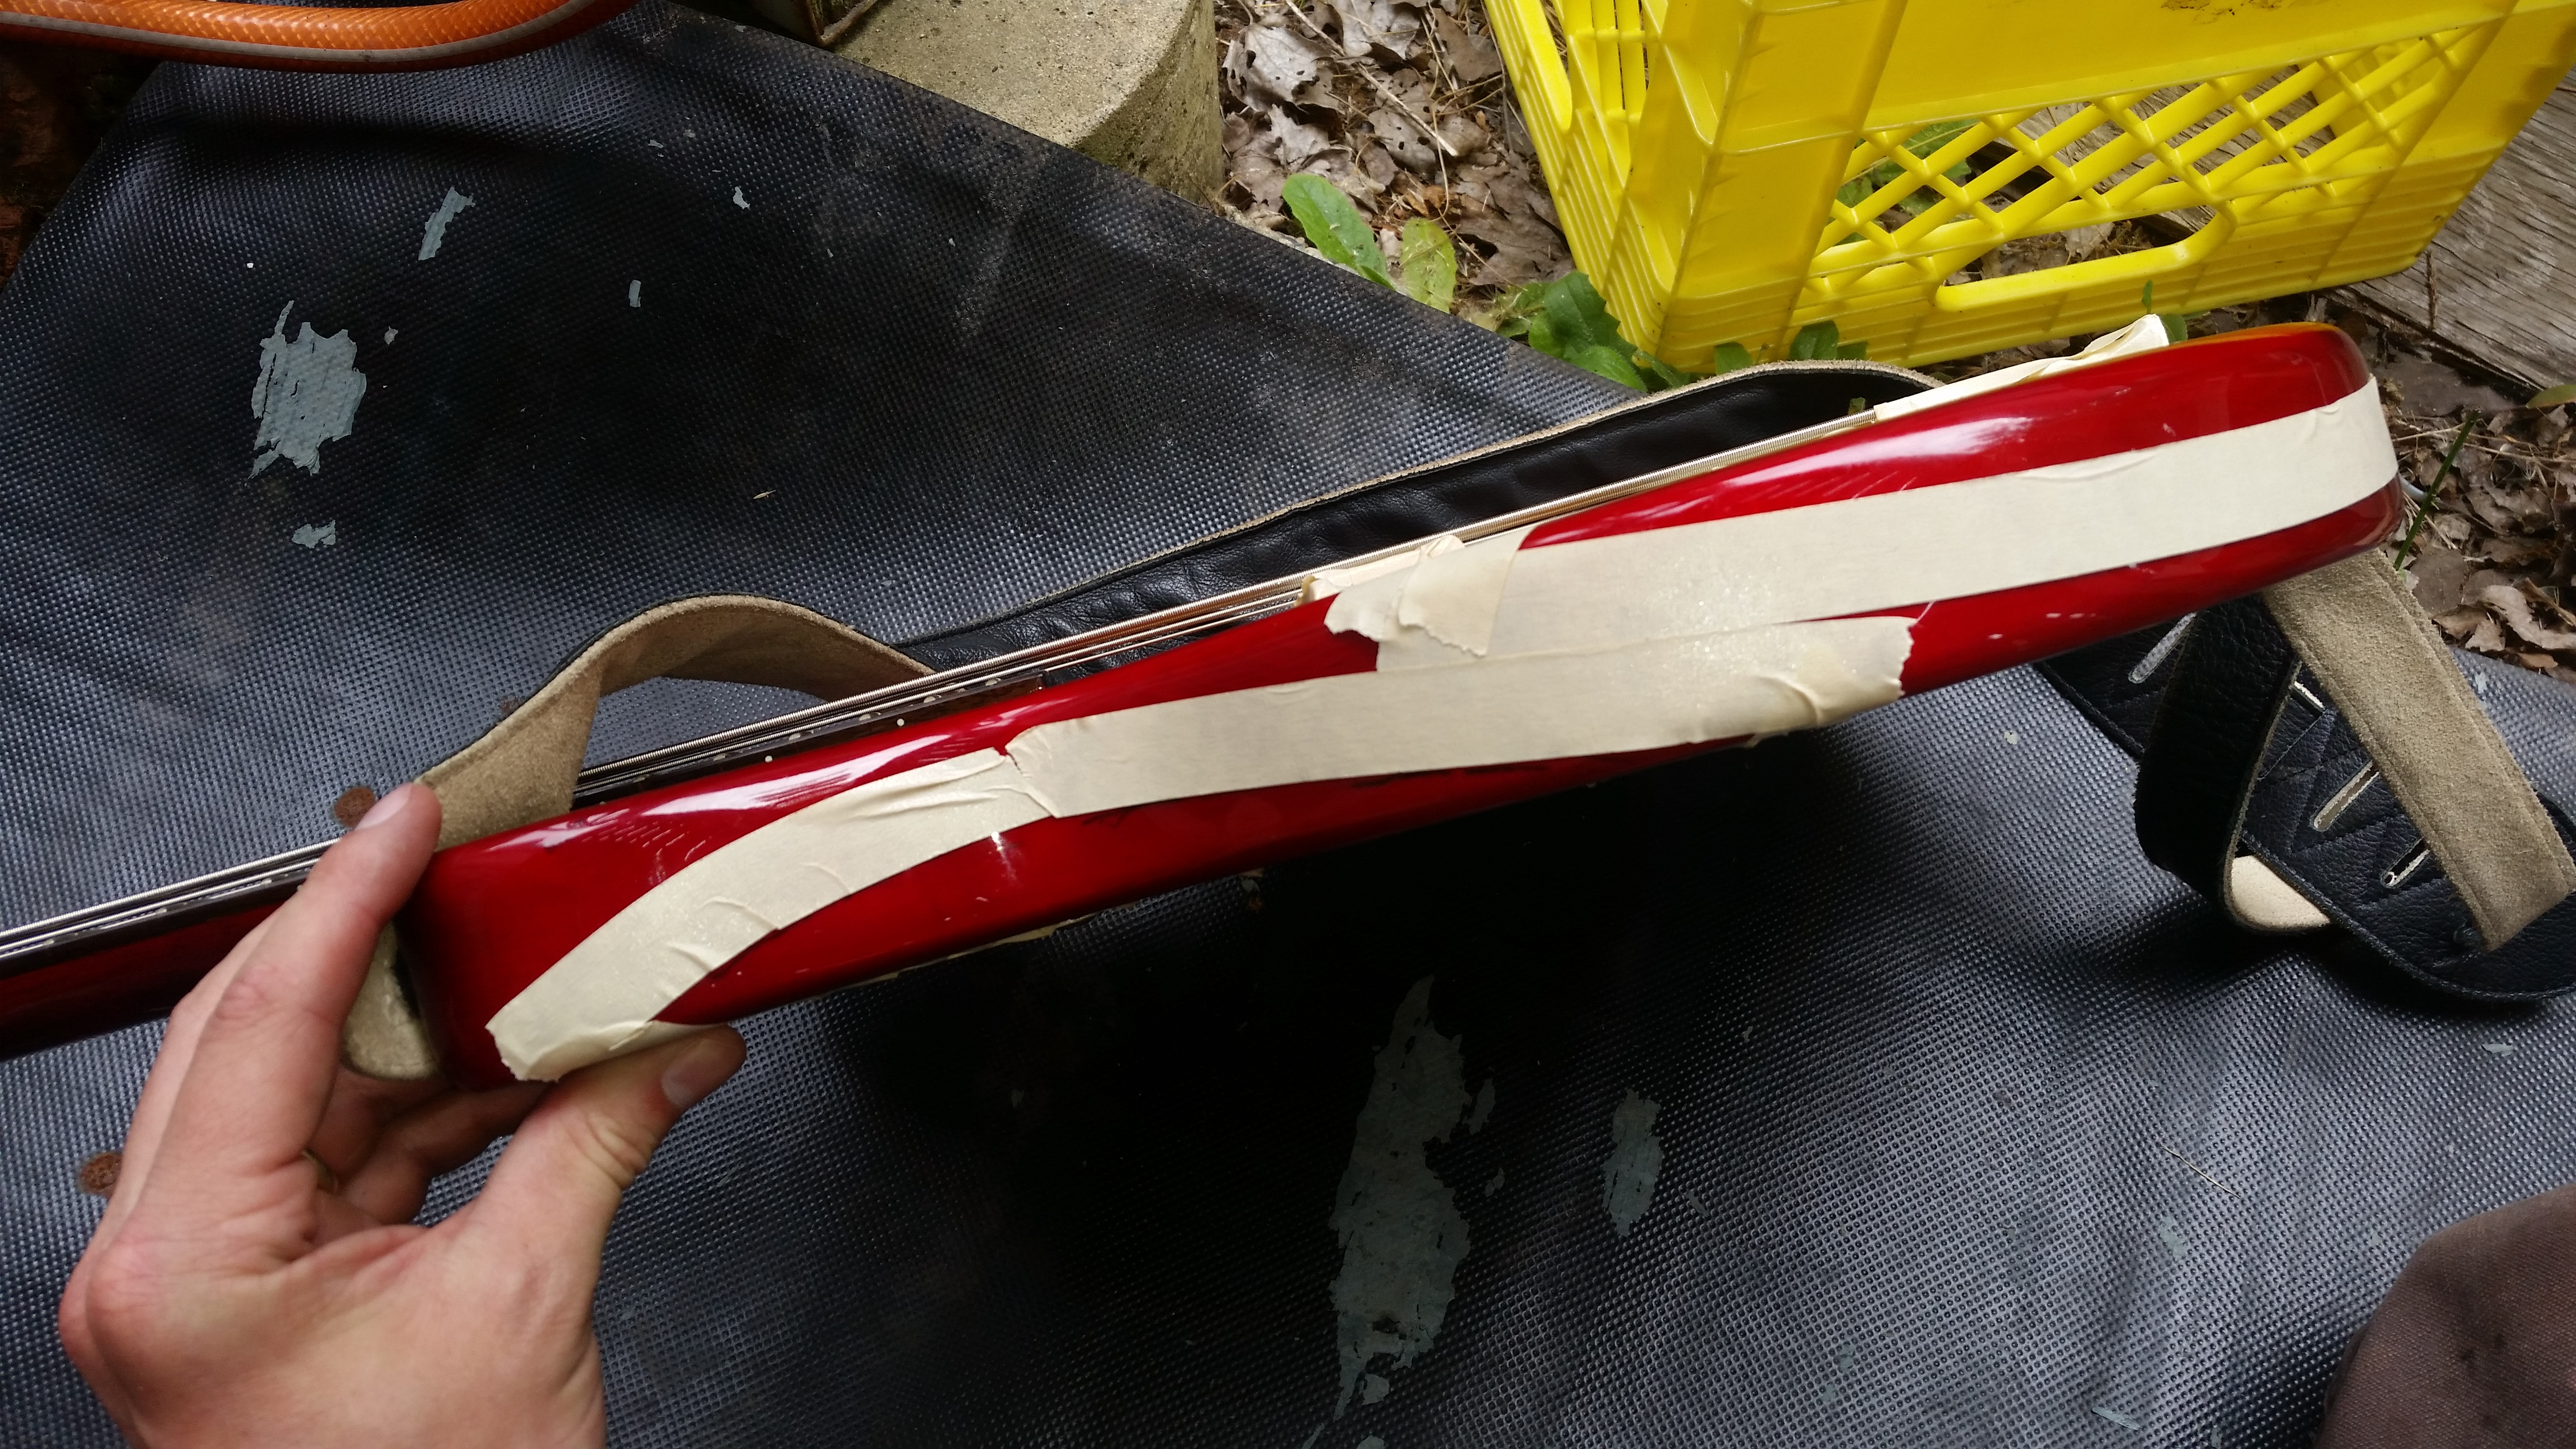
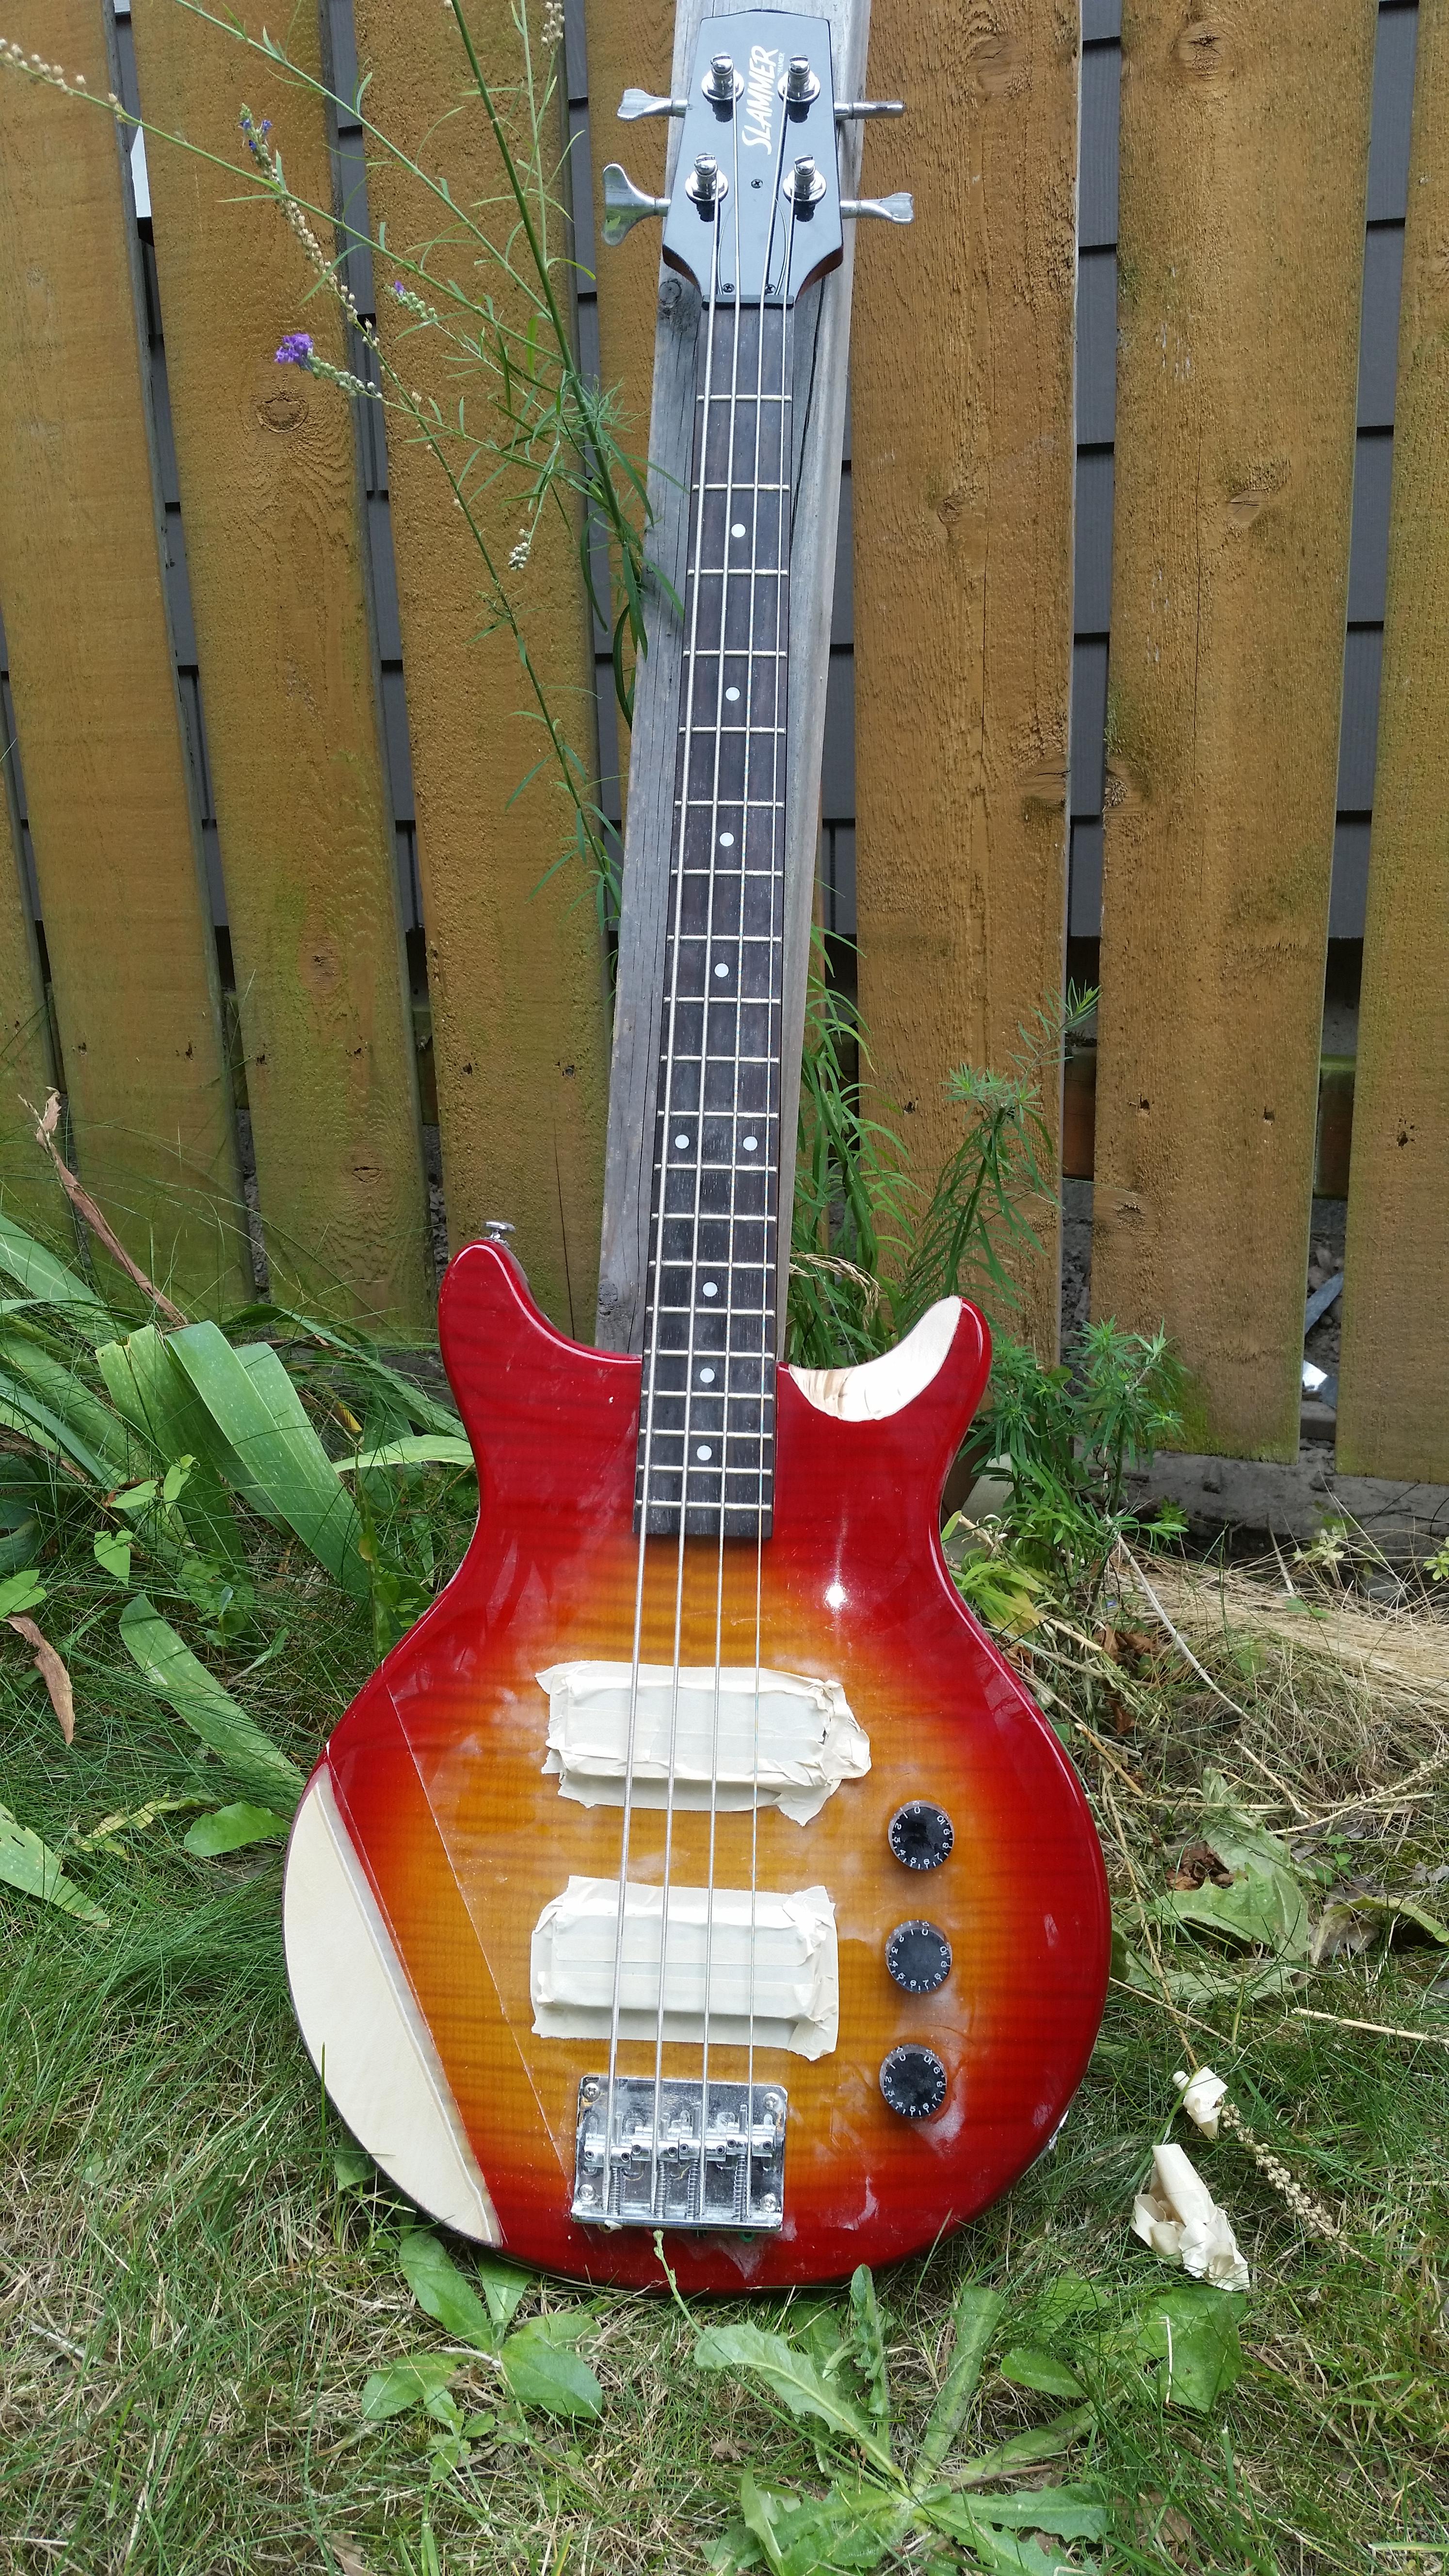
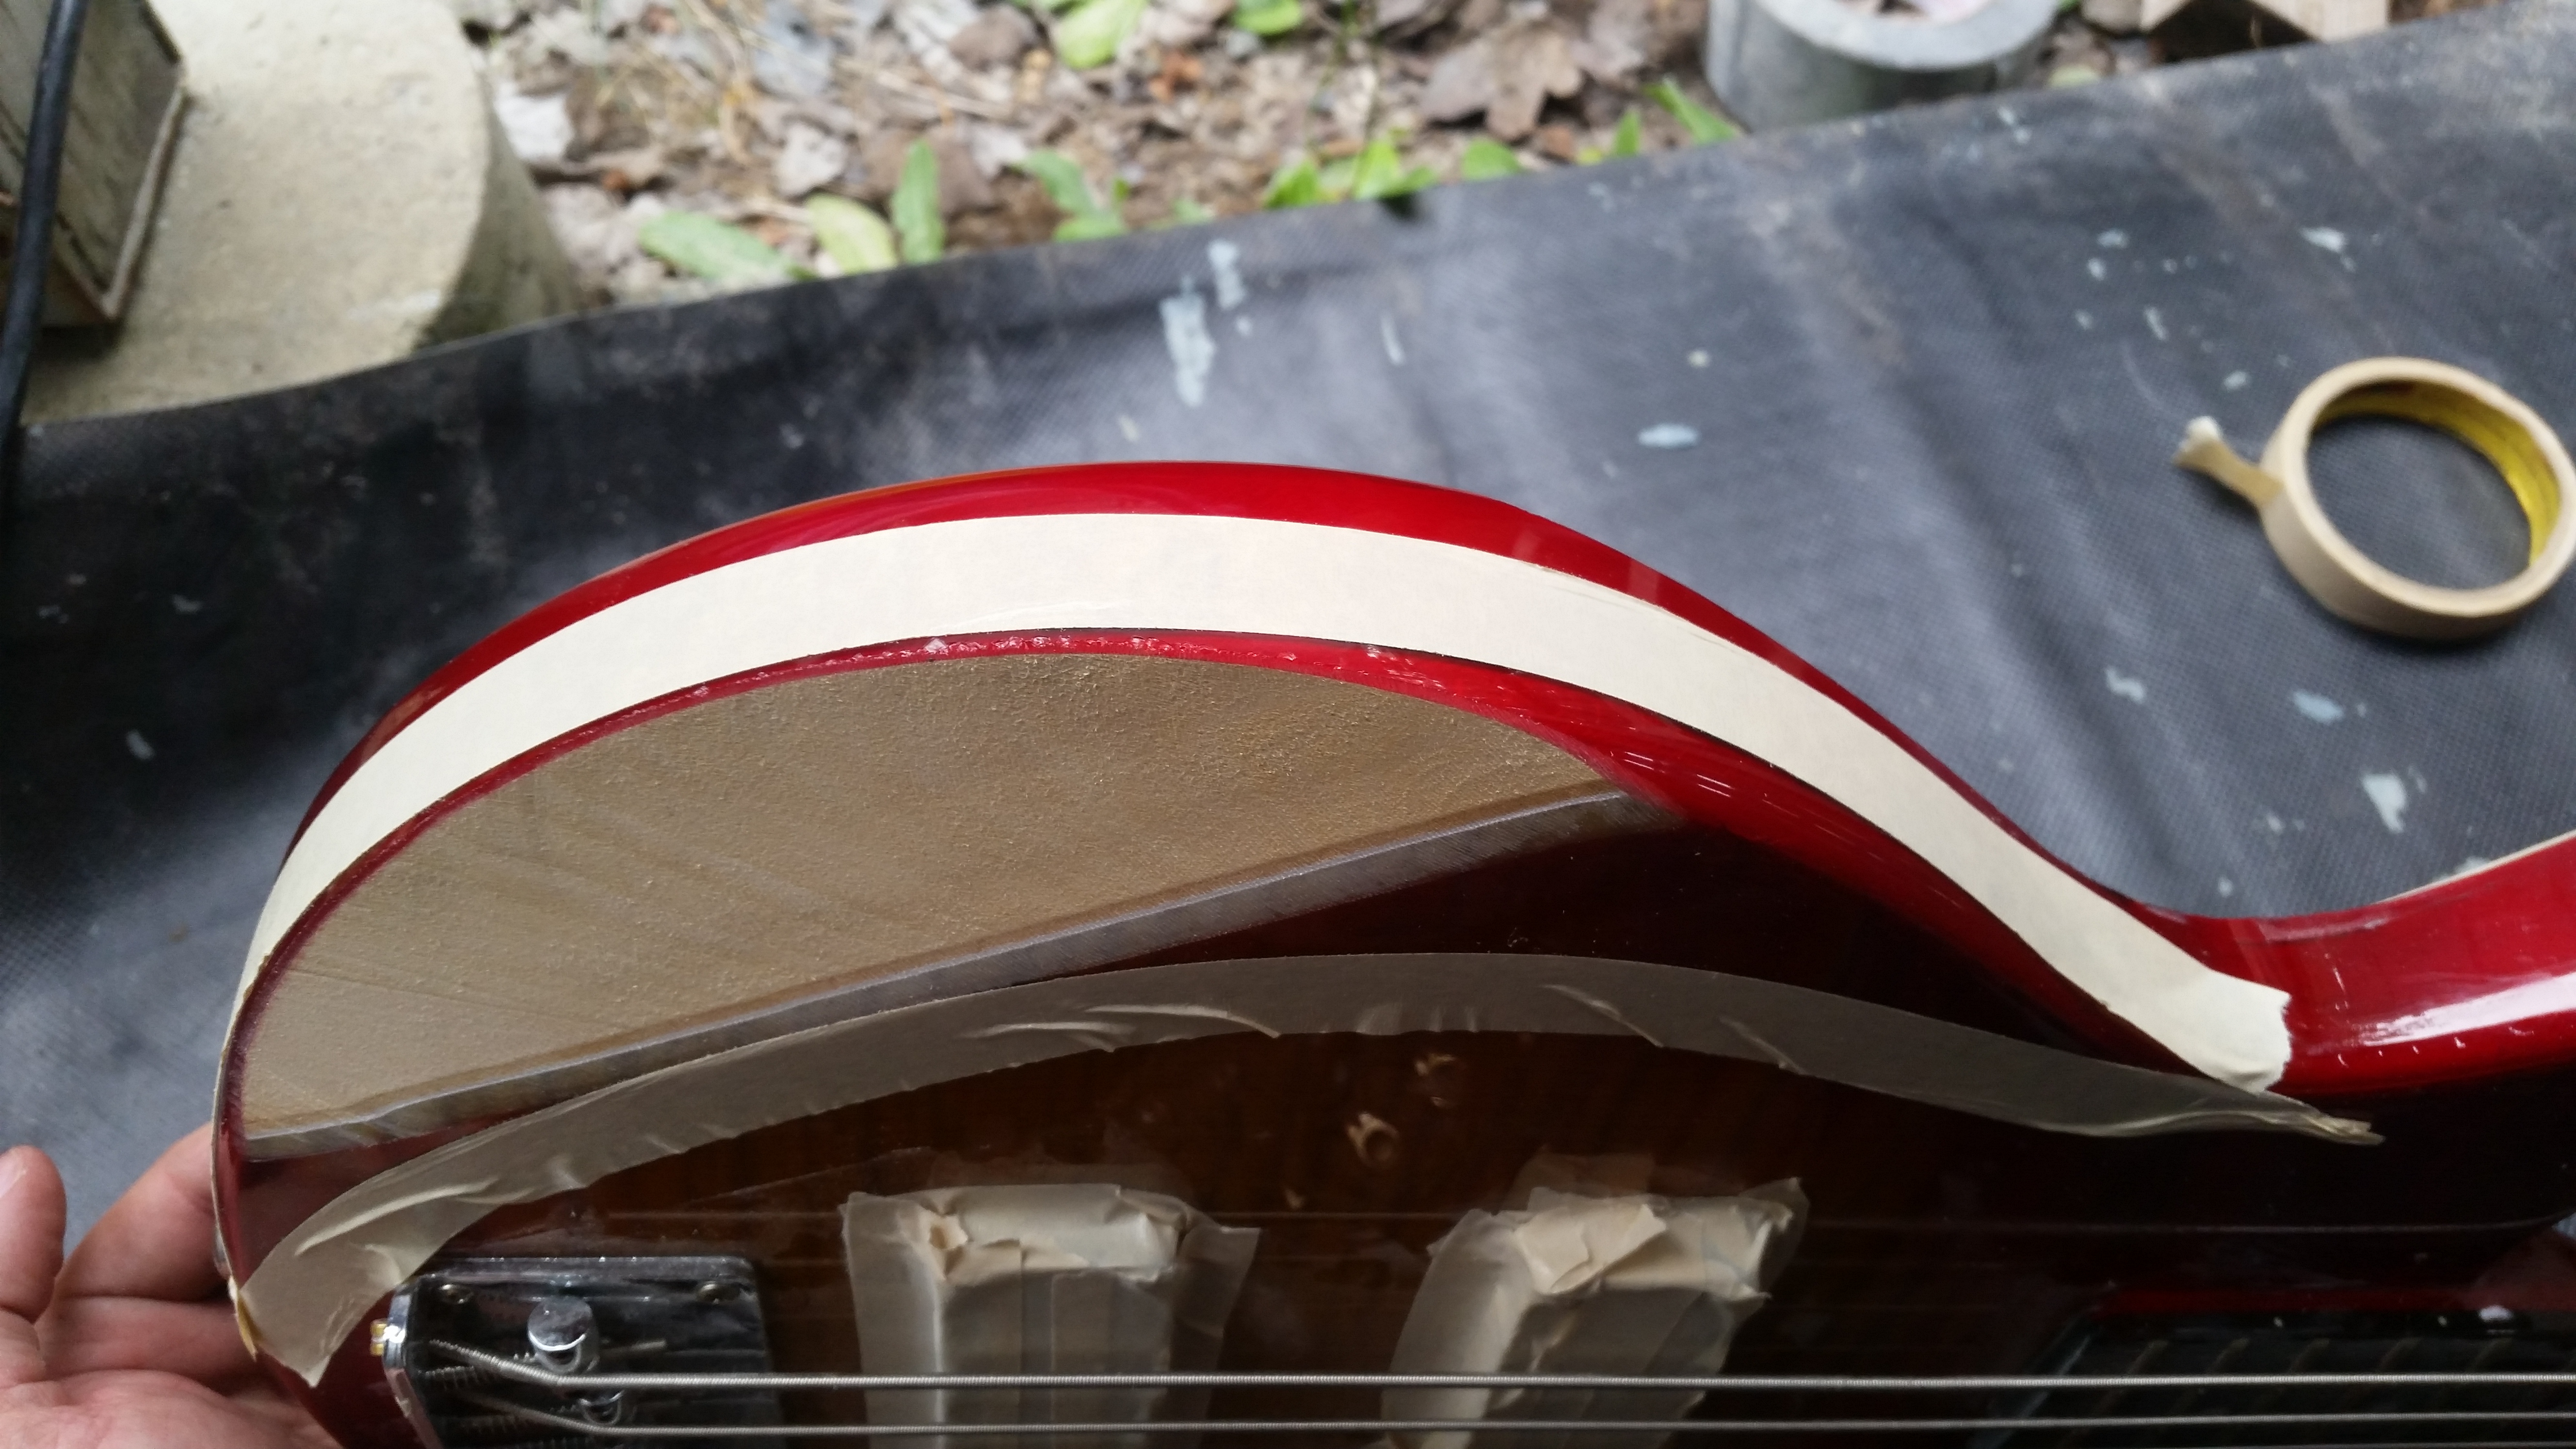
finished my rough in on the body mod bevels. Used a Flapper wheel on an angle grinder, had some masking tape to help with layout, but ended up mostly free handing. Did all this with the guitar still assembled so I could tweak things to fit better, instead of just guessing.

USE mask/respirator and goggles when doing this sort of work! lots of dust of who knows what potentially harmful products they used in indonesia making this.

Tape off the pickups! Using masking tape for rough lines to follow when grinding.
tQ9wFjW.jpg


7H1PE1u.jpg


fsVA0oQ.jpg


Got the angle on the arm cut feeling good, but at this point I didnt want to have to deal with radiusing it and bending the veneer over top. So I reverted to my original plan of doing a Kiesel style Bevel
 
Quick bit of masking tape for guide lines for the bevel and I was back at it.
0MX8sMZ.jpg


Already a major improvement in ergos with the belly cut and the arm bevel, and the cutaway bevel now allows me to get at the top frets relatively easily, which was essentially impossible beforehand.

Invalid Link Removed
Invalid Link RemovedInvalid Link Removed
 
Rough shaping done (Looking back at this, I wish i had not gone quite as deep on the horn cutaway bevel, just because it would have been easier to sand flat/glue laminate on and then dig it in deeper, less small corners to deal with. Very comfy shape though.)

Disassembly to prep for finish removal. Always take pics of wiring, this one was super basic though.
AmQS5yG.jpg


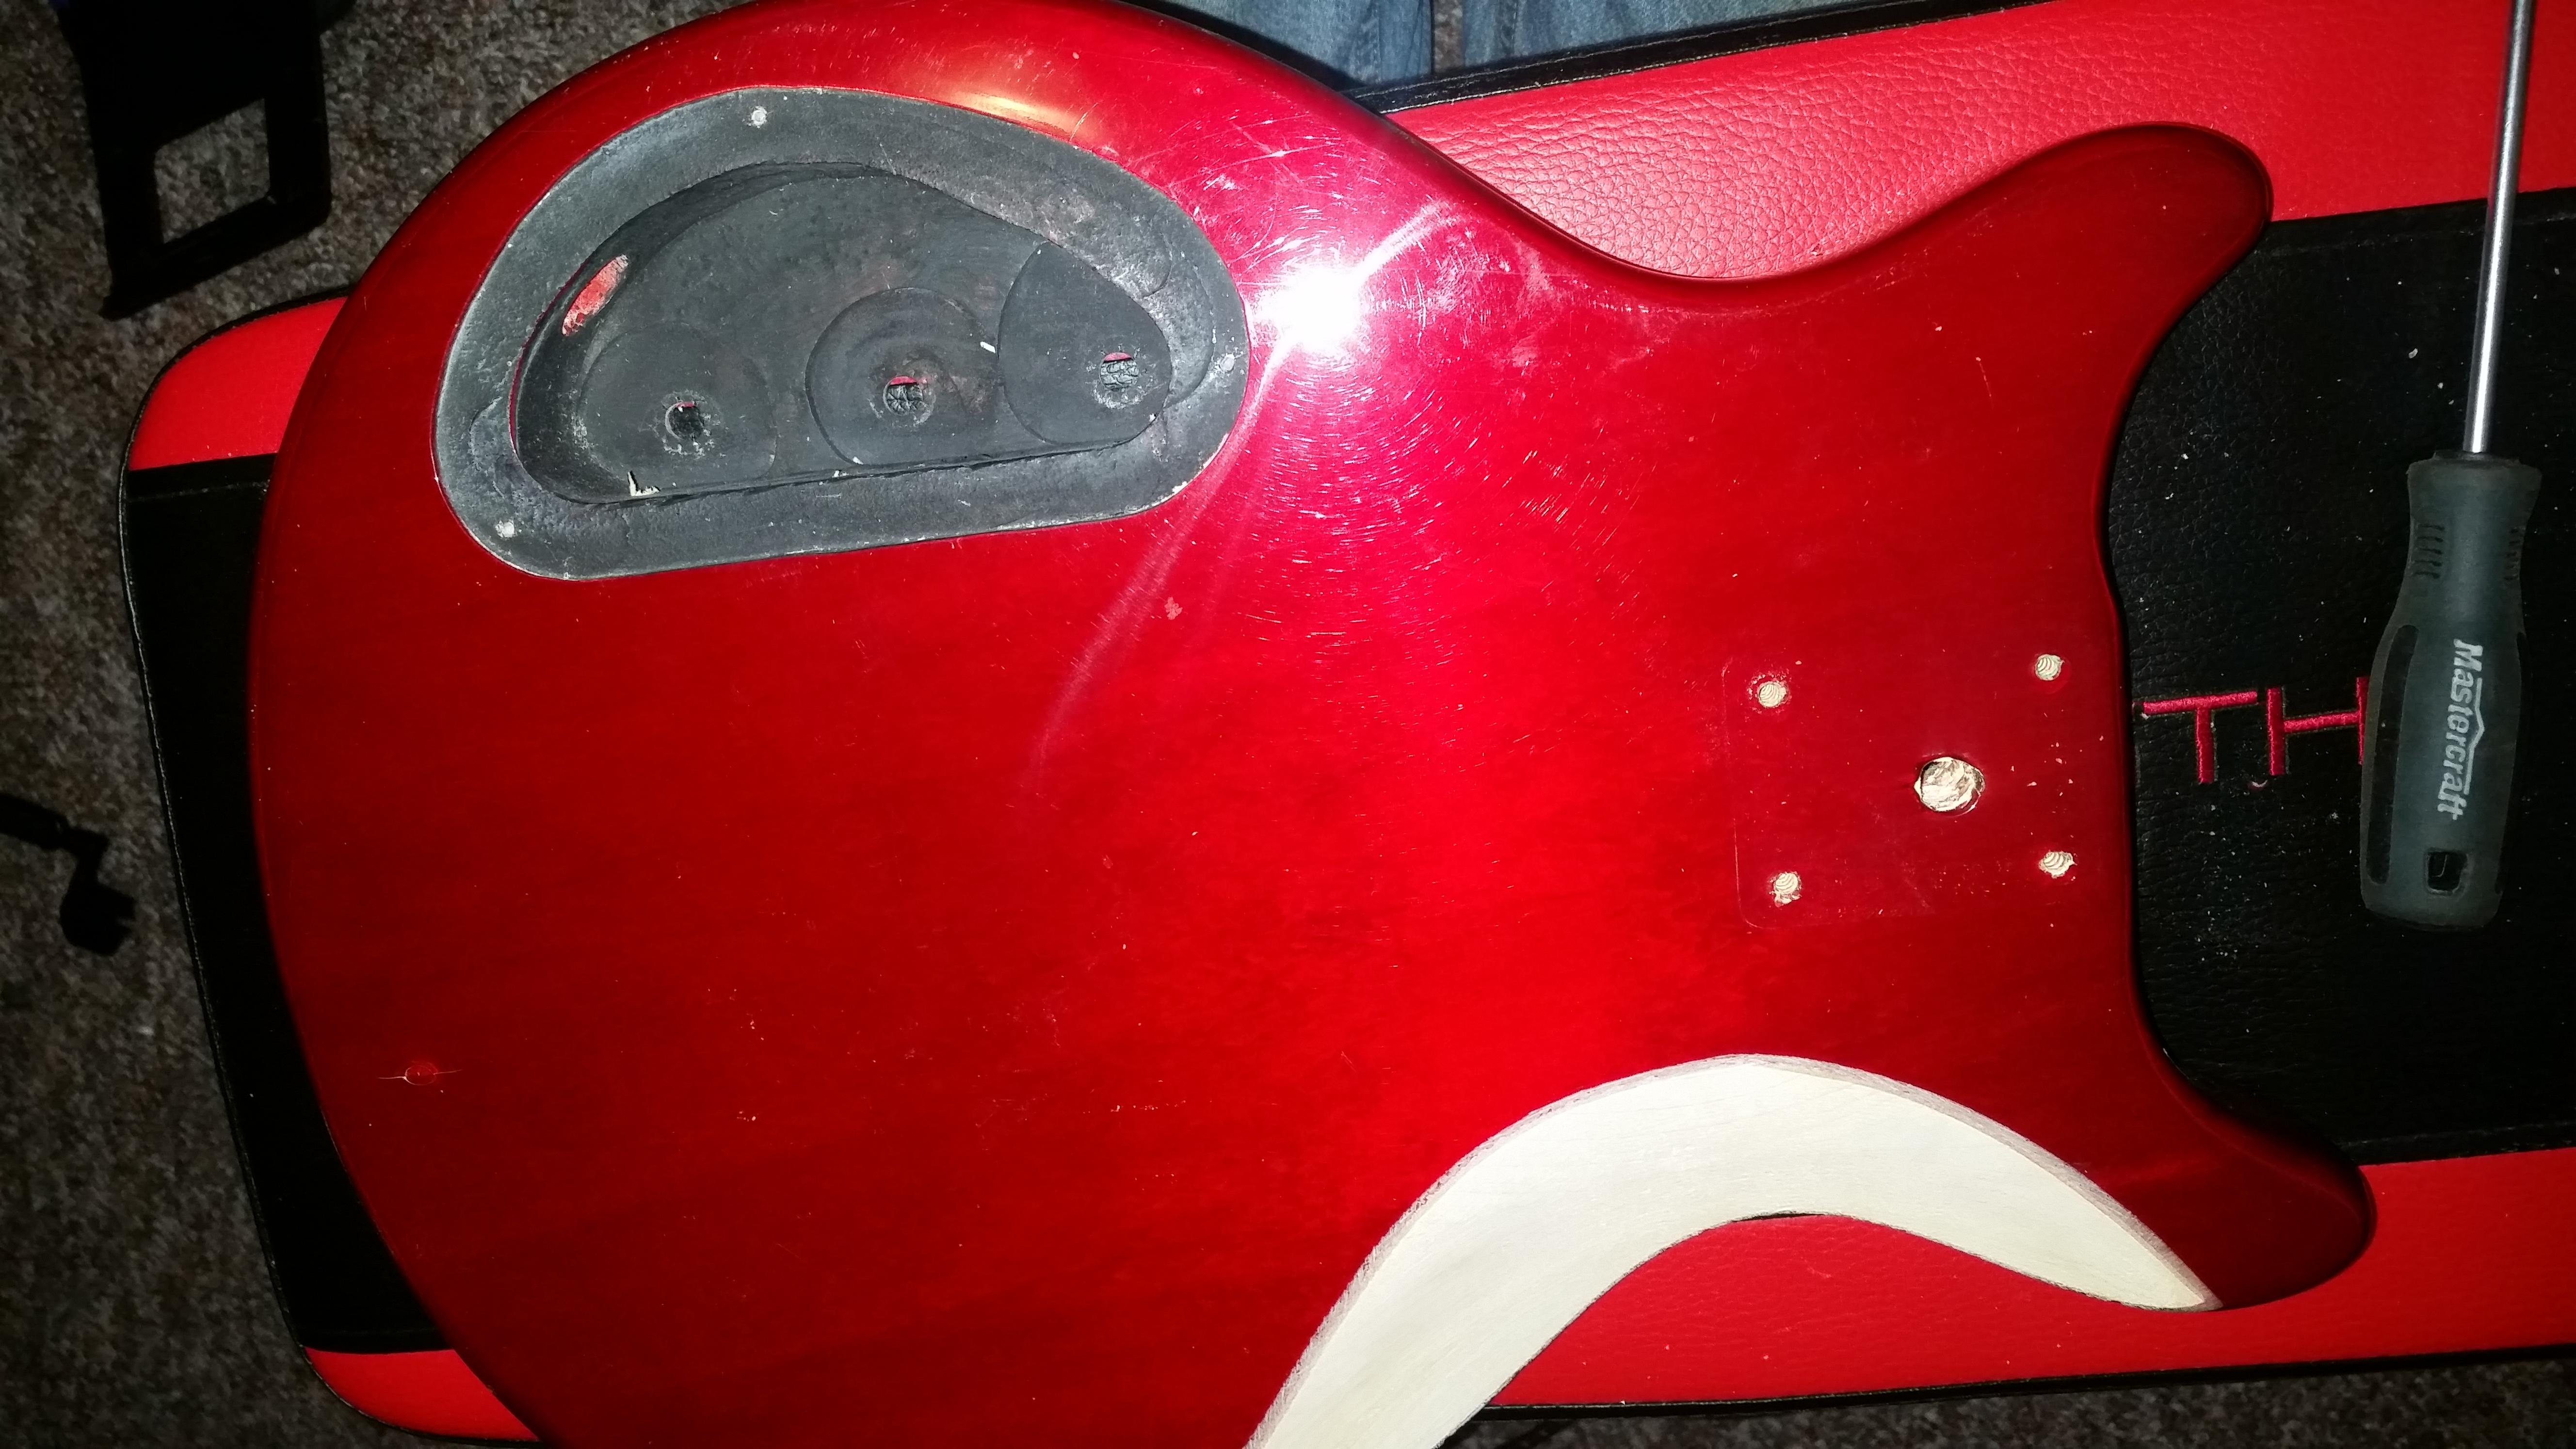
You can see the pickup routes arent very nice looking. must have been a worn out router bit, made at 4:45 on a friday afternoon. My luthier friend ended up shaving them straight with a router, and going a little deeper as well(pickups were originally very close to strings with nowhere to go)
iwMVp4N.jpg


Not a big fan of the neck plate either.
 
  • Like
Reactions: Nocturnal
Made a pretty satisfying video of the poly finish removal, see if it works here.


The top was super easy, peeled the thick gloss(poly?) layer off of the paper photoflame layer with just the hot setting on the heat gun, no other tools.
Side and back were a nightmare, no such luck. I tried a chemical furniture stripper overnight that did next to nothing.

Ended up just heatgunning and painfully chipping it all off centimeters at a time. It did not want to let go of the hardwood. Speaking of which, the Hamer website lists this as "Hardwood body", it turns out it is a multi piece basswood body with a mahogany veneer top and bottom(covering who knows what).
z7v2gpL.jpg
 
Sanded down(using 40 and 100 grit on a random orbital mostly) and filed the bevels straight/smooth, sanded.
GMW46VC.jpg


Took it to luthier friend, plugged the existing bridge holes(none of the new bridge holes line up), plugged the big locating hole in the neck pocket so that we could switch to stainless inset ferrules on the neck joint and ditch the backplate. did some plugging and moved the two holes furthest into the body, they were questionably close to the end of the neck. The back veneer will be hiding all this anyways, best time to do this sort of thing is now. Sorry no pics of the changes, forgot.

At the same time he routed out the pickup cavities nicely. big improvement. Also noticed a set of 5 string Lace Alumitone Bass bar pickups he had dropped in perfectly, that might be an upgrade for after this is put back together and played a little more.
 
  • Like
Reactions: Nocturnal
Was a little anxious about the veneering, first time for me. Figured without an elaborate press set up or a vacuum bag, the best option to avoid bubbles/wrinkles, etc was the iron on method. Essentially use a PVA glue(many recommend titebond), lightly layer several times on substrate and veneer, letting dry to the touch. Afterwards lay together, use a iron on high heat press in and push out towards edges. Heat reactivates the glue and sets it nice and flat. Being aready dried allows easier lining up and moving, it wont grab right away like contact cement.

Tried on a test piece of mahogany, worked well and went for it. Used Titebond 3 and a foam roller, 3 layers on each body and veneer.

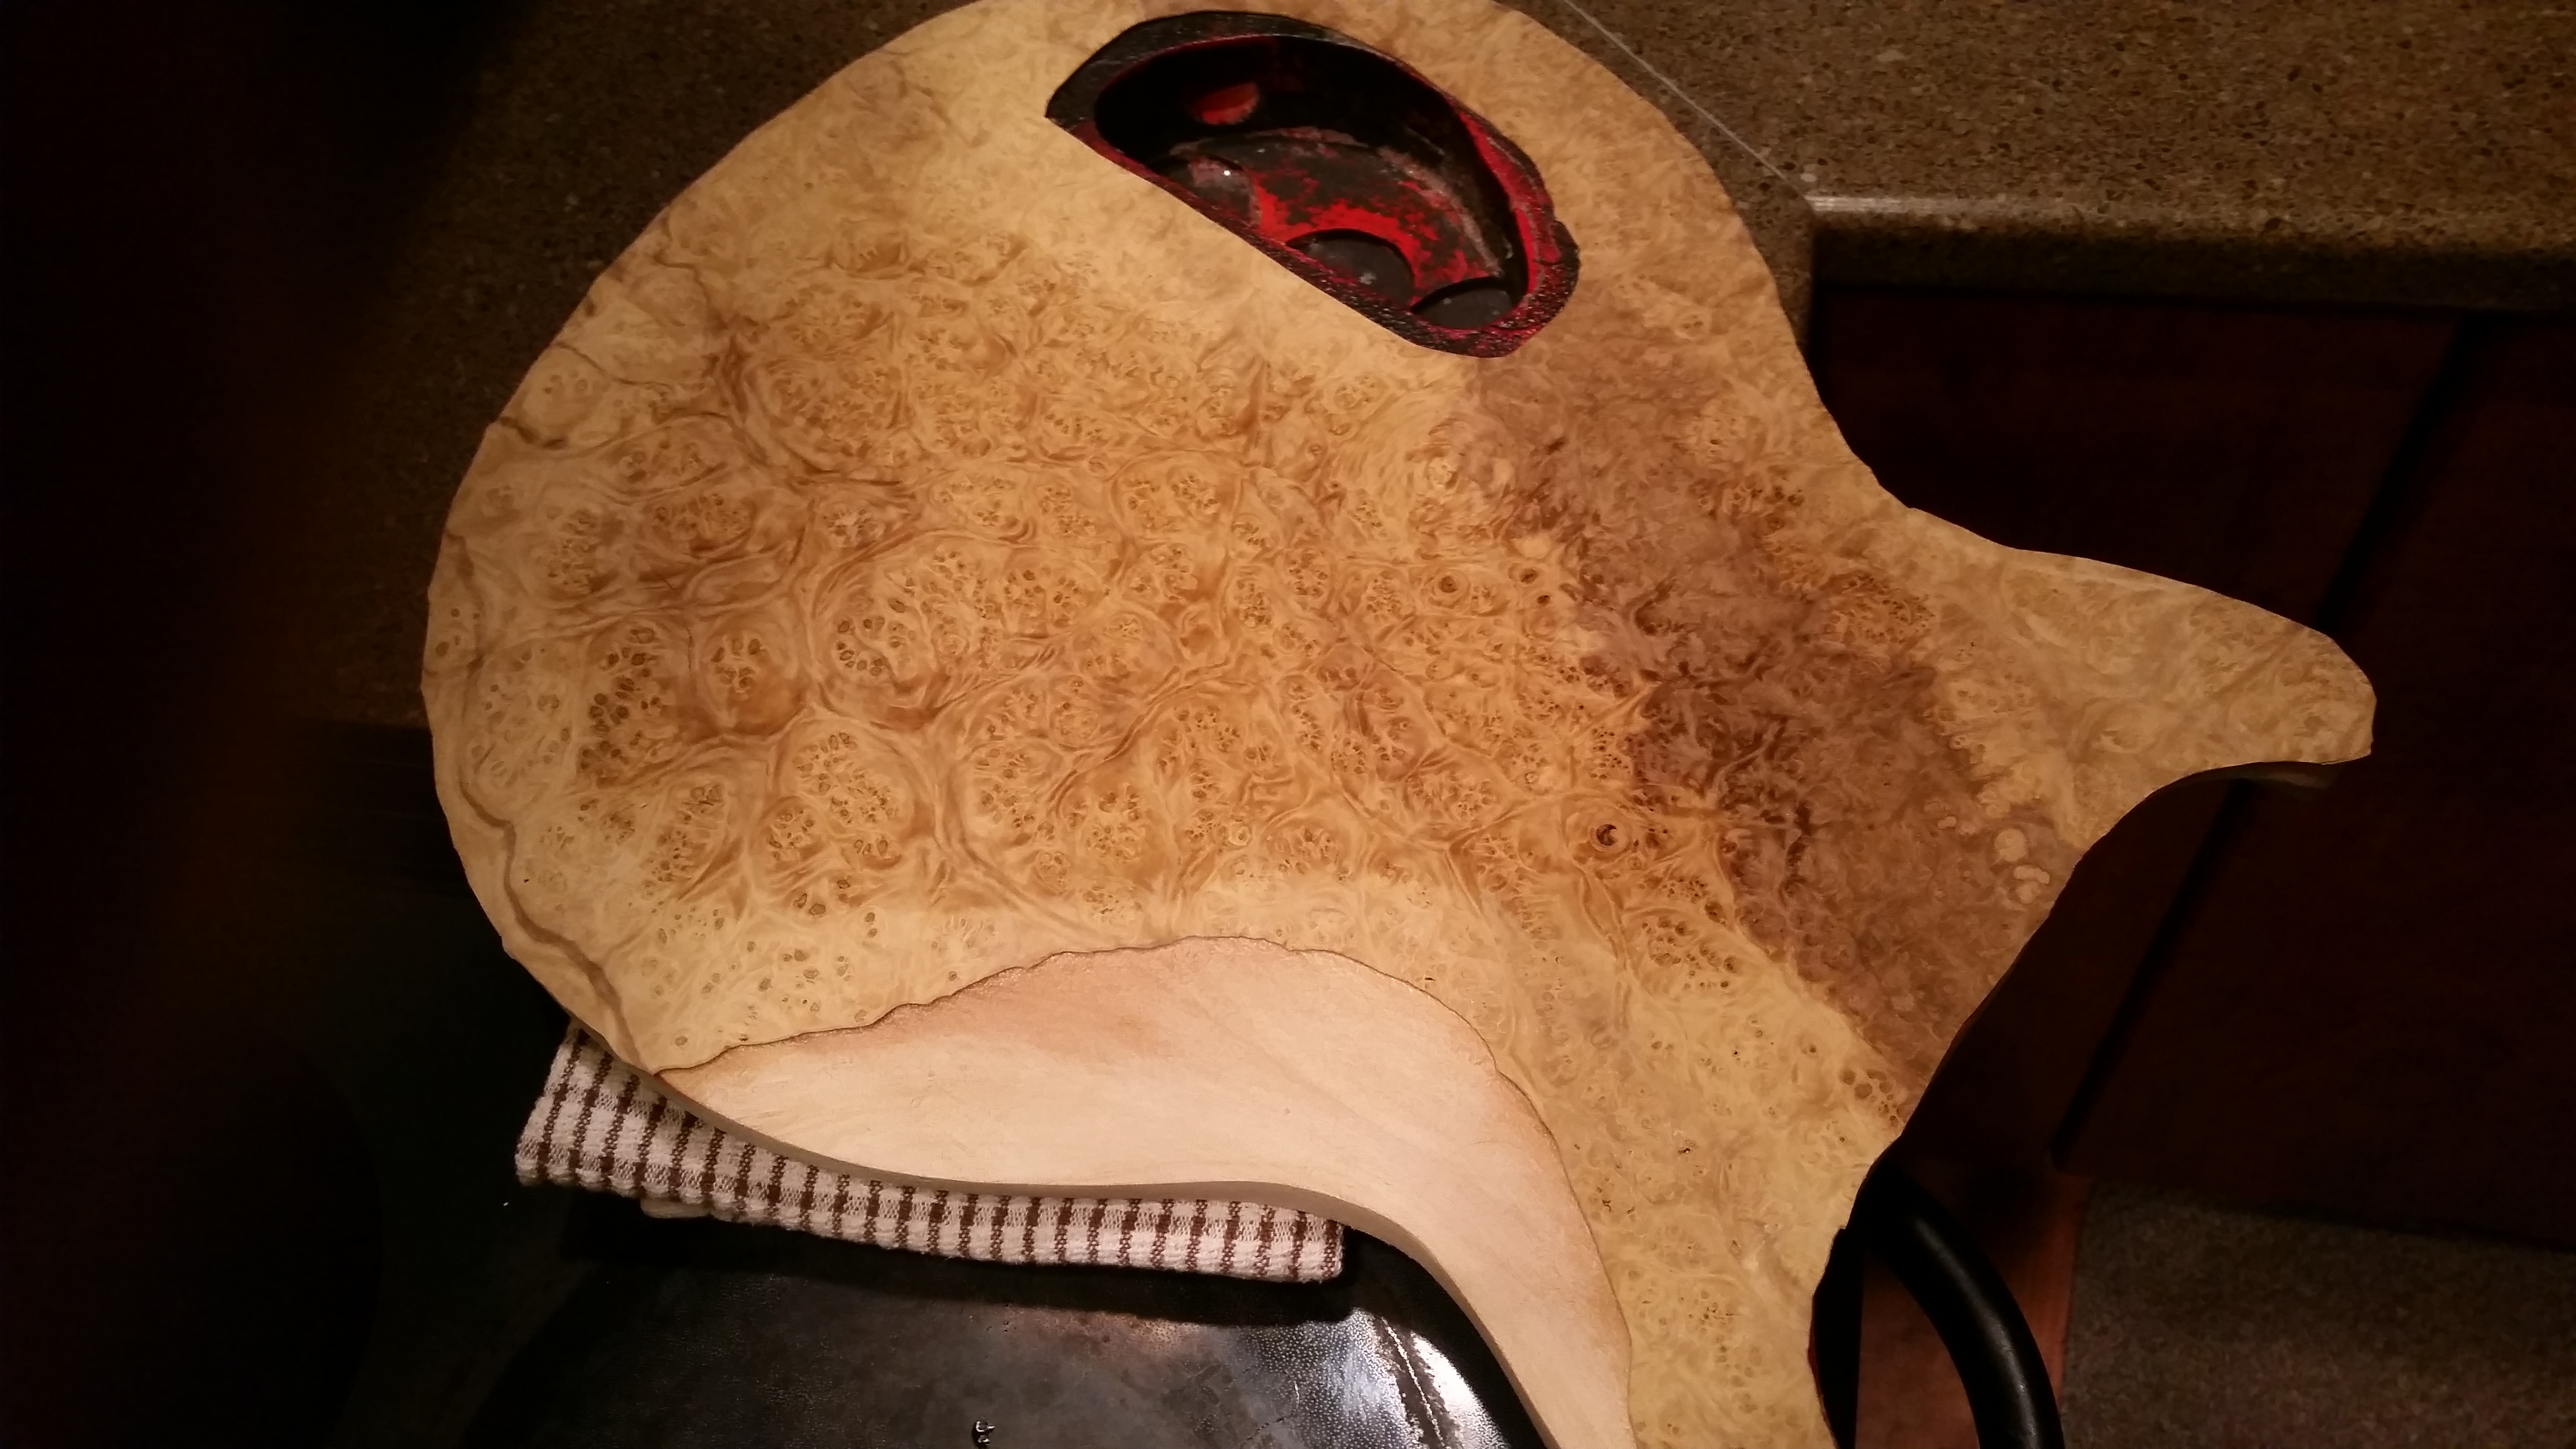
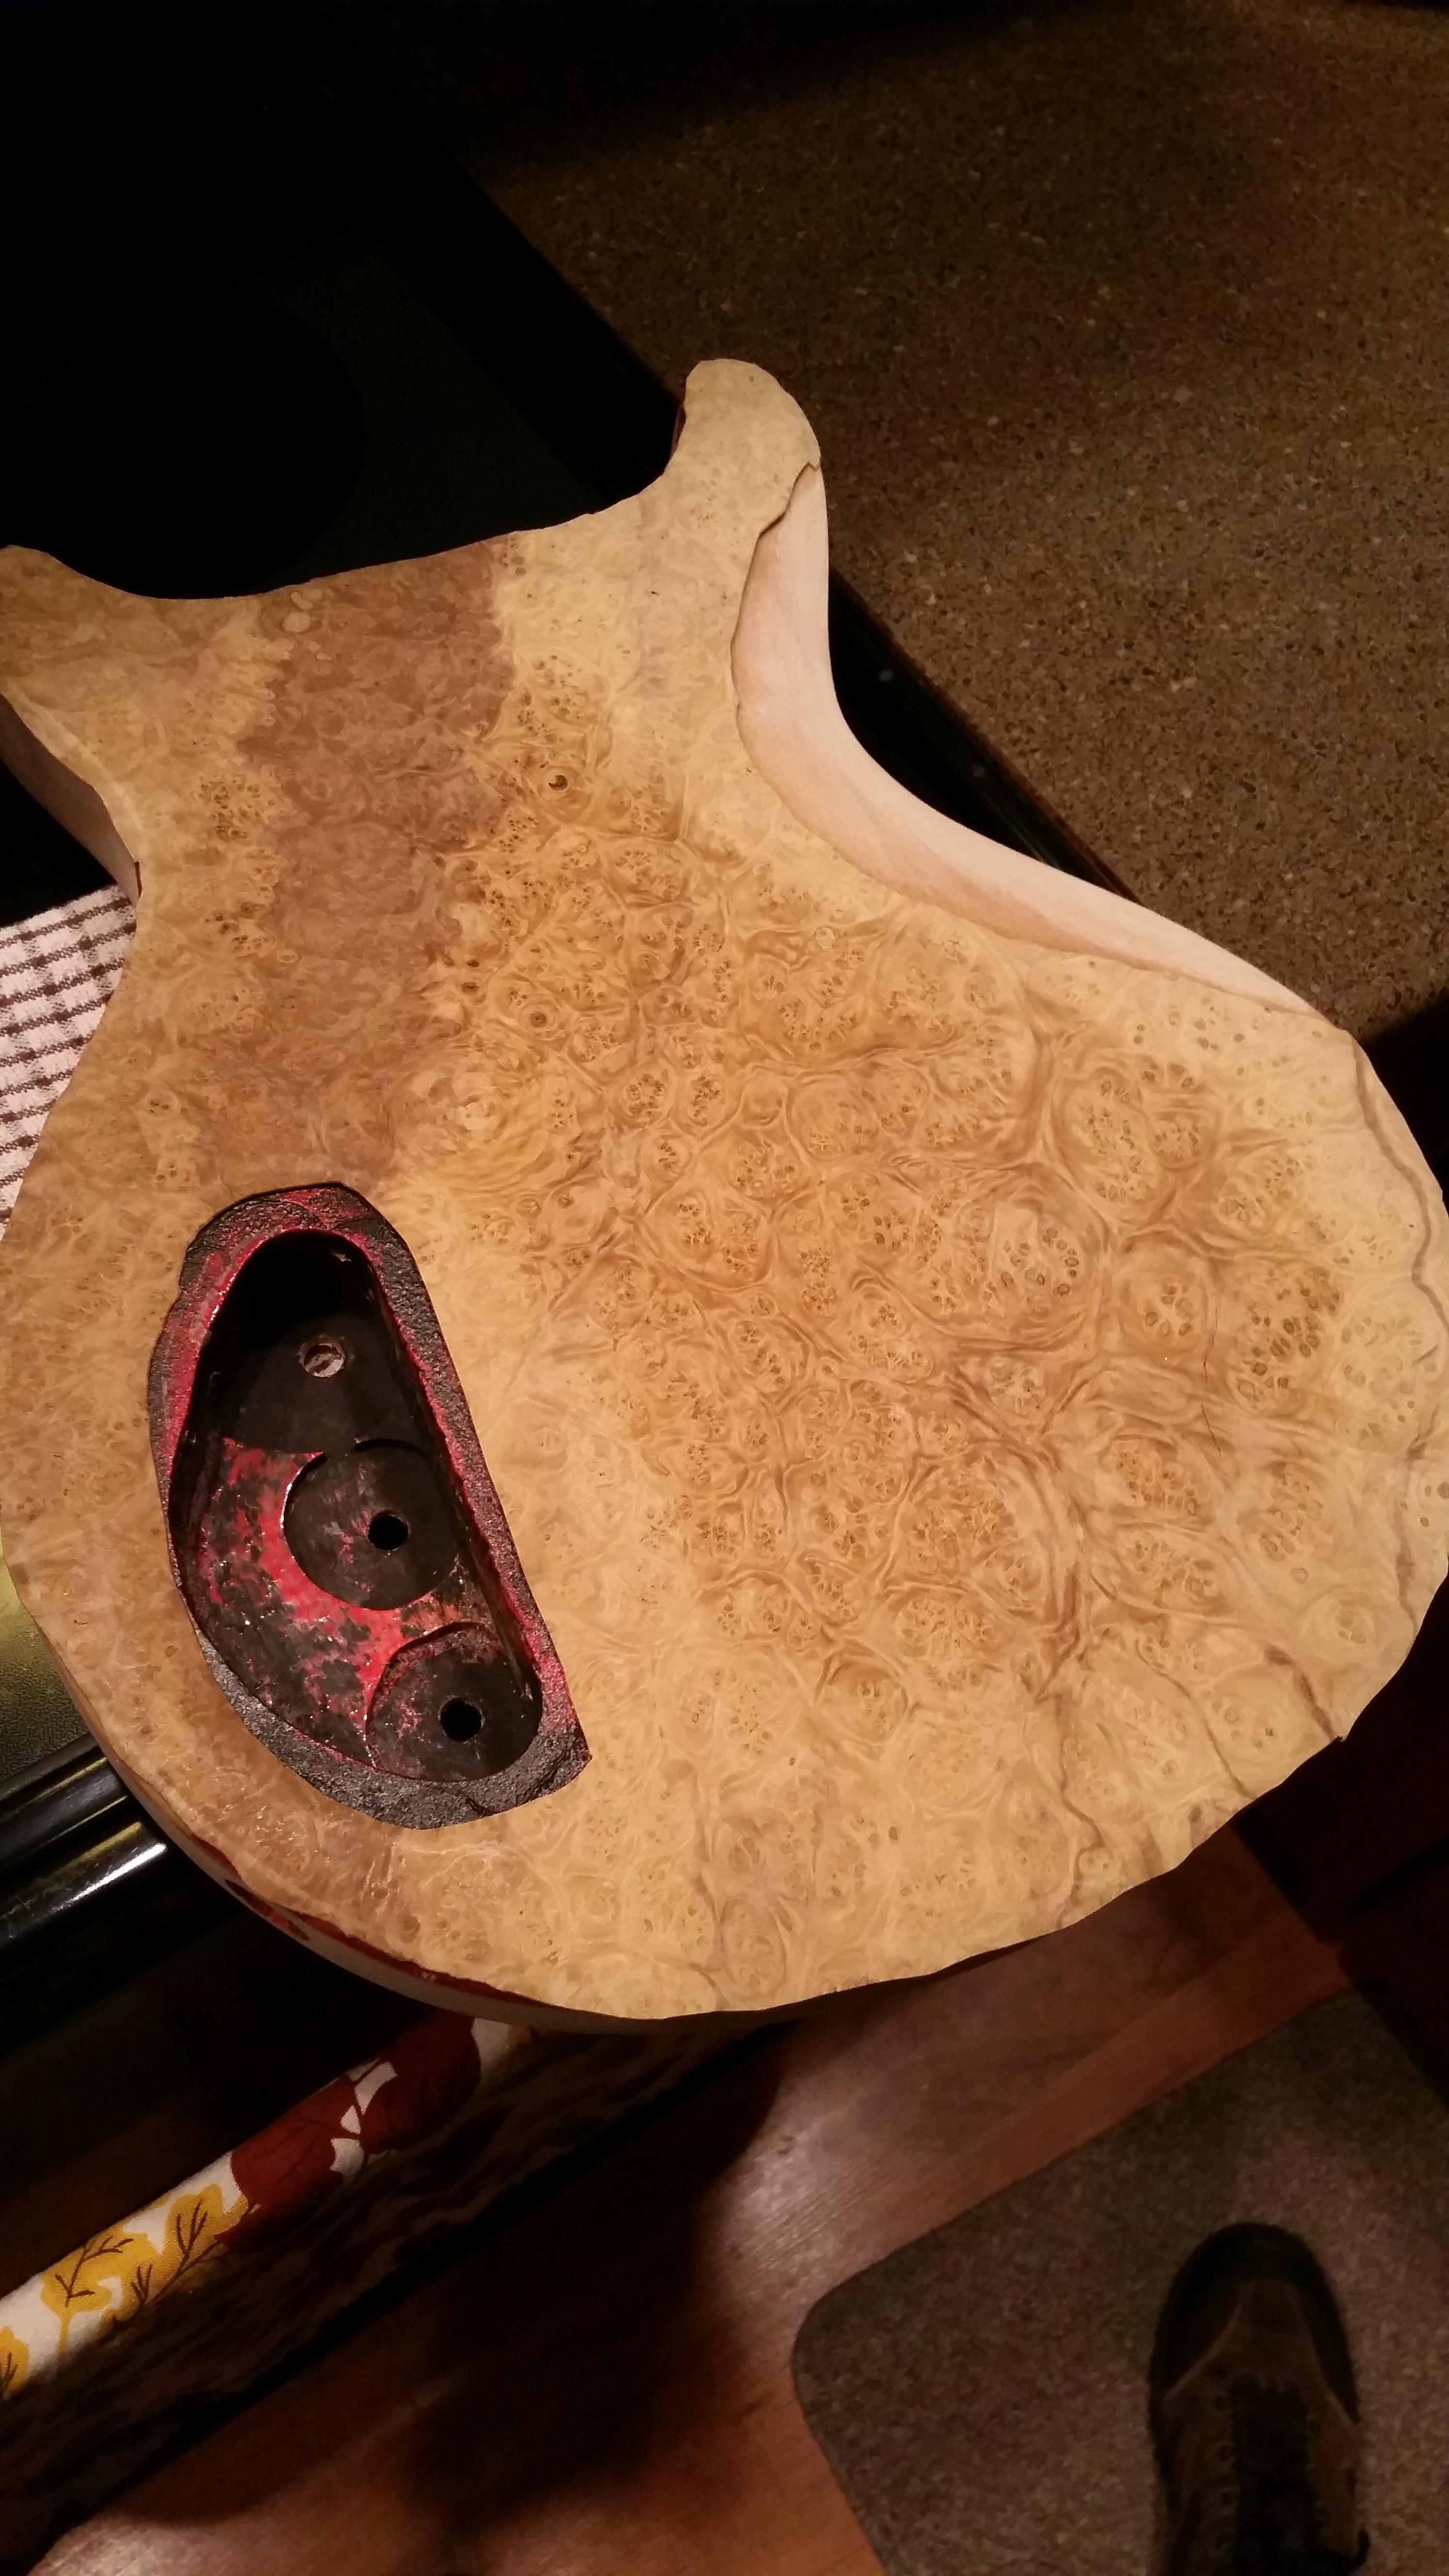
Did the back first, got that cool dark section across it, I will try and make the front match as well. Little bit of alcohol on the middle to show figuring/colouring.
yi22nG3.jpg

v02RWpi.jpg


The rear rout is a little janky and me and luthier worried about getting it to look clean with the orig cover. Plan is to slightly enlargen it with router or CNC and put a new plate in, possibly a wood one like ebony. cutting back into the wood/glue, etc a little will make it a lot cleaner looking.

Thats all for today folks, the front veneer was just finished tonight, will take pics soon.
 
This is awesome. It was cool seeing how the heat gun worked on the front. I’m watching with interest, I have a cherryburst sb4 also that I would like to refinish somehow.

Yeah that part was real fun. The sides and back less so, but it was all good within an hour or two anyways. Bit of sanding to take the paper/glue off the top and the red dye of sides and back and it looked much cleaner. Have to be careful not to go through the mahogany veneer if you want to keep that, its probably about as thick as my 1/42nd" burl veneers. I went through it slightly in a couple areas but the laminate on top fixes that anyways.


How do you think you would do yours?
 
Thanks for the thread diablo_man! I'm about to embark on my own project where I'll be stripping the paint off the body (and neck). It's an SB-Integra in white and someone carved into the finish. I'm not crazy about the white so it's a good excuse to paint it black (which if you can see my avatar, is no surprise!). The neck also needs some straightening (attempting the heat + clamp combo at the moment) so it's a good test subject. I'm hoping the heat gun works like it did on the front of your bass. I don't think mine has the various wood types so it should be more straightforward. :nailbiting:

Yeah that part was real fun. The sides and back less so, but it was all good within an hour or two anyways. Bit of sanding to take the paper/glue off the top and the red dye of sides and back and it looked much cleaner. Have to be careful not to go through the mahogany veneer if you want to keep that, its probably about as thick as my 1/42nd" burl veneers. I went through it slightly in a couple areas but the laminate on top fixes that anyways.


How do you think you would do yours?
 
Thanks for the thread diablo_man! ... I'm hoping the heat gun works like it did on the front of your bass. I don't think mine has the various wood types so it should be more straightforward. :nailbiting:

Hah, you are very welcome! I was hoping to have more progress today but the tendonitis is acting up so Im letting my wrists cool off(from painstakingly trimming the edges for an hour or two).

I think the reason my guitars front side worked like that is the paper flame layer was easy to separate from, where the finish really dug into the actual wood sides and back. However, Ive seen videos where the other guitars behaved more like the front of mine did, so it may come down to the specific type of finish/wood.

The Aria looks good in black, so that should be a good decision! Black dye/clear or black paint?
 
Hah, you are very welcome! I was hoping to have more progress today but the tendonitis is acting up so Im letting my wrists cool off(from painstakingly trimming the edges for an hour or two).

I think the reason my guitars front side worked like that is the paper flame layer was easy to separate from, where the finish really dug into the actual wood sides and back. However, Ive seen videos where the other guitars behaved more like the front of mine did, so it may come down to the specific type of finish/wood.

The Aria looks good in black, so that should be a good decision! Black dye/clear or black paint?

I plan on going with just solid glossy black. I actually have two Aria Integras that need this now... I found one cheap and could not resist picking it up. It's already (mostly) been stripped so at least that part is done!
Any progress on your project?
 
Gloss black is tried and true, bet it will look great!

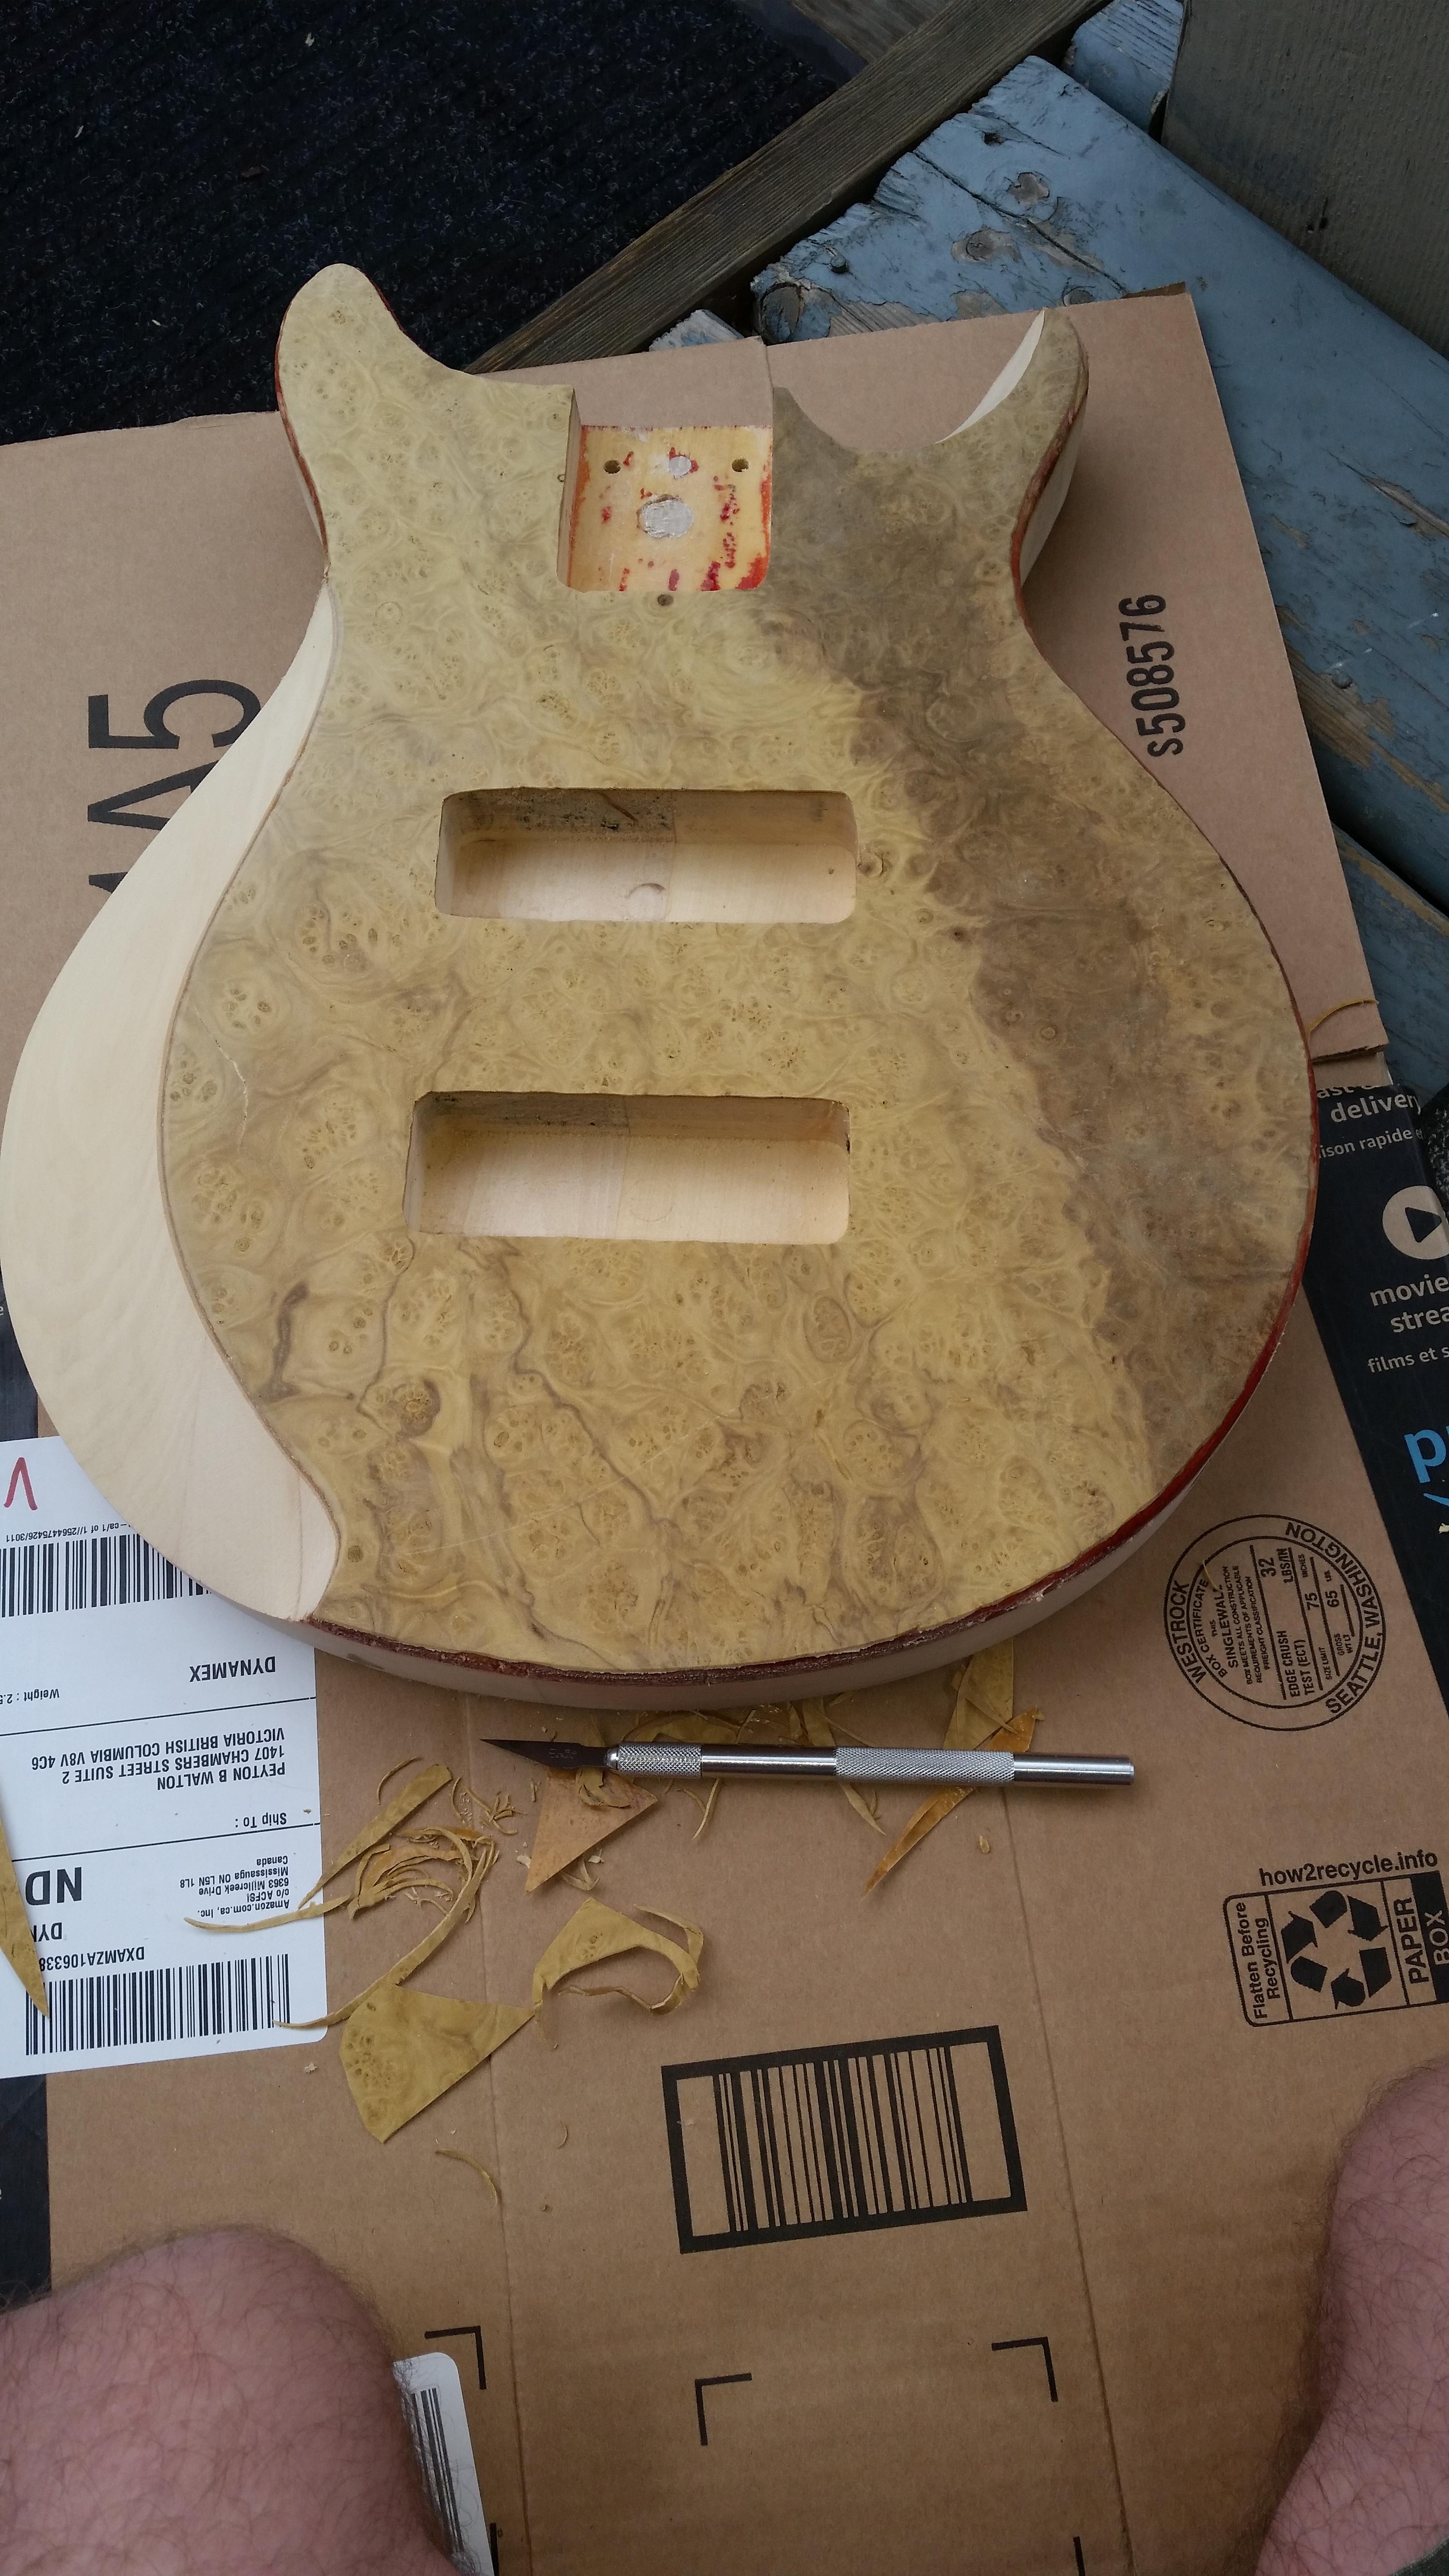
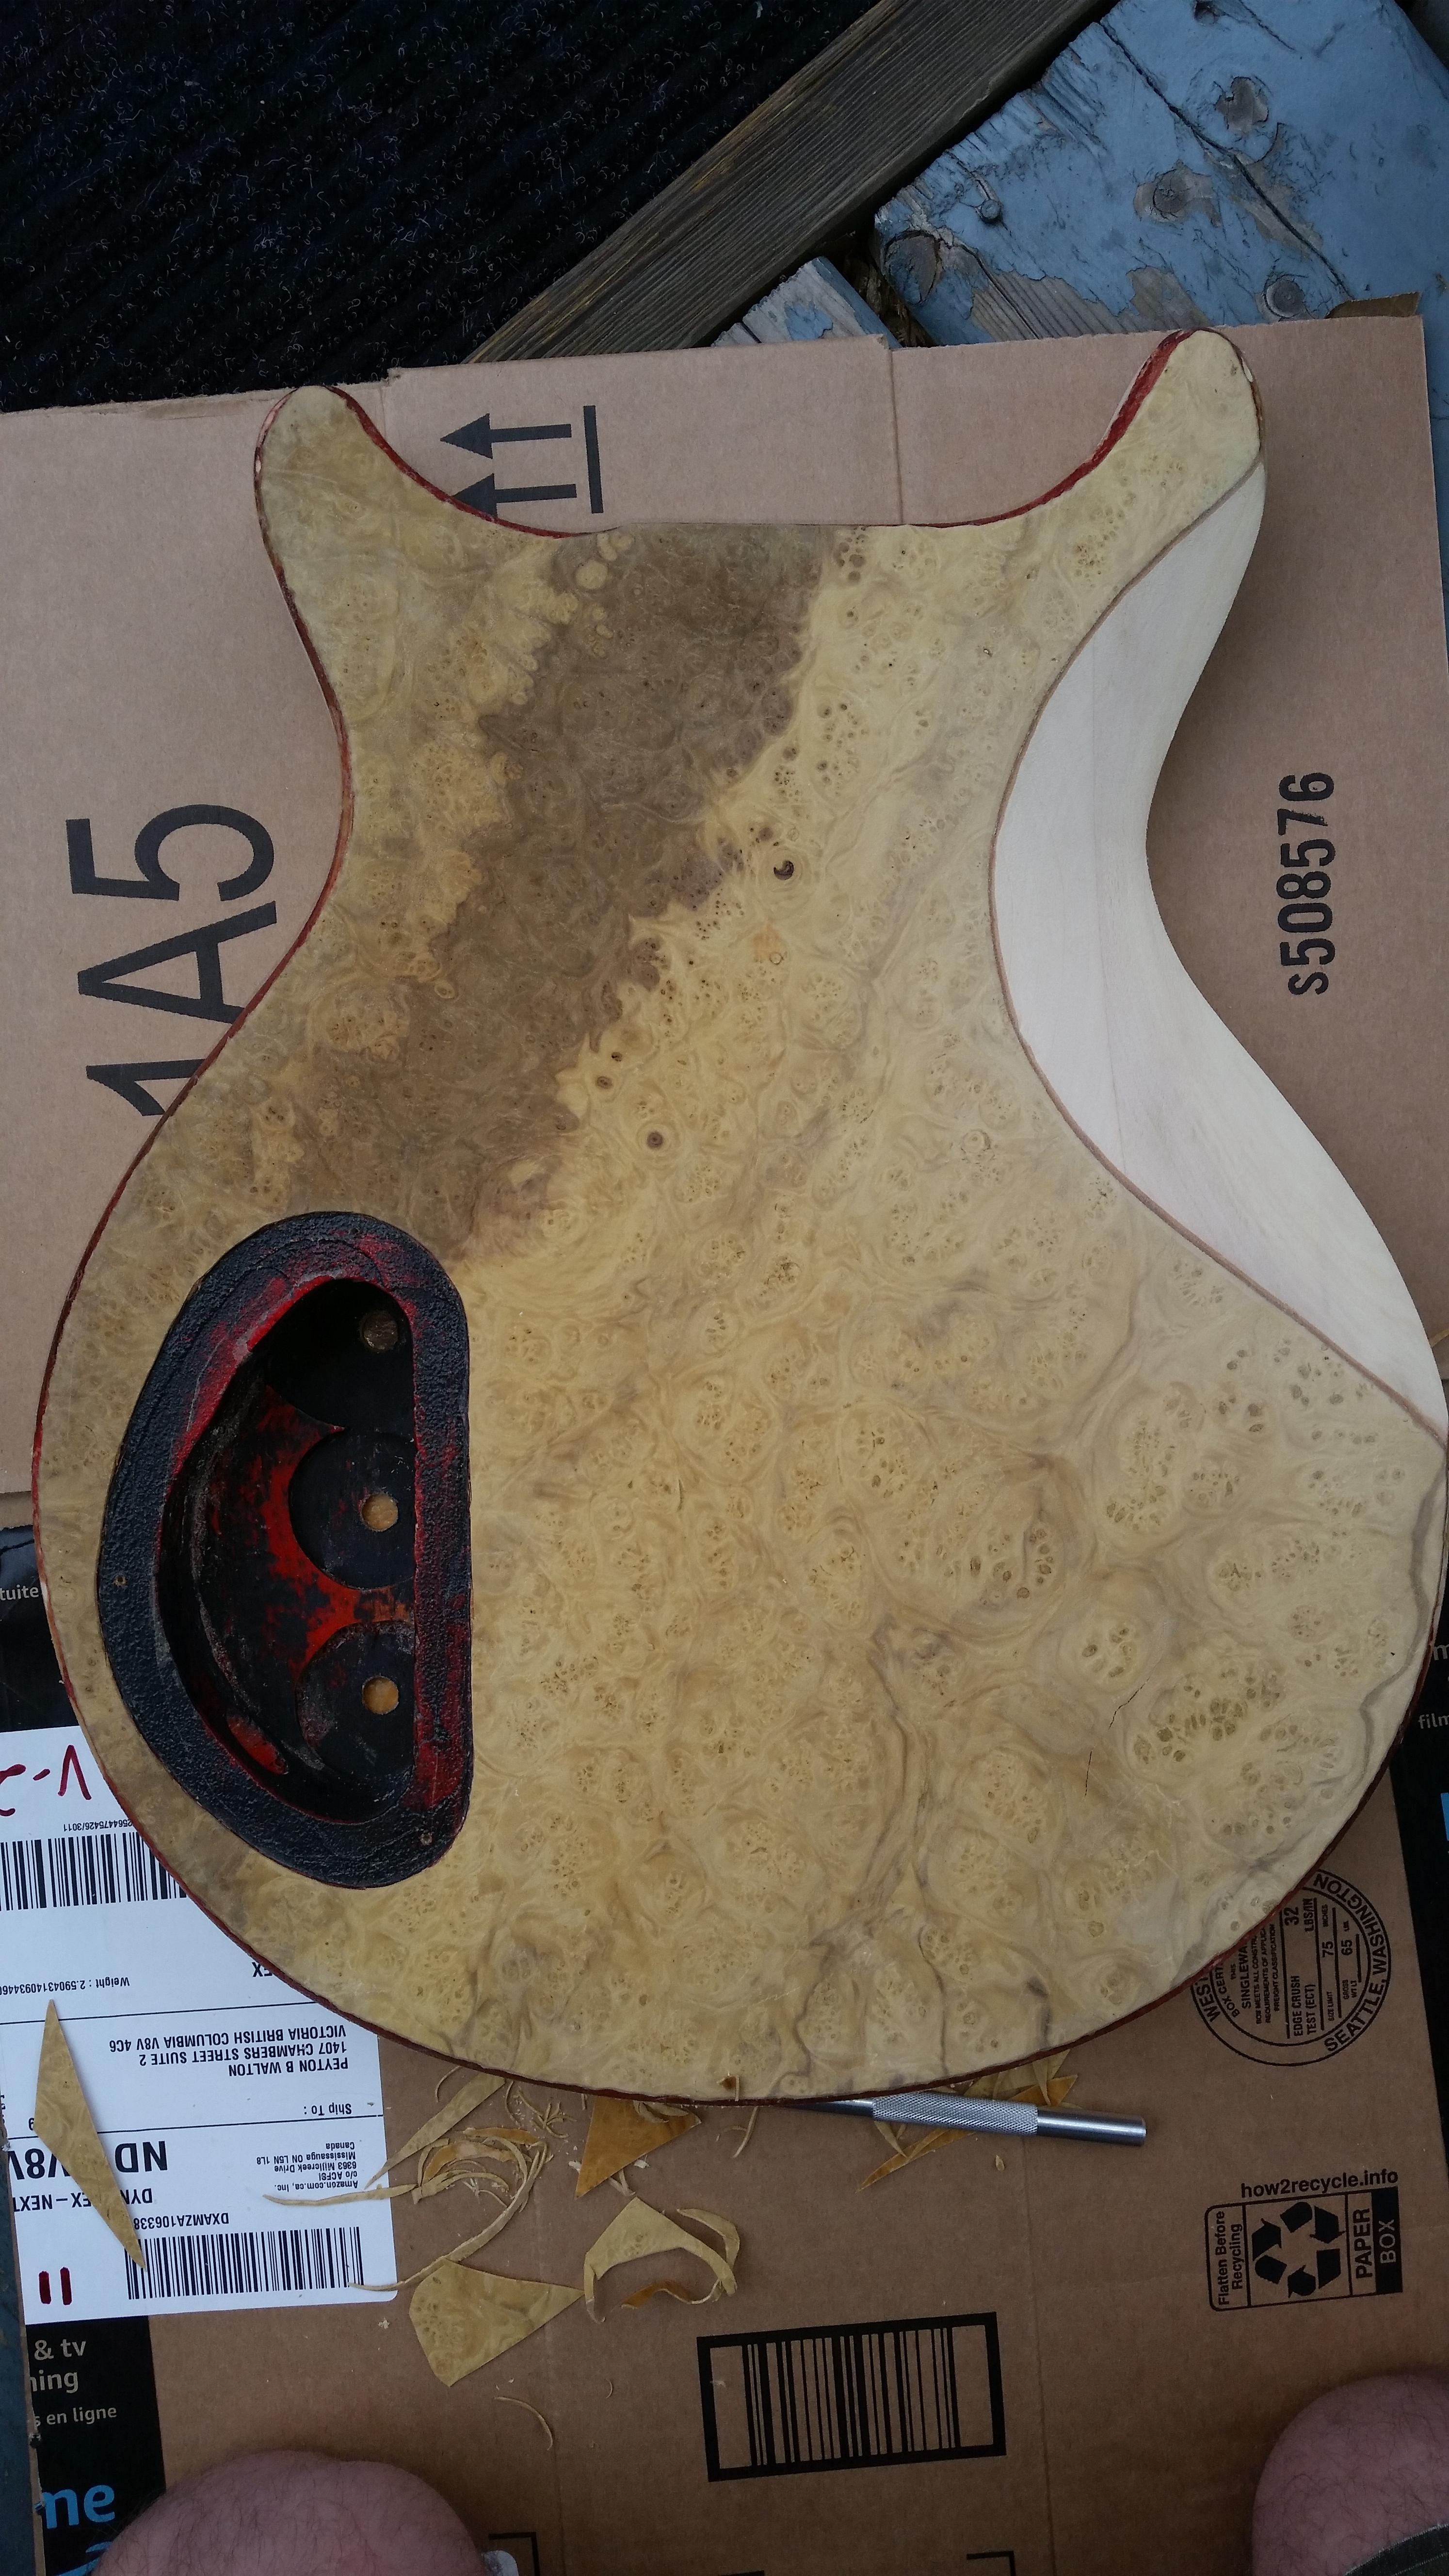
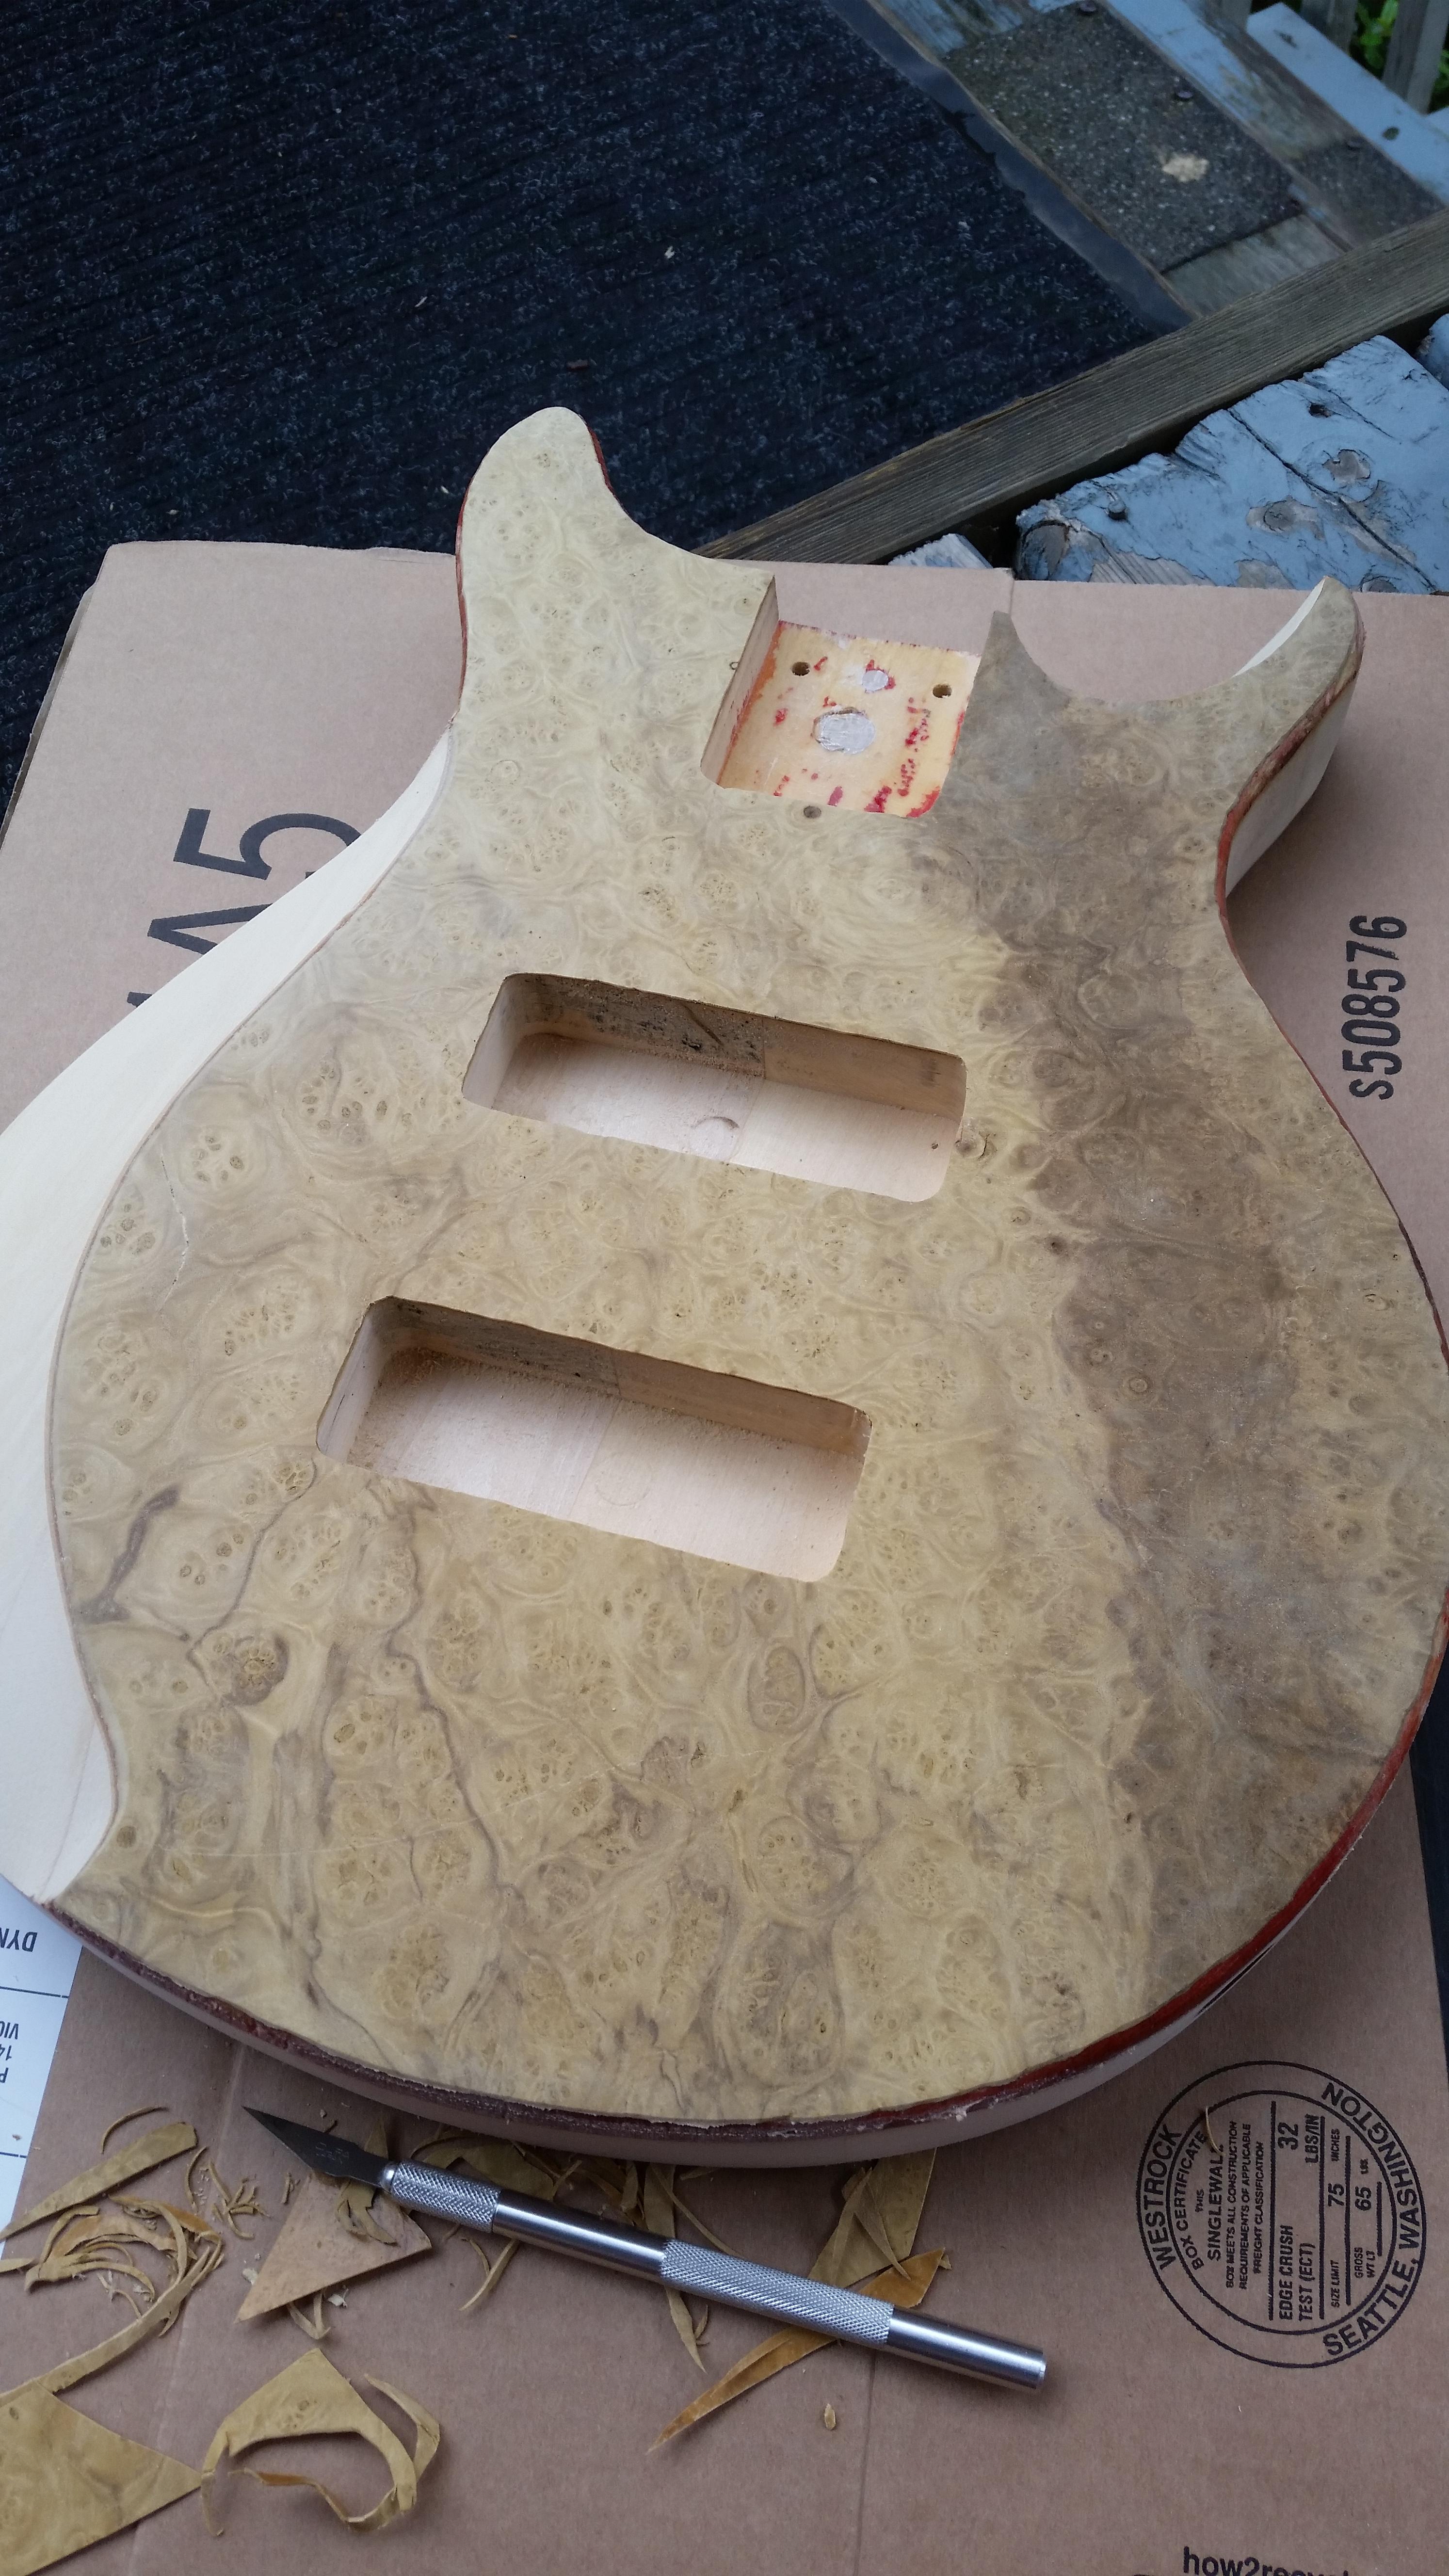
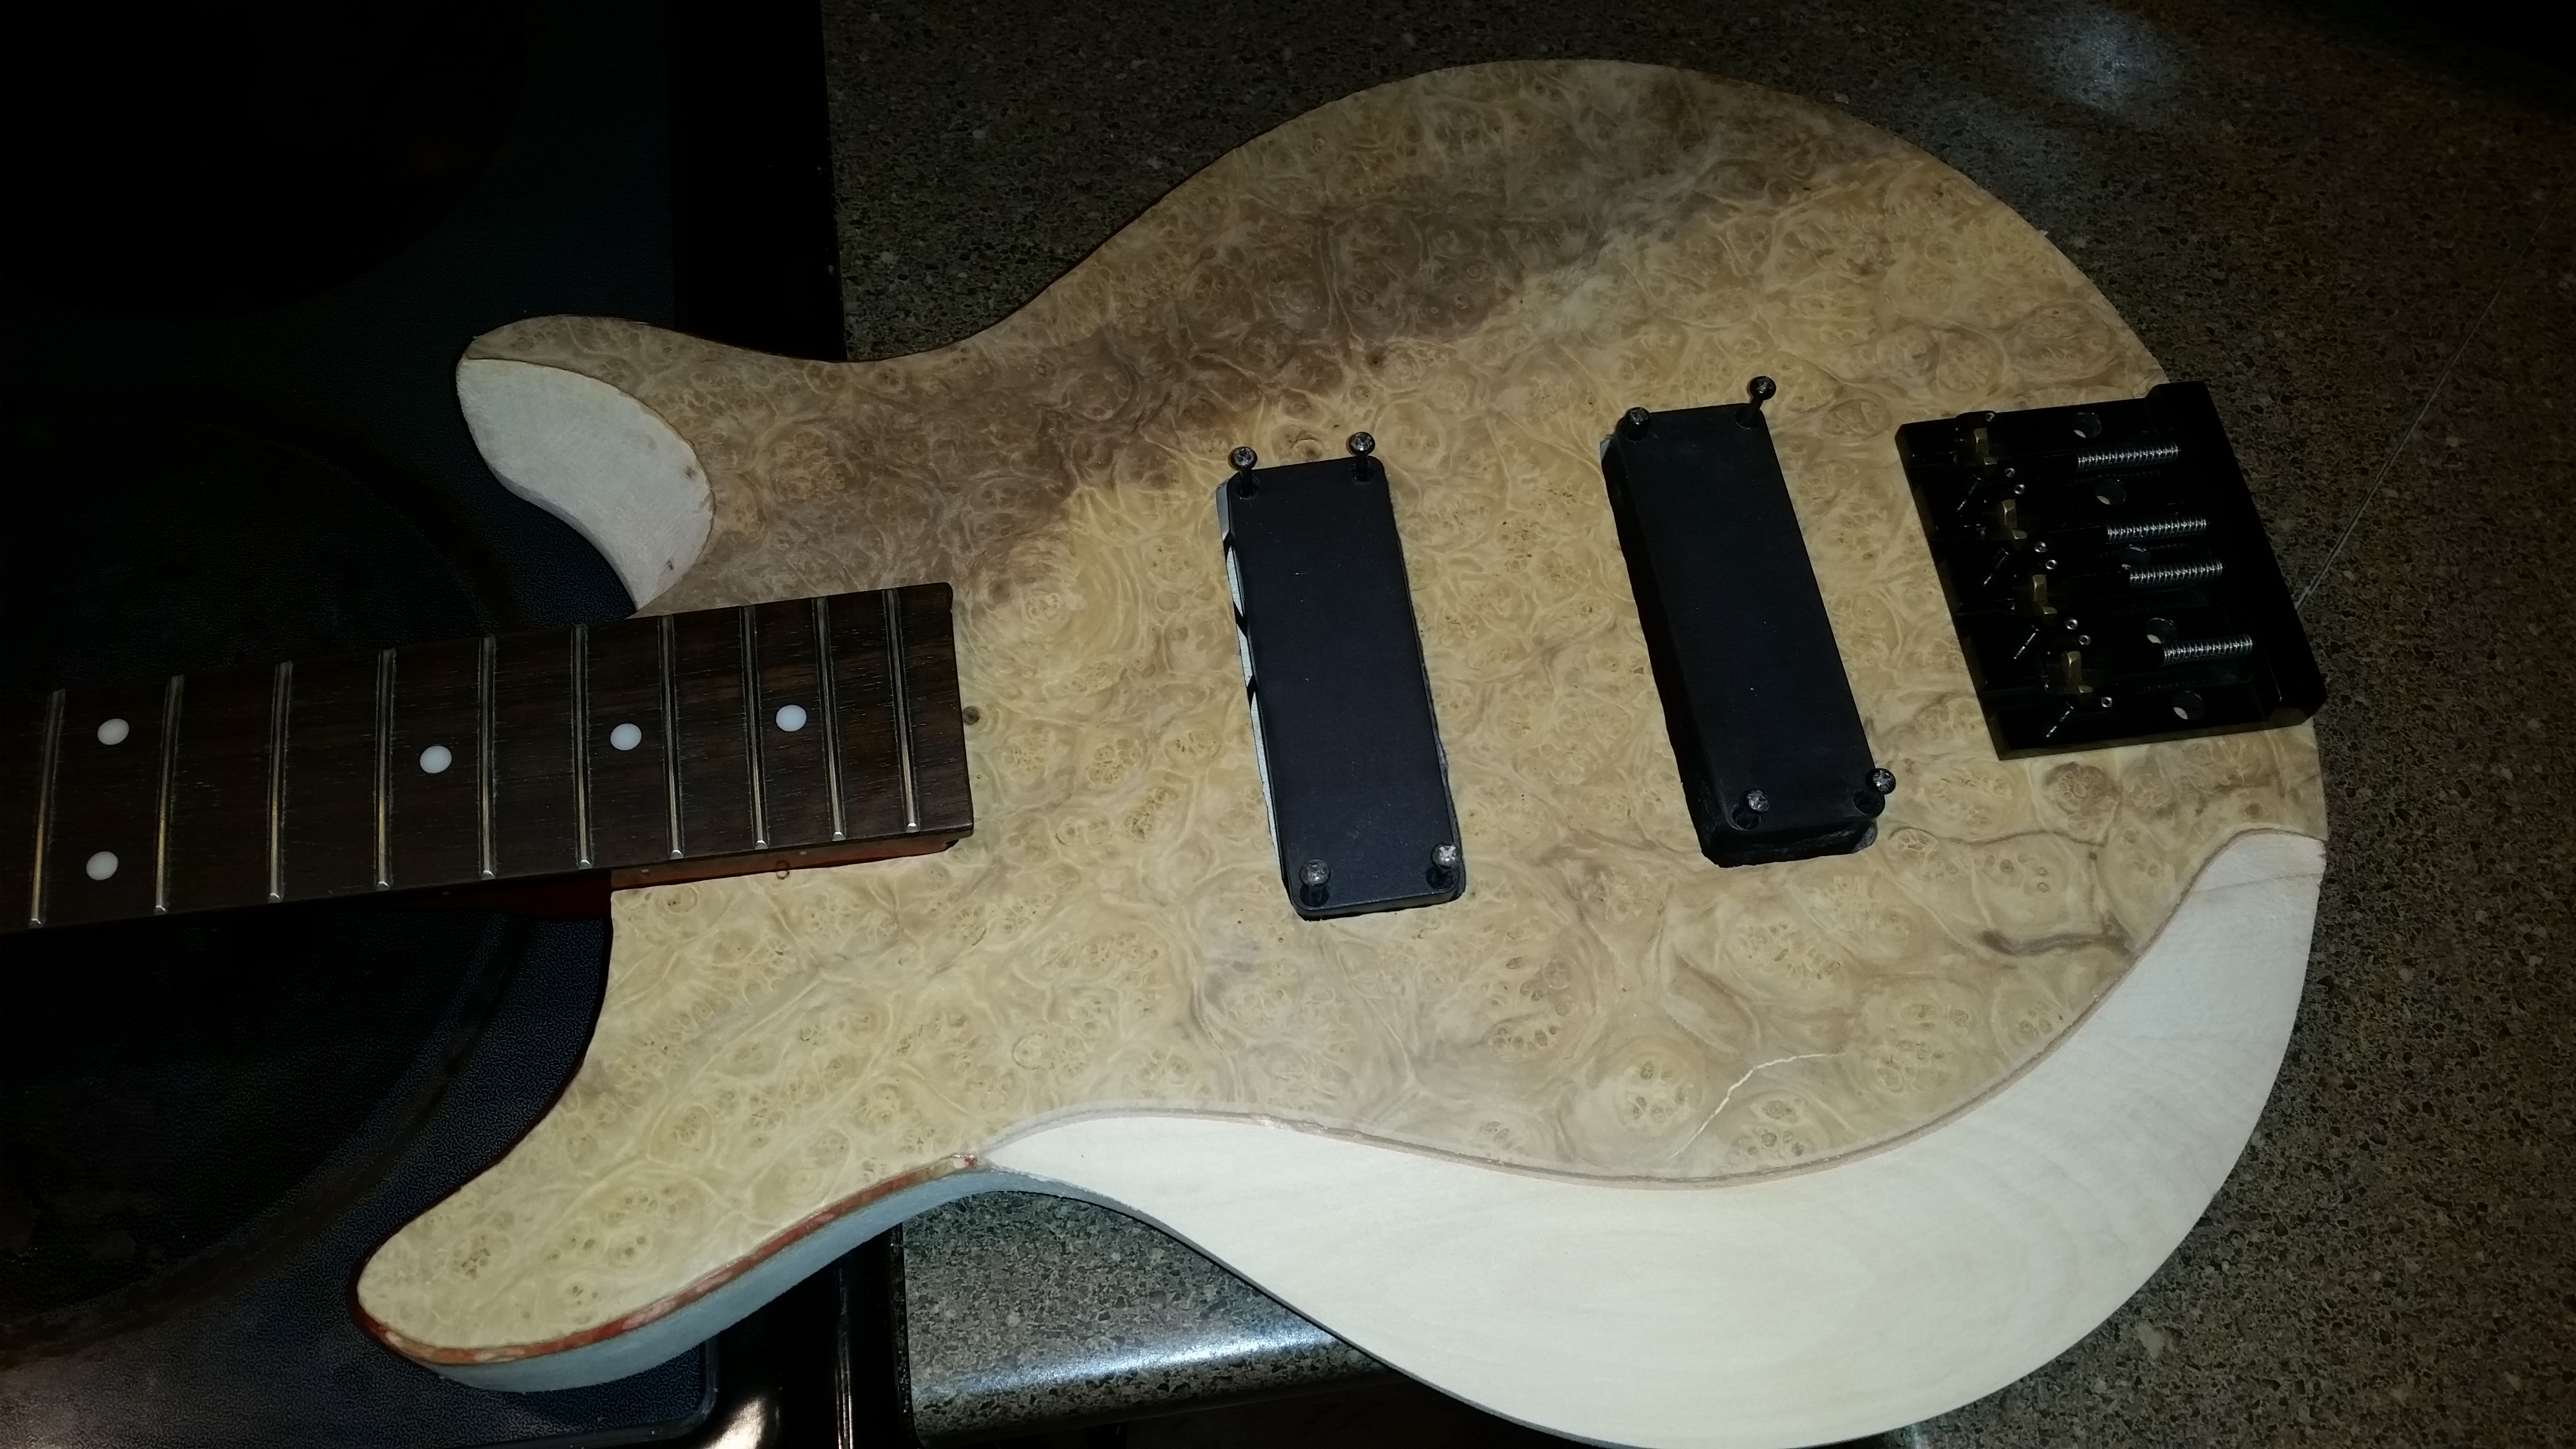
And yes, some progress! Both veneers are on, spent a long time trimming them and rough sanding the bevels. Going to round edge rout the body to clean the edges up, get rid of the residual red stuff/glue, and pickup routes will be trimmed straight again as well. The dark dried titebond 3 and the mahogany layer underneath give it a cool little border, I'm hoping it looks good all the way around when the edges are rounded over.

Twb5lUV.jpg

3AlaDJv.jpg

FAISvLK.jpg


And a rough mockup with the new Hipshot Kickass bridge.
eDj8tx8.jpg
 
Two sizeable cracks opened up from when the veneer went on(one on front near bevel, one on the back right corner) that i will have to epoxy fill i think). Should look good, Im kinda surprised there isnt more tbh. There was lots of tiny little cracks(you could see through if you held the veneer up in front of a light) but the 3 layers of glue application prior to hot pressing seemed to seal it all up nicely.
 
  • Like
Reactions: Nocturnal
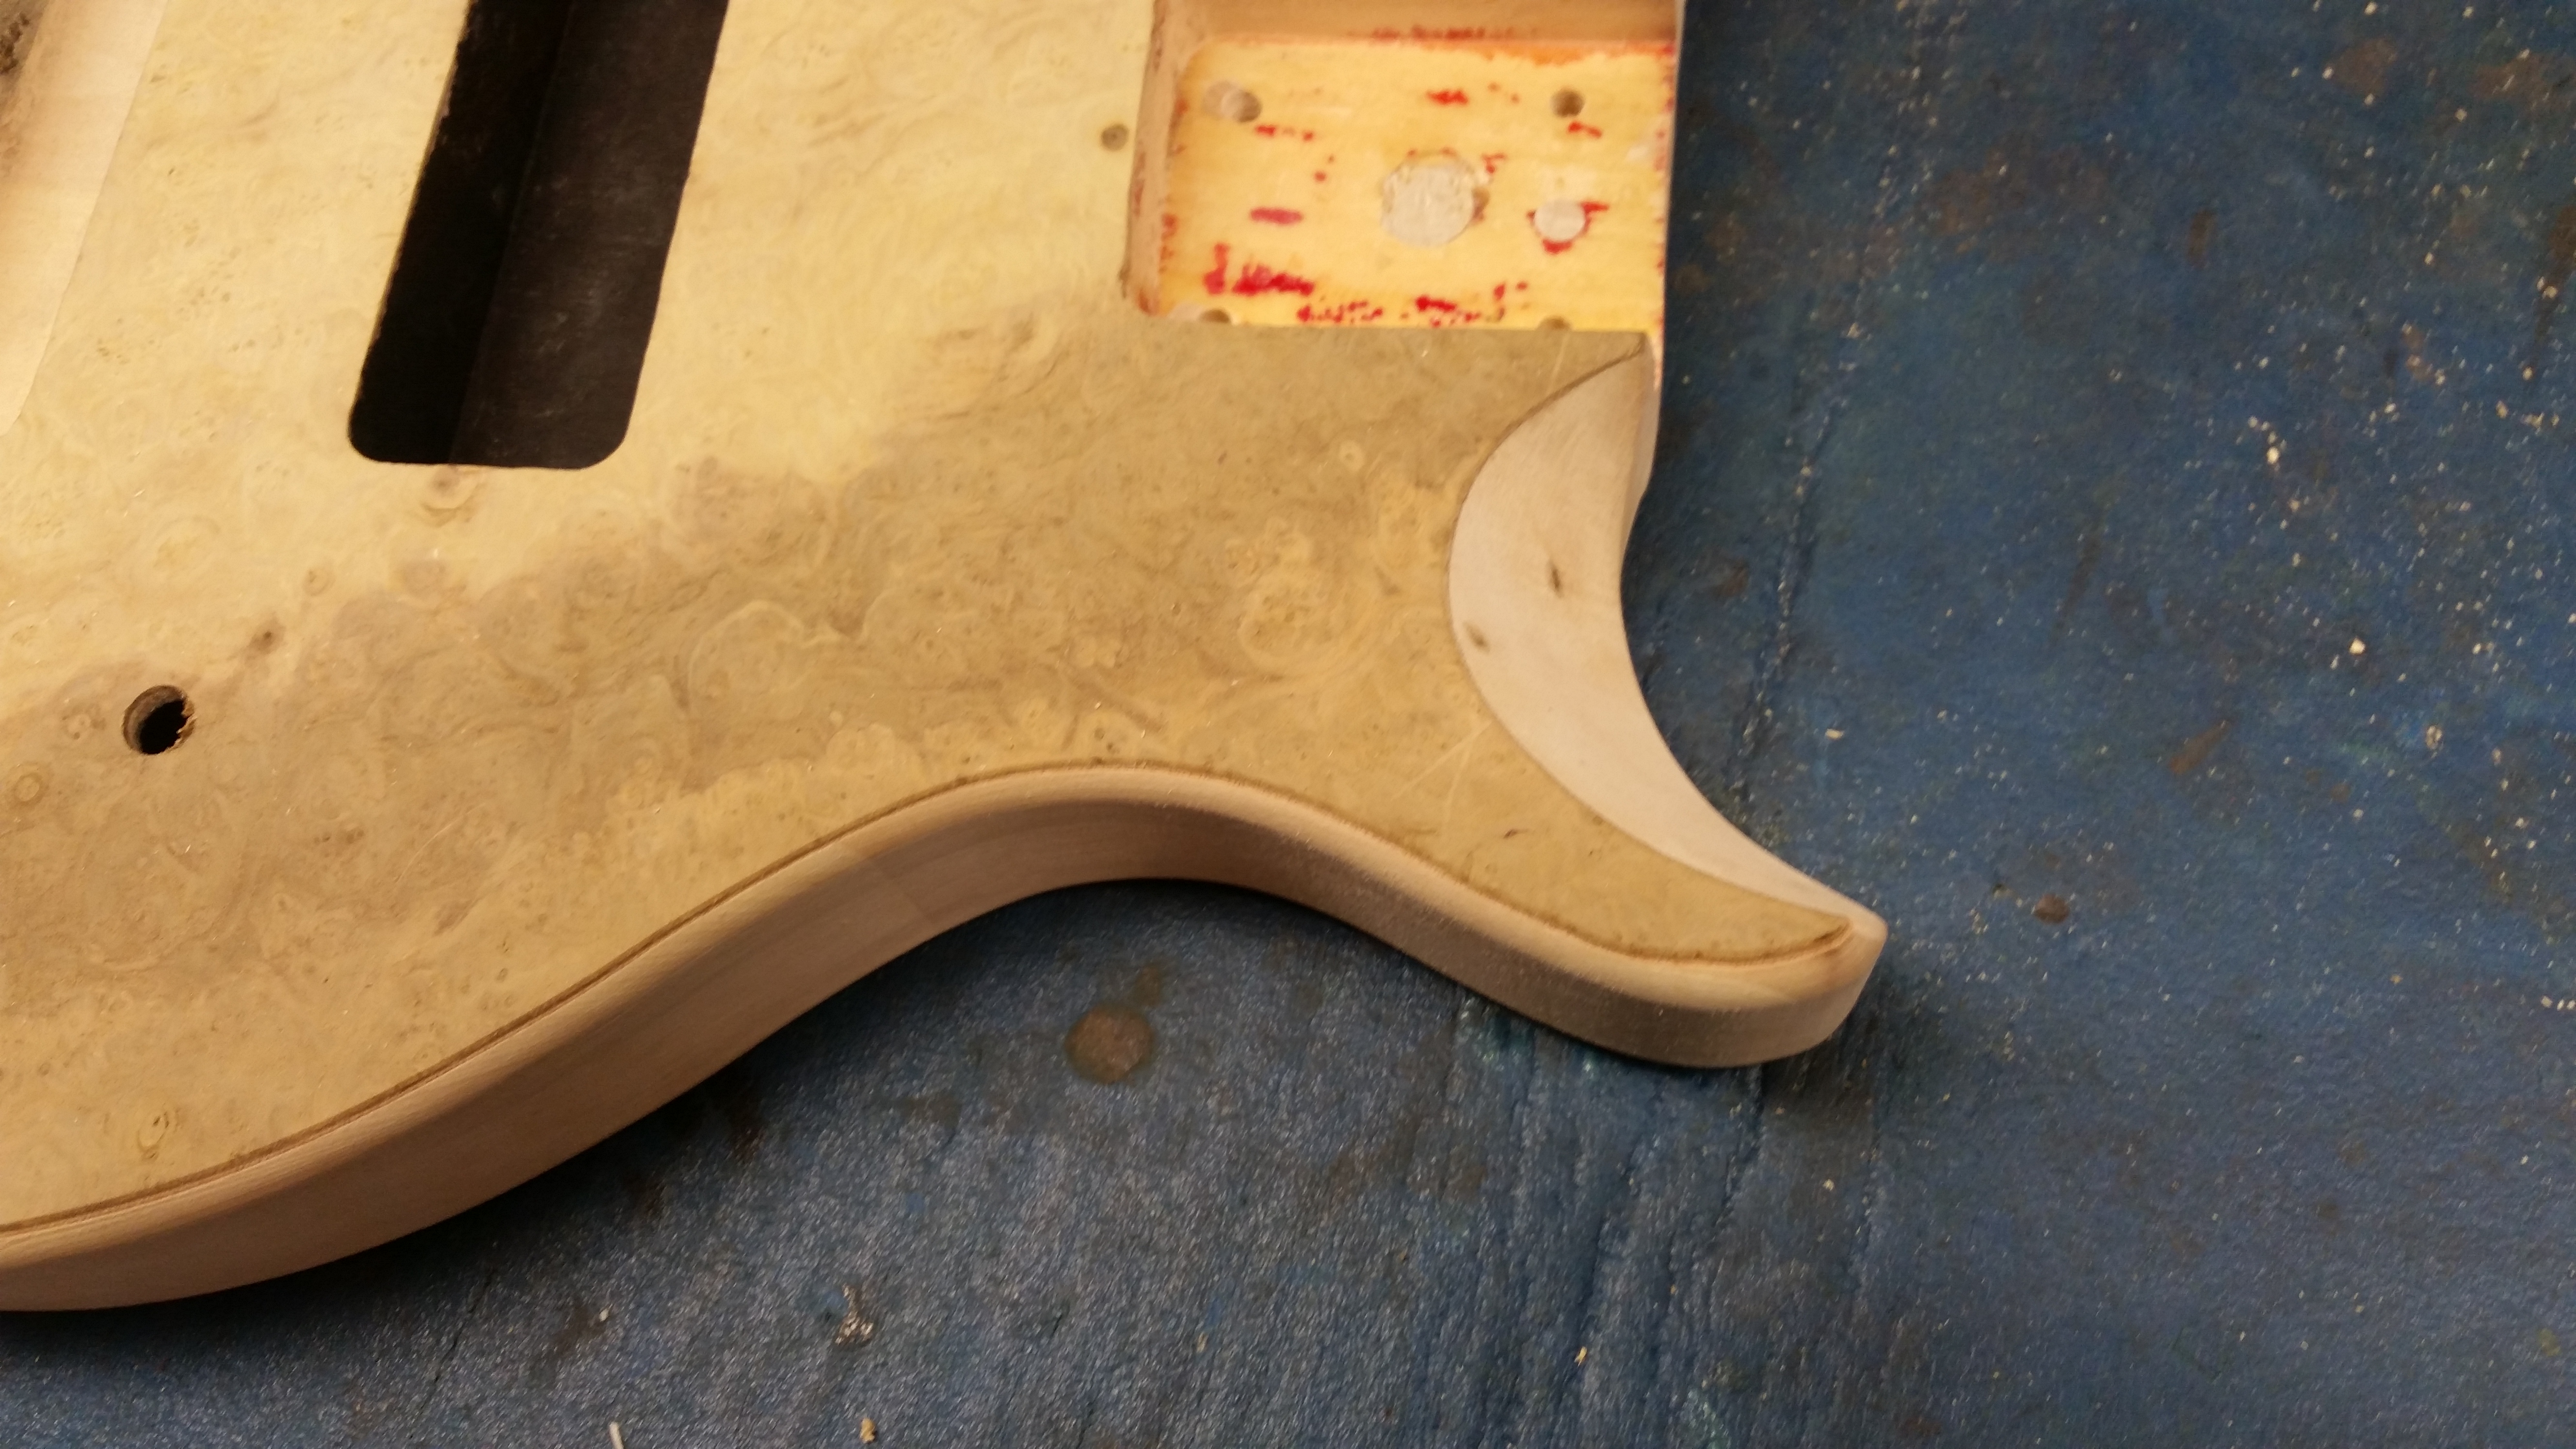
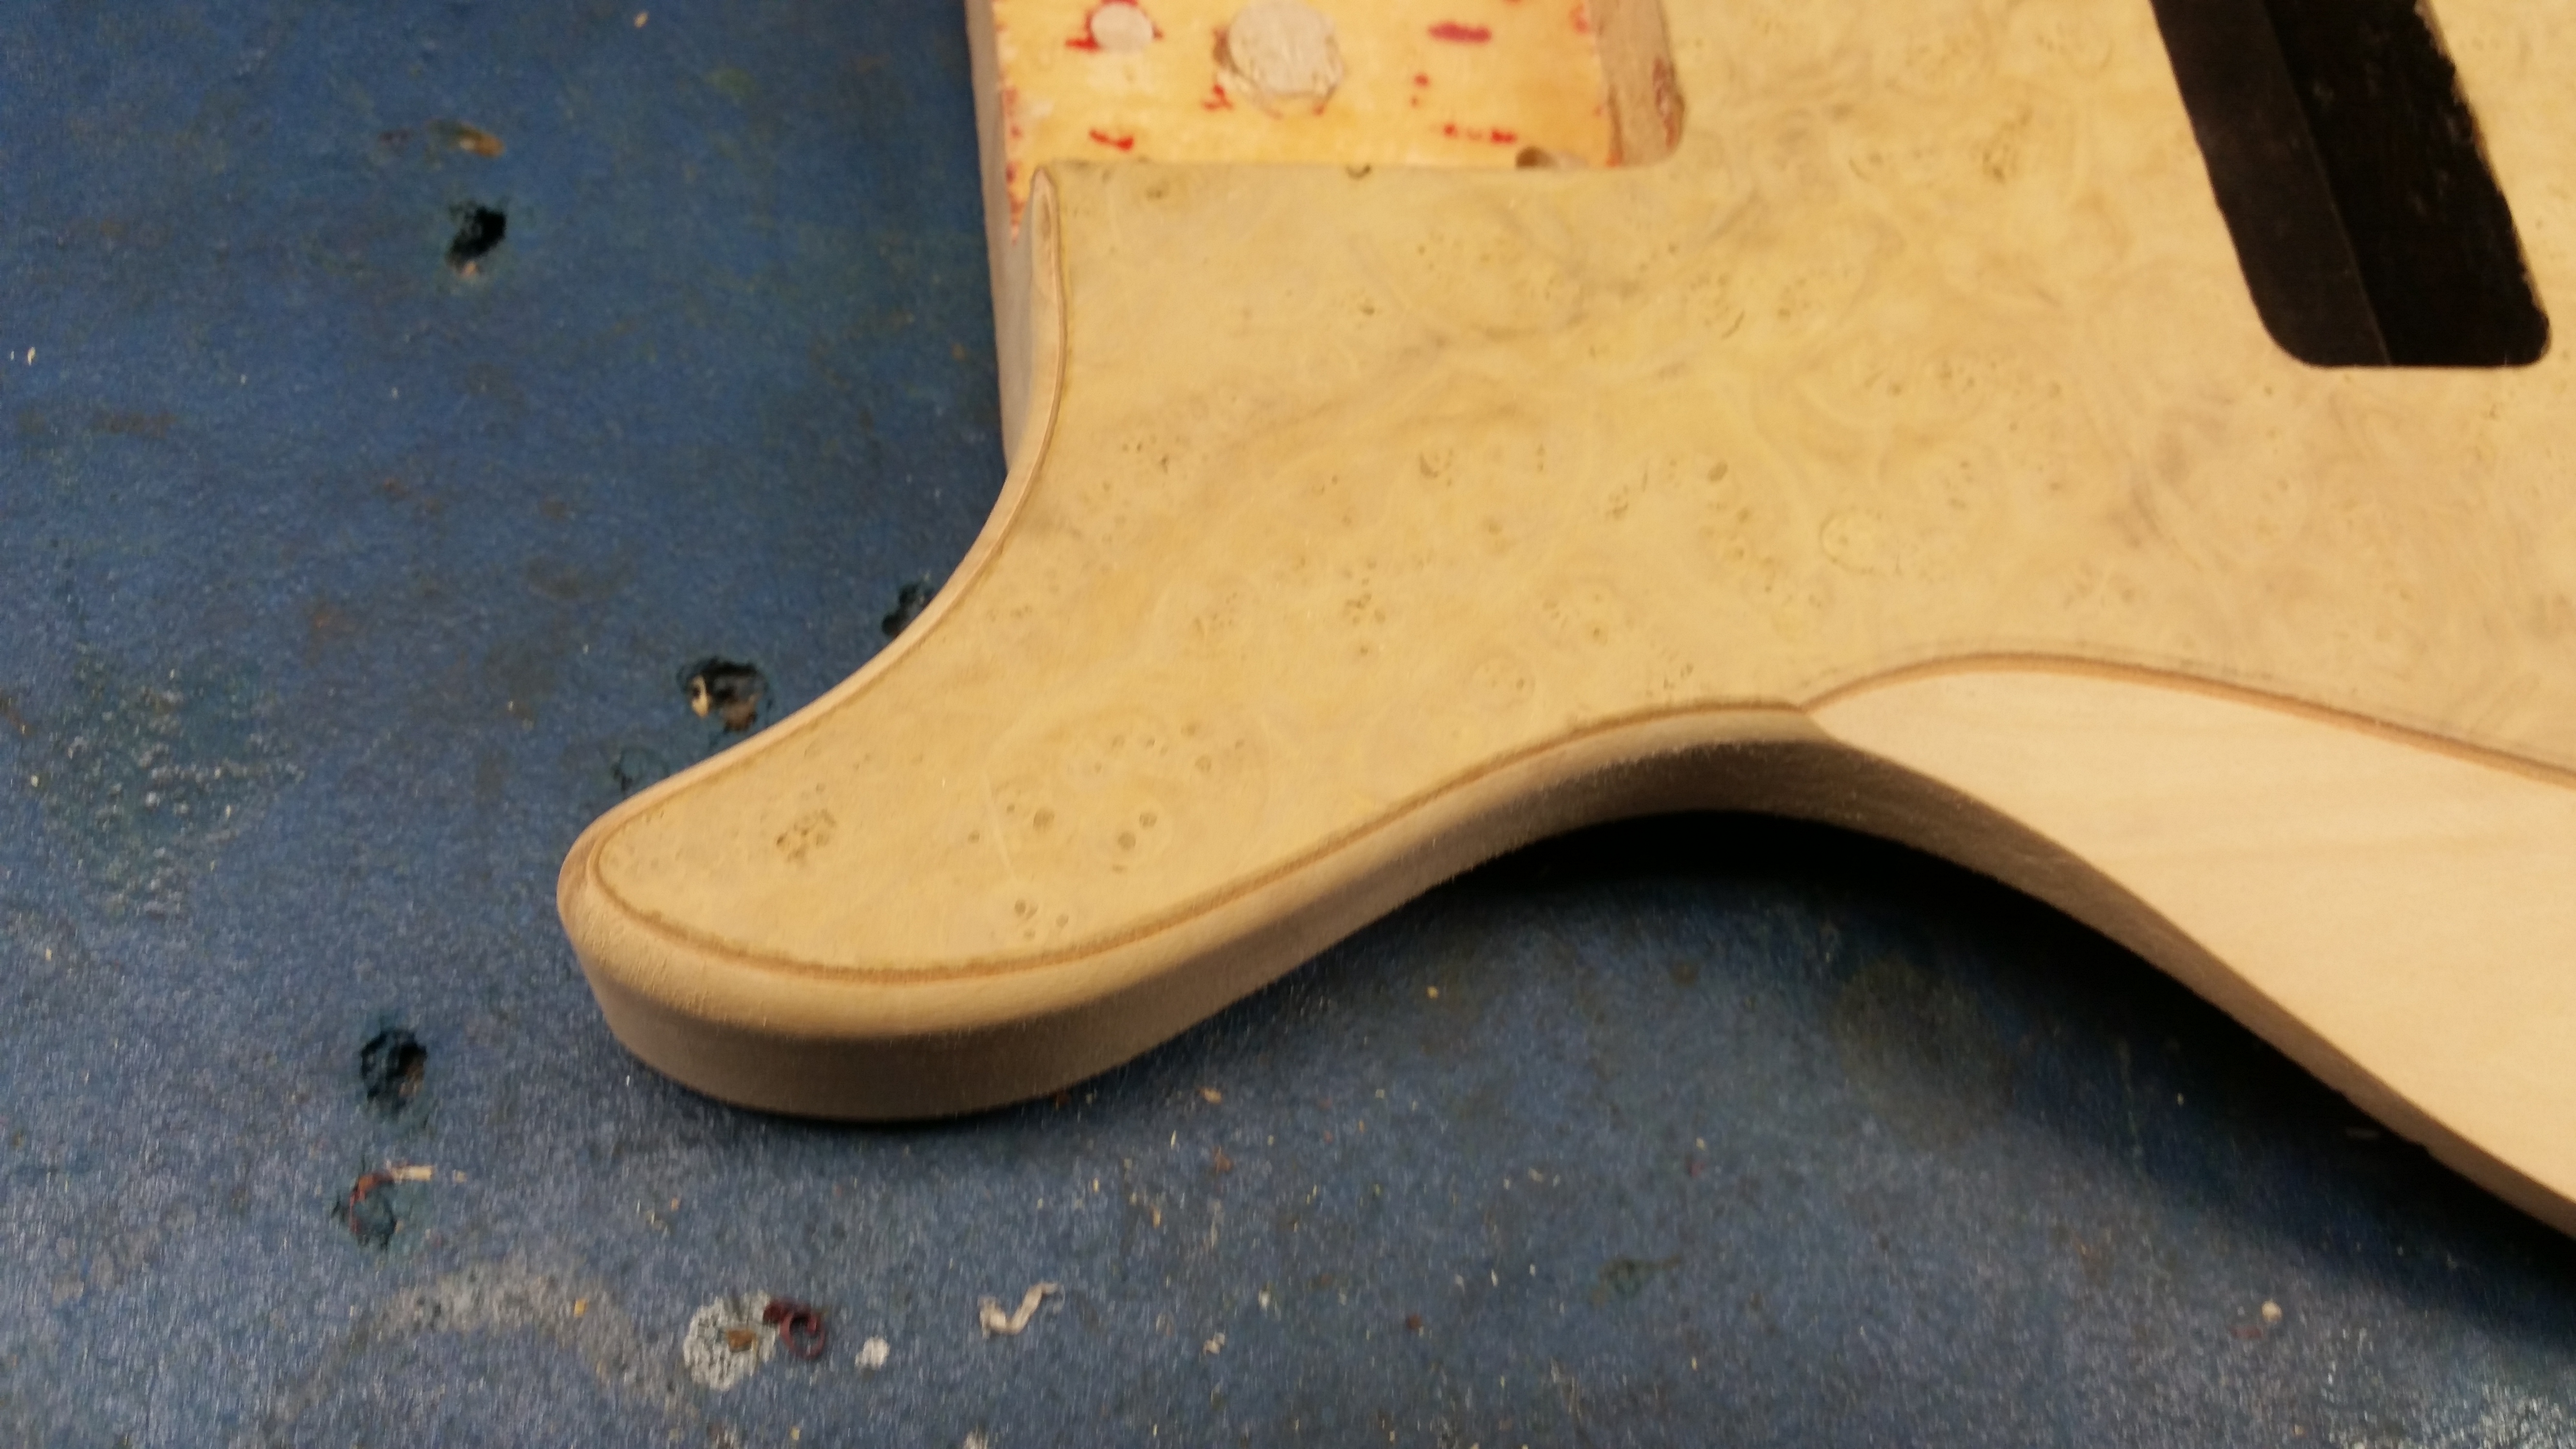
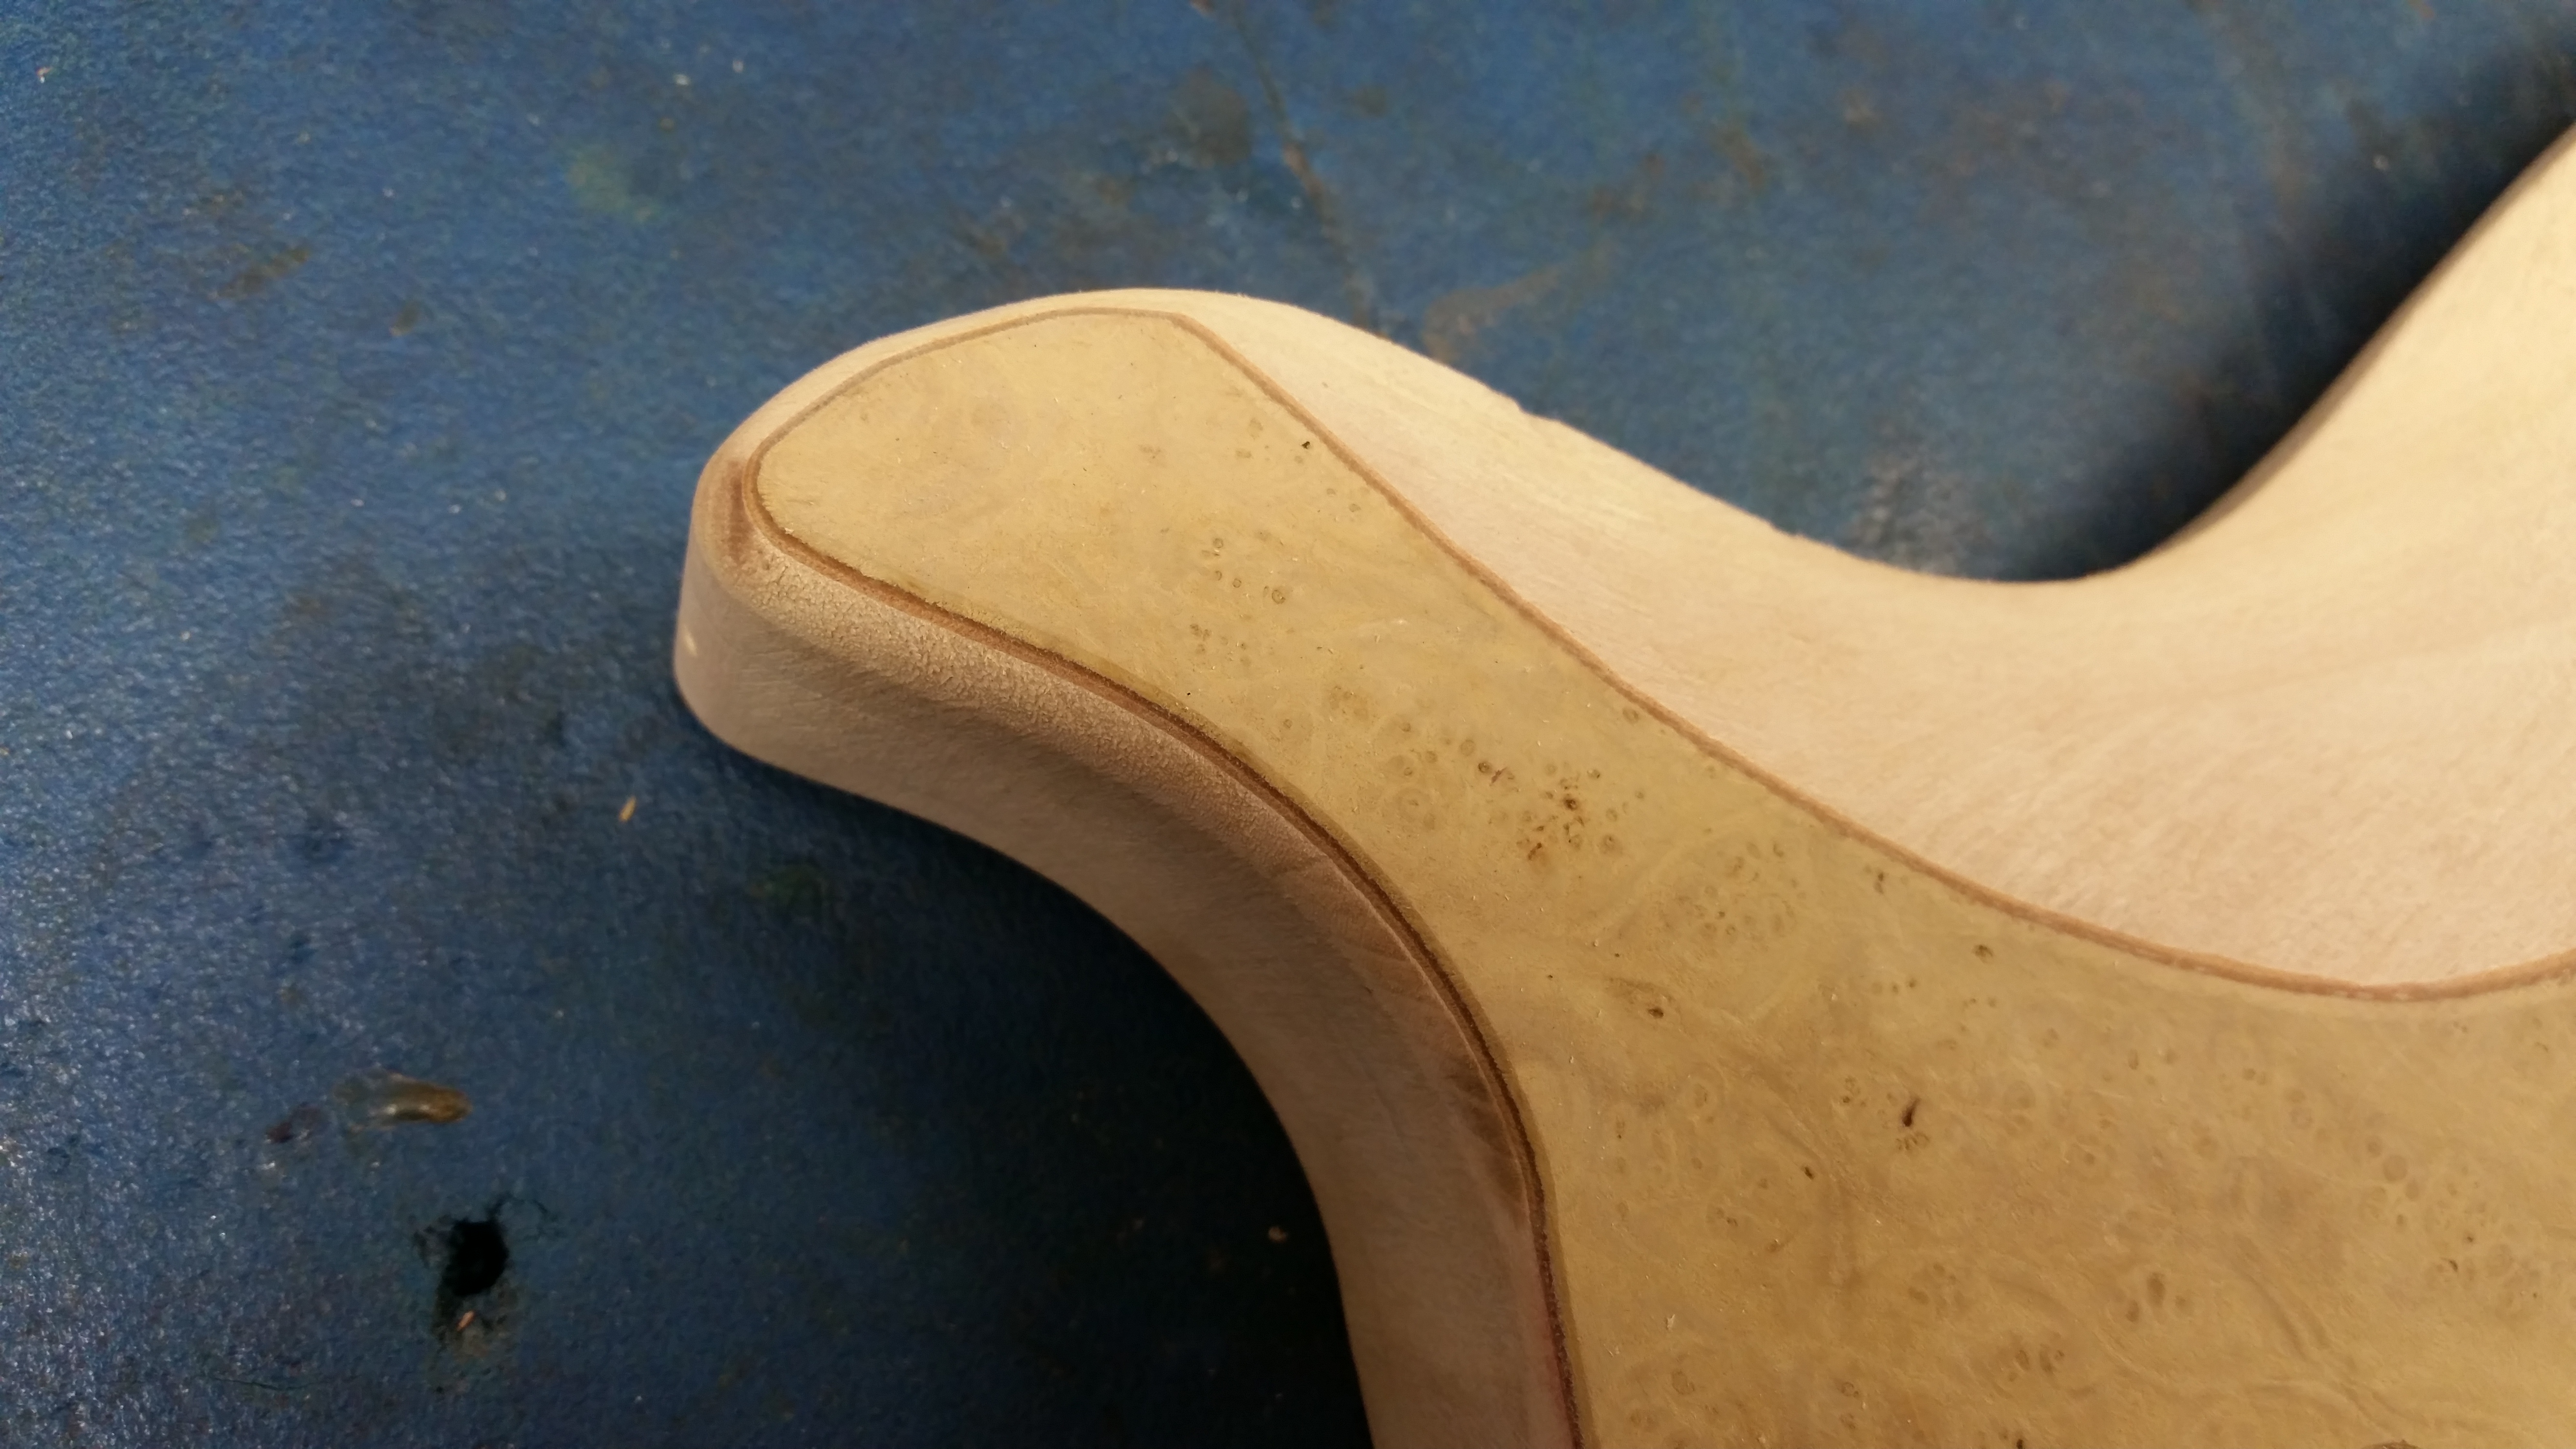
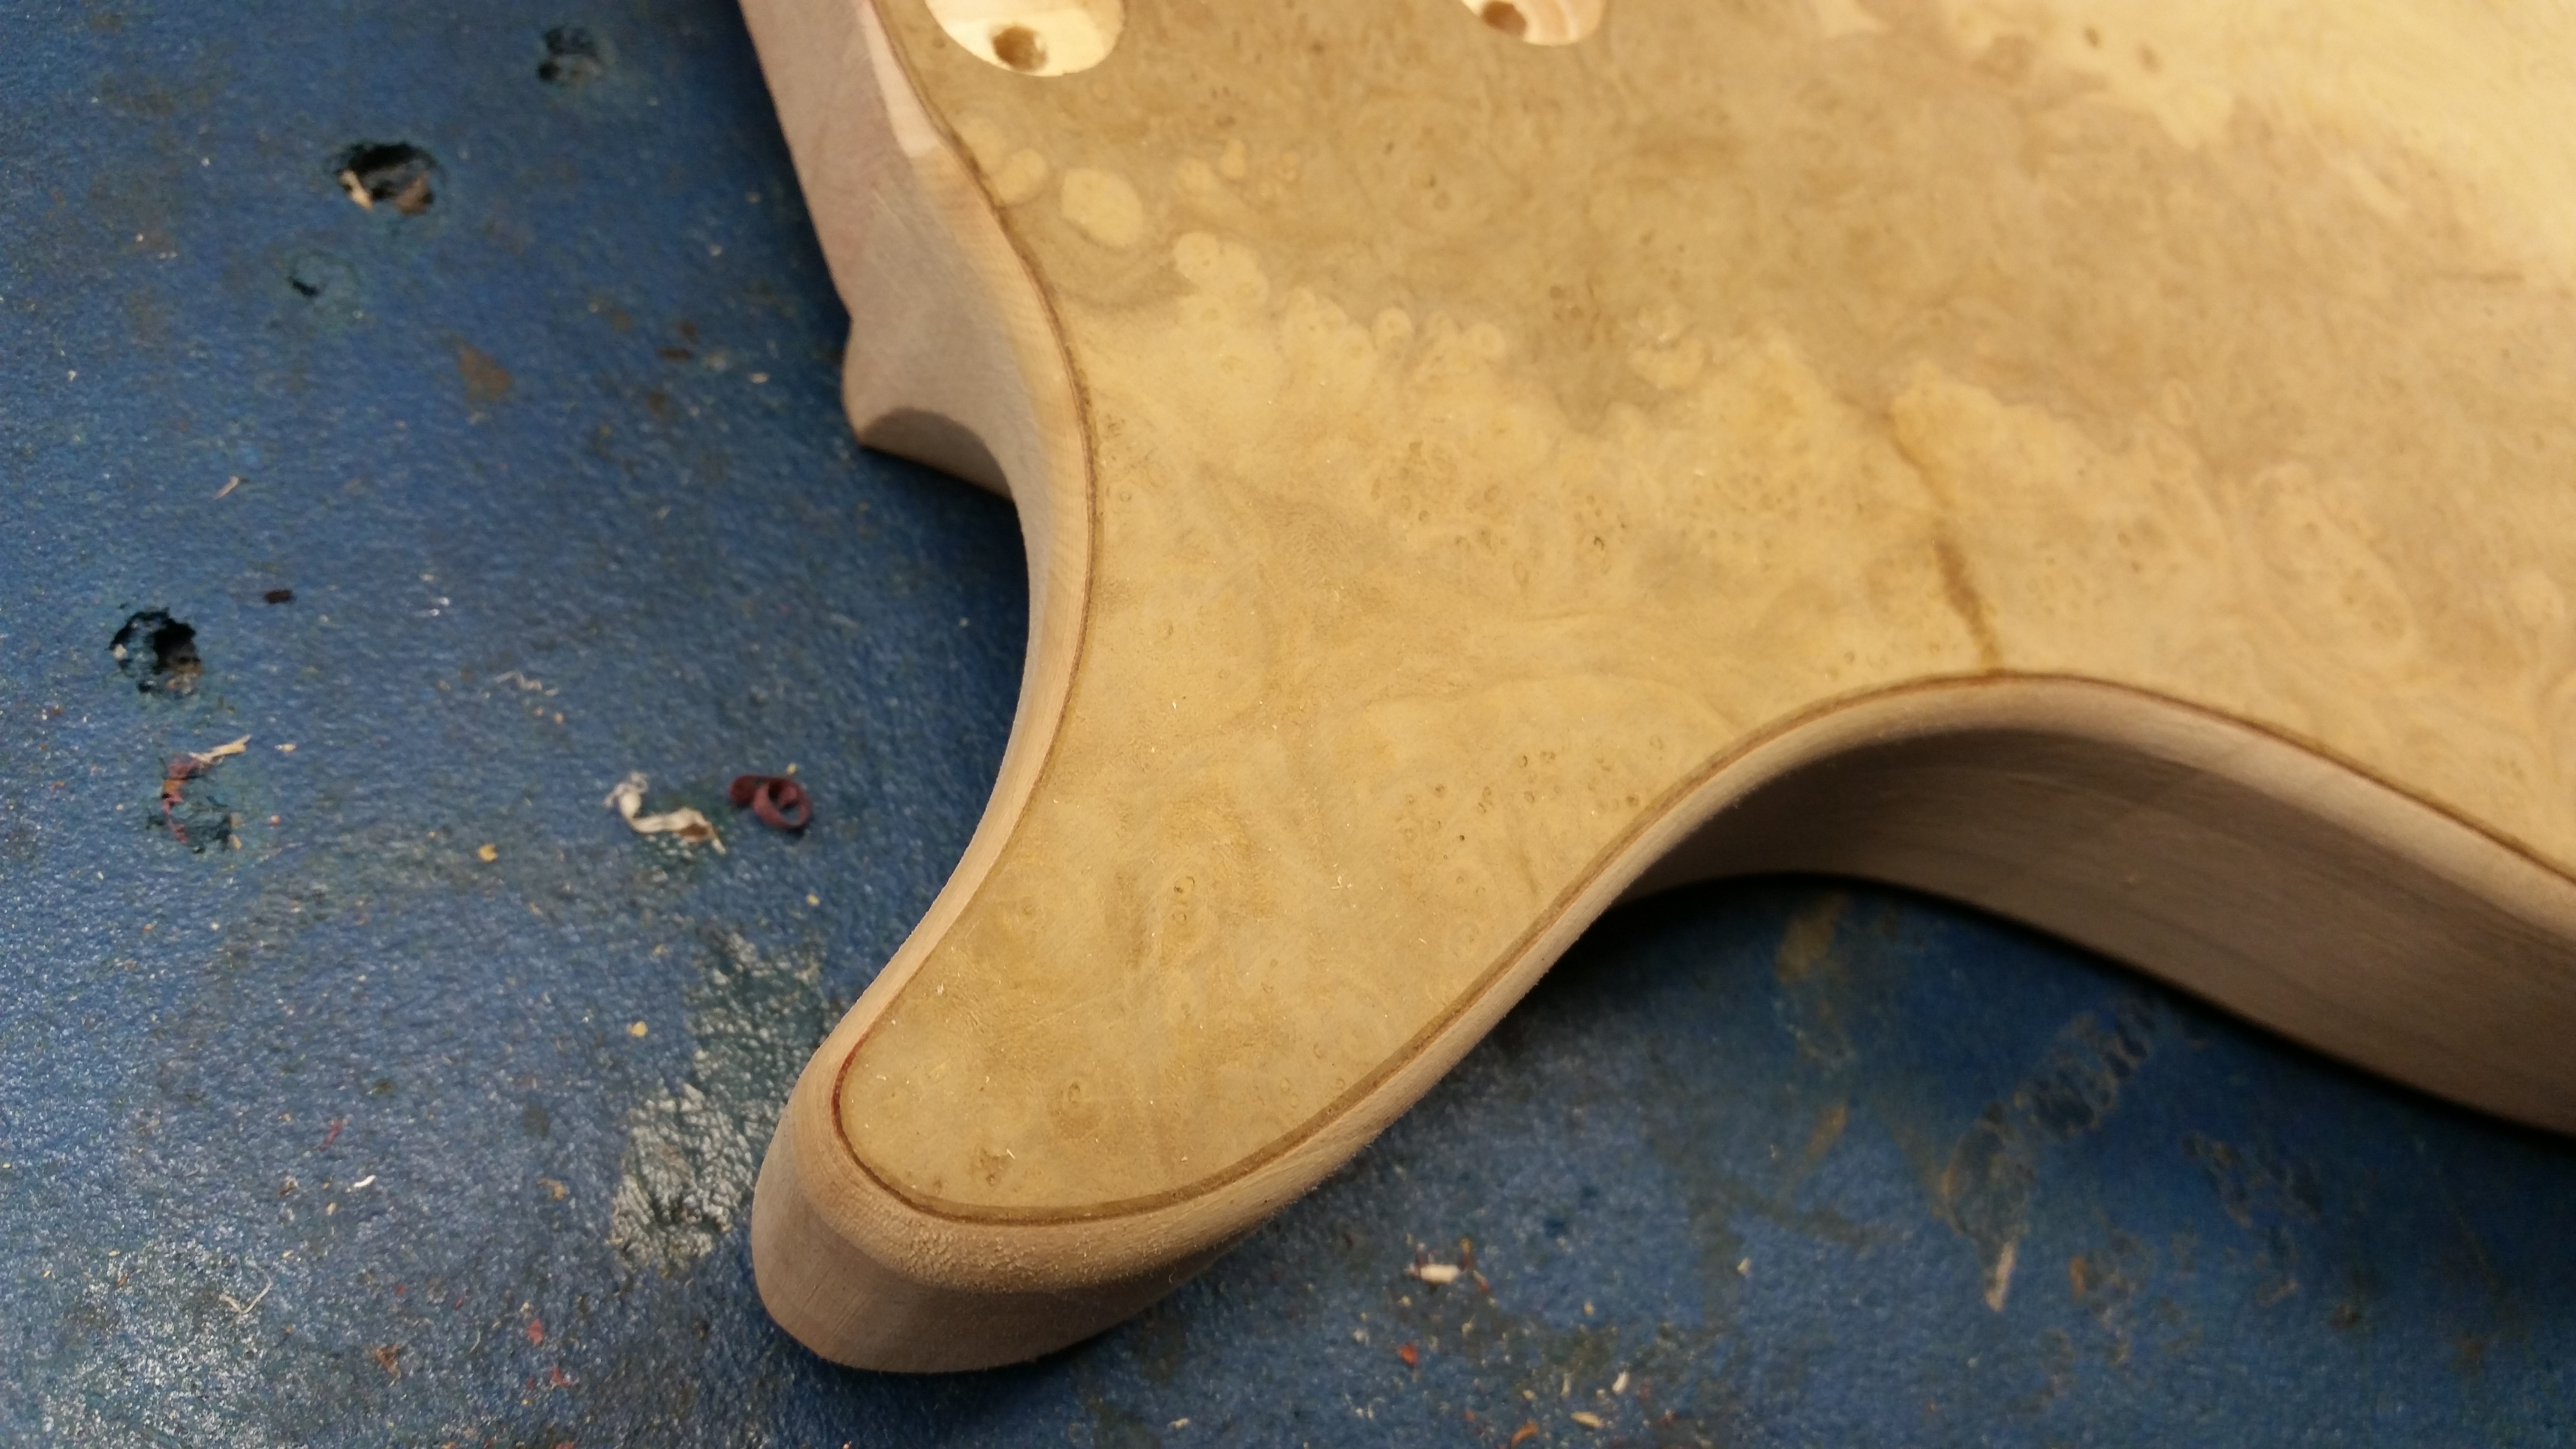
Lot of sanding today, starting with a 1x30 belt sander/6" disc to remove about an 1/8th of material around the whole body. I was worried about how far i might have to sand/round over on the edges to get to where the laminate is bound to the flat. There was a pretty significant rounded edge before hand, just didnt see it turning out all that well. Cleaned up the bevels and cutaway, got all the sides pretty good looking. The horns will be a touch sharper/pointier.

Hoping to get edges rounded/ and other prep stuff soon, getting edgy wanting to throw some finish on it!
 
  • Like
Reactions: Nocturnal
Update time!

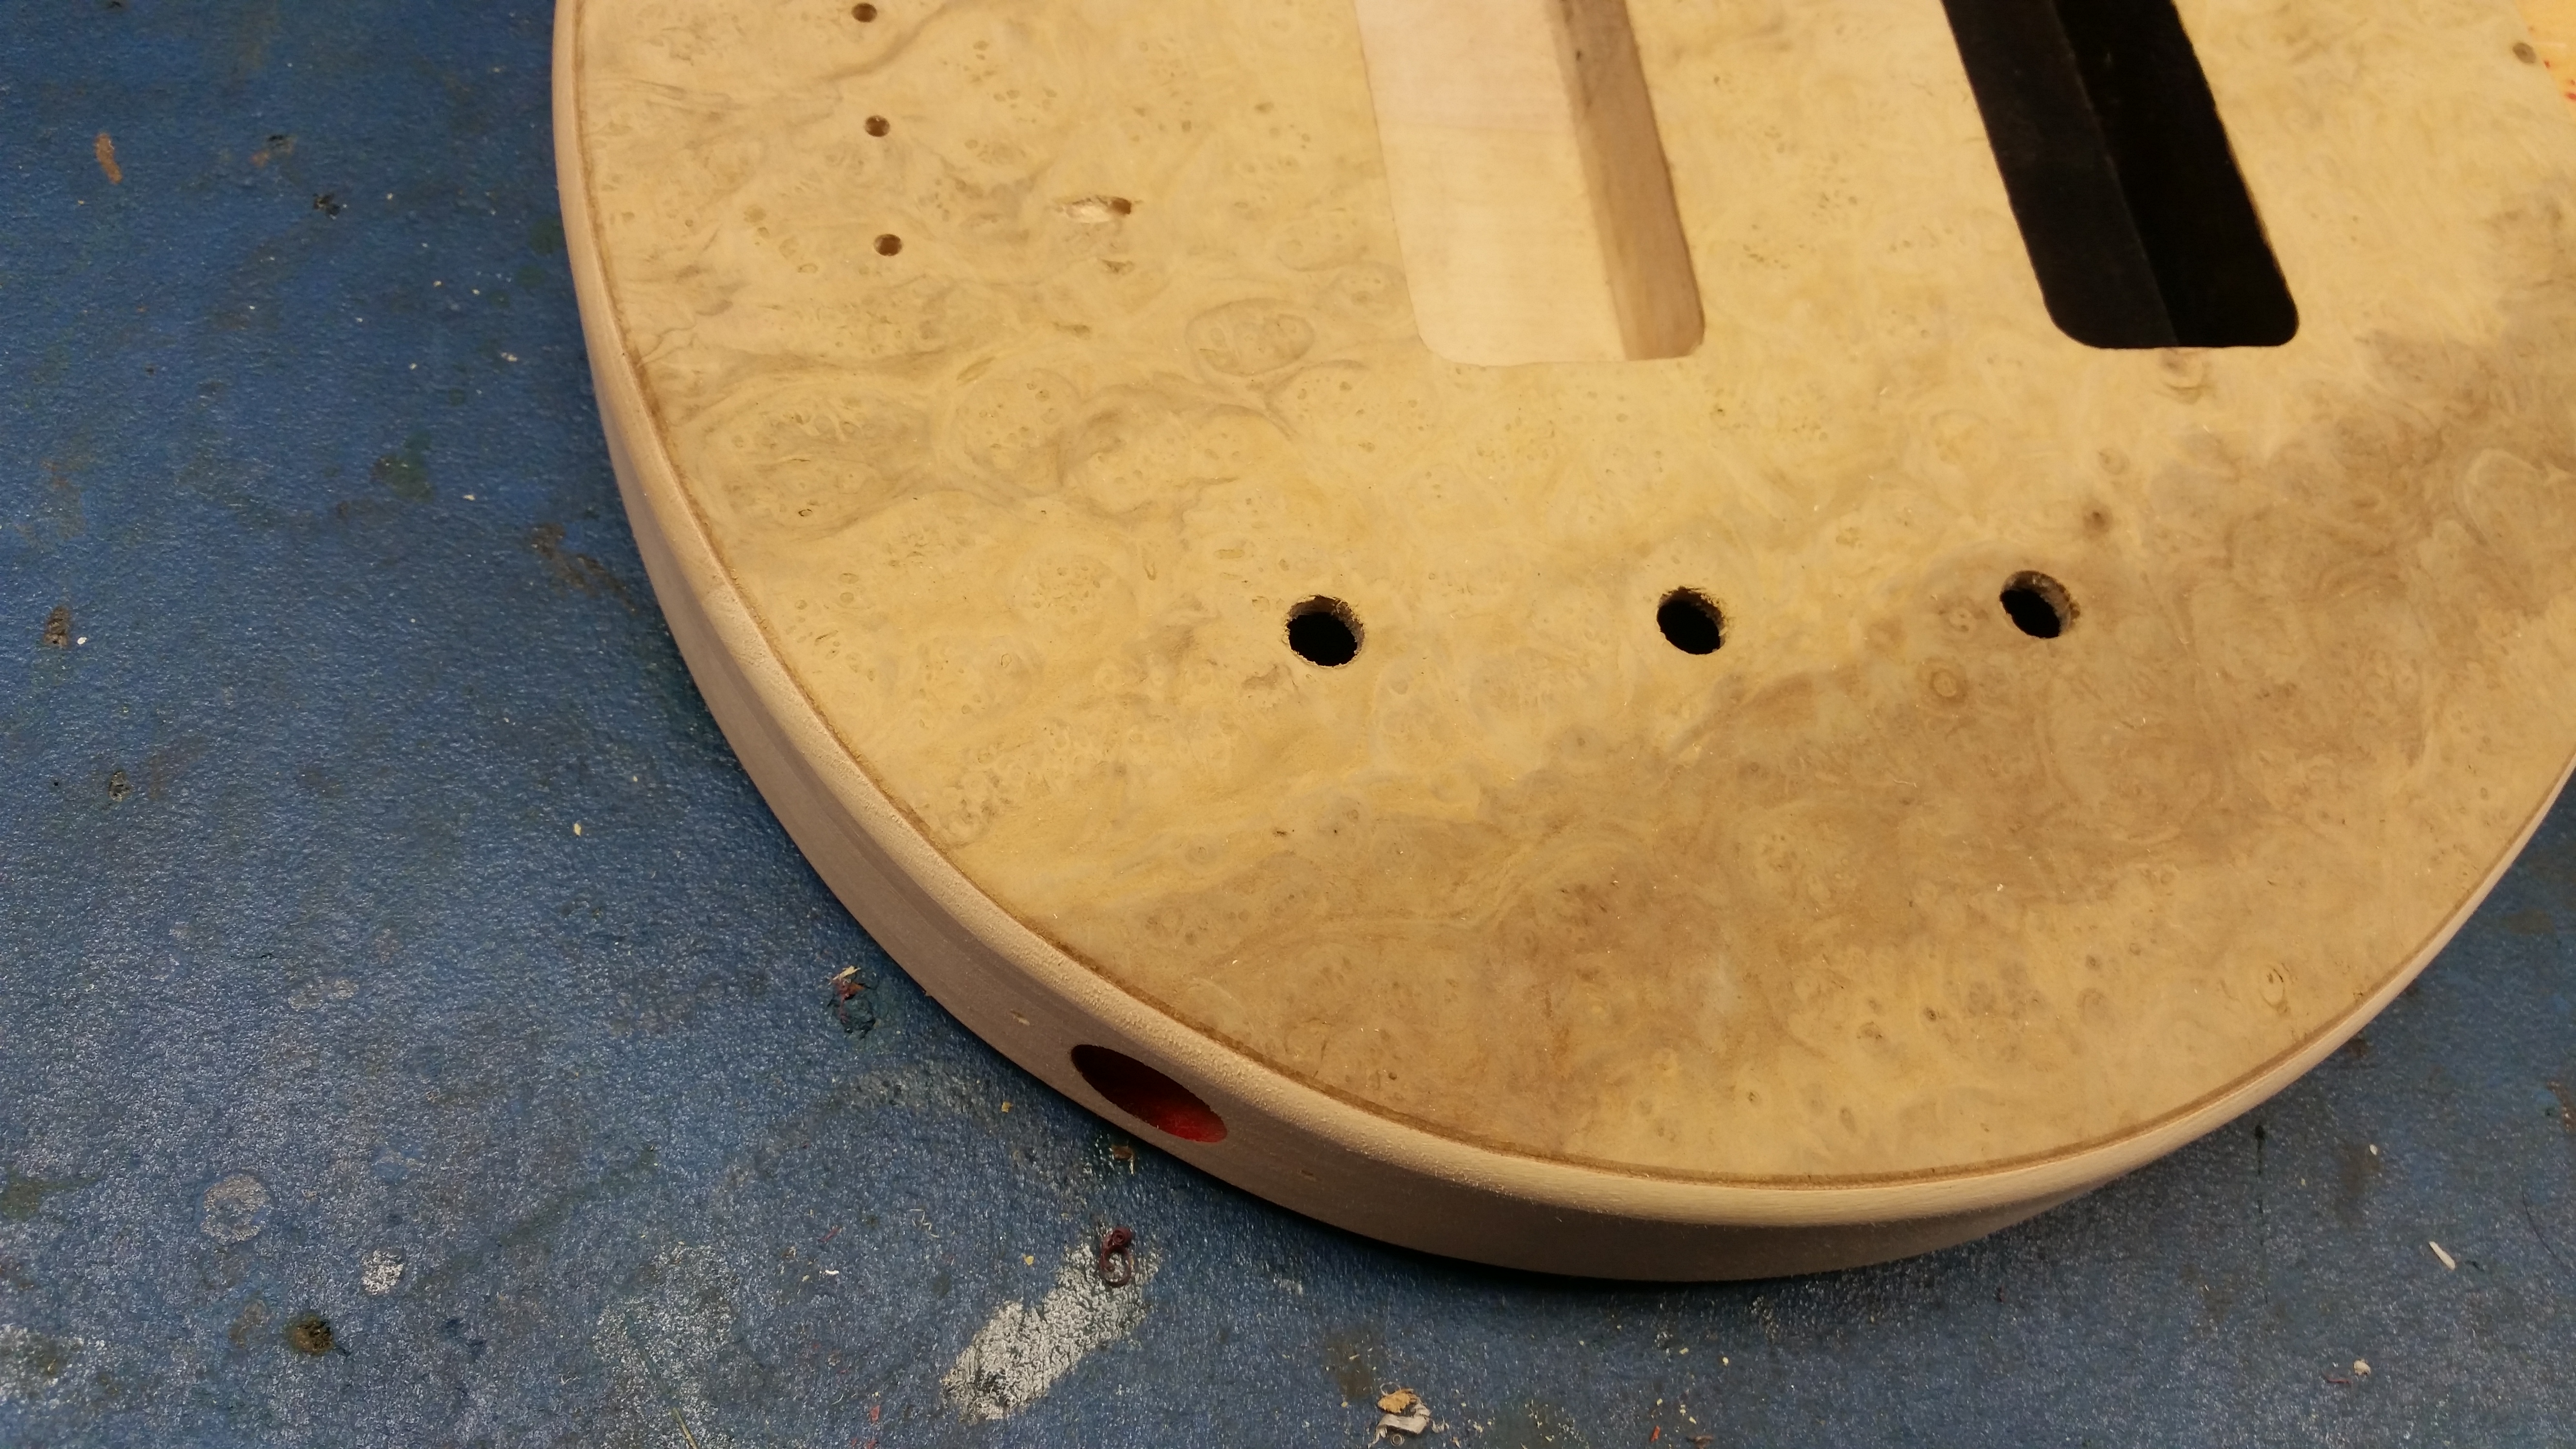
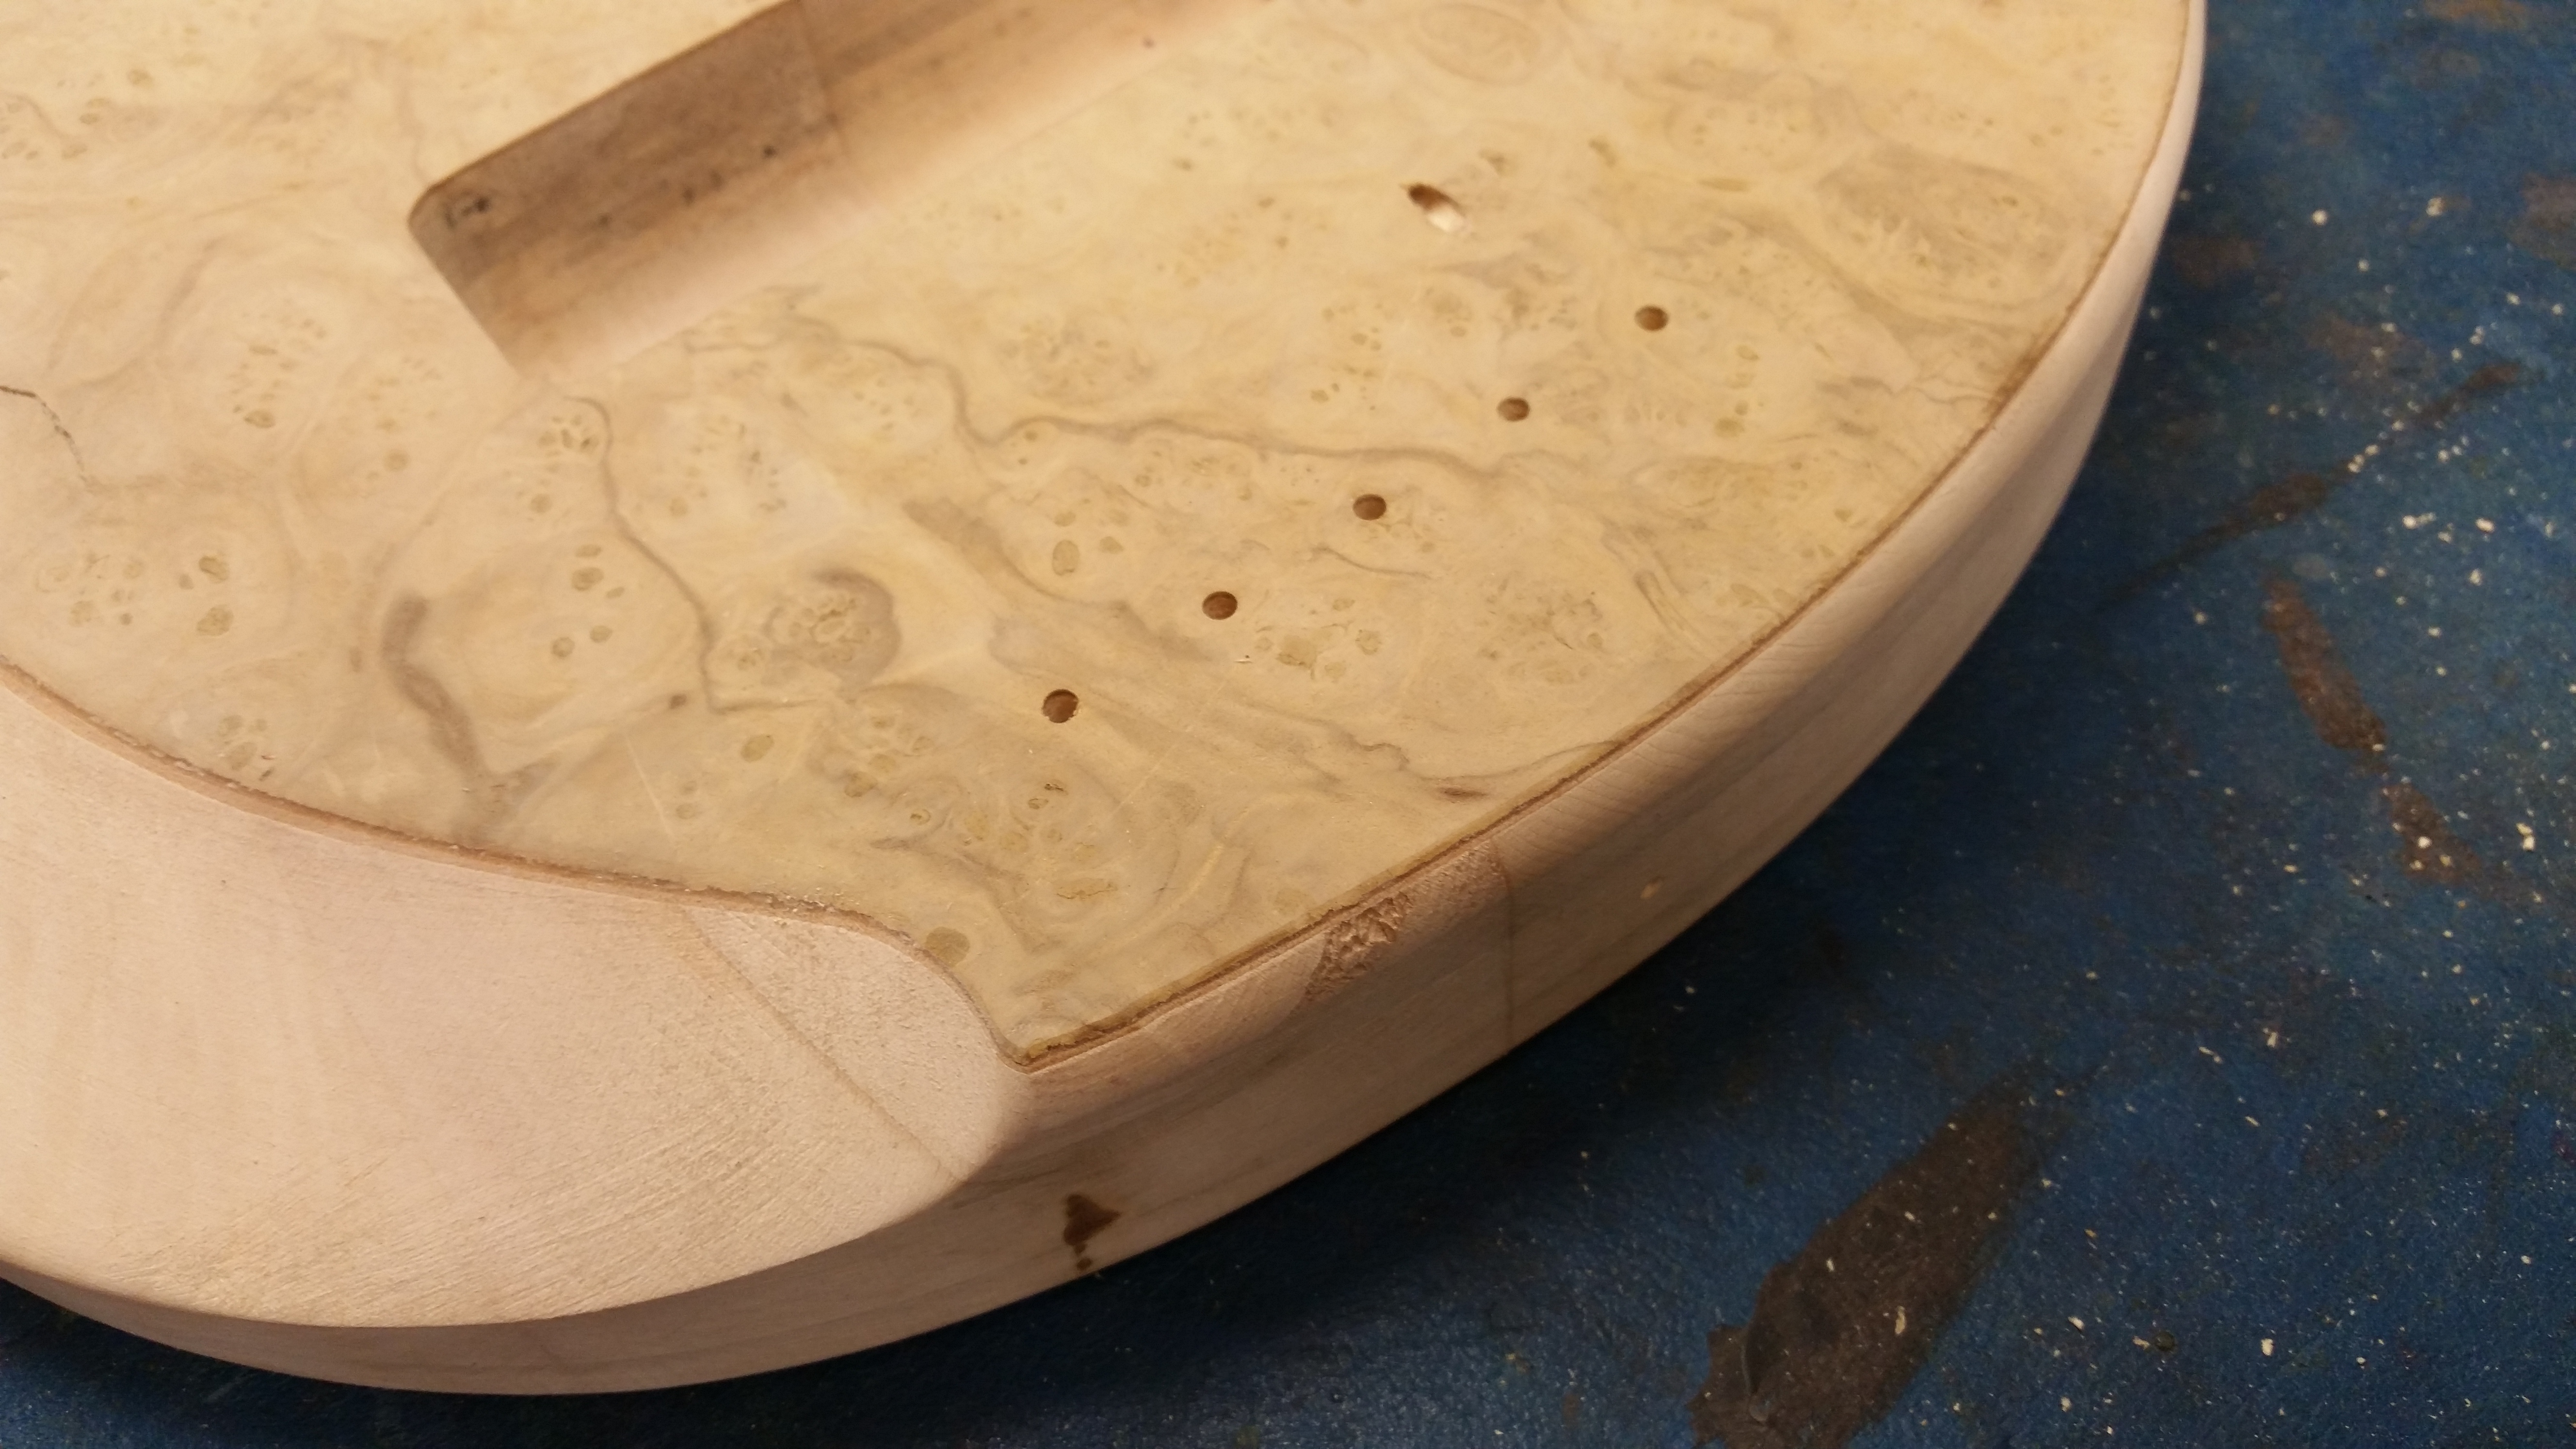
Was over at luthier friends, did some routering. Cleaned up the pickup routes(one has shielding paint) and did edge rounding around the whole body. Still needs a little hand smoothing but it gives me a good baseline. will be rounding off the edges of the basswood body bevels as well.

its drilled for the stainless ferrules on the neck now, we lined up and I drilled mounting holes/new ground wire hole for the Hipshot bridge.

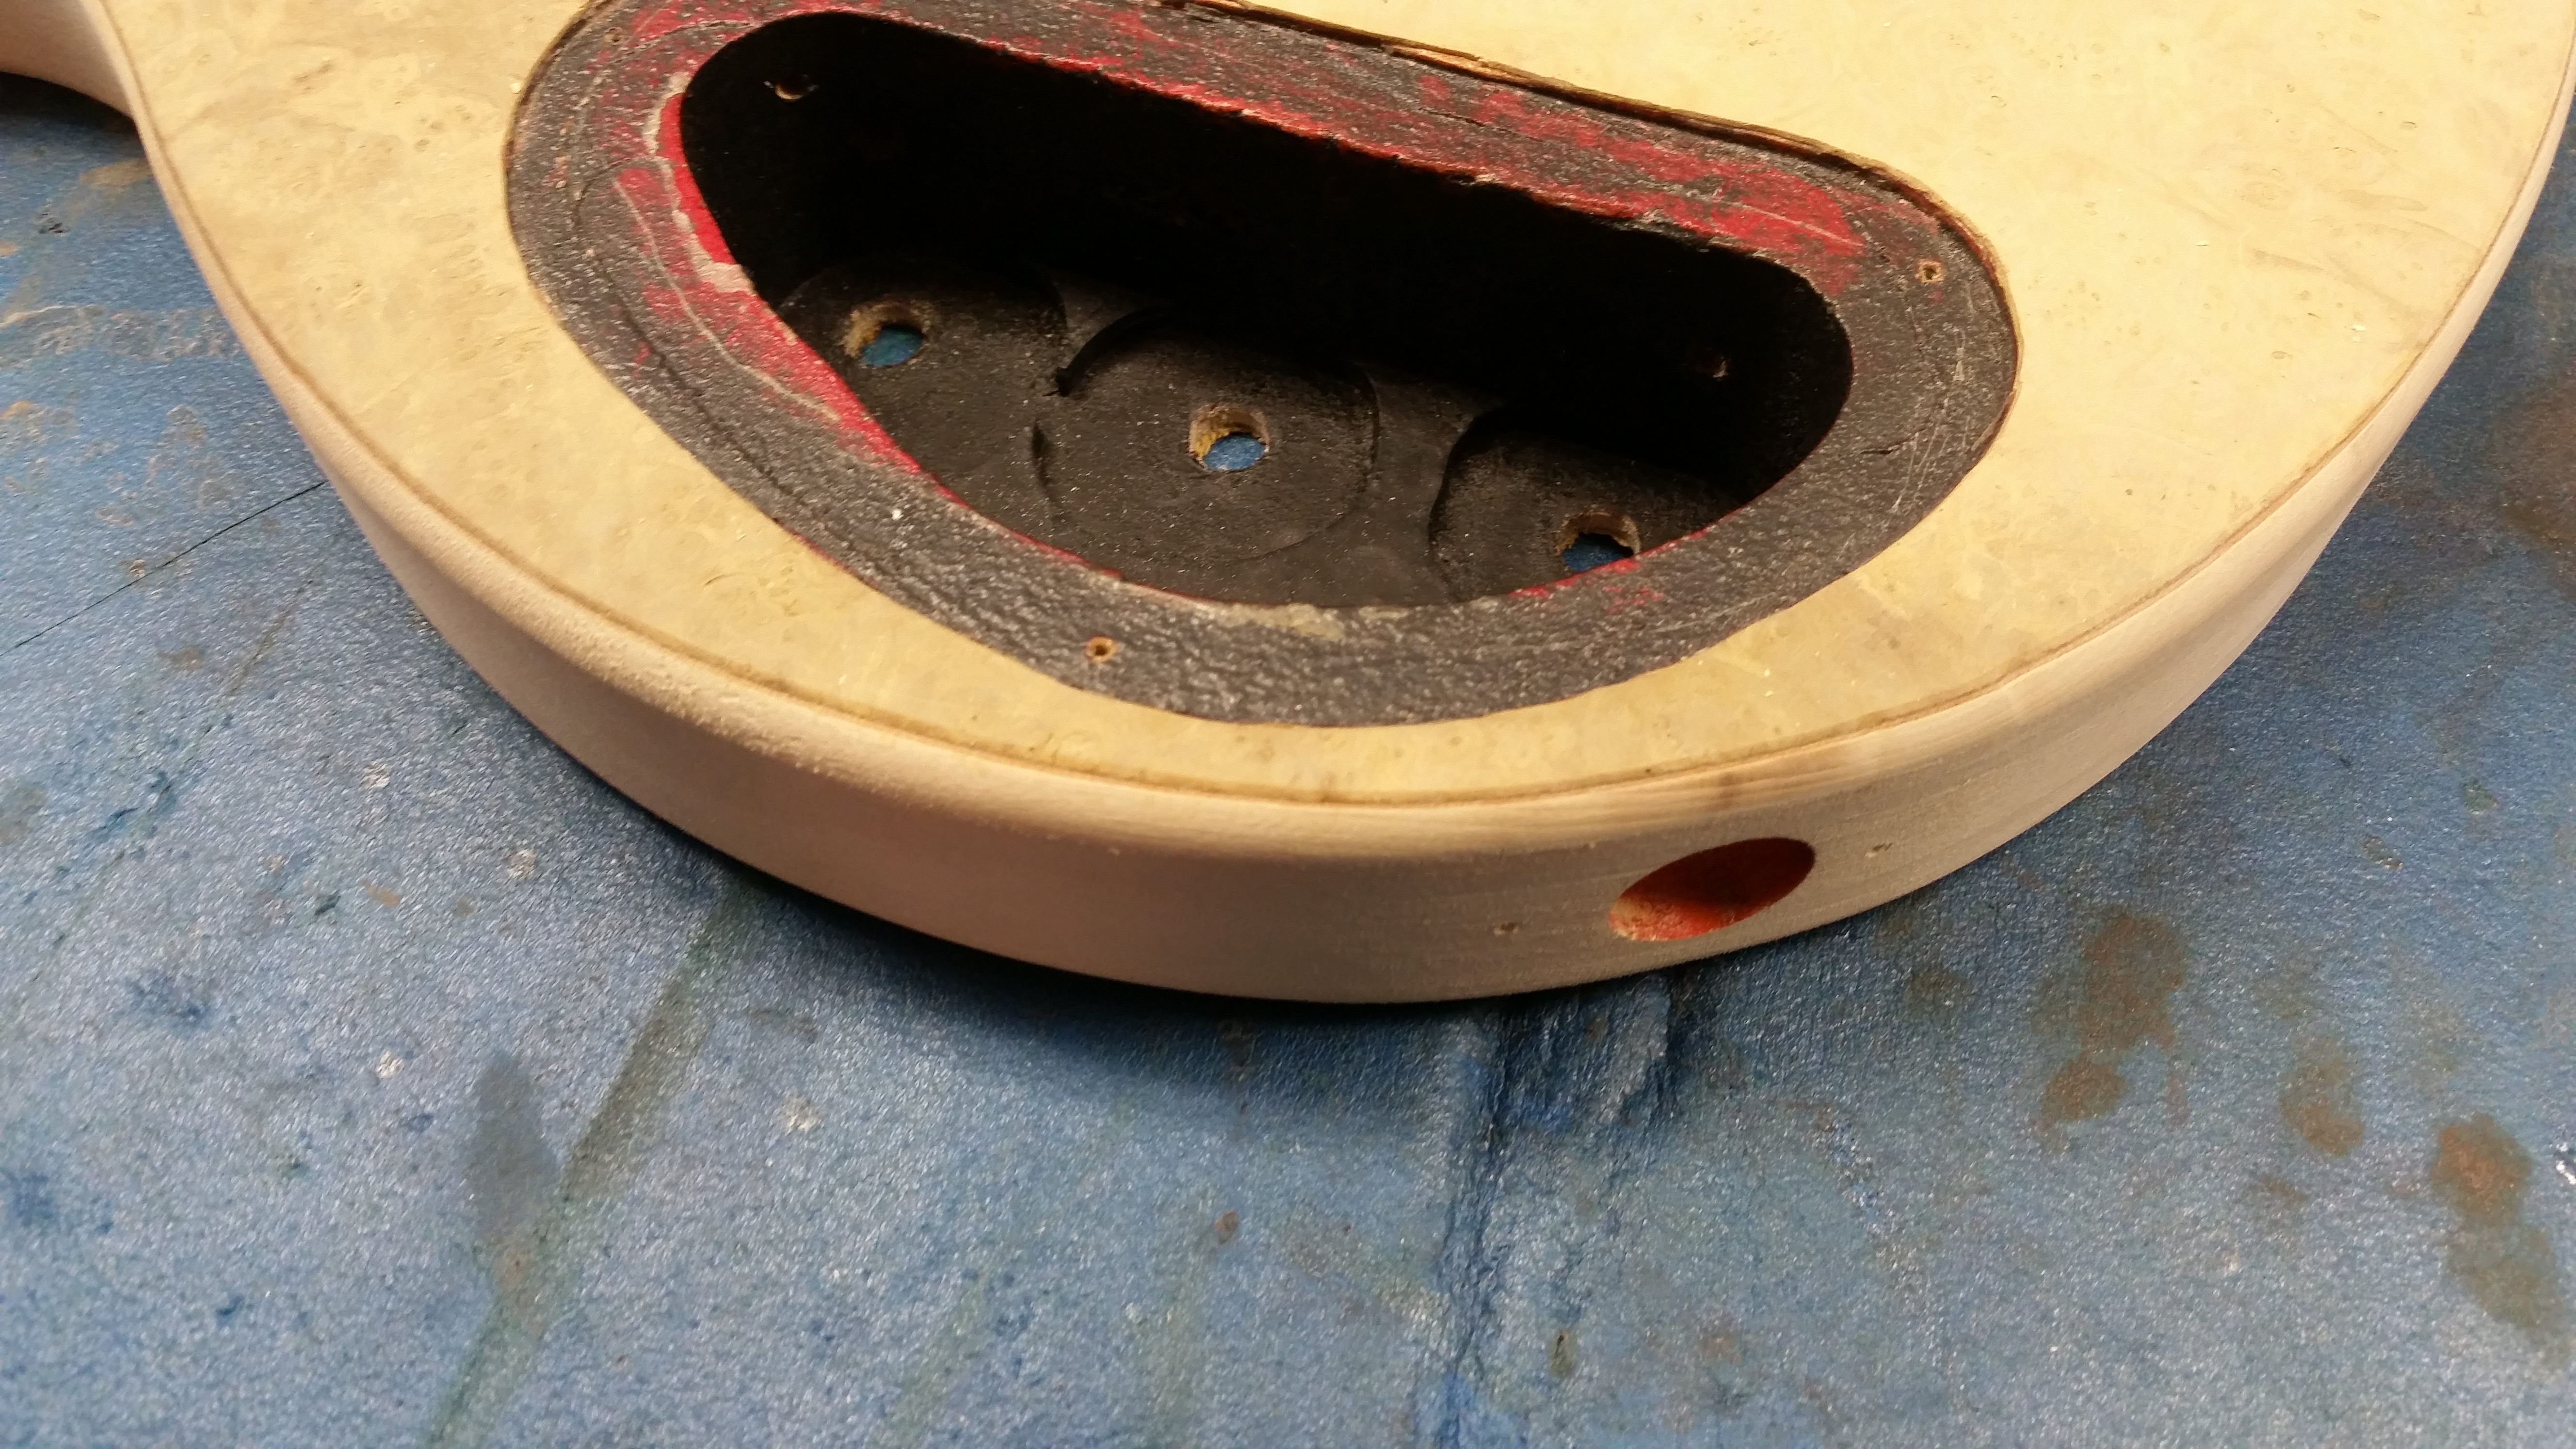
The back cavity is still ugly, wasn't happy with how the plastic cover sits, its proud of the body and the edges arent all that clean. So he is working up for a new cover and a clean slightly larger route for it to sit in. I chose to do a piece of honduran mahogany, dyed cherry to match the neck finish. should tie the whole thing together a little better.

J44Wjdr.jpg

YKuf6PQ.jpg

XkiQBmT.jpg
 
And the still ugly cavity. Thankfully the edge rounding left enough of that thin strip of veneer around the edge of it, we were a little worried about that. had considered replaving it with a kind of half circle shaped mahogany cover going right to the edge of the body and routed/sanded smooth if it didnt work out. Still think that might be cool, but think we will stick with just doing a slightly larger cover in its current shape, rerouting it a little cleaner to fit. Will be honduran mahogany dyed cherry to hopefully closely match the cherry red mahogany neck, pull it all together.
LbZLVU9.jpg
 
  • Like
Reactions: Nocturnal