• TalkBass has been independent since 1998. Add your voice.
    Create a free account to reply to discussions, view embedded media, and browse with fewer display ads.
    Join freeLog in
    Want zero display ads or expanded classifieds tools? Compare plans.

Major body mod/refinishing my Hamer SB4f - Project Thread

That’s coming along great! Those are nice basses but that cherry burst was just too much. Anything you did would’ve been better but this is looking excellent!

Thanks! I miiiiiight have left it alone if it werent for the slab side body being so uncomfortable and the zero access to 17-20th frets, but the cheap looking cherry burst and lame fake flame top definitely had it as a candidate for a refinish before I even bought it. I'm not a big fan of flame tops at the best of times and this was not one of those lol.

Oh forgot to mention what the final finish should be. Think we are going with one of the Solarez UV cure clear gloss lacquers. Apparently was originally used for repairing surfboards? It seems super tough, nice and smooth to the touch. Should give the soft basswood some good protection.
 
Thanks! I miiiiiight have left it alone if it werent for the slab side body being so uncomfortable and the zero access to 17-20th frets, but the cheap looking cherry burst and lame fake flame top definitely had it as a candidate for a refinish before I even bought it. I'm not a big fan of flame tops at the best of times and this was not one of those lol.

Oh forgot to mention what the final finish should be. Think we are going with one of the Solarez UV cure clear gloss lacquers. Apparently was originally used for repairing surfboards? It seems super tough, nice and smooth to the touch. Should give the soft basswood some good protection.

That Yanni burl is really going to pop once it’s finished. Are you going all trans cherry to match the neck color or do you have something else in mind?
 
That Yanni burl is really going to pop once it’s finished. Are you going all trans cherry to match the neck color or do you have something else in mind?

hehe Yanni. Nope Im leaving this one natural on the body. I like the colours of the Laurel as is, we tried a few different cherry stains on my test piece, they all came out pretty muddy. The gloss finish should really pop it, it will likely amber up a little all around. If it were a thick top I would try dying the whole thing and sanding back on the top for contrast, but dont feel comfortable sanding too much on the thin tops.

 
  • Like
Reactions: Rabidhamster
hehe Yanni. Nope Im leaving this one natural on the body. I like the colours of the Laurel as is, we tried a few different cherry stains on my test piece, they all came out pretty muddy. The gloss finish should really pop it, it will likely amber up a little all around. If it were a thick top I would try dying the whole thing and sanding back on the top for contrast, but dont feel comfortable sanding too much on the thin tops.
That would be my choice as well! It’d be hard to match close enough and it would definitely muddy the character. Can’t wait to see it finished!
 
  • Like
Reactions: diablo_man
That would be my choice as well! It’d be hard to match close enough and it would definitely muddy the character. Can’t wait to see it finished!

yeah, definitely. I might drop the red entirely if I refinish the neck anyways. The Laurel has so much cool natural colour variation, would be kind of lame to just make it a couple different shades of dark red. Thanks!

I can't provide any input here except that this is so cool to watch you make progress on. Looks much better!

Keep it up!

Thanks! I appreciate the support, so far its turning out better than I had originally hoped(also the scope of work/upgrades has definitely widened a fair bit as I went along, typical!)

Just trying to get lots of documentation and keep it going, I always hated seeing "Project threads" that skipped half the steps, or just petered out and weren't updated anymore after I'd already been invested into seeing how it turned out.
 
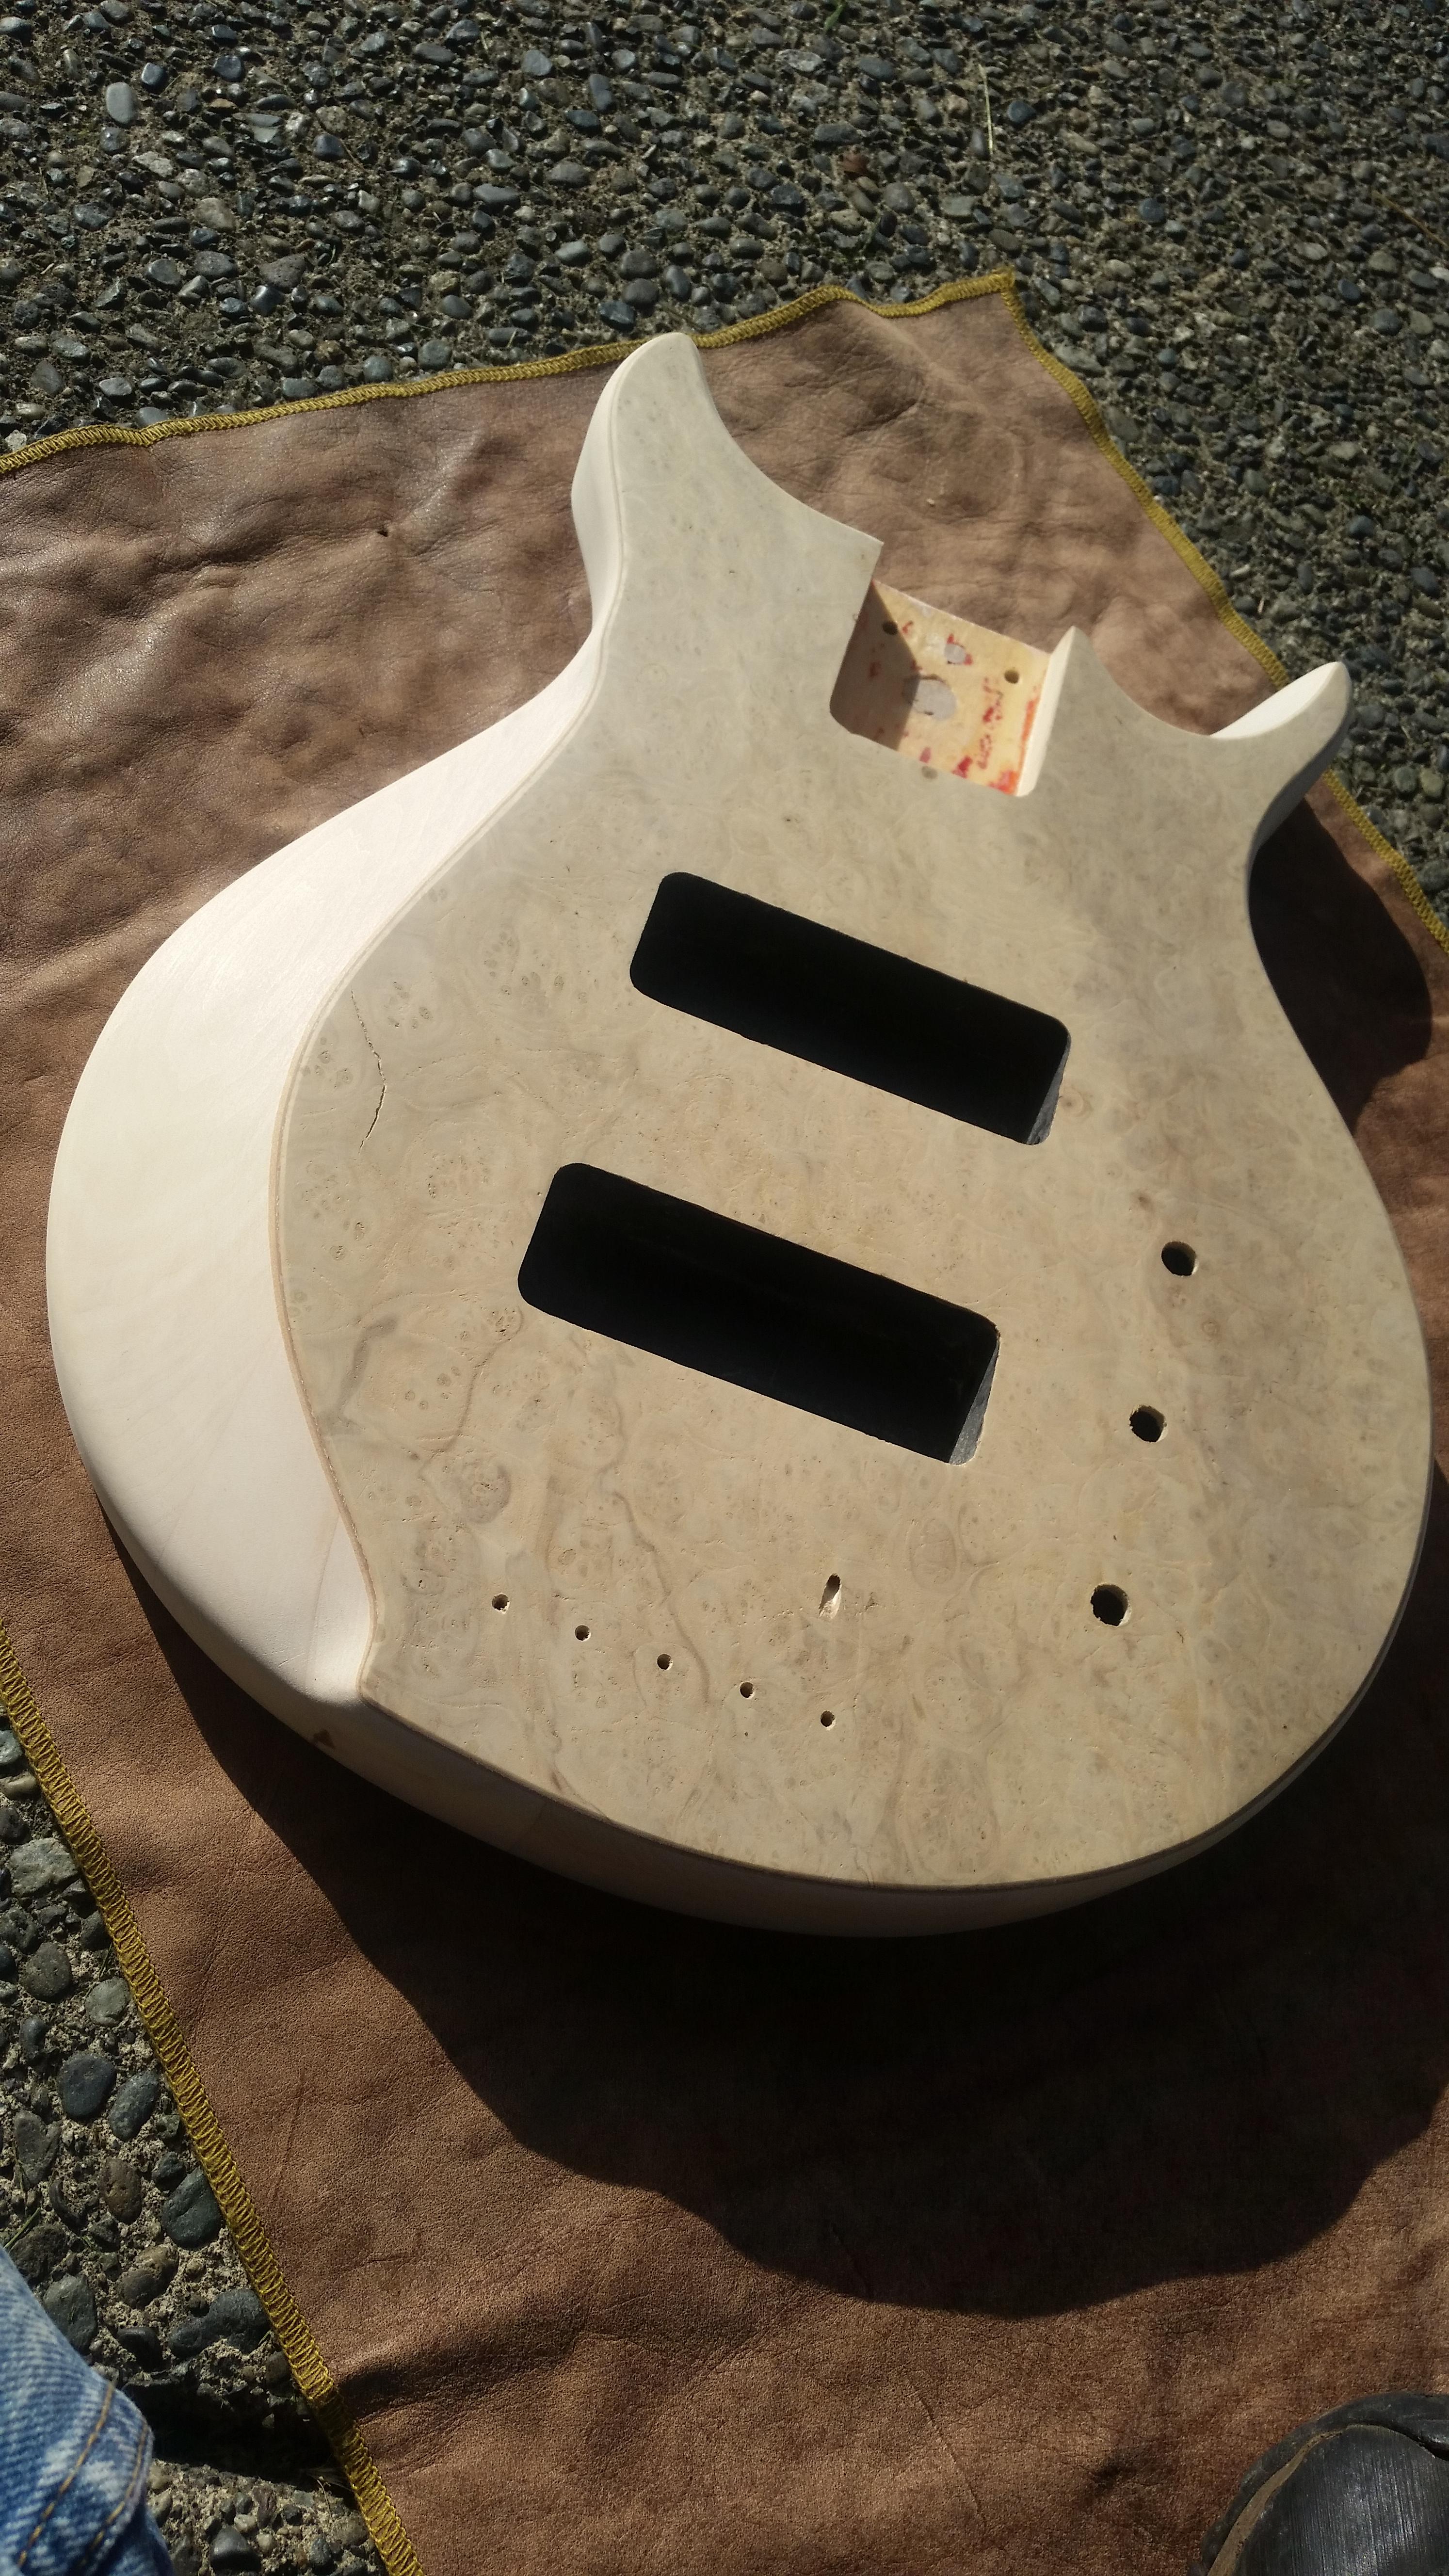
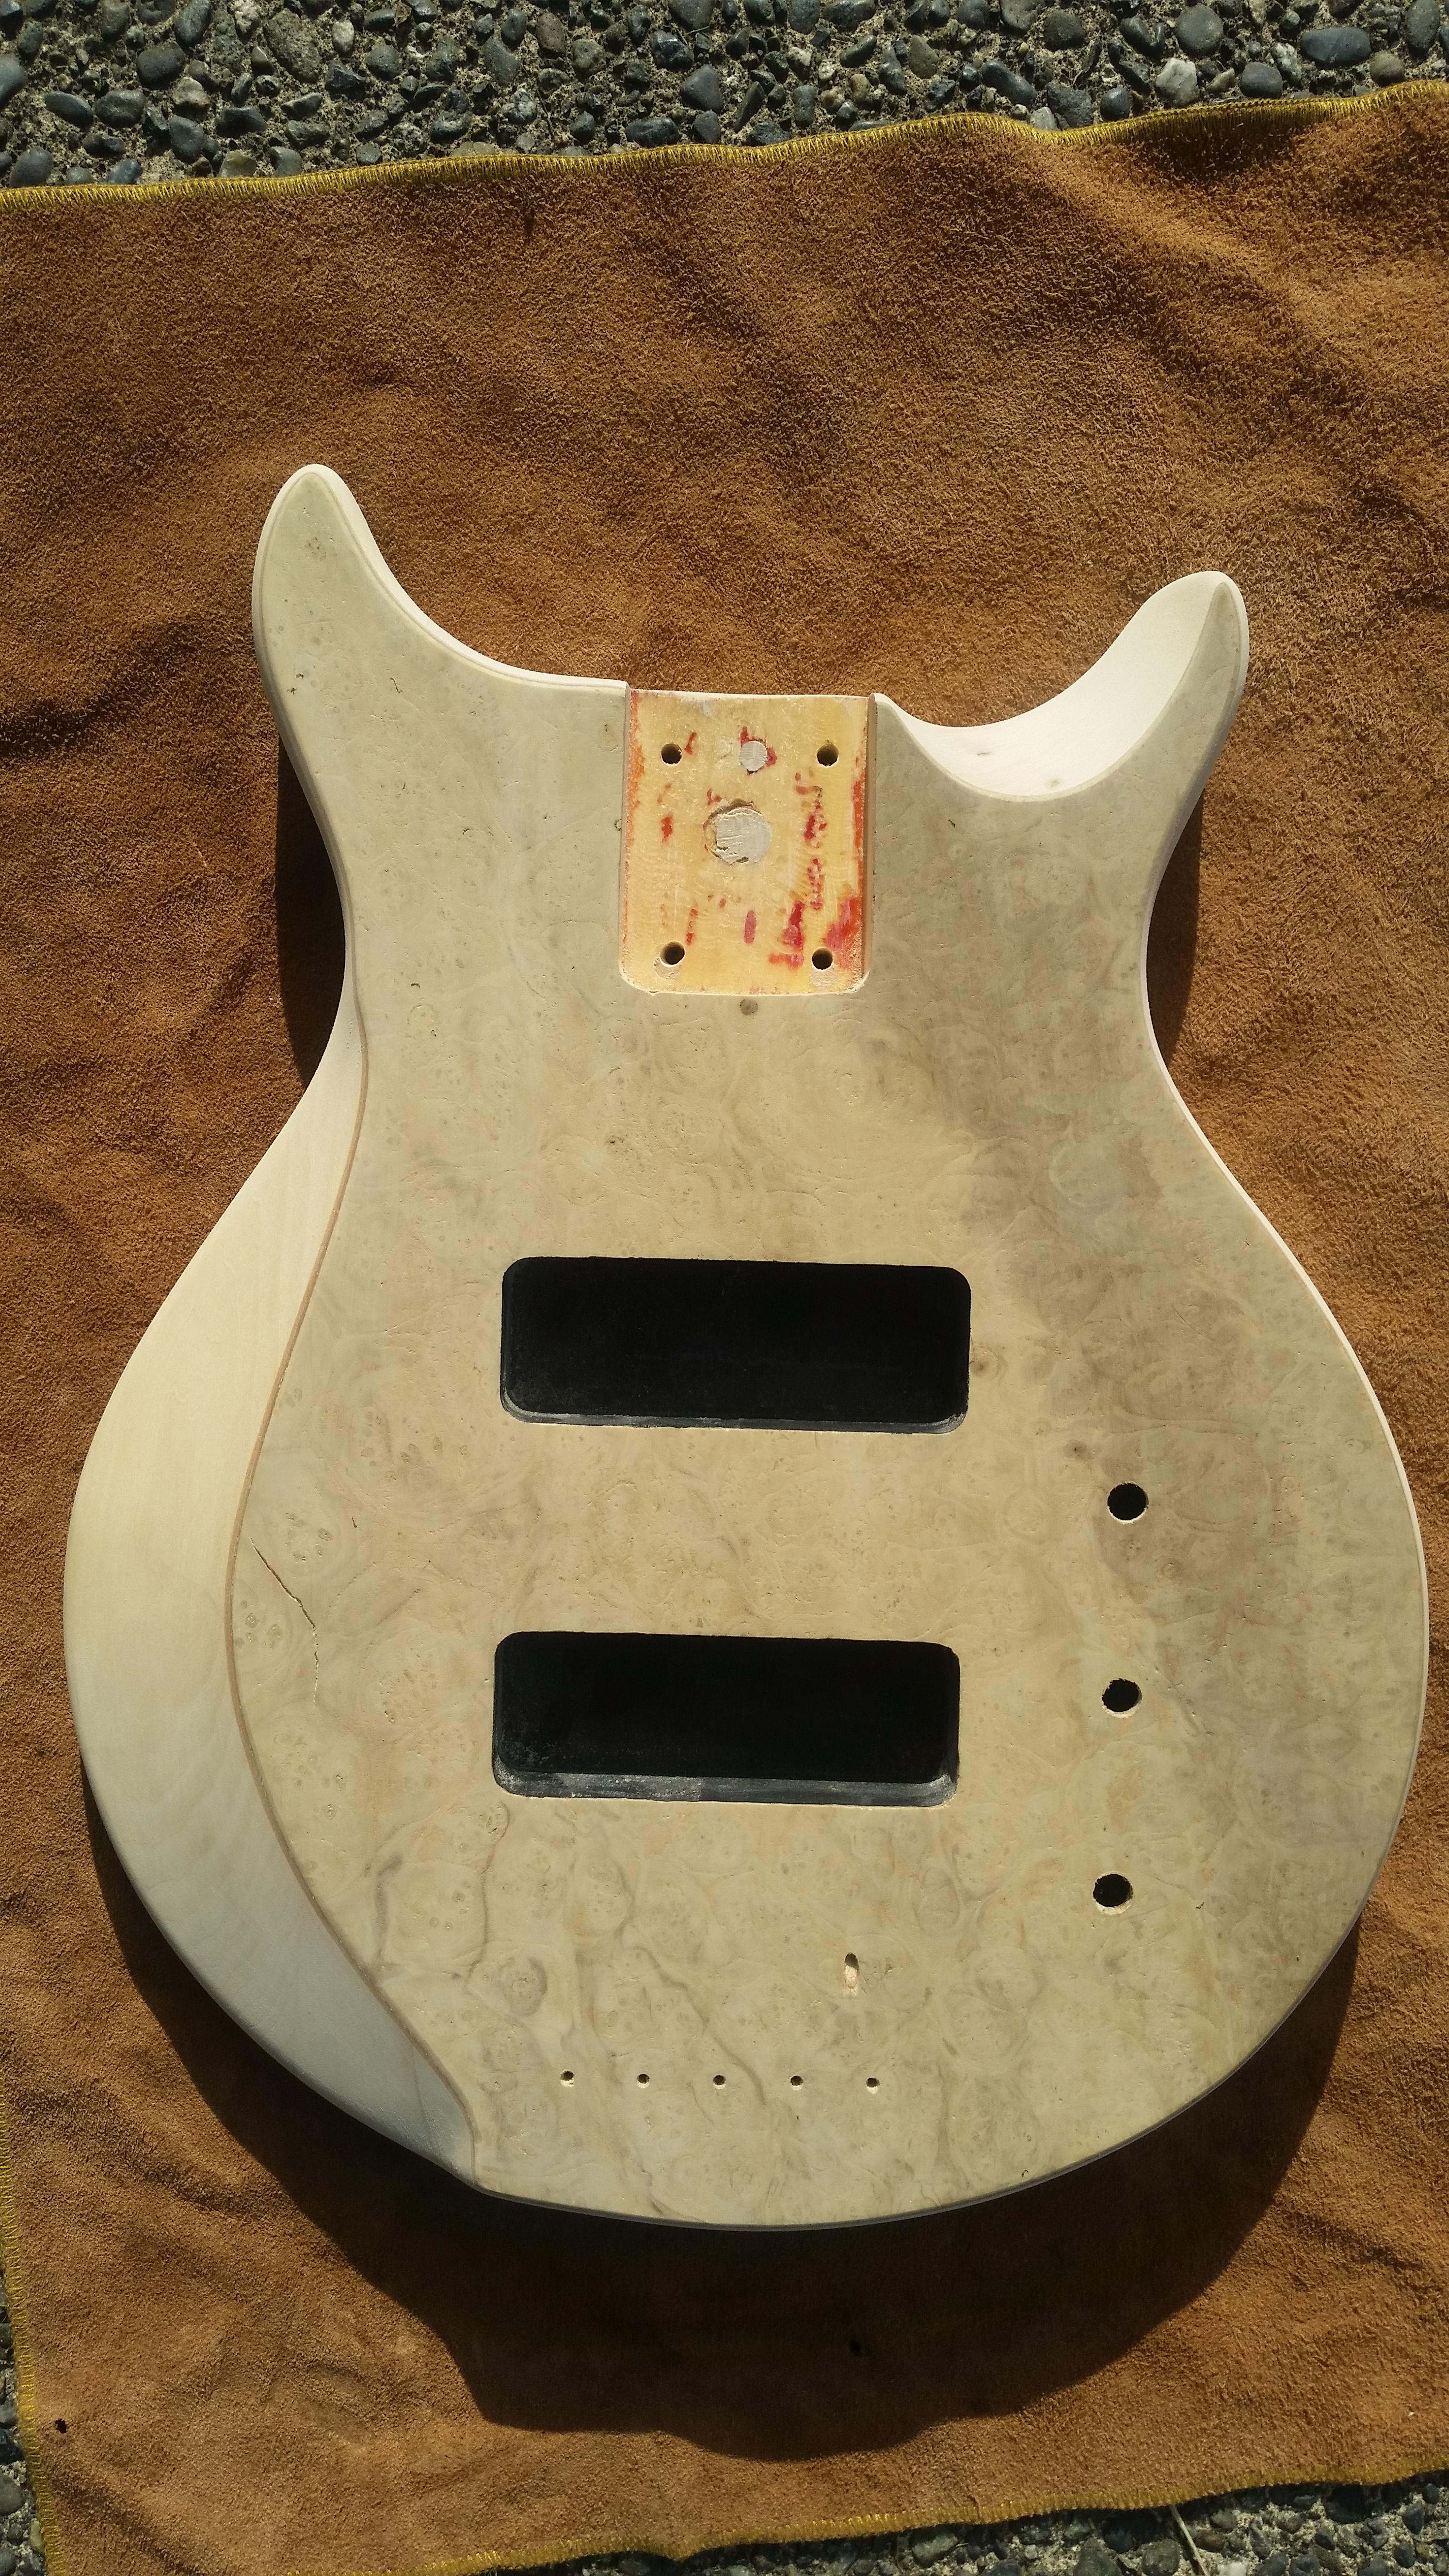
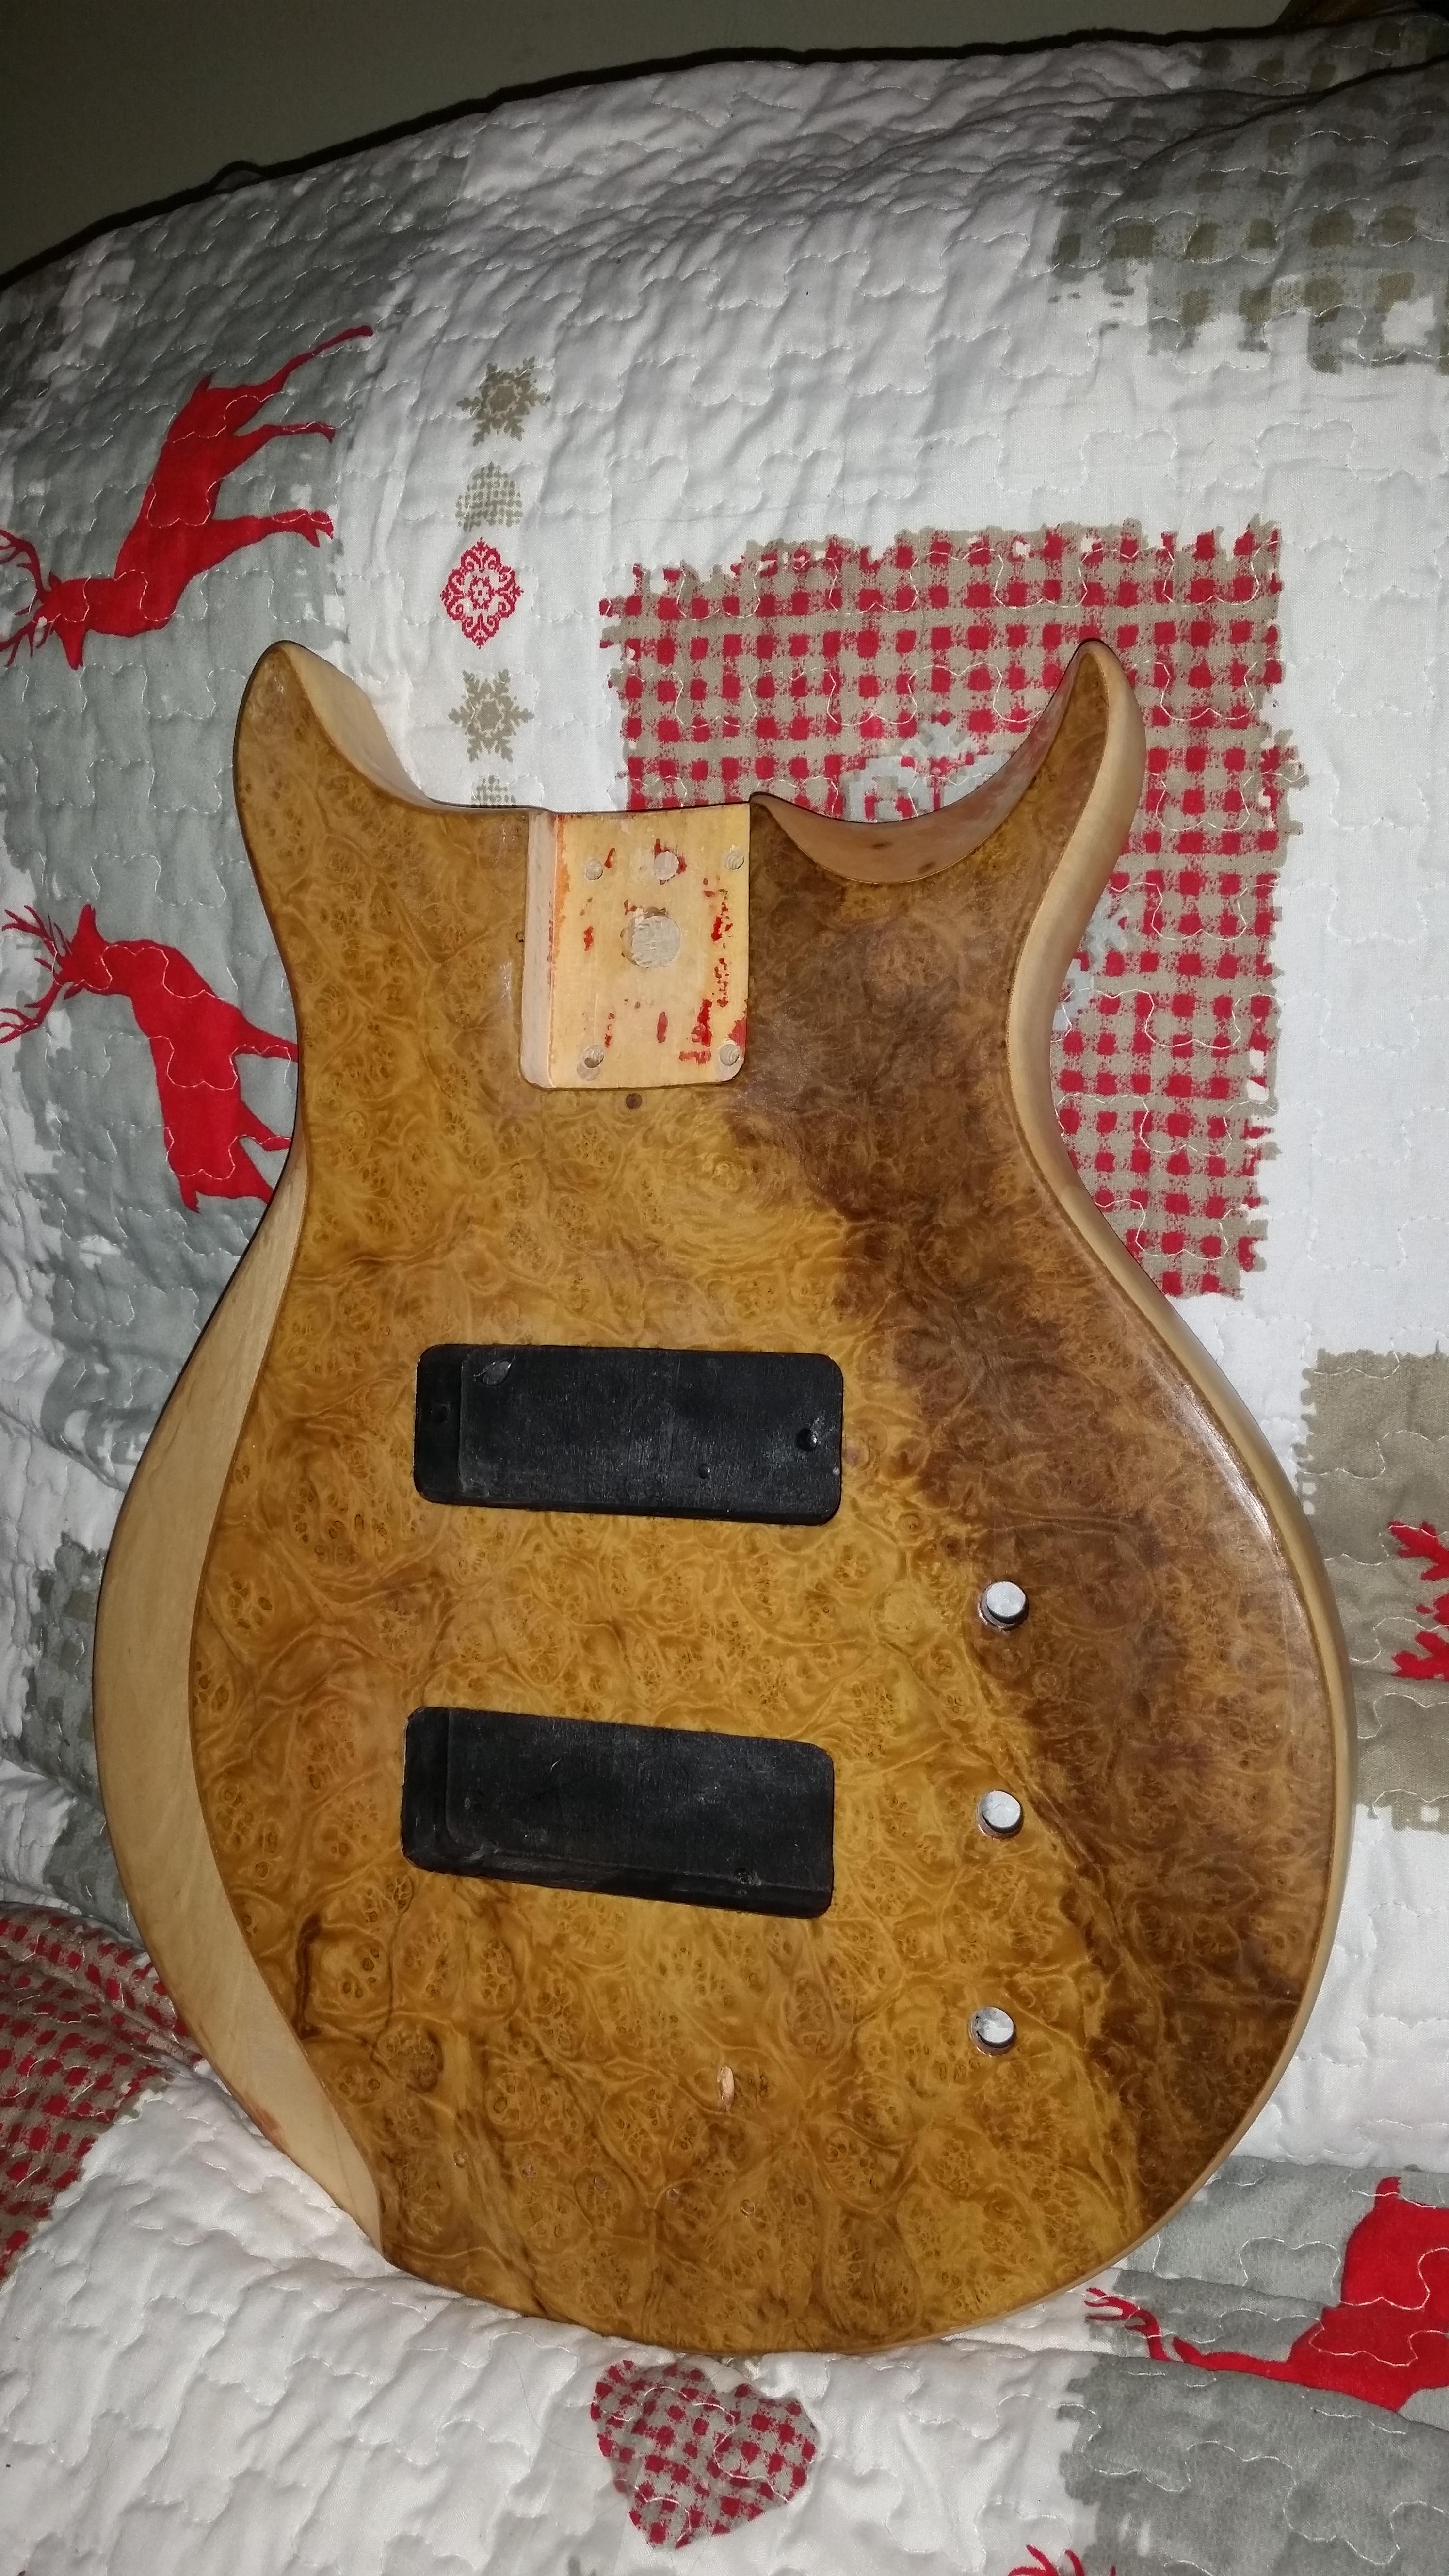
About all sanded up(320grit all over, may go a bit higher) with the edges properly rounded over and the edge routing cleaned up. Ready to apply finish maybe sometime this week, using one of the Solarez Lacquers.


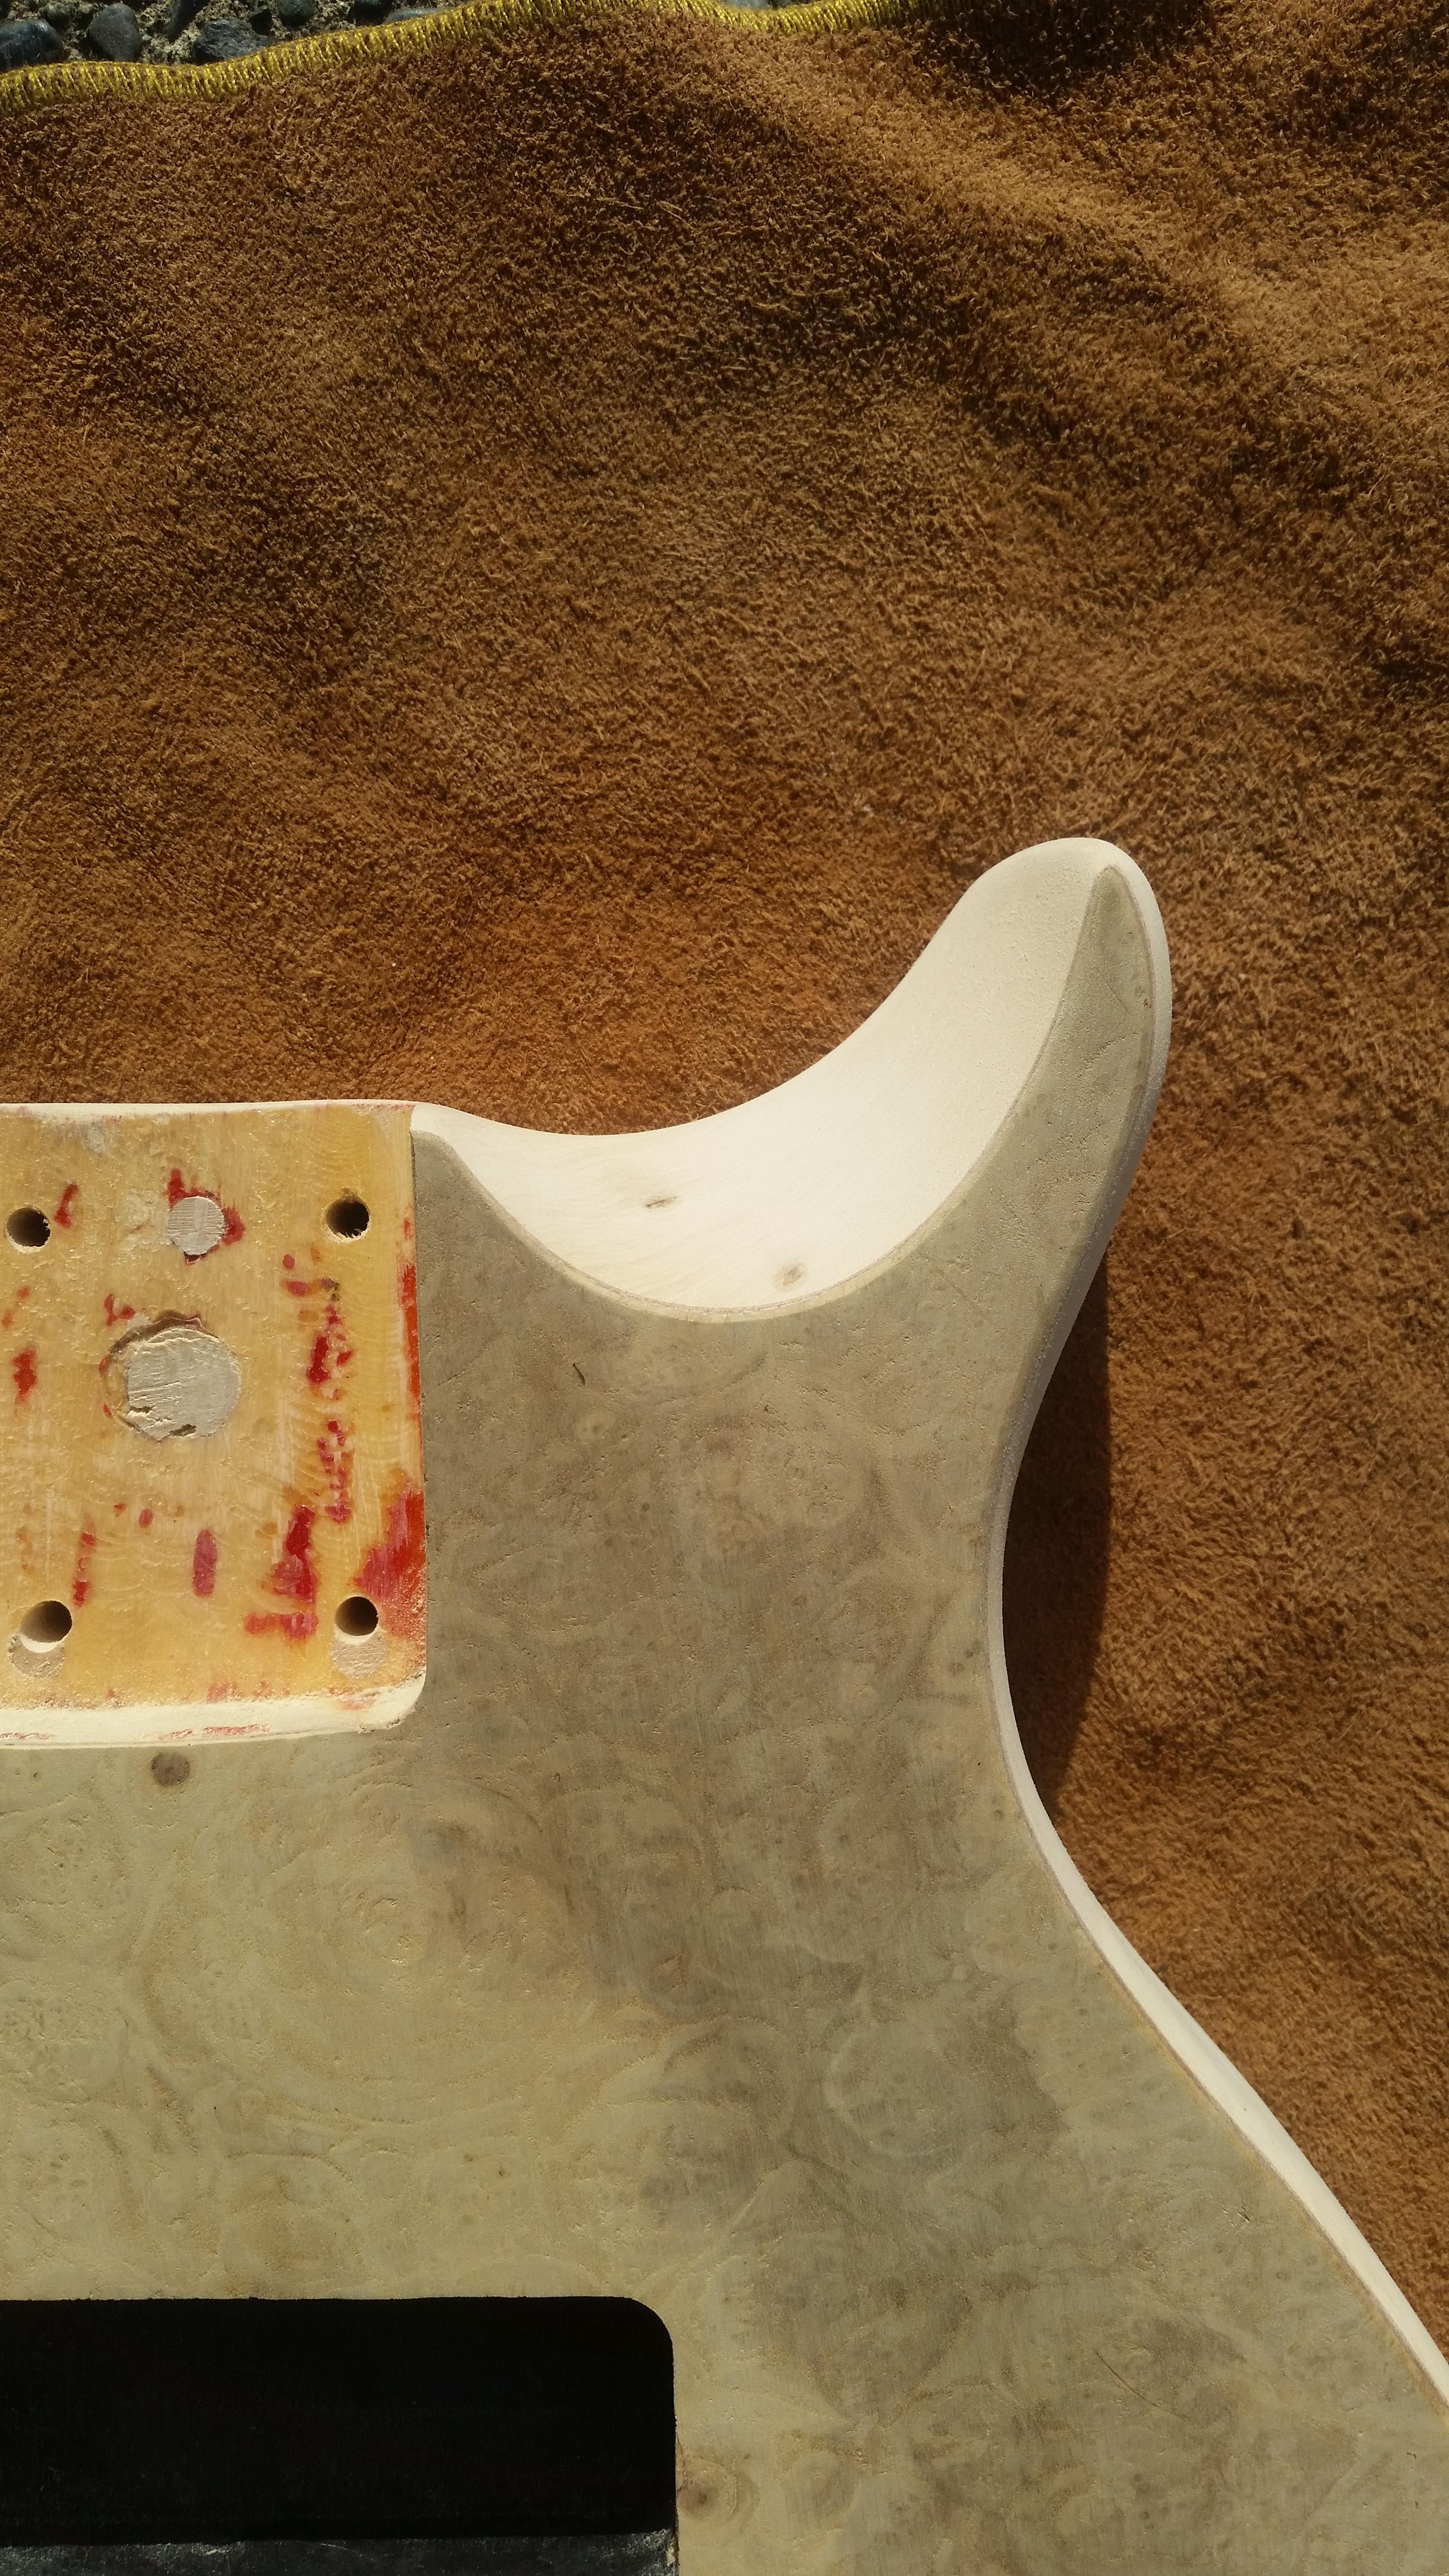
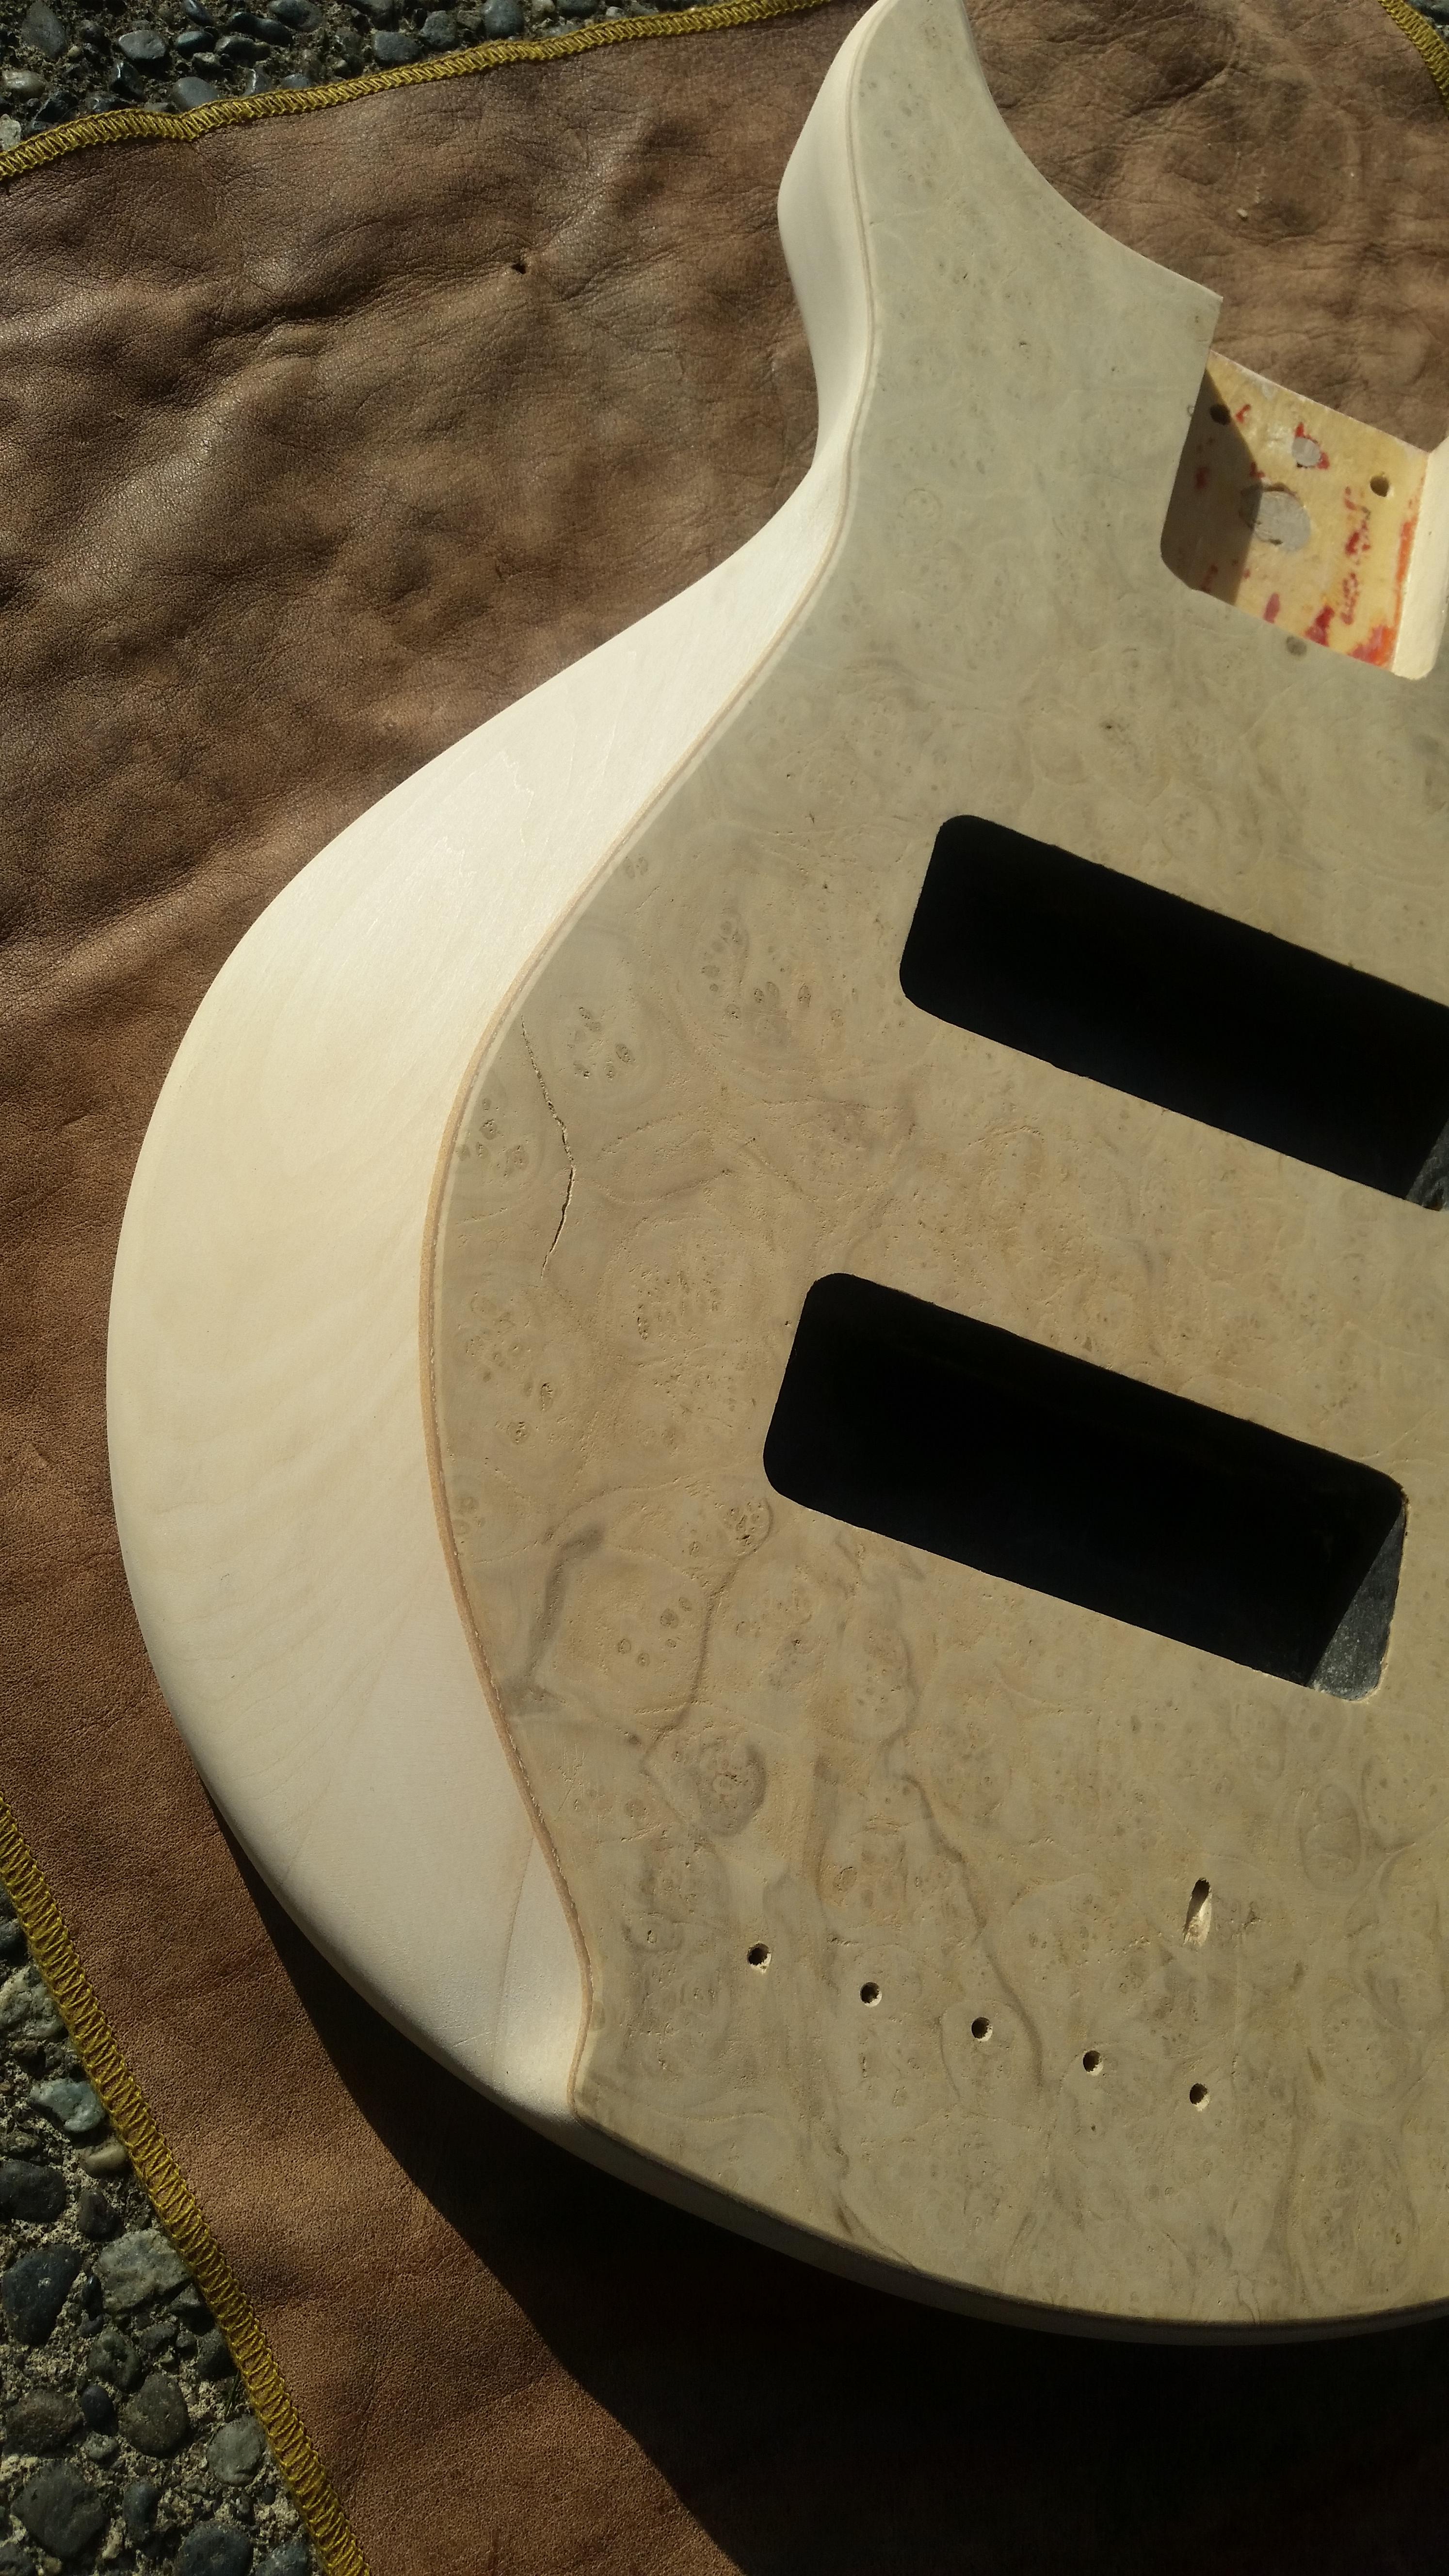
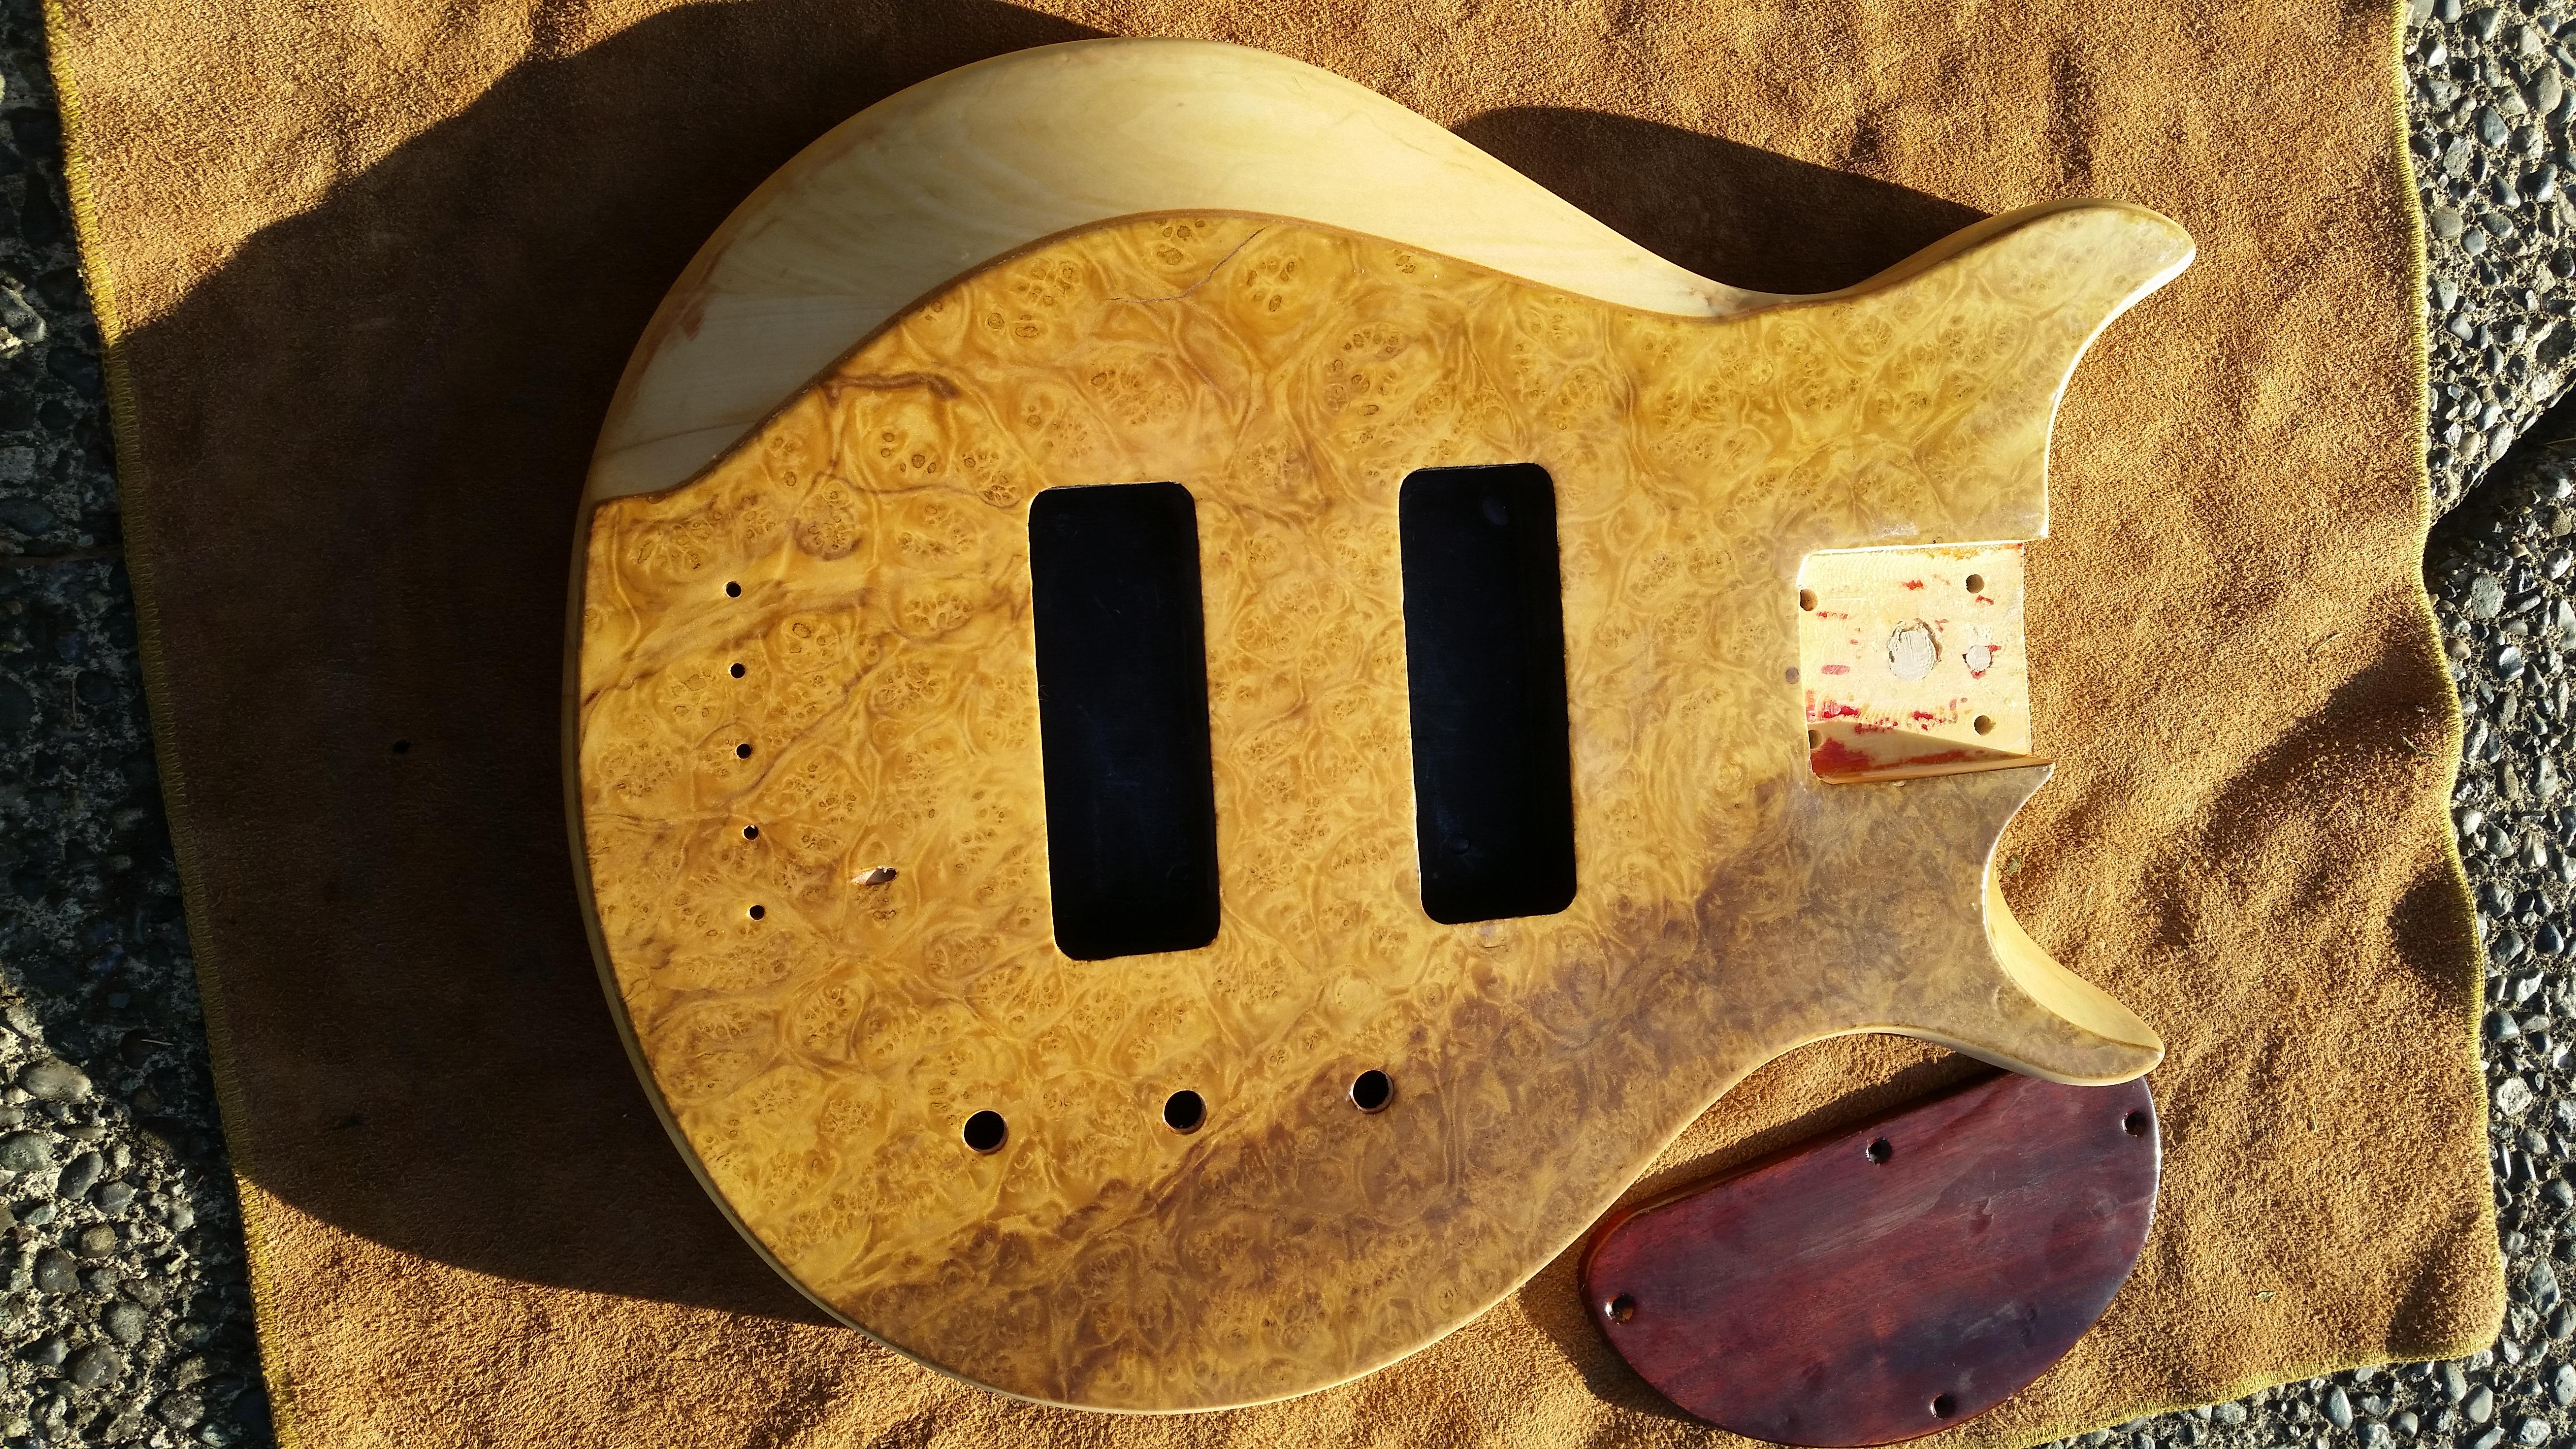
Can really see how much of the lower horn I've carved away/reshaped if you compare it to one of the first pics in the thread
OfDiw2k.jpg


KY4ebjz.jpg

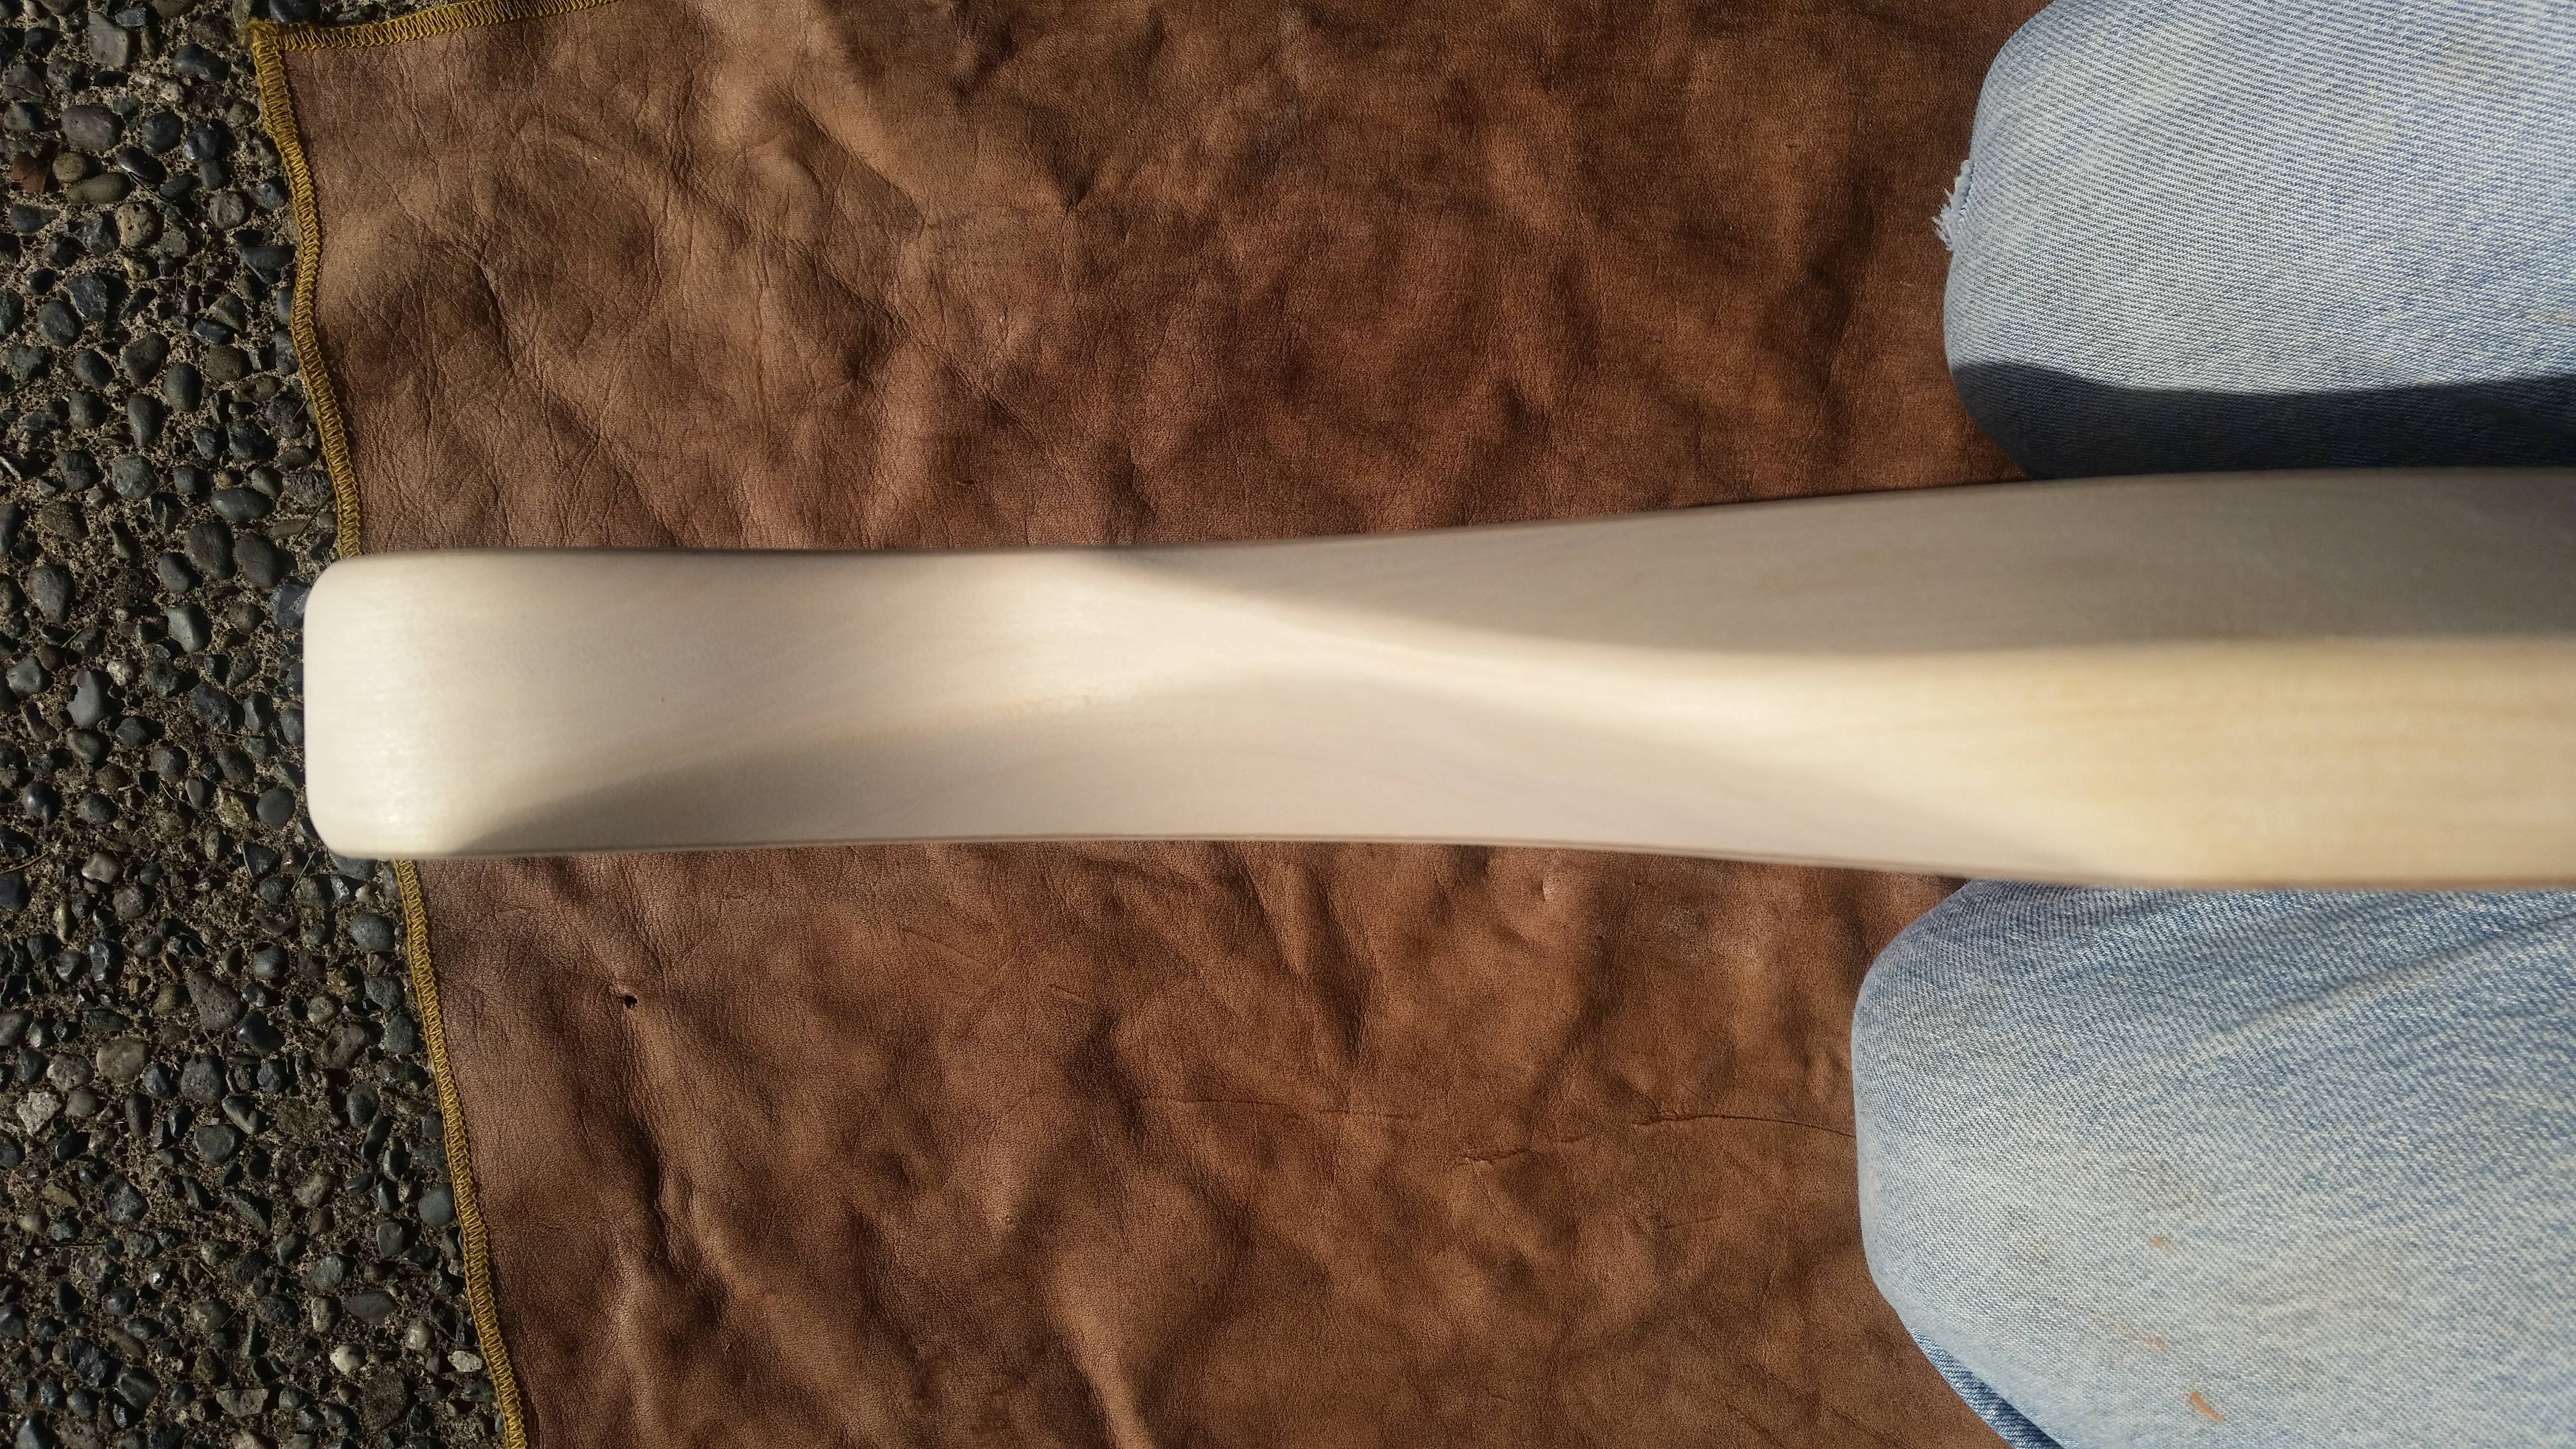
the rounded edges here basically meet up in the center section
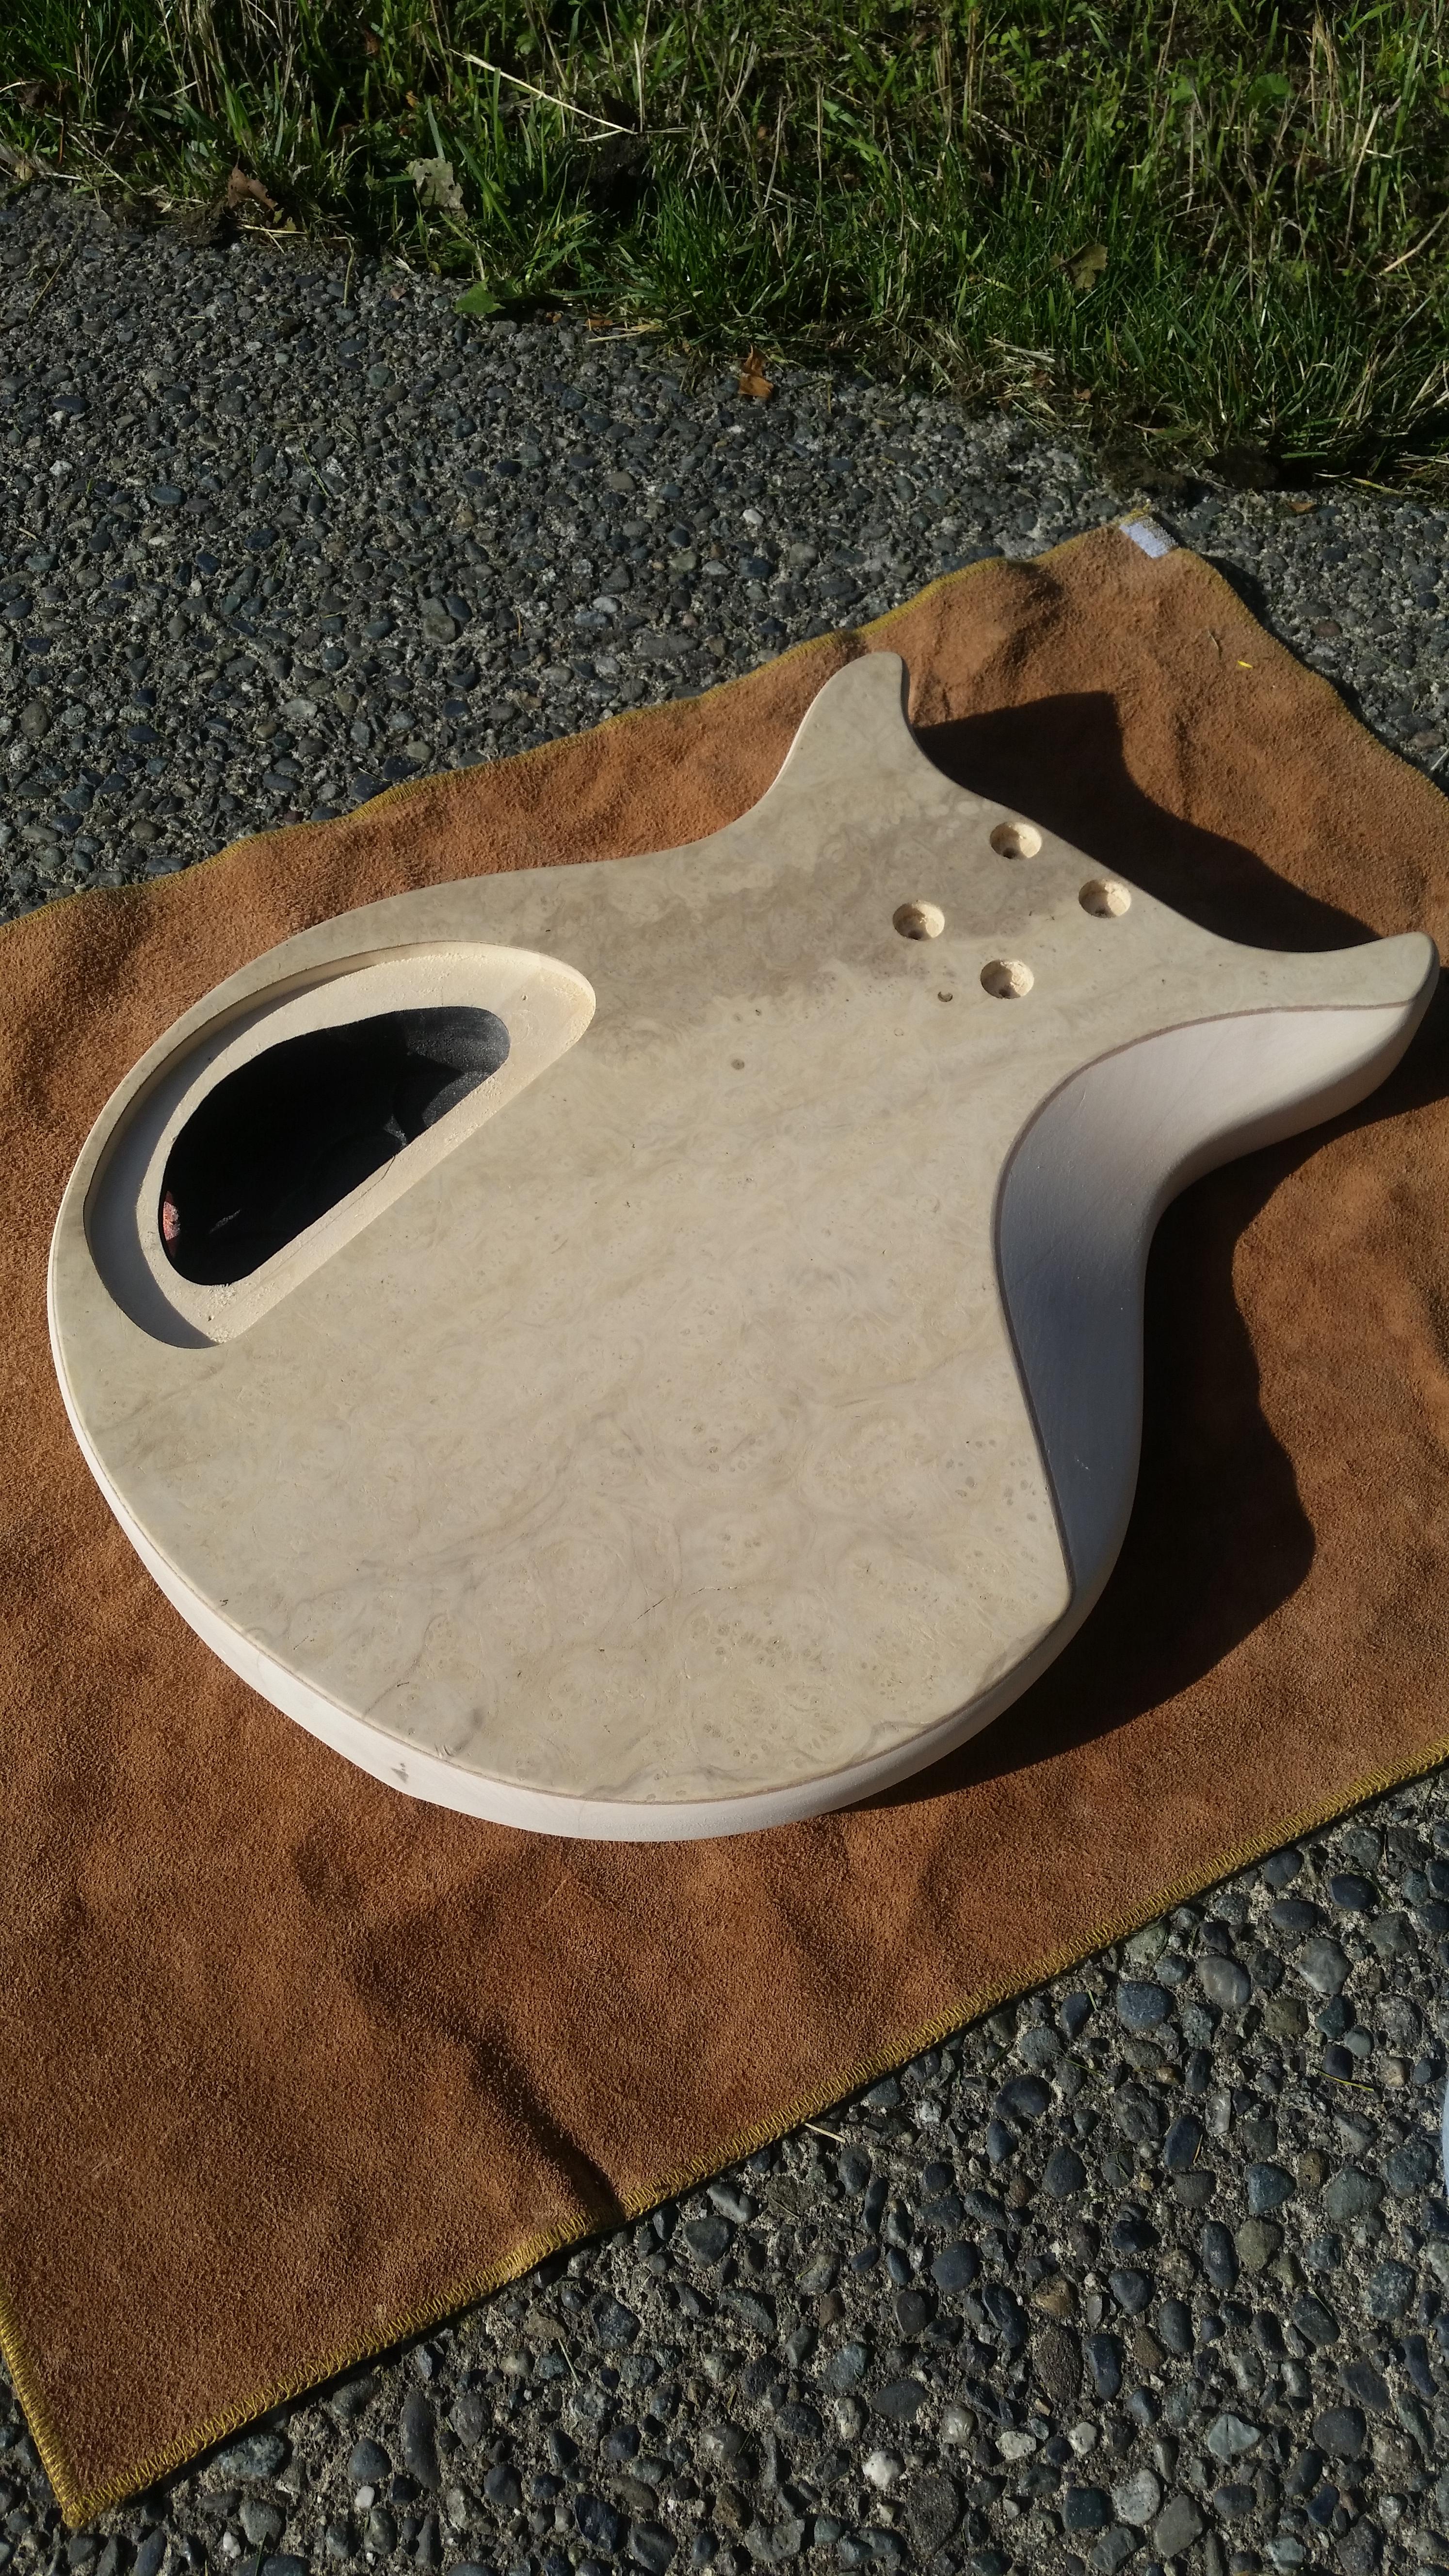
ZiTeBPE.jpg

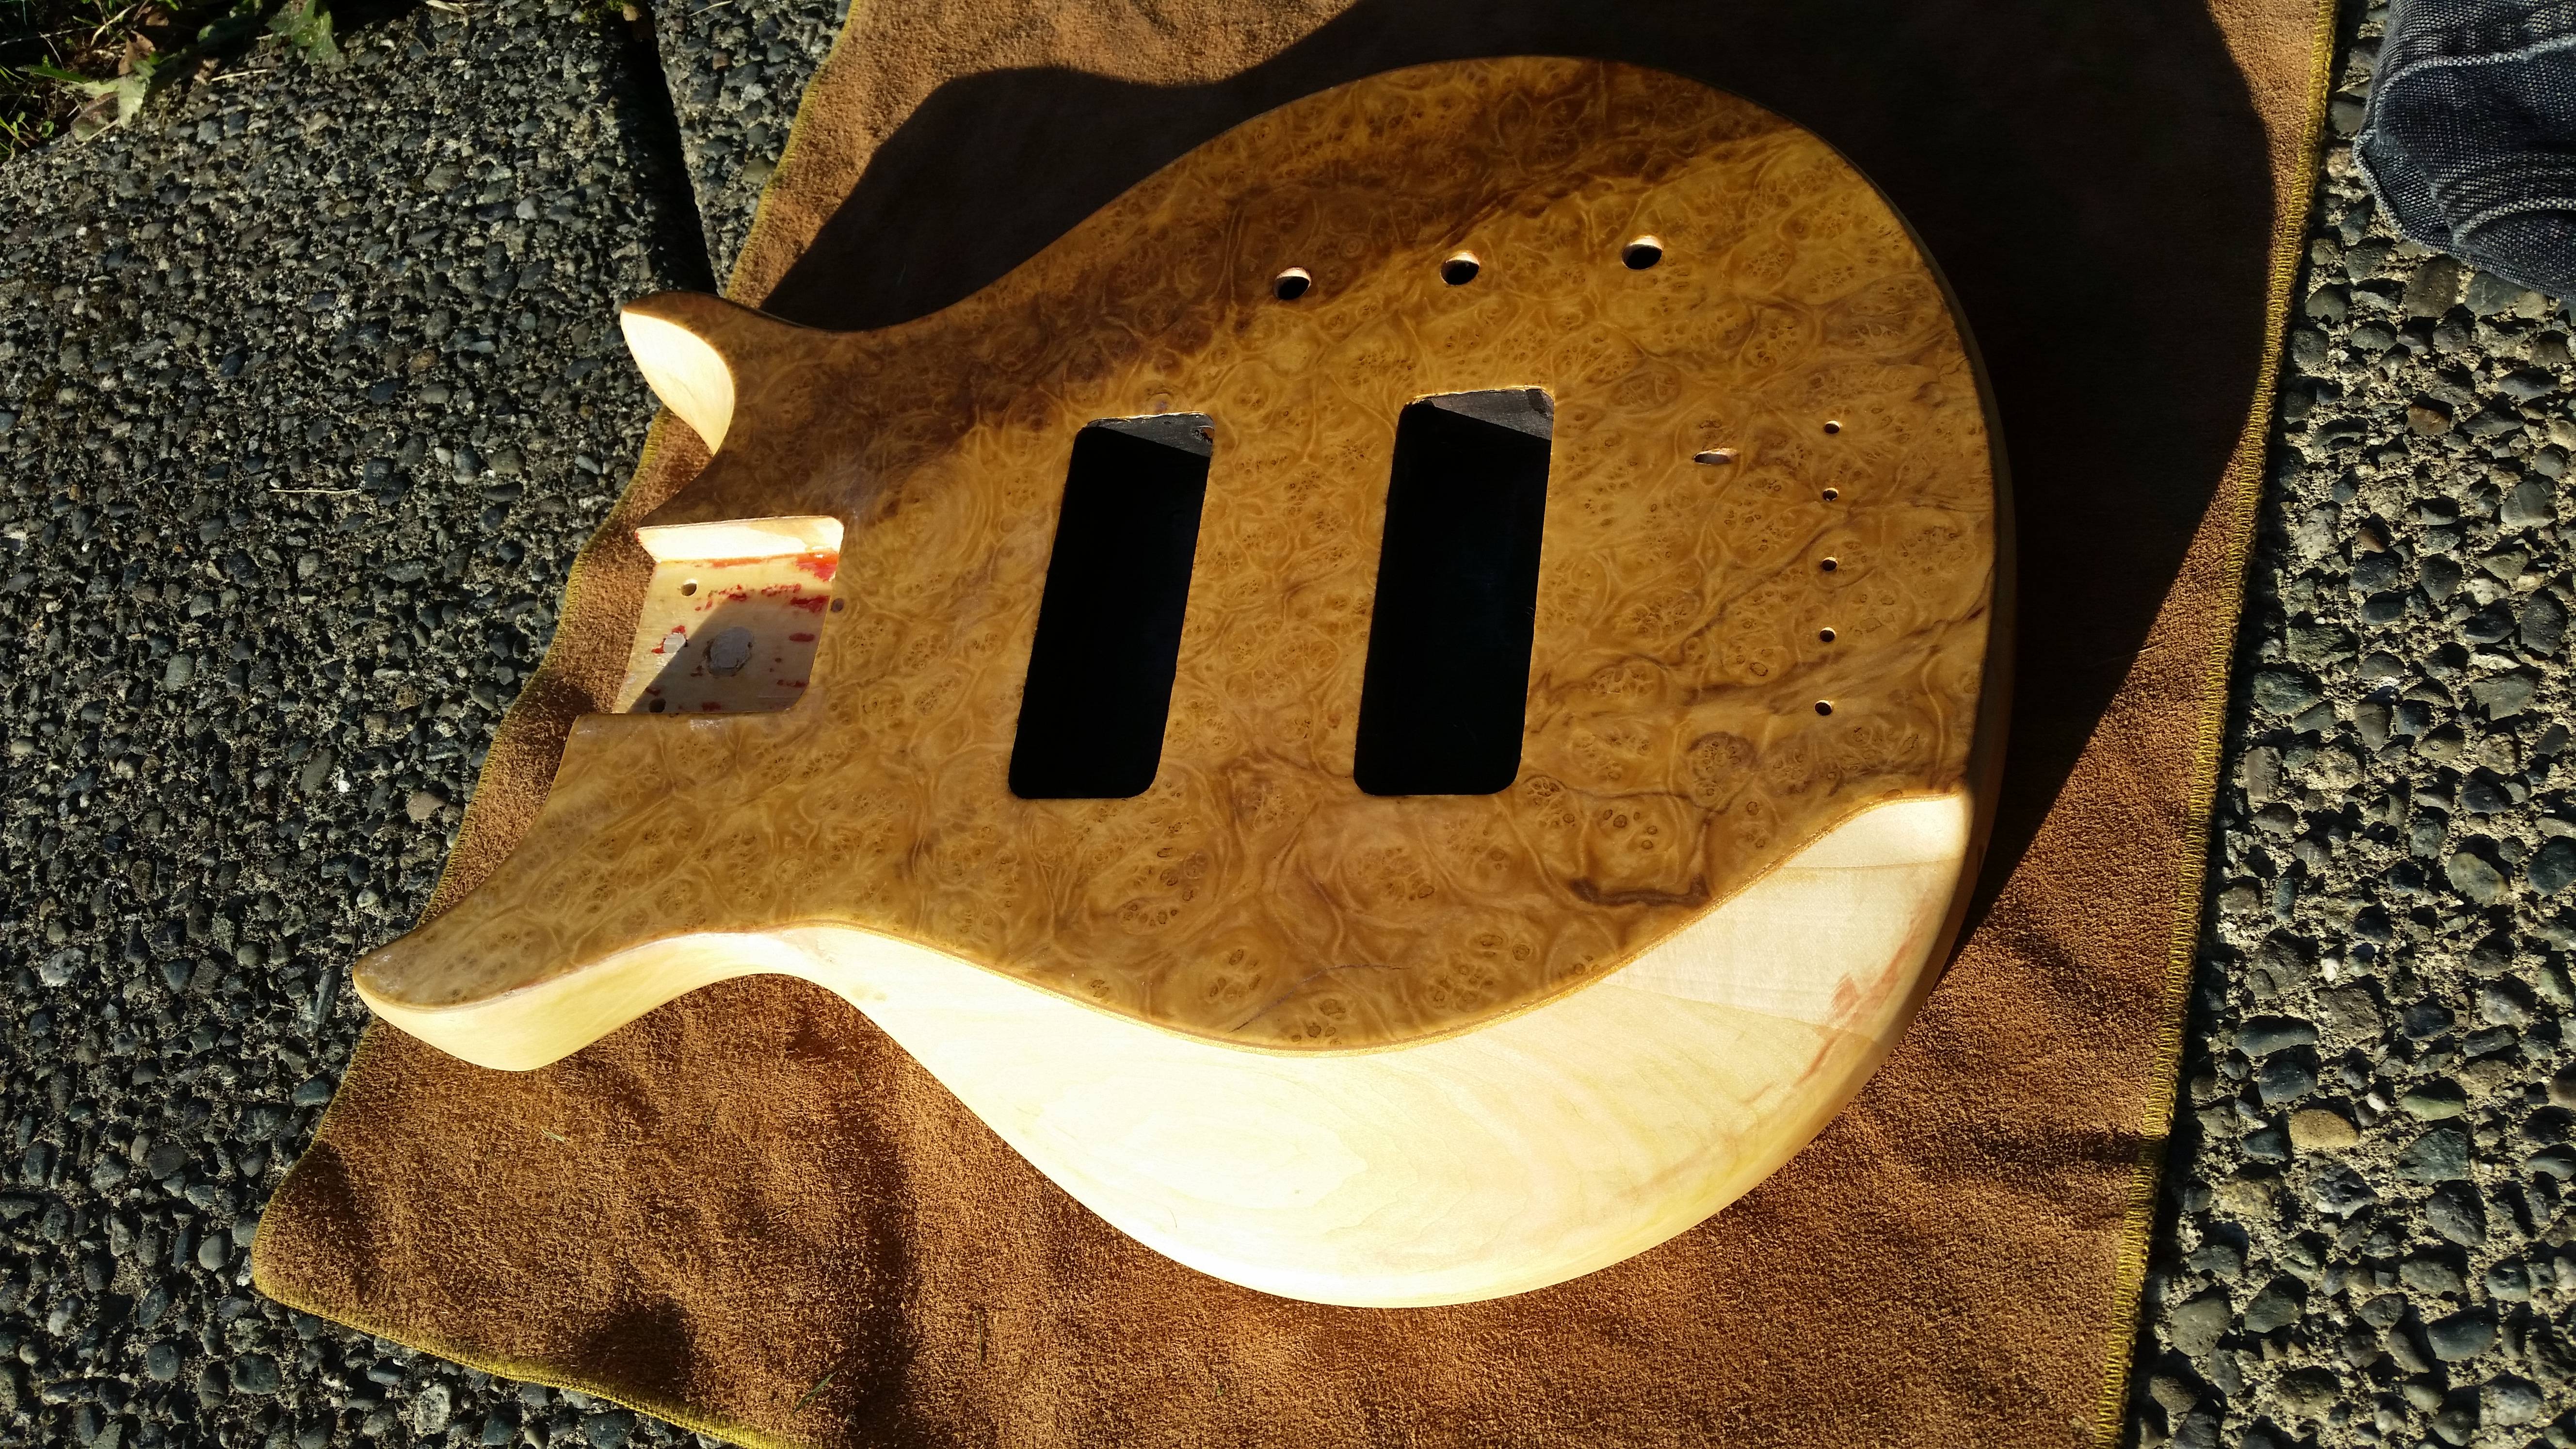
get a decent look at the rerouted/re painted pickup routes, nice and square edges now. Also drilled out for new bridge

TvHrWIu.jpg
nqxHxp9.jpg
 
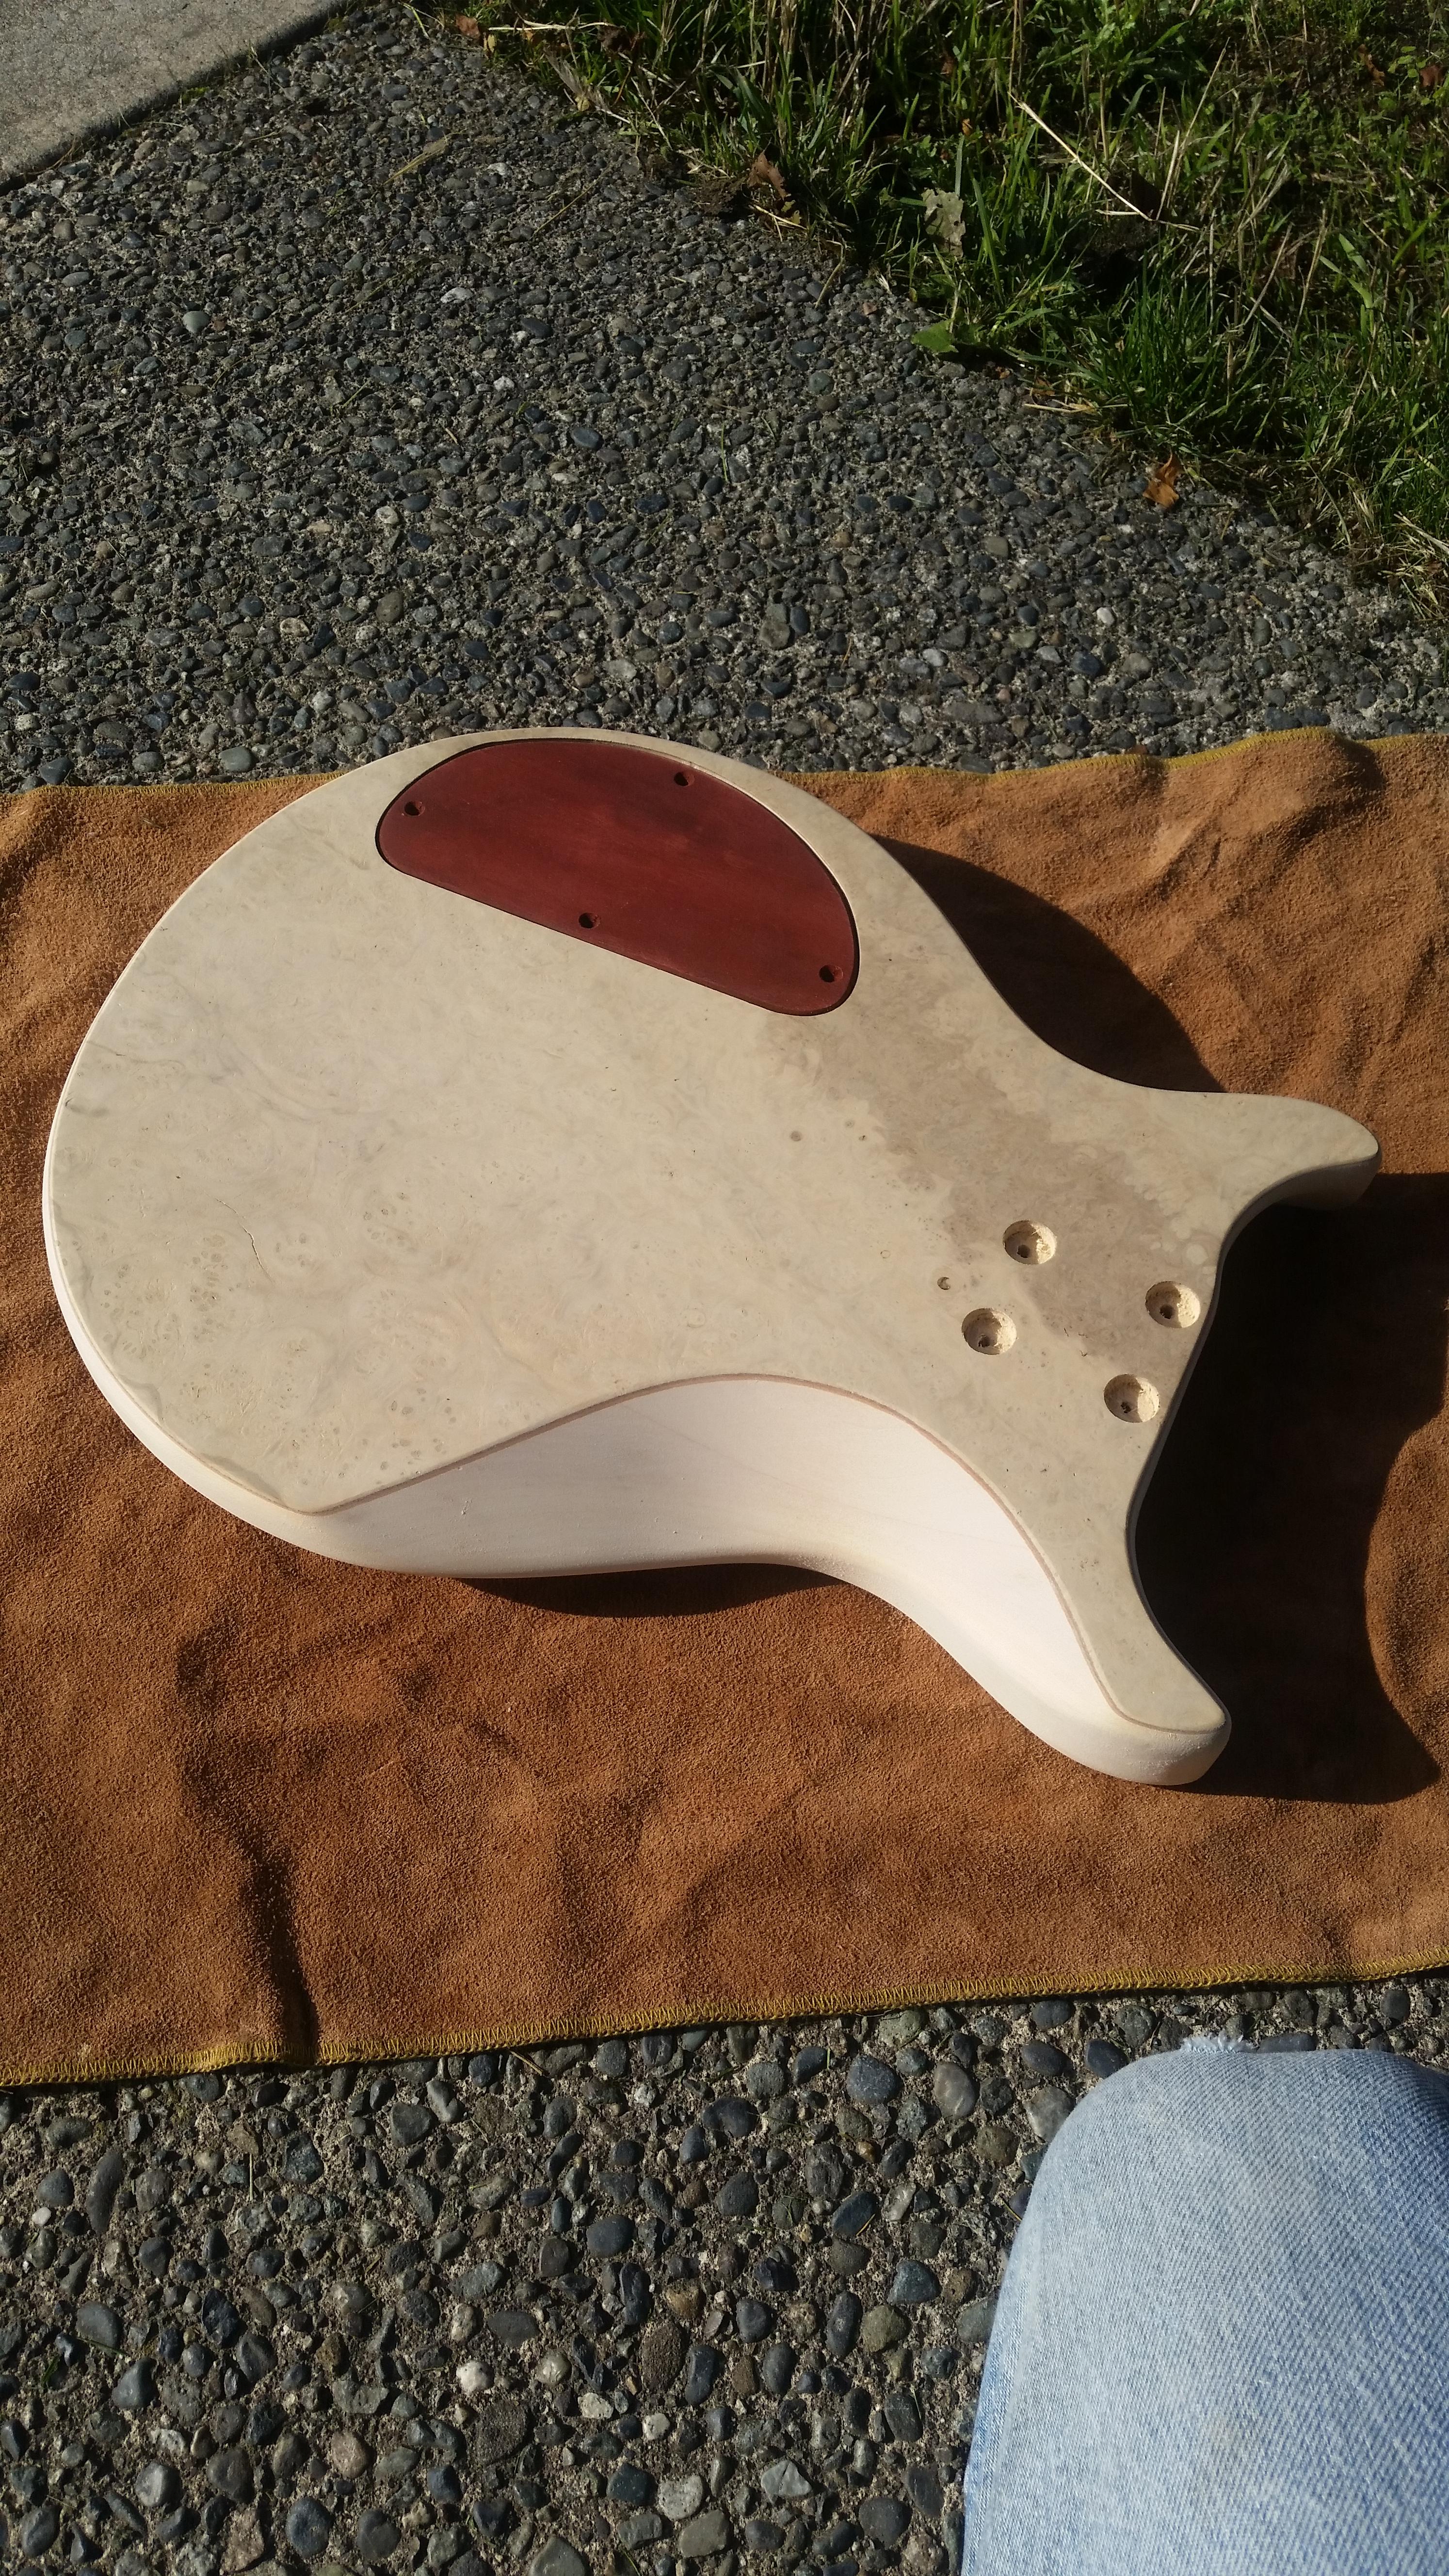
good shot of the rerouted slightly larger back panel, and the holes for the neck joint ferrules
UlyhCXl.jpg


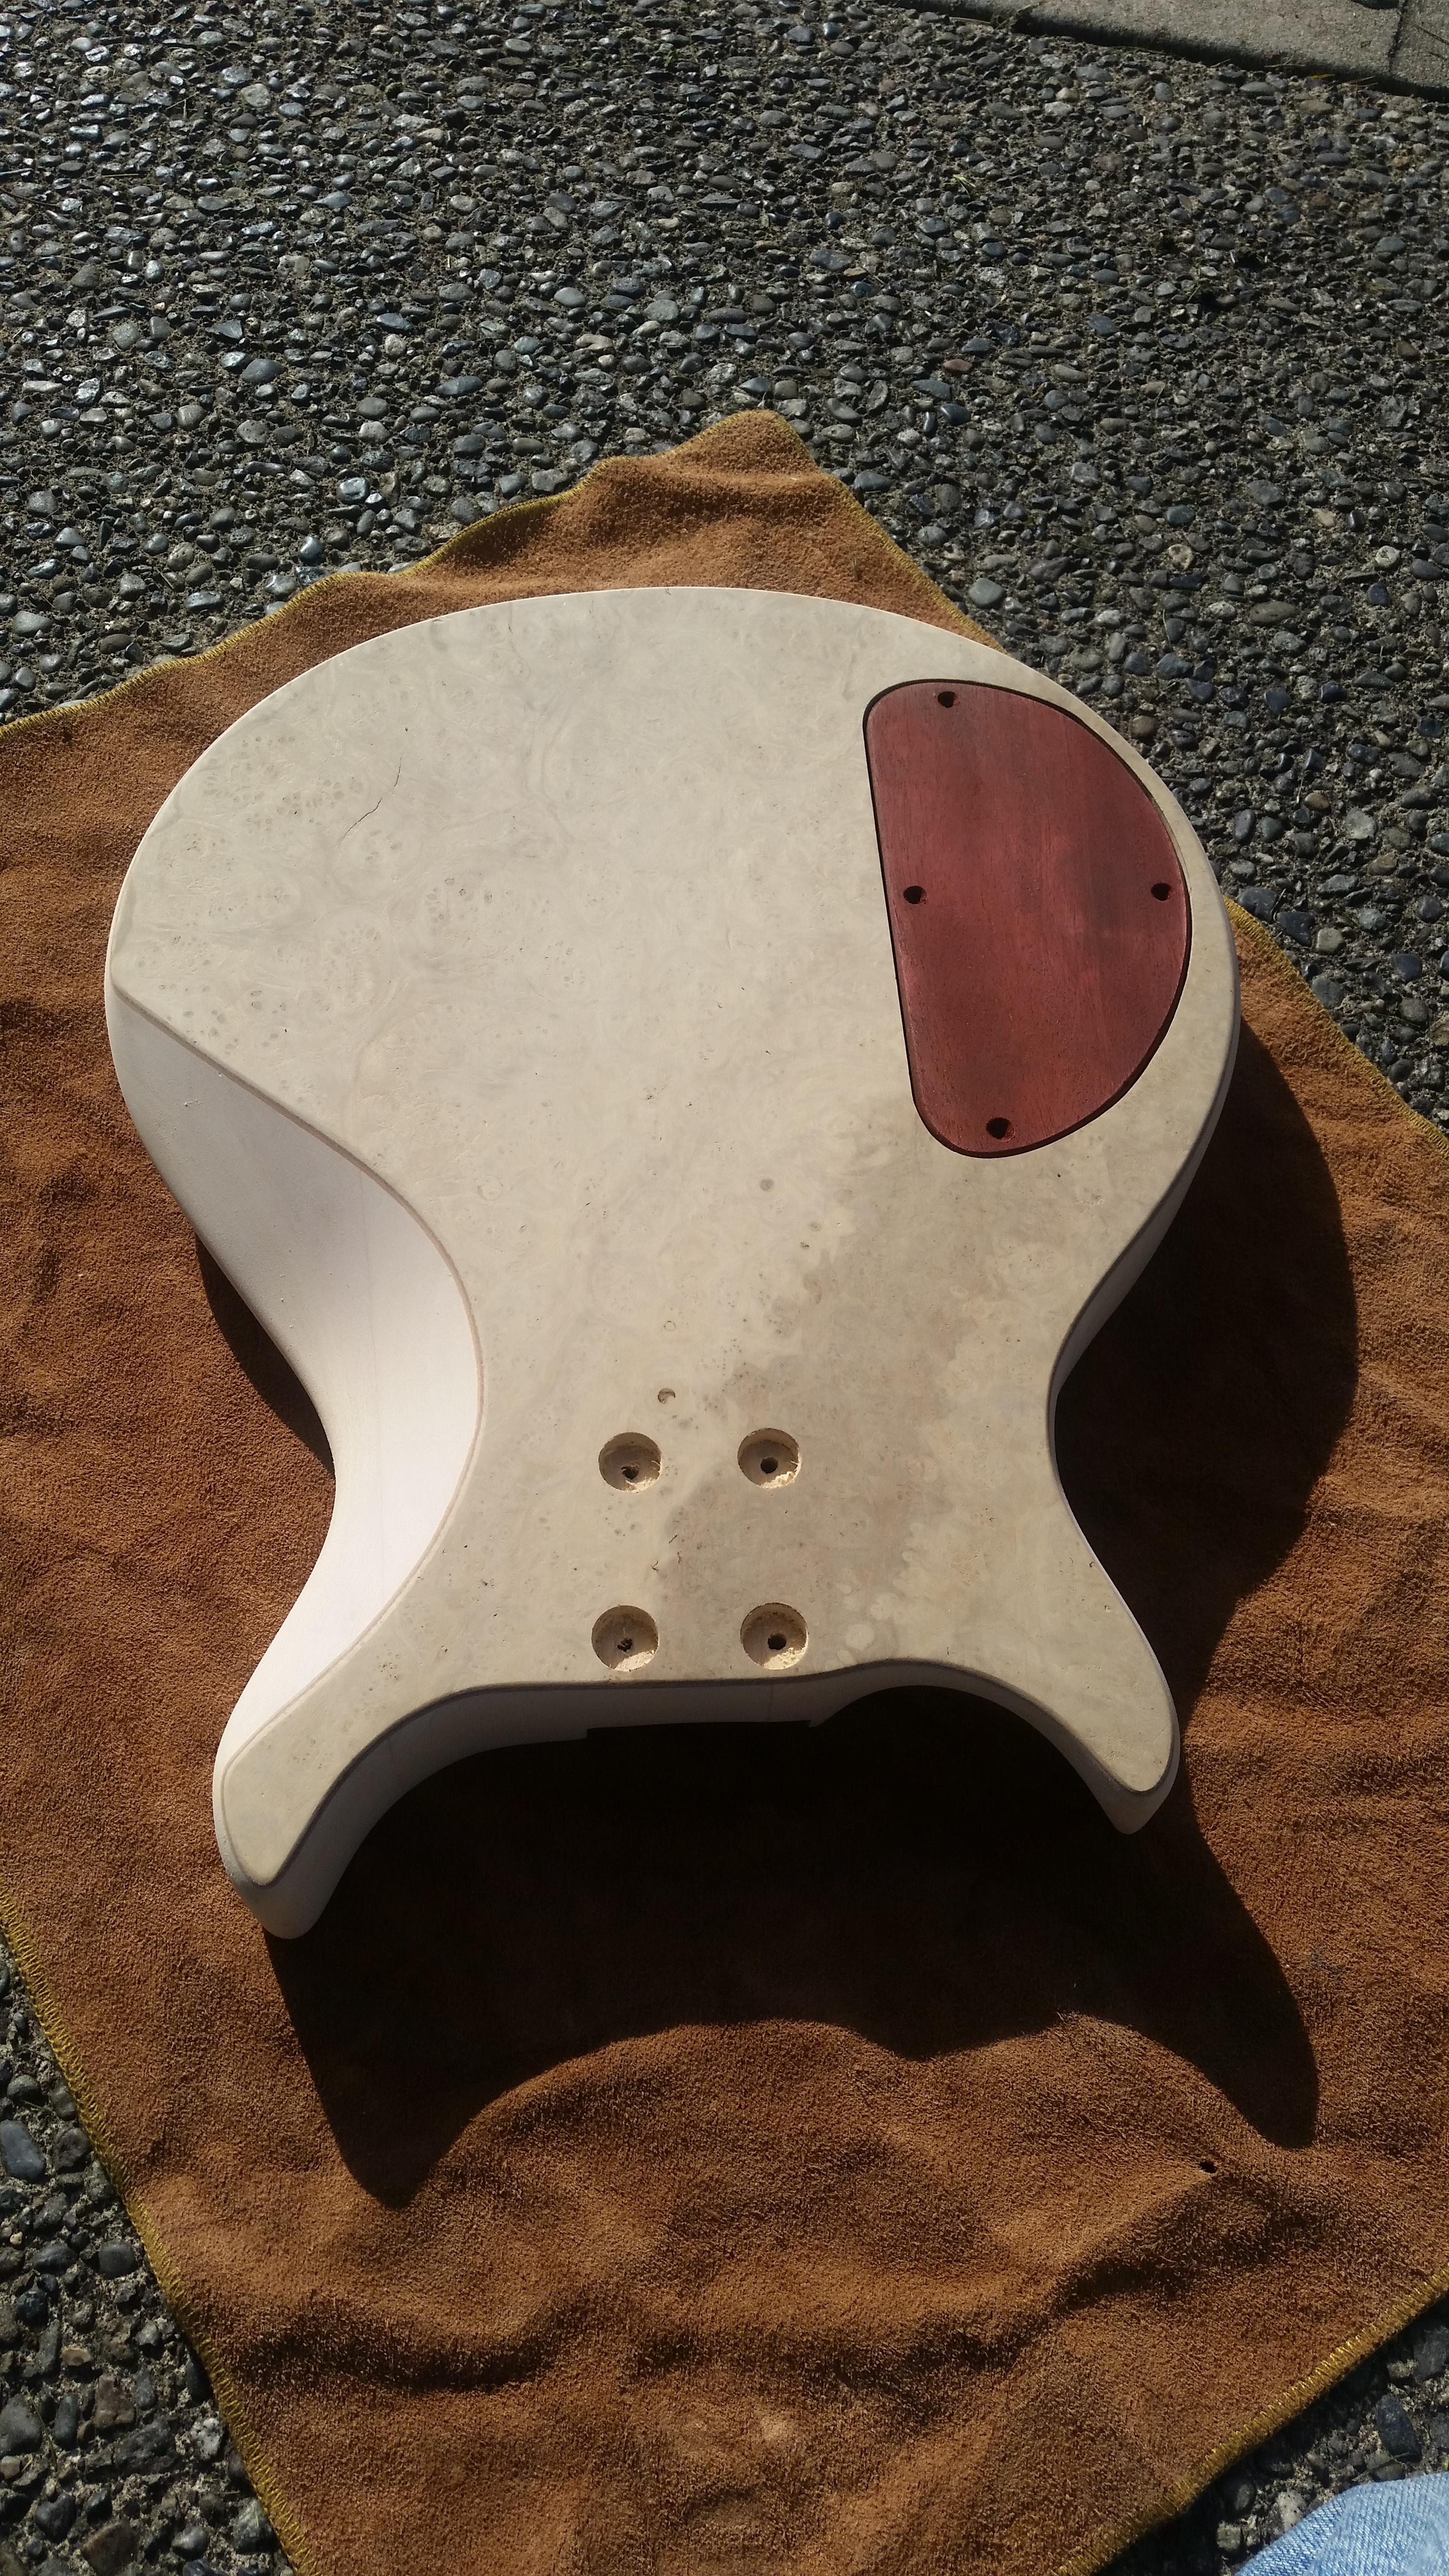
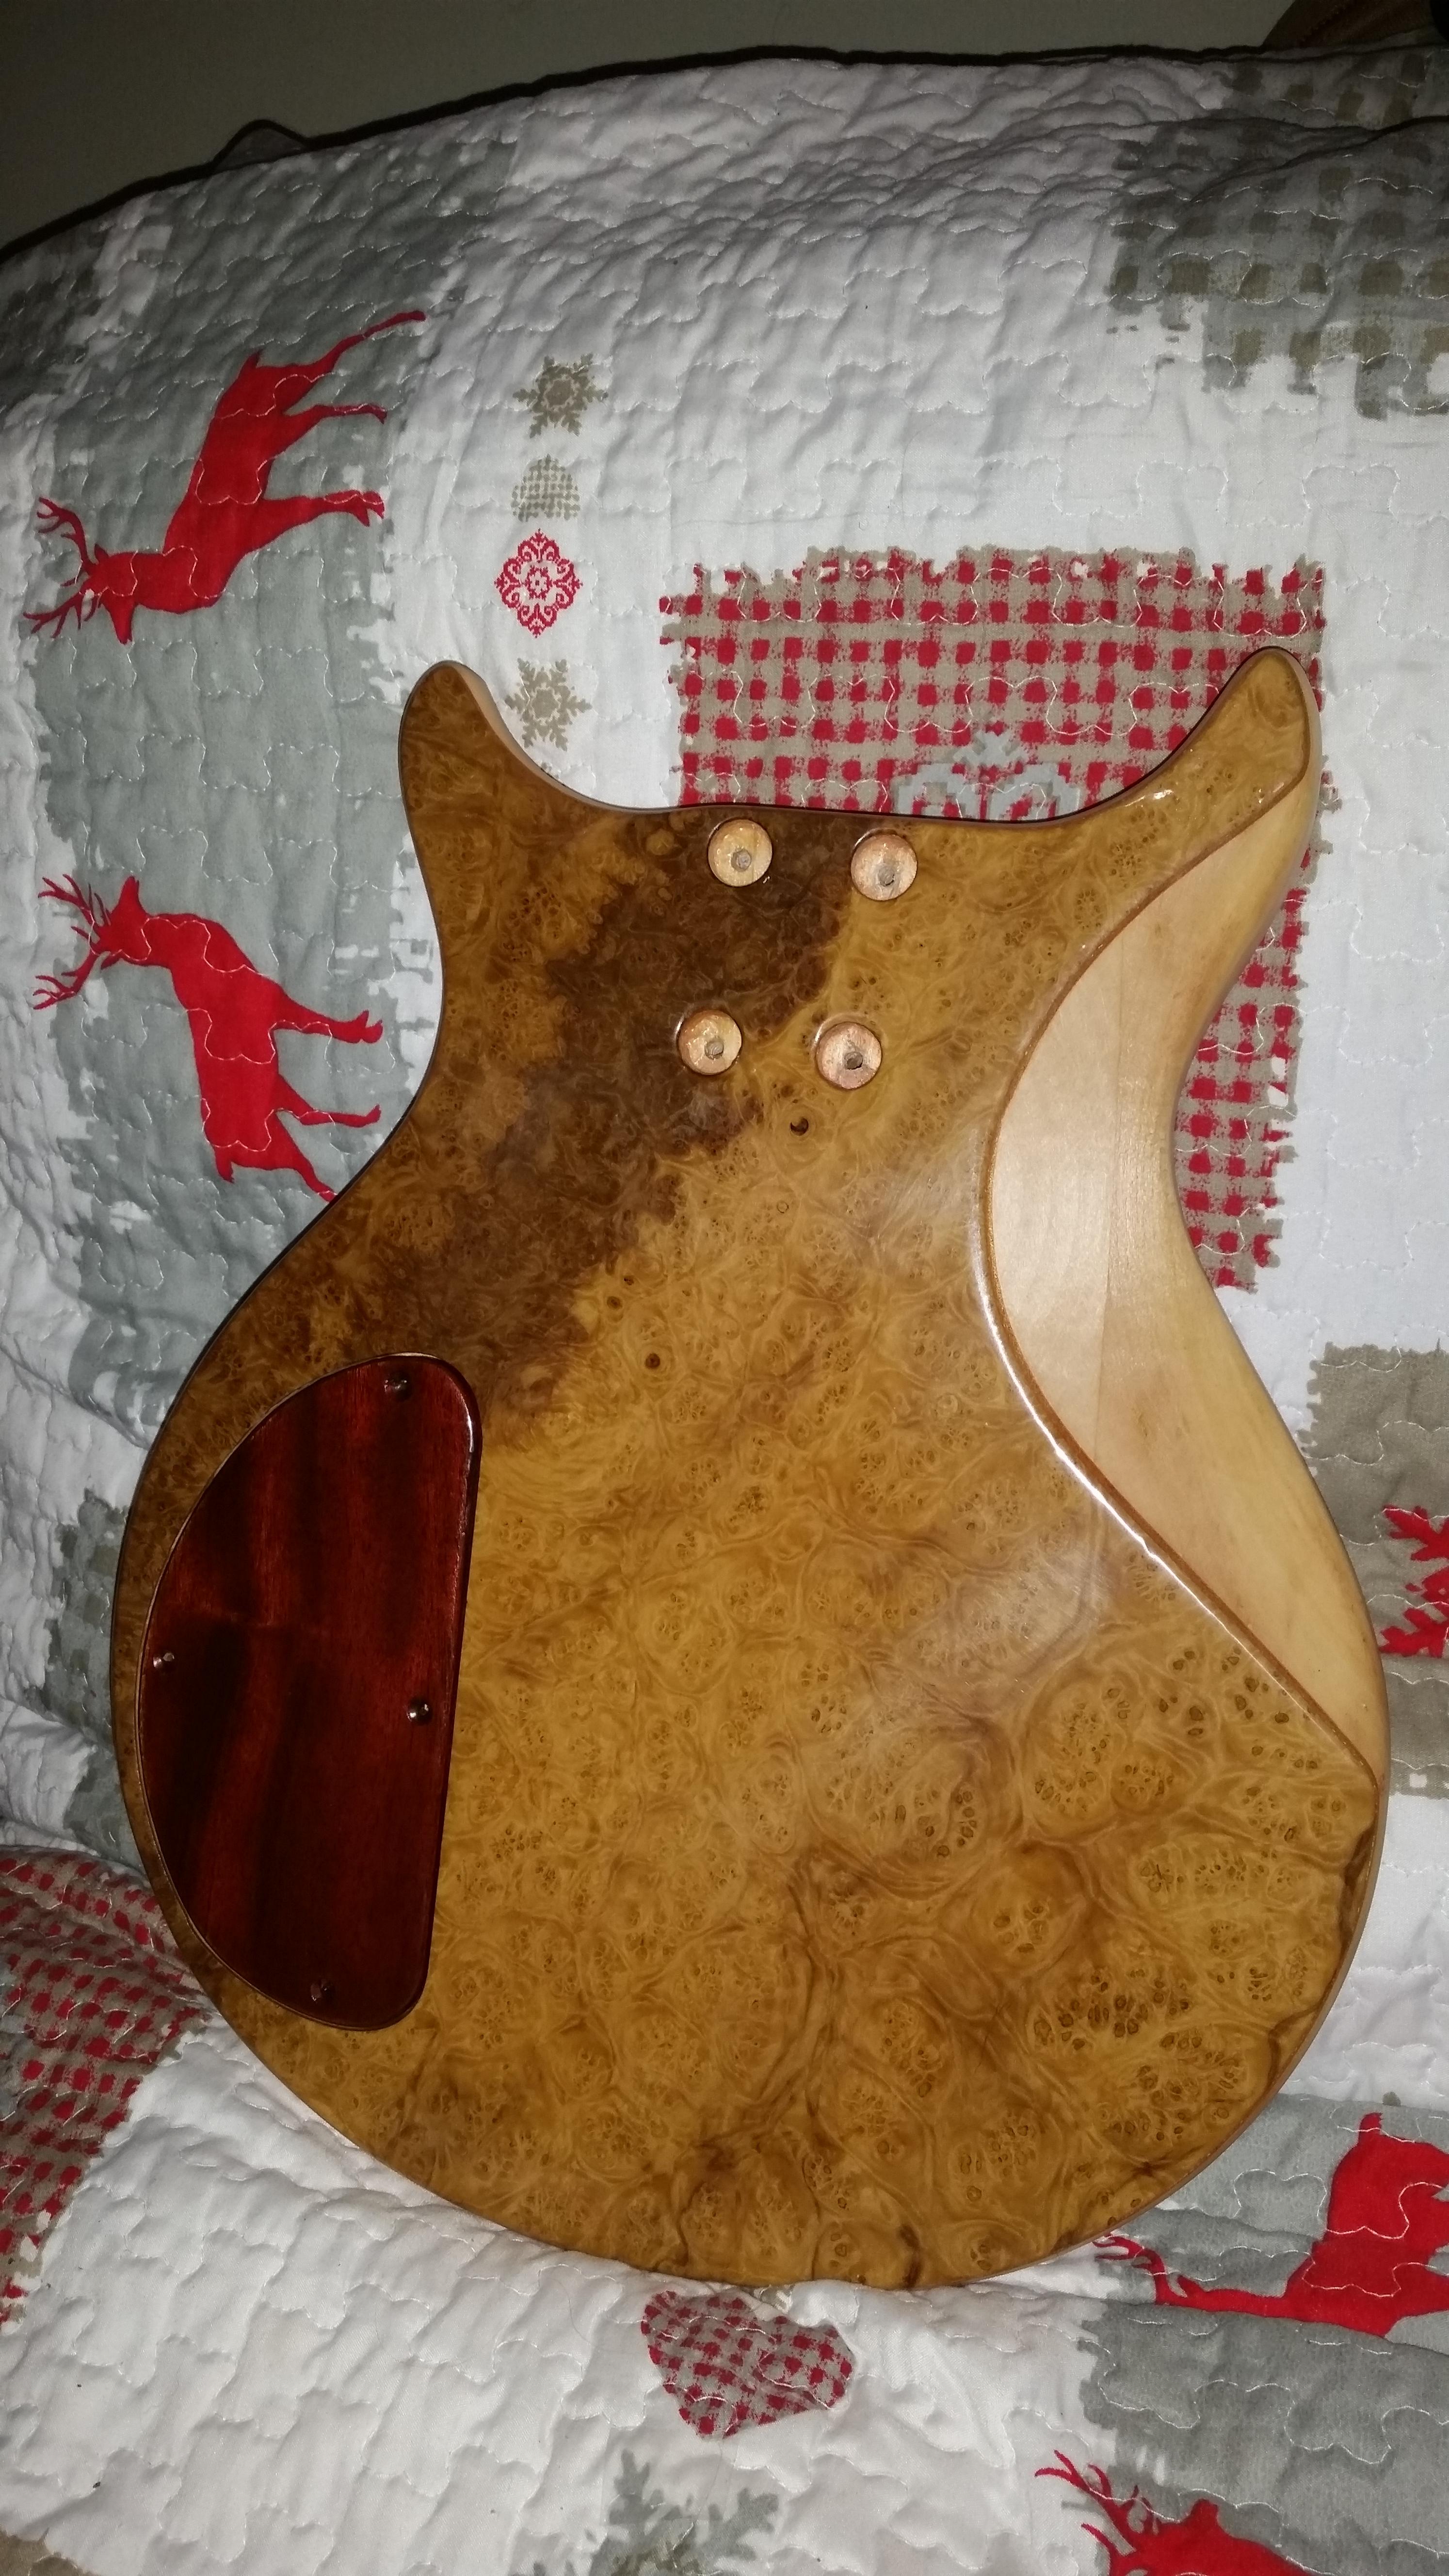
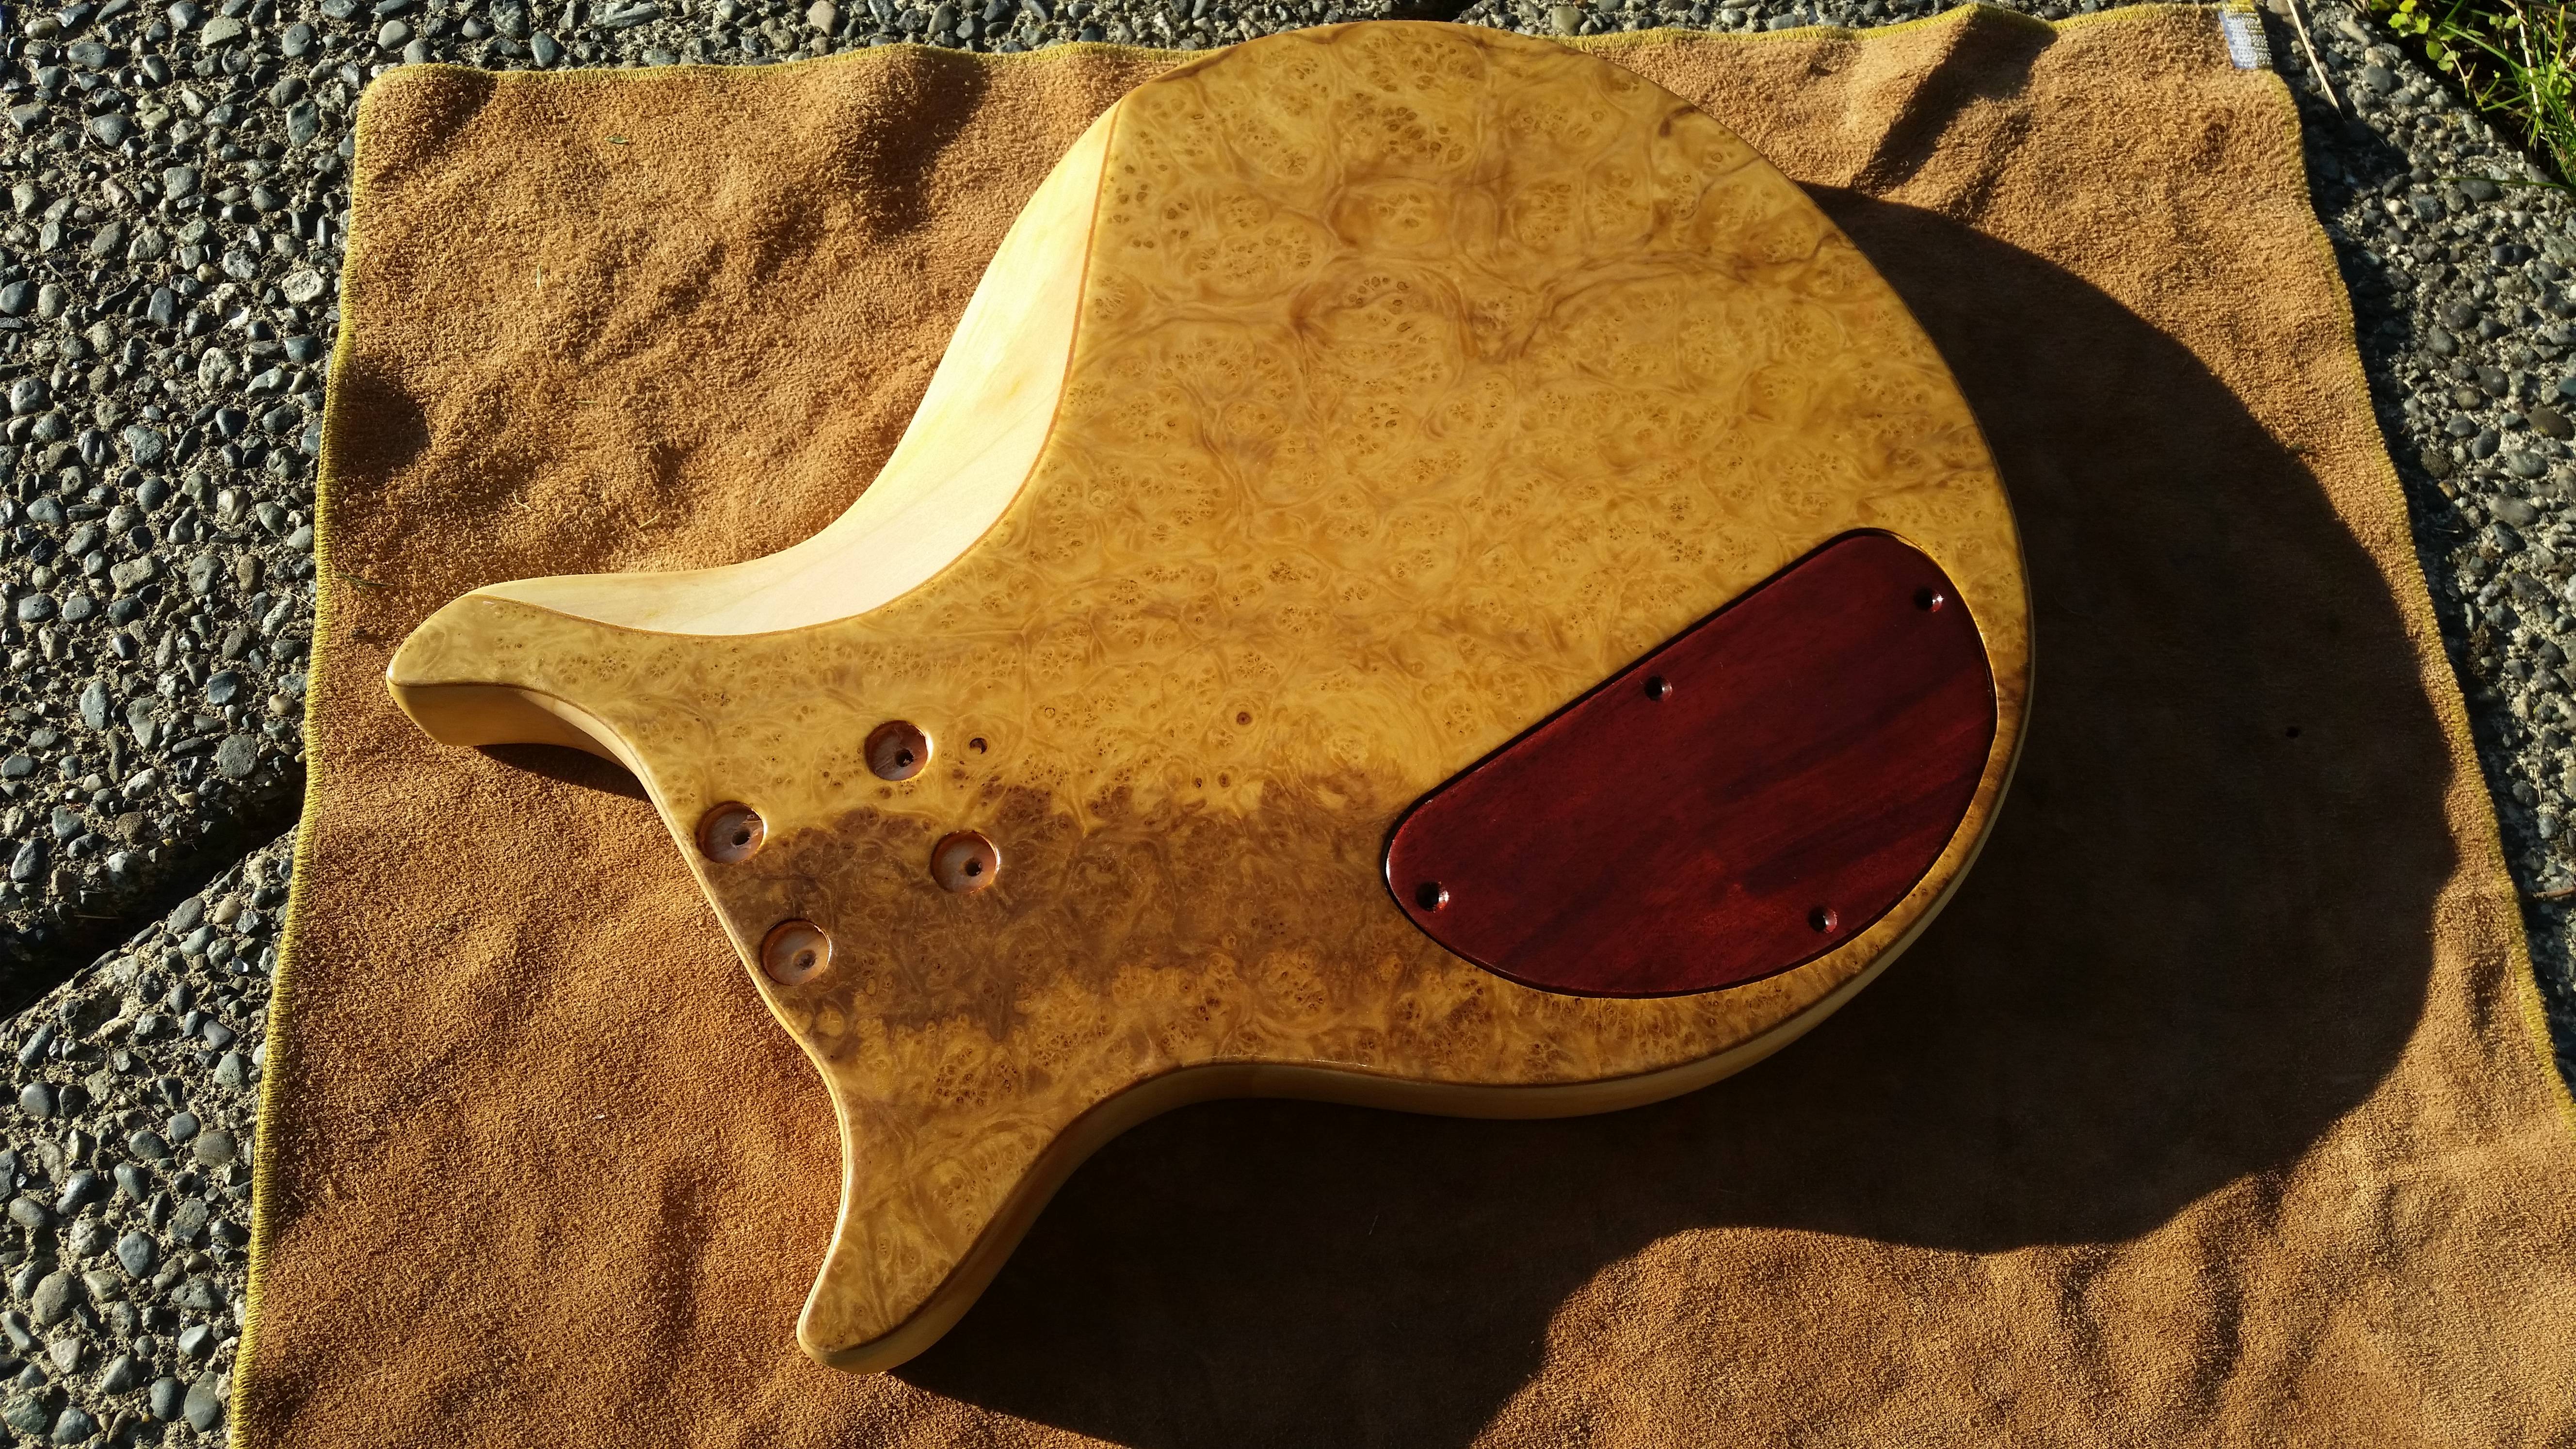
And here is one with the new backplate. Its honduran mahogany with a cherry dye in it. Its a little darker than the neck finish, but I think lacquering it should get it a lot closer. Happy with how it plays off the Laurel burl colouring
SyME0gw.jpg


IXQBstI.jpg
 
Cant wait until this is all finished. Basswood being pretty soft and with such a burled thin veneer its definitely on the fragile/easily damaged side right now. The Solarez stuff seems to be super tough, so a handful of coats of that stuff and it should be good to go. Luthier said he can apply and harden like 10 coats in an hour, as its UV activated.
 
Cant wait until this is all finished. Basswood being pretty soft and with such a burled thin veneer its definitely on the fragile/easily damaged side right now. The Solarez stuff seems to be super tough, so a handful of coats of that stuff and it should be good to go. Luthier said he can apply and harden like 10 coats in an hour, as its UV activated.
Hope it’s coming soon!
 
  • Like
Reactions: diablo_man
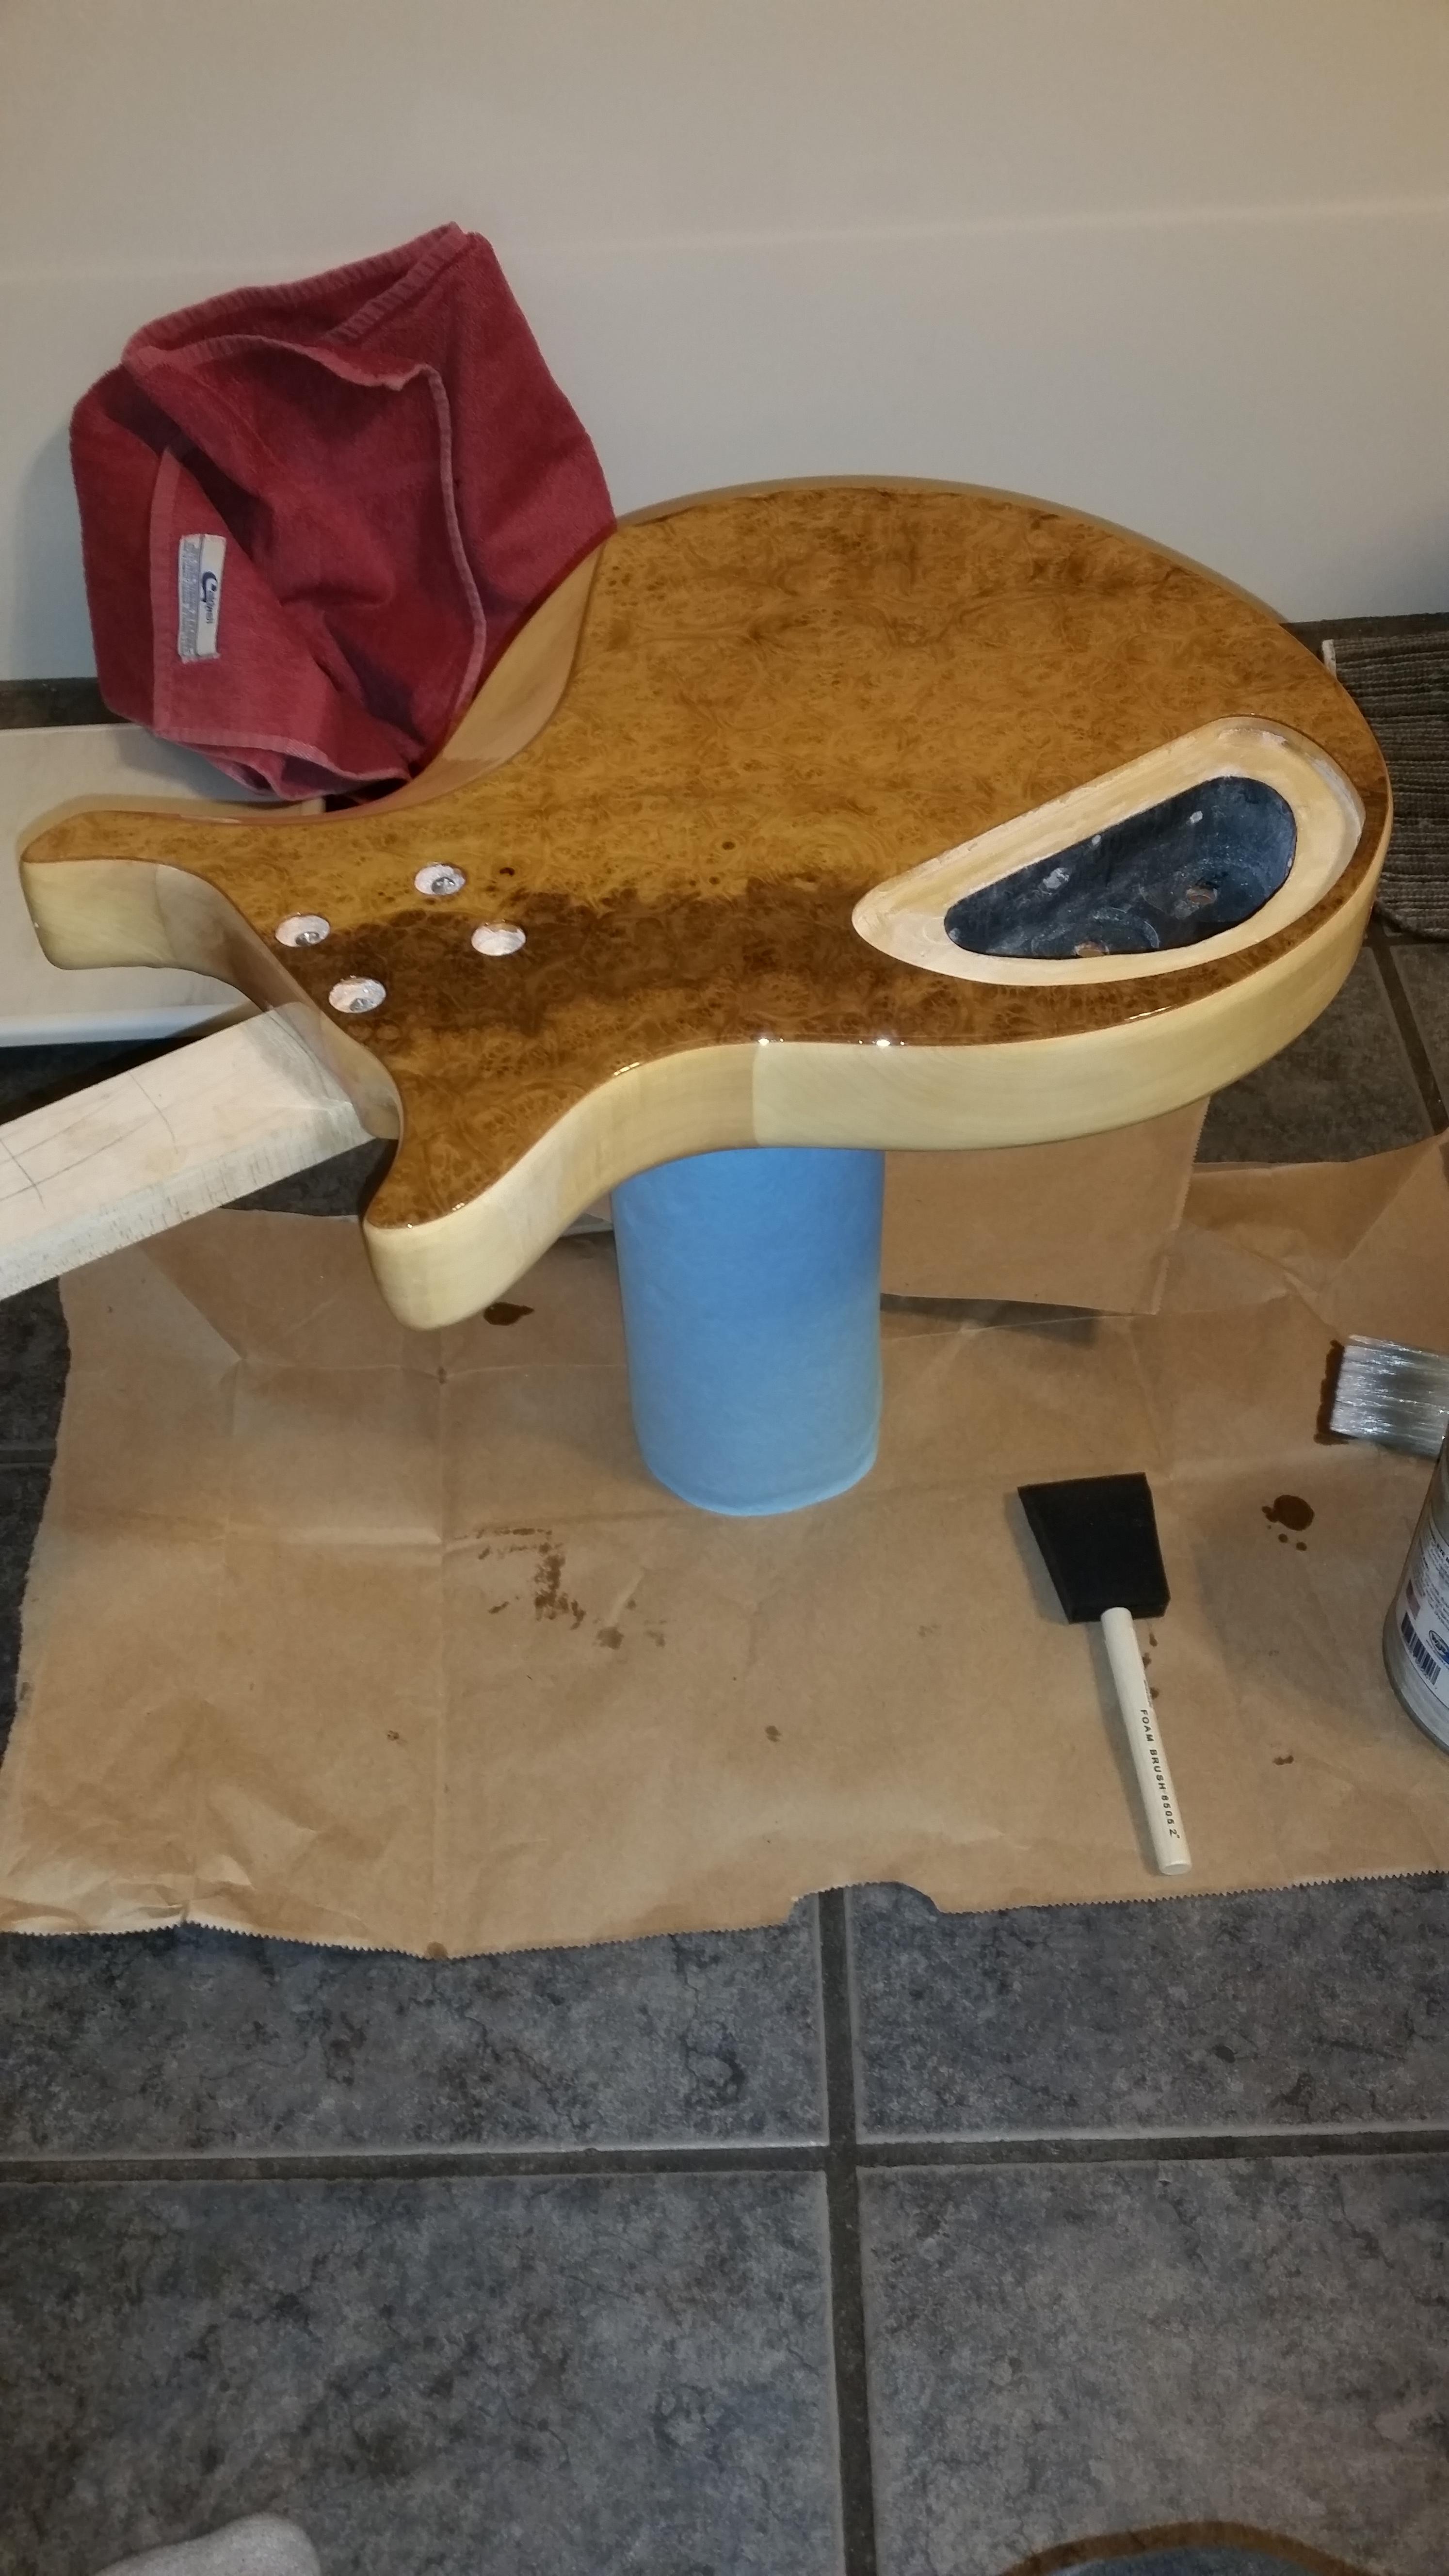
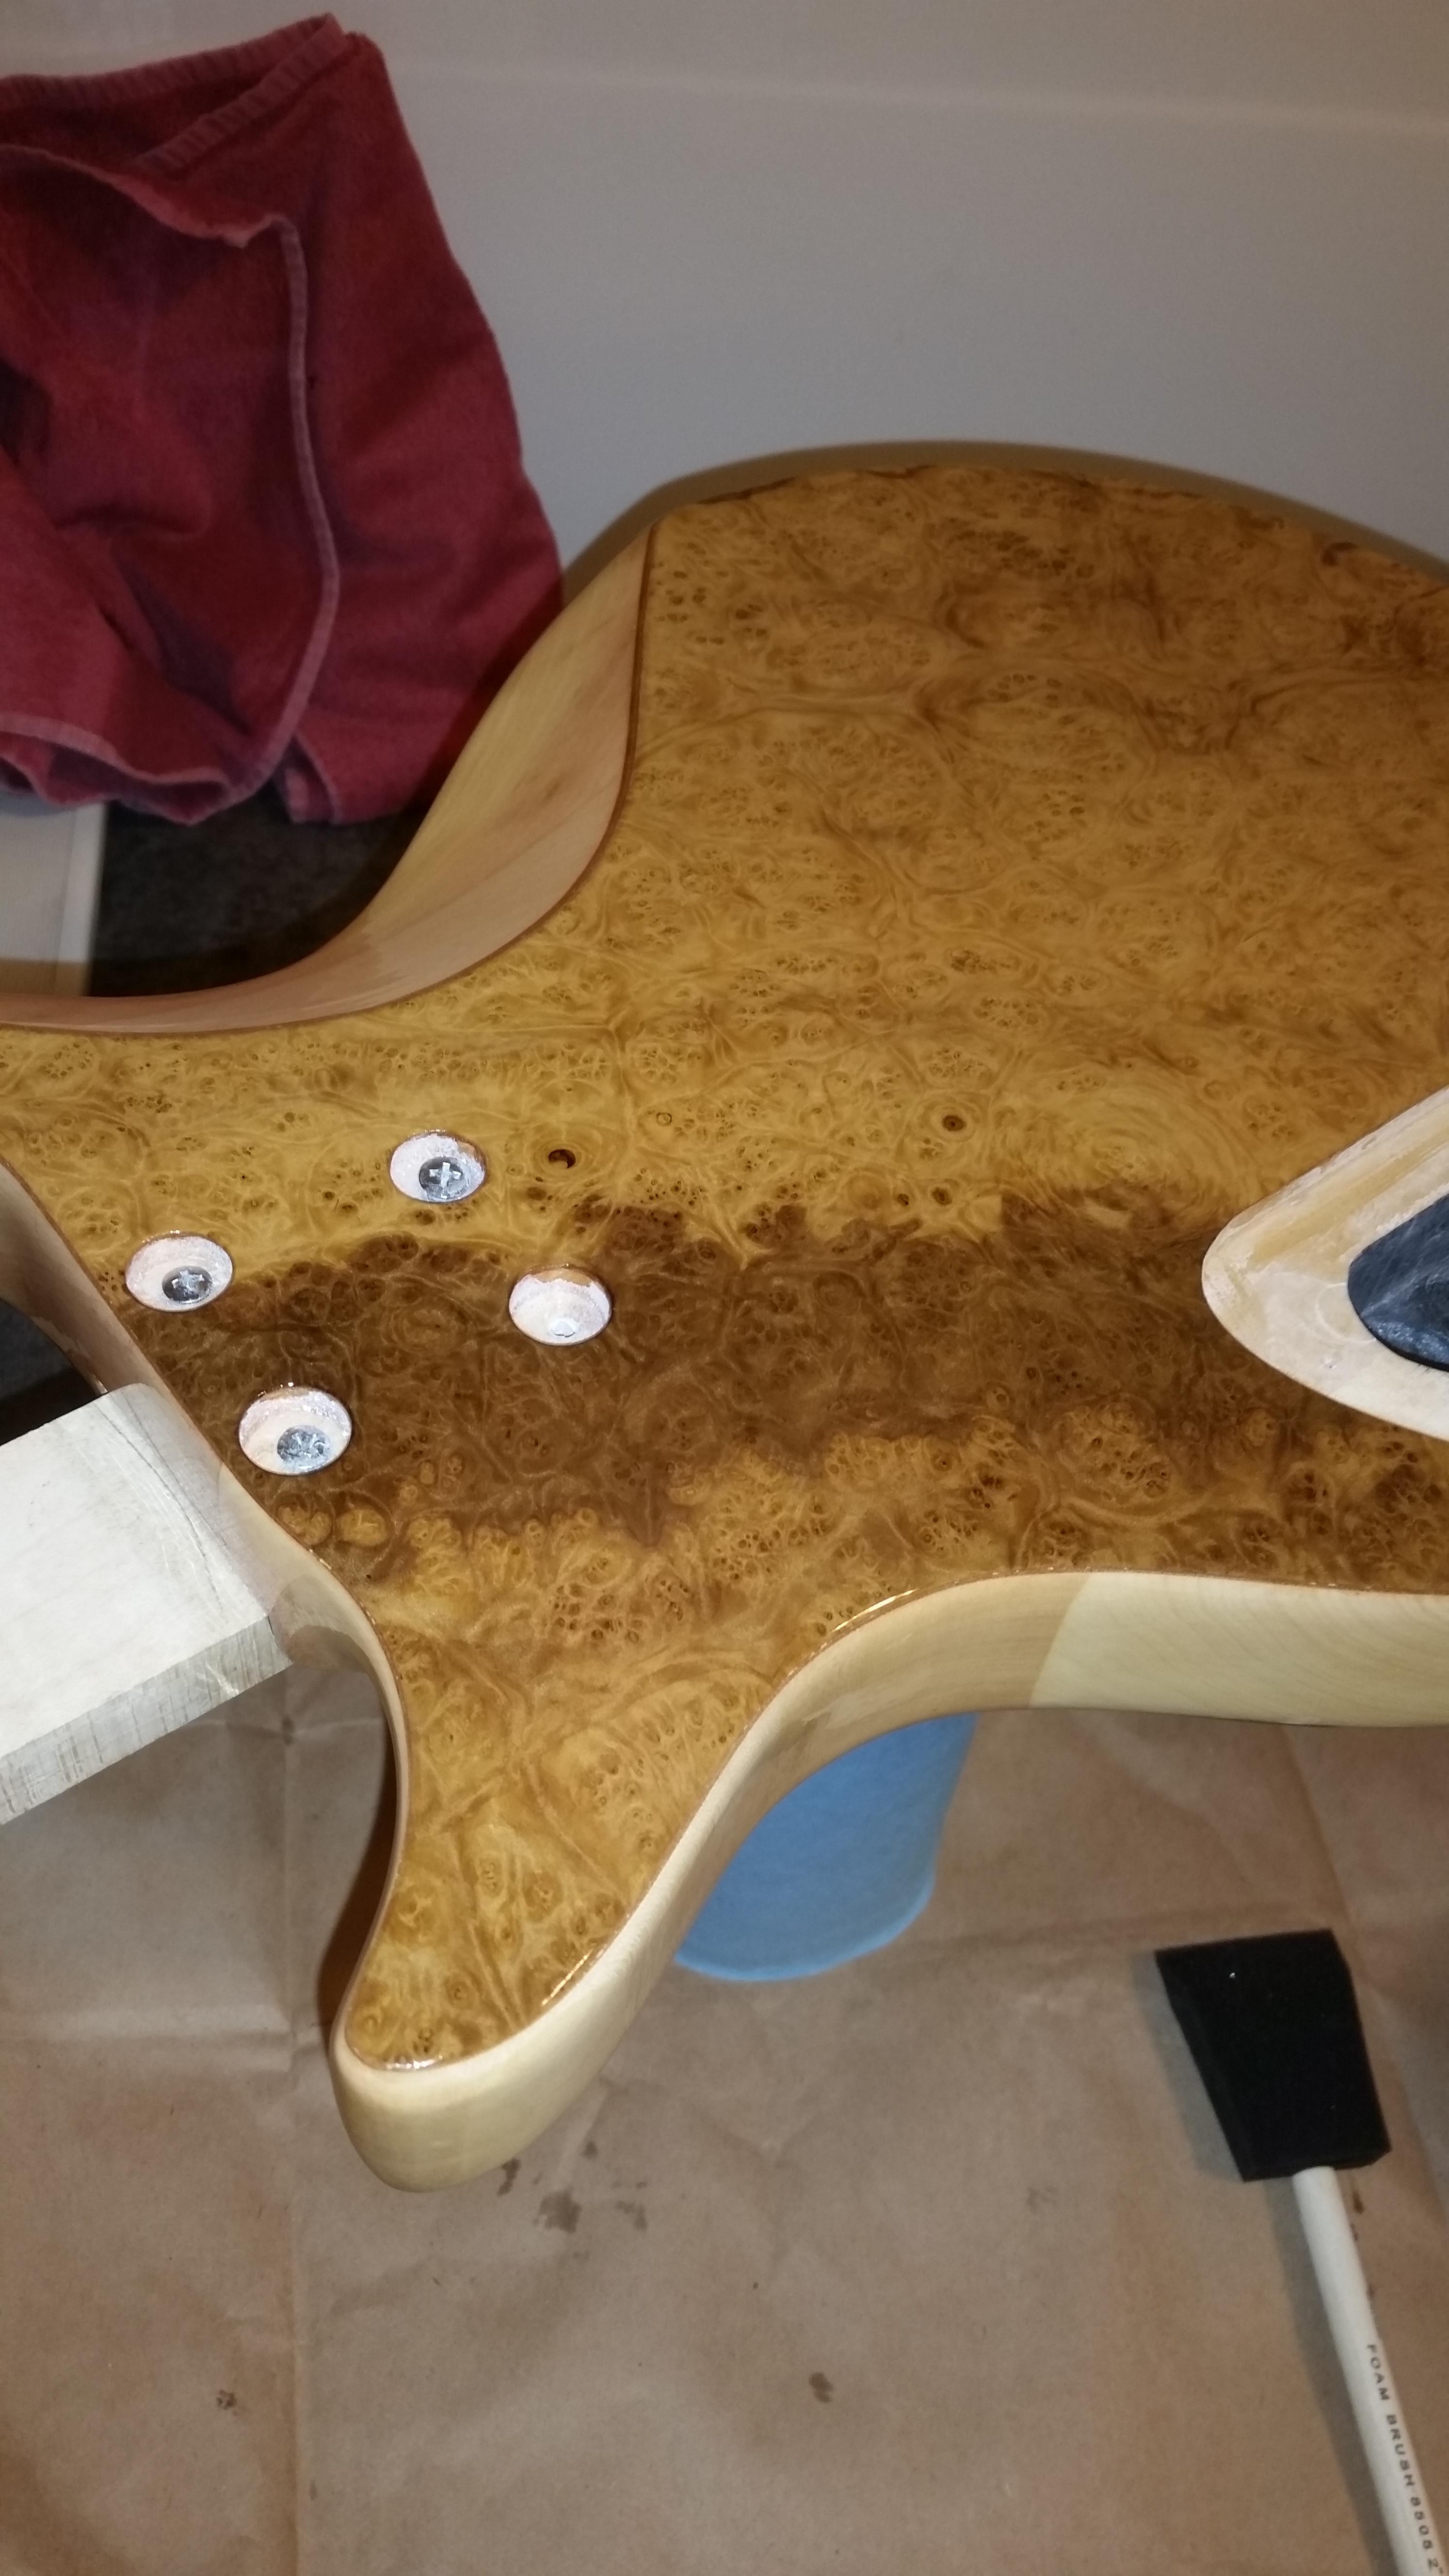
Finish has been applied! Here are some pics, keep in mind this hasn't been level sanded and as its a hand applied finish it definitely needs it. Should look great once sanded flat and buffed

yuFdLqr.jpg


si7iyEy.jpg


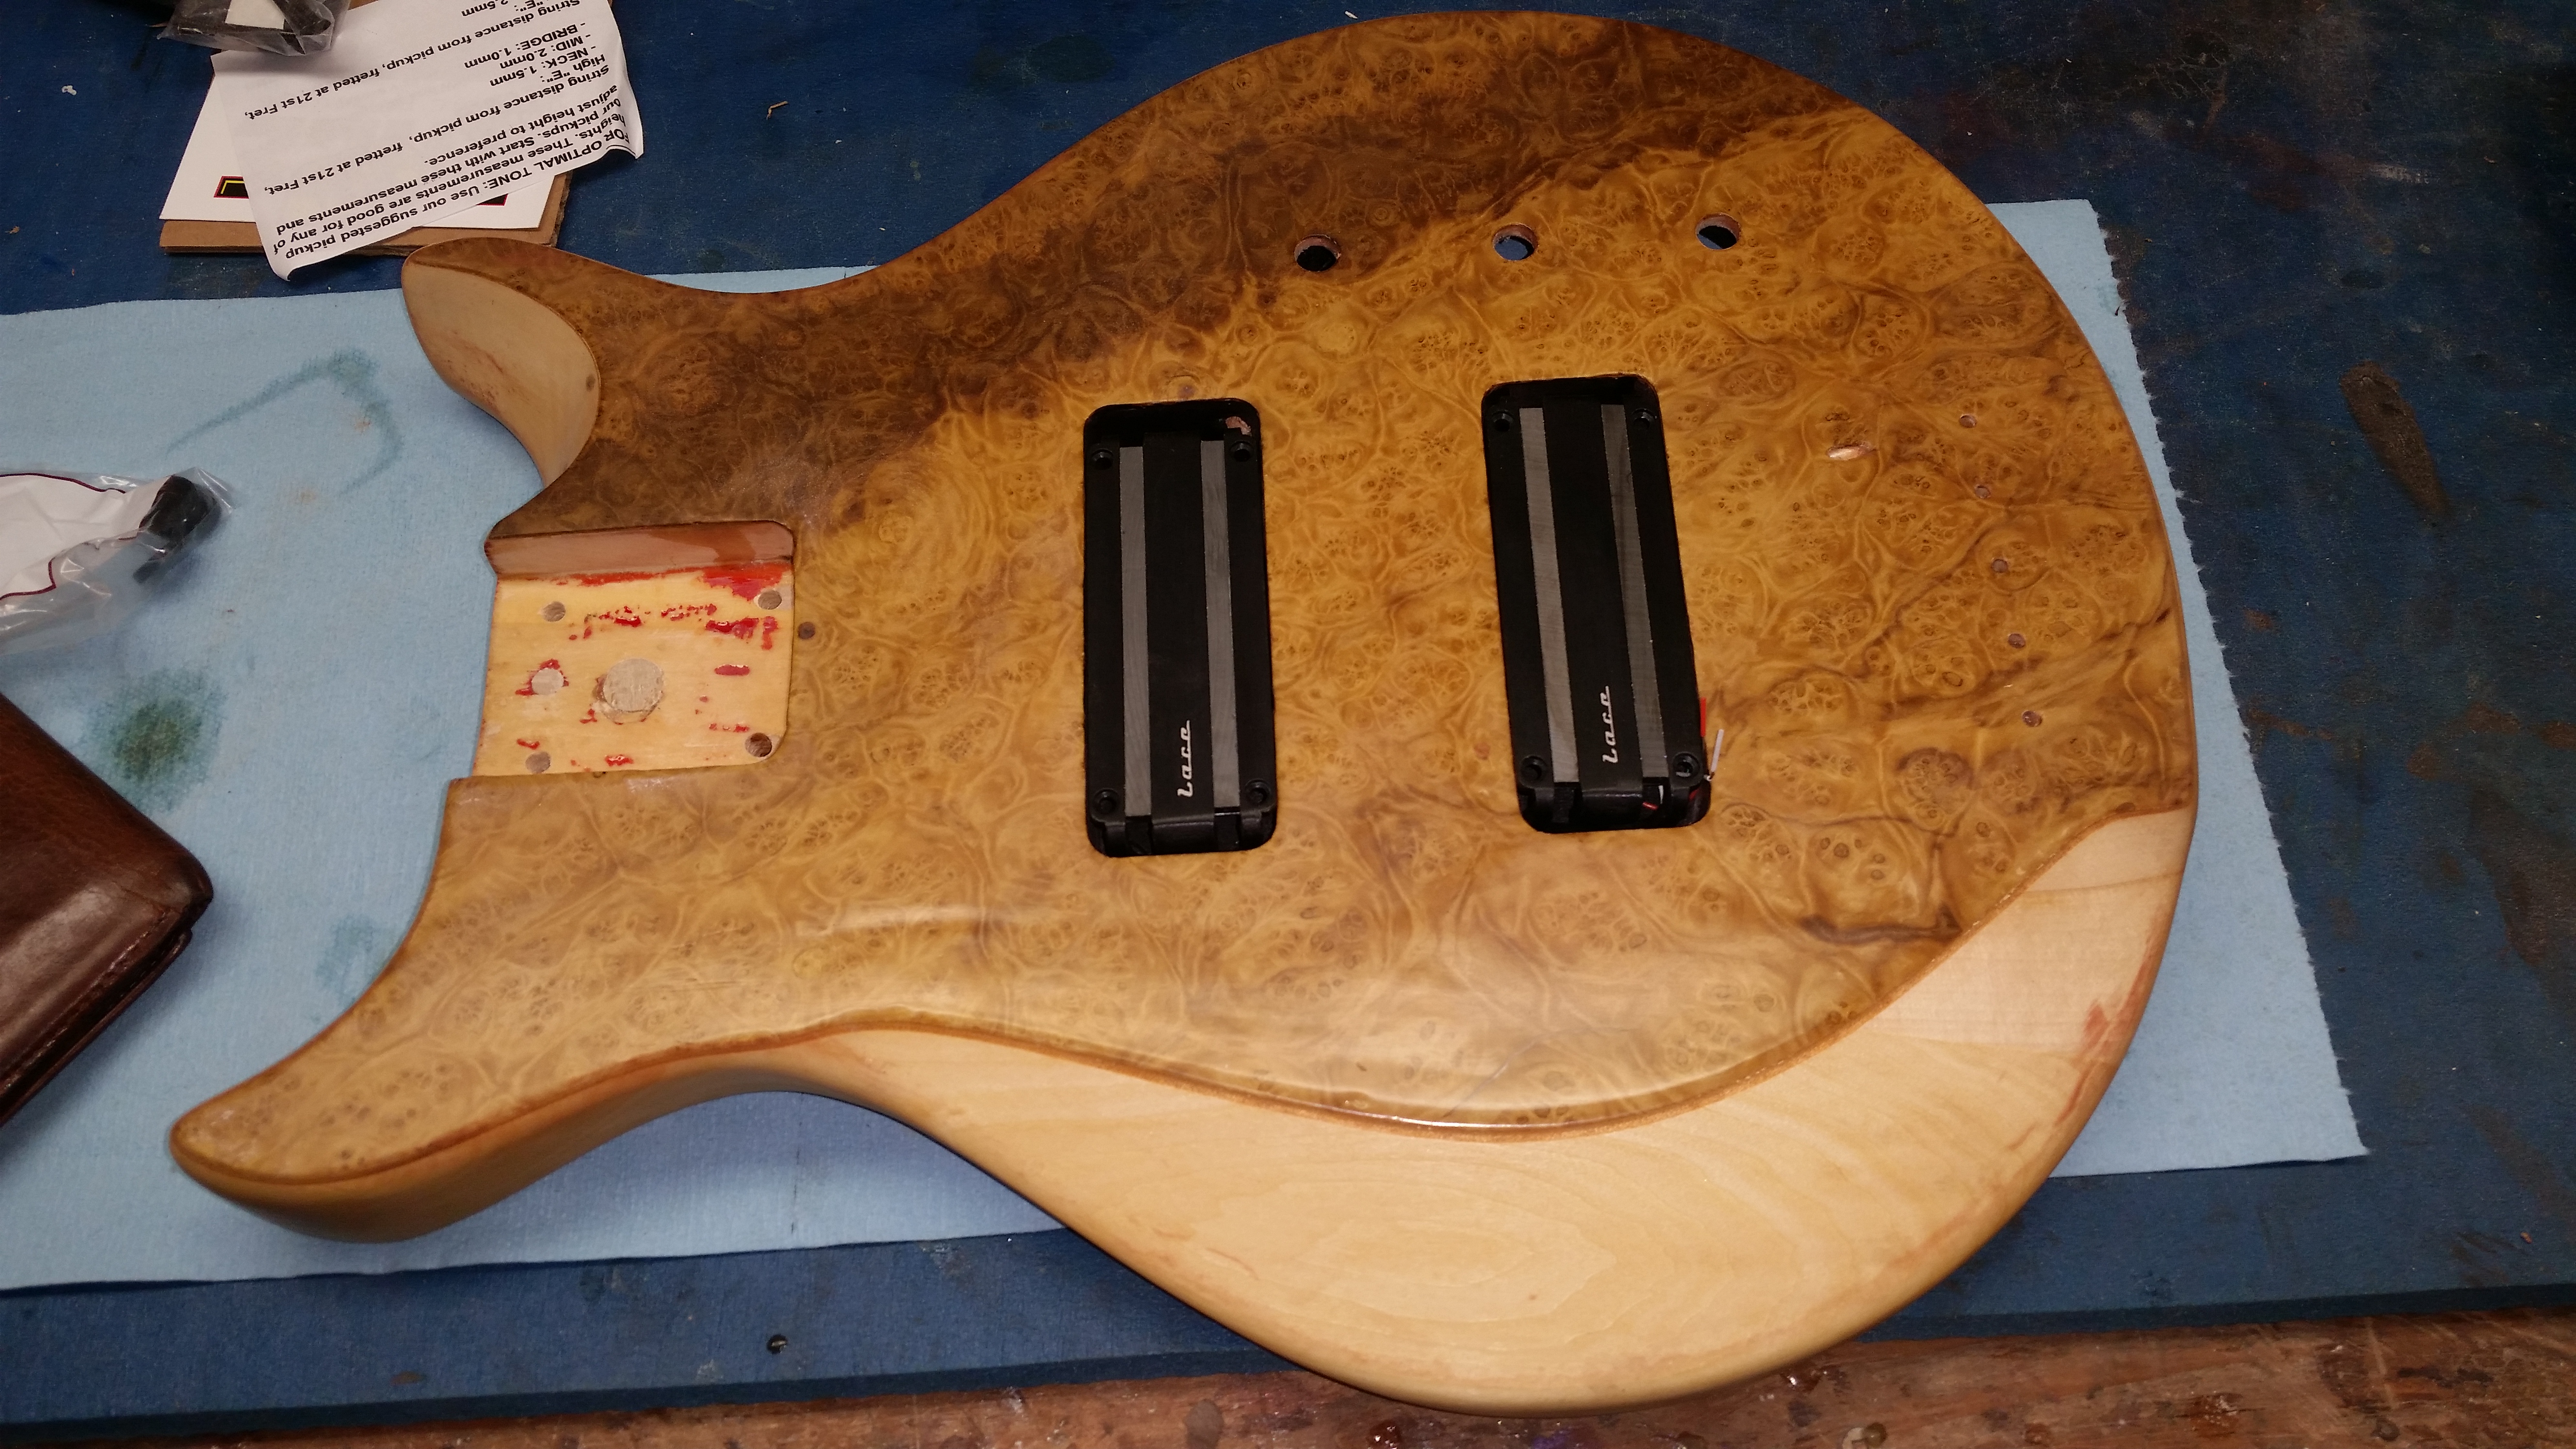
And took a pic with a set of Lace bar pickups in it, the 4.0's fit really well. Definitely considering it or a different P/U down the line once its all back together.
You can definitely see how uneven the finish is right now in the pic, i got some work ahead. The back side is more even, which makes sense its easier to apply on one flat surface.

xJUDvBS.jpg
 
Well level sanding the back was going well enough(ended up using 400gr on an orbital sander, too much material to remove by hand with 800 like everywhere recommends, and this stuff is super tough), eventually smoothed down to the few low spots.

Front didnt go so well. Couple little bubbles showed up(as holes) and i managed to go through the finish in one spot. I dont think it was on nearly as thick on top. Will be putting another thick layer on top tomorrow and giving it another go.
 
Update have slowed down recently, the finishing process was definitely a snag and a half. But I'm finally back at it!

So, before we had Solarez Dual Cure Poly finish on the top, back and bevels, with the Solarez "Cant believe its not lacquer" on the sides. Luthier friend applied that. The dual cure stuff didnt lay down very flat, had some big dips and I started going through to bare wood trying to get rid of those.

Now, since the dual cure is hard as hell, and difficult to apply(super stinky/toxic as well), leaves witness lines if you sand through a layer and hard to level sand in general, I decided to just leave it as a "base layer" so to speak, and cover the entire thing with a few layers of the Solarez Lacquer. This stuff doesnt stink, I can do it in the bathroom at home(only room without a window, dont want UV), borrowing the tin of lacquer and a UV light. it sands easier, and looks great.

Did the front/sides yesterday, currently got the back/sides sitting(hoping it levels out after an hour before i hit it with UV to save me some sanding). its on my high tech riser(balanced on a shop towel roll). Have been scuff sanding with 800 in between coats.

JLwxhuM.jpg


c4EOgWH.jpg
 
So, after having to start the finishing/level sanding process over a few times(kept sanding through while trying to sand down to the low spots) and getting majorly stalled out, I picked it back up again. Did like 4 thick coats, level sanded pretty dead flat, then did a really nice layer on top of that to cover over some witness lines.

Have successfully finished the level sanding aspect. Went right u to 2500 grit, did the back plate as well. Was just buffing it up today, and will be doing the final few things(cleaning up holes that filled partially with finish) and then reassembling with luthier friend, sorting out the neck and new bridge over the weekend is the plan.

Some other new hardware, schaller strap locks(design has much improved over when i have bought these previously), black/abalone knobs and a few other things. Sorry no pics today , just wanted to do an update for once.
 

Latest posts