

Enjoy the benefits of a premium membership!
Upgrade Account
-
TalkBass has been independent since 1998. Add your voice.
Create a free account to reply to discussions, view embedded media, and browse with fewer display ads.
Join free Log in
Want zero display ads or expanded classifieds tools? Compare plans.
You are using an out of date browser. It may not display this or other websites correctly.
You should upgrade or use an alternative browser.
You should upgrade or use an alternative browser.
Mosrite Inspired Build
- Thread starter RickBlair
- Start date
More options
Who Replied?
You know, I've been looking for the same sort of thing. You said you're looking for chrome?
http://www.ebay.com/itm/NEW-WD-4-St...840?pt=Guitar_Accessories&hash=item5ad47f62f8
I'm doing mine in black, but I thought this could help if you're still looking for a tailpiece seperate bridge.
http://www.ebay.com/itm/NEW-WD-4-St...840?pt=Guitar_Accessories&hash=item5ad47f62f8
I'm doing mine in black, but I thought this could help if you're still looking for a tailpiece seperate bridge.
As an eBay Associate, TalkBass may earn a commission from qualifying purchases.

That bridge would be great - it even has a matching tailpiece available, but it's only available in a 4-string. I'm going to try my own bridge and tailpiece first and see how they work.
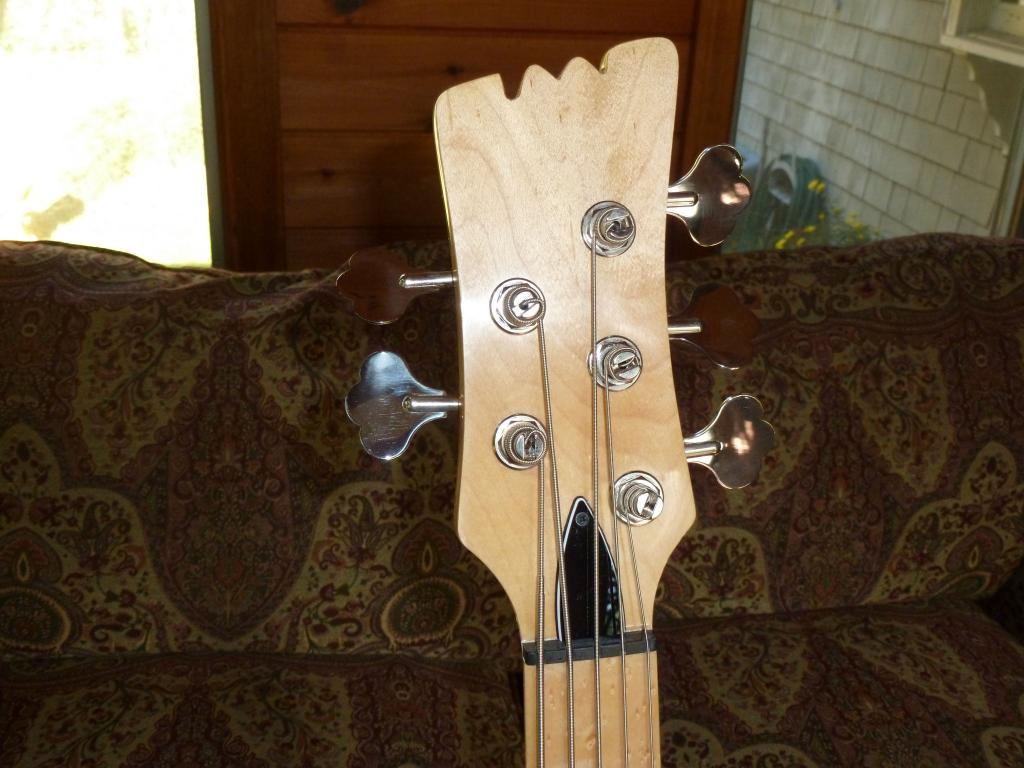
I'm received the Hipshot ultralight tuners last week and I'm working on shaping the headstock so I'm hoping to have a bass without pickups together in a week or so.
Rick B.
I'm received the Hipshot ultralight tuners last week and I'm working on shaping the headstock so I'm hoping to have a bass without pickups together in a week or so.
Rick B.
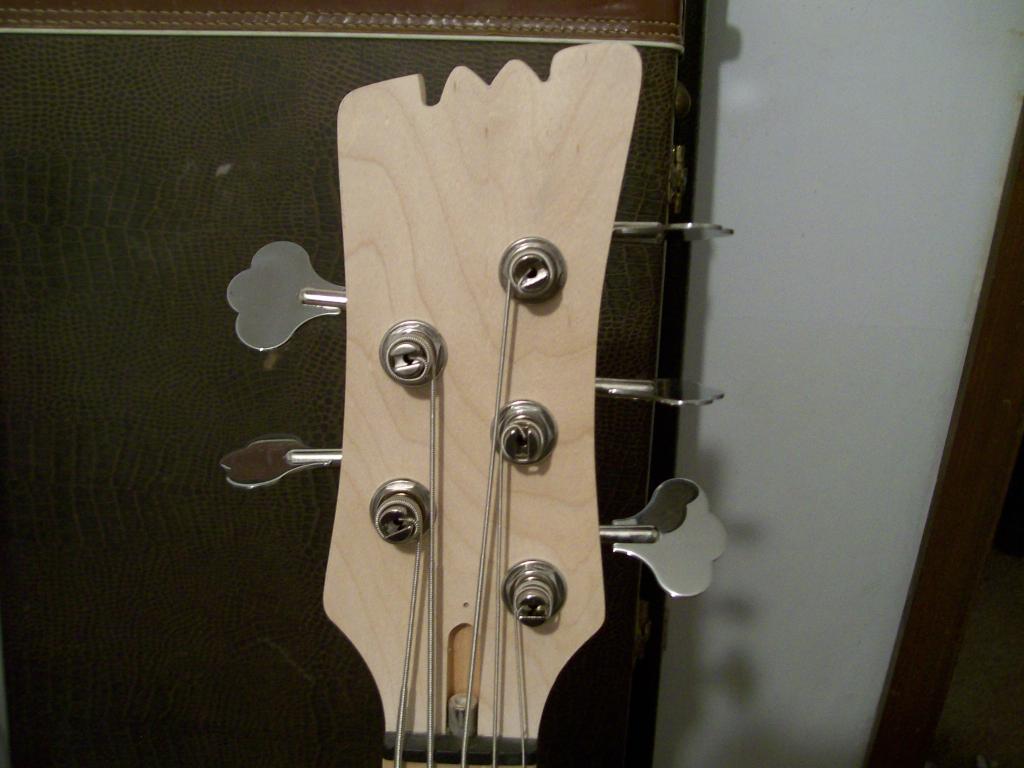
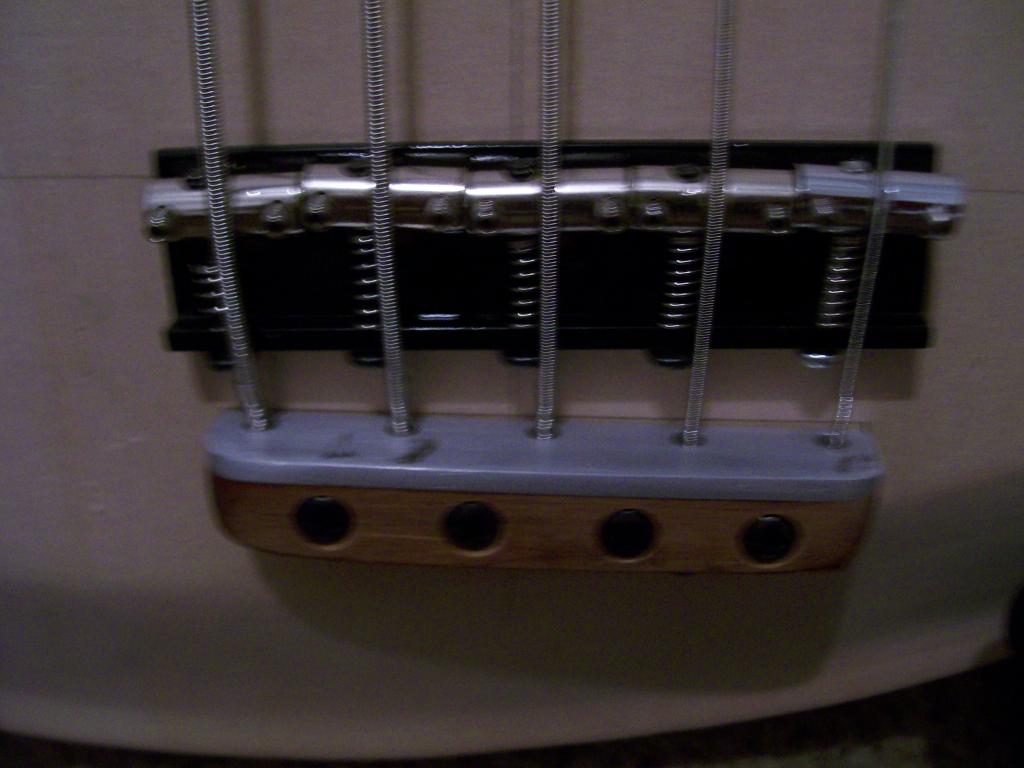
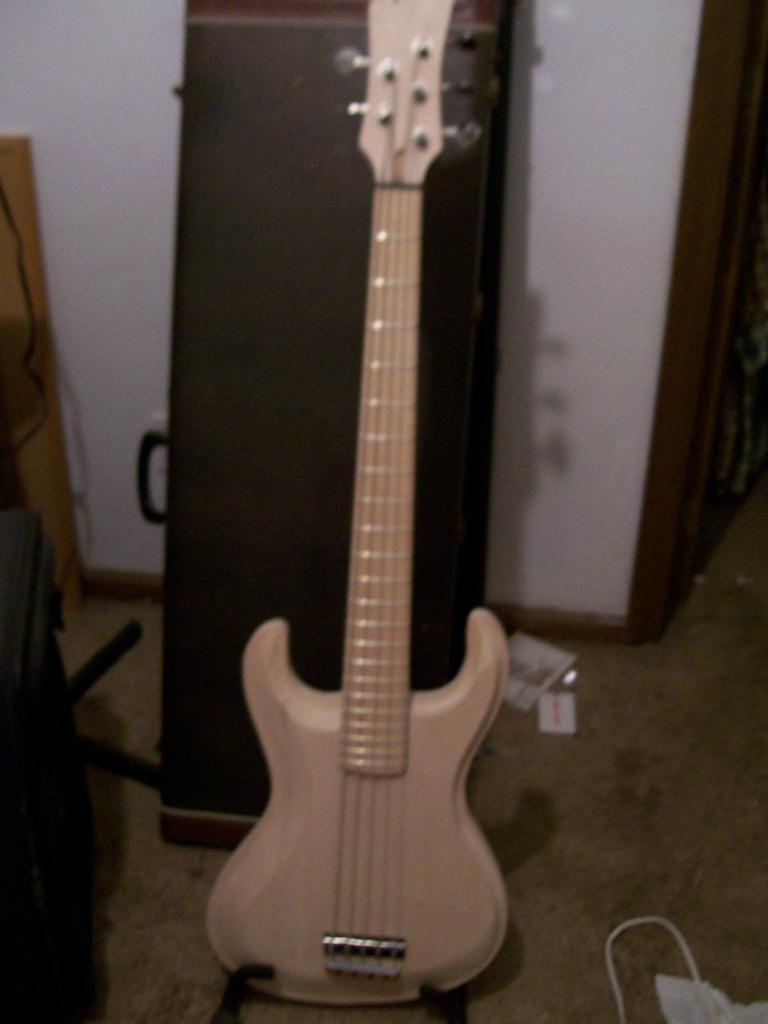
OK. I've been working steadily on this as time permits. Got the headstock shaped, tuners drilled, and tailpiece mounted. The bridge isn't screwed down yet since I'm not sure I'll be using it but at this point I have something that makes noise.
Rick B.
Rick B.
Would the bridge work flipped the other way, looks like you'd have a hard time reaching the intonation screws that way.
Would the bridge work flipped the other way, looks like you'd have a hard time reaching the intonation screws that way.
I originally intended the bridge to be mounted with the intonation screws in the front. Someone else suggested that the saddles would tend to creep toward the front if mounted that way. I haven't screwed the bridge down so I can try it both ways.
Rick B.

Wow man, this thing looks absolutely badass. What kind of tuners are you useing anyway??? Keep up the good work. I am really looking forward seeing more from this awesome build.
Wow man, this thing looks absolutely badass. What kind of tuners are you useing anyway??? Keep up the good work. I am really looking forward seeing more from this awesome build.
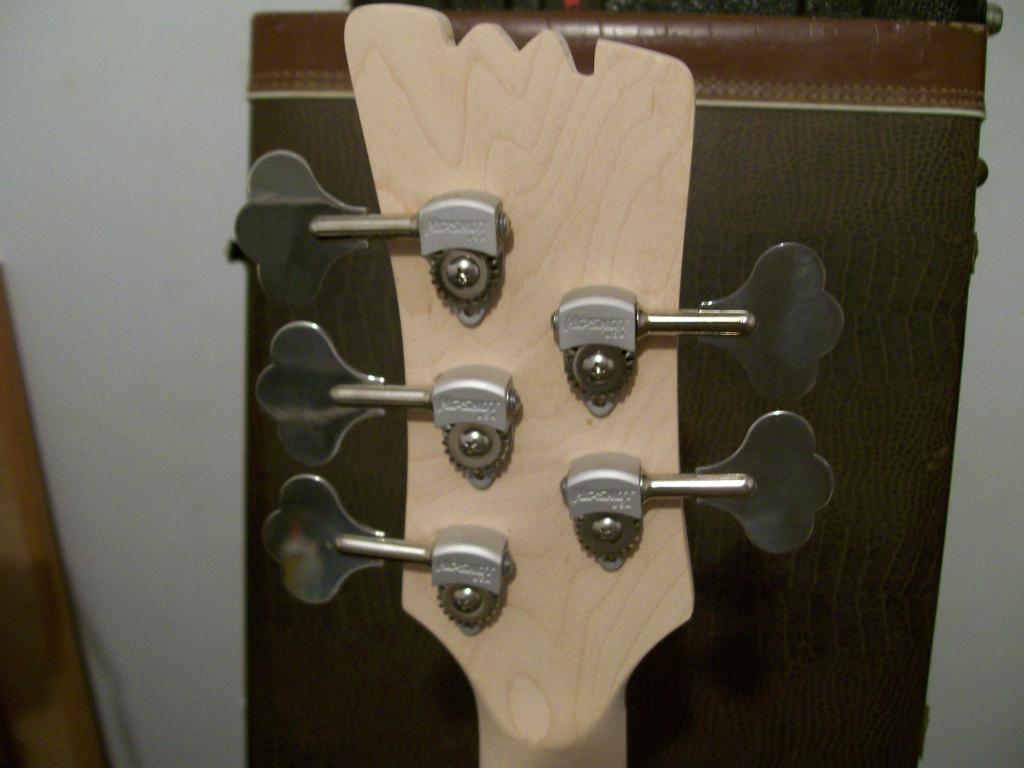
The tuners are Hipshot Ultralights. I wanted to keep the weight down at the headstock end and the small size of the tuners works great with the available area on the headstock.
Rick B.
Hah! I knew it! Anyways keep up the good work this thing is turning out beautiful.
The tuners are Hipshot Ultralights. I wanted to keep the weight down at the headstock end and the small size of the tuners works great with the available area on the headstock.
Rick B.
I've been proceeding along at a leisurely pace. The pickup routes are finished and I did a quick mockup of a pickguard today. I'm thinking the pickguard might not change a whole lot. There's a pic of my pickup test jig in here too.
Rick B.
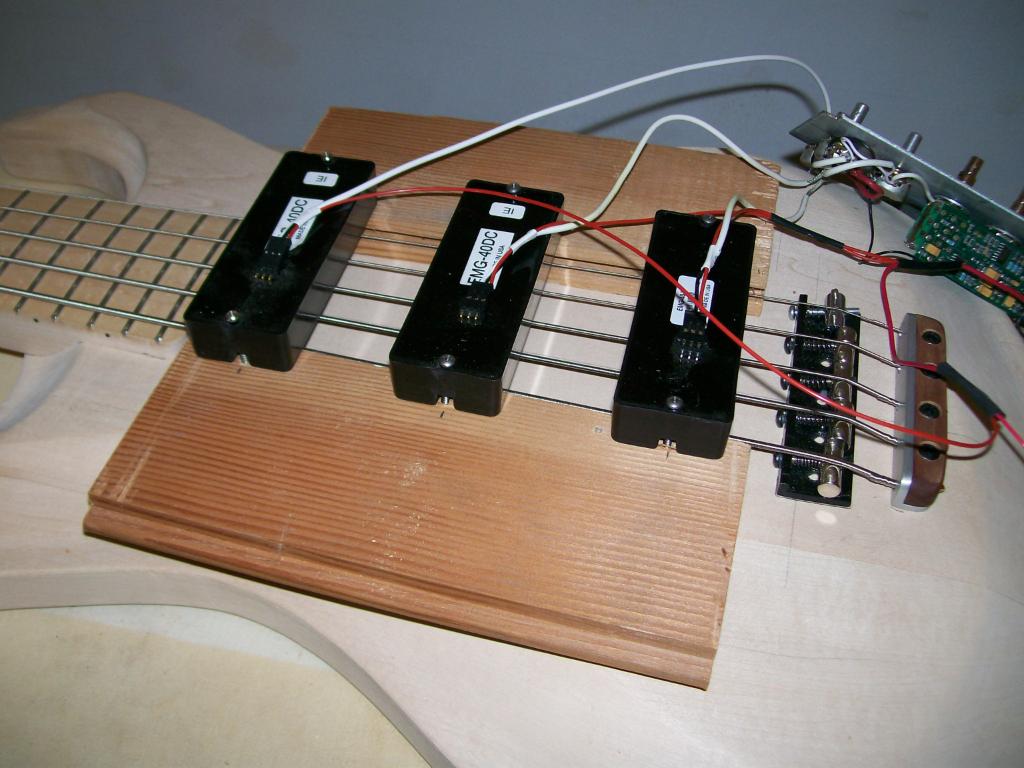
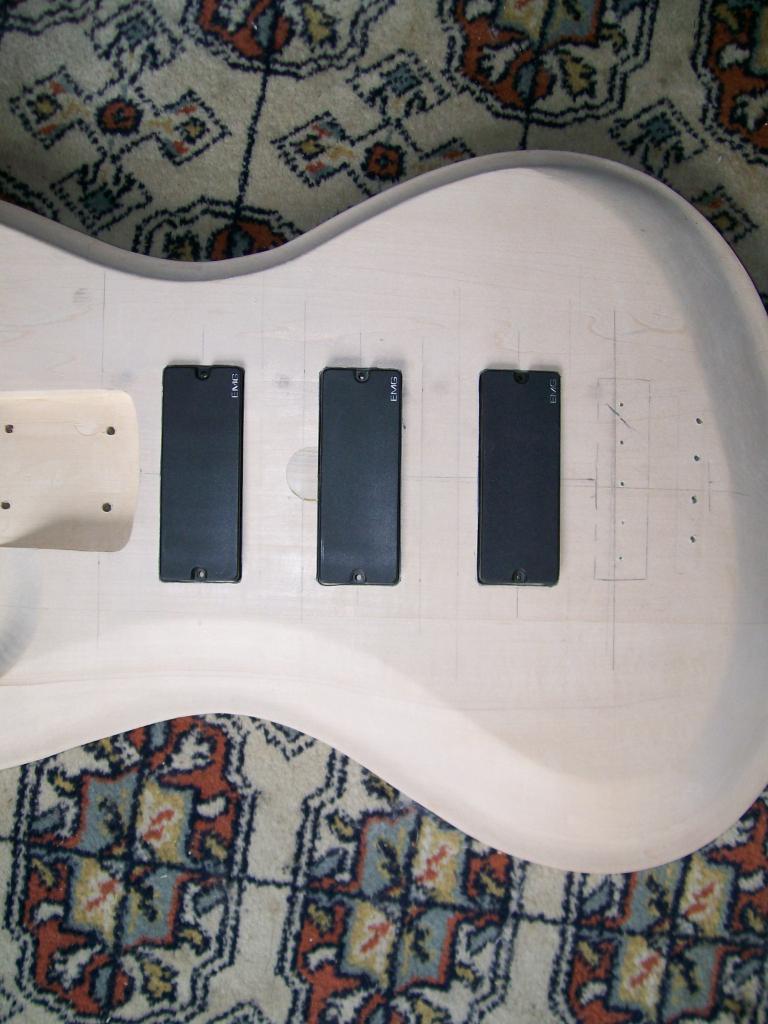
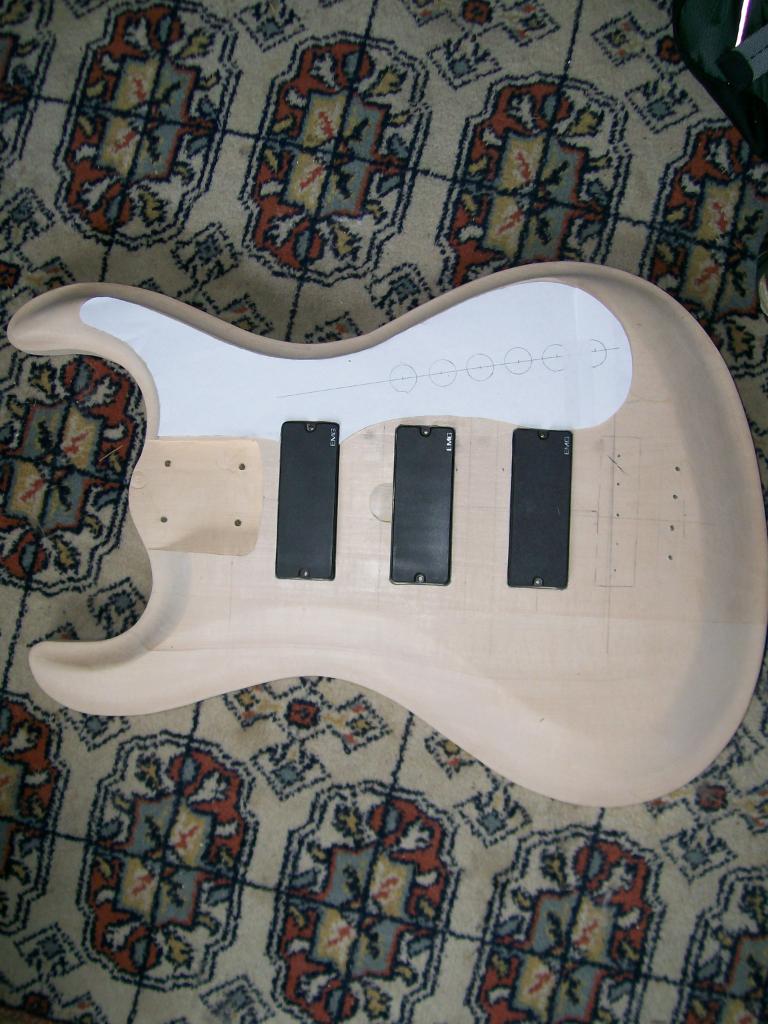
Rick B.

Looks great! My brother's got a Mosrite Ventures Model in candy apple red. If it weren't beat up, would be pretty cool looking.
Regarding the bridge saddle piece mounted backwards: from the pic, it looks like the saddles and their positioning screws are being forced towards the neck by the pressure of the strings angling down towards their tailpiece anchorages. Are you planning to fit some hex nuts up in there to prevent this from knocking the intonation adjustment off?
Regarding the bridge saddle piece mounted backwards: from the pic, it looks like the saddles and their positioning screws are being forced towards the neck by the pressure of the strings angling down towards their tailpiece anchorages. Are you planning to fit some hex nuts up in there to prevent this from knocking the intonation adjustment off?
The bottoms of the screws are touching the plate, and the angle of the screws and the height adjustment screws forms a tripod shape that the string is sitting on. There wasn't any movement even without the bridge being screwed down. With the bridge turned around like that there is plenty of room for locking nuts if they are needed though.
Rick B.
Rick B.
Getting into the more detailed finishing stages. The routing is done on the body and I'm doing finish sanding before priming. Started putting finish on the neck. The birdseye looks really nice under varnish.
Rick B.
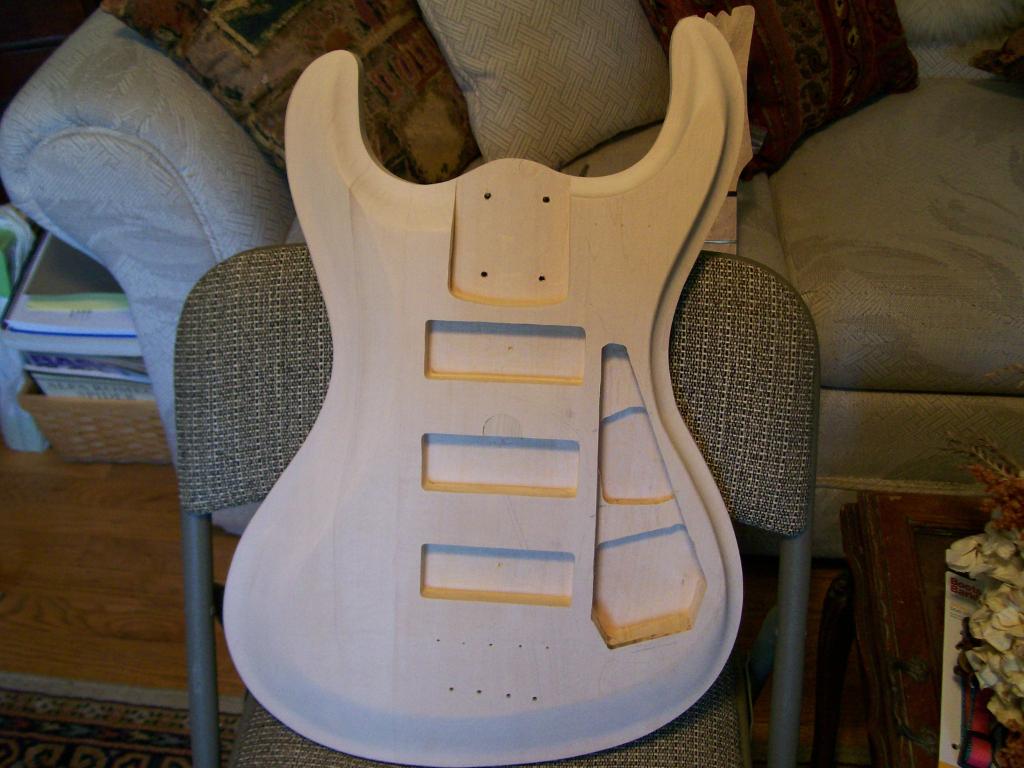
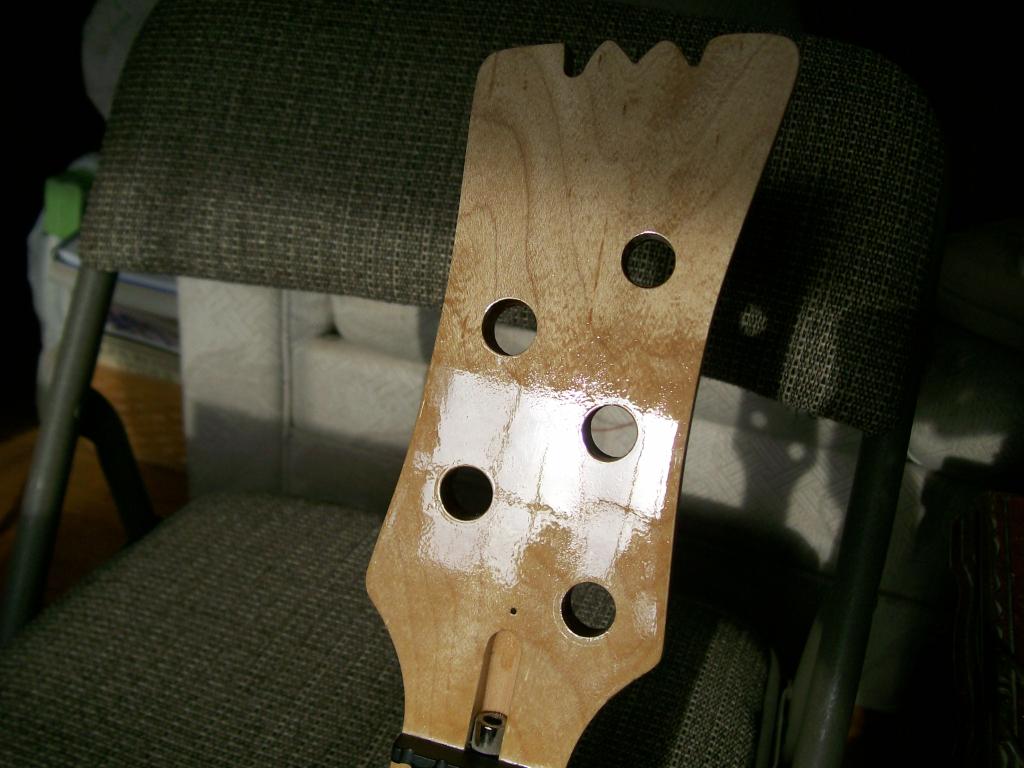
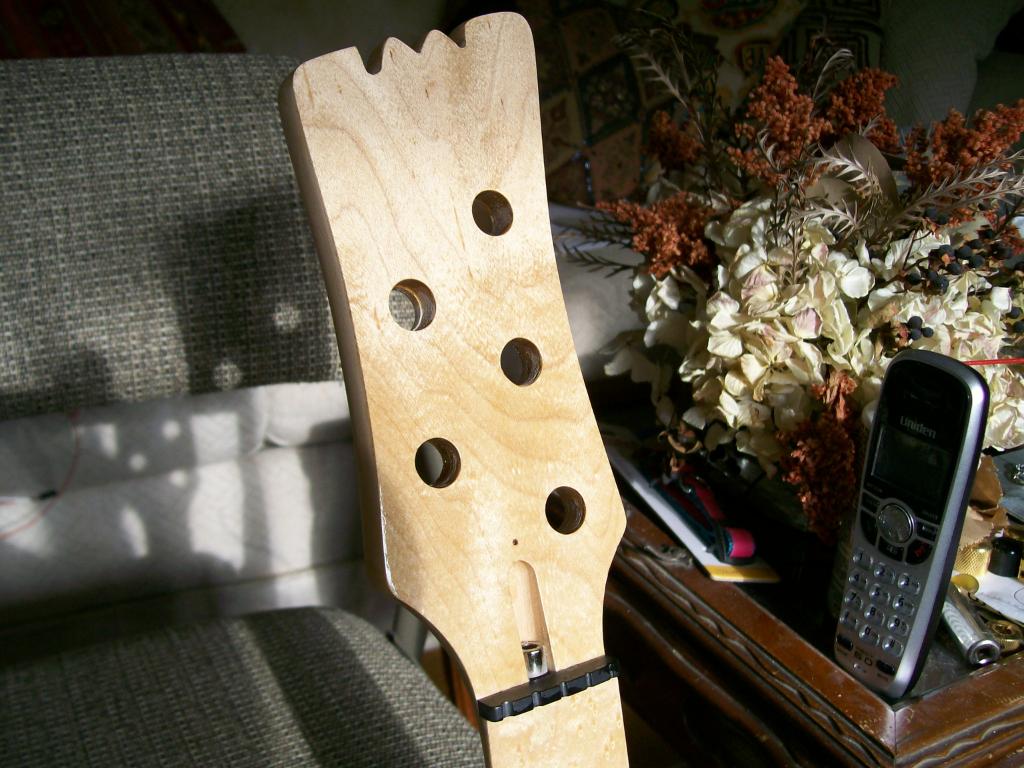
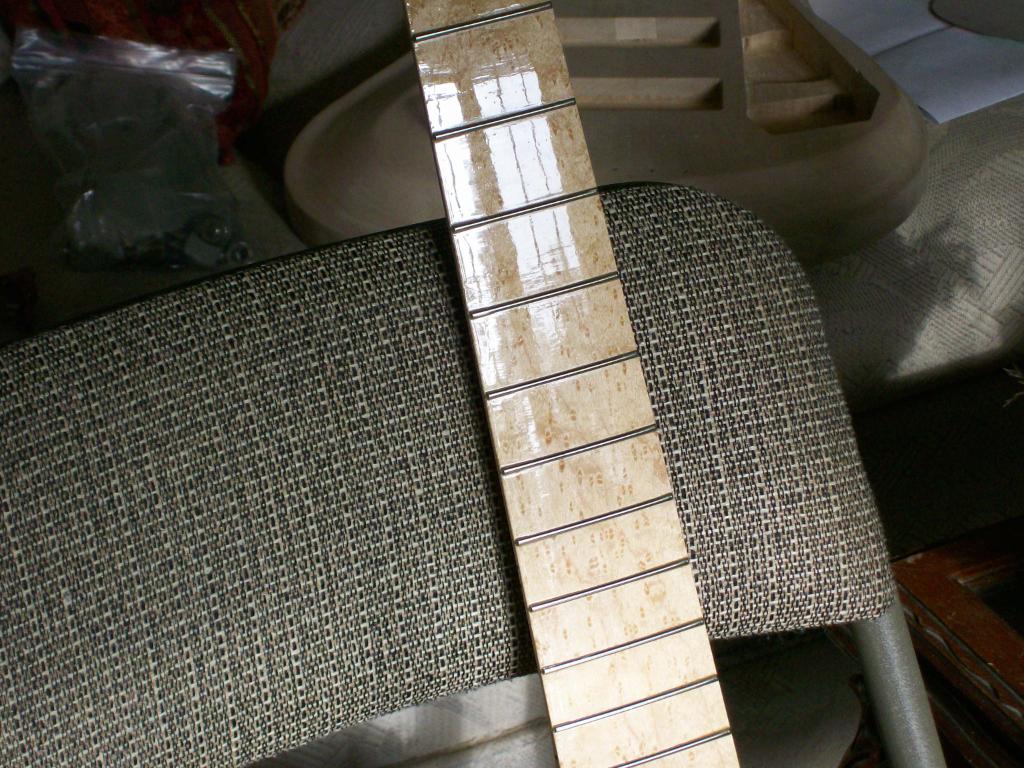
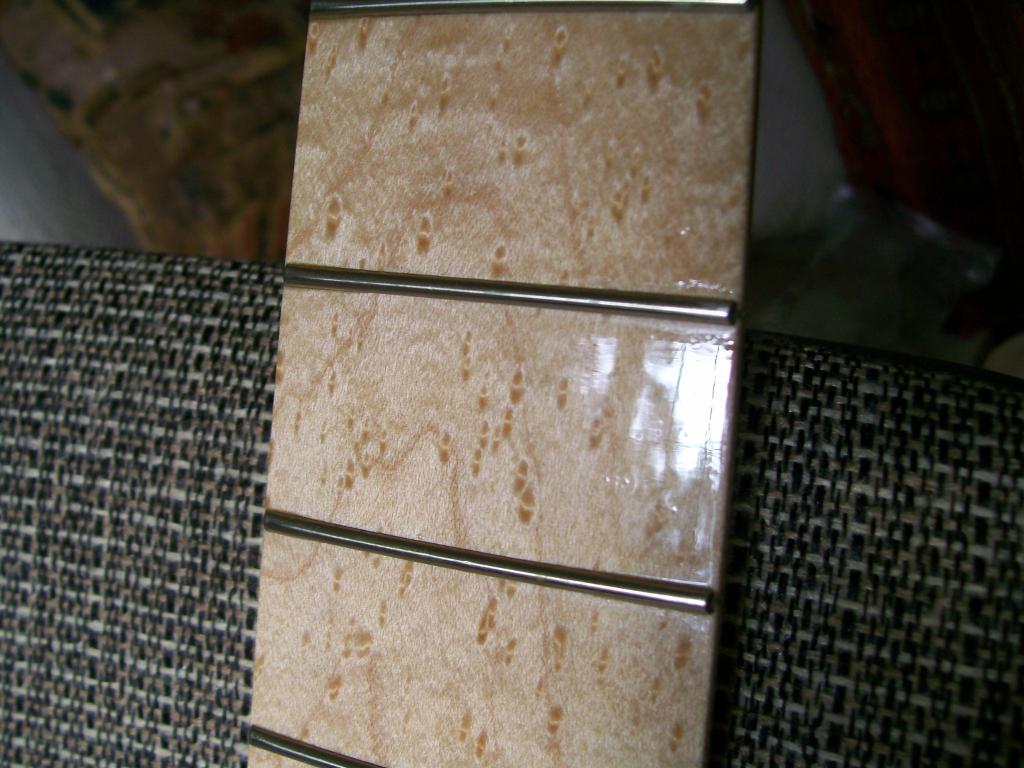
Rick B.
One major step almost completed. I used one of the Duplicolor paint shop colors on the body. It's much darker in artificial light but I wanted to try to get some pics of the metallic in the paint. I'll give it a week to cure and then wet sand and polish.
Rick B.
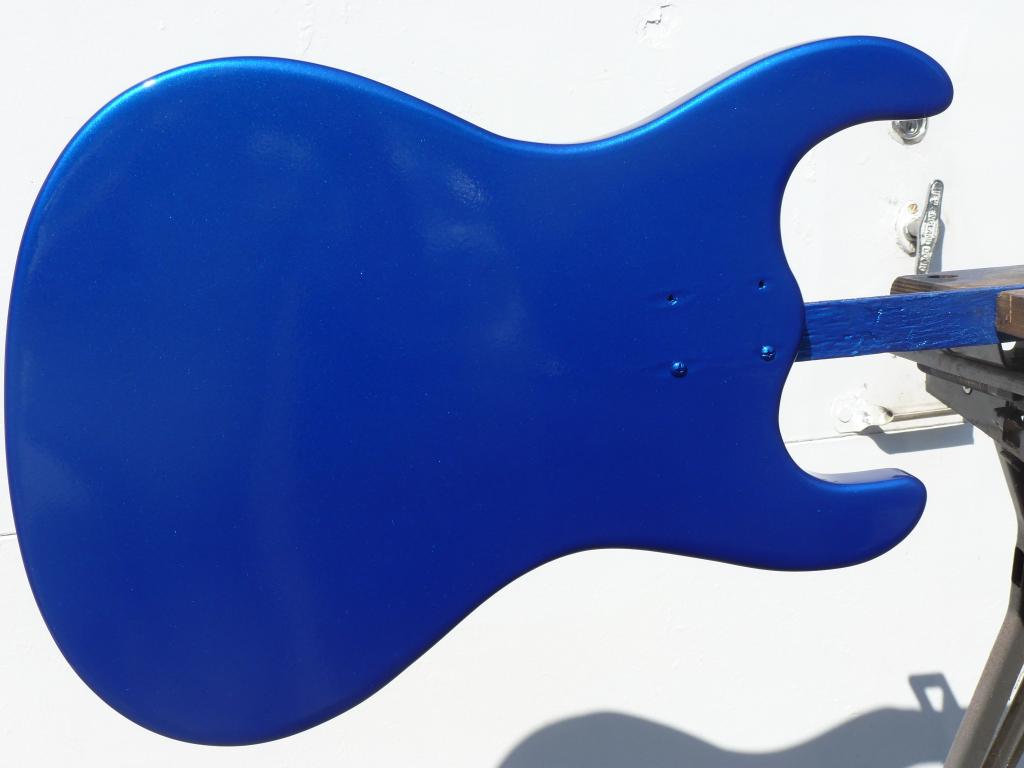
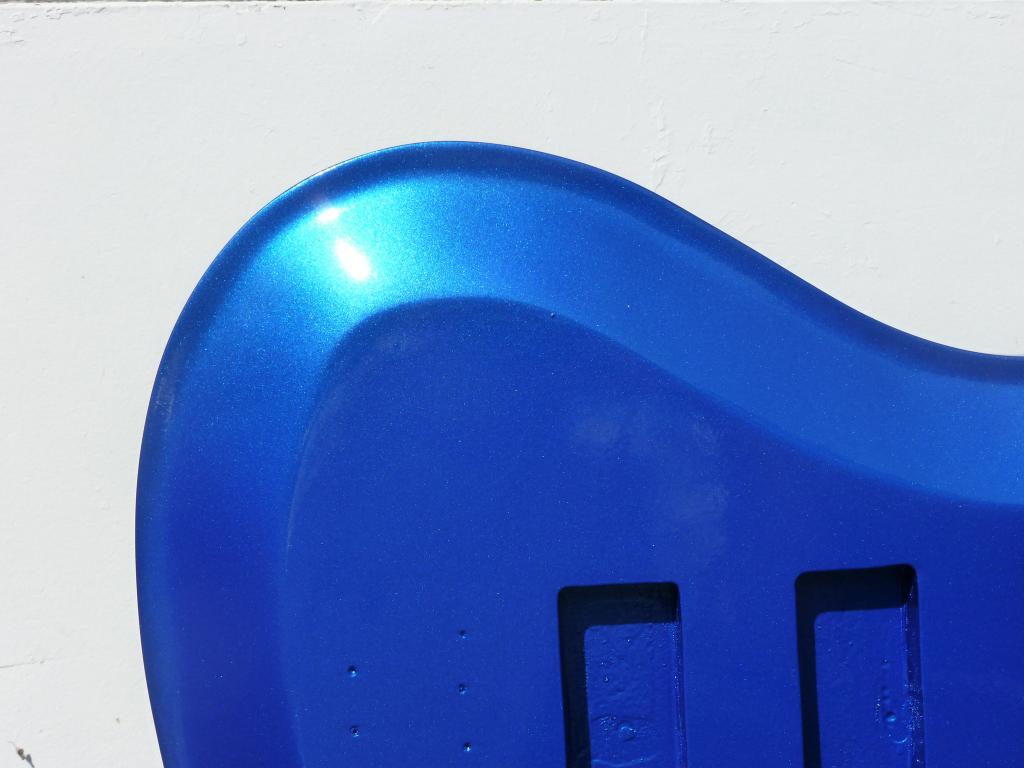
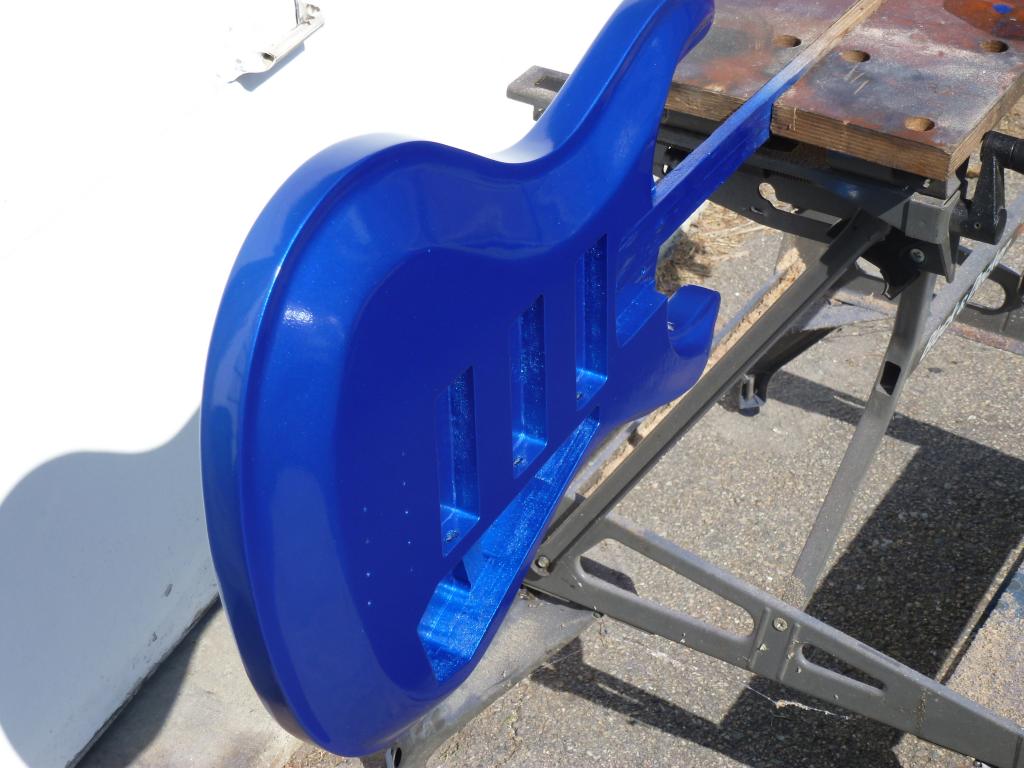
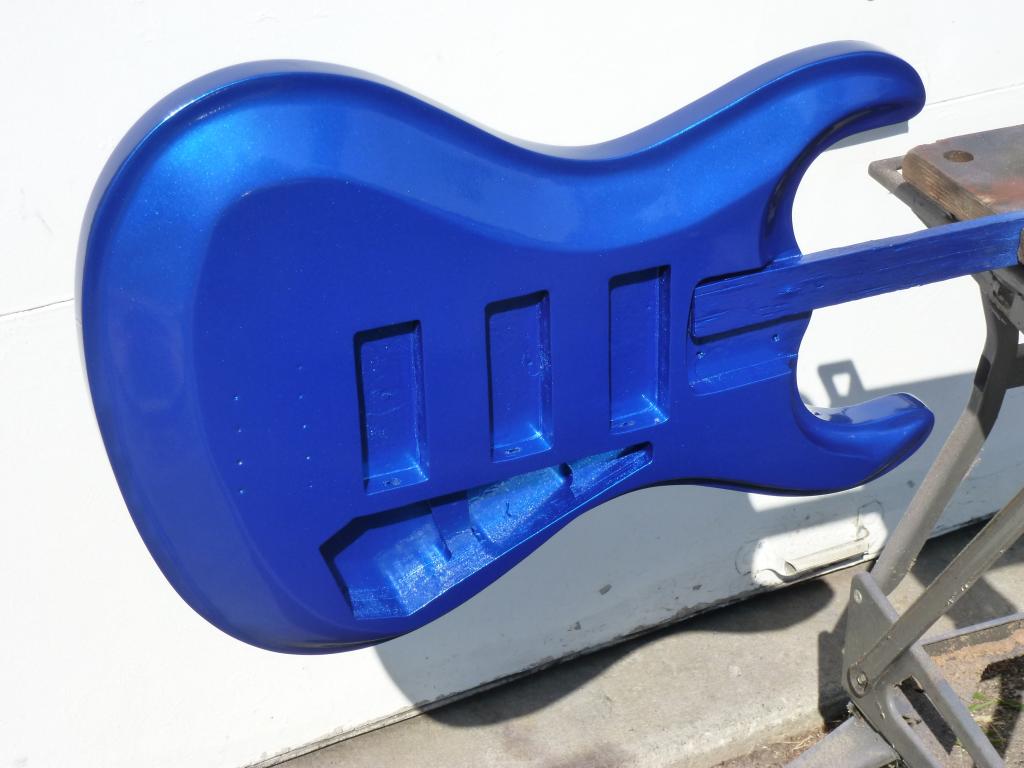
Rick B.
Almost finished. My son is cutting some aluminum for the bridge cover and after that is finished I can make the pickguard. I already have the white pearloid blank. Going to try it out with the band this week.
I was worried that there was going to be neck dive due to the short upper horn, but all of the ballast in the body balances things nicely. No neck dive. Total weight comes in at 9.5 lbs, not bad.
Rick B.
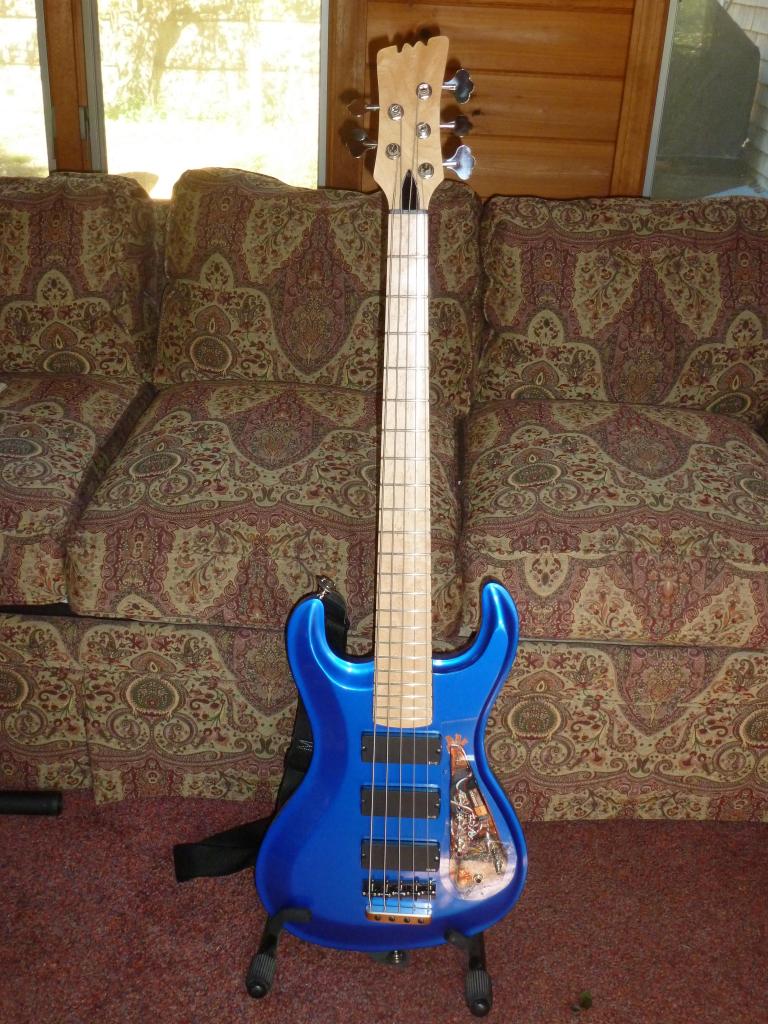

I was worried that there was going to be neck dive due to the short upper horn, but all of the ballast in the body balances things nicely. No neck dive. Total weight comes in at 9.5 lbs, not bad.
Rick B.


I would love to hear that when it's done. Subscribed.
I'm thinking about doing a youtube video if my video camera can record the sound decently. It did a good job with my Corvette exhaust system so I know it can record low frequencies.

Rick B.
Great bass!! Having said that, I recommend giving Duplicolor some more curing time before final sanding and polishing. I learned the hard way.
This was their automotive paint. Base coat/clear coat. I let it cure for a week or so (I think they recommended 3 days) before wet sanding with 1500 and 2000 grit. The finish is very hard, much harder than the basswood body!
Rick B.


