

Enjoy the benefits of a premium membership!
Upgrade Account
-
TalkBass has been independent since 1998. Add your voice.
Create a free account to reply to discussions, view embedded media, and browse with fewer display ads.
Join free Log in
Want zero display ads or expanded classifieds tools? Compare plans.
You are using an out of date browser. It may not display this or other websites correctly.
You should upgrade or use an alternative browser.
You should upgrade or use an alternative browser.
MPU Brown bass
- Thread starter MPU
- Start date
More options
Who Replied?
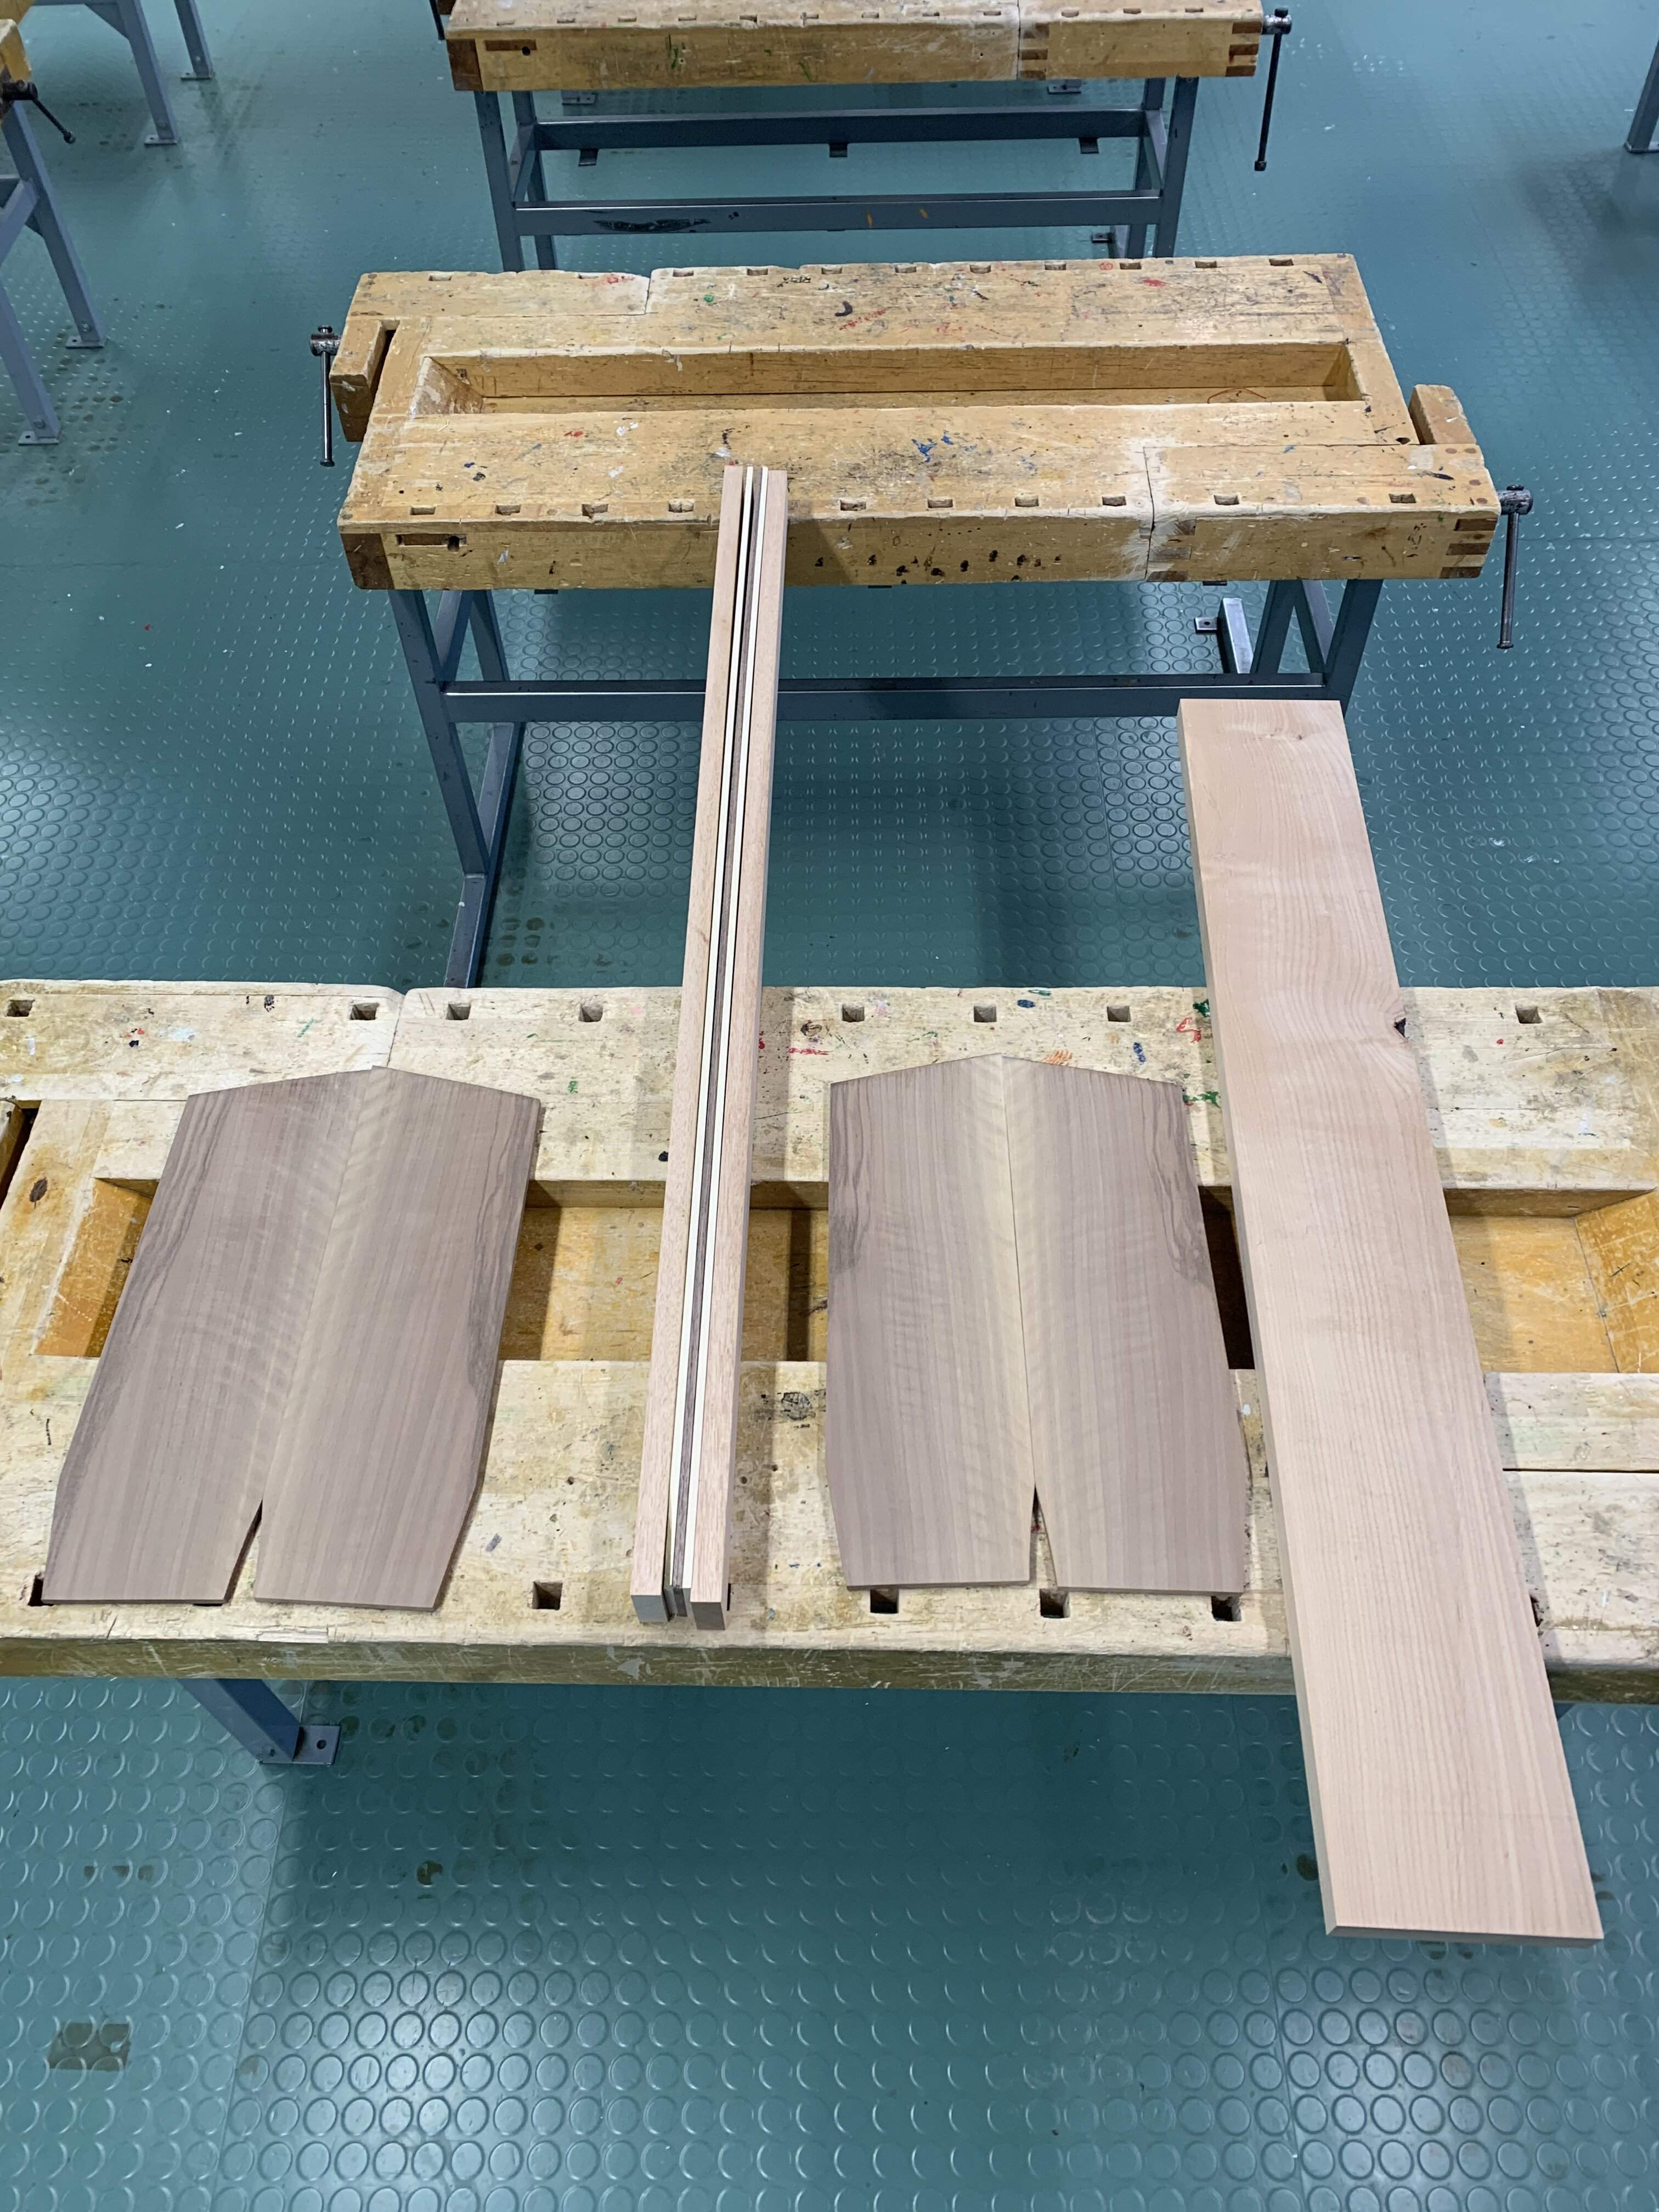
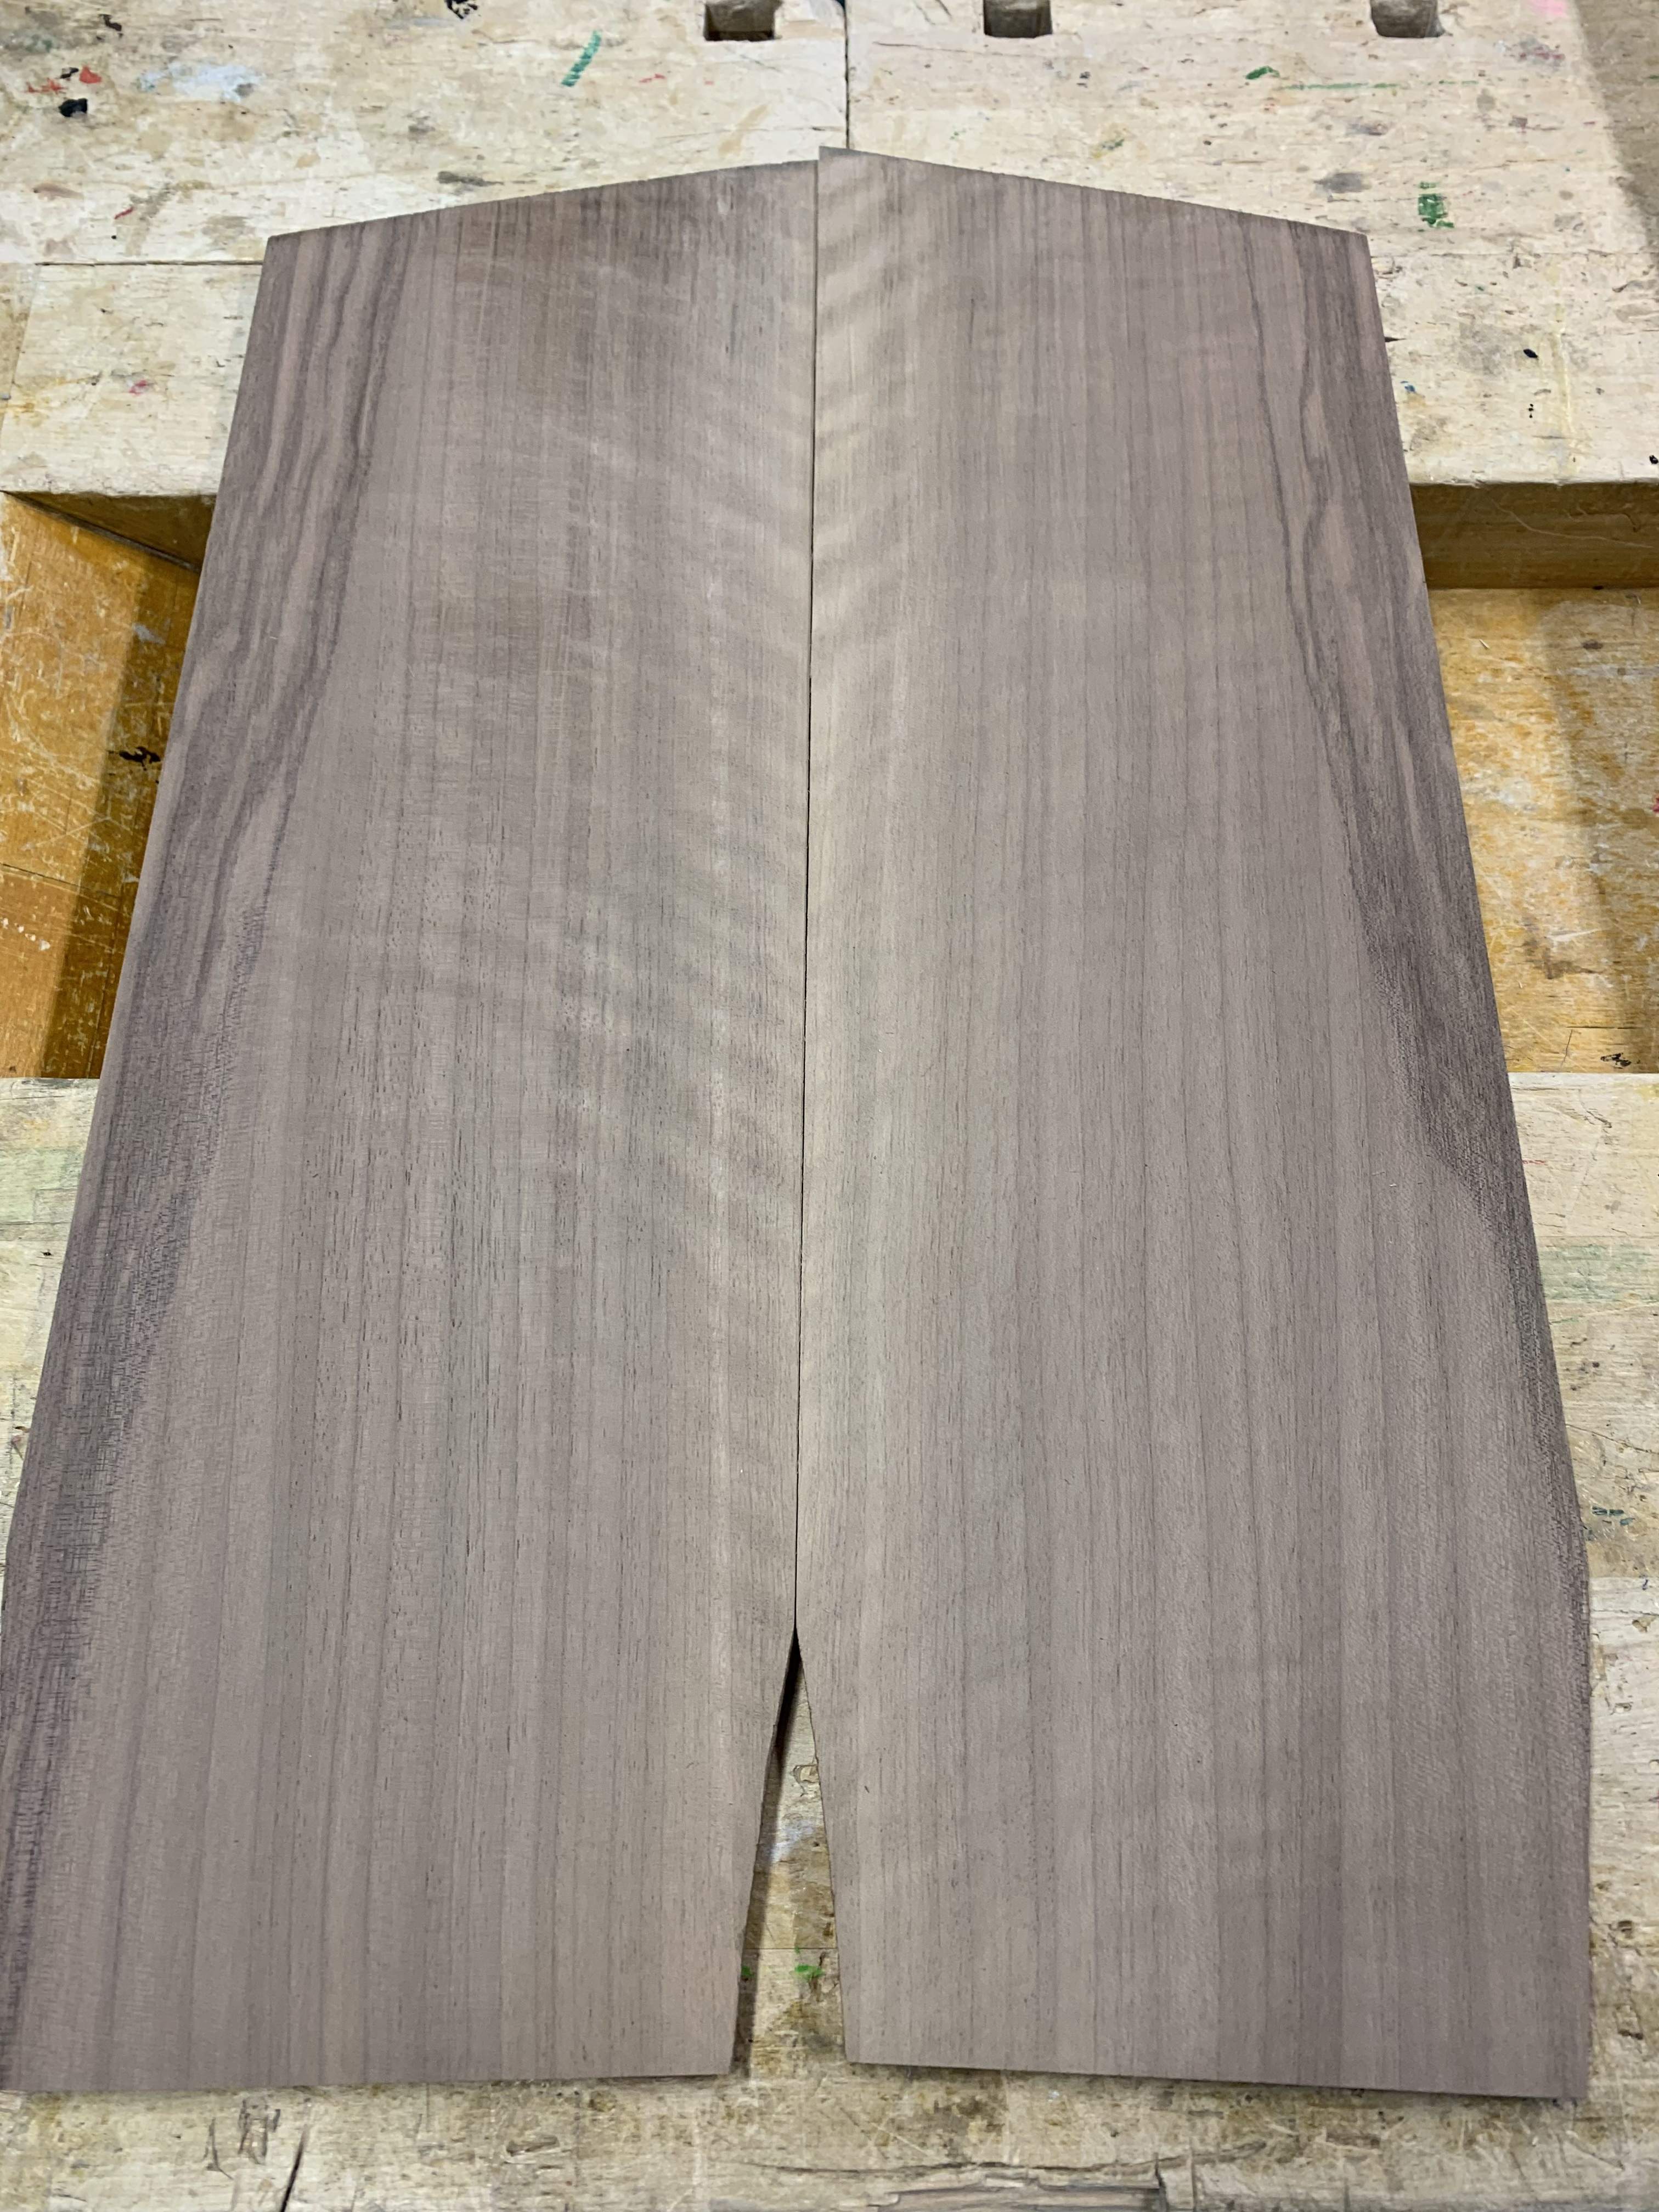
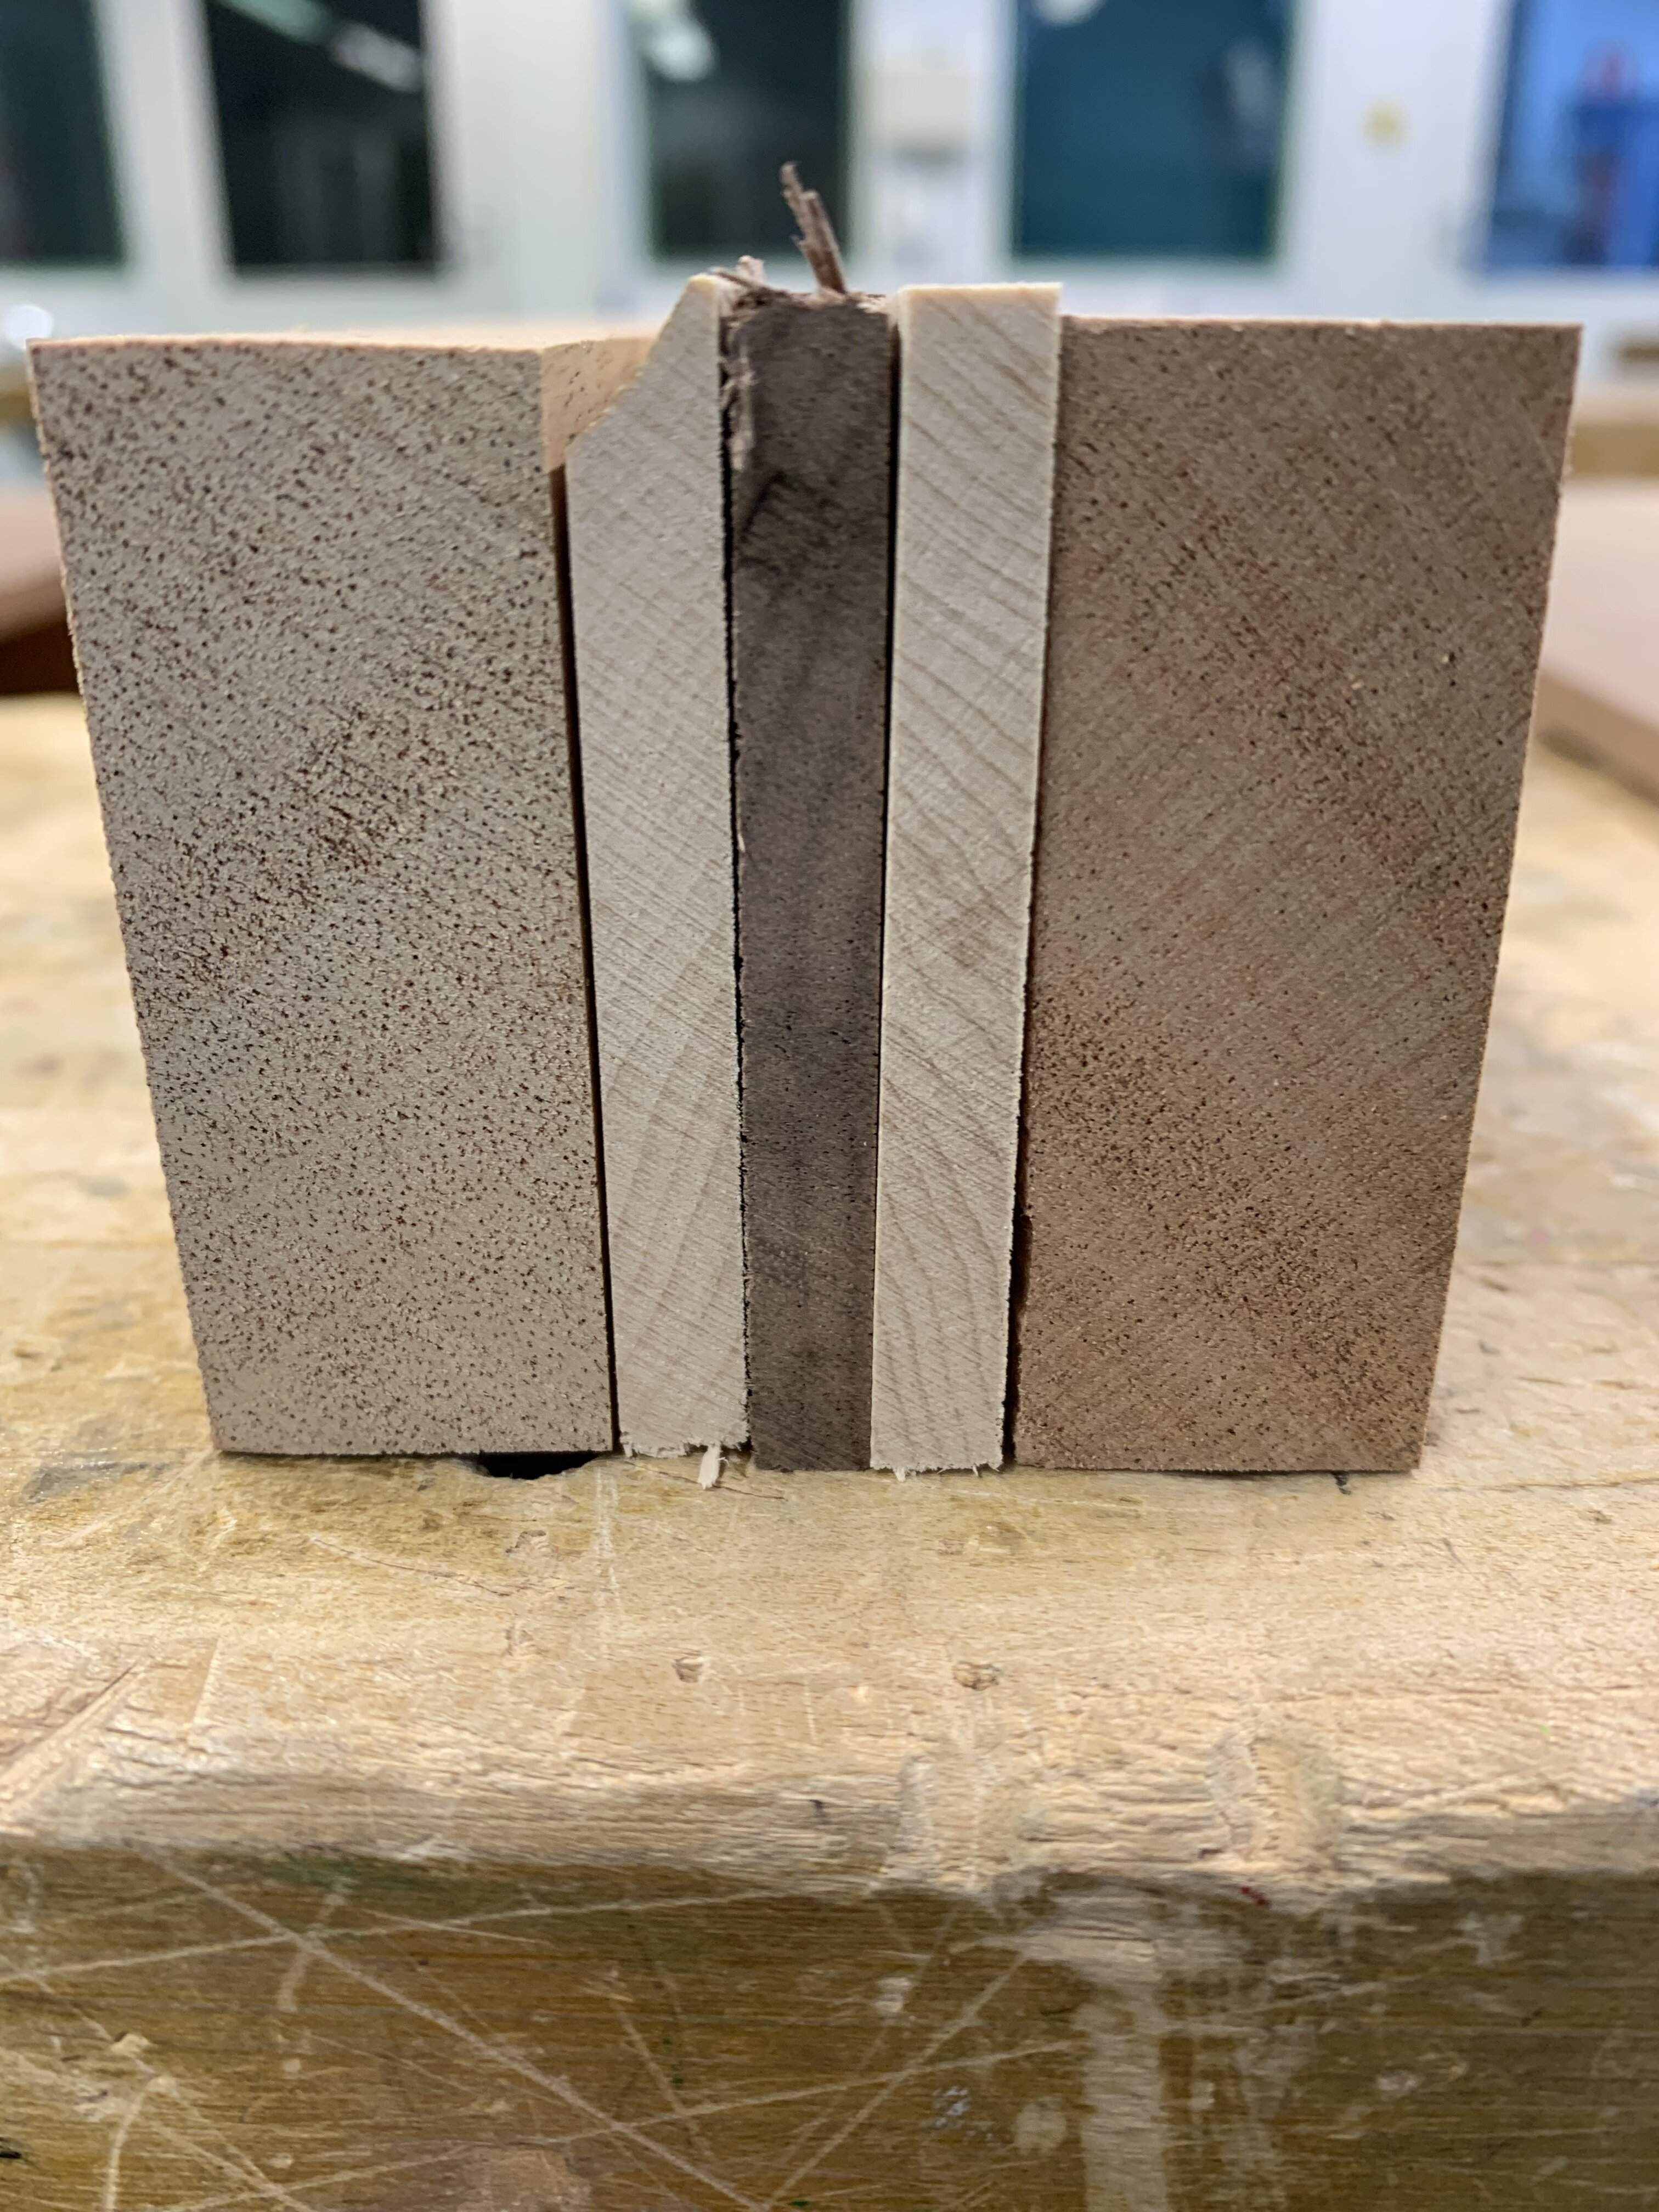
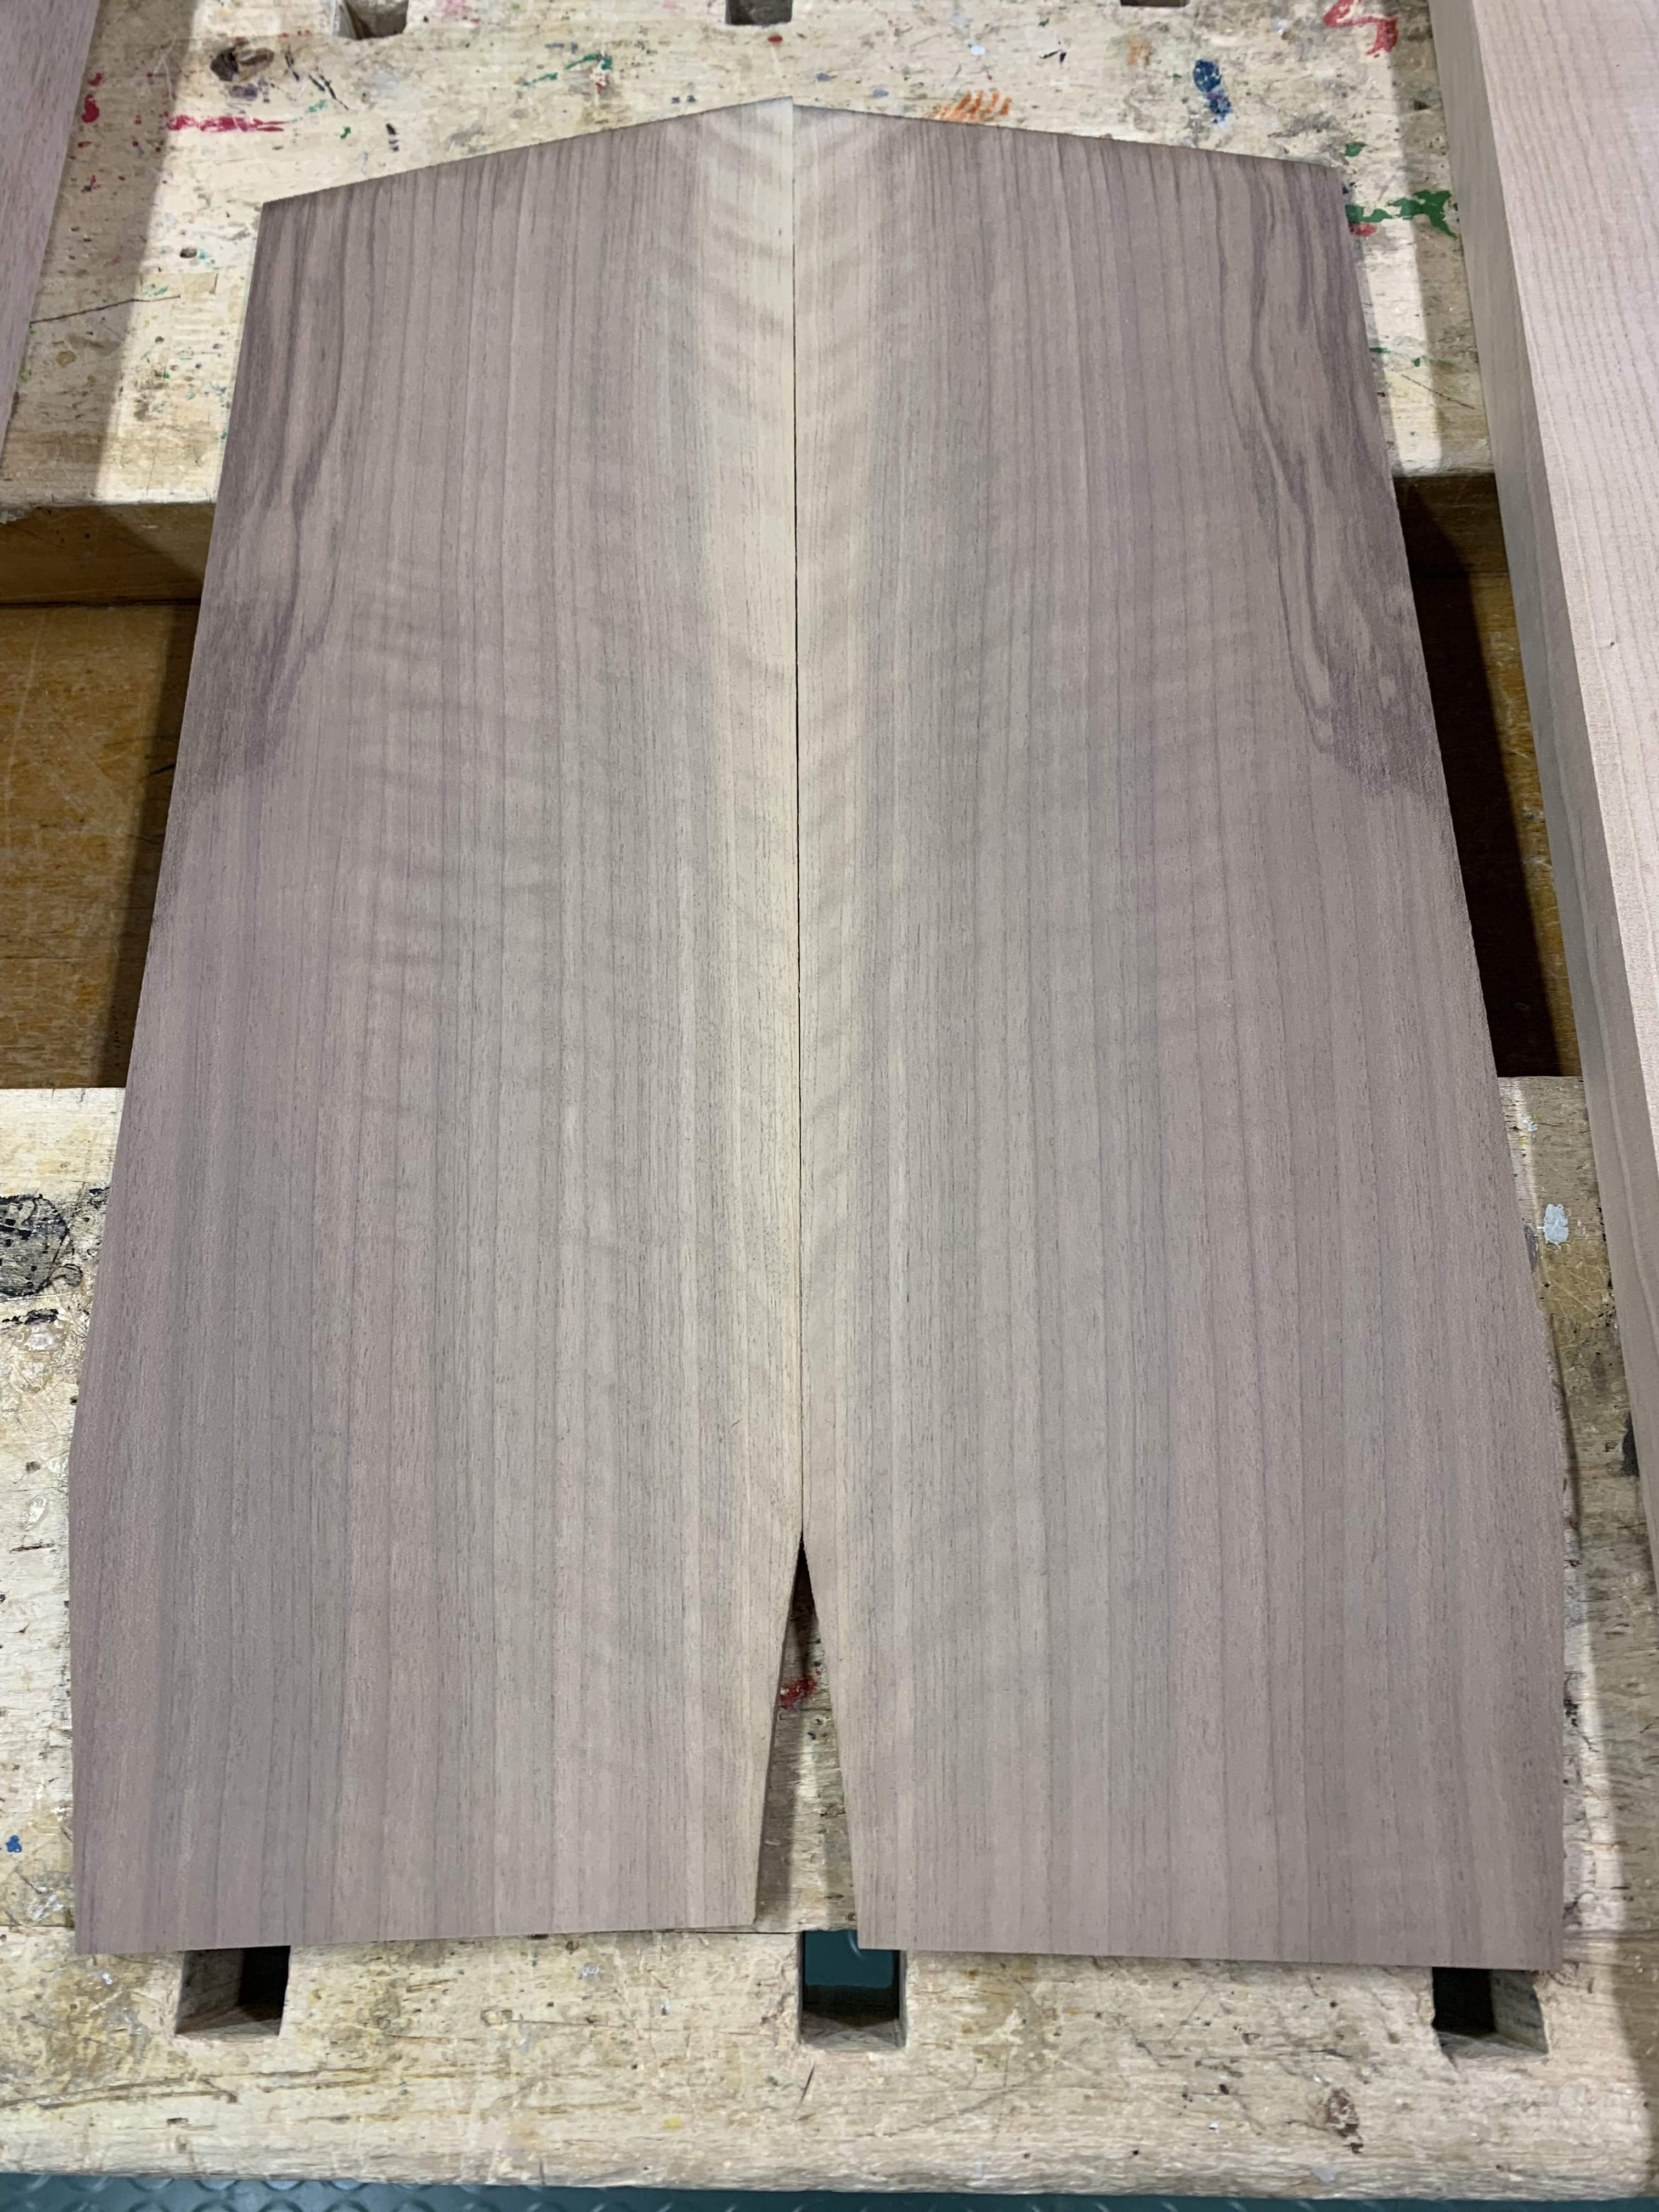
This morning I made some sawdust and dimensioned the woods. Tops came out great, they are 8mm thick and sanded with drum sander. Neck has 6mm strips of maple, walnut and maple between mahogany. I got pretty much perfect mirroring on the neck strips.

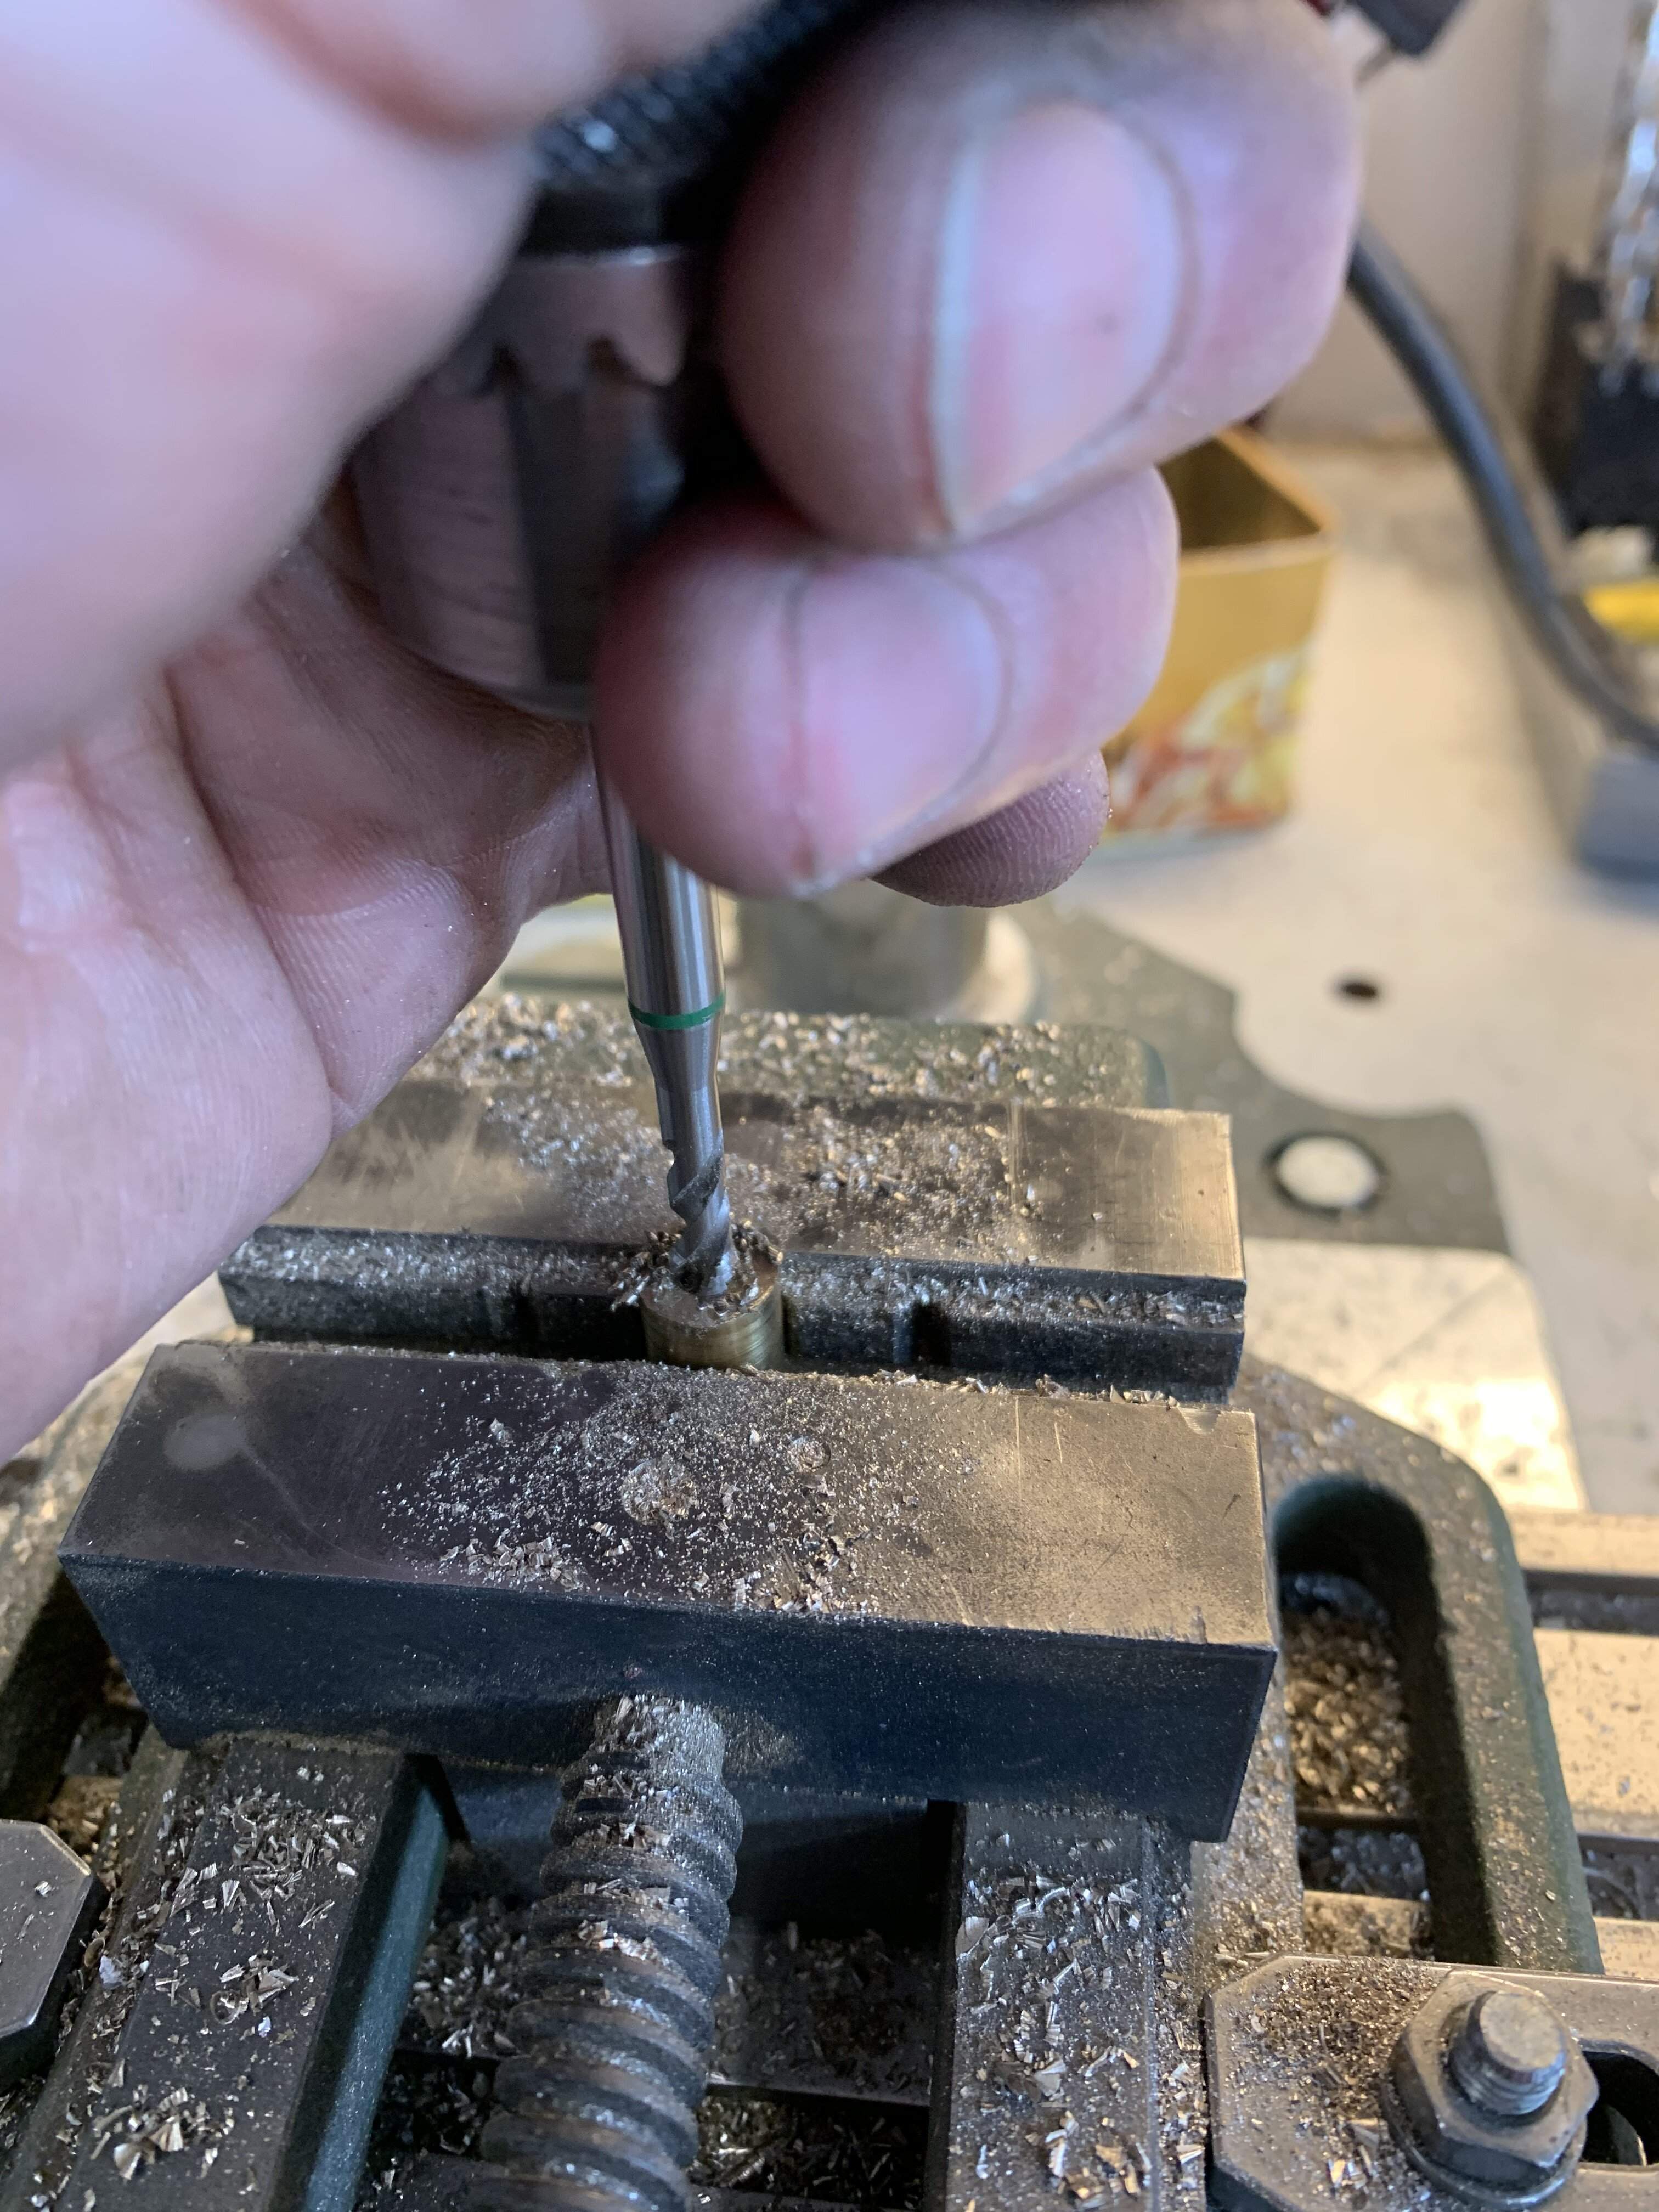
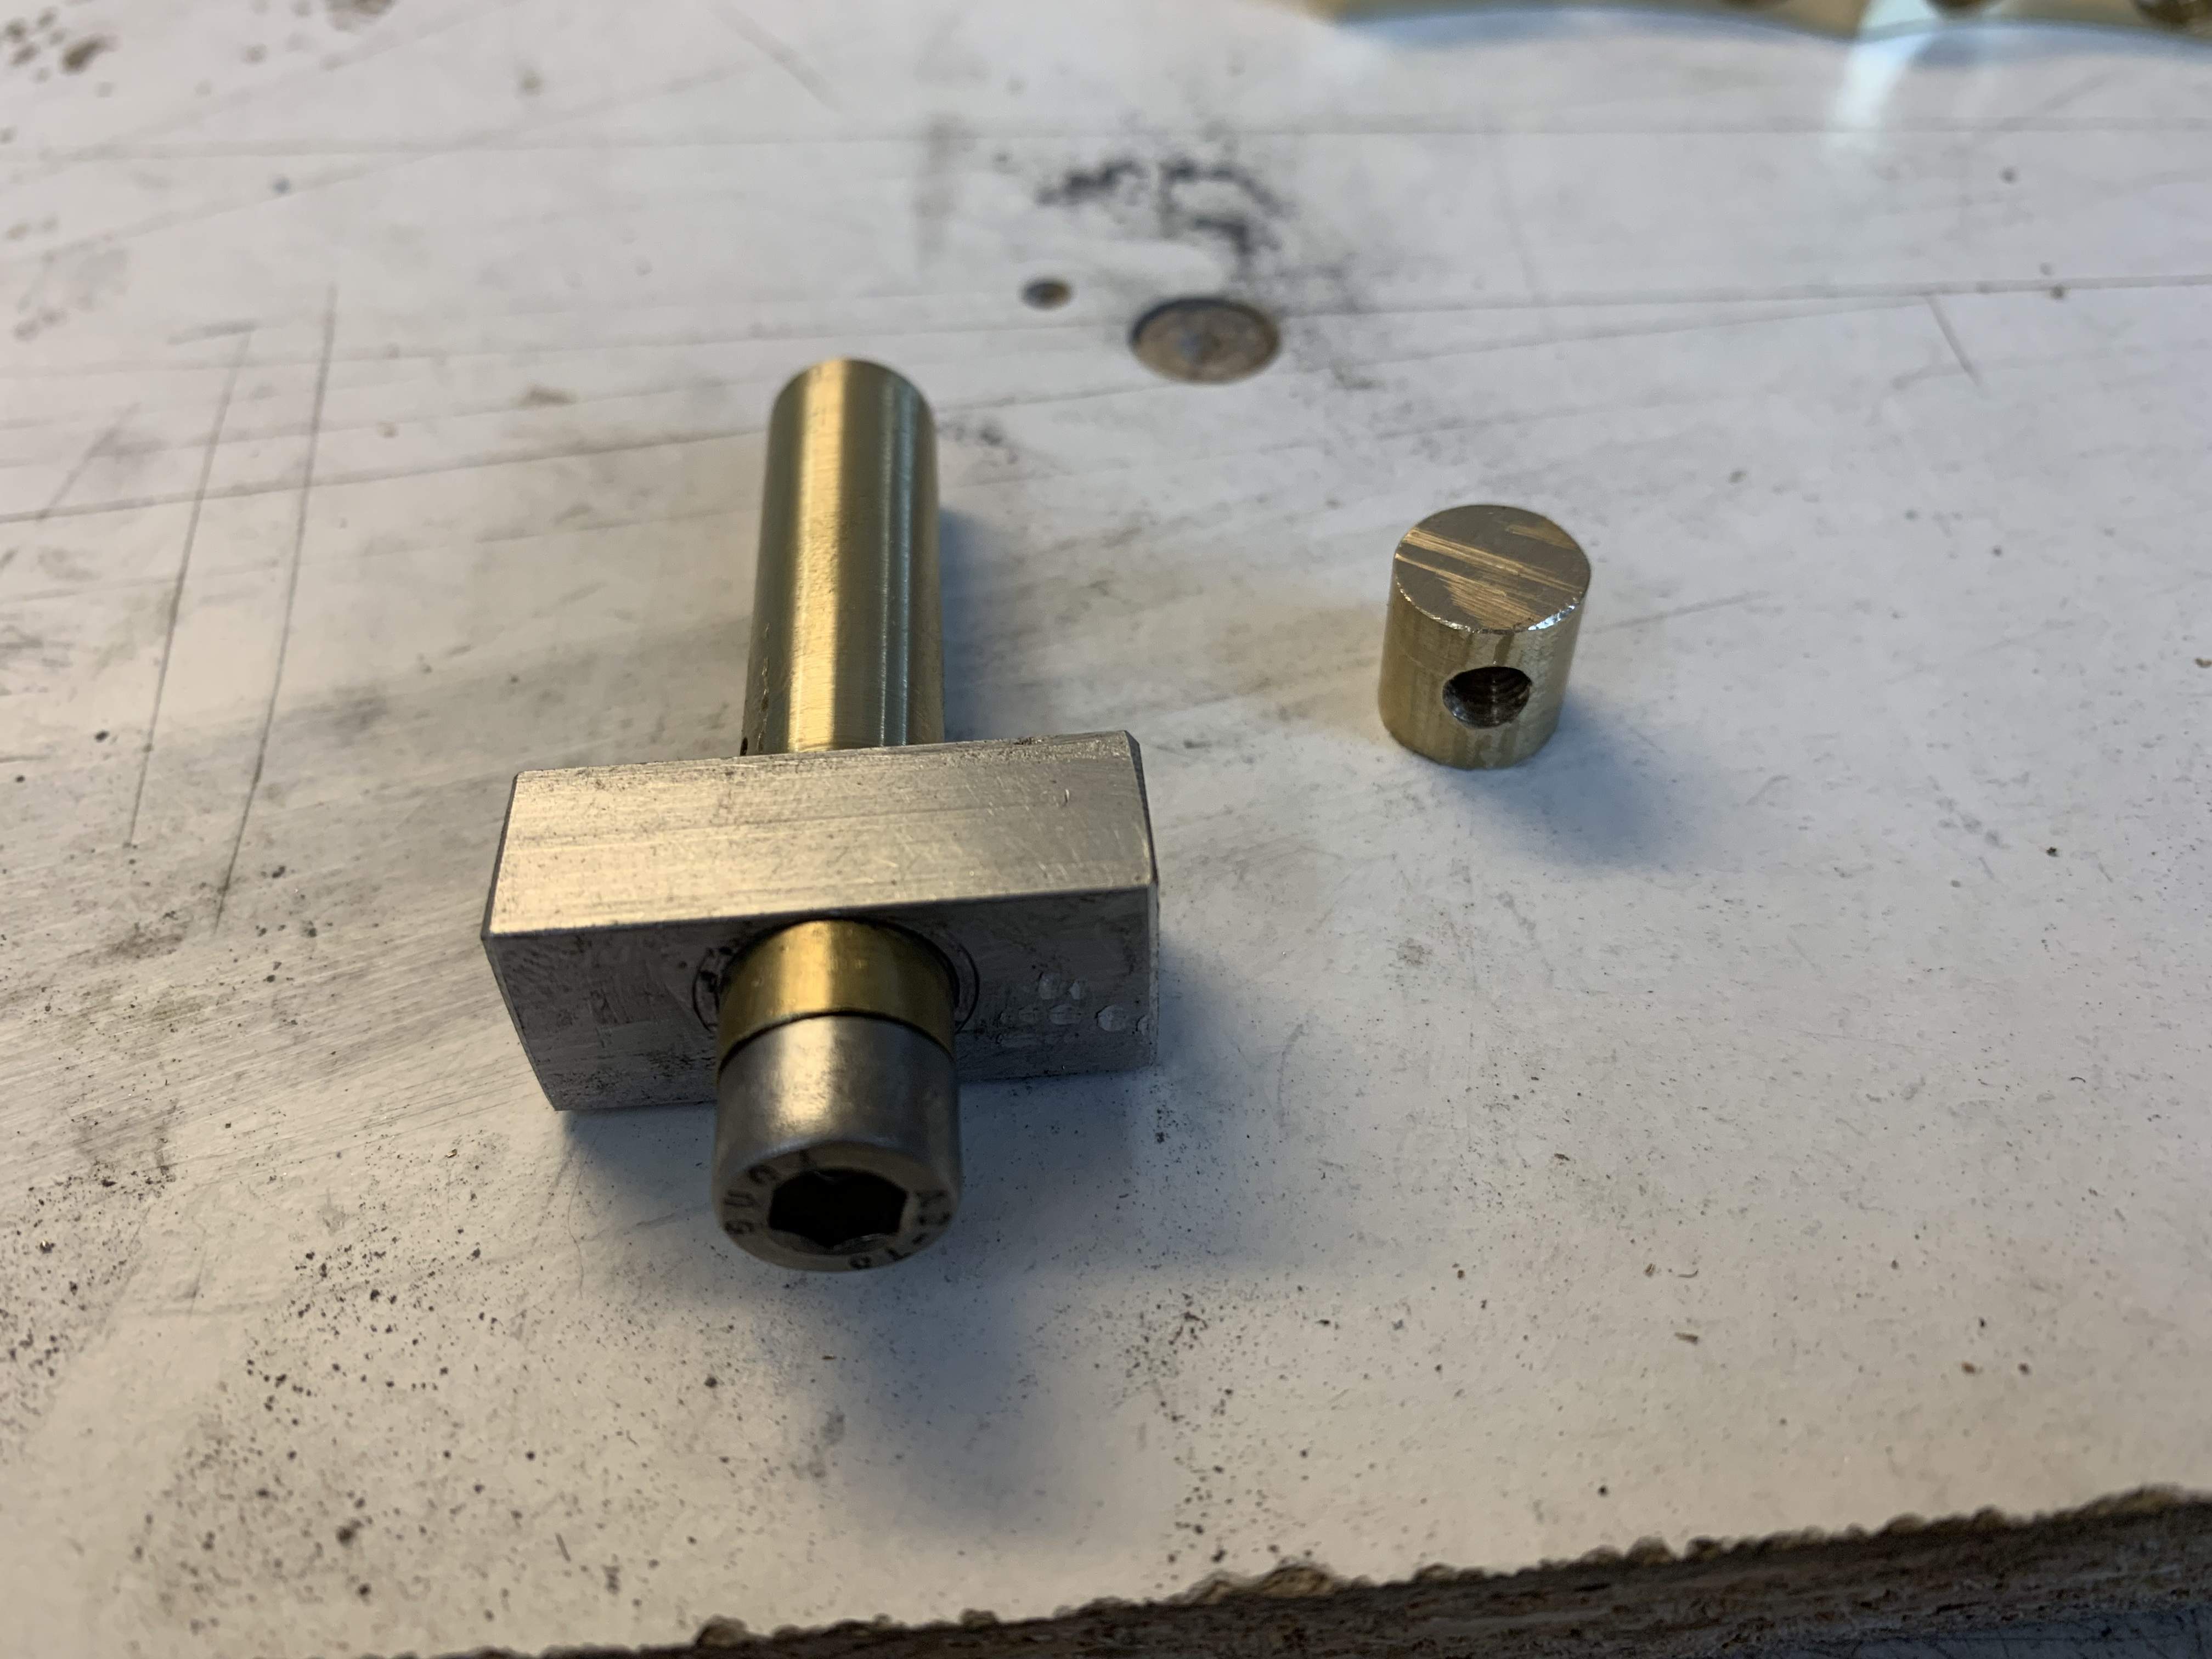
I'm using DASR trussrod on this bass. I threaded a brass rod slug, drilled and shaped an aluminium block, cut a stainless Allen key bolt and here it is, adjusting end of truss rod finished. Rod design is from Bruce Johnson, Warwick uses same kind of truss rod too.
Last edited:
I got a small bag of abalone inlay sheets today. Tomorrow I'm going to try to test cut abalone with cnc. My plan is to cut the inlays and route the inlay cavities with cnc. We'll see how it works. More tomorrow after first tests.
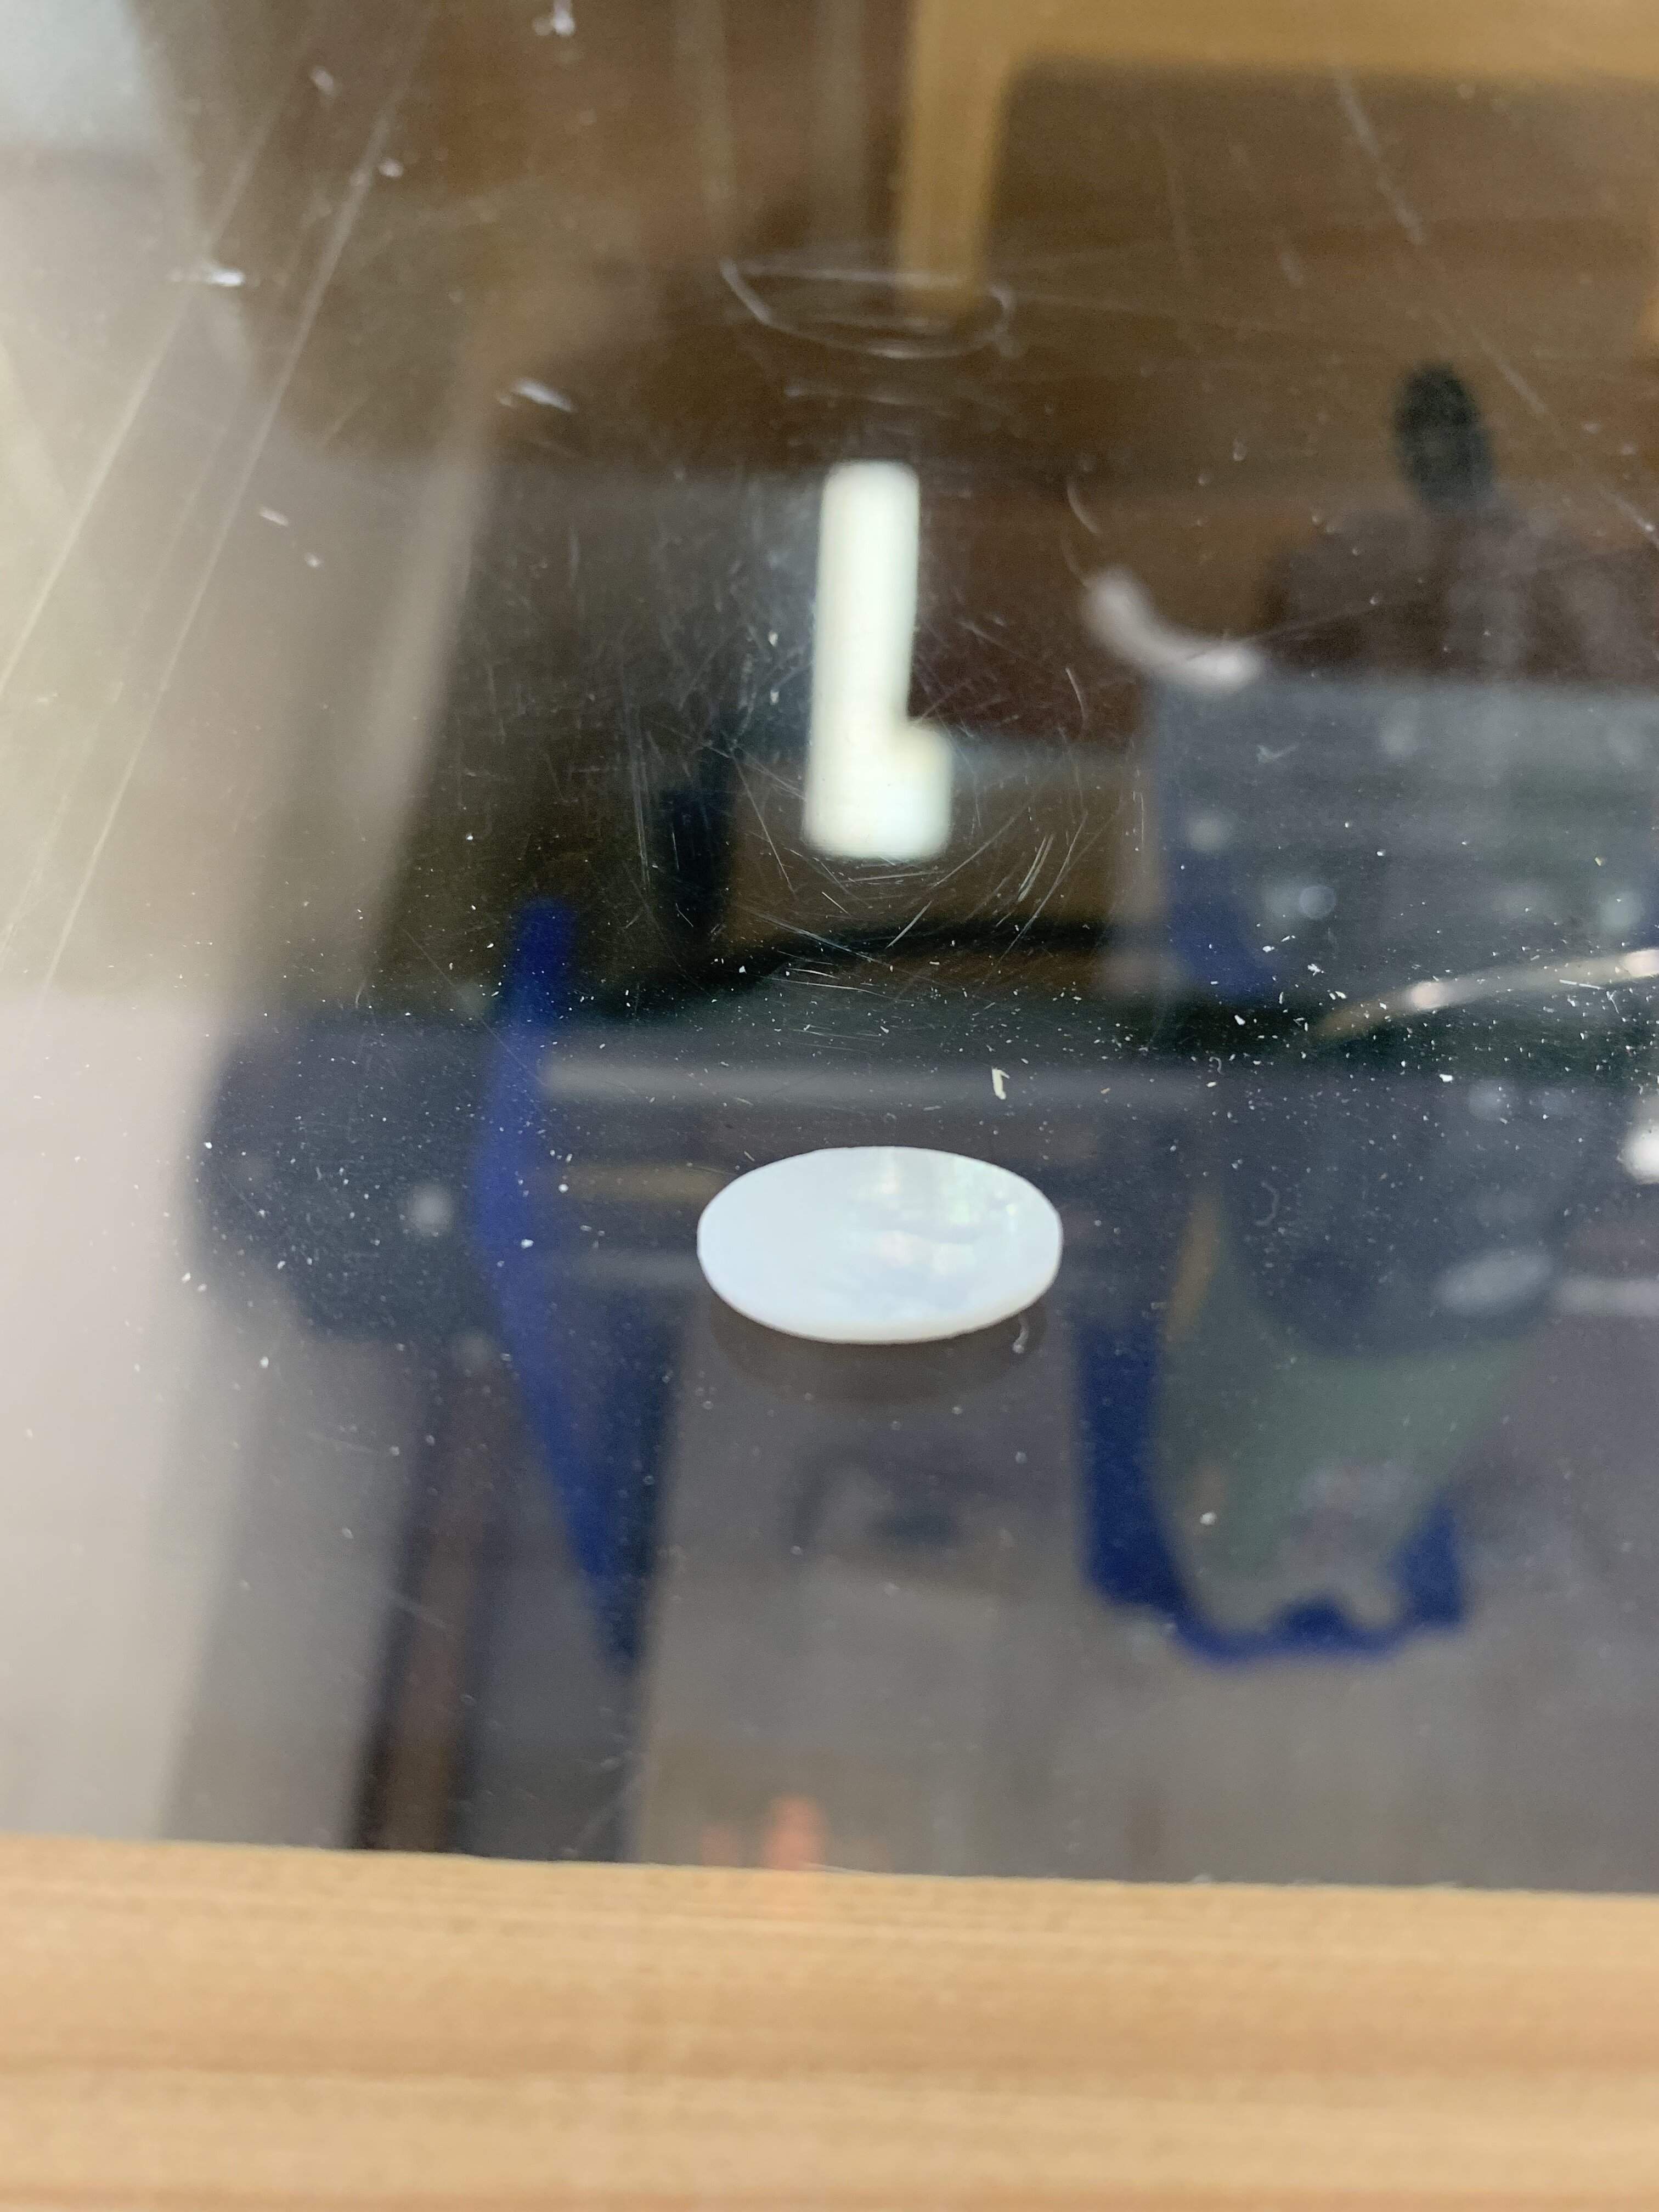
Test cut was a success! CNC cut MOP fine. Now I just have to learn to draw ovals in CAD.

Can you point me to a thread showing how to make Bruce's truss rod, and how it works please? I've searched, but Bruce has posted so much stuff . . .I'm using DASR trussrod on this bass. I threaded a brass rod slug, drilled and shaped an aluminium block, cut a stainless Allen key bolt and here it is, adjusting end of truss rod finished. Rod design is from Bruce Johnson, Warwick uses same kind of truss rod too.
Best Quality DA Truss Rod? | Page 2 | TalkBass.comCan you point me to a thread showing how to make Bruce's truss rod, and how it works please? I've searched, but Bruce has posted so much stuff . . .
My Les Paul Bass Build - I need a Gibby too...
Last edited:

Yes, I'm an elementary school teacher. As you may guess I'm the one who teaches most of the crafts lessons in our 250 pupil school.Are you working in a school?
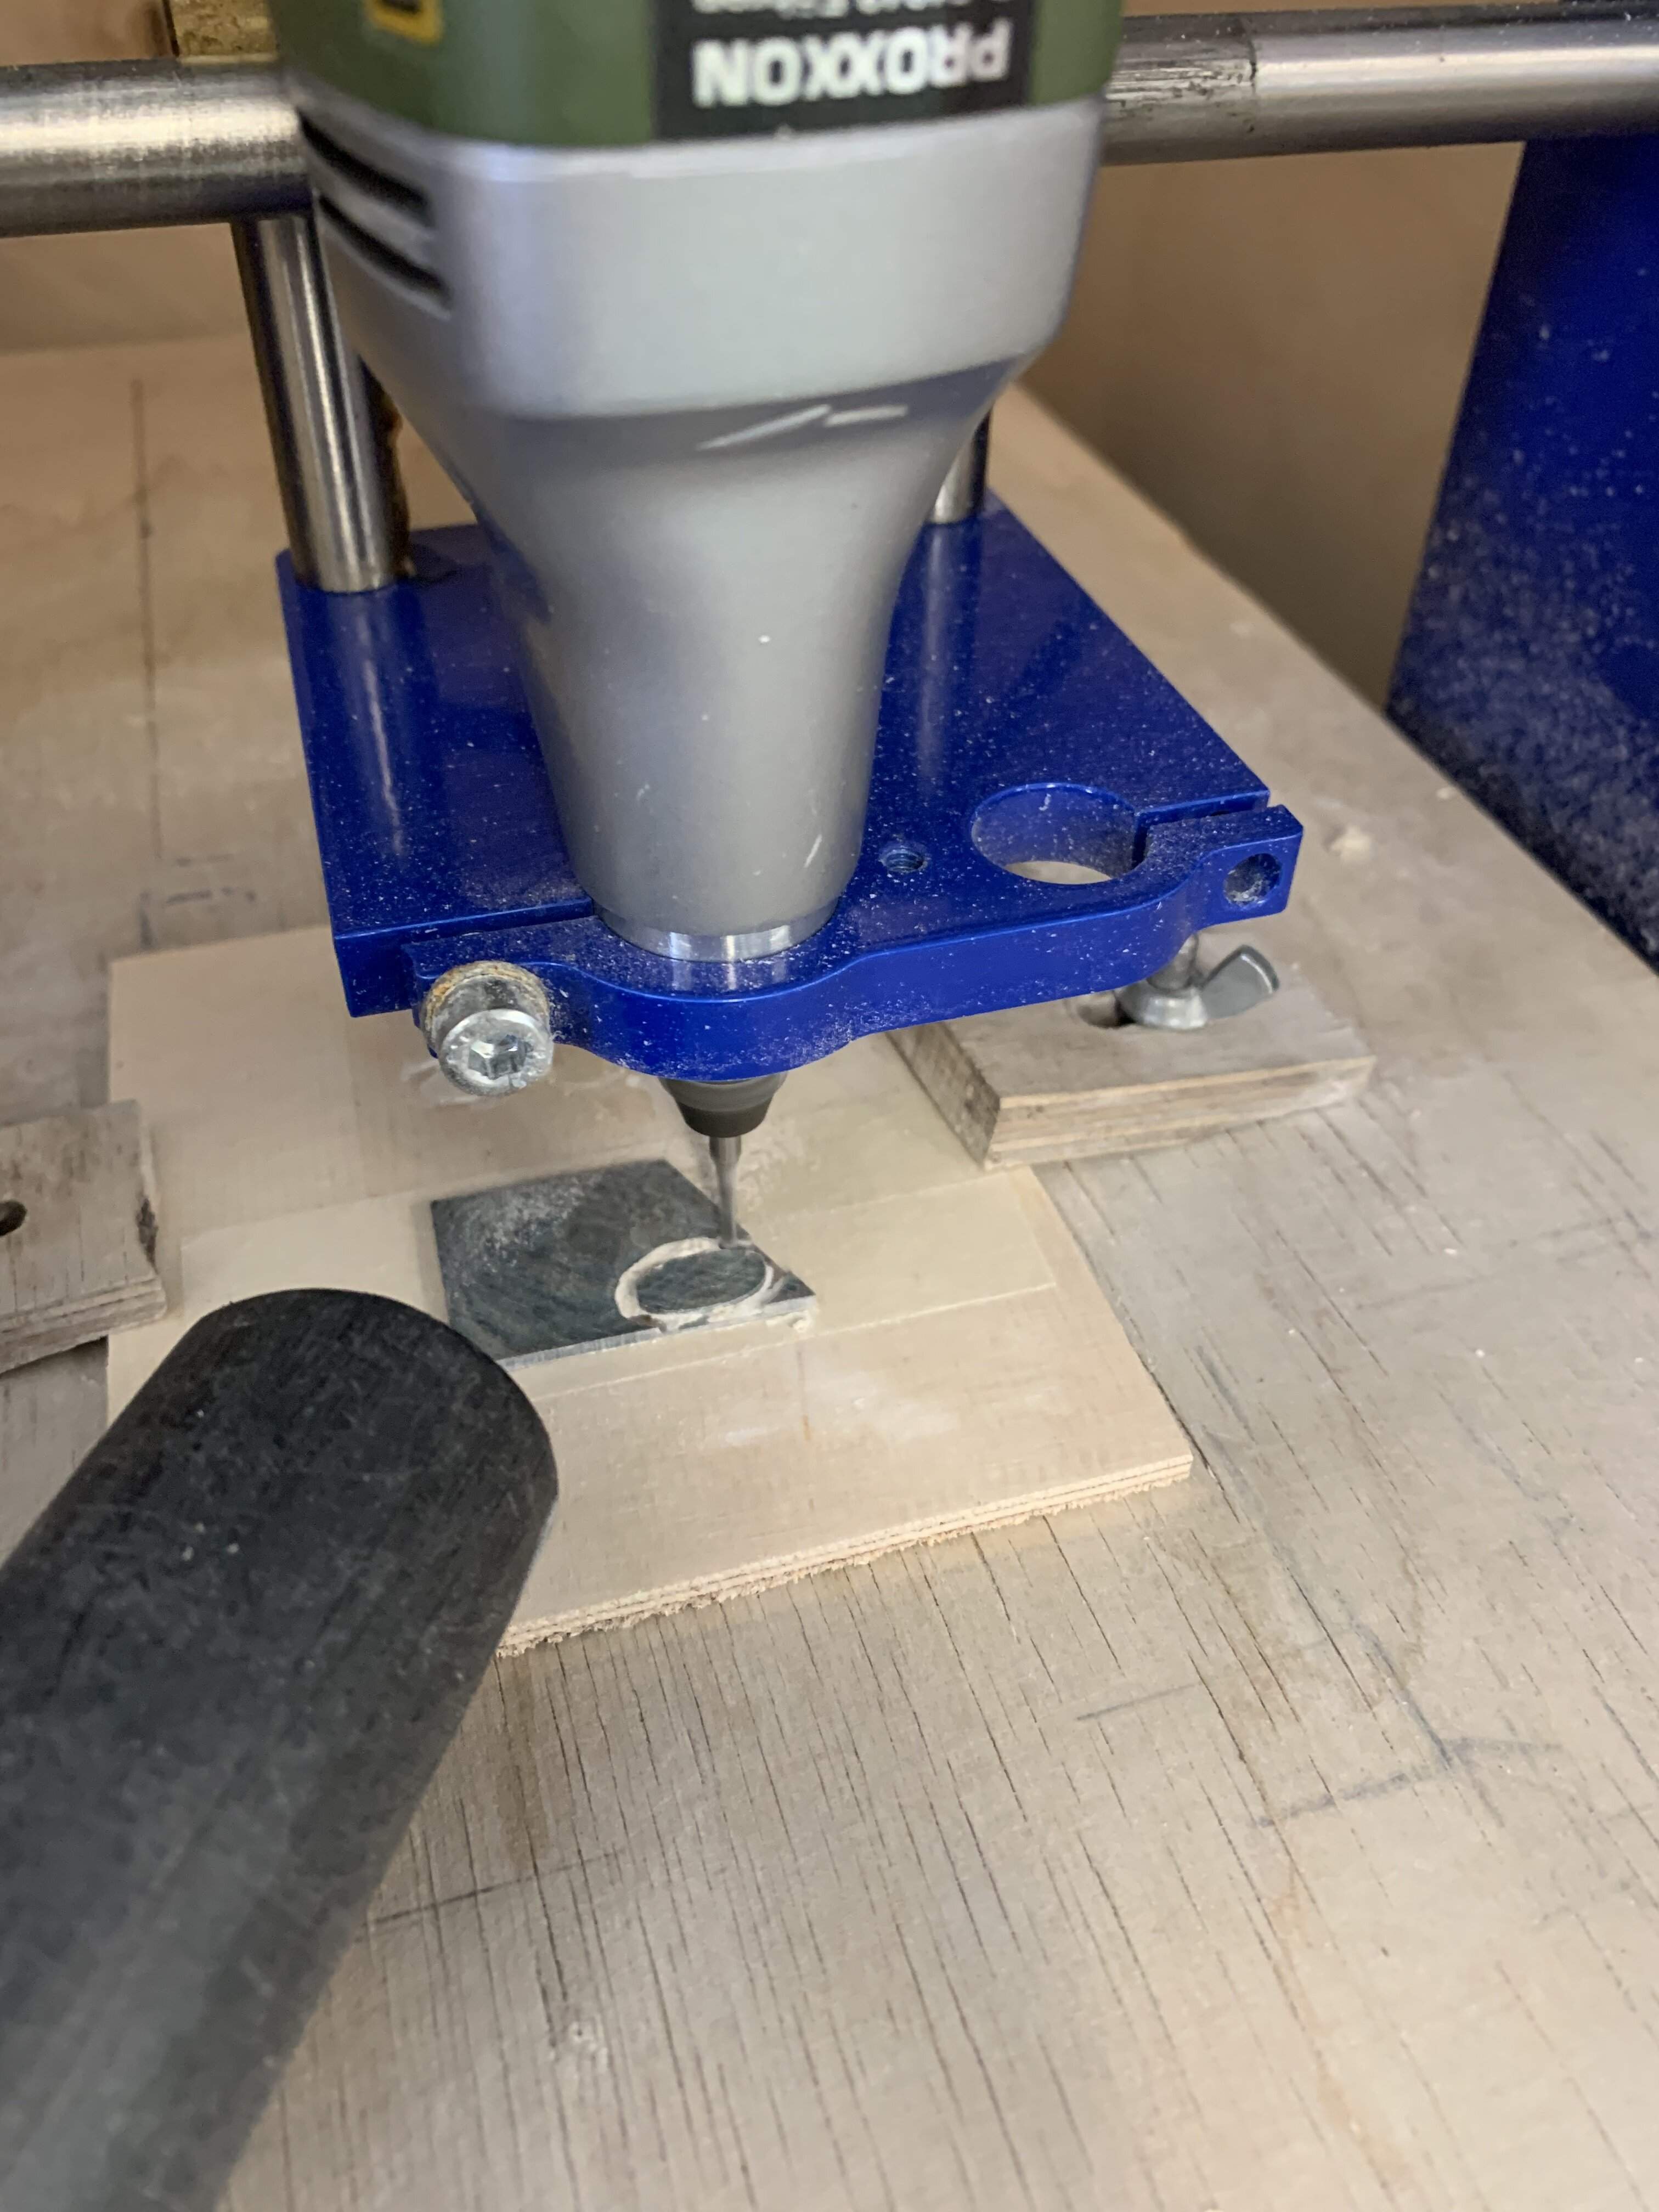
Cutting inlays. I used masking tape and superglue to hold the abalone sheets on the plywood plate. With very little sanding the inlays came out great. Faster and more accurate than hand sawing.
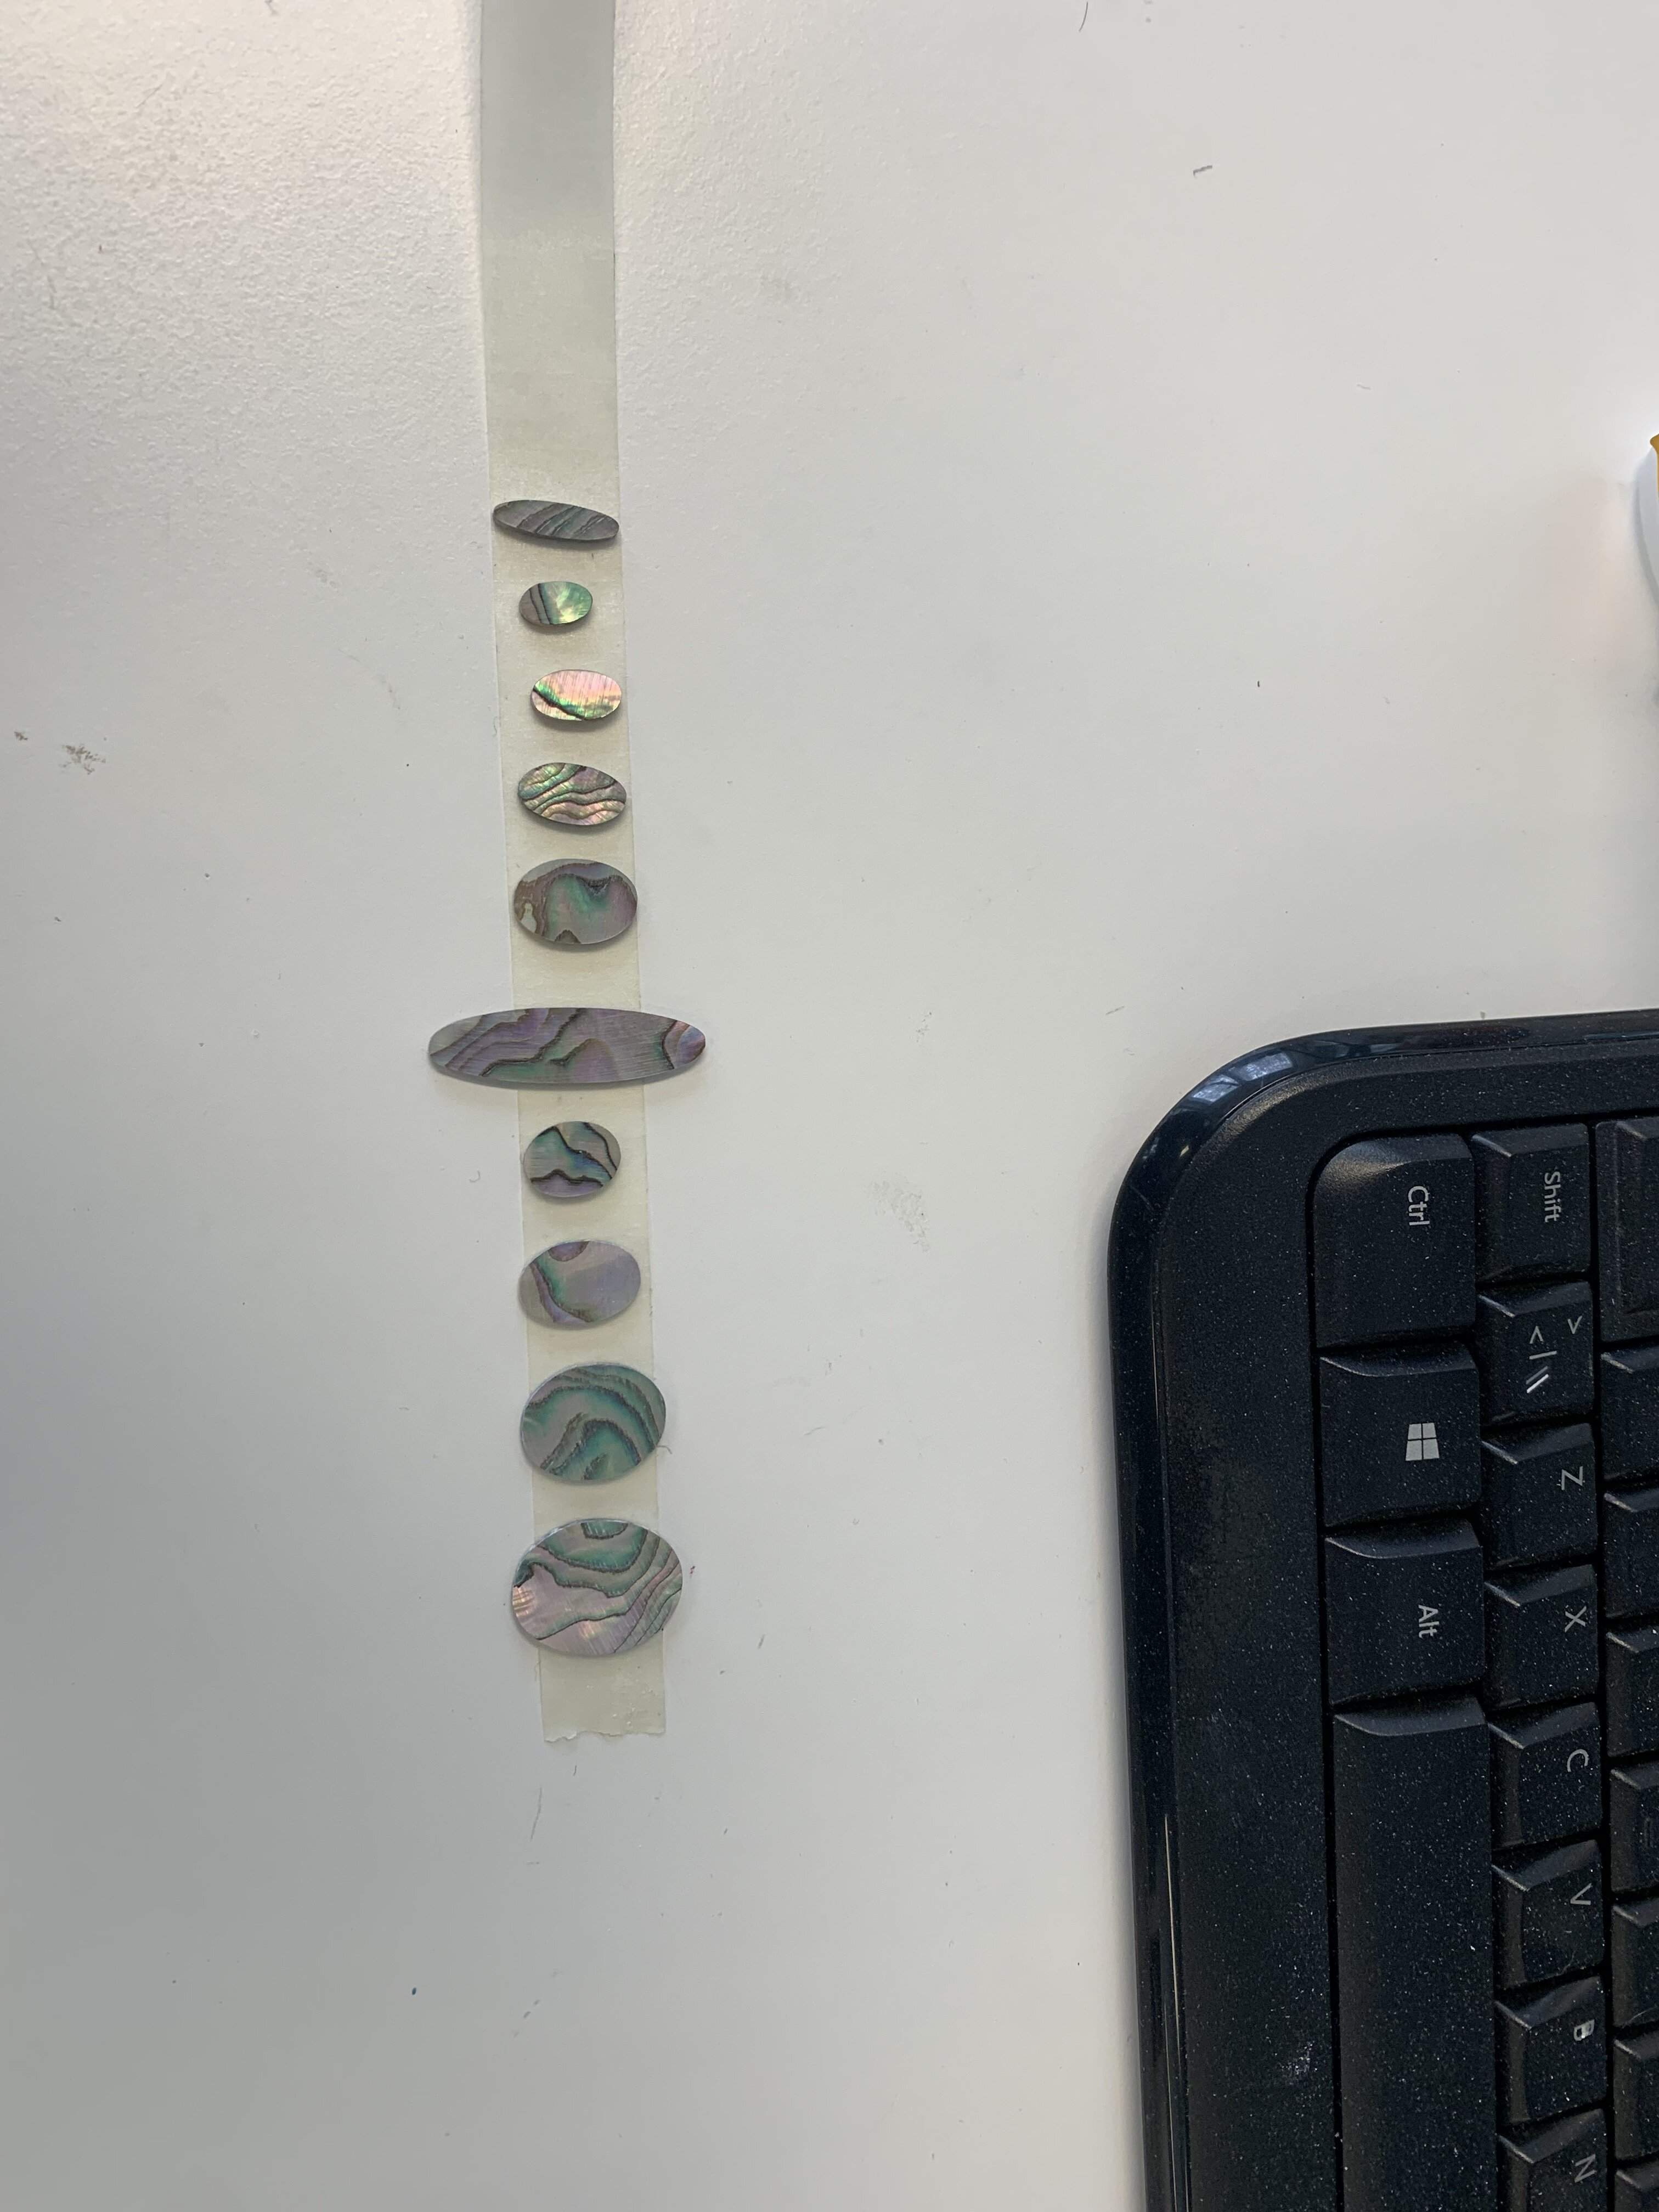
I also made a test route for inlay cavity. Close enough, especially when routed in ebony fretboard.

I also made a test route for inlay cavity. Close enough, especially when routed in ebony fretboard.

Not sure I understand. Is this because ebony has less splintering?Close enough, especially when routed in ebony fretboard.
Your inlays are beautiful, by the way. I'm muy impressed.
Not sure I understand. Is this because ebony has less splintering?
Your inlays are beautiful, by the way. I'm muy impressed.
There is some small gaps that would be visible in light wood like maple. In ebony it's easy to fill those small gaps invisible. Ebony is also easy to route as it does not splinter, it's more like routing plastic.

Yes, typically with ebony black CA or black dyed epoxy will fill those small gaps nearly invisibly.

Cutting and fitting inlays is a great application for a small CNC machine. But notice how there are inaccuracies, some gaps around the edges. With something small like that, you can see the gaps. This is a true test of the accuracy of a CNC machine/process: Match fitting a cut inlay to a routed recess.
What causes those errors? It could be in the software, inaccuracies in the CAD drawn lines and tool paths. It could be flexing of the machine frame as the cutting load changes direction. It could be movement of the wood piece in relation to the table. Or some combination of all three.
What causes those errors? It could be in the software, inaccuracies in the CAD drawn lines and tool paths. It could be flexing of the machine frame as the cutting load changes direction. It could be movement of the wood piece in relation to the table. Or some combination of all three.
I've seen a lot of guys counter this with a v carve bit that basically puts a tapered edge on the "walls". Then the insert can go down in until it bottoms out on the sides, not the bottom. They also claim the v carve bit is less prone to chipping along the edges.Cutting and fitting inlays is a great application for a small CNC machine. But notice how there are inaccuracies, some gaps around the edges. With something small like that, you can see the gaps. This is a true test of the accuracy of a CNC machine/process: Match fitting a cut inlay to a routed recess.
What causes those errors? It could be in the software, inaccuracies in the CAD drawn lines and tool paths. It could be flexing of the machine frame as the cutting load changes direction. It could be movement of the wood piece in relation to the table. Or some combination of all three.
Thoughts on this method?
I've seen a lot of guys counter this with a v carve bit that basically puts a tapered edge on the "walls". Then the insert can go down in until it bottoms out on the sides, not the bottom. They also claim the v carve bit is less prone to chipping along the edges.
Thoughts on this method?
Yes, you can do that, but that's "cheating".
 Ideally, you should cut the recess just a tiny bit oversize, so you have an even gap of, like, 0.002" all around the inlay. A small space for the CA glue or epoxy.
And there are ways to correct those errors. For example, drawing out your cutting path so that you hog out most of the cavity first, leaving the last 0.005" around the perimeter. Then do a final pass around the perimeter at a slow feed rate. Keeping the side cutting load very low to minimize the flexing and movement. These are the types of things you need to do to get real accuracy out of a CNC machine.
Our cnc router has a bit of backslash that I can't dial out. It doesn't matter on the things we do with pupils. We use it mainly to engrave pics on acrylic for led light signs. The cavity is however tighter than what I can route and ebony is forgiving so I'm happy. I can see the gaps with magnifier but I can't see them without one. I rarely play with magnifier and look at the fretboard at the same time.
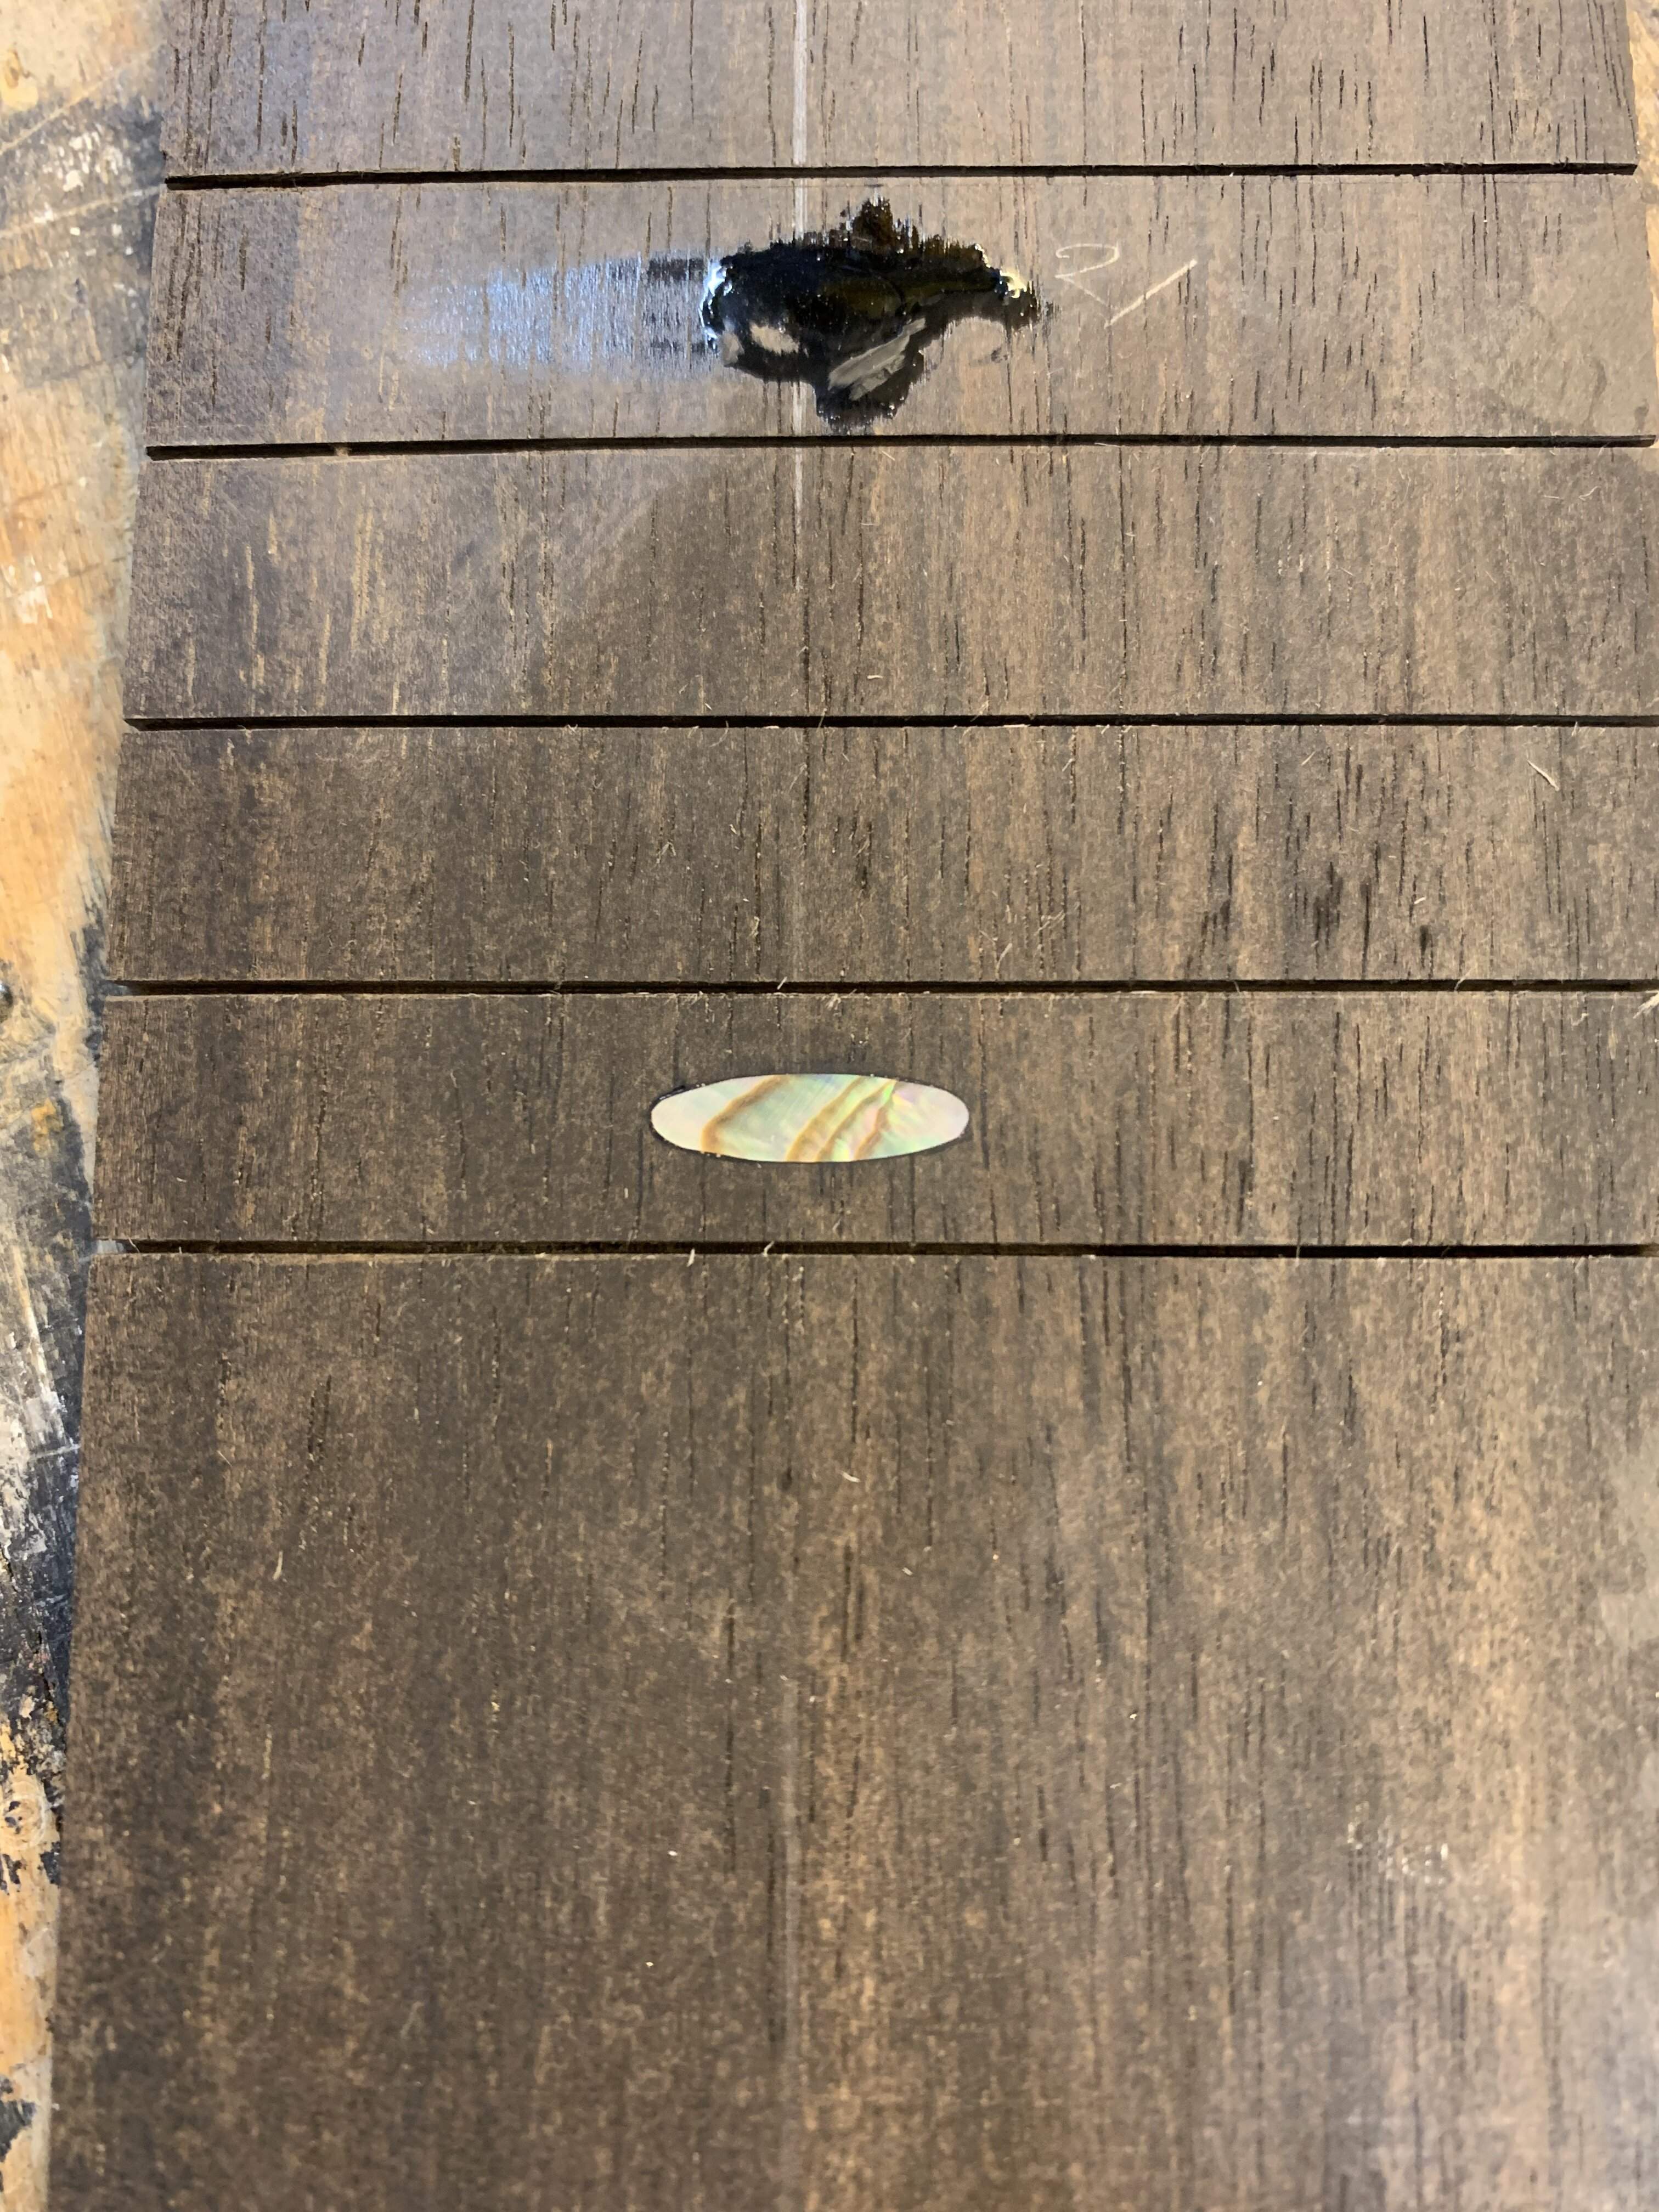
I routed the inlay cavities today and glued the inlays with black tinted epoxy. I forgot my phone at home so no pics unfortunately. I'm hoping to start glueing the neck beam and body sandwiches tomorrow. I'm also hoping to get the fretboard sanded during weekend. I've made a router sled for truss rod earlier this week. I've tried to remember to loan threading tools from work to thread the truss rod but so far I've remembered them at home, not at work.
I filed one inlay this morning to see how they look. They look very nice!
Today was gluing time. I got the neck beam and body sides glued. I use Titebond Extend. It has longer open time than Original. I'll let the glue dry for a day before releasing the clamps. Maybe on Sunday or Monday.
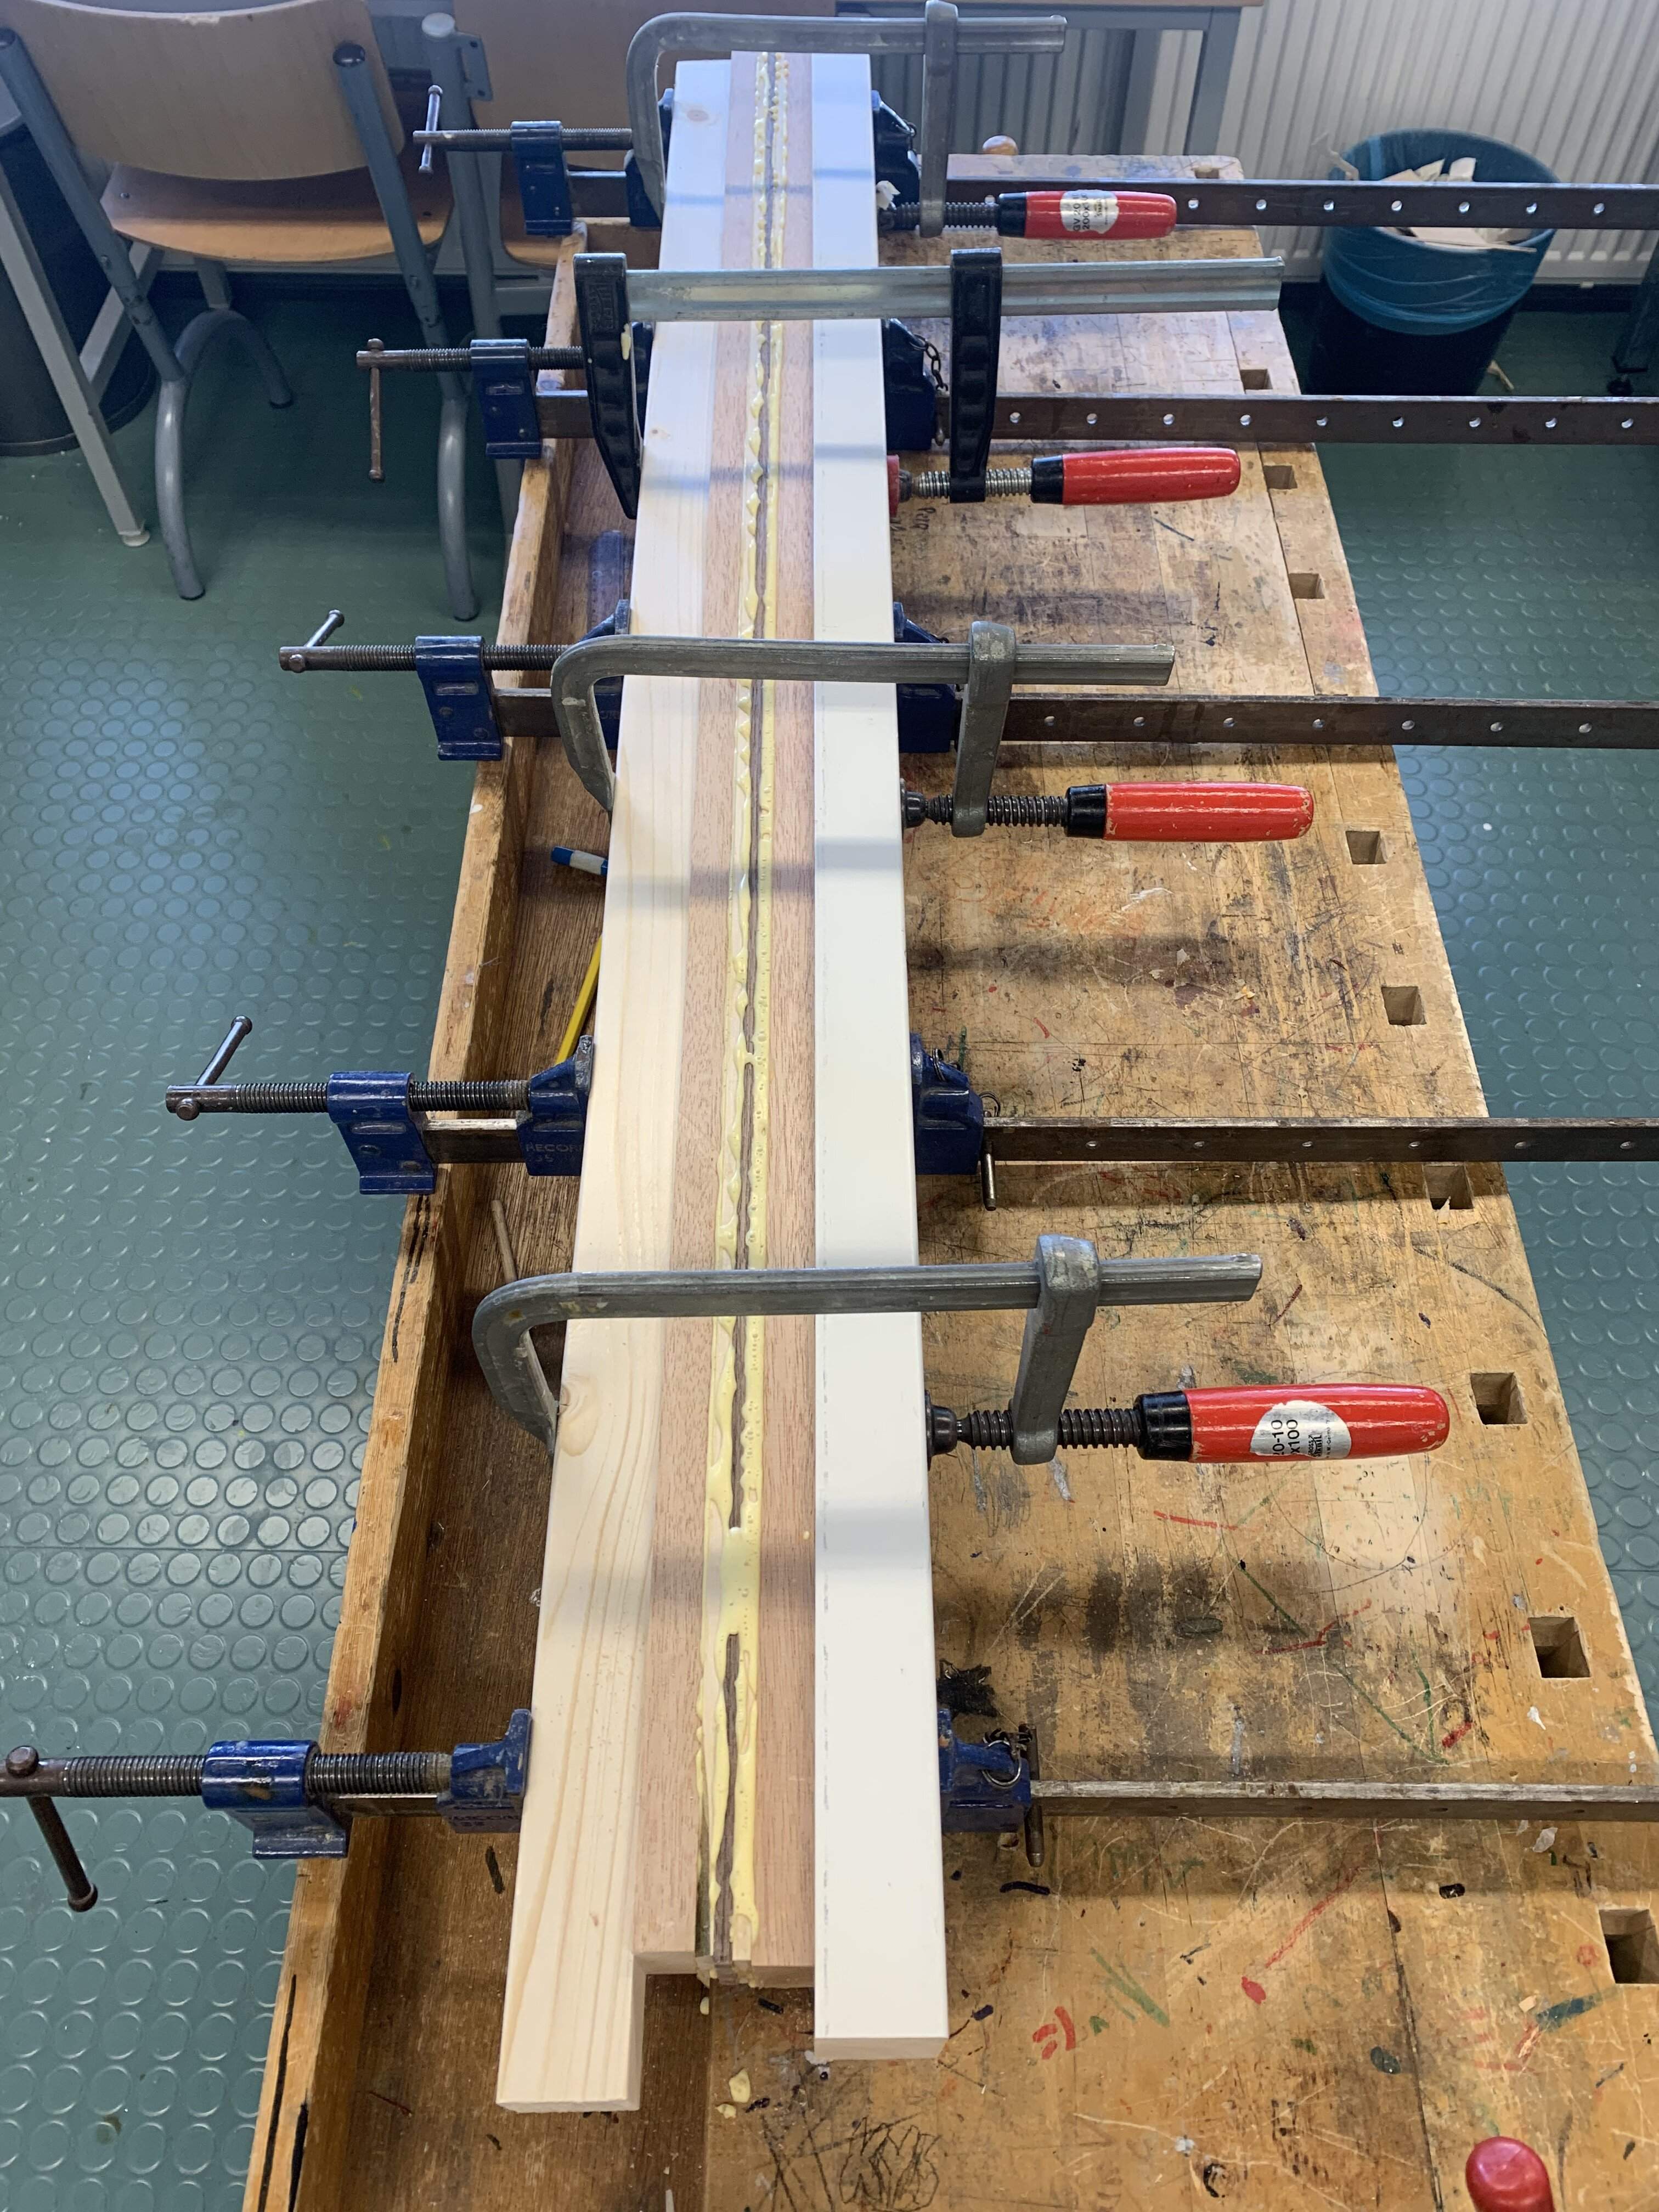
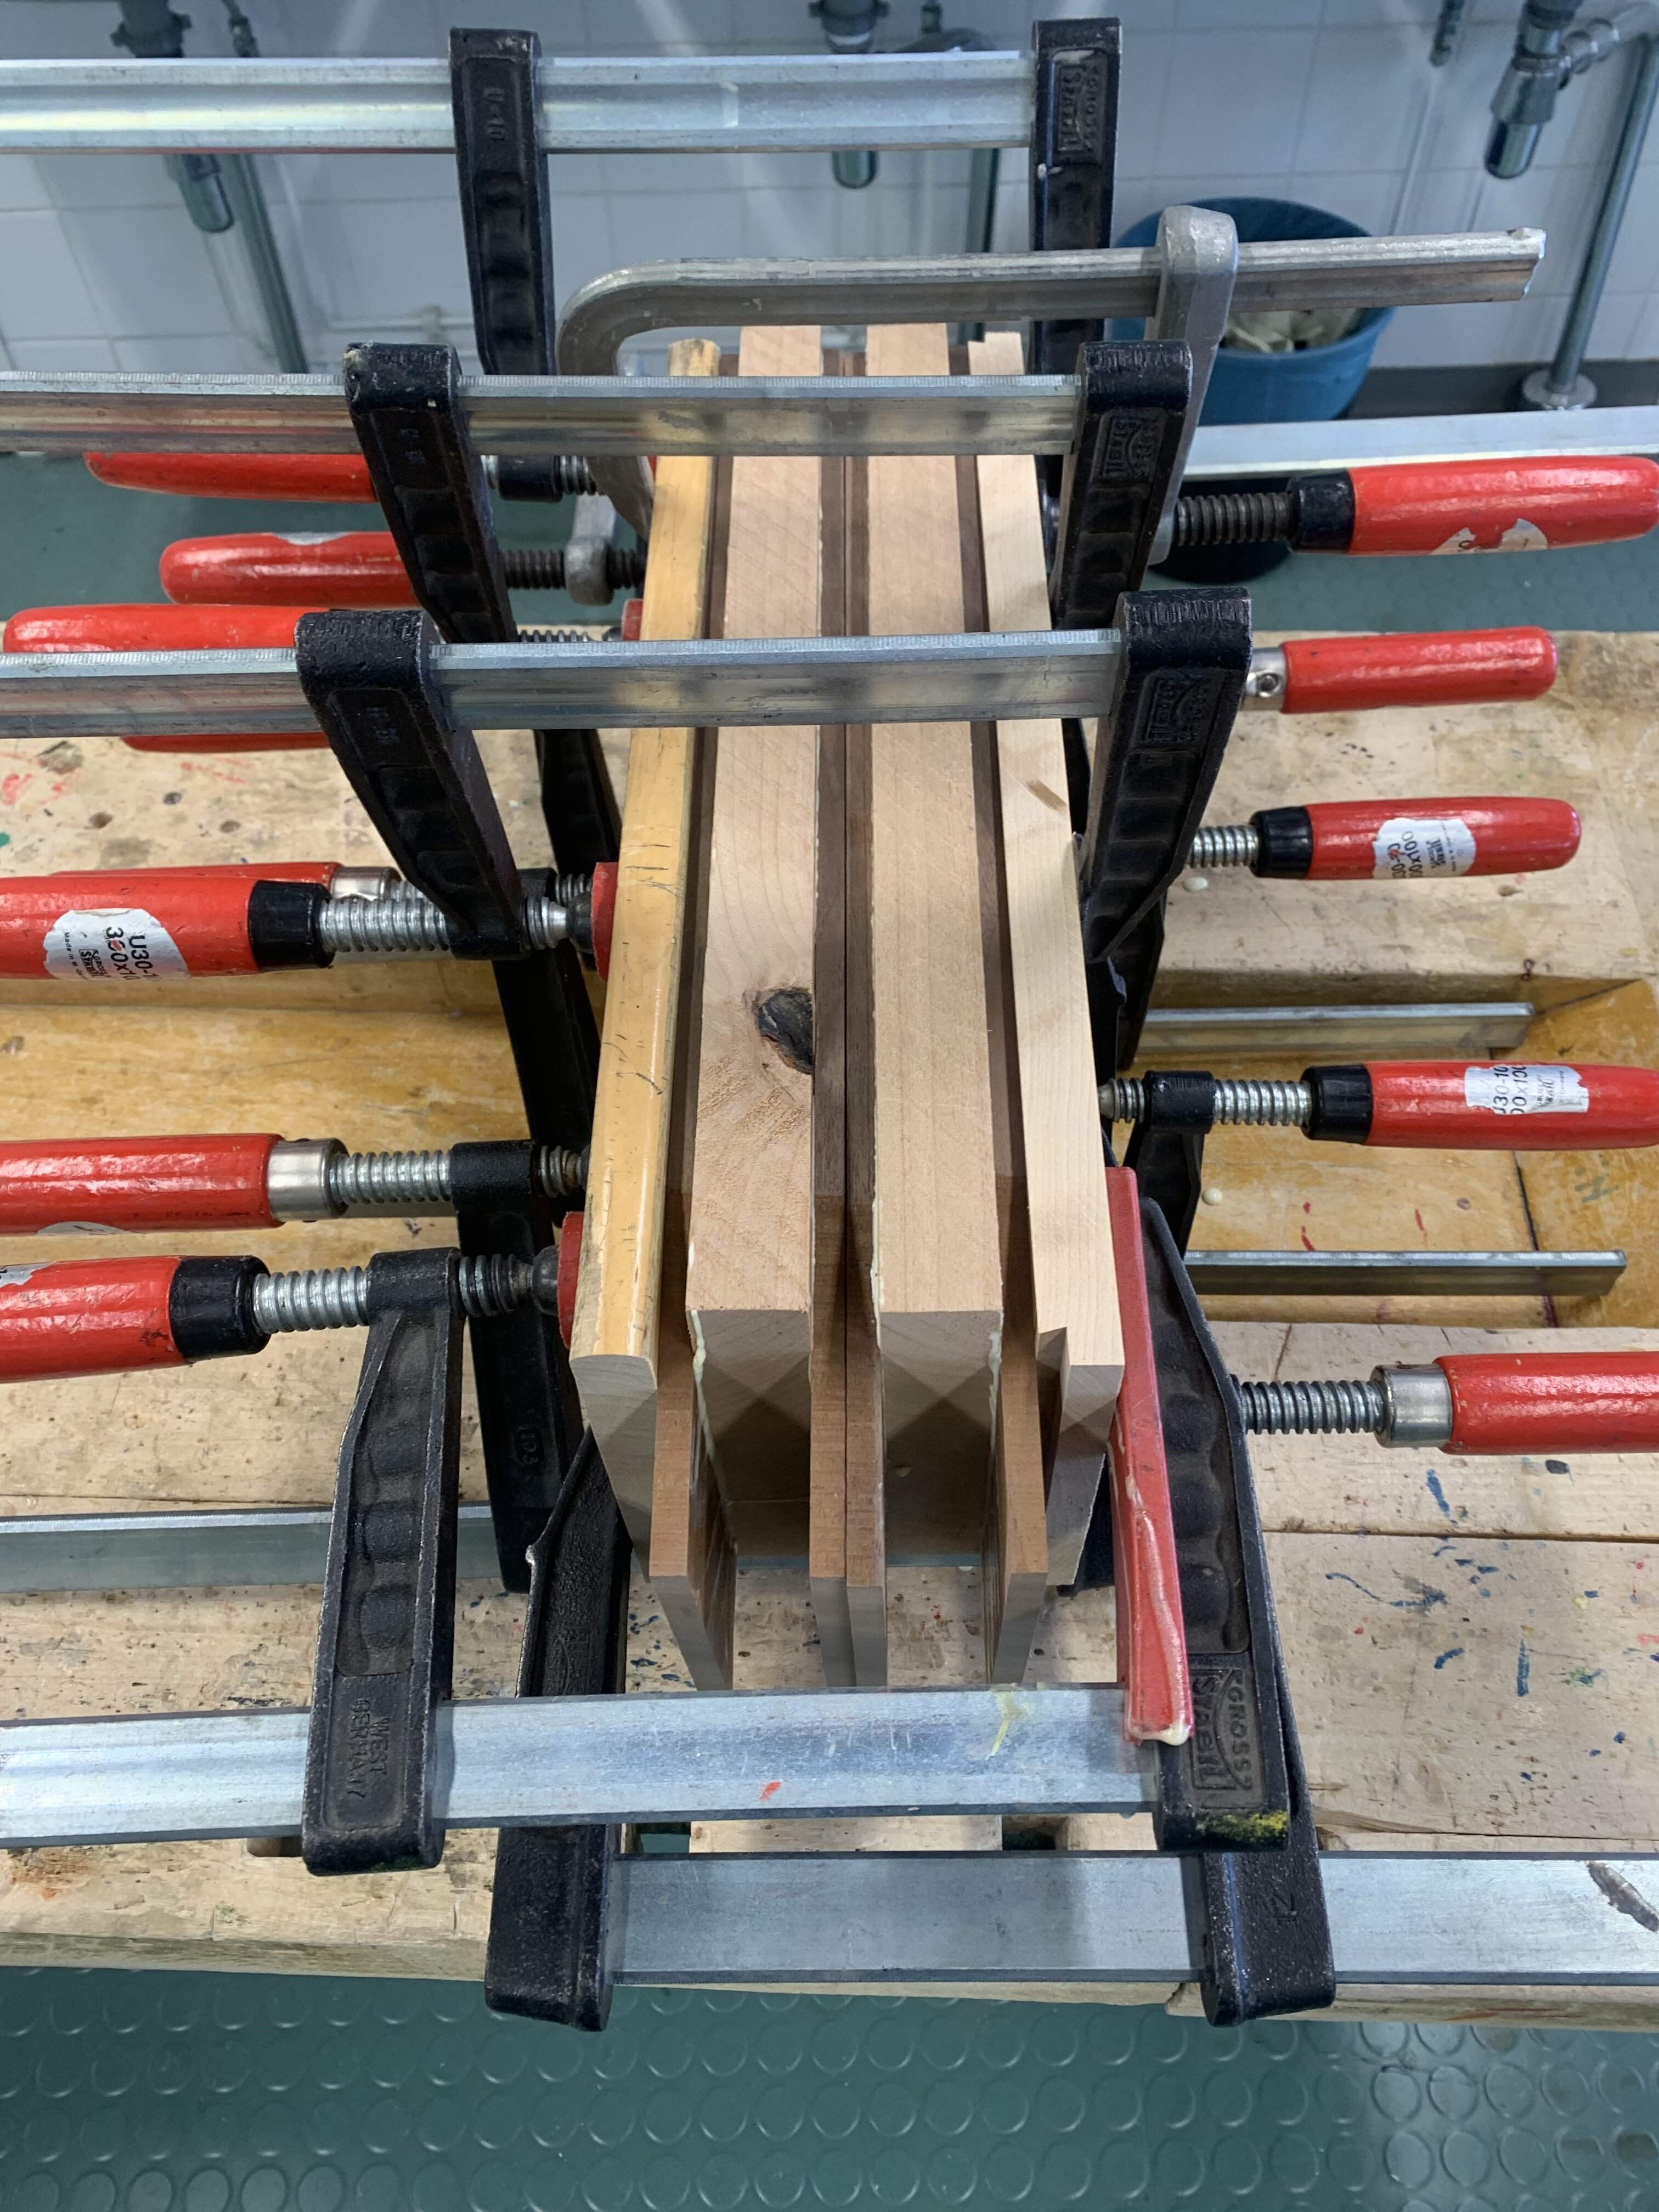
Gluing is at work because I have to thickness the neck beam and saw and sand the sides to shape before bringing them home. At home I scraped the inlays, tapered the fretboard and threaded the truss rod.
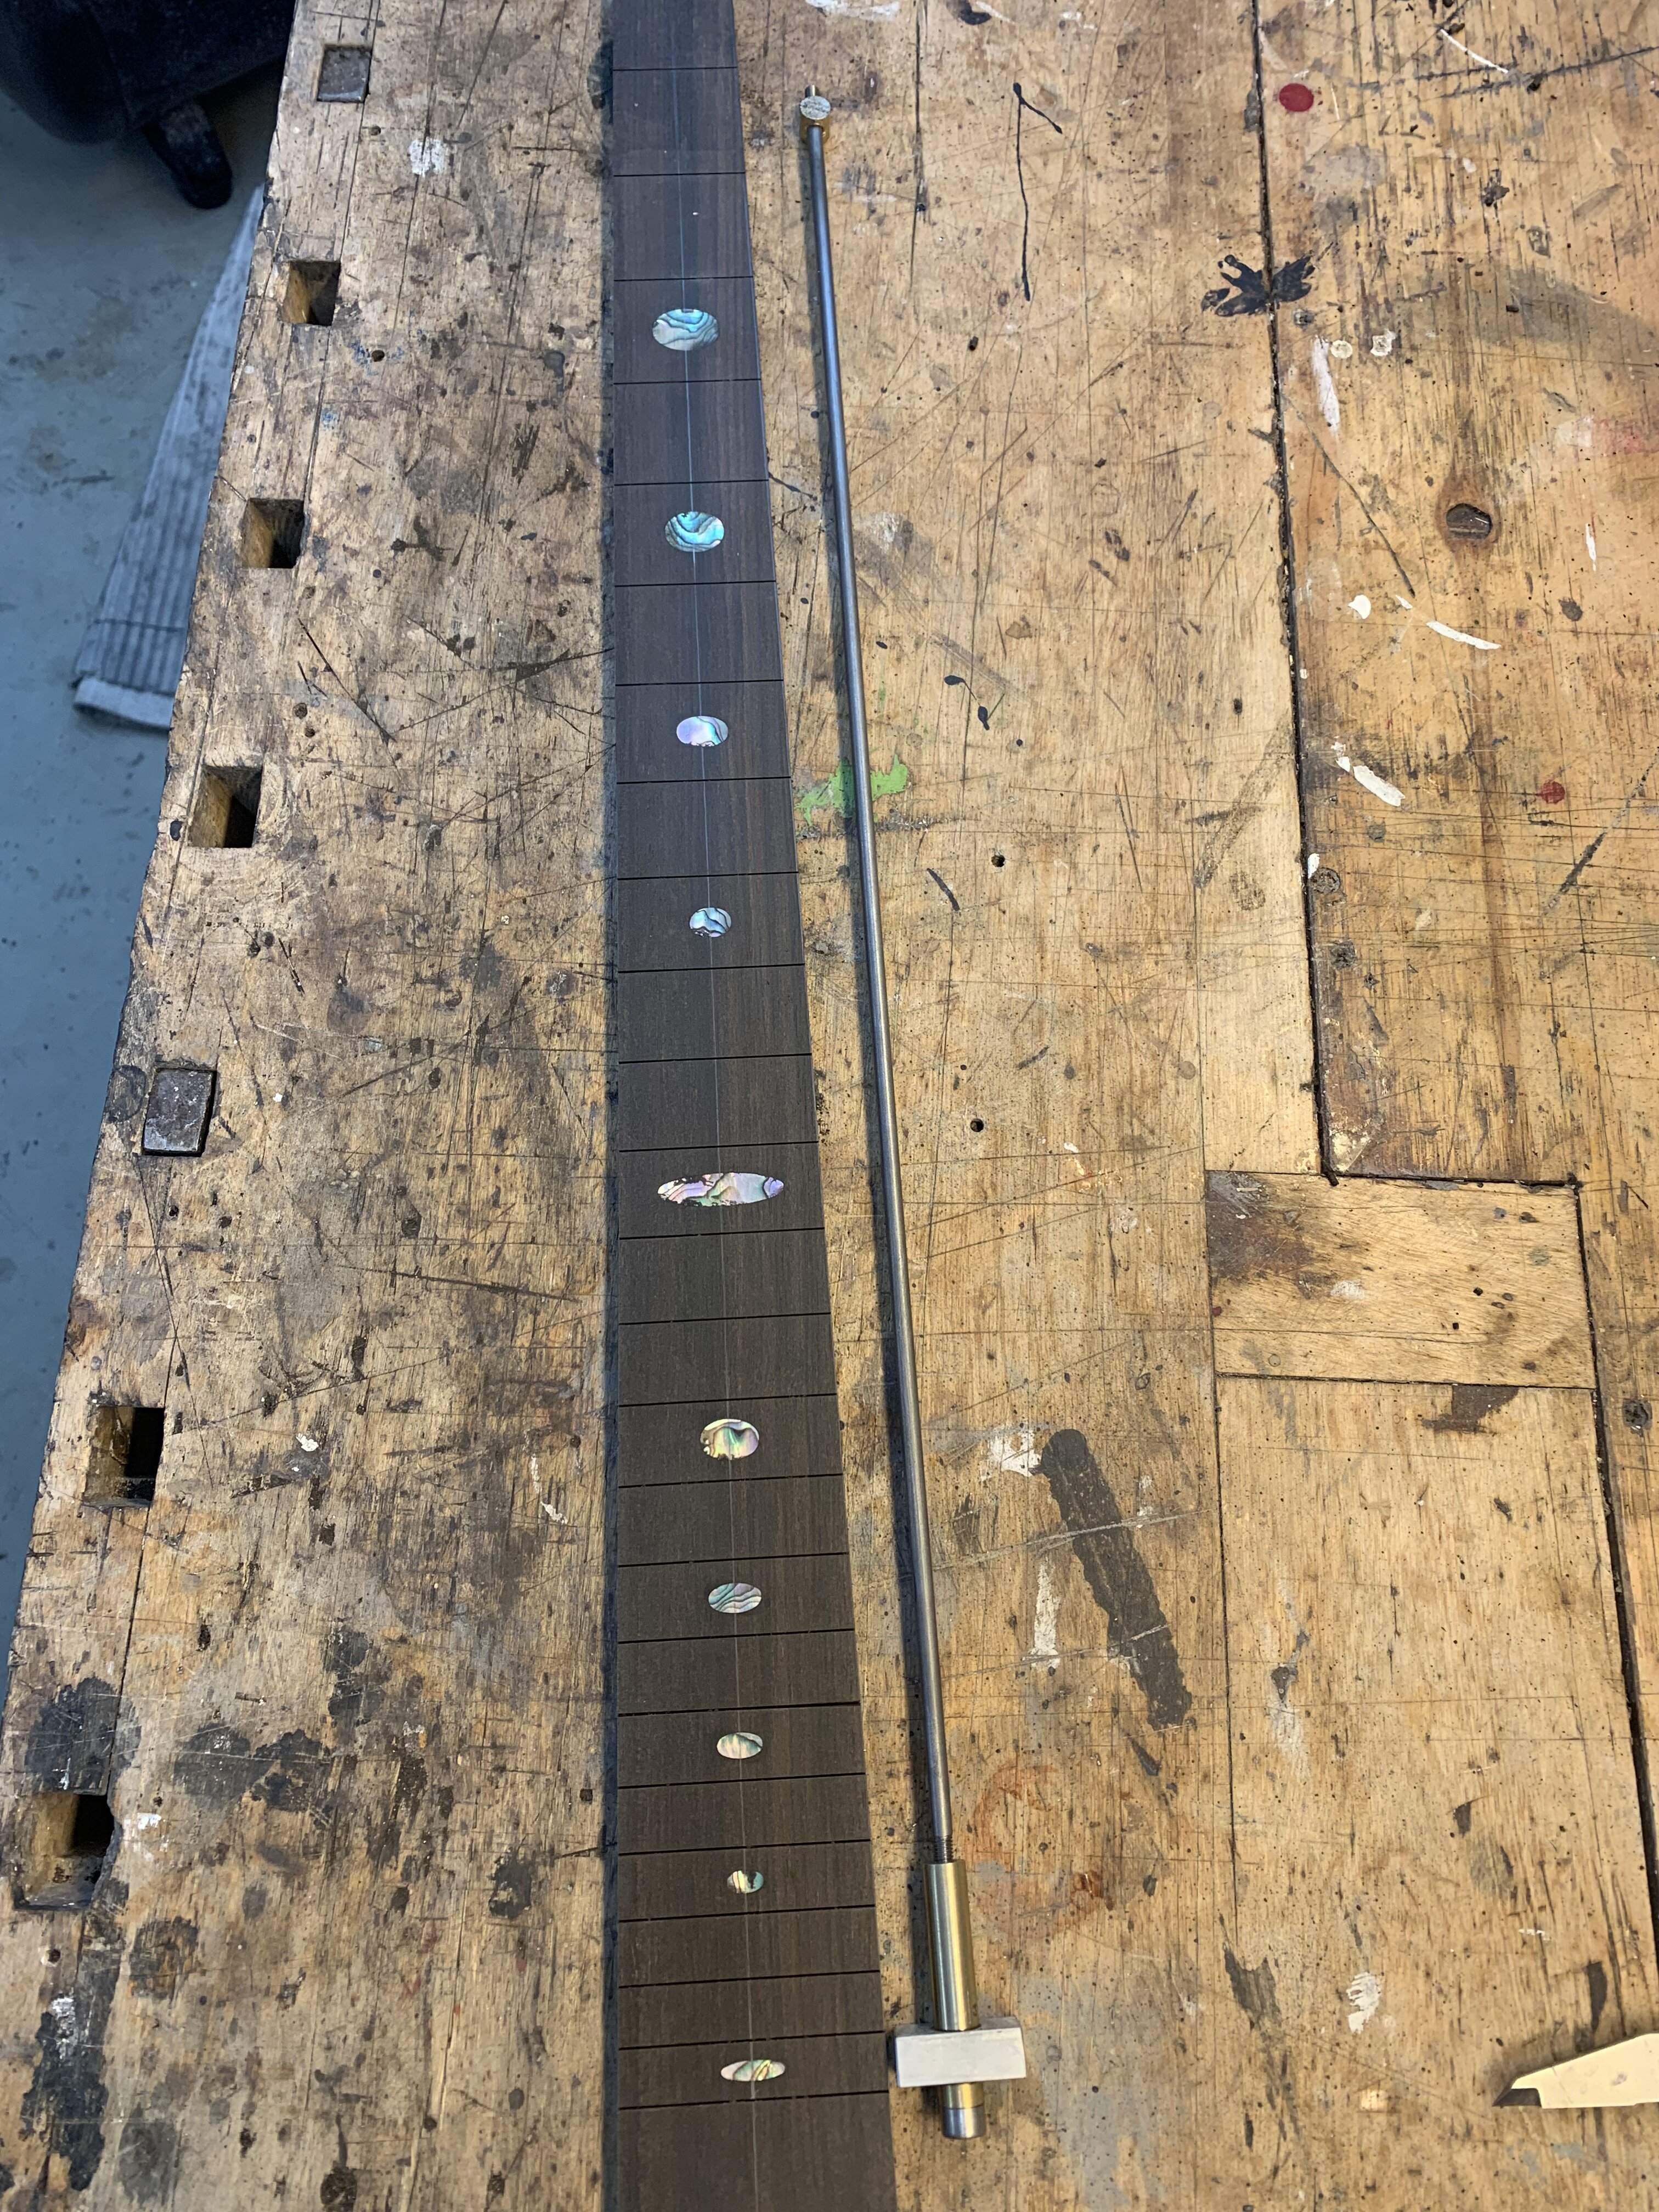
Gluing is at work because I have to thickness the neck beam and saw and sand the sides to shape before bringing them home. At home I scraped the inlays, tapered the fretboard and threaded the truss rod.
Last edited:


