Interior Construction Day One:
It's been a while since I've done one of these full construction updates, so I have to admit a bit of glee associated with typing this out. It finally feels like I'm moving forward again. Sure I did the drainage and built an exterior trash platform/lattice, but none of that pertains directly to the work I'm going to do inside the finished structure. Well today I was able to do work that DOES pertain directly to the final operation of the studio.
I set out today to frame the interior vestibule/entryway wall. I would have liked to do this after the drywall lid was in-place so I could do that work with zero obstructions, but I needed to have it built ahead of the electrical install since I'm putting lights in the loft ceiling. Oh well. It won't be that much of an obstruction.
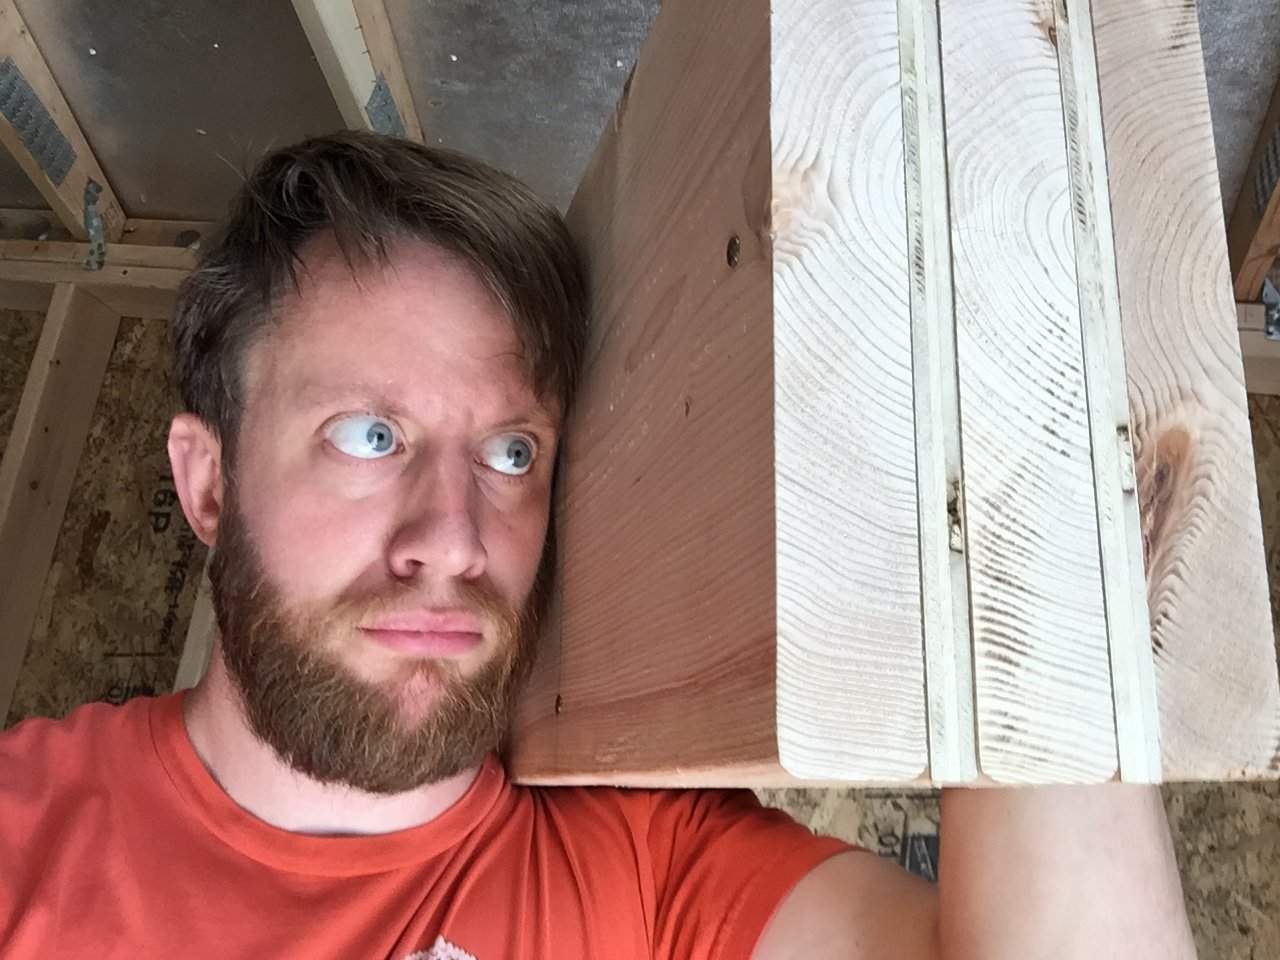
My first task was to construct the door header before I started laying out the wall framing which would occupy 8' of the length of the structure. The door header will be in support of a 200-300lbs sound door, so this is not an area where I wanted to skimp. You can use 2x8s or 2x10s topped with what are called cripple studs, but when you really want stout framing the best option is to use 2x12s pushed right up to the top plates. Since the adjacent framing is all 2x6 the solution is to cut down a 2x12 into three pieces that are 3" wider than the rough opening for the door. My door is going to be 36" wide, and you typically frame a rough opening 2" wider than that. So 38" wide rough opening plus 3" to account for the 2x6 jack studs on each side of the rough opening and you're left with a 41" wide header. Using a 12' long 2x12 I cut three 41" long 2x12s. That leaves a gap of 1" (1.5" wide lumber X 3 = 4.5" relative to the 5.5" wide 2x6 framing). To account for this I ripped a sheet of 1/2" plywood down to two pieces that were 41" long by 11.25" wide (the actual width of a 2x12) and sandwiched them between the three 2x12s. This is quite a common way to do this. After that I lined everything up, nailed it all together in alternating patterns from each side. To say it's a robust header would be an understatement.
80s style ghettoblaster or a massive door header? I'll let you be the judge.
With the header built and out of the way I could begin cutting and laying out all of the lumber for the wall. I started by snapping a chalk line to serve as a guide for aligning everything. The line creates a vestibule/entryway that will be 42" deep (minus 1.25" to account for a sheet of drywall on each wall). Just wide enough for the exterior door to swing clear and still provide adequate storage for all of the stuff I don't want living in the main room. I could have made this bigger, but I wanted to size it to only be as big as needed to allow the main room to be as large as possible.
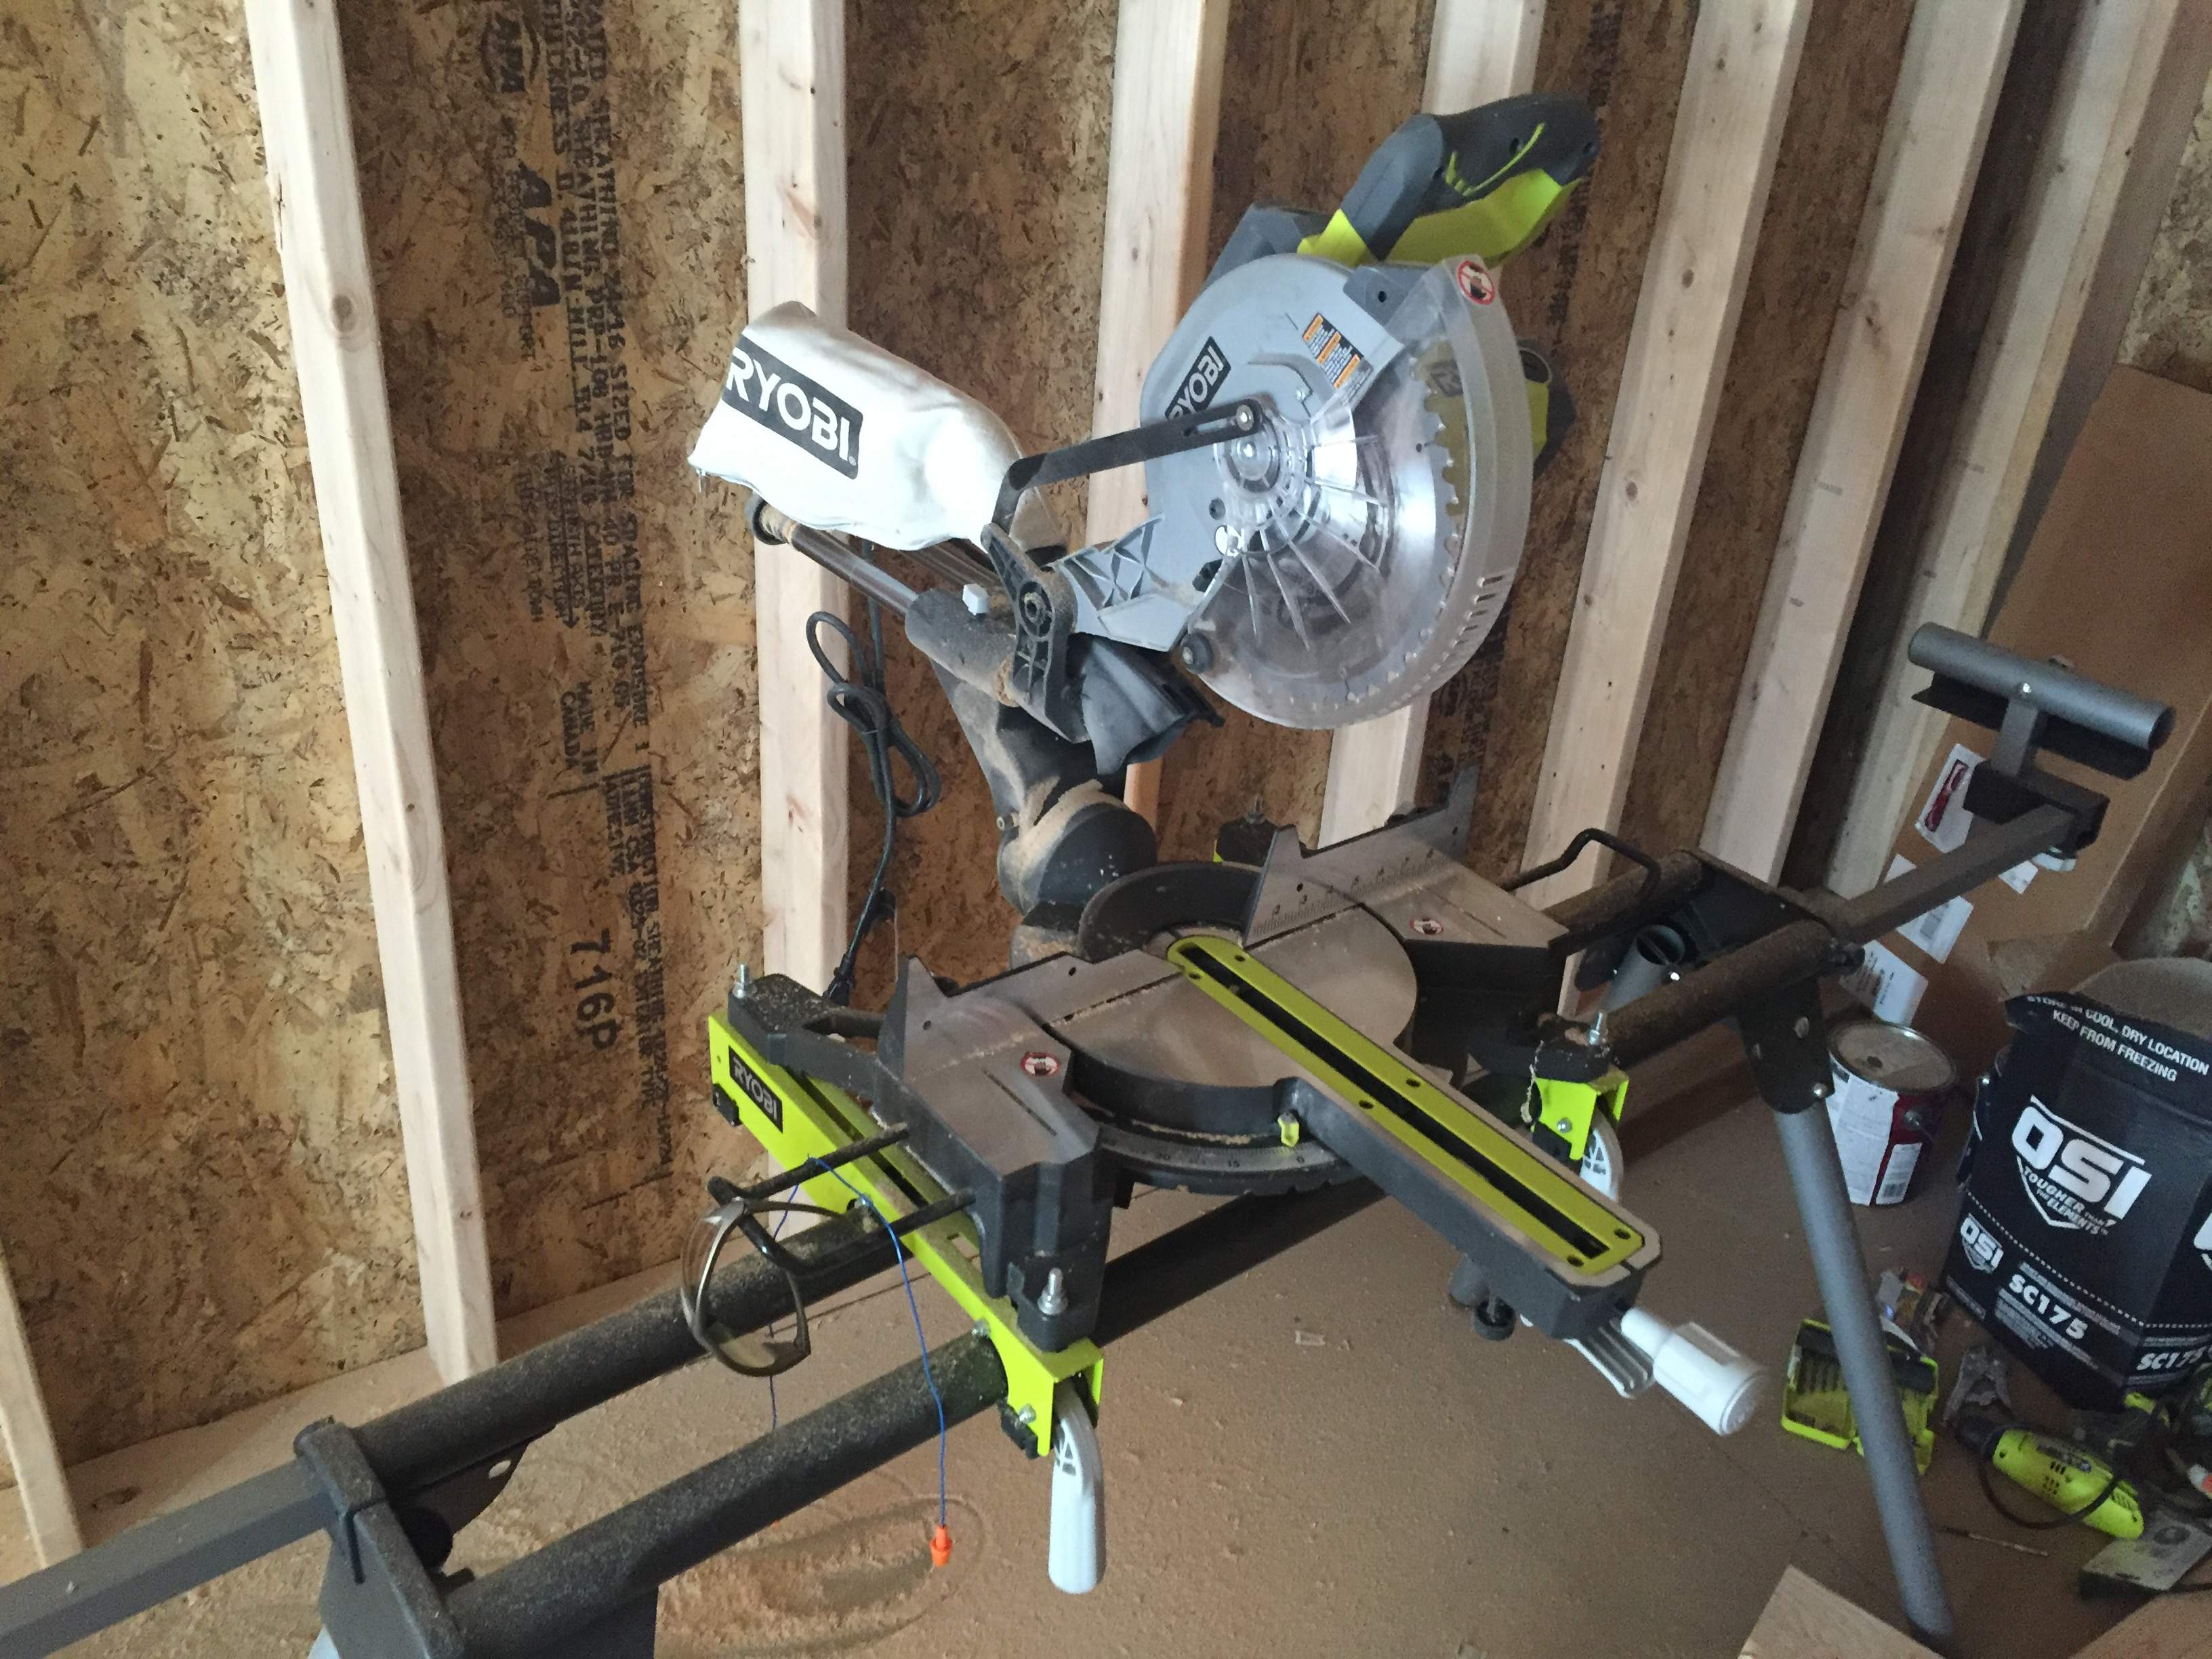
With my chalk line guide in-place I did some math on the required lengths of all the pieces of lumber. Using my trusty sliding compound miter saw I went about cutting.
It's not as cool as the concrete block saw I used a couple months ago, but it's still pretty slick.
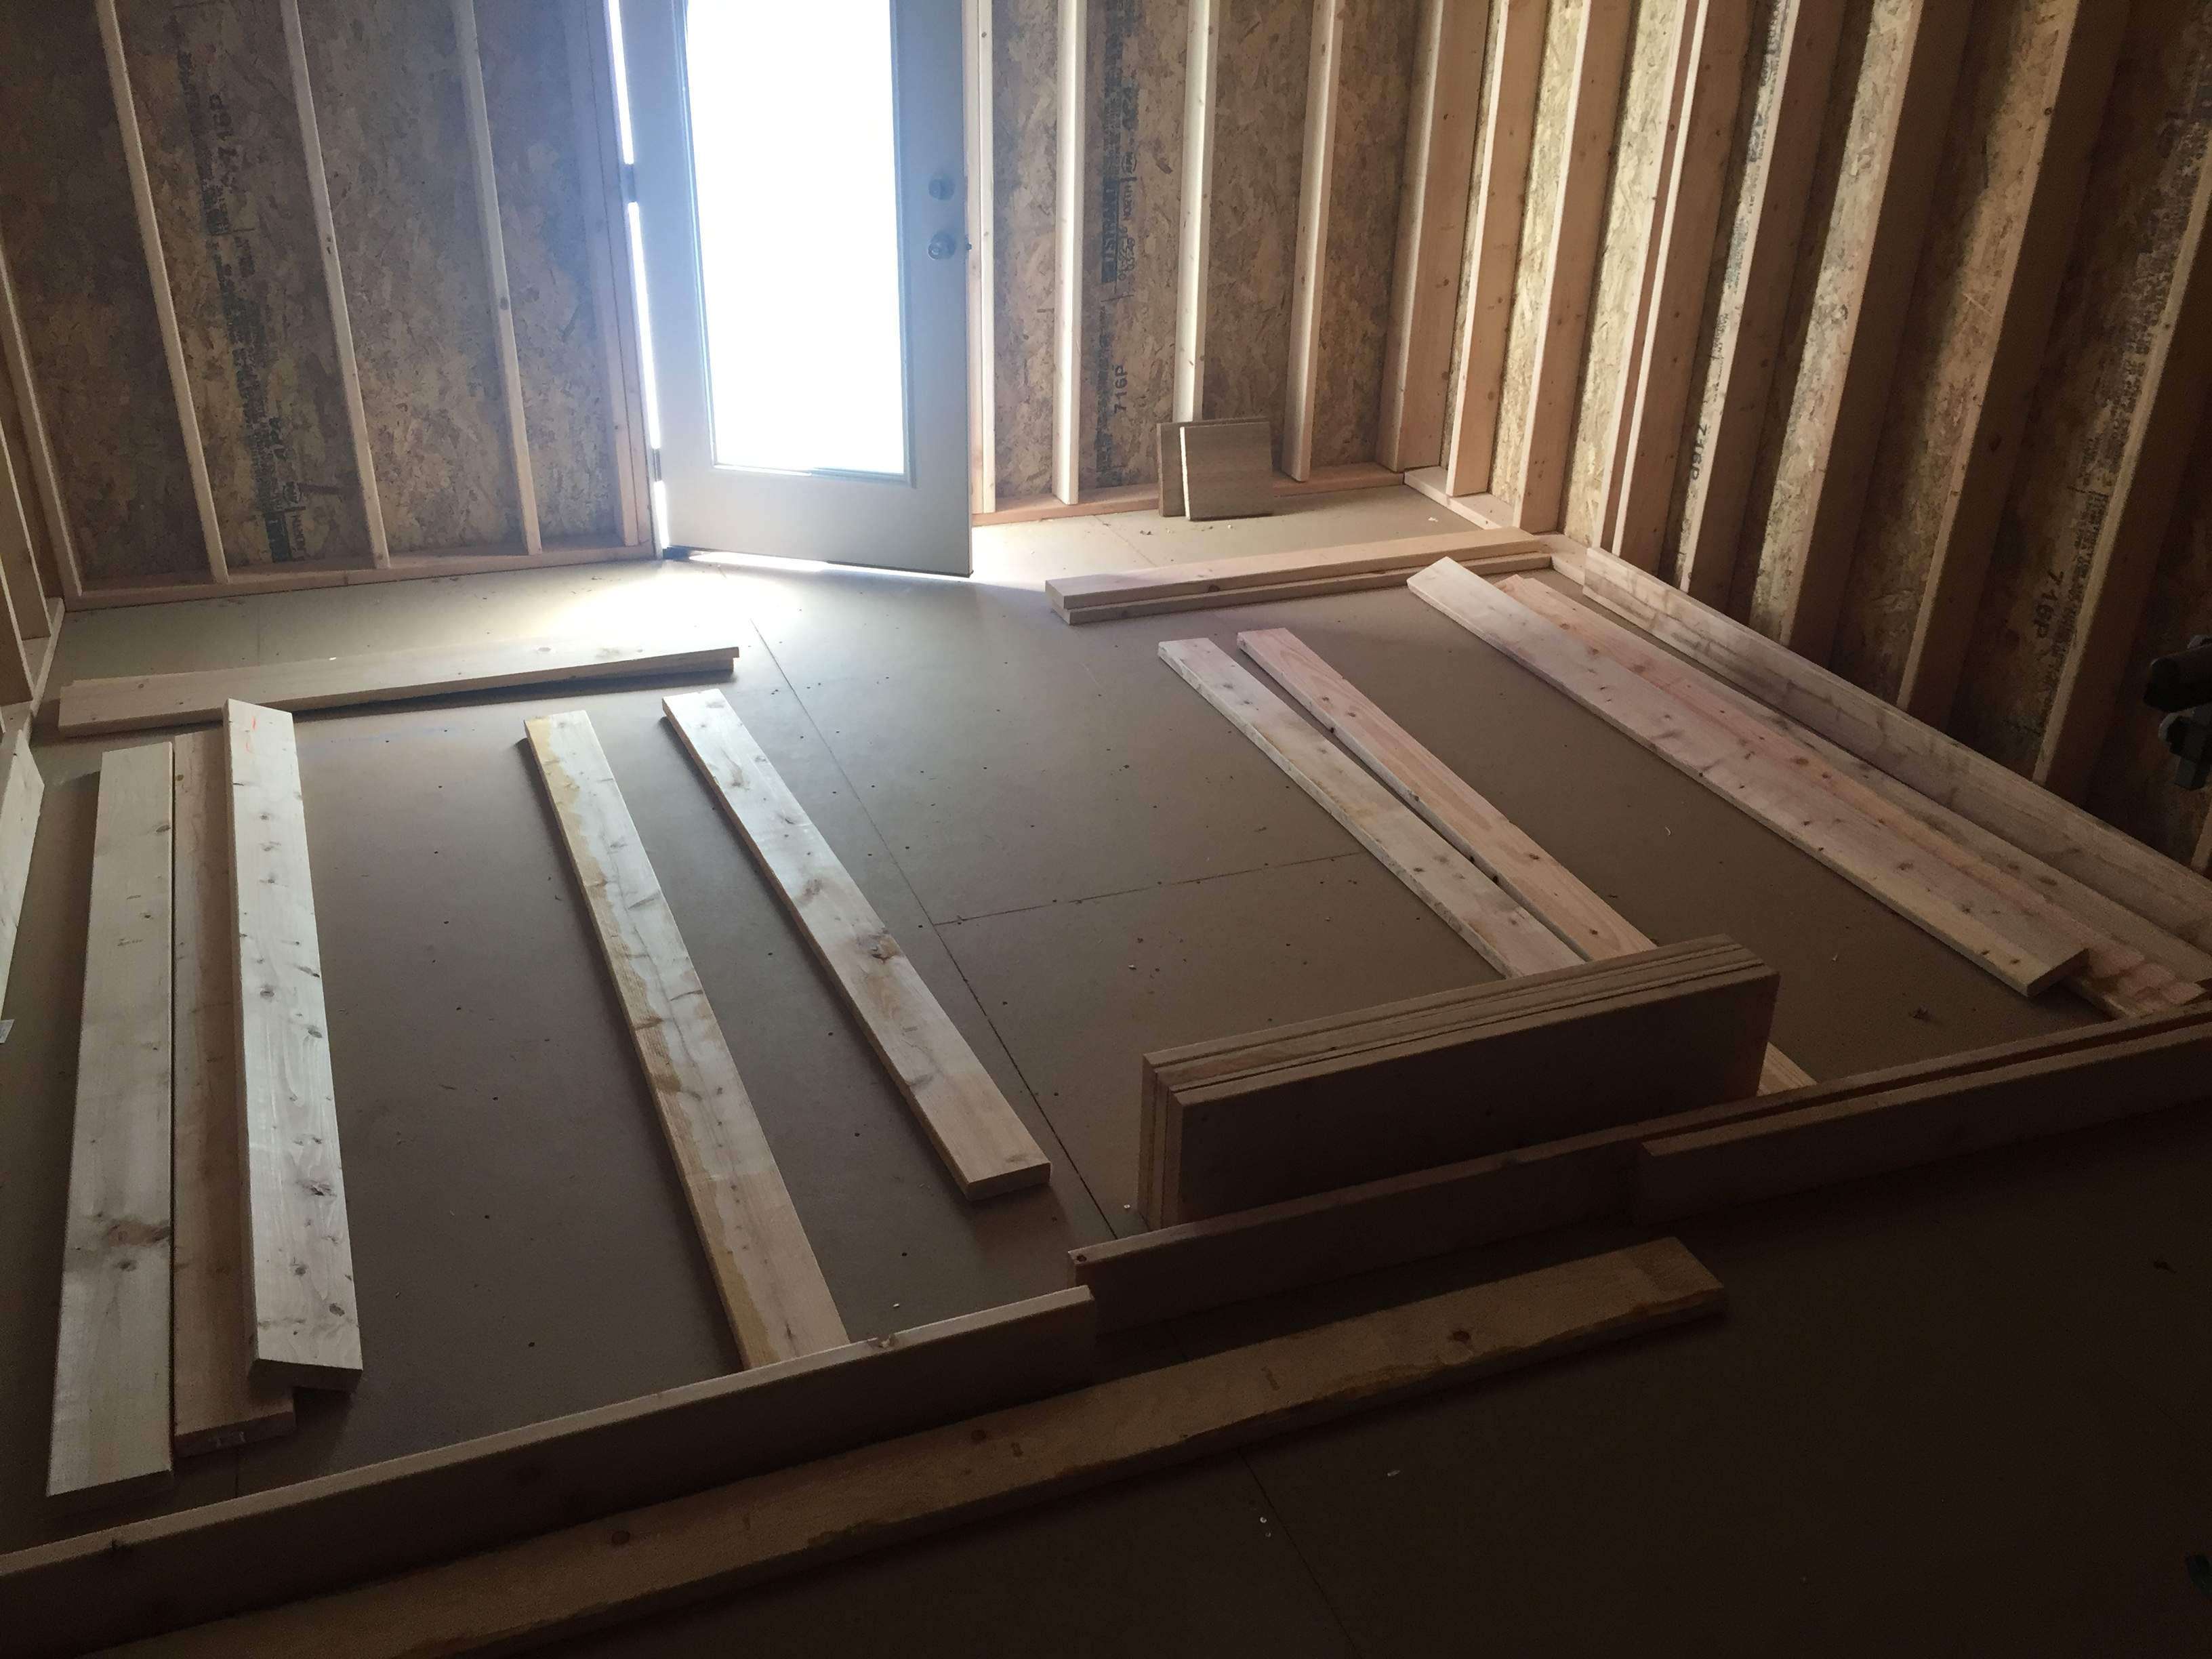
With all of the boards cut to length I laid everything out to give my self a sense of the whole process and whether or not I thought I could get it done in one day. I was cautiously optimistic that I could. Spoiler alert: I did not, haha.
Best laid plans of mice and bassists...
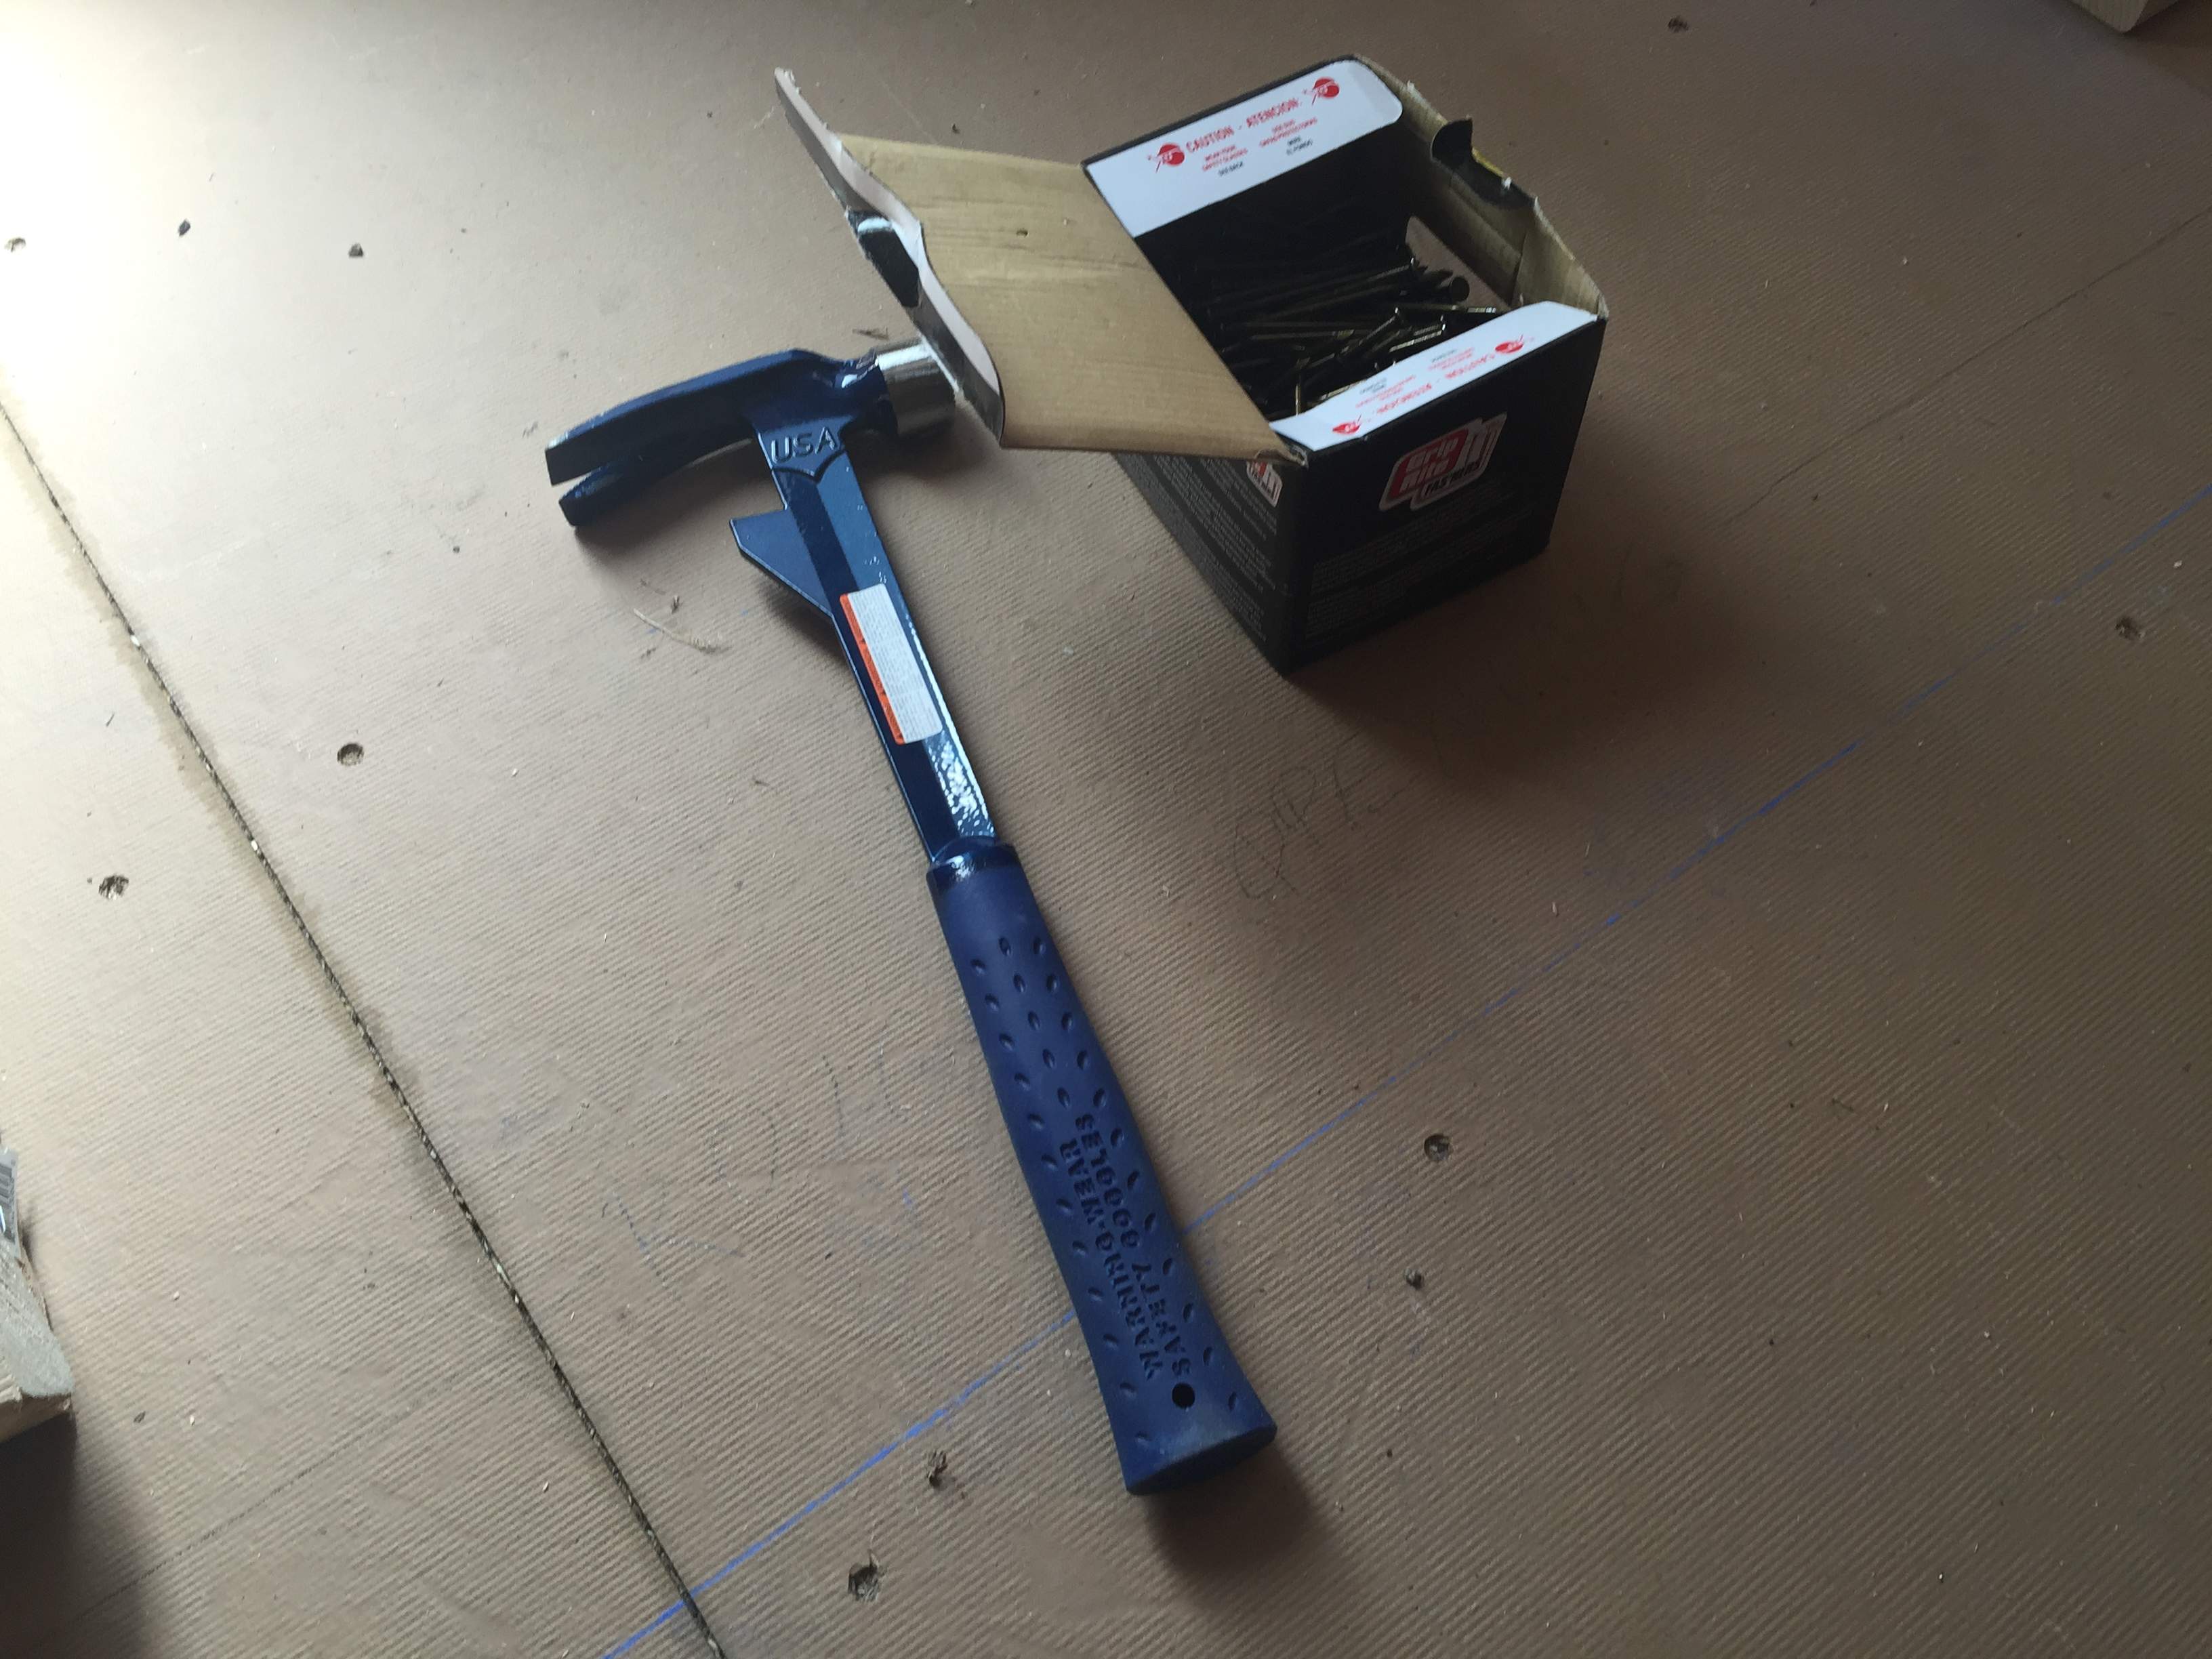
Before I go any further I want to make a general comment about framing: If you've never done it, there is a considerable amount of pounding with a heavy hammer involved in framing, unless of course you're using a framing nailer. This is the only part of the project that will require me to frame anything, so I didn't consider the expense of buying a powered framing nailer to be worth it. That said, HOLY CRAP DOES POUNDING ON NAIL REPEATEDLY ALL DAY MAKE YOU RIDICULOUSLY SORE! I was using 16d, vinyl coated sinkers (as opposed to common nails) as they're reportedly easier to dive into place and don't back out as easily. If these drive more easily, I can't imagine doing it with common nails. There's a definite technique to driving the nails correctly that makes things more easy on you, but it's still punishingly difficult work.
They look so innocent.
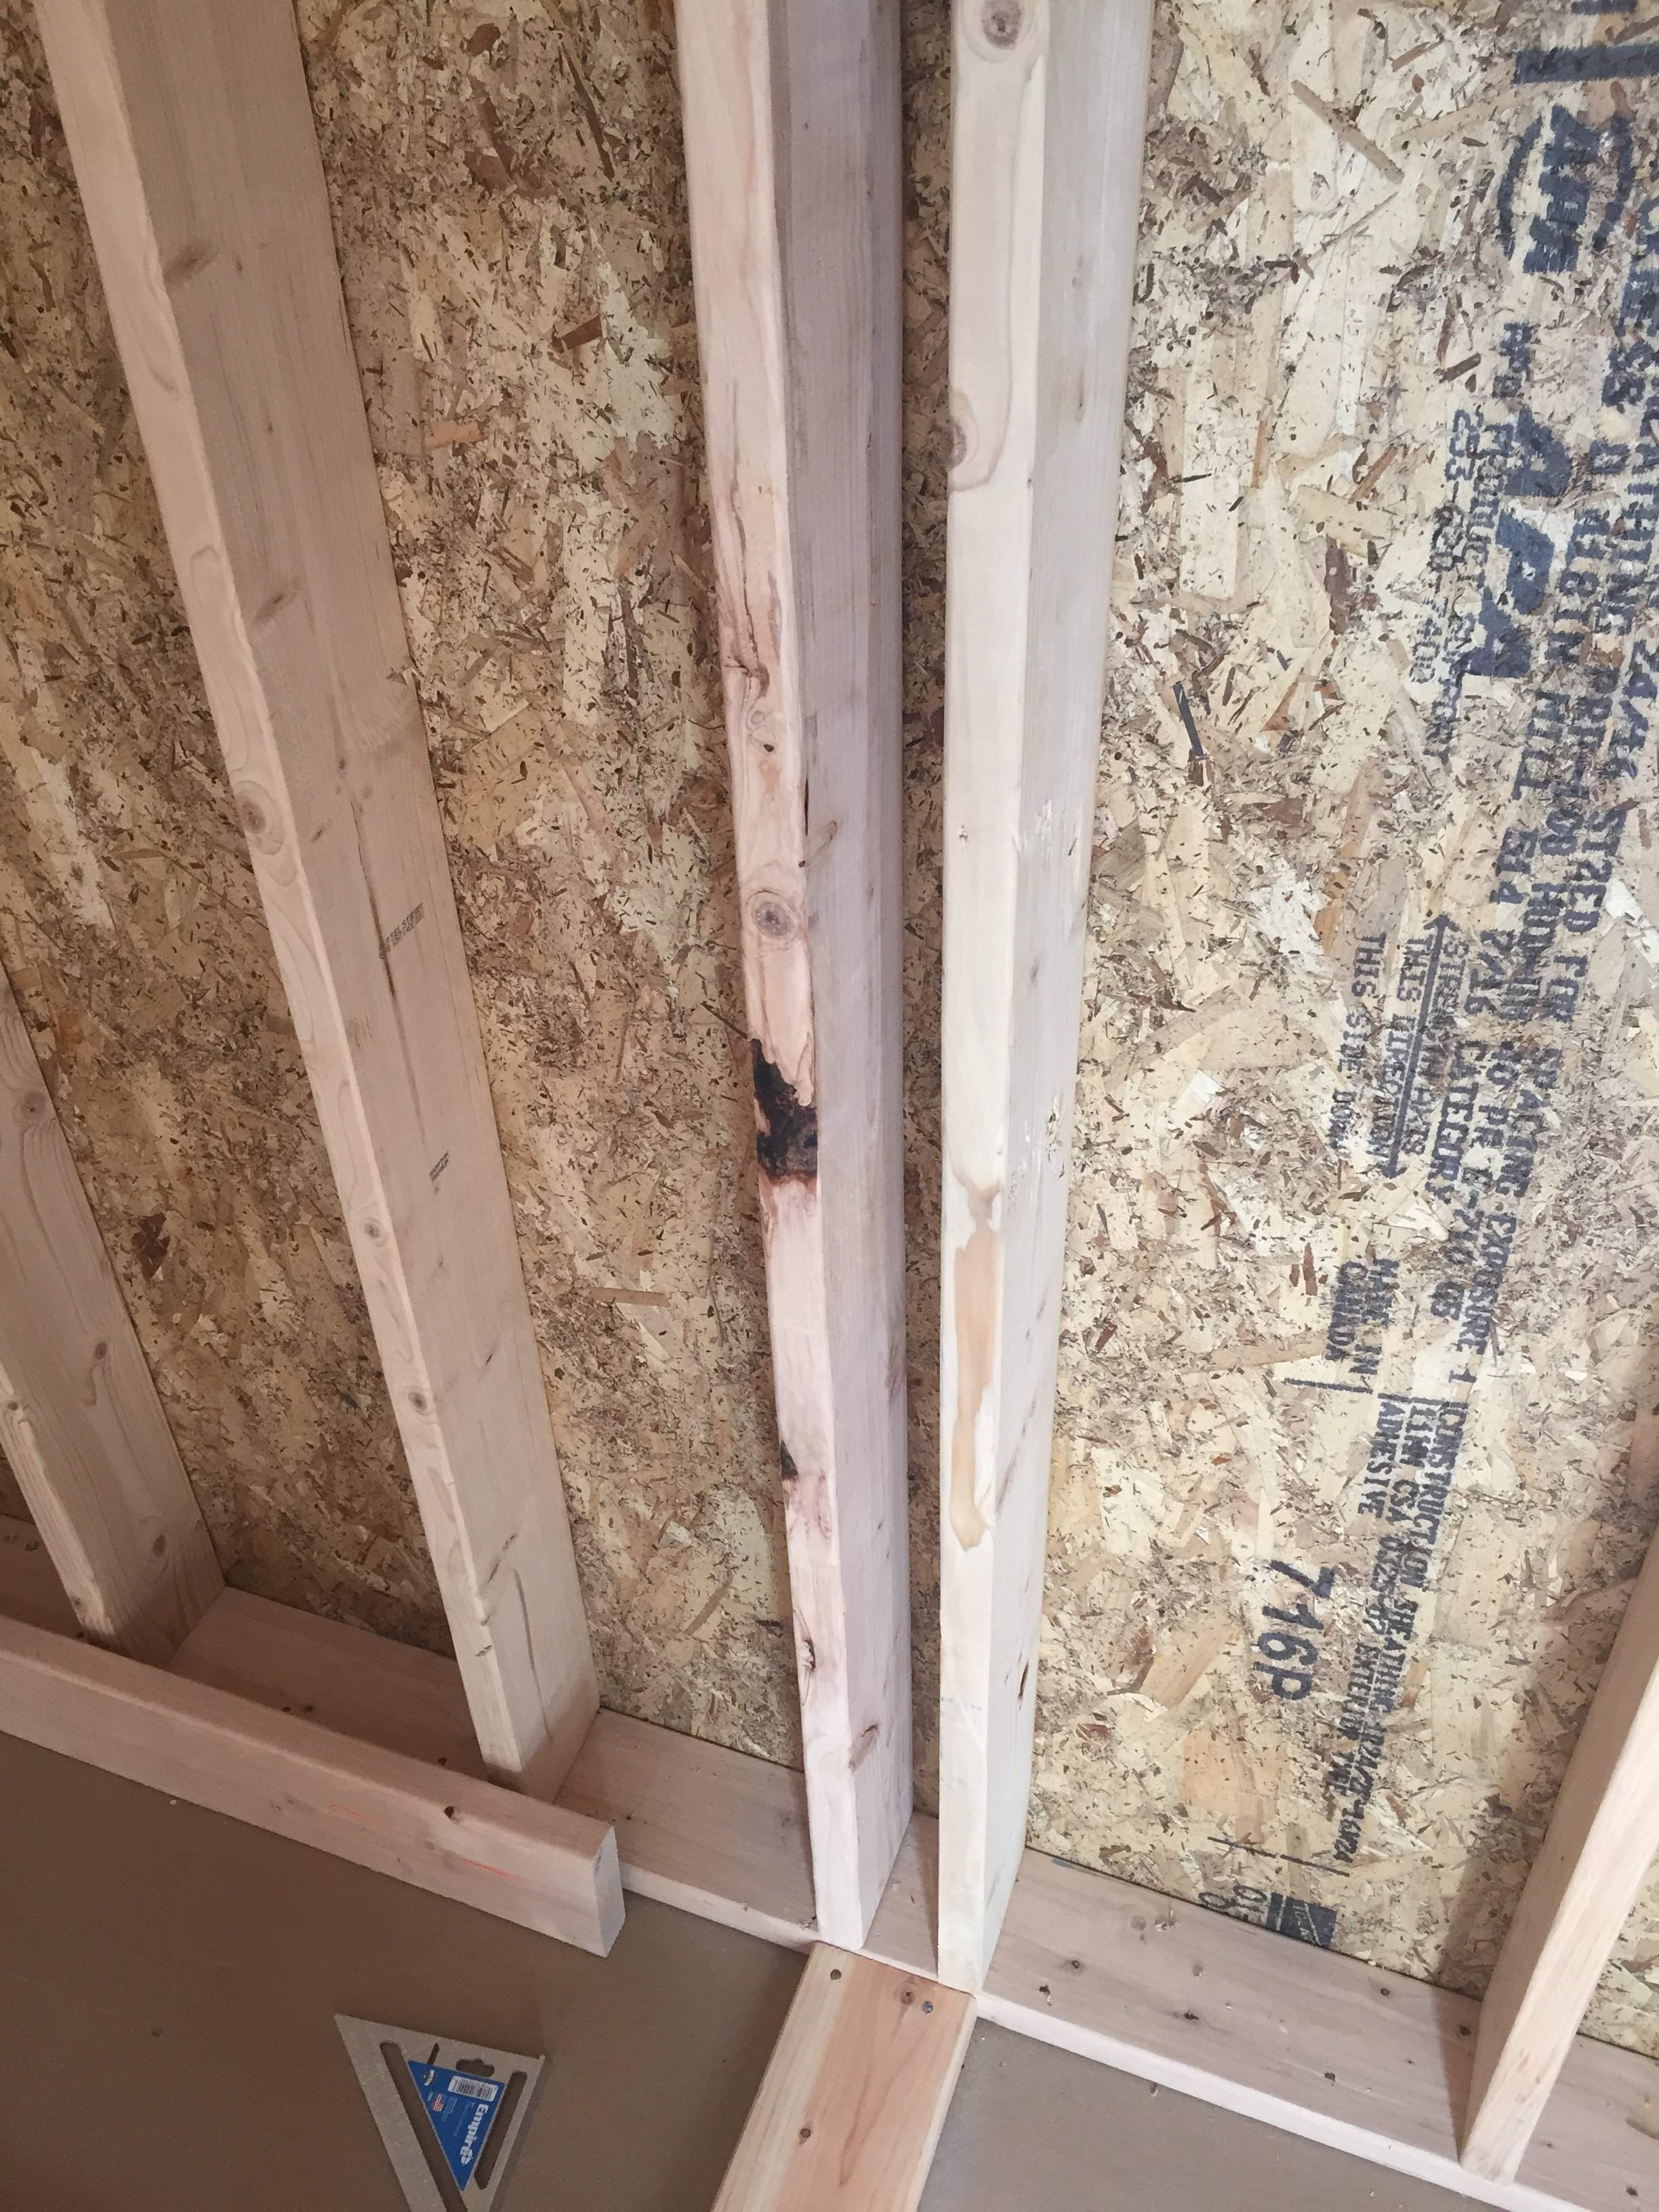
Continuing with the theme of wanting to make this wall as stout as possible since it won't be connecting directly to the trusses, I added a 2x6 to each of the exterior walls where the wall would be in contact. These were spaced off of the existing studs such that the out-to-out dimension was 5.5" which corresponds exactly with the adjacent vertical 2x6 that I'll be installing as the outermost studs of the wall. I cut these to 91.5" long and attempted to toe nail them in-place. That didn't work at all as I couldn't keep them located correctly without the hammer moving them with each strike. I took a page from the header construction playbook and made a spacer out of some scrap 2x6 and two pieces of the leftover plywood. This served as "backboard" to resist the force of the hammer. Once that was done the toe nailing was... Still a pain in the butt. Toe nailing isn't a big deal, but when there's exterior sheathing in place you're forced to make these tiny little hammer swings that are more prone to bending the nail than actually driving it correctly. Ultimately I got a pair of toe nails in the top and another pair in the bottom of each of the two studs.
This makes for some odd stud spacing, but also for a strong wall.
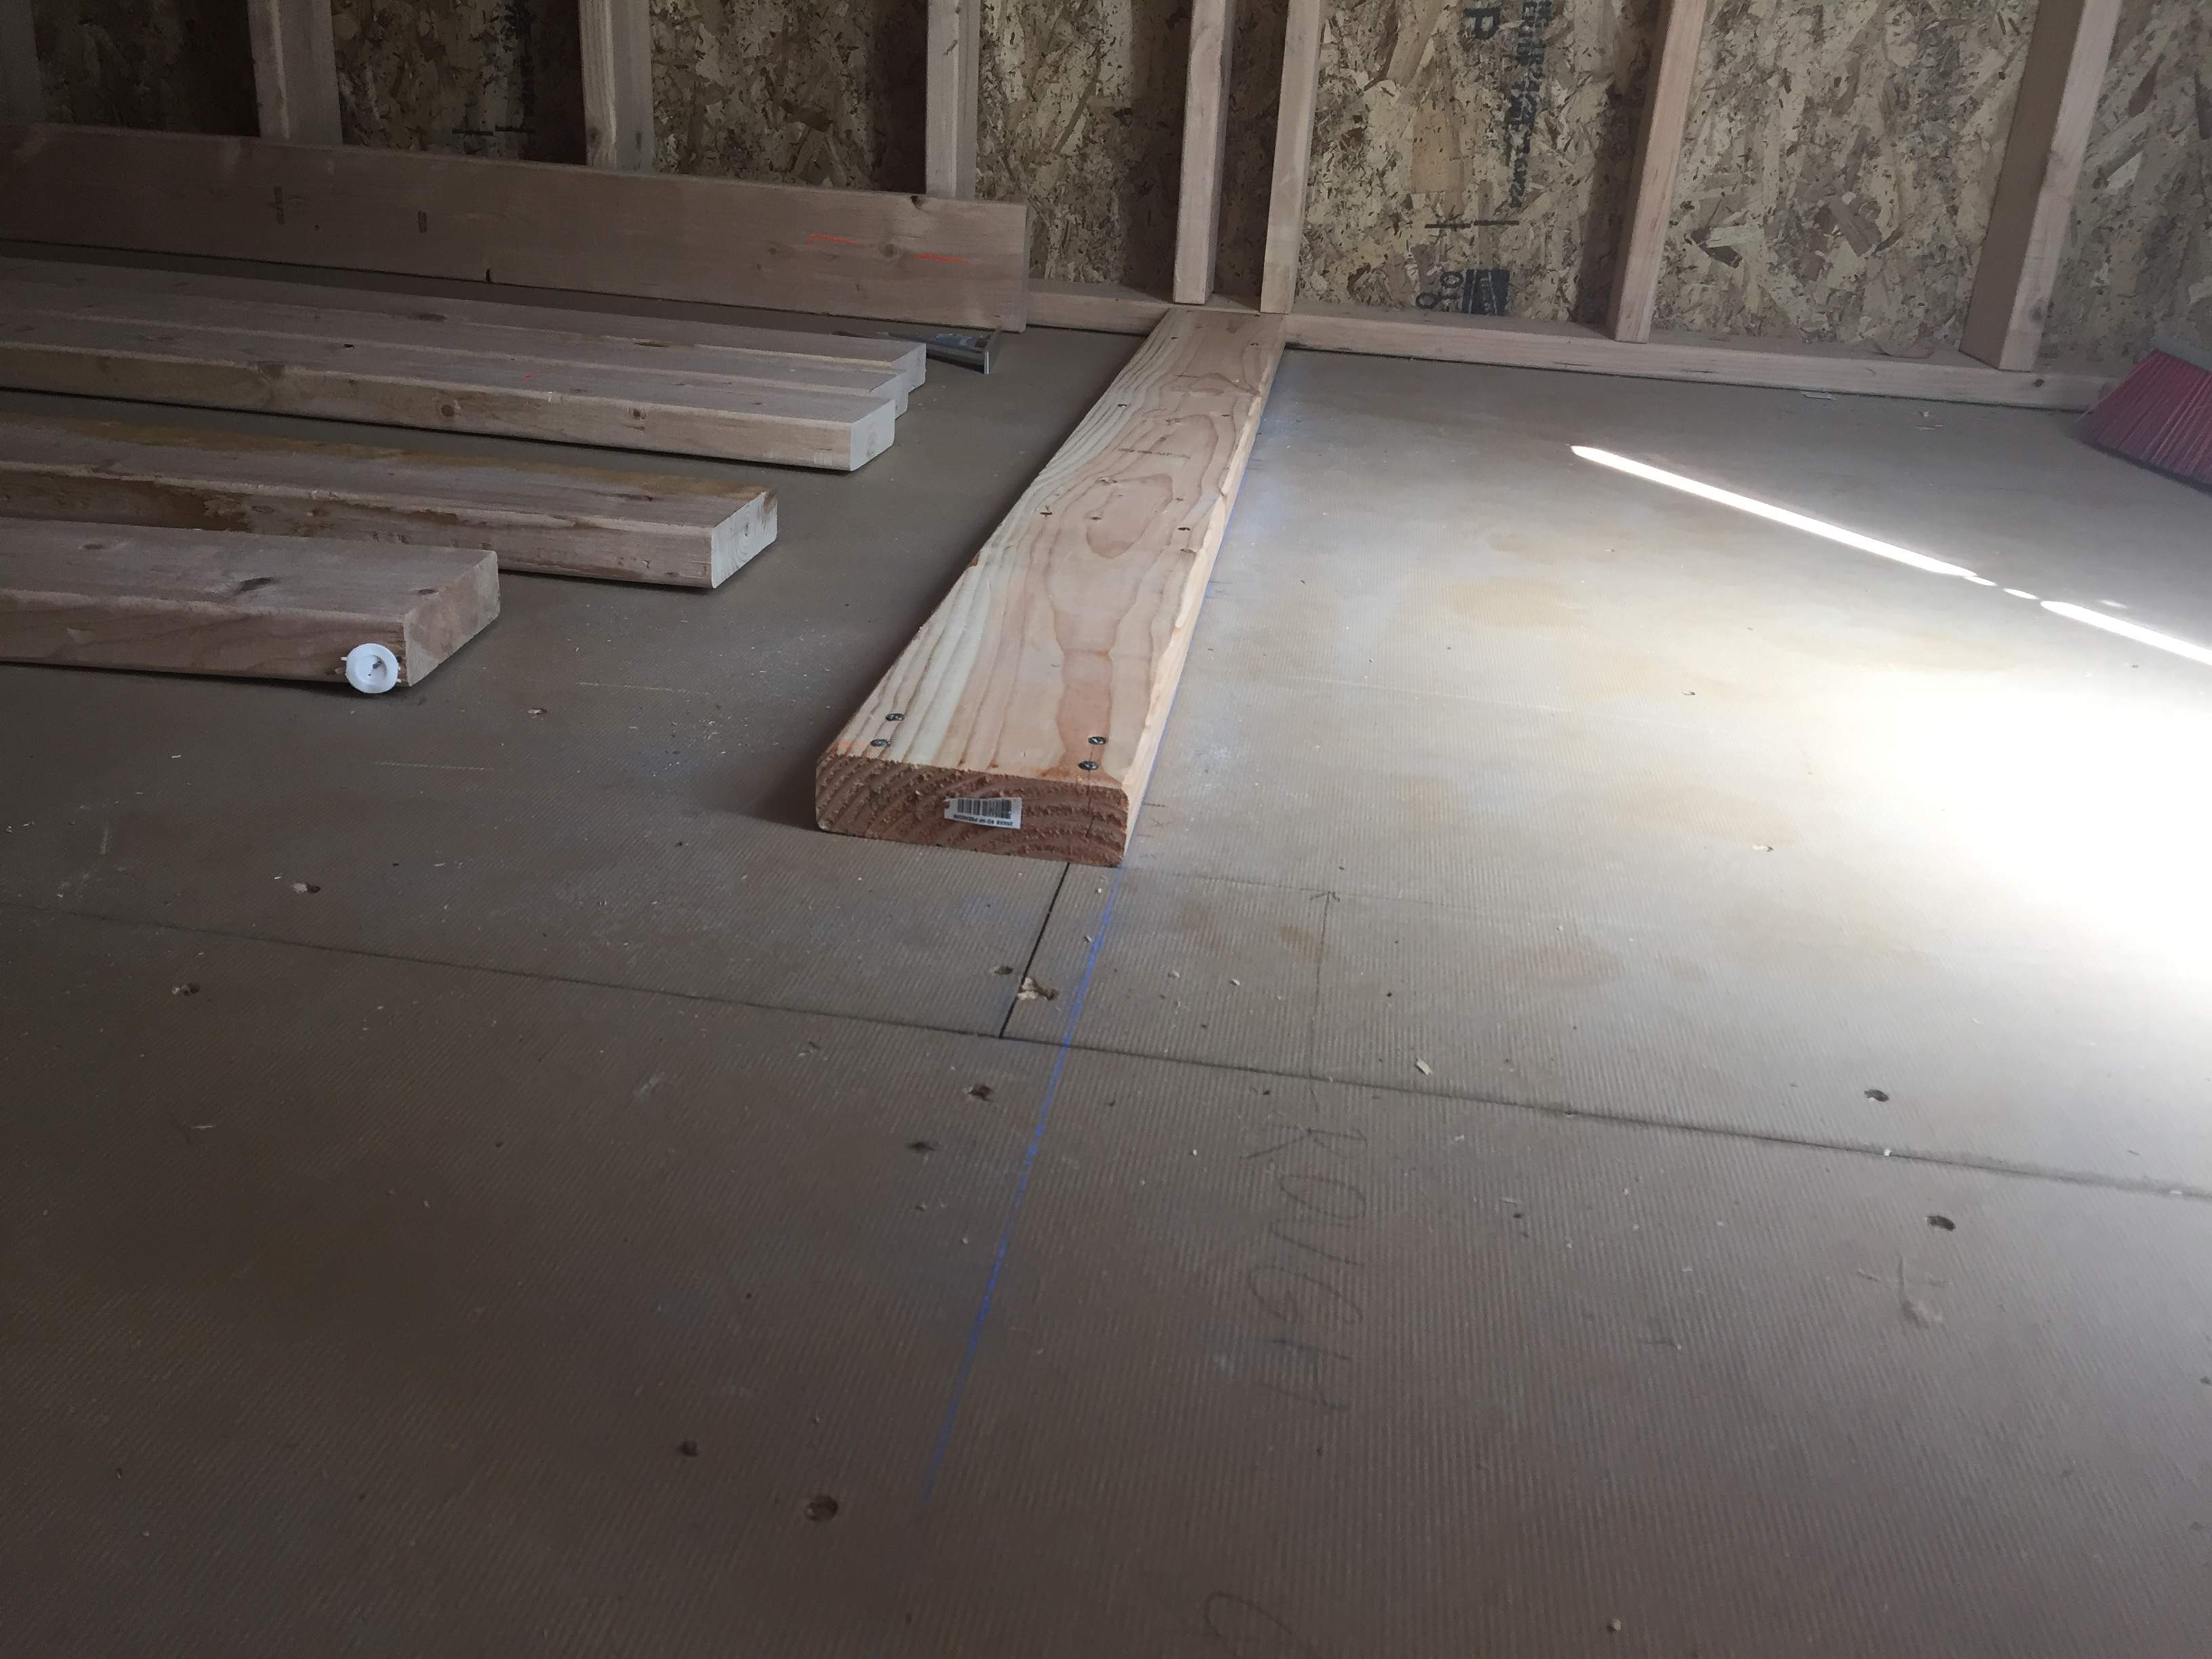
Typically a sole plate consists of a single piece of lumber, but since this wall will be topped by a loft rather than going all the way to the trusses AND there will be a 200-300lbs door hung off of it I decided to double them up. This might not provide any additional benefit, but it's certainly not going to hurt anything. I opted to nail the bottom sole plate before constructing the wall. This served as a nice solid backboard for nailing the rest of the lumber together. Additionally, once the rest of the wall is completed I'll be able to tip it into place and nail the completed structure to the lower sole plate and through the floor using longer 16d vinyl coated sinkers than the 3.5" once I've been using everywhere else (1.5" upper sole plate, 1.5" lower sole plate, 0.75" subfloor). 4" nails ought to do it. This is another area that might be unnecessary (3.5" vs 4" nails for this run), but if there's a chance for me to over engineer something, I'm going to do it.
My wife made it clear that she liked the term soul plate a lot more than sole plate.
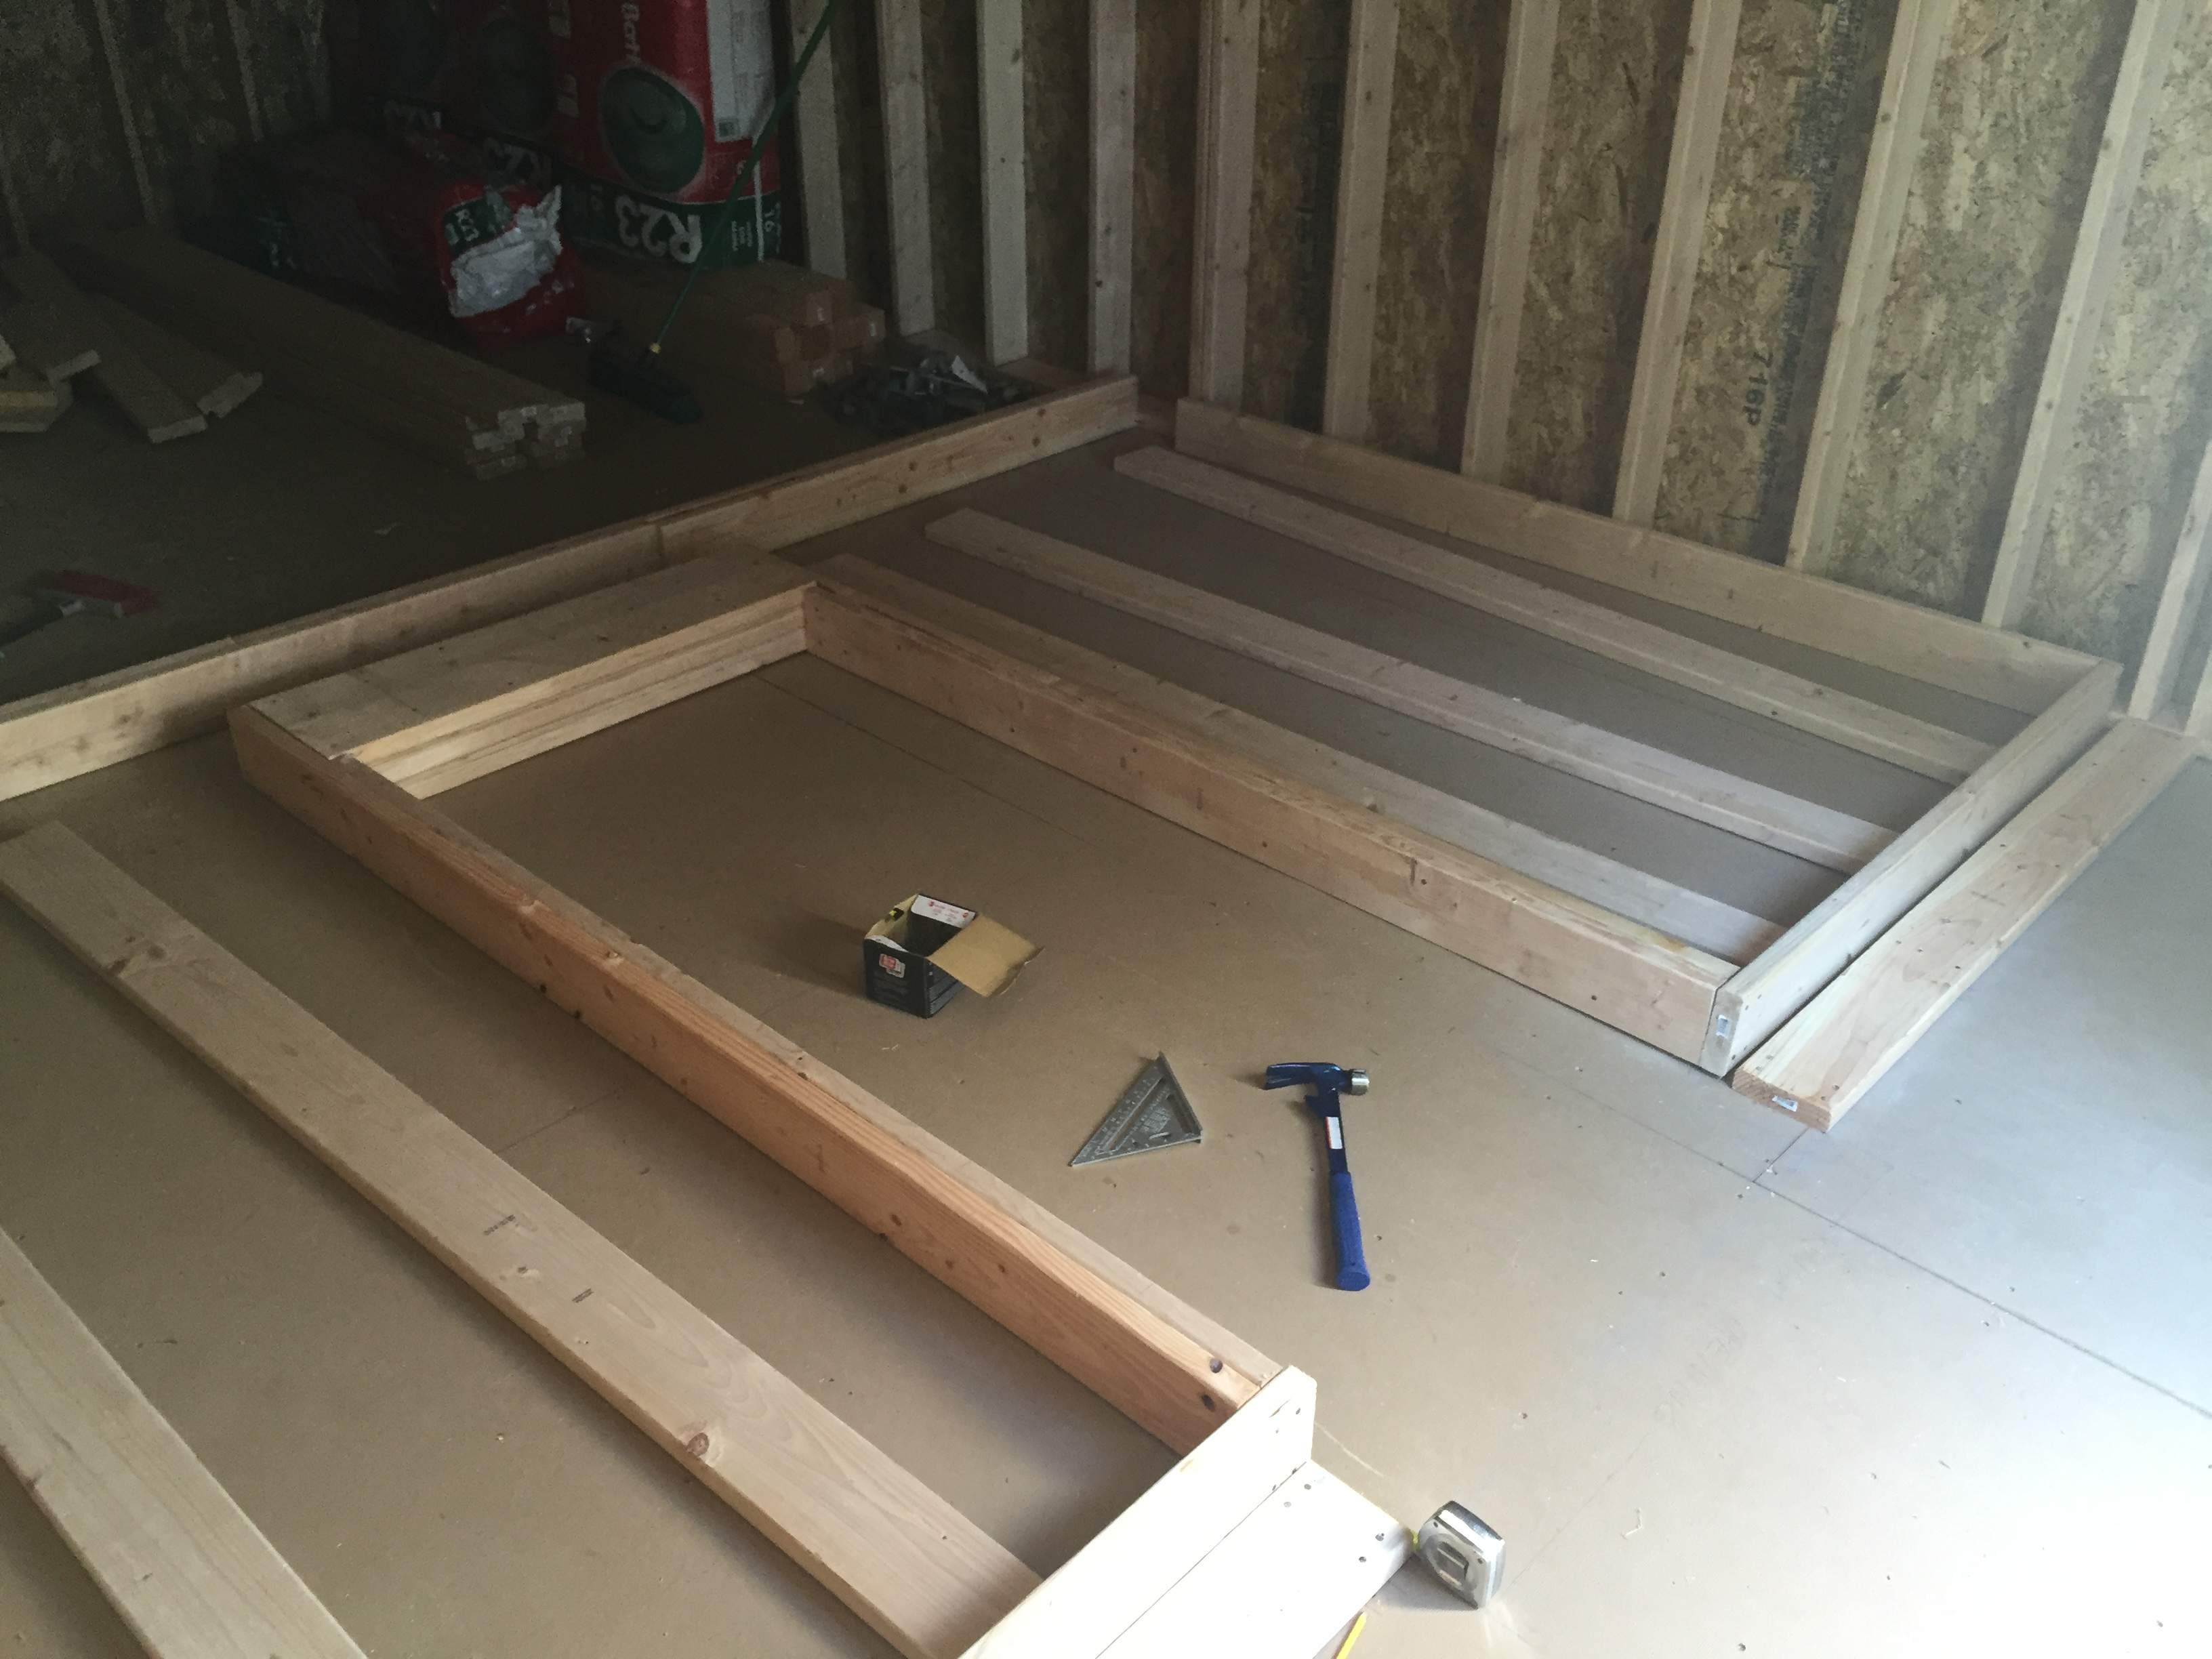
The rest of the day was spent attaching the various pieces of lumber to each other. First the upper sole plates to the outer studs. Then the jack studs to the inside edges of the sole plates where they break for the door's rough opening. I incorrectly attached the first king stud in the jack stud's location and had to break everything loose to correct my mistake. Once I'd made that correction I located the jack stud's in their correct location flanking the edges of the rough opening. From there I positioned the door header but didn't attach it to anything. After that I located the king studs and attached them to the door header. The last thing I got done was driving the field nails that connect the jack studs to the king studs.
The scene at the end of the day
The whole thing is still pretty flexible since the top plates and the interstitial wall studs aren't yet installed. My next step will be to correctly "flex" the rough opening into place to ensure that it's plumb and then attach the top plates to secure it in-place. I couldn't carry 16' long lumber in the truck I rented to haul all of this, so I went with run of the mill 8' 2x6s and planned on doing a staggered overlap. The IBC (International Building Code) specifies a minimum overlap of 3' on each course for top plates. I ended up with 61" so I'll be just fine. After that it's simply a matter of nailing in the wall studs, tilting it in place and securing it to the lower sole plates I installed early. I'm a little worried about the tipping process becuse a few of the exterior wall studs protrude beyond the exterior sole plate and I'm worried about interference. If that proves to be the case I'll have to hammer it into place which will result in a very snug fit that's hopefully not too snug which will result in seasonal expansion/contraction problems. If that fails, and I don't really want to think about that possibility at this point, I would be forced to deconstruct the wall and build it "piece meal" which is a much less attractive way to build. Fingers crossed that I don't need to go down that road.
After this point (pictured above) I considered pressing on, but I was very sore and noticed that my nailing was getting sloppy. I opted to call it quits rather than making myself miserably sore and having unsatisfactory work to show for it. If I'm particularly motivated I'll get the rest of it done in the coming week. This kind of work is easily done in the evenings after I get home from the office since it stays light out so late. Regardless, this is the first step towards finishing out the interior and actually using the studio for its intended purpose. Needless to say I'm very happy at this point.
It's been a while since I've done one of these full construction updates, so I have to admit a bit of glee associated with typing this out. It finally feels like I'm moving forward again. Sure I did the drainage and built an exterior trash platform/lattice, but none of that pertains directly to the work I'm going to do inside the finished structure. Well today I was able to do work that DOES pertain directly to the final operation of the studio.
I set out today to frame the interior vestibule/entryway wall. I would have liked to do this after the drywall lid was in-place so I could do that work with zero obstructions, but I needed to have it built ahead of the electrical install since I'm putting lights in the loft ceiling. Oh well. It won't be that much of an obstruction.
My first task was to construct the door header before I started laying out the wall framing which would occupy 8' of the length of the structure. The door header will be in support of a 200-300lbs sound door, so this is not an area where I wanted to skimp. You can use 2x8s or 2x10s topped with what are called cripple studs, but when you really want stout framing the best option is to use 2x12s pushed right up to the top plates. Since the adjacent framing is all 2x6 the solution is to cut down a 2x12 into three pieces that are 3" wider than the rough opening for the door. My door is going to be 36" wide, and you typically frame a rough opening 2" wider than that. So 38" wide rough opening plus 3" to account for the 2x6 jack studs on each side of the rough opening and you're left with a 41" wide header. Using a 12' long 2x12 I cut three 41" long 2x12s. That leaves a gap of 1" (1.5" wide lumber X 3 = 4.5" relative to the 5.5" wide 2x6 framing). To account for this I ripped a sheet of 1/2" plywood down to two pieces that were 41" long by 11.25" wide (the actual width of a 2x12) and sandwiched them between the three 2x12s. This is quite a common way to do this. After that I lined everything up, nailed it all together in alternating patterns from each side. To say it's a robust header would be an understatement.
80s style ghettoblaster or a massive door header? I'll let you be the judge.
With the header built and out of the way I could begin cutting and laying out all of the lumber for the wall. I started by snapping a chalk line to serve as a guide for aligning everything. The line creates a vestibule/entryway that will be 42" deep (minus 1.25" to account for a sheet of drywall on each wall). Just wide enough for the exterior door to swing clear and still provide adequate storage for all of the stuff I don't want living in the main room. I could have made this bigger, but I wanted to size it to only be as big as needed to allow the main room to be as large as possible.
With my chalk line guide in-place I did some math on the required lengths of all the pieces of lumber. Using my trusty sliding compound miter saw I went about cutting.
It's not as cool as the concrete block saw I used a couple months ago, but it's still pretty slick.
With all of the boards cut to length I laid everything out to give my self a sense of the whole process and whether or not I thought I could get it done in one day. I was cautiously optimistic that I could. Spoiler alert: I did not, haha.
Best laid plans of mice and bassists...
Before I go any further I want to make a general comment about framing: If you've never done it, there is a considerable amount of pounding with a heavy hammer involved in framing, unless of course you're using a framing nailer. This is the only part of the project that will require me to frame anything, so I didn't consider the expense of buying a powered framing nailer to be worth it. That said, HOLY CRAP DOES POUNDING ON NAIL REPEATEDLY ALL DAY MAKE YOU RIDICULOUSLY SORE! I was using 16d, vinyl coated sinkers (as opposed to common nails) as they're reportedly easier to dive into place and don't back out as easily. If these drive more easily, I can't imagine doing it with common nails. There's a definite technique to driving the nails correctly that makes things more easy on you, but it's still punishingly difficult work.
They look so innocent.
Continuing with the theme of wanting to make this wall as stout as possible since it won't be connecting directly to the trusses, I added a 2x6 to each of the exterior walls where the wall would be in contact. These were spaced off of the existing studs such that the out-to-out dimension was 5.5" which corresponds exactly with the adjacent vertical 2x6 that I'll be installing as the outermost studs of the wall. I cut these to 91.5" long and attempted to toe nail them in-place. That didn't work at all as I couldn't keep them located correctly without the hammer moving them with each strike. I took a page from the header construction playbook and made a spacer out of some scrap 2x6 and two pieces of the leftover plywood. This served as "backboard" to resist the force of the hammer. Once that was done the toe nailing was... Still a pain in the butt. Toe nailing isn't a big deal, but when there's exterior sheathing in place you're forced to make these tiny little hammer swings that are more prone to bending the nail than actually driving it correctly. Ultimately I got a pair of toe nails in the top and another pair in the bottom of each of the two studs.
This makes for some odd stud spacing, but also for a strong wall.
Typically a sole plate consists of a single piece of lumber, but since this wall will be topped by a loft rather than going all the way to the trusses AND there will be a 200-300lbs door hung off of it I decided to double them up. This might not provide any additional benefit, but it's certainly not going to hurt anything. I opted to nail the bottom sole plate before constructing the wall. This served as a nice solid backboard for nailing the rest of the lumber together. Additionally, once the rest of the wall is completed I'll be able to tip it into place and nail the completed structure to the lower sole plate and through the floor using longer 16d vinyl coated sinkers than the 3.5" once I've been using everywhere else (1.5" upper sole plate, 1.5" lower sole plate, 0.75" subfloor). 4" nails ought to do it. This is another area that might be unnecessary (3.5" vs 4" nails for this run), but if there's a chance for me to over engineer something, I'm going to do it.
My wife made it clear that she liked the term soul plate a lot more than sole plate.
The rest of the day was spent attaching the various pieces of lumber to each other. First the upper sole plates to the outer studs. Then the jack studs to the inside edges of the sole plates where they break for the door's rough opening. I incorrectly attached the first king stud in the jack stud's location and had to break everything loose to correct my mistake. Once I'd made that correction I located the jack stud's in their correct location flanking the edges of the rough opening. From there I positioned the door header but didn't attach it to anything. After that I located the king studs and attached them to the door header. The last thing I got done was driving the field nails that connect the jack studs to the king studs.
The scene at the end of the day
The whole thing is still pretty flexible since the top plates and the interstitial wall studs aren't yet installed. My next step will be to correctly "flex" the rough opening into place to ensure that it's plumb and then attach the top plates to secure it in-place. I couldn't carry 16' long lumber in the truck I rented to haul all of this, so I went with run of the mill 8' 2x6s and planned on doing a staggered overlap. The IBC (International Building Code) specifies a minimum overlap of 3' on each course for top plates. I ended up with 61" so I'll be just fine. After that it's simply a matter of nailing in the wall studs, tilting it in place and securing it to the lower sole plates I installed early. I'm a little worried about the tipping process becuse a few of the exterior wall studs protrude beyond the exterior sole plate and I'm worried about interference. If that proves to be the case I'll have to hammer it into place which will result in a very snug fit that's hopefully not too snug which will result in seasonal expansion/contraction problems. If that fails, and I don't really want to think about that possibility at this point, I would be forced to deconstruct the wall and build it "piece meal" which is a much less attractive way to build. Fingers crossed that I don't need to go down that road.
After this point (pictured above) I considered pressing on, but I was very sore and noticed that my nailing was getting sloppy. I opted to call it quits rather than making myself miserably sore and having unsatisfactory work to show for it. If I'm particularly motivated I'll get the rest of it done in the coming week. This kind of work is easily done in the evenings after I get home from the office since it stays light out so late. Regardless, this is the first step towards finishing out the interior and actually using the studio for its intended purpose. Needless to say I'm very happy at this point.