
Enjoy the benefits of a premium membership!
Upgrade Account
-
TalkBass has been independent since 1998. Add your voice.
Create a free account to reply to discussions, view embedded media, and browse with fewer display ads.
Join free Log in
Want zero display ads or expanded classifieds tools? Compare plans.
You are using an out of date browser. It may not display this or other websites correctly.
You should upgrade or use an alternative browser.
You should upgrade or use an alternative browser.
Neck for Bass-Adrenaline
- Thread starter Rickett Customs
- Start date
More options
Who Replied?
I guess about 1 usually breaks about every 6 months........ I buy them in 4 packs for like $18.50, so i'm not really losing out  ....... By the time 1 breaks, 3 additional come in with 1 replacement.....
....... By the time 1 breaks, 3 additional come in with 1 replacement.....
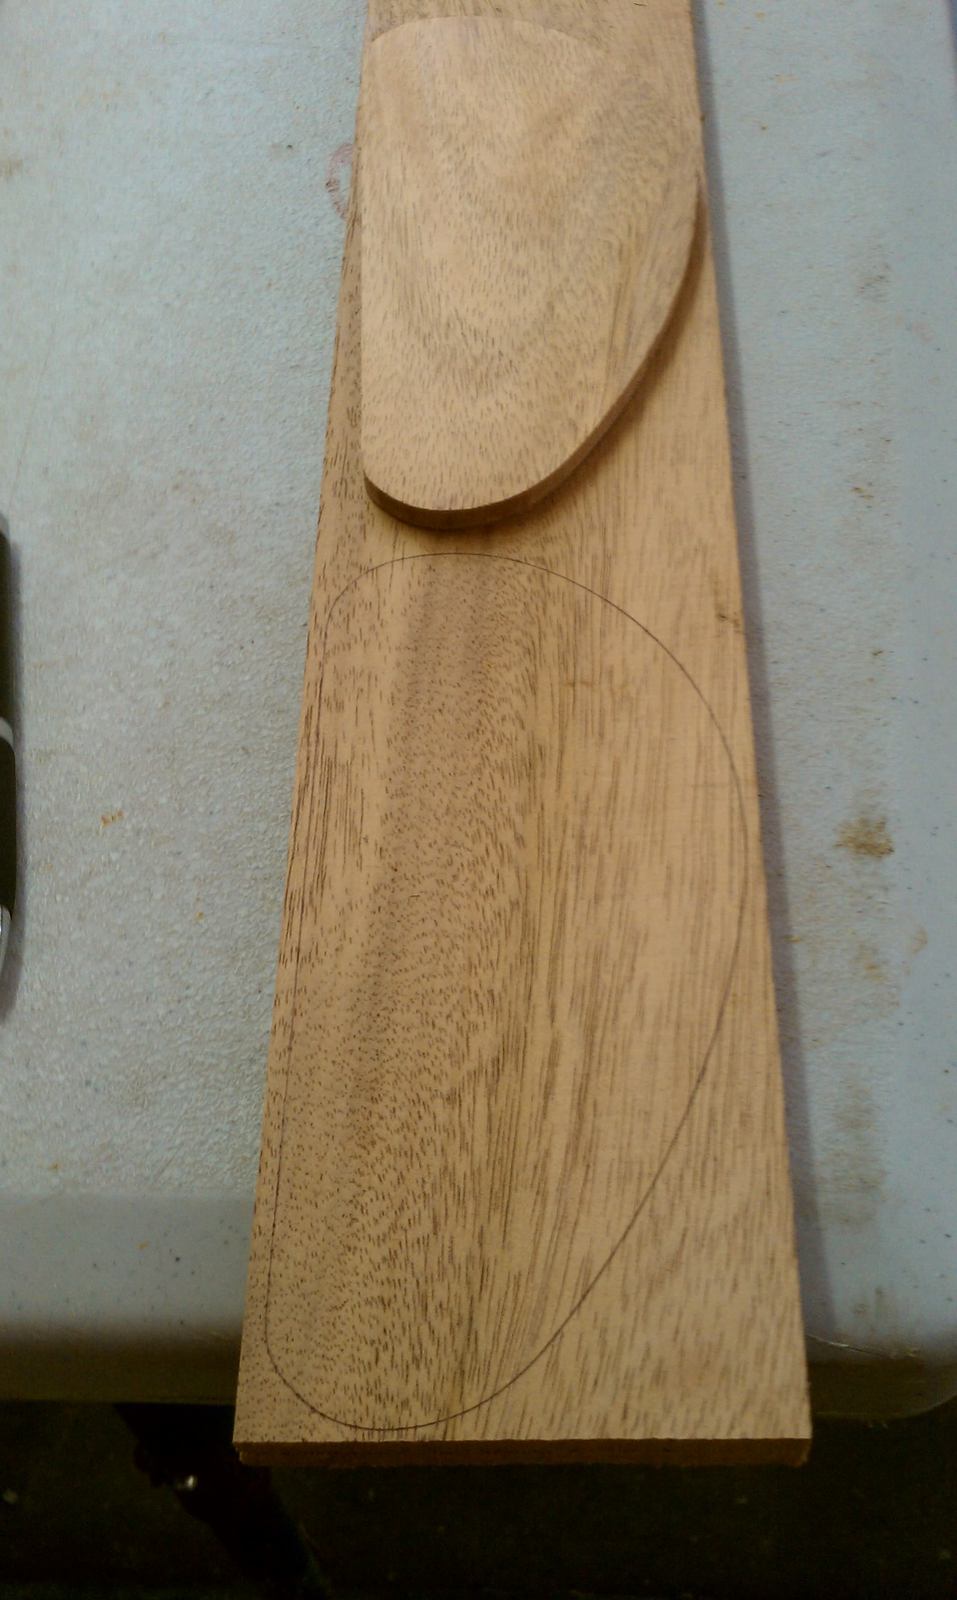
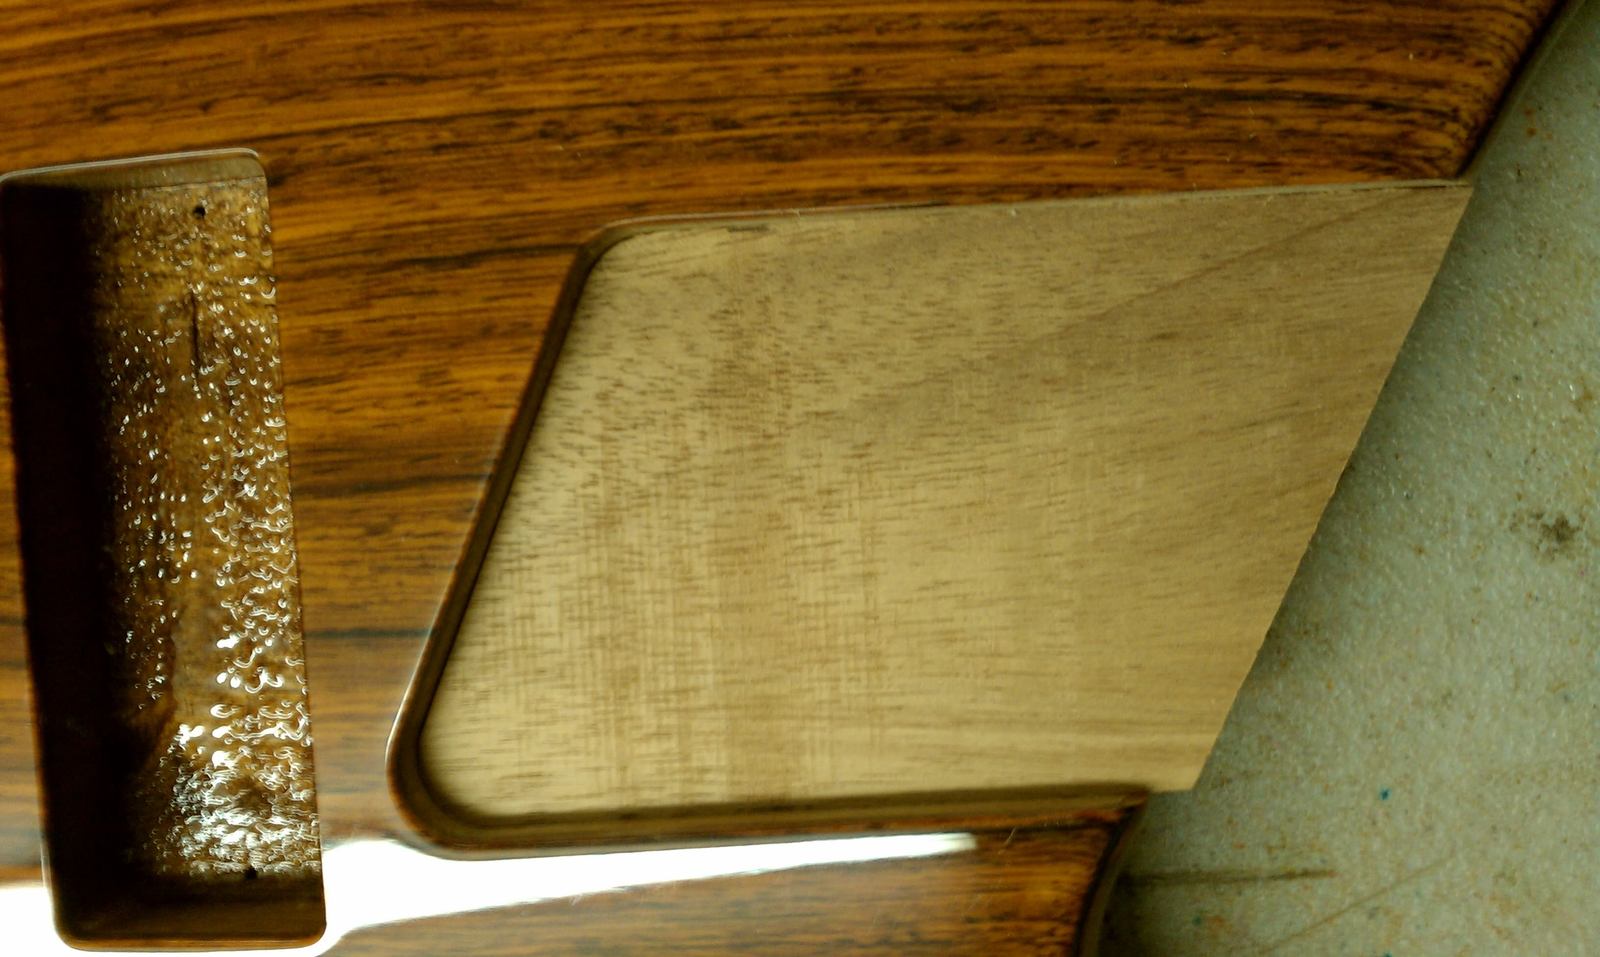
I decided to attack another portion of this project..... The cavity cover.
The one that came with it, sure it's ok, but it was desired to utilize a similar species.....
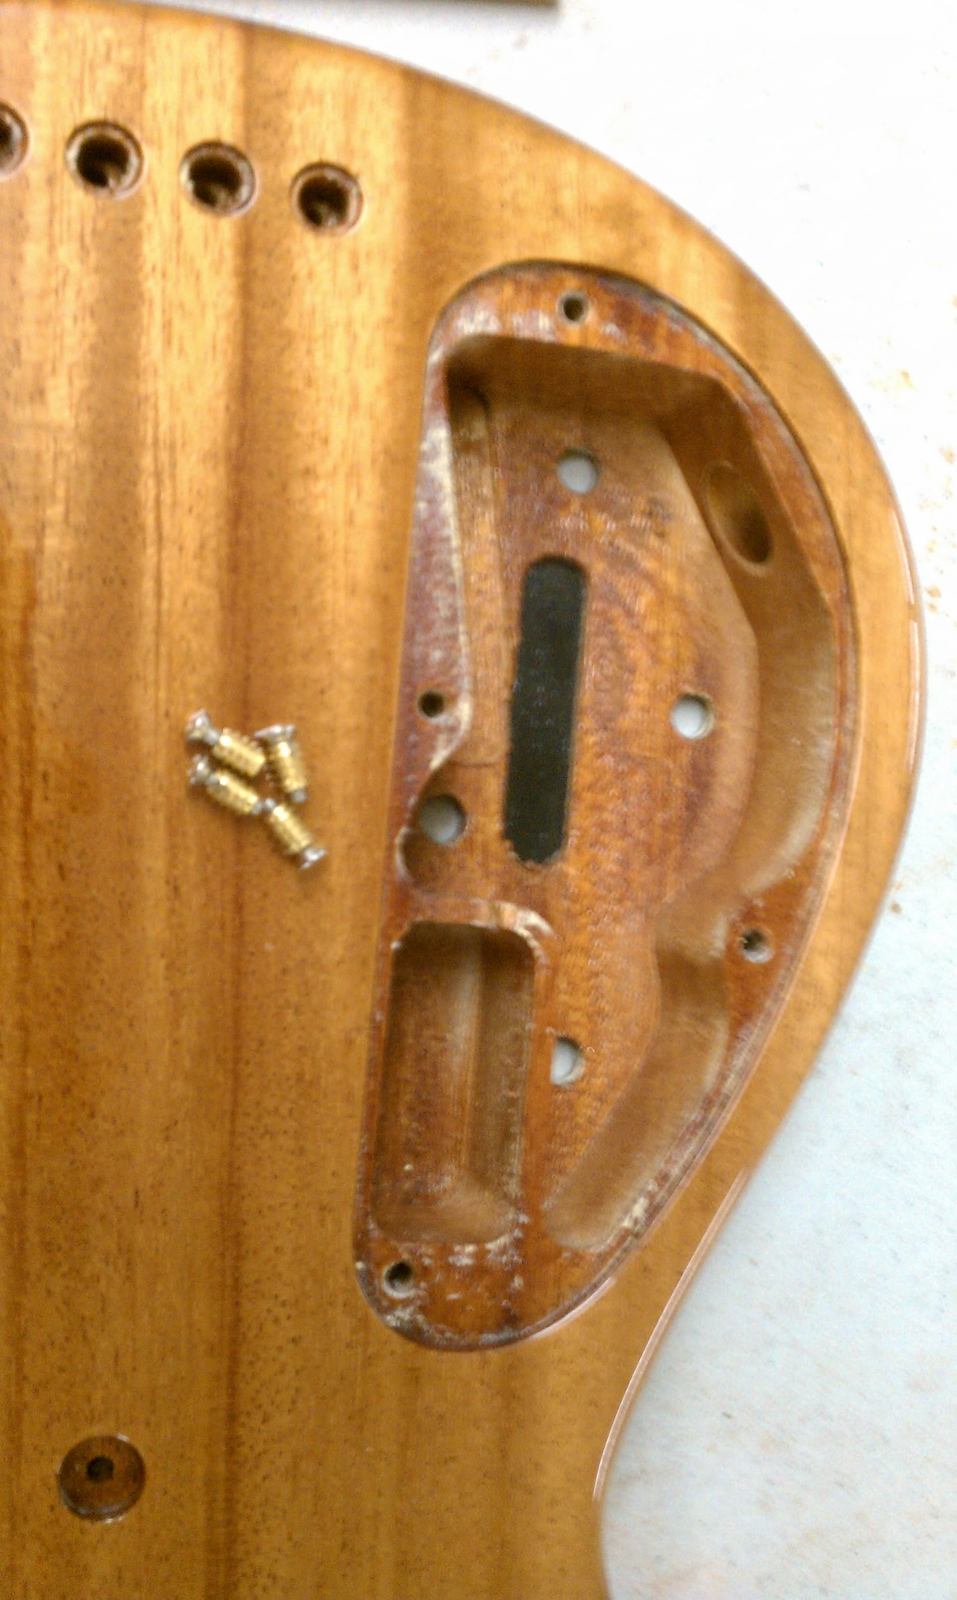
After removing the cavity cover, I also remove the threaded inserts
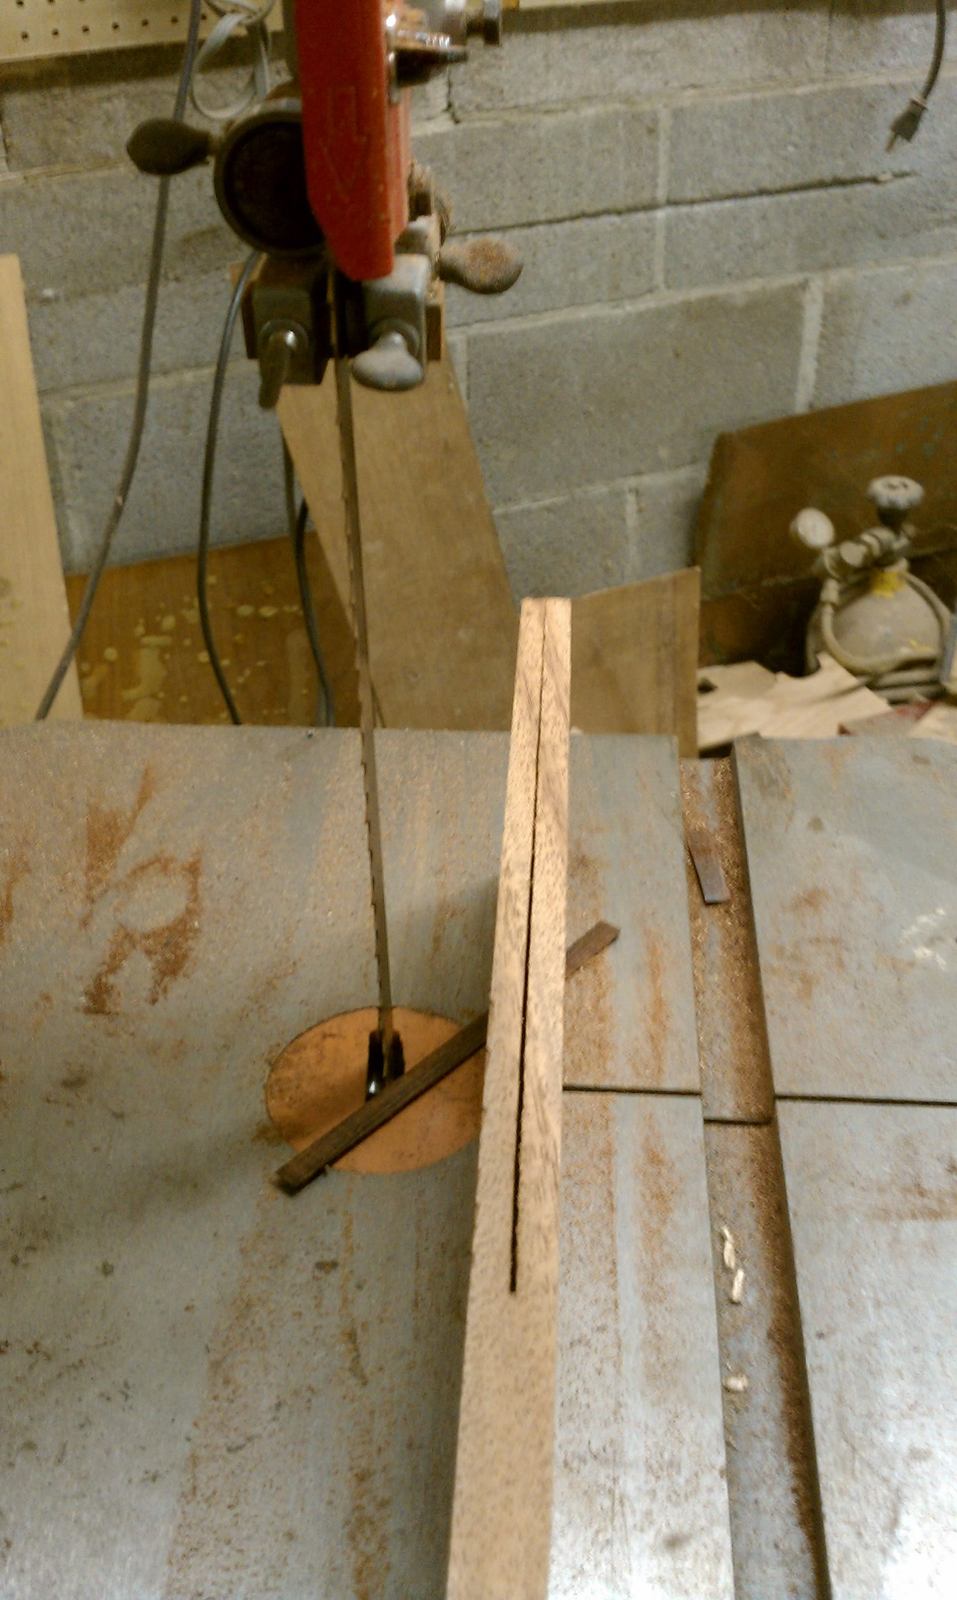
I resawed some left over mahogany for it.
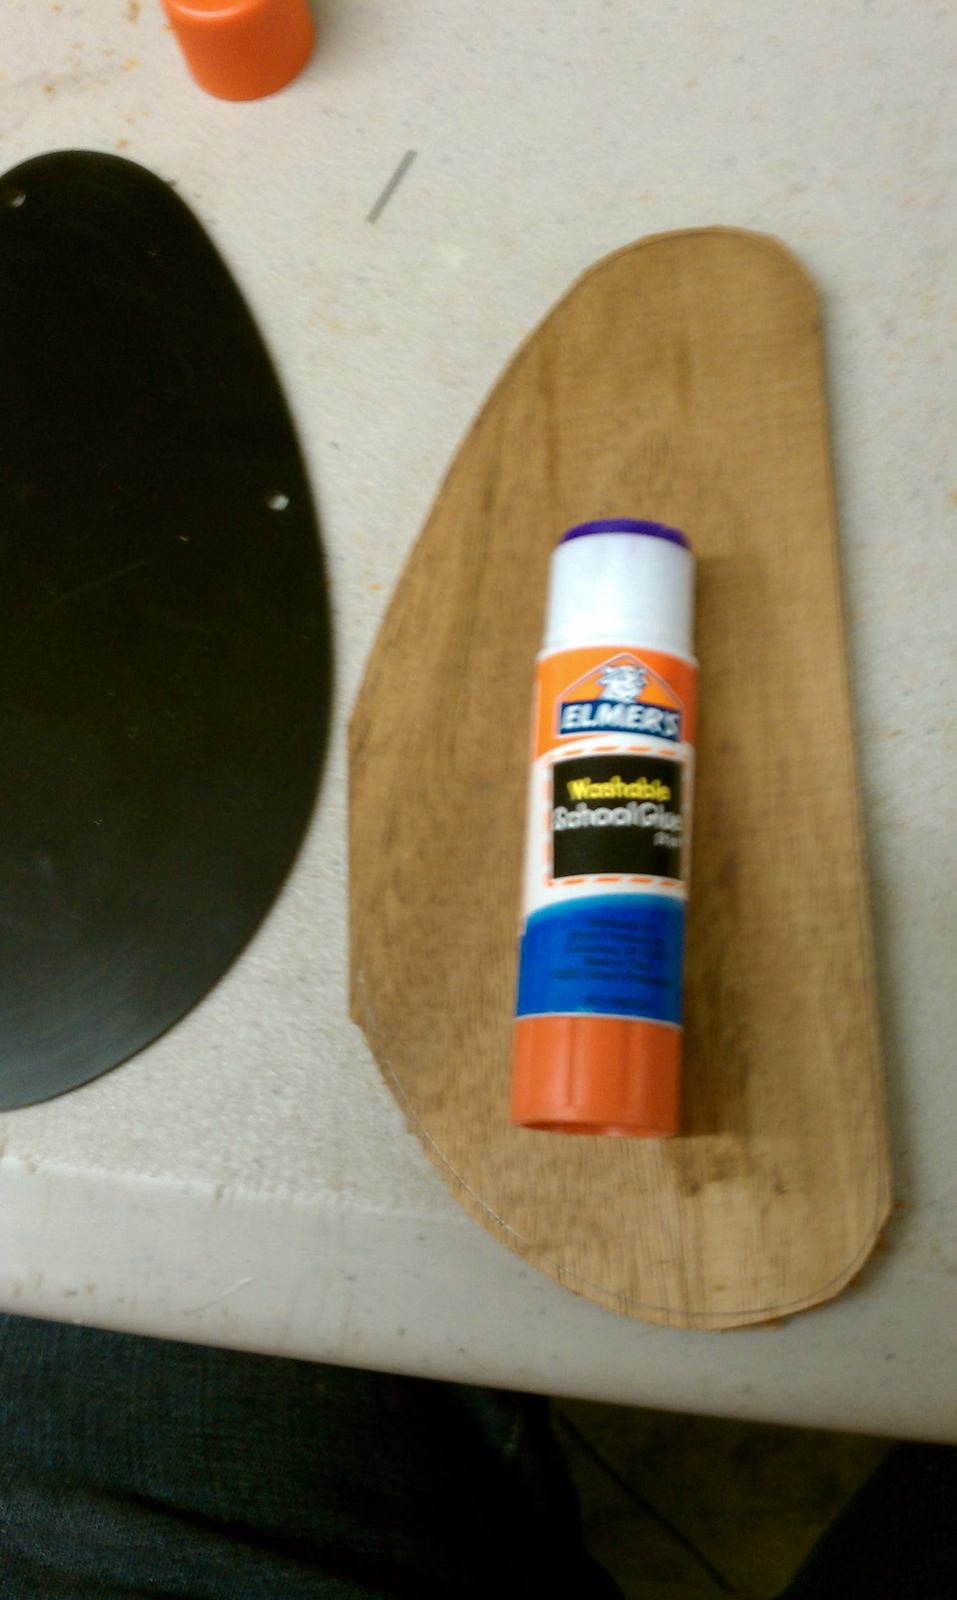
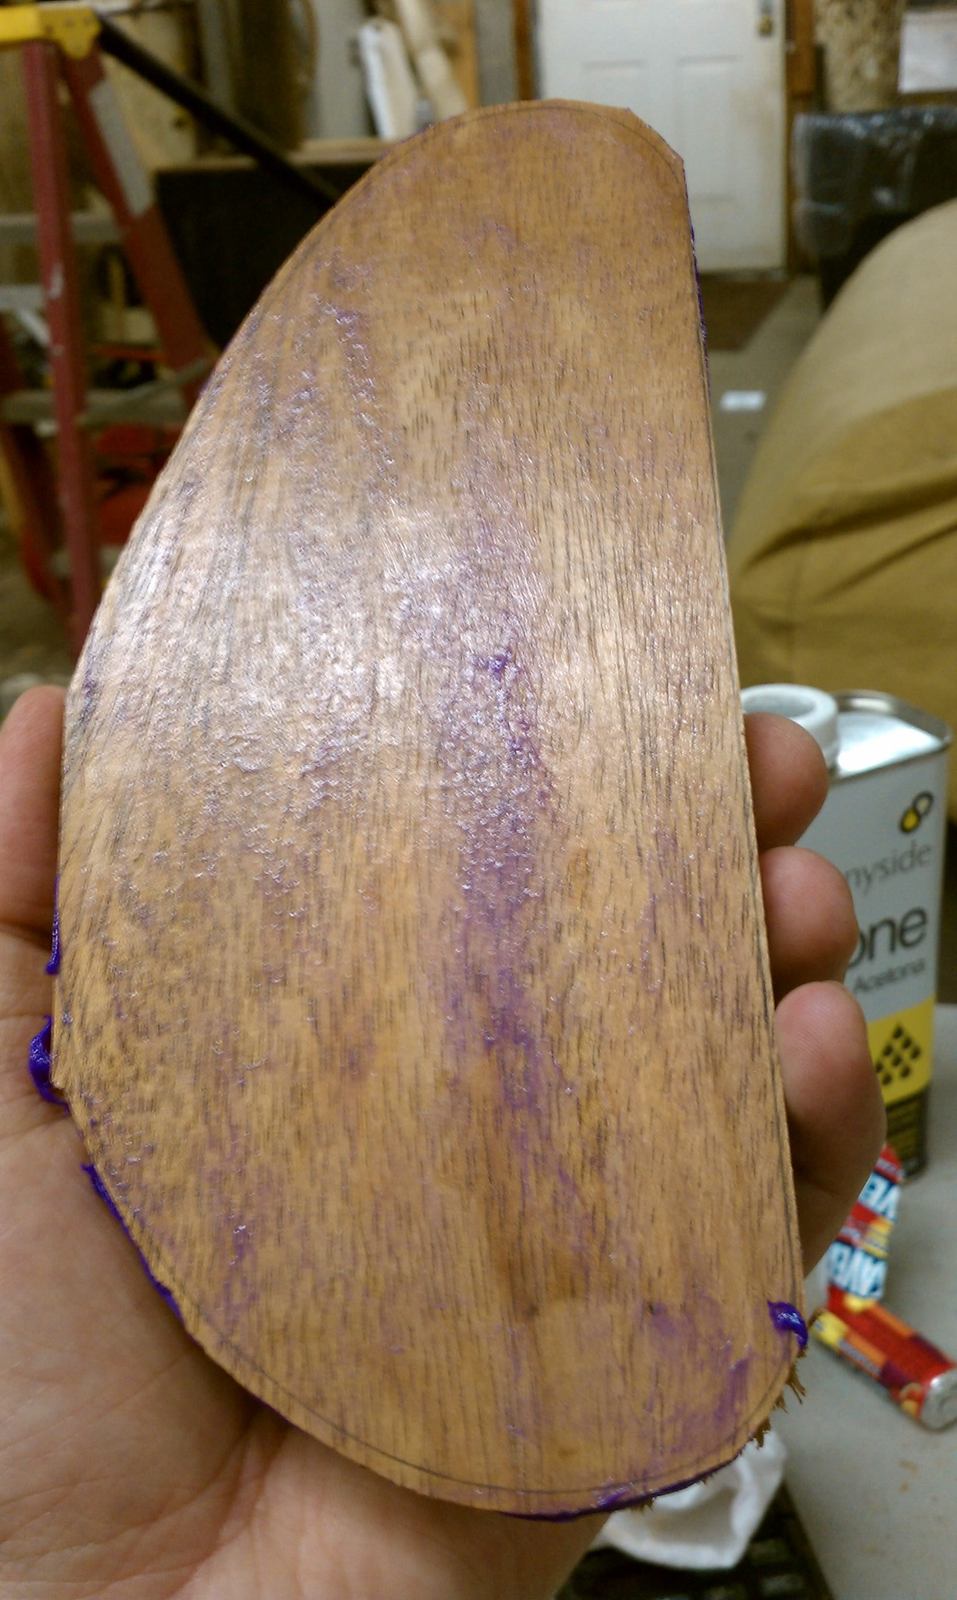
Then I traced it, trimmed it up a bit and pasted it to the wood, to let it sit for the night.
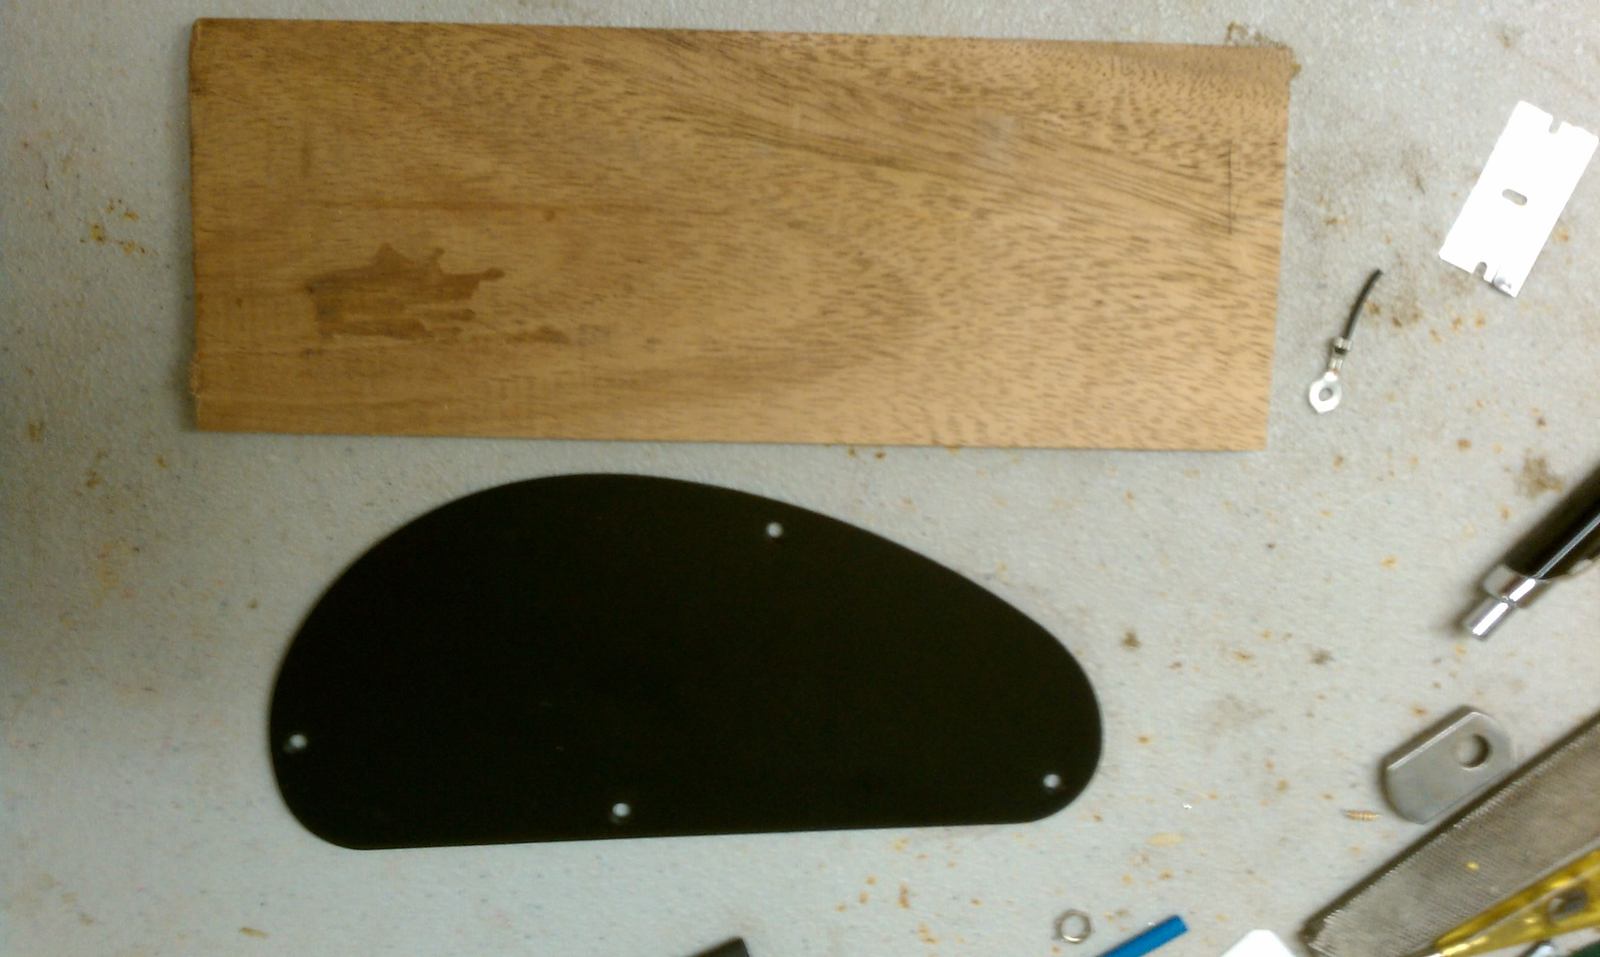
The one that came with it, sure it's ok, but it was desired to utilize a similar species.....
After removing the cavity cover, I also remove the threaded inserts
I resawed some left over mahogany for it.
Then I traced it, trimmed it up a bit and pasted it to the wood, to let it sit for the night.
confused:I guess about 1 usually breaks about every 6 months........ I buy them in 4 packs for like $18.50:so i'm not really losing out

We pay that for one clamp over here in the netherlands
 ,
,
Ouch! Its amazing how odd prices can get from place to place.
Also, loving the cover work. Gotta admit i wasnt expecting to see that yet. lol
Also, loving the cover work. Gotta admit i wasnt expecting to see that yet. lol
Lowes and home depot are to blame
...although i don't blame them
Unless I go in and spend more than $300............ Then my wife blames me...
I'm considering to make another lip for the cavity route (a little more overhang), so that I can add a few more magnets to the cover and set screws to the lip.....
...although i don't blame them
Unless I go in and spend more than $300............ Then my wife blames me...
I'm considering to make another lip for the cavity route (a little more overhang), so that I can add a few more magnets to the cover and set screws to the lip.....

Interesting that you partially shape the neck before even gluing up. Never seen that before.
Looks really nice though. That tiny laminate was a nice touch.
Looks really nice though. That tiny laminate was a nice touch.
Ive seen those clamps at a few local hardware stores as well. A little more expensive but still a lot less than $18 a clamp. lol
Do whatever you think is best. I cant wait to see what gets done next!
Do whatever you think is best. I cant wait to see what gets done next!
Interesting that you partially shape the neck before even gluing up. Never seen that before.
Looks really nice though. That tiny laminate was a nice touch.
Less waste, now I've got more scrap pieces for binding, etc........and they're not all glued together..........the "trim" laminate was a last minute add in, I'm glad it turned out well...

well, post & package, local dealer cost etc..Ouch! Its amazing how odd prices can get from place to place.
Also, loving the cover work. Gotta admit i wasnt expecting to see that yet. lol
Unless its made local you will bleed

So, I went ahead and trimmed out the excess for the cavity cover, with a router.
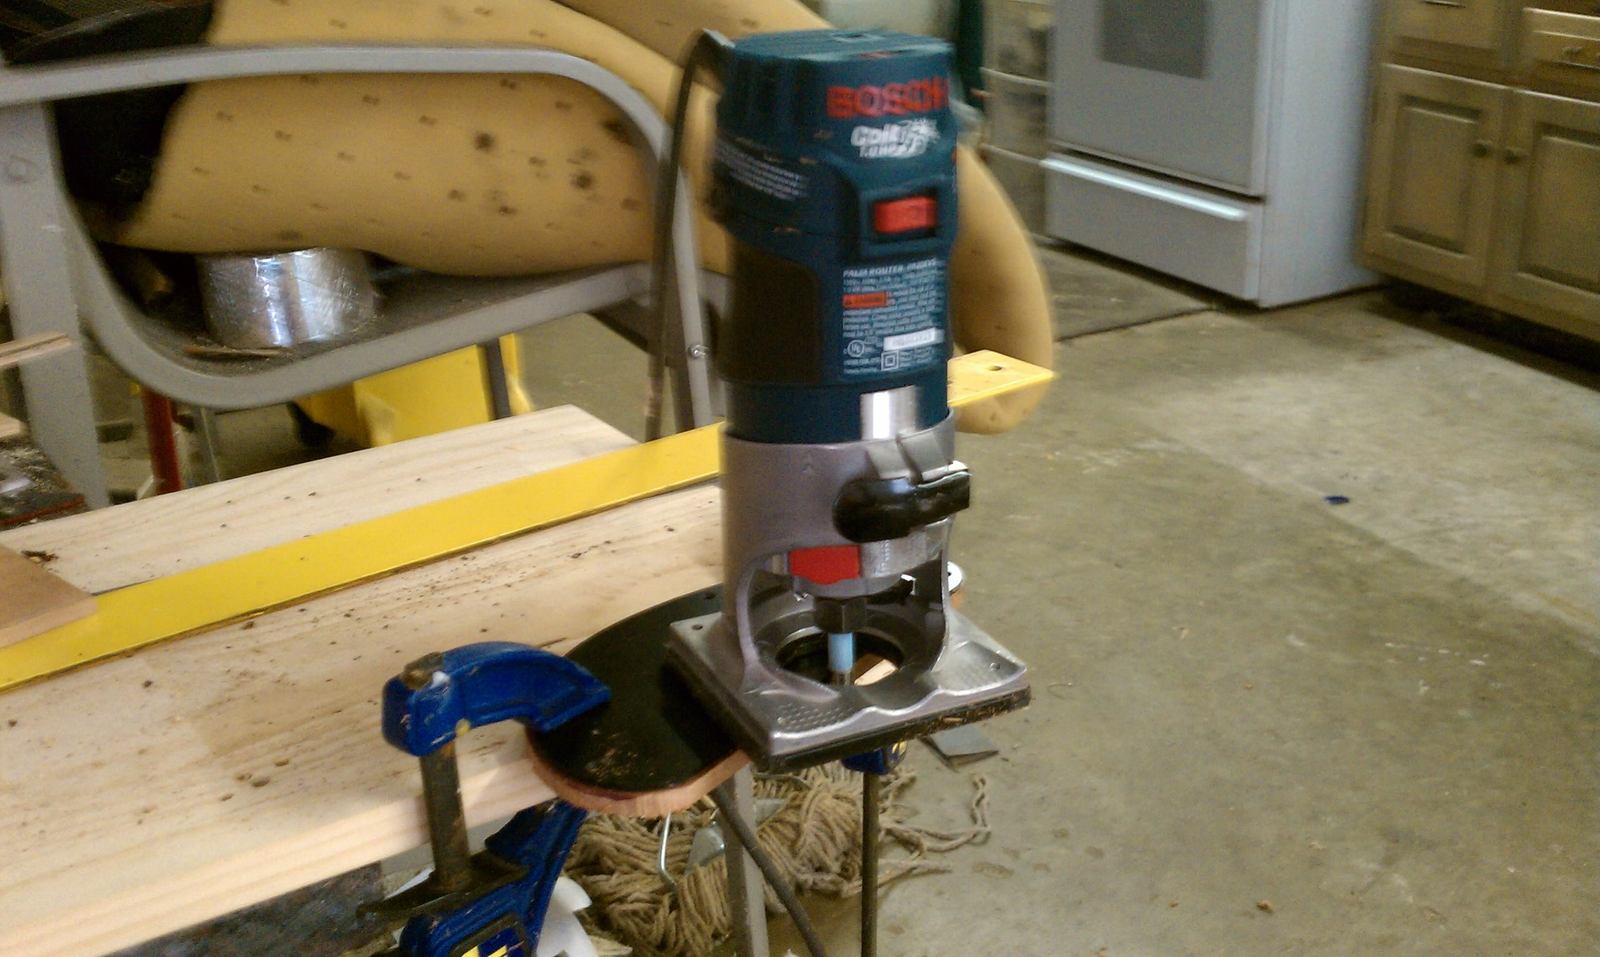
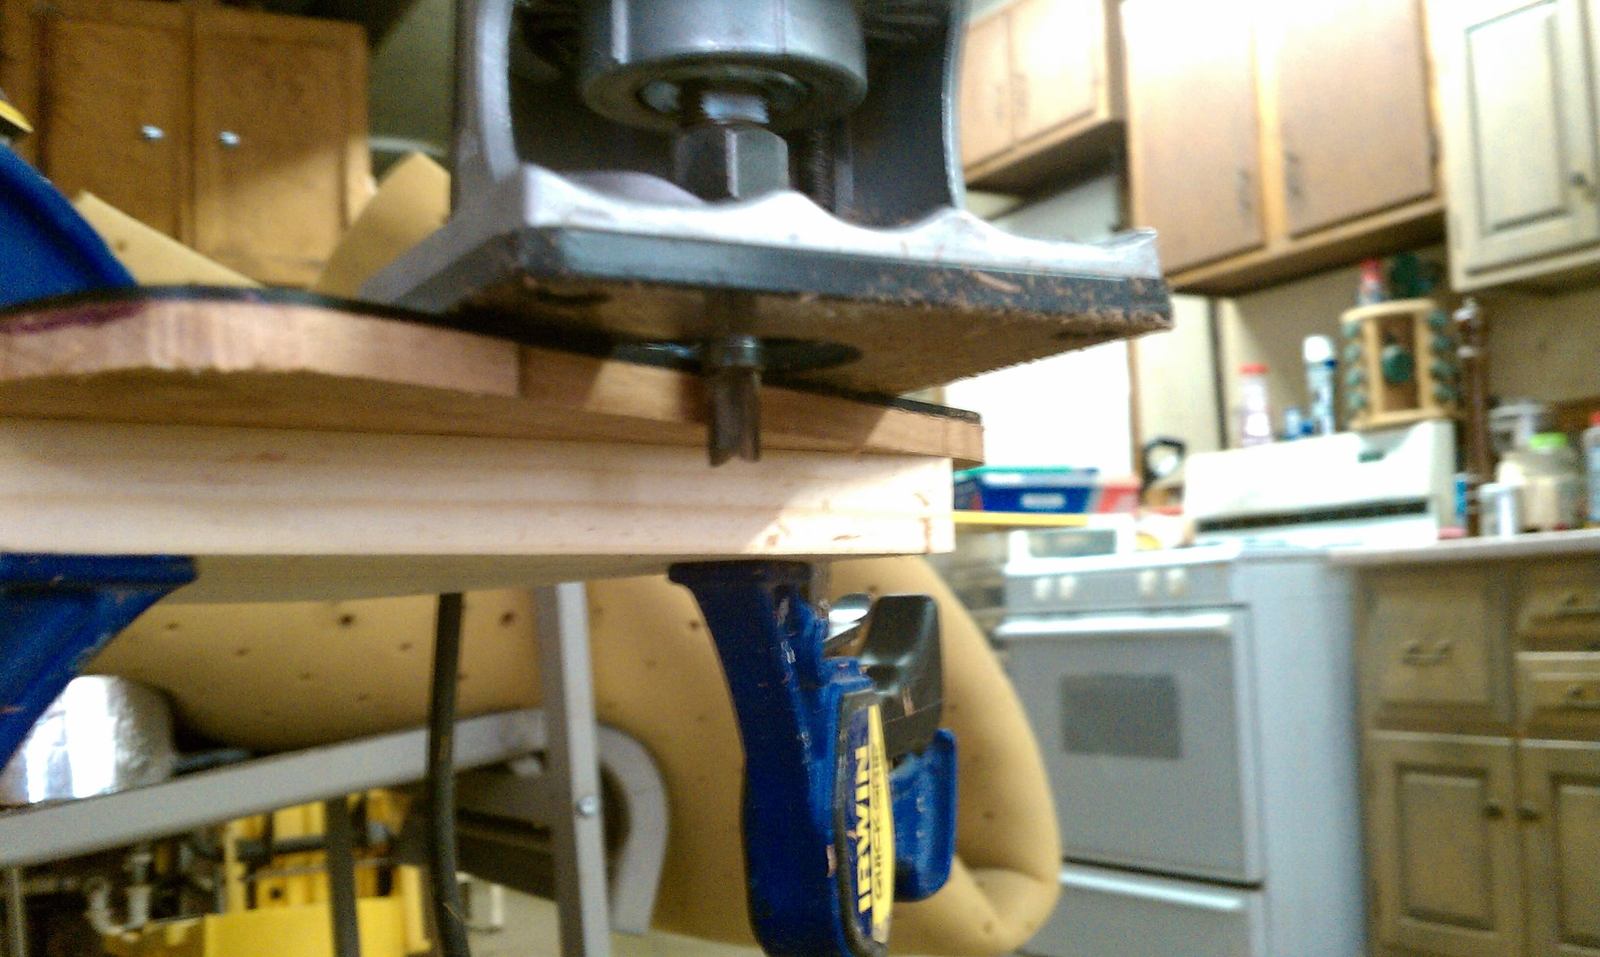
See with paste or duco cement (as long as you don't use too much duco....) the template and wood will pry apart pretty easy.
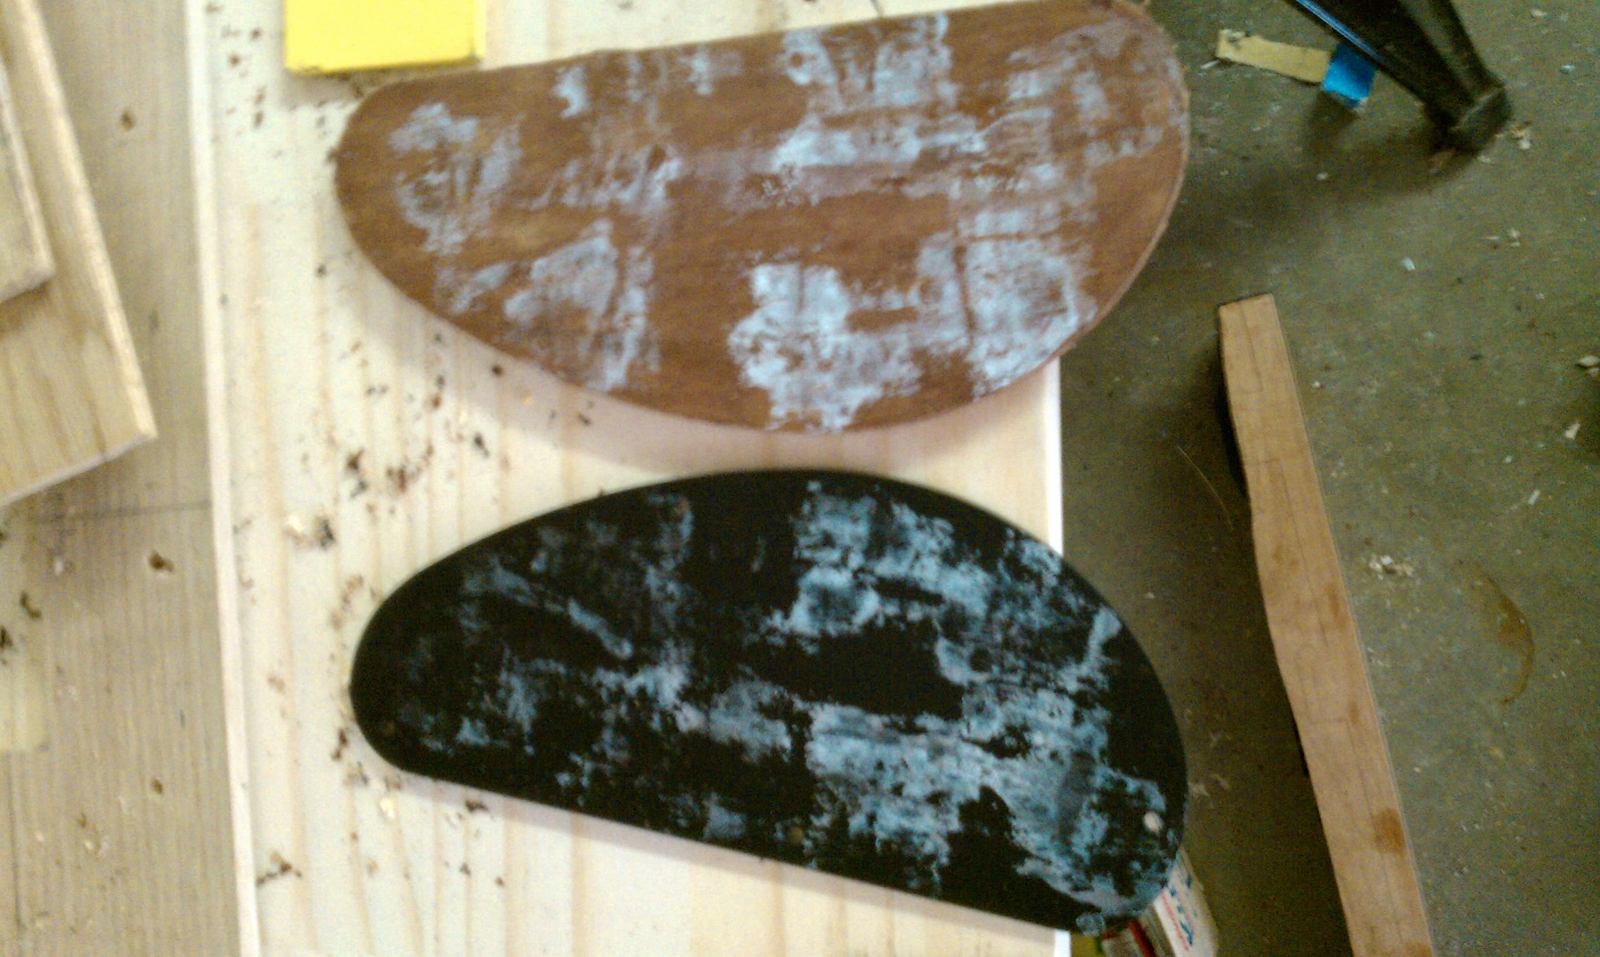
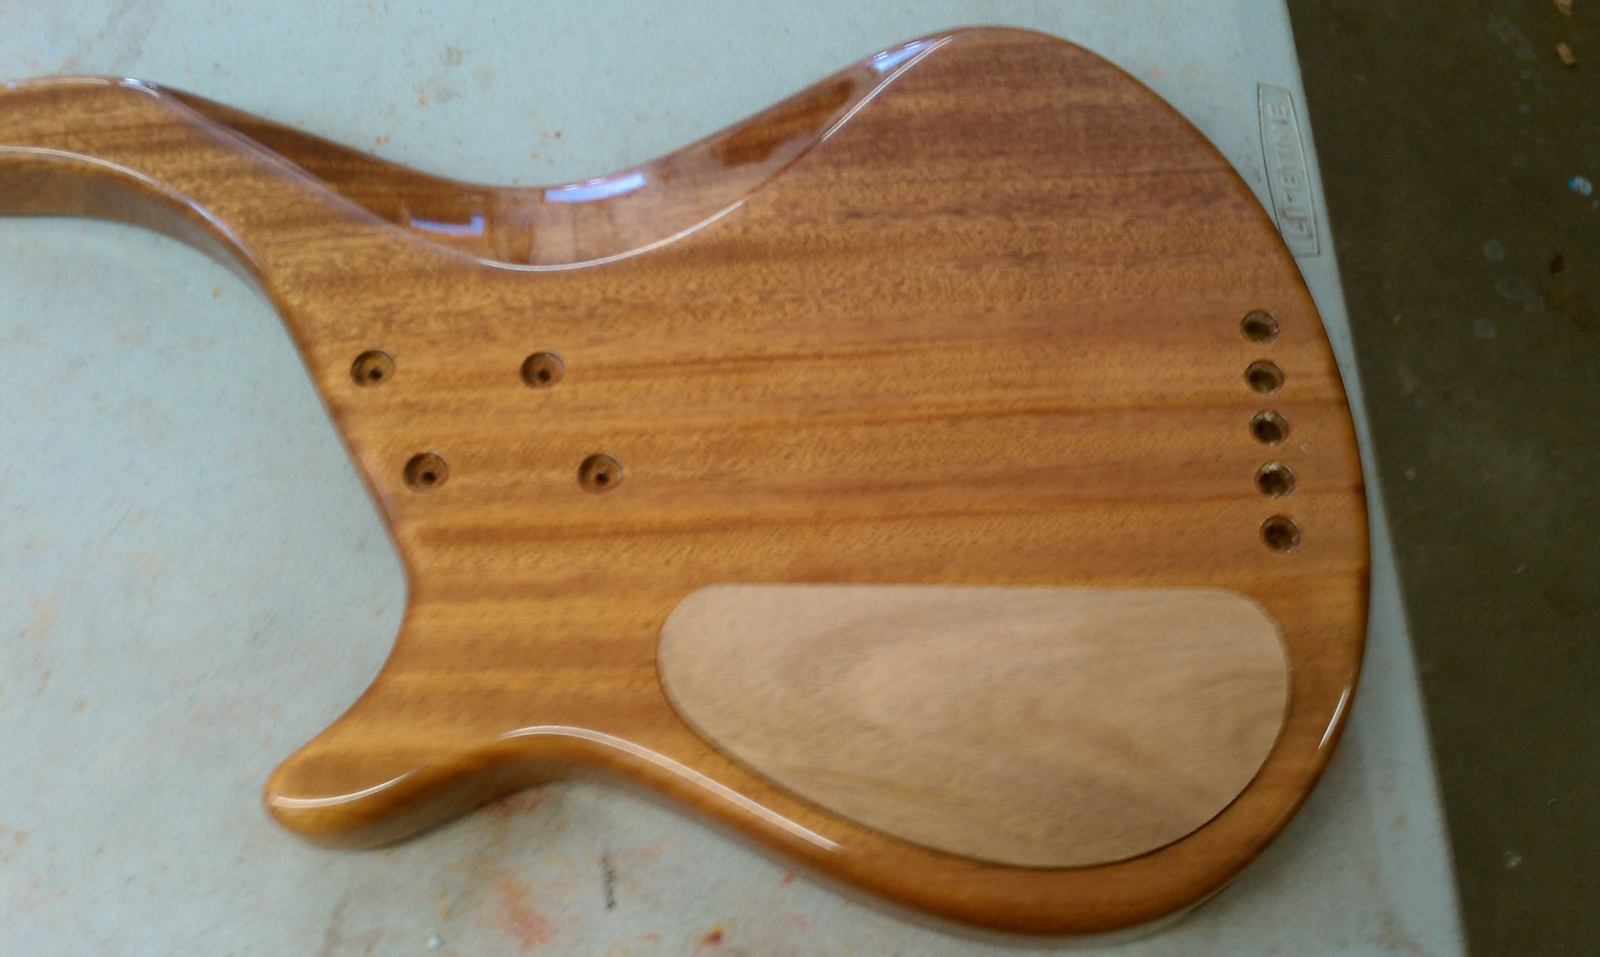
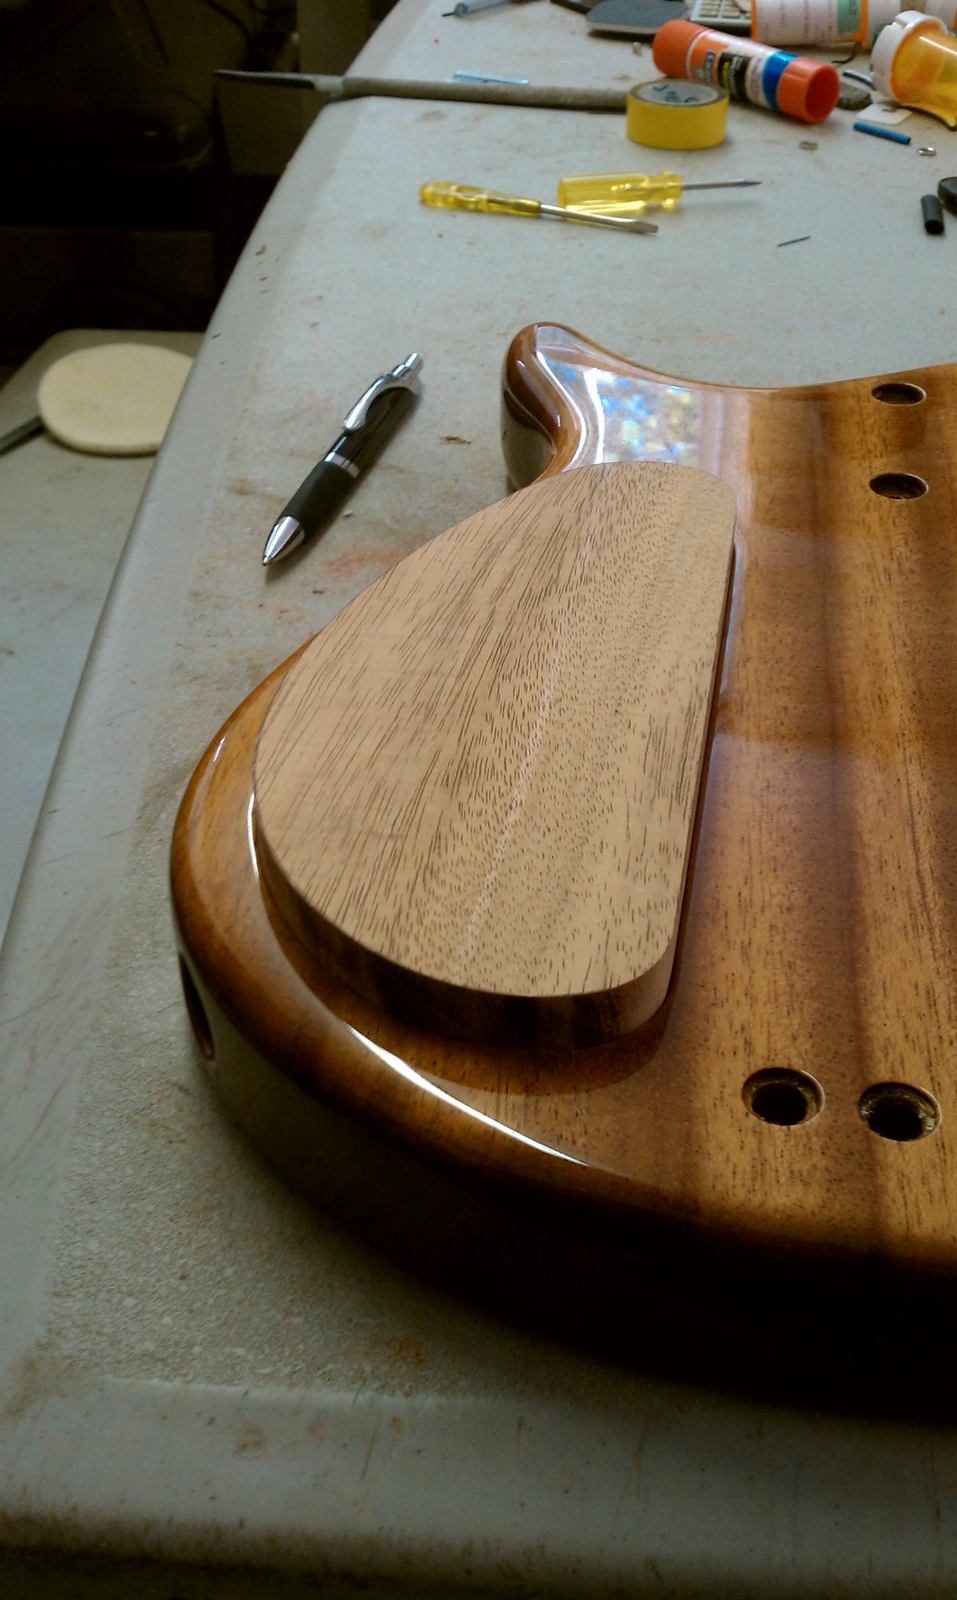
Here it is with the cover.
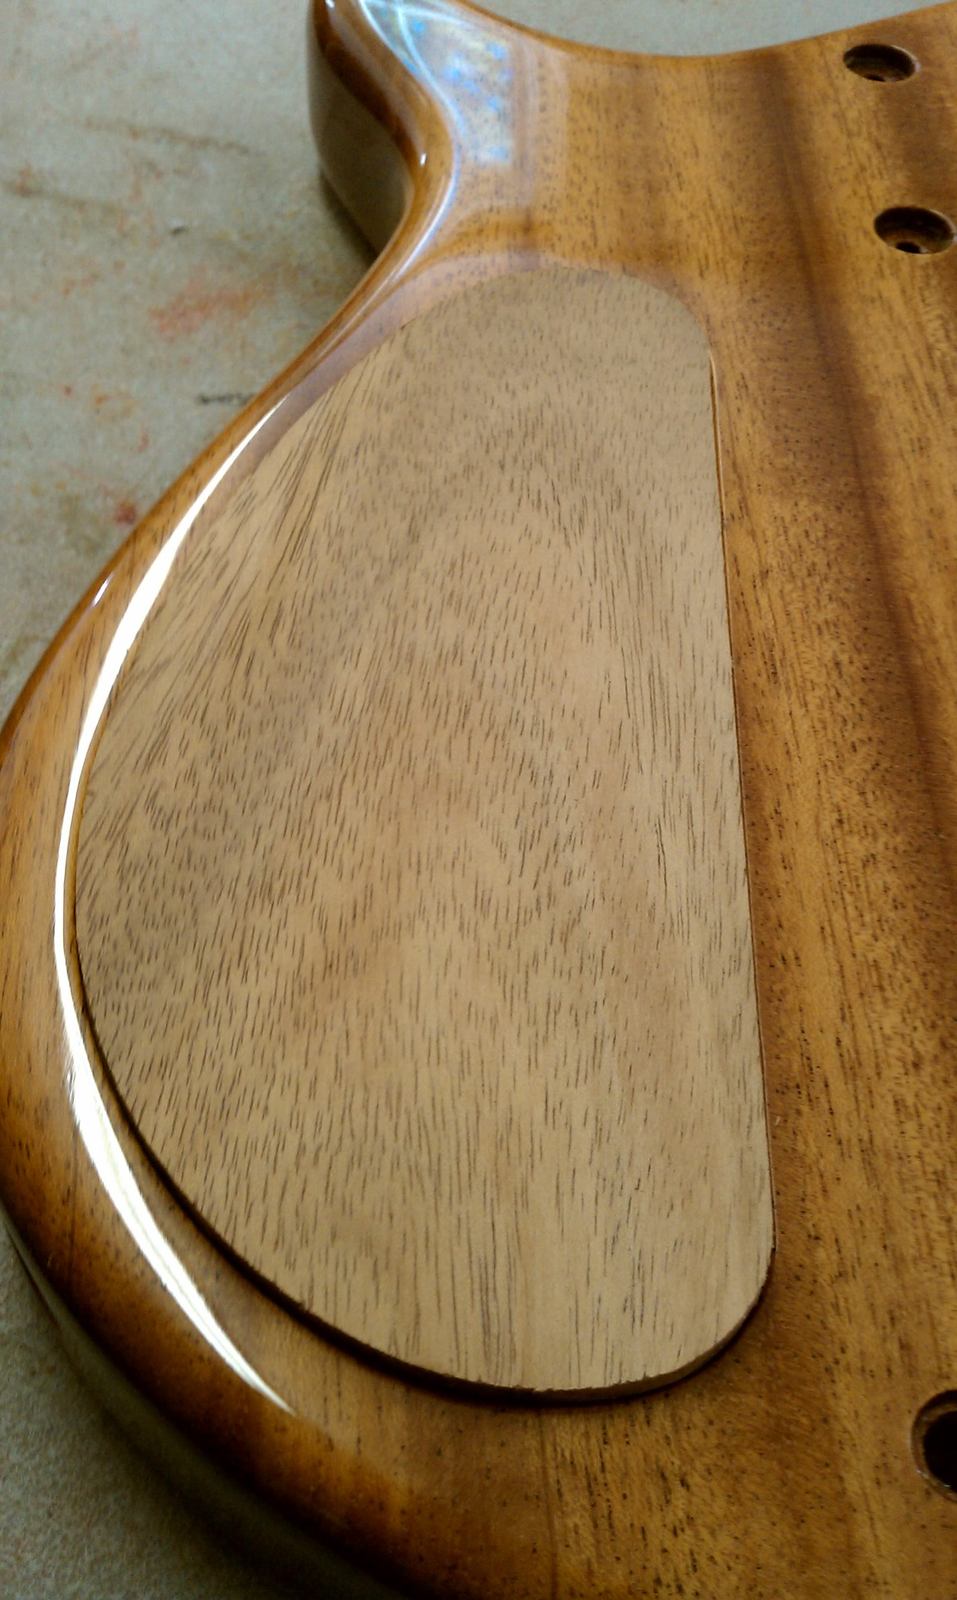
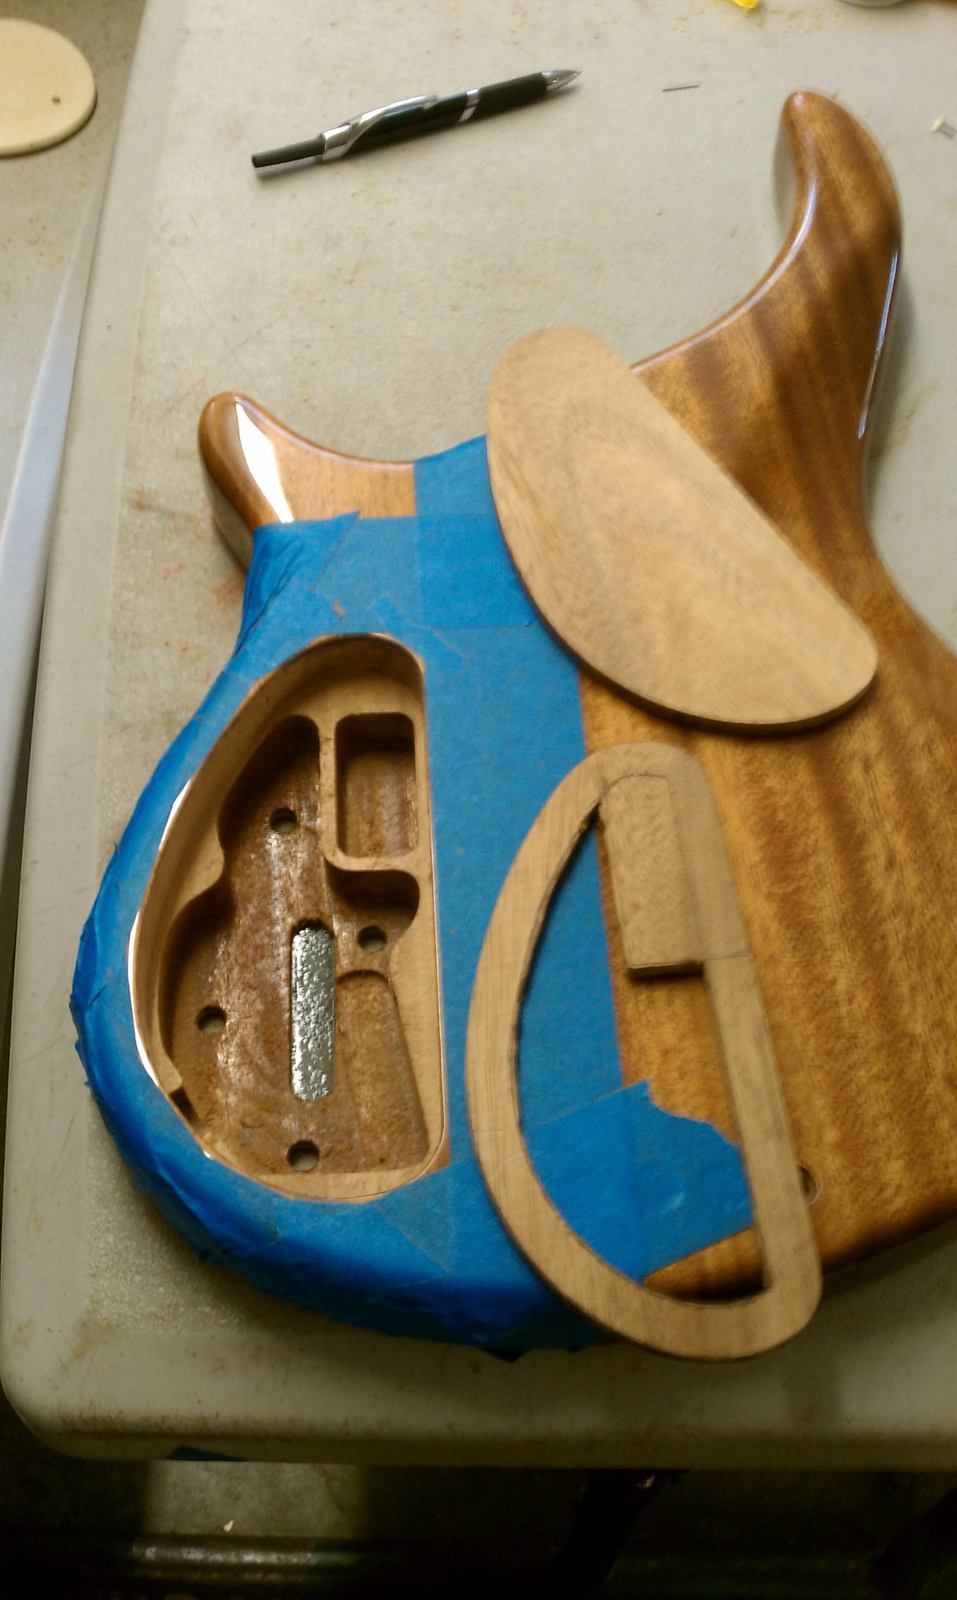
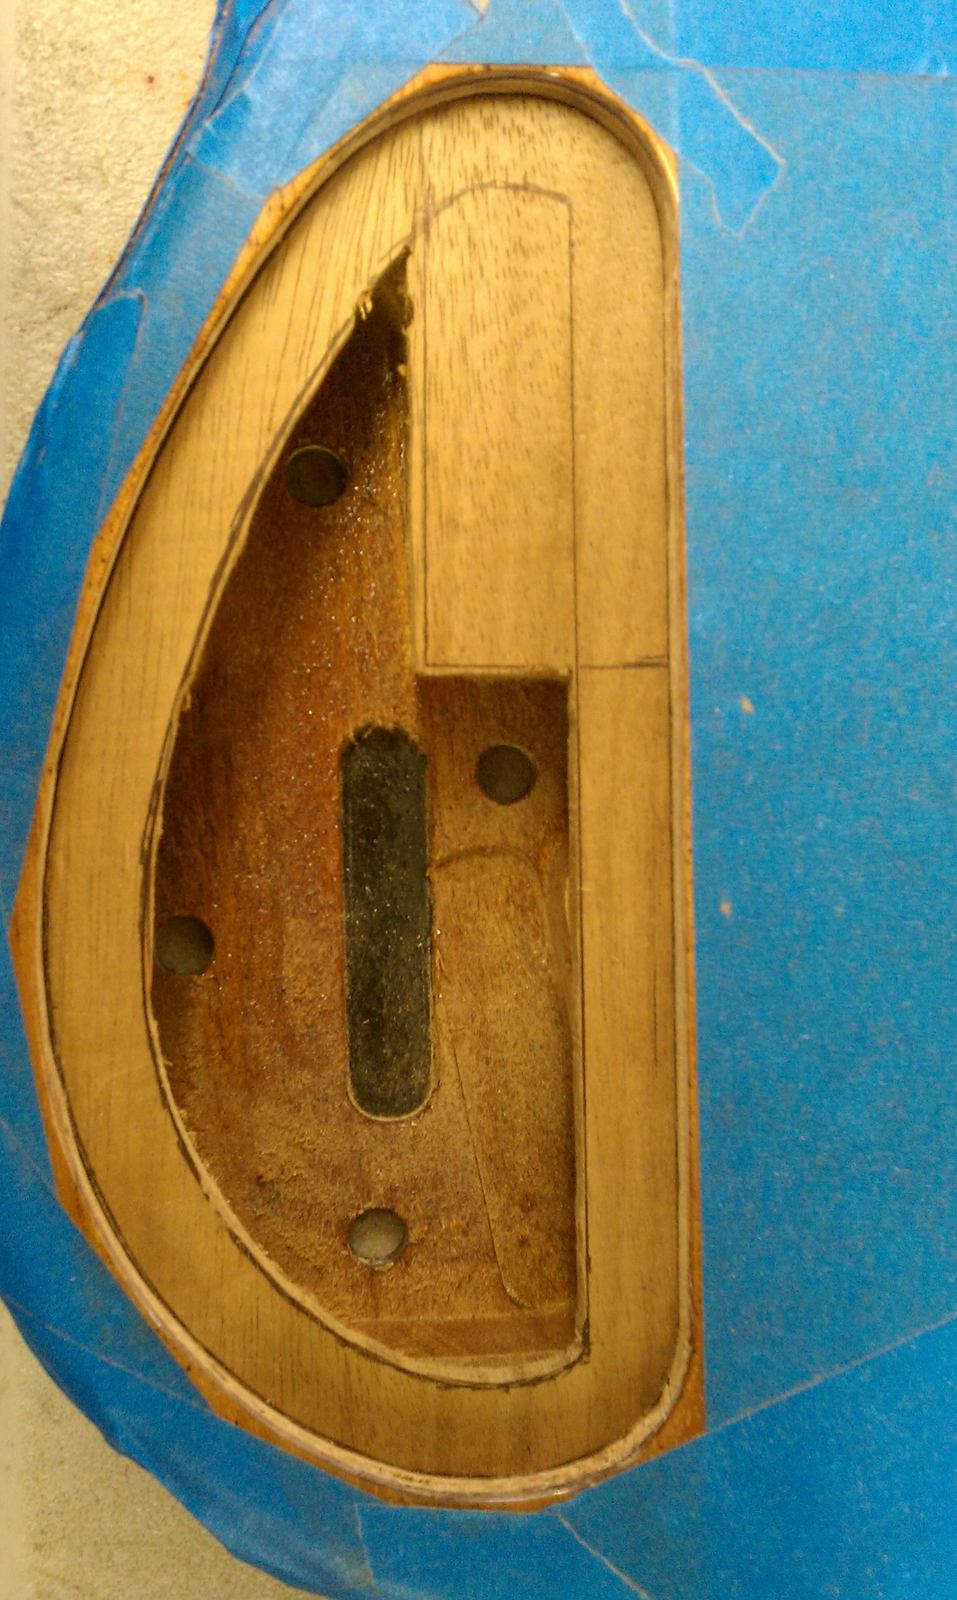
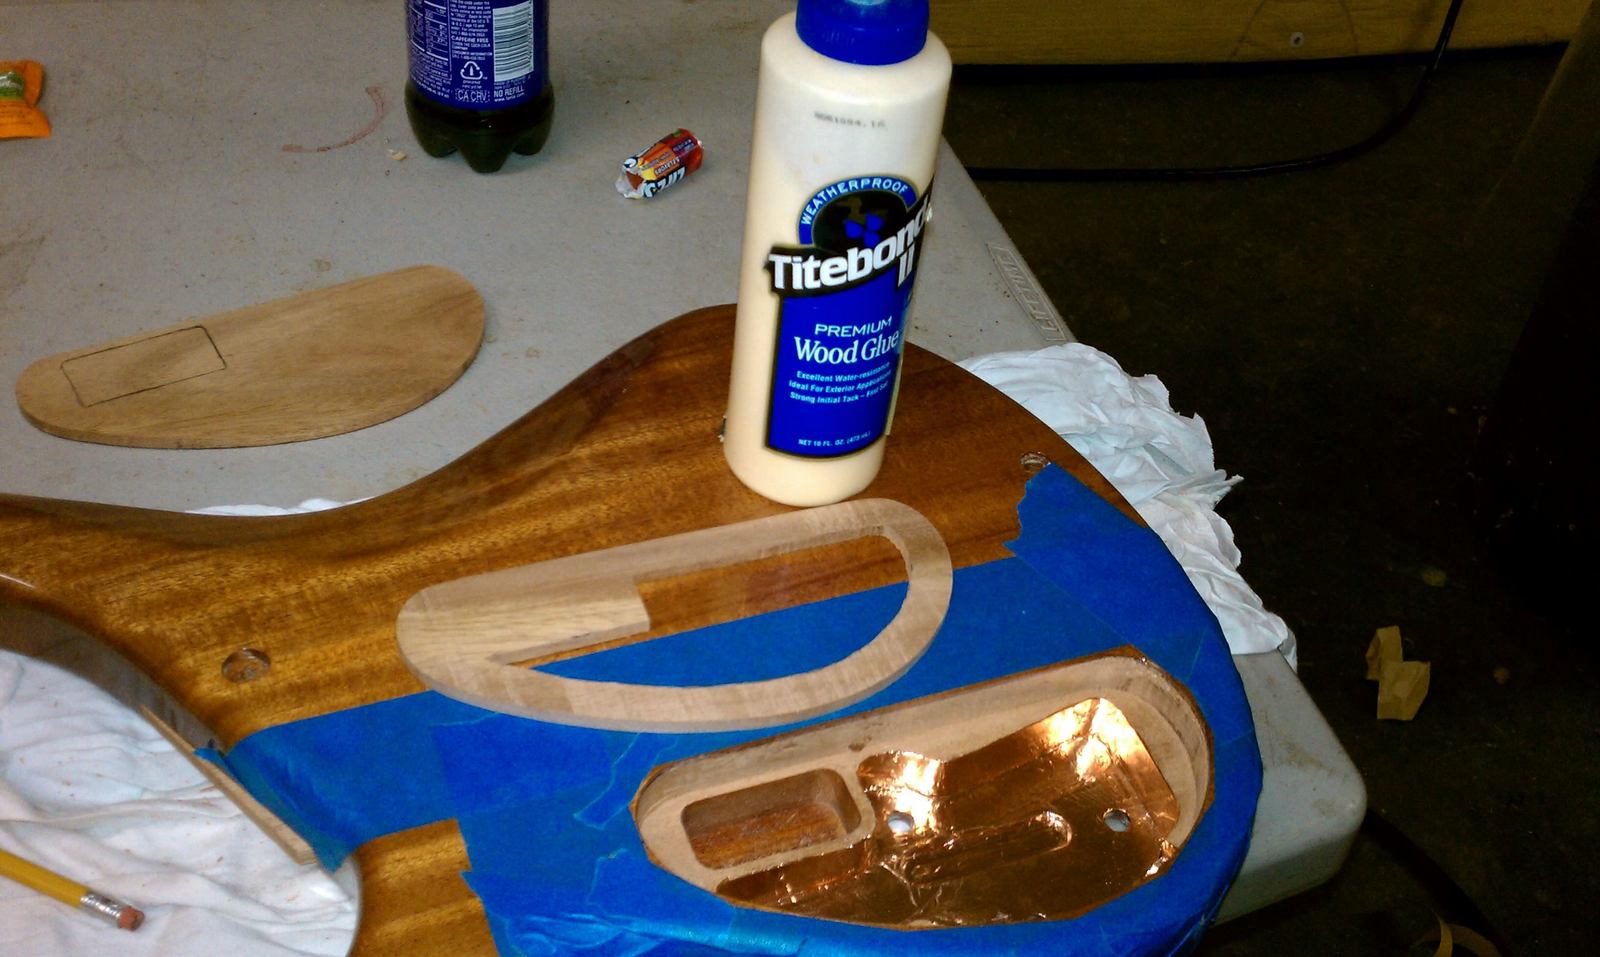
To make the inner part, so that I can make the lip wider, I trace the cover and then sand the edges, so that it fits tighter than the cover.
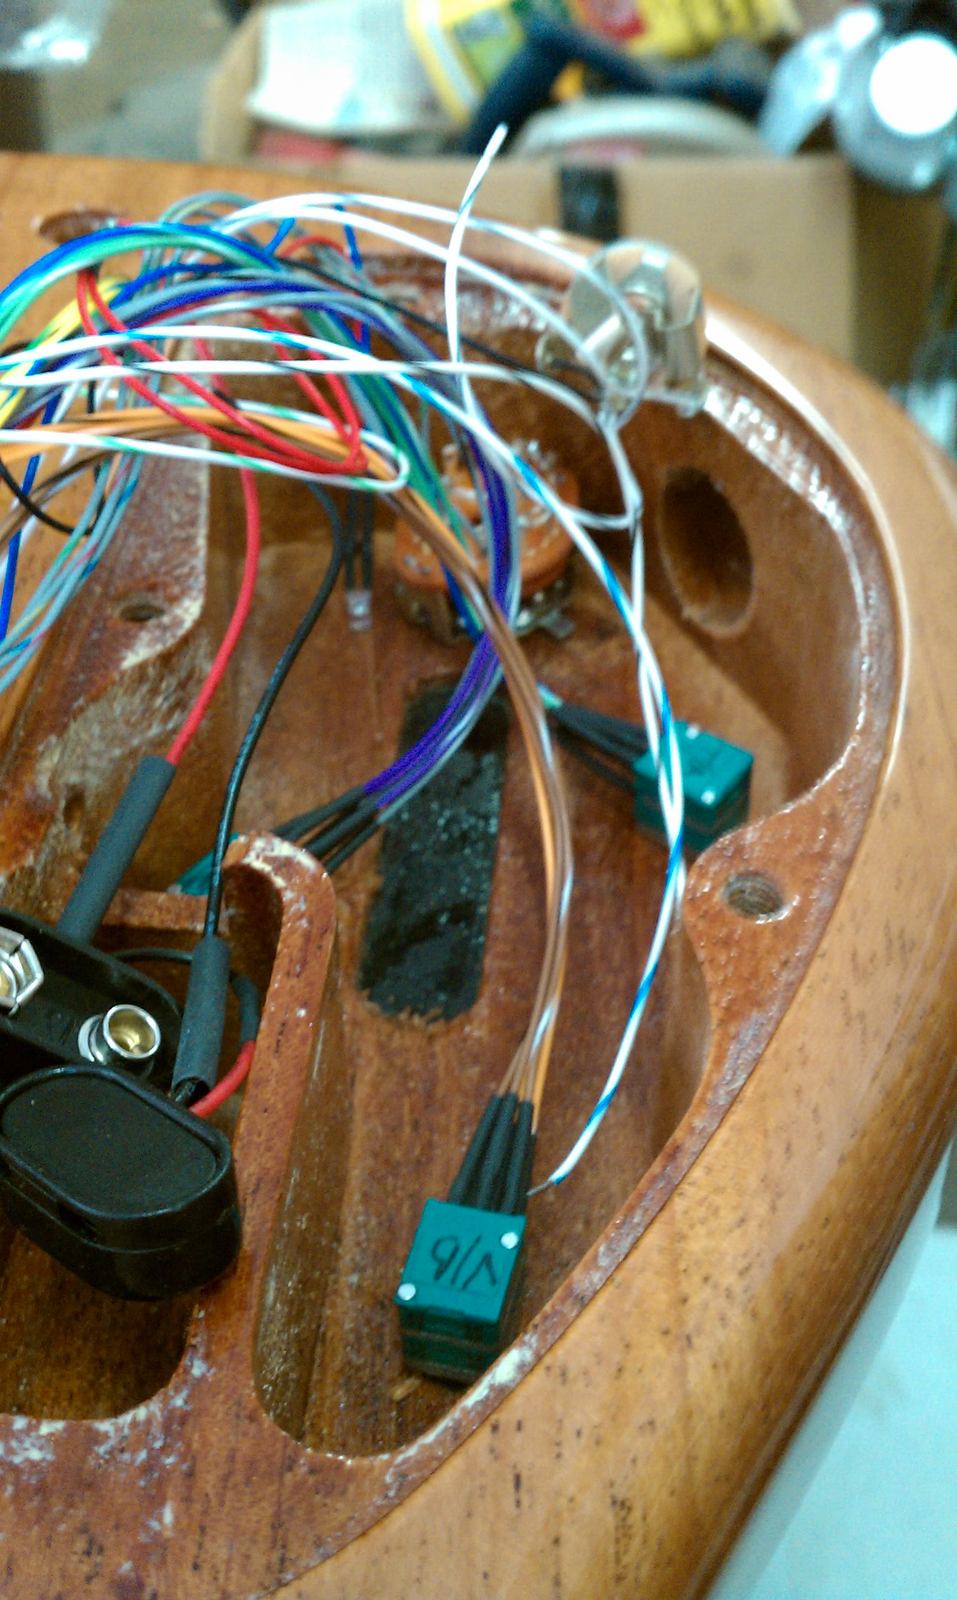
Because the Audere pots are more shallow than most, it won't be too difficult to add this piece inside.
See with paste or duco cement (as long as you don't use too much duco....) the template and wood will pry apart pretty easy.
Here it is with the cover.
To make the inner part, so that I can make the lip wider, I trace the cover and then sand the edges, so that it fits tighter than the cover.
Because the Audere pots are more shallow than most, it won't be too difficult to add this piece inside.
The lip is also cut out now, i'll be gluing this in soon. Once I get it glued in, i'll trim it up in a couple spots, to make life easier, like the battery cavity, that area may also need to be routed in the cover a bit, for (2) 9v....
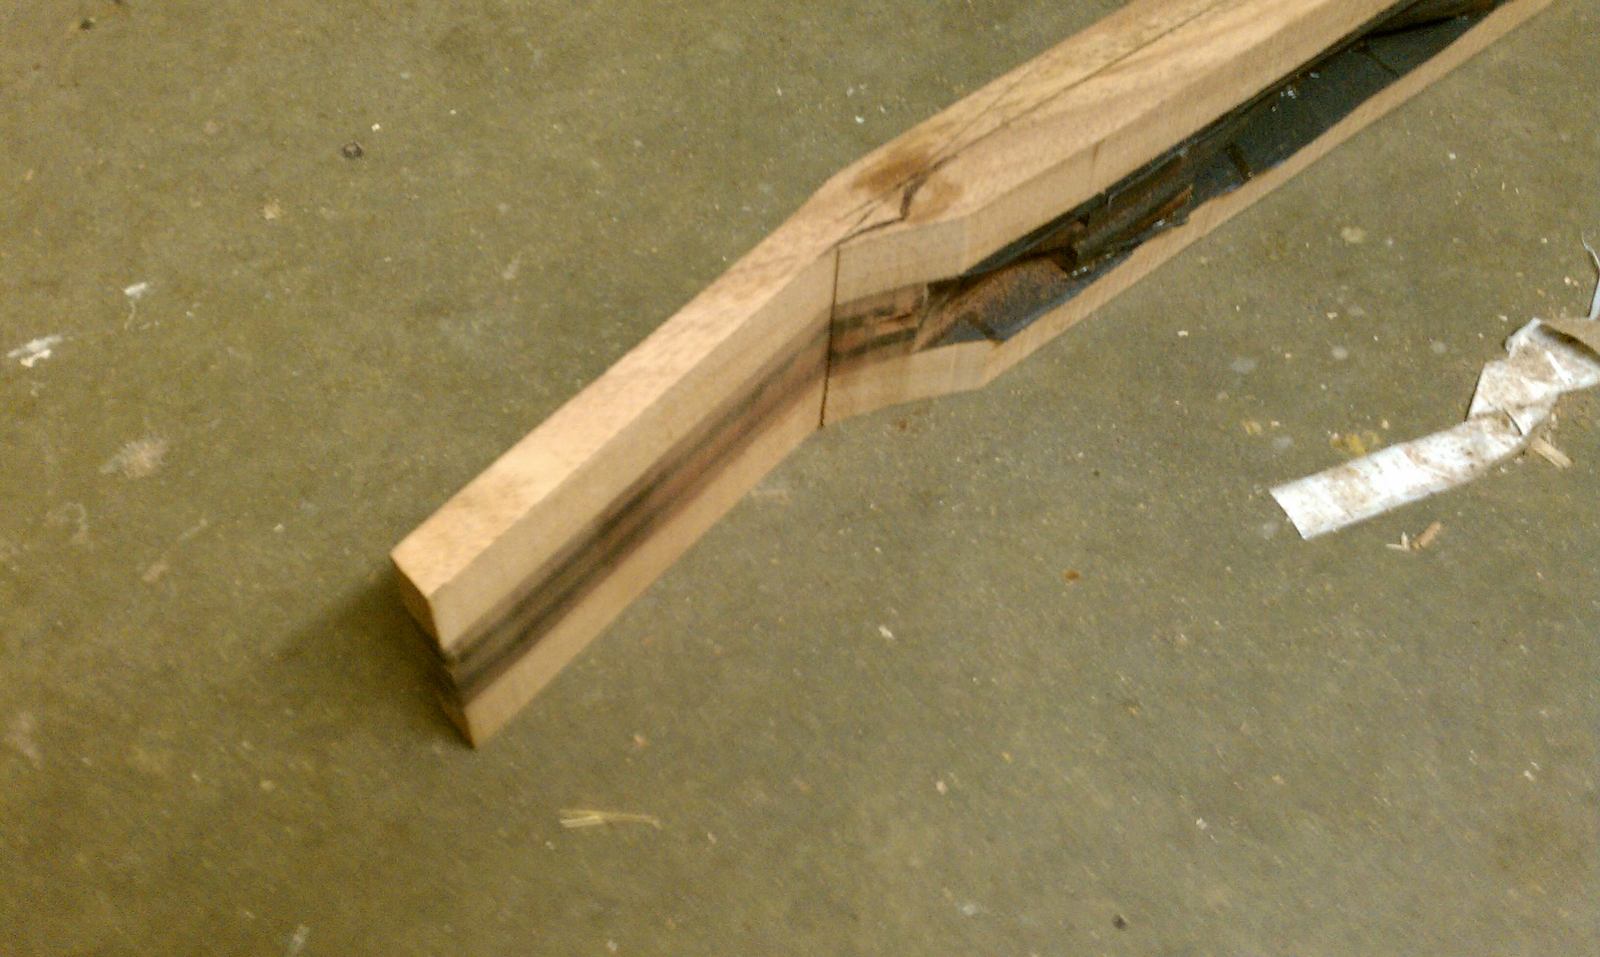
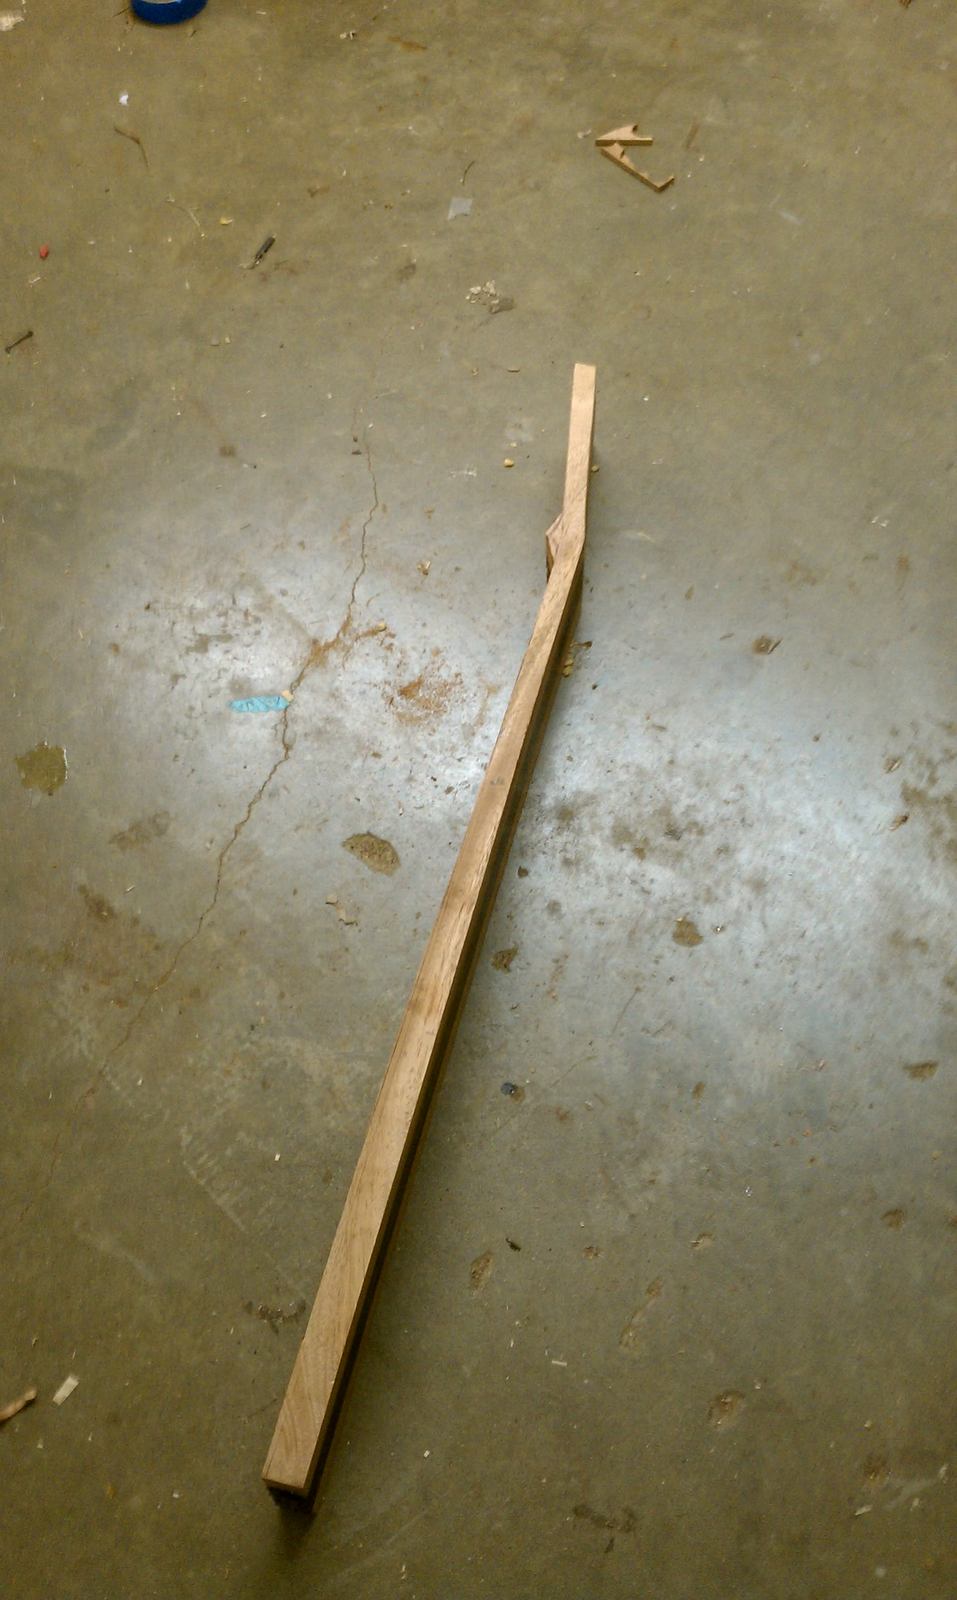
Got the neck and headstock rough cut.
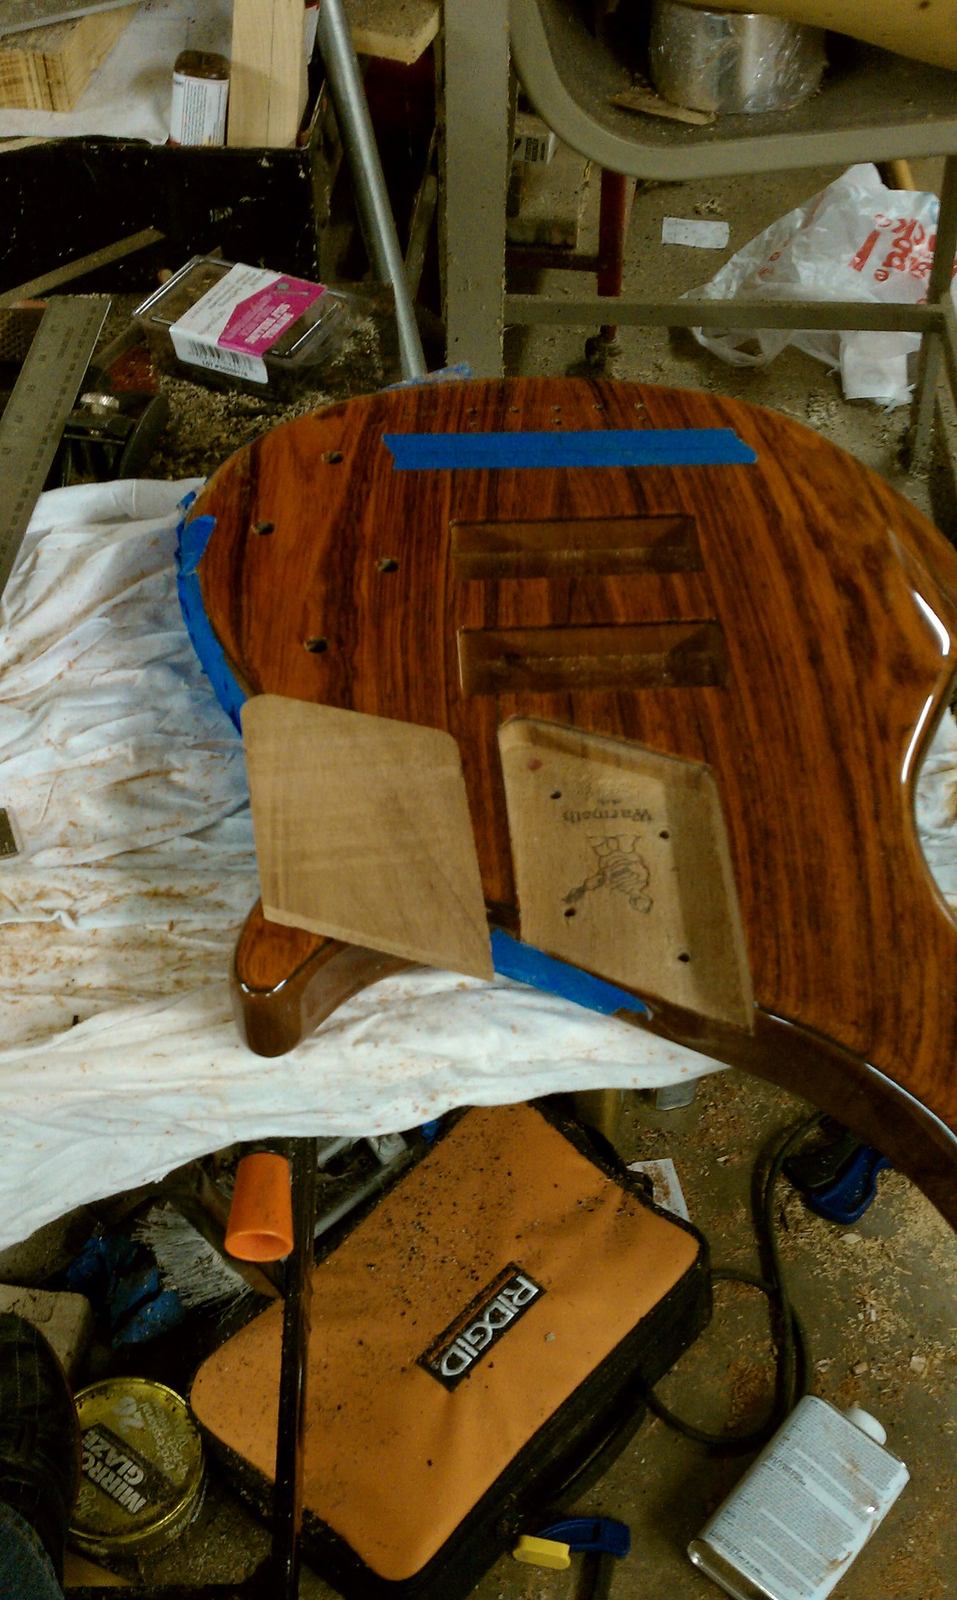
Had to copy the neck pocket, so that I'll be able to put a good shape to the end of it.
Got the neck and headstock rough cut.
Had to copy the neck pocket, so that I'll be able to put a good shape to the end of it.
Wow, a lot more went into that control cover than i thought. lol
Yep, because I'm using magnets, I wanted to be able to put more than just 3 in, more like 6 or so....well that and the set screws. It'll be a tight fit, but it will all fit, no problem. Also, I ordered the CF rods today.
While I wait for the CF rods to come in, I'll focus on the cover.
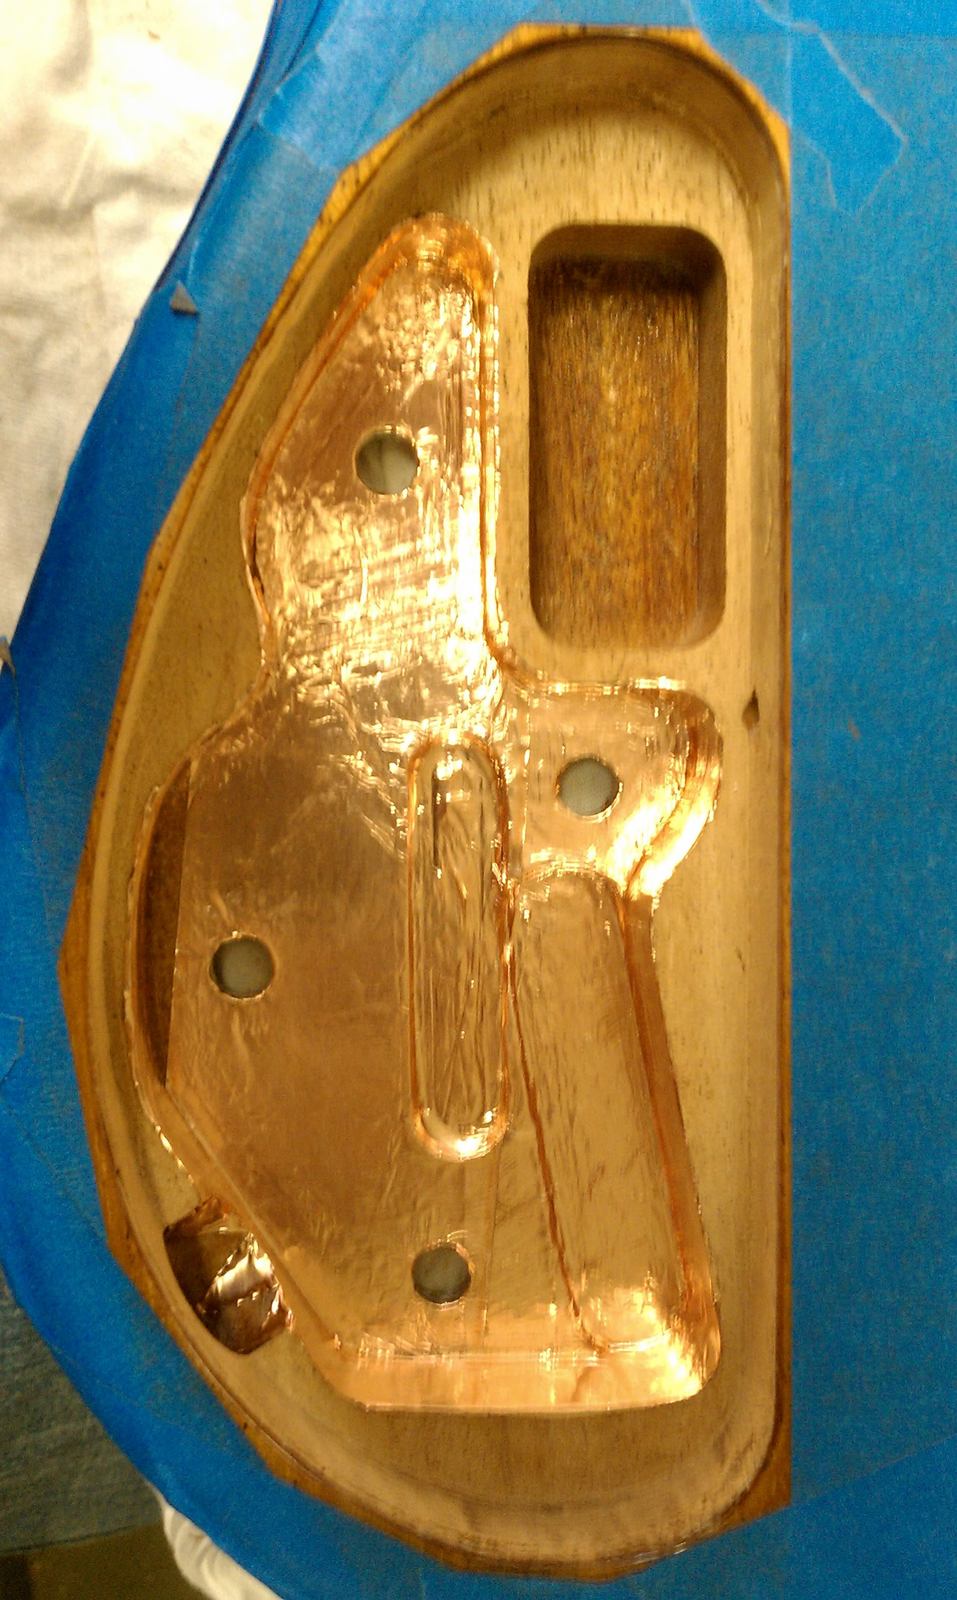
Had to sand the finish overspray in the cavity, so that the foil will stick better.
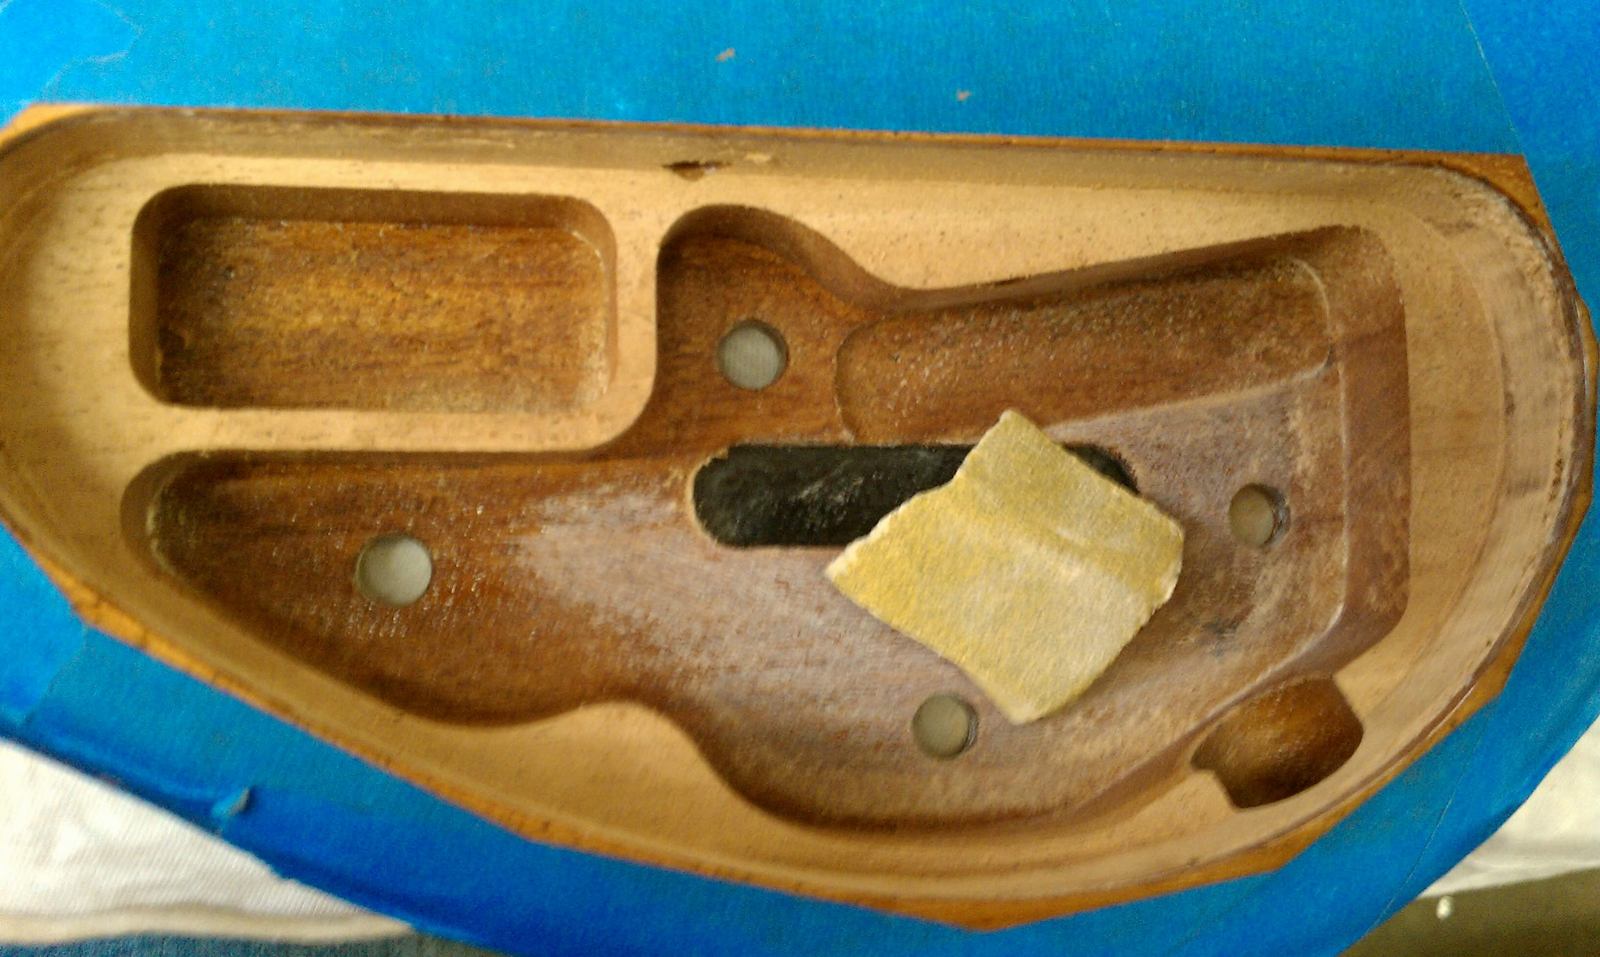
Now it's smoothed out enough.
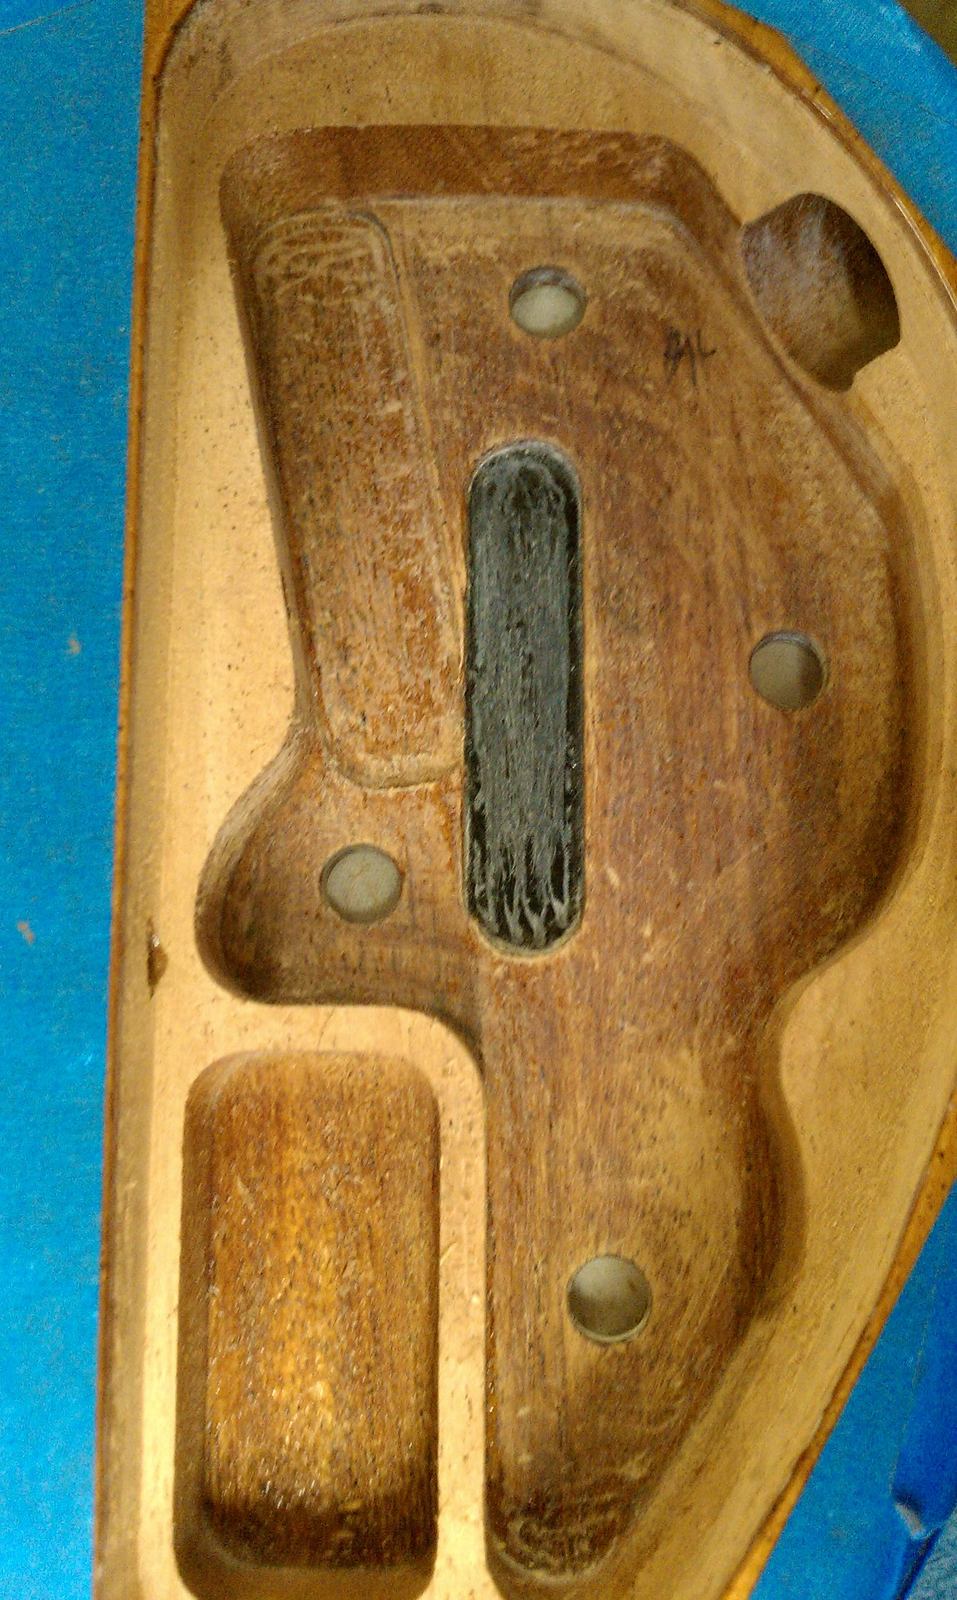
Started the foil with the deeper routes.
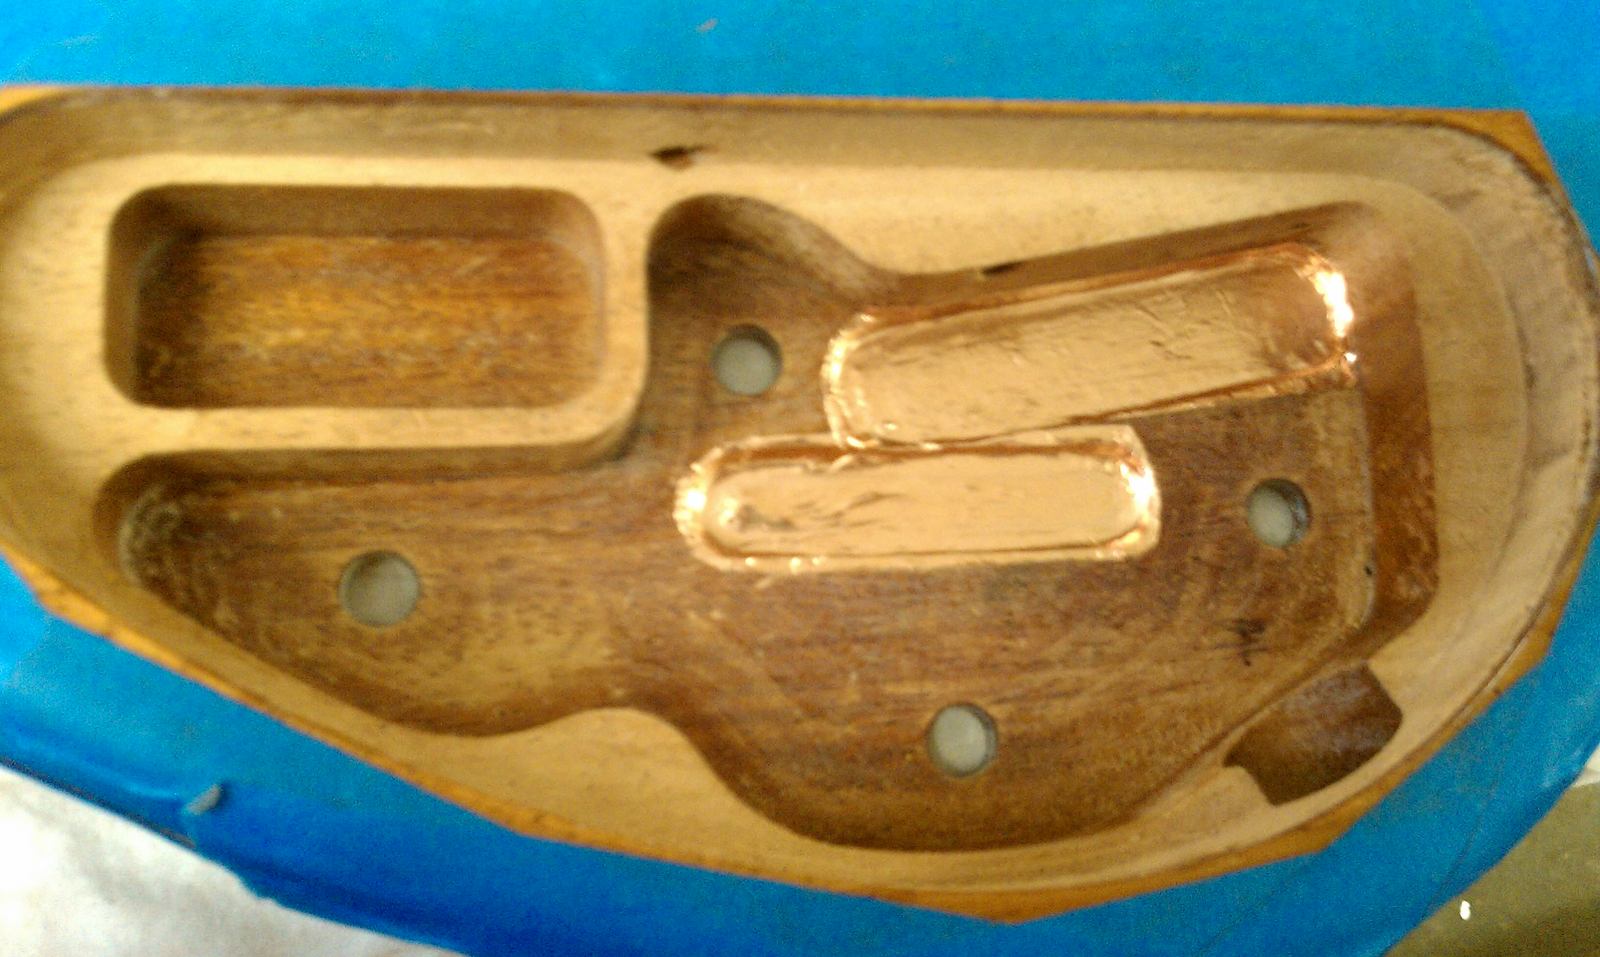
Foil is in, nevermind that one little spot....... I got it after the pic.
Time to glue it all in....
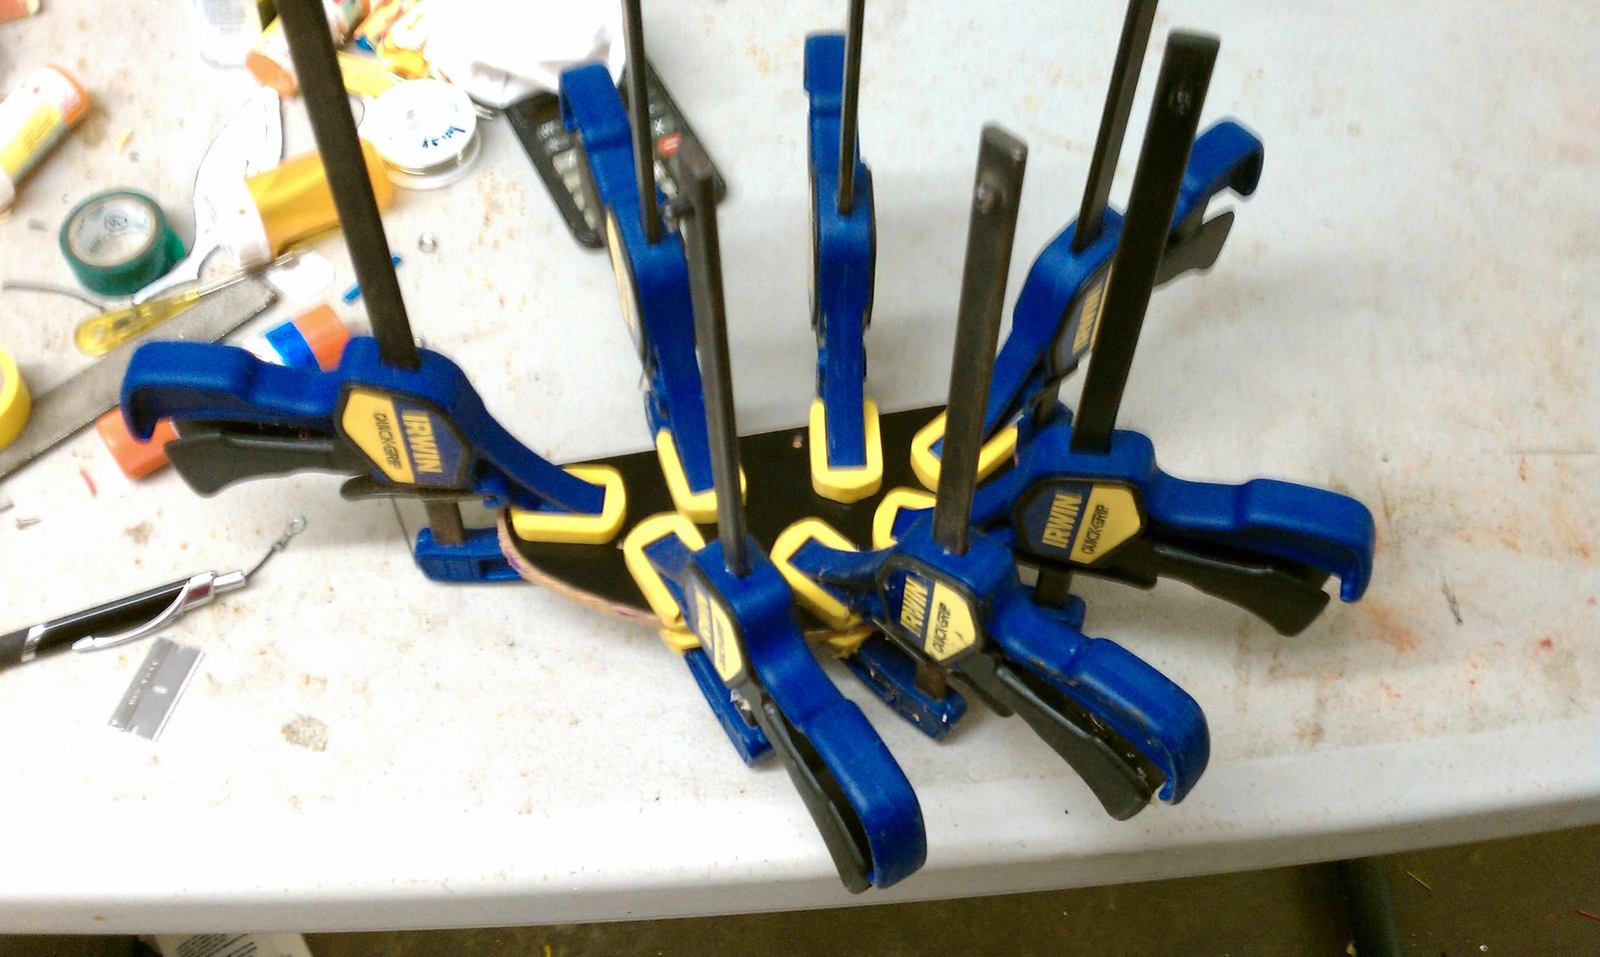
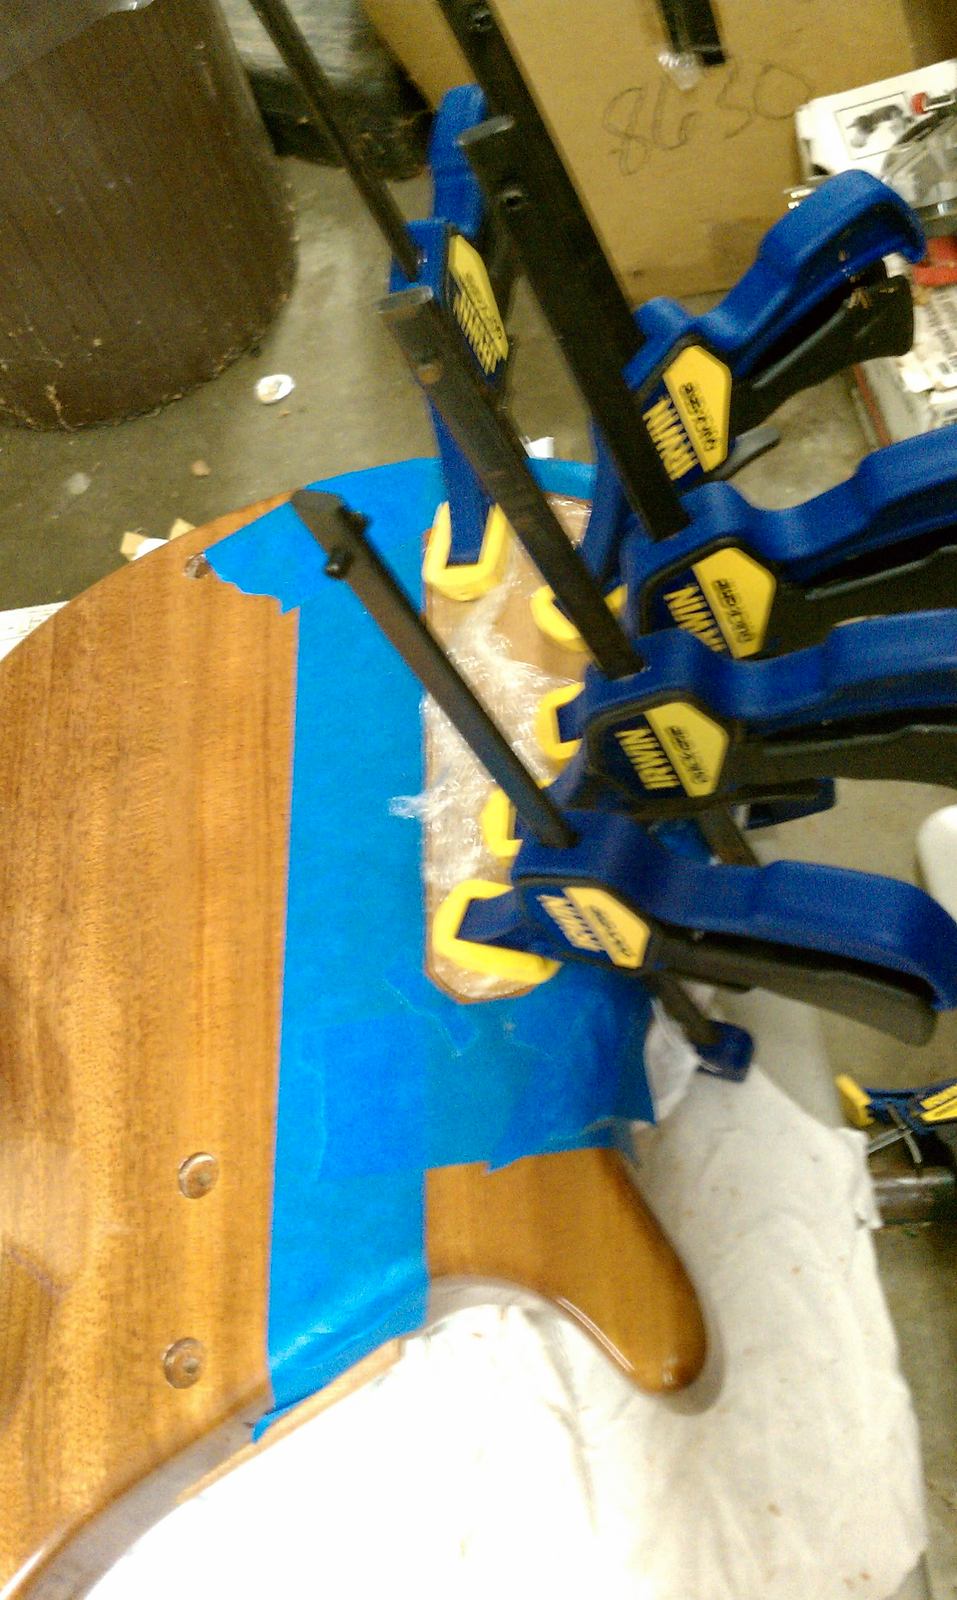
Wrapped the cover in suranwrap and clamped it down.
Had to sand the finish overspray in the cavity, so that the foil will stick better.
Now it's smoothed out enough.
Started the foil with the deeper routes.
Foil is in, nevermind that one little spot....... I got it after the pic.
Time to glue it all in....
Wrapped the cover in suranwrap and clamped it down.
Nice! Feel free to use some of the copper tape for stuff if you need it. I sent a ton if i recall correctly. lol
Just to make sure, you didnt cover up any of the holes for pickup wires or anything with that new piece of wood di you? I cant recall where they were located but i thought id ask.
Just to make sure, you didnt cover up any of the holes for pickup wires or anything with that new piece of wood di you? I cant recall where they were located but i thought id ask.

