• TalkBass has been independent since 1998. Add your voice.
    Create a free account to reply to discussions, view embedded media, and browse with fewer display ads.
    Join freeLog in
    Want zero display ads or expanded classifieds tools? Compare plans.

New Brooks bass: EB-N

Basvarken

Commercial User
Dec 3, 2010
1,743
10,606
Velp Rockcity
www.thegibsonbassbook.com
Disclosures
Hobby Luthier / Gibson Bass Book
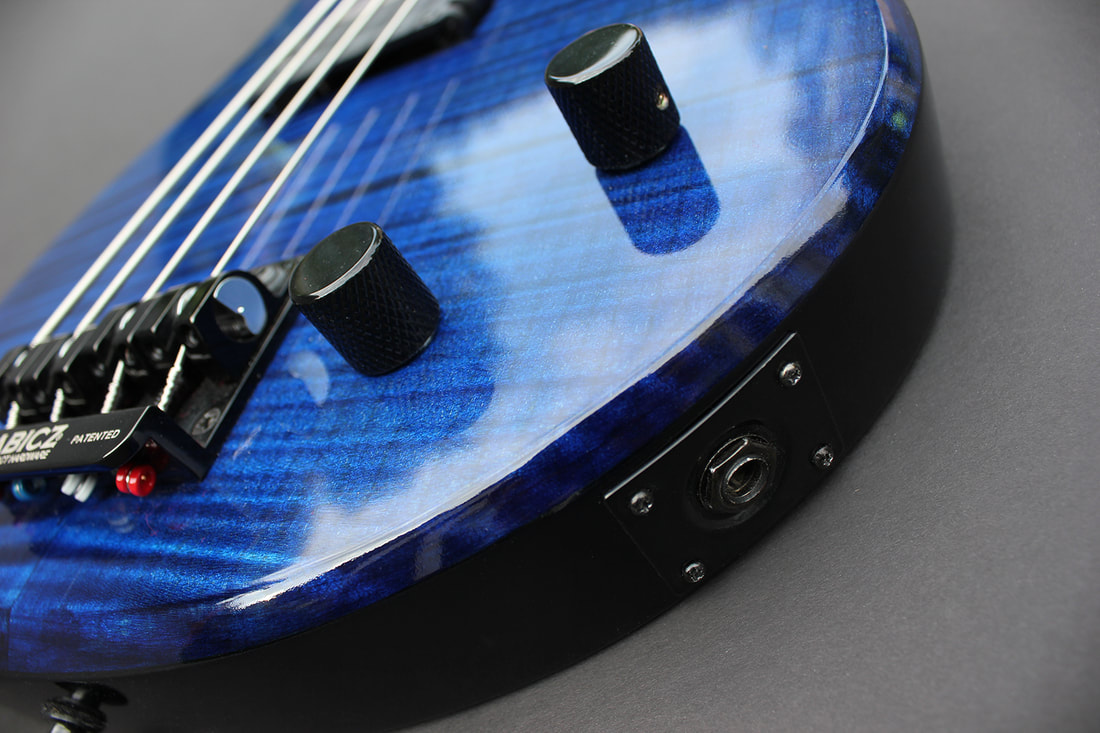
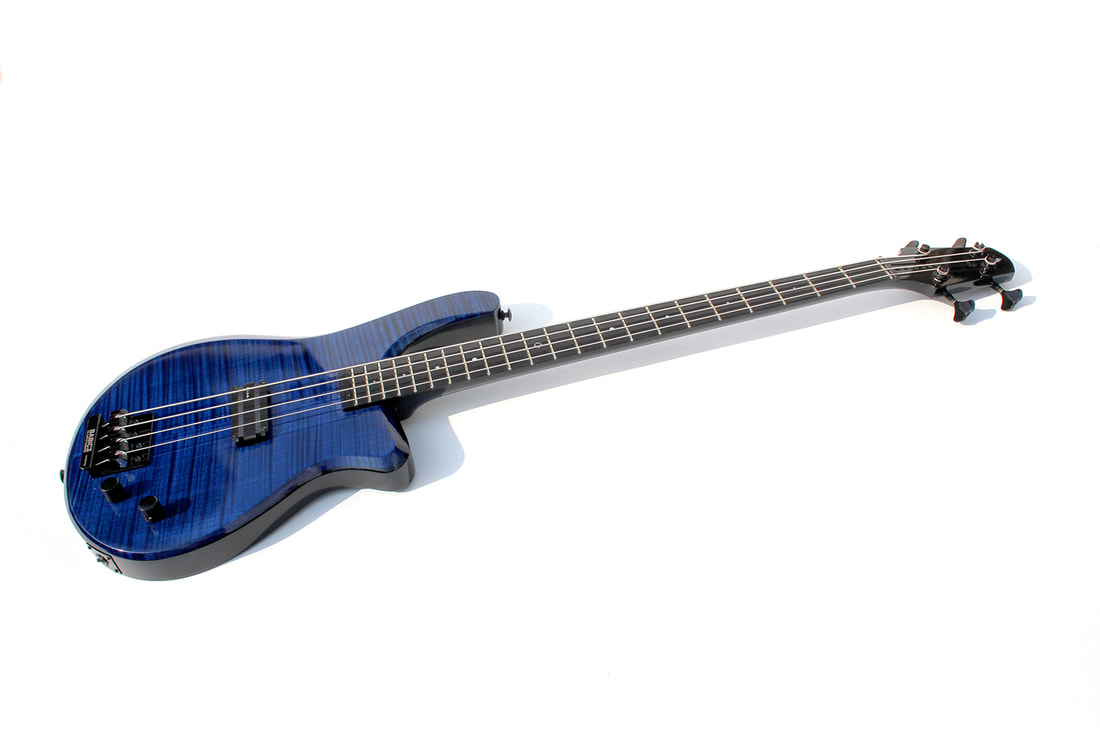
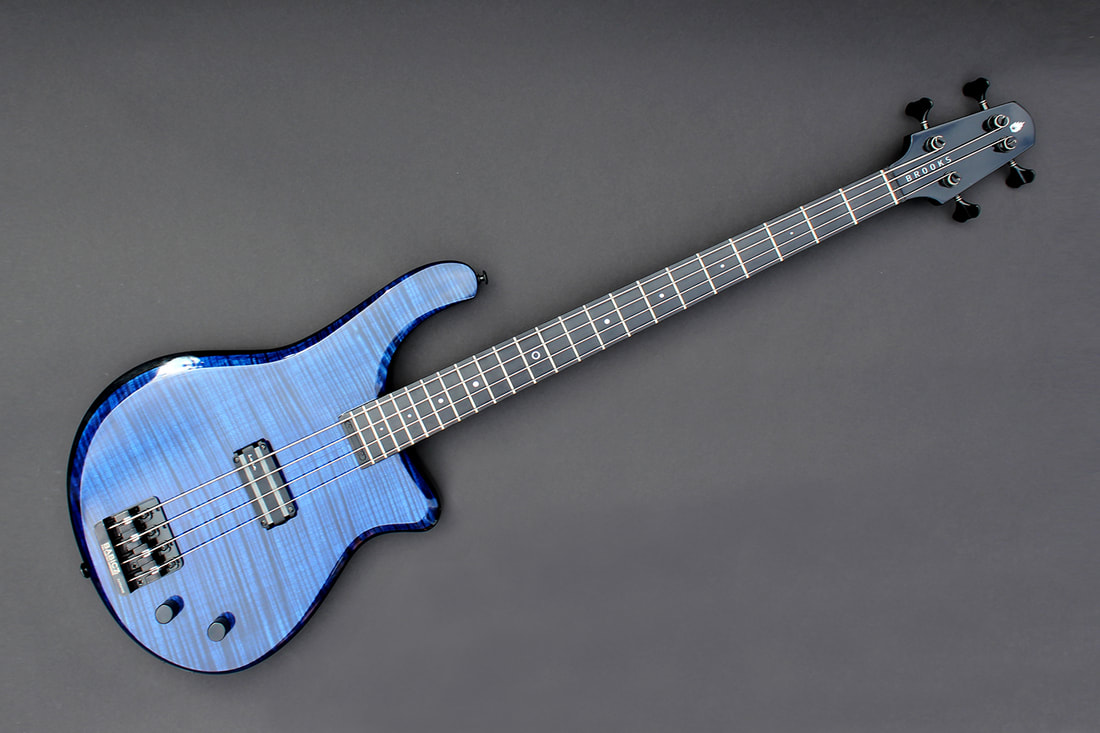
I've completed the build of a new bass.
Unlike other Brooks basses that I've built this does not feature a mix of a classic Gibson bass with another non-Gibson classic.
The Brooks EB-N is an original design that I came up with in an attempt to give it a bit of a classic vibe without referring to well known designs.


BROOKS EB-N
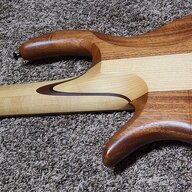
- One piece mahogany body
- Smoked oak constrasting veneer in between layer
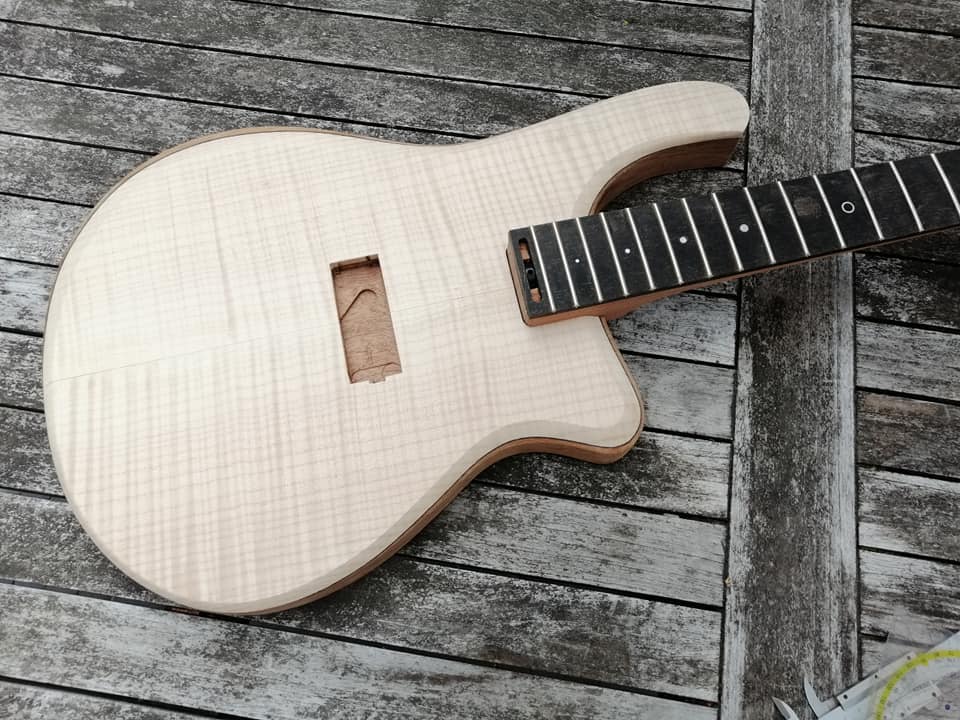
- Bookmatched flamed maple top
- Five ply quartersawn mahogany/American walnut neck
- Ebony fretboard
- Mother of Pearl position marker dots. 12th circle inlay
- Jumbo frets
- 34" scale
- Zero fret and buffalo horn nut
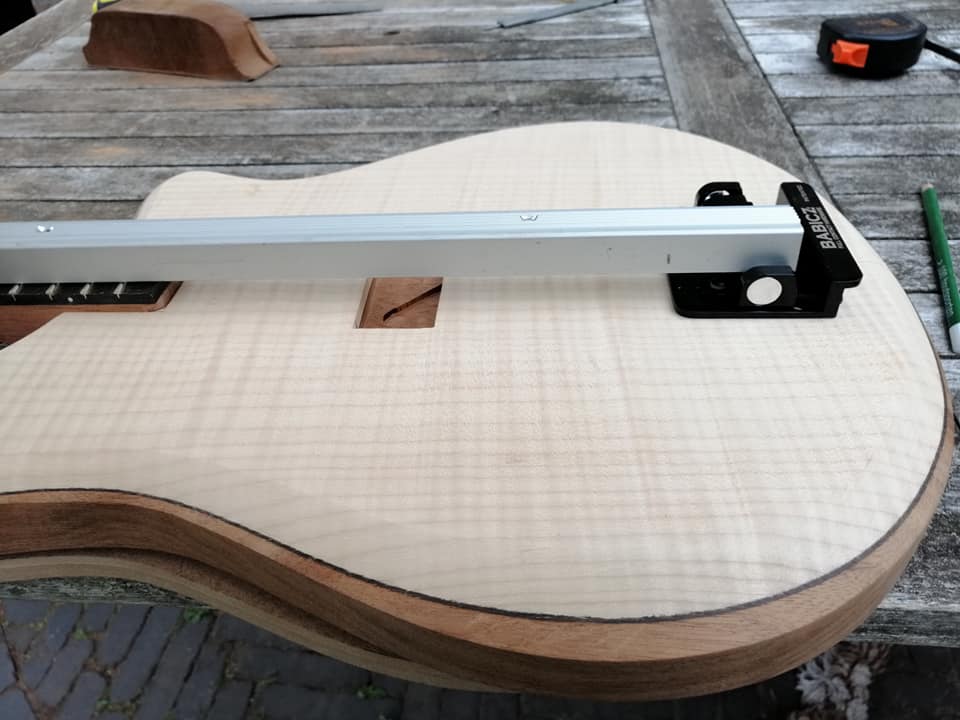
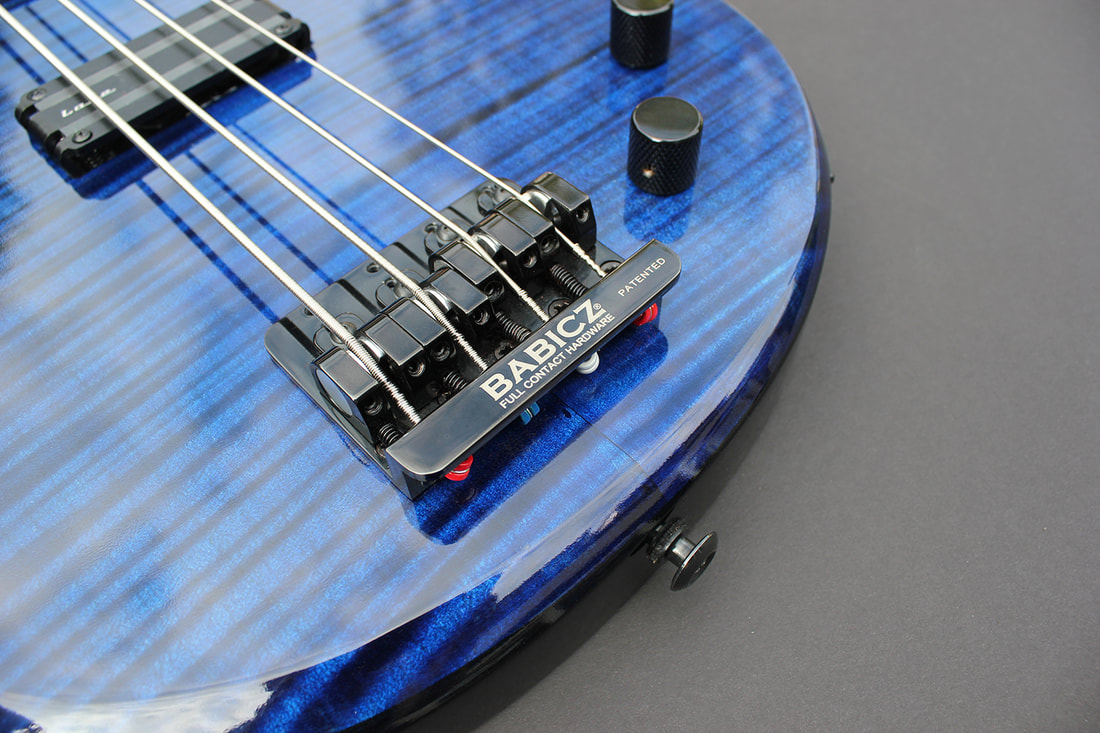
- Babicz FCH4 bridge
- Spokewheel double action trussrod
- Lace Alumitone Bass Bar
- Gotoh GB 707 bass tuners
- Push-pull volume pot for humbucking or single coil
- CTS tone pot

brooks-eb-n-on-black-paper-1500_orig.jpg

brooks-eb-n-body-angle-on-black-1500_orig.jpg

brooks-eb-n-babicz-1500_orig.jpg

brooks-eb-n-truss-rod-cover-1500_orig.jpg

brooks-eb-n-upper-horn-1500_orig.jpg

brooks-eb-n-jack-output-1500_orig.jpg

brooks-eb-n-body-in-black-paper-1500_orig.jpg

brooks-eb-n-neck-joint-back-1500_orig.jpg

brooks-eb-n-head-on-black-1500_1_orig.jpg

brooks-eb-n-inlays-1500_orig.jpg

brooks-eb-n-back-on-black-cloth-1500_orig.jpg

brooks-eb-n-back-neck-1500_orig.jpg

brooks-eb-n-body-on-white-1500_orig.jpg

brooks-eb-n-on-white-1500_orig.jpg
 
I'll post some pics of the build process.
Starting with a pic of the quarter sawn neck blank that I cut into four pieces on the saw table of a friend of mine.
mahonie-balk-kwartiers_orig.jpg


Next is three pieces of that neck blank with two strips of American walnut veneer in between that are going to make a five ply
alle-vijf-delen_orig.jpg


Glueing them together. Lots of clamps
hals-in-de-lijmklemmen_orig.jpg


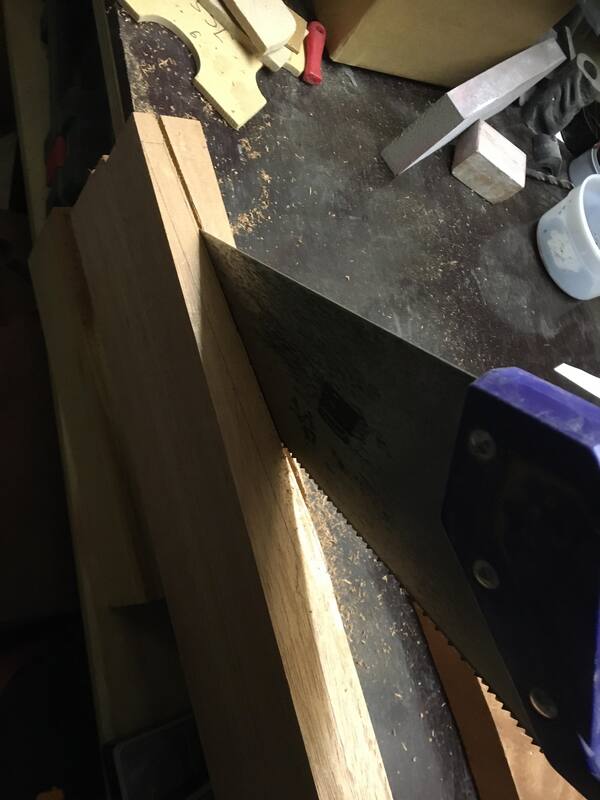
Used an old fashioned saw to cut the headstock angle
cutting-headstock-angle_orig.jpg


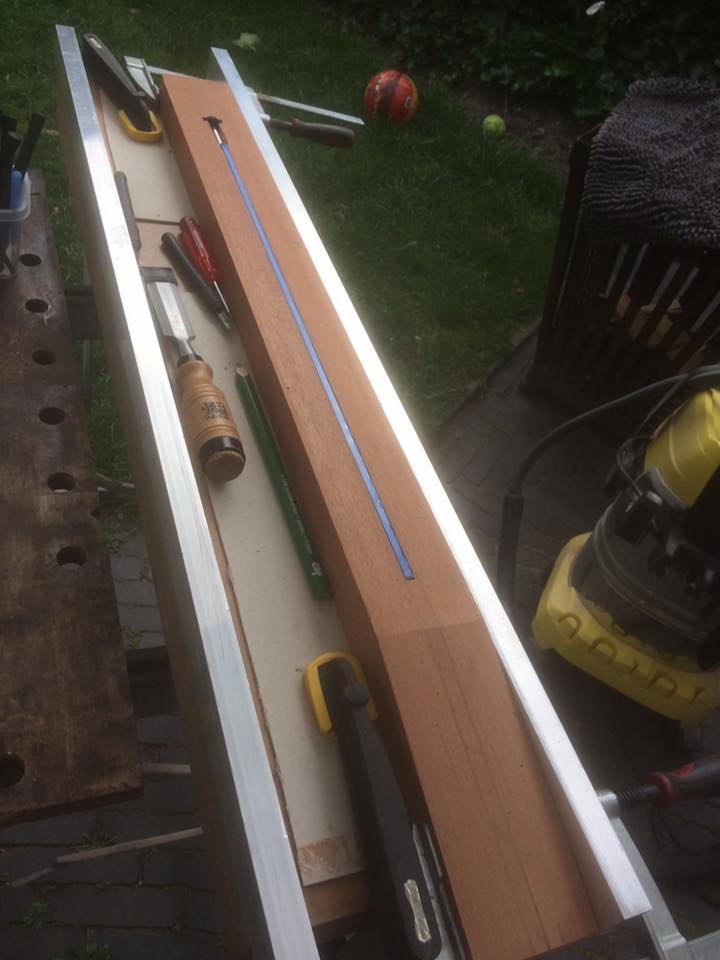
Routed the truss rod channel
trussrod-channel_orig.jpg


And chiseled the shape of the spokewheel
chiseled-shape-of-the-spokewheel_orig.jpg
 
  • Like
Reactions: Dadagoboi and Koog
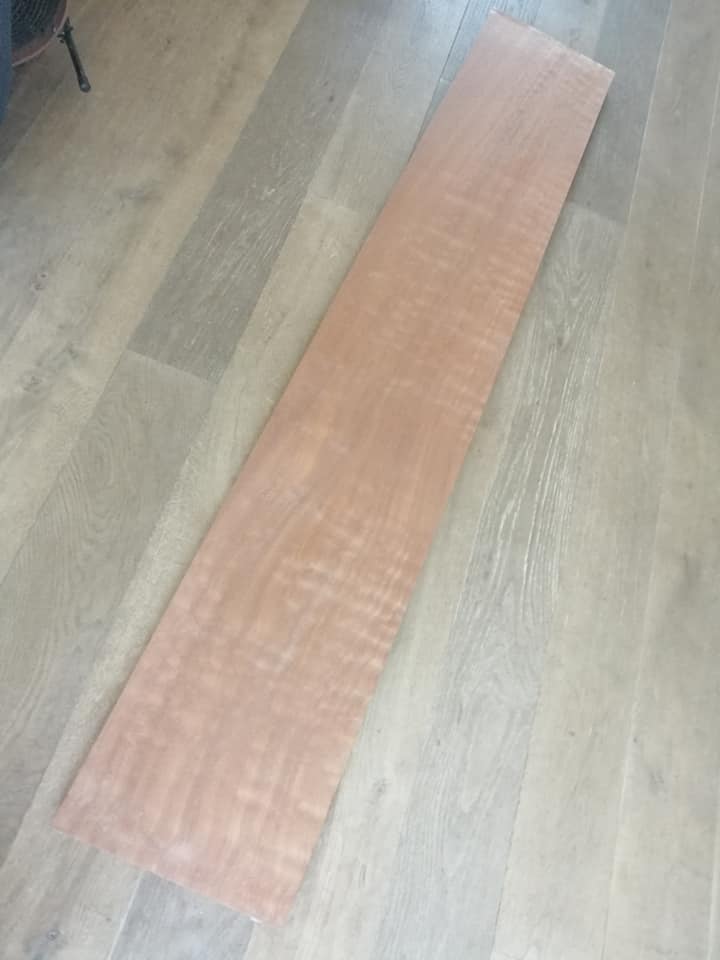
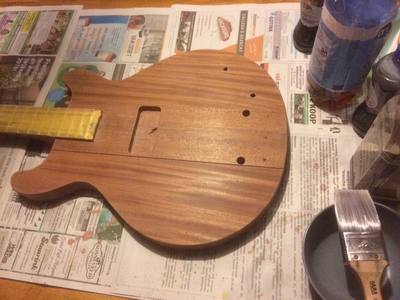
Found a huge blank of beautifully figured mahogany. Can take at least four bass bodies out if this one.
huge-blank-for-body_orig.jpg


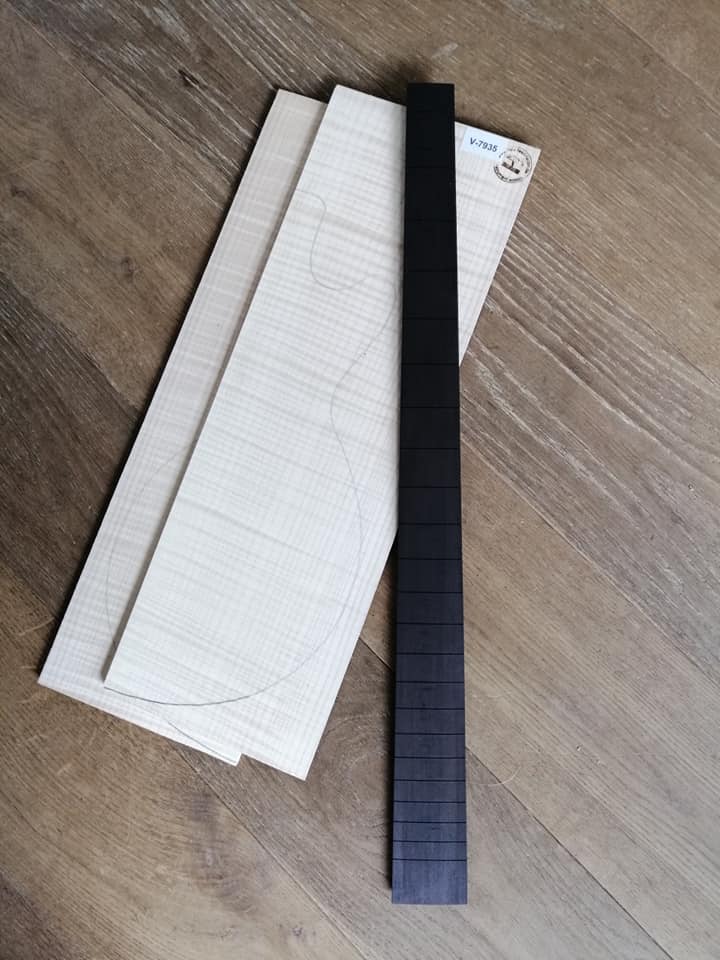
And found a nice bookmatched set of flamed maple for the top. Plus a pre slotted ebony fretboard
ebony-fretboard_orig.jpg


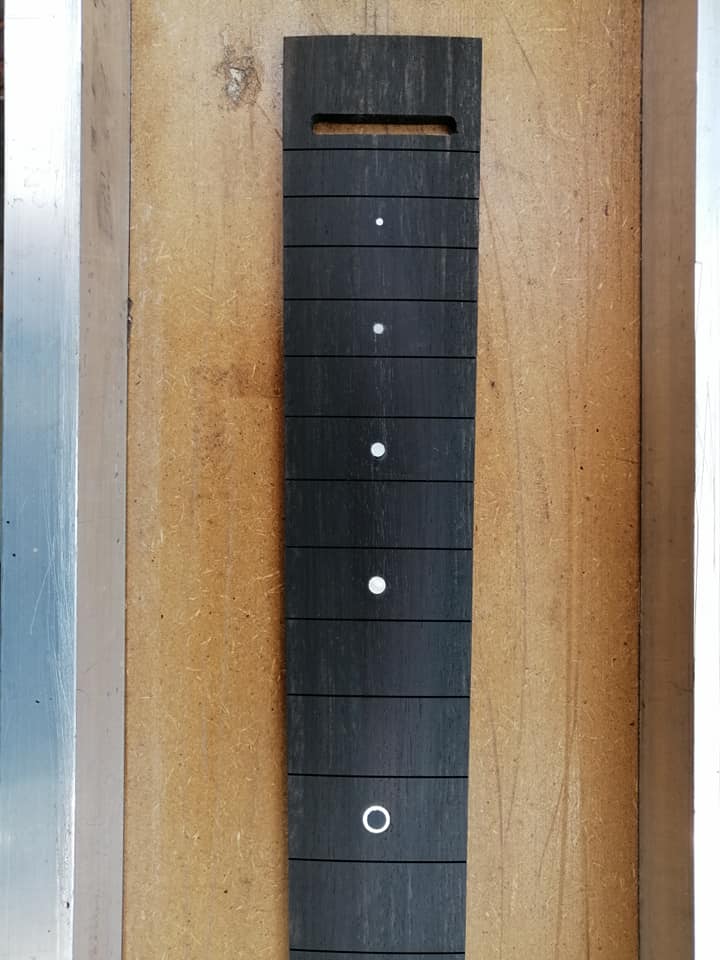
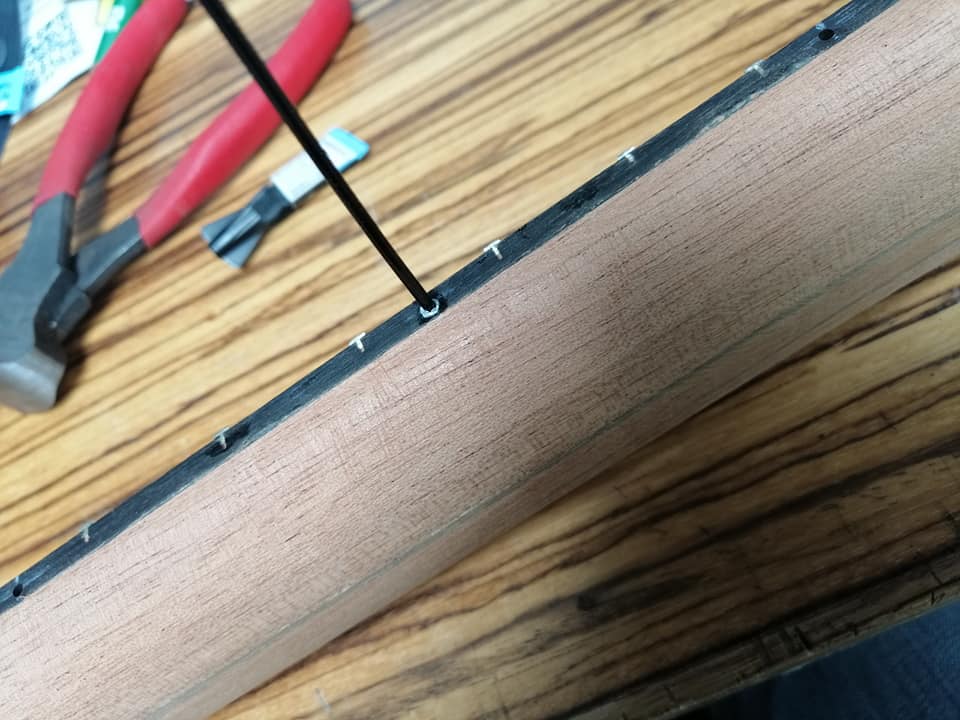
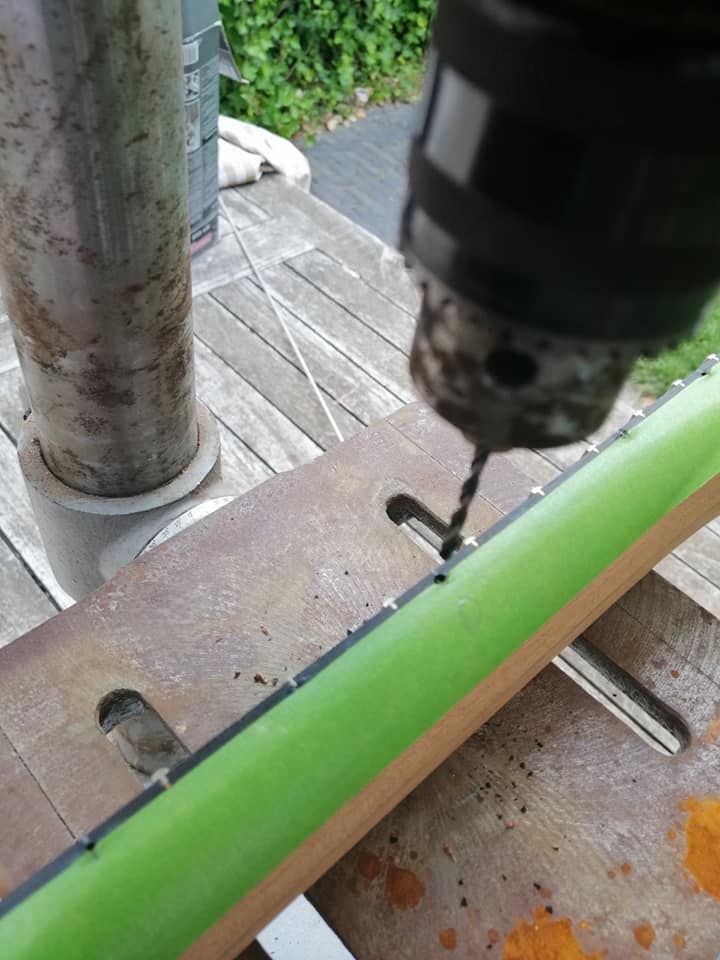
Drilled holes for the position markers and glued them in
glueing-in-position-markers_orig.jpg


Cut a short piece off an aluminium tube for the 12th fret position marker
gleuing-in-position-markers2_orig.jpg


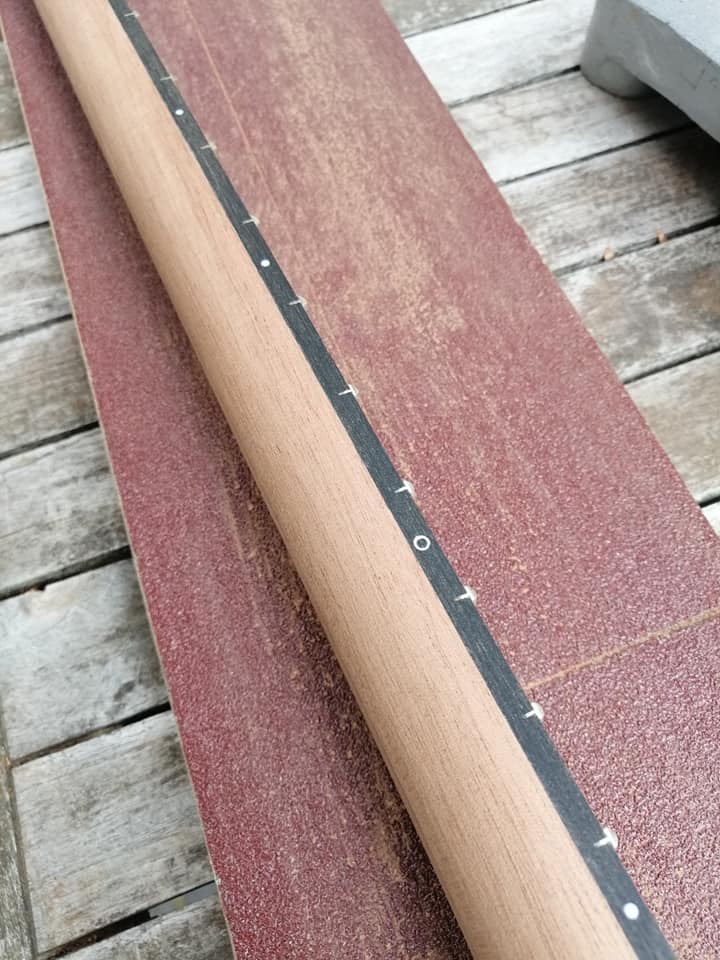
Sanded it all flush to the right radius
sanding-the-radius-of-the-fretboard_orig.jpg

position-markers-look-good_orig.jpg


Sawed the fret slots to the right width and depth
sawing-the-fret-slots-to-the-correct-width-and-depth_orig.jpg


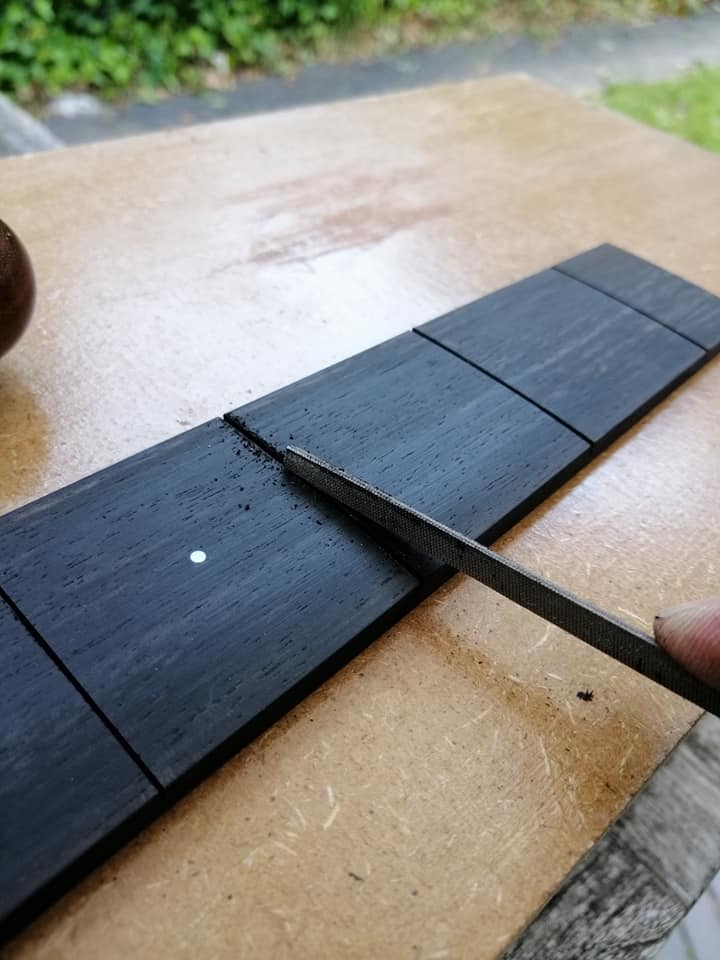
Filed a tiny angle to the slots to make the frets fit in nicely
filing-a-tiny-angle_orig.jpg


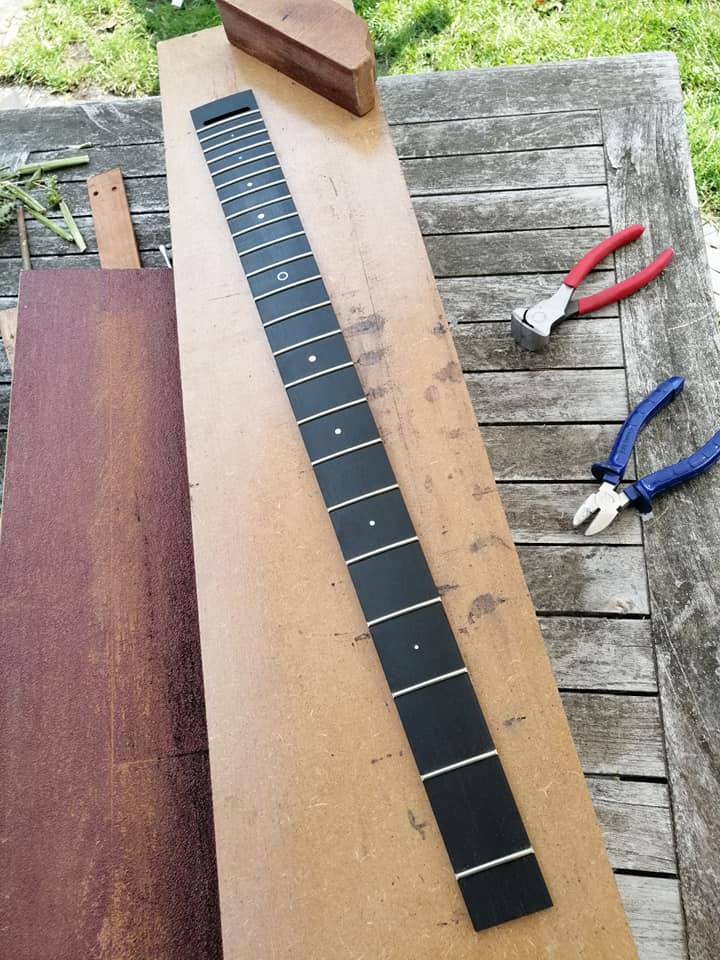
Cut the frets and hammered them in
cutting-the-frets_orig.jpg

frets-ready-to-be-hammered-in_orig.jpg

fretboard-ready_orig.jpg
 
Glued the fret board onto the rough shape of the neck
glueing-the-fretboard-on_orig.jpg


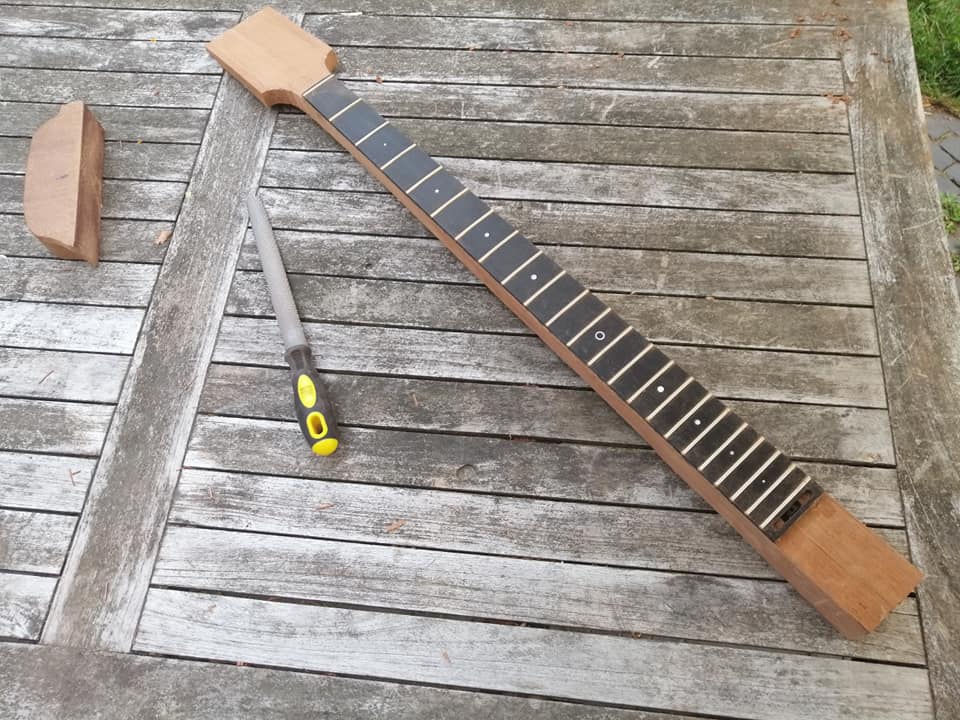
Beginning to look like a proper neck
fretboard-in-position_orig.jpg


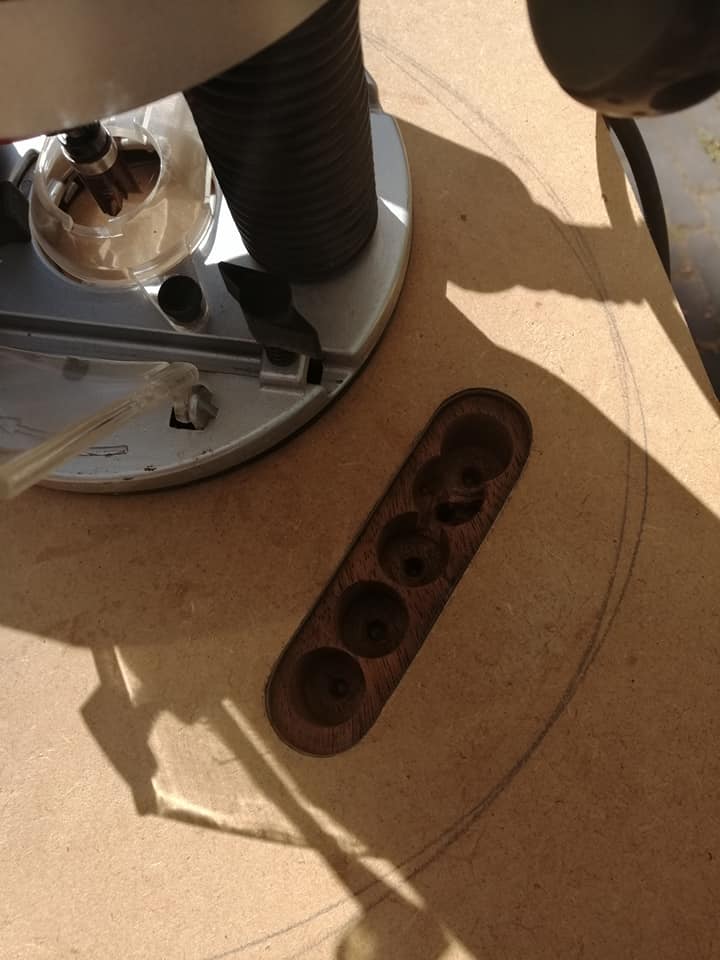
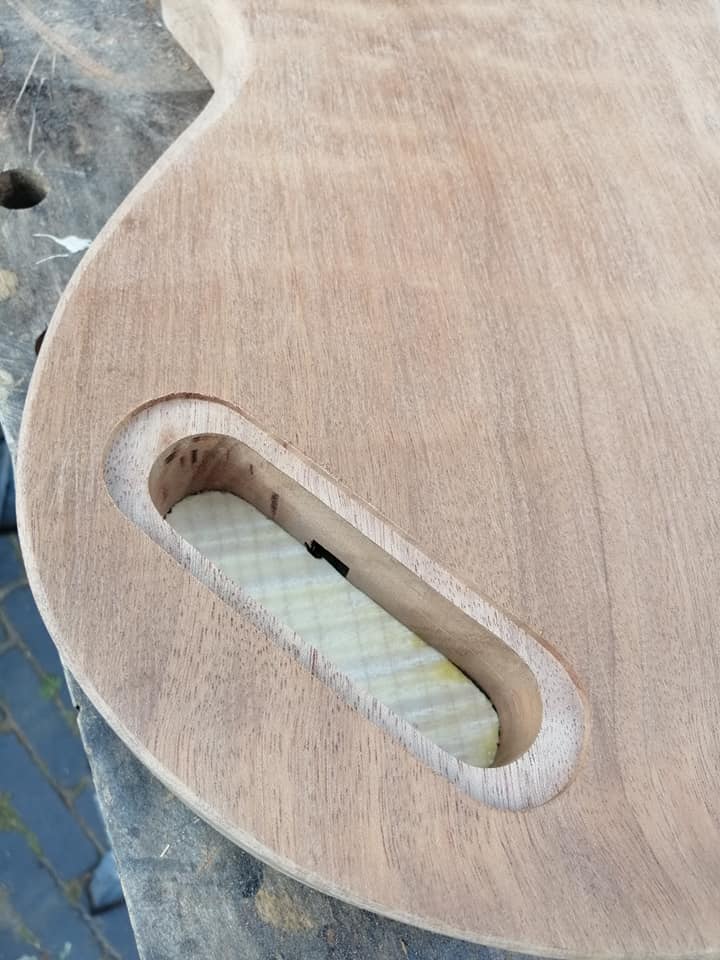
Working on the control cavity
pre-driled-for-control-cavity_orig.jpg


And routed the channel for the pickup wires
routed-channel-for-pickup-wire_orig.jpg


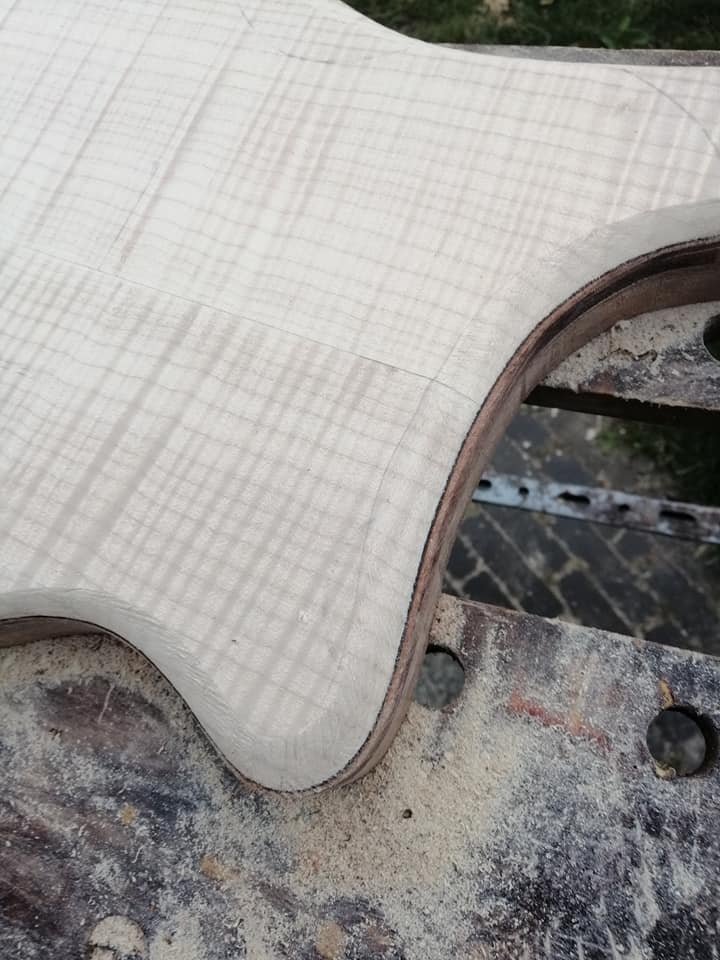
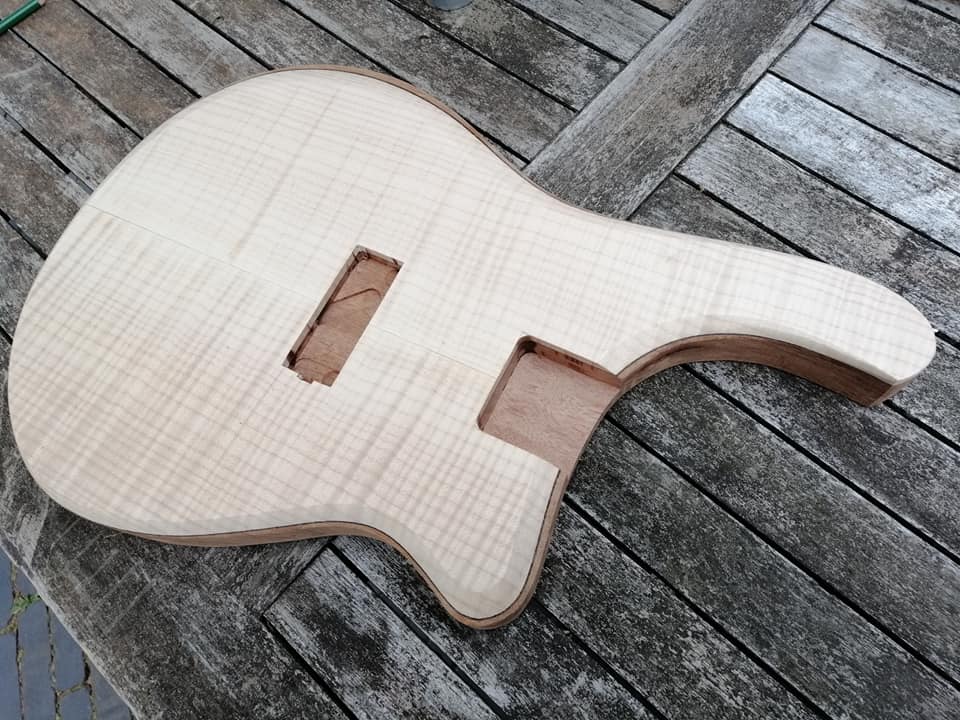
Next I glued a thin veneer of smoked oak as a contrasting layer in between the mahogany and the maple
glued-a-thin-veneer-of-smoked-oak_orig.jpg


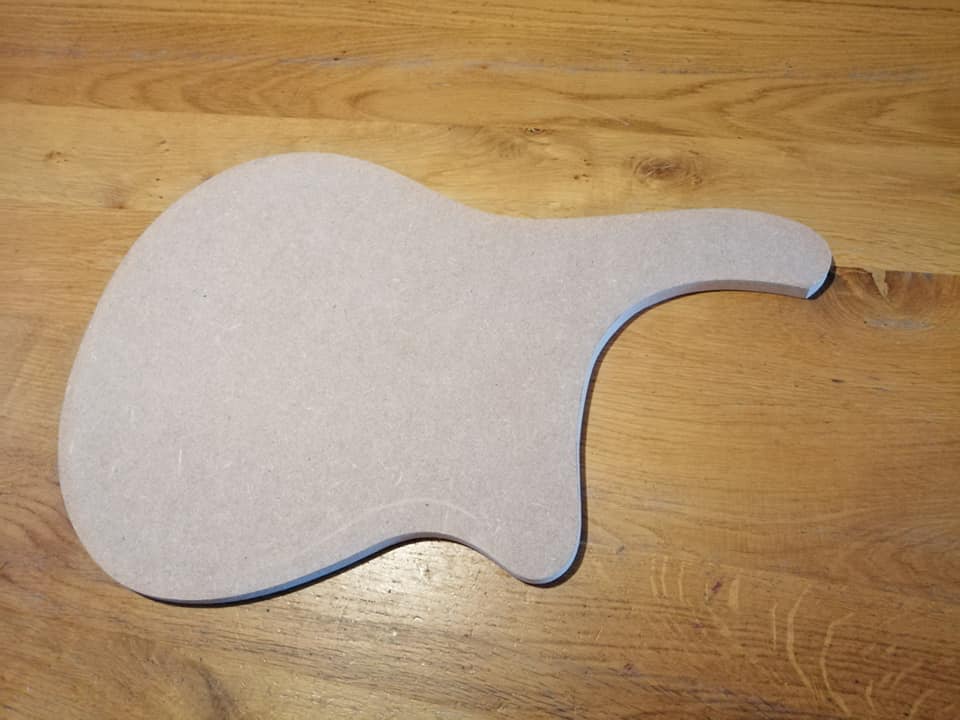
Made a template out of MDF for the body shape
template-for-the-body_orig.jpg


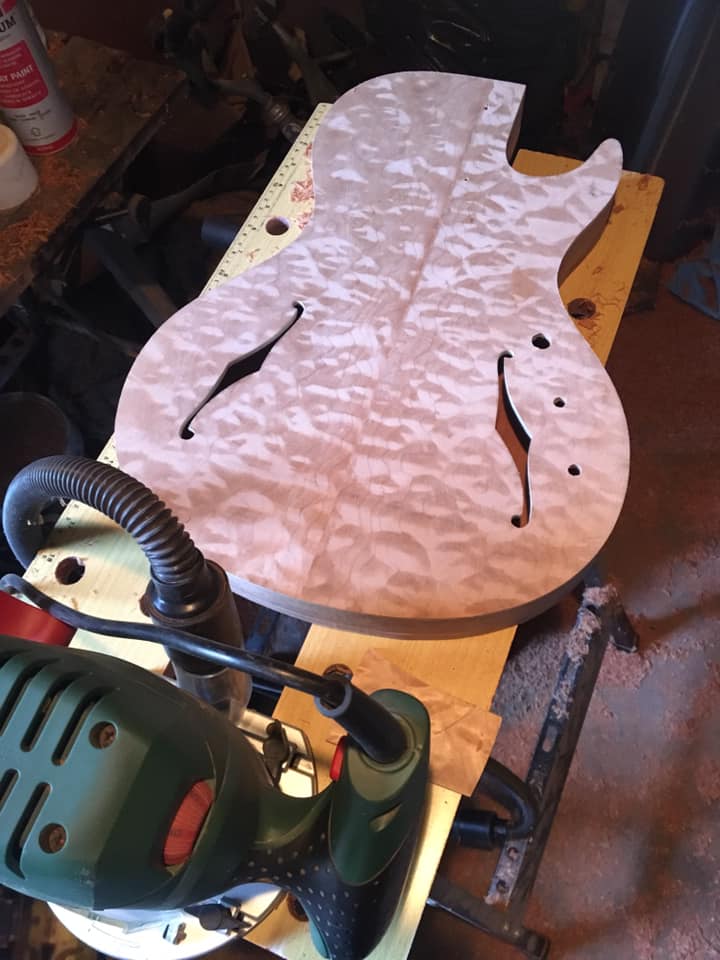
Glued the bookmatched set of flamed maple onto the body
lots-of-clamps_orig.jpg


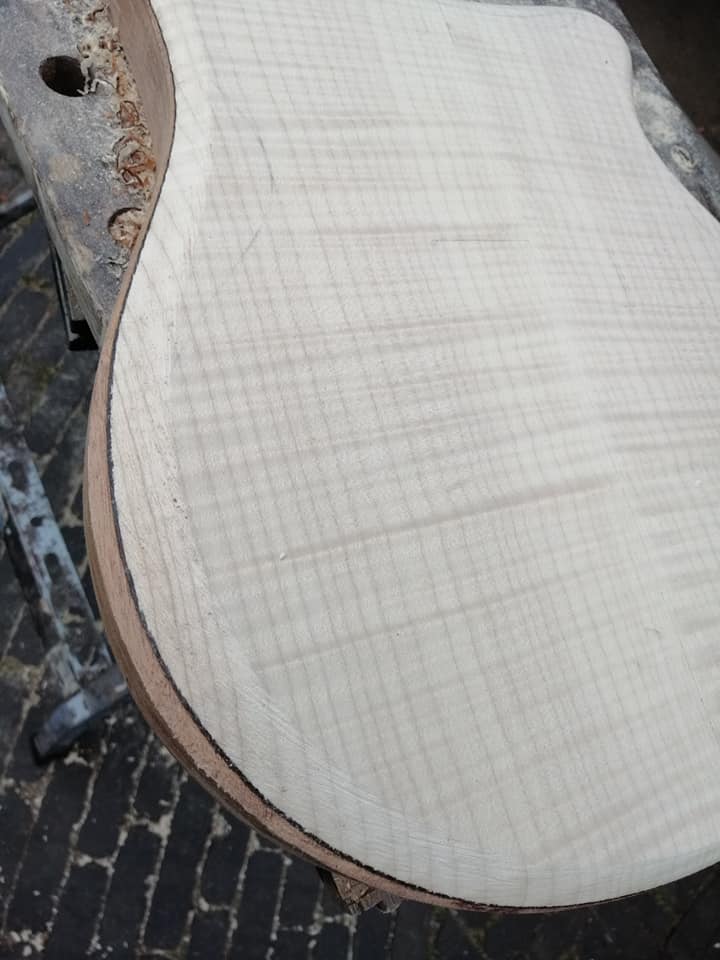
Routed the shape of the body
routed-the-body-shape_orig.jpg

thin-layer-of-smoked-oak-veneer_orig.jpg
 
Last edited:
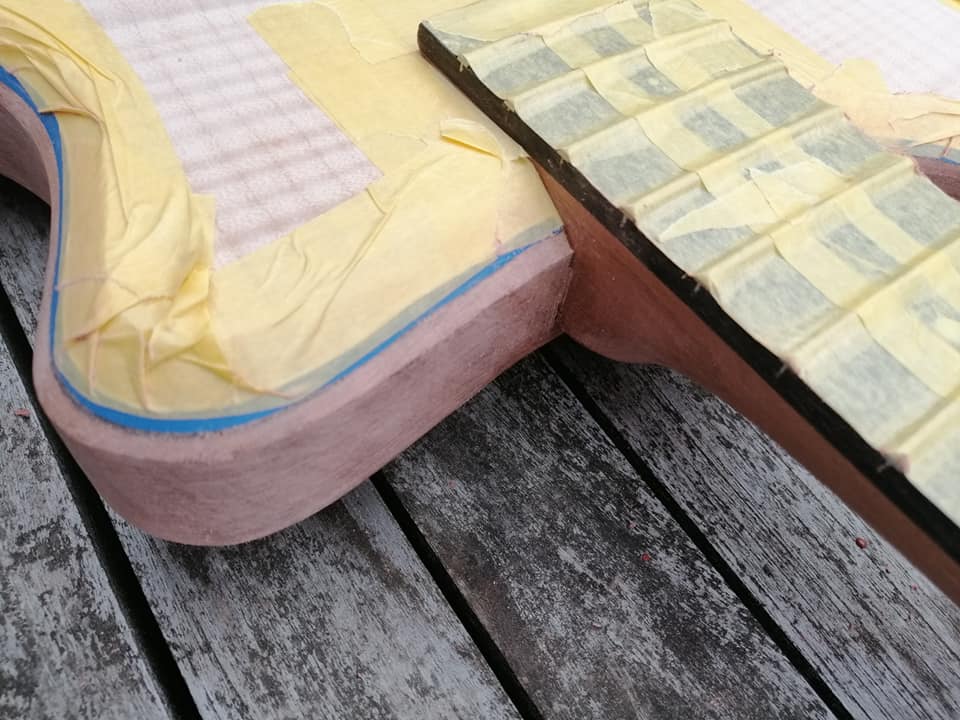
Taped off the body to do some pore filling on the mahogany
pores-filled-2_orig.jpg

pores-filled_3.jpg

headstock-pores-filled_orig.jpg


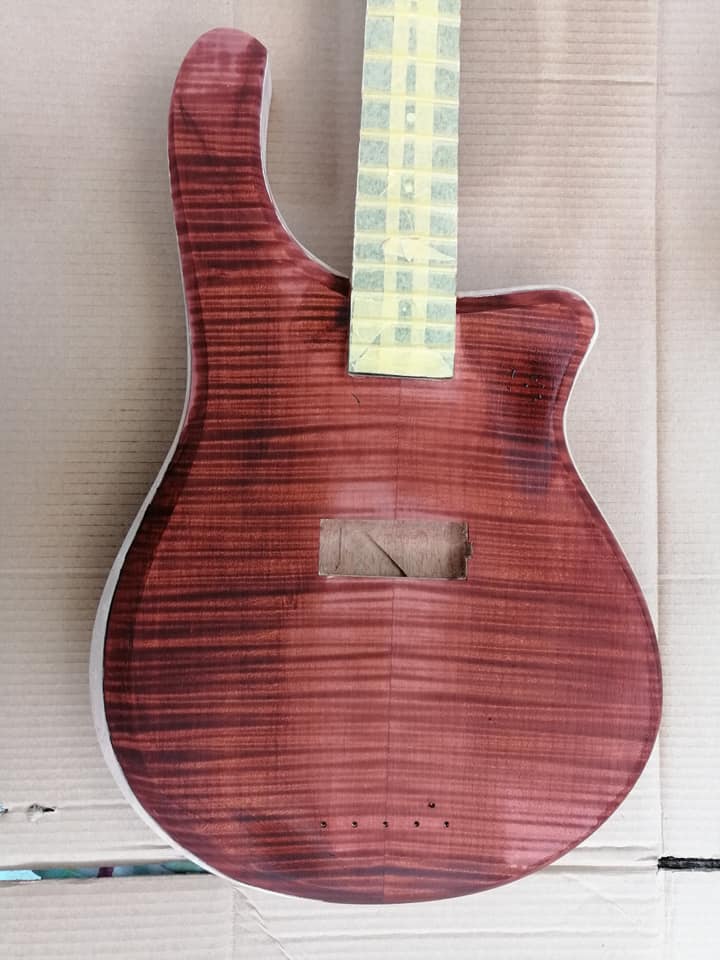
Next I stained the top a light brown colour to make the flame pop
contrast-color_orig.jpg


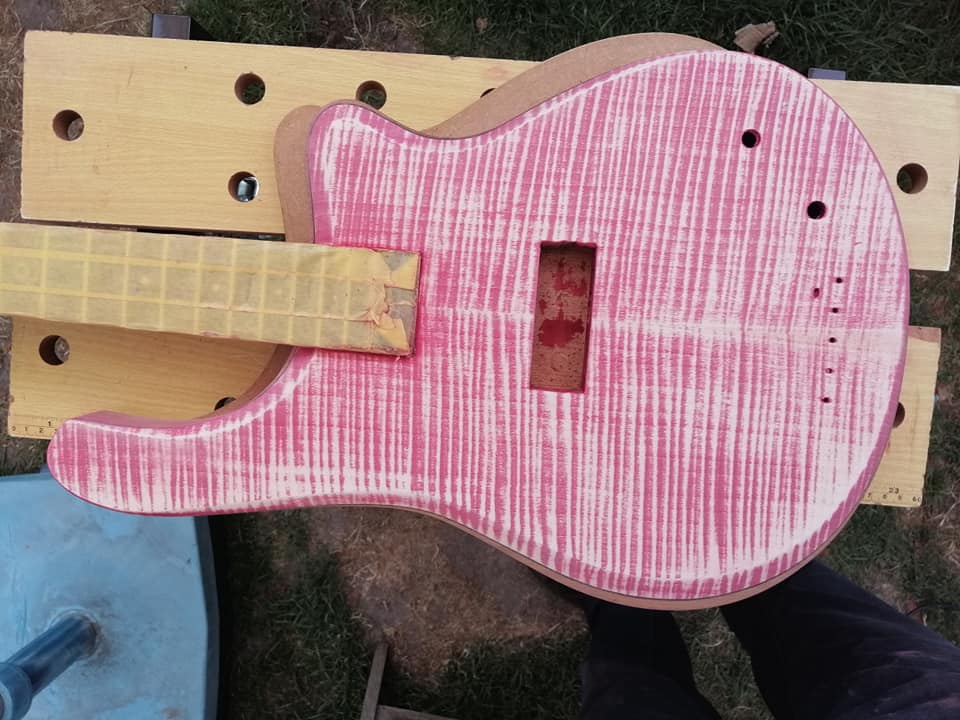
Sanded it back to get a bit of contrast
sanded-back_2_orig.jpg


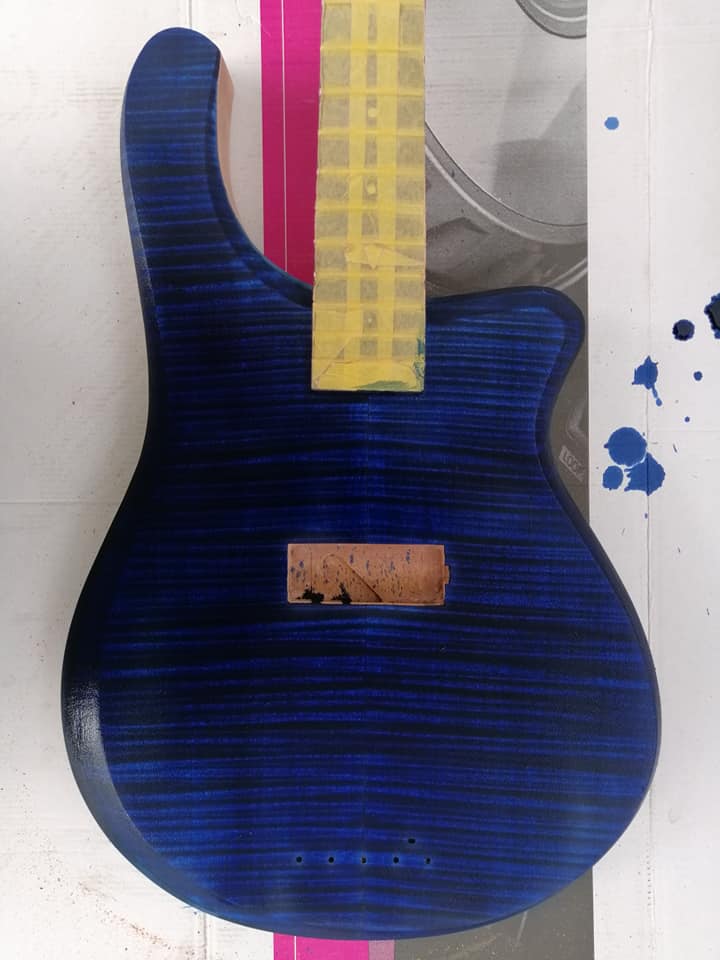
After much deliberation I chose blue (other options were bright red and naturel)
blue-front_orig.jpg


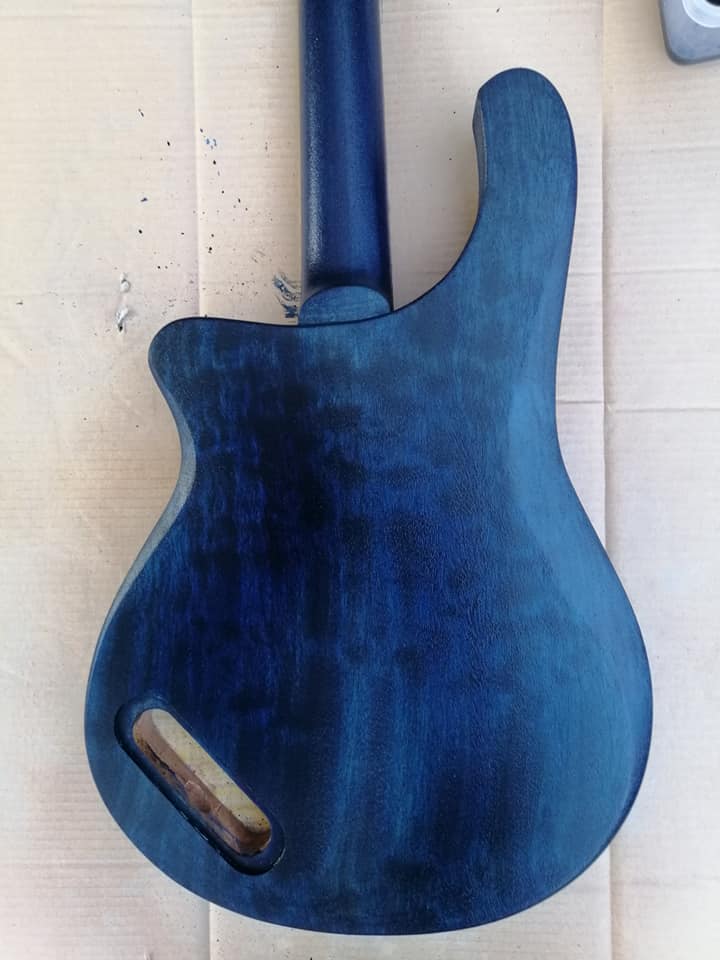
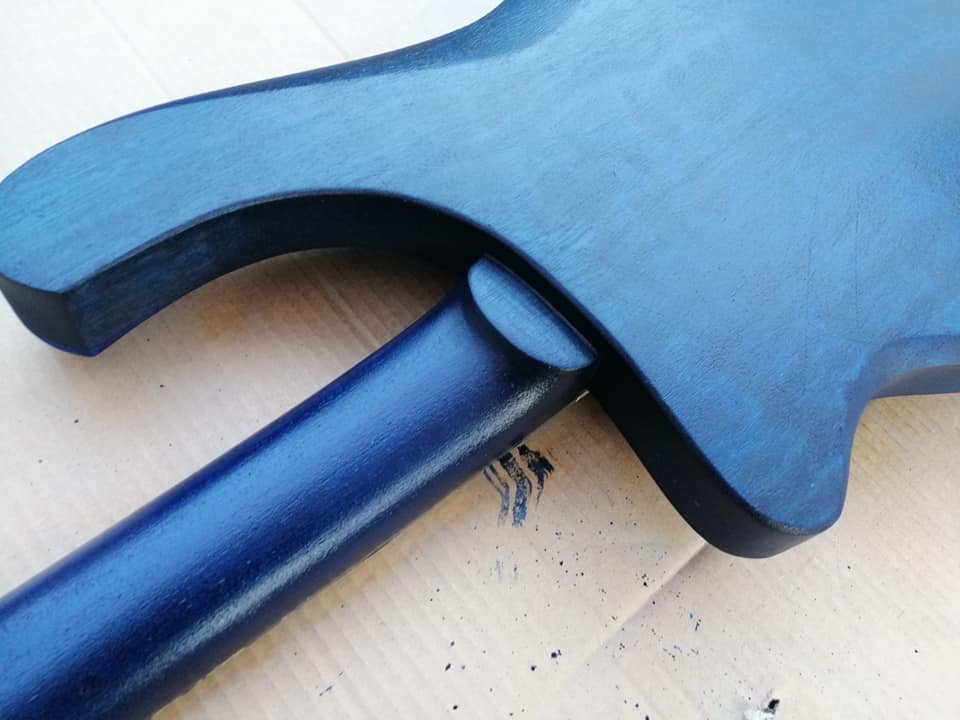
Stained the back the same colour.
backside-blue_orig.jpg

backside-blue2_orig.jpg


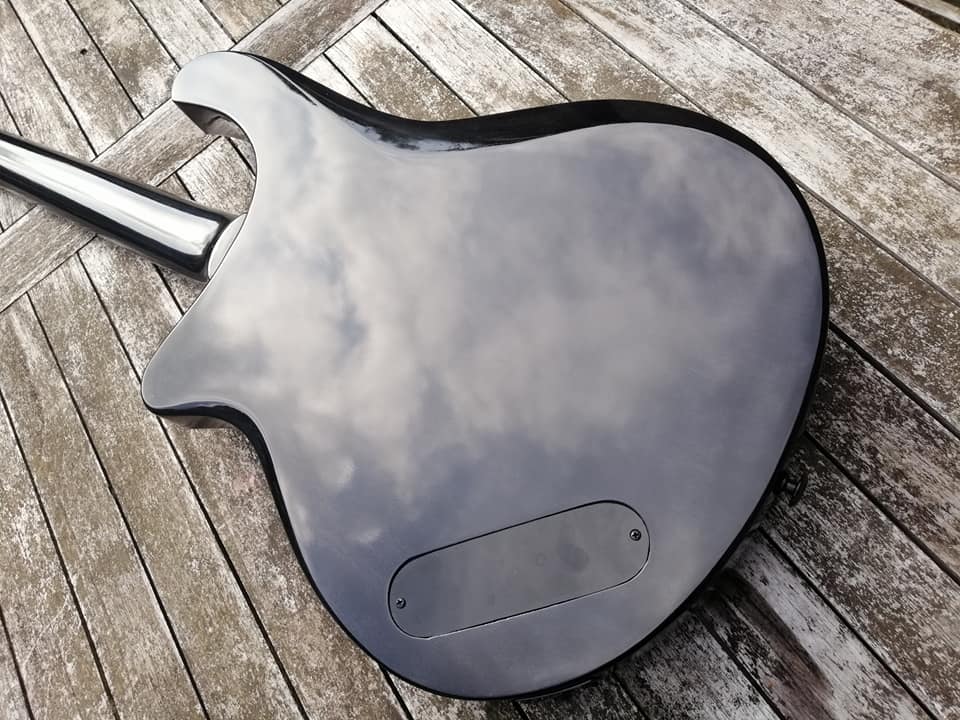
But oddly enough the colour simply disappeared after several layers of clear coat...
Looks almost black now.

almost-ready8_orig.jpg


Top after a few coats of clear lacquer
after-frist-few-coats-of-clear_orig.jpg