Would never had thought of that. Looking online at the usual suspects, knurled saddles are about 6-8 quid each here in the UK, unless I'm looking in the wrong places. It's actually cheaper to buy a new bridge with knurled, threaded or ridged saddles already fitted from Thomman, WD music or a couple of other places and then just mount in the existing (incorrect) screw holes and adjust accordingly. Been playing bass for twenty plus years and never played a bass with knurled or ridged saddles before! Going to give that a go.

Enjoy the benefits of a premium membership!
Upgrade Account
-
TalkBass has been independent since 1998. Add your voice.
Create a free account to reply to discussions, view embedded media, and browse with fewer display ads.
Join free Log in
Want zero display ads or expanded classifieds tools? Compare plans.
You are using an out of date browser. It may not display this or other websites correctly.
You should upgrade or use an alternative browser.
You should upgrade or use an alternative browser.
POOR BRIDGE-NECK ALIGNMENT ?
- Thread starter Sean B
- Start date
More options
Who Replied?

Yes @Sean B, if you've solved most of the misalignment with the neck pocket adjustment, these saddles might do the rest of the work.
Or file new grooves in the saddles he already has.

You could change those saddles, or better, switch to a full Fender '50s bridge with those saddles.
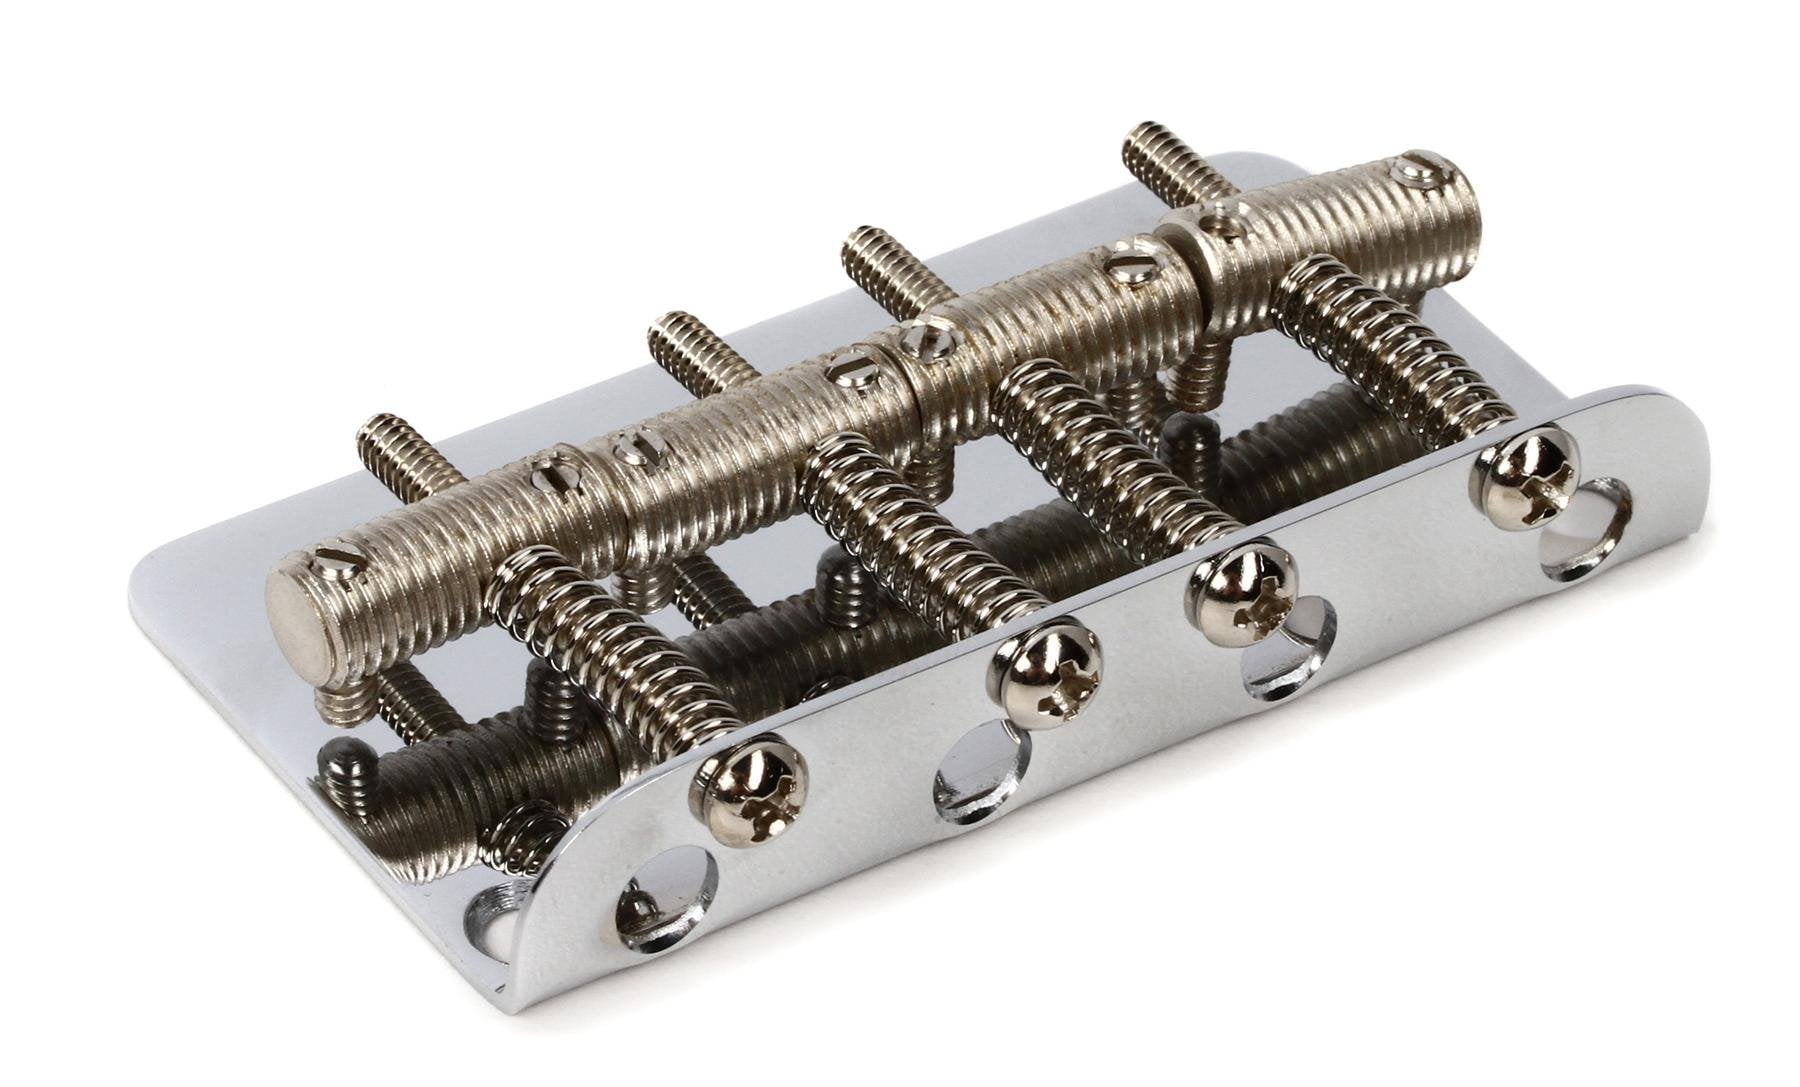
Regardless, you still need to correct the positioning of the bridge base plate.
I'd remove the bridge, enlarge the existing mislocated bride screw holes in the body with a drill, back-fill those holes with correctly sized wood dowels and glue, and trim off/level the tops of the dowels to flush on the deck.
With masking tape or blue tape lay out/mark off the correctly centered new location for the bridge plate. Position the bridge base plate so the distance from the zero position at the back of the nut back to the center line of the base plate is 34". Mark off the new center point, on-body-positions for the five new bridge mounting screw holes with a marker on tape applied to the body, or even better with a transfer punch. Drill correctly sized pilot holes. Mount bridge in correct new position.
Set up bridge, neck relief, string action, and intonation.
Paint touchup where exposed dowel plug or plugs in body show optional.
Regardless, you still need to correct the positioning of the bridge base plate.
I'd remove the bridge, enlarge the existing mislocated bride screw holes in the body with a drill, back-fill those holes with correctly sized wood dowels and glue, and trim off/level the tops of the dowels to flush on the deck.
With masking tape or blue tape lay out/mark off the correctly centered new location for the bridge plate. Position the bridge base plate so the distance from the zero position at the back of the nut back to the center line of the base plate is 34". Mark off the new center point, on-body-positions for the five new bridge mounting screw holes with a marker on tape applied to the body, or even better with a transfer punch. Drill correctly sized pilot holes. Mount bridge in correct new position.
Set up bridge, neck relief, string action, and intonation.
Paint touchup where exposed dowel plug or plugs in body show optional.
Last edited:

You could change those saddles, or better, switch to a full Fender '50s bridge with those saddles.
View attachment 4408593
Regardless, you still need to correct the positioning of the bridge base plate.
I'd remove the bridge, enlarge the existing mislocated bride screw holes in the body with a drill, back-fill those holes with correctly sized wood dowels and glue, and trim off/level the tops of the dowels to flush on the deck.
With masking tape or blue tape lay out/mark off the correctly centered new location for the bridge plate. Position the bridge base plate so the distance from the zero position at the back of the nut back to the center line of the base plate is 34". Mark off the new center point, on-body-positions for the five new bridge mounting screw holes with a marker on tape applied to the body, or even better with a transfer punch. Drill correctly sized pilot holes. Mount bridge in correct new position.
Set up bridge, neck relief, string action, and intonation.
Paint touchup where exposed dowel plug or plugs in body show optional.
Exactly. Neck tugging or slotted saddles won’t fix this.

Although these threaded saddles look so promising, in reality you don't have a lot of adjustment: either the string will pop-out from threaded groove or entire saddle will slip on that plate it you try to off-center the string too much. In the end you have 4-5 grooves in the center of the saddle for adjustment, then it becomes very unstable.
I'm going to do what @Grinderman suggested and take it from there. Will probably keep the original bridge and see how it goes. I'm ok with drilling, set up, etc, just not really keen on filling holes, but I have someone who can help me do that properly. I will probably hold on to this instrument for a good few years, neck feels good to play, I'm used to it, etc, so may as well get it in the correct spot with the standard 34" fetch from back of nut to bridge plate centre. Thanks for all the help.
Although these threaded saddles look so promising, in reality you don't have a lot of adjustment: either the string will pop-out from threaded groove or entire saddle will slip on that plate it you try to off-center the string too much. In the end you have 4-5 grooves in the center of the saddle for adjustment, then it becomes very unstable.
This is exactly right. I know because I have a P and a J bass, both with this type of bridge.
Treaded saddles are not a solution for misalignment, especially the extreme degree of misalignment in this case.
I used 1/8" birch dowel for mine. I sanded them down to fit, cut them a little short, put glue in the hole with a toothpick, and pushed the dowel in until flush.. If I had to do it again, I would have drilled the holes out to 1/8" first and skip the sanding. The only hang up I had is that I put too much glue in one hole and couldn't push the dowel all the way in. Only a little glue is needed - maybe a couple of drops smeared around the hole. Good luck!
Thanks !I used 1/8" birch dowel for mine. I sanded them down to fit, cut them a little short, put glue in the hole with a toothpick, and pushed the dowel in until flush.. If I had to do it again, I would have drilled the holes out to 1/8" first and skip the sanding. The only hang up I had is that I put too much glue in one hole and couldn't push the dowel all the way in. Only a little glue is needed - maybe a couple of drops smeared around the hole. Good luck!

This is an authentic Squier? Wow! Yeah, those holes need to be doweled and the bridge relocated properly- you can use dental floss or thread in place of the E & G strings as a visual aid in getting it there


Welp.. there's your problem lol. Wow, that was really bad QC/QA for the factory to let that slip out. As others have suggested, I would do the reposition. Here's a video from DWOFS (language warning) that fixes this problem (and others) on another bass.

Welp.. there's your problem lol. Wow, that was really bad QC/QA for the factory to let that slip out. As others have suggested, I would do the reposition. Here's a video from DWOFS (language warning) that fixes this problem (and others) on another bass.
First of all Dave shouldn’t touch a paying customer’s guitar.
secondly, he’s using the shell of the pickup, not the pickup route as a reference point. This displays insanity: only the insane would use something that itself likely was installed at the factory by eye.
Third, he wisely doesn’t show a top on angle when he’s done his butchery because abuse in this screen cap you can clearly see that the E string is not centered between the poles and the G string is at the edge of the neck.
IMO, his butchery fixed nothing.
My E string is not centered between the poles and the G string is at the edge of the neck... Eeek! 
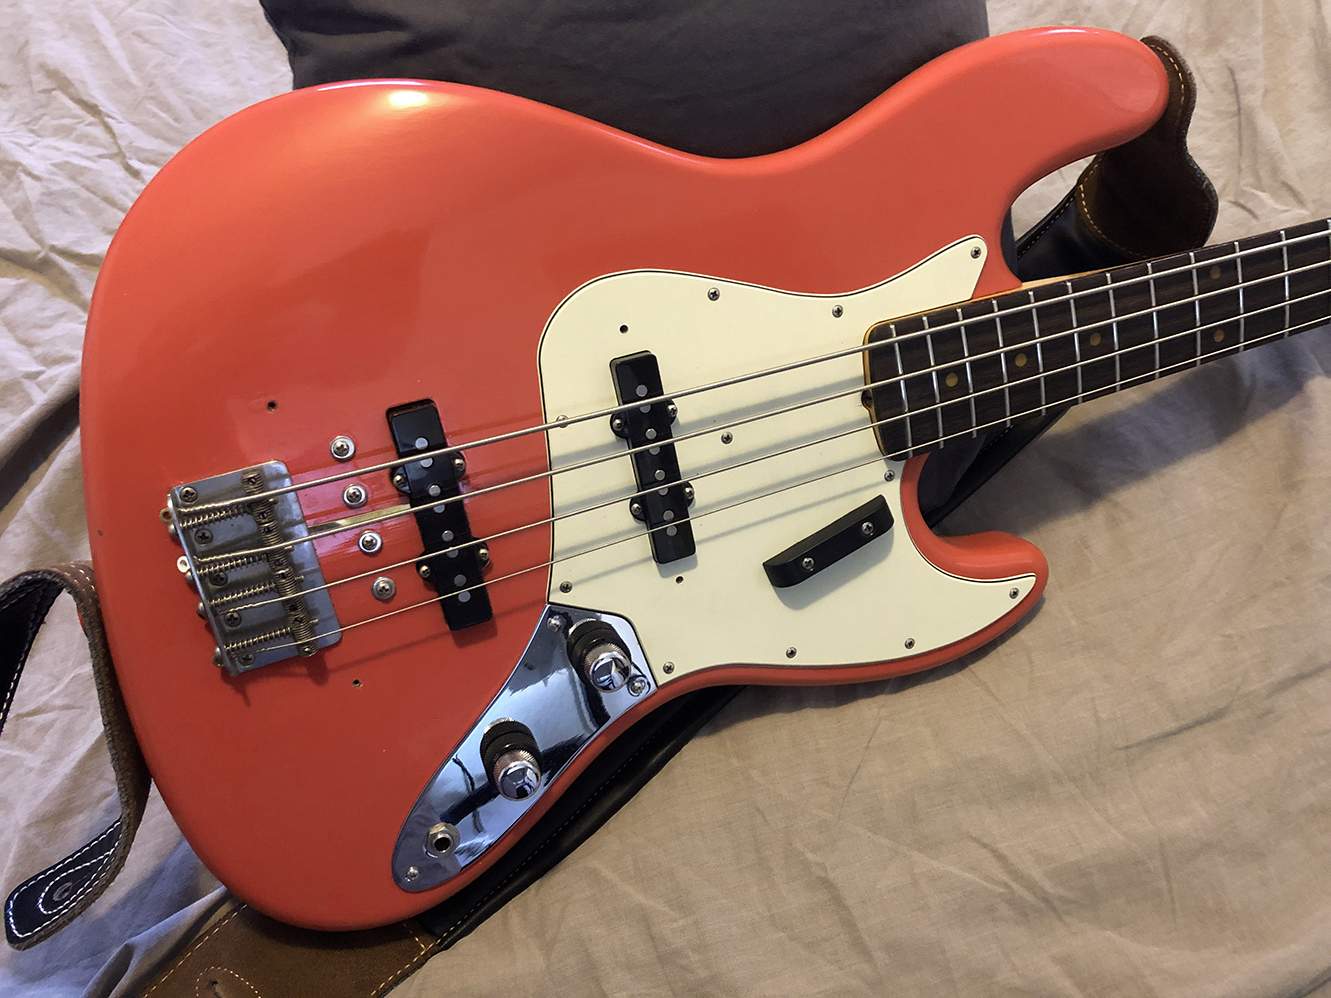


Funny, I was just about to post about the same issue on a Squier body/Allparts neck partscaster I’m setting up that looks very similar to yours. I actually have the Hipshot that another poster was talking about. I can get the string spacing to work if I max the G saddle to the left and I’m tempted to leave it like that…but my ocd won’t let me, so I’m probably gonna be plugging and redrilling in the next day or two.
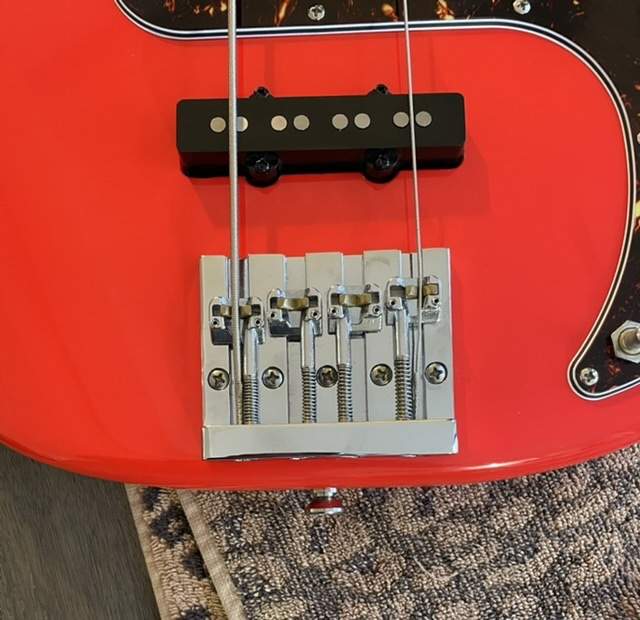
String alignment over the pickup isn't really as critical as alignment over the neck - if the distance between the string and the edge of the neck is correct, moving the bridge in order to correct the pickup alignment will throw that off. That's when the "tug the neck" trick might actually make sense, to help you get everything correct.
Your bridge looks pretty well centered.Funny, I was just about to post about the same issue on a Squier body/Allparts neck partscaster I’m setting up that looks very similar to yours. I actually have the Hipshot that another poster was talking about. I can get the string spacing to work if I max the G saddle to the left and I’m tempted to leave it like that…but my ocd won’t let me, so I’m probably gonna be plugging and redrilling in the next day or two.
View attachment 4412335
In my case, it’s to get the strings an equal distance from the edges of the fretboardString alignment over the pickup isn't really as critical as alignment over the neck - if the distance between the string and the edge of the neck is correct, moving the bridge in order to correct the pickup alignment will throw that off. That's when the "tug the neck" trick might actually make sense, to help you get everything correct.


