

My man @handofseven and I go way back on the TB boards. We've always had great times talkin' bass and even shared a few instruments over the years. Back in the day, when I started building (a whopping 3 years ago... feels like AGES AGO! Blame it on 2020, I guess), he said one day, I should build a Ric for him.
Well that day has come! He and I started putting pens to paper, noses to the grindstone, dust in the wind, etc, etc. And it's time for this to come to fruition.
Doing a Ric build seems like a rite of passage here. And I did a mash-up with one a couple years back. But this will be my first official, actual-shaped build of one, with a few twists along the way. The end result will (hopefully) be unmistakable though.
So without further ado, here's the game plan:
THUNDER-BACKER - A Rickenbacker shaped bass with some Thunderbird soul
- All mahogany neck thru construction, raised center area
- 34" scale Richlite board with 0 fret and glowing side inlays
- Actual Ric new-style bridge (rollers, better ability to intonate)
- Thunderbucker pickups
- I get to plan a fun wiring scheme
And before I go any further, I gotta thank @Gilmourisgod for his help and inspiration here. He was kind enough to send me the full-size PDF of his builds (which are insanely good, if you don't already know), so I could properly nail the shape for the neck and body templates.
That is where this all begins, TEMPLATES. A quick trip to Kinko's got me full-scale printouts to work with:
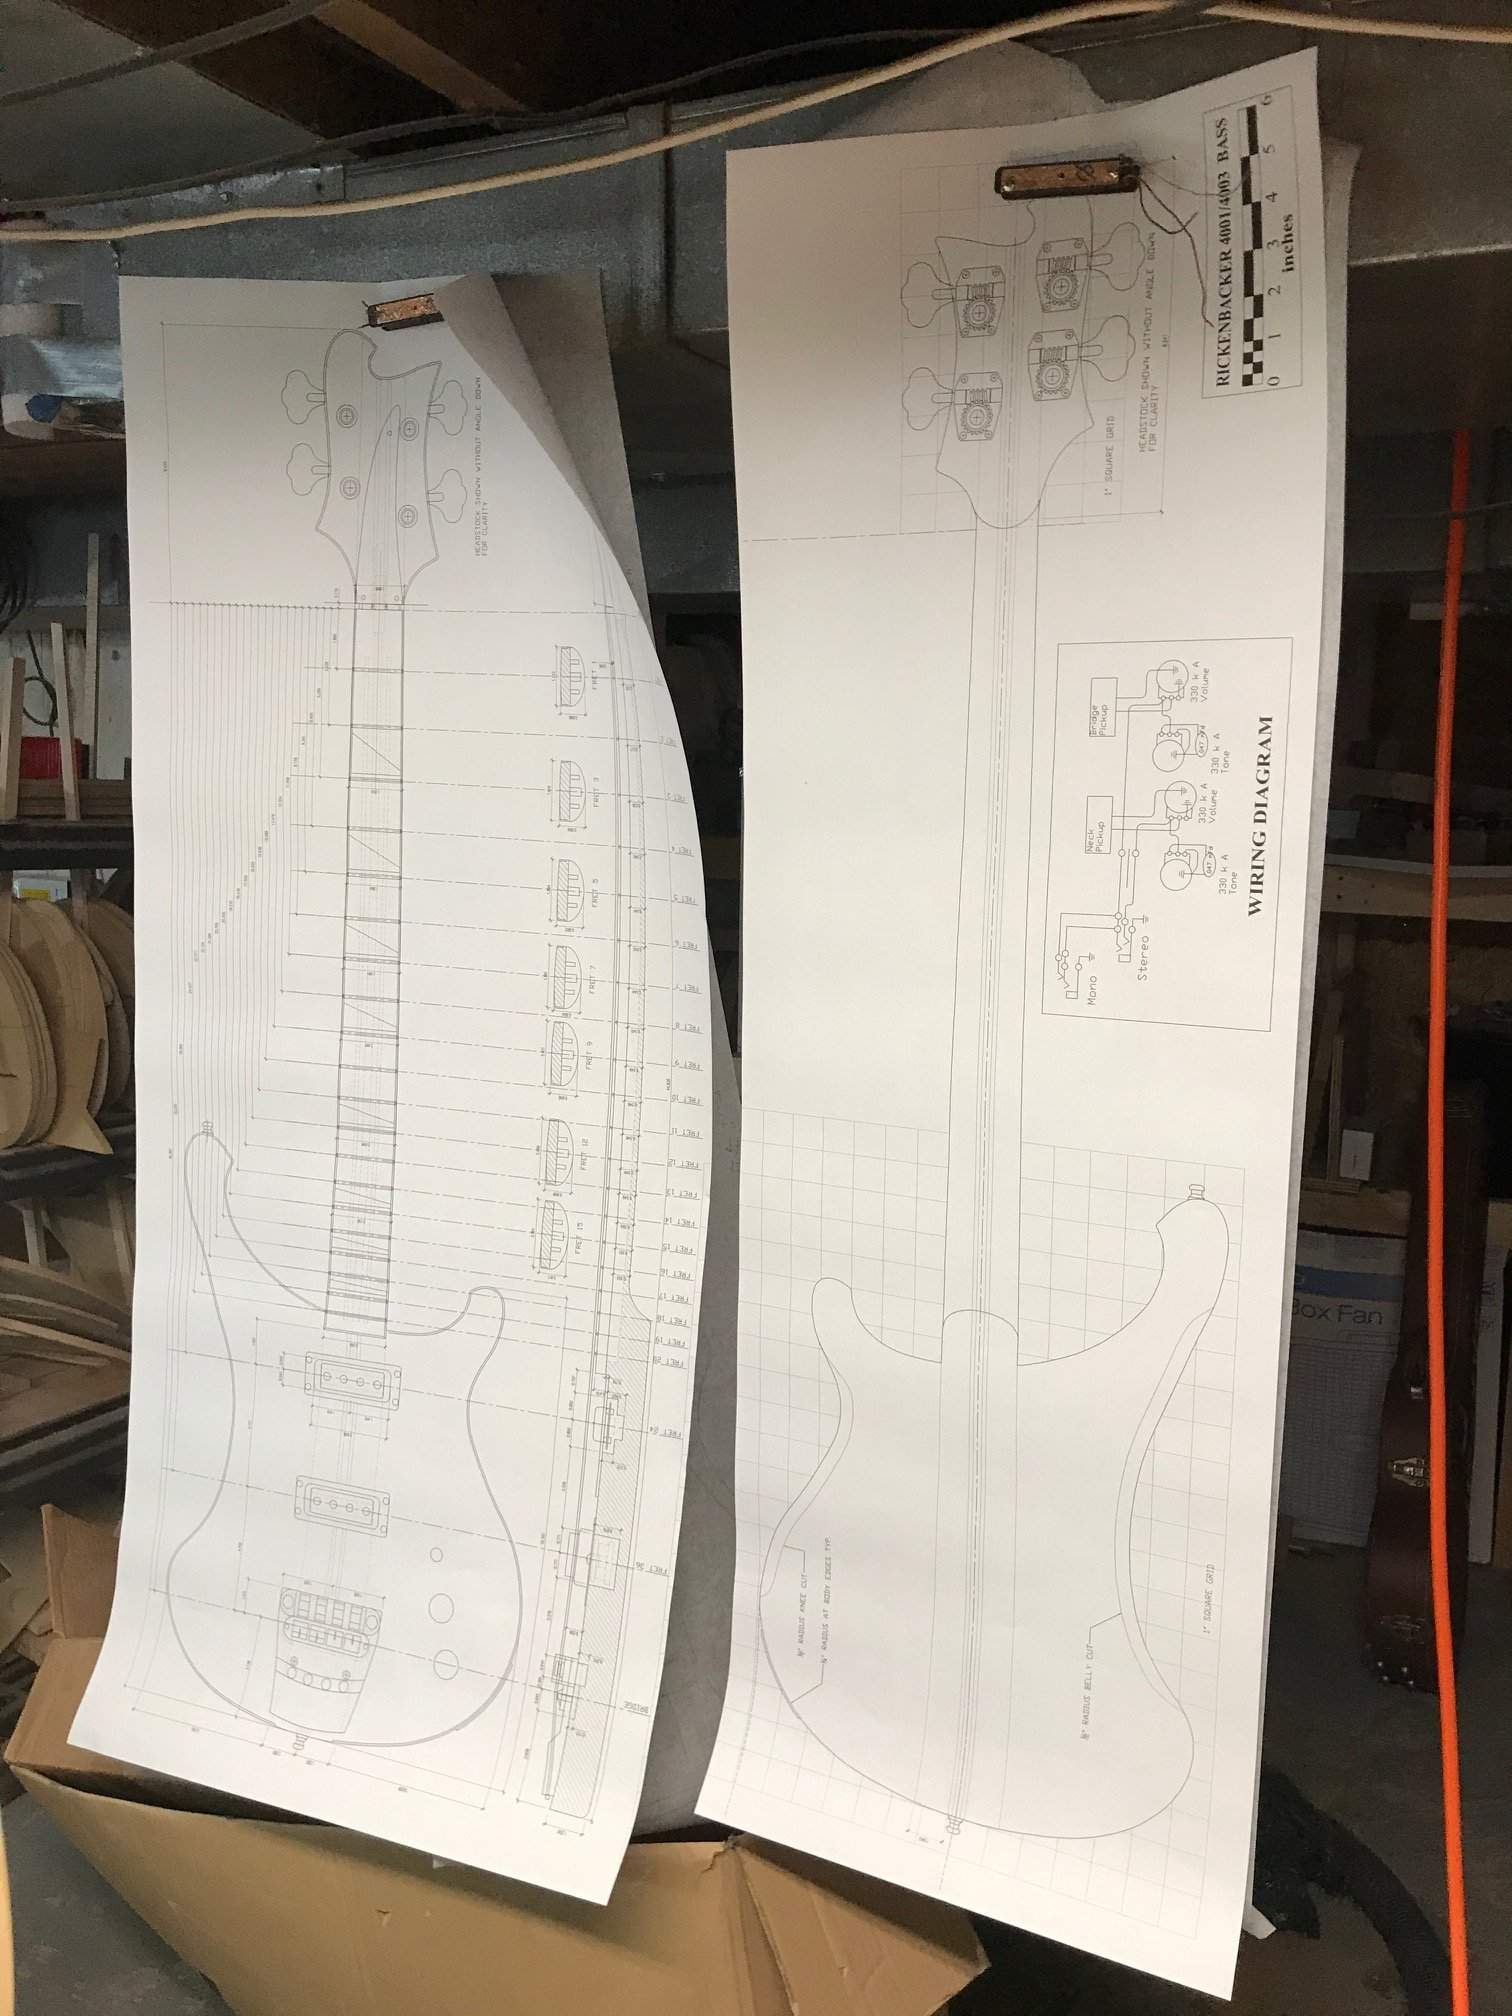
Though there are spec changes from the minute details, the body and headstock will remain the right shape, so I cut up one of the prints to make this template on 1/4" MDF:
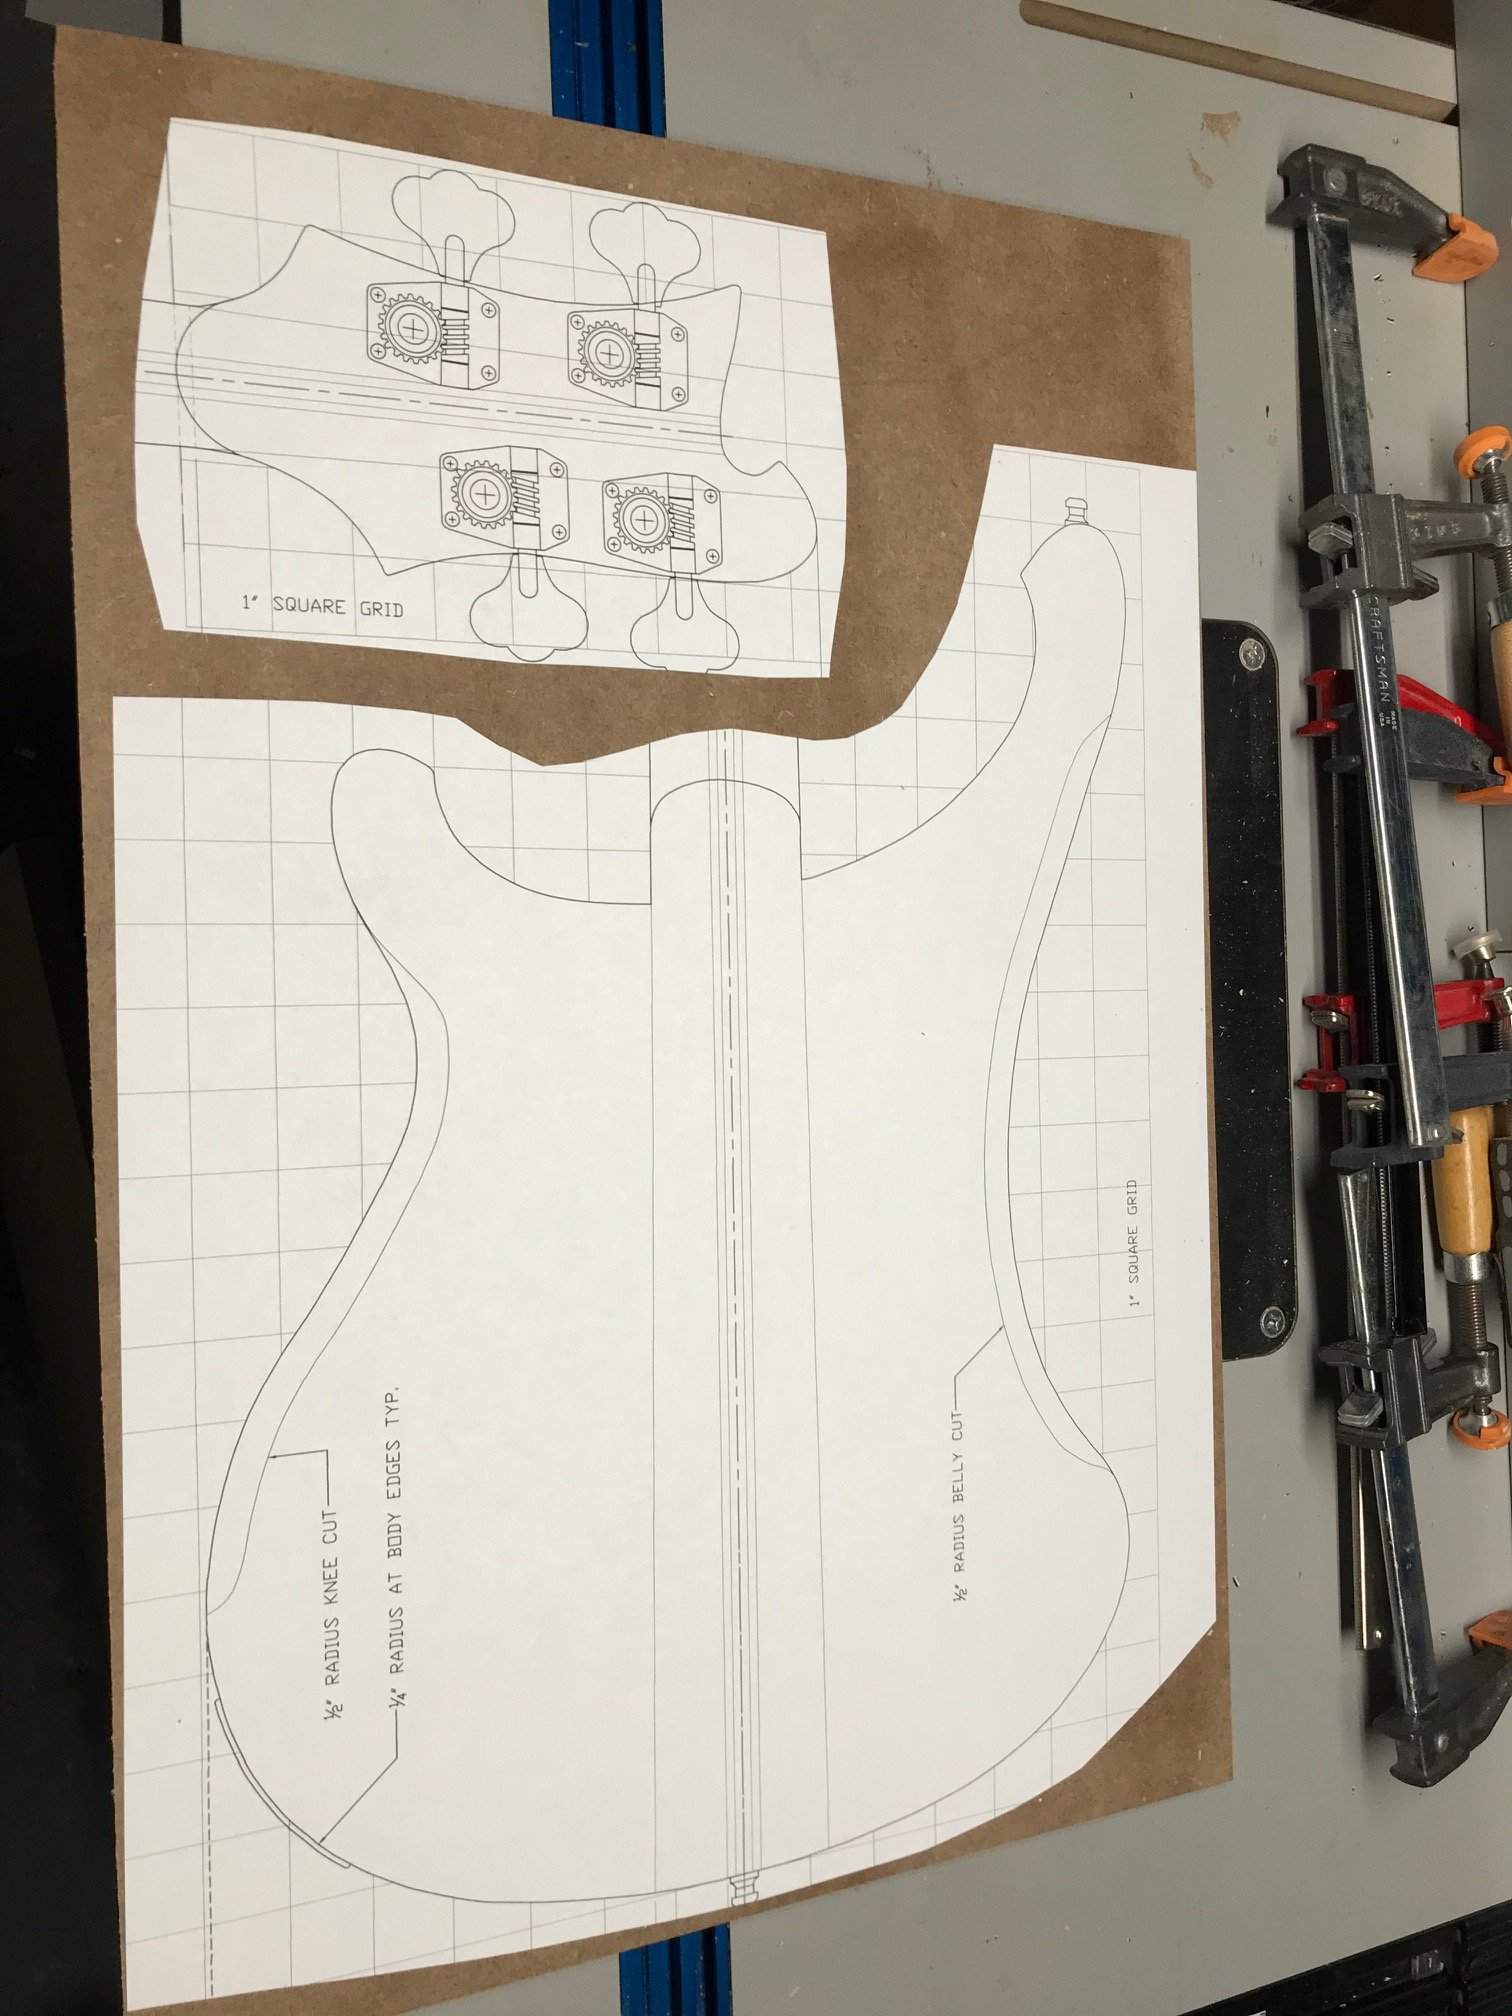
I'll be cutting that out and sanding the final shapes to produce the basic templates that will then be attached to thicker MDF for a WORKING template that can be used for shaping.
I've got a neck beam made of 3 pieces of mahogany that I glued up a little while ago, ready and waiting for future construction:
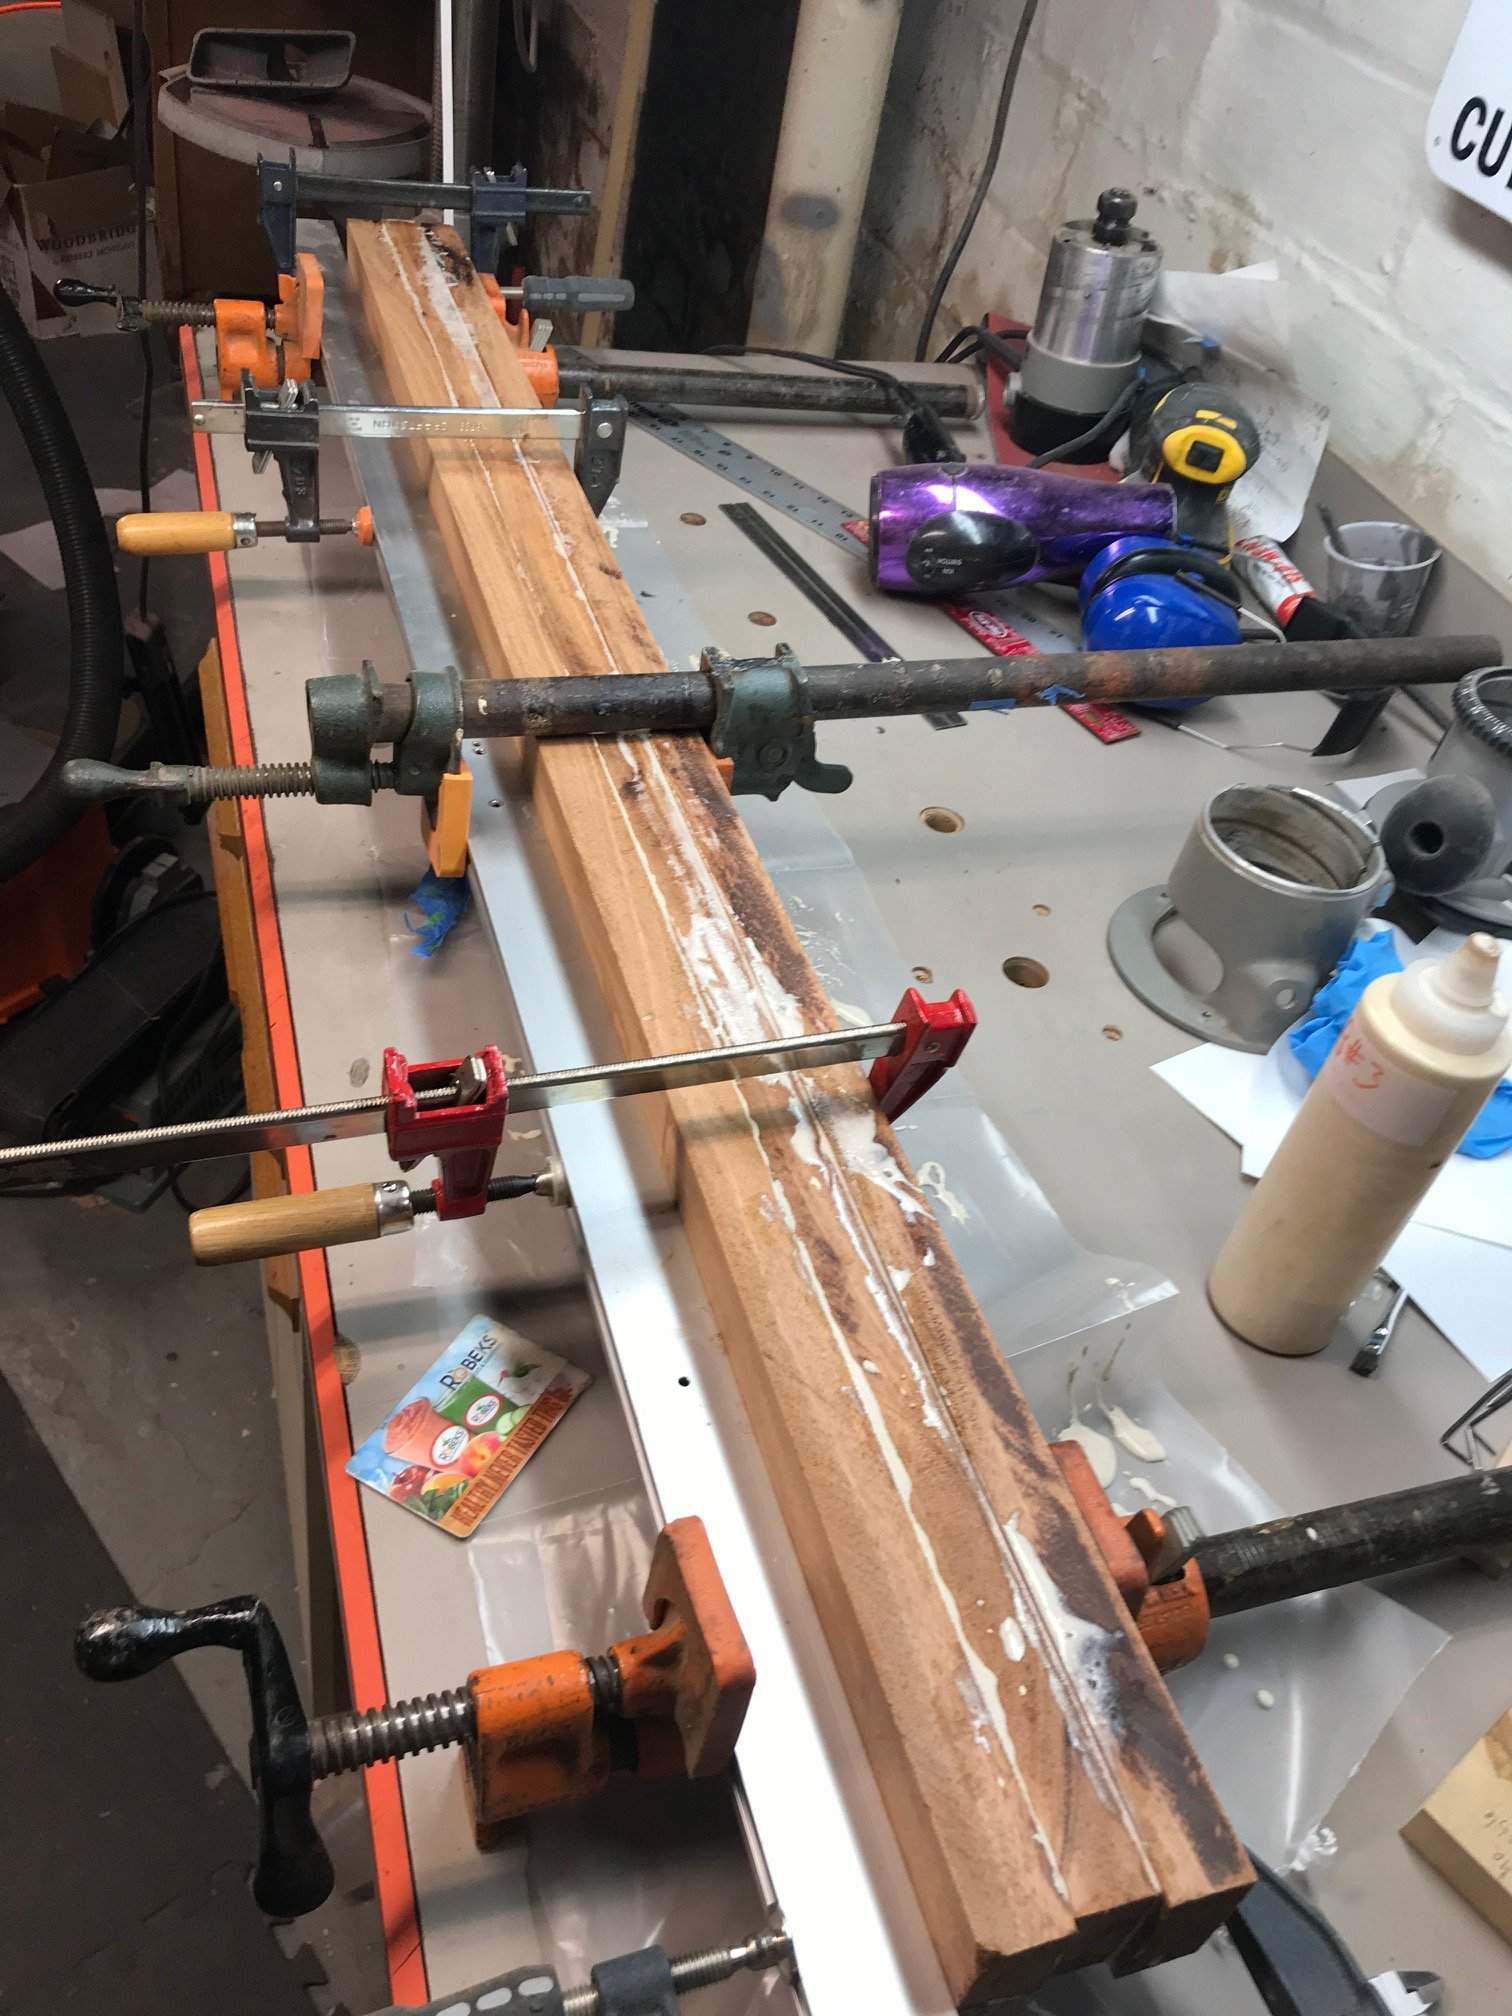
(I actually cleaned it up more than this, but this was my only pic available currently)
Now I need to head down to my wood place to acquire some mahogany boards for the wings.
So it begins...
Well that day has come! He and I started putting pens to paper, noses to the grindstone, dust in the wind, etc, etc. And it's time for this to come to fruition.
Doing a Ric build seems like a rite of passage here. And I did a mash-up with one a couple years back. But this will be my first official, actual-shaped build of one, with a few twists along the way. The end result will (hopefully) be unmistakable though.
So without further ado, here's the game plan:
THUNDER-BACKER - A Rickenbacker shaped bass with some Thunderbird soul
- All mahogany neck thru construction, raised center area
- 34" scale Richlite board with 0 fret and glowing side inlays
- Actual Ric new-style bridge (rollers, better ability to intonate)
- Thunderbucker pickups
- I get to plan a fun wiring scheme
And before I go any further, I gotta thank @Gilmourisgod for his help and inspiration here. He was kind enough to send me the full-size PDF of his builds (which are insanely good, if you don't already know), so I could properly nail the shape for the neck and body templates.
That is where this all begins, TEMPLATES. A quick trip to Kinko's got me full-scale printouts to work with:
Though there are spec changes from the minute details, the body and headstock will remain the right shape, so I cut up one of the prints to make this template on 1/4" MDF:
I'll be cutting that out and sanding the final shapes to produce the basic templates that will then be attached to thicker MDF for a WORKING template that can be used for shaping.
I've got a neck beam made of 3 pieces of mahogany that I glued up a little while ago, ready and waiting for future construction:
(I actually cleaned it up more than this, but this was my only pic available currently)
Now I need to head down to my wood place to acquire some mahogany boards for the wings.
So it begins...





 I think that little fiasco cost me around 8 hours total to fix, and I only got away with it because the bass is painted. Things get a little weird at the headstock/neck transition, because it's really two templates, one for the neck, and one for the headstock, which is pitched, so they have to meet seamlessly or the router will faithfully reproduce any tiny misalignment. In retrospect, the best way to do this is probably to make a headstock/fingerboard template in solid wood or plywood with a scarf joint that incorporates the headstock angle. @ctmullins, how did you handle this on your builds?





