Aeons ago, I had a 90s Ibanez SR something-or-other in a sparkle green finish. It was the first "real" bass I used in my first band, and I loved it. It probably was a SR200 or SR300, as I know I couldn't afford anything more expensive at the time. After that band split up, I sold my gear when I moved abroad, and sort of forgot about it. I don't even have any pictures of it from that era.
While on one of my numerous Home Depot runs for the Zhenya build, I came across a sparkle green Rust-Oleum glitter spray paint, and decided that I would use it on my next project.
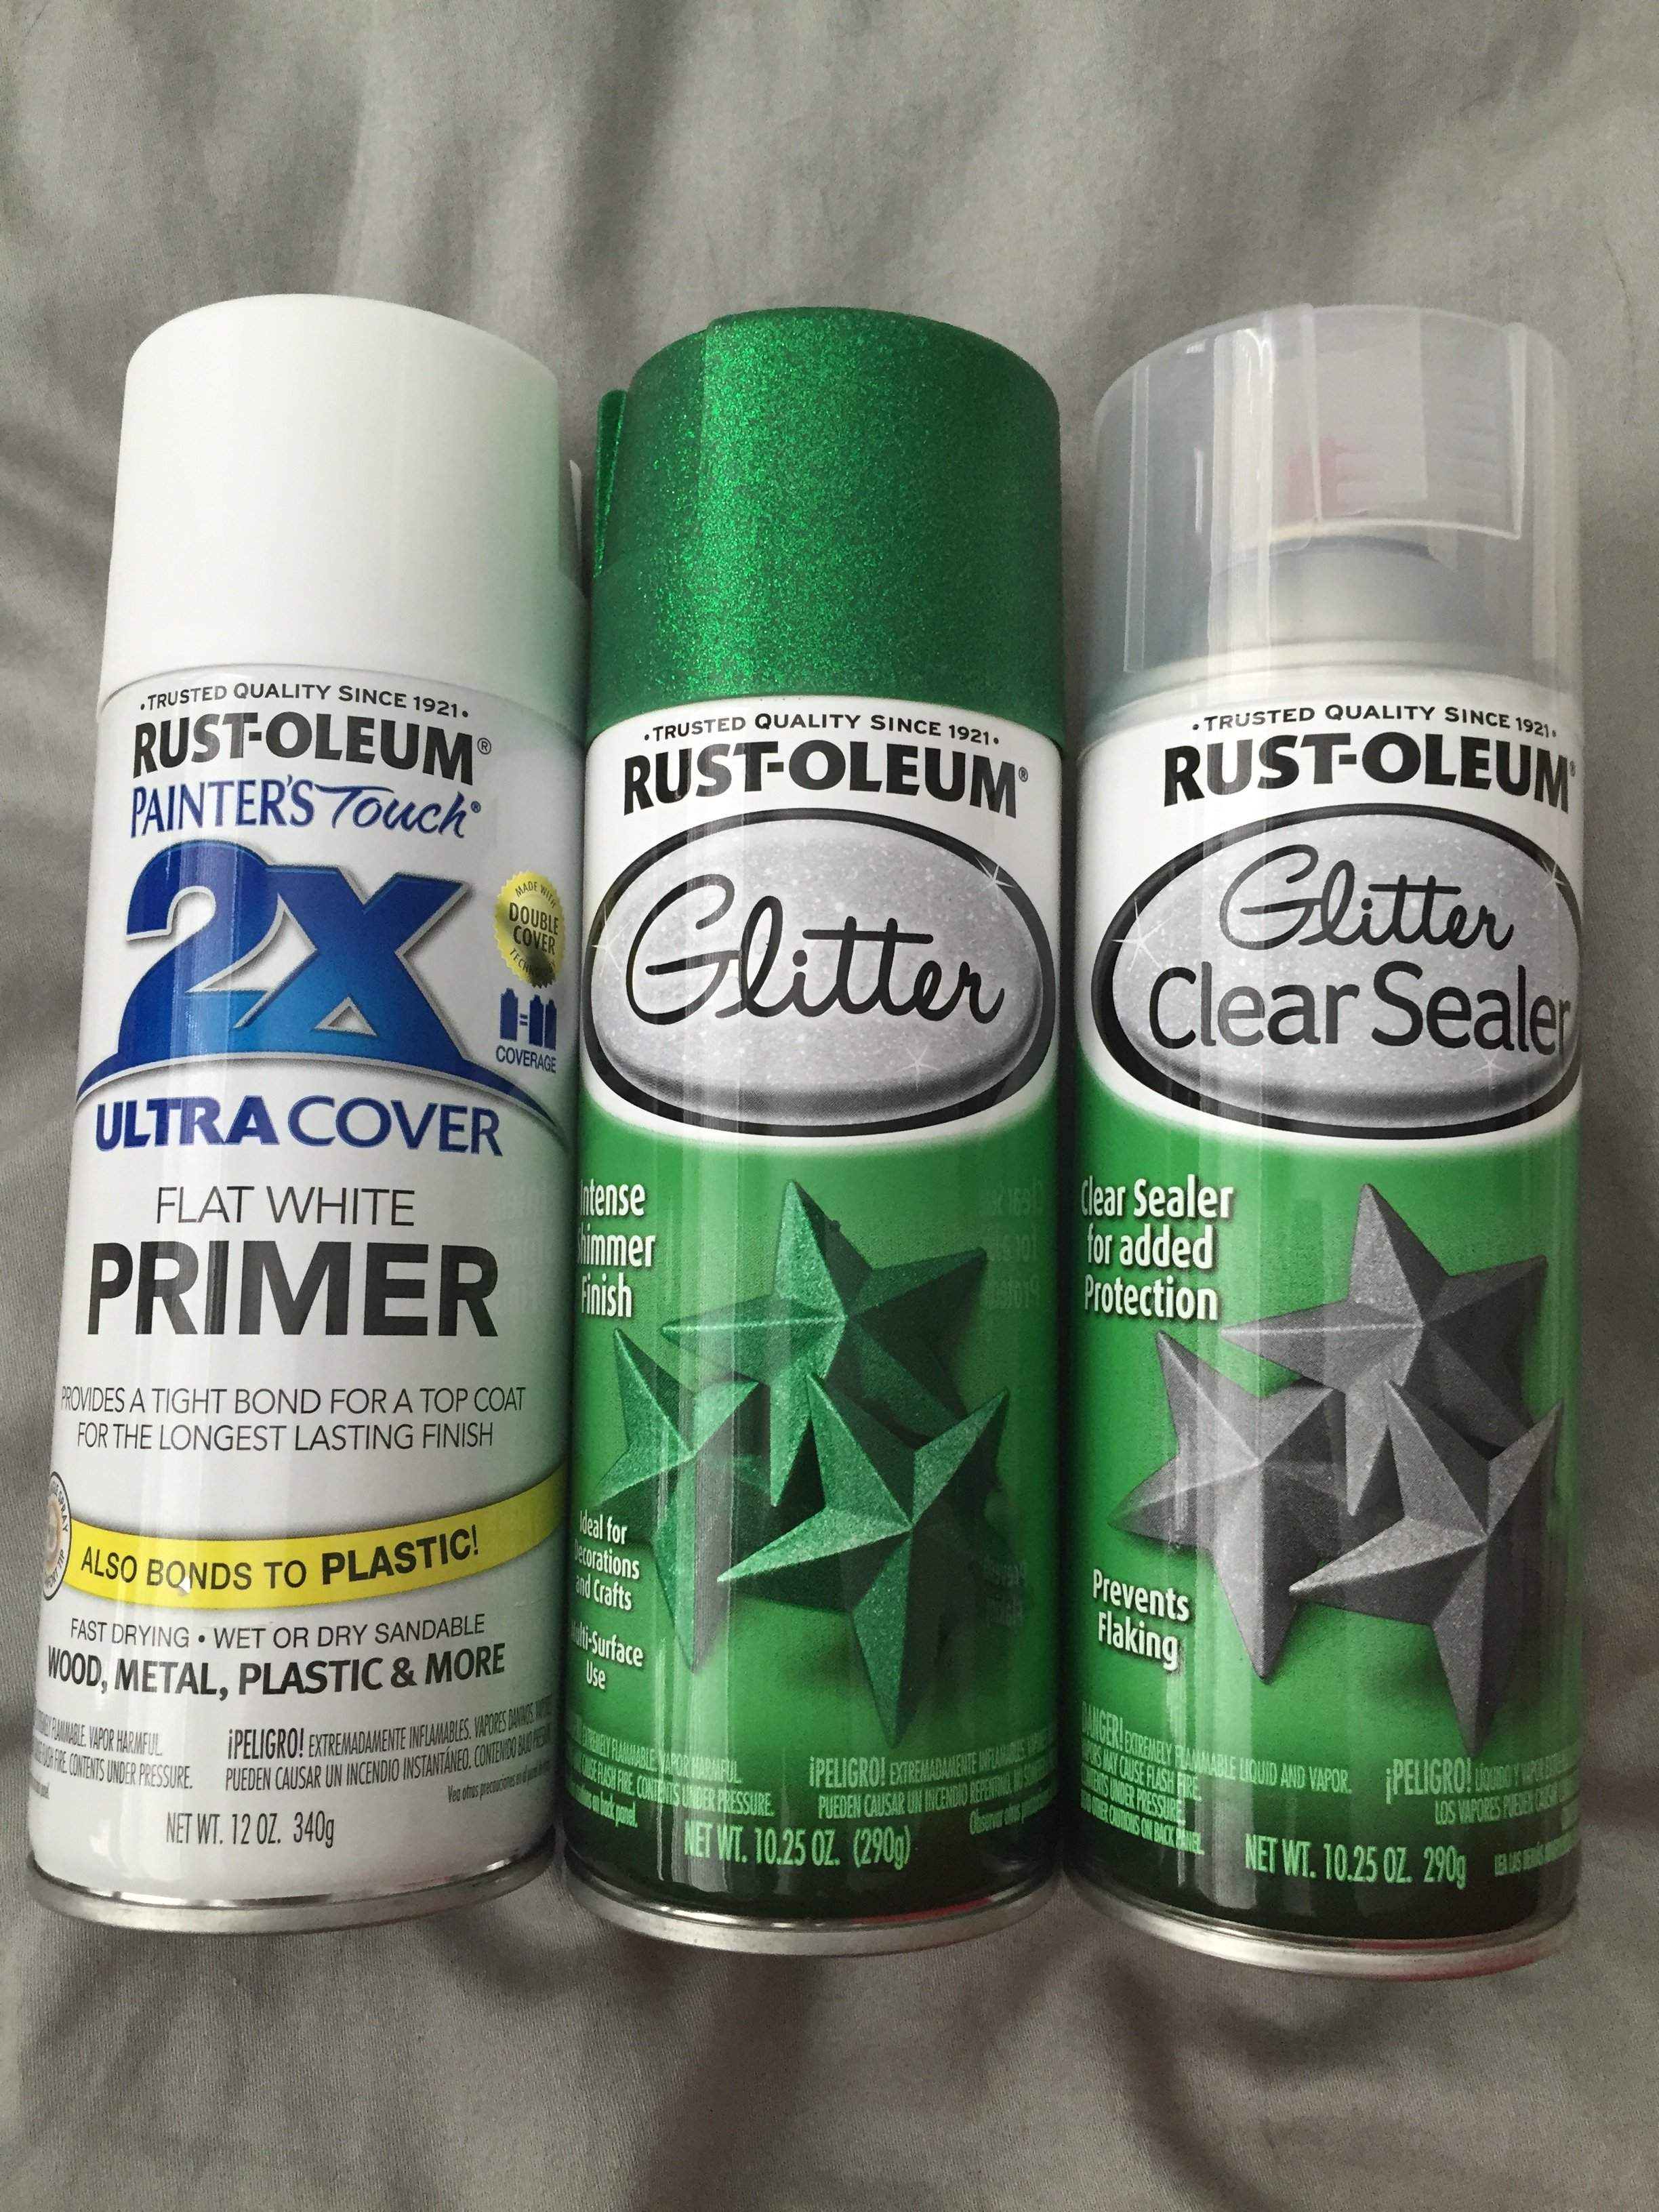
Then, I went in search of what that next project would be. I considered another kit, but I didn't want to do that again so soon after Zhenya. So, I started looking for a bass to refinish, including an Ibanez SR500, the model that is infamous for its finish. But, as I was on a budget, I couldn't find one cheap enough.
I'm on Rondo Music's mailing list because I've bought a few instruments from them, and I was a B-stock Douglas WOB826 for sale at a steep discount due to a finishing flaw. As I was looking for a bass to refinish, I didn't mind the chip, and I quickly bought it.
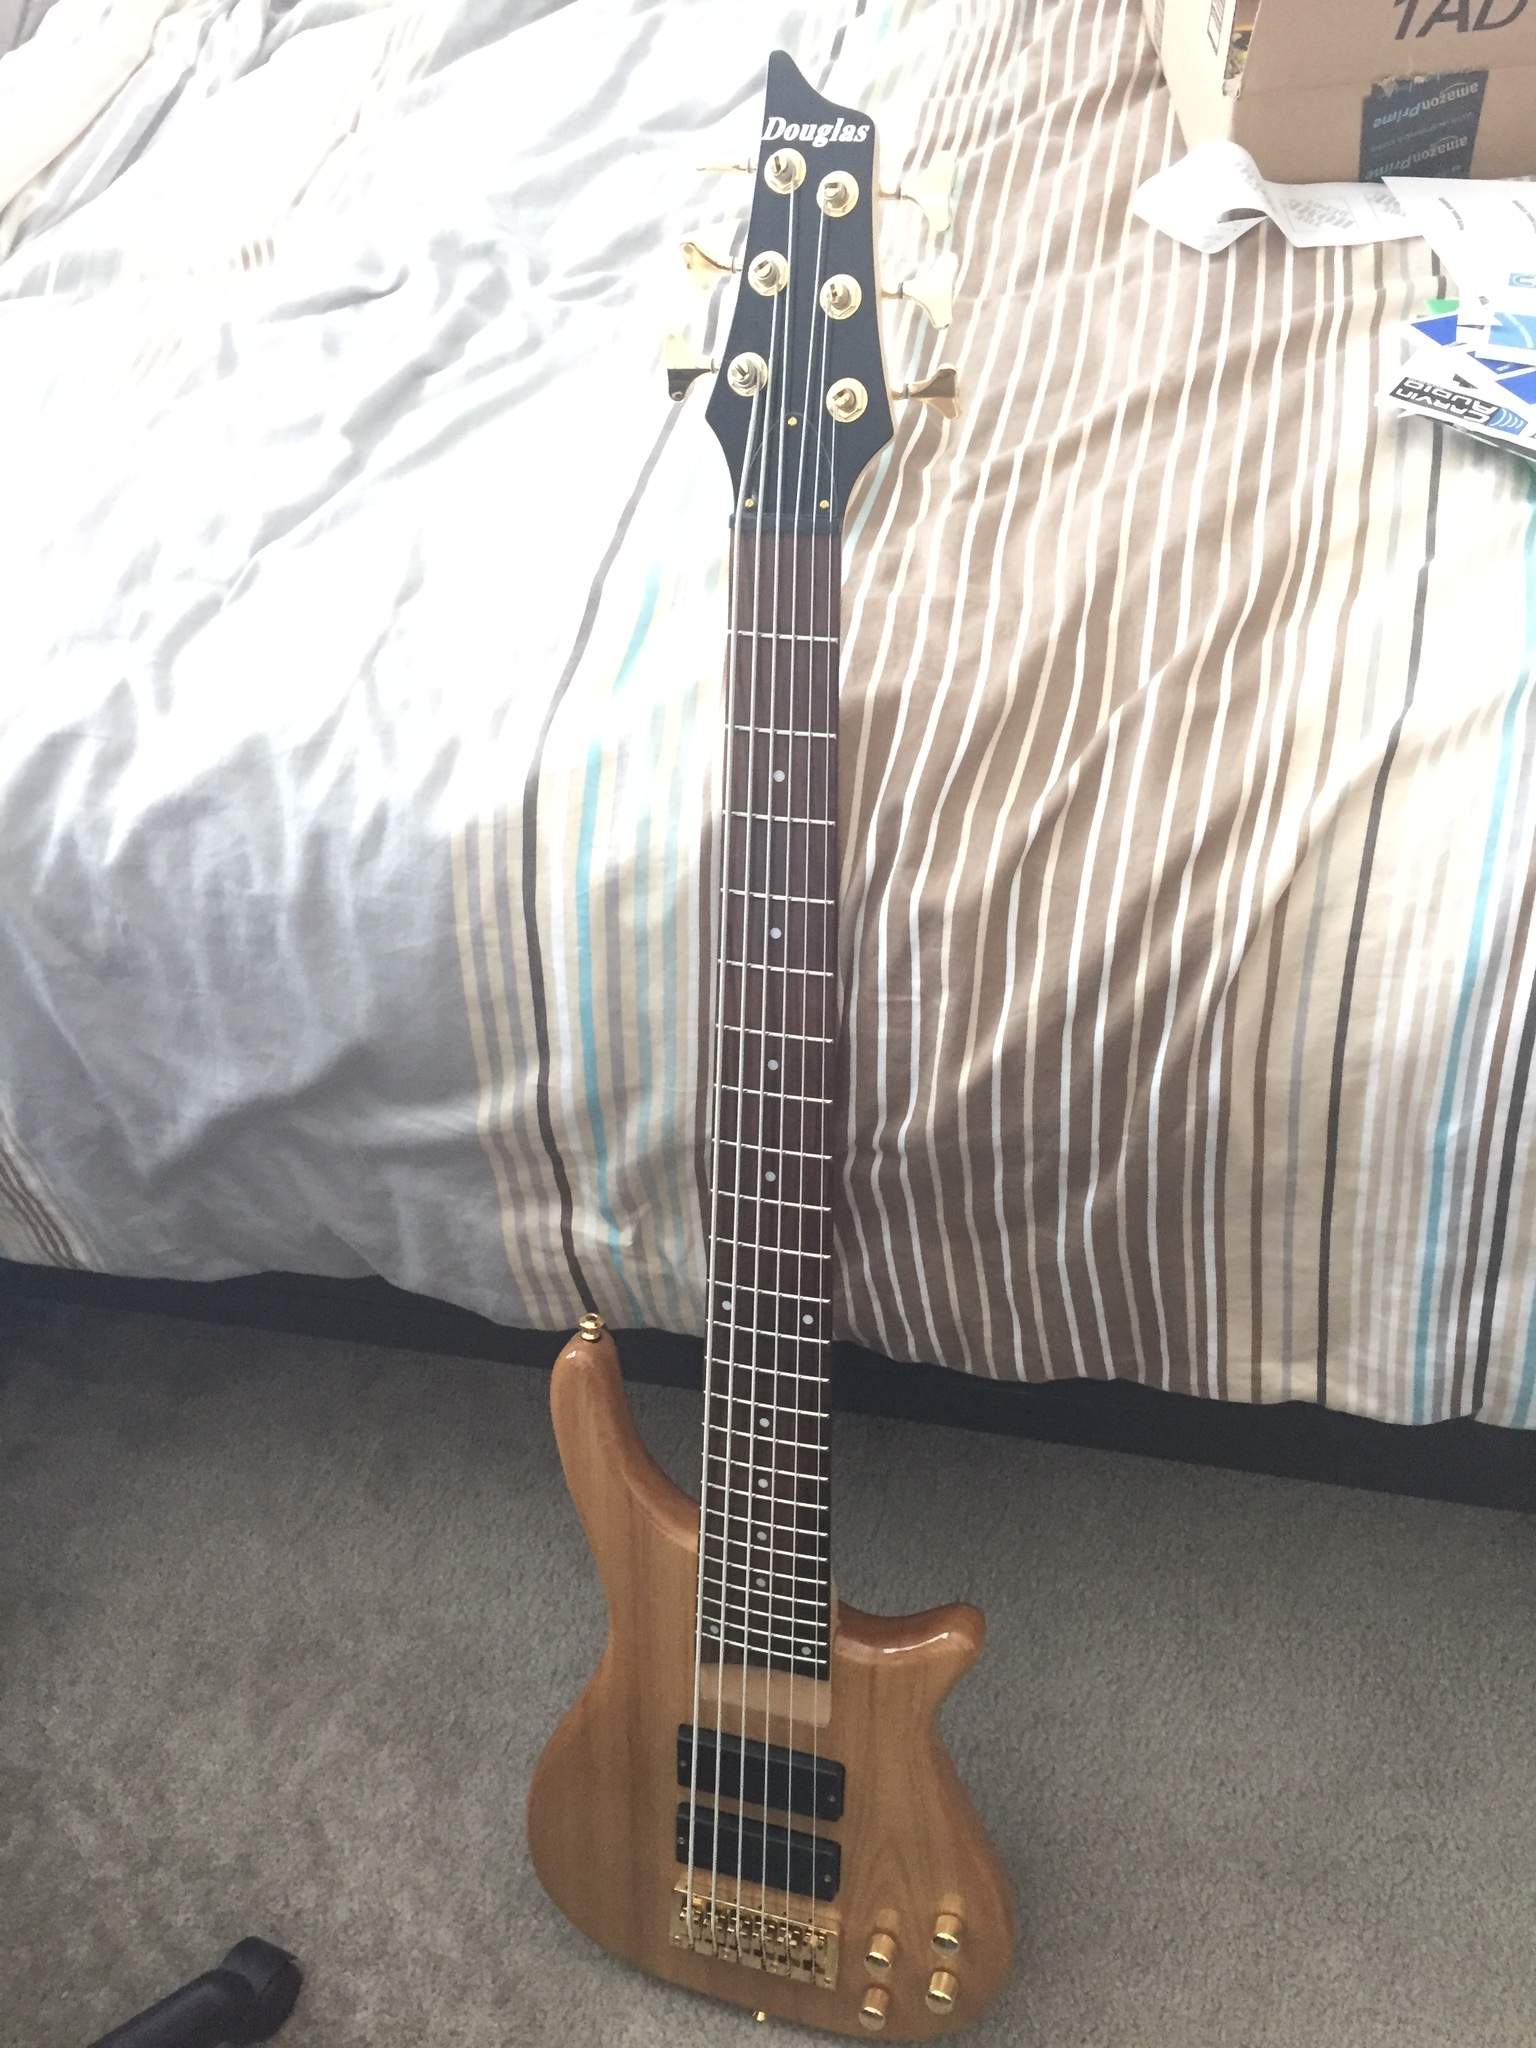
The chip in the finish is barely visible near the bridge pickup.
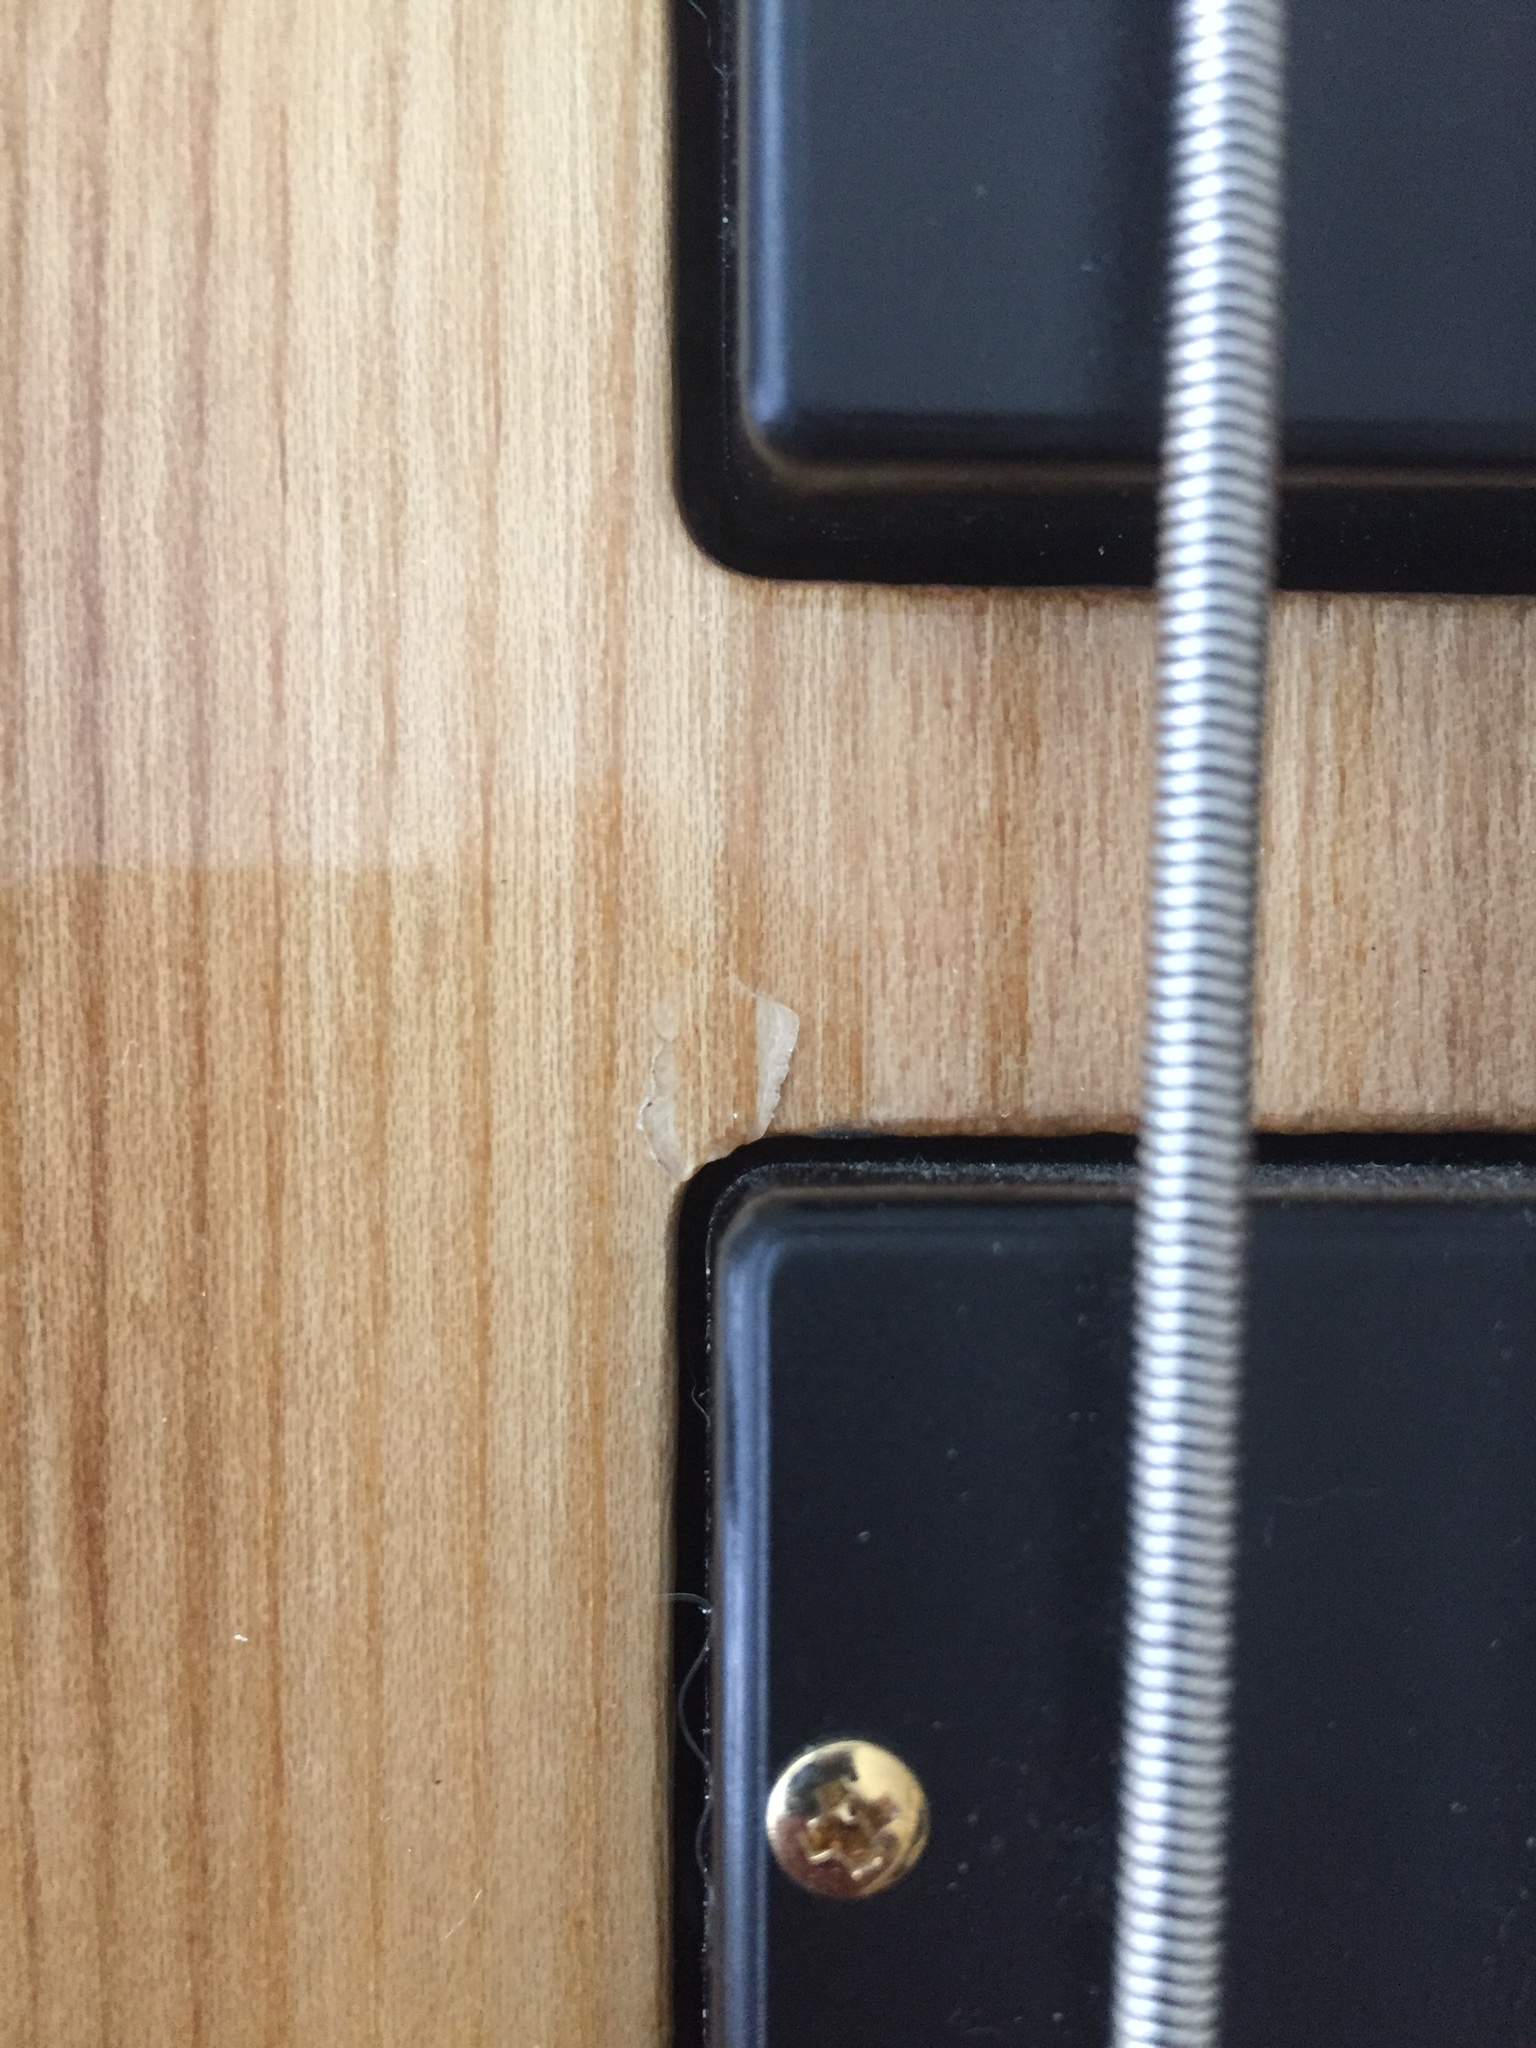
It's been a few months since I bought the green paint, as well as the Douglas bass. I actually really like the ash look on the bass, but I also think it will look great with the green sparkle.
As I was testing the refinish of Zhenya's headstock, I tested the green paint. It worked better with a black primer, rather than the white one in the above photo, so that's my plan. The below test isn't perfect, but gives me what I need to know for using the green paint.
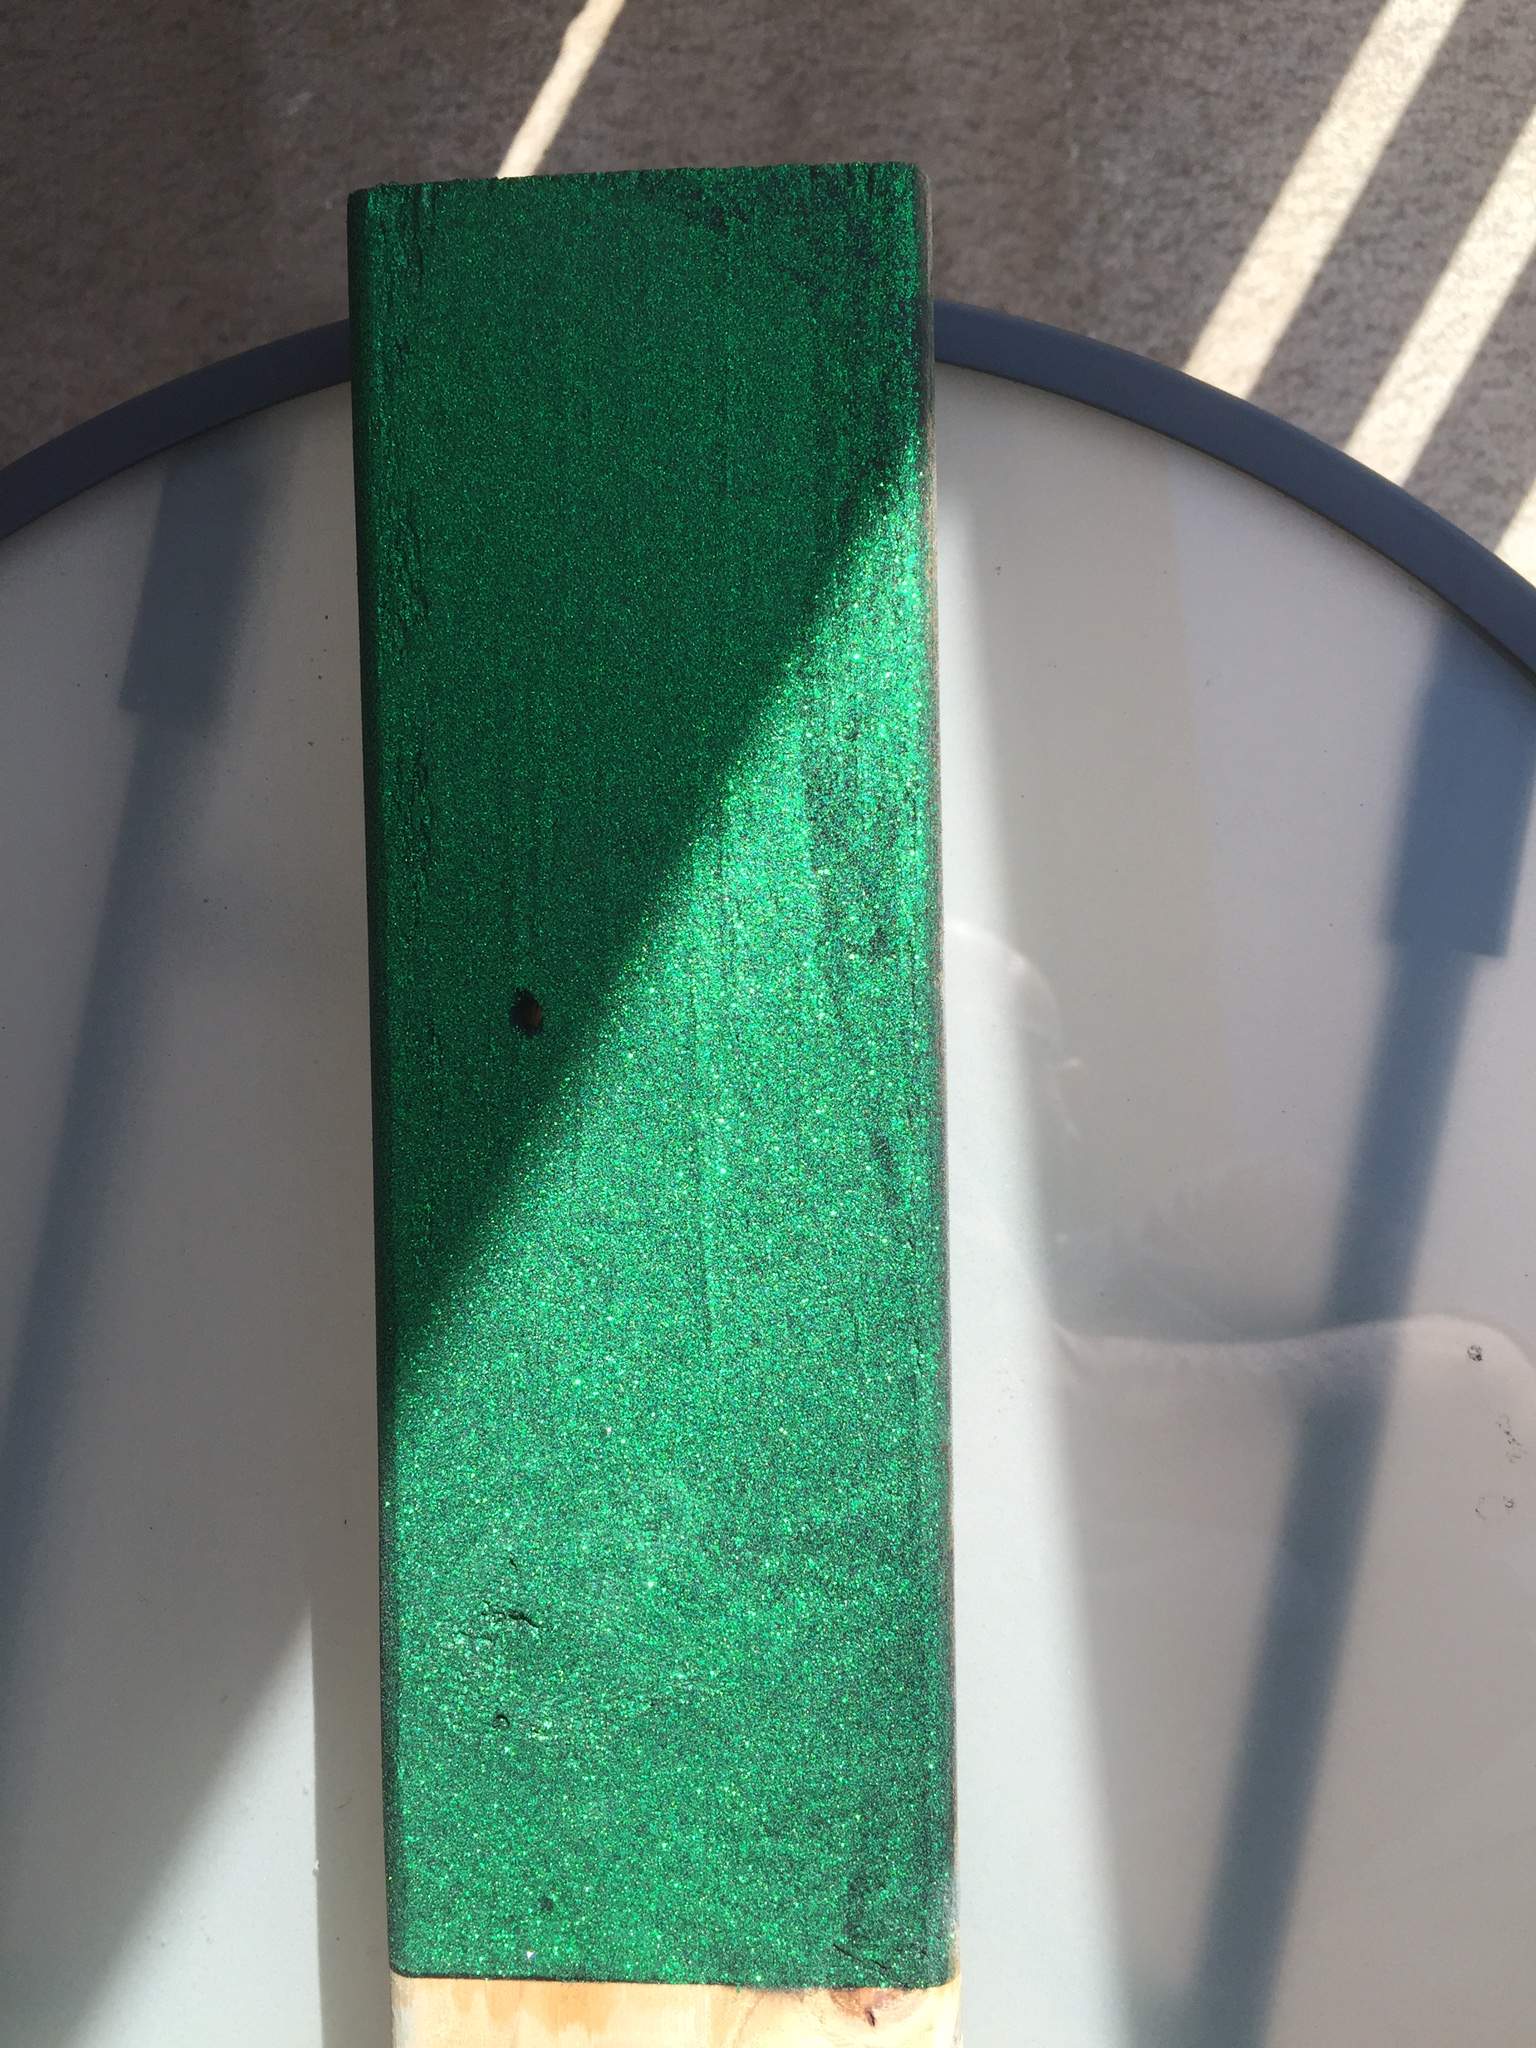
But, before I do that, I want to try to get an "antique ash" look on the body. If I'm happy with that, I will save the green paint for another project later.
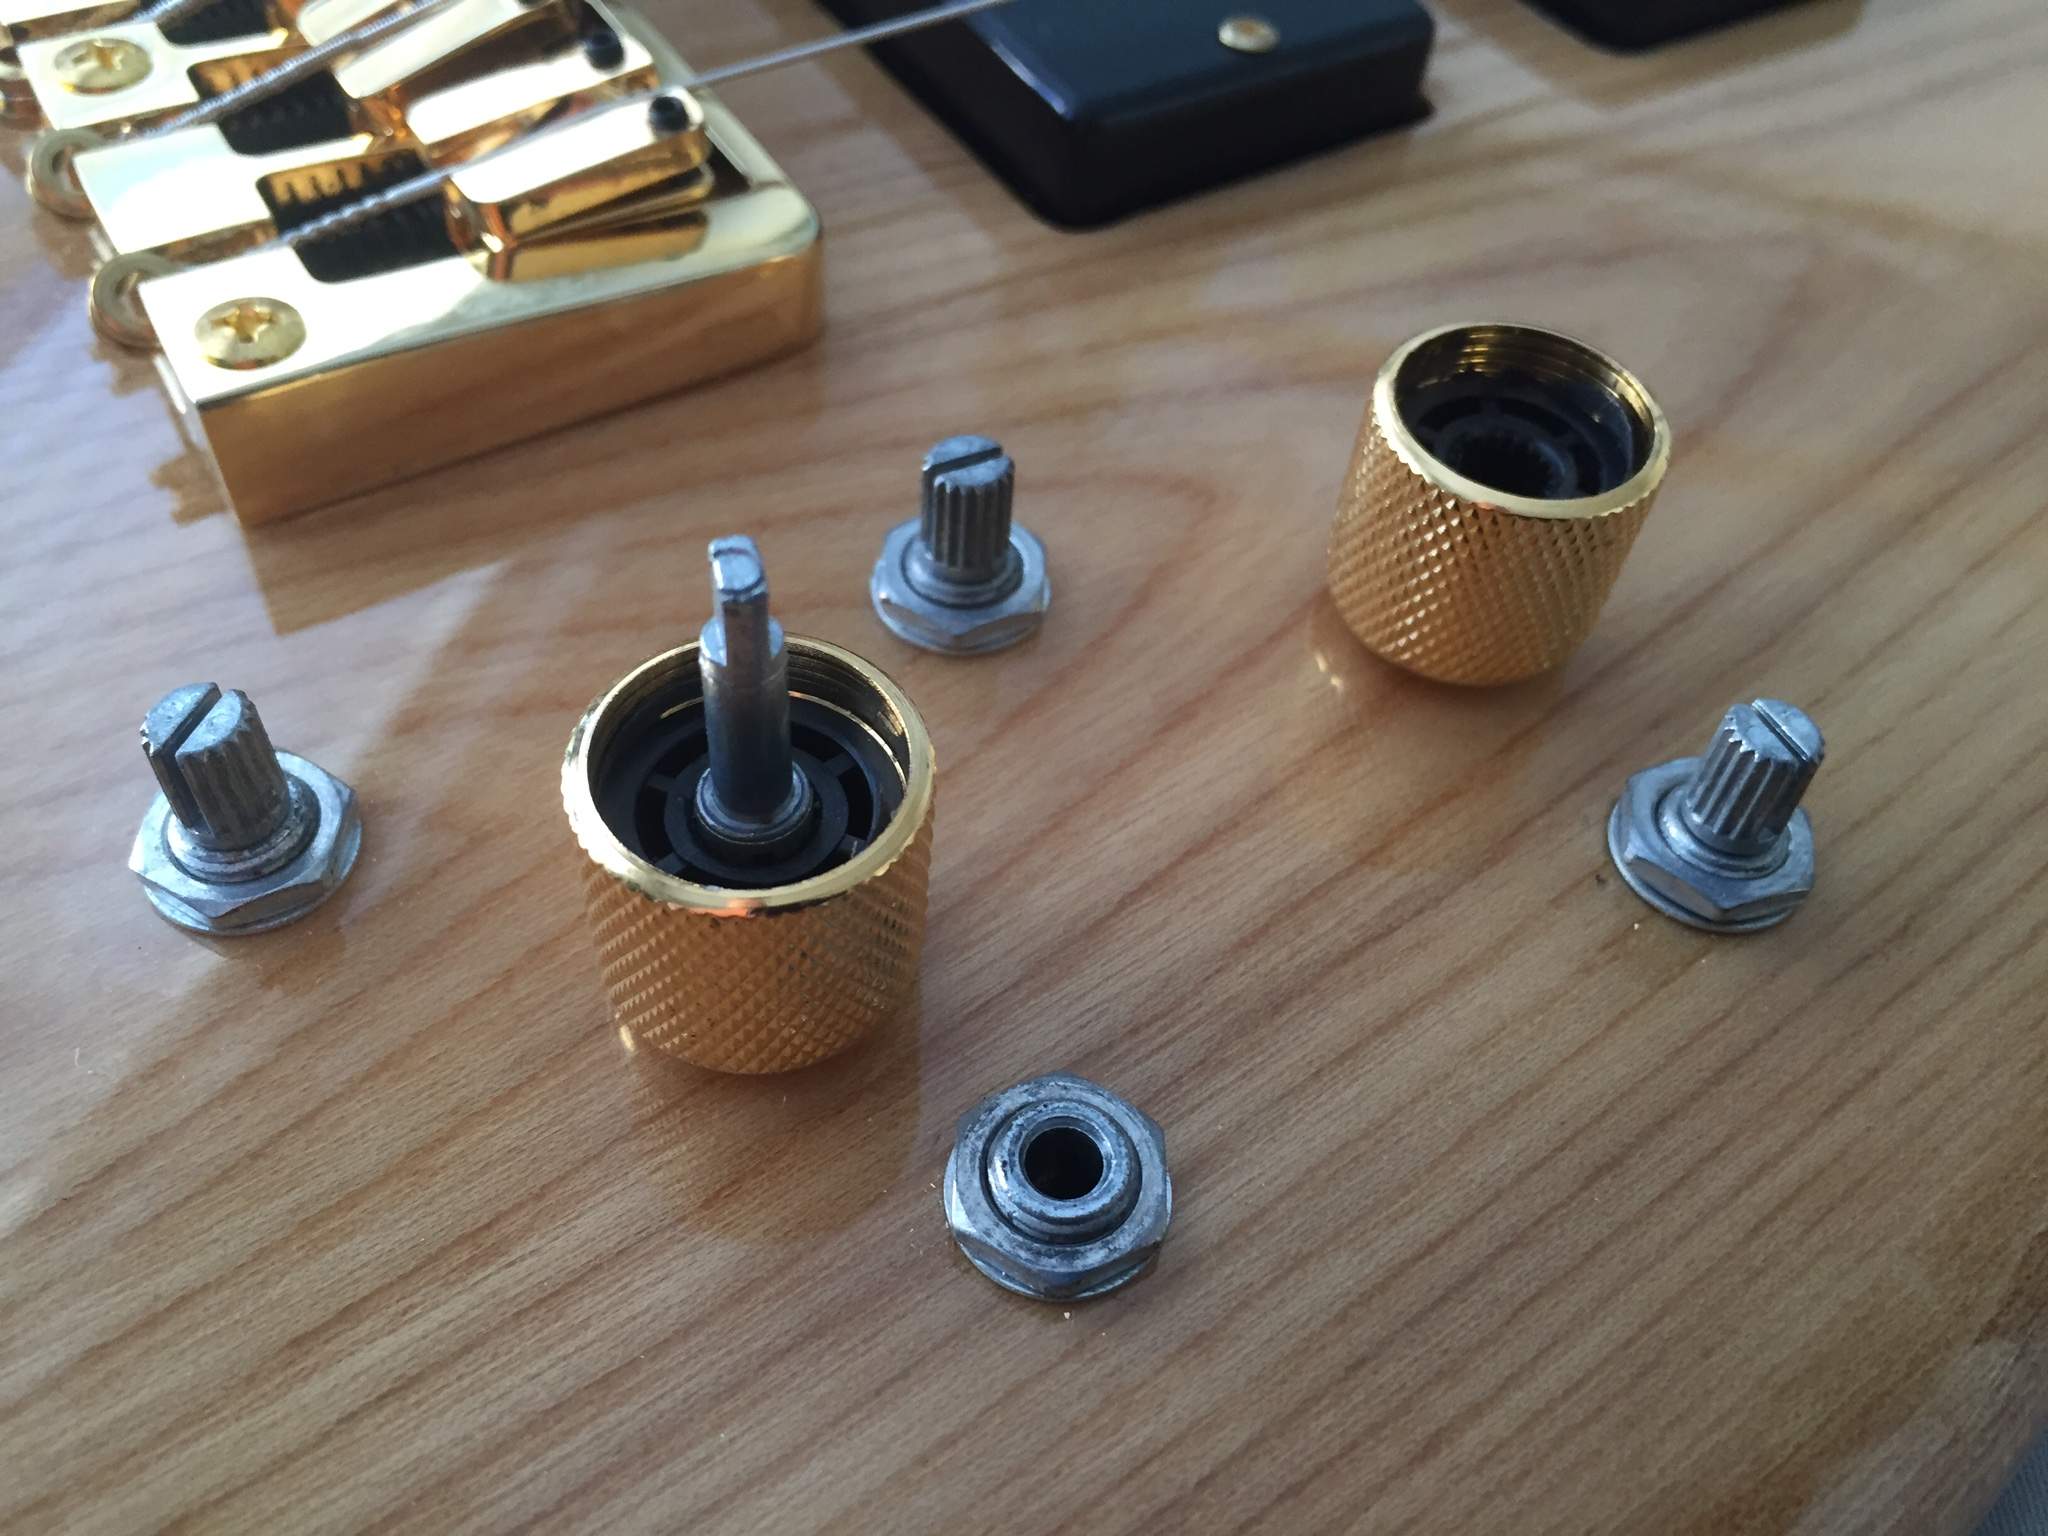
If nothing else, I will refinish this bass, and possibly replace the electronics inside, as I had a pot lose its shaft while trying to pull off the push-on knobs yesterday. Oops.
Other tasks I plan to take on this bass include staining or painting the back of the neck and drilling holes and adding ferrules for string-through body stringing, as the bridge supports that. Hopefully I'll do a better job drilling the holes straight on this one!
So, while I'm not doing any real luthiery on this bass, I'll use the skills I picked up on my last build for this, and get ideas for the first "real" build. I'm planning to do that when we move into a house that will give me room to set up a workshop then, as I'm stretching the limits of what I can do here in our current home.
Stay tuned for more. Hopefully this will be a relatively quick project compared to my last one.
While on one of my numerous Home Depot runs for the Zhenya build, I came across a sparkle green Rust-Oleum glitter spray paint, and decided that I would use it on my next project.
Then, I went in search of what that next project would be. I considered another kit, but I didn't want to do that again so soon after Zhenya. So, I started looking for a bass to refinish, including an Ibanez SR500, the model that is infamous for its finish. But, as I was on a budget, I couldn't find one cheap enough.
I'm on Rondo Music's mailing list because I've bought a few instruments from them, and I was a B-stock Douglas WOB826 for sale at a steep discount due to a finishing flaw. As I was looking for a bass to refinish, I didn't mind the chip, and I quickly bought it.
The chip in the finish is barely visible near the bridge pickup.
It's been a few months since I bought the green paint, as well as the Douglas bass. I actually really like the ash look on the bass, but I also think it will look great with the green sparkle.
As I was testing the refinish of Zhenya's headstock, I tested the green paint. It worked better with a black primer, rather than the white one in the above photo, so that's my plan. The below test isn't perfect, but gives me what I need to know for using the green paint.
But, before I do that, I want to try to get an "antique ash" look on the body. If I'm happy with that, I will save the green paint for another project later.
If nothing else, I will refinish this bass, and possibly replace the electronics inside, as I had a pot lose its shaft while trying to pull off the push-on knobs yesterday. Oops.
Other tasks I plan to take on this bass include staining or painting the back of the neck and drilling holes and adding ferrules for string-through body stringing, as the bridge supports that. Hopefully I'll do a better job drilling the holes straight on this one!
So, while I'm not doing any real luthiery on this bass, I'll use the skills I picked up on my last build for this, and get ideas for the first "real" build. I'm planning to do that when we move into a house that will give me room to set up a workshop then, as I'm stretching the limits of what I can do here in our current home.
Stay tuned for more. Hopefully this will be a relatively quick project compared to my last one.