Guys,
I am so sorry for keeping you out of the loop. I have had one tragedy after another. First, the acoustic neck you knew about. I started a new neck, and, with my previous experience, it only took me four days to get caught up with everyone else. Thankfully, everyone else was worrying with finishes and buffing...which brings me to my next tragedy.
Ain't she a beauty... here she is, wet sanded to 1000 grit, ready for the buffer. I had already buffed the body, after using 600 grit, and the shine just was not there. I took this picture, right before going out to the wheel, for buffing.
And this is what happened, right after I started to get the mirror shine...
The buffing wheel grabbed my pickup cavity, pulling the body out of my hands, and smashing it to the floor...in an instant. I took about five seconds to look at the result,picked up the pieces, took them inside, and waited for an instructor. The previous mistakes did indeed prepare me for this one. I never once showed emotion, never screamed, never cried, even though, the guitar had to be turned in in less than a week...wow.
After consulting with Kris (who was surprisingly supportive) he showed me how to repair the body. I had to piece it together, one piece at a time, and hand clamp it, using Titebond.
Hopefully, I could get close to this...
I took the body home that night, and here are a few pics of the repairs that night.
Here was step 1...glue the crack that ran along the top/core wood seam...done. On to step 2
Glue in the first of three chunks, lining them up as best I could.
here are a couple more of the same piece, to give you an idea..
That particular glue joint actually contained two pieces, I must have failed to photograph the first one.
Finally, I had to glue in the last one. This was the largest, and had many things to line up with. My control cavity lip needed to line up; as well as the output jack. I think that I got it pretty well...
After it was inspected the next day...I received some nice compliments, and guidance for the next step. I would not be graded on my repair or the finish cracks (thank God!!!!), but everything else would be considered. Okay... time to go to work!
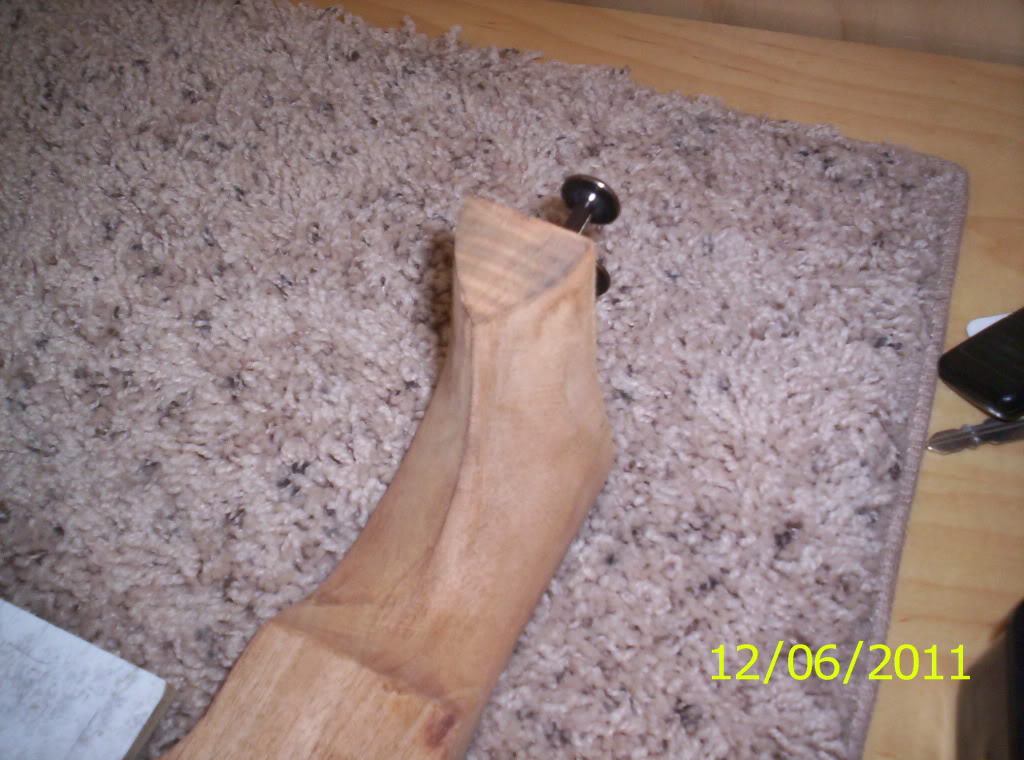
I installed the bridge ferrules, and installed my Hipshot UltraLites on the headstock.
Believe me, this is one tiny headstock...if there were anything that I would change, that would be it...
That evening, I had nothing else to do, but, to start my shielding and wiring. I took the body home, and shielded my cavity and cover....
The cover turned out pretty good, but, if I had more time, I would have done a second one...and... I thought I would insert this one glamor shot... even after the cracks, I was able to finally get back to buffing...and got it checked off!
Next was installing the pickup and wiring...my favorite part!!!!
No, really, it is my favorite part... I live for soldering!
I want to take all of this... and put it in my bass...
(the cell phone would be handy...I never know where that thing is..)
I needed to Dremel a little of the finish from around the pickup cavity, fit the pickup, so that I could trim the wire. When I got it to fit...I just had to share...
Beautiful!!!
Next, was the control cavity. I had a lot to do in a short amount of time...every day, we were under the gun, trying to meet our deadline.
I am so glad that I did some prep work, before the stuff hit the fan... I already had my grounds handled, wired the 9v lead to the preamp, wired a ground to my output jack, the only thing that I had left, was, connecting all the grounds ( star grounding system) wiring the hot from the pickup to the preamp, wiring the hot output, and connecting the switch lead for the battery...not much at all. I also tidied up the wiring with some zip ties and shrink wrap, where I needed to...
and here is what the instructors saw, when they graded my electronics setup ( minus the flux on the bass control pot, and the missing screw for the star grounding...I fixed that before even plugging it in.).
After the wiring, it was time to get the setup going... I'm going to need... a bridge!
Next, I need to do...the frets!
Yes, that was also homework...level, crown and polish my frets.
After that, it was time to get ready for strings...
Oh, and did you notice that the cracks are not showing...?
Kris approached me, suggesting that I touch up the finish with some Mahogany red.The intention was not to fill the cracks, just to match the color...
Here is one, with neck...
This concludes the photos of the electric. I was graded, I do not know the grade, but...I placed the bridge too far back, so intonation is currently impossible. I will fix that, The electronics are stellar. This has so much output that my amp distorts, when I turn the bass up...lotsa output! The action is good, the weight is awesome, and, once I fix the bridge issue... this thing will rawk!!!
For now, the remaining photos will only be of the acoustic, unless there are updates on the repair of the electric.
We continue, where I left off, when I butchered the first neck...heel carving.
Yesterday, once the electric was turned in, I turned my attention to the acoustic. I felt like I had a lot to get caught up on... Here was the status of the heel, before carving...
At this point, the new neck had been rebuilt, joined, truss rod slot routed, headcap glued on, fretboard re-registered, pitch set, side -to- side adjusted, neck inserts installed, along with bolting it to the body. Then, I sanded away the excess, after tracing the outline of the new heel, along with the outline of the heel cap. Now, on to carving!
Last time, I carved too much away from the area, where the neck meets up with the binding. I felt that it was too much to simply blend in, so, I thought that I could patch the hole with a piece of mahogany...I failed. This time, I was very focused, careful, and, when I started getting anywhere near the binding, I went to a file. The result...
That looks like a carved heel! I still have more to carve away, to make a steeper curve, but, not near the binding... nailed it! Josiah was amazed at how quickly I carved... second time a round's a charm... The next process ( and I stumble again, I did not get pictures) is the process of final fitting of the neck to the body. We scallop out 1/16" from inside the heel, where the neck meets the body, and leave 1/16" around the edges. This makes it easier to sand the final pitch and side to side, along with the general fit of the heel to the body. When fitting, you tape some sandpaper to the body, where the heel meets the body. With a small amount of pressure, you sand, until it truly fits. Once this was accomplished, I was, again, caught up with everyone else. At this point, I had run out of things to do, so, I asked Jim Prater if I could start sanding with 150 grit, to begin finish sanding on the body. He said "Just the top and back", so away I went!
Which brings us to today. before you ask, No, I did not screw up...
When I showed up, I was late. I had a doctor's appointment and some personal business to take care of, which caused me to miss the demonstration of the day's events. Luckily, I planned ahead. The subject was cutting out our headstock and drilling for the tuner holes. It's a good thing that I already had a template...
After everything was marked out, I cut where I needed to, and sanded the top edge and side edges smooth. The throat would be worked over later.
At this point, it was time to drill out the tuner holes. Using a brad point bit and the drill press ( I don't see how some people live without one of these), I drilled out the holes.
Those Grovers sure look nice in there...
But, they don't look too shabby there, either.
Don't worry, this was just a mock up...
The next thing was to trim the last bit of excess away from the fretboard. We took the proper measurements, and...
I believe that this thing is actually starting to look like a guitar...
After this, it is sanding. I have made some awesome progress and again, I apologize for not staying in contact. These past days have been murder... I think the help that I needed came in the form of my "brain trust"...
The seated one is Brendan, he's my neighbor. Steven, is behind him, and Zach is leaning on the desk. These guys are a hoot sometimes! I will still say that this class has a great group of individuals, and I am lucky to be in the middle of it all!
I will post more often, now that my head is removed from a place that only your proctologist knows about...
Thanks for Watching!
Thumpin_P



 keep up the good work T.P.