• TalkBass has been independent since 1998. Add your voice.
    Create a free account to reply to discussions, view embedded media, and browse with fewer display ads.
    Join freeLog in
    Want zero display ads or expanded classifieds tools? Compare plans.

Roberto-Venn: The Dream Starts...

Okay guys,

Time for a massive update! (like you haven't seen this before...)

First, I want to show you guys the damage to the neck...
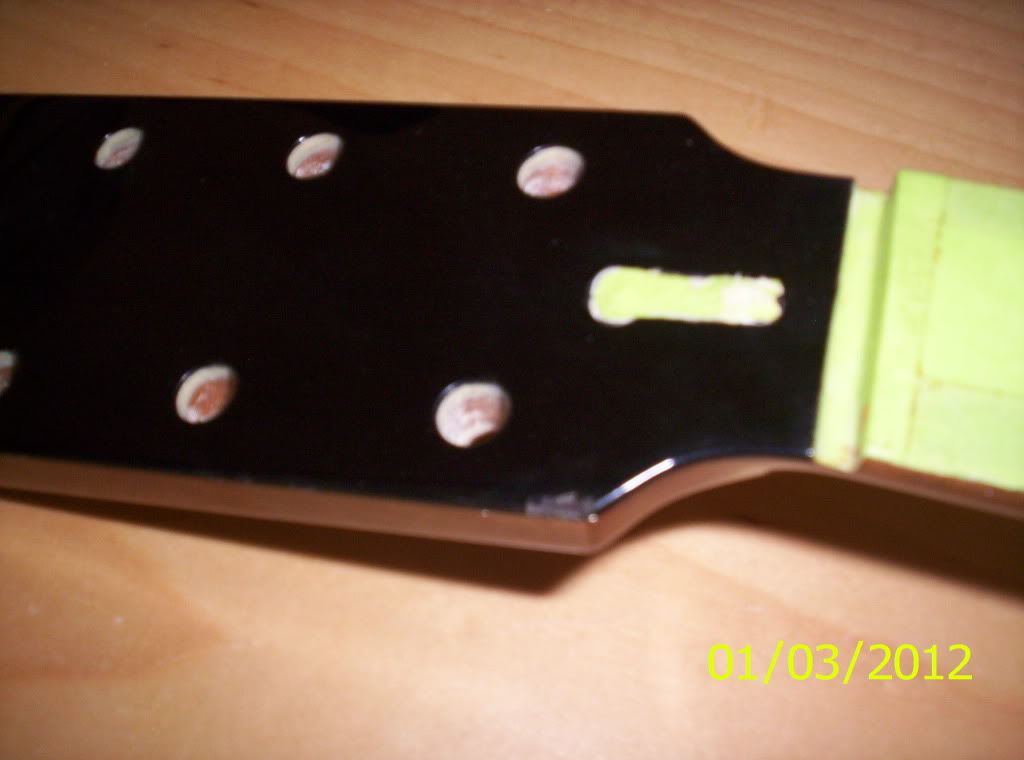
105_7984.jpg


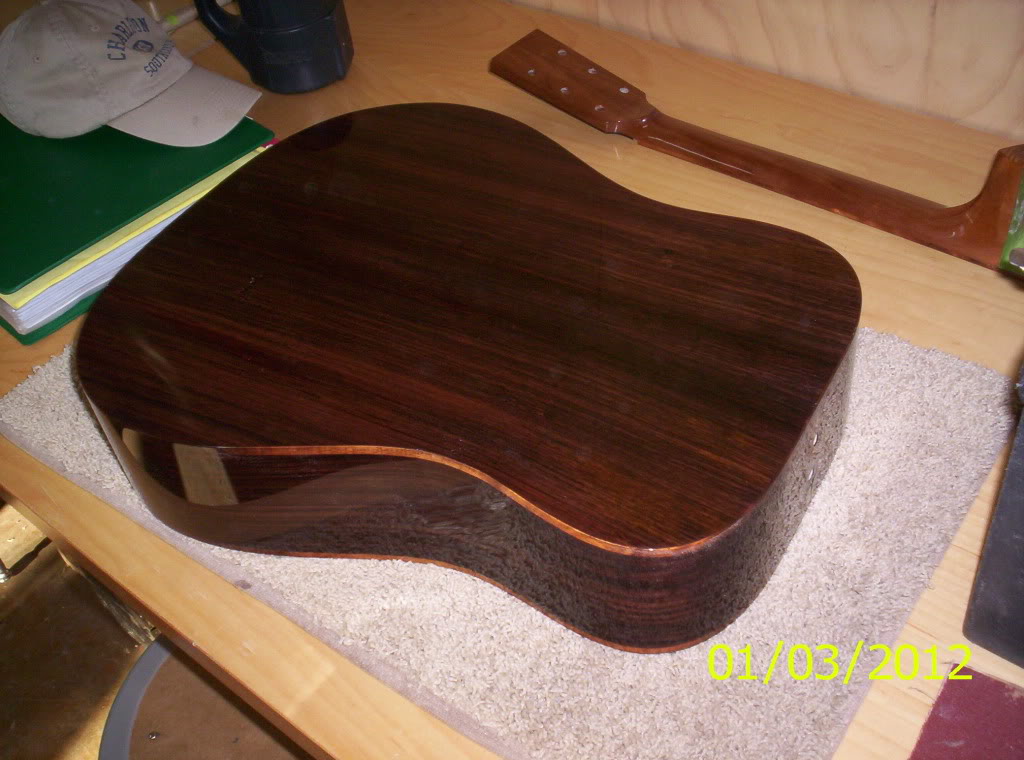
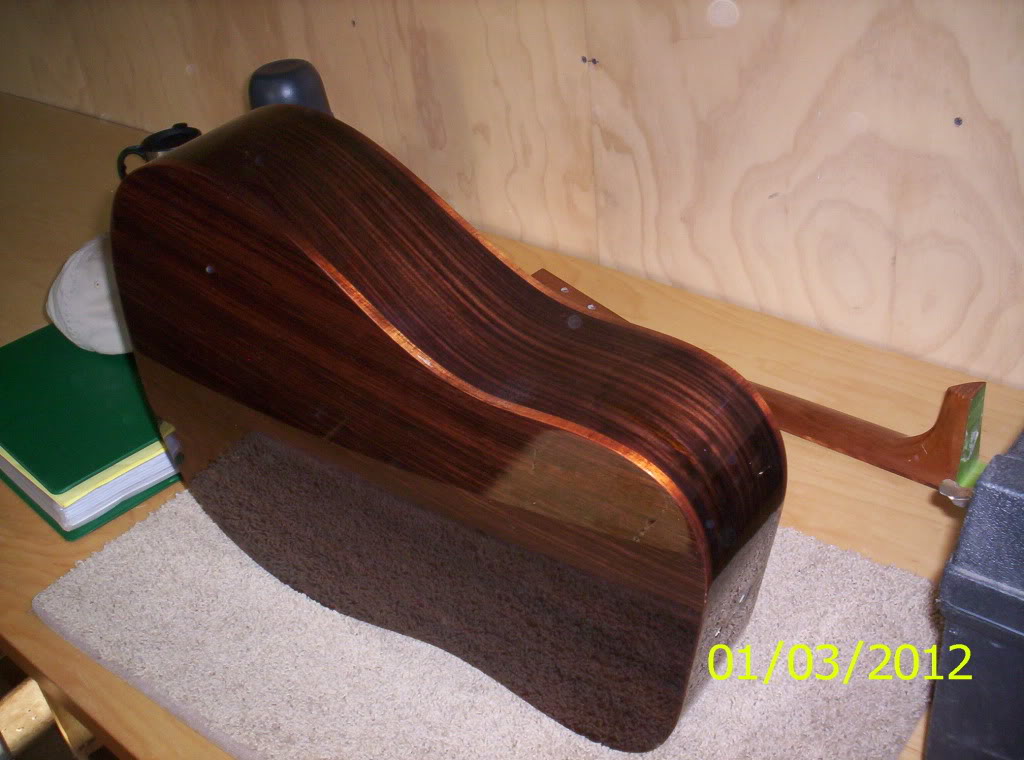
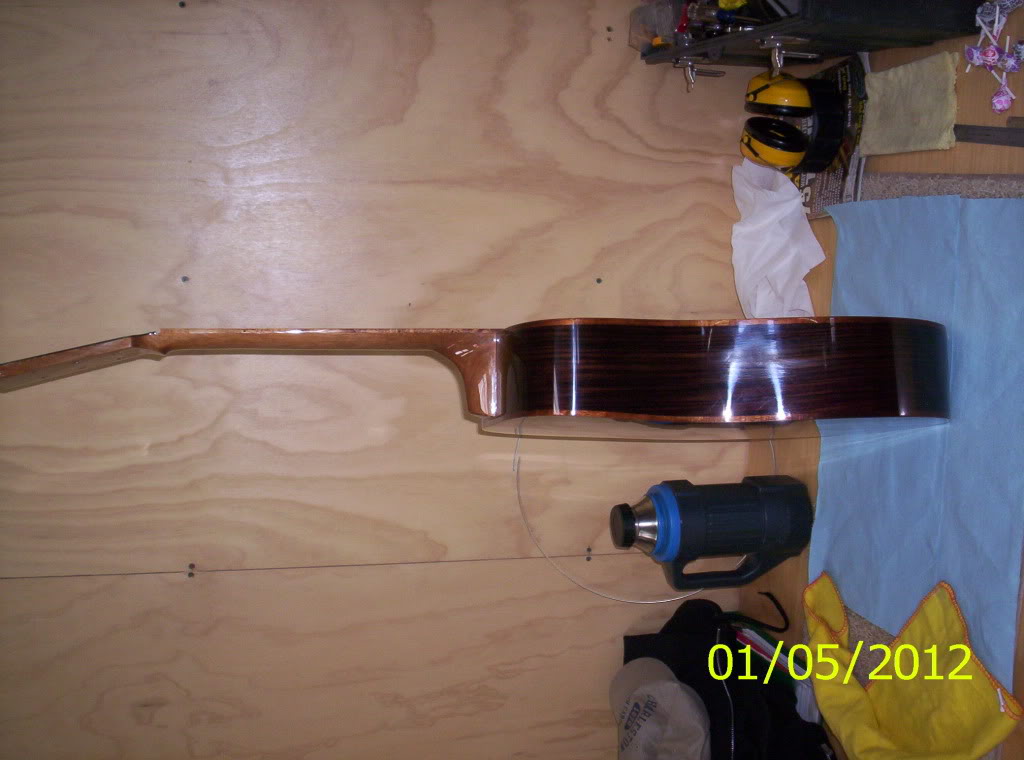
Not too bad, but, it's okay. Next, I want to show a few shots of the completed body. I am finally happy with the finish.
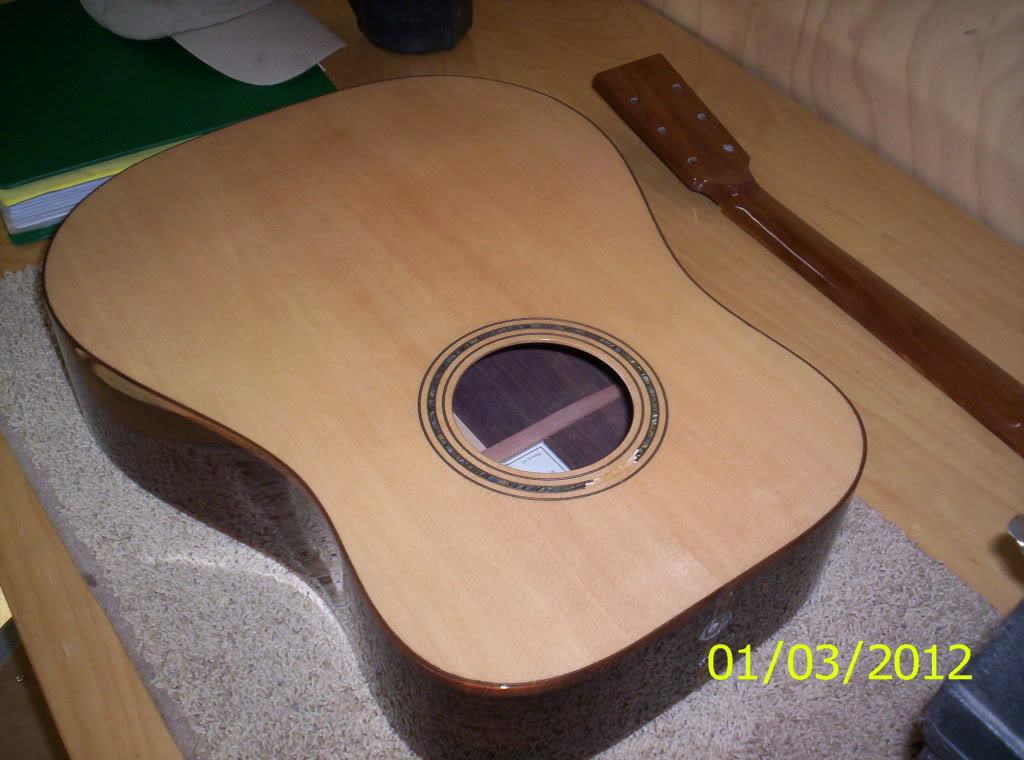
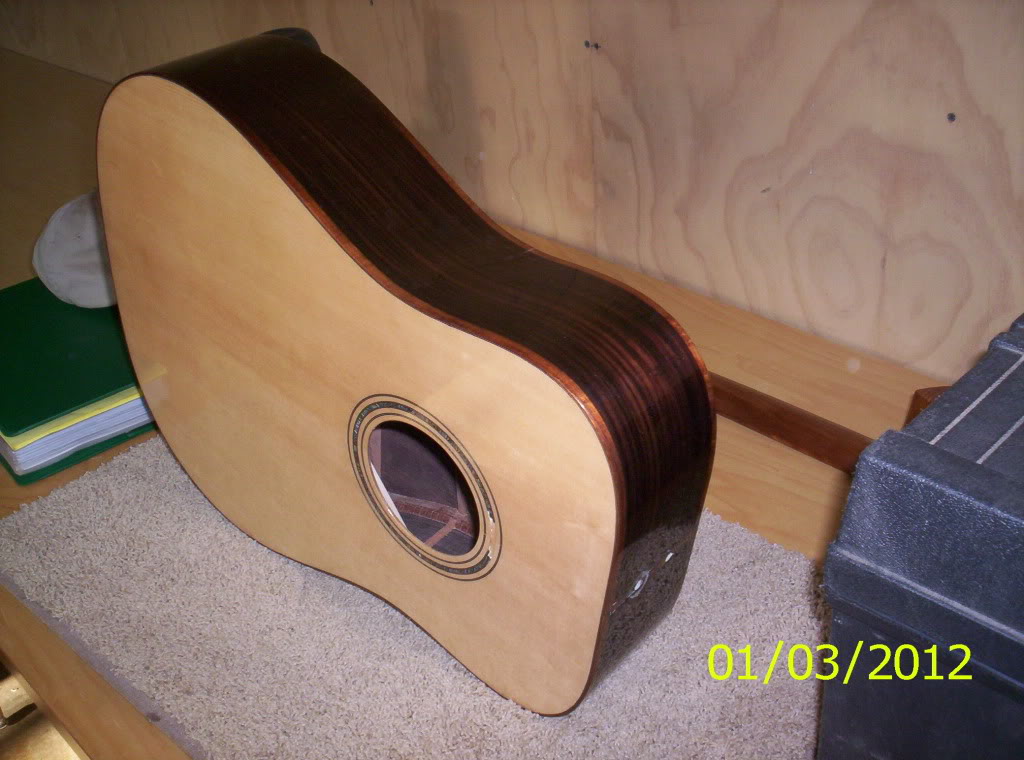
105_7980.jpg


105_7981.jpg


105_7982.jpg


105_7983.jpg


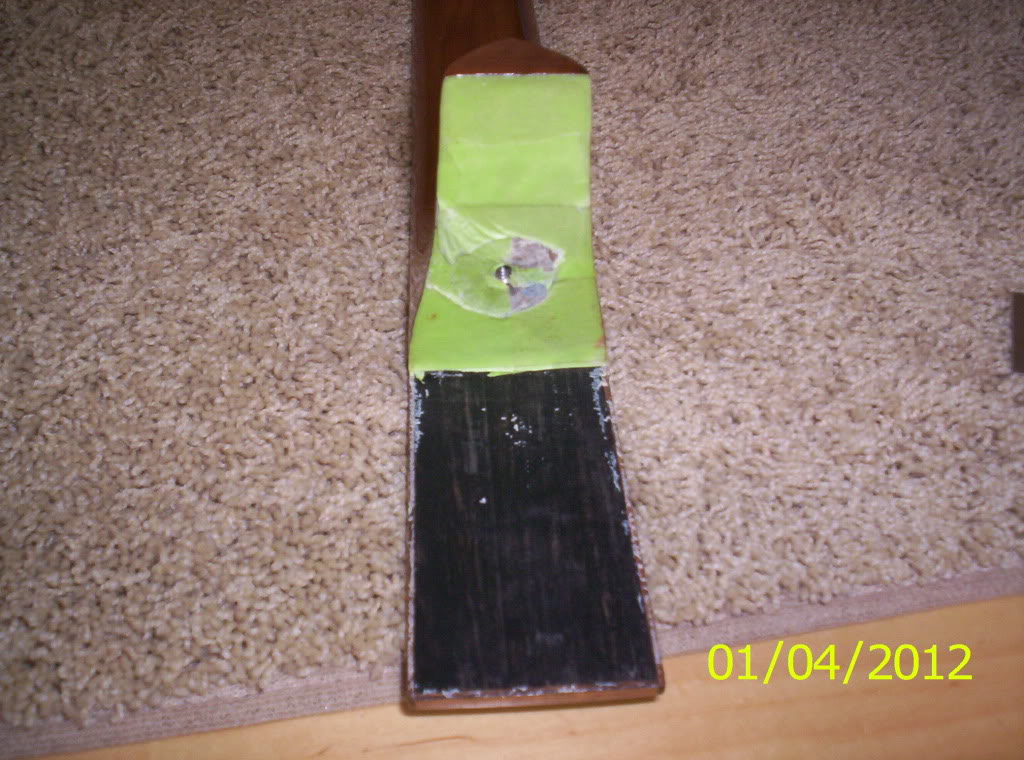
After the body and neck get checked off, it's time to take off the tape, protecting the fretboard and neck joint, during spraying and buffing. As before...you need to knock the lacquer off of the edges, to keep from pulling any lacquer, as you pull tape. I started with the neck joint area.

First is removing the tape from the fretboard extension, I start by running a razor blade between the tape and wood, then, pull in towards the center
105_7997.jpg


and, although I did not get a picture...you do the same for the heel. In that picture, you see all kinds of glue residue....obviously, clean it up!

After I repeated the process for the fretboard, I cleaned all the residue off, and had to see the completed work:
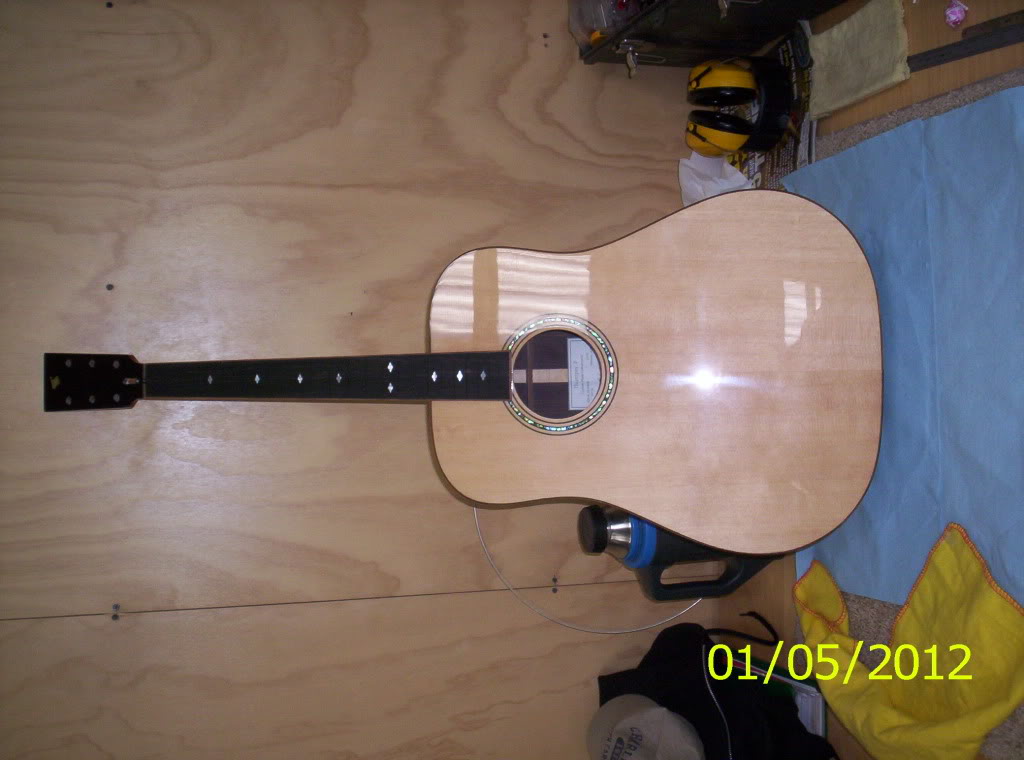
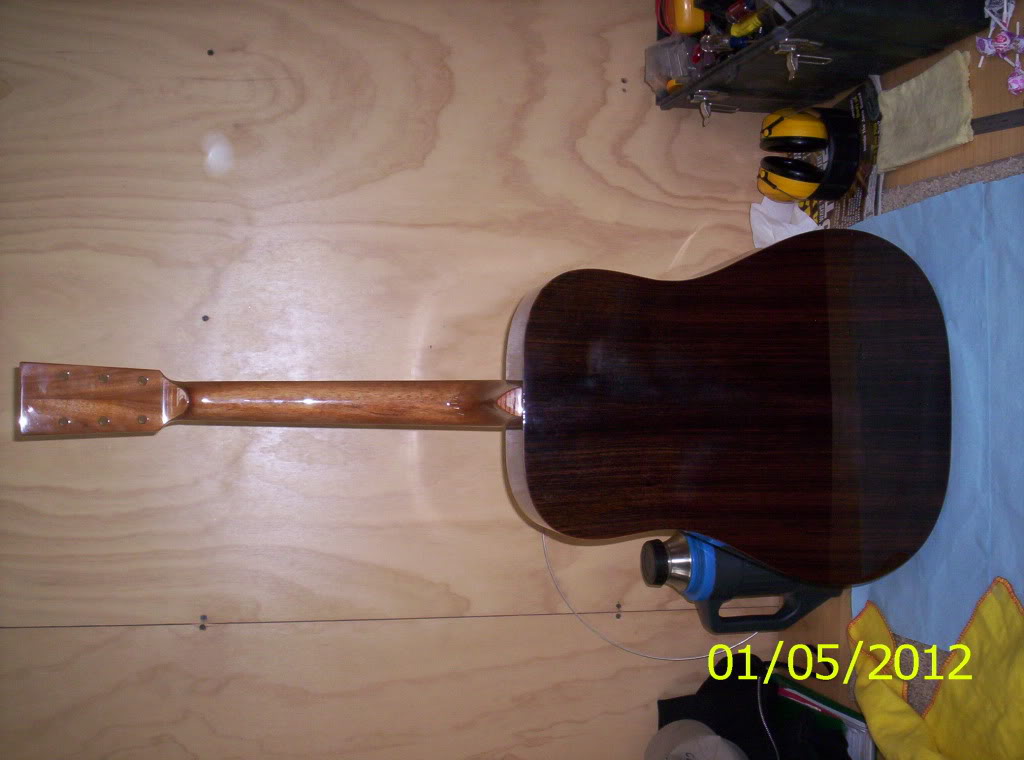
105_7998.jpg


105_7999.jpg


105_8000.jpg


I had to do a nice little mock-up, with the bridge,
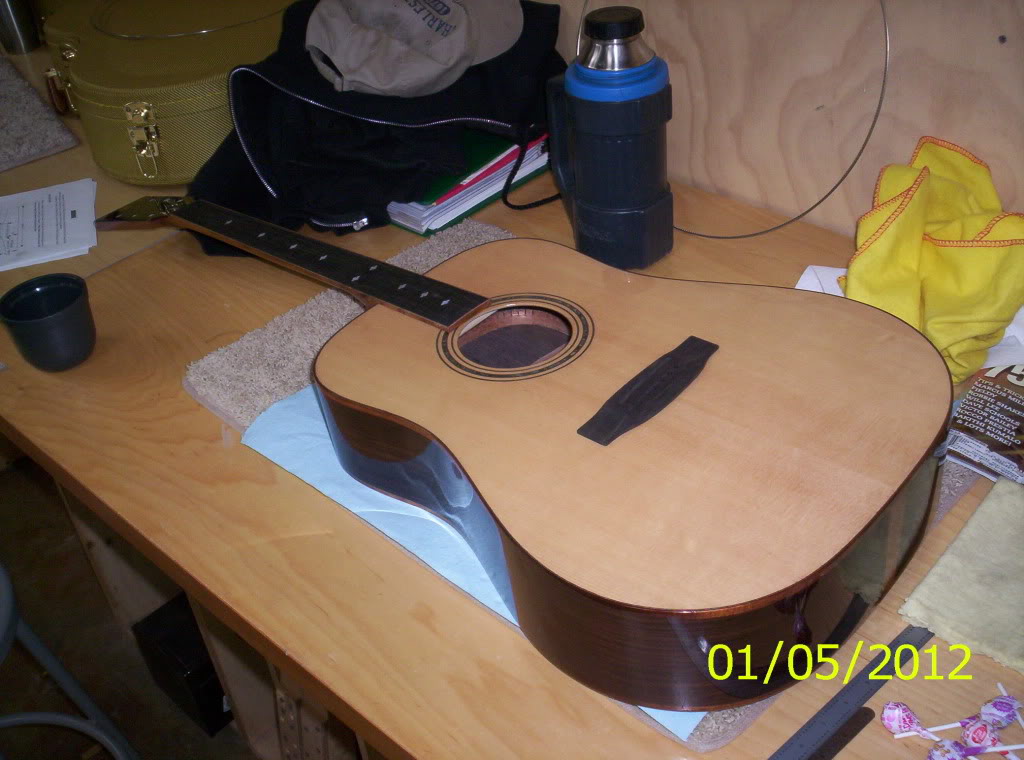
105_8001.jpg


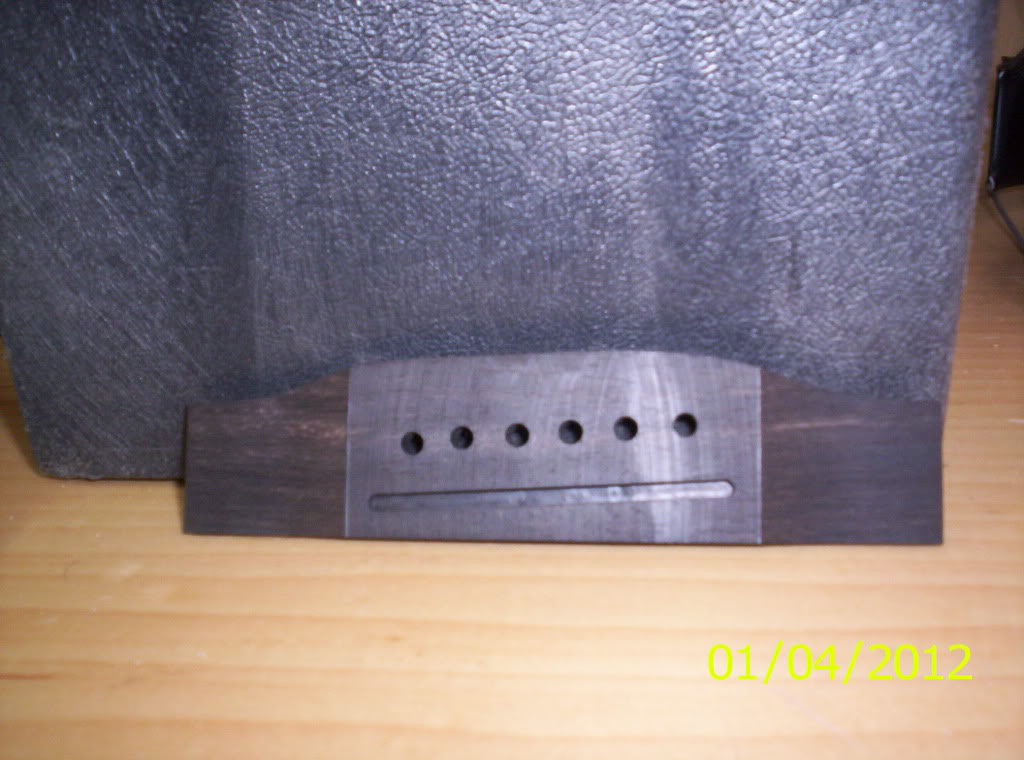
Speaking of the bridge...

105_7990.jpg


This is after sanding a 16" radius in the top, matching the radius of the fretboard
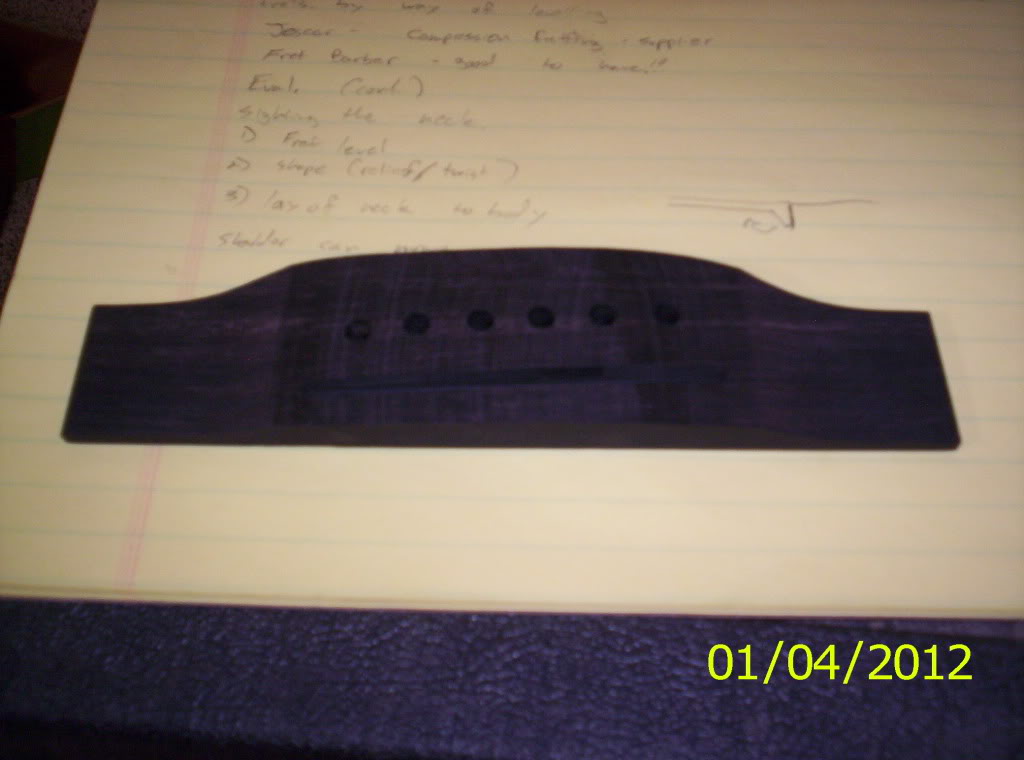
105_7988.jpg


but, you need to sand the treble side 1/32" lower than the bass side, to compensate for the string size.
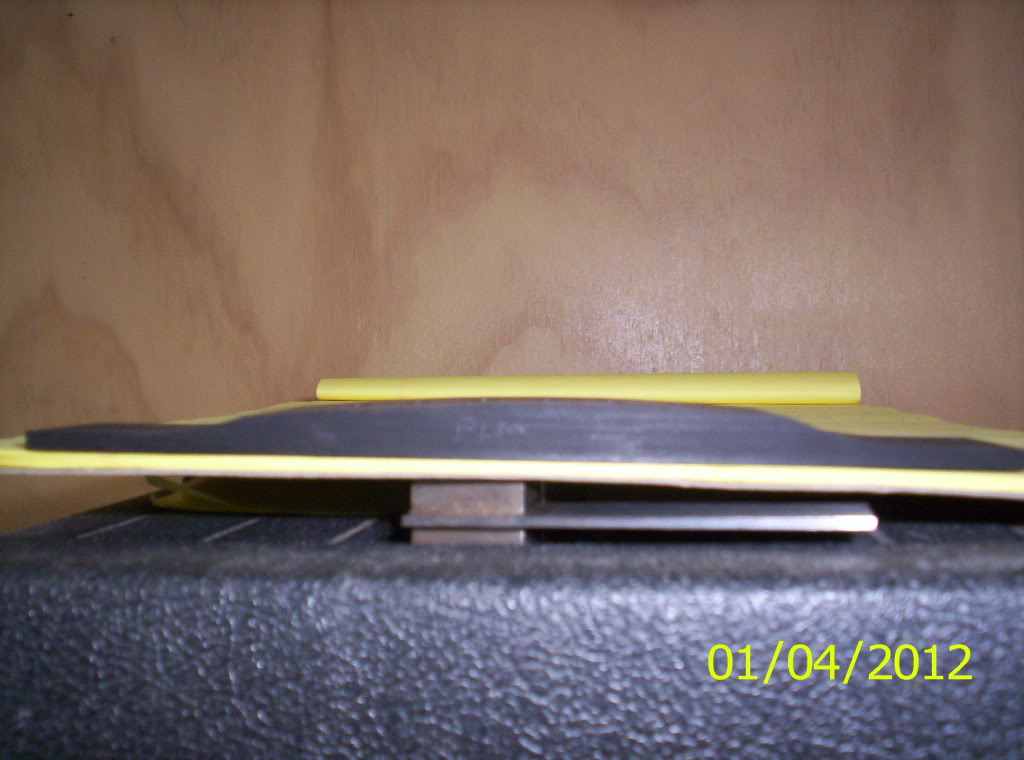
105_7989.jpg


After sanding the radius, it is necessary to create a roundover on the top, creating the proper string break angle, after the saddle.
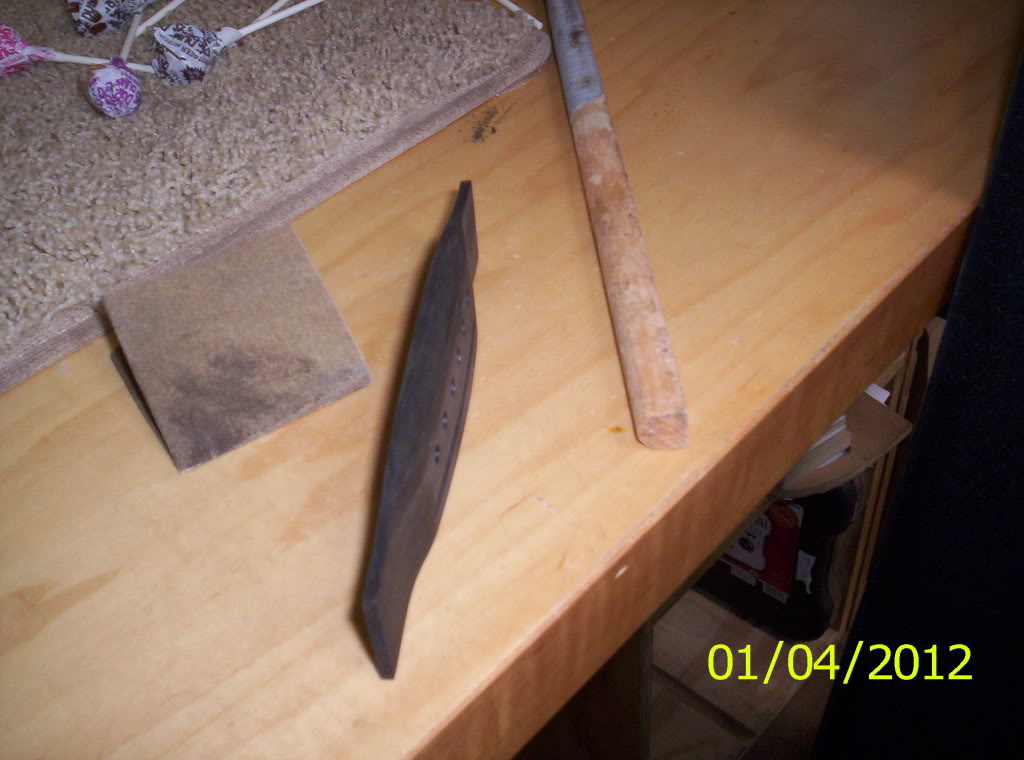
105_7996.jpg


and I will say, these pictures are after I had finish-sanded it to 220 grit. Here's a couple more...
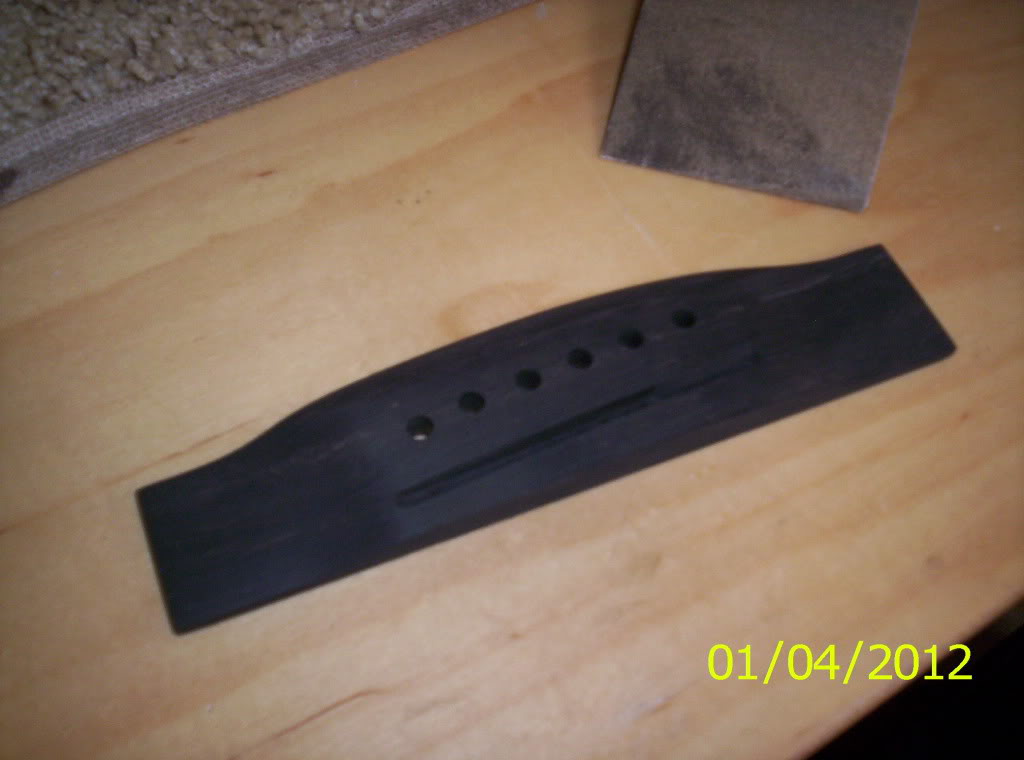
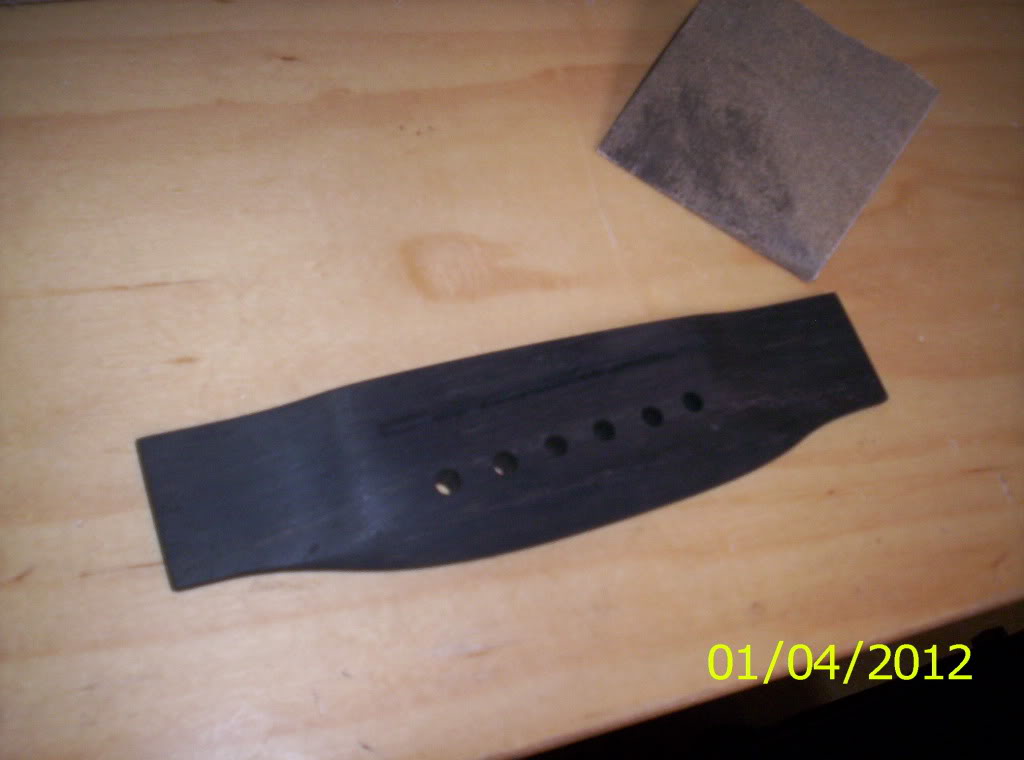
105_7995.jpg


105_7994.jpg


Now that you guys are caught up on the bridge, I needed to fit the neck to the body. Now remember, I did this before I sprayed, but, lacquer can change many things.
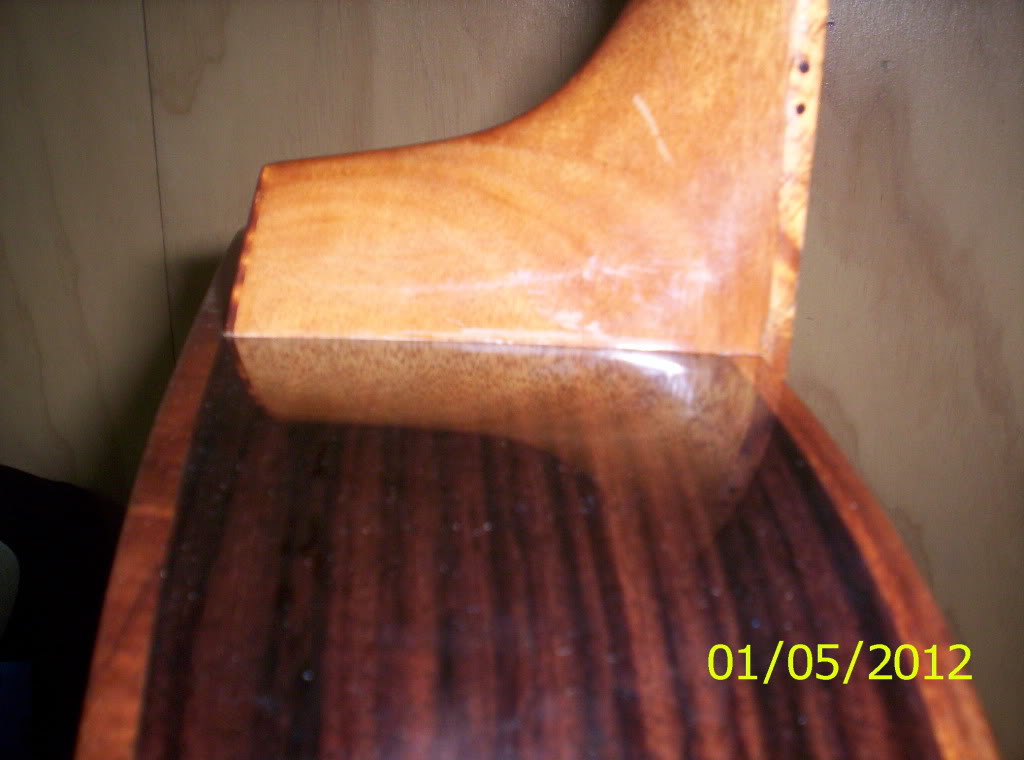
105_8003.jpg


The way to change these things is to sand between the heel and the shoulder of the acoustic body.
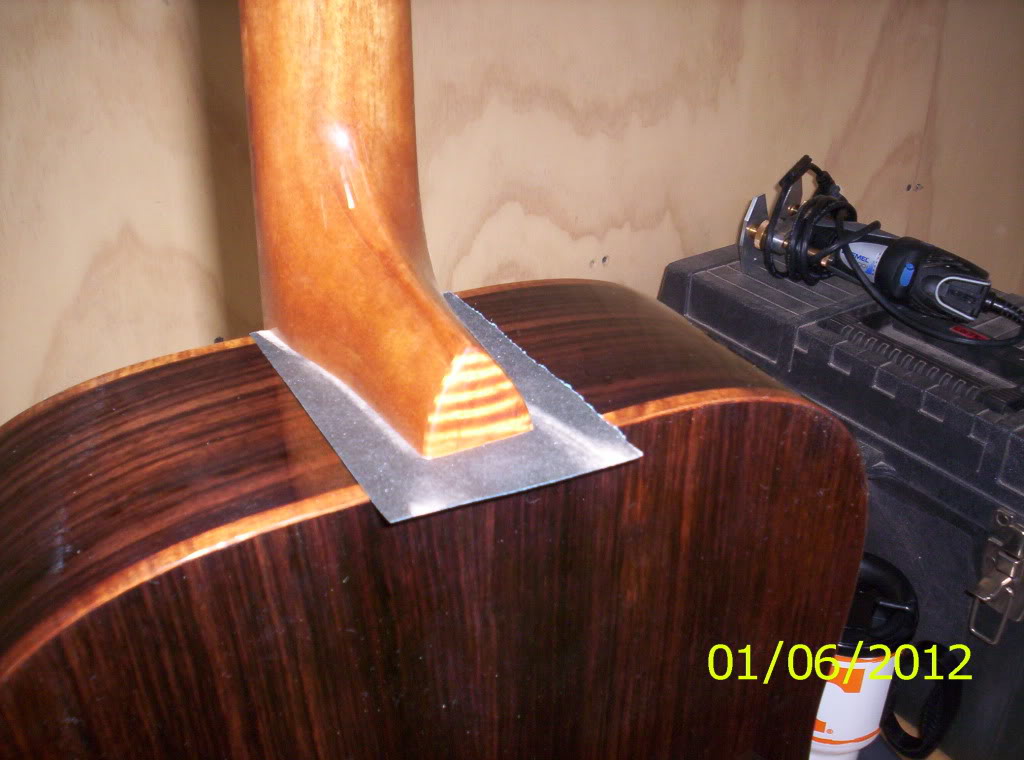
105_8005.jpg


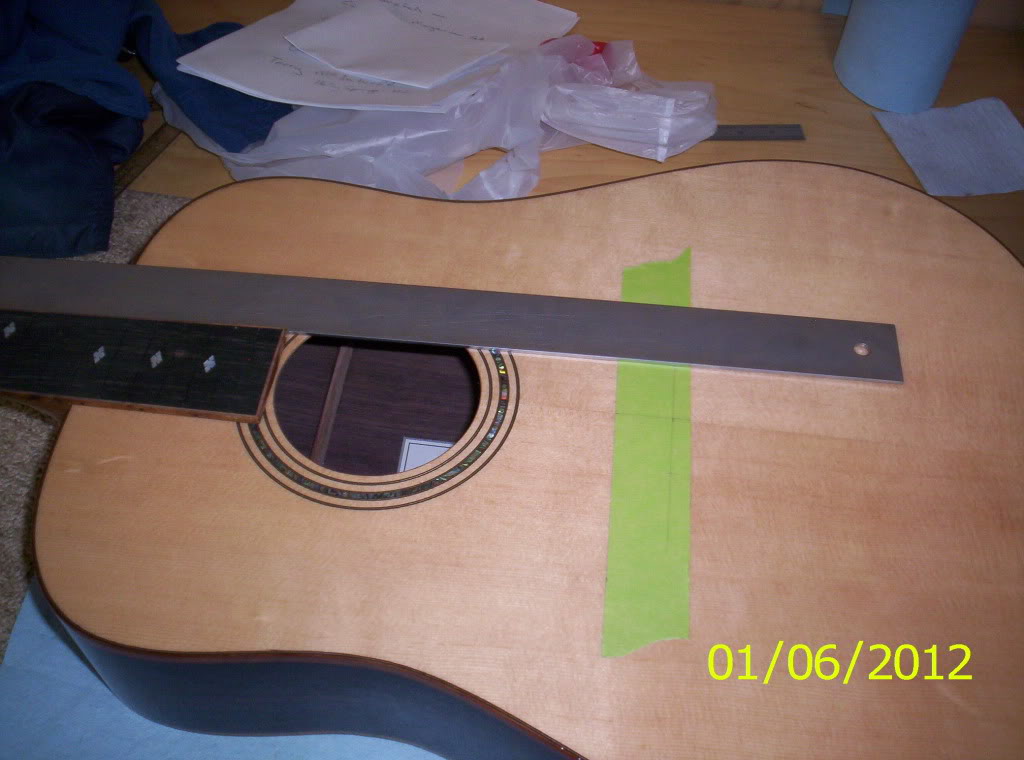
The goal is to have correct pitch, side-to-side and fit. To check two of these things, you need to mark where the scale-length is:
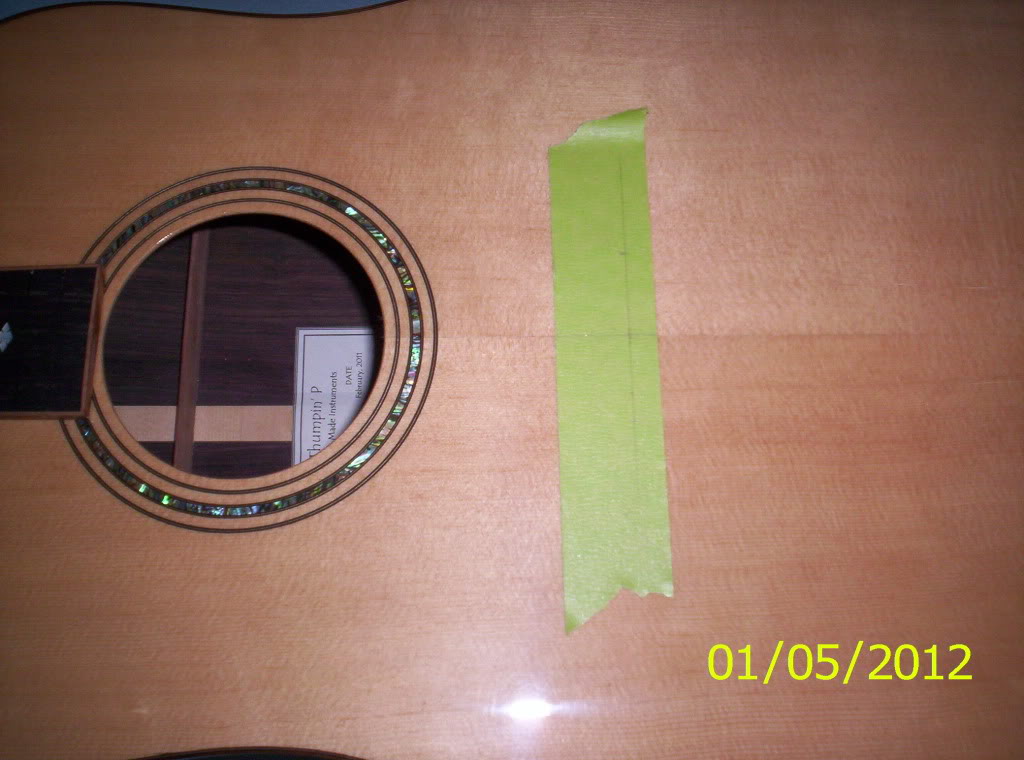
105_8002.jpg


with the neck attached by bolts, you will check the alignment, and pitch with a straightedge:
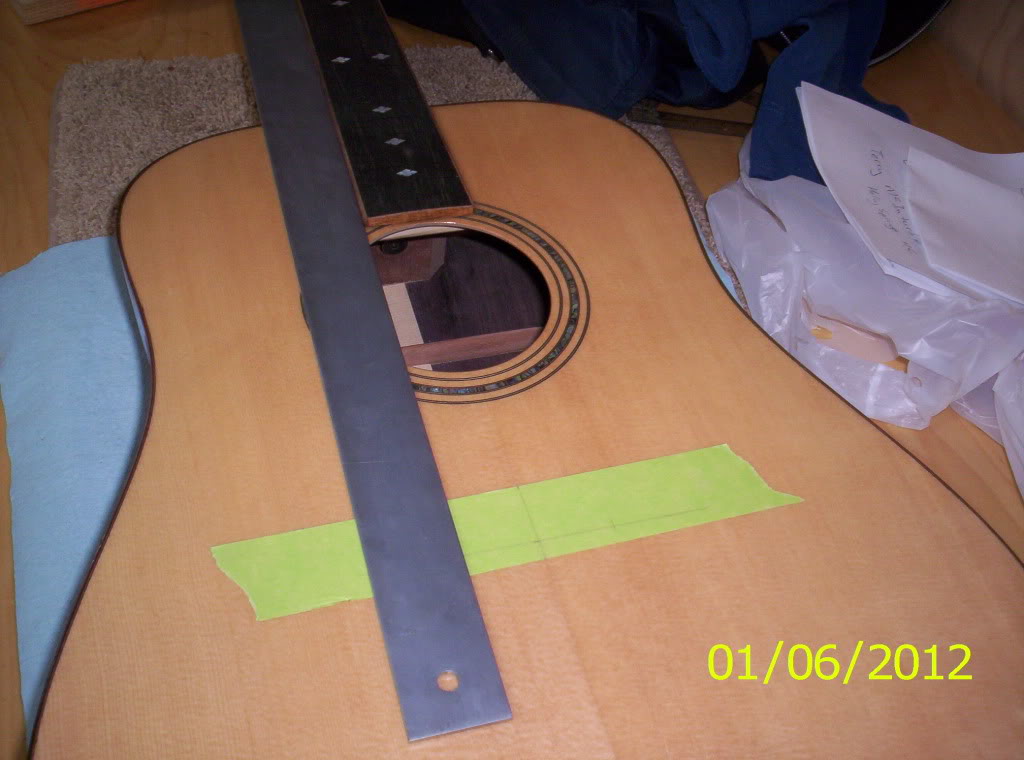
105_8006.jpg


105_8007.jpg


When it was all said and done, my alignment was good, my pitch was good, and the fit was finally good.

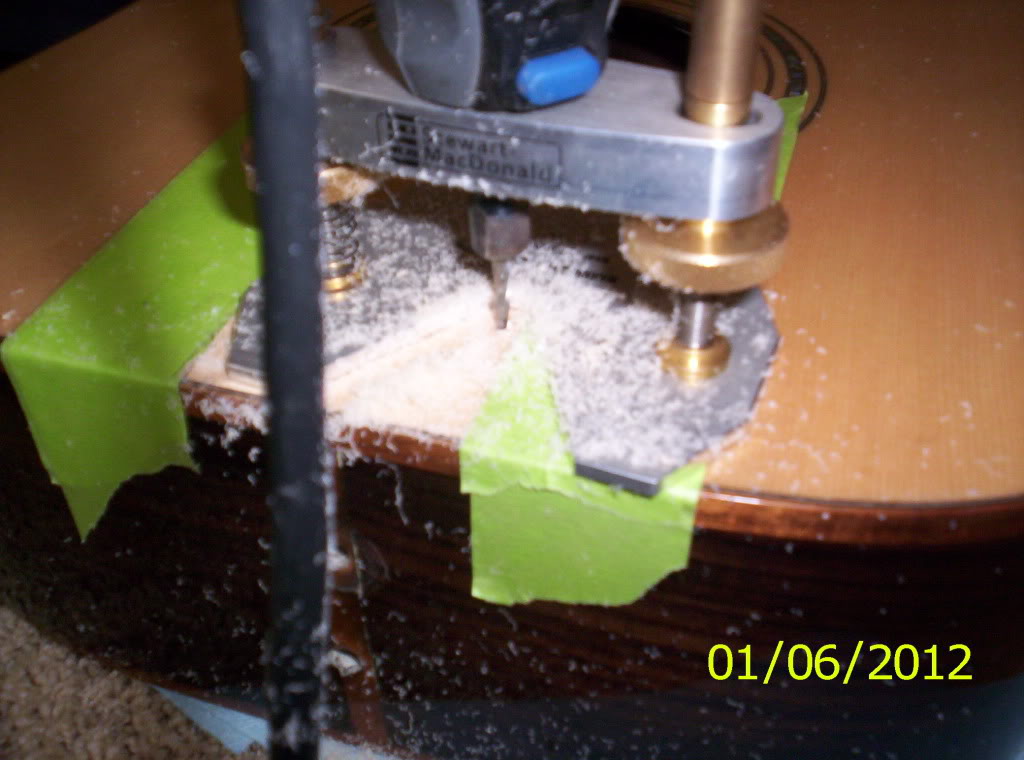
After that was checked off, you need to tape off the edges around the fretboard, to prepare for removing finish from that area of the body.
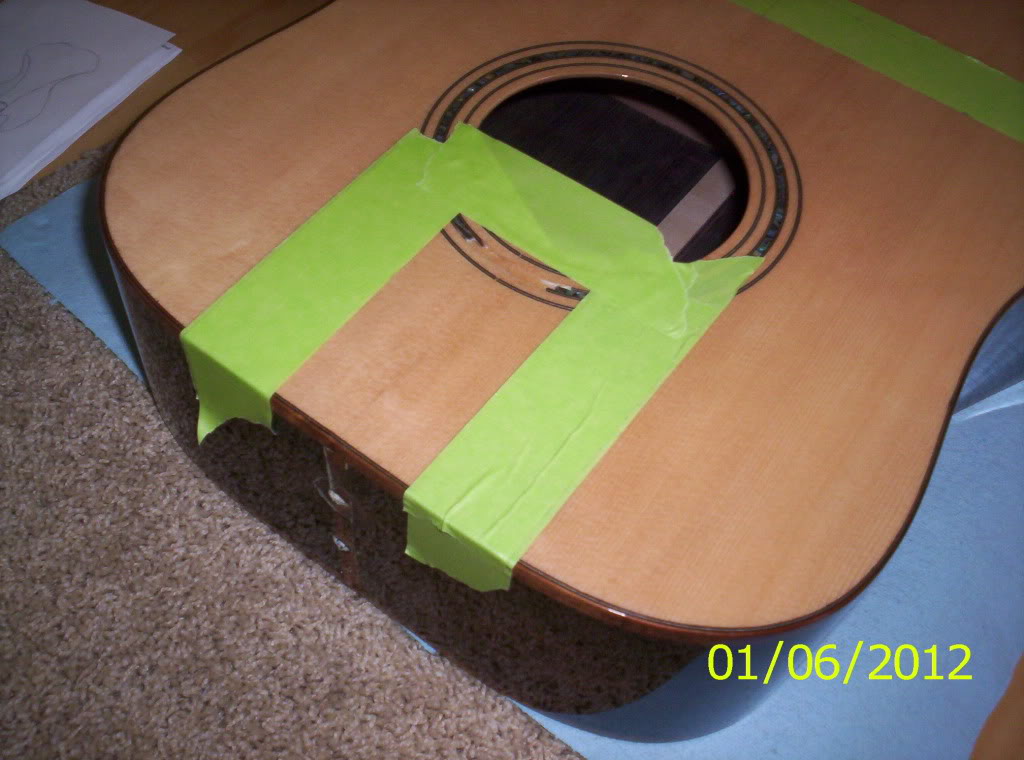
105_8008.jpg


Then...you make some dust...

105_8009.jpg


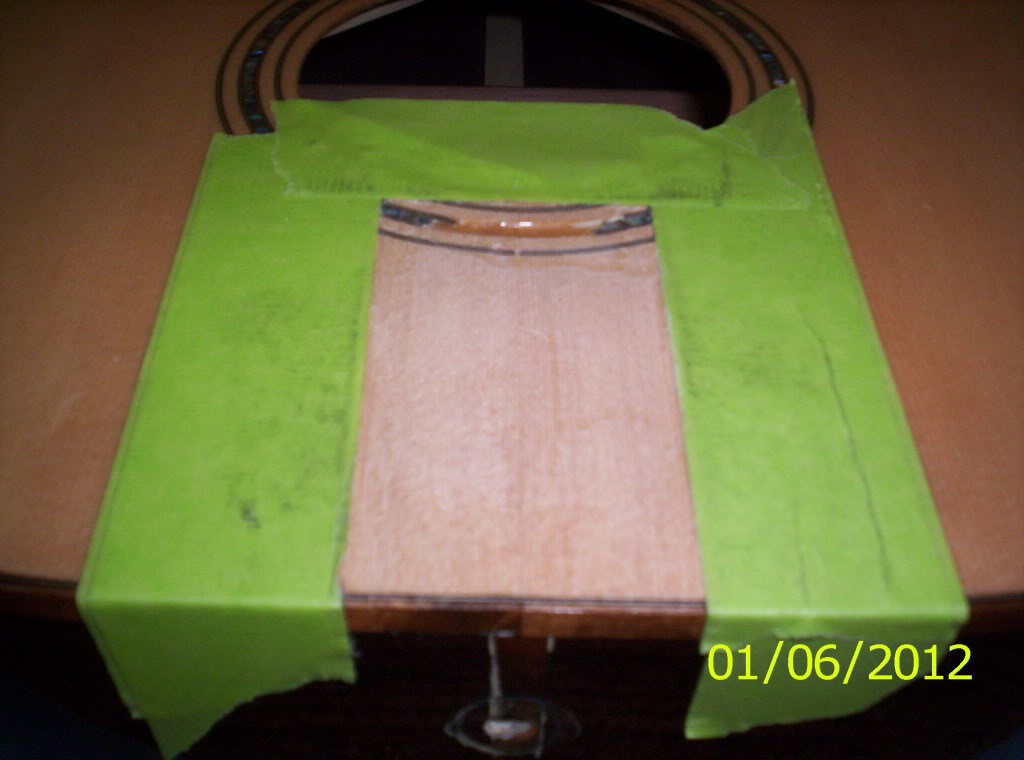
The result...

105_8010.jpg


Ready for gluing!

When this was finished, it was almost time to clean up, so, I started a couple of small projects.

First, the frets. I bent a 14" radius, and cut them 1/8" longer than needed. and used my new fret block!
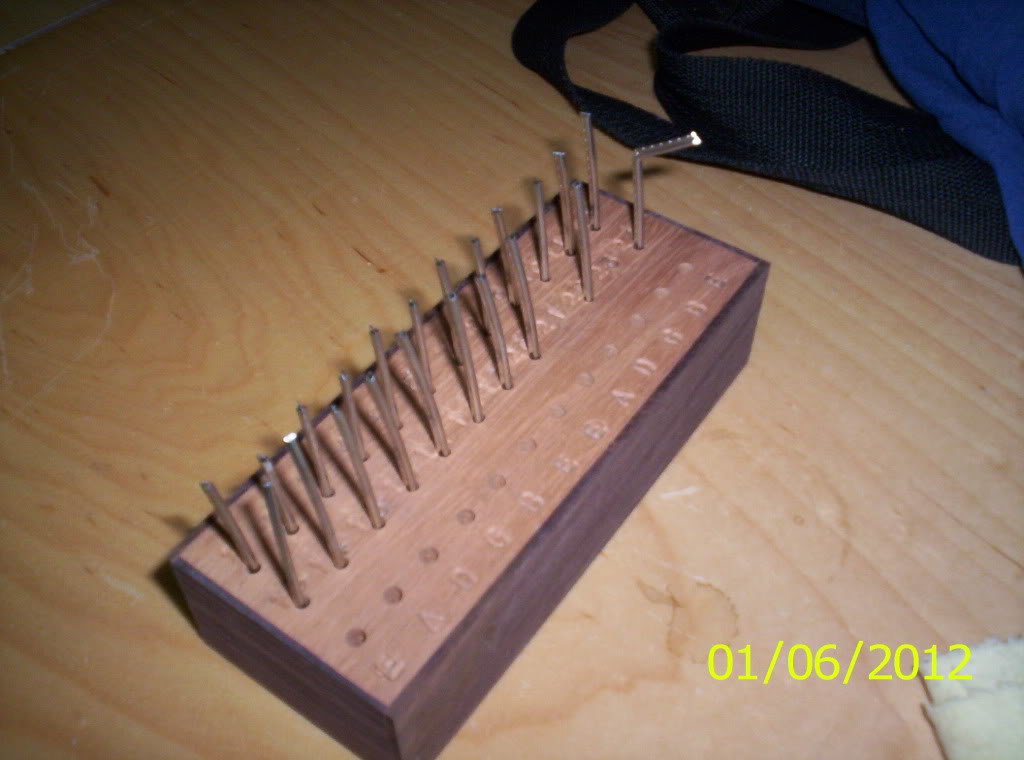
105_8011.jpg


Plus, I prepped my bass body for spray tomorrow. It is now finish sanded, and the edges of the lacquer, were scuffed up. I know it's messy, but...this is the first time that I have done this.
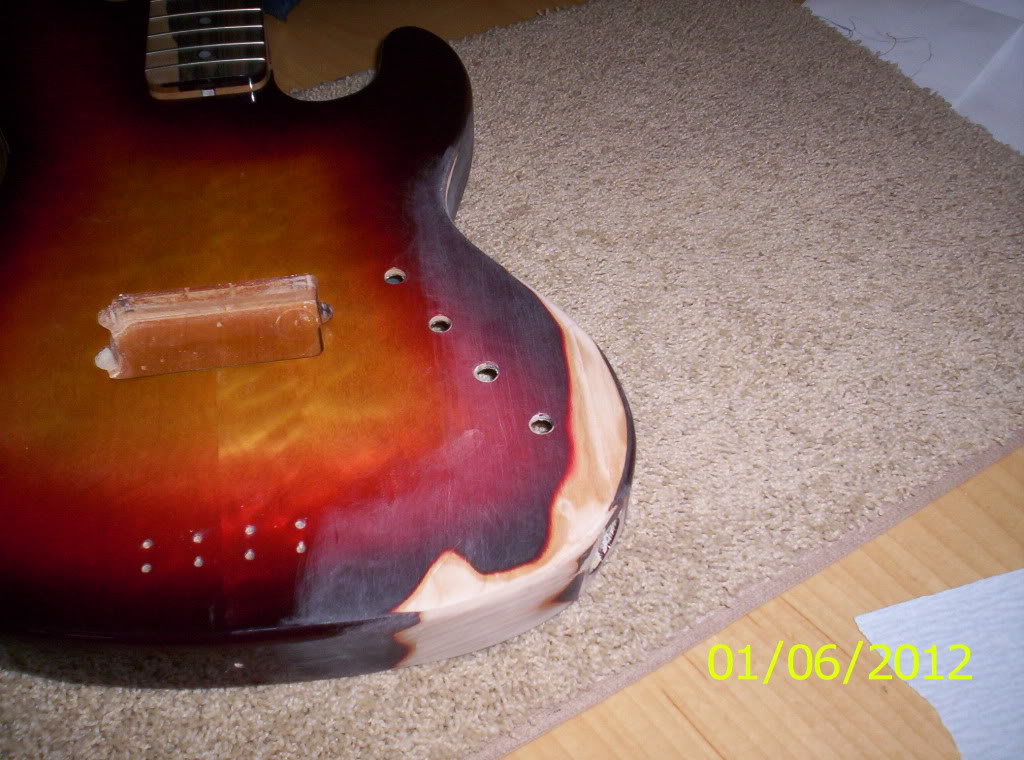
105_8012.jpg


I am going in to the shop today, to glue the neck on, and to put at least 5 coats of clear lacquer on. I will grab some photos, and post more later.

Sorry for the wait, and...

Thanks for watching!

Thumpin_P
 
Okay Faithful Watchers....

Here's another two day update. I went in on Saturday, to get some extra work done. Not only on the acoustic, but, for those you who have followed this thread, I needed to start on the touch-up finishing on the bass body.

I needed to get started spraying lacquer first, so, I prepped the body by scuff sanding all over it.

105_8014.jpg


105_8013.jpg


That control cavity seems like it will be a problem...I must fix that...tape!

105_8015.jpg


and after trimming it completely... You will also notice that the ferrules are removed. That was a pain.

105_8016.jpg


I also plugged the output jack hole, from the inside. I applied some Zar wood finish to the bare wood, acting as a wash coat or a coat of vinyl sealer. That may be hard to see, though.

After several coats, plus extra spraying in some low spots, The finish looks pretty good.

105_8018.jpg


105_8017.jpg


I will go back, after Wednesday, and start touching up the burst. Maybe even starting that on Wednesday, so I have a chance to spray some clear, and be done by Friday. I set that deadline, so that the finish would have time to cure before graduation. I also got my neck bolted in and the fretboard extension glued in place. I failed to get pictures of that, but, I will take some shots tomorrow. I did, however, get a shot of the collection of trimmed frets, complete with the new, improved fret-o-tron.

105_8011.jpg


I have some spare material in slot no. 22 and the test piece in no. 24. I also did some fitting to the bridge, sanding a 30' radius into the underside, to match the radius of the top.

Fast forward to today...We had a demo on prepping the top for gluing the bridge. First... you draw your center line on some tape, and draw where your scale length and your string length will be.

105_8019.jpg


You also double check your side-to side, which panicked me a little at first, until Josiah pointed out that my center line was drawn incorrectly. I was 1/32" off, so, after correcting, I was good. Next, you do a little math and draw out some measurements on the bridge. you configure your center line, centering it between the outside edges of your string spacing, and, you need to involve some compensation for the saddle slot. once you have these marks made, you have four points to line up...your center line, front and back, and the mark for you compensation, bass and treble. You line the latter measurements up with the string length line.

105_8020.jpg


From there, you clamp the bridge in place, double checking your alignment, and drill through the outermost string locations. Once you have the holes drilled, you insert two Delrin registration pins,

105_8021.jpg


and trace the outline around your bridge.

105_8022.jpg


From here, it is identical to the process for gluing on the fretboard extension. you cut the outline out, leaving 1/16" from the outline of the bridge. Then, you rout...clearing the lacquer away. I, once again, failed to get pictures, but, I will remedy that first thing tomorrow. I also prepped the fretwire, by trimming the excess tang, and filing the exposed ends flat. With binding, you have to remove part of the fret tang, or else you will split your binding. I did not get a good picture, because there is not that much of a difference. I will get a close-up, though, for those of you inexperienced with binding...like me.

The majority of the rest of the day, we had a very special guest. Frank Ford, of Gryphon Stringed Instruments and Frets.com, is here for a two-day lecture. He knows more about guitar repair than most. If you have not been to his website....well, you really need to check it out! It is wealth of information that no luthier should be without! Take for example...his traveling tool case.

105_8023.jpg


This is engineered so well. The tools included are perfect for most demonstrations, and, all these layers stack together and fit in a custom flight case. Very nifty stuff! I asked him if he minded if I took some photos, and then explained why. He was very gracious in allowing me to take any photographs that I wanted. Here he is, getting ready to work on a 1974 Martin D-28. He said that the plans are to do a neck reset, a fret job, a set-up, and anything else that was encountered.

105_8024.jpg


The next few photos are of the process of removing the neck.

105_8025.jpg


Here, he is using a putty knife and a heating blanket, to release the glue underneath the fretboard extension.

after removing the 15th fret, he drills two hole in the fret slot, one on either side of the dovetail joint.

105_8026.jpg


Here, he is prepping for steaming the neck joint, softening the glue. What you see is basically, a press. Once the glue is loose, you can turn the screw underneath the heel cap, and the neck will come loose. You also see the poor man's steam maker...a cappuccino machine!

105_8028.jpg


By fitting a hose to the steam output, then using a needle, which is the same size as the hole he drilled, you can inject steam into one hole, and the steam will escape from the other. The steam will travel all through the glue joint, softening it up.

105_8029.jpg


and now... no neck!

105_8030.jpg


The final shot that I got was when he was cleaning the dovetail on the neck. He got it glued back on in no time. One of my classmates asked me, on the way home, "so, he charges 800.00 for a neck reset....that looked so easy." To which I replied "He's been doing it longer than you've been alive. It's going to look easy."

105_8031.jpg


I have the feeling that, Mr. Ford is one of those people that i can say " I wish I knew what he has forgotten about guitar repair." I will post more pictures tomorrow of the continuation of the lecture.

Thanks for watching, and for getting this thread to over 20,000 views! That's awesome!

Thumpin_P
 
  • Like
Reactions: chapito
Hello faithful watchers!

I have had another fun-filled day. No fatal mistakes today, so that is good news.

I do have some extra photos to post, real quick, as i failed to take them initially.

First, pictures of the glued-in neck. The only glue really went to the fretboard extension, but, it is easier to say glued-in neck, versus glued -in fretboard extension.

105_8033.jpg


I think it turned out very well. and I only have a little excess to clean up.

105_8034.jpg


Here, you can see the glue squeeze-out, which I missed. It is at the edge of the fretboard, on the treble side. I will use some warm water and a paper towel. It should come off nicely.

Next, a shot of the trimmed frets. i don't know how well this shows up, but, in some of them, you can see the trimmed excess tang, making it easier to install on bound fretboards.

105_8035.jpg


and, lastly, a shot of the routed bridge area.

105_8032.jpg


This will be the last time that you see this image, because, I got my bridge glued in today.

105_8036.jpg


After all the prep-work, we had a demo on it. There wasn't anything really that far different, but, there were simply different obstacles to work around. After making some simple cauls out of scrap mahogany, I was ready to go.

105_8037.jpg


105_8038.jpg


After some glue clean-up and three hours of dry time...this is what I have.

105_8041.jpg


Woo Hoo!!!!!
Please note, I started pulling the registration pins out, just not all the way. That will have to wait. Along with drilling the rest of the holes out. Needless to say, I am happy with the way that this is turning out.

While that was gluing up, I had the opportunity to work on my nut (I will keep my comments to myself...)

I got the nut rough shaped, sized, and started working out the spacing.

105_8039.jpg


105_8040.jpg


I will get more work done tomorrow, as Frank Ford finished up today. He really is a whiz at repair! He did an entire refret, complete with repairing cracks in the fretboard and leveling the board, plus, re glued a pickguard. This was all in the span of about 4 hours. Plus, he was talking to us the whole time, as he was working. Definitely a worthwhile learning experience!

Tomorrow, I will get some more work done on the acoustic, plus. I will try to get some color sprayed on the bass body. I really haven't made any progress since Saturday.

Well, I appreciate all the support and the compliments, and I only hope that this thread is doing its job...education and entertainment. Until next time...

Thanks for watching!

Thumpin_P
 
ksihawk;

Unfortunately, not really any luck, as far as a job. I know that the market is a mess right now. I need to make some follow up phone calls, but, the schedule has been pretty packed right now. I have a back-up plan, but, that might fall through, also. I will simply pray about it, and wherever I am supposed to go, that is where I will go. Something will turn up.

Thank you for the compliment, also. I am trying to make it something that you would want to read. I see that it is working.

Thanks for the interest, and keep on watching!

Thumpin_P
 
P, I'm really glad you got pictures of Frank Ford's visit. It was so amazing having him in the shop. I don't think I will ever meet anyone with as much knowledge or experience in the world of acoustic guitar repair. He is such an inspiration. Your acoustic is lookin good, btw!!
 
Well folks,

I have my apologies to make. I neglected posting yesterday. I was just too darn excited... I actually have an interview with a custom guitar manufacturer, which is widely known to us TBer's. I don't want to post the name, though, so I don't jinx myself. If anyone is interested, that has been keeping up with thread over the months, PM me, and I will share. Suffice it to say, I feel good about the conversation. I think that I will start in the electronics department, as that is my specialty. Once I get the job (because I am that confident) I will add something to this thread. I would start a new one, but, the owners probably wouldn't like me taking pictures.

Now... on to catching up!

Yesterday (Wednesday) we concentrated on the bridge. After it was glued up and dry, it was time to drill through the additional bridge pin holes. After that, we used a countersink bit and chamfered the holes 1/16" larger all around, making a 5/16" chamfer:

105_8042.jpg


After the chamfer, it was time to fit our bridge pins. Using a 3 degree reamer, we carved the hole to fit each of the pins:

105_8043.jpg


starting to look nice...

We have started cleaning out the fret slots, using a Dremel, a router base, and a jeweler's burr. This makes cleaning out glue and dust extremely easy. This also widens the slot, but only slightly.

105_8045.jpg


after all the slots are cleaned out, we are ready for fretting. This process continues tomorrow.

I also did quite a bit of drop-filling on the bass, but, I would say that that process is on hold until Friday, maybe Saturday, or even Monday. I have run into some mis-communication problems and am having to back-track.

So... today (Thursday)!

We were finally allowed to ream out the tuner holes and mount our tuners.

105_8046.jpg


Very nice!

We continued with the fretting work. First, you need to level the fingerboard. I used 80 grit and a flat aluminum block. Once the board is level, then you work through the grits to 220 grit. Then, you need to put a small bevel on the edge of the fret slot. This allows for an easier installation, but, it really helps for re-fretting. This will produce fewer chips when you remove the frets.

Well, I thought I had a picture...but, I don't. Even if I did... you might not see a difference. So, here is the first fret, hammered in.

105_8047.jpg


and I just keep on going from there...

105_8055.jpg


This is after most of the frets are hammered, clamped and glued in. You can actually see the clamping caul in action. The last two frets are still full length, with the cauls on. I also used that nifty cardboard to cover and protect my finish. After trimming all of the ends, I called it a day on the frets. They absorbed quite a bit of my time today.

We also worked on our saddles today. I have mine thickness sanded, and the edges rounded to match the saddle slot.

105_8057.jpg


In this picture, you can see the crown points drawn out.

Once you have your nut (and/or ) saddle close to the thickness (roughly .005" shy) you start working through the grits. That way, when you have the nut or saddle polished nicely, while still fitting in the particular spot. As I said, that picture shows the crown points drawn out. Before I did that, I had to sand a radius into the top edge, which matched the fretboard radius (16"). Then, I could draw the crown point lines.

I figured that I would leave you with some visions of the future...complete with rosewood truss rod cover...

105_8058.jpg


105_8059.jpg


There will be plenty more tomorrow! So, Keep watching!

Thumpin_P
 
Looking great Paul! That's one beautiful acoustic you're going to have on your hands.

I know we've discussed this in the past but wow I love that Koa binding, the finish really made it pop and it just gives your acoustic a really elegant look. Love it.

Any chance for soundclips after the bass has been refinished? I know I can't be the only one wanting them!

-Greg
 

Latest posts