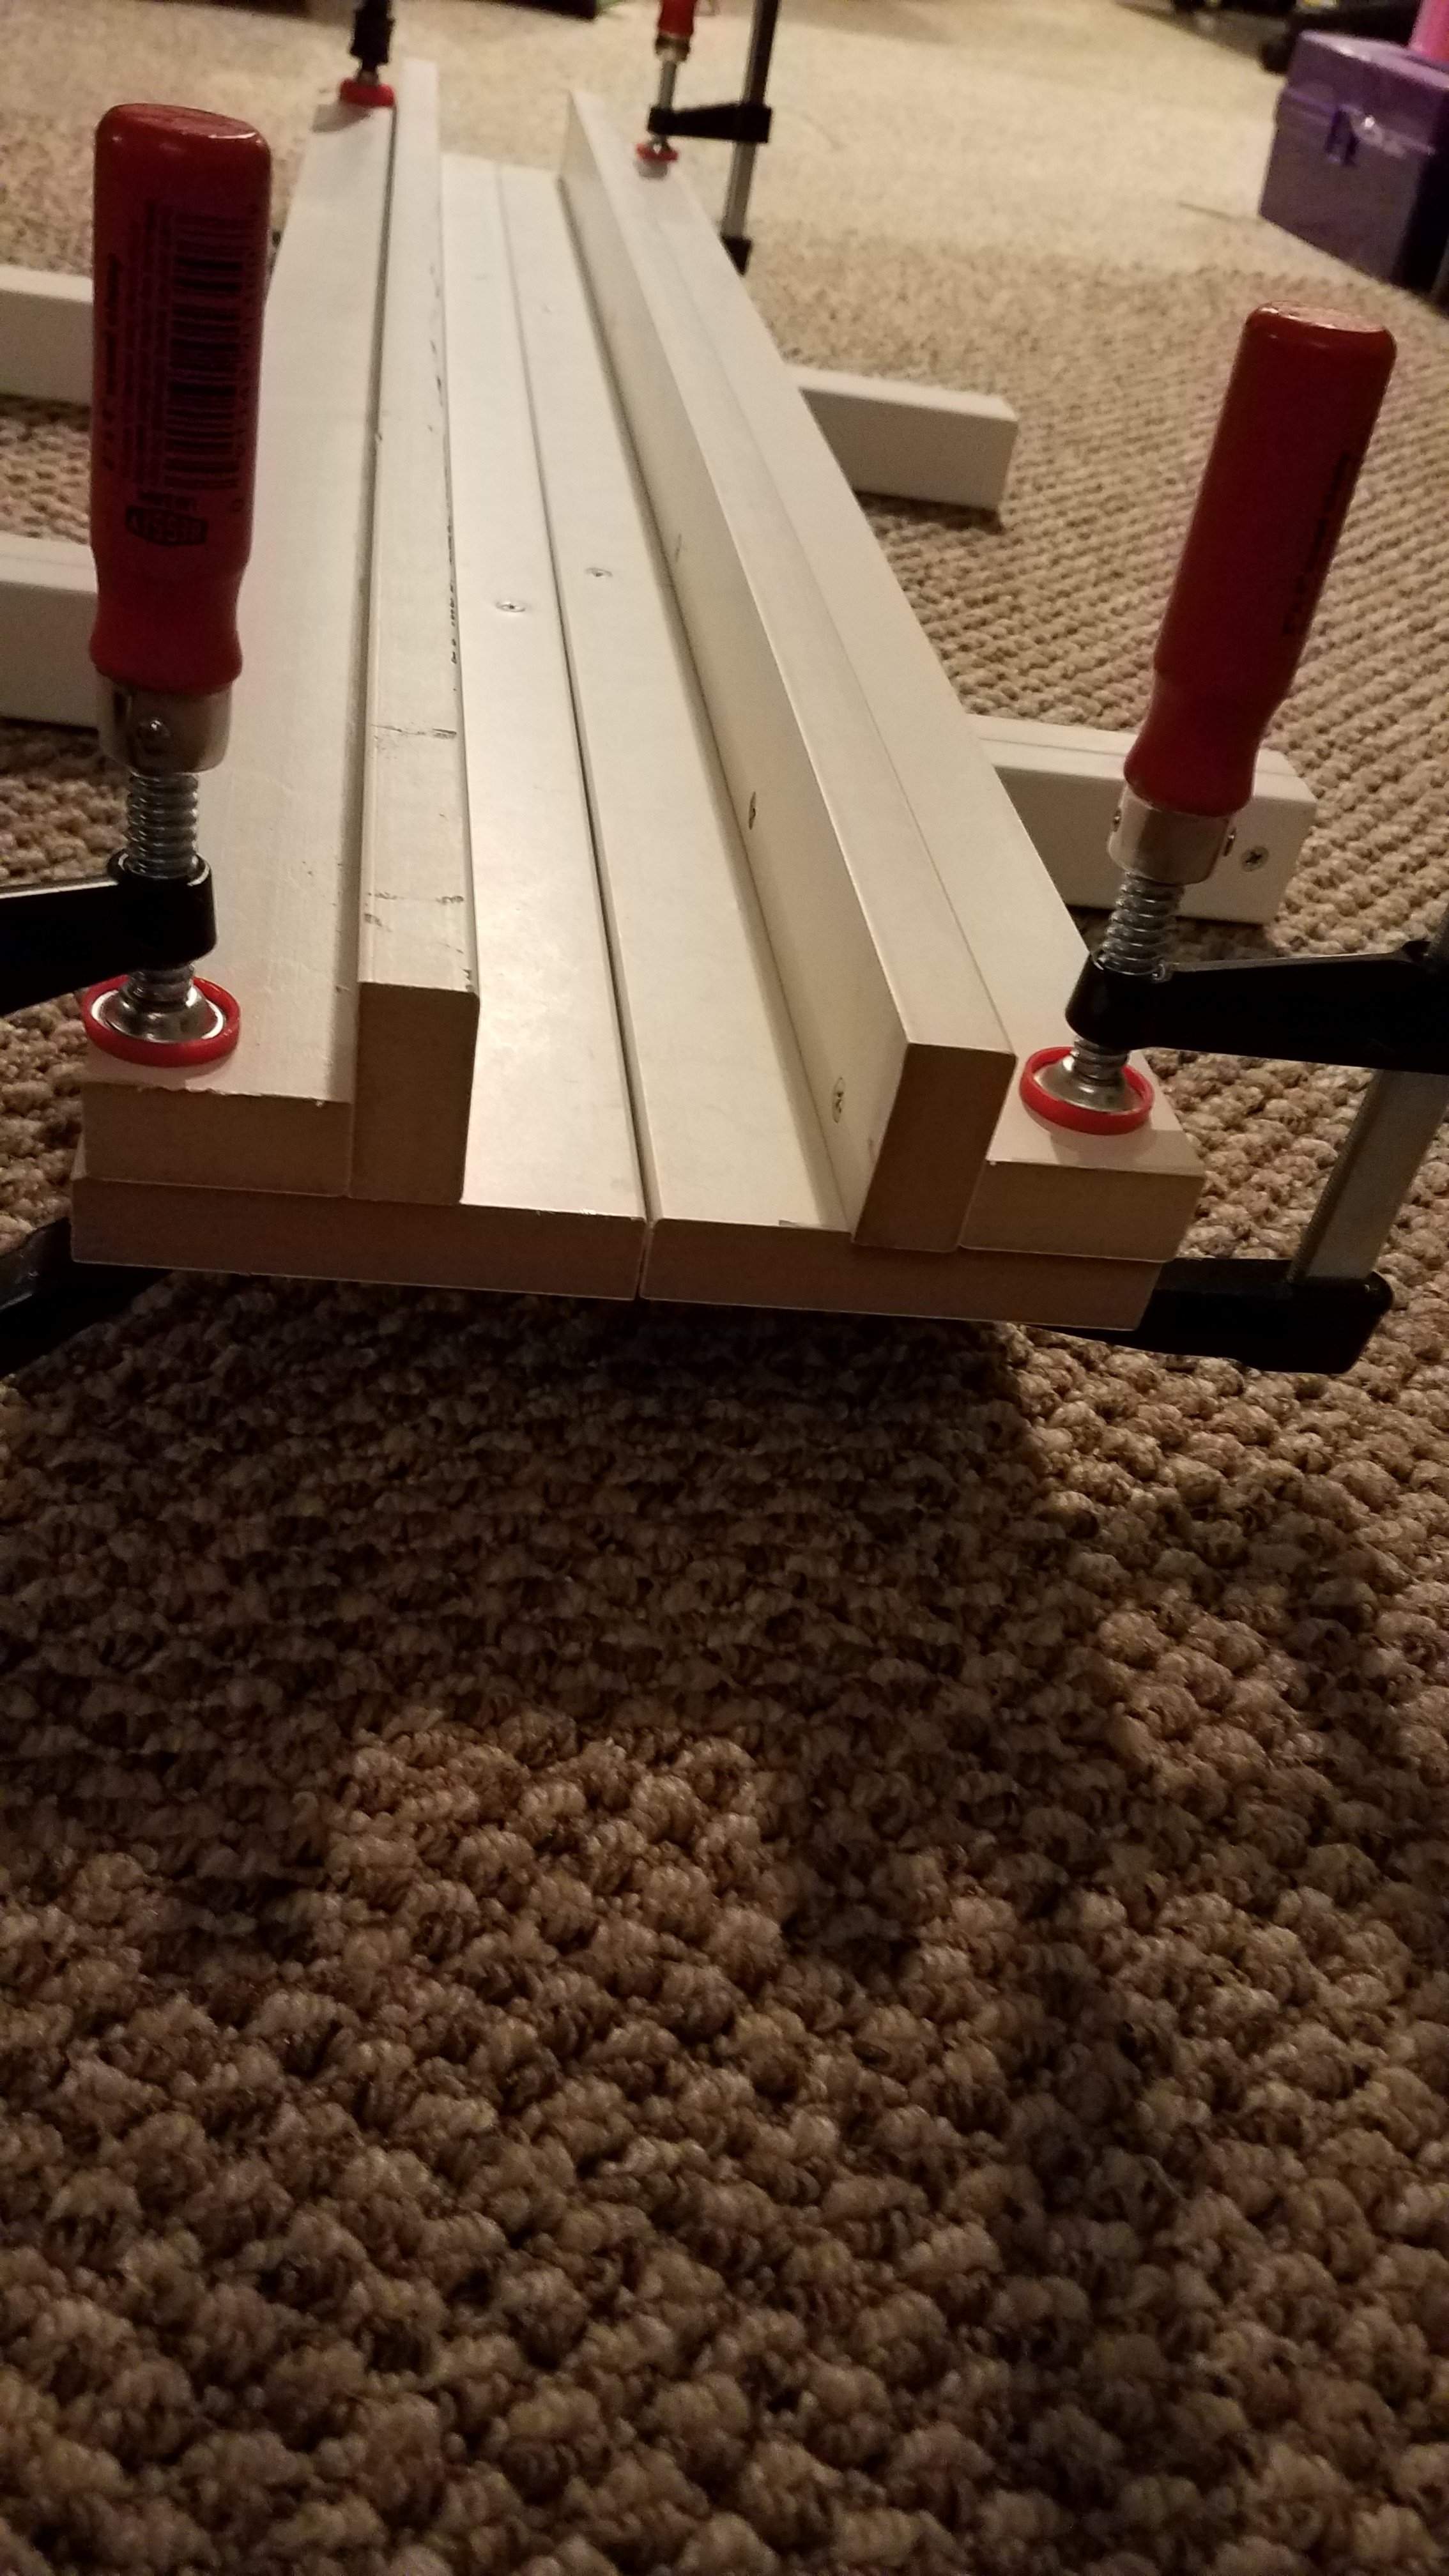
Another modification/variation to a specialty router planing fixture:
Back on Page 4, Post #74, I showed you a small specialty fixture that I made up for routing the fingerboards off of Jon Wilson's GuitarViols. I used it on one of his acoustic models.
Yesterday, he brought me the neck from one of his electric models for the same operation: rout off the fingerboard. His electric model neck has a more conventional flat tilted headstock, and it bolts on the body with two 1/4" machine screws in line on the centerline.
So I made up a new mounting fixture to locate the neck in the previous twin rail fixture. I point it out because it's a simple way to mount any bolt-on neck in this type of fixture, which squeezes the two sides together with clamps.
The neck holding fixture is a flat board (a scrap of 3/4" MDF with oak veneer facing). At the headstock end, I cut a notch to clear the tuners, and a small bevel that the headstock rests on. At the heel end, the heel is bolted down using two 1/4-20 bolts on aluminum spacers. That holds the neck securely enough that it doesn't move around on the board.
Look underneath the board at the triangular things. Those are two "feet" that are screwed to the neck board. They are the right height to hold the neck so the fingerboard glue line is approximately parallel to the rails, and the highest end of the fingerboard clears the router base. I cut the feet triangular and slightly rounded the bottoms so that the whole thing can be gently tipped side to side, to adjust the neck level in the fixture.
You can see how I'm using my aluminum depth-stop gauge bar to align the neck, to get the glue line parallel to the rails, lengthwise and crosswise. I added a small shim under the forward foot to align it lengthwise, then tipped it slightly to align it crosswise. Tighten the sideways clamps and reach for the router.
This is one of Jon's cast epoxy fingerboards. It has a carbon fiber bar down the center, but it has big hollow areas underneath. Solid epoxy would be real heavy and expensive. It's only glued to the wood along the perimeter. So, I didn't need (or want to!) rout off the entire fingerboard. I just routed about 1/4" wide along each edge, slowly going deeper until I just touched the wood. Then the center section of the fingerboard lifted right off.
I forgot to snap pictures of the finished operation, but you get the idea. After I made up the holding fixture, the actual operation took maybe 10 minutes. Followed by 10 minutes of cleaning up all the epoxy chips!
This is another example of how to use a router planing fixture to do a precision machining operation on an instrument neck. The final glue line surface on the neck is flat and true to maybe +/- 0.002". Within a half hour, Keith and Jon had a new fingerboard glued on.