Enjoy the benefits of a premium membership!
Upgrade Account
-
TalkBass has been independent since 1998. Add your voice.
Create a free account to reply to discussions, view embedded media, and browse with fewer display ads.
Join free Log in
Want zero display ads or expanded classifieds tools? Compare plans.
You are using an out of date browser. It may not display this or other websites correctly.
You should upgrade or use an alternative browser.
You should upgrade or use an alternative browser.
SBO 2022 - GMC Basses #9: Back to the beginning
- Thread starter GMC
- Start date
More options
Who Replied?

That's one year after I was born! LolI haven't been to Blackpool since 1971
I've built several neck throughs where the pickups are the same width as the neck beam, however this isn't the normal way to build a through neck. But it's an inspiration of Dave king's work (which shows my age and influences).It's an interesting look, with the pickup and bridge routs spanning just the neck beam from edge to edge. I'm curious if it will look as interesting when completed,
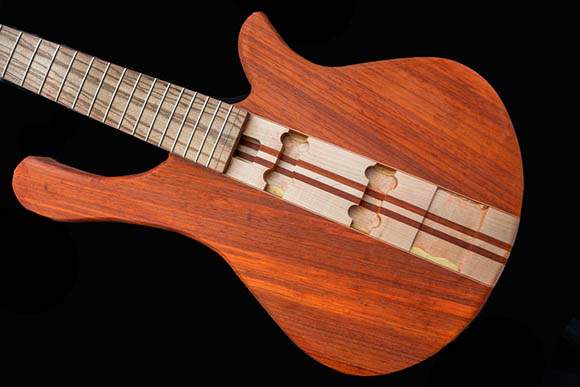
With this bass, I routed the neck area where the pickups will be because I had the router out and it was a task that was easily accomplished. The jazz pickups will extend into the body wings, in a more typical all though fashion. This is the 3rd bass that I've built using this particular body shape. The other two used a music man pickup, so this bass will looks a little different to the previous two. My wood working experience and skills have matured a lot over the last 25 years. So too have my tooling and machinery. My 1st version of this bass was built for simplicity and the second was a fretless version with a few improvements. This bass is a little more complex due to the 5 piece neck and extra veneers. Sonically, it will sound different becuase of the pickups. The previous two were Kent Armstrong. This bass is all Bartolini.
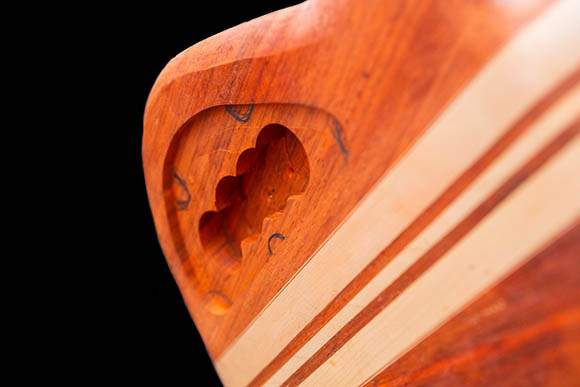
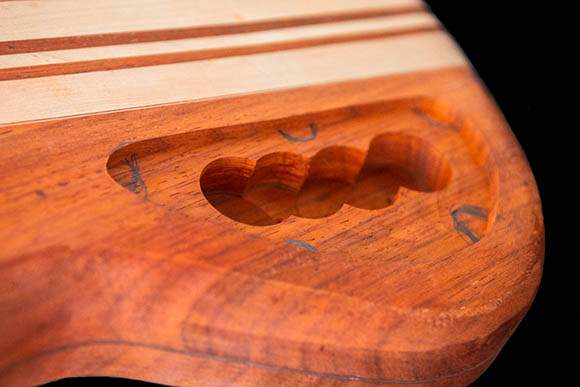
I've unclamped it and inspected it, the glue is drying / curing nicely. I'll not stress the join for a few more days. the angling of the body wings really does add to the illusion that the wings are curved. I took some time to rasp out the lower horn to body union and contour. That's flowing a lot better. I brought the bass carcass into the house for close inspection. The lower horn union / carving needs a lot of work, but I can't progress that until the glue join has dried and hardened. I might spend my lunch break making a few more templates and maybe do some workshop maintenance and cleaning.
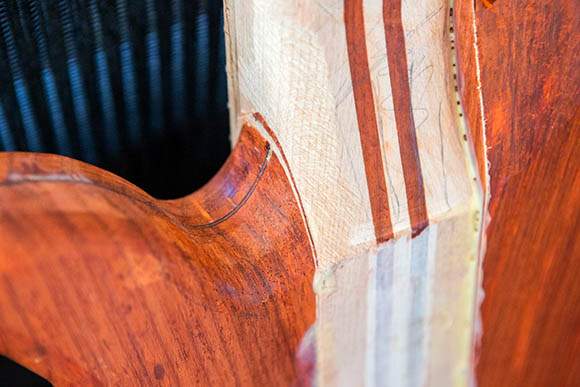
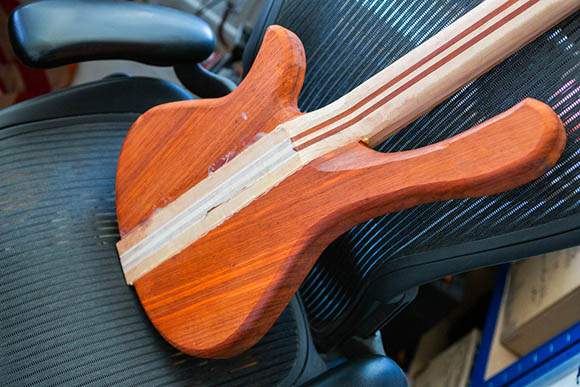
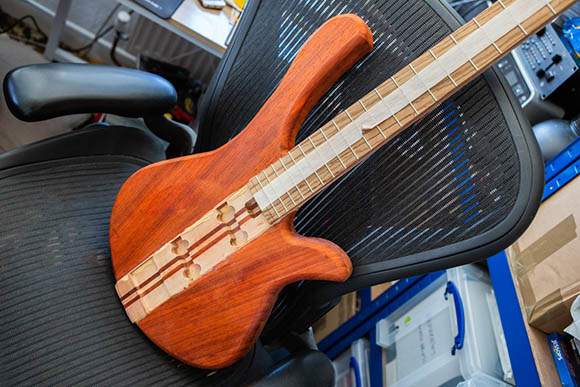
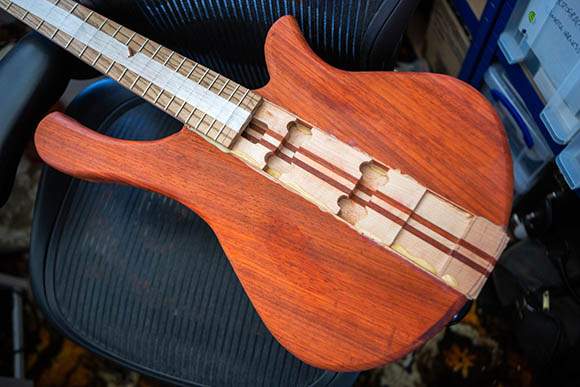

I've unclamped it and inspected it, the glue is drying / curing nicely. I'll not stress the join for a few more days. the angling of the body wings really does add to the illusion that the wings are curved. I took some time to rasp out the lower horn to body union and contour. That's flowing a lot better. I brought the bass carcass into the house for close inspection. The lower horn union / carving needs a lot of work, but I can't progress that until the glue join has dried and hardened. I might spend my lunch break making a few more templates and maybe do some workshop maintenance and cleaning.
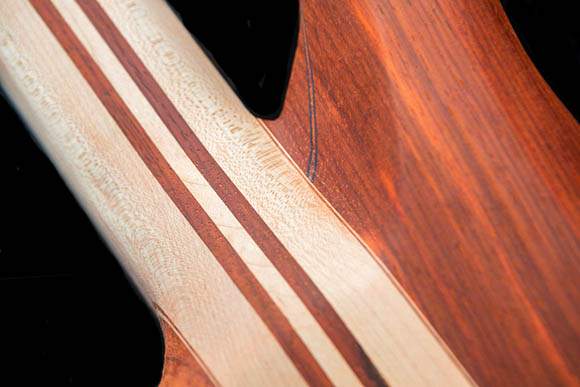
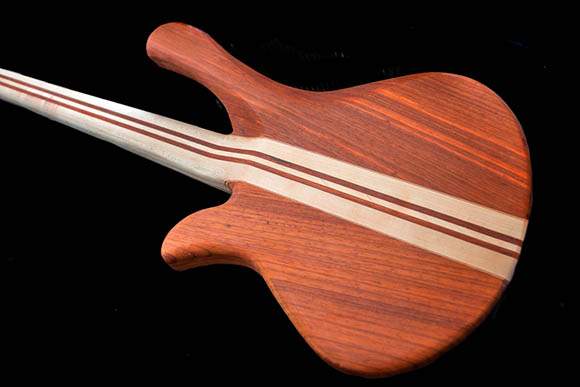
View attachment 4775632 View attachment 4775633 View attachment 4775634 View attachment 4775635
This is looking fantastic. I had drawn up the same approach on an earlier design that hasn't been built yet. I always thought of it as "coopered" bass construction.

I couldn't help myself...I get the rasps out and started work clearing the line between the body wings and the neck beam. I also went to work on the upper body horn to neck union.
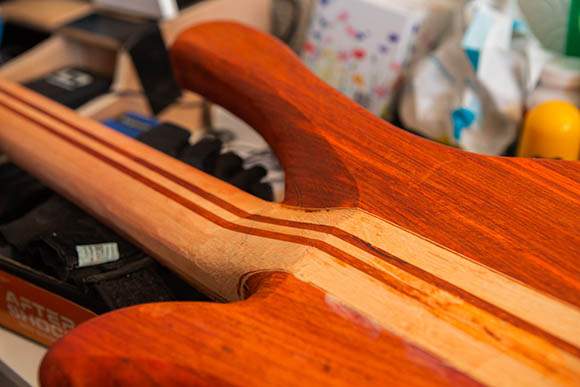
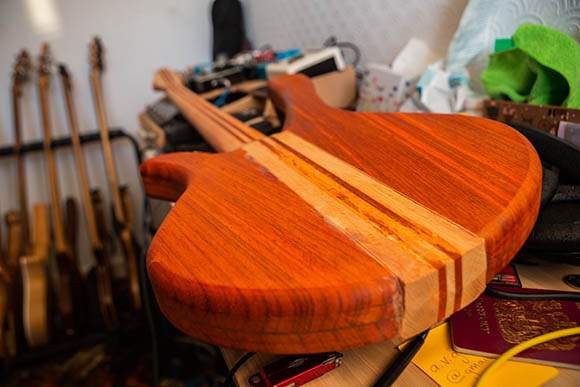
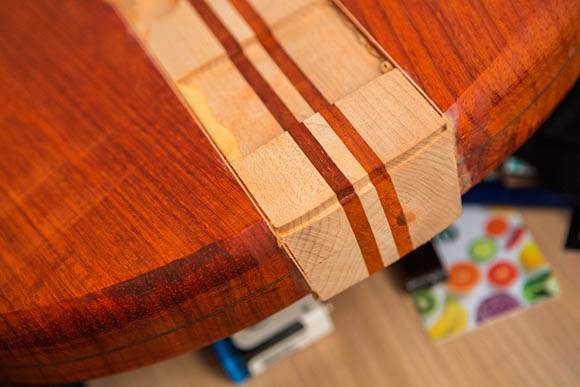
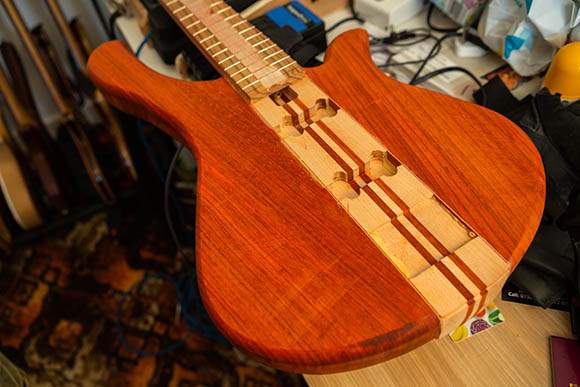
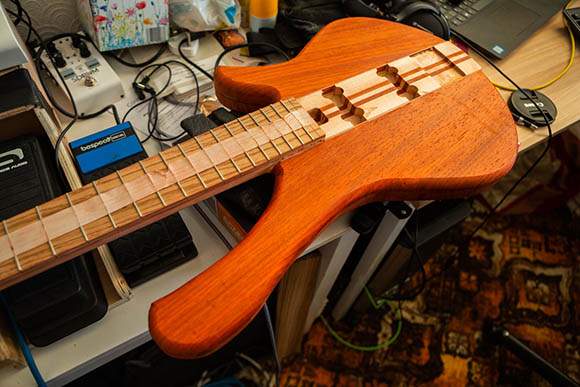
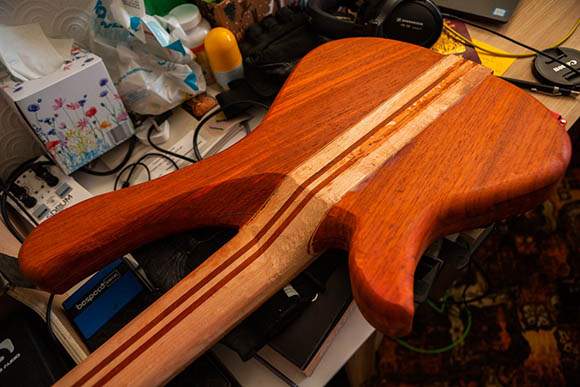
It's been a bit frantic here over the last few days. Anyhow...I dimensioned the new nut. Then I started the carving process. I did a first pass of the ribcage carve and I really worked on the neck to upper body horn union. I started the first few top and underside curves and I also cut the end of the neck beam so now it follows the line of the body wings. I did a bit more neck carving. Then I sanded the whole body in 60/80/120 grit. I still have the upper horn fore arm carve to do and the lower horn carve. It's getting there!


That looks great! I was actually going to comment on contouring the neck heel to follow the upper horn curve after your last post, but just figured I'd butt outIt's been a bit frantic here over the last few days. Anyhow...I dimensioned the new nut. Then I started the carving process. I did a first pass of the ribcage carve and I really worked on the neck to upper body horn union. I started the first few top and underside curves and I also cut the end of the neck beam so now it follows the line of the body wings. I did a bit more neck carving. Then I sanded the whole body in 60/80/120 grit. I still have the upper horn fore arm carve to do and the lower horn carve. It's getting there!
 . Huge improvement, I think!
Also, I don't know if I've mentioned this before, but kudos on the excellent photography as well!

Last edited:


No progress so far today. The workshop mess / dust / shavings / untidiness / bits of off cuts / clutter and random tools around have hit an all time high. So today was spent cleaning, sweeping, hoovering, organising and putting away. I think when things get to this state, it's a clear message to myself that I need to step back from the bass making and take a day making the workshop liveable and safe again. They way it was heading was an accident waiting to happen. I spent and hour and a half and I think I'm 3/4 complete. Time for a cuppa and a rest. I'll come back this evening with a fresh set of eyes and a bit more capacity....Besides, I have a new Source Audio Collider to play with!

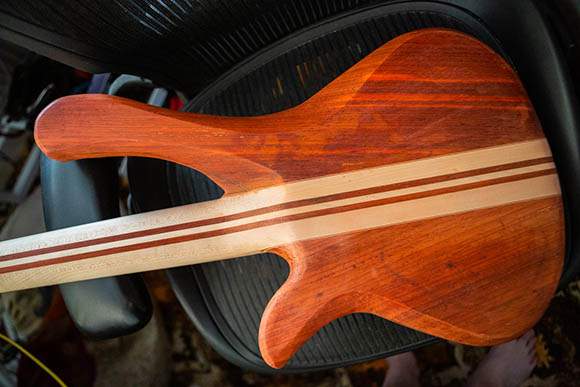
I just picked up my first pieces of padauk yesterday. I sanded a small section with 220 and wiped with mineral spirits. Looking at the dust on the sand paper, it looks like my whole life will be orange.
Last edited:
I did a bit of work on this bass last night. But spent most of my time putting away, hoovering and dusting.
I carved the lower body horn leg curve. I neatened and rounded the edges of the frets. I then attached the headstock template and very carefully routed the headstock to shape. 4 passes of depth and I was very mindful of the direction of the router spin / cut vs the presented angle of the wood to be cut. It's very easy to get tear out here or worse...the headstock wings to dis join and fly across the room. I do think this process is better served using a spindle sander. The drill press sander attachment that I use isn't too good for this. It's great for other stuff, but not headstocks. Maybe I'll invest in a good bobbin sander at some point.
I sketched out the control cavity cover placement. The other two versions of this bass shape used a plastic Gotoh 9v battery box. They look cool and they are fairly easy to route. But they are becoming really expansive here in the UK and they are very prone to failure. The other two basses have a single music man style pickup, where as this bass has a pair of jazz style pickups. If I'm going to use a Gotoh style battery box, I have to be really careful where I put it. Space is quite tight between the back of the pickup route, the control cavity and the lower horn carvings. I might just enlarge the cavity and place the 9v battery in the cavity.
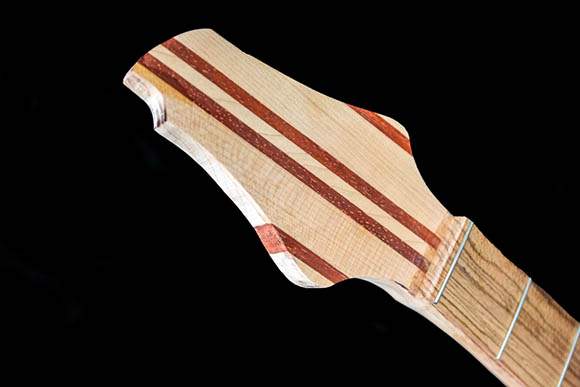
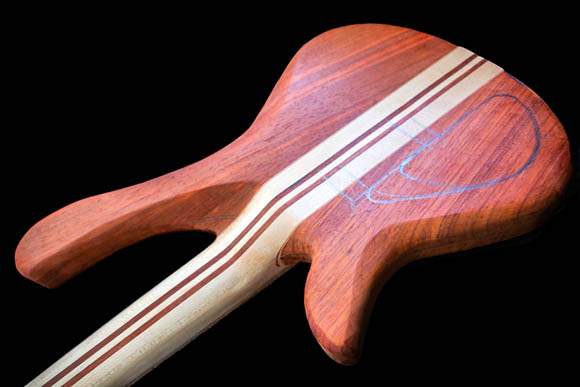
I carved the lower body horn leg curve. I neatened and rounded the edges of the frets. I then attached the headstock template and very carefully routed the headstock to shape. 4 passes of depth and I was very mindful of the direction of the router spin / cut vs the presented angle of the wood to be cut. It's very easy to get tear out here or worse...the headstock wings to dis join and fly across the room. I do think this process is better served using a spindle sander. The drill press sander attachment that I use isn't too good for this. It's great for other stuff, but not headstocks. Maybe I'll invest in a good bobbin sander at some point.
I sketched out the control cavity cover placement. The other two versions of this bass shape used a plastic Gotoh 9v battery box. They look cool and they are fairly easy to route. But they are becoming really expansive here in the UK and they are very prone to failure. The other two basses have a single music man style pickup, where as this bass has a pair of jazz style pickups. If I'm going to use a Gotoh style battery box, I have to be really careful where I put it. Space is quite tight between the back of the pickup route, the control cavity and the lower horn carvings. I might just enlarge the cavity and place the 9v battery in the cavity.

If you're using a template for the headstock is something like the Robosander available in Europe? Something could be made up from a spindle sander also.
Robo-Sander : Flush trim sander pattern sander
Robo-Sander : Flush trim sander pattern sander
That's most of the wood work done. I've still got the headstock to neaten and the tuner holes to drill. I've got the control cavity to route out and the various holes that go with it. I have the nut to fix. Then there's the fretwork....ok..who an I kidding??? I've still got a ways to go.
So this weekend it's hard to put into photos what's been done. The fore arm slice has been carved, the rib cage cavity has been carved. The lower horn carve is done. I did more work at the transitions of the neck, headstock and body end. They are starting to look right. I did a lot of neck carving and that's feeling a lot less "tubby" and much more svelte and nice. One or two of the frets were lifting, so I glued them in. I've routed out the pickup cavities and the pickups now fit. I need to route out the bridge cavity at some point. I've sanded the whole body through 60/80/120/240/320 grits and then cleaned everything down with mineral Spirits.
The top radius is mostly done, as is the underside radius. This was mostly done with planes, rasps, scrapers and a fair bit of blue language.
I tried a sealer coat of car automotive lacquer that I bought last year. I'm not so sure, so I think I'll order up some poly and thin it down to make some wipe on poly. I want this bass to have an oiled look, but be fully sealed. So I sanded off the lacquer.
I also stripped down my 4th bass and worked on the very oversized heel. I took it right down. I routed a 3/4" round over on the edges and took the bass though the grits to 320. I put a few coats of lacquer on it to see how it would look.
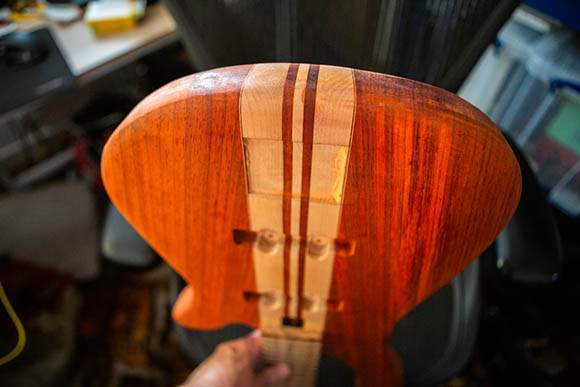
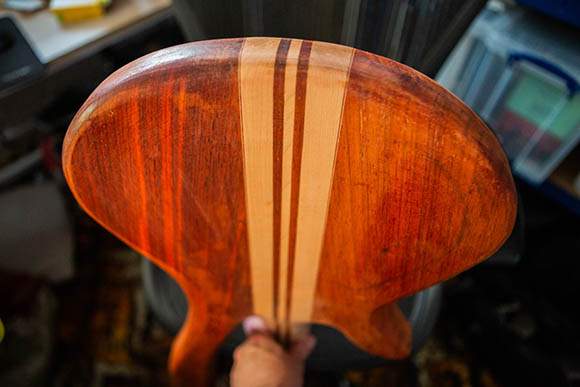
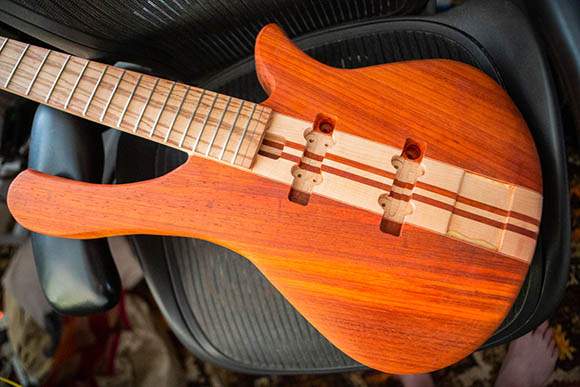


So this weekend it's hard to put into photos what's been done. The fore arm slice has been carved, the rib cage cavity has been carved. The lower horn carve is done. I did more work at the transitions of the neck, headstock and body end. They are starting to look right. I did a lot of neck carving and that's feeling a lot less "tubby" and much more svelte and nice. One or two of the frets were lifting, so I glued them in. I've routed out the pickup cavities and the pickups now fit. I need to route out the bridge cavity at some point. I've sanded the whole body through 60/80/120/240/320 grits and then cleaned everything down with mineral Spirits.
The top radius is mostly done, as is the underside radius. This was mostly done with planes, rasps, scrapers and a fair bit of blue language.
I tried a sealer coat of car automotive lacquer that I bought last year. I'm not so sure, so I think I'll order up some poly and thin it down to make some wipe on poly. I want this bass to have an oiled look, but be fully sealed. So I sanded off the lacquer.
I also stripped down my 4th bass and worked on the very oversized heel. I took it right down. I routed a 3/4" round over on the edges and took the bass though the grits to 320. I put a few coats of lacquer on it to see how it would look.
Thanks, it's a Cocobolo fingerboard and bridge, bought back when this was a wood that was fairly common. The top is a AAAAA Maple board that was intended and discarded for an acoustic guitar back. It was rejected by GB Basses, Shuker and PRS because the the shakes and some of the weird green colour patches. I fell in love with it immediately and love it's quirkiness. Their loss if you ask me. The lacquer has a slight tint, which hides the green areas. The depth of the figuring is amazing, it's almost holographic. Once I've settled on a lacquer that I like, I'll sand this down and re-finish it and bring this to a nice glossy shine.Very nice. What's the top wood on the one with the acoustic style bridge?
Right on. I thought it was maple but, like you said, the figure gave me doubts. A very uncommon piece and good for you that it wasn't "good enough" for someone else.
I made a start on the Control Cavity route, starting with the fabrication of the new cavity cover template. This is the template I'll use to cut the area where the cavity cover will sit. I hogged out a lot of material with my pillar drill. I then fixed the template to the body and made my 4mm route around the inside of it. It went well. Next task is to make the complimenting template with the cavity lugs for the top plate to screw onto.