
- Apr 18, 2008
- 16,019
- 1
- 31,734
- Disclosures
- I'm highly opinionated and extremely self-assured

TalkBass has been independent since 1998. Add your voice.
Create a free account to reply to discussions, view embedded media, and browse with fewer display ads.
Join free Log in
Want zero display ads or expanded classifieds tools? Compare plans.

That's true, pulling the neck out is not an issue. However, you cannot "twist out" a dovetail neck joint. With "twist out" I mean clamping the body down and lifting up the headstock. If unglued, the parallel neck tenon will rotate/lift out of the body easily while the dovetail will stay put. I don't know if that is an advantage, but it could be. Also the glue area is marginally larger.I don't see the advantage to the dovetail shape you mentioned in method 1. It would provide resistance to the neck being pulled out toward the nut, but there's no force that's trying to do that.
Very good point. If there's a gap between the neck tenon and the top, then it would likely cave in while vacuum clamping. With a good fit I don't see how the tenon would be visible through the top, based on how stiff the 1mm headstock veneers were.With just 2mm of top wood over the tenon, is it possible that the shape of the tenon might eventually telegraph through the top?

Before I start working on the neck tenon and pocket, I would like to consult with the LC hive mind.
Here's the deal: It's a set neck with a full width neck tenon. Since it's a DC junior, the end of the fretboard extends only a few mm into the body (the last fret lines up with the edge). Hence, the neck tenon extends further into the body than the fretboard. In my "original" DC build I covered the exposed neck tenon with a pickguard, but here I don't want to hide the ziricote top. My plan is to have the neck tenon underneath the top. In a cross-section it would look like this:
View attachment 4753459
So the neck pocket would be routed into the body, obviously, and into the back of the top as well. DC juniors are notorious for having a lot of flexibilty in the neck joint when pushing the neck forward, and I want to give the tenon as much thickness as possible. The recess will also help with top alignment.
Regarding the procedure, I have two options:
1. Glue the neck into the body first, then glue the top on in the vacuum bag (with the neck already attached).
2. Glue the top onto the body first, perhaps using a taped-off dummy neck tenon in the neck pocket for alignment and to provide support while vaccum clamping. Then remove the dummy block and push the tenon in from the side and glue it.
Method 1 would allow to have a neck tenon that tapers outward like the fretboard, which would make for a stronger joint in my opinion, a gentle dovetail. Method 2 requires a rectangular tenon that can slide in from the side, but it would be easier to finish work on the body (trimming the top, roundover, sanding etc.).
Any recommendations?

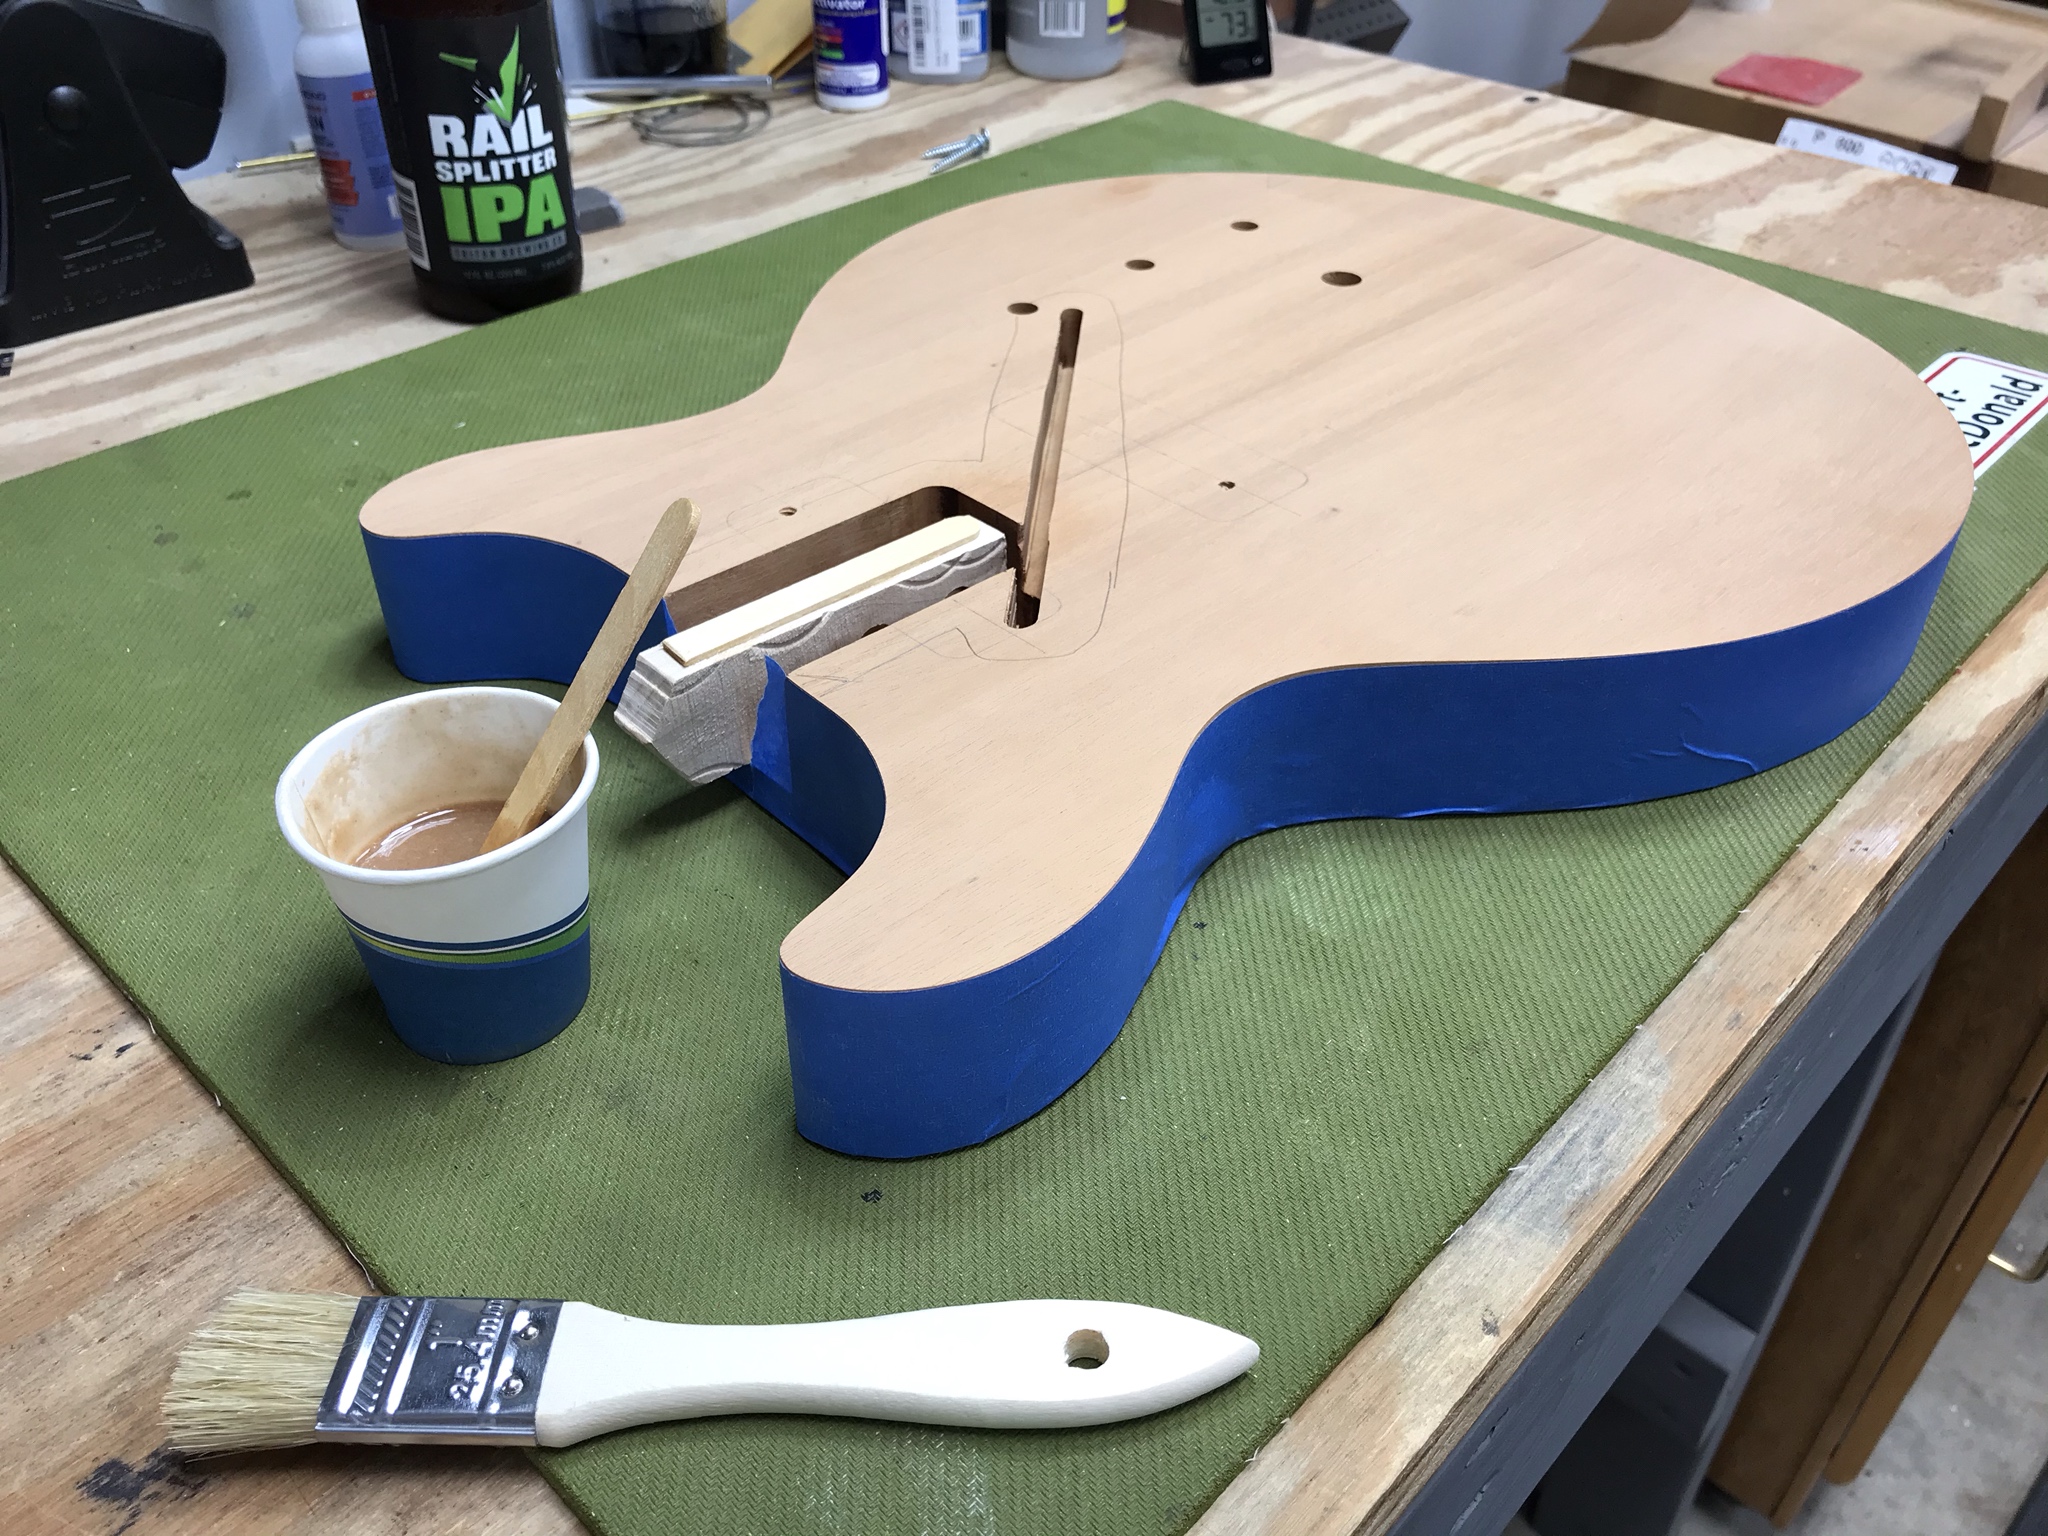
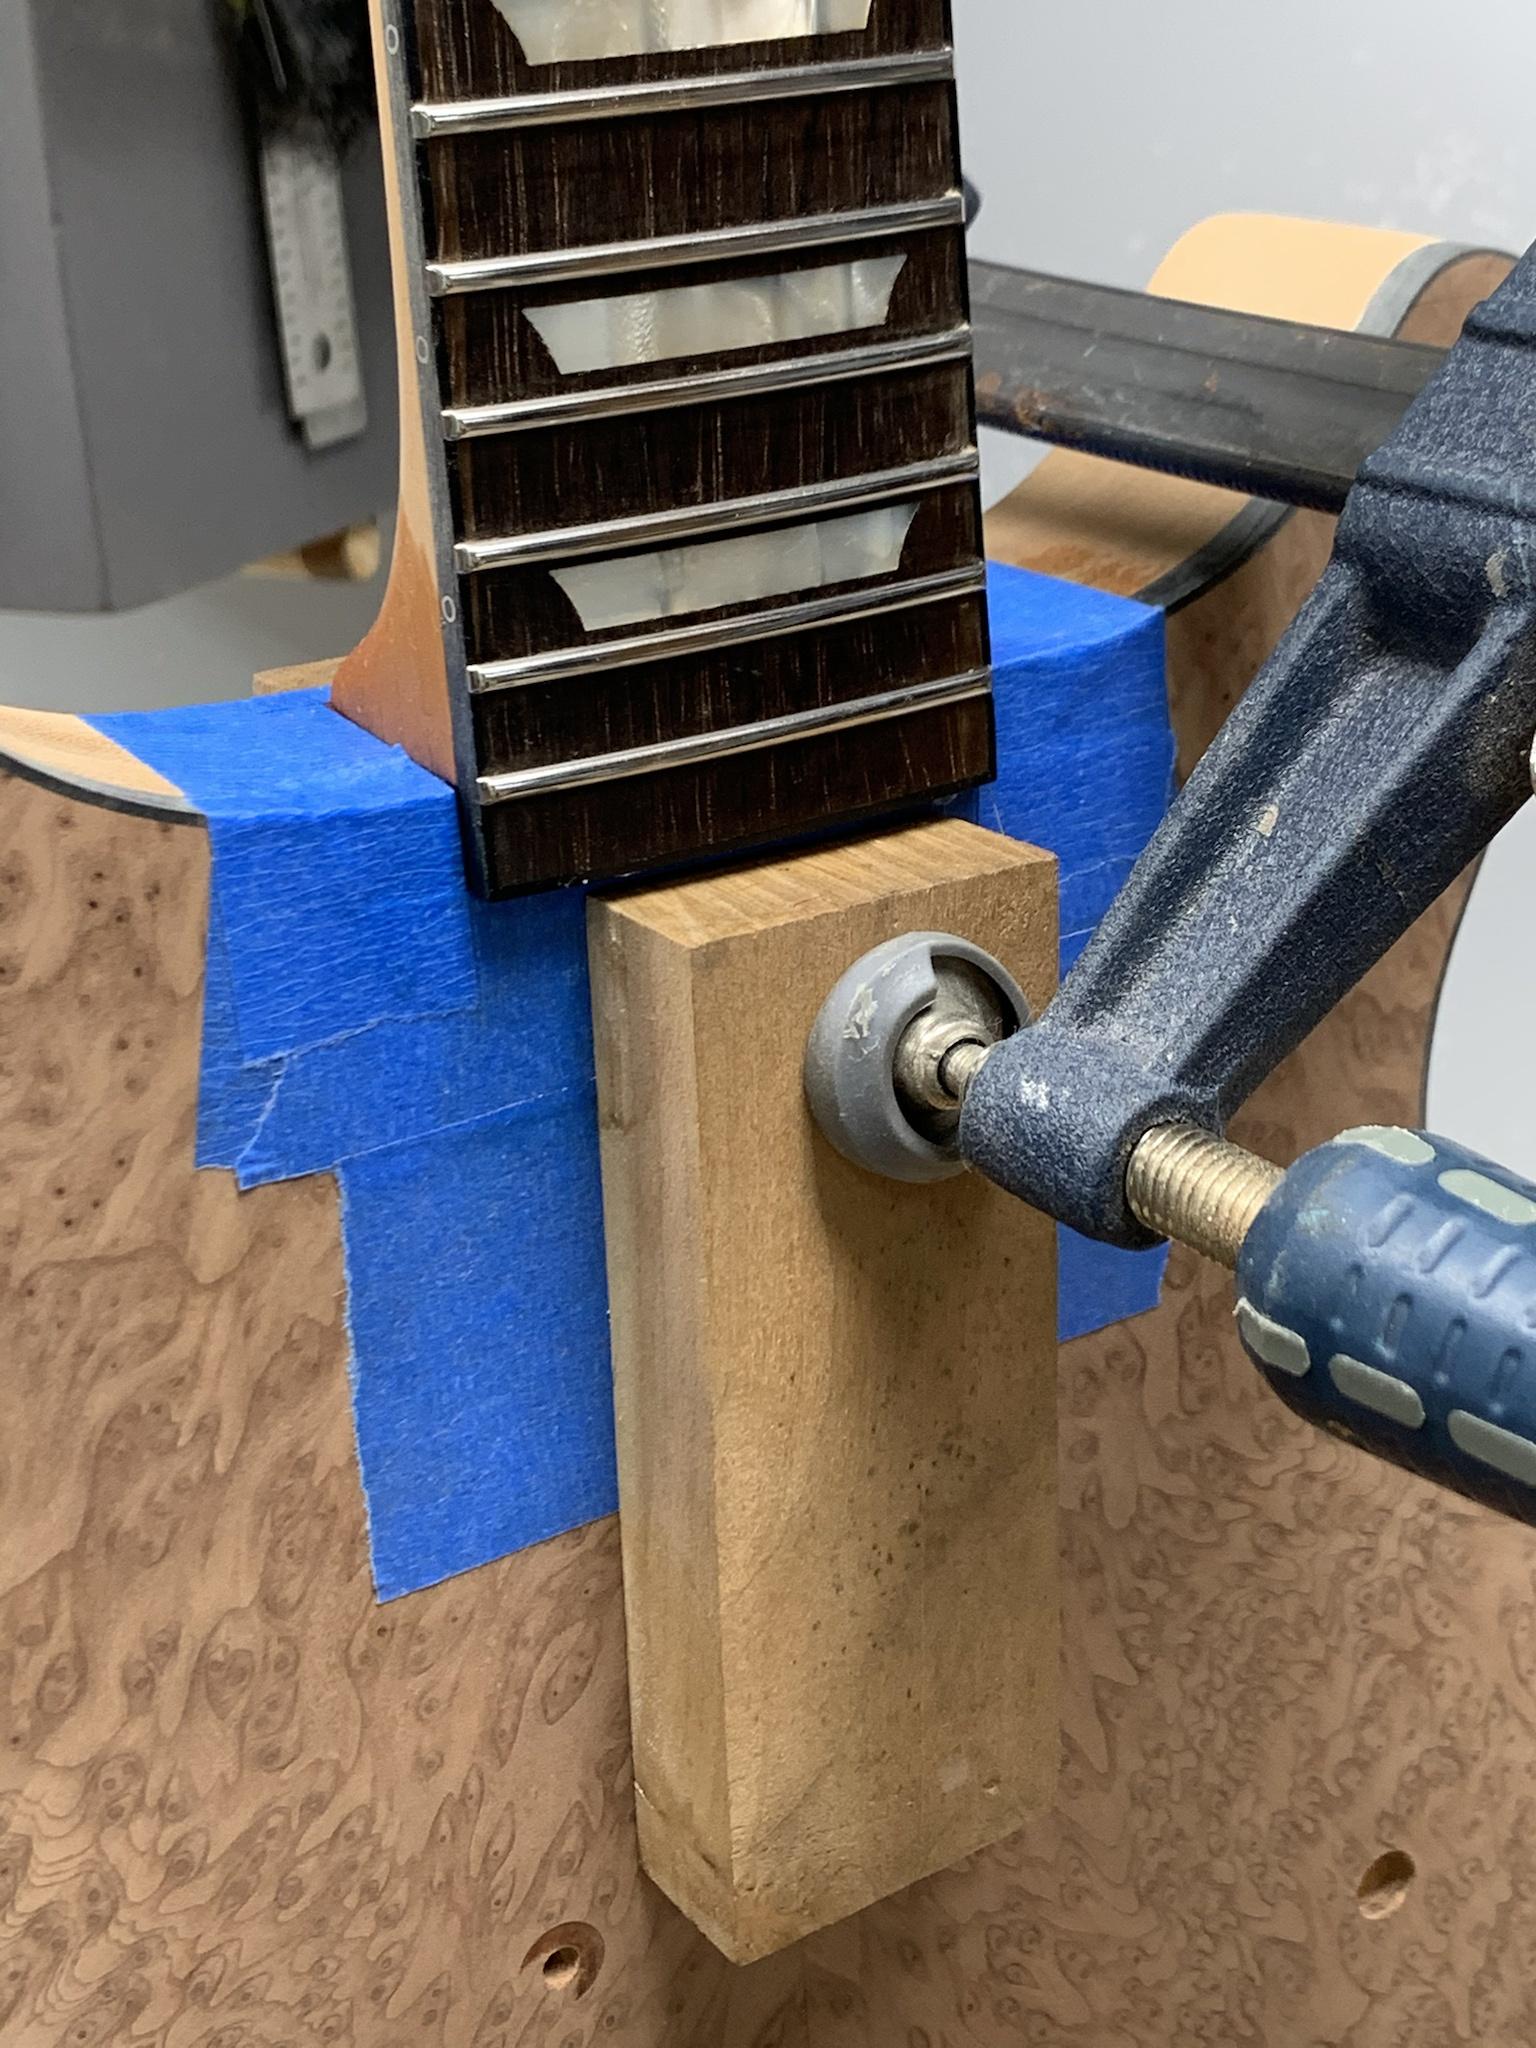
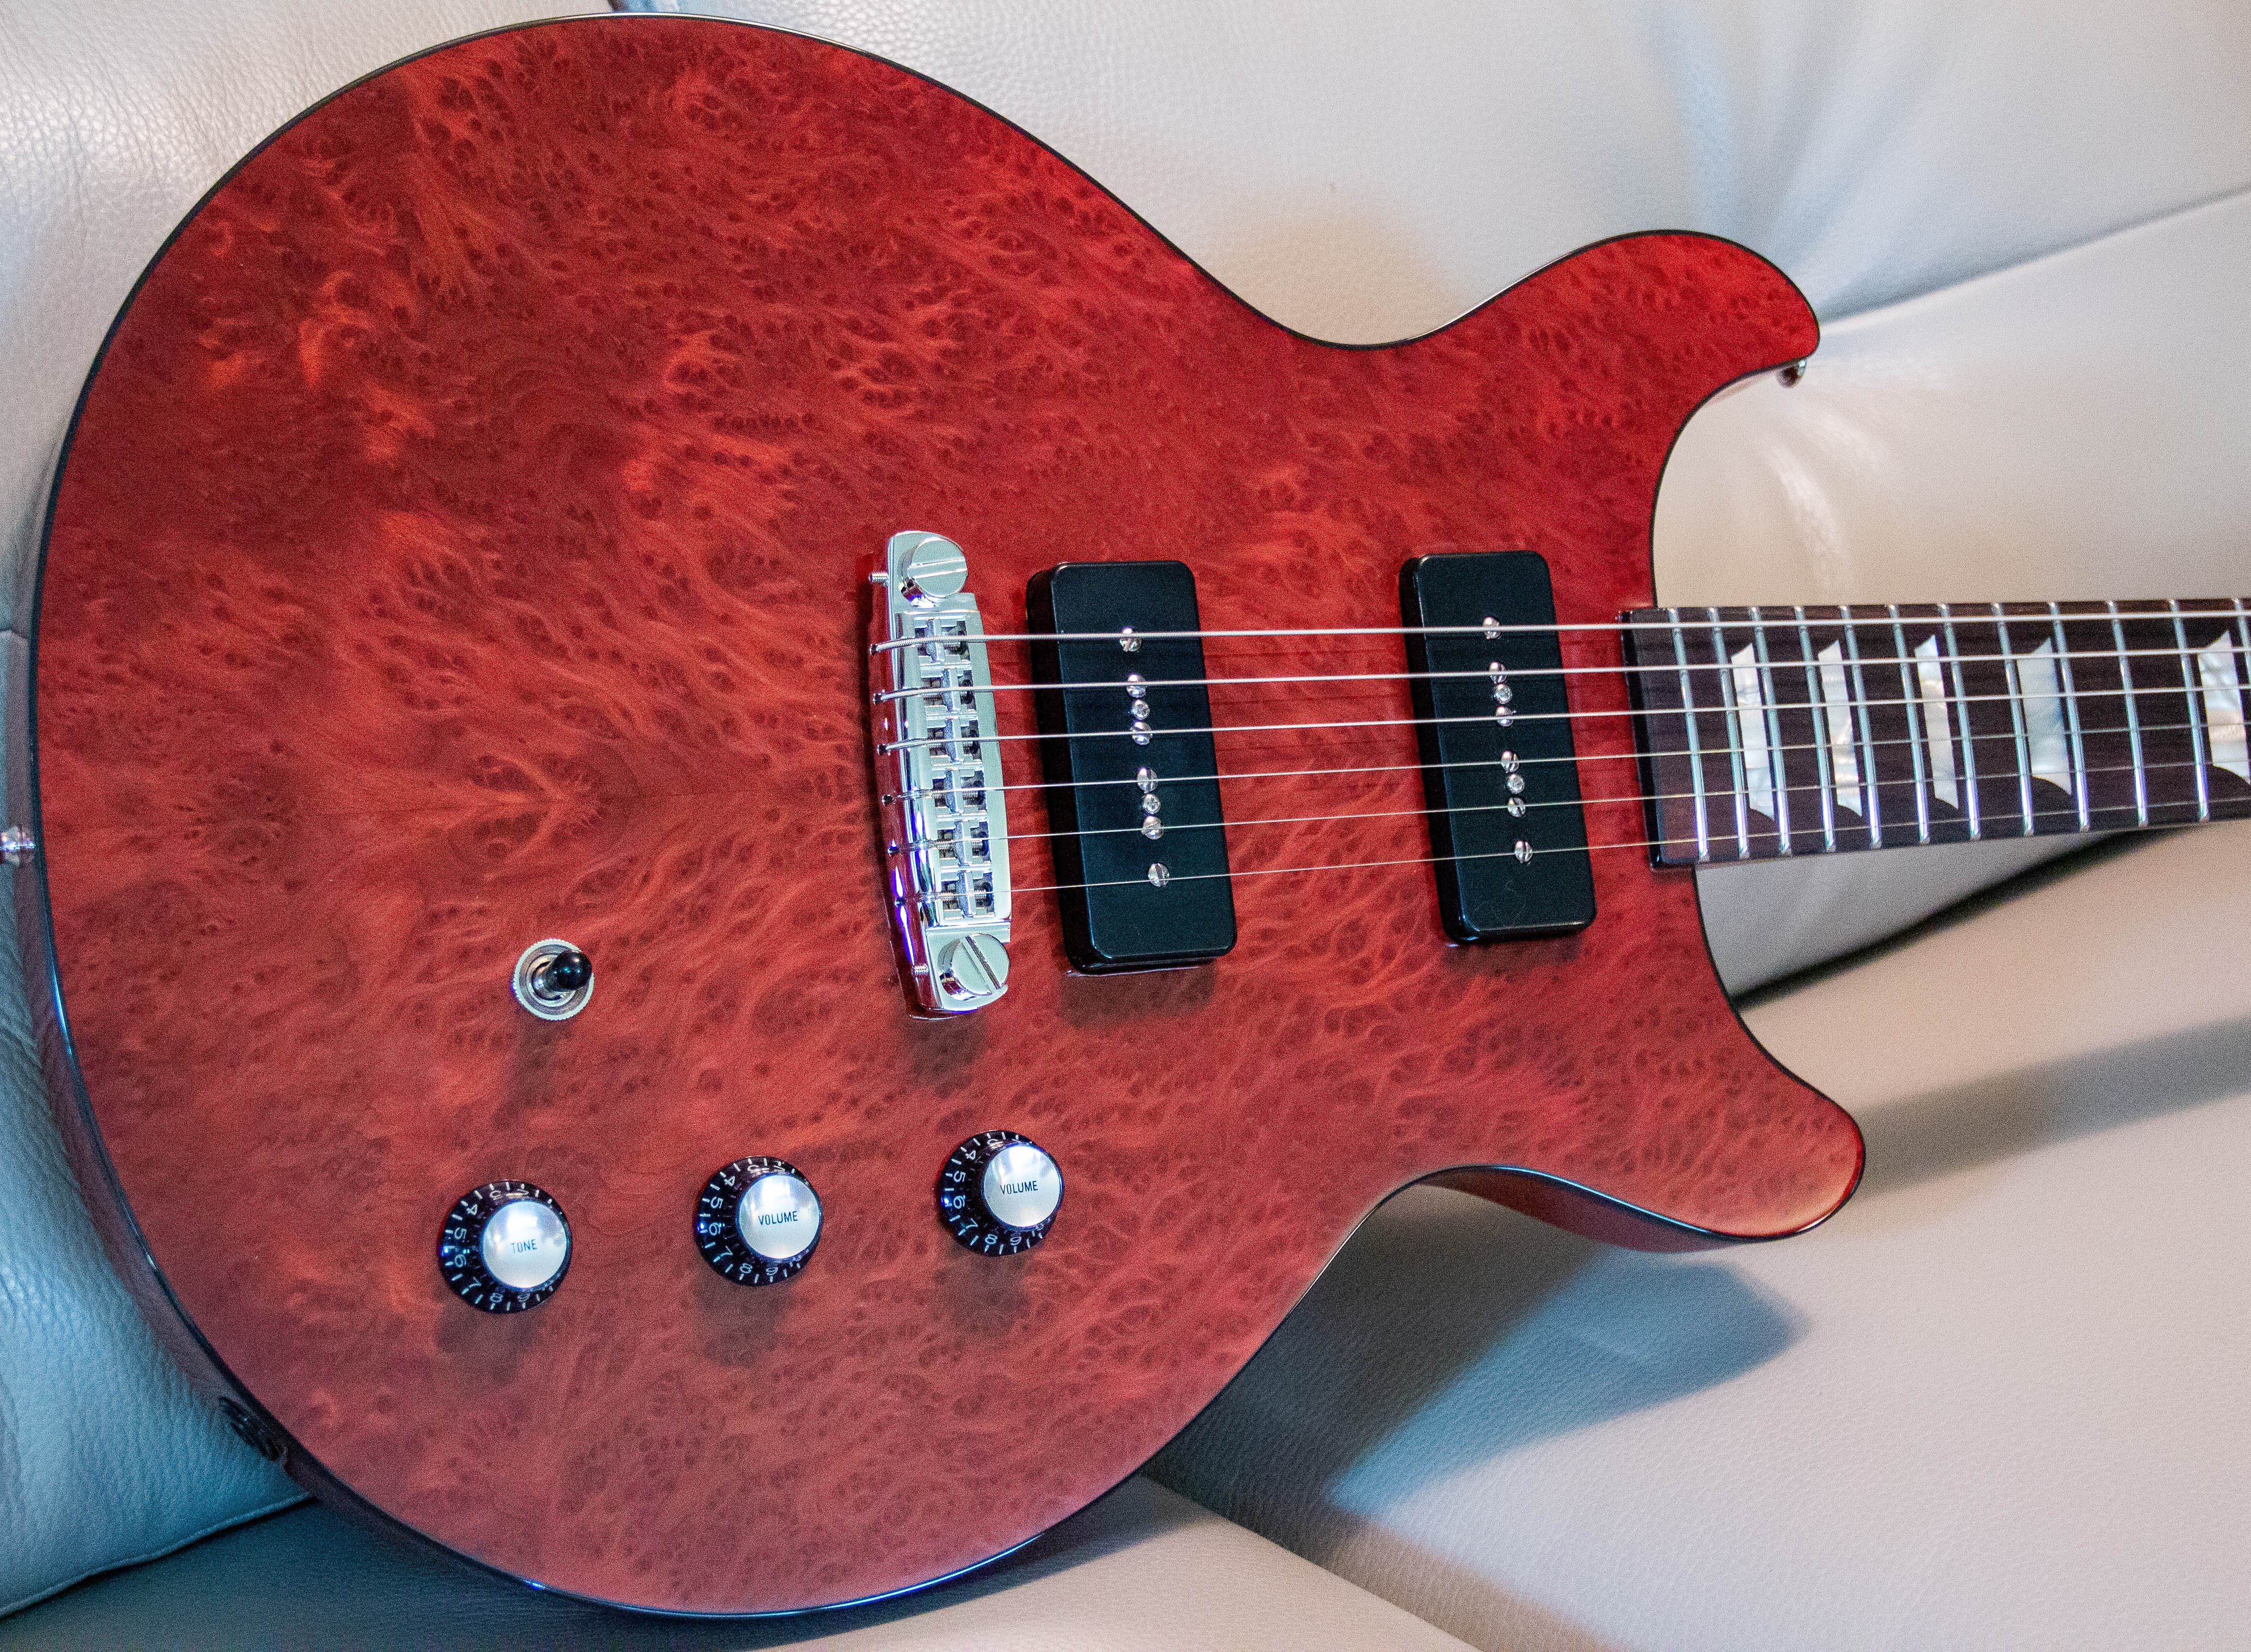
That's some good information. Great top on your special as well!I used a similar technique (top first, neck later) on the blue Billy-Bo in my avatar, but it's a flat top so I clamped it with clamps, no dummy block necessary.When I build mine, I went with option 2. As you noted, I used a dummy block in the neck mortise to support it while in the bag. One of the driving factors for me was the fact that I used a very thin drop top. From a strength perspective, I'm not sure that the extra meat of the dovetail joint adds a lot... I'm sure it does to some extent, but not sure that it is meaningful.
Also, mine was a Special DC, so it has a neck pickup, which removes even more material from the neck joint. I did move the pickup farther from the end of the neck to help me feel better about the structure. So far so good!
That's some good information. Great top on your special as well!I used a similar technique (top first, neck later) on the blue Billy-Bo in my avatar, but it's a flat top so I clamped it with clamps, no dummy block necessary.
Is there a particular reason why you made the neck tenon so narrow? Except for historical accuracy, I suppose...
 . After tedious emails and receiving 3-word replies from the seller I decided to keep the pickup, because I wasn't sure I'd get my money back and the magnets and coils are basically correct.
 . Maybe I'll try to drill them out to 1/4".

 . Hopefully...
 . Oh, wait...
Update #14: The good, the gap, and the ugly
The top is glued on. For the most part I'm happy with it, but there's a few minor flaws.
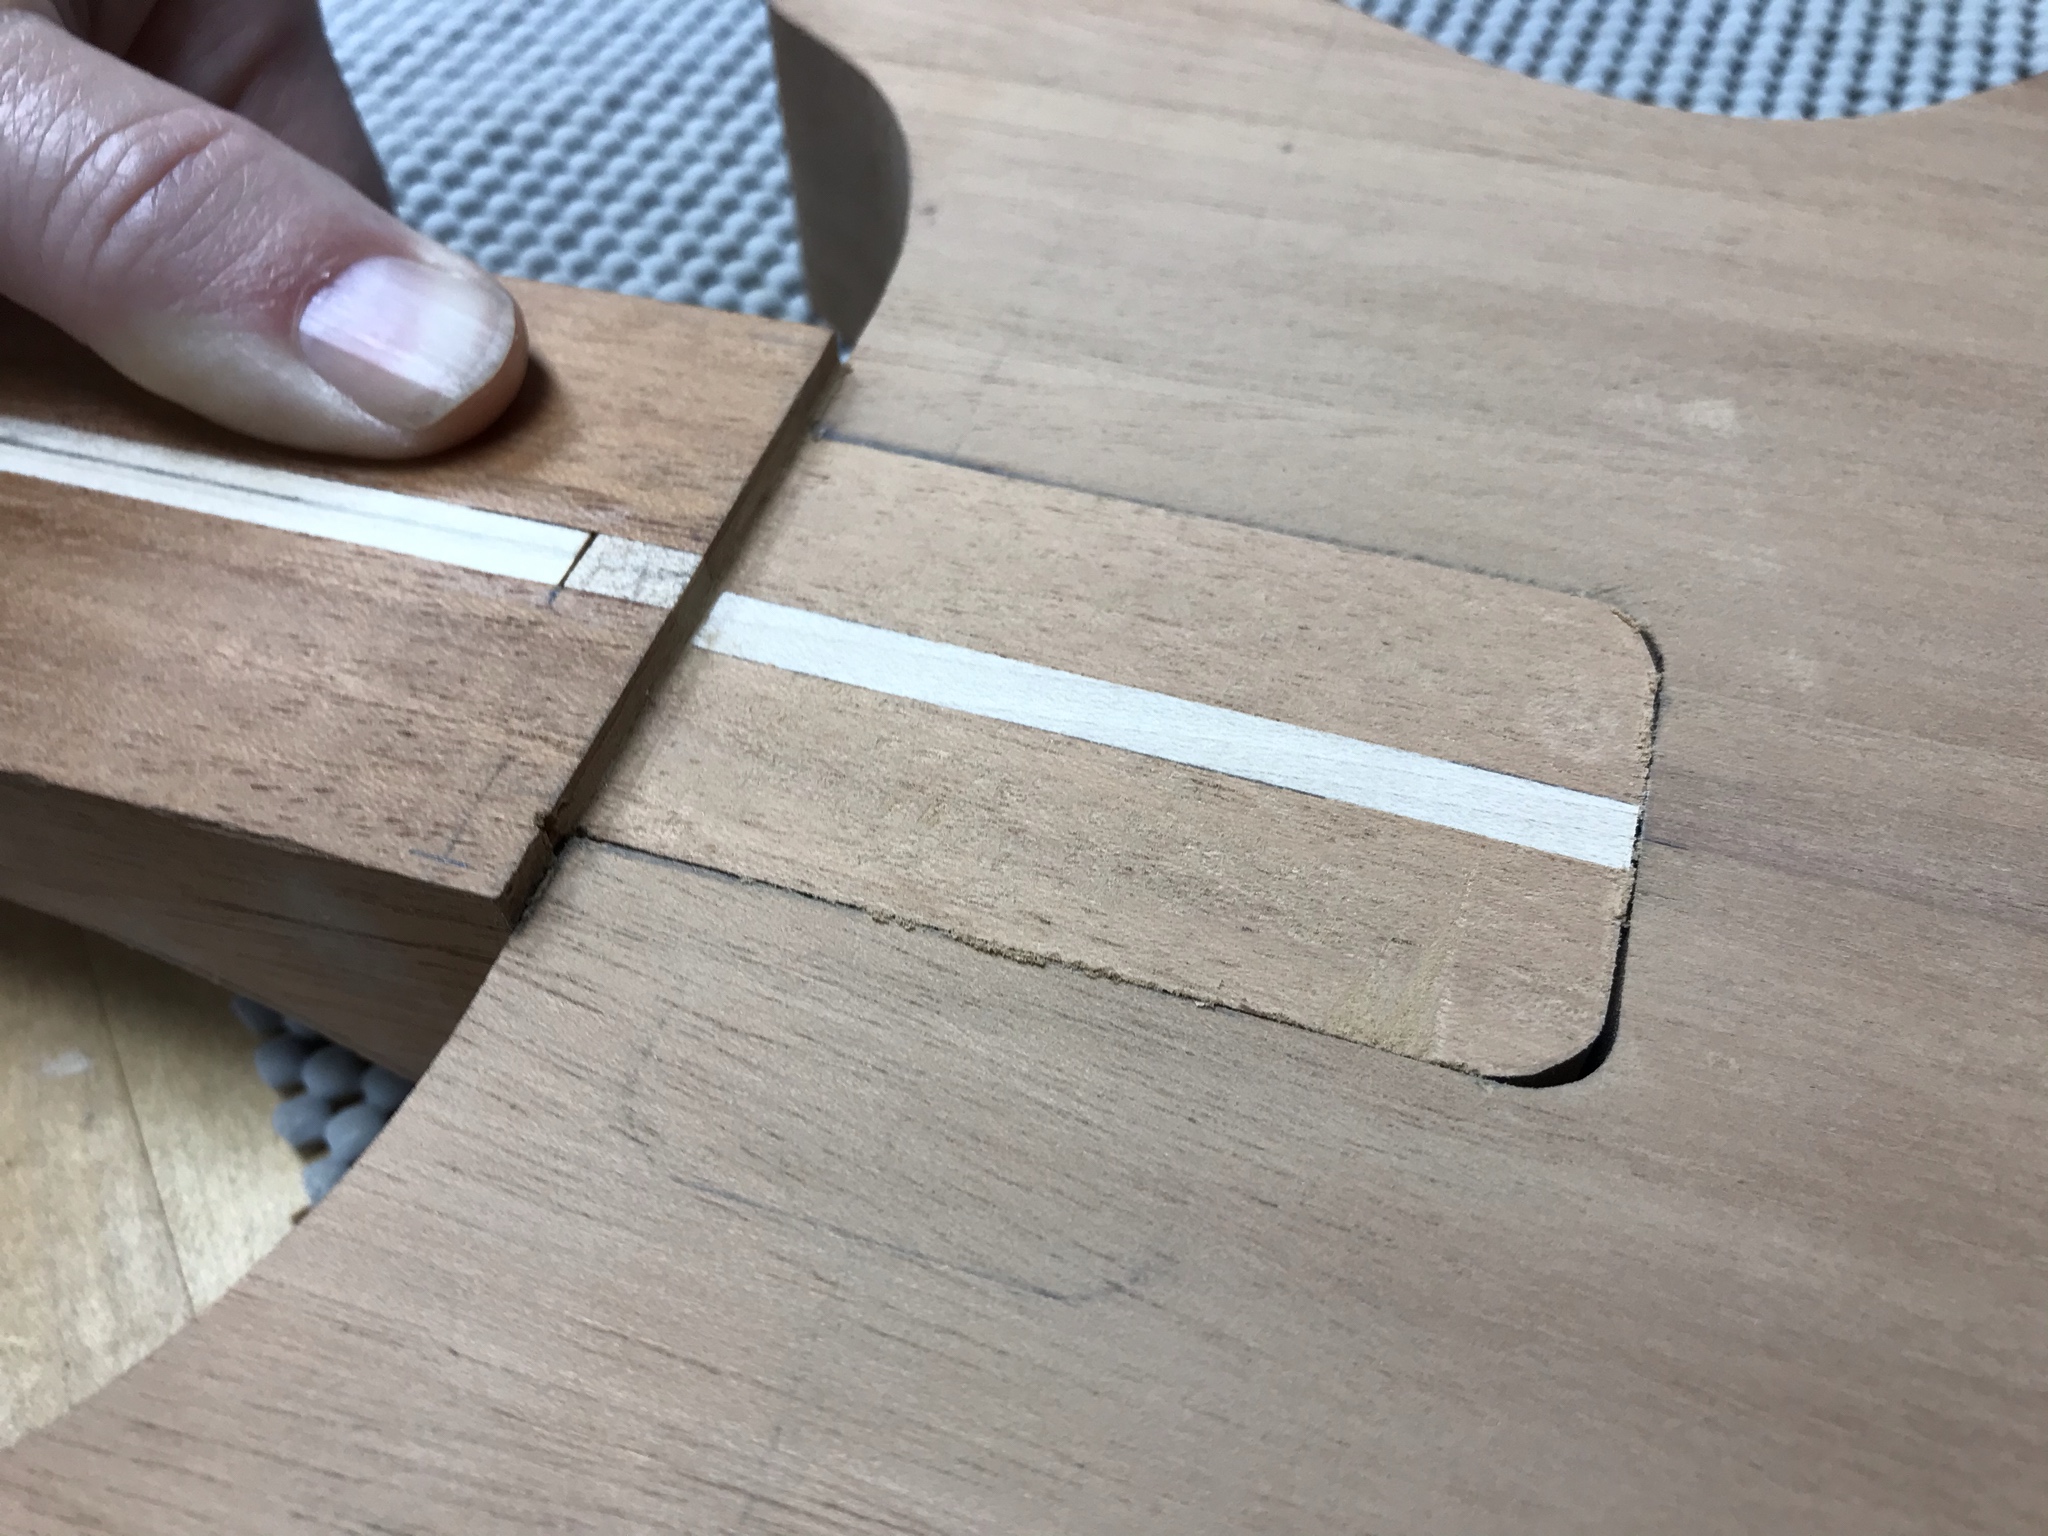
The good: It's glued on, looks good, well aligned and the neck pocket is mostly free of epoxy. I cleaned it up, routed the top flush with the body and gave it a 1/8" roundover. I'm particularly happy about the veneer contrast at the maple strip endgrain:
View attachment 4769538
The gap: There's a small gap between body and top at the lowest part of the arm contour, up to 0.5mm. In some areas it's filled with epoxy, others have a little gap. It's not very obvious and after filling it with some more epoxy it should be acceptable. In some areas it's between the maple veneer and the top (middle image), in some it's between the veneer and the top (right). I'll keep the roundover small so that the gap remains on the side of the body. Possible reasons are:
-not enough pressure (unlikely, I had 0.2 bar in the bag and no air pockets)
-not enough leverage. Having a larger overhang over the edge could have helped closing the gap. My piece was just wide enough to begin with.
-a piece of vacuum bag plastic could have been sucked between the body and top, forcing a gap (too late to check now)
-the top was simply too stiff.
Anyways, here it is. It's not too bad, right?
View attachment 4769539
The ugly: There were some other inconveniences, but they don't compromise the result.
First off, the fan of my vacuum pump shed most of its blades when I started the pump. It's a very old pump. The epoxy was already applied, so the pump had to make it through. Luckily it worked okay. The top also started to crack under vacuum. I added a clamp on the side to close it up, but there were also a few more tiny surface cracks running along the innermost relief cut, leaving a little ridge. I sanded it smooth and filled it with superglue and dust. With the dark ziricote streaks it's now invisible. I also used wayyy too much epoxy, and I paid for it by sanding it away all afternoon.
View attachment 4769537
Bottom line: It's all okay, but this particularly dense and brittle piece of ziricote was not a good choice for bending. Next time I'll try something more forgiving, like wenge

Thanks, mate! I have no idea how you managed to bend your strat top so much, but you have my utmost respect. Ziricote is not for the faint of heart.Yeah that stuff is tough to bend. You did great!

Yeah, at the moment it is quite visible because some of it is filled with epoxy and some of it isn't. Once it's all filled and sanded smooth I'm pretty sure it will look okay.I'm guessing that separation looks much worse in the pics than in person.
I'll bet it will fill with a little sealer and whatever topcoat.
Thanks, mate! I have no idea how you managed to bend your strat top so much, but you have my utmost respect. Ziricote is not for the faint of heart.
Now it's Les Paul in the front, Strat in the back.




