
• TalkBass has been independent since 1998. Add your voice.
    Create a free account to reply to discussions, view embedded media, and browse with fewer display ads.
    Join freeLog in
    Want zero display ads or expanded classifieds tools? Compare plans.

SBO 22 - Ziricote Dream

Update #16: Slots of fun.

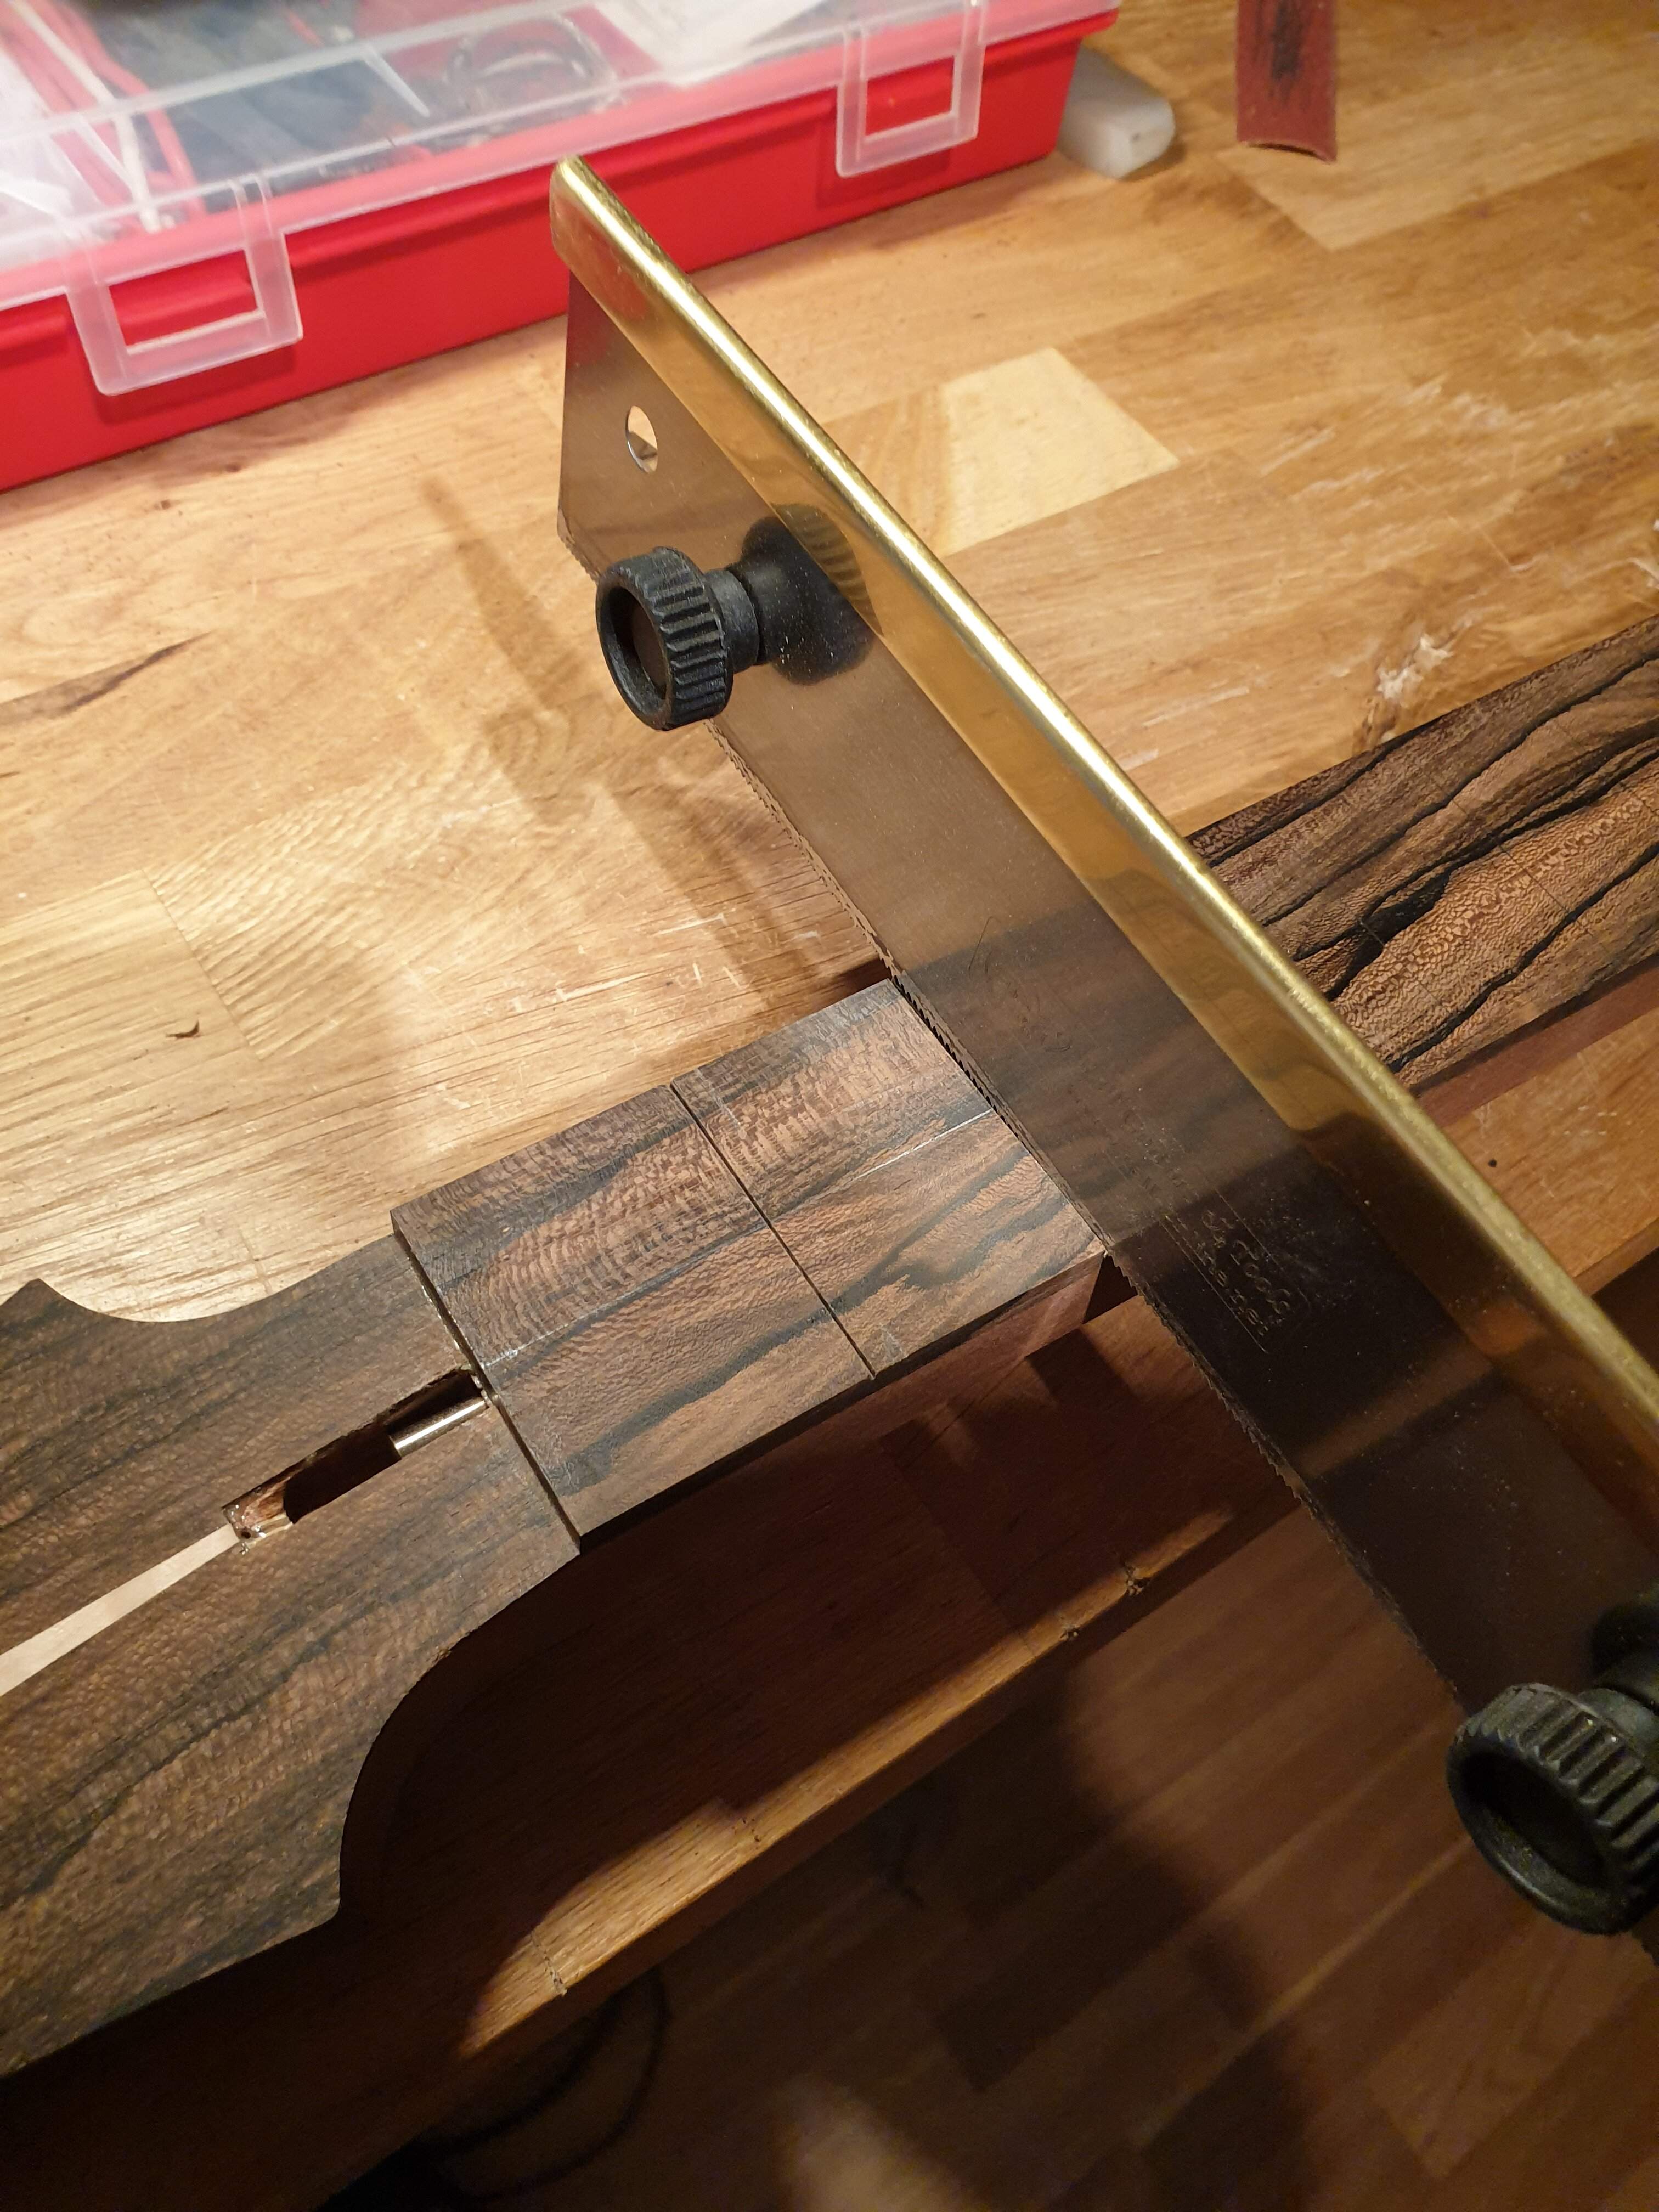
Some other project took over my workshop, but I found some time this afternoon to work on the neck, cutting fret slots and rough-shaping the neck profile.

I enjoy jigs and machines for working on the body, but my procedure for necks is very old-school. I've considered many cool fret slotting jigs that I've seen here on TB, but in the end I'm perfectly happy with my pencil and hand saw method.
20220813_222028.jpg


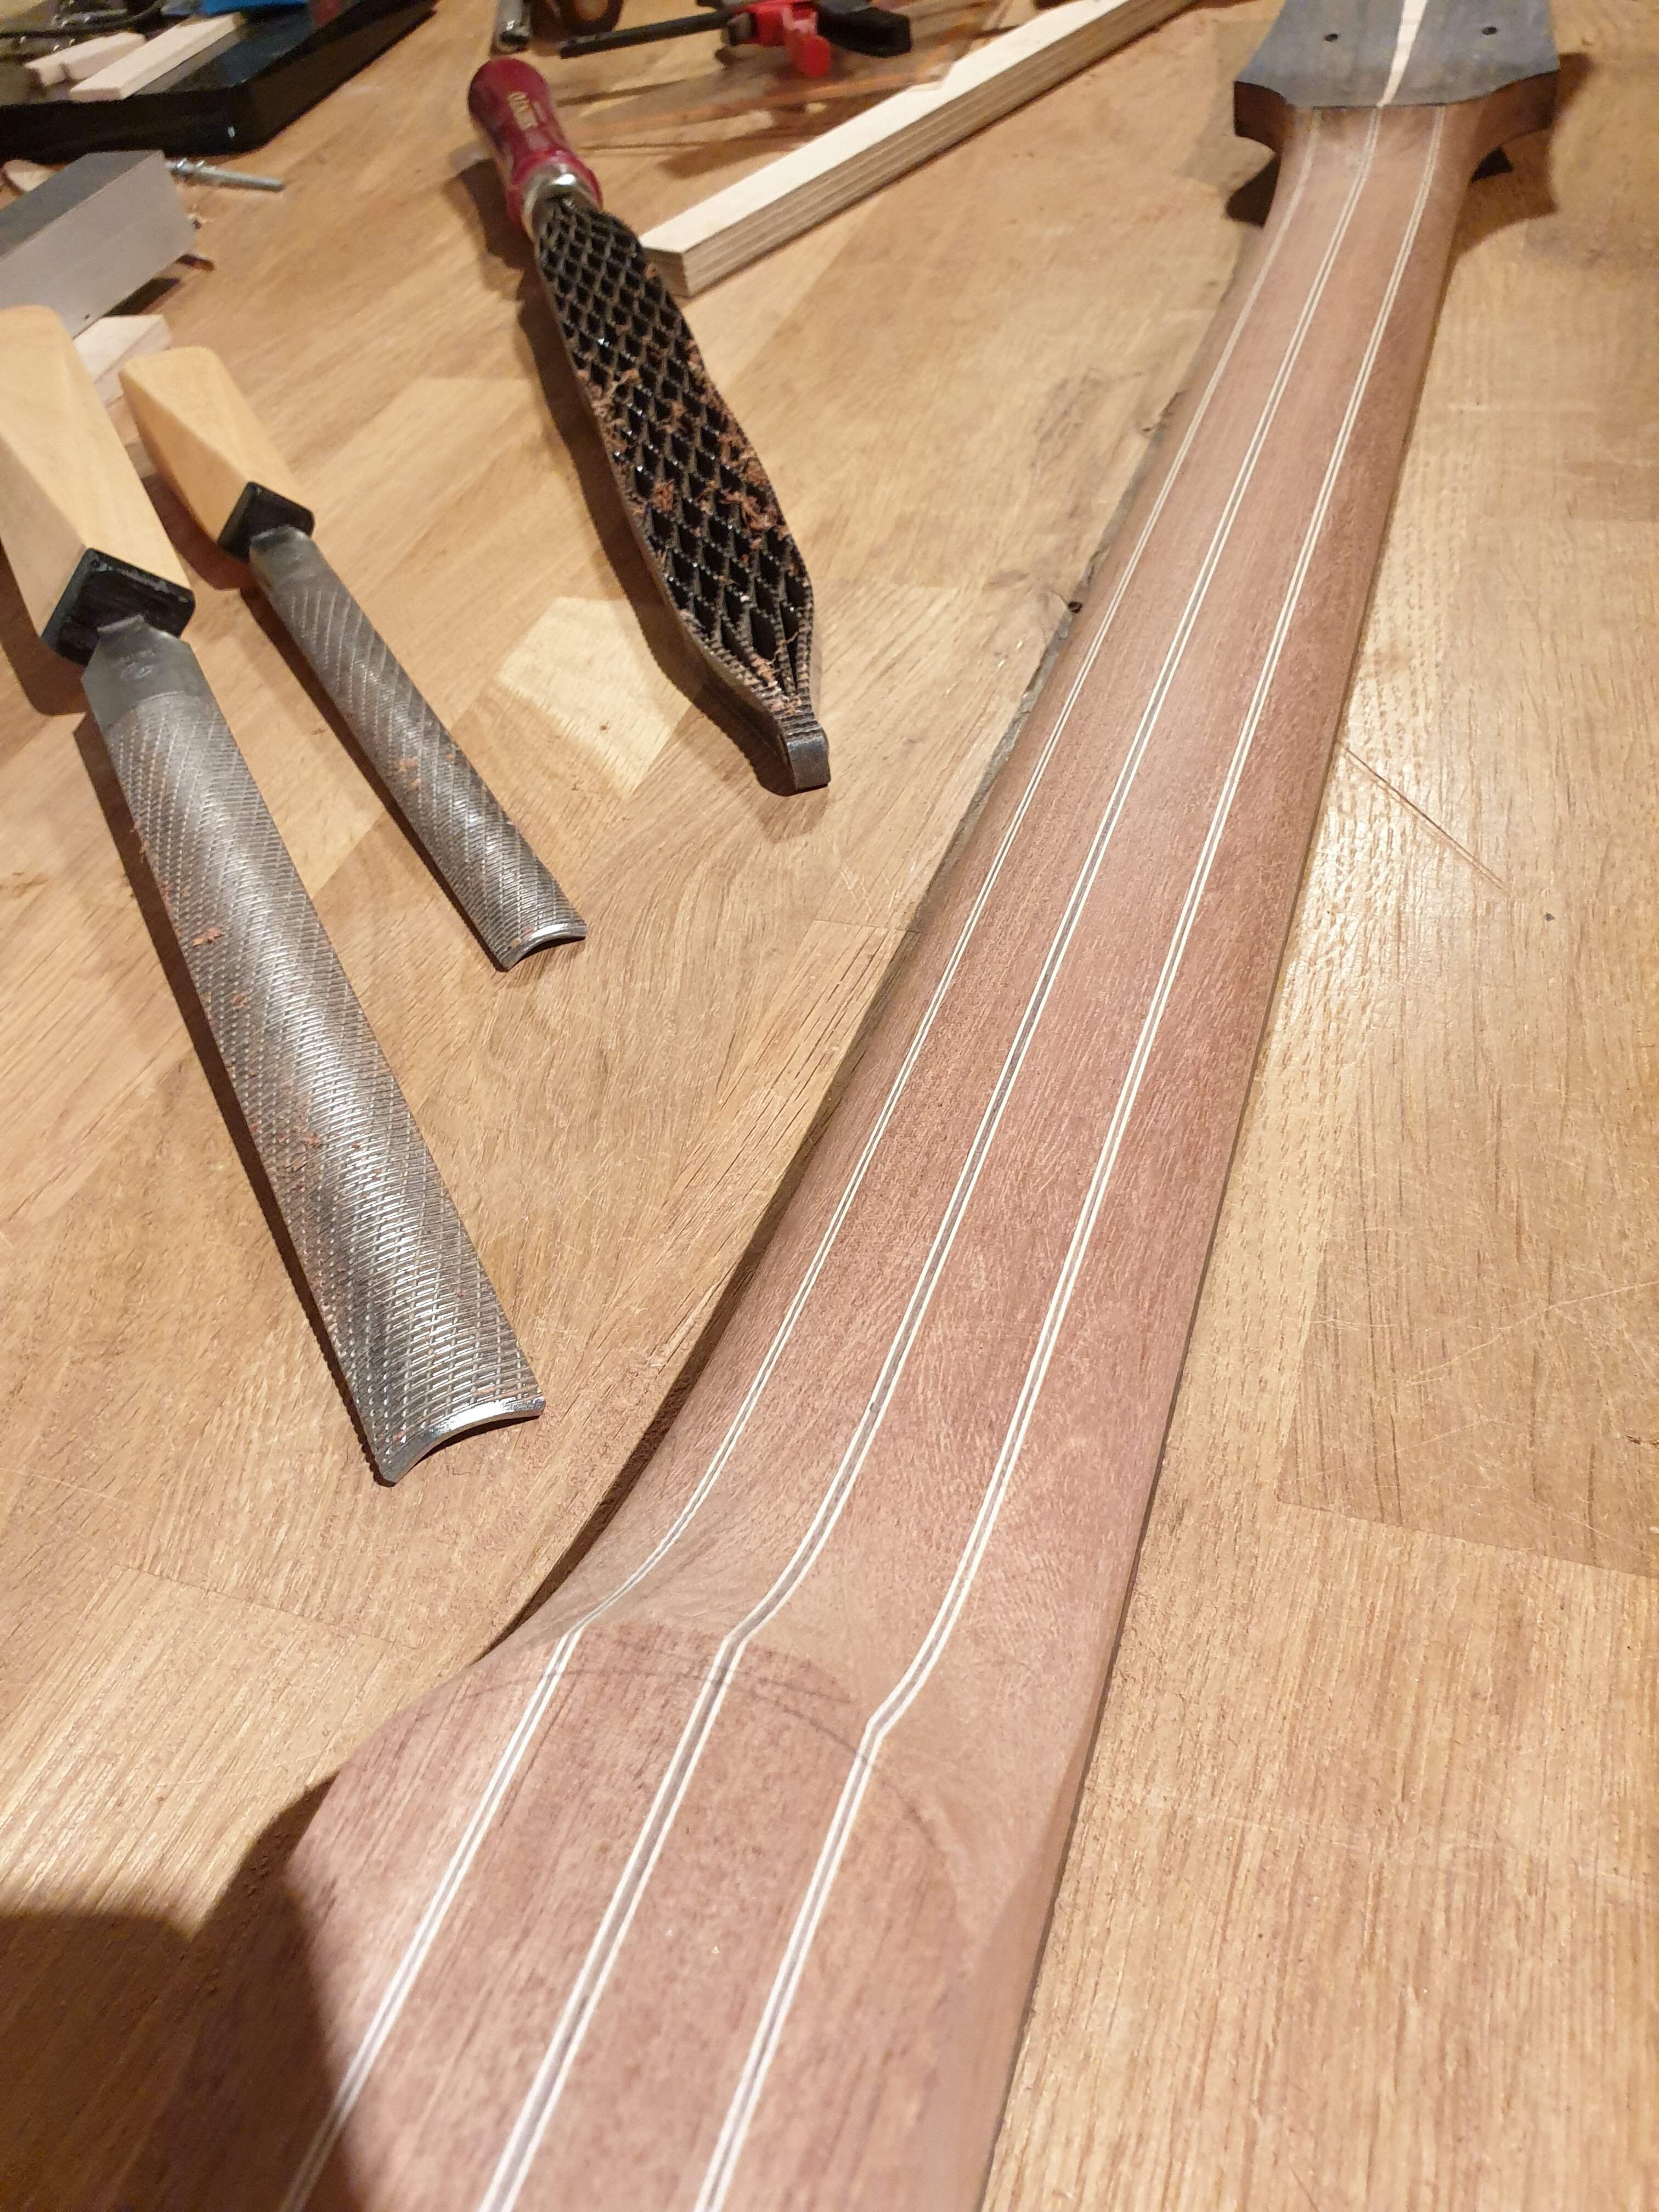
On to shaping the neck. I used the famous faceting method with my shinto and iwasaki files. Now I'm fine-tuning the profile, playing some other guitars for comparison, checking again. I don't use templates or measurements here, it's all about the feel. Now that I see the pictures, I need to blend in the volute and heel a little more.
20220814_232121.jpg


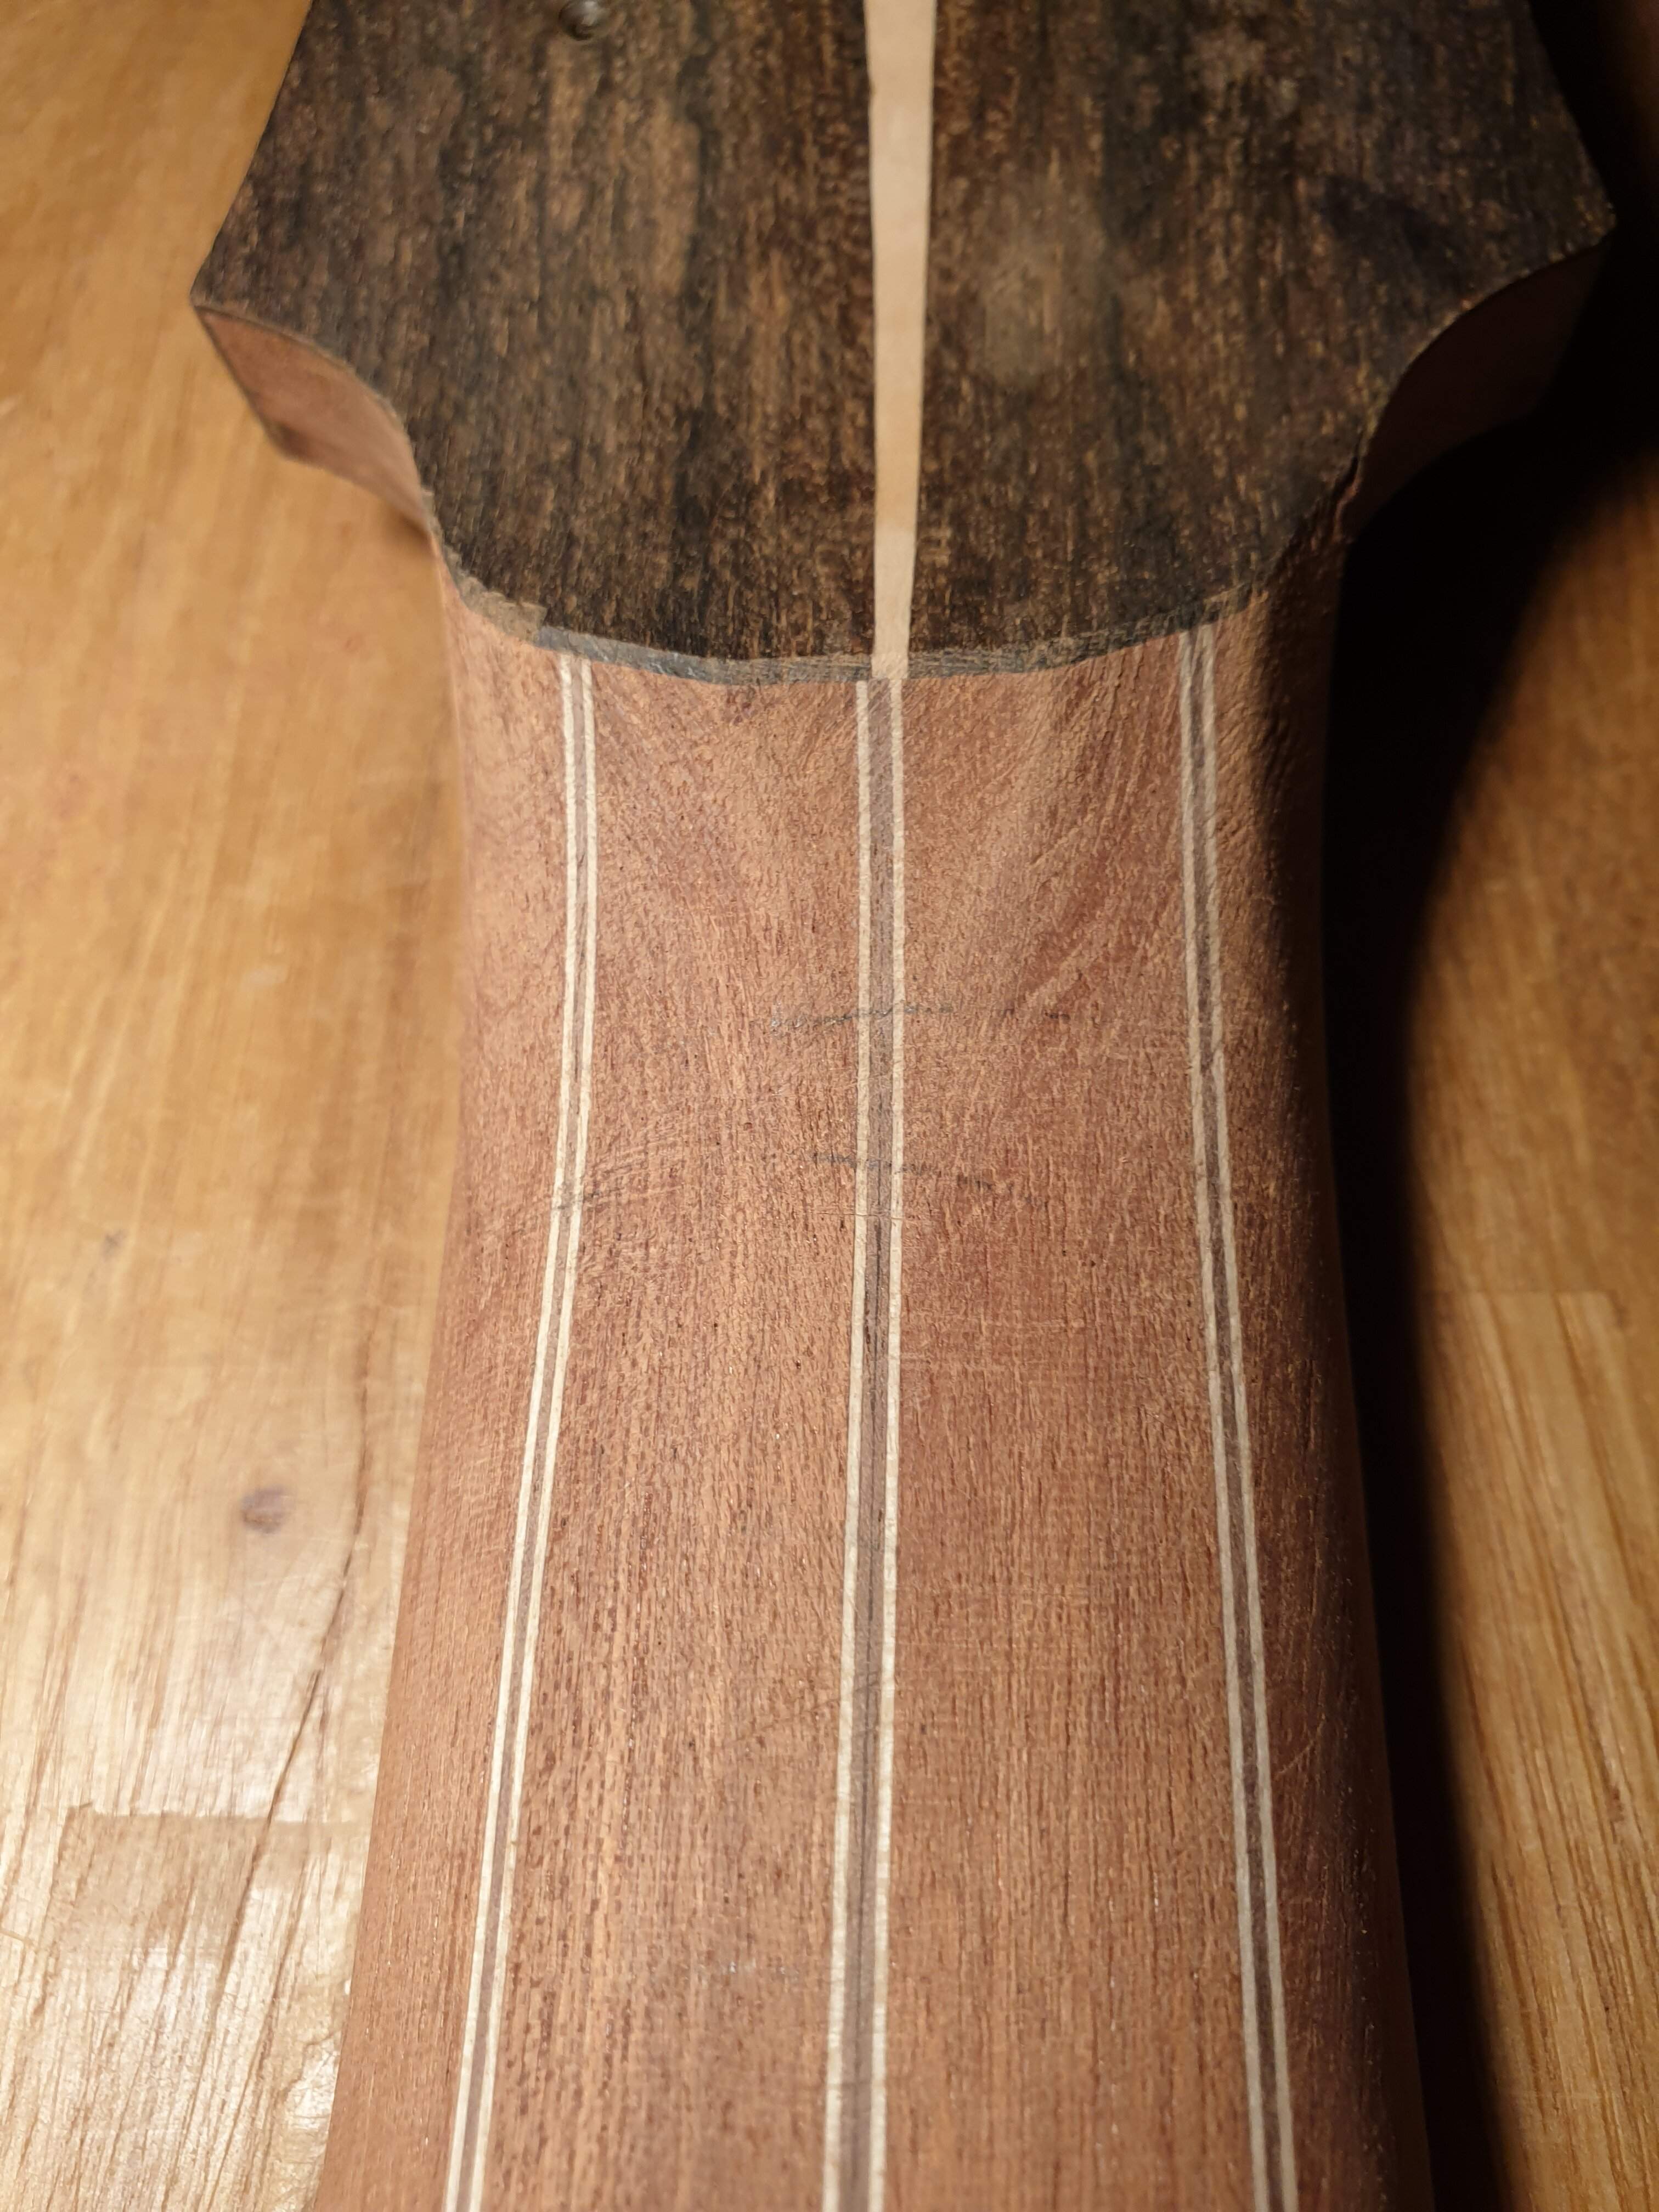
This uncovered a slight misalignment at the (not yet fully shaped) volute that I already mentioned earlier. The offset is no more than 0.5mm, but the veneer layers have no mercy :eek:. Afterall the build-off is not only about posting the glamour-shots, but also about the mistakes and gritty parts of lutherie, right?
20220814_232140.jpg


Next up is neck profile tweaks, fretboard radiusing with a sanding beam, and fretting. Stay tuned!
 
Last edited:
“This item is entirely hand-made, and may display slight imperfections. These imperfections in no way affect the quality or performance of the item; instead, they are a natural part of the hand-fabrication process, and serve to make this item unique, enhancing its value.”
 
Update #17 Dots 'n' frets

Finally found the time to drill and install side dots and fret the neck. The side dots are luminlay super blue 3mm. It's the first time I'm using them, I've heard good things about them here on TB.

20220818_155806.jpg


I decided to leave the front of the board alone, no inlays. It would be distracting from the Ziricote grain. Here's a glamour shot:
20220818_155817.jpg

And a quick test with the luminlay dots with the lights turned off. I'm more than happy with this. 3mm was definitely a good choice as the total luminescence is proportional to inlay volume. They're much brighter than the thinner varieties.
20220818_155903.jpg
 
In fact, it is nuclear radiation tight. :cool:
As a luthier I'm flattered, but as a physicist I have to strongly disagree;). That ain't gonna stop no gamma rays...

A super tight fit is actually not that great for a wood cover. I sanded a little more around the edges to make it an easier fit, otherwise it can swell shut when temperature and humidity change. This has happened to me before and it's quite annoying.
 
Update #idk: Panic buy

Sorry, no pics today. I've fine-tuned the neck profile and taken off some material at the shoulders, it's a much nicer feel now and very similar to my original. Now I'm sanding the neck and body before I glue them together with epoxy probably this weekend.

I also had my "oh no, less than 3 weeks left" moment today when I realized that I'm out of tru oil and grain filler. I quickly placed an order, let's hope it arrives in time.
 
Update #20: MORE ZIRICOTE!

Today I realized that I forgot to order a jackplate for this build. Hmmm, maybe I could make one myself? Maybe from ziricote? Let's do it!

I decided to go with an output jack on the side. Starting with a scrap piece of ziricote, I cut out a rectangle and sanded the concave curvature using the body as a sanding block. Some sanding and a few holes later we have a cover. It looks like it's made from two pieces but it's not, that's just the wood grain.
plate1.jpg


After drilling out the jack cavity and mounting it to the body with four 2mm black screws it looks like this:

plate2.jpg


It's slightly thicker than typical LP-style metal jackplates, maybe that gives it enough strength to survive crazy gigs.

Next up: more sanding.
 
Very cool. I made a little jig to make output jack plates with the RoboSander. Works well with pickguard material. I’ll have to try wood someday. I probably would have tried to bend it so thanks for thinking of sanding it to the body! :thumbsup:
That's also a good approach. It depends on the outside curvature. My method leaves the outside flat, which makes it easier to fasten the input jack and also leaves the plate a little thicker around the mounting screws. If you want a curved piece of constant thickness, bending might be the way to go. One day I want to try laminating a bent jackplate with veneers, kinda like black/white/black pickguard material, but I'll leave that for another build.
 
Updated #21: I think I don't like epoxy anymore

I glued the neck in yesterday and since I had already glued the top with epoxy I thought I'd glue the neck the same way. I taped off all the edges where the epoxy shouldn't go, but with little effect, it seeped under the tape anyways. Now I'm cleaning up the heal and noticed that the epoxy had actually soaked pretty deep into the wood. Is that normal? I have also noticed this on the body sides and top, even after a lot of sanding up to 240 grit I can still see the shadows from epoxy. It is mostly the dark pores that show where it came in contact with epoxy. Could using a vacuum bag have something to do with it (for the top, not the neck joint)?

Is there anything else I can do besides more sanding? What do the epoxy experts say (e.g. @Bruce Johnson)? Is this something that will become invisible after grain filler/tru oil or is it going to be worse?

Neck joint, still needs some cleaning up and carving:
20220905_233313.jpg

On the side after a lot of sanding:
20220905_233246.jpg


And on the top, also after sanding:
20220905_233343.jpg


Is there anything else I can do besides more sanding? What do the epoxy experts say (e.g. @Bruce Johnson)? Is this something that will become invisible after grain filler/tru oil or is it going to be worse?

