
• TalkBass has been independent since 1998. Add your voice.
    Create a free account to reply to discussions, view embedded media, and browse with fewer display ads.
    Join freeLog in
    Want zero display ads or expanded classifieds tools? Compare plans.

Sonum Experior

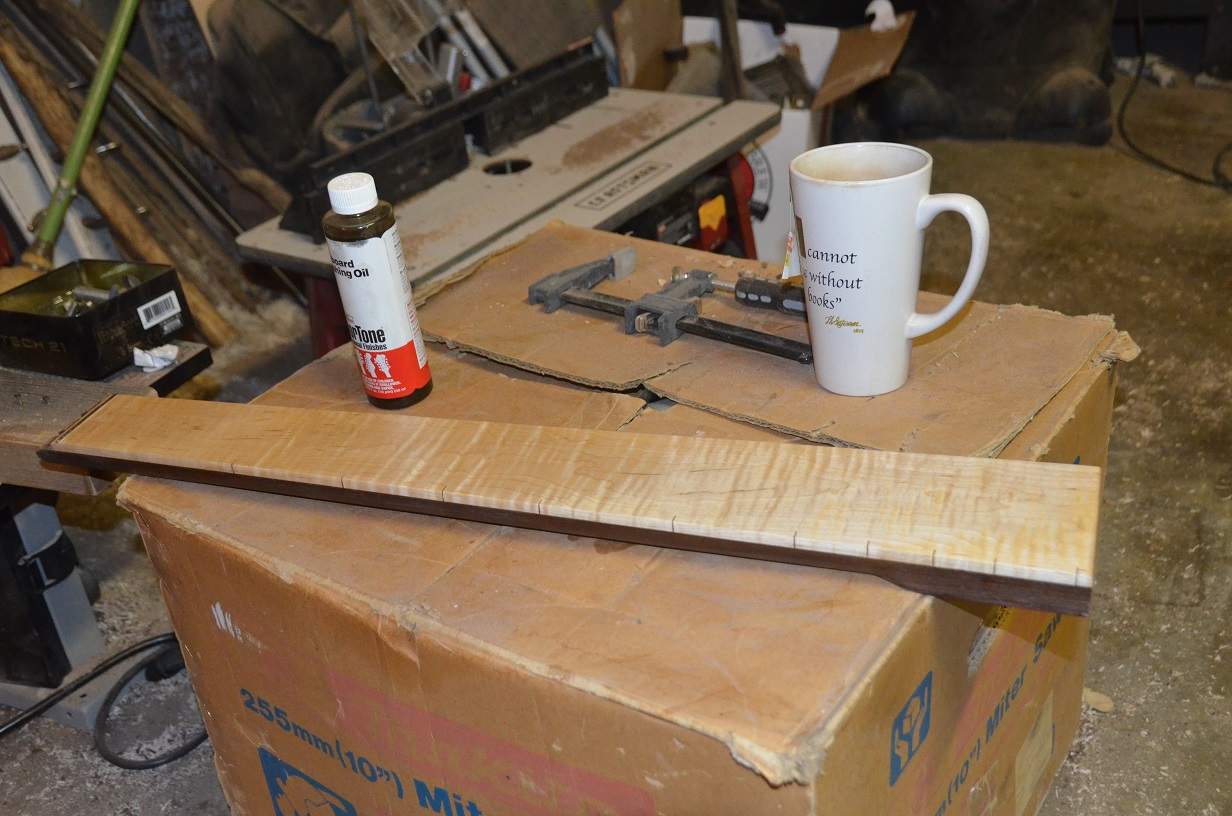
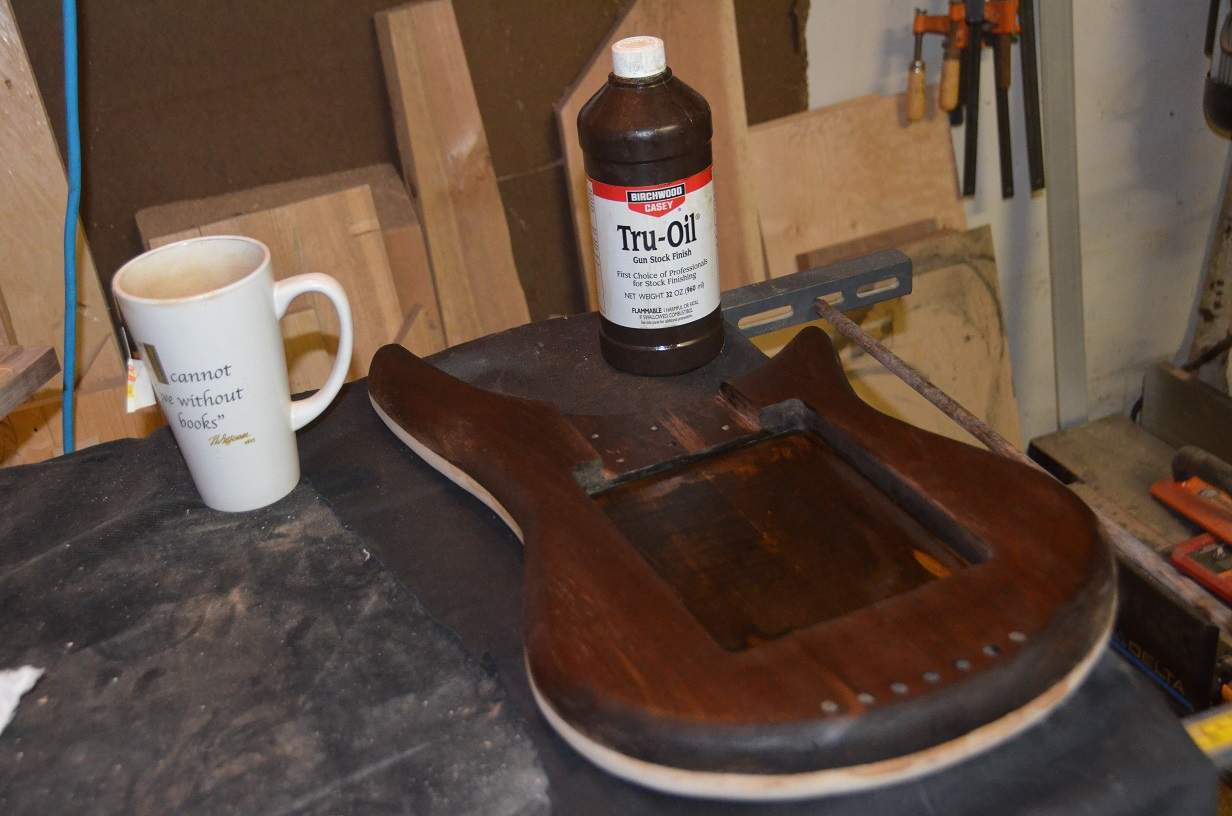
Tonight was filled with sanding, though I must admit that I did not do a stellar job. I want to get this completed so I can get it in @rondodunbar's hands so he can play around with his new pickup. ;) I put a second coat of oil on the back of the neck this morning, and this evening saw the fingerboard coated with StewMac's fingerboard oil. I really like this product, so I stuck with the devil I know. I also put a coat of oil on the top of the body, and man is that wood thirsty! It's going to take a few coats to get it where I want it, but I decided against pore filling so I can see what she looks like without. The wood is very pretty, and I was thinking about the "walnut" finishes I have seen on other basses that are just a patina of stain....believe me when I say that it's a night a day difference. Walnut - accept no substitutes!
DSC_0980.JPG
DSC_0983.JPG
 
  • Like
Reactions: Deep Cat
I went ahead and did a slurry fill with the Tru Oil and some sandpaper this evening. I may need to do it a second time, but that should knock out the worst of the thirst.
So what do you think about the efficacy of the pore/grain filling aspect of that procedure?
I am curious because when I finished my walnut body I attempted that technique with mixed results, depending on differing factors.
Please allow me to describe my theorem ...& bounce it off you, to kinda collaborate on what would work best...especially on walnut....

Using 400 grit to wet oil sand, to create slurry to fill grain:

It seemed to me that grain fill would work best on the very first coat when the wood is at its most thirsty, taking advantage of the fact that the oil is being sucked in at its highest rate. Also due to the fact that the surface is raw and the degree of adhesion is best.
And with all that in your favor.... It's still important to be employing some careful technique...such as squeegeeing the slurry into the pores/ grain, and simultaneously off of the surface.
THEN....letting that oh so important first fill coat CURE....resisting the urge to wipe off excess oil with anything other than a squeegee, (to avoid pulling the slurry out of the pores).
After it is cured for at least a day...subsequent coats can be applied and any funky residuals left by not wiping down the first coat can be block sanded off the surface...but with care & NOT using anything like steel wool that would tend to dig out the carefully filled grain.

What do you think? Any notes? I'm asking because I came up with the idea of trying to get most all of the grain filling done on the first coat, after I had already applied a coat...and it seemed harder to get the slurry to stay in the pores because the first coat had created somewhat of a barrier...a shell....
Know what I mean?
 
Last edited:
@Rôckhewer - I have no attempted the method you describe, but it seems worth a try. On this build I had two coats of oil laid down with 24 hours of drying time before I attempted wet sanding. I poured some oil on the surface and sanded with 400 grit paper keeping my strokes following the grain, and then "massaged" the oil into the wood with my fingers. Tonight I am going to pour some oil on the rough surface and wet sand again, but will wipe the excess off against the grain to fill as much as I can. I am not looking for a glassy smooth finish as I much prefer the feel of finished wood that has some grain to it, but getting the pores filled should provide a bit of sexiness. ;)
 
One last coat of oil. I am calling this good enough. I am rushing the finish for sure, and it;s not a great job, but I want this to be ready by tomorrow evening for playing and testing pickup positions. The finish is mostly to protect the wood from getting too dirty. Call me lazy perhaps, but I am considering this build a prototype and will more than likely improve the design after some use and build another.


DSC_0998.JPG
 
I bolted the neck on and put down some velcro this morning. The "soft" sided velcro is in the cavity to avoid "fuzzies", and the pickup mounting platforms will have the "hook" side.

In the background you can see my "new" Mac - I found it sitting in front of a house with a free sign on it. It's an old G4 PowerPC eMac and has been loads of fun to re-install and get moving. It turns out that my DAW of choice, Reaper, still develops a PPC variant and I have that installed and running. It's currently dual booting OSX Leopard and Debian Linux. Next steps for it will be installing an SSD. ;)

DSC_1002.JPG

DSC_1004.JPG

DSC_1003.JPG
 
FB TY
It's an old G4 PowerPC eMac and has been loads of fun to re-install and get moving. It turns out that my DAW of choice, Reaper, still develops a PPC variant and I have that installed and running. It's currently dual booting OSX Leopard and Debian Linux. Next steps for it will be installing an SSD
Um...ok....so, a POS PPC needs a SSD from a DAW who RIP because the OSX/L&DL is OOD?? ***, MWH?
 
  • Like
Reactions: michaelwayneharwood
The contrast between the top wood and the maple is really sharp!
I wasn't sure whether I would like the contrast, but it's striking! It's a pain to keep the walnut sawdust from coloring the maple - I need to figure out a better workflow for sanding. Fortunately the maple has a tight grain and is not super porous, but areas with end grain are challenging for me.
 
With the help of some mechanical pencils my grandfather left me and a lead pointer I gathered the requisite graphite needed to lubricate the piano pin tuners, and they were installed this evening. With alligator clips in hand the build is mostly finished, though there is some fine tuning to do here and there. It works well enough to serve it's purposes for the time being, but I need to build a new neck to get rid of that damned rattle. Not this week, but soon enough.

DSC_0072.JPG

DSC_0073.JPG
 
I don't know....
I mean.... Do you honestly believe you're going to get a true representation of what the tested pickup is going to sound like in an....
"actual bass".
It's just that, with that gaping hole in the middle there.... It is lacking such a big piece of the most crucial and voice defining elements of a bass.....

Of course I'm speaking of, "pickup adjacent TONE WOOD"!
I just don't think it's gonna work.


(you do know I'm just messing with you.....?) lol...;)
 
  • Like
Reactions: michaelwayneharwood
I don't know....
I mean.... Do you honestly believe you're going to get a true representation of what the tested pickup is going to sound like in an....
"actual bass".
It's just that, with that gaping hole in the middle there.... It is lacking such a big piece of the most crucial and voice defining elements of a bass.....

Of course I'm speaking of, "pickup adjacent TONE WOOD"!
I just don't think it's gonna work.

(you do know I'm just messing with you.....?) lol...;)

Yeah really, how are you going to accurately represent hanging from a plastic ring on spring-loaded screws, or being squished onto bits of foam on top of tone wood?

Have no fear! This model is testing a super secret method for introducing a new transient shaping and tonal modeling technology I am developing. I am calling it "Acoustical Indemnification Refractor", or A.I.R. (Patent Pending).

