Back story. My wife and I moved into an apartment with an extremely small kitchen and no place with a large enough spot to put a table at which to sit and eat. After shopping forever for a table that would fit the space we had to work with, we got the idea to build a table that would no only serve the purpose of being a place to eat, but would also give us more counter space.
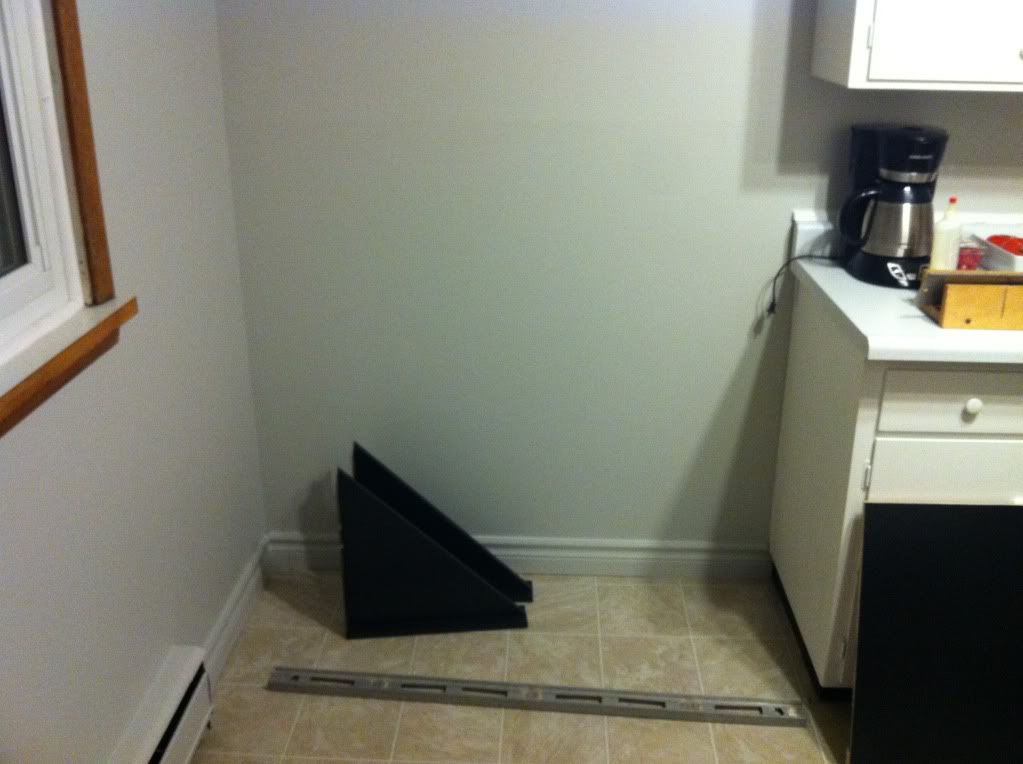
The original space
After measuring, designing and buying the supplies, I started cutting wood. I should mention that my dad's table saw (what I was using as I lack my own wood working tools) is not large enough to make some of the cuts needed, so we improvised and made most of the cuts with a skill saw with a fine tooth blade in it.
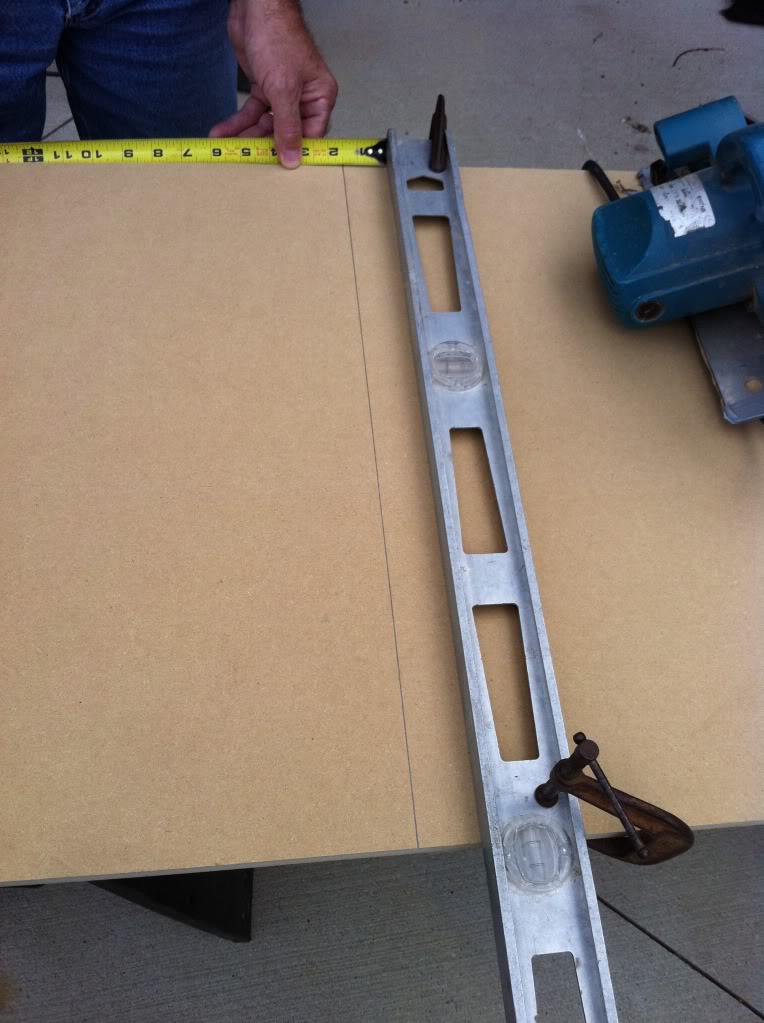
Lining up the straightedge for the skill saw cut
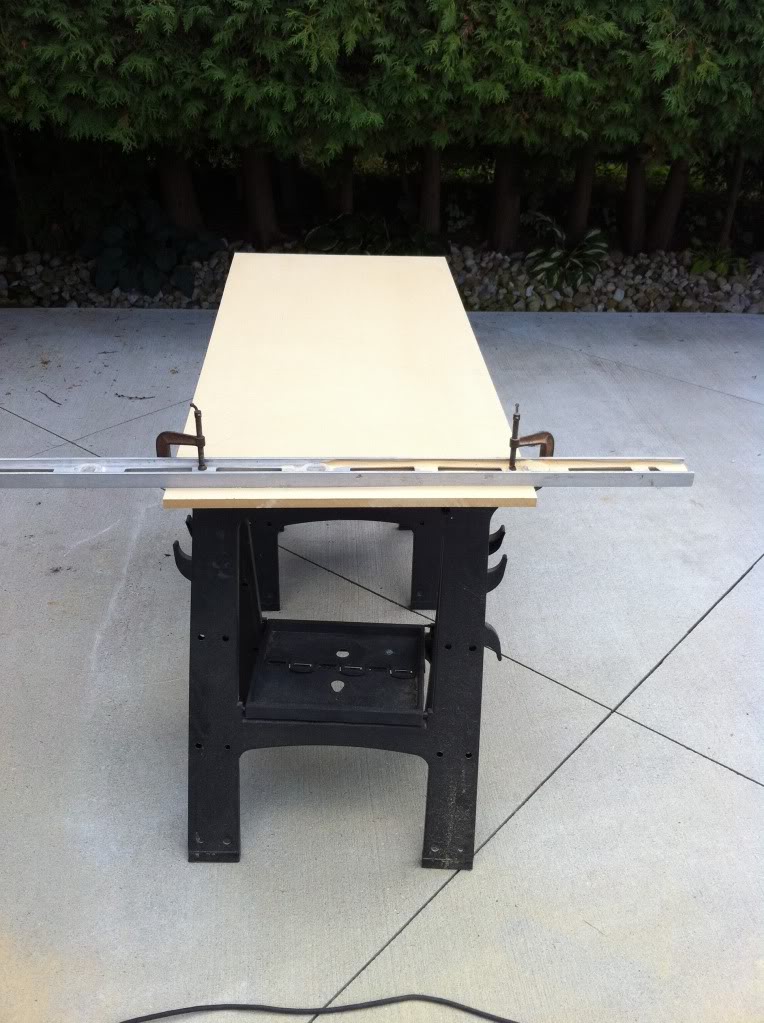
Straightedge clamped in place
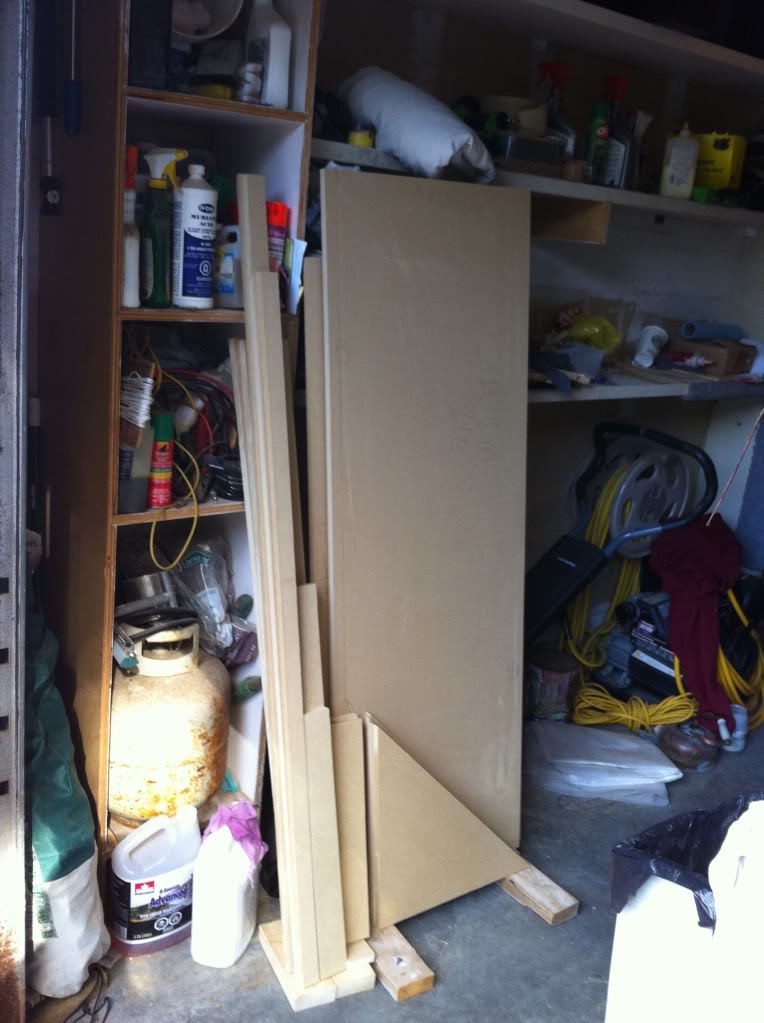
Pile of all the cut wood
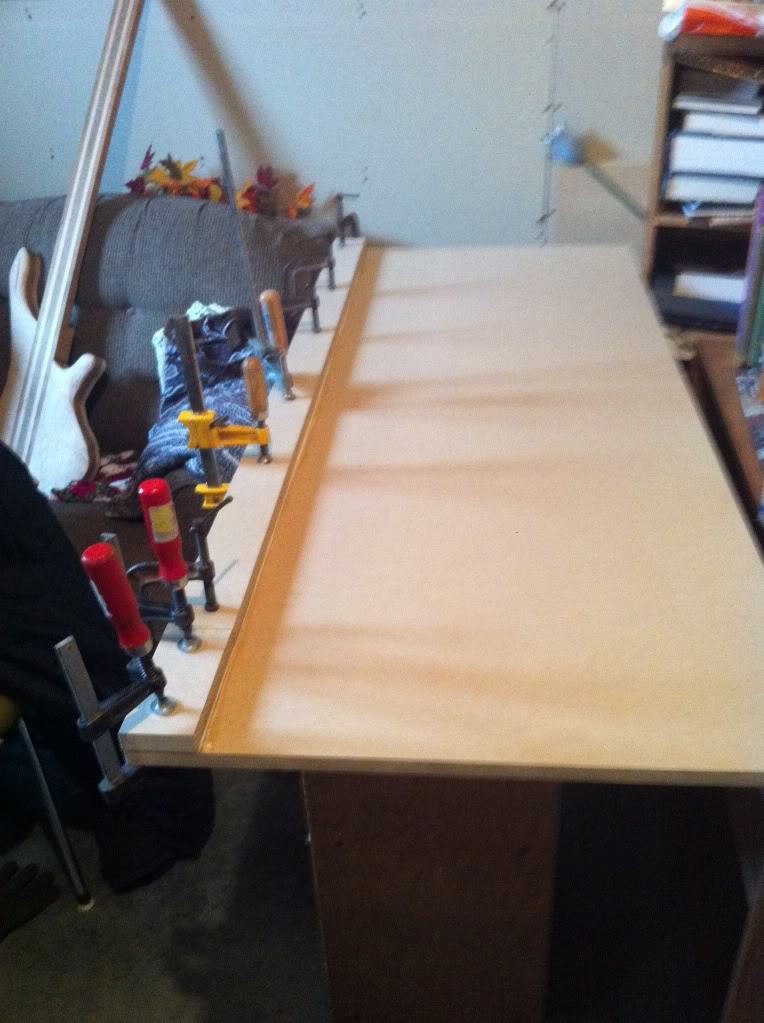
Clamping the pieces in place for the edge bevel
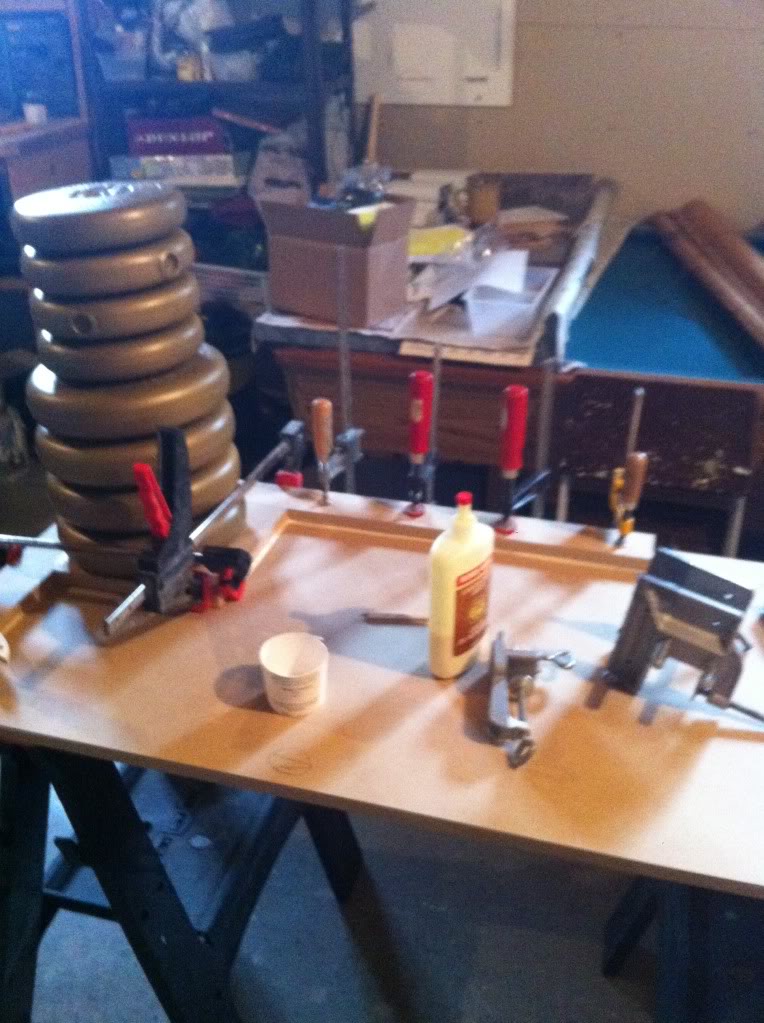
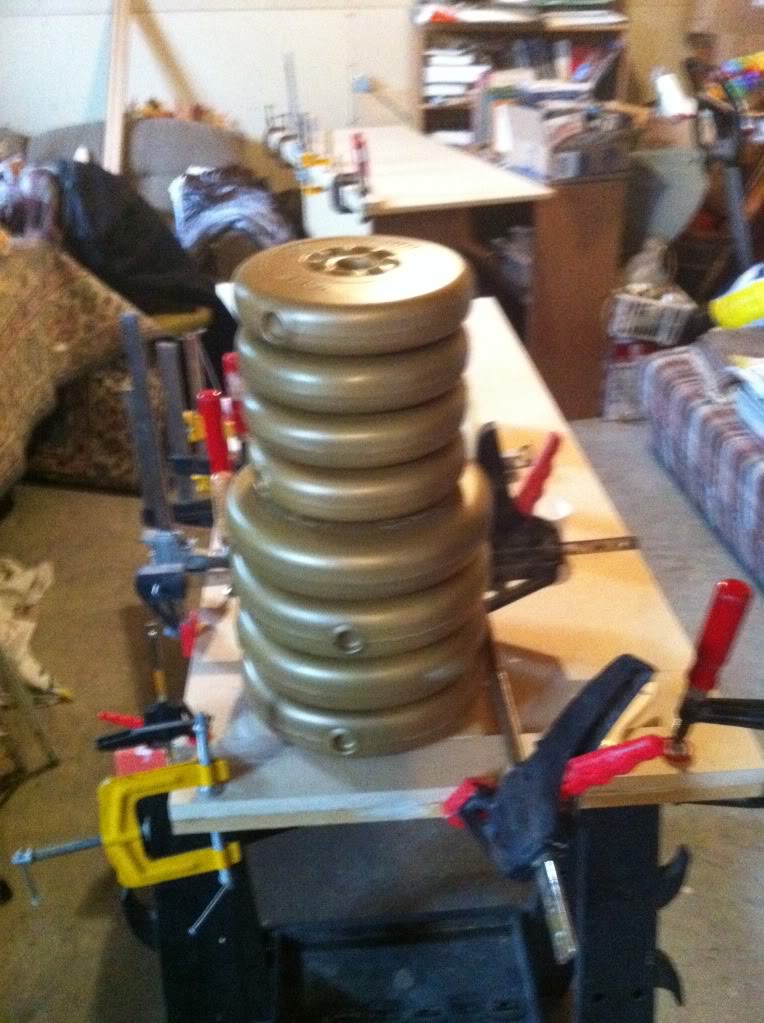
More clamping and weight added for a spot that we didn't have a clamp that could reach
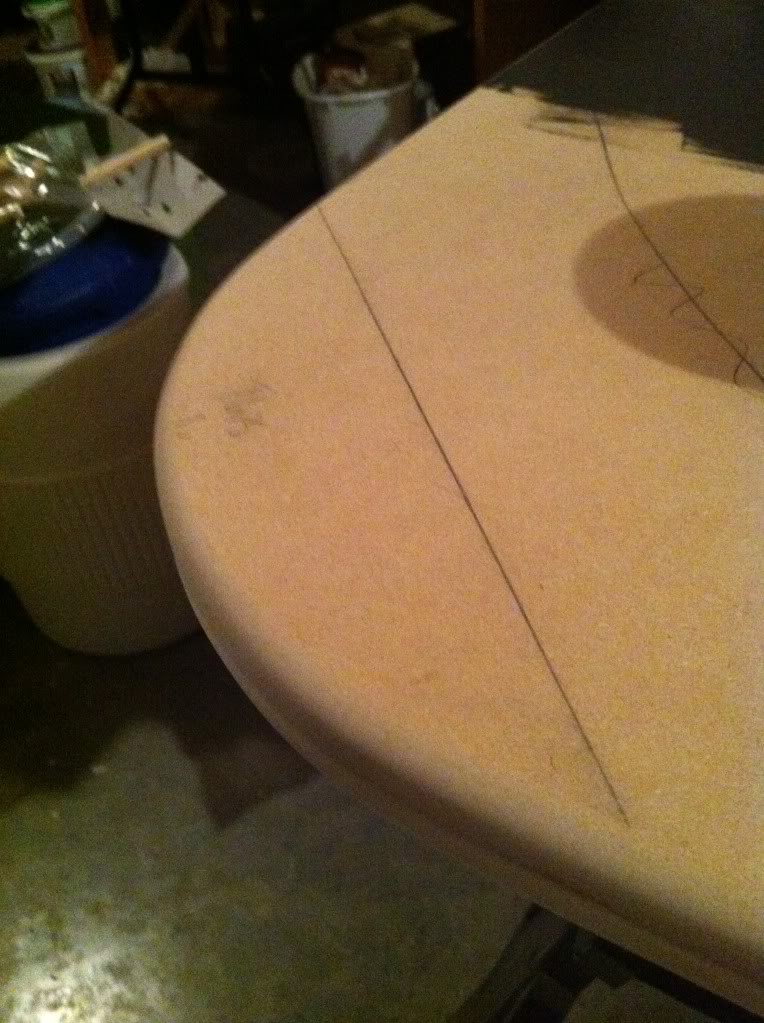
Edge rounded over
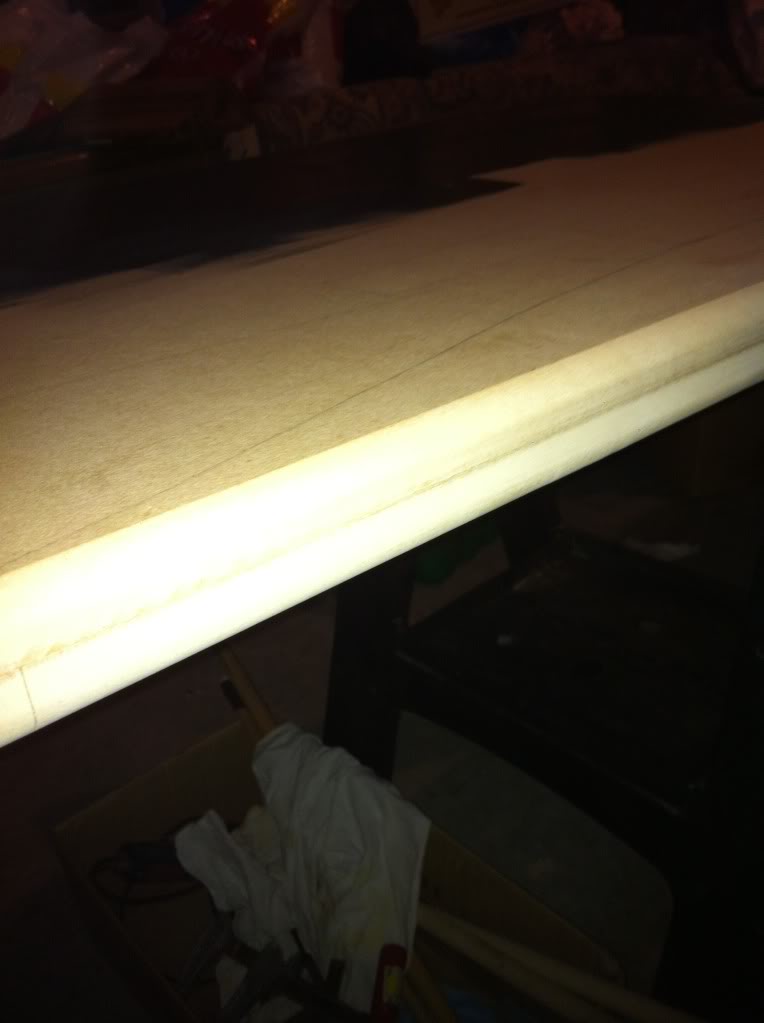
Corner radius cut and rounded over
Painting
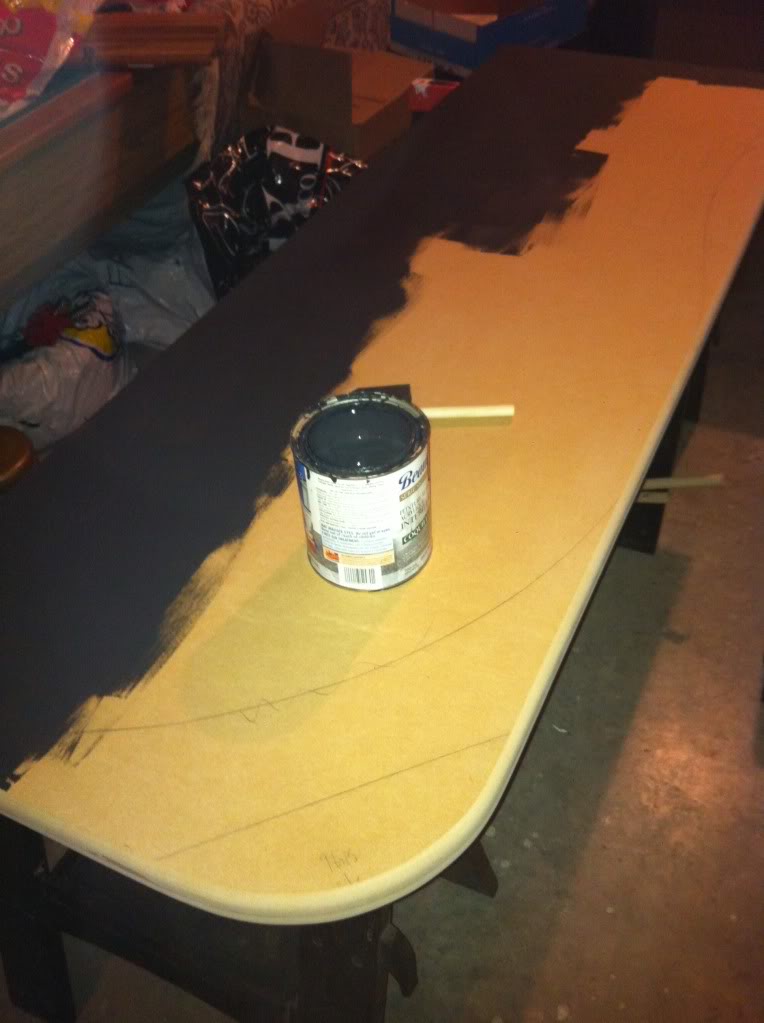
First coat of paint done
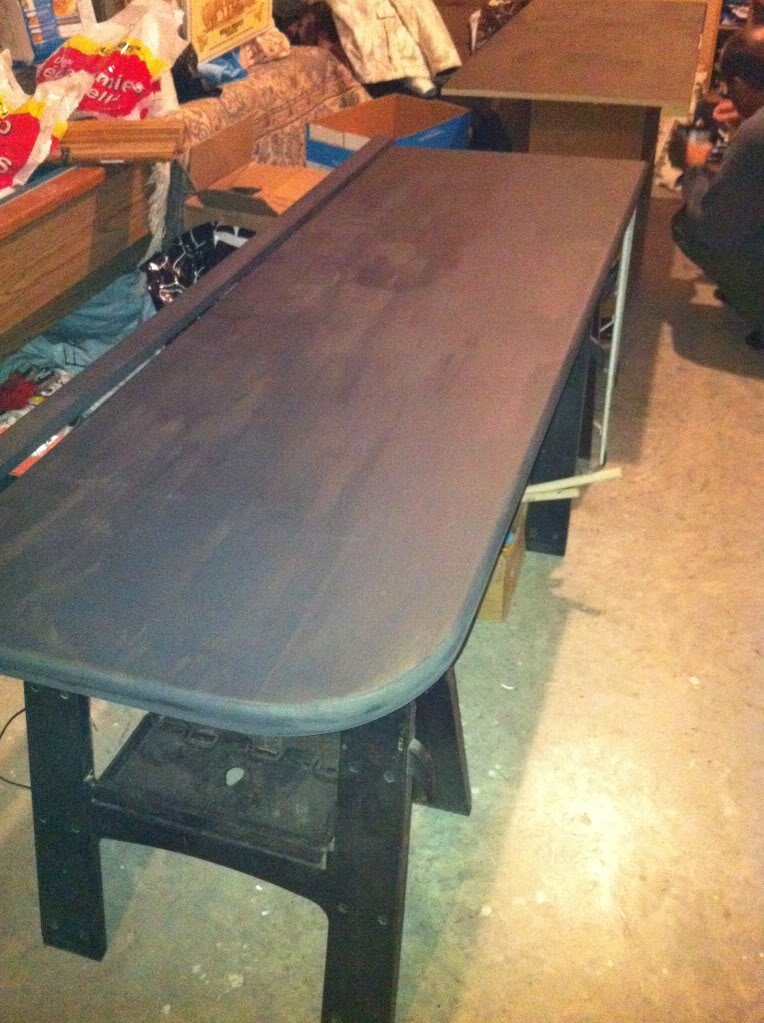
Installed!
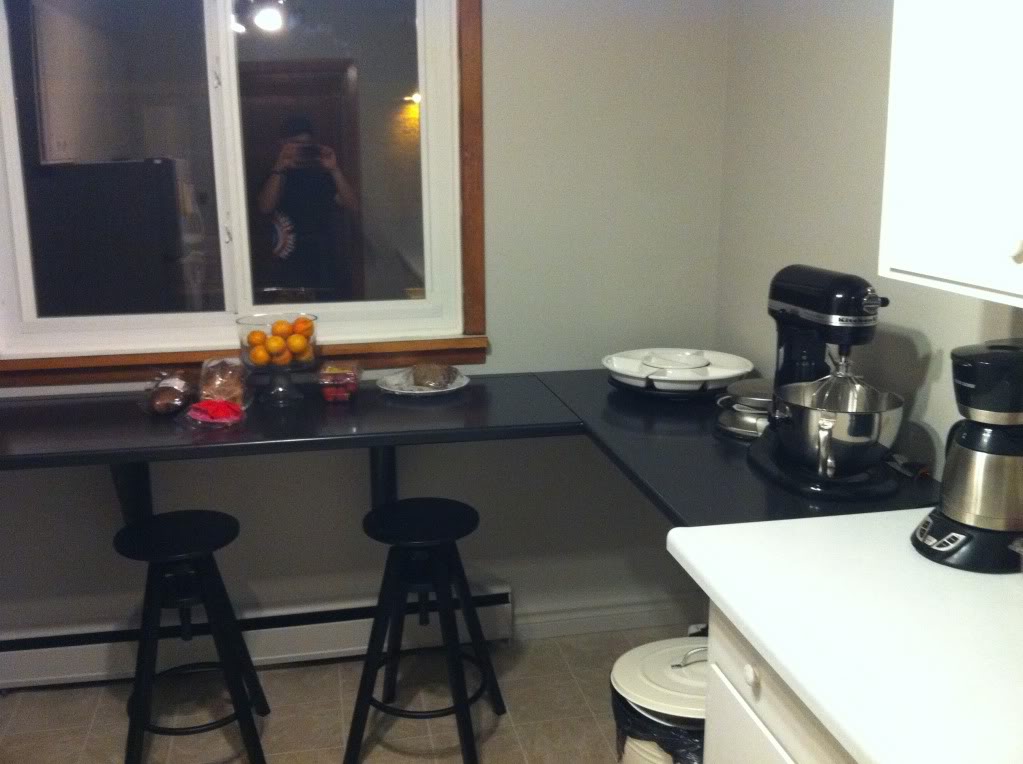
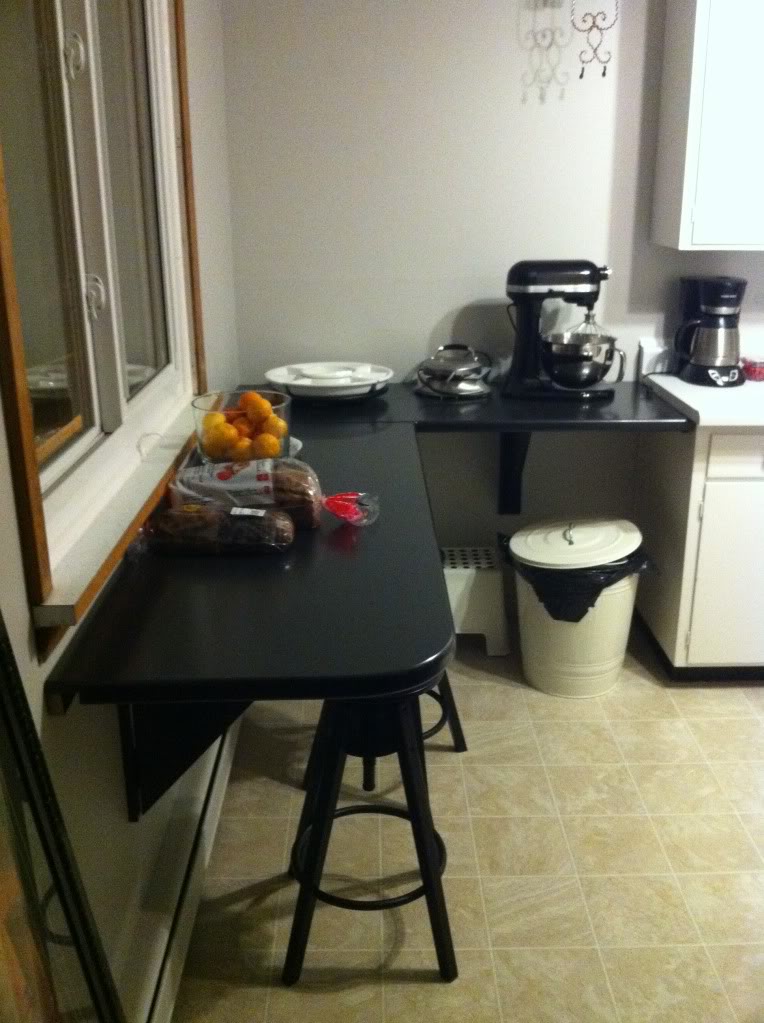
In the end, it took $87 to build and install, and less than 6 hours to build. The table took four coats of paint and four coats of Miniwax Polyurethane to finish. The only thing that I would do different next time is to put a sealer coat on before I started with the paint. MDF has a lot of bleed through and it forced me to do more coats of paint that I had anticipated. Also, the portion under the window folds down to give more room for walking if it is needed, I don't have a picture of that, but I will try to snap one tonight.
The most important part? My wife is ecstatic about how it turned out
lowsound
The original space
After measuring, designing and buying the supplies, I started cutting wood. I should mention that my dad's table saw (what I was using as I lack my own wood working tools) is not large enough to make some of the cuts needed, so we improvised and made most of the cuts with a skill saw with a fine tooth blade in it.
Lining up the straightedge for the skill saw cut
Straightedge clamped in place
Pile of all the cut wood
Clamping the pieces in place for the edge bevel
More clamping and weight added for a spot that we didn't have a clamp that could reach
Edge rounded over
Corner radius cut and rounded over
Painting
First coat of paint done
Installed!
In the end, it took $87 to build and install, and less than 6 hours to build. The table took four coats of paint and four coats of Miniwax Polyurethane to finish. The only thing that I would do different next time is to put a sealer coat on before I started with the paint. MDF has a lot of bleed through and it forced me to do more coats of paint that I had anticipated. Also, the portion under the window folds down to give more room for walking if it is needed, I don't have a picture of that, but I will try to snap one tonight.
The most important part? My wife is ecstatic about how it turned out
lowsound