

Sparkle Inlay Test #2:
I realized that any bubinga showing through the MOP would show up as a jagged line along the edges of the 1/8" triangle routs. I've used this stuff before, Envirotex Lite, its a polyester resin that dries water clear, and since its polyester, I realized I could use marine gelcoat tint to get it white. I also got a jar of a much finer grade of crushed MOP to use as a base coat, adhered to white tinted resin painted into the recesses. I wasn't sure how much of the gelcoat tint I could add without screwing up the polyester cure, so my first coat into the recesses wasn't quite opaque. If it seems like its curing out OK, maybe I can add more tint. If not, I'll just have to apply two or more coats. Science!
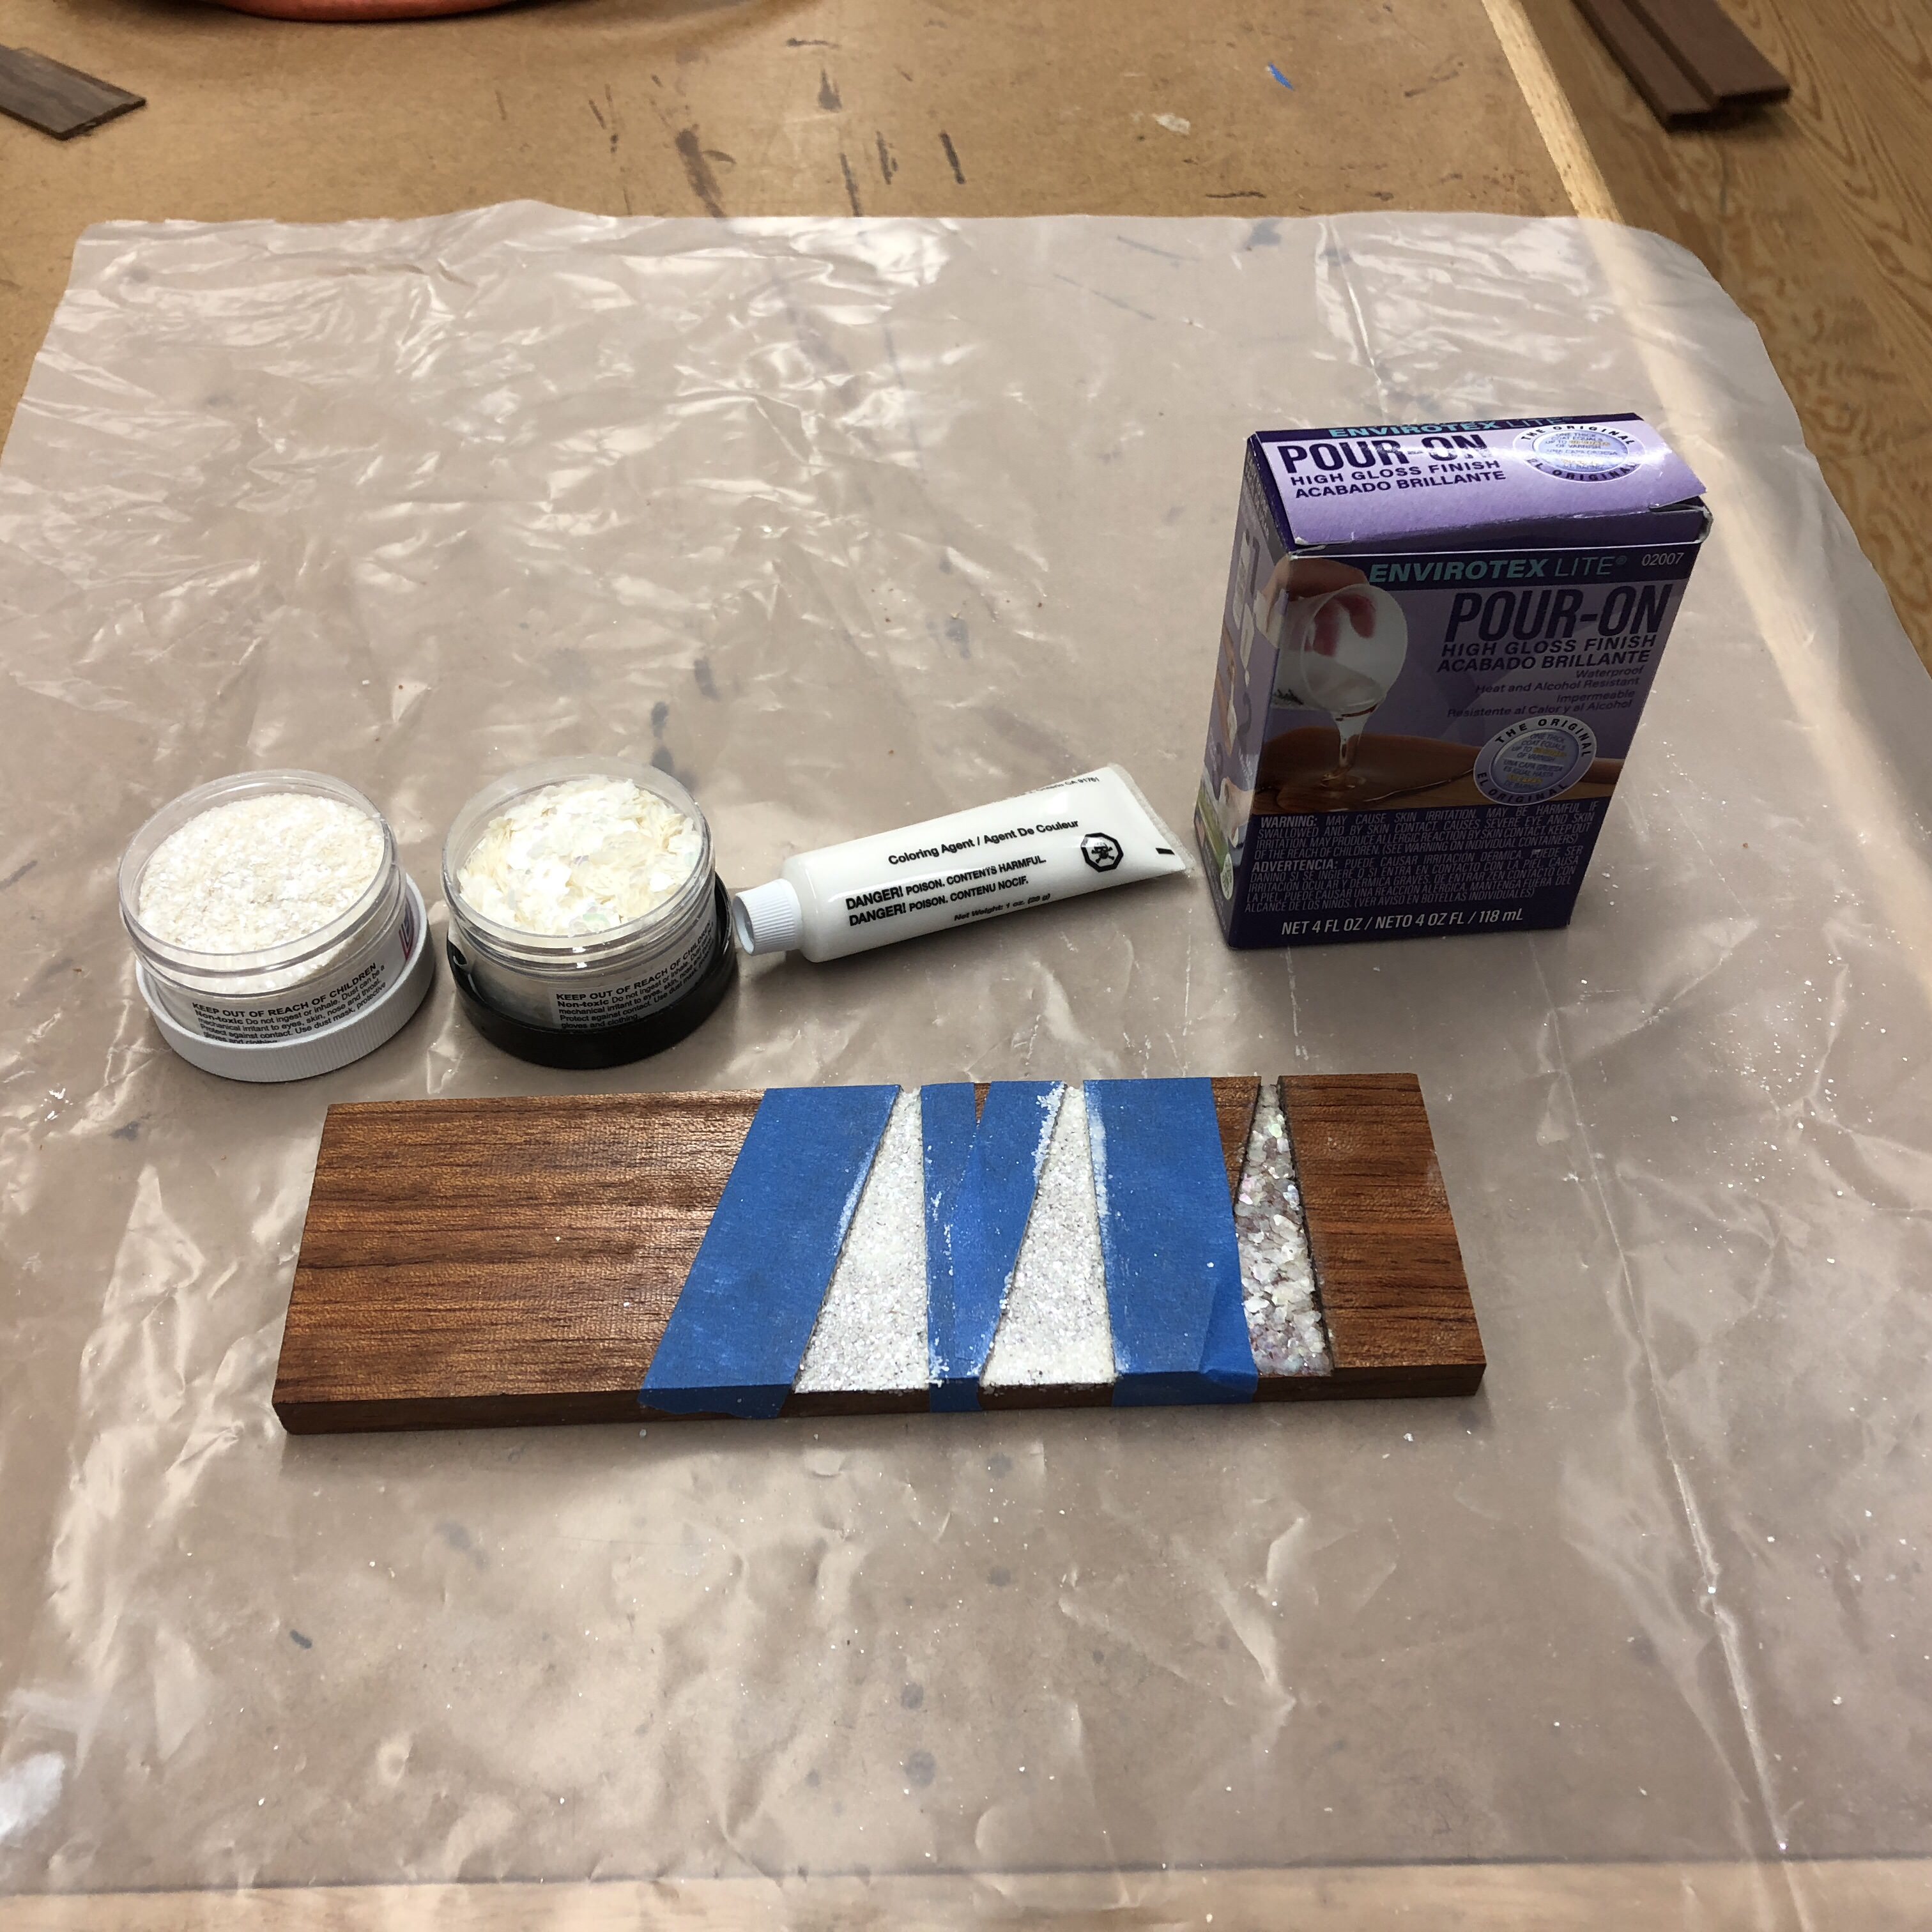
Here it is with one base coat of tinted Envirotex, and the finer grind of MOP flakes. I'll use the bigger flakes seen in the first attempt to the right, applied with a submerging coat of Envirotex, to get the real "sparkle" look.

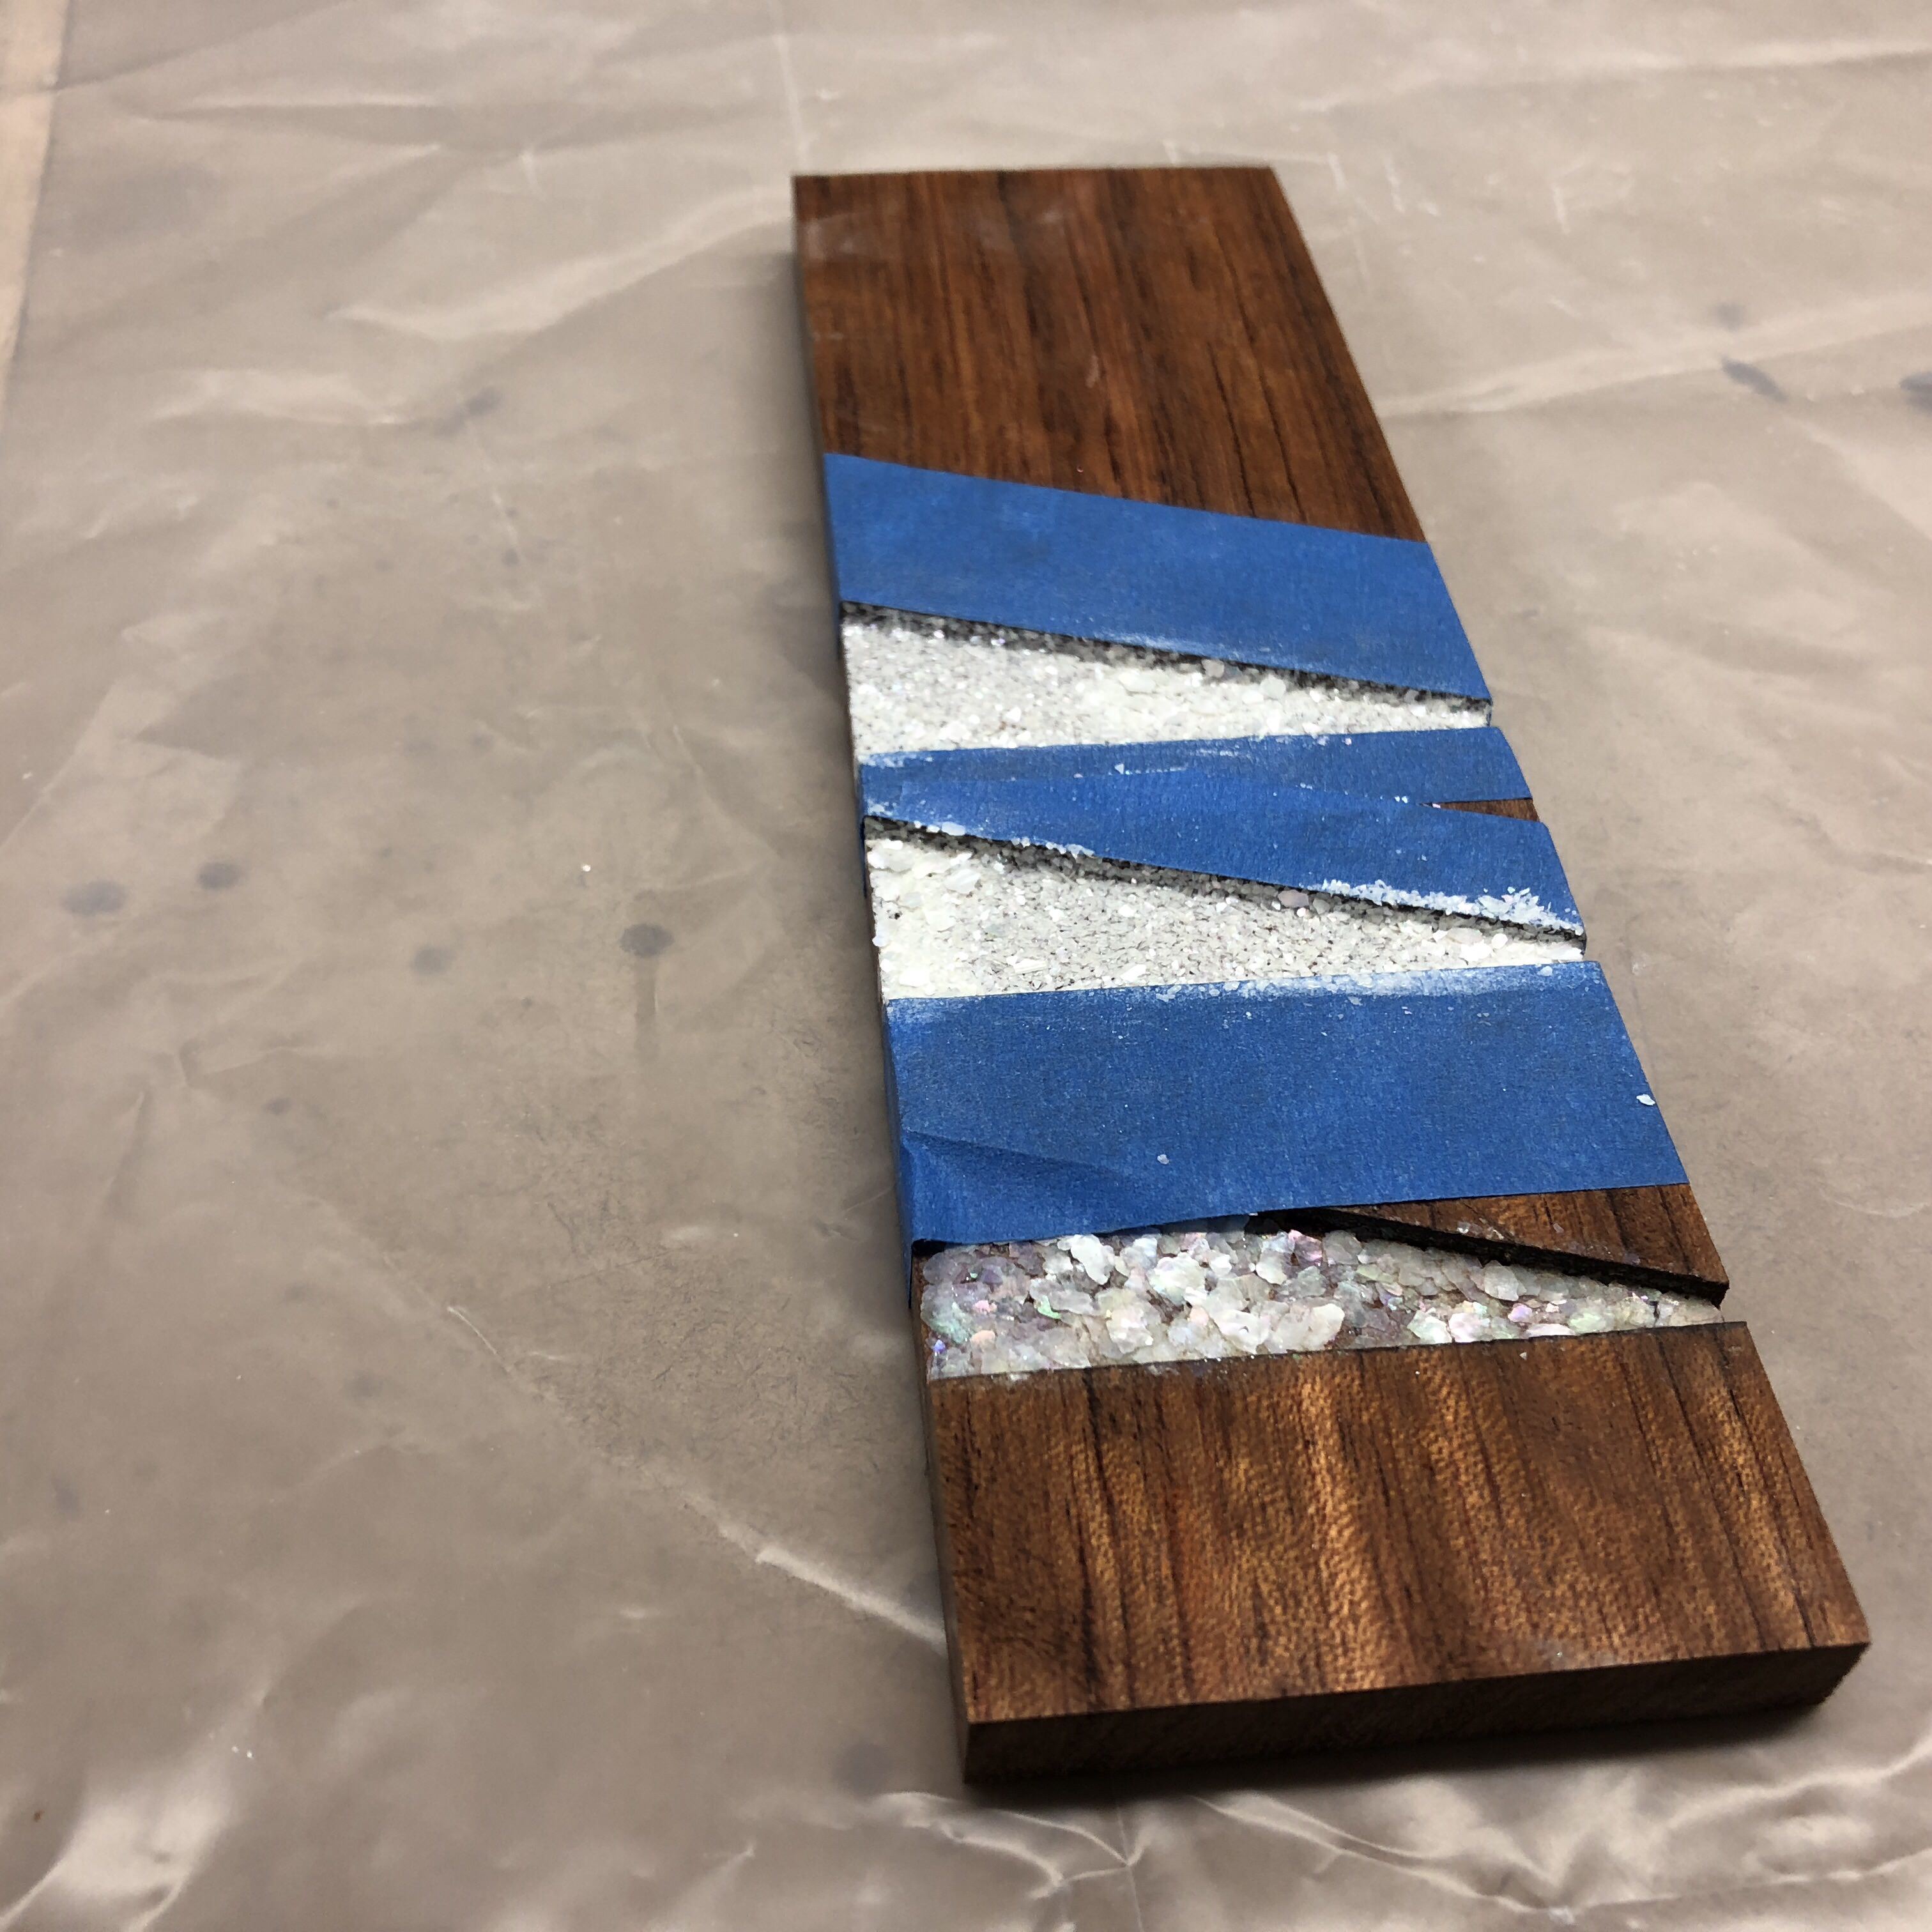
You can see in this shot, I didn't get the vertical edges of the recesses opaque white enough. The Envirotex is thin enough that it seems to run down off the edges as it levels out. The edges really have to be white, or the bubinga will show through as a ragged edge under the transparent infill. Might have to apply more of the white tinted stuff right before it starts to kick off.
I realized that any bubinga showing through the MOP would show up as a jagged line along the edges of the 1/8" triangle routs. I've used this stuff before, Envirotex Lite, its a polyester resin that dries water clear, and since its polyester, I realized I could use marine gelcoat tint to get it white. I also got a jar of a much finer grade of crushed MOP to use as a base coat, adhered to white tinted resin painted into the recesses. I wasn't sure how much of the gelcoat tint I could add without screwing up the polyester cure, so my first coat into the recesses wasn't quite opaque. If it seems like its curing out OK, maybe I can add more tint. If not, I'll just have to apply two or more coats. Science!
Here it is with one base coat of tinted Envirotex, and the finer grind of MOP flakes. I'll use the bigger flakes seen in the first attempt to the right, applied with a submerging coat of Envirotex, to get the real "sparkle" look.
You can see in this shot, I didn't get the vertical edges of the recesses opaque white enough. The Envirotex is thin enough that it seems to run down off the edges as it levels out. The edges really have to be white, or the bubinga will show through as a ragged edge under the transparent infill. Might have to apply more of the white tinted stuff right before it starts to kick off.










 I got a couple of tiny bubbles right at the surface, should sand out too. The mistake I made was pouring a bit of leftover resin into a couple inlays that were fine already so I didn't "waste" it, classic "polishing a turd" maneuver. I think the resin had already started to kick. Hopefully I got away with it. I'll call this a real success if I can sand it and buff it back up to gloss, but it looks pretty hopeful for now. I'll let it harden up for a couple days before attempting that, though it feels like hard plastic now after 48 hours cure. Got the day off from work, but wife and kids all gone for the day, Yeehaw! Shop Time!


