

Enjoy the benefits of a premium membership!
Upgrade Account
-
TalkBass has been independent since 1998. Add your voice.
Create a free account to reply to discussions, view embedded media, and browse with fewer display ads.
Join free Log in
Want zero display ads or expanded classifieds tools? Compare plans.
You are using an out of date browser. It may not display this or other websites correctly.
You should upgrade or use an alternative browser.
You should upgrade or use an alternative browser.
The Hossenfeffer II Build
- Thread starter Gilmourisgod
- Start date
-
- Tags
- build
More options
Who Replied?

Let's fret this sucker...
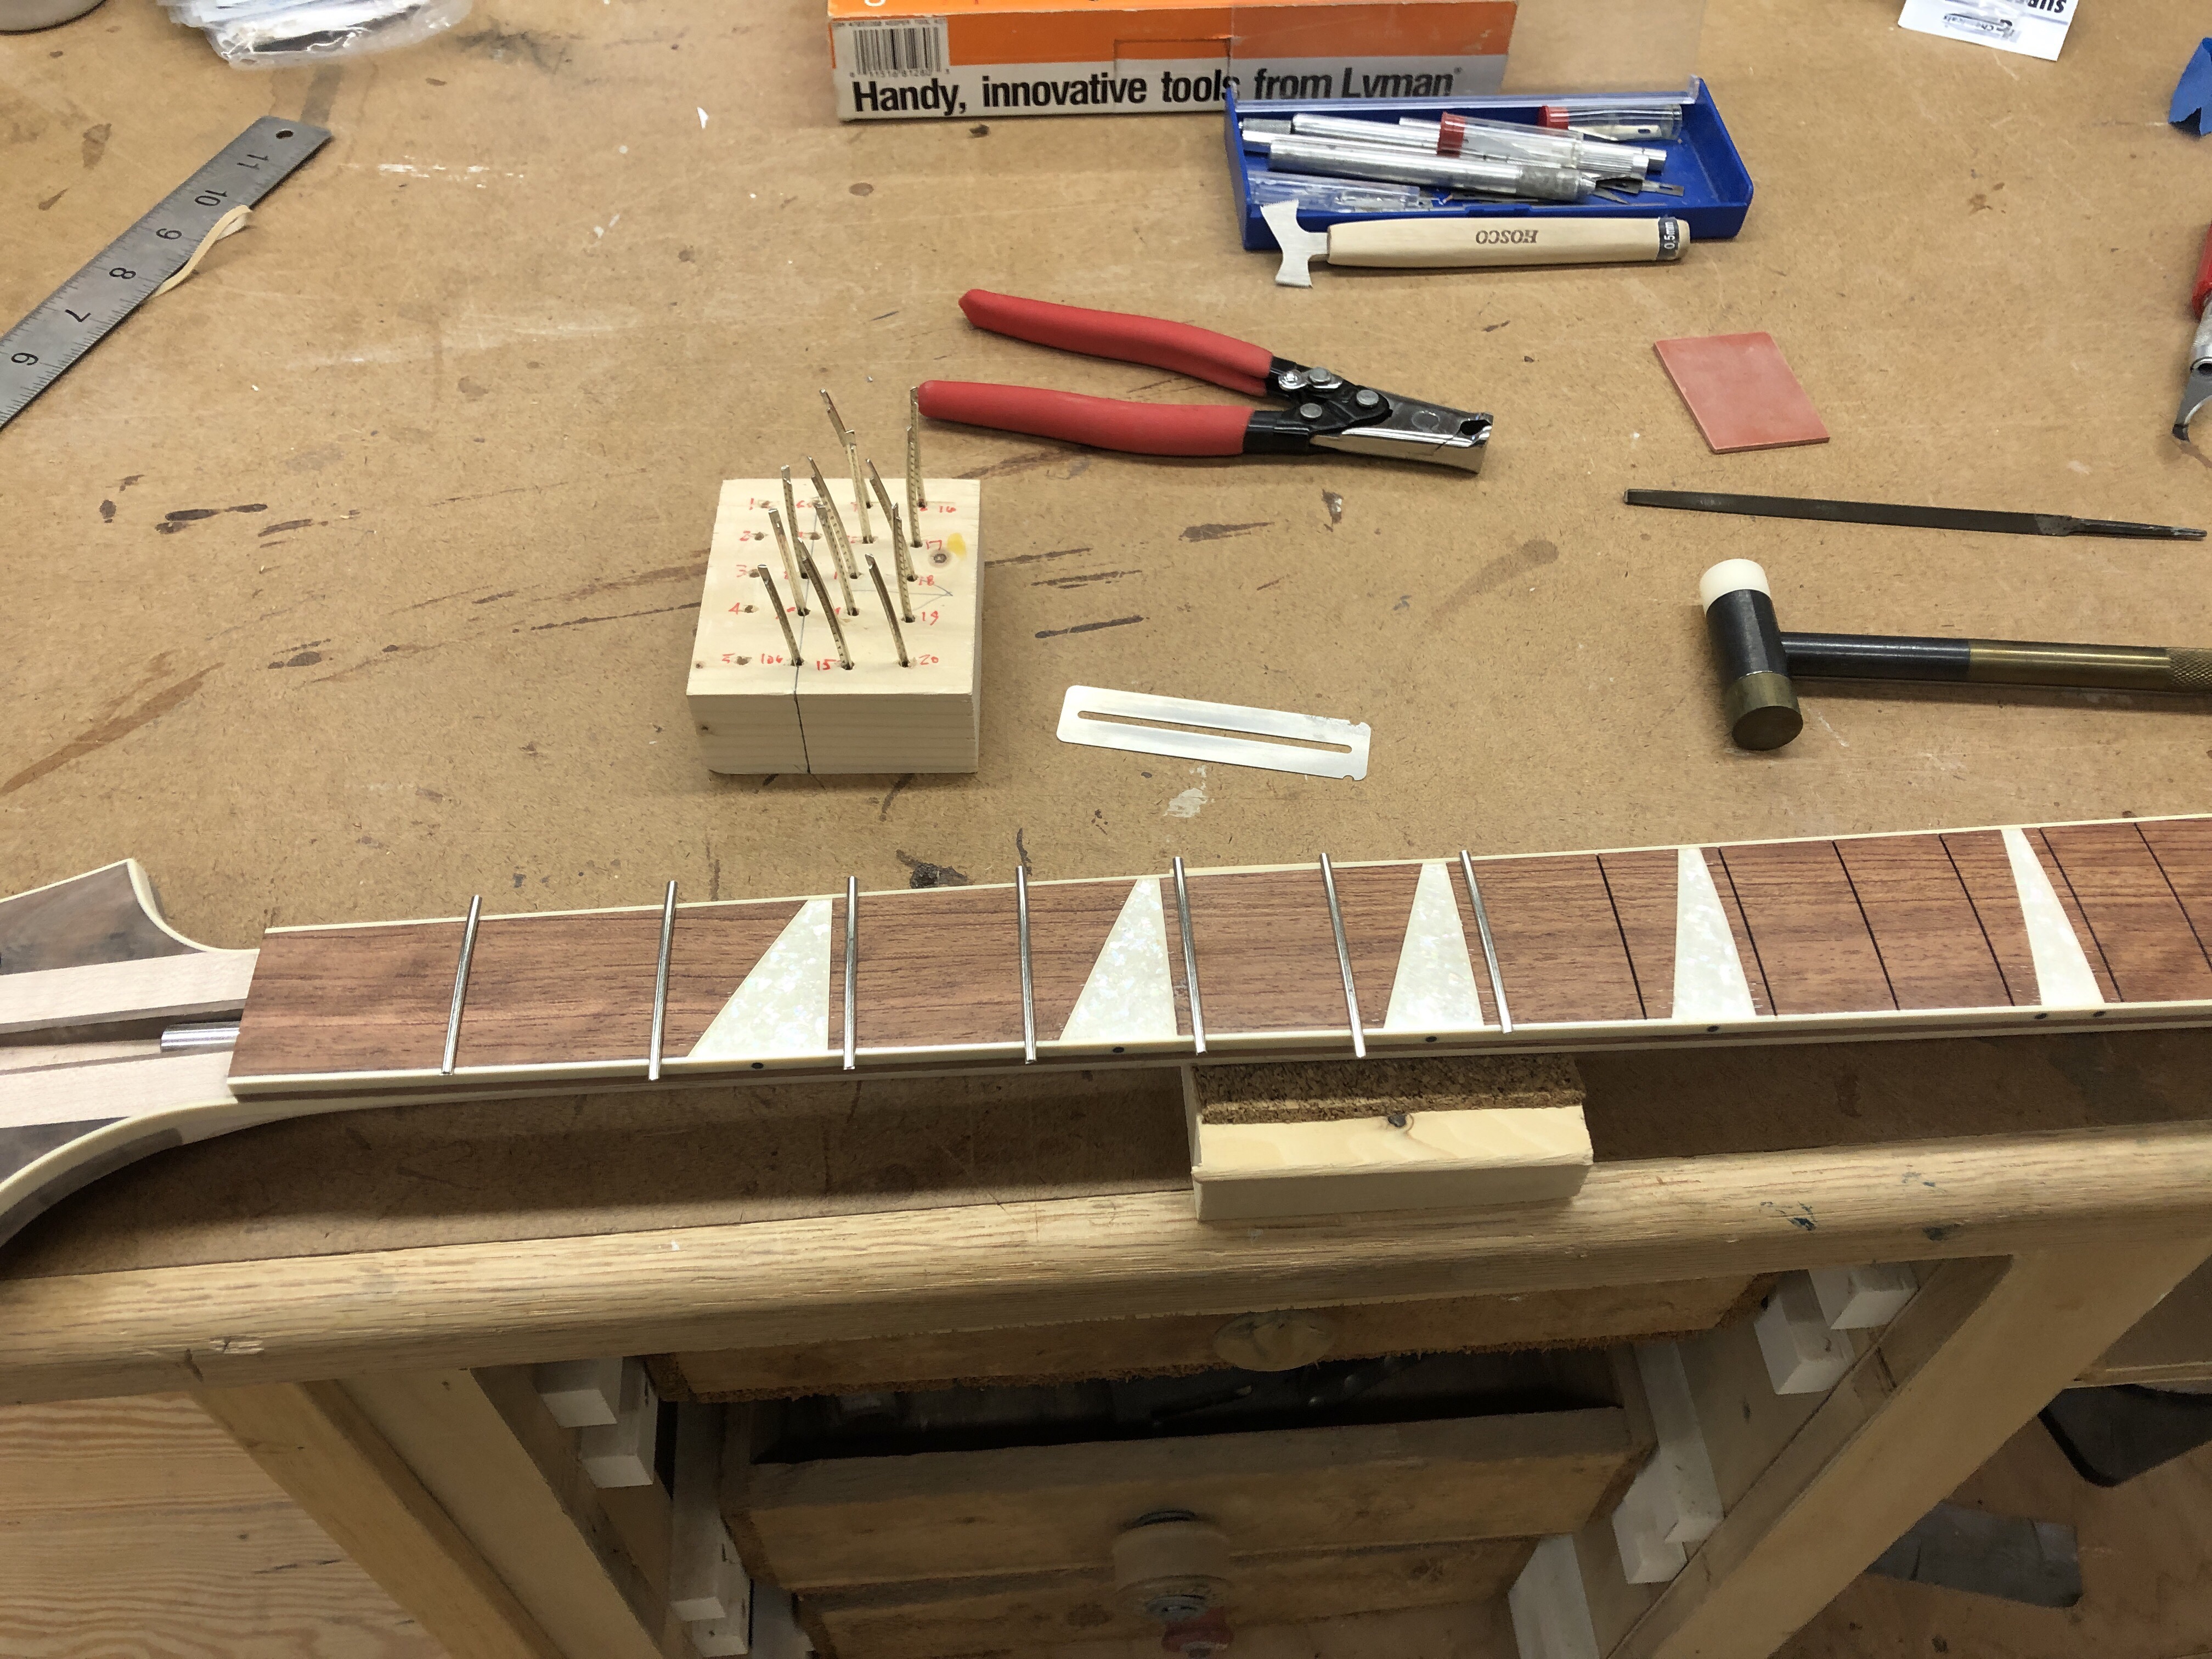
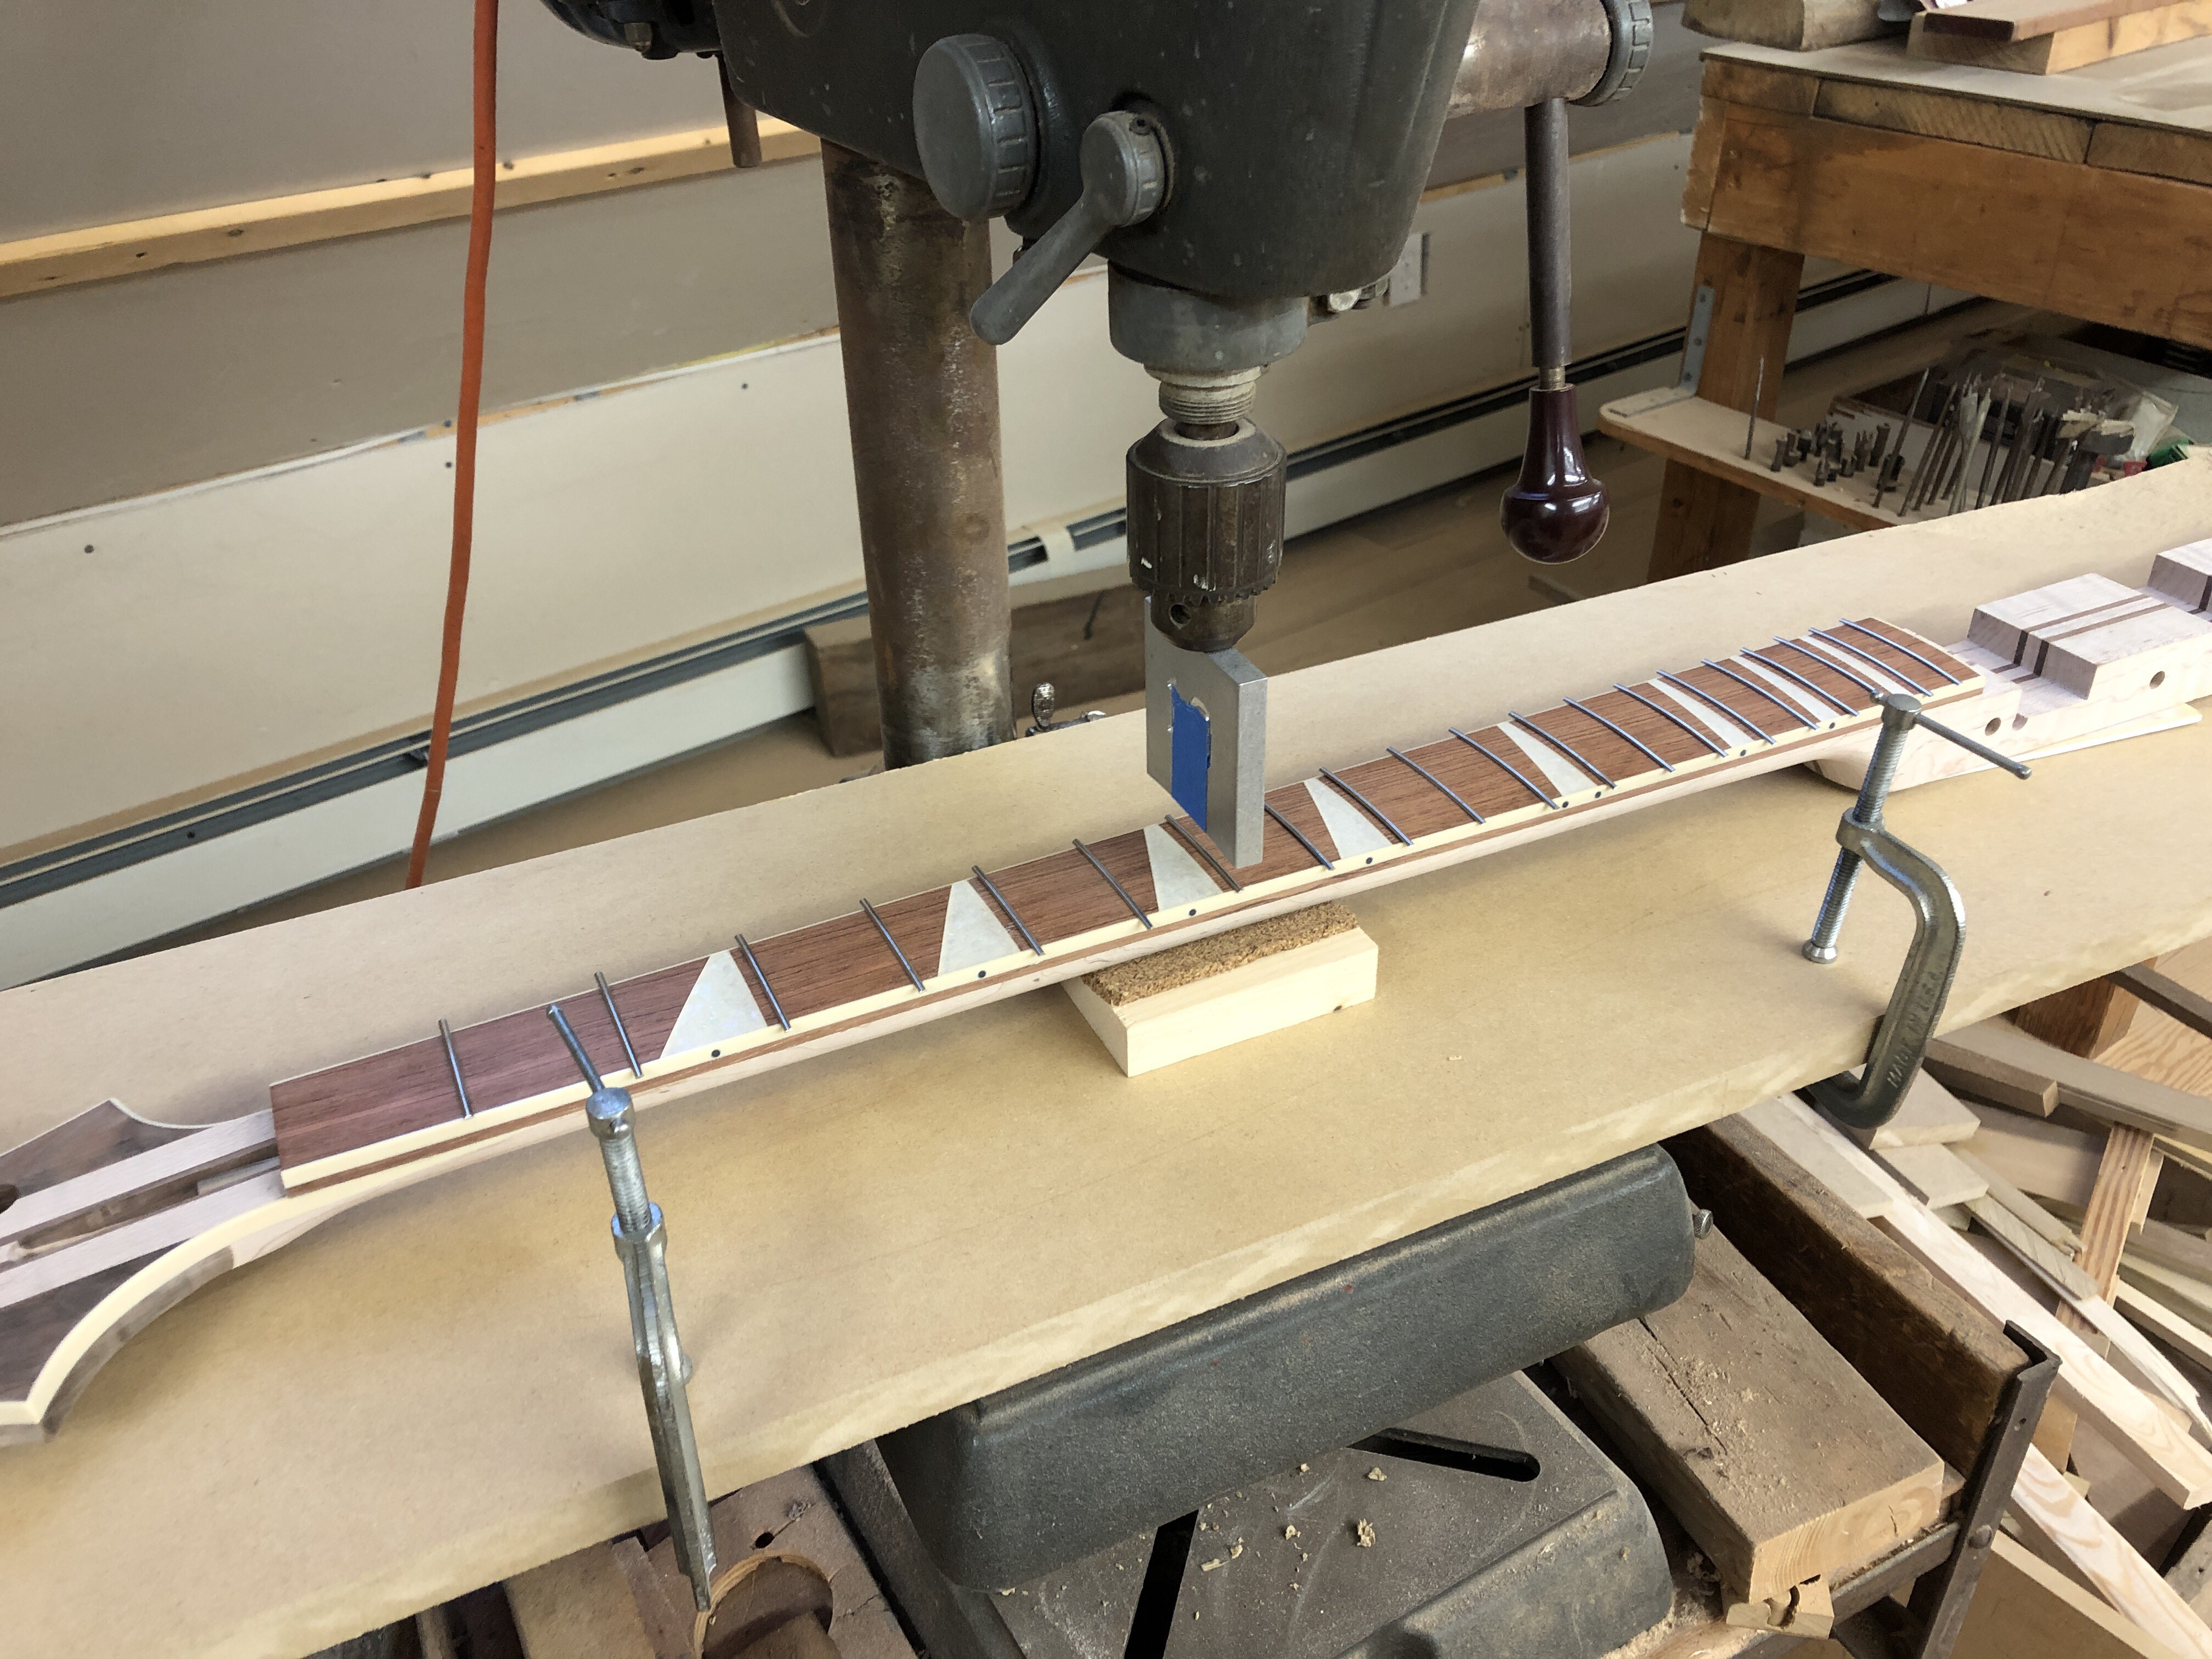
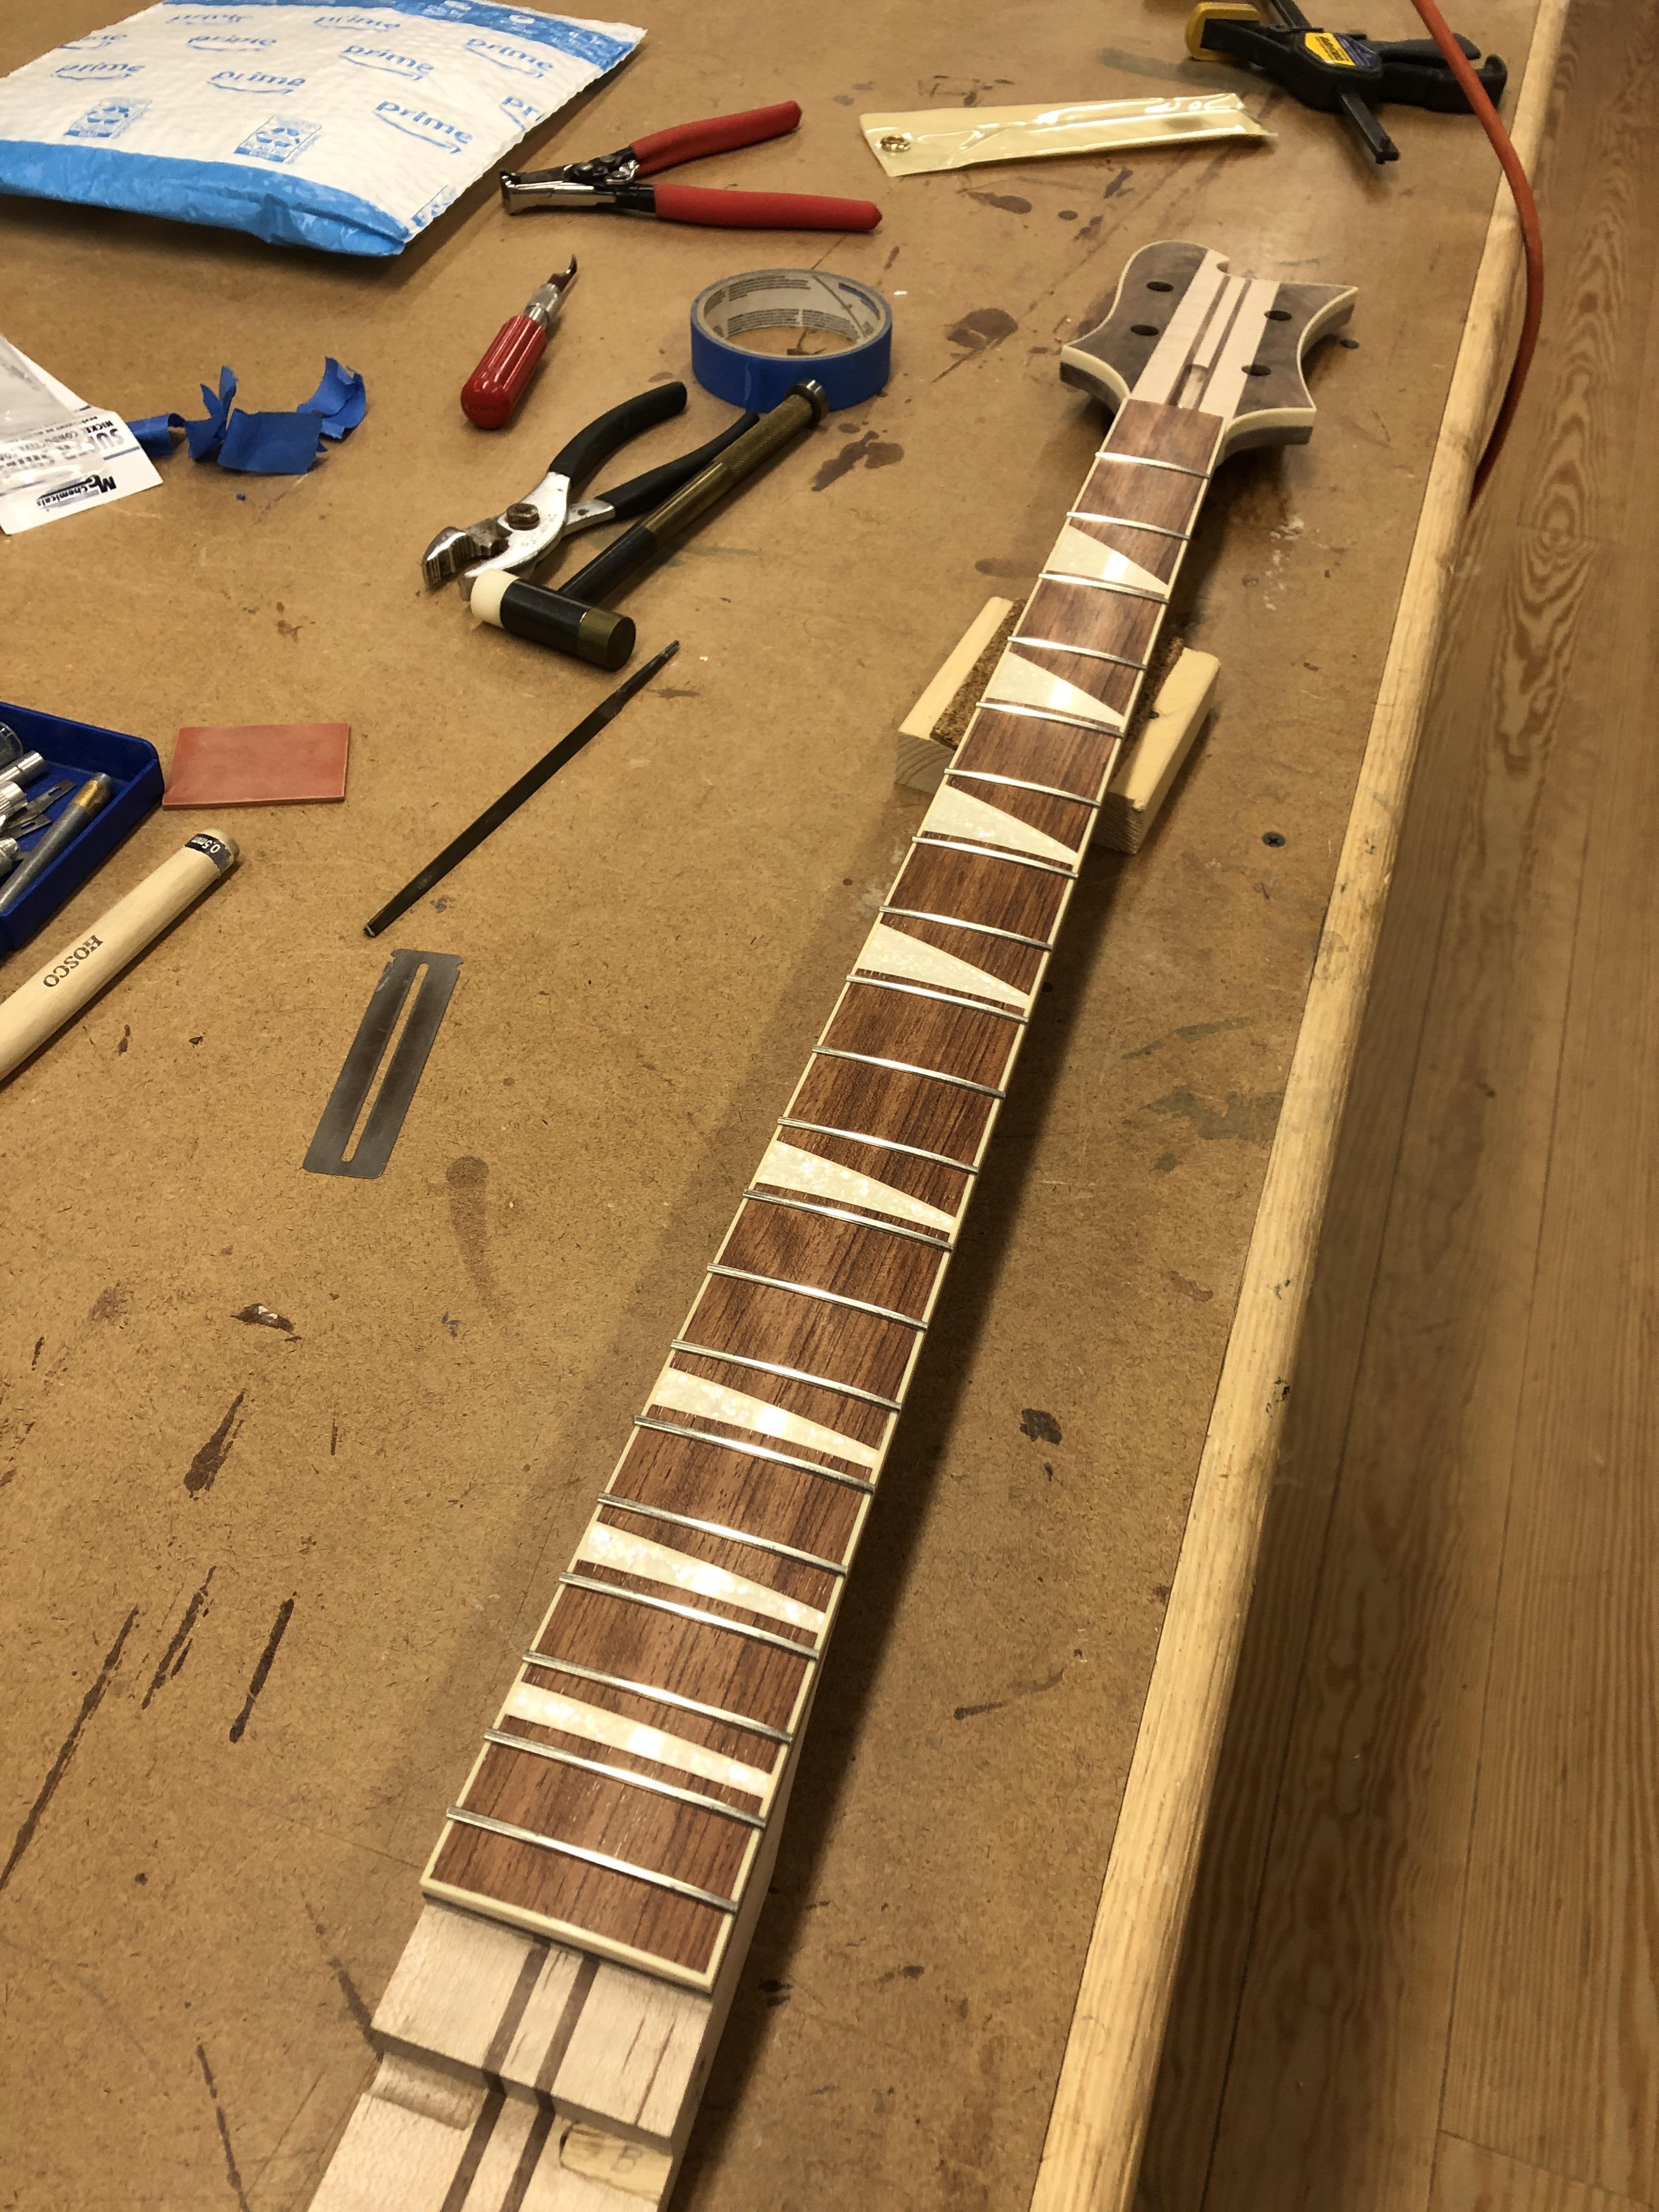
Low-Budget fret beveler. Works great. Stewmac can stick it!
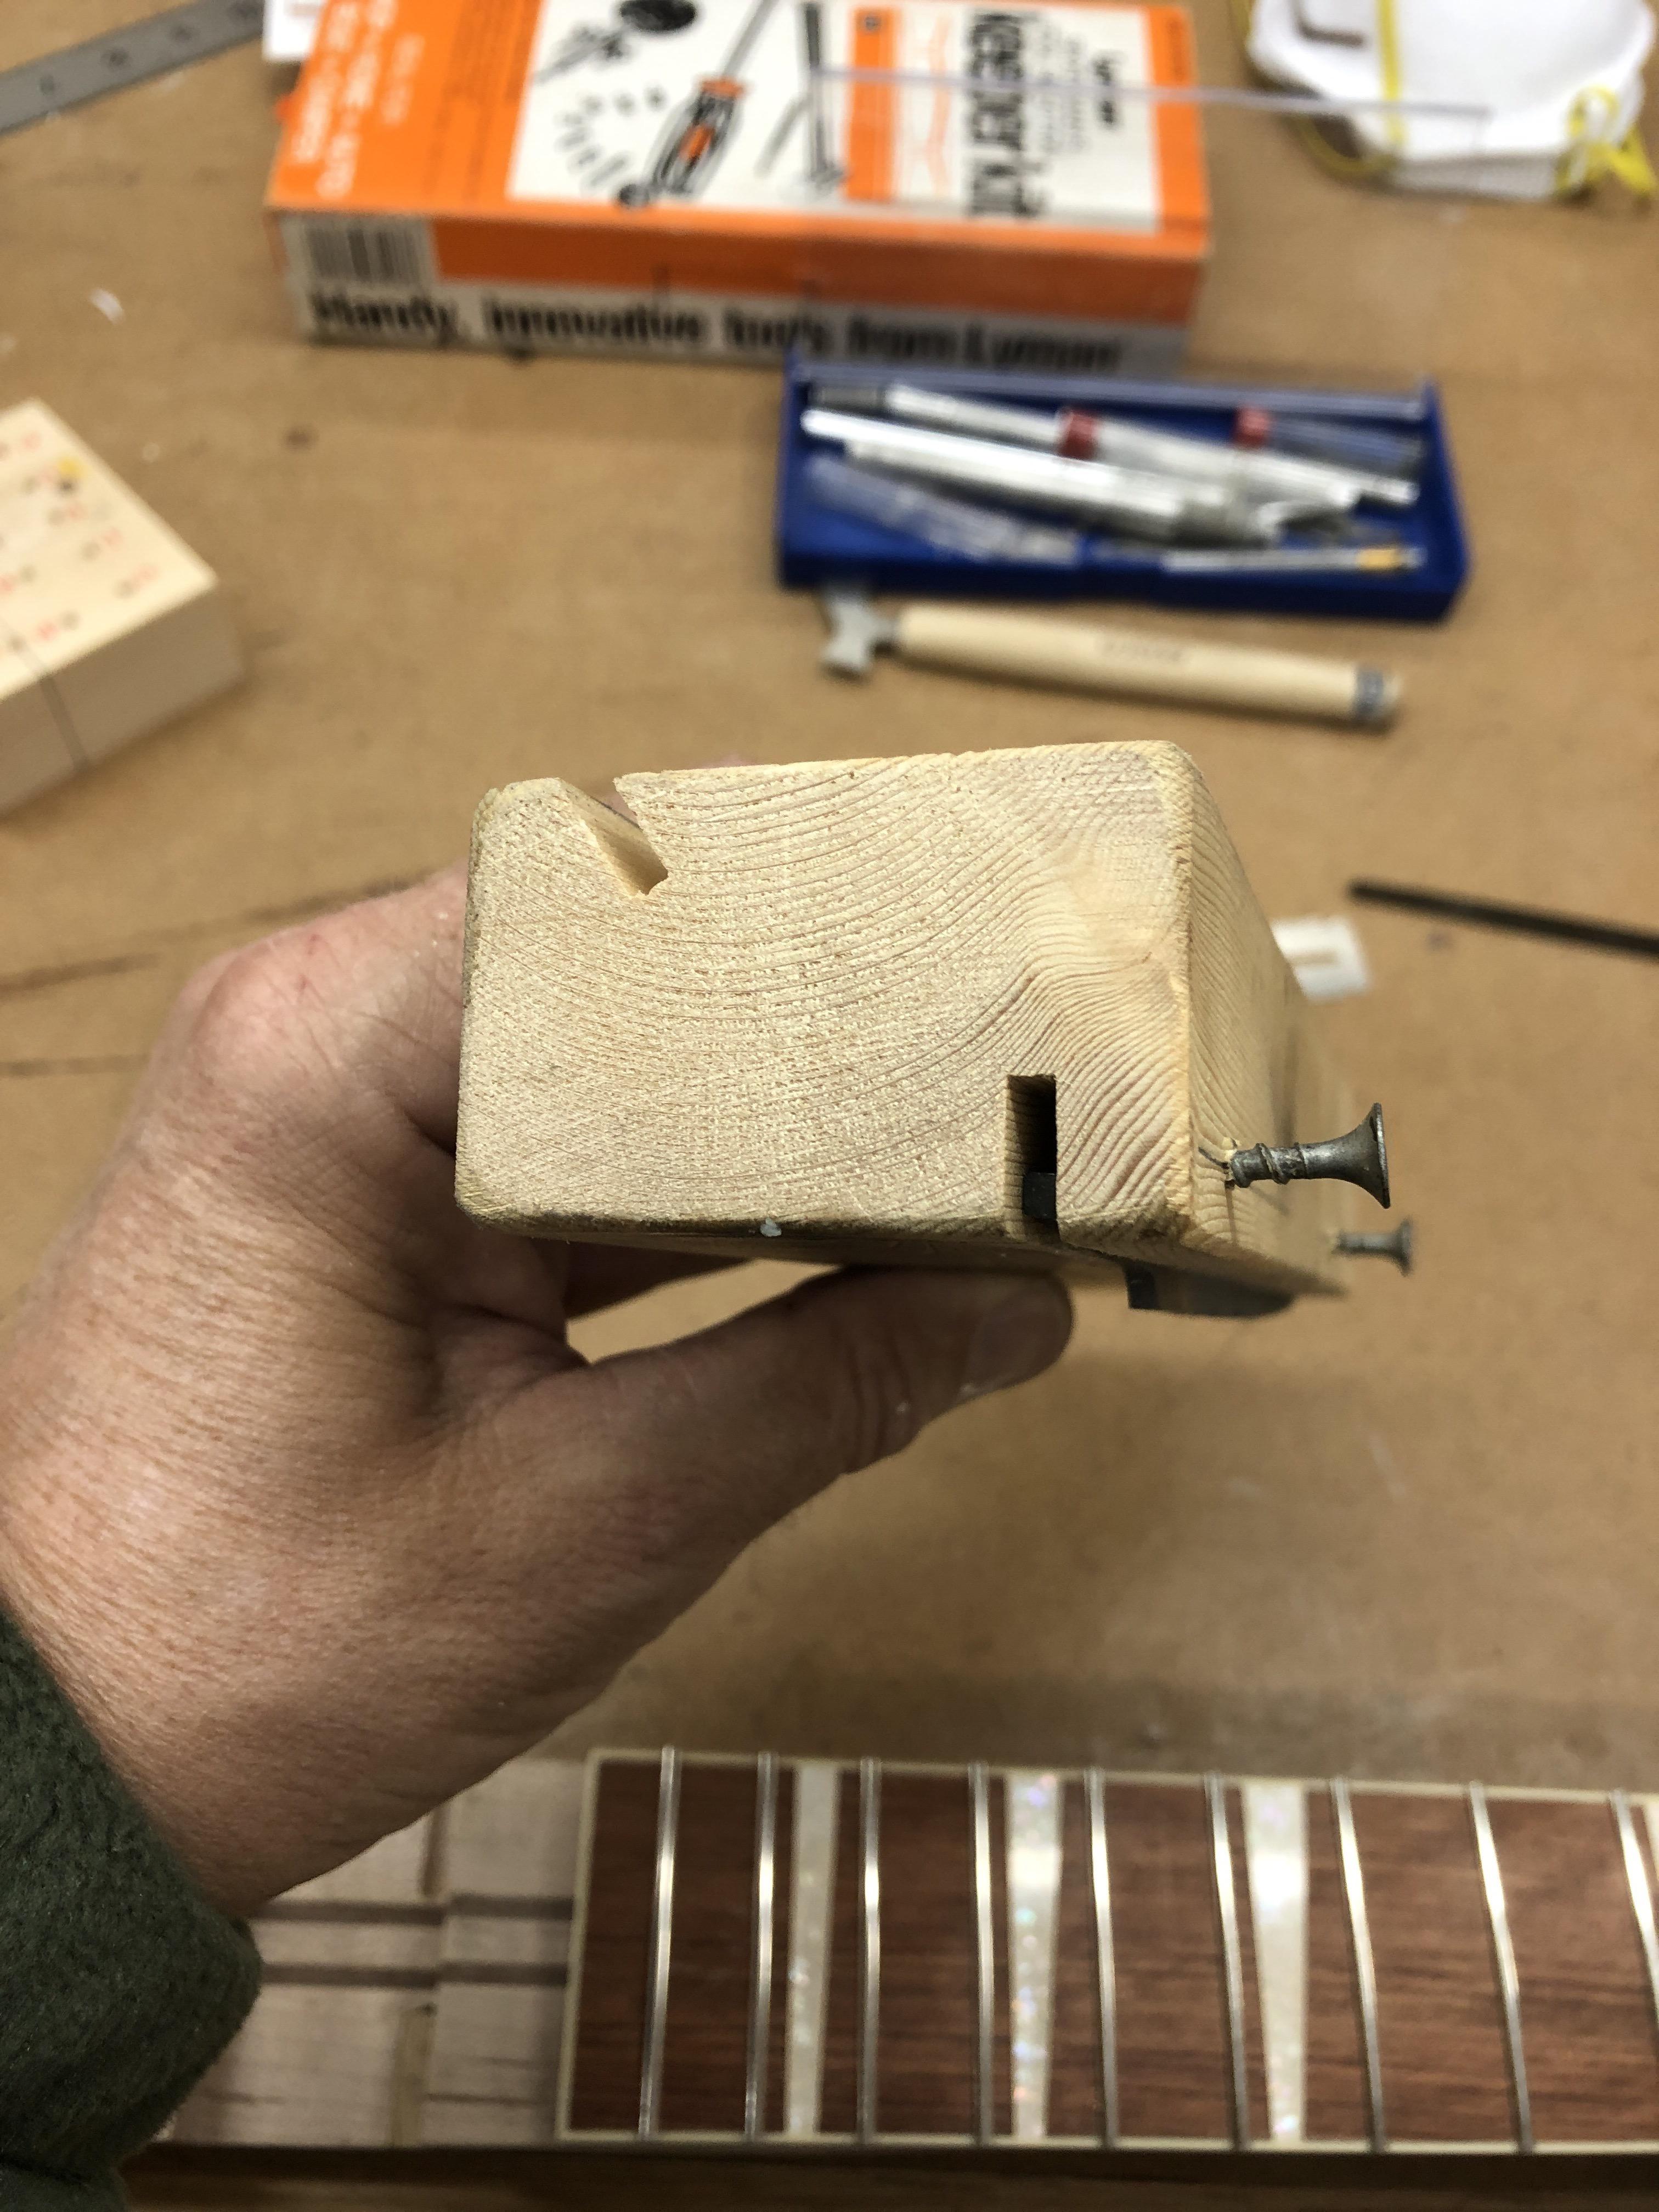
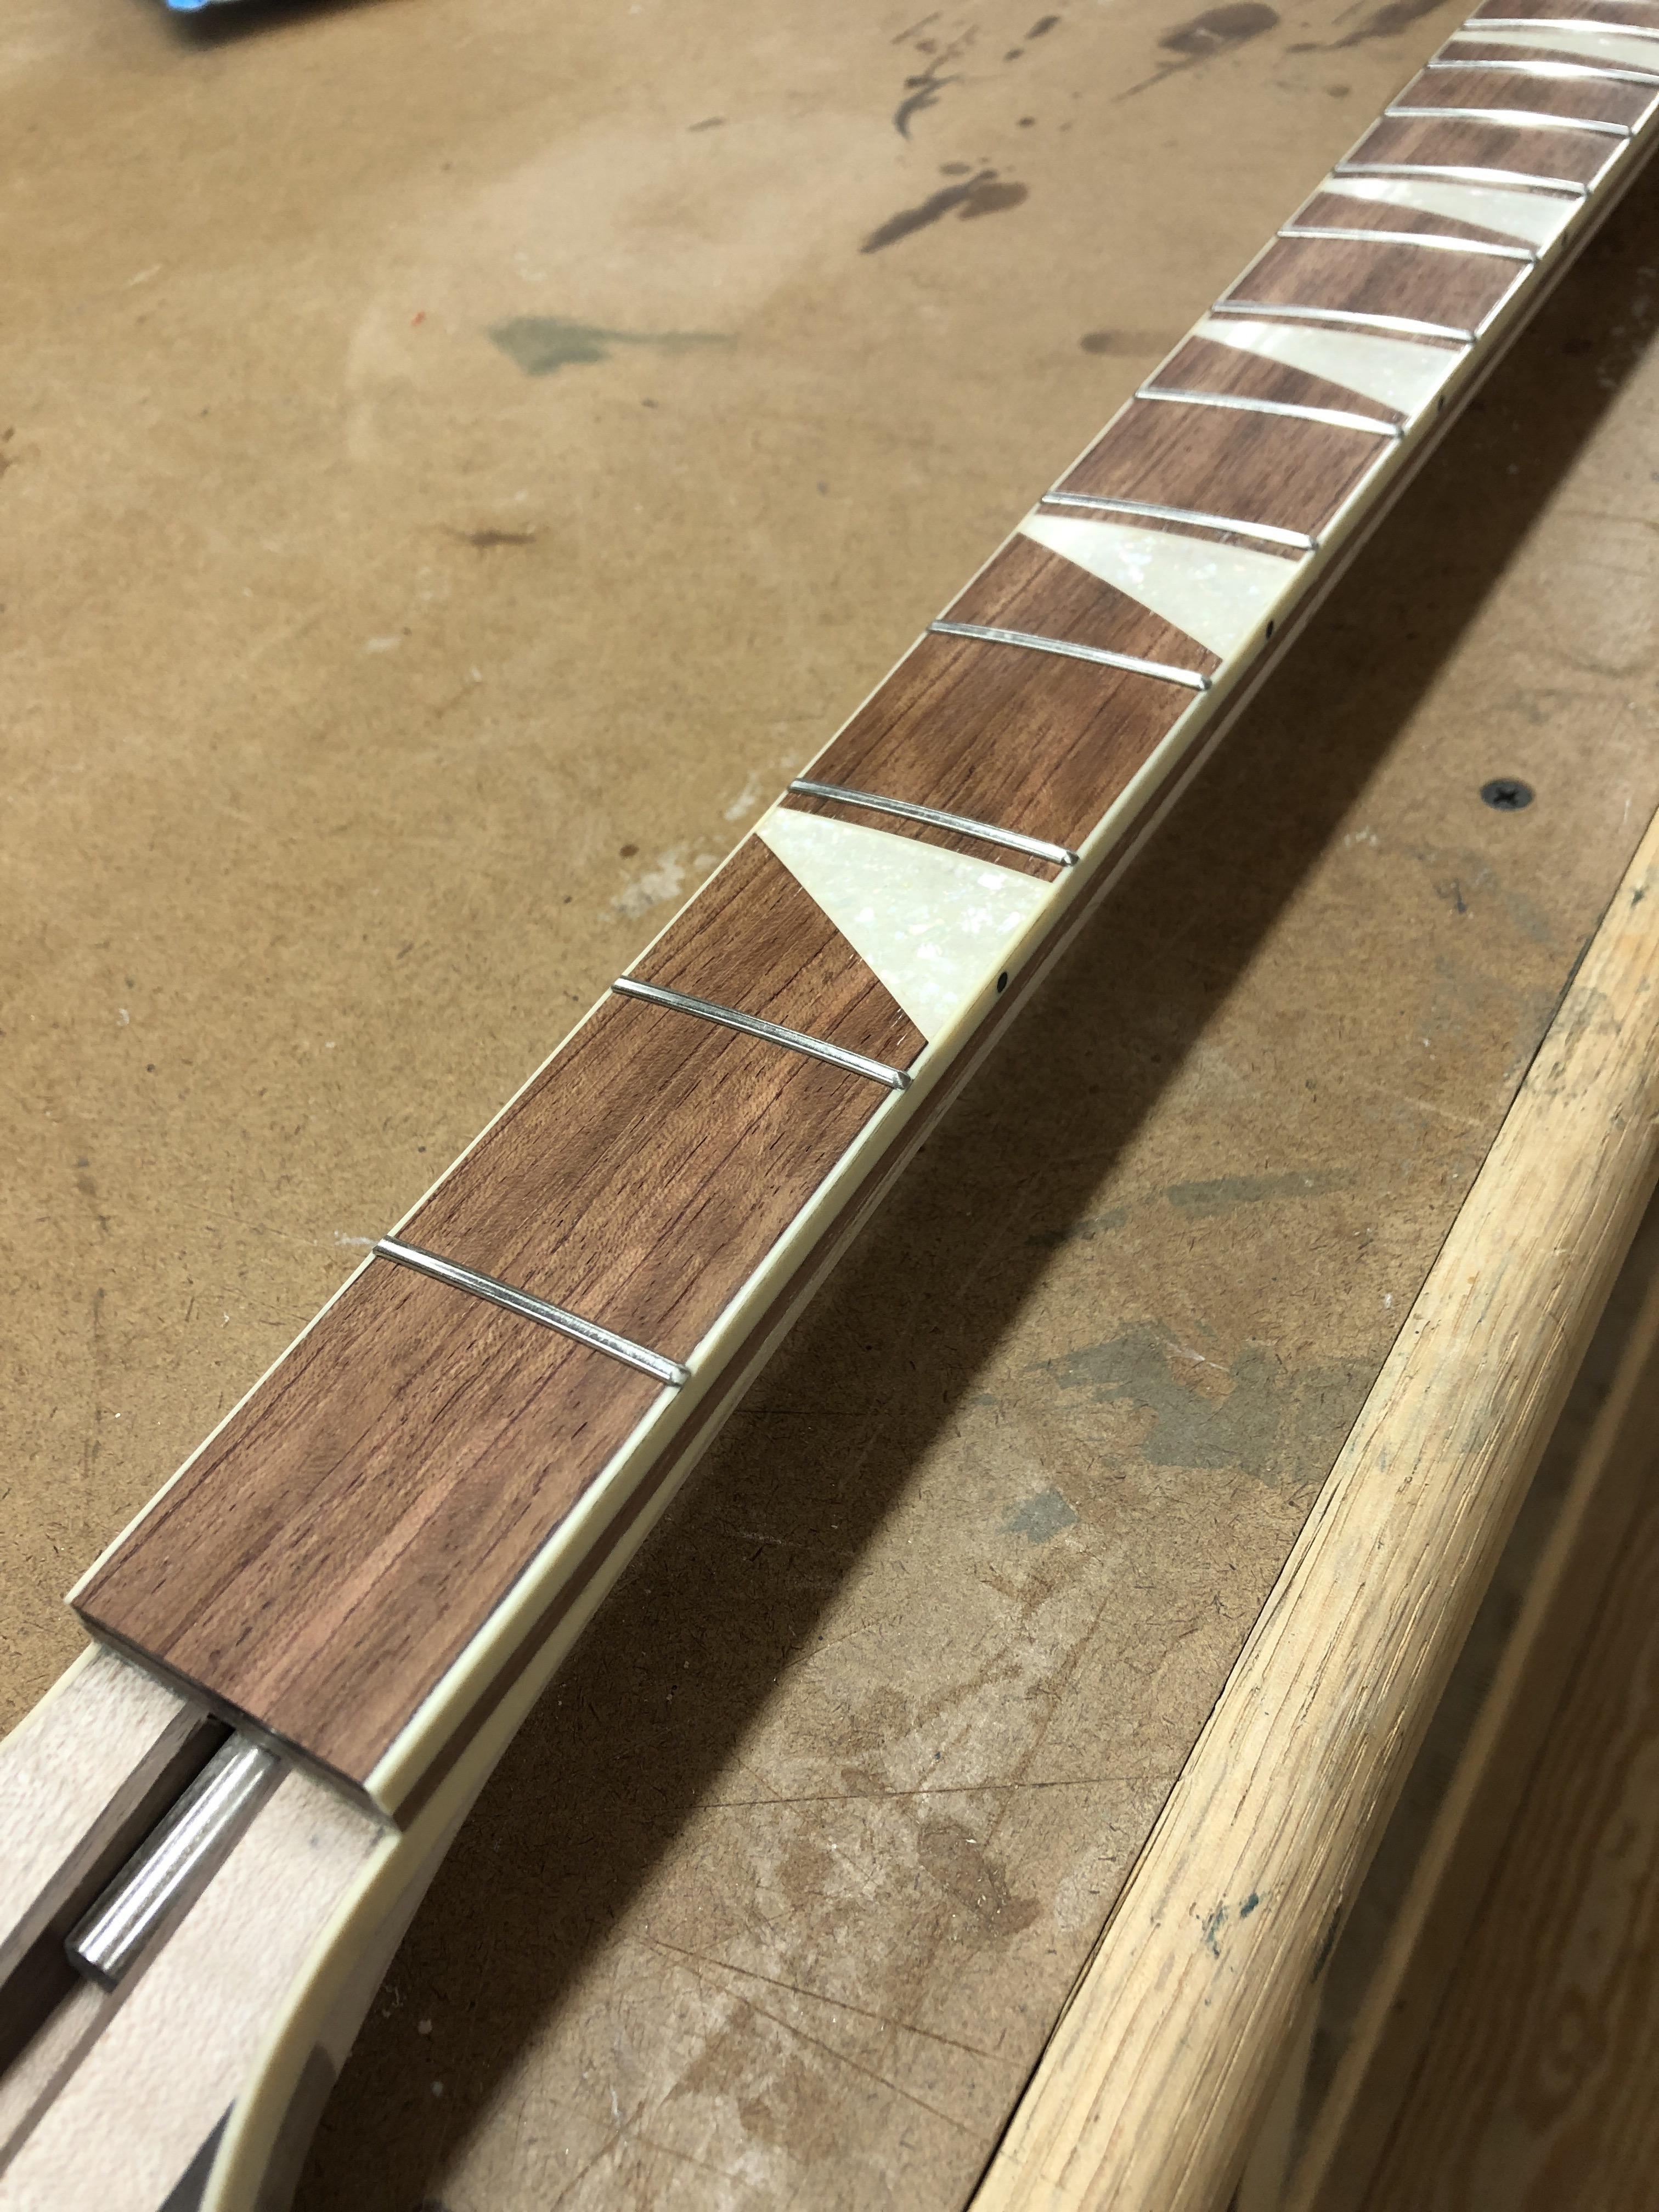
I won't level and polish the frets until after the body wings go on, my neck jig is designed to grab the whole body clamped in place, plus I expect the whole neck beam to be a bit stiffer once the wings are glued on.
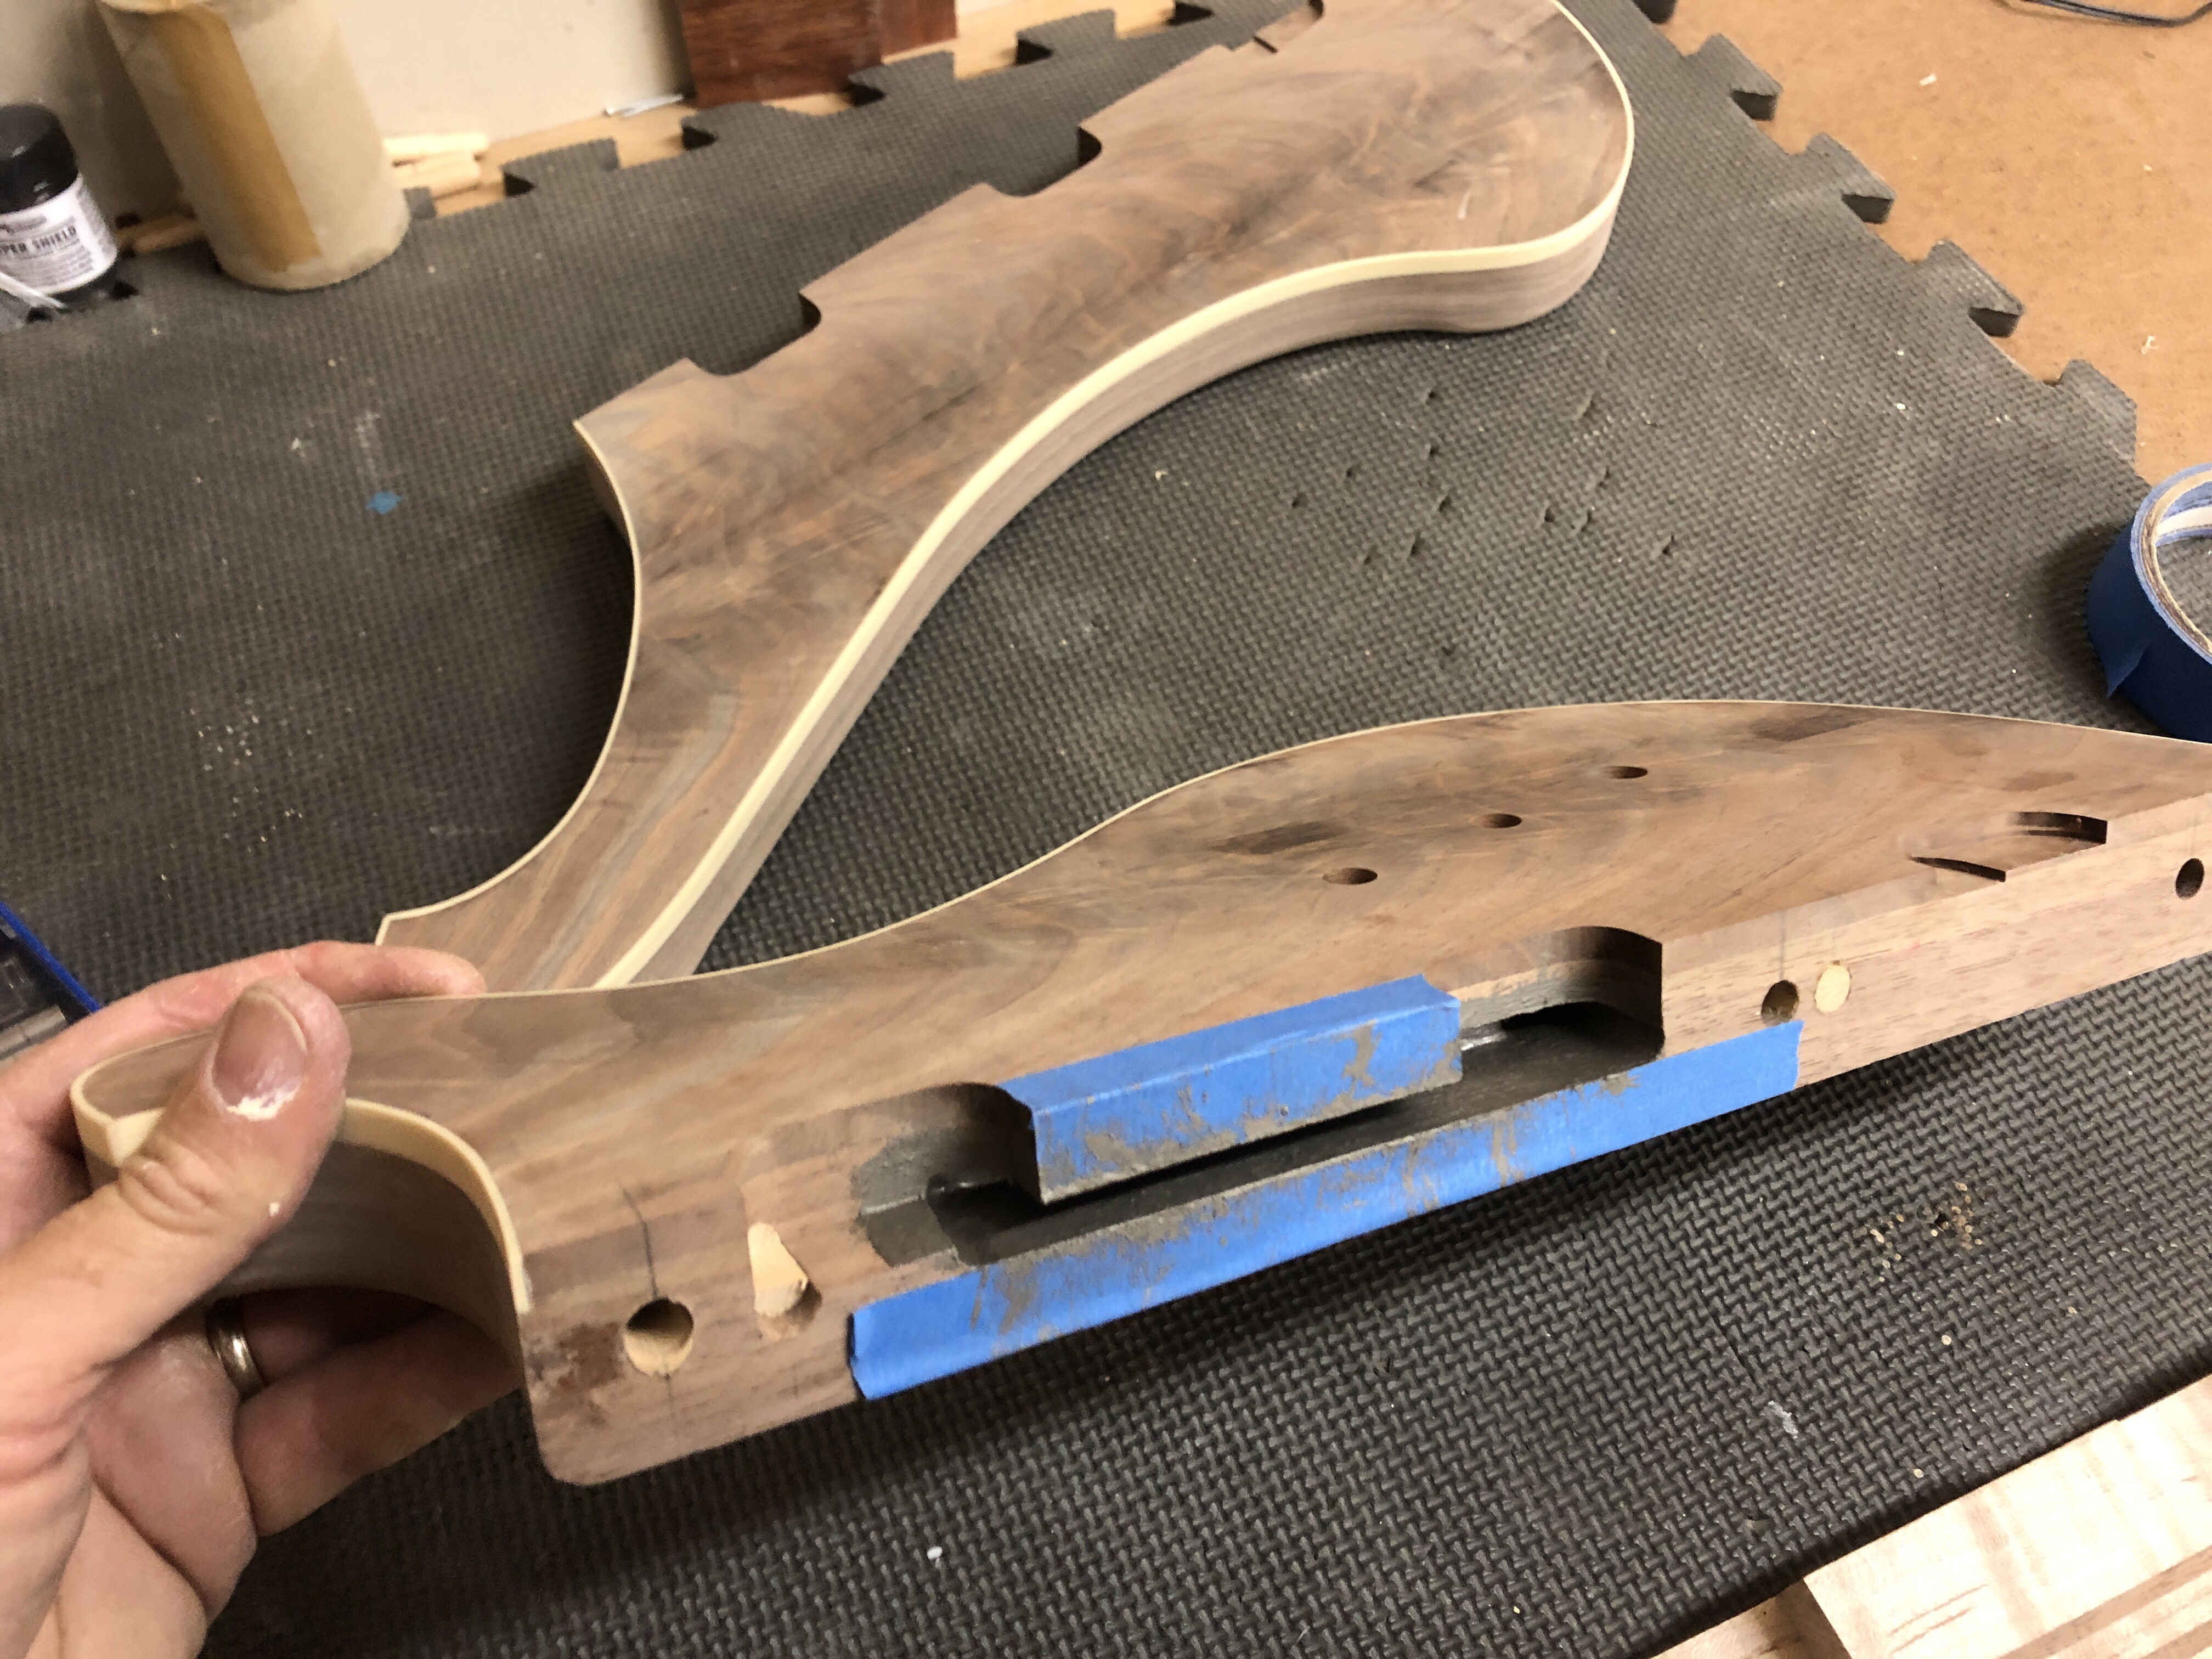
Got some MG Nickel Supershield and painted into the wiring channels. It's definitely more gray than black, sorta gunmetal. I'm trying to decide if I want to use this in the pup cavities. I don't want it visible from the face of the guitar, but the gap is only 1/32" around the pups. I may use this stuff and just keep it 1/8" down from the body surface. Got three coats in, on that note I'm FINALLY ready to glue the body wings on.
Low-Budget fret beveler. Works great. Stewmac can stick it!
I won't level and polish the frets until after the body wings go on, my neck jig is designed to grab the whole body clamped in place, plus I expect the whole neck beam to be a bit stiffer once the wings are glued on.
Got some MG Nickel Supershield and painted into the wiring channels. It's definitely more gray than black, sorta gunmetal. I'm trying to decide if I want to use this in the pup cavities. I don't want it visible from the face of the guitar, but the gap is only 1/32" around the pups. I may use this stuff and just keep it 1/8" down from the body surface. Got three coats in, on that note I'm FINALLY ready to glue the body wings on.
Last edited:
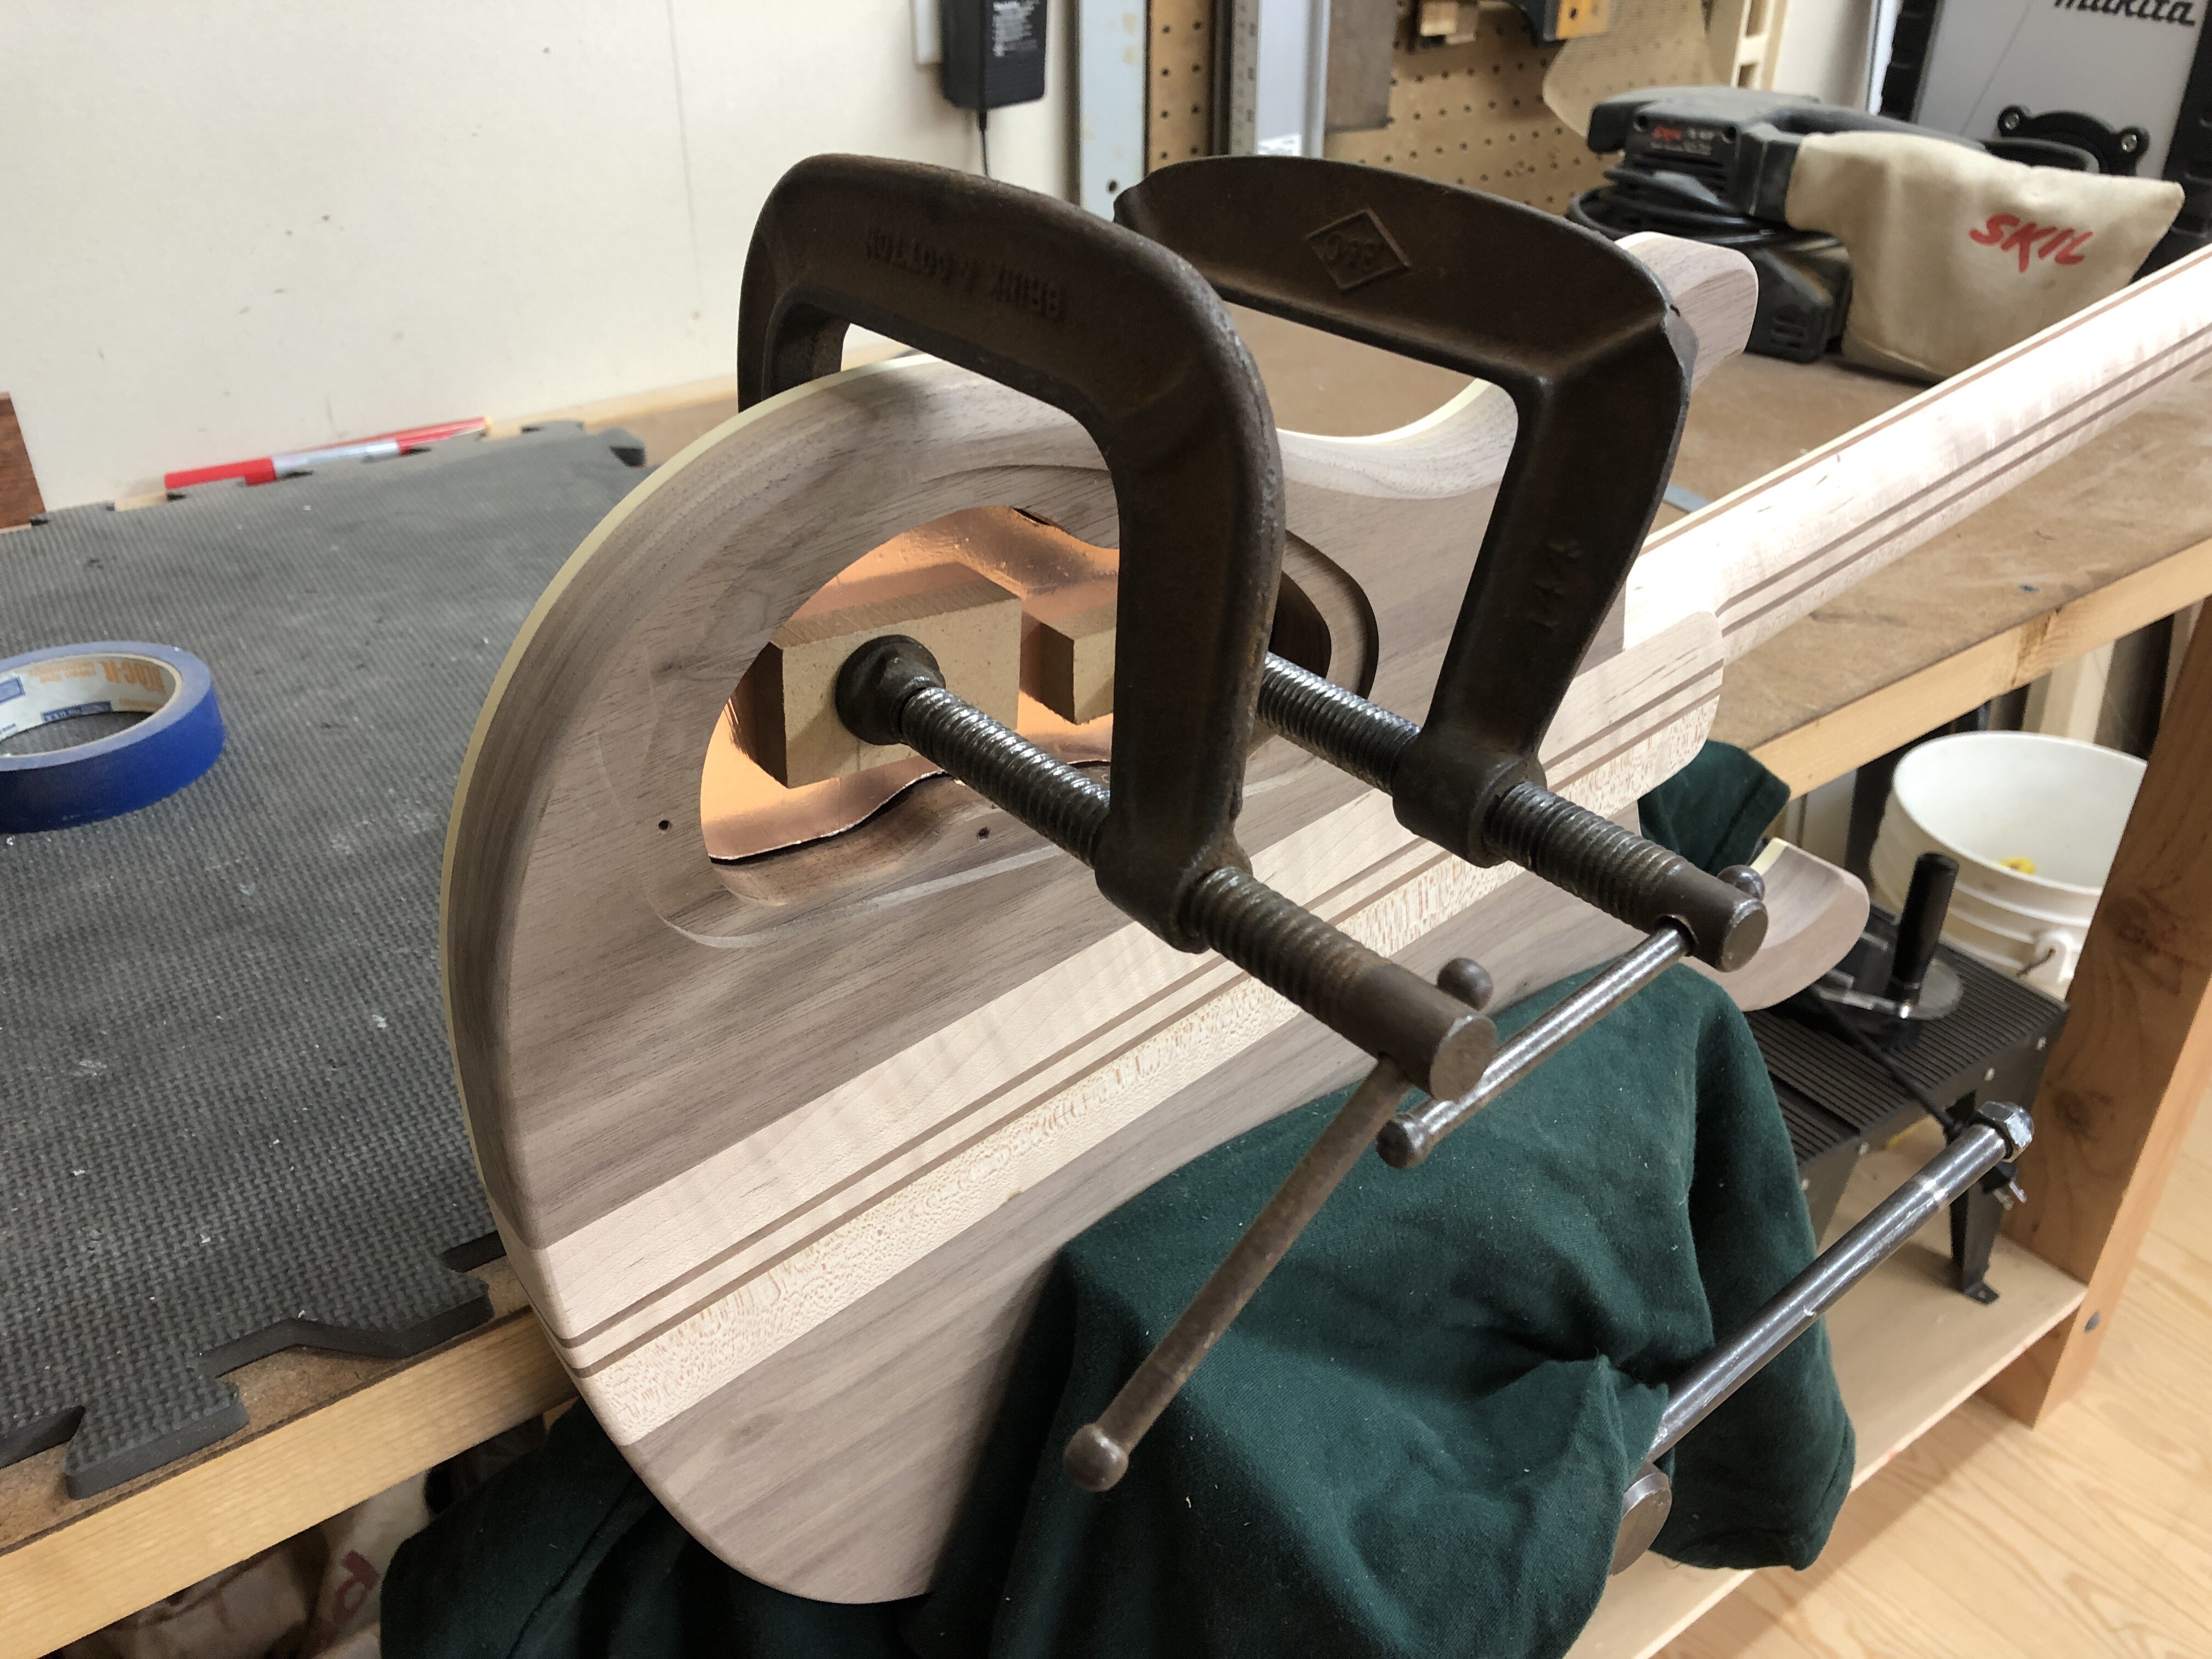
Into the clamps, one side at a time....
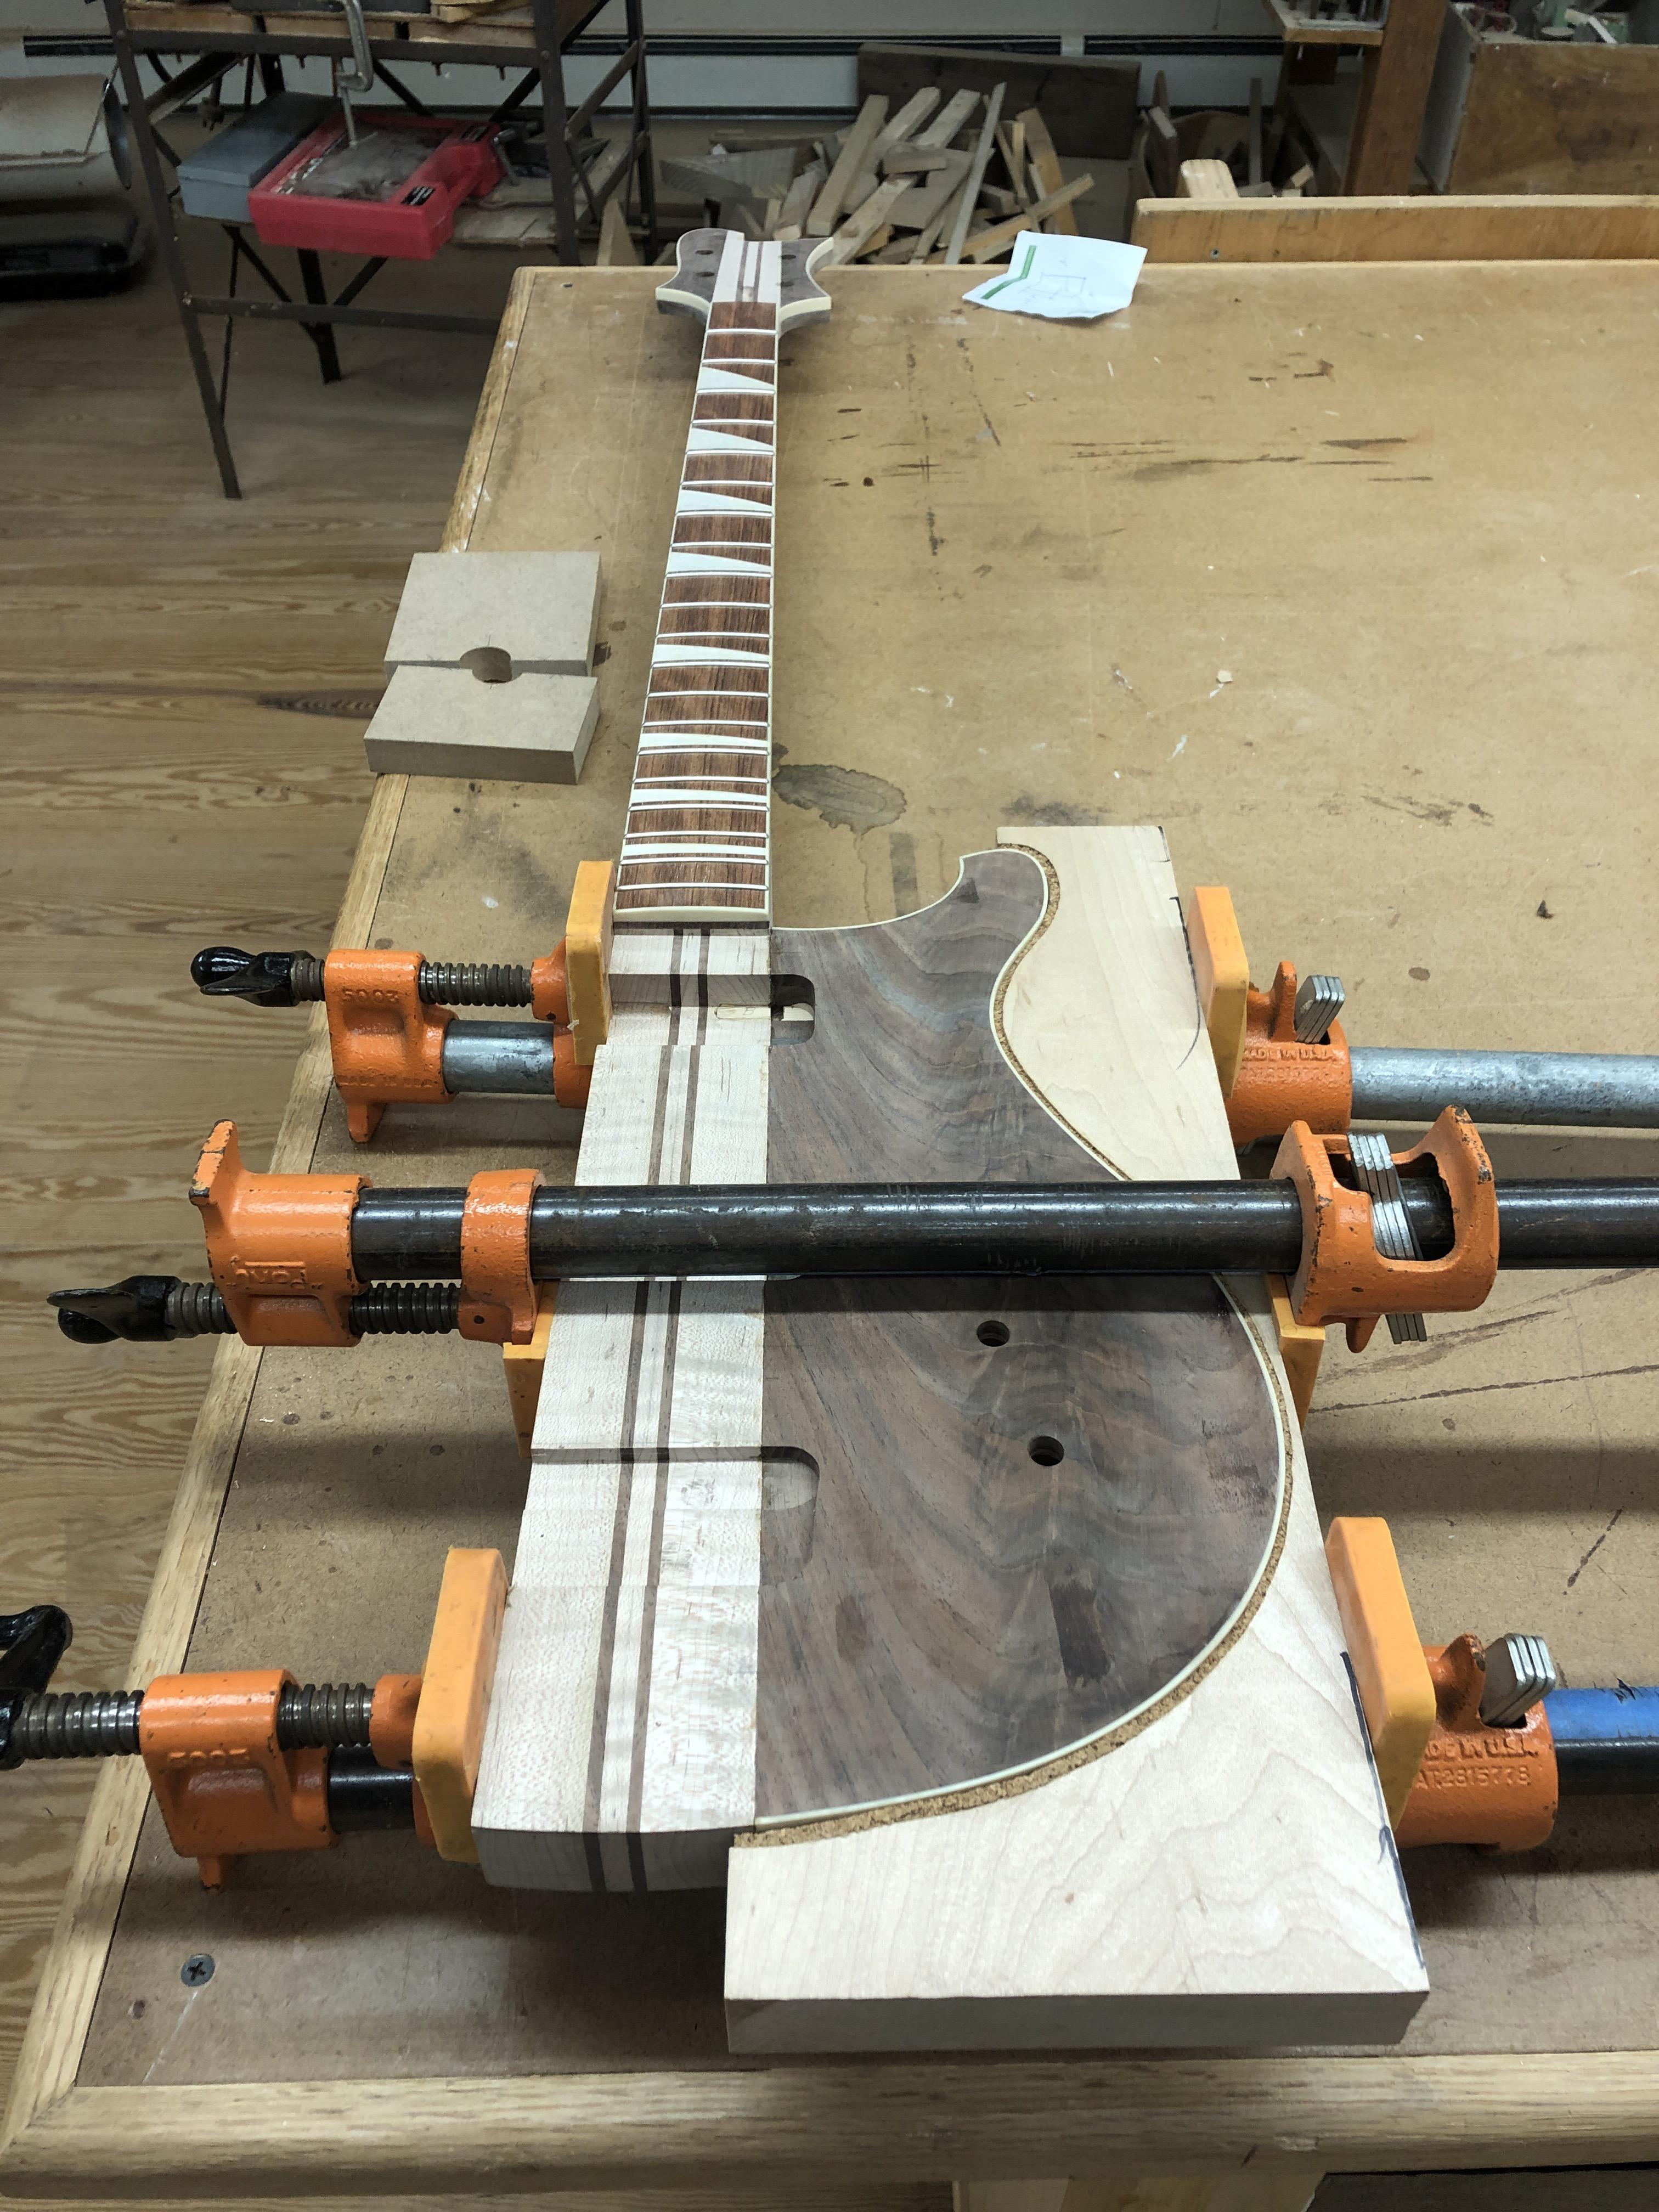
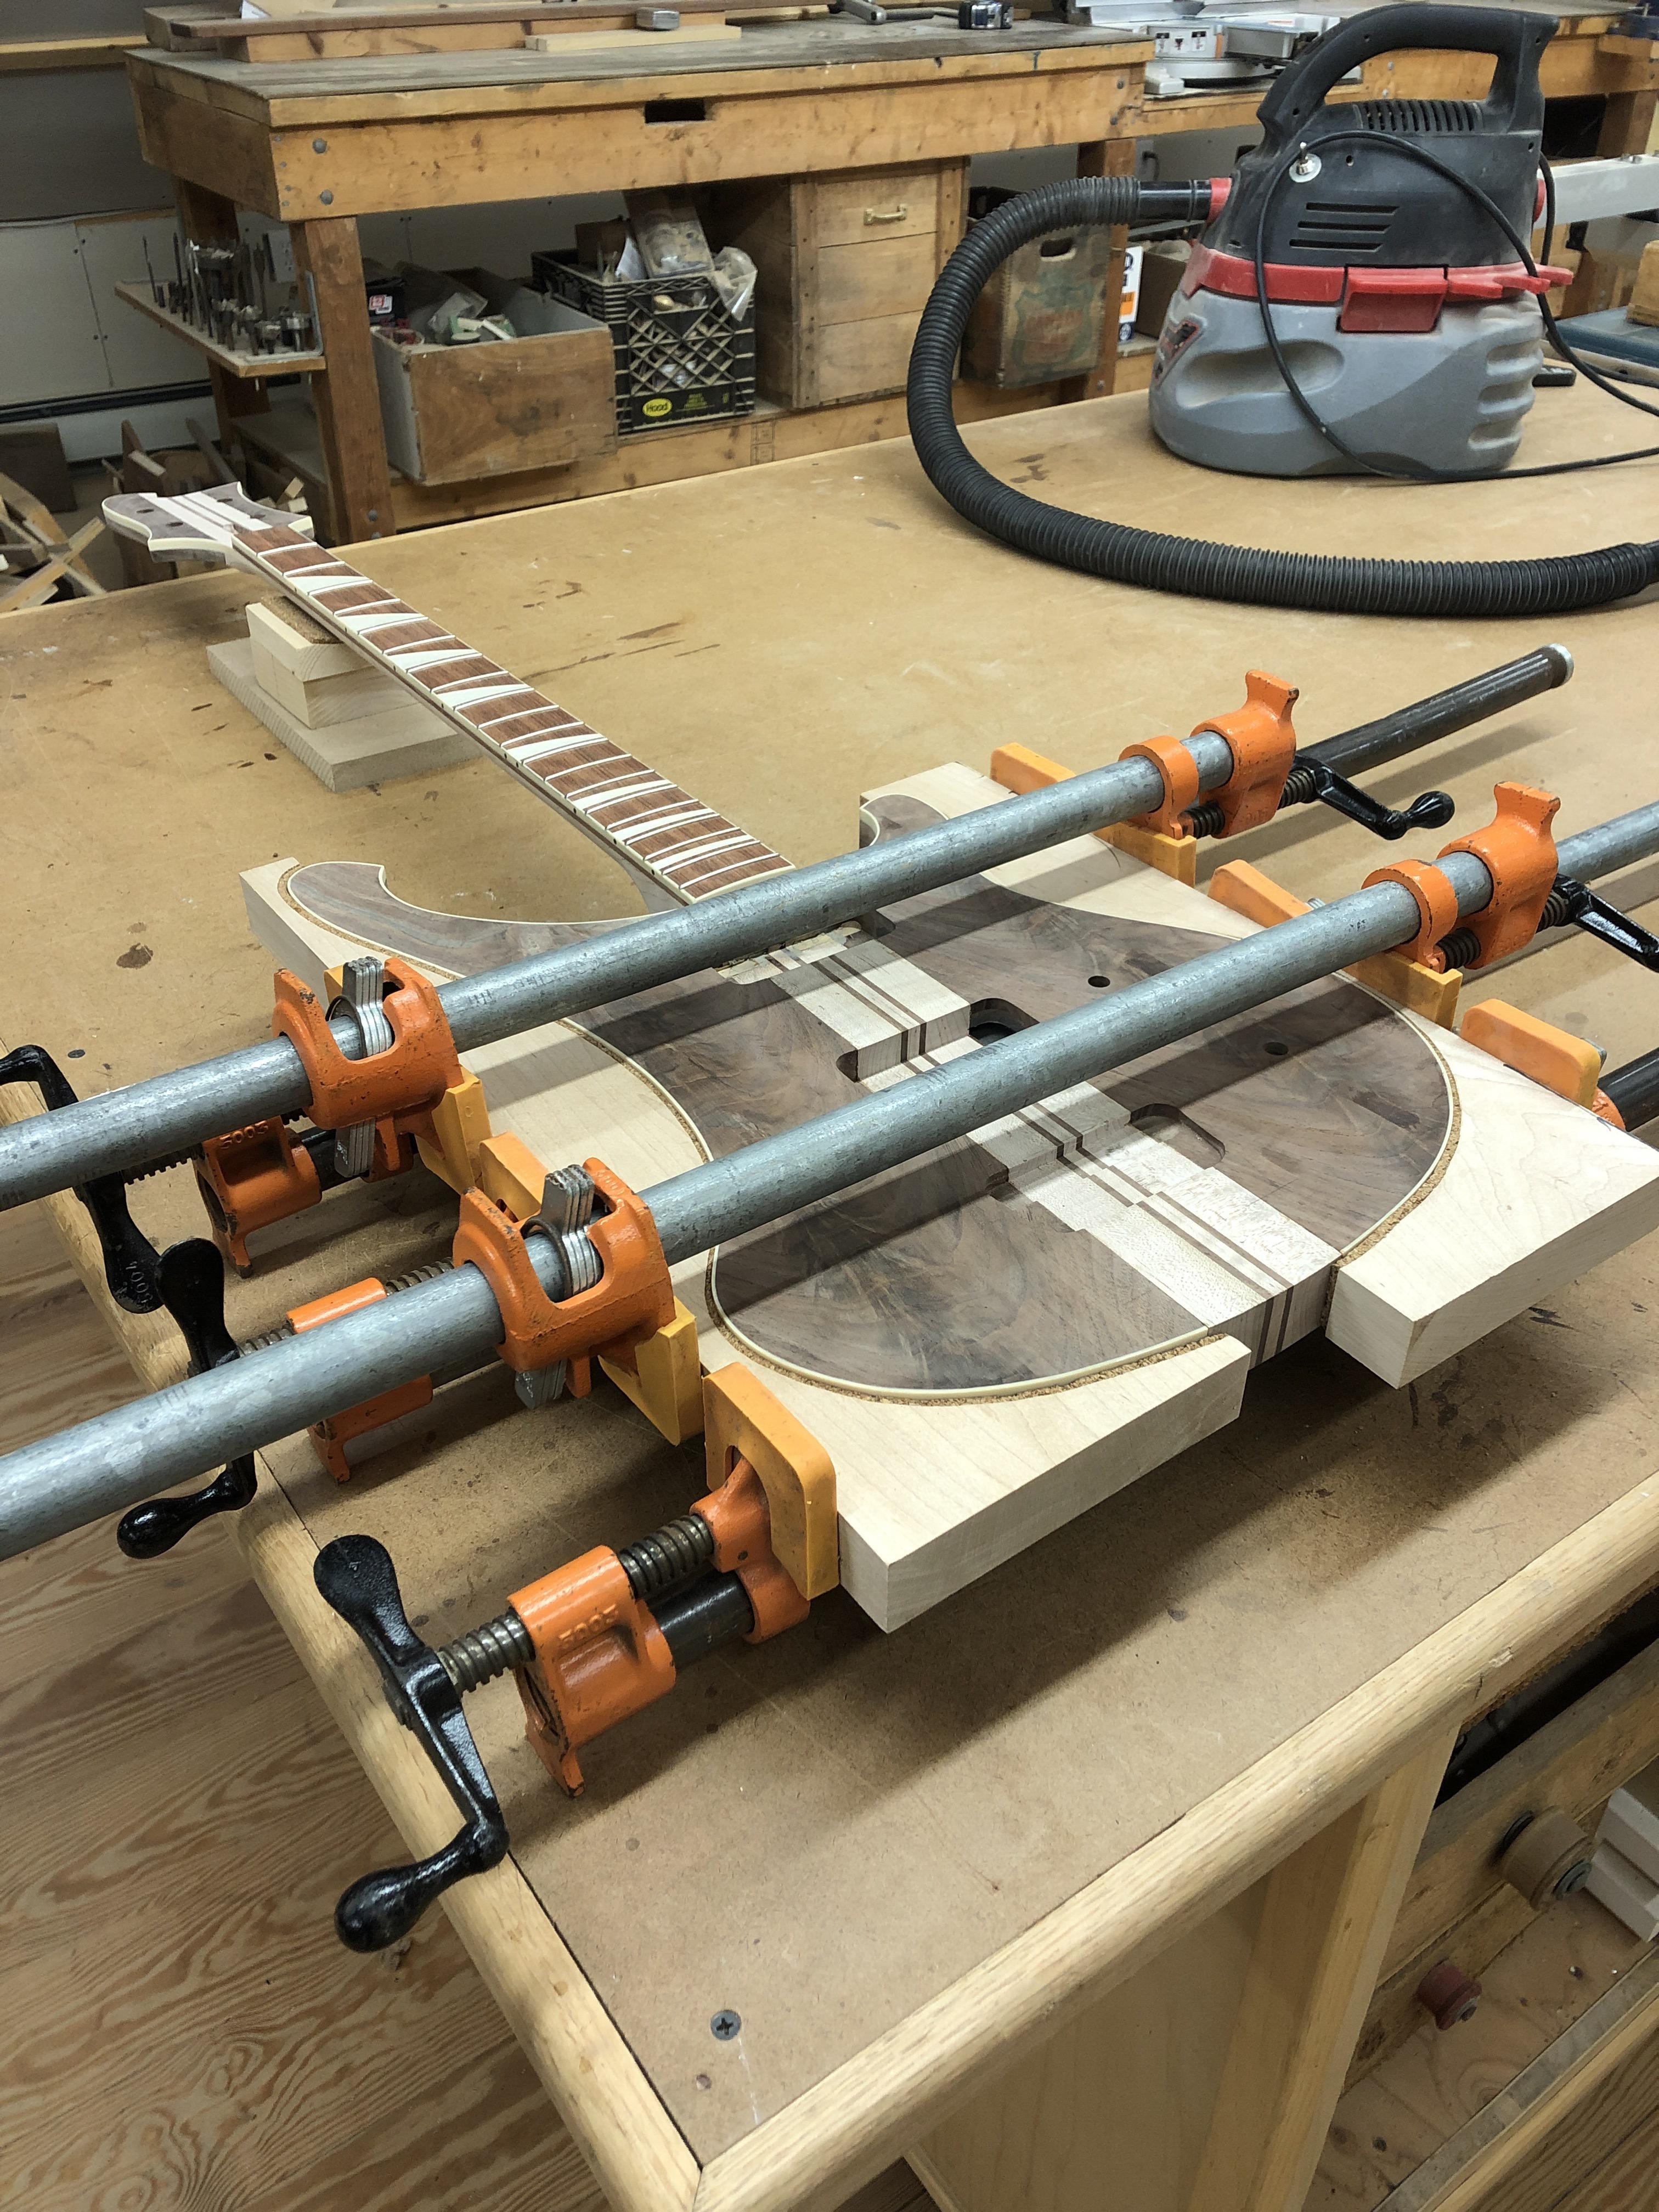
And out..... Bass-Like-Object Achieved
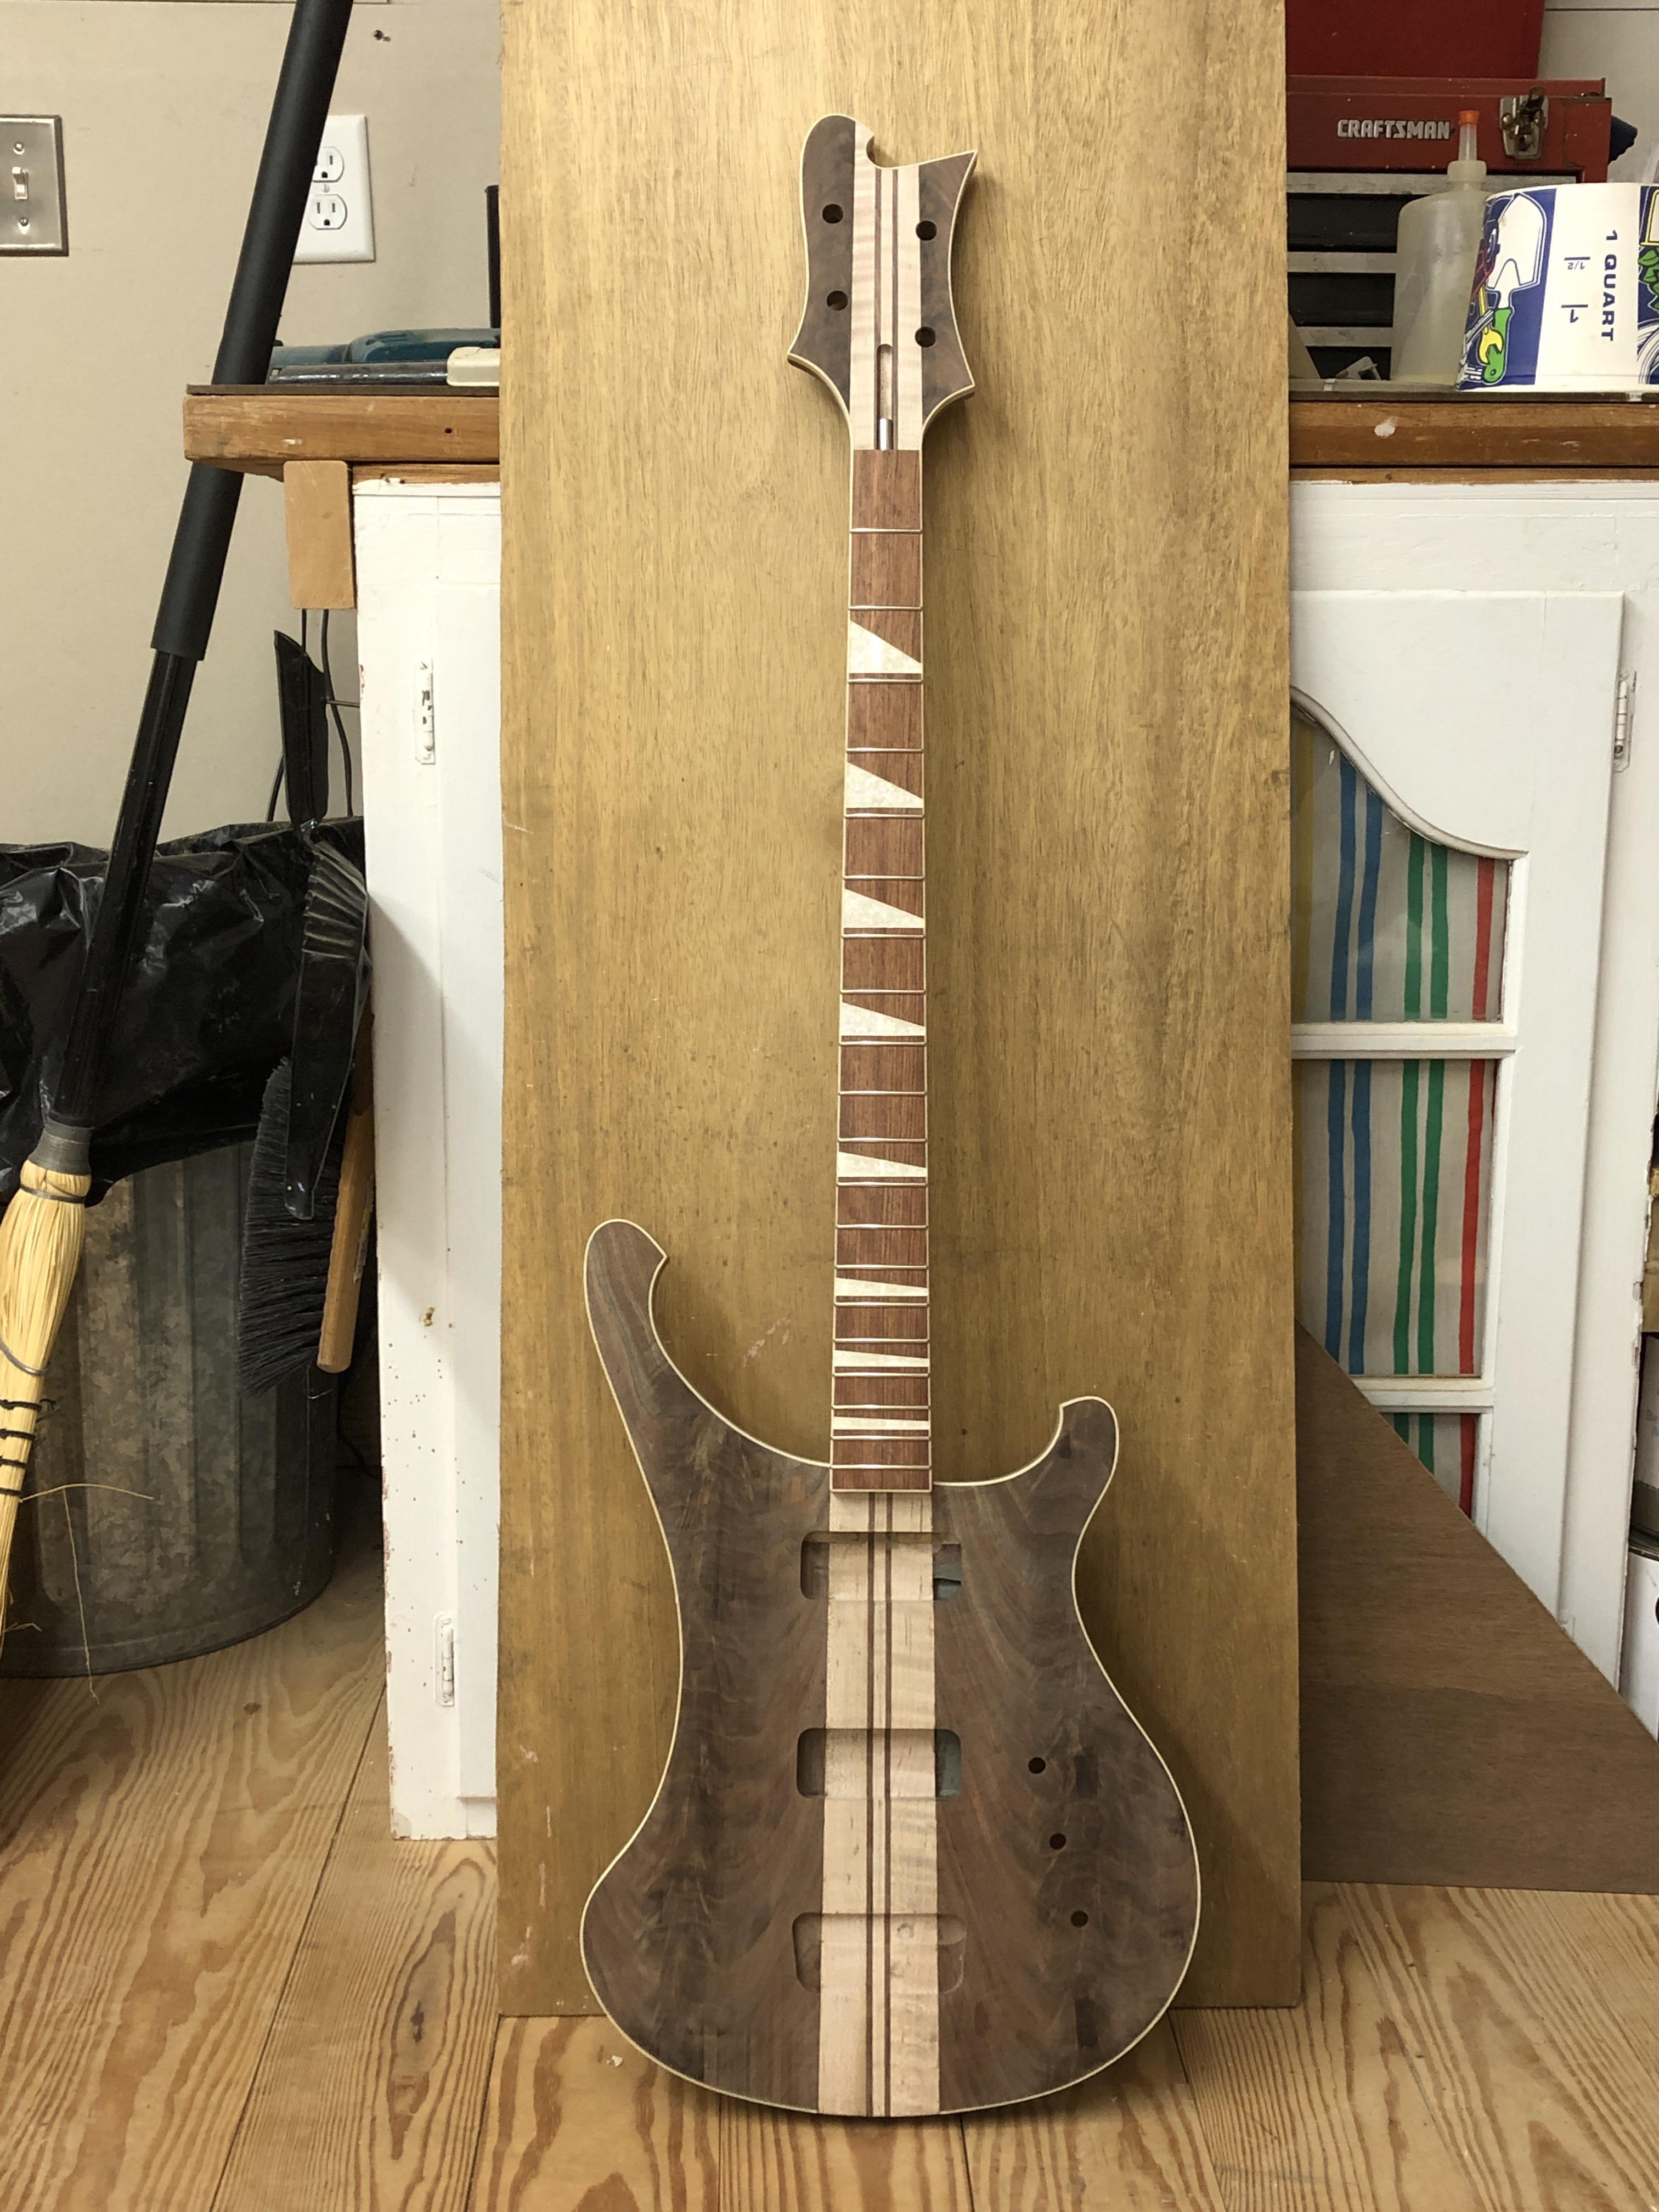
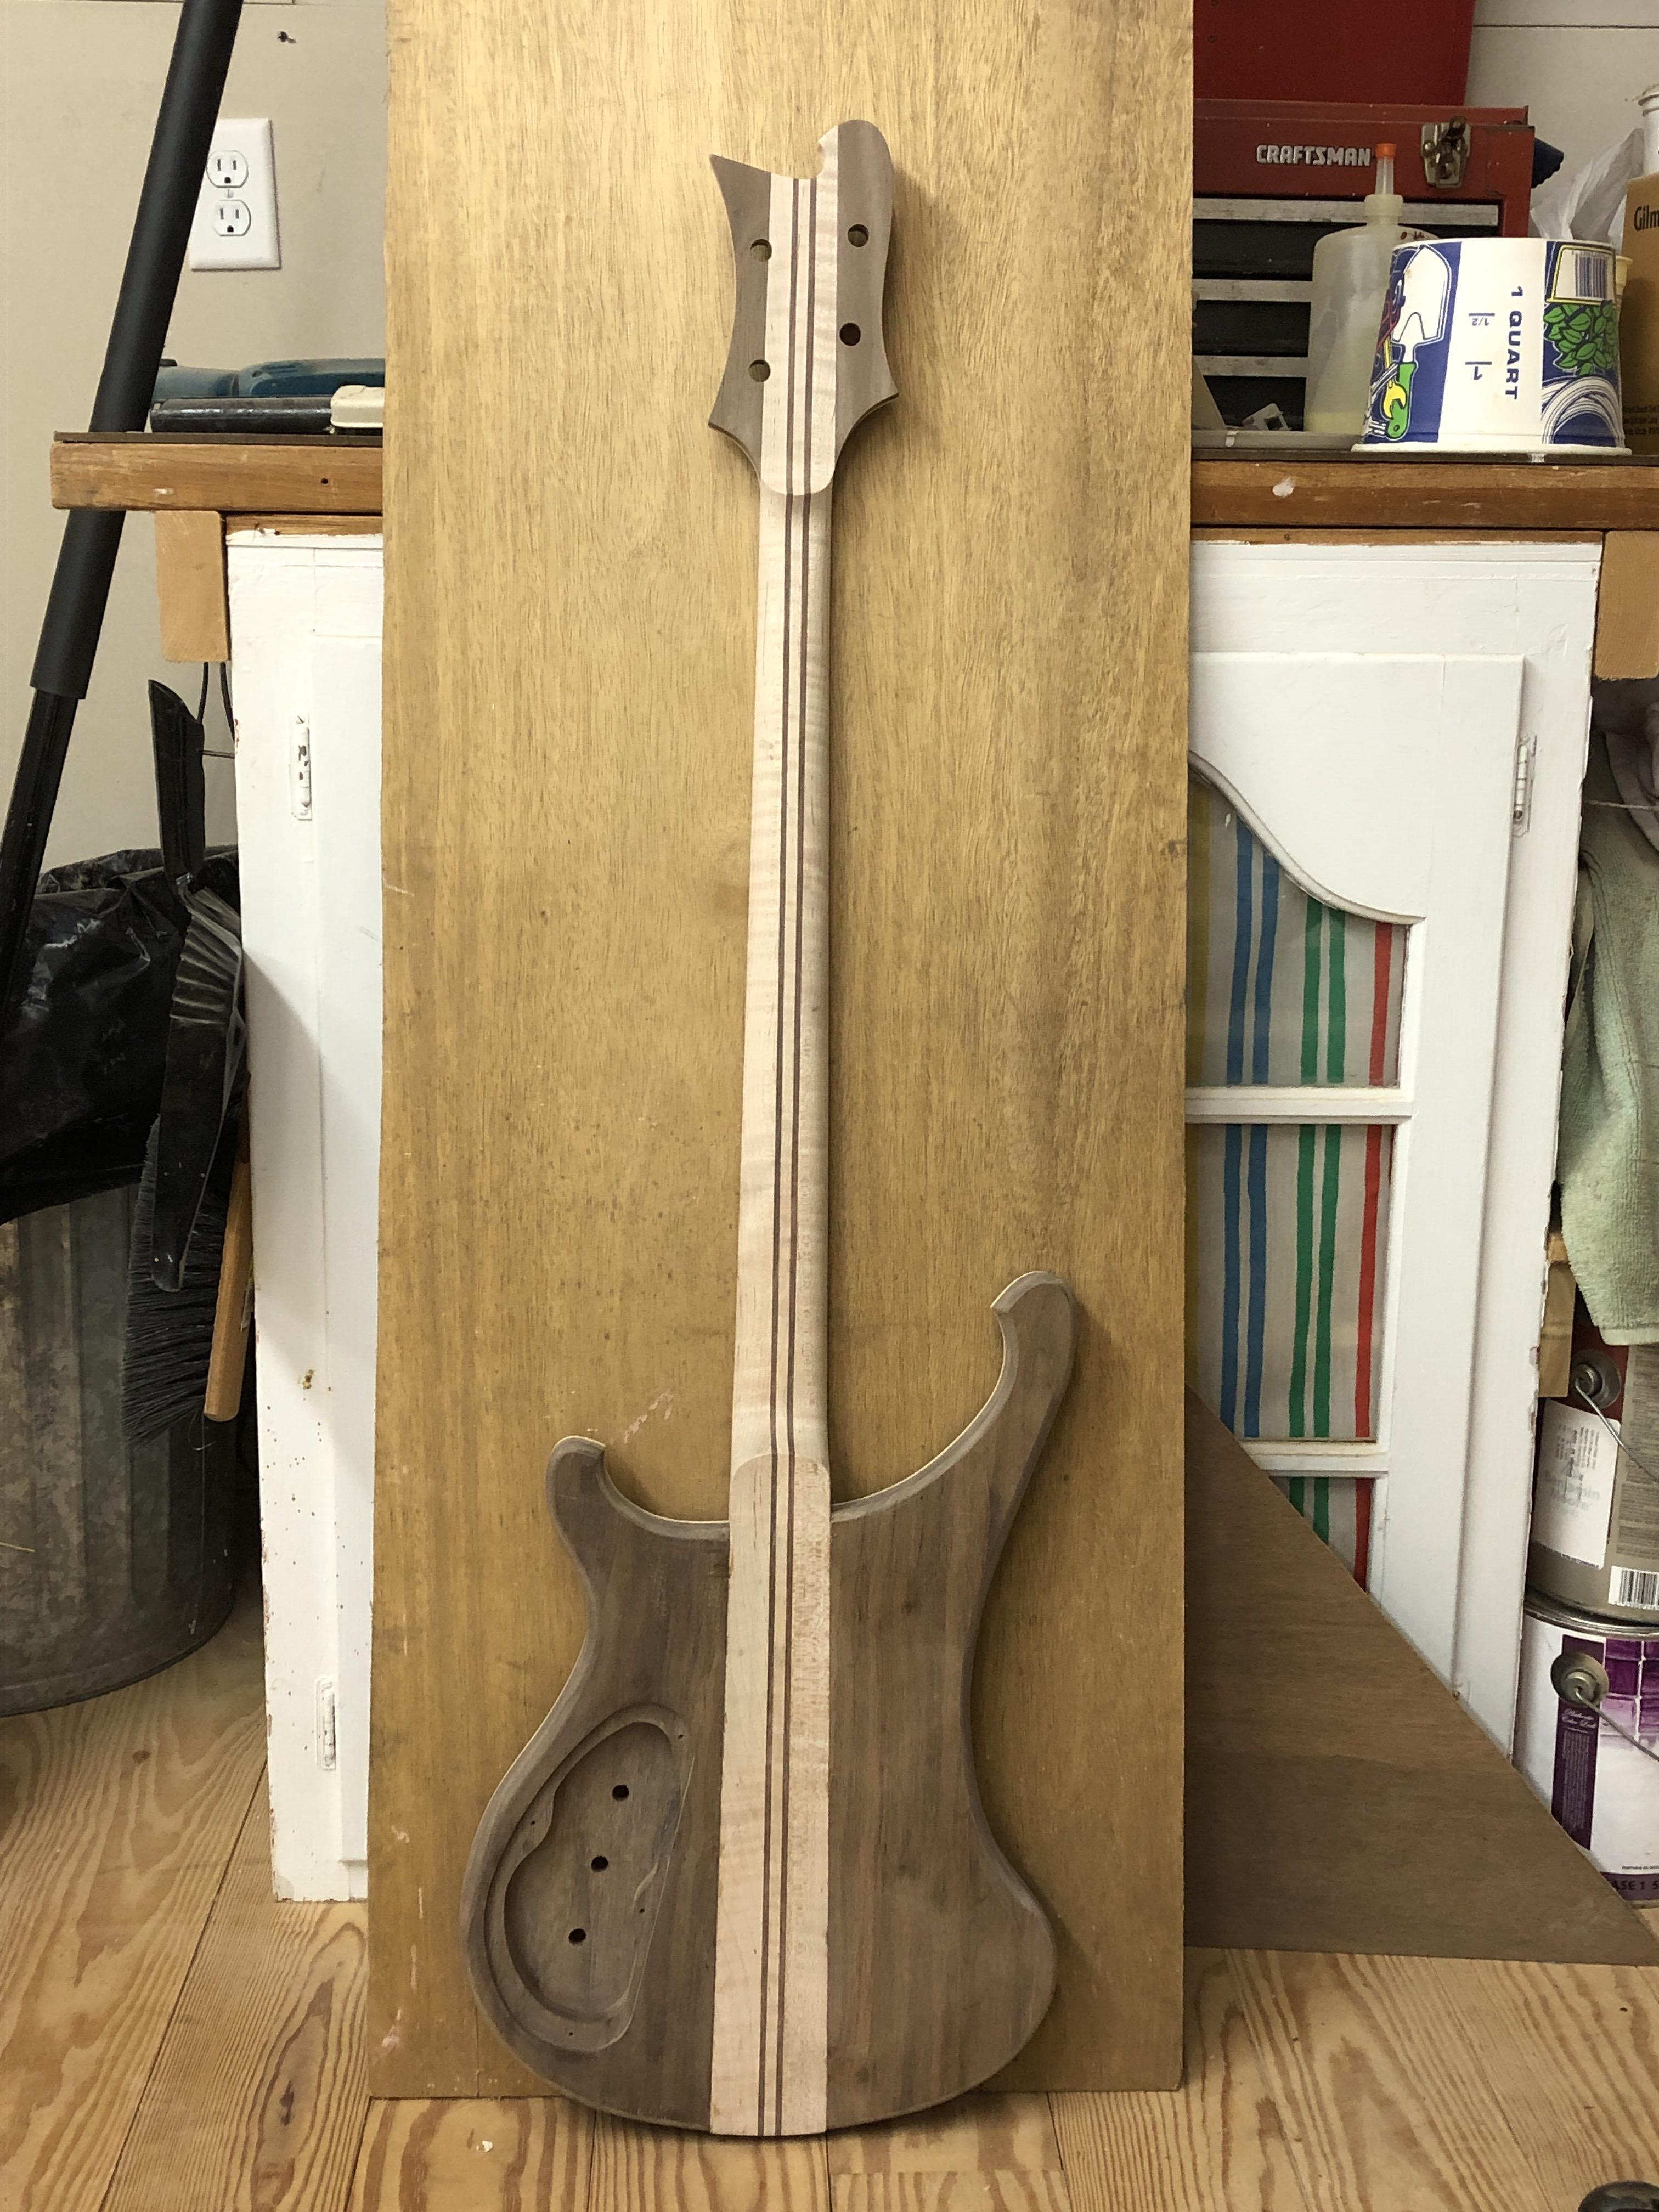
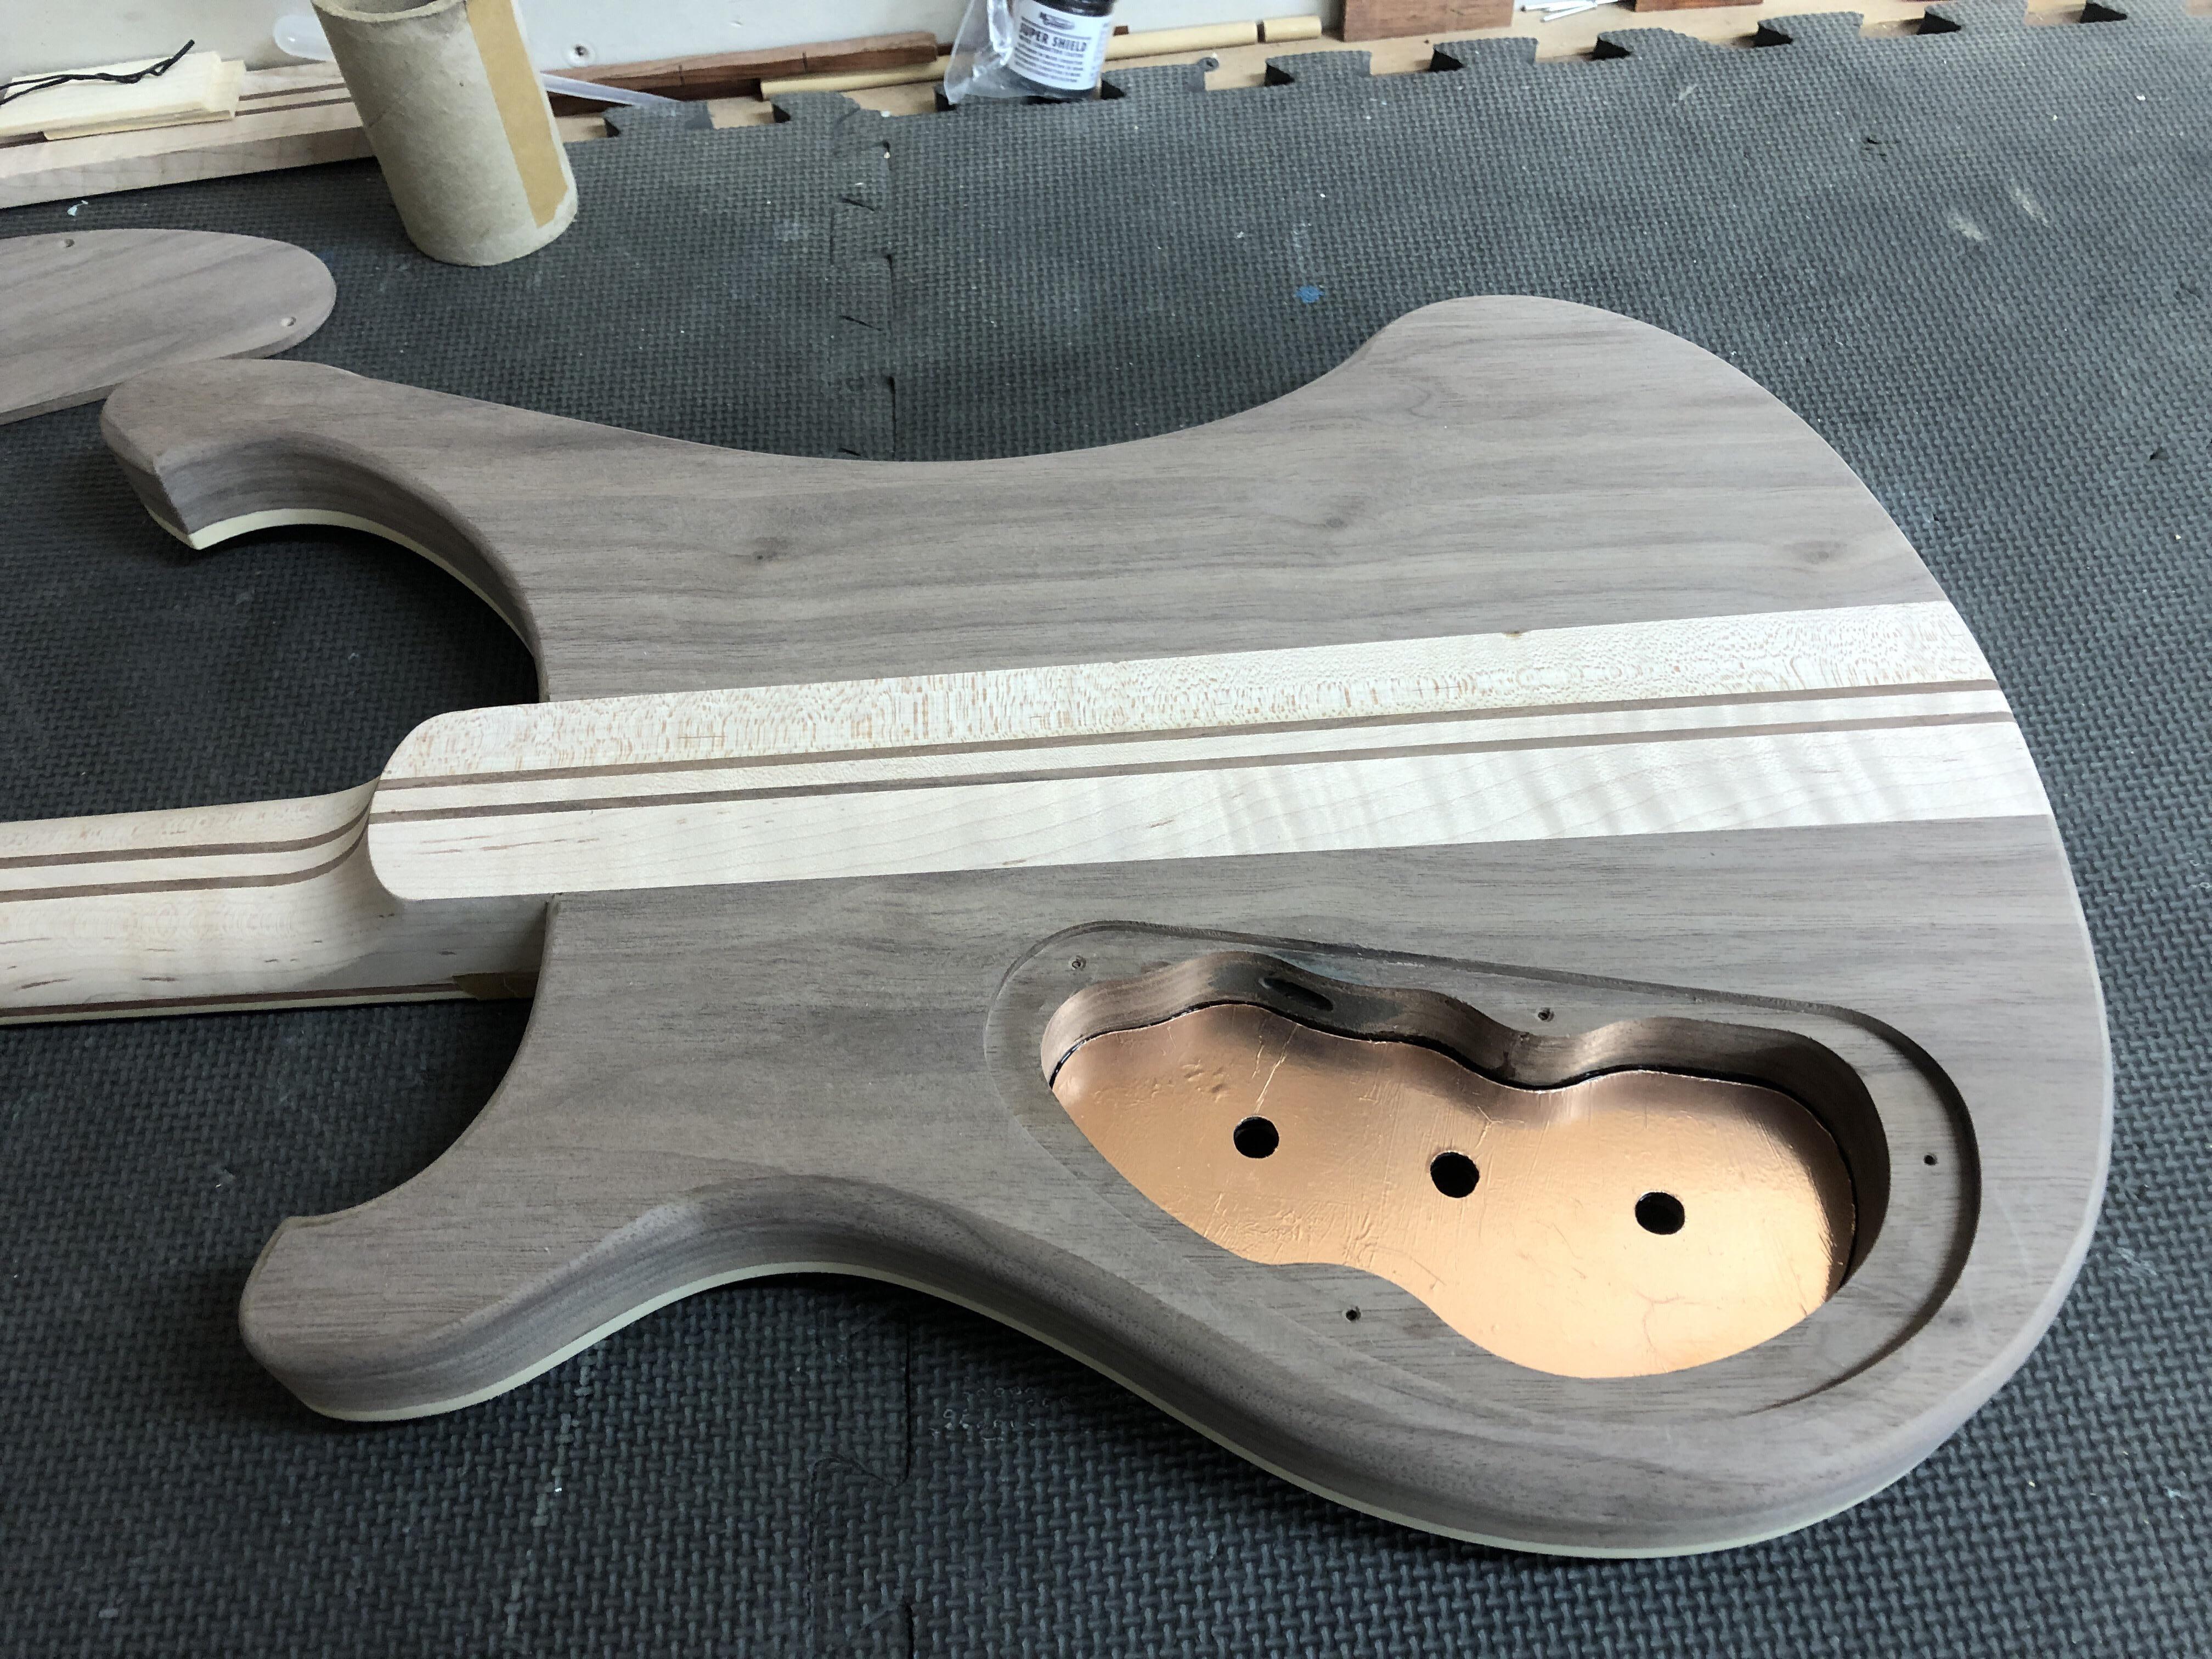
I ran a copper tape strip between the pup routes, you can just see it peeking up on the edge of both pup routes, hopefully this will be enough for continuity. I think I'll do the pup route floors in copper, and the walls in Supershield, so copper wont be visible at the face. The cavity will be all copper tape. Still have to drill a bridge ground wire hole (probably should have done that before glue-up ). Next I'll sand the bee-jeebus out of it, then into the neck jig for fret leveling.
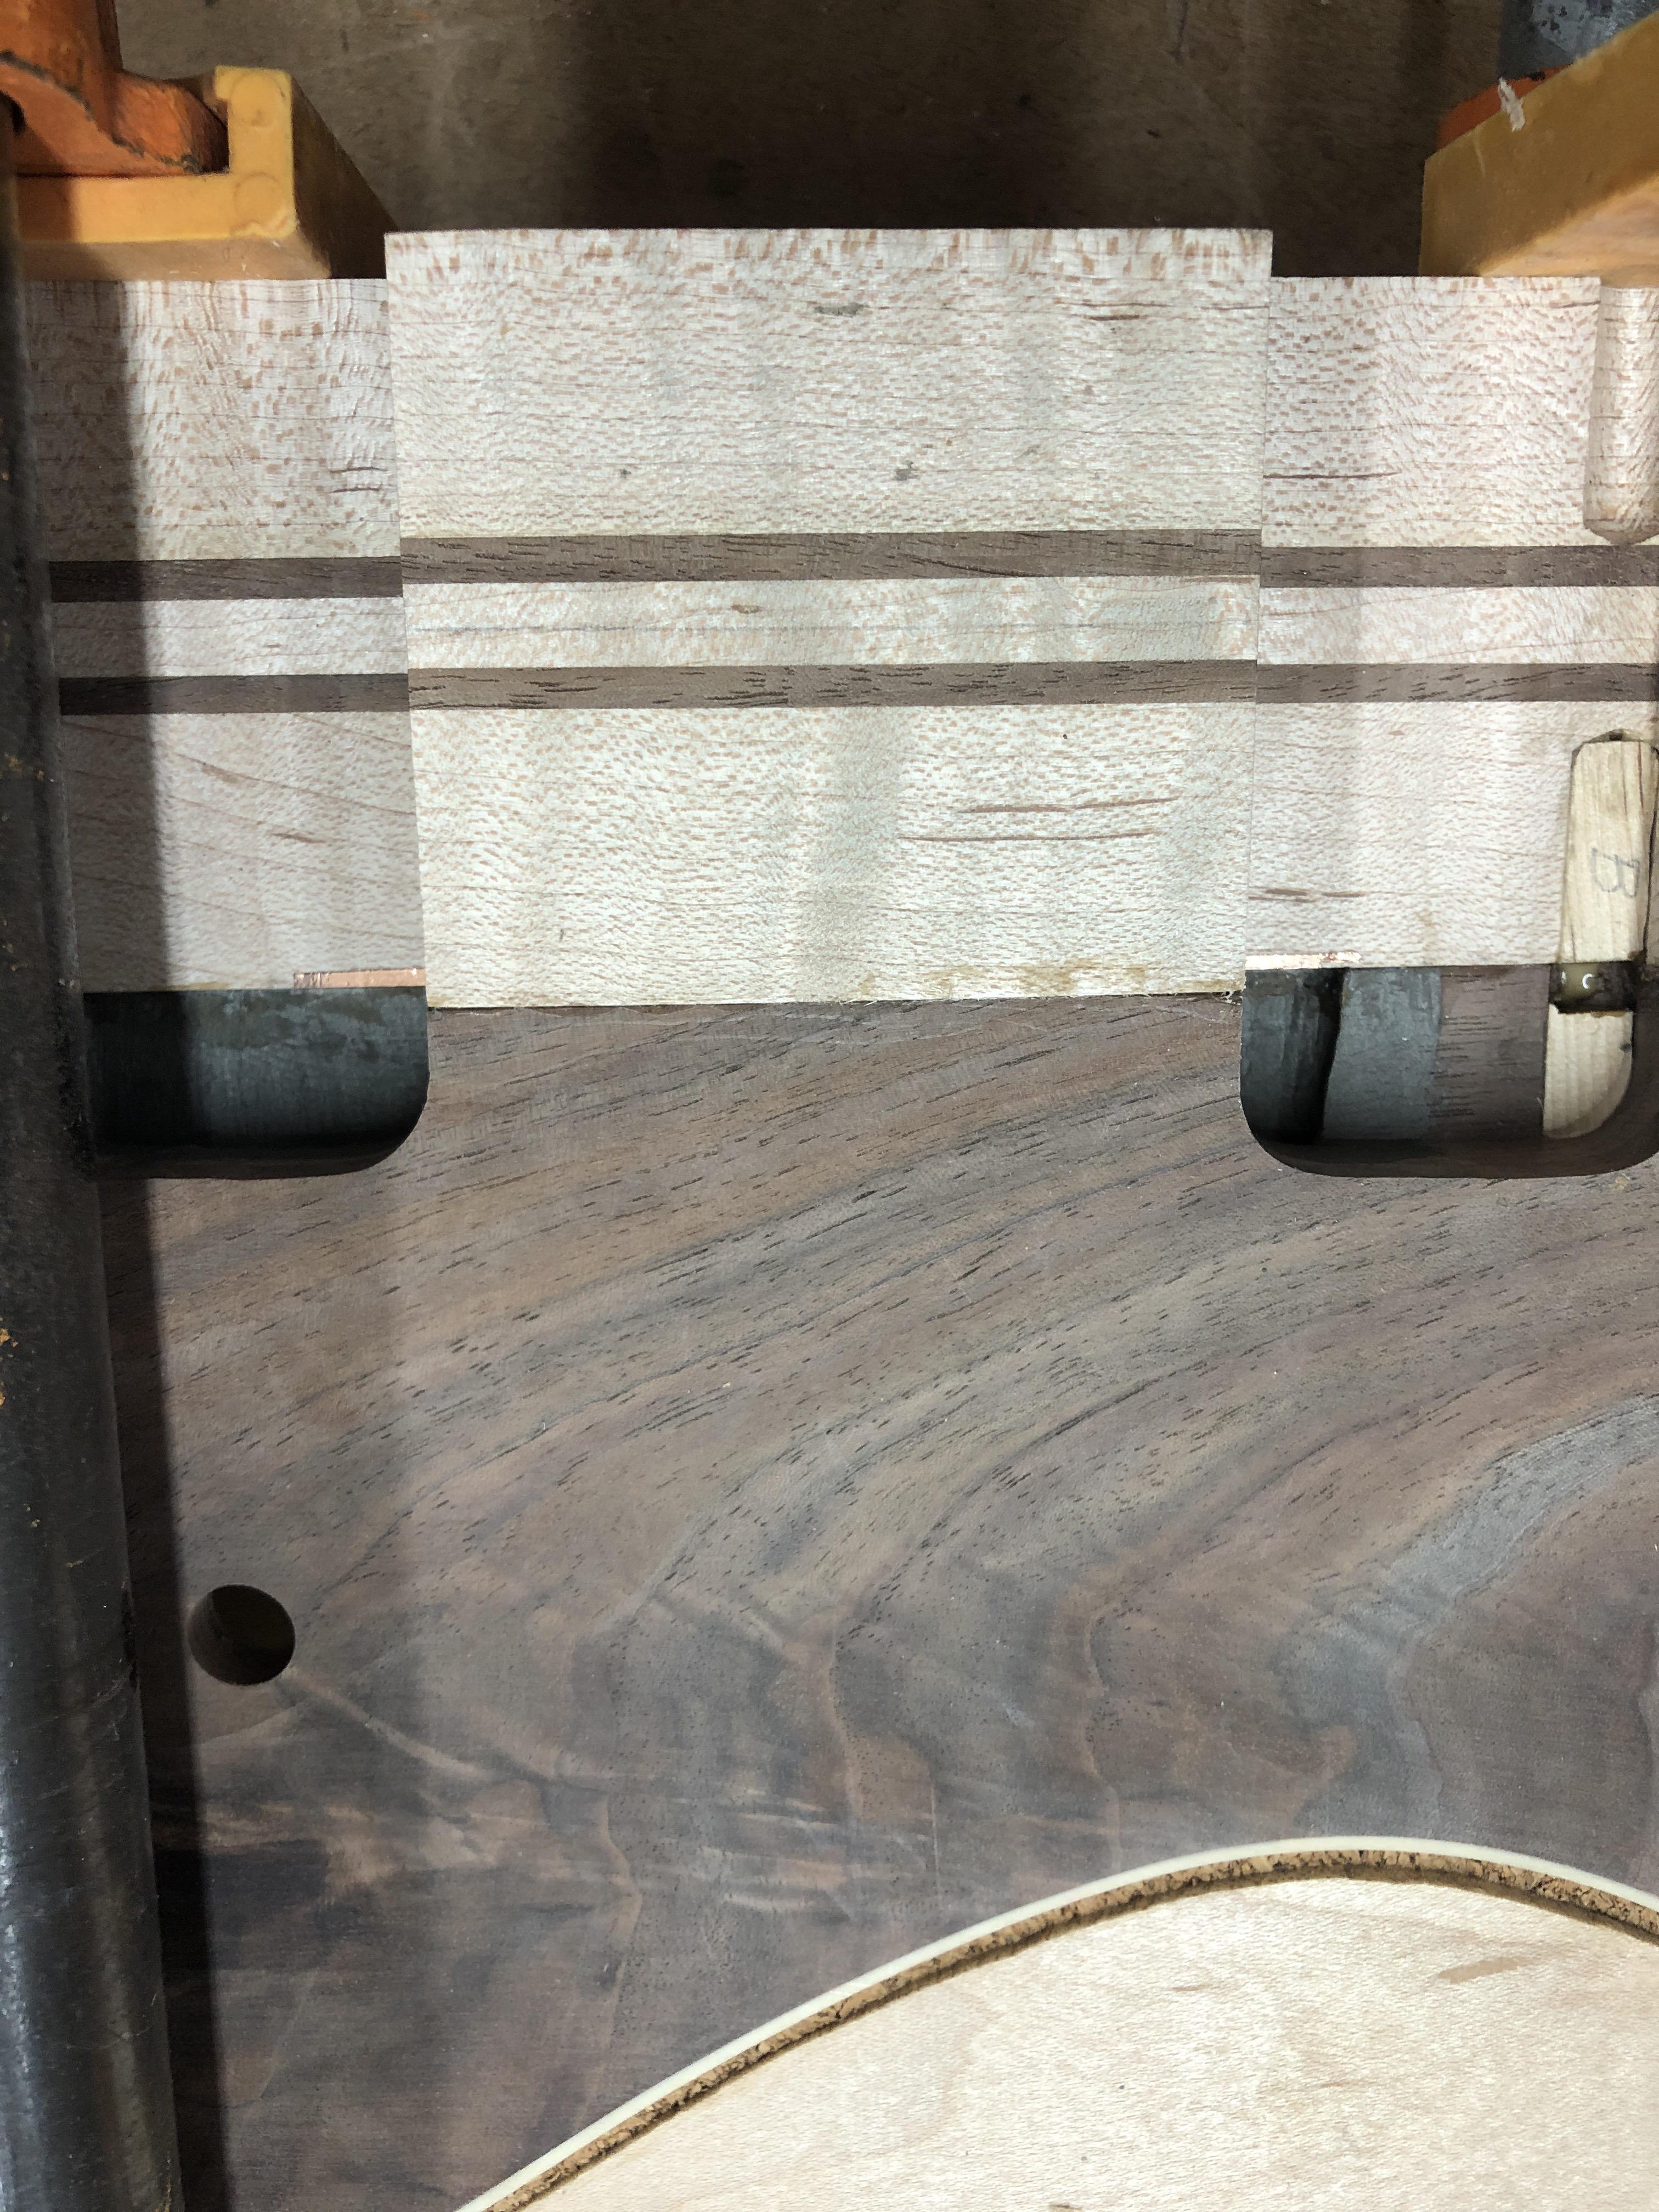
And out..... Bass-Like-Object Achieved
I ran a copper tape strip between the pup routes, you can just see it peeking up on the edge of both pup routes, hopefully this will be enough for continuity. I think I'll do the pup route floors in copper, and the walls in Supershield, so copper wont be visible at the face. The cavity will be all copper tape. Still have to drill a bridge ground wire hole (probably should have done that before glue-up
). Next I'll sand the bee-jeebus out of it, then into the neck jig for fret leveling. 
Rôckhewer
Commercial User
- Feb 28, 2015
- 2,922
- 9,028
- Disclosures
- Owner/Builder- RockHewer Custom Guitars LLC

I think I love you....droolInto the clamps, one side at a time....
View attachment 3290312
View attachment 3290313
And out..... Bass-Like-Object Achieved
View attachment 3290314
View attachment 3290315
I ran a copper tape strip between the pup routes, you can just see it peeking up on the edge of both pup routes, hopefully this will be enough for continuity. I think I'll do the pup route floors in copper, and the walls in Supershield, so copper wont be visible at the face. The cavity will be all copper tape. Still have to drill a bridge ground wire hole (probably should have done that before glue-up
View attachment 3290316

Heh, it's just the cutoffs from the original Hossenfeffer I maple body blank cutout. I had them tossed in scrap bin, and then "hey....wait a minute"! Lined them with some sheet cork, and Bob's your Uncle.I love the body shaped "watchamacallit" that you use to get the clamps snuggled up to the curves if the body all nice and straight and without damaging the edges...
BnB
Speaking of which, this is in all probability my last Ric clone build, at least the 4003 variety. I have accumulated a small pile of dedicated templates in MDF for the body shape, headstock, pup and bridge routes, etc., which will be gathering dust from now until the end of time. If anybody reading this has a 4001/4003 build in mind, let me know, I'd be glad to lend out the templates. Also have a brand-new uninstalled Allparts white Ric pickguard, and TWO (dont' ask) sets of faux MOP partial-width sharkfin fingerboard inlays, available FREE (just the postage) to anybody who wants them. First dibs PM me.

- Apr 18, 2008
- 16,007
- 1
- 31,705
- Disclosures
- I'm highly opinionated and extremely self-assured
That looks so awesome! I’m really getting excited to see this one so close to the finish line! 
Oh, and if you don’t mind @Fat Freddy - drooldrooldrool
Oh, and if you don’t mind @Fat Freddy - drooldrooldrool
Be my guest...drool away....That looks so awesome! I’m really getting excited to see this one so close to the finish line!
Oh, and if you don’t mind @Fat Freddy - drooldrooldrool

Here’s a Tru-Oil question:
If I wet-sand the whole bass with oil as a grain filler, will the mixed sludge of maple and walnut dust stain the maple? I’m agonizing over shooting for a satin gloss pore-filled look, or just letting the open walnut grain be what it is, unfilled. Advice?
If I wet-sand the whole bass with oil as a grain filler, will the mixed sludge of maple and walnut dust stain the maple? I’m agonizing over shooting for a satin gloss pore-filled look, or just letting the open walnut grain be what it is, unfilled. Advice?
Last edited:
If you guys would stop building such pretty basses, I wouldn't need a mop!....Get a mop!

We’ll make an amateur Luthier out of you yet, @Fat Freddy . It’s harder than it looks, but I’m an idiot. If I can do it, you can too! The primary skill is Bovine Patience. I got that.
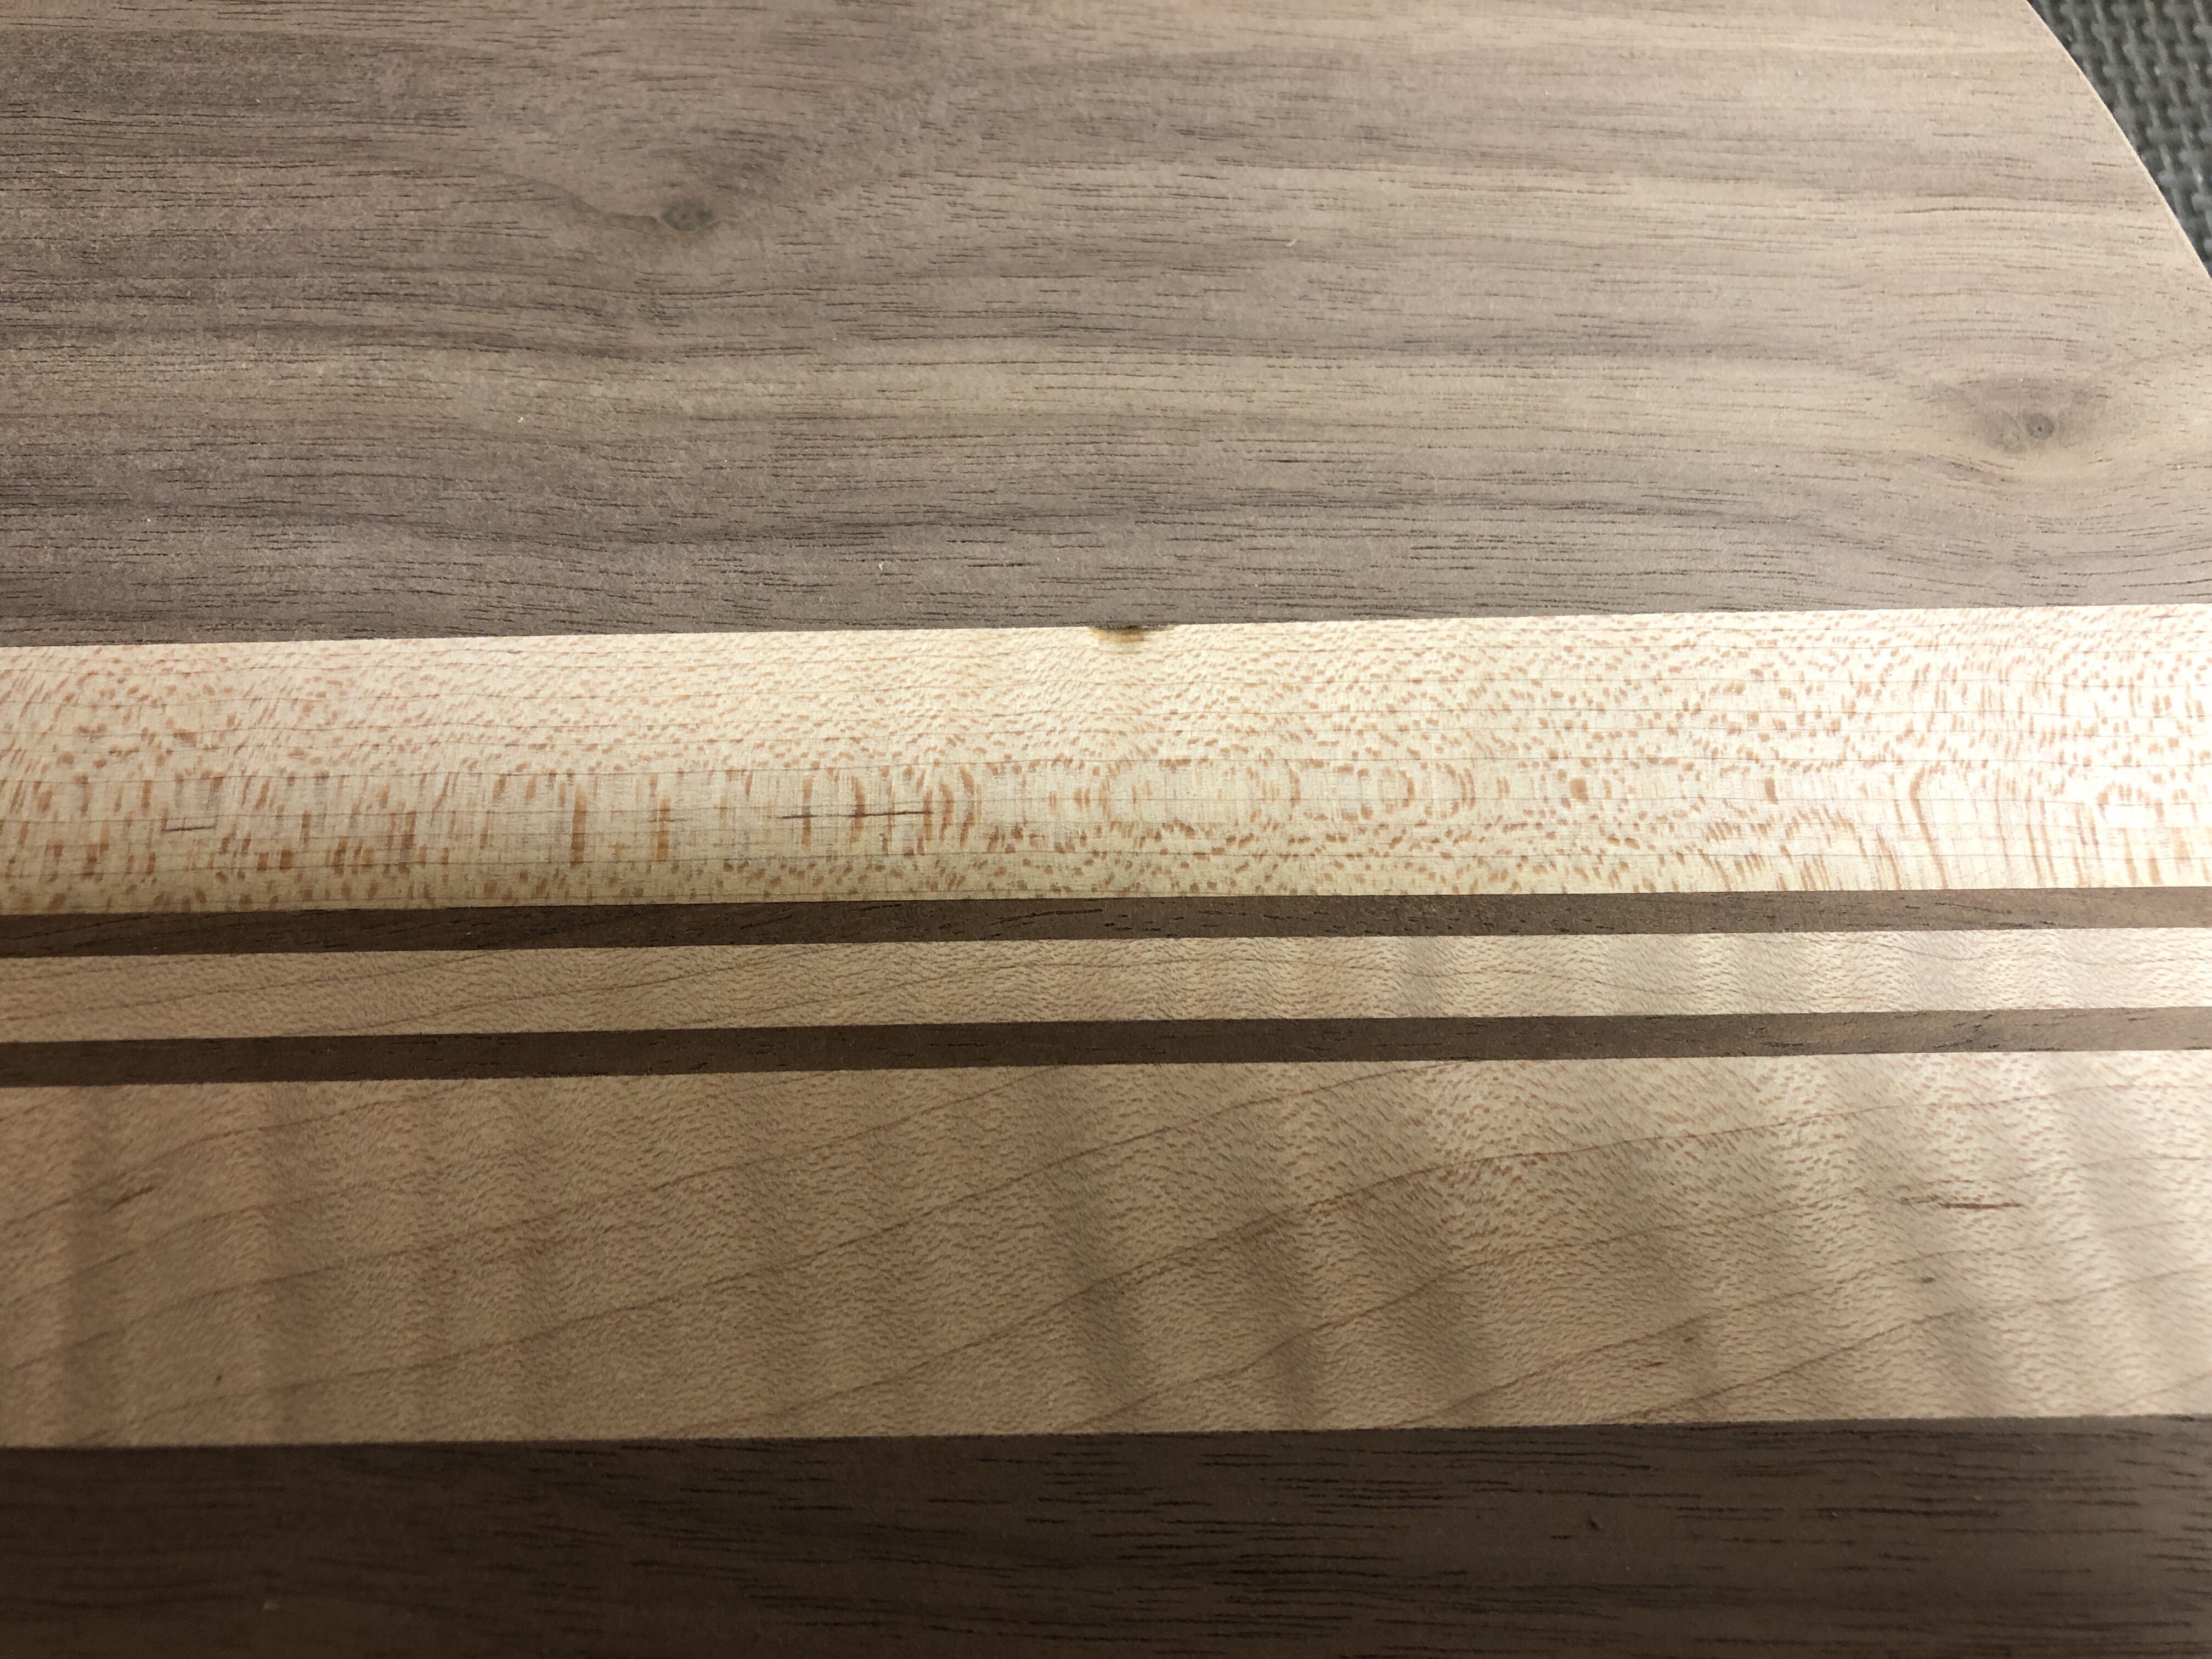
Sanded the front and back of the bass to remove the inevitable tiny misalignments, around 1/128'' in this case, no biggie, but discovered this nasty little divot along the edge of the neck beam on the back. It wasn't there that I noticed prior to glue up, so it may have happened in the clamps. What's the best way to fill this, CA glue and maple sawdust?
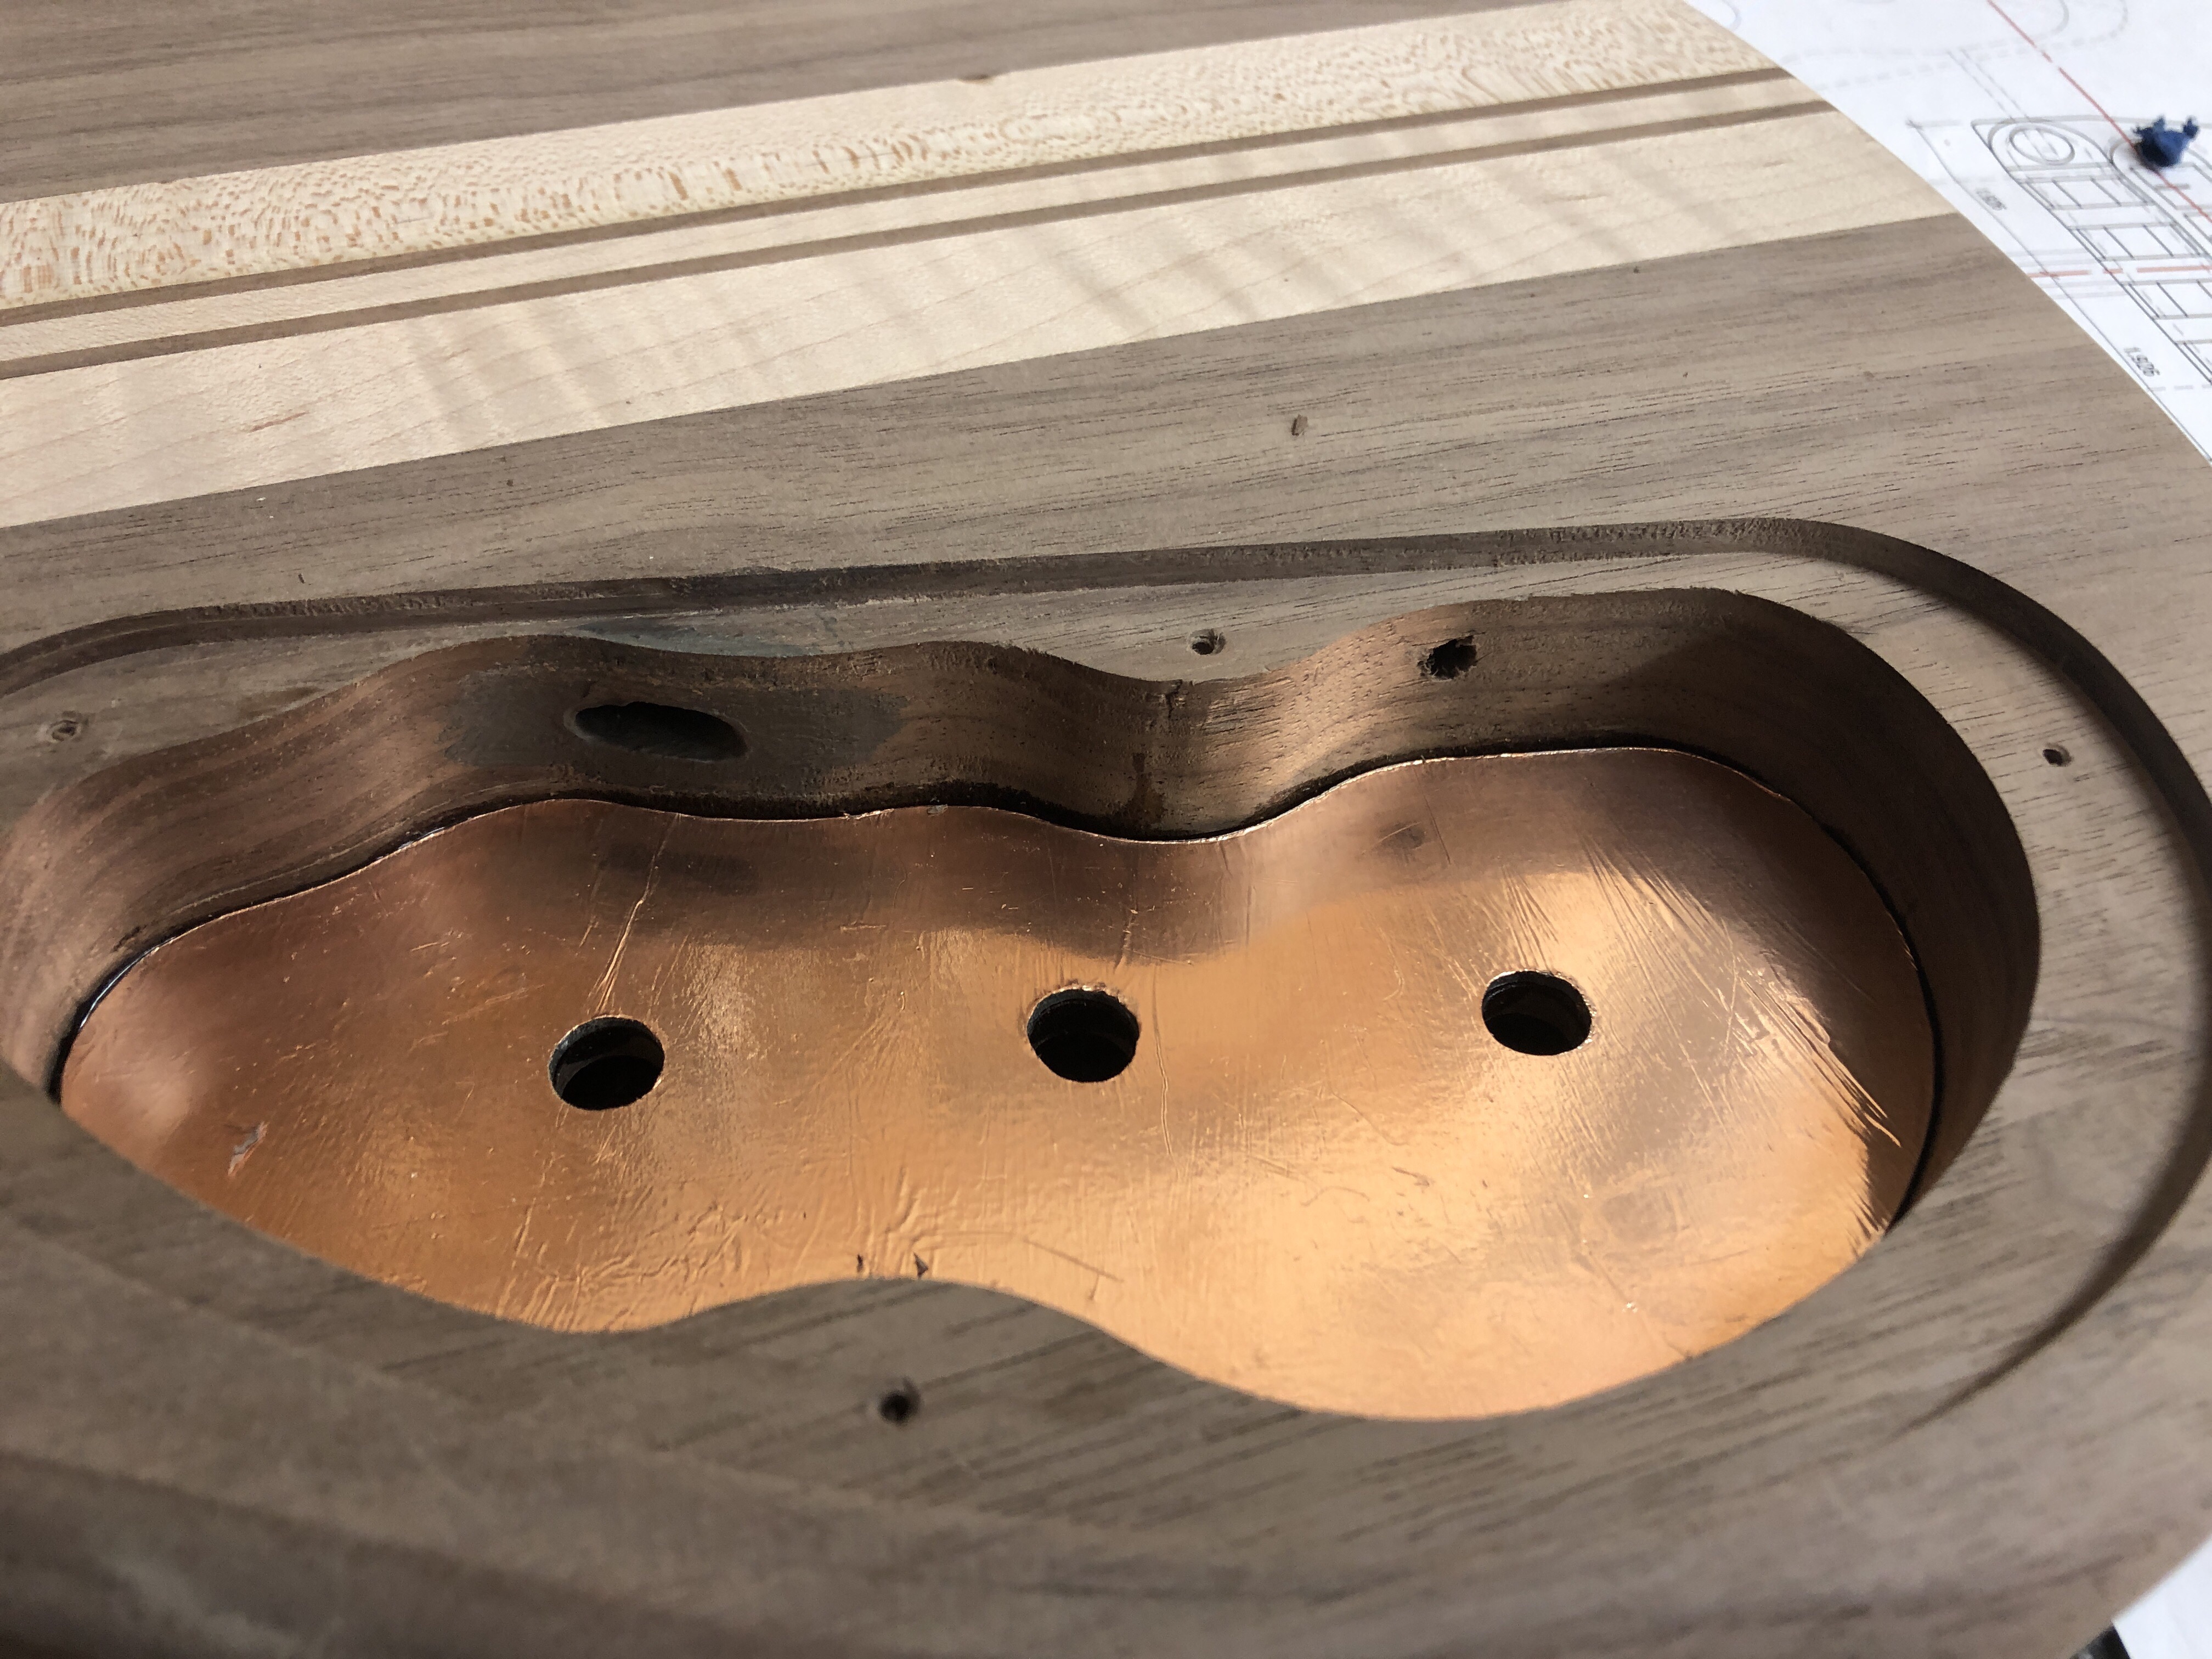
Taking @brucejohnson suggestion, I got some .064" (1/16") aluminum sheet stock at my local hobby shop, and cut it to the cavity footprint. I shaved the cavity "roof" down to 3/16" top thickness, which equals exactly 1/4" thick including the aluminum, but hopefully a lot stronger than a wood top that thick. The pots have 3/8" threaded barrels, so they just fit in that top depth.
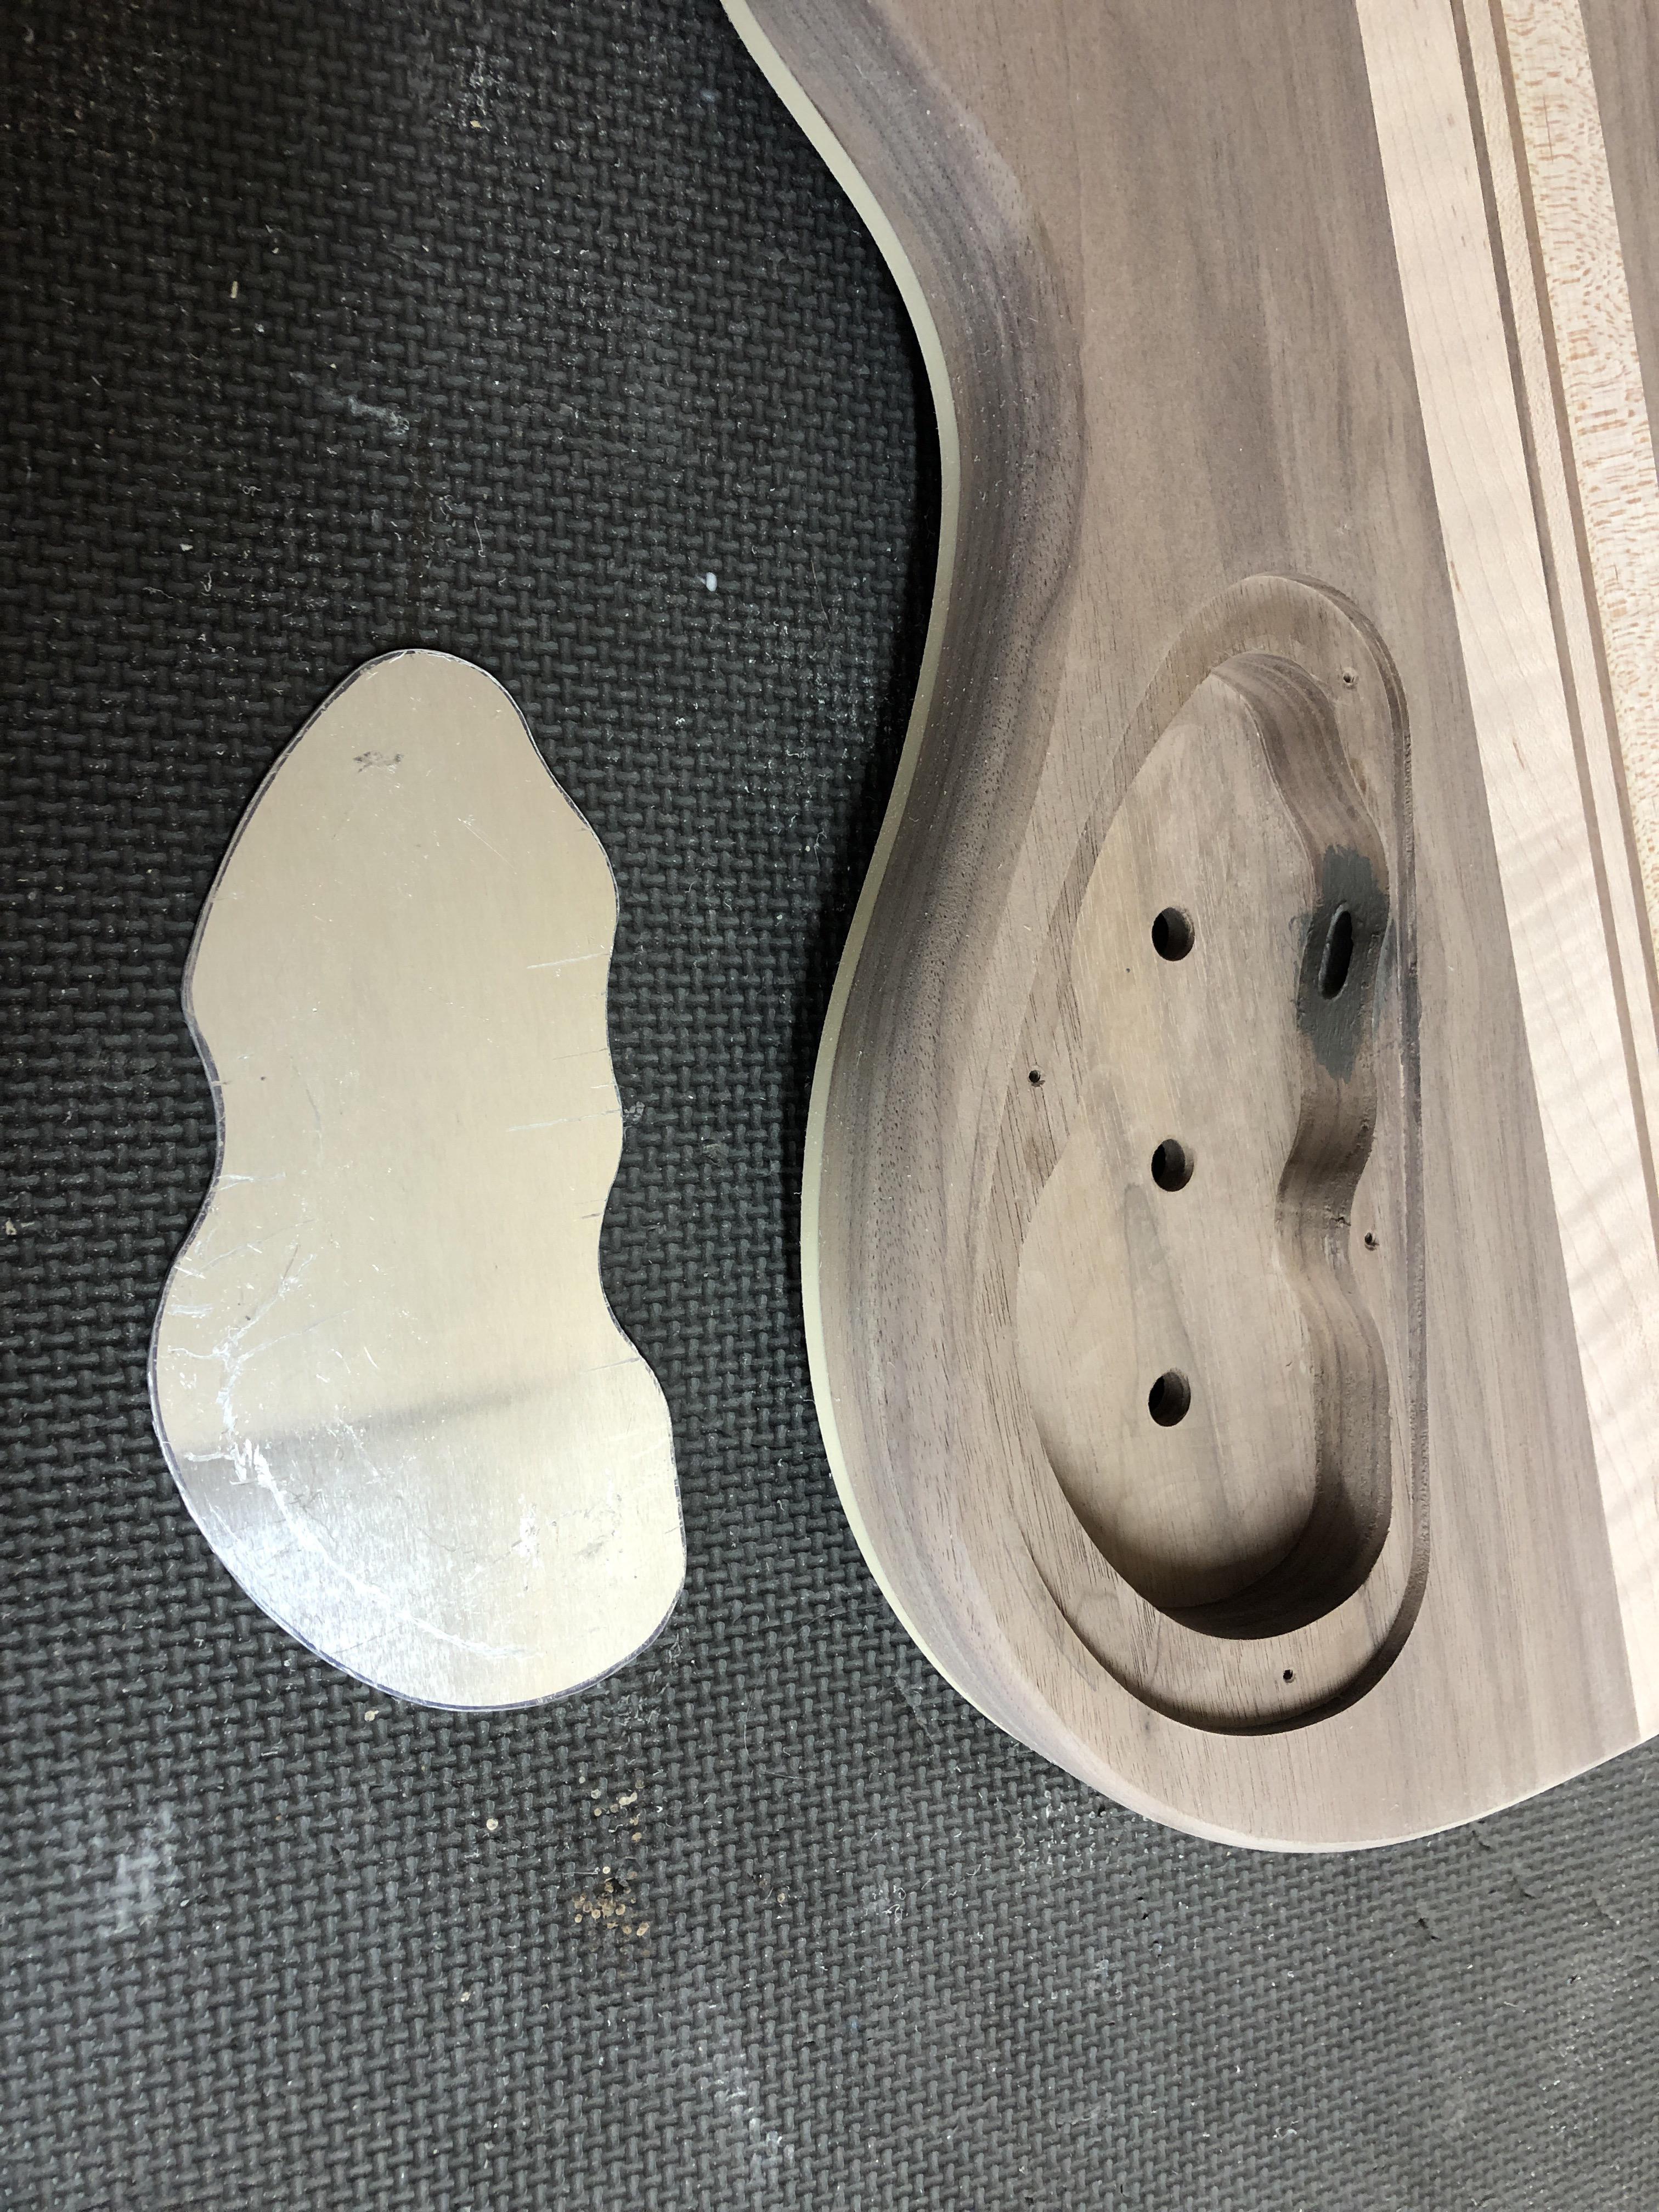
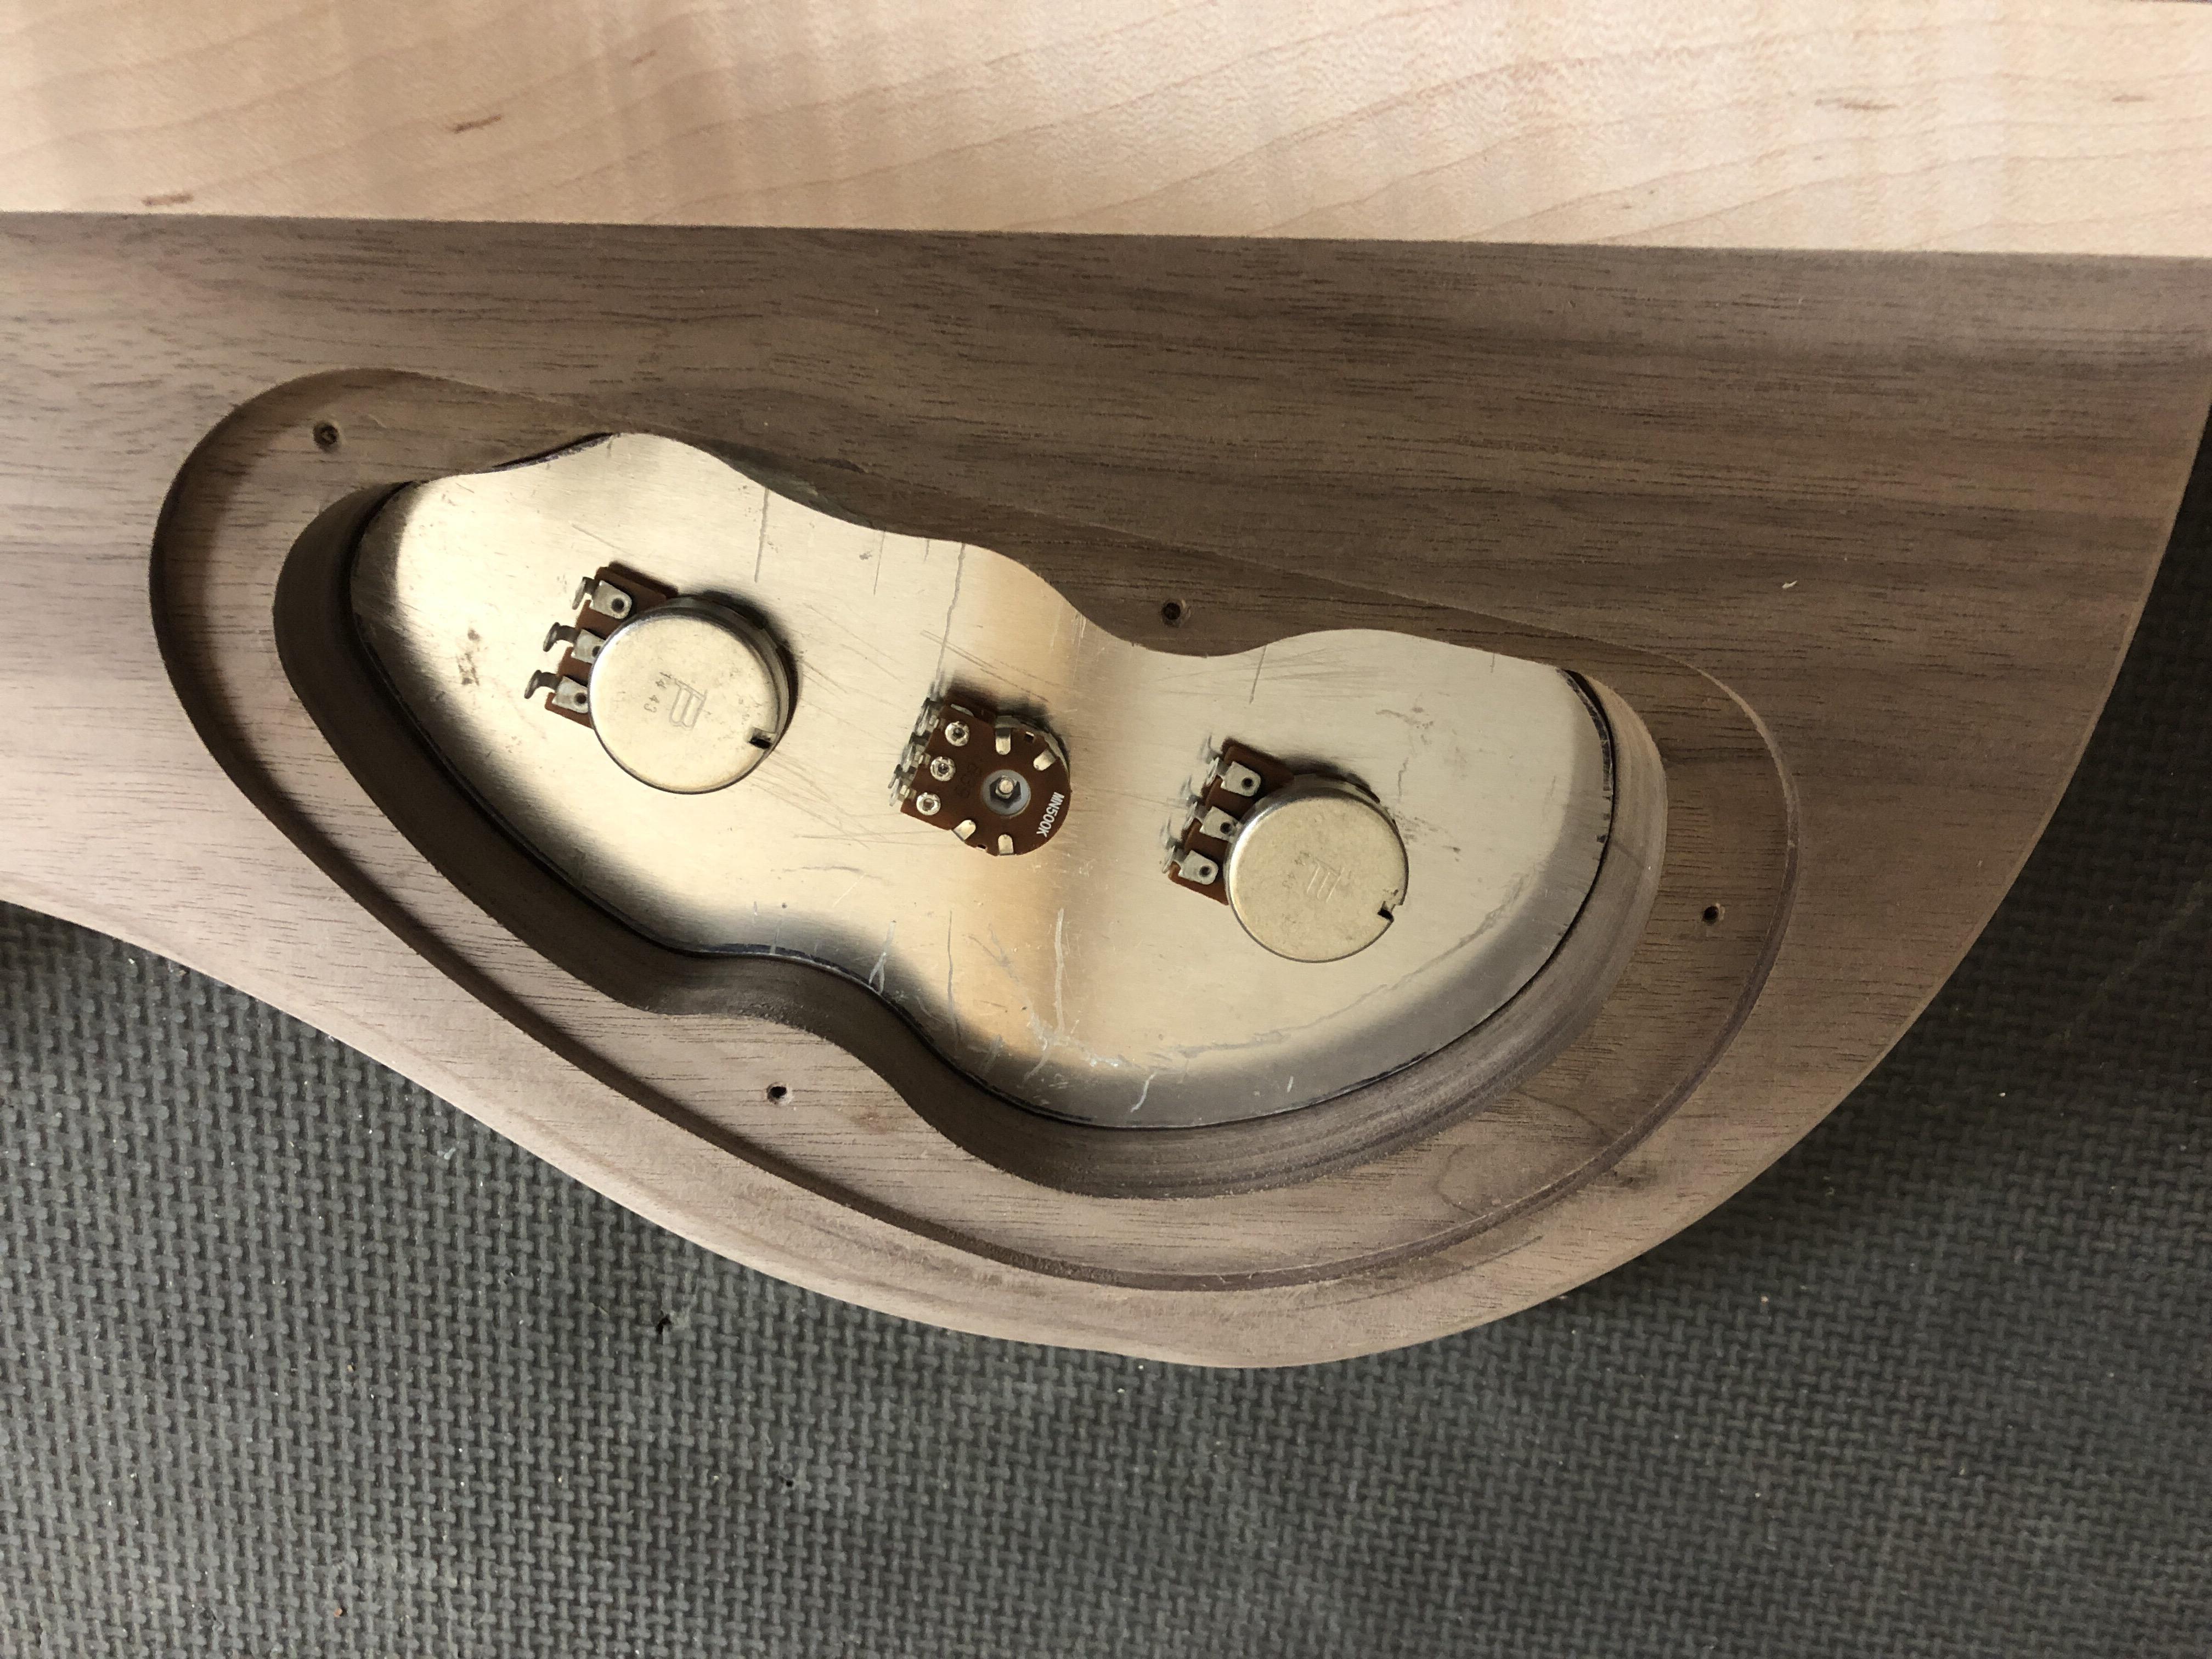
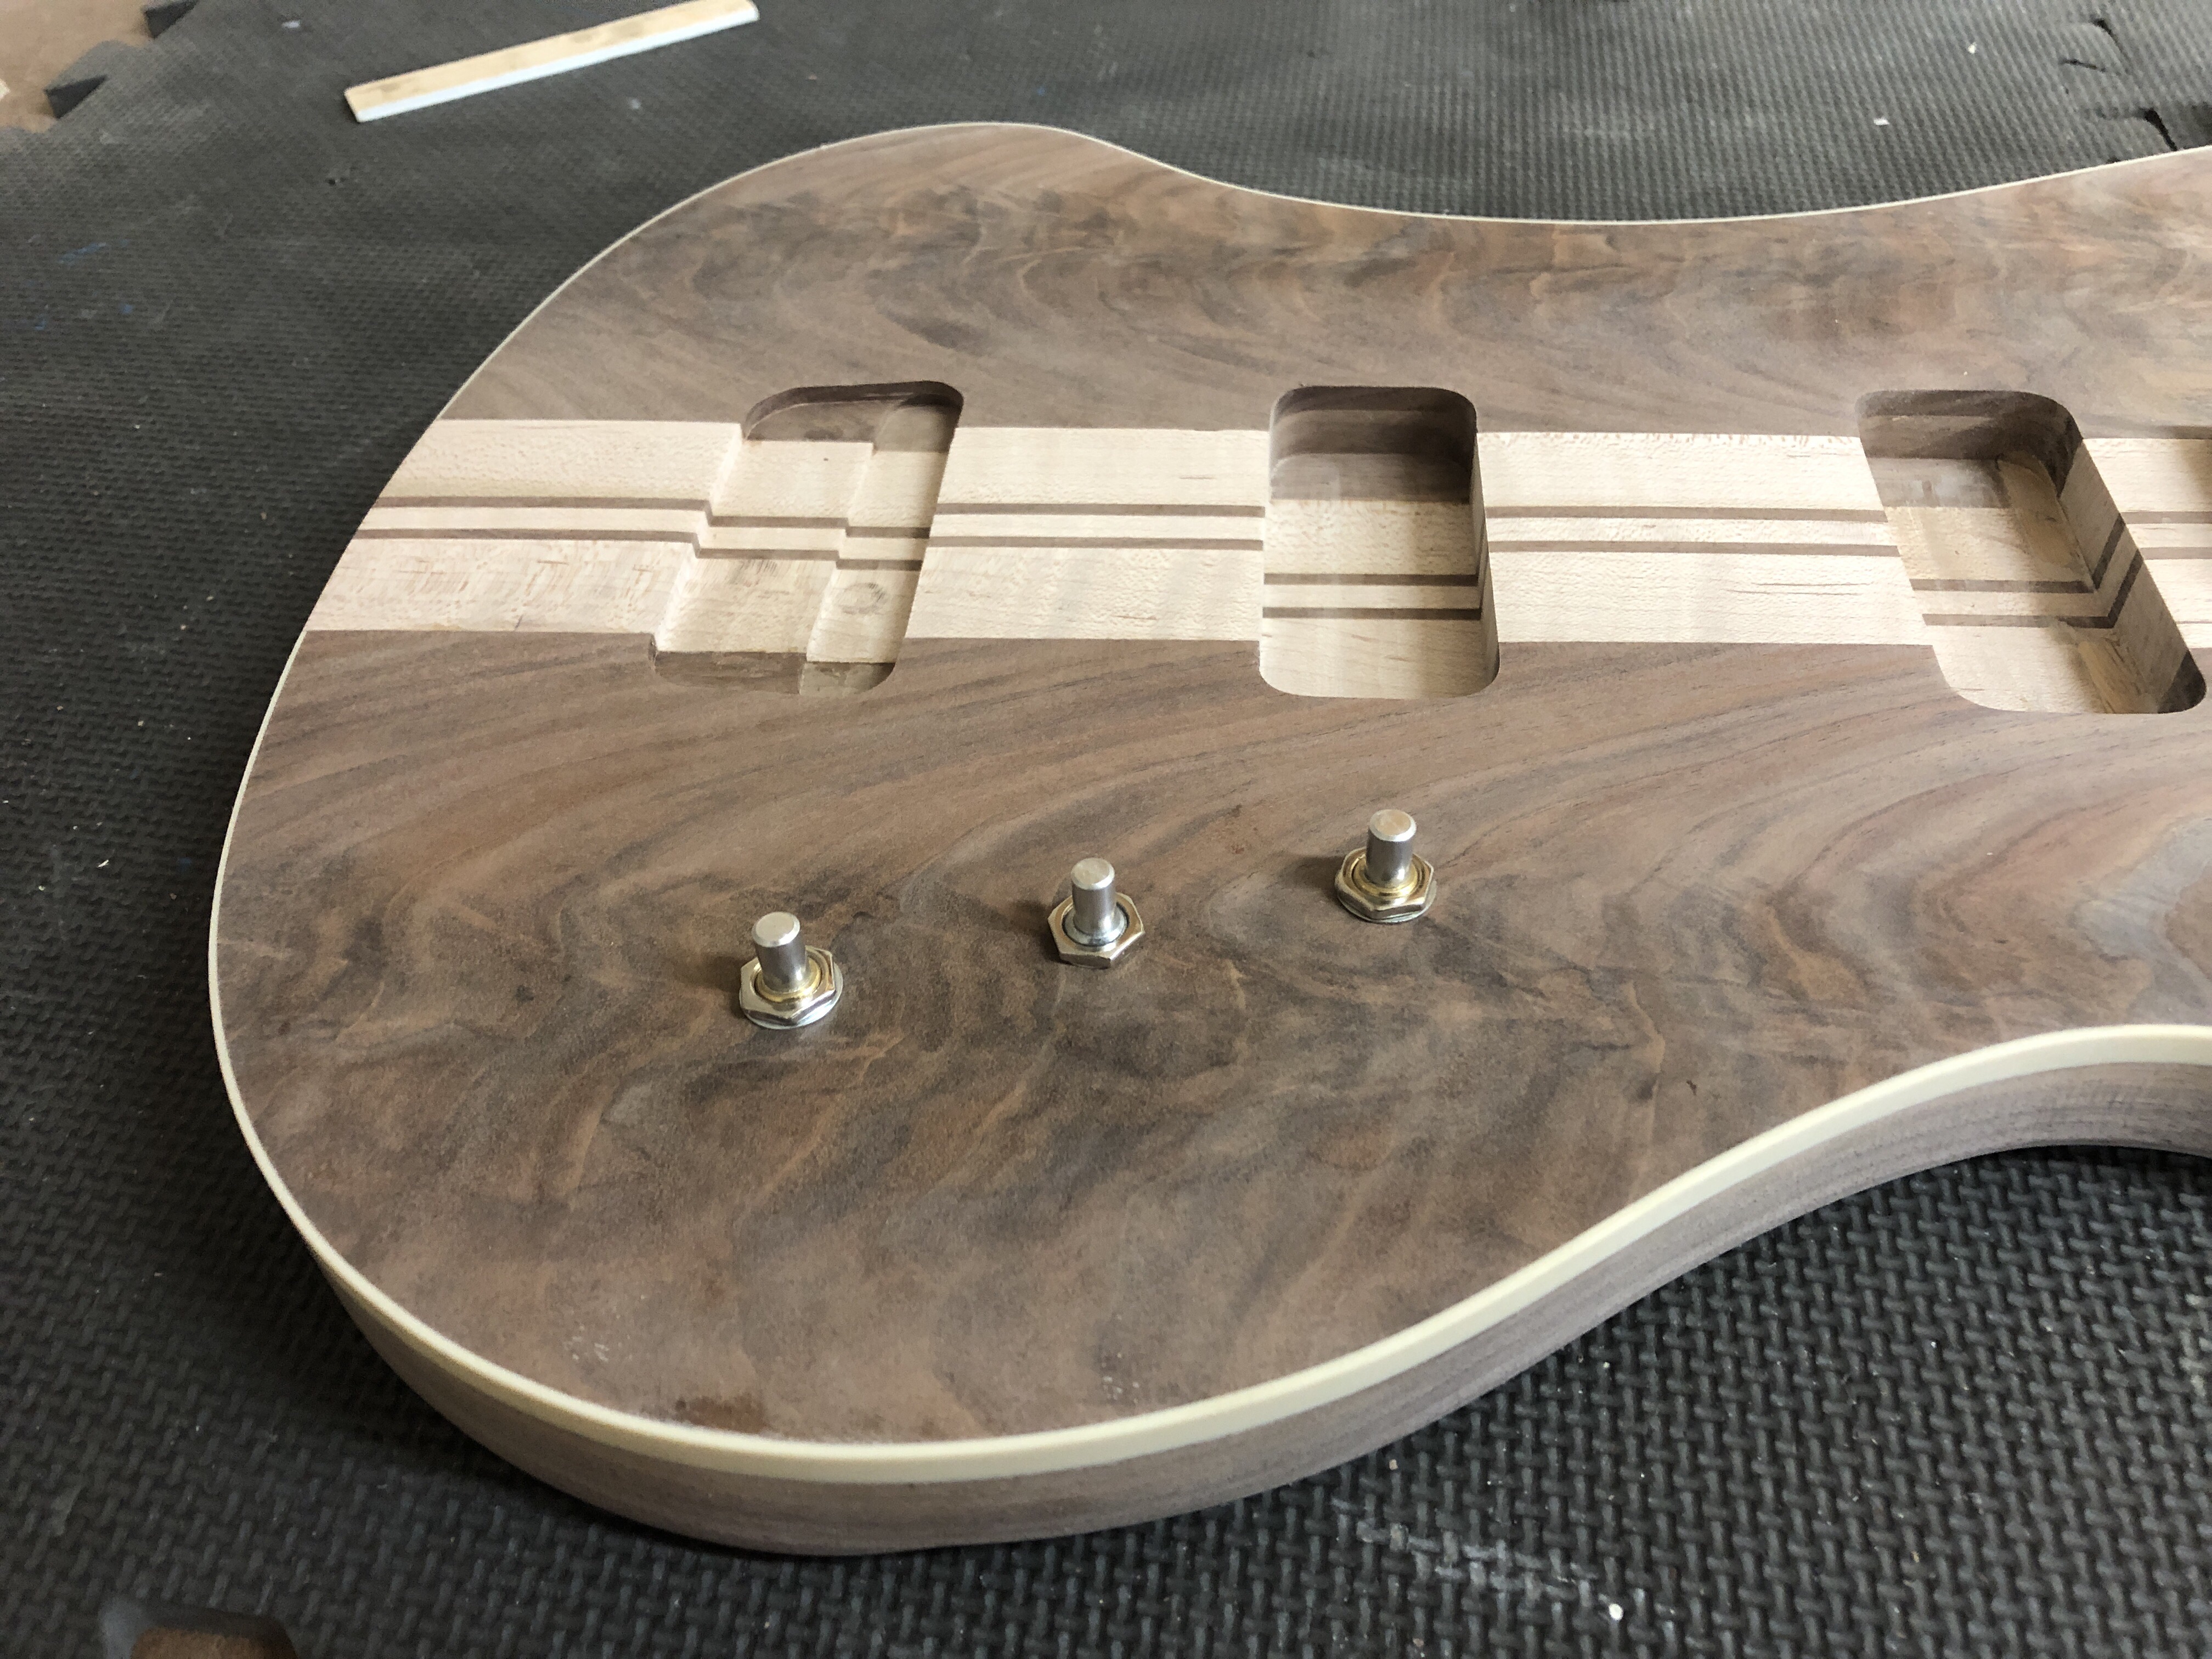
I covered the aluminum with sheet copper foil so I could lap more foil onto the cavity sides and be able to tack solder stuff to it, then epoxied it in.
Taking @brucejohnson suggestion, I got some .064" (1/16") aluminum sheet stock at my local hobby shop, and cut it to the cavity footprint. I shaved the cavity "roof" down to 3/16" top thickness, which equals exactly 1/4" thick including the aluminum, but hopefully a lot stronger than a wood top that thick. The pots have 3/8" threaded barrels, so they just fit in that top depth.
I covered the aluminum with sheet copper foil so I could lap more foil onto the cavity sides and be able to tack solder stuff to it, then epoxied it in.

Here’s a Tru-Oil question:
If I wet-sand the whole bass with oil as a grain filler, will the mixed sludge of maple and walnut dust stain the maple? I’m agonizing over shooting for a satin gloss pore-filled look, or just letting the open walnut grain be what it is, unfilled. Advice?
If it is for grain filling, maybe try superglue? I had this very issue with my 4003. I decided to make a Danish Oil sanding slurry on the headstock face and ended up with brown dust getting into the maple from the walnut wings.
Yeah, I was thinking a higher gloss, but maybe I’ll just skip wet sanding with oil and just let pores be pores. I don’t want walnut dust in the maple grain, tight as it may be,

I've wet sanded multi-wood instruments before and the maple will not get stained. I usually do that after I do 3-4 coats of Tru Oil, as long as you don't sand through the slurry is all Tru Oil "dust" so it doesn't have any walnut in it.
I'm knee deep in a bathroom renovation that has become a Black Hole of Time, but got a chunk of shop time today.
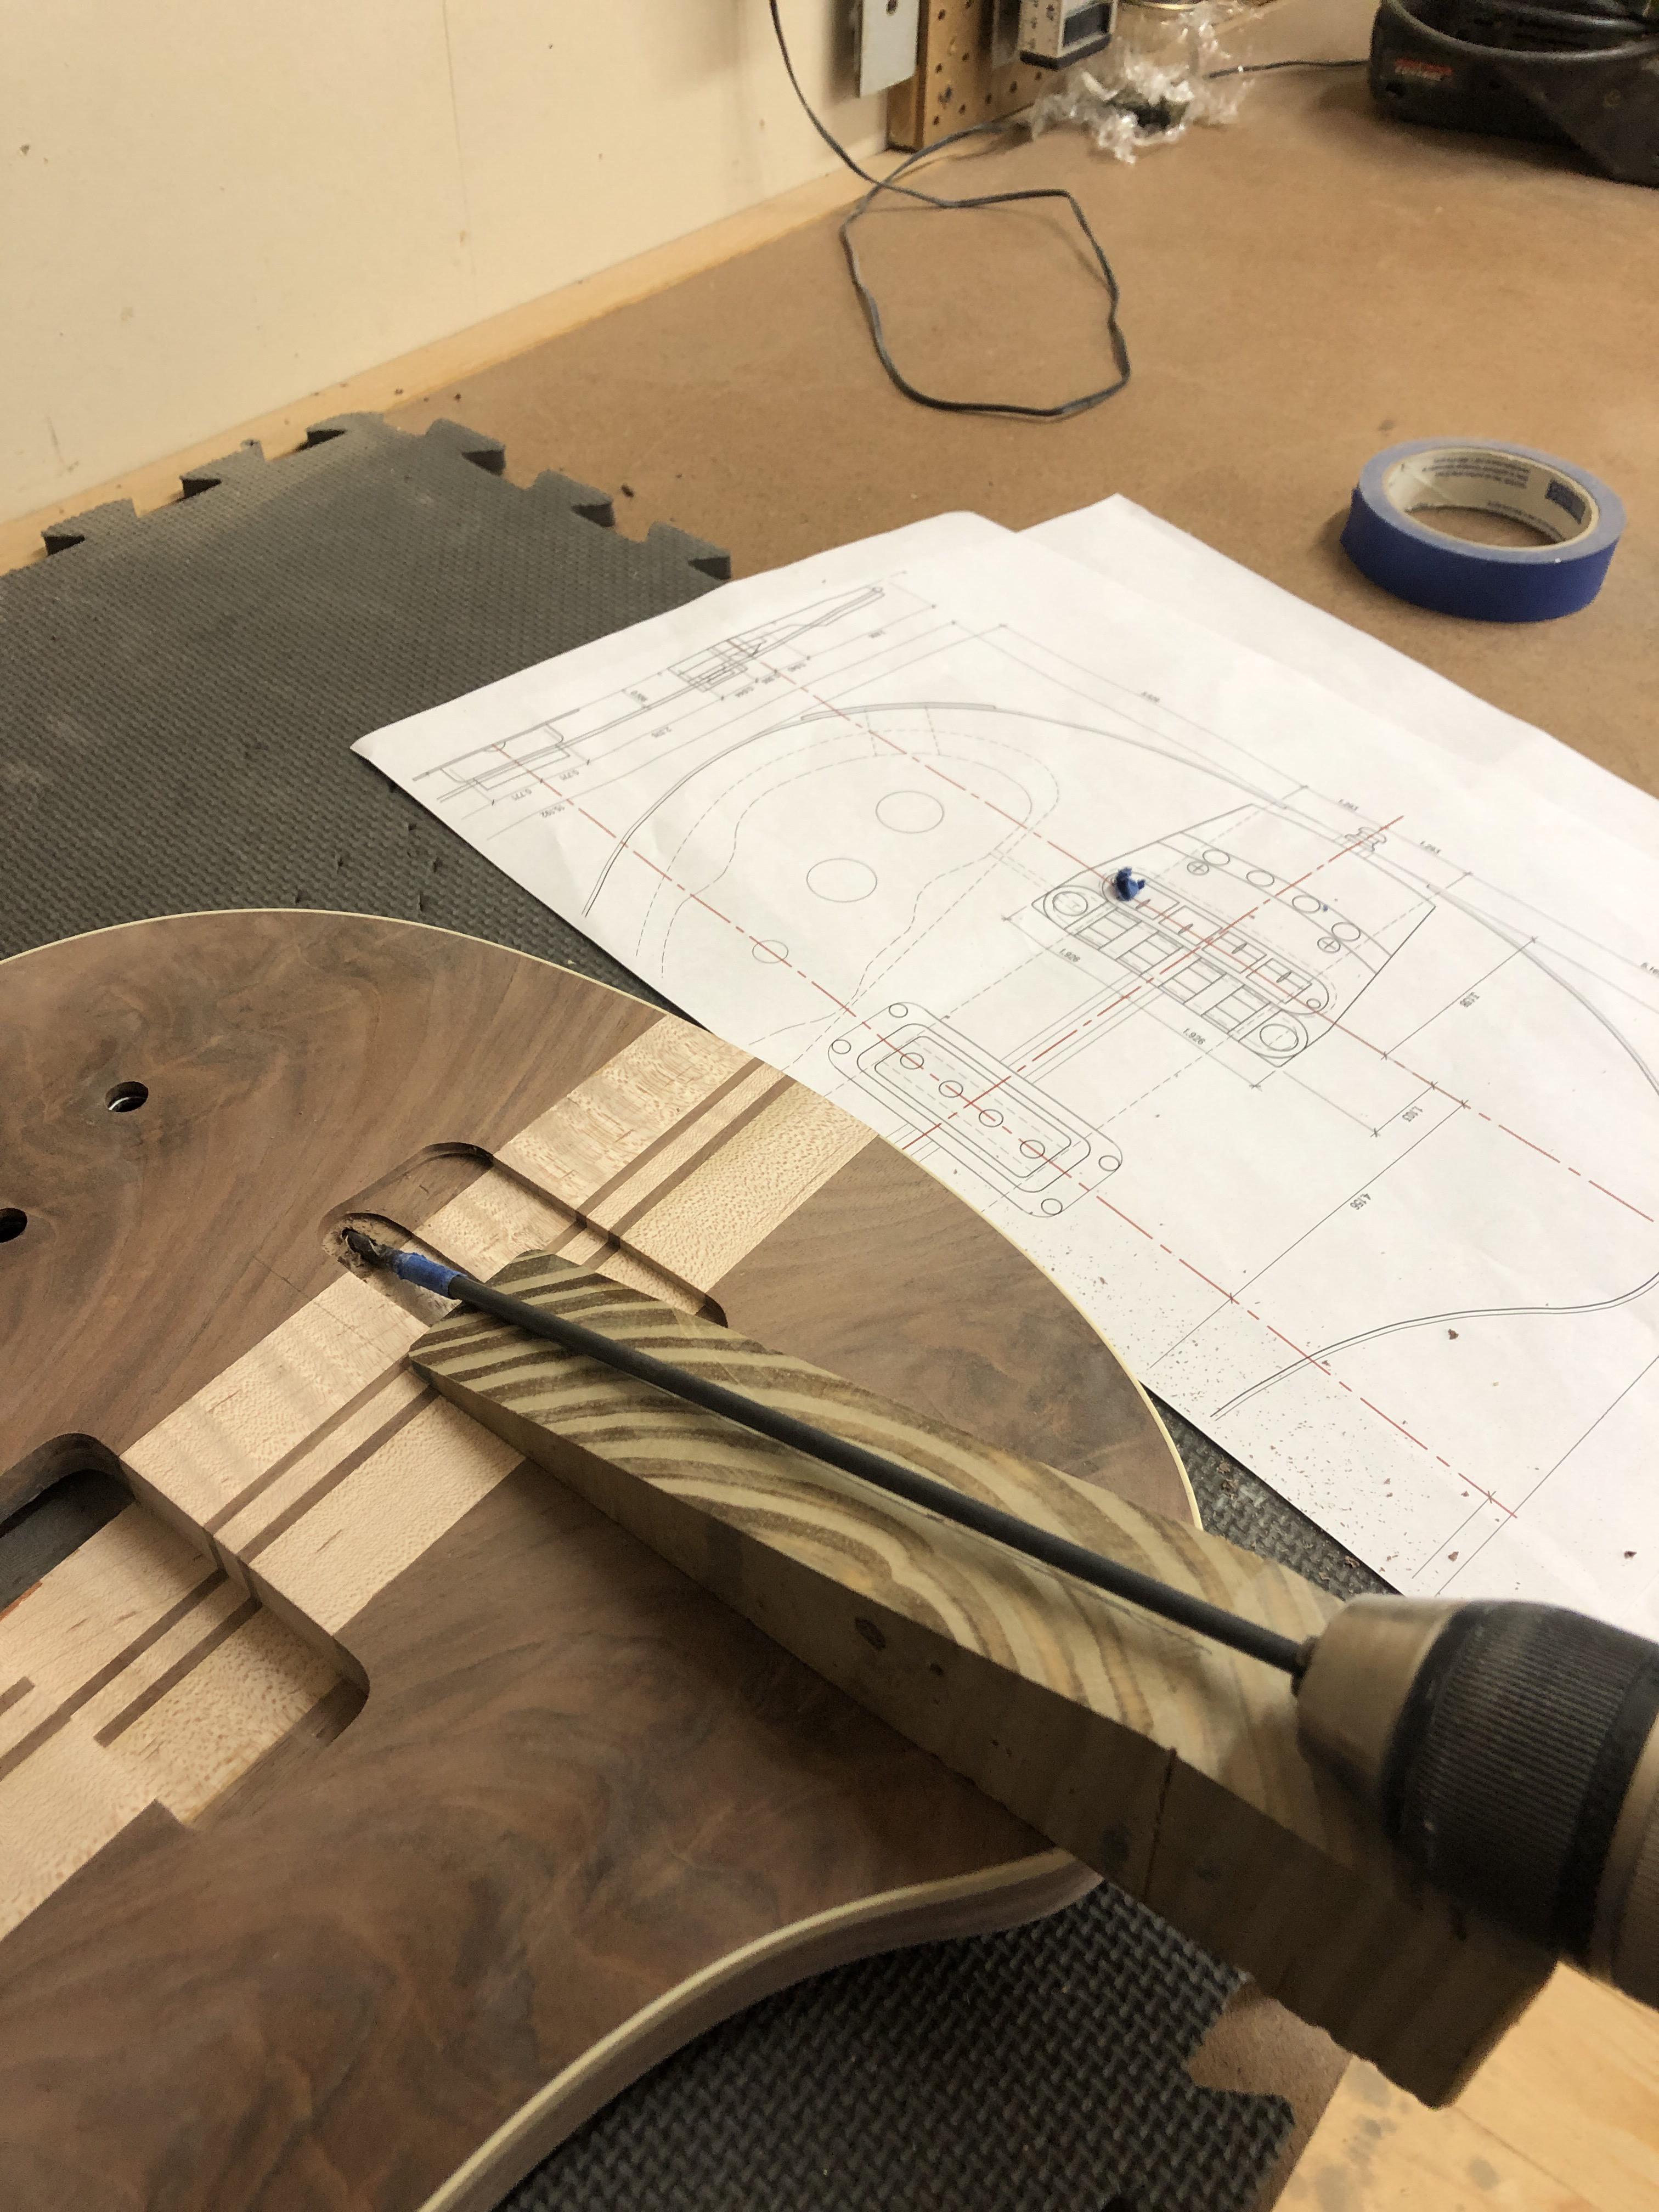
Having er... forgotten about the bridge ground wire channel, I had to mock it up in CAD to figure out I needed a 16 degree channel to get into the mid-depth of my control cavity. Worked perfect!
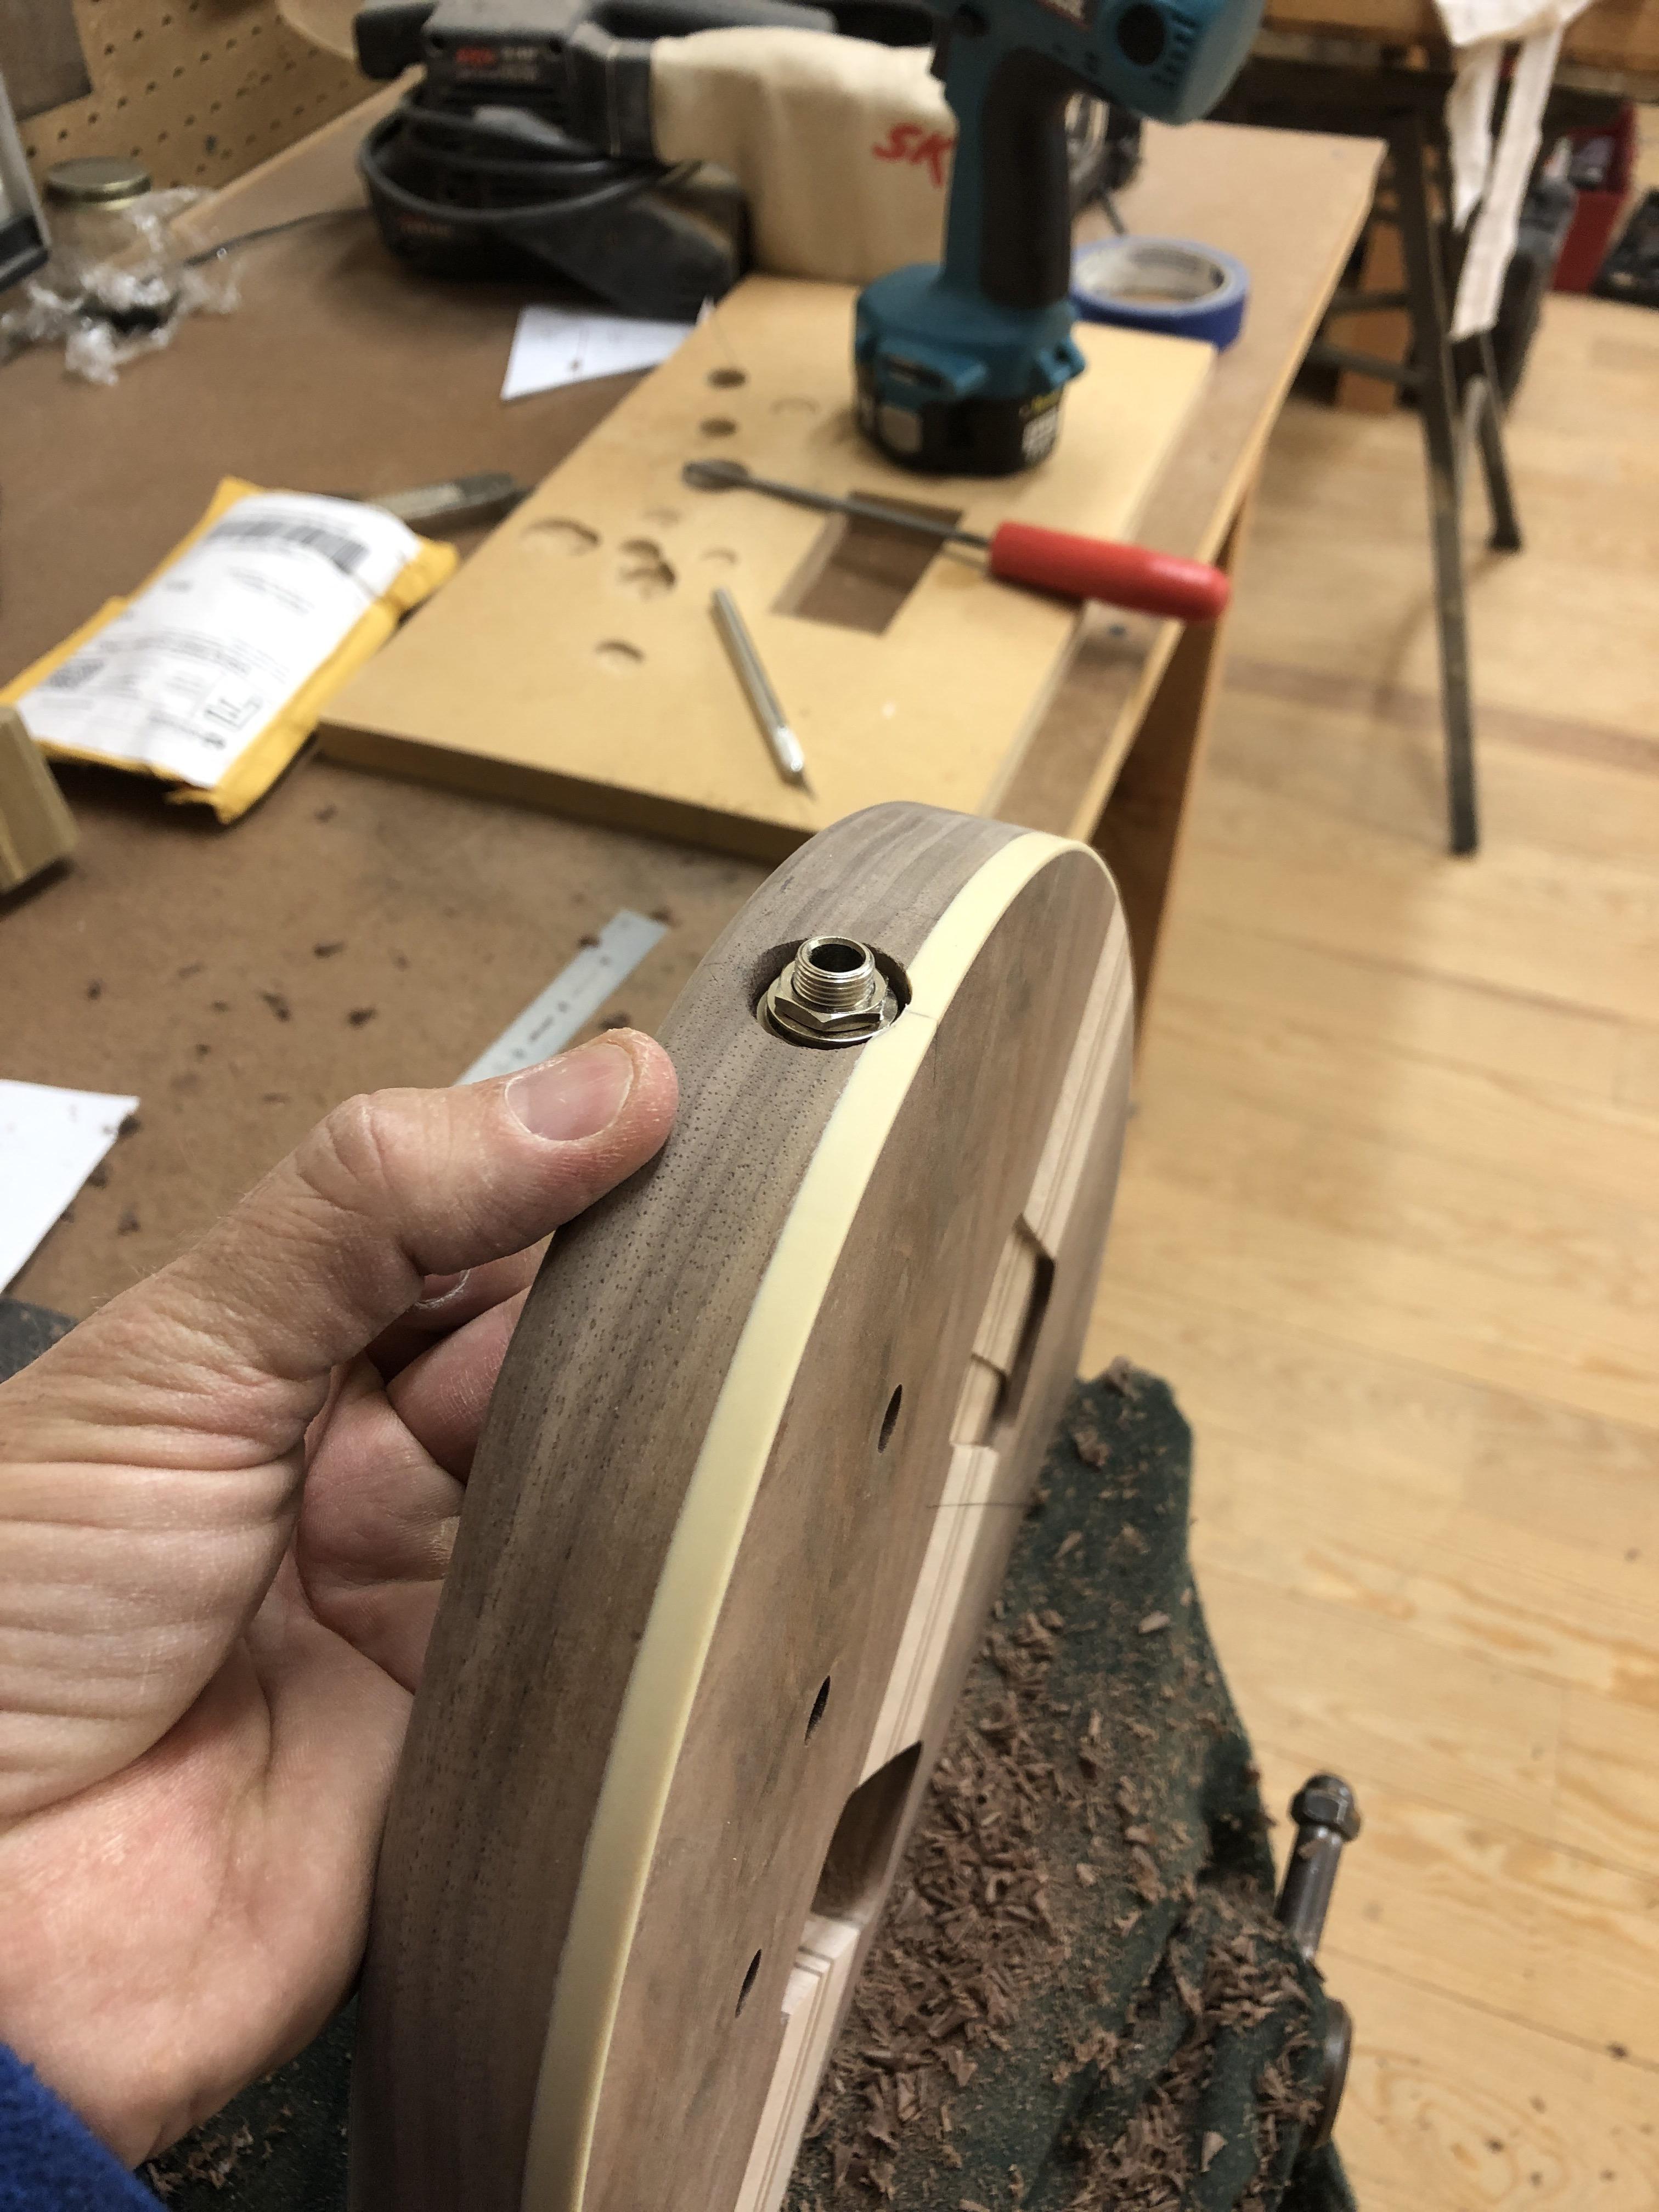
I drilled the jack hole, pretty tight sqeeze. I left it 3/4" dia., probably have to relieve it a little. I had a square indent jack plate, realized it wouldn't fit, because of the bottom body roundover, it can't be more than 7/8" wide vertical, had to order a "football" shaped one from Amazon.
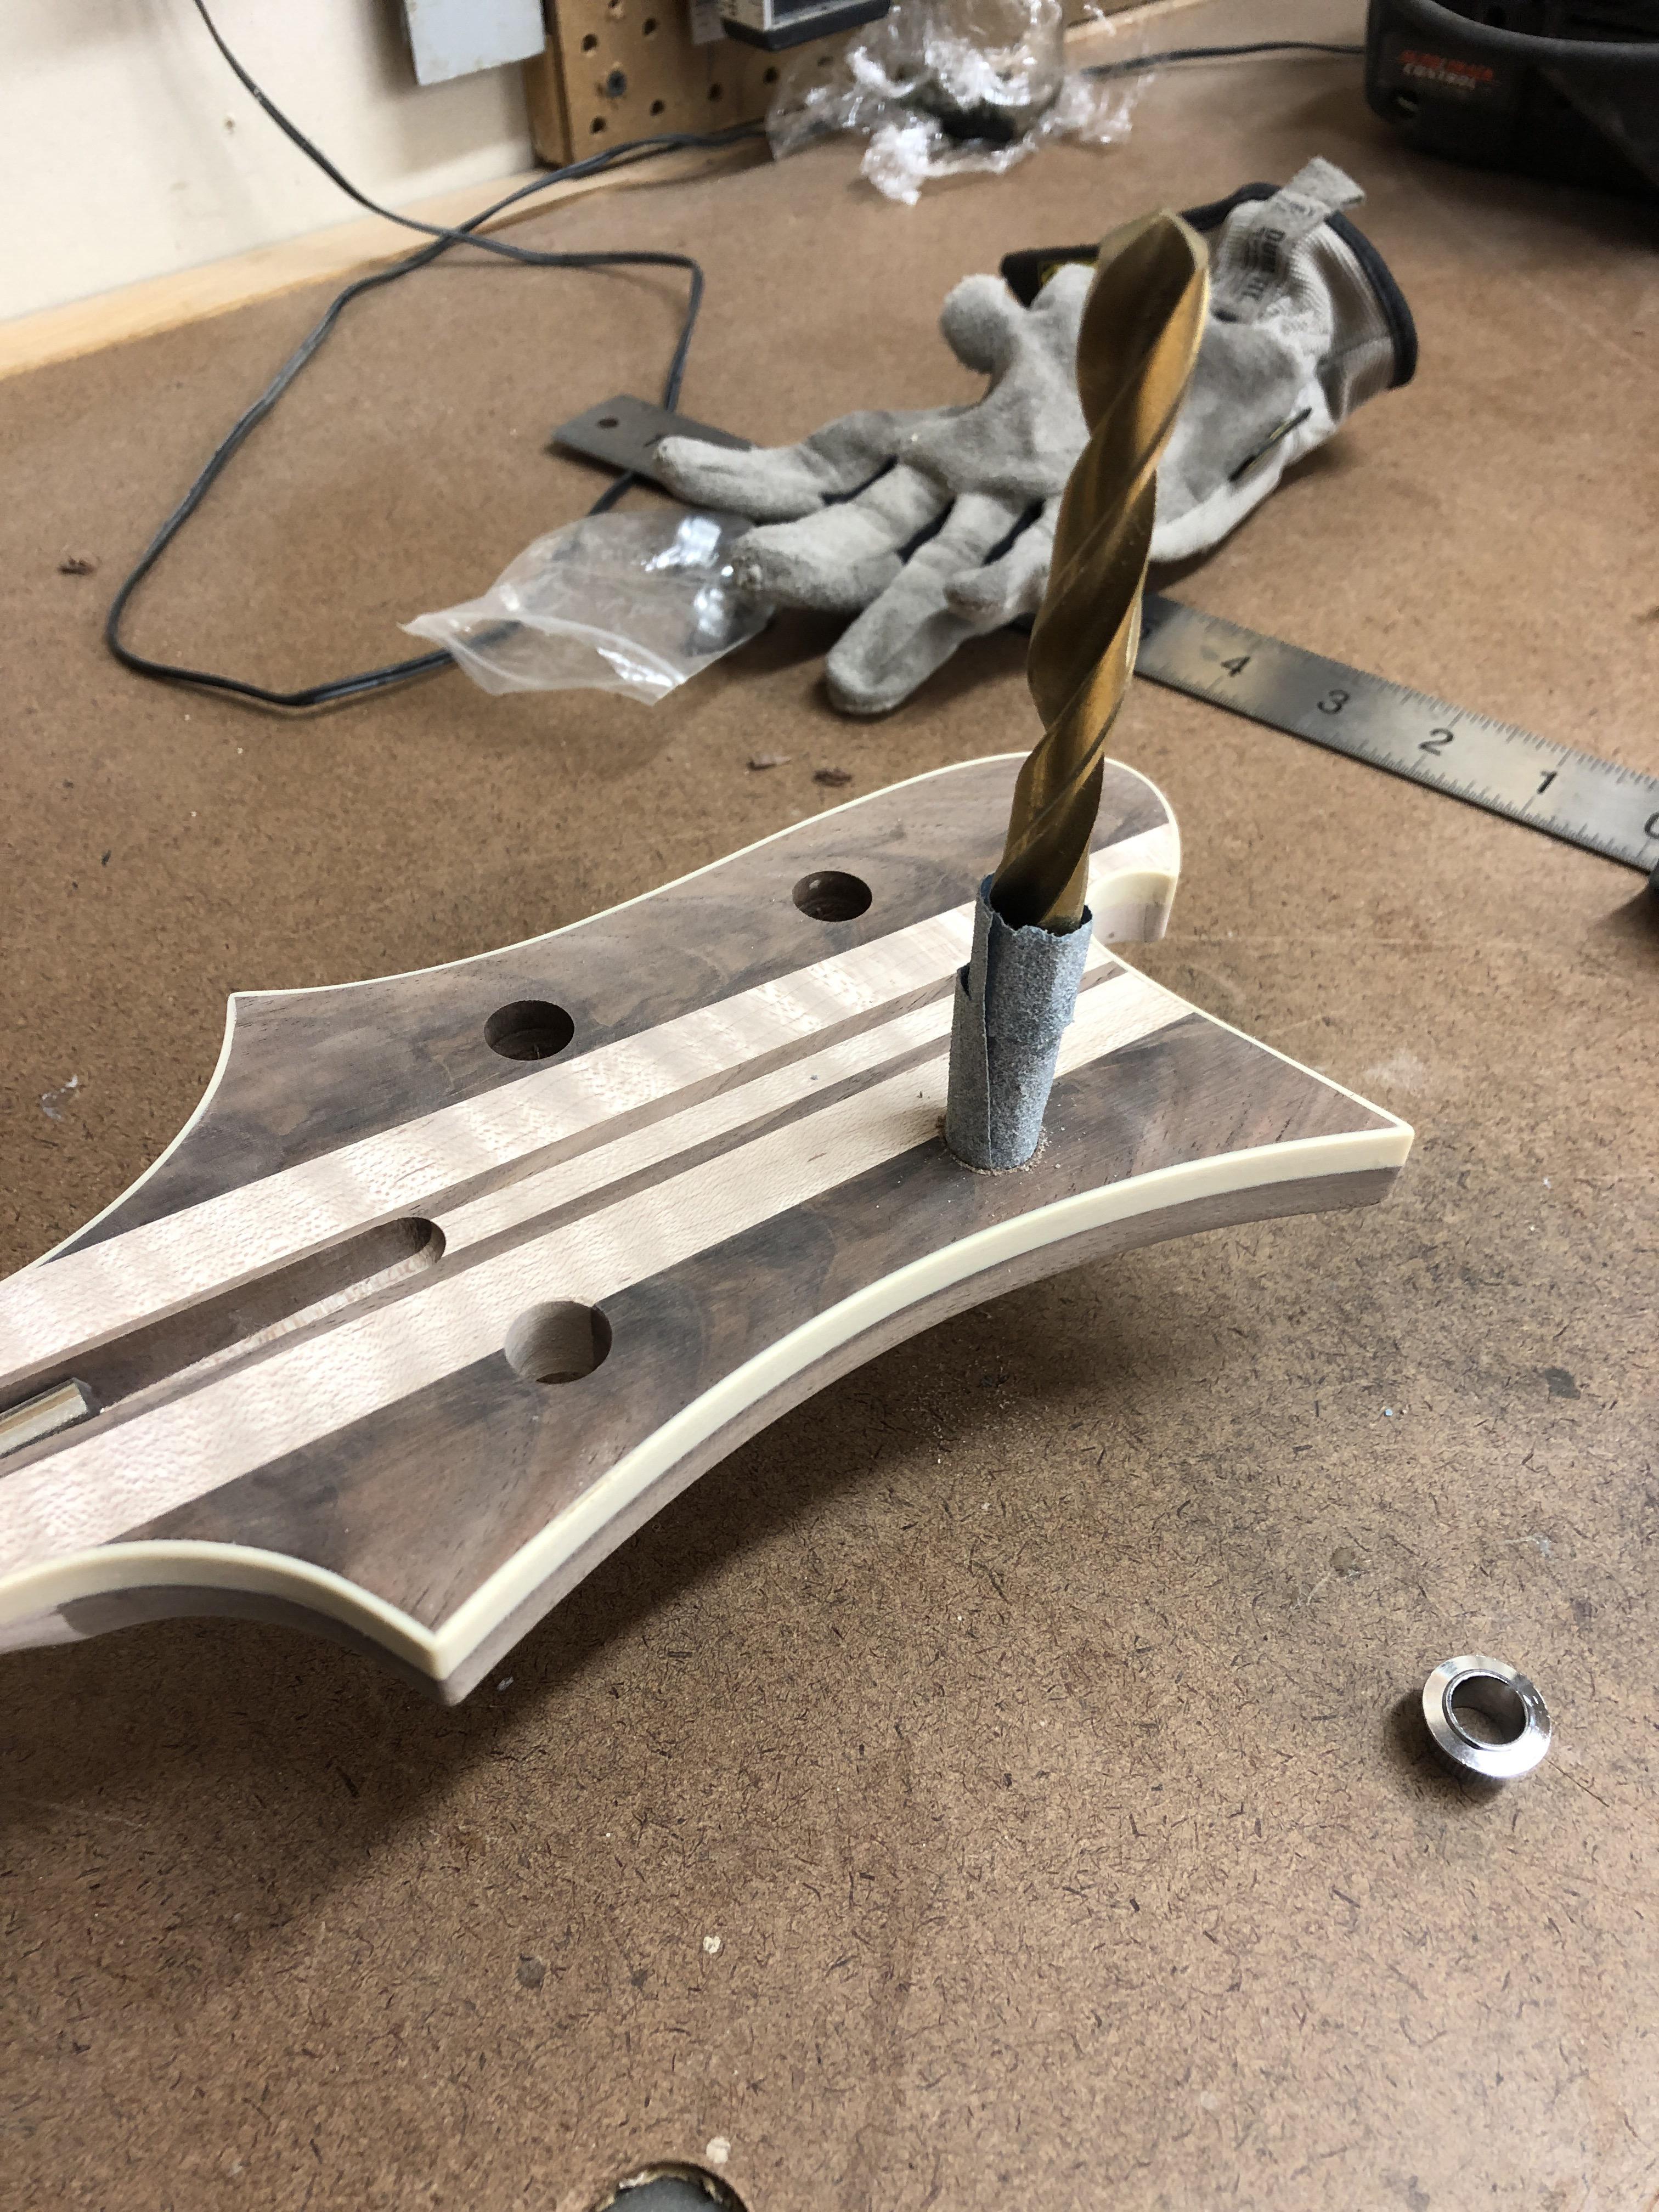
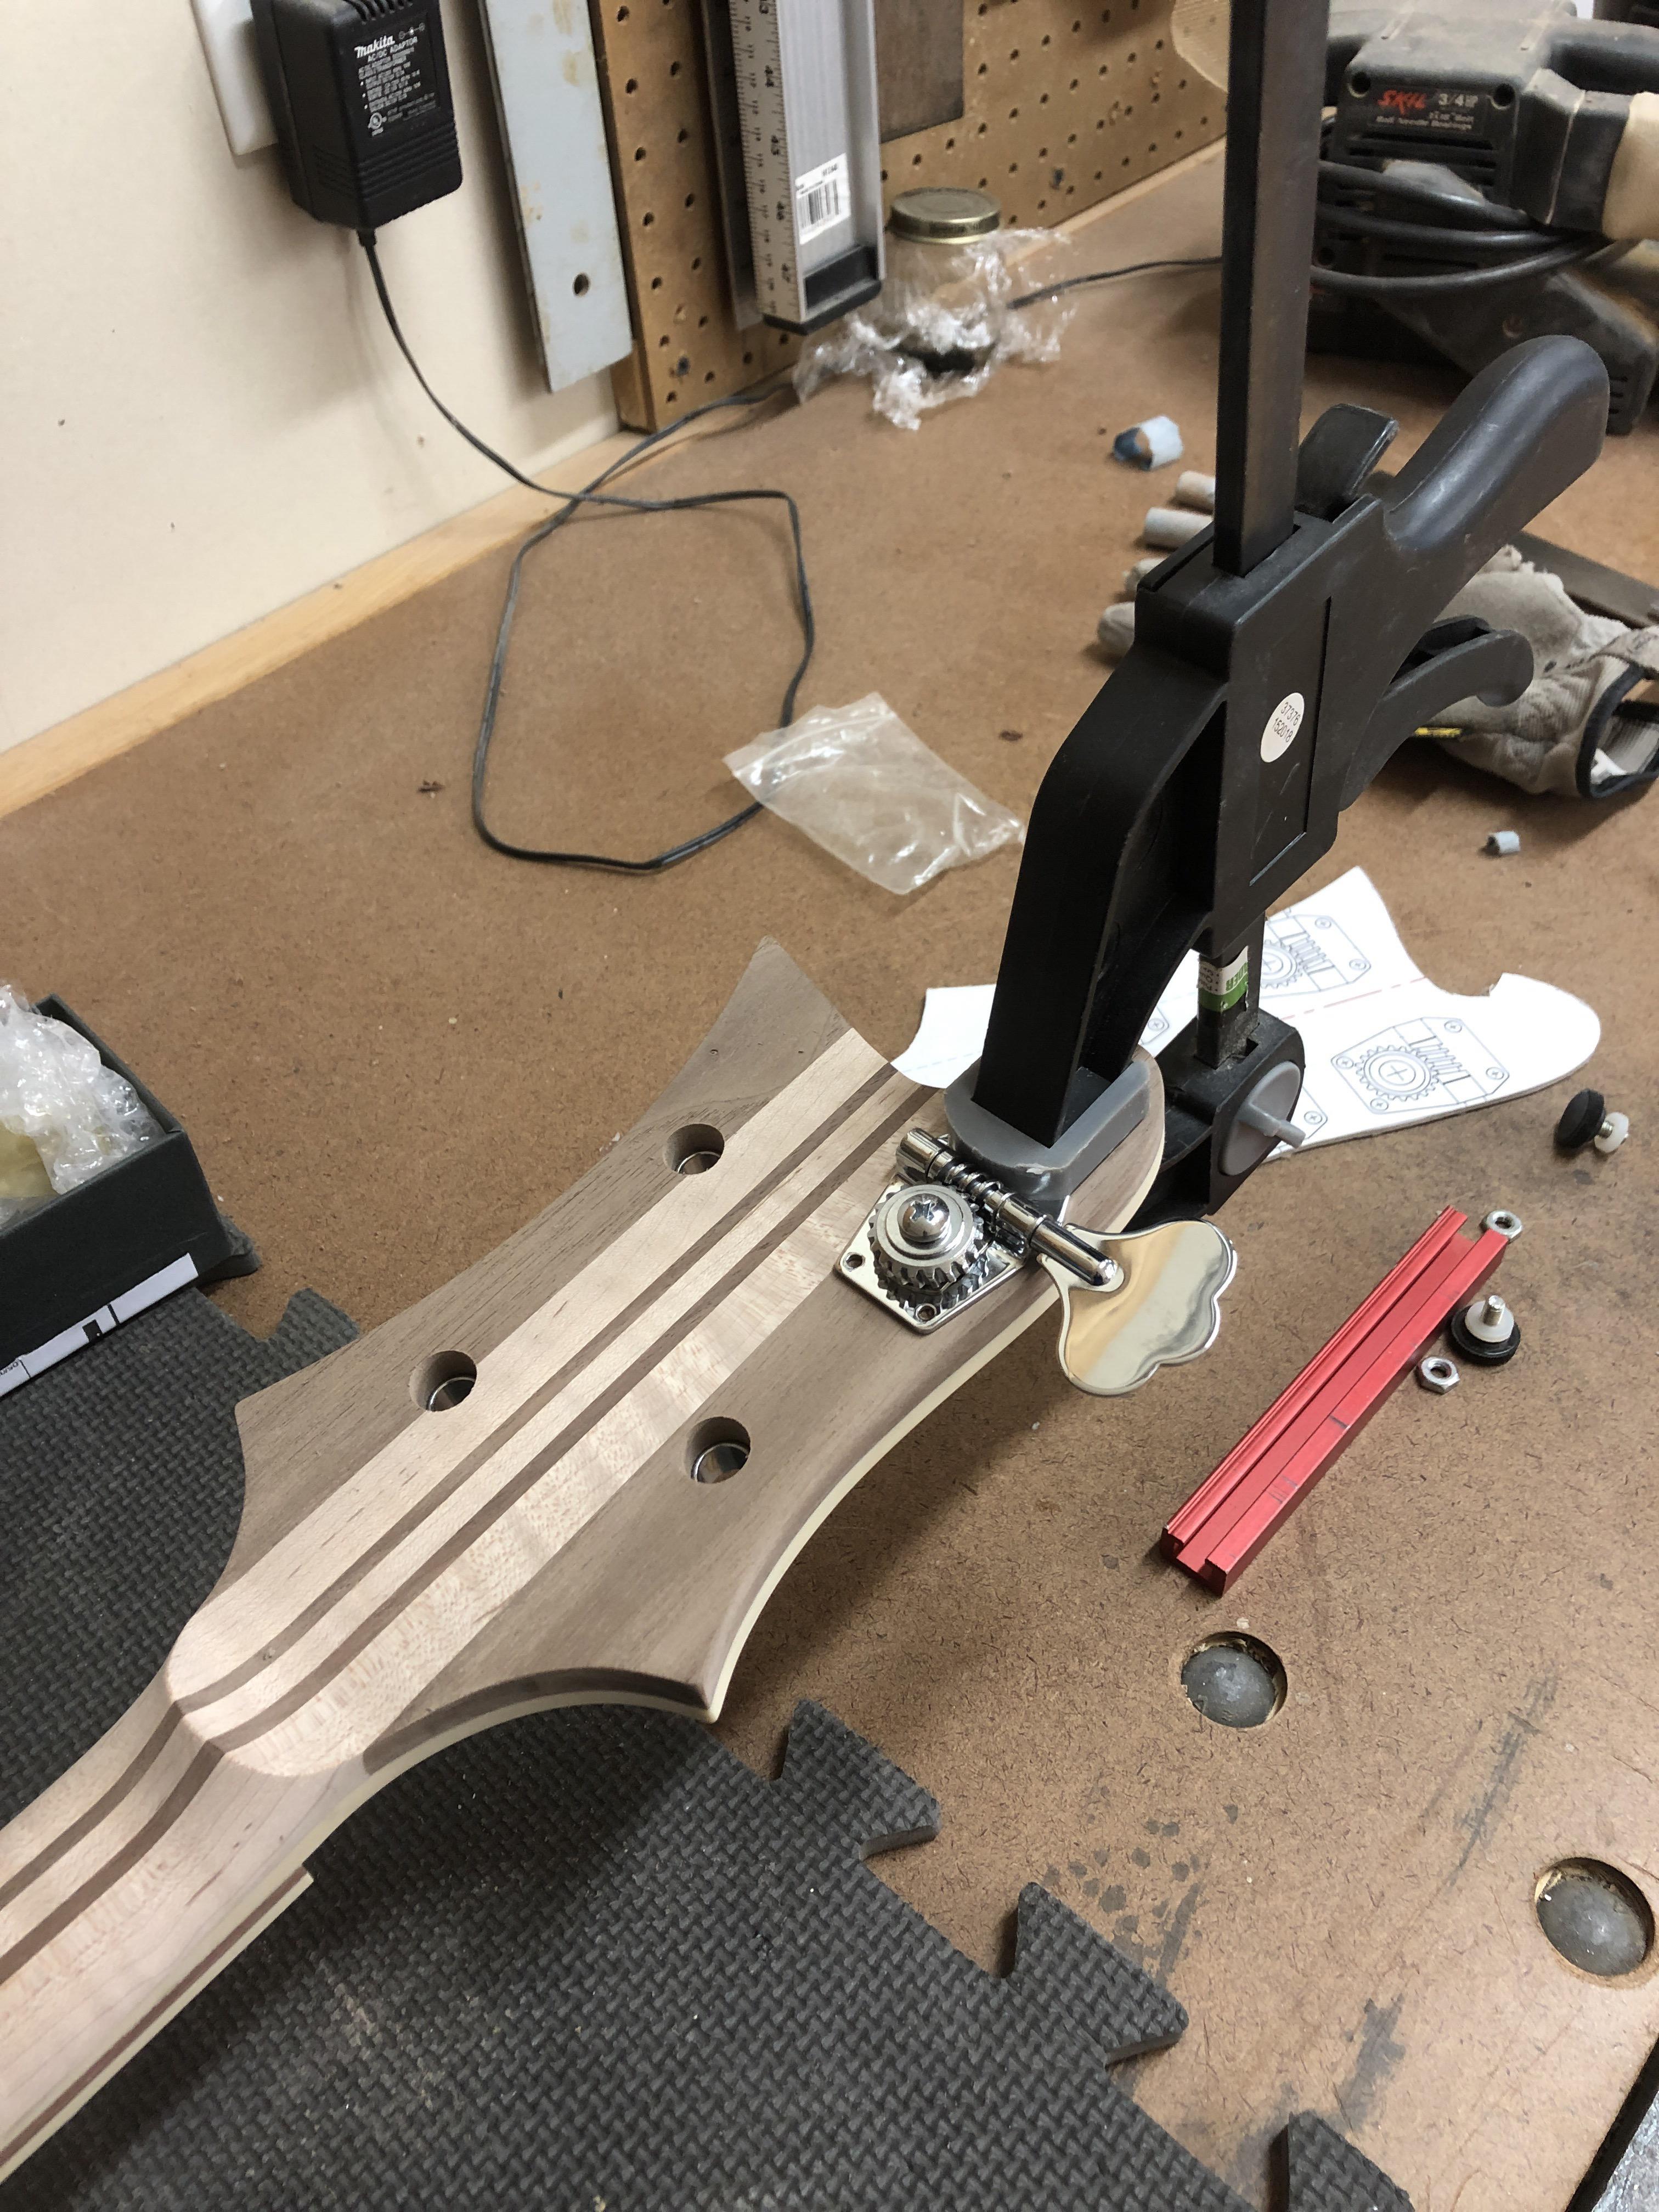
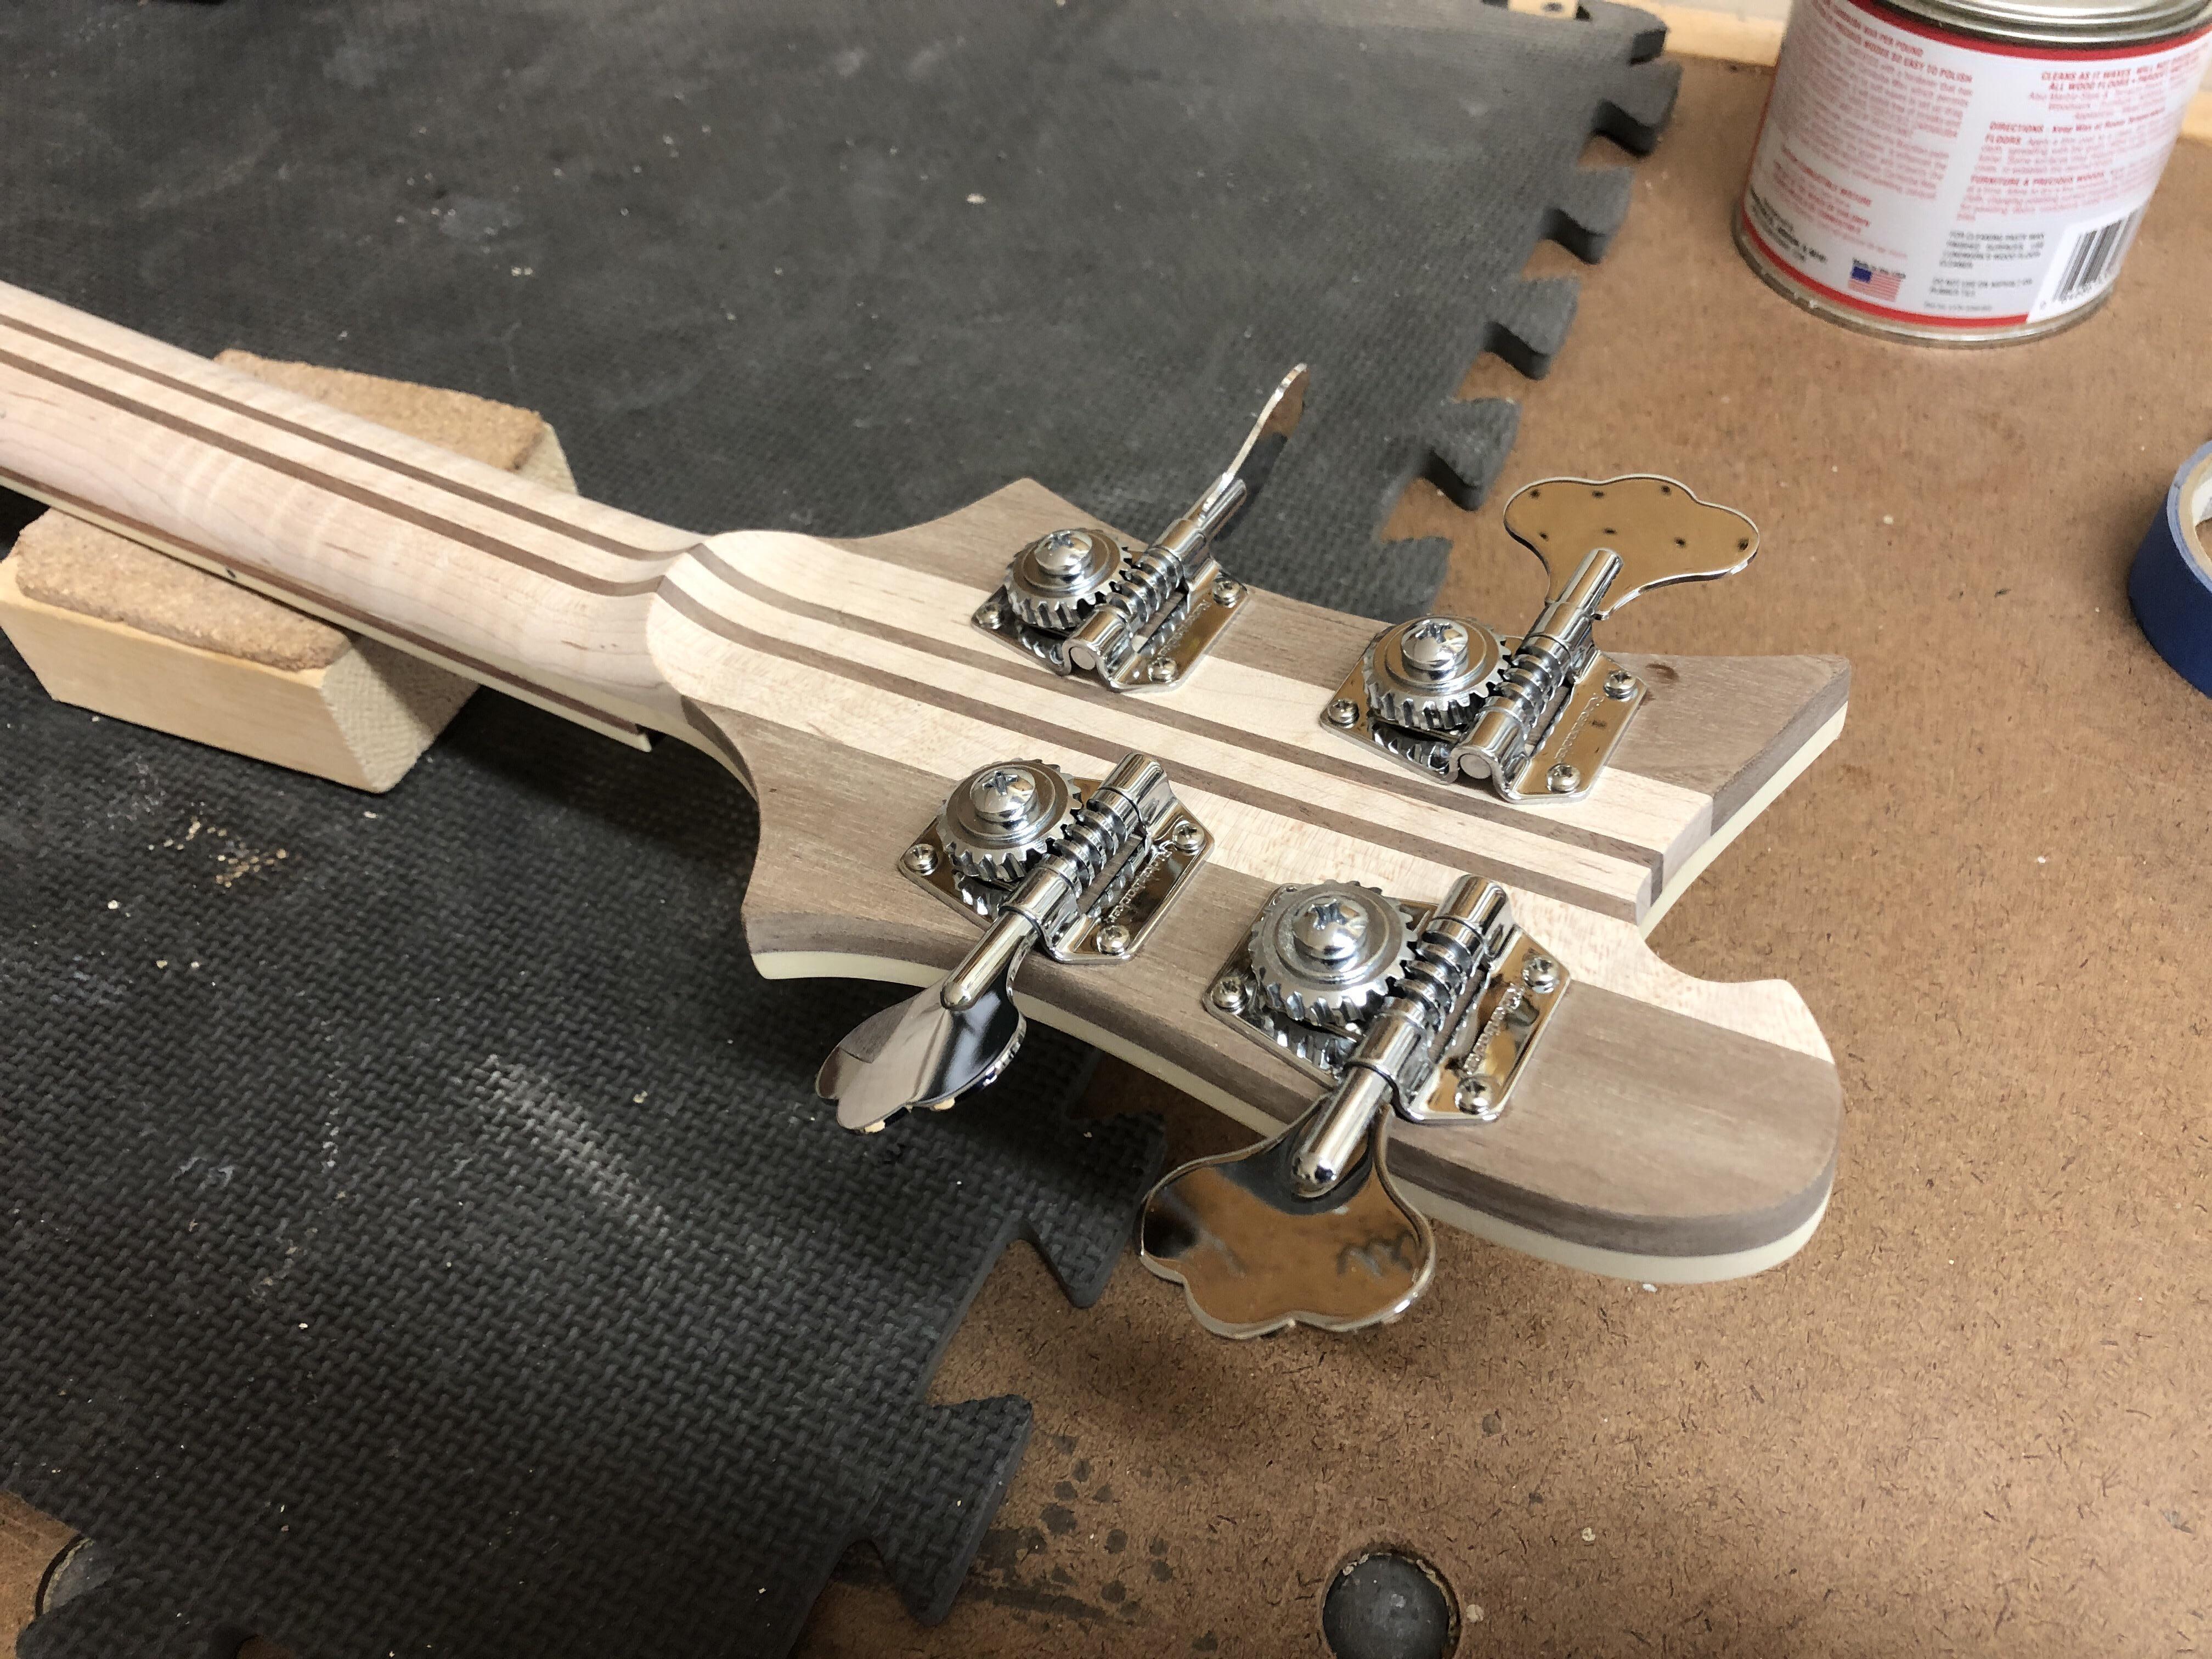
I don't have a reamer, the 1/2" dia. tuner holes had to be finessed a little, the OD on the ferrules is .53". They are still a little tight, but I can tweak it again after the finish goes on, probably get a little Tru-Oil buildup in there anyway.
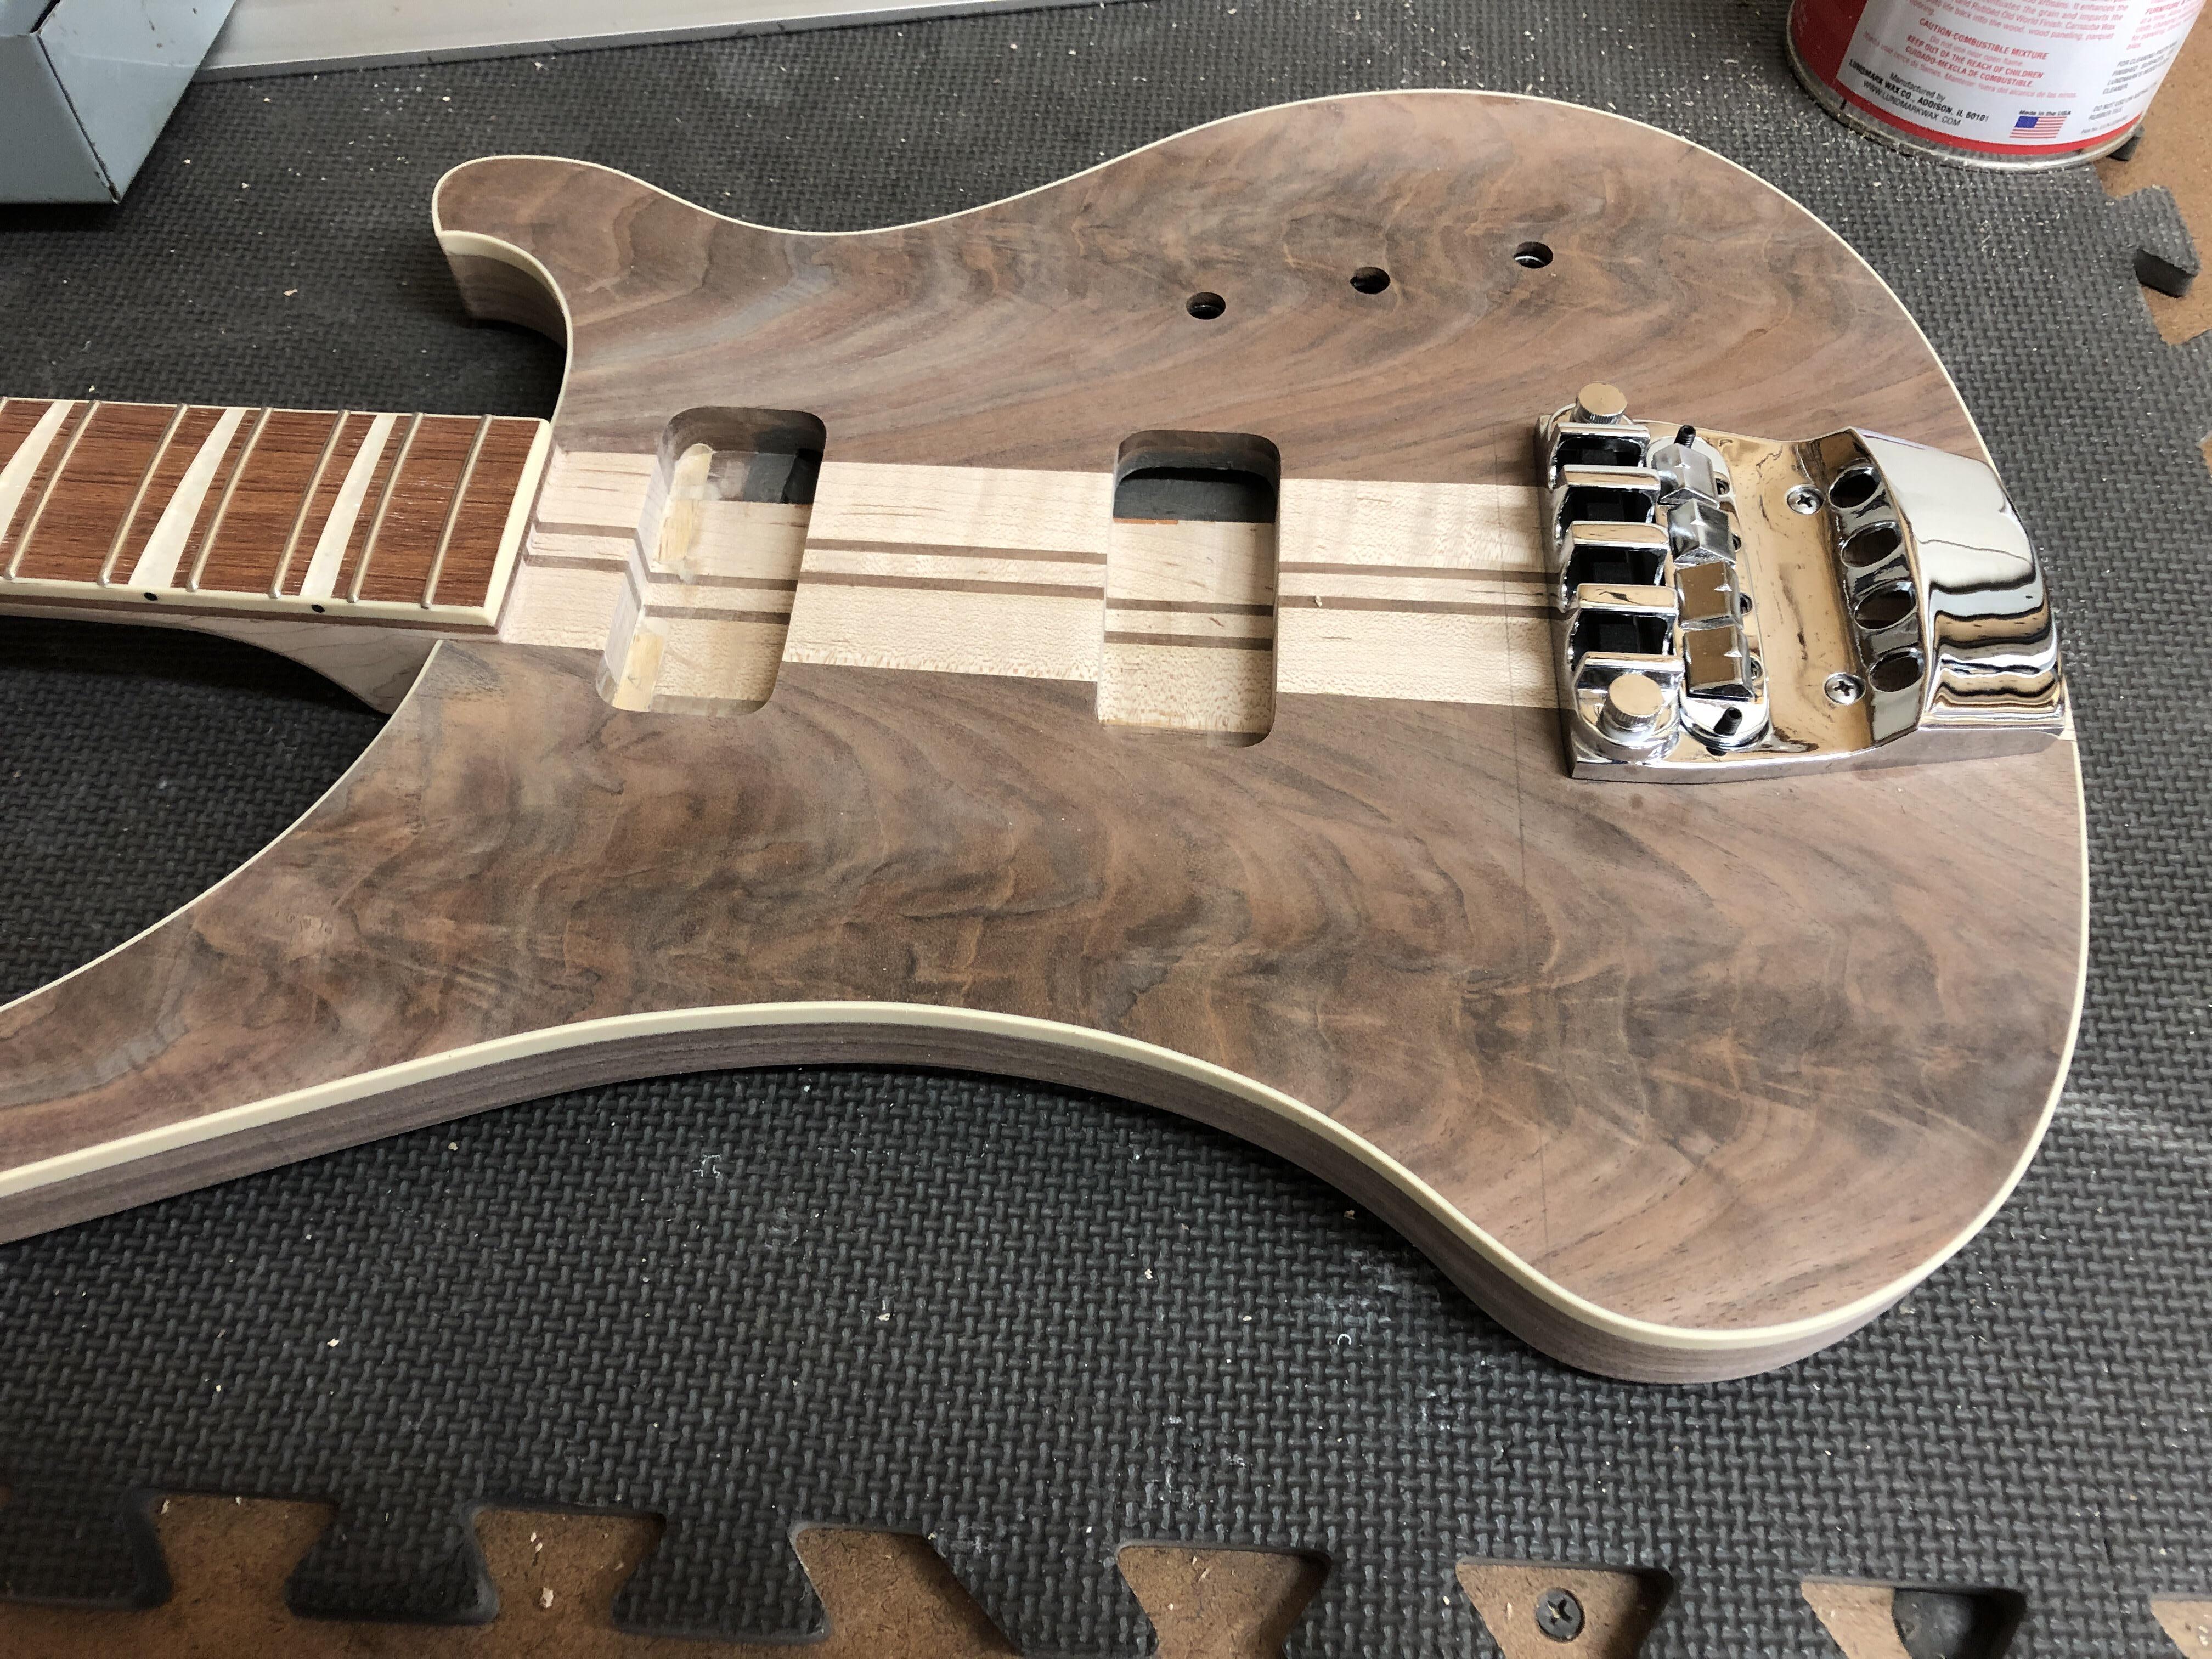
Bridge on, after about an hour of excruciatingly careful measurement and alignment. Per usual, found I had to relieve my bridge route a hair to get it all level with the body. These bridges have all sorts of funky nubs and protrusions on the bottom.
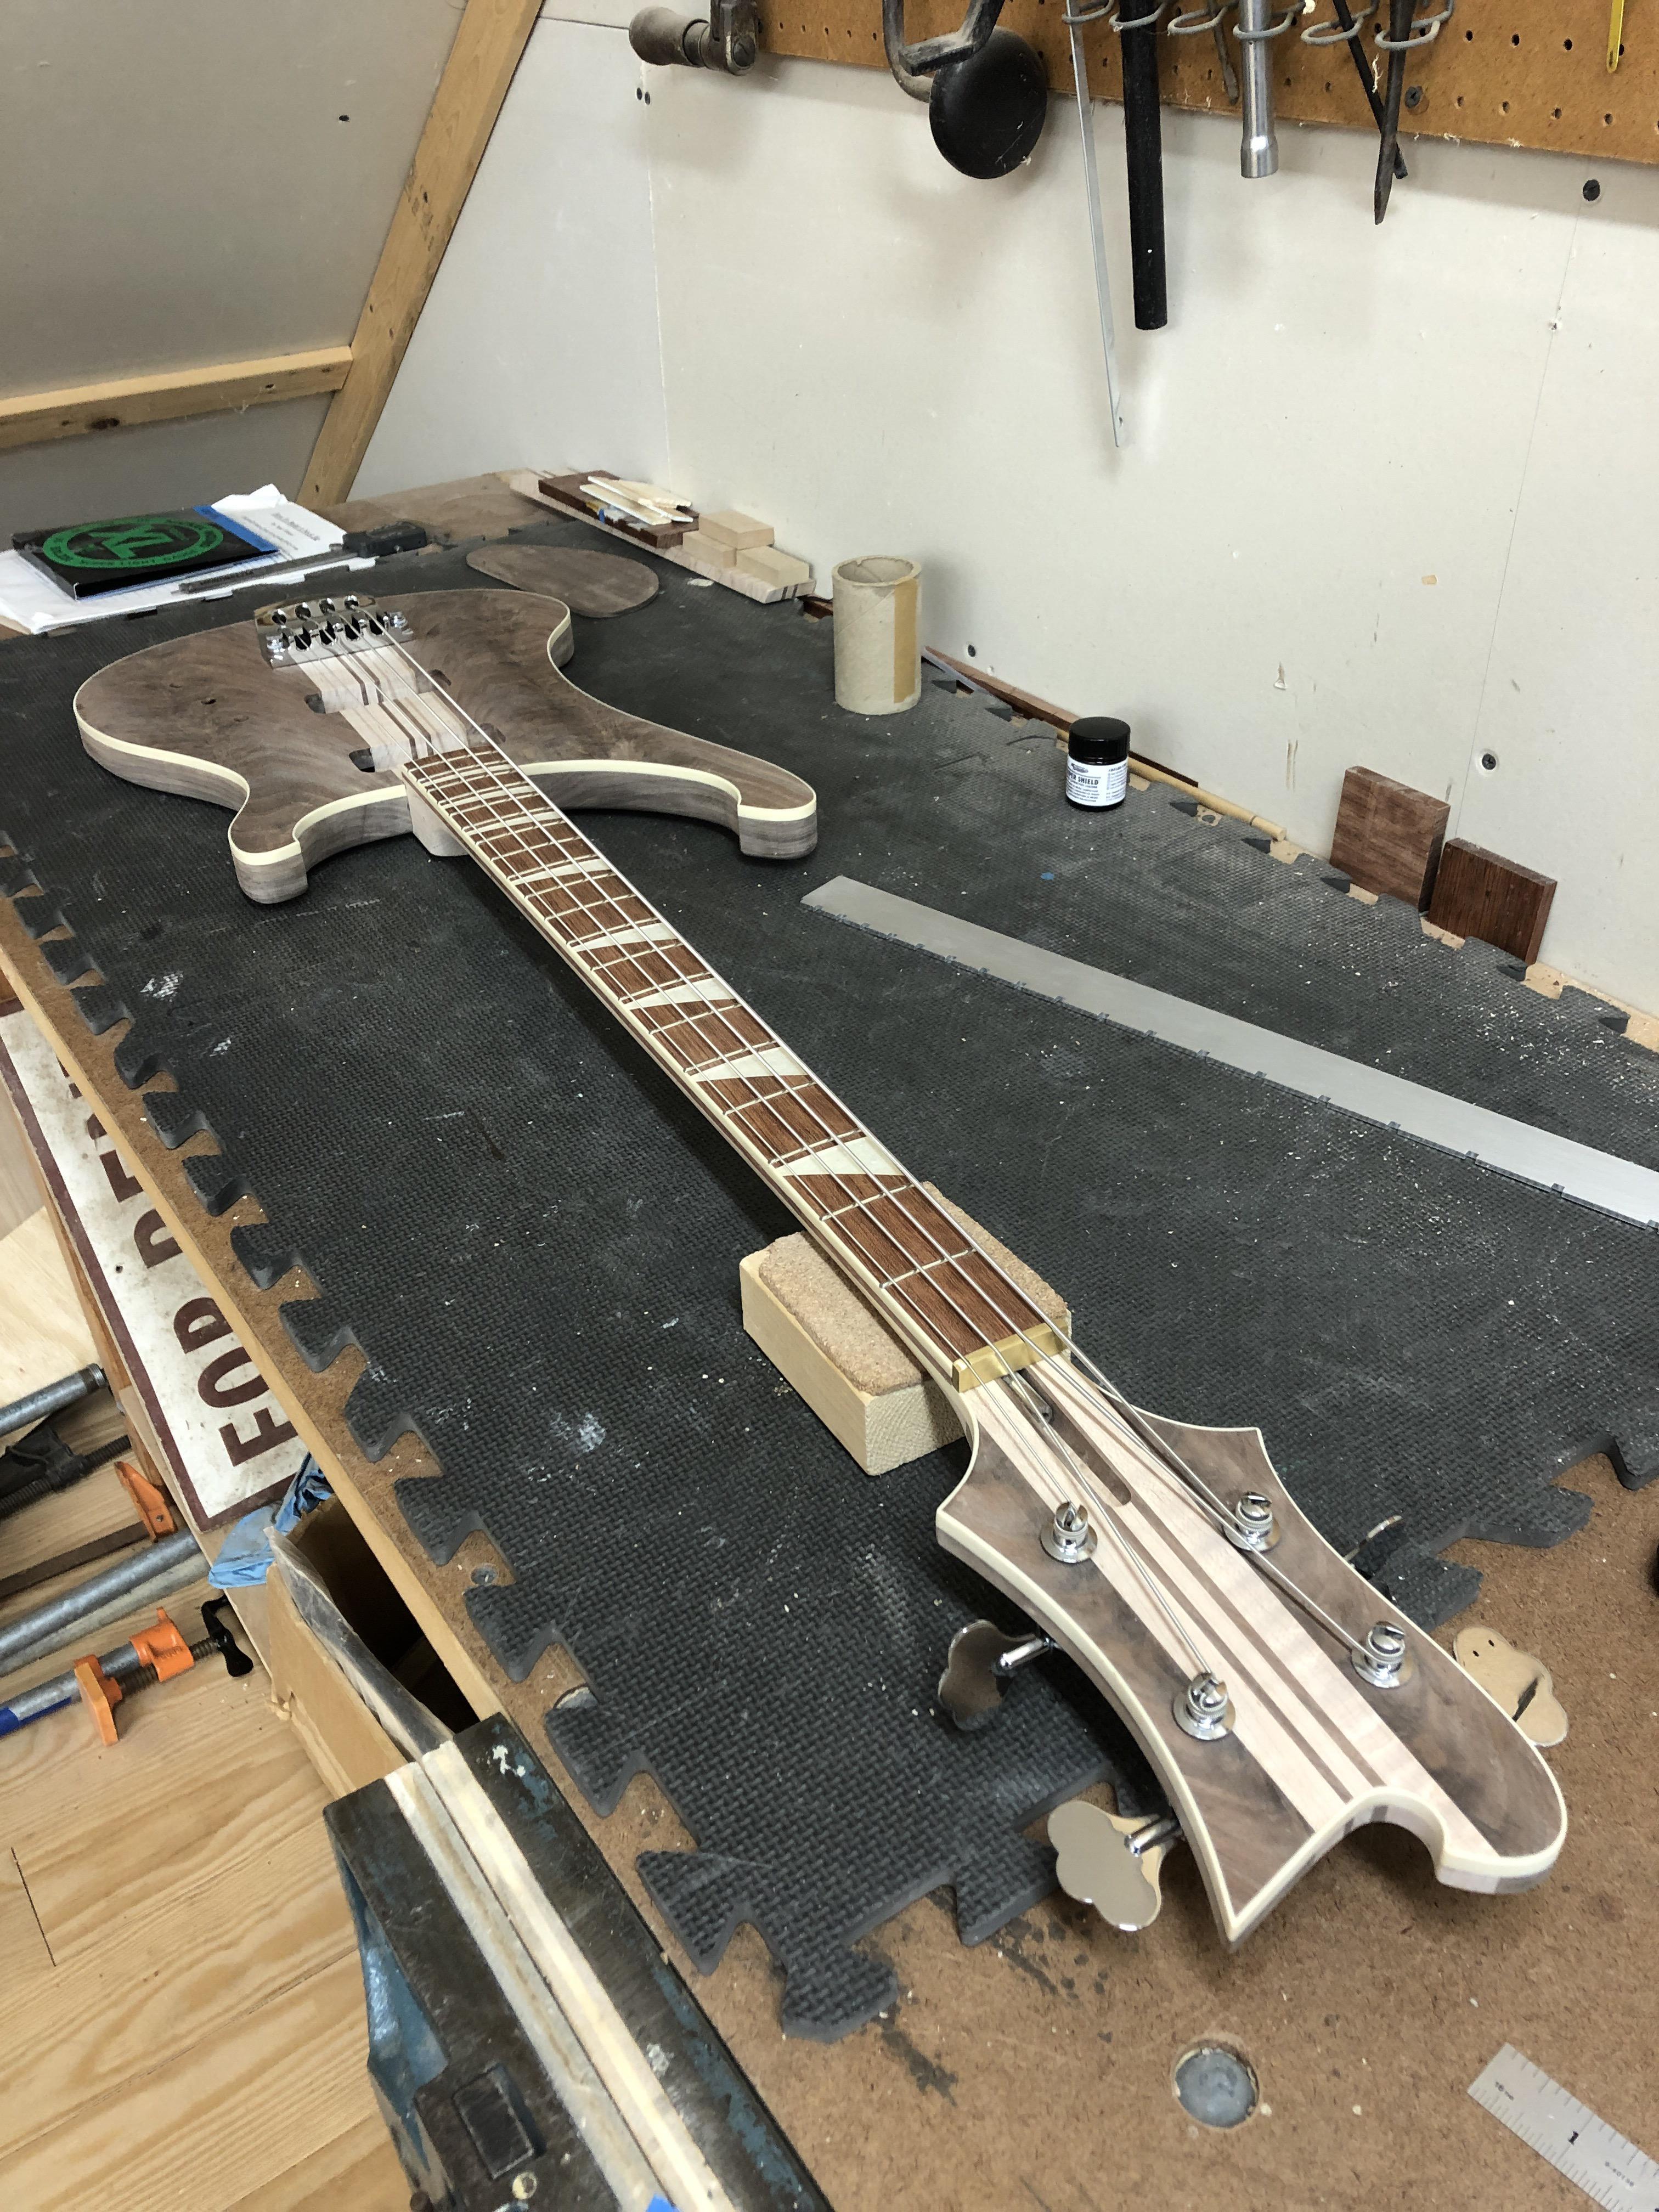
Strung it up with D'Addario nickel rounds. Always a moment of great fear and trepidation. Did I cataclysmically eff up something? Nope. Tuned to pitch, the neck has only the tiniest forward bow. Sigh. I like the stability i'm getting with CF stiffeners, it seems to settle in to something close to the right relief without even touching the trussrod, which is just set at neutral. The brass nut is just held in with double stick tape, and way high, but I'm still getting some initial fret buzz, no surprise as its just raw frets. I'll let it sit under full tension until I can get back to it, probably next weekend. I don't expect it to move much. I'll get the nut close and then put it in my home-brew Stewmac neck jig to level the frets.
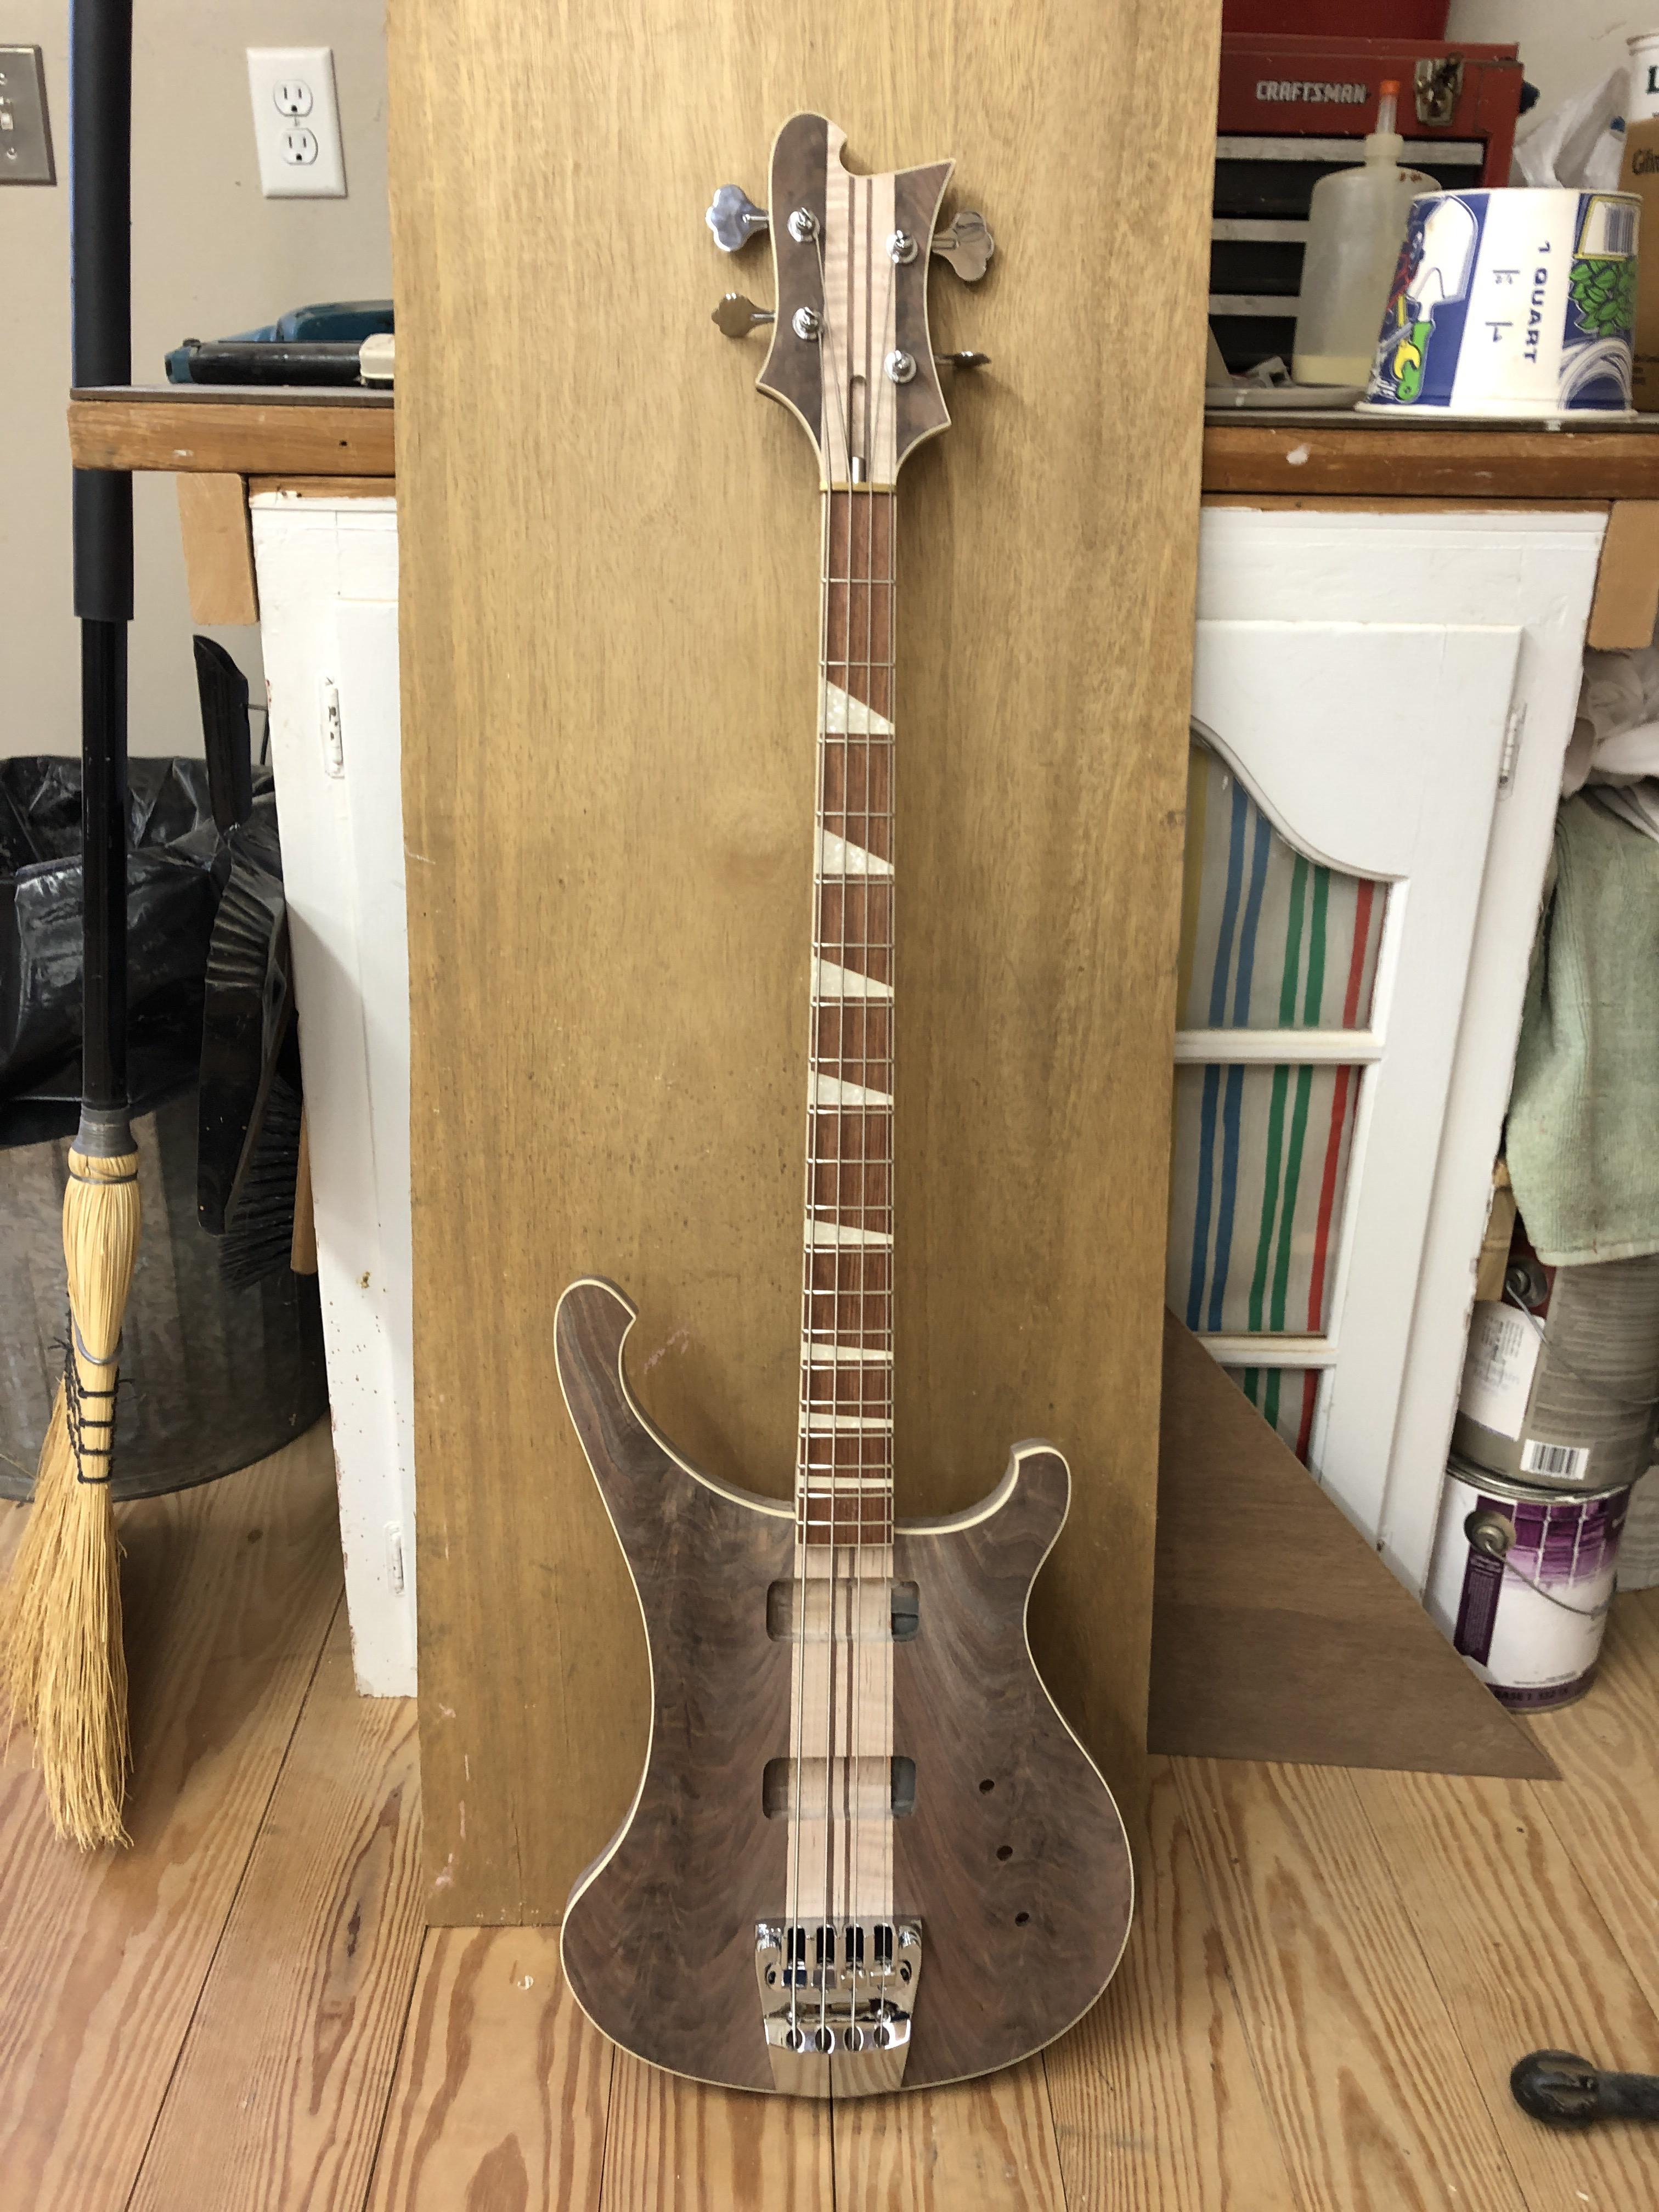
Couldn't resist noodling around with it for a while, one thing I should have anticipated: it's a little neck heavy, maybe just the difference in density between Maple and Walnut, guess I didn't realize how much different. it's dimensionally identical to the HF I, but that's solid maple, also has the big honking bridge pup and surround. The pups, electronics, knobs, etc. may balance it out a little, but this may just be a minor neck diver. The neck still feels a hair chunky, I may revisit that, still feels a little "square", which is a problem with my neck carves to date. Unsurprisingly, it sounds just like an unplugged Ric, nice "thrum" in the body.
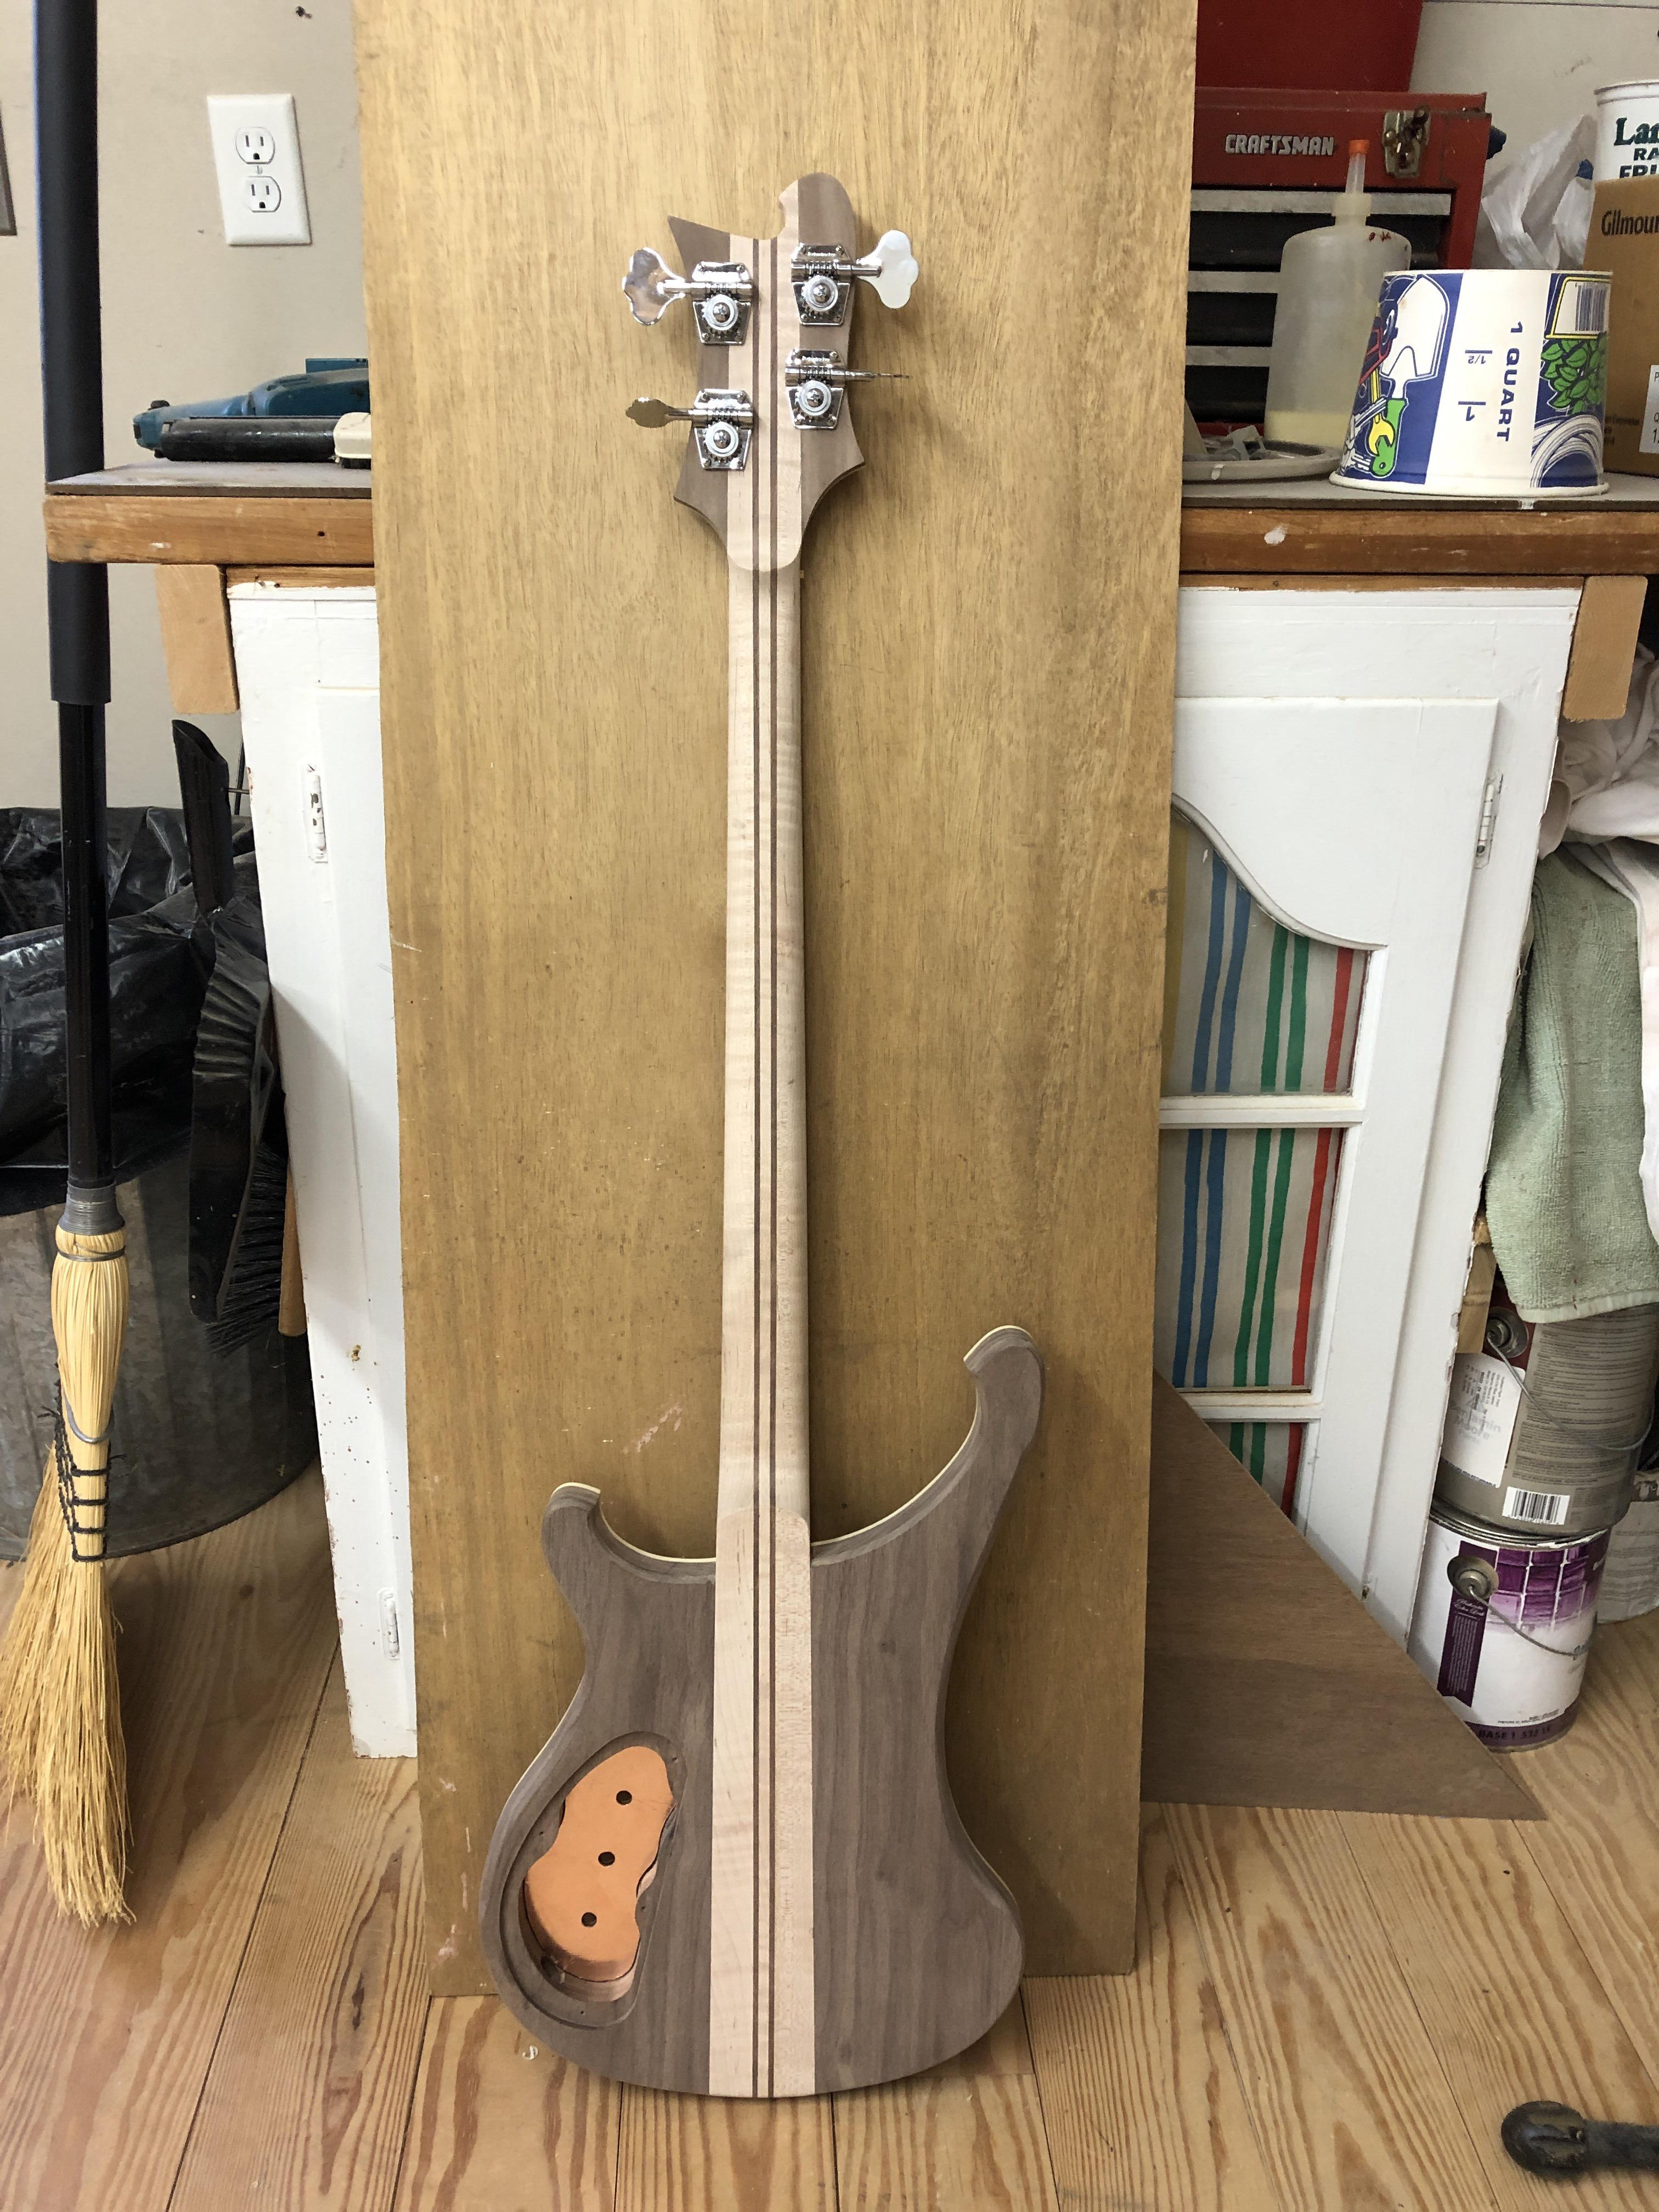
Having er... forgotten about the bridge ground wire channel, I had to mock it up in CAD to figure out I needed a 16 degree channel to get into the mid-depth of my control cavity. Worked perfect!
I drilled the jack hole, pretty tight sqeeze. I left it 3/4" dia., probably have to relieve it a little. I had a square indent jack plate, realized it wouldn't fit, because of the bottom body roundover, it can't be more than 7/8" wide vertical, had to order a "football" shaped one from Amazon.
I don't have a reamer, the 1/2" dia. tuner holes had to be finessed a little, the OD on the ferrules is .53". They are still a little tight, but I can tweak it again after the finish goes on, probably get a little Tru-Oil buildup in there anyway.
Bridge on, after about an hour of excruciatingly careful measurement and alignment. Per usual, found I had to relieve my bridge route a hair to get it all level with the body. These bridges have all sorts of funky nubs and protrusions on the bottom.
Strung it up with D'Addario nickel rounds. Always a moment of great fear and trepidation. Did I cataclysmically eff up something? Nope. Tuned to pitch, the neck has only the tiniest forward bow. Sigh. I like the stability i'm getting with CF stiffeners, it seems to settle in to something close to the right relief without even touching the trussrod, which is just set at neutral. The brass nut is just held in with double stick tape, and way high, but I'm still getting some initial fret buzz, no surprise as its just raw frets. I'll let it sit under full tension until I can get back to it, probably next weekend. I don't expect it to move much. I'll get the nut close and then put it in my home-brew Stewmac neck jig to level the frets.
Couldn't resist noodling around with it for a while, one thing I should have anticipated: it's a little neck heavy, maybe just the difference in density between Maple and Walnut, guess I didn't realize how much different. it's dimensionally identical to the HF I, but that's solid maple, also has the big honking bridge pup and surround. The pups, electronics, knobs, etc. may balance it out a little, but this may just be a minor neck diver. The neck still feels a hair chunky, I may revisit that, still feels a little "square", which is a problem with my neck carves to date. Unsurprisingly, it sounds just like an unplugged Ric, nice "thrum" in the body.
Last edited:
- Apr 18, 2008
- 16,007
- 1
- 31,705
- Disclosures
- I'm highly opinionated and extremely self-assured
ThanKs CT, long way to go to catch up to your builds. Gotta keep plugging away, that June graduation date looms large! I cant hand it to my son sticky.


