• TalkBass has been independent since 1998. Add your voice.
    Create a free account to reply to discussions, view embedded media, and browse with fewer display ads.
    Join freeLog in
    Want zero display ads or expanded classifieds tools? Compare plans.

The Hossenfeffer II Build

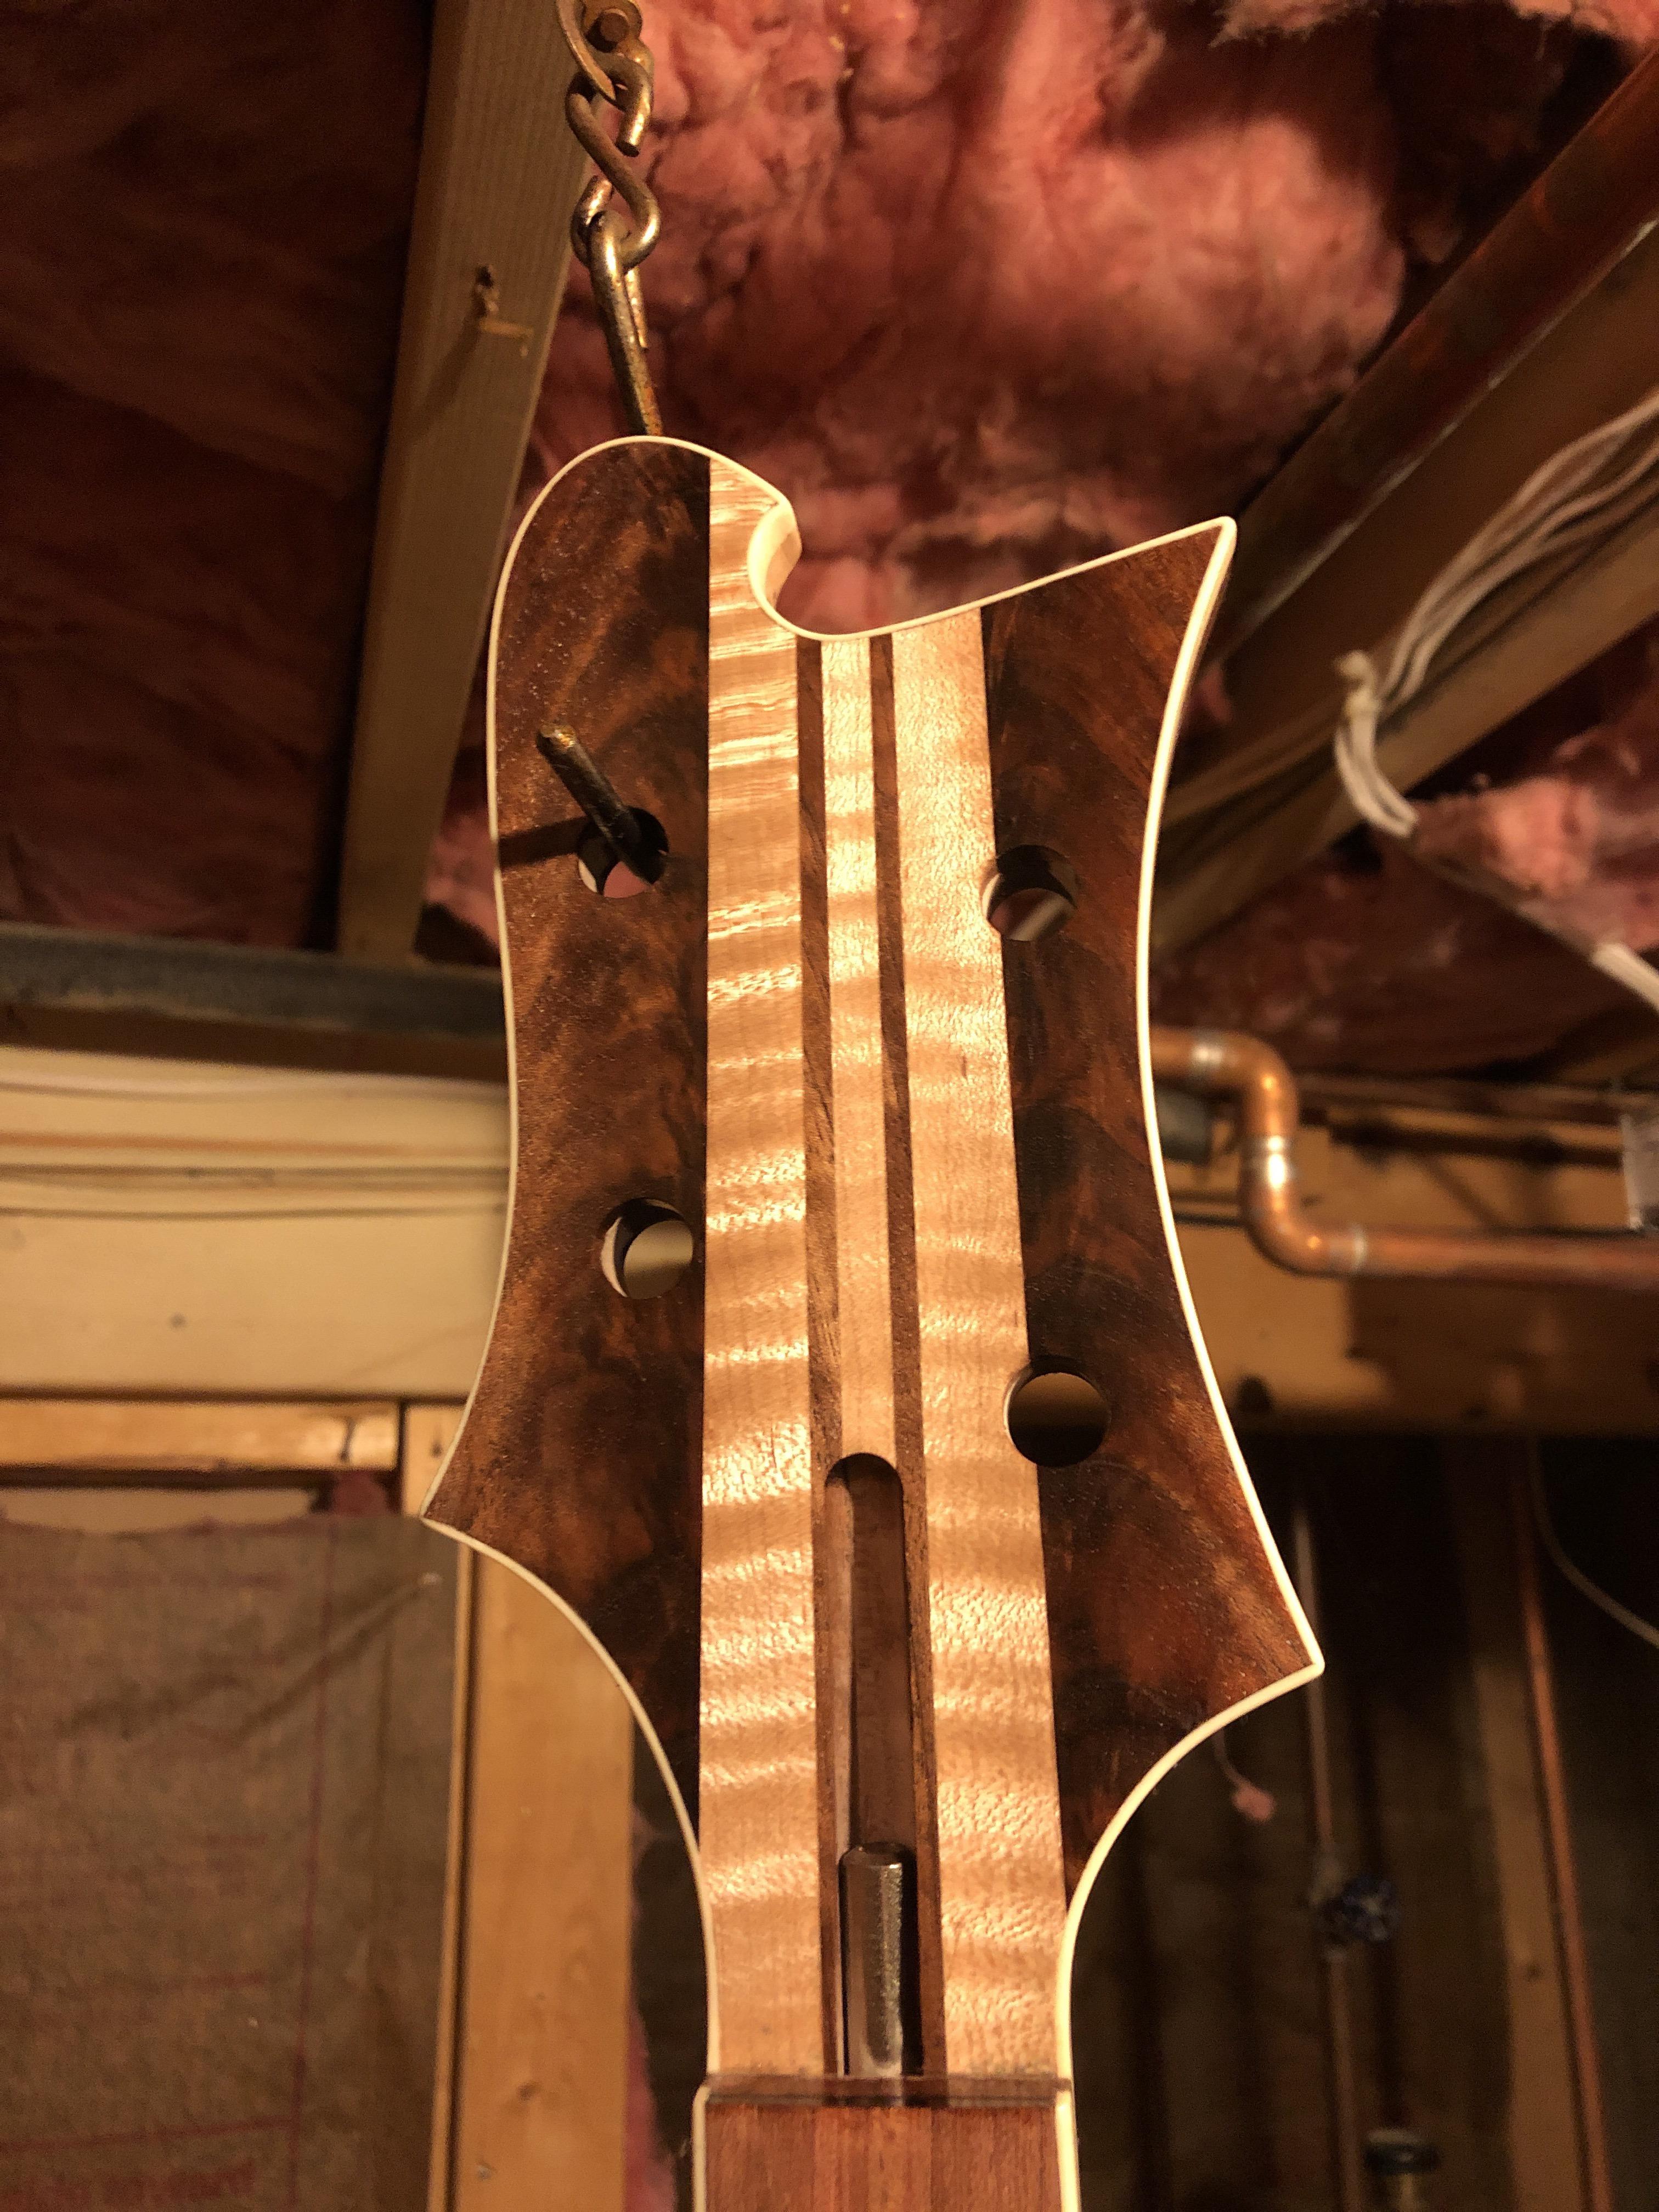
Thanks Rock. Those are Ric labeled Schallers. The tuning ear shafts are shorter, and ears a little smaller than standard Fender elephant ears, which look ridiculous on a Ric. Hipshot makes a drop in set, may swap them out if it ends up real neck heavy, but not cheap!
 
Thanks Rock. Those are Ric labeled Schallers. The tuning ear shafts are shorter, and ears a little smaller than standard Fender elephant ears, which look ridiculous on a Ric. Hipshot makes a drop in set, may swap them out if it ends up real neck heavy, but not cheap!
one black hipshot hb5 tuner weighs 2.375oz (68g) with small bushing, without screws. i don't have chrome ones to weigh.
 
  • Like
Reactions: Gilmourisgod
It's been two years since I used this neck jig, had to watch a couple videos to remember the process! Jigged up in playing position under string tension, trussrod adjusted as close to dead flat as I could get it. Dial indicators set to zero.
RrosR68.jpg


Back into work position. Strings removed, headstock jack and nut strap adjusted to re-create zero.
KPxLXDA.jpg


Frets leveled. I found I had to take a good bit of metal off, more than I wanted, chasing the first fret, which was exceptionally low. Not sure what happened there, but I got them flat eventually. I feel like I lost a possible future fret leveling, not sure what else to do about it though, the neck is dead straight, and so is my fret leveling beam.
rKTDHjF.jpg


Crowning with my three-corner safed file. Per ususal, I get better at it as the neck progresses.
jmuDND9.jpg


A few more to go..... and I'm out of time! Really struggling to claw out a few hours of time each weekend to work on this. Gotta keep chipping away at it.
bRi0f1w.jpg
 
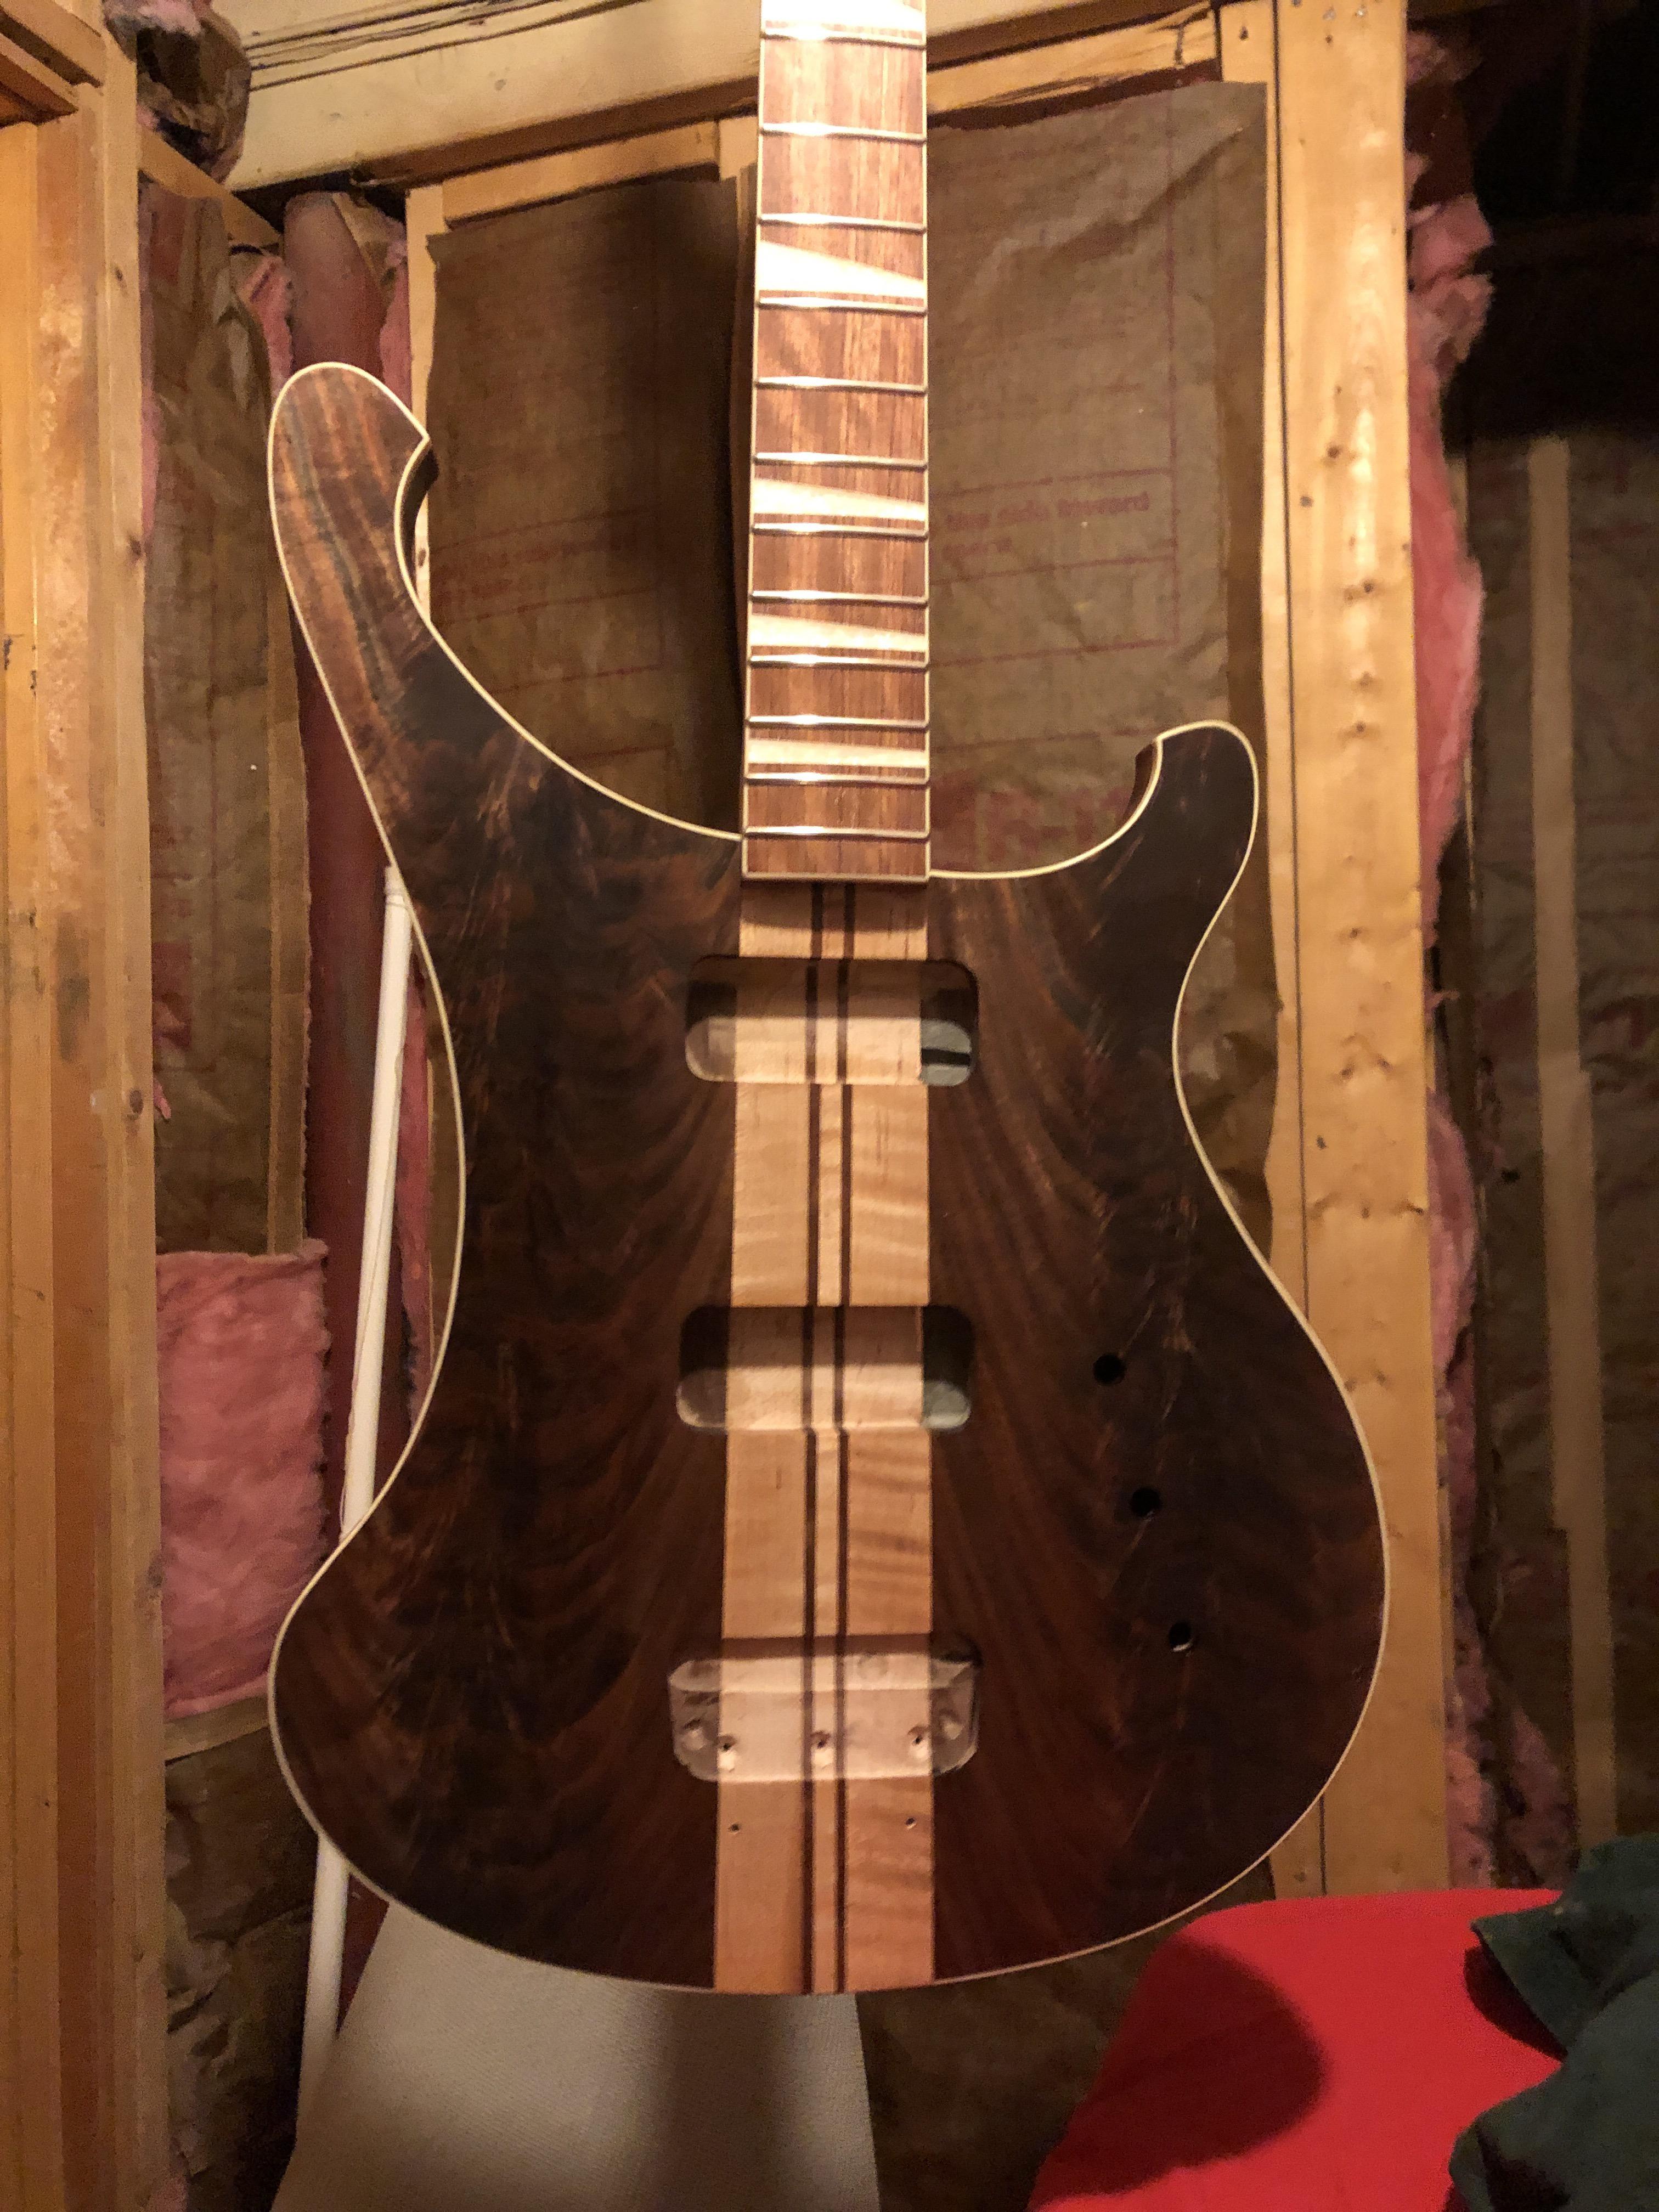
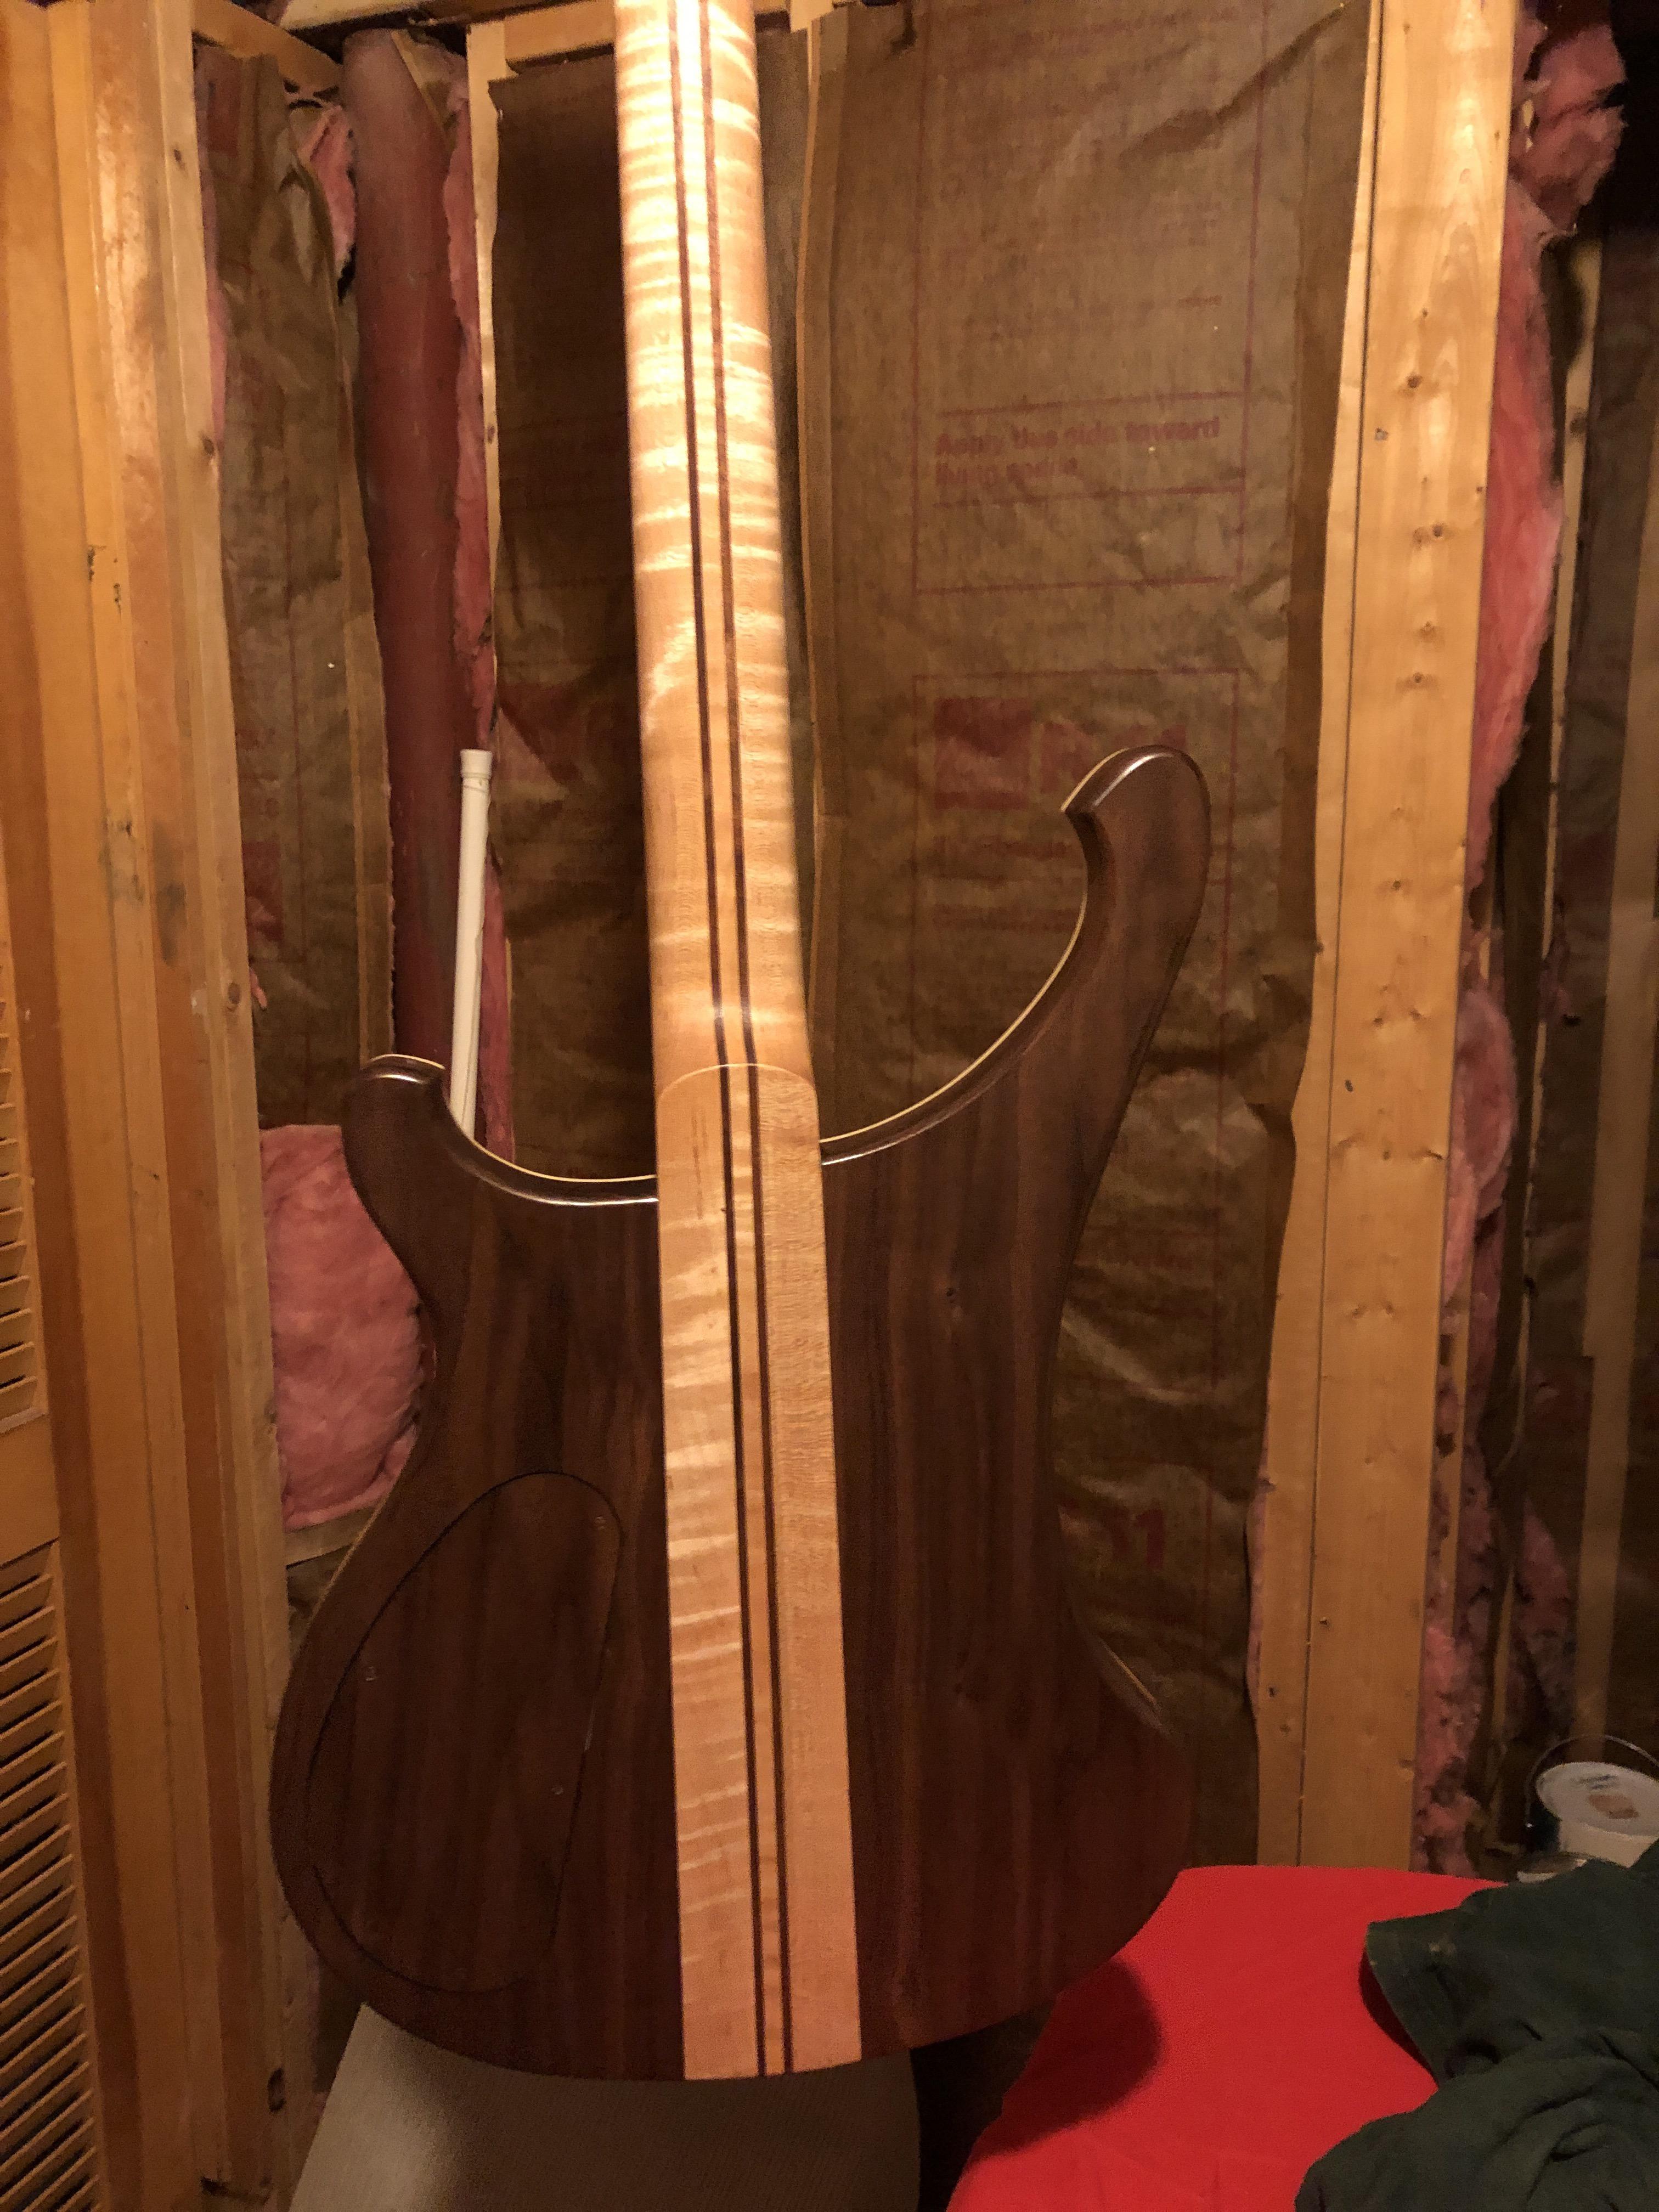
My Brothers and Sisters in Sawdust, we have discovered Tru-Oil, and behold, it is good........
NVaPNrO.jpg

59WYElC.jpg

DgtwSuF.jpg


Too dusty in the shop, and too cold in the garage, so I'm doing this in my boiler room. No open flames or anything, it's one of those sealed gas units that looks like a Jetpack bolted to the wall. She Whom I Adore is Not Amused. Not as stinky as Watco by a long shot though. Being very careful about the whole oily rag business too, left them spread out to dry in an outside trash storage bin.
This is the first coat, and damn, it drank it up like water! I bought the little 3 oz. bottle thinking it would be plenty... nope. The big jug would probably go to waste at my glacial output, probably get another 3 oz. bottle to finish it.

I watched every available Tru-Oil video on Youtube, averaged out the process to this plan:
Intial heavy soak coat (done)
Two more decreasingly heavy coats
Wet sand with Tru-Oil after third coat
More coats until I like how it looks.
Let cure for a couple weeks, then buff it out a little.

I'm a complete novice with this stuff, any suggestions or advice greatly appreciated. I think I want a little grain pore to show through, I want it to still look and feel like wood. Haven't decided on level of sheen, maybe I'll go pretty shiny at first, I can always knock it back to satin.

The Fingerboard will get Stewmac Fingerboard Oil, its like Tru-Oil, but goes on thinner and seems to dry really fast.
 
Hallelujah, praise Birchwood-Casey!

Fantastic stuff. Not that I’m an expert by any stretch, but I usually do a few thicker coats, wet-sand, a few thinner coats, wet-sand again if needed, and a few final coats.

Love the stuff!
 
  • Like
Reactions: Gilmourisgod
@ctmullins
Do you buff it out at the end? How long to let it cure? With Watco I wait until stops stinking, same process?

I usually don’t bother buffing, but only because I’m a lazy f¥€k, and I’d rather play the thing than disassemble and buff it.

Full cure time (as precisely measured using the sniff test) seems to be two to three weeks in my ridiculously humid clime.

That thing looks awesome!
 
  • Like
Reactions: Gilmourisgod
The Fingerboard will get Stewmac Fingerboard Oil, its like Tru-Oil, but goes on thinner and seems to dry really fast.


You could thin Tru-Oil with mineral spirits and use that if you wanted to stay consistent with one type of oil.

I'm interested in following this. I've had ok results with Tru-Oil before today, but overall found Danish Oil a bit easier to get on with. Tru-Oil builds nicely and some expert builders have got a deep, gloss finish out of the stuff, with all the grain-popping you get out of an oil finish.

I'm interested to see what happens when you wet-sand the stuff. I tried wet sanding my 4003 headstock wings and the walnut dust ended up sanded into the maple, leaving a brown discolouration. I had to sand this out and go easy!
 
  • Like
Reactions: Gilmourisgod
I wanted to try Tru Oil, I’ve never gotten Watco beyond a satin finish, and it stinks for weeks. The Tru Oil I put on last night is bone dry, and very little smell. I’ll try a one coat every 24 hours schedule and see how it goes. Science! I’m a little nervous about the wet sanding, I’ve read you really only want the oil dust itself to fill pores, not the actual wood dust, which is why you wait a few coats before sanding it. Hmmmm.... makes me wonder if I should skip wet sanding, I do NOT want walnut dust in the maple, nice irredescent flamy thing going now.
 
Last edited:
  • Like
Reactions: Axstar
I usually do three coats of tru oil before slurry sanding, and I slurry sand with 320 grit. I use a light touch and it's worked out well without running dust from one colour into the next. I sand to 280, then three coats tru oil, then slurry sand with 320, two more coats of tru oil, one more slurry sand (skip on closed grain woods), one or two coats, and either wait to cure and go for gloss, or knock it back with a 3m sanding pad for satin.
 
Last edited:
@Axstar
Does wet sanding completely fill the pores, or just minimize them? I’m not going for sheet of glass on this one, maybe like a Semi- Gloss?

You're asking the wrong person. :laugh:

Sanding in an oil slurry is pore/grain filling, as far as I understand. The fine slurry of oil and wood dust fills the pores, but I don't know if it does it as well as a dedicated grain filler (though I've seen everything from superglue to egg whites cited as a filler).

On my 4003 you can see the grain in the maple, even though it is very fine. I didn't really wet sand the oil into the maple with any gusto, I just wanted a flat surface.
 
  • Like
Reactions: Gilmourisgod