
- Apr 18, 2008
- 16,007
- 1
- 31,705
- Disclosures
- I'm highly opinionated and extremely self-assured

TalkBass has been independent since 1998. Add your voice.
Create a free account to reply to discussions, view embedded media, and browse with fewer display ads.
Join free Log in
Want zero display ads or expanded classifieds tools? Compare plans.


I remember someone in another thread mentioned a method for dealing with that. You might be able to do a search for it.Yep! It’s a cranky old hood ornament, but I love the look.
Question: after letting it it cure for two weeks, I may buff this out, but will any compound just settle in the open grain and look like white sh*t? Anybody try this? The FB is looking dull by comparison, gotta buff that back up too, and coat with Stewmac Fingerboard oil so it pops again. Still a ways to go, June Graduation date Looms Large....

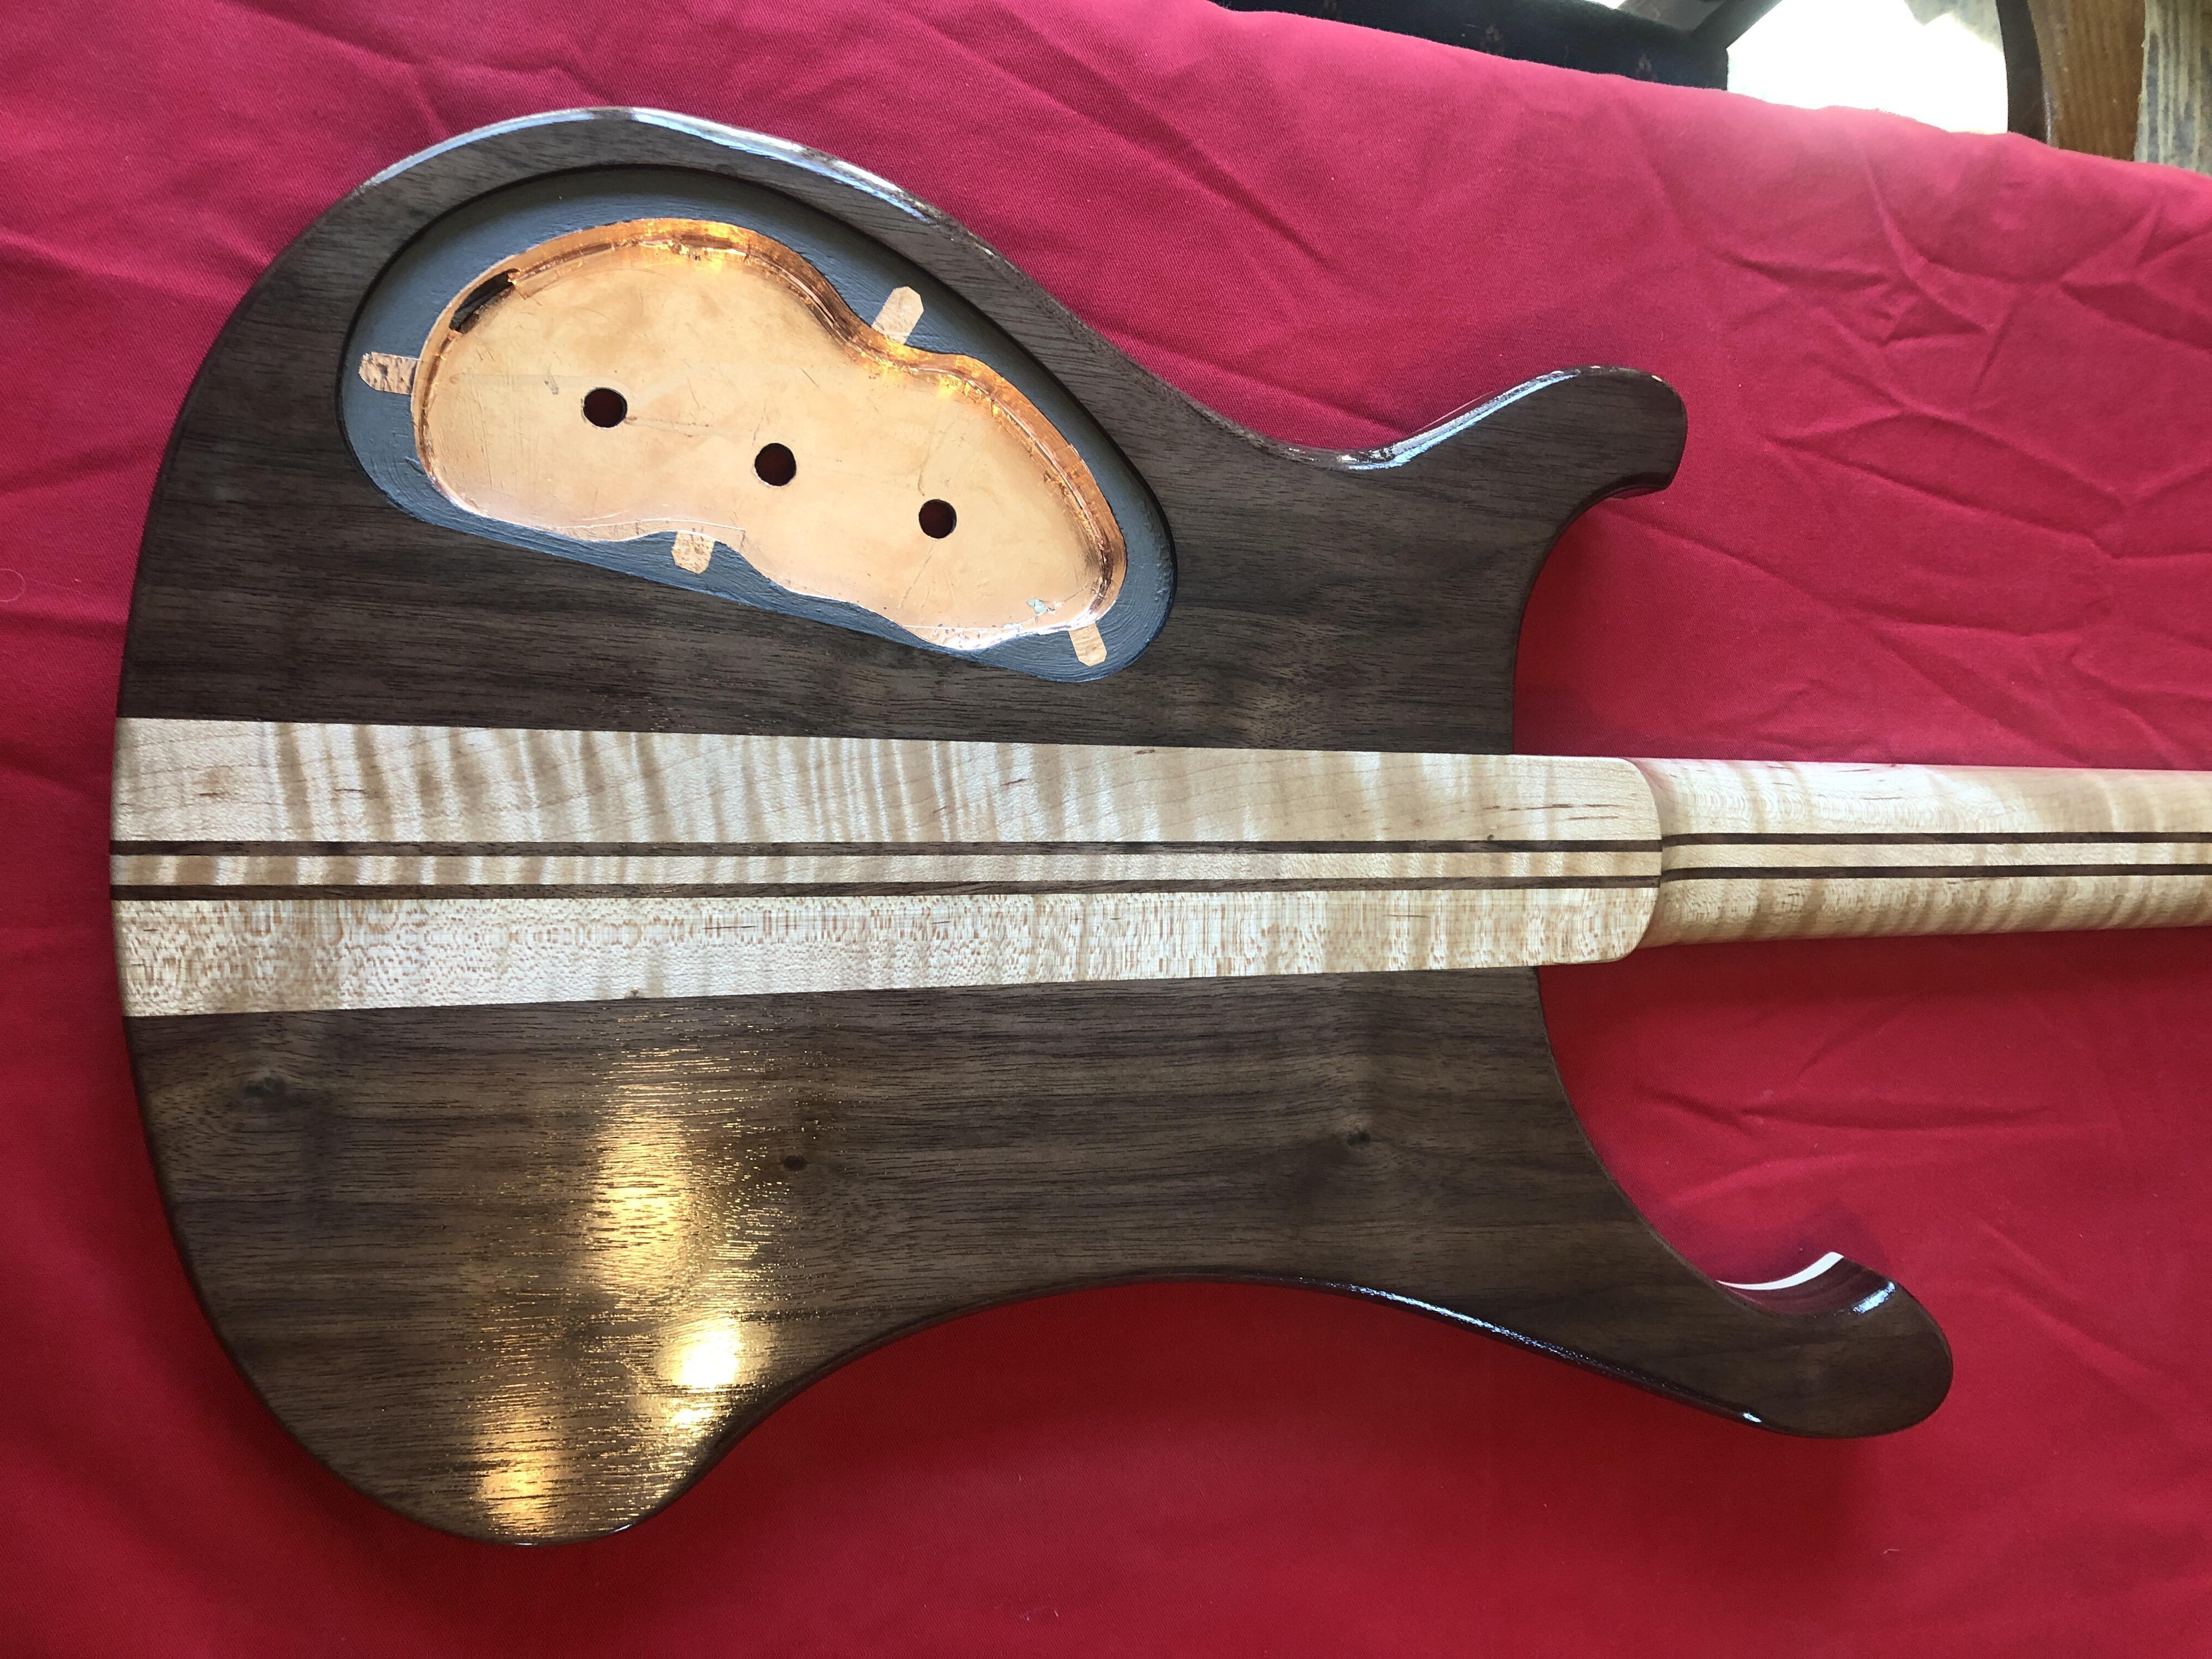
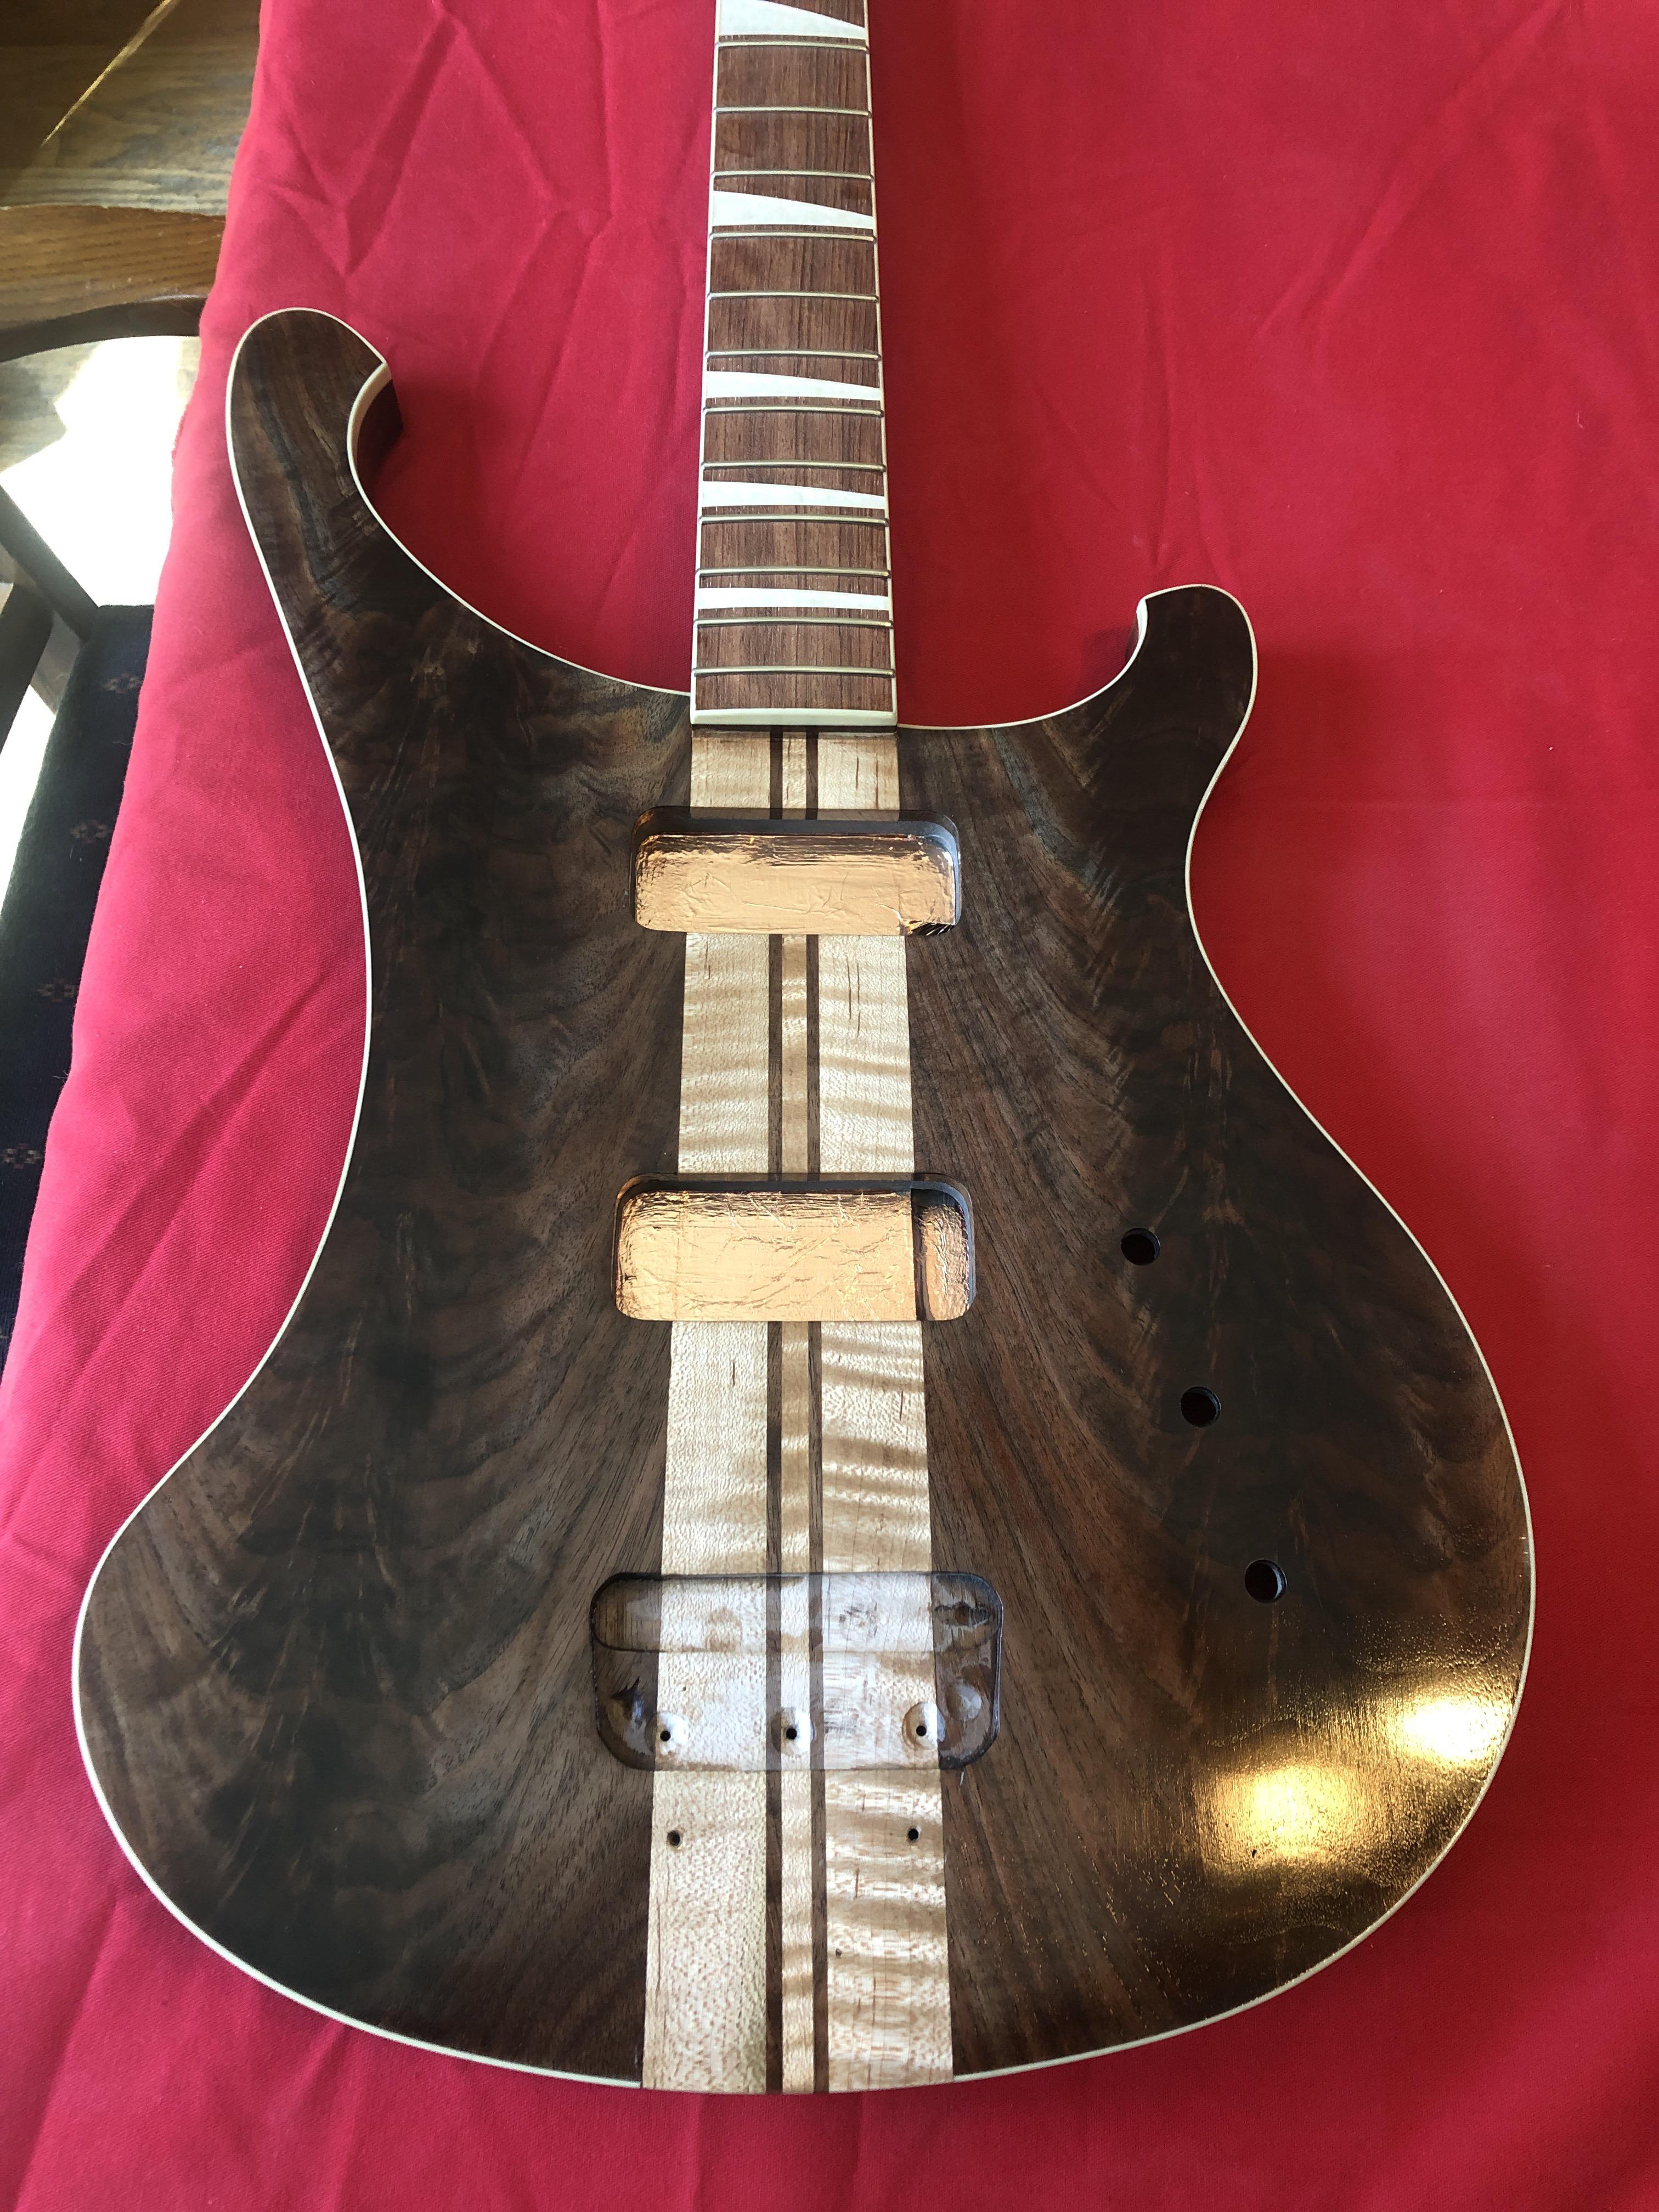
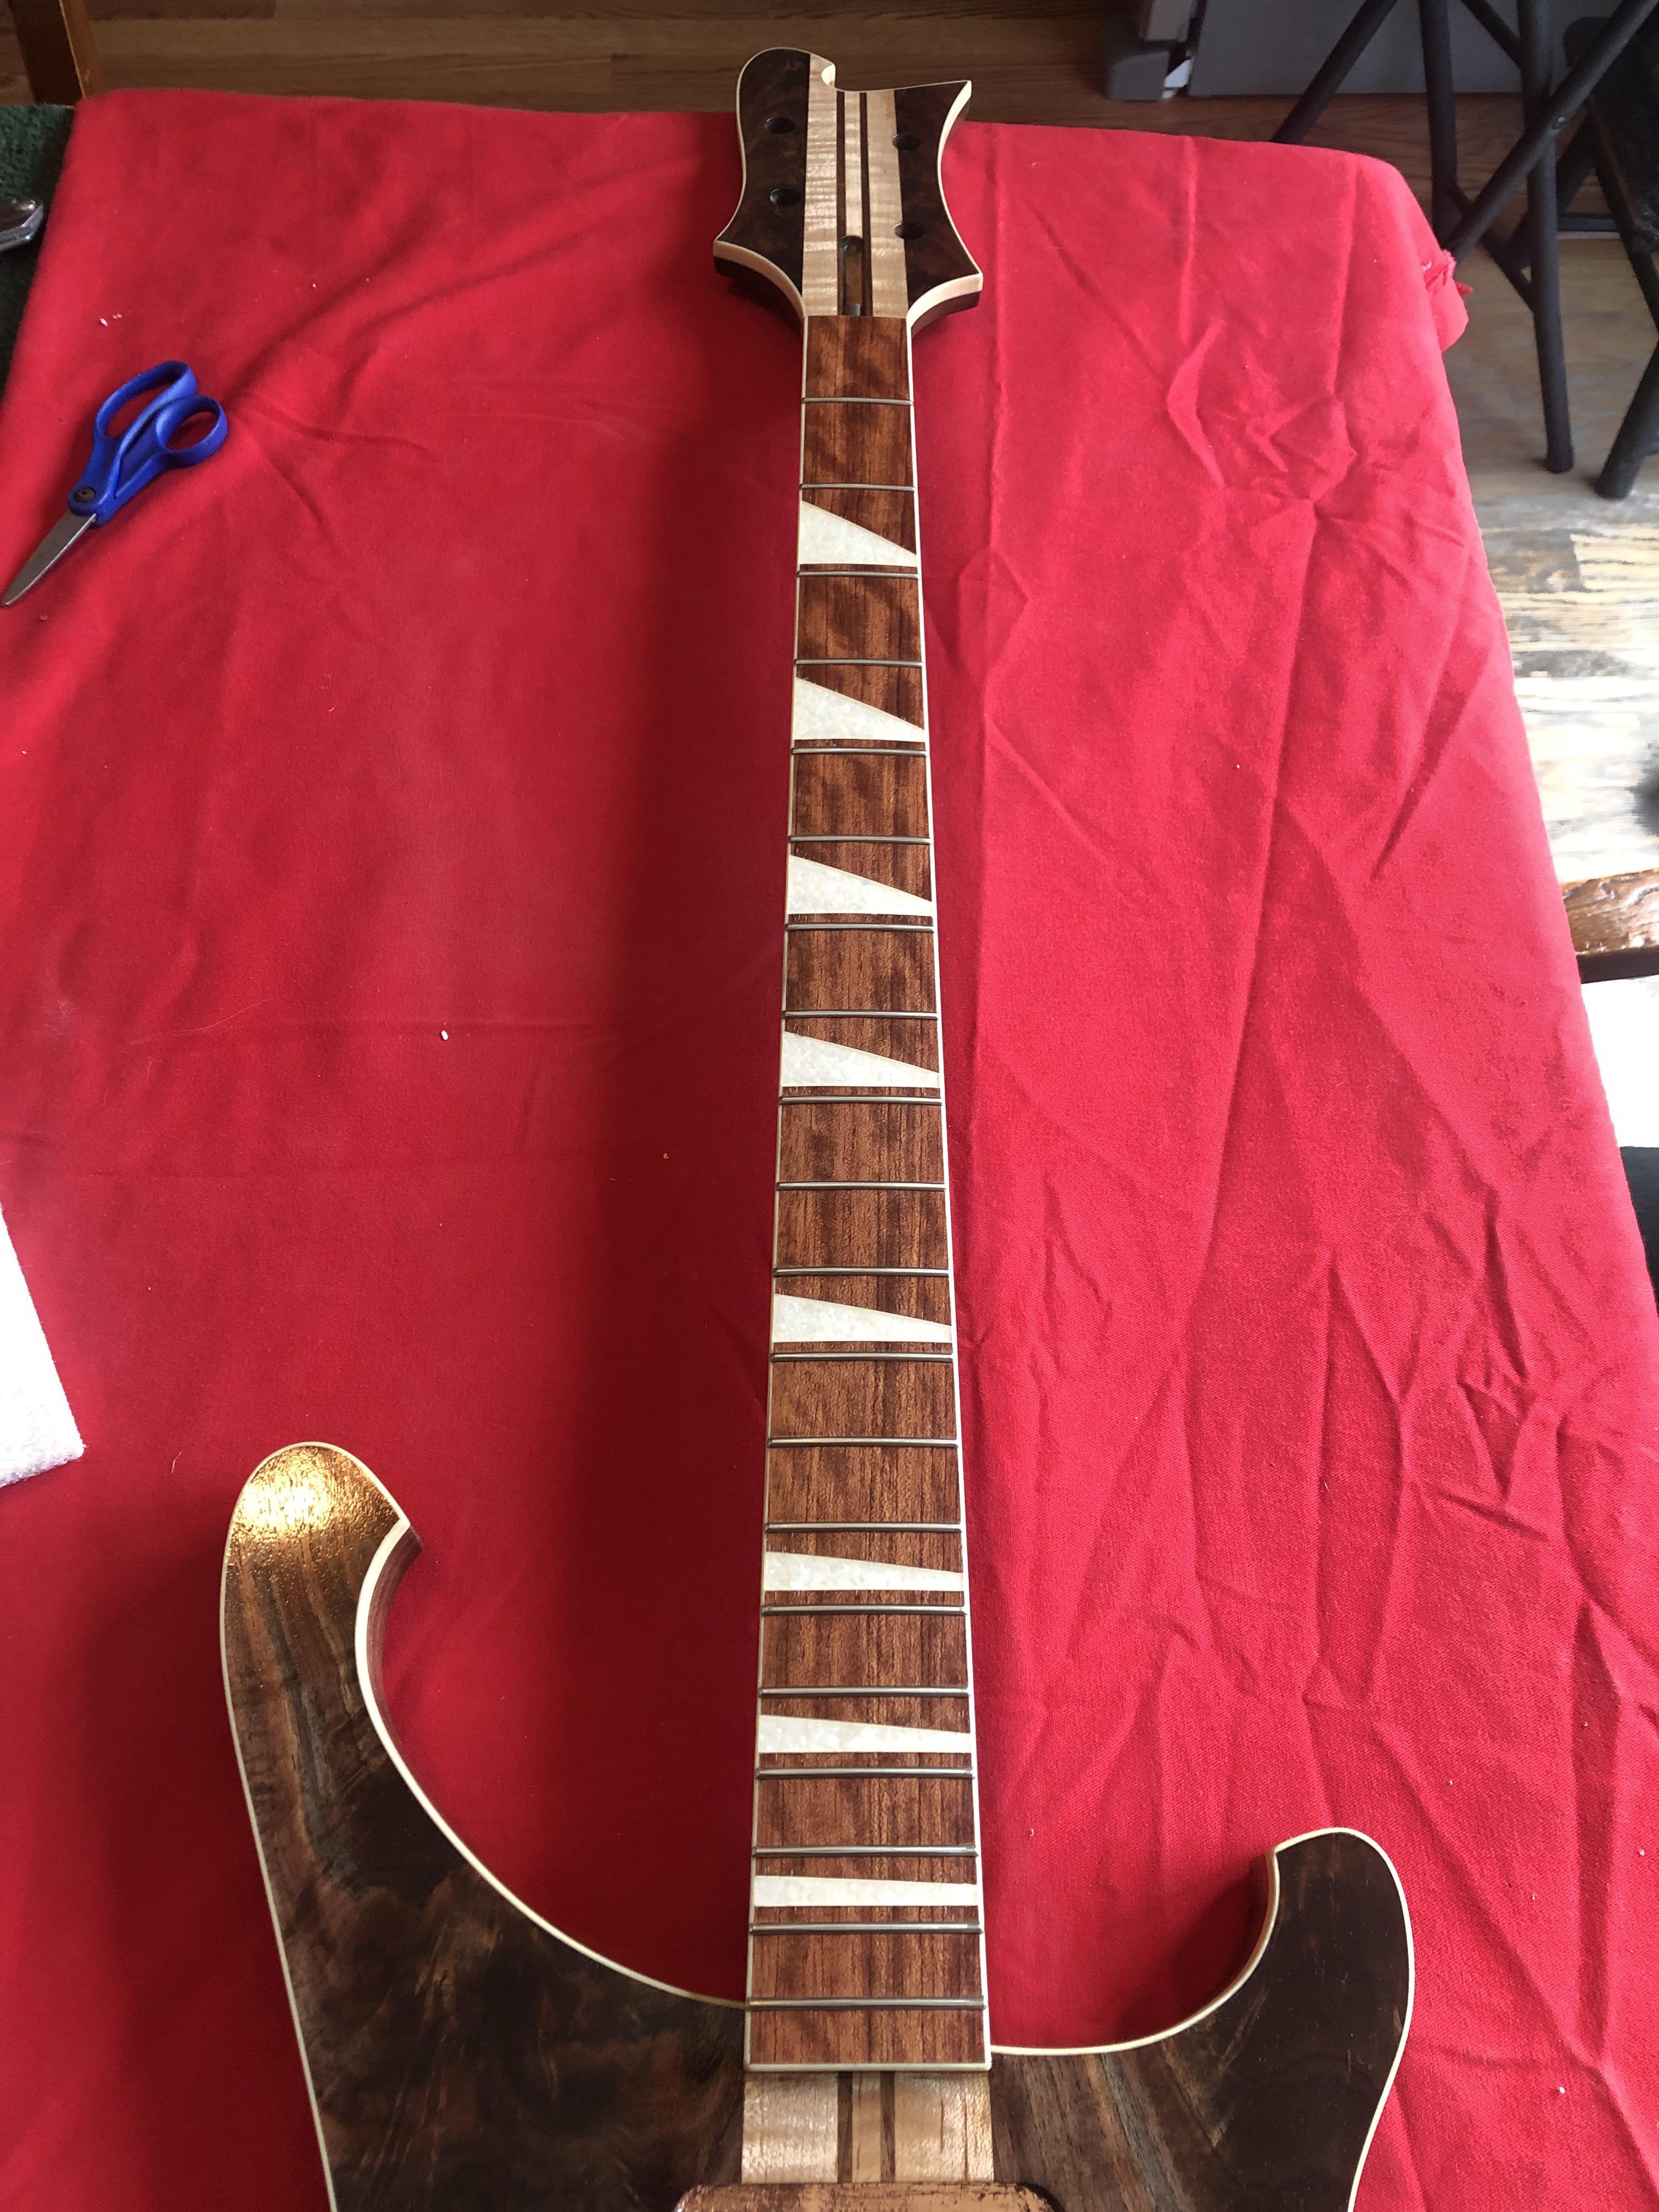

Just when you think it couldn't look any betterHaven't posted in a while, been slowly applying Tru-Oil on a one coat per day schedule, all I can scrounge time for. This is what 20 coats looks like, I think I'll level it it one more time and then buff back up, letting it harden up for a couple weeks before trying that.
Got the shielding done, a combination of MG Supershield where I don't want any copper peeking through, and copper foil where it's hidden. Got continuity right through the hidden wiring channels, so I'm pleased with the outcome.
First coat of Stewmac Fingerboard oil on, nice to see that bubinga pop a little.
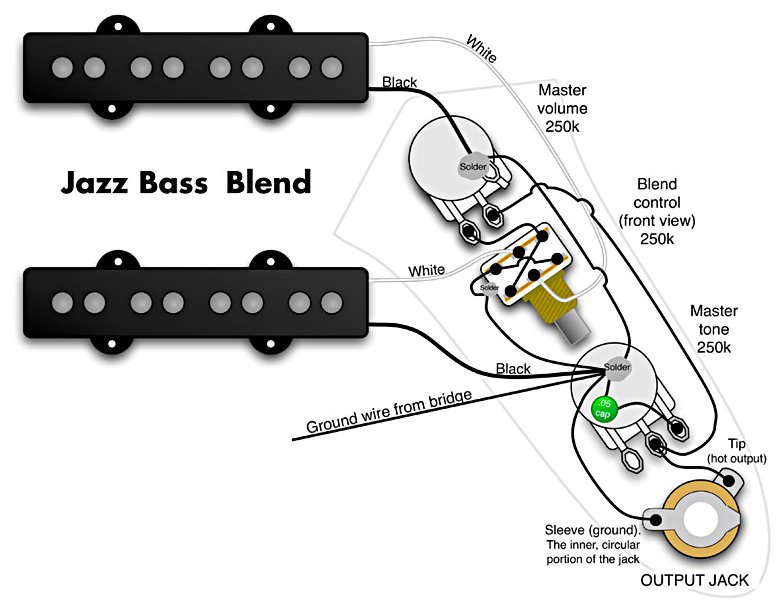
Next up, electronics. Figure I can get all the preliminary pot wiring done while I wait for the Tru Oil to cure and harden. I'll be using this wiring scheme, got all the parts in hand:
 .....Wow!.....

Have you used a blend setup like this successfully? I find passive blend controls fairly worthless from my experience. At the least I’d recommend using 500K pots for Volume and Tone to make up for the loading at the Blend control. Or better yet just do a VVT setup!Haven't posted in a while, been slowly applying Tru-Oil on a one coat per day schedule, all I can scrounge time for. This is what 20 coats looks like, I think I'll level it it one more time and then buff back up, letting it harden up for a couple weeks before trying that.
Got the shielding done, a combination of MG Supershield where I don't want any copper peeking through, and copper foil where it's hidden. Got continuity right through the hidden wiring channels, so I'm pleased with the outcome.
First coat of Stewmac Fingerboard oil on, nice to see that bubinga pop a little.
Next up, electronics. Figure I can get all the preliminary pot wiring done while I wait for the Tru Oil to cure and harden. I'll be using this wiring scheme, got all the parts in hand:
An ungrounded blend does help cut down on the loading inherent in standard blend pots (though you would lose the ability to truly solo either pickup, the amount of resistance on either end would sound mostly like a soloed pickup), but the other issue is the taper- usually a passive blend has very little useable “blend” capability and sounds more like a switch. The only really good blend control is one with active buffering. Or just dual linear-taper Volume controls!Or an ungrounded blend? I've never tried one, but I'm intrigued...



Ive never liked two volumes, changing either one effectively changes the tone. I set up up the Hossenfeffer 1 on the standard 2v/2t, and its as annoying as i remembered. My sons other bass is a Hofner clone, so he's also looking forward to a simple control layout. I'll see how it goes. This is the Bourns blend pot im using:
Since i have a copper shielded aluminum plate as the control cavity "floor", can I run all grounds to a common lug instead of soldering to pot backs?
+1.
If I "Star" ground all the negative wires to one lug screwed to the aluminum plate, what about the capacitor on the Master Tone? Would you run a wire from one leg of the cap to the ground lug, sounds like a lot of tension on the cap lead. Better to solder the cap to the top of the pot as shown in a solder blob, and run a wire from the solder blob to ground lug? As should be obvious, wiring not my strong suit!





