

So... after you watch all the videos, and read all the advice... you just have to suck it up and do it. It took me about 5 hours total, but I'm pretty happy with the result. It's not perfect, but it's as perfect as I can make it so...
First I scored around all the temporarily attached inlays, leaving a masking tape "negative" that was easy to see for rough hog-out with a 1/8" spiral downcut Dremel bit.
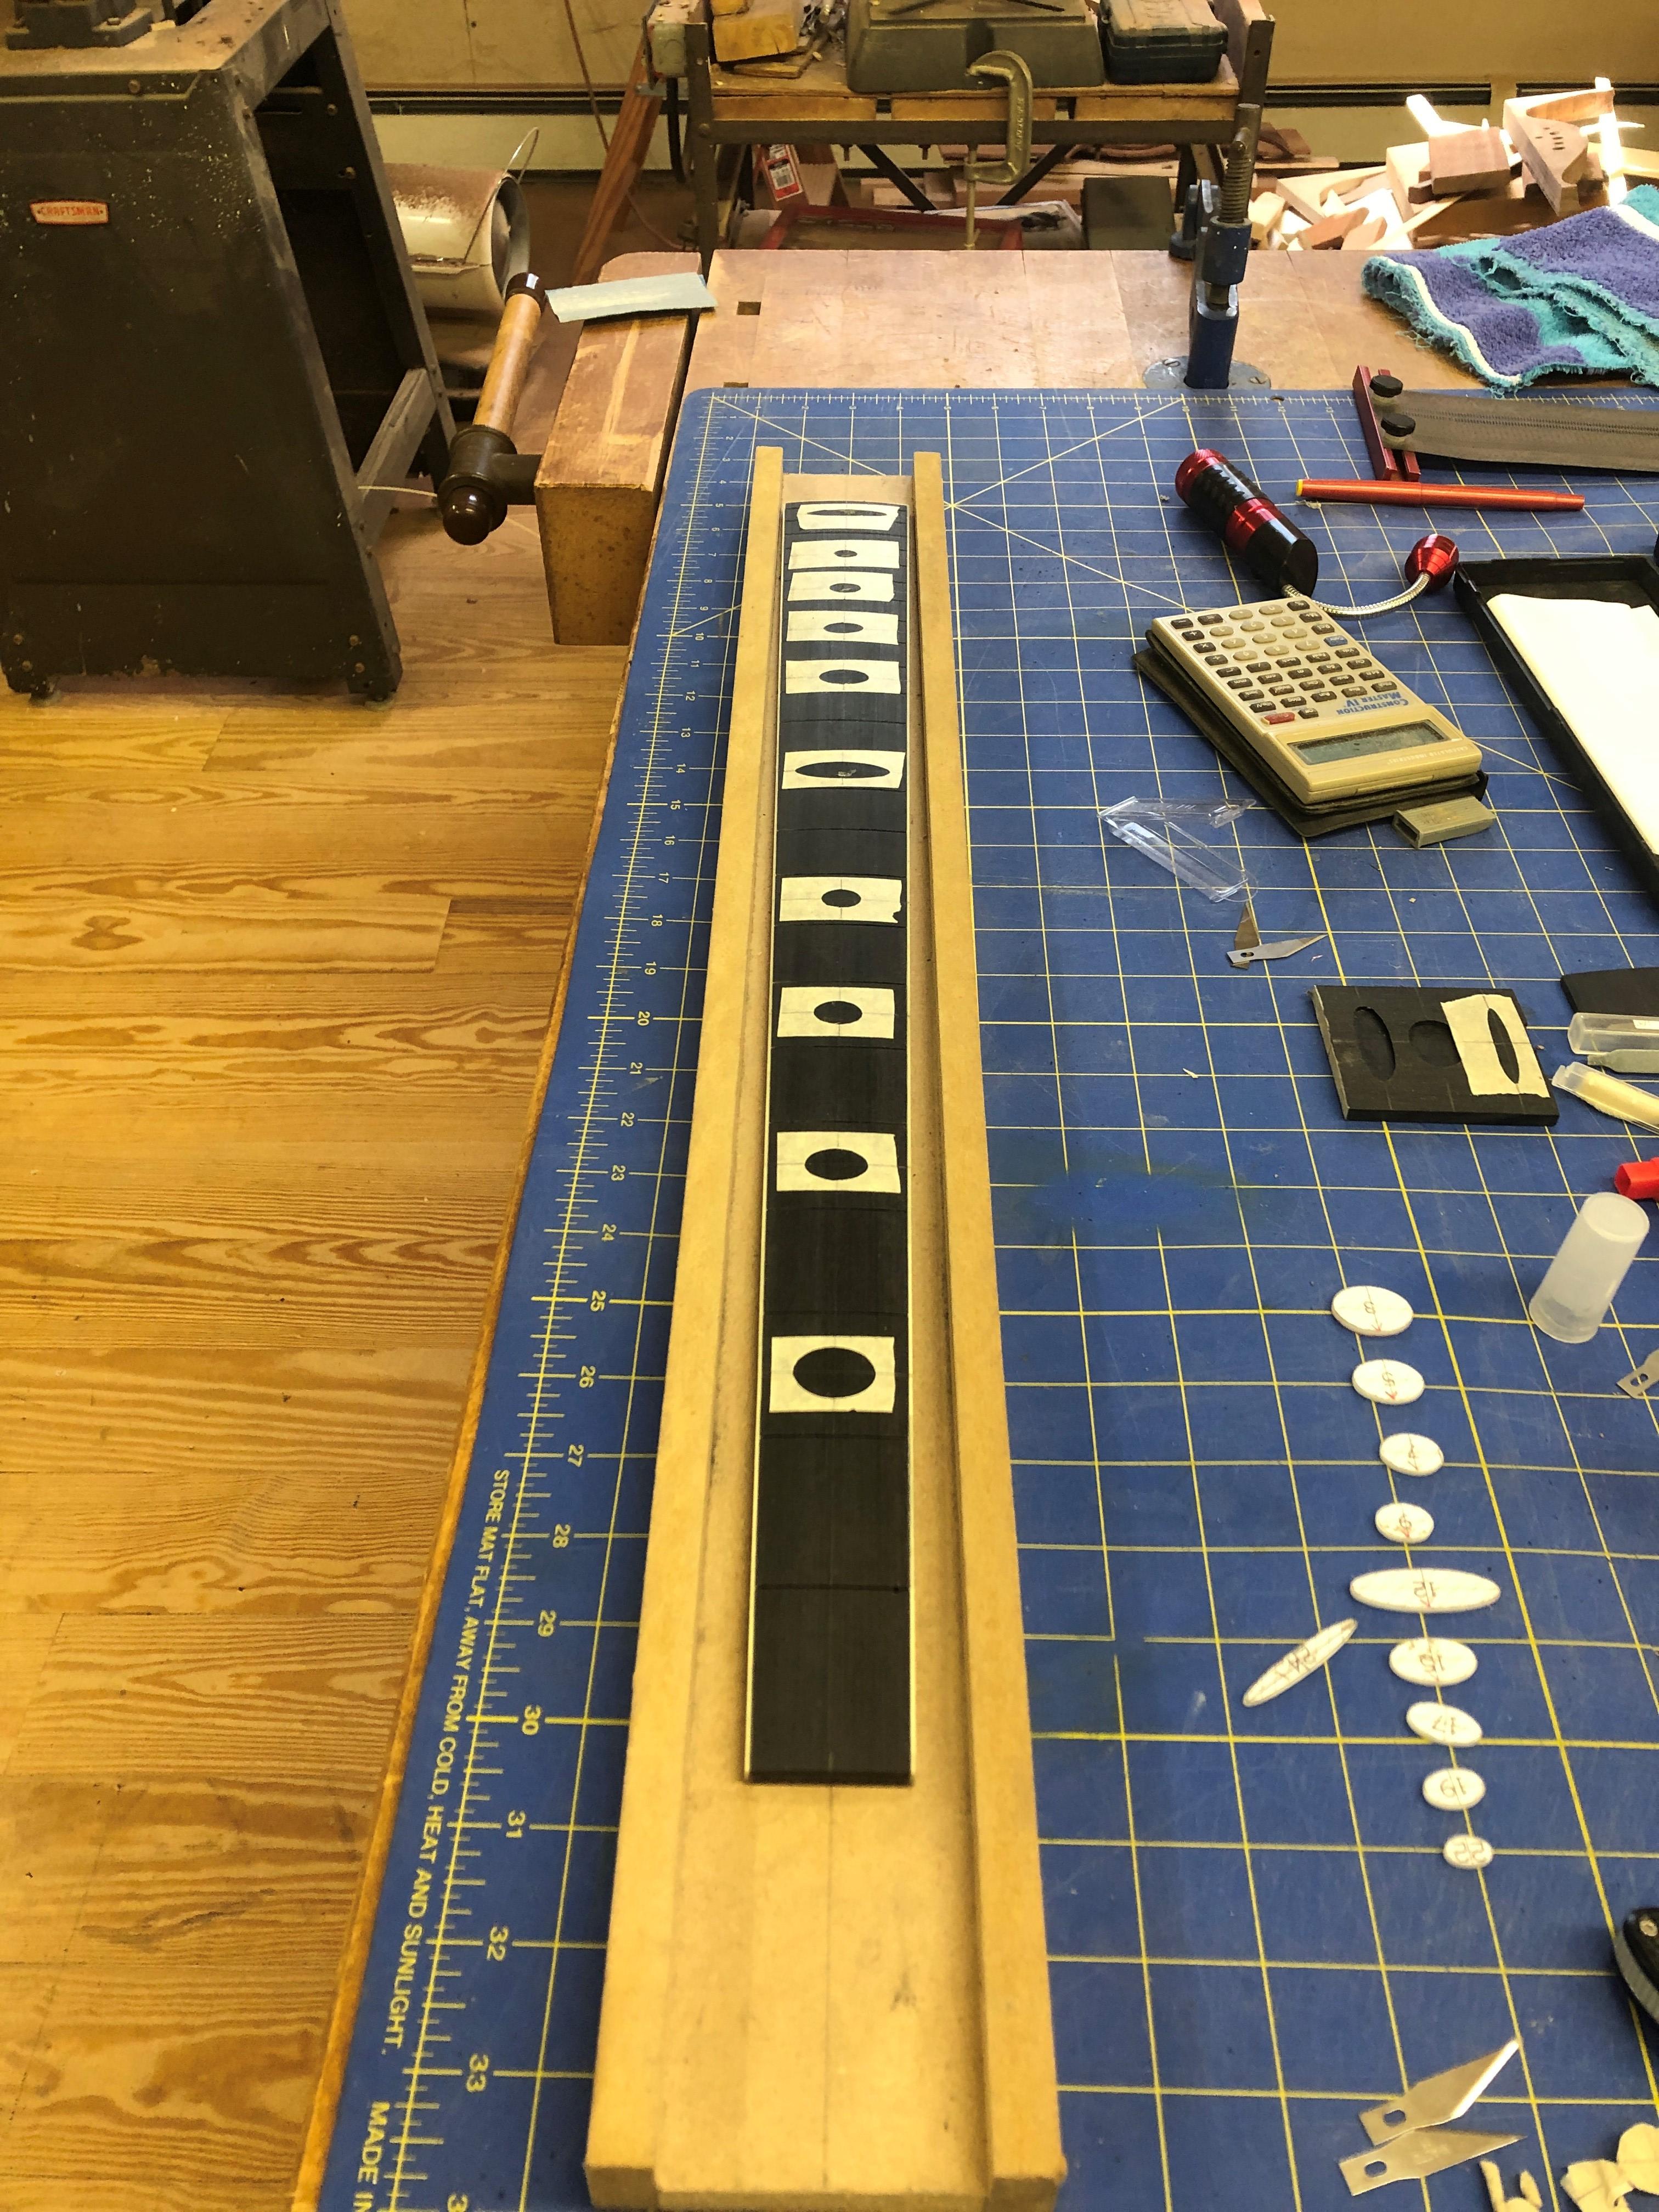
When I got really close to the final line, I re-traced the inlays with red pen, with my crappy eyestight, I have to make eveything high-contrast to see it. I switched to a 1/16" spiral downcut for the tight corners at 12th and 24th. I used @John_Nicholas suggestion for climb-cutting tight to the line, which worked really well, as it doesn't tend to "grab" the inlay cavity edge, so you can really sneak up in fine increments. Thanks for the tip John!
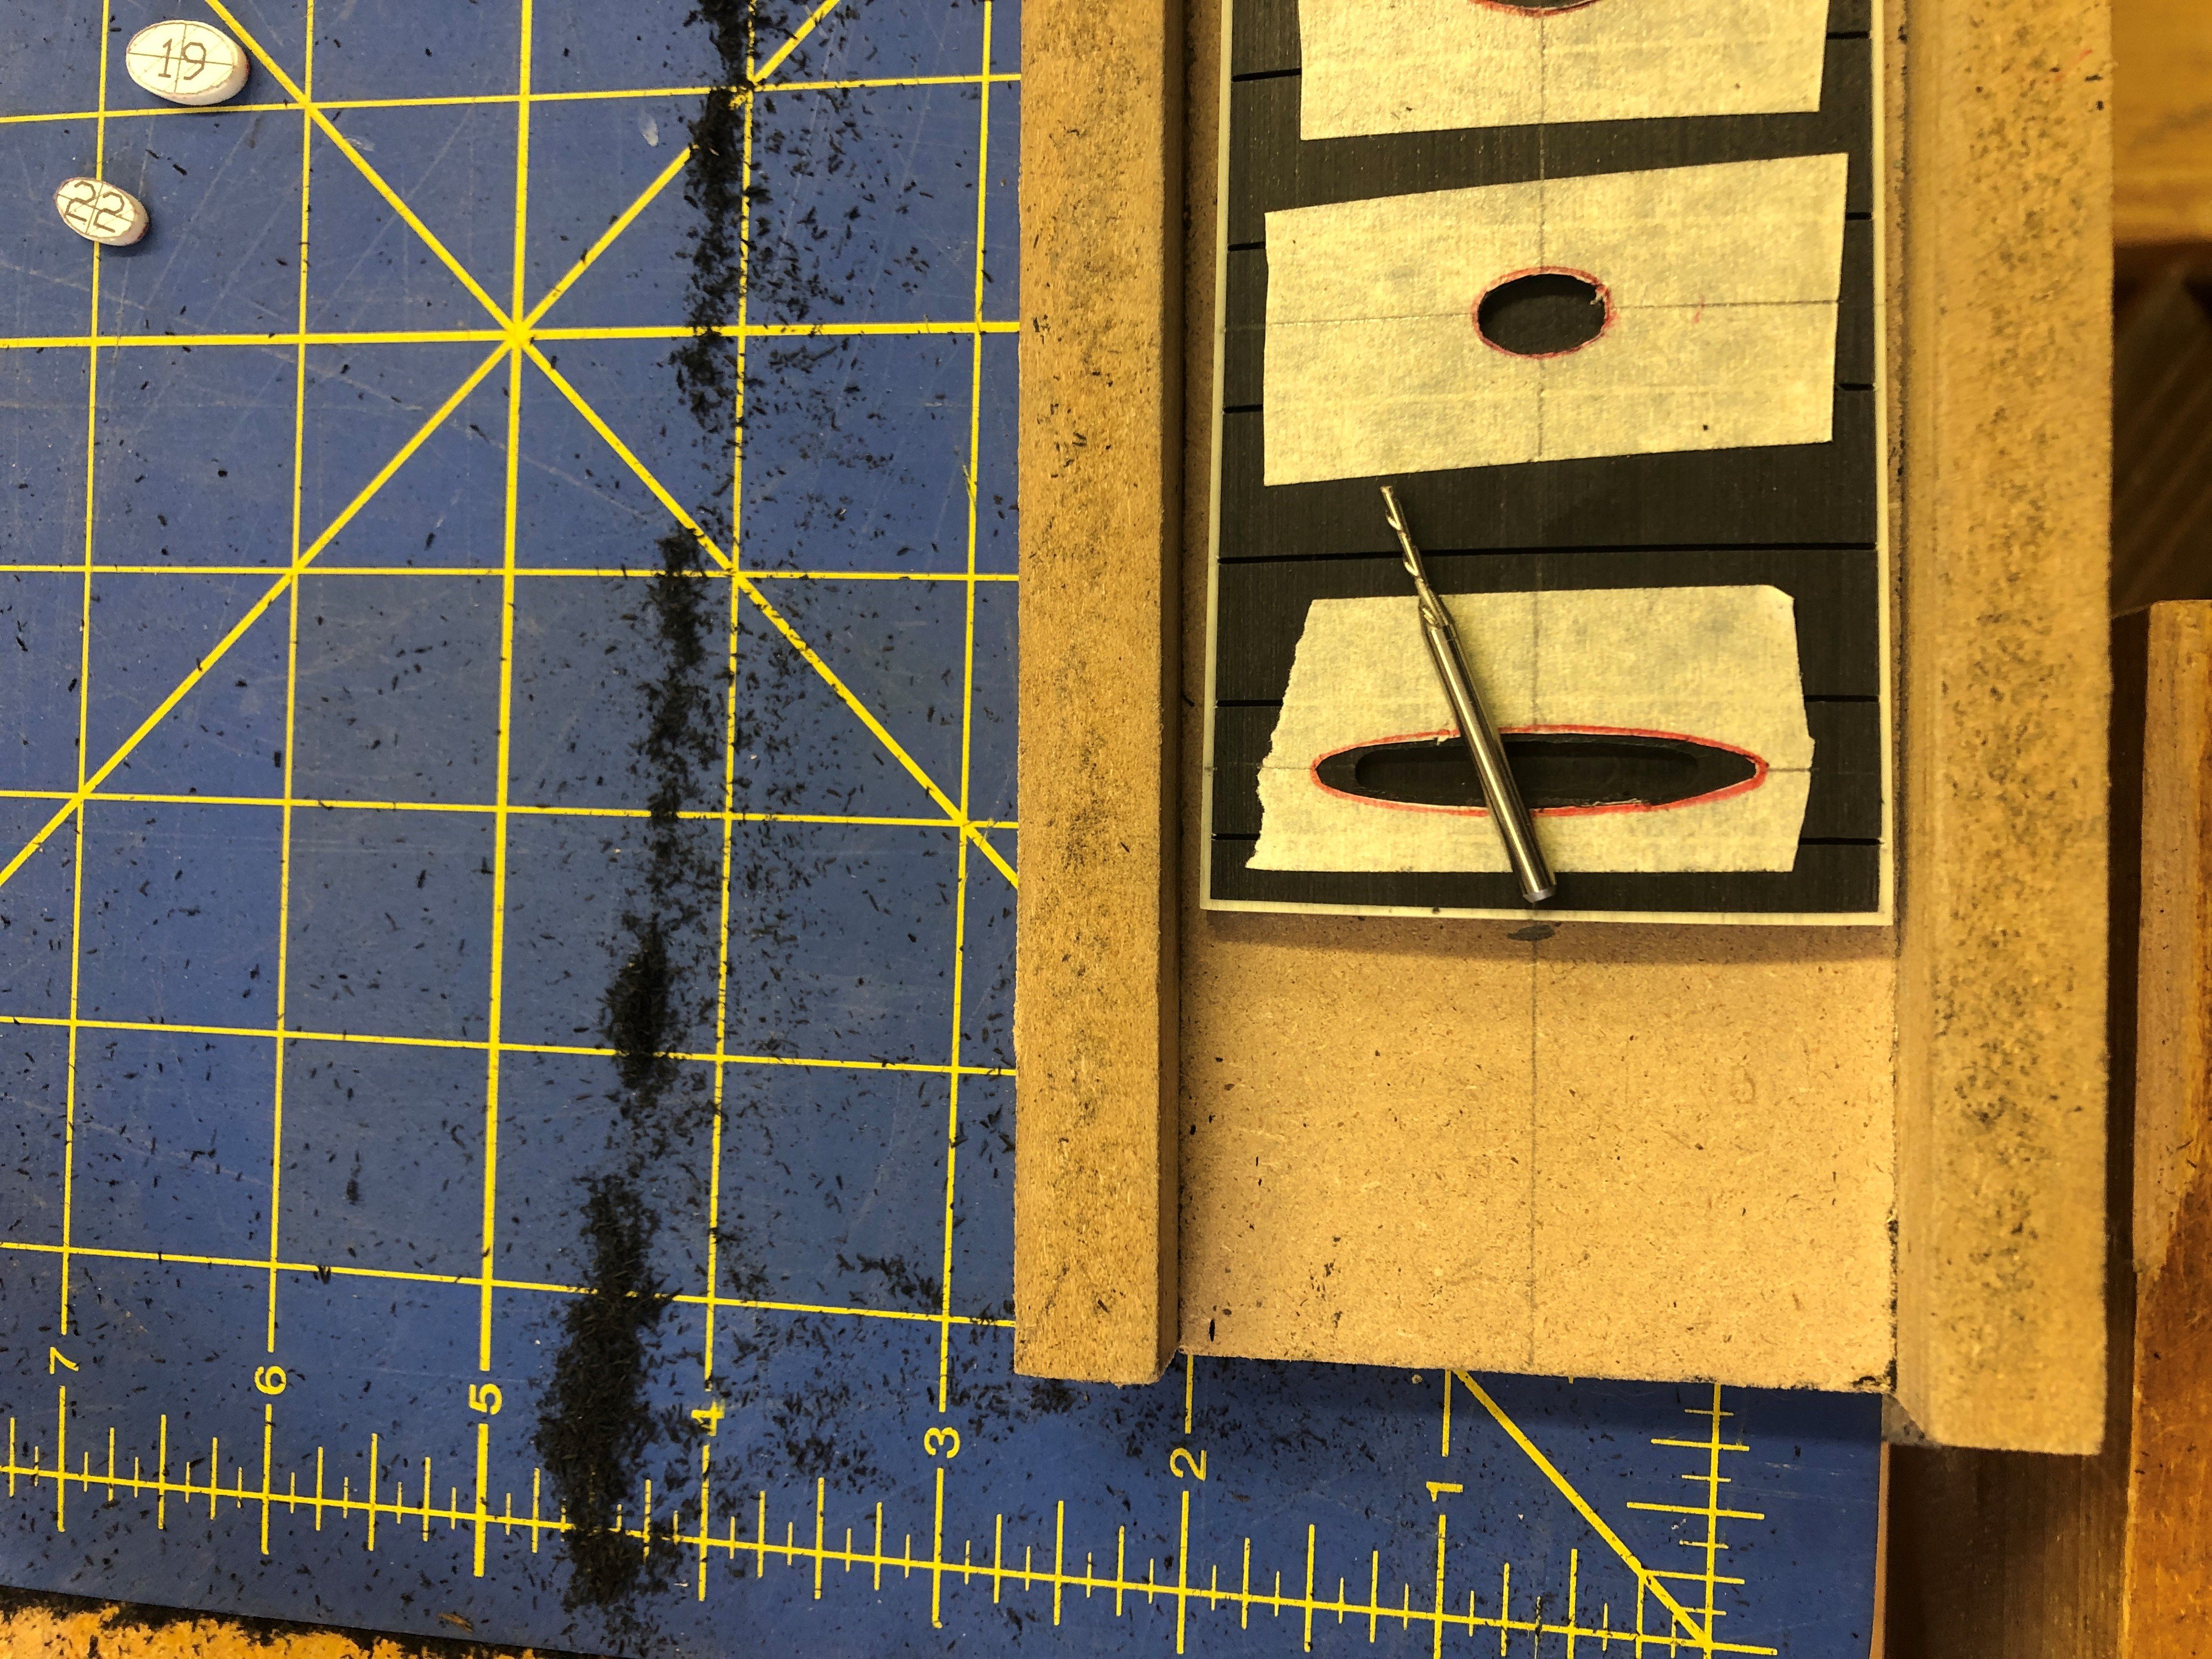
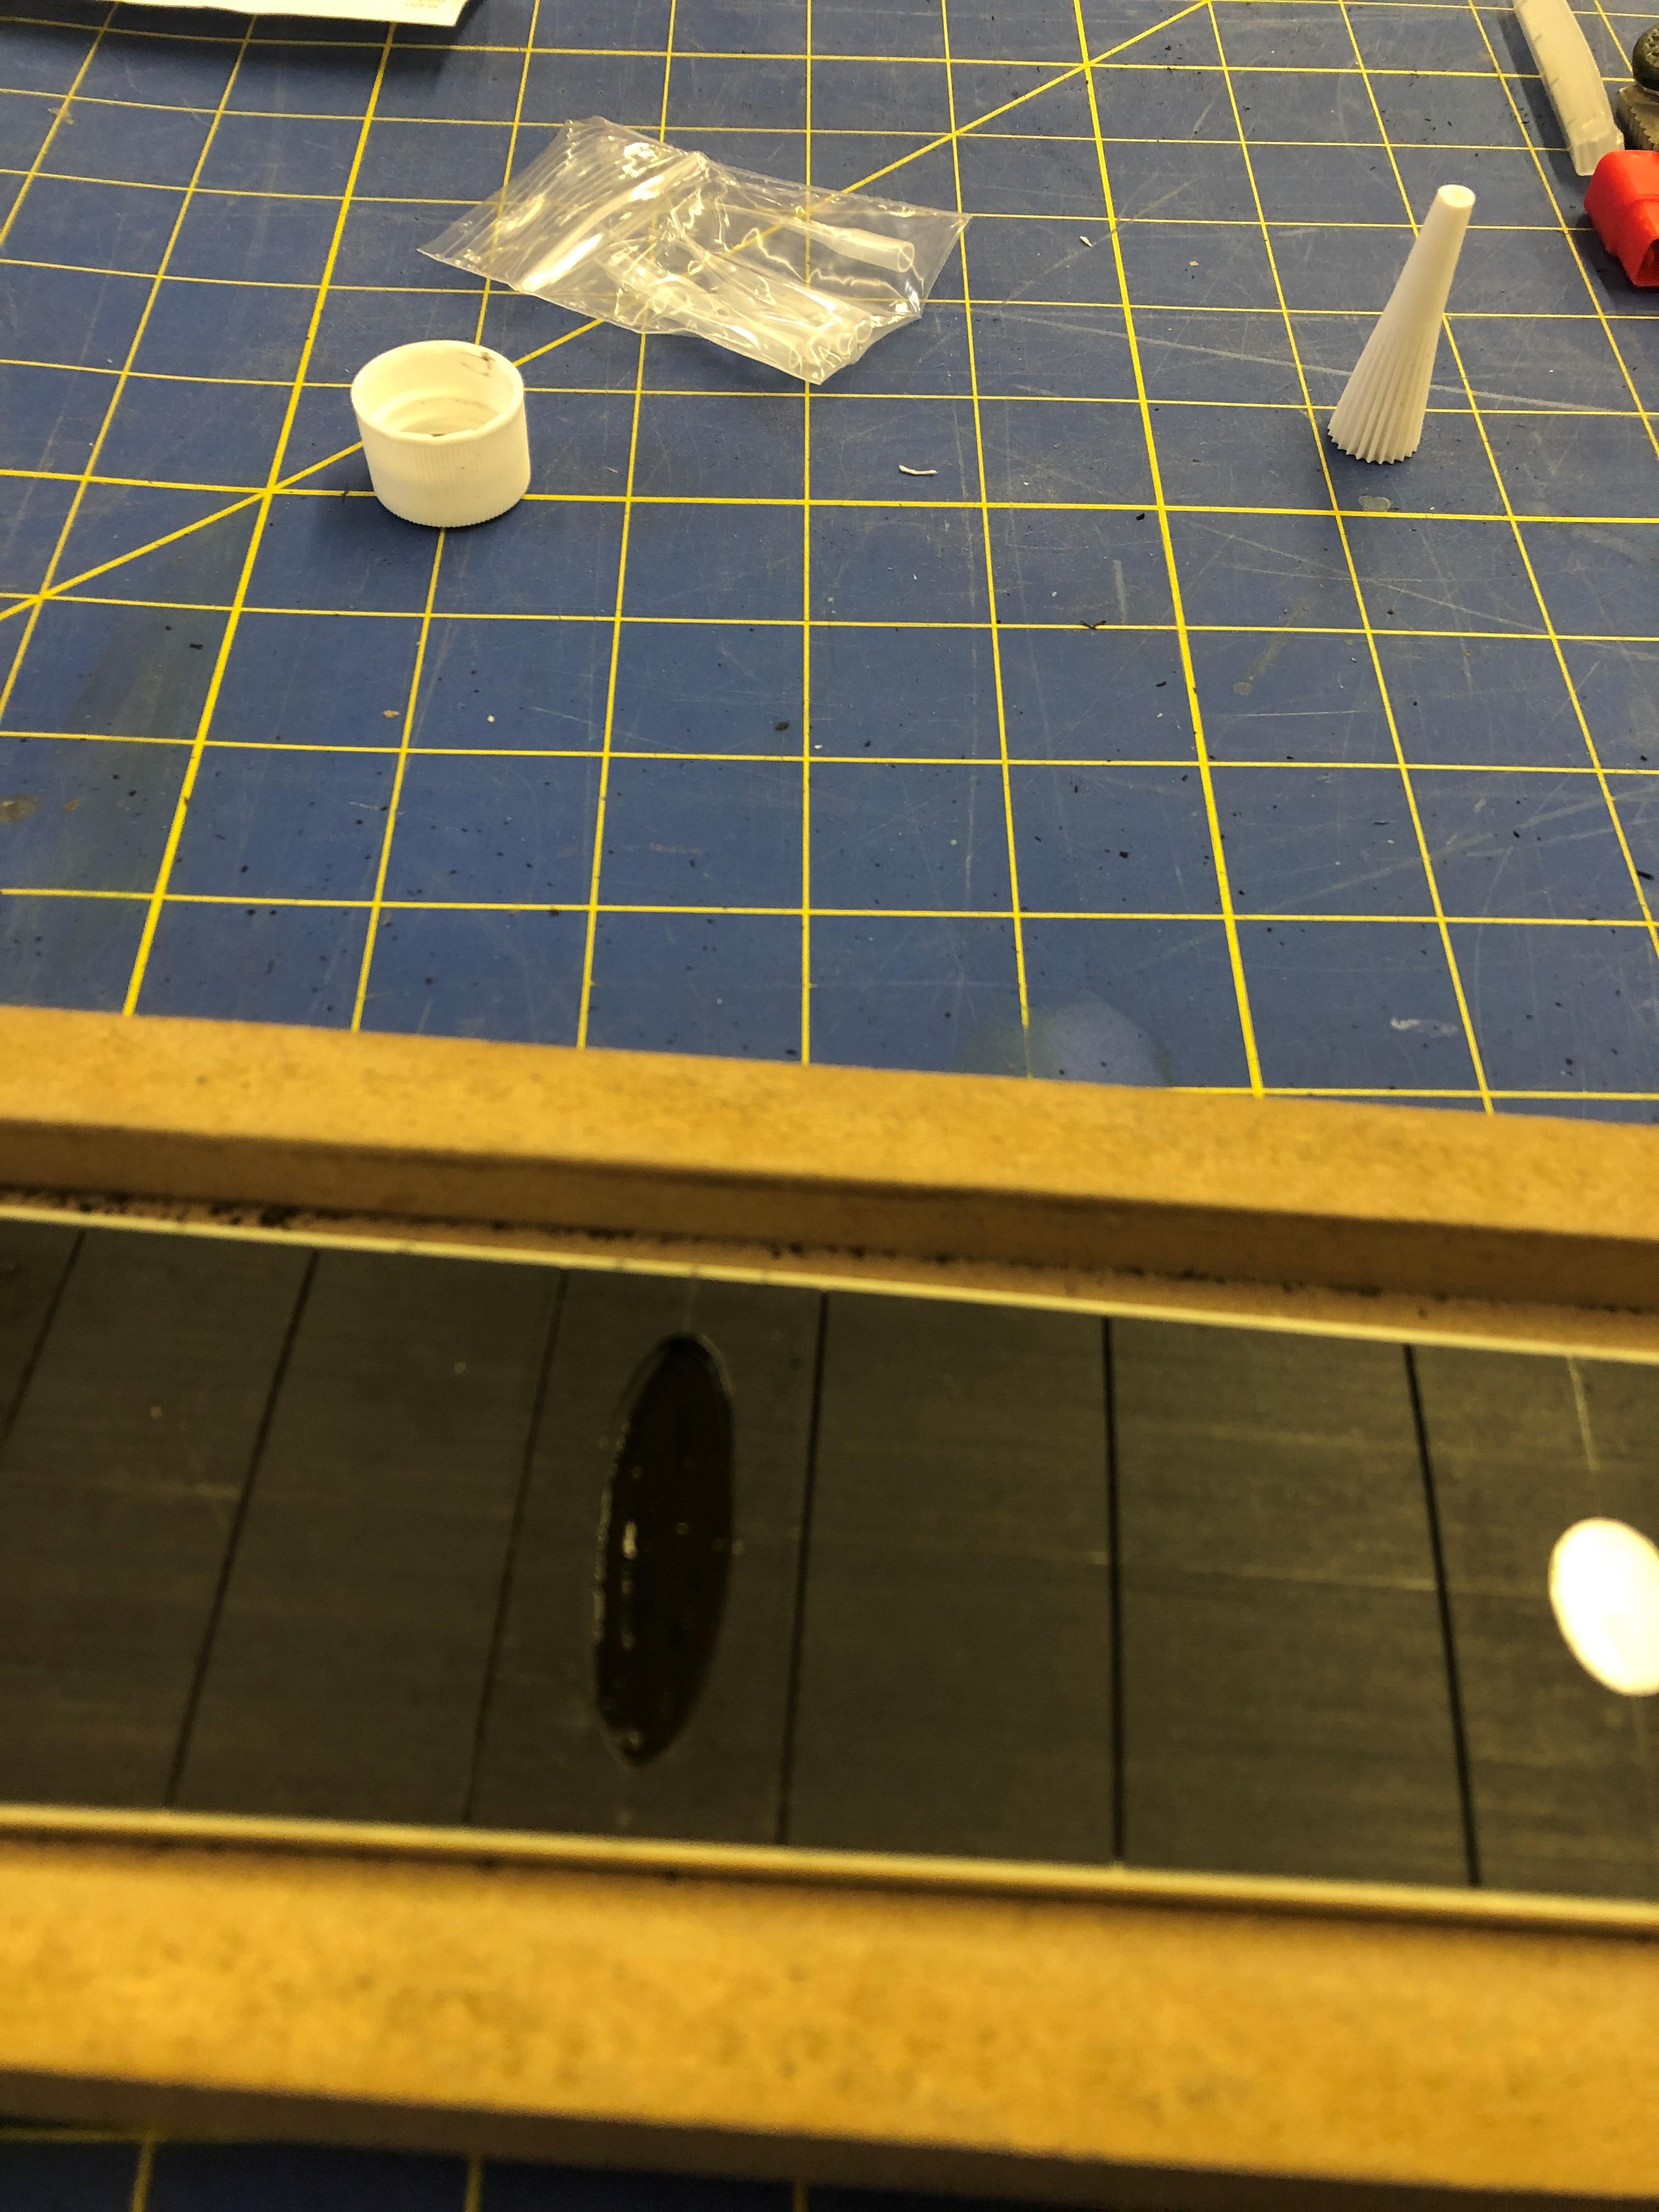
Got all the inlays cut, as predicted, the 24th gave me a little trouble. I had forgotten that inlay was slightly thinner than the rest, so I had to backfill it a little with Ebano dust and CA glue up to a shallower depth
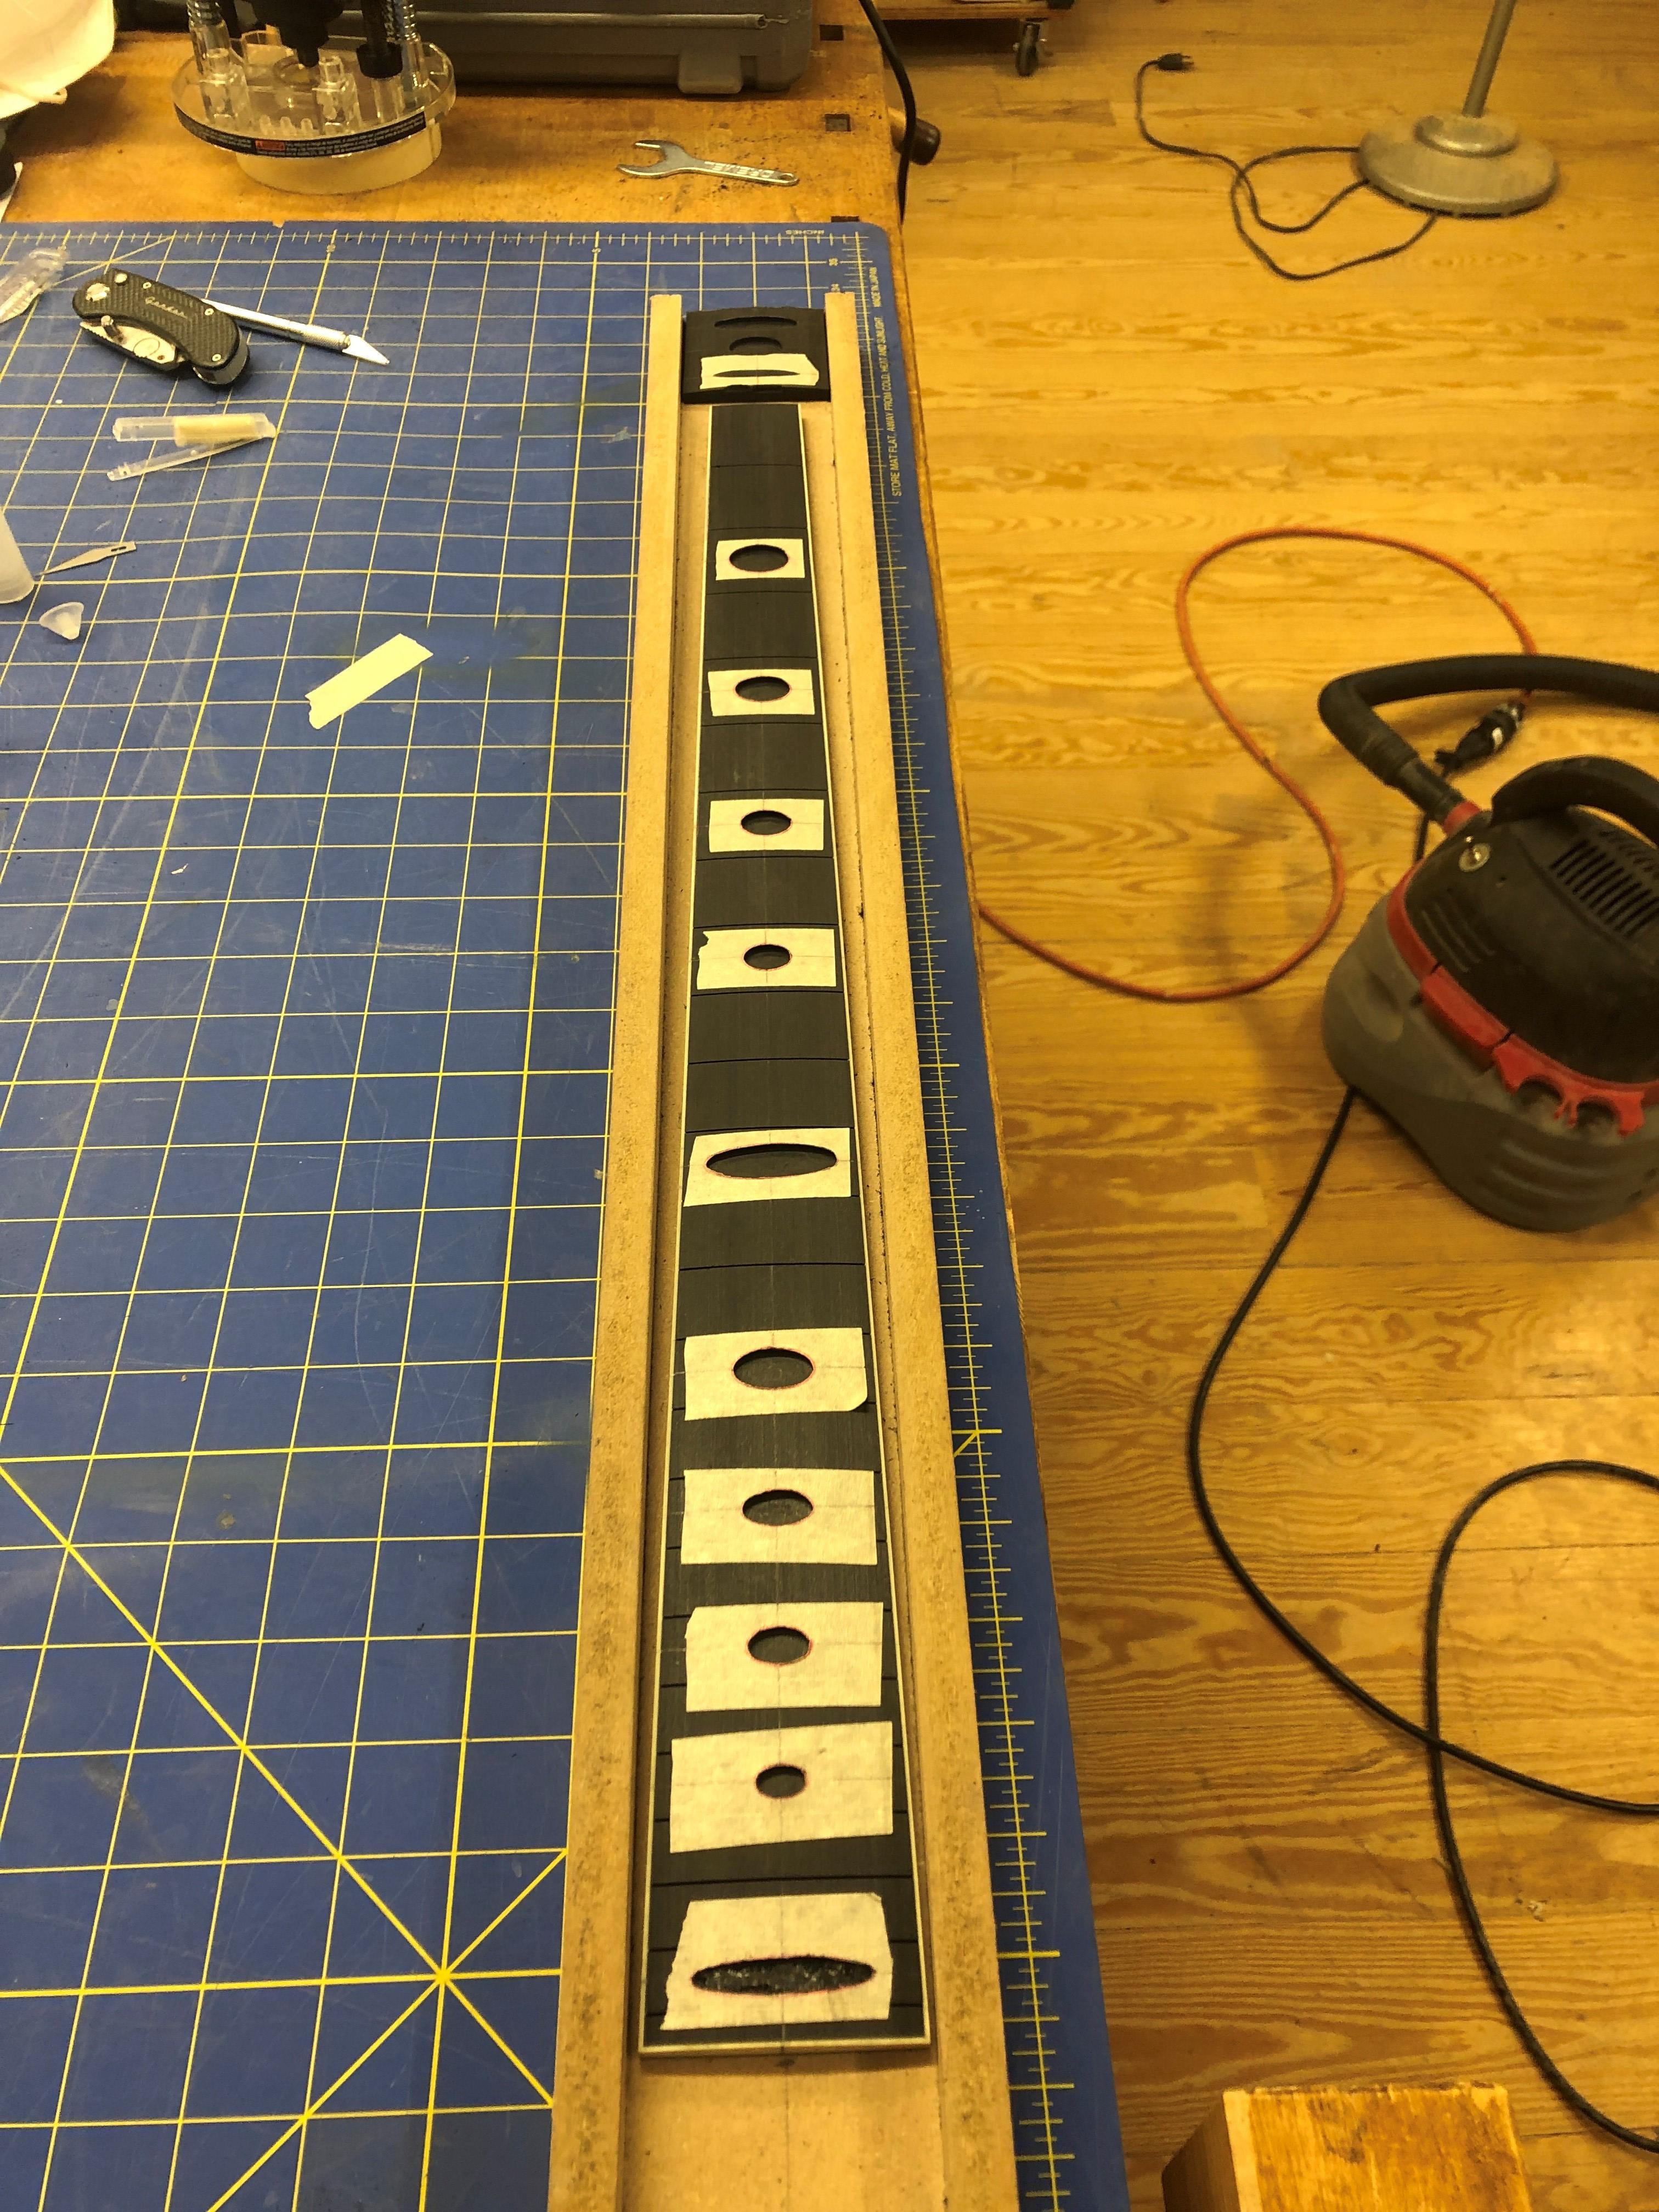
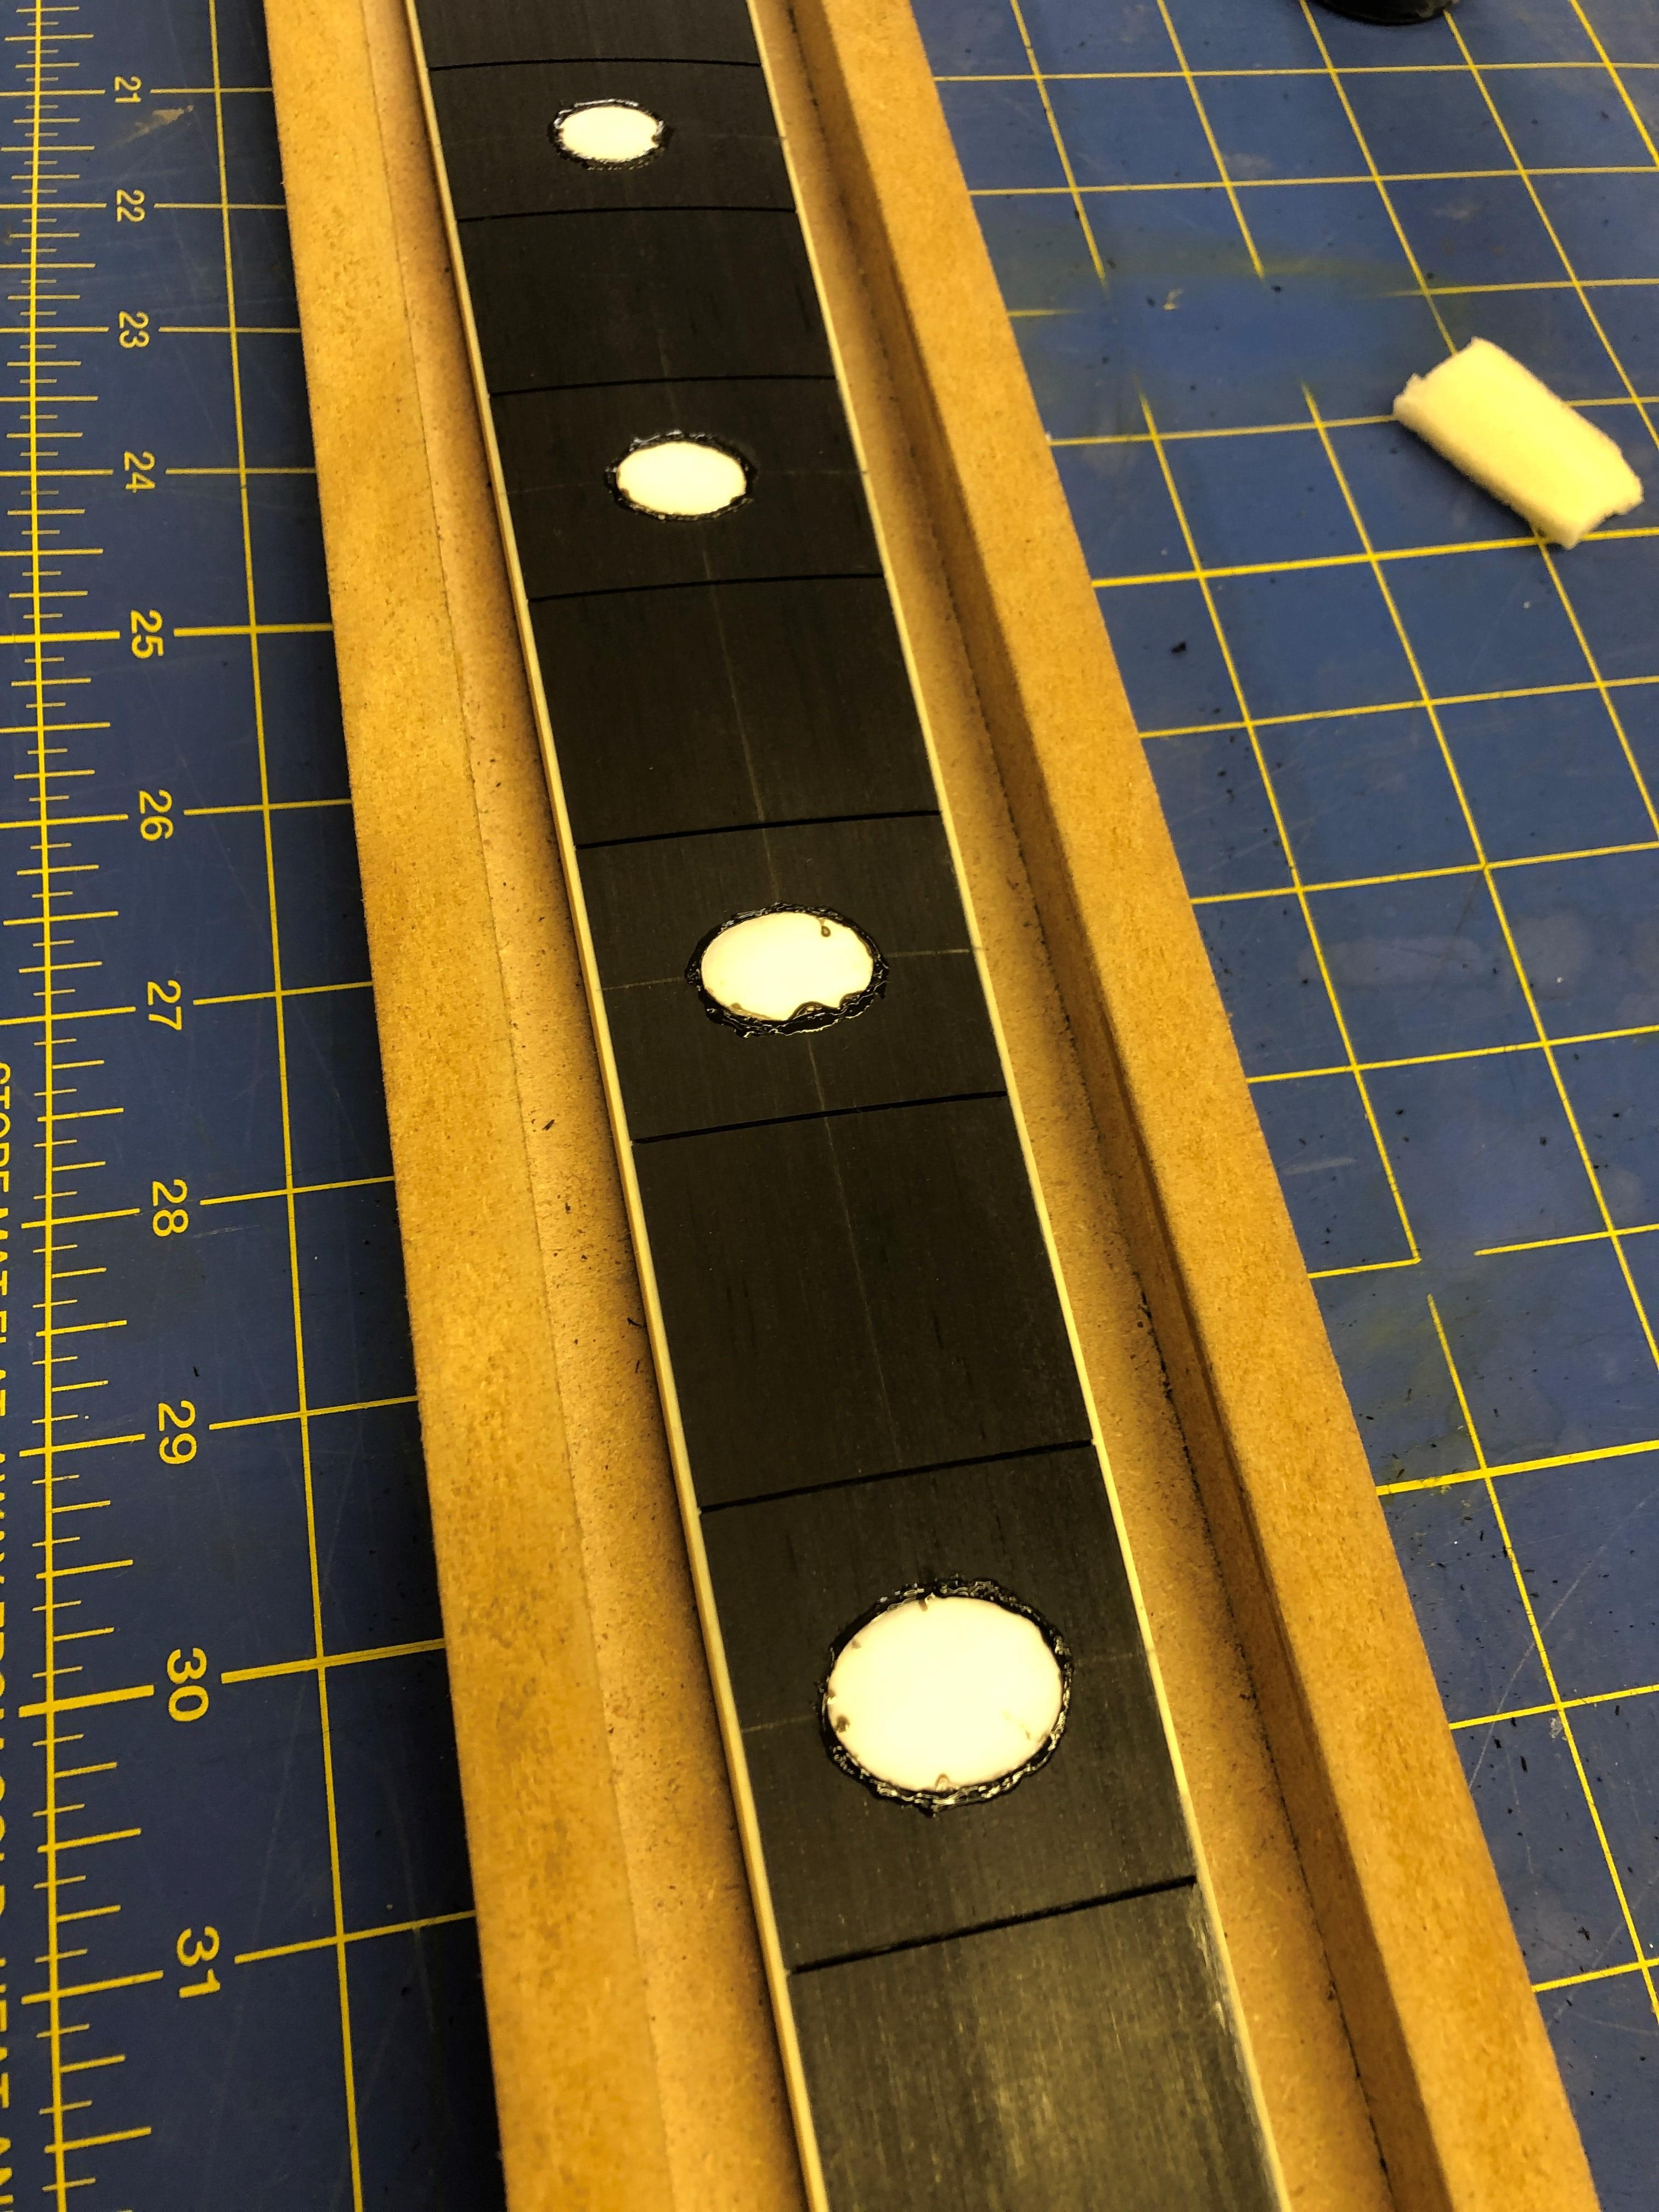
I got a decent fit on all the inlays, no gaps more than about 1/128", close enough for Government Work.
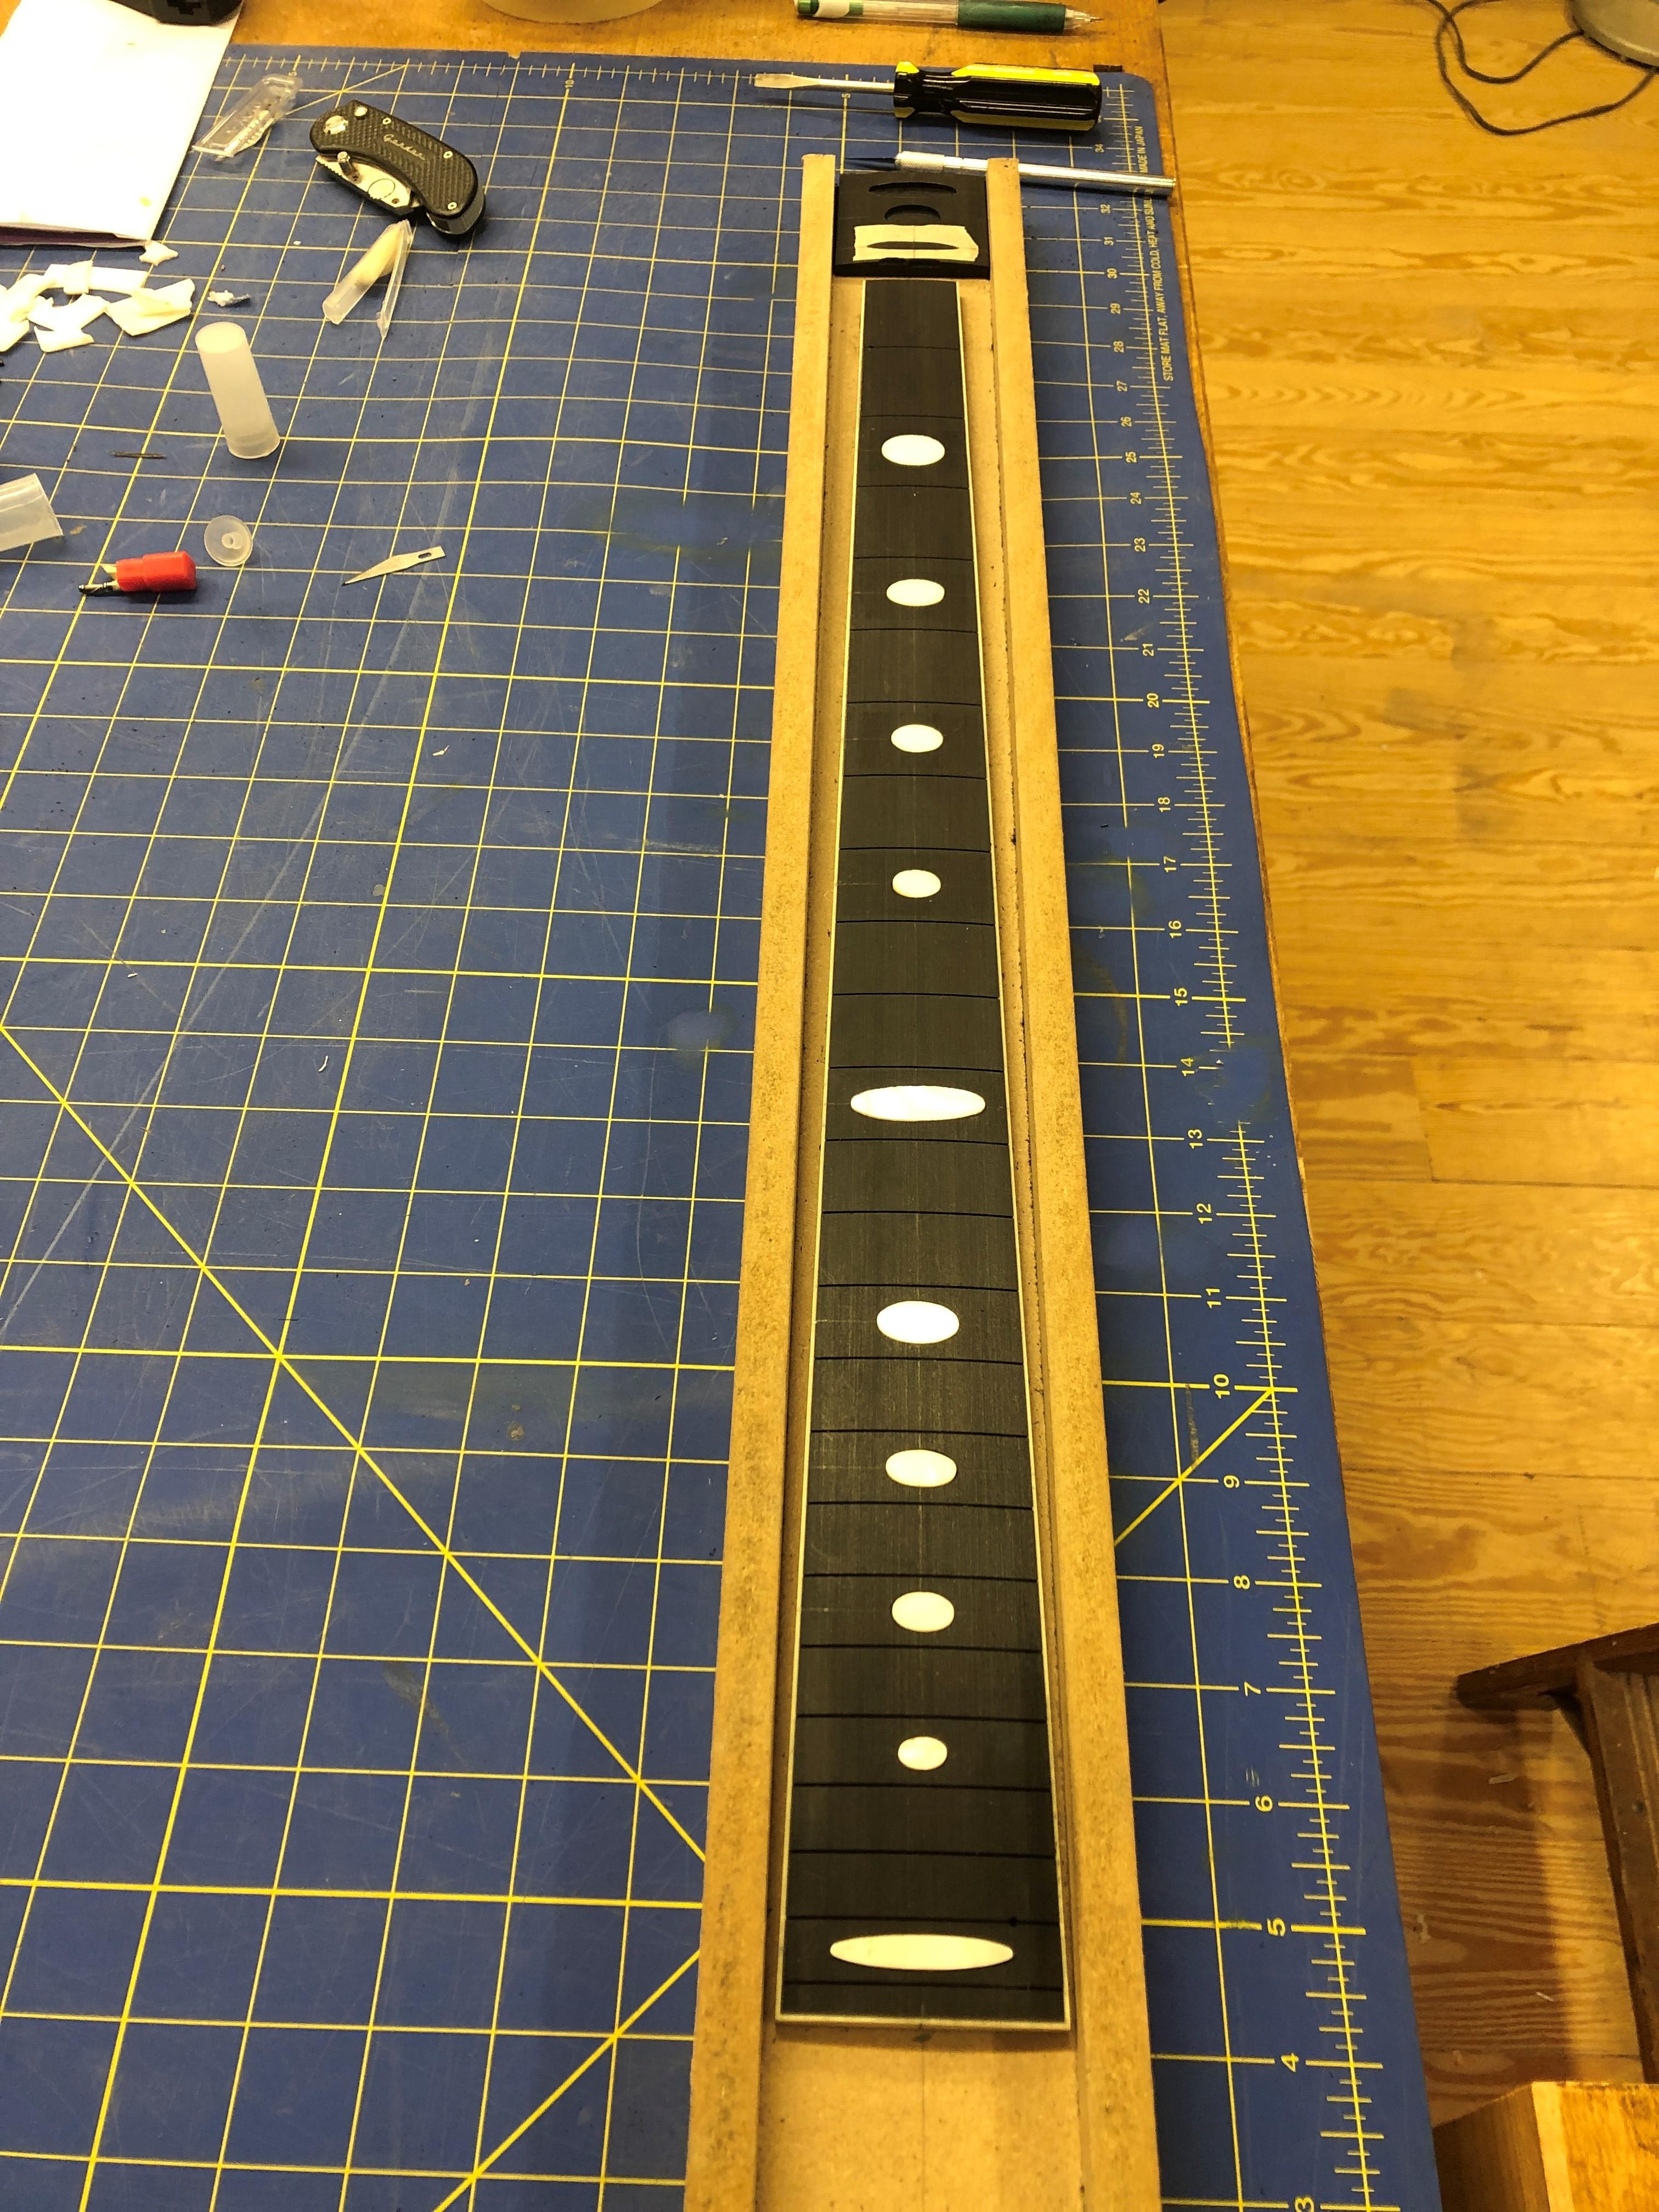
I tried a couple test holes with the Starbond Black CA that looked good. It gets some tiny pits in it with accelerator, but doesn't whiten or fog up, so I glued them in and then gap-filled around them, may have to hit it again once it's all sanded flat, but i think that's going to leave nearly invisible gap fill, one advantage of a jet-black board.
First I scored around all the temporarily attached inlays, leaving a masking tape "negative" that was easy to see for rough hog-out with a 1/8" spiral downcut Dremel bit.
When I got really close to the final line, I re-traced the inlays with red pen, with my crappy eyestight, I have to make eveything high-contrast to see it. I switched to a 1/16" spiral downcut for the tight corners at 12th and 24th. I used @John_Nicholas suggestion for climb-cutting tight to the line, which worked really well, as it doesn't tend to "grab" the inlay cavity edge, so you can really sneak up in fine increments. Thanks for the tip John!
Got all the inlays cut, as predicted, the 24th gave me a little trouble. I had forgotten that inlay was slightly thinner than the rest, so I had to backfill it a little with Ebano dust and CA glue up to a shallower depth
I got a decent fit on all the inlays, no gaps more than about 1/128", close enough for Government Work.
I tried a couple test holes with the Starbond Black CA that looked good. It gets some tiny pits in it with accelerator, but doesn't whiten or fog up, so I glued them in and then gap-filled around them, may have to hit it again once it's all sanded flat, but i think that's going to leave nearly invisible gap fill, one advantage of a jet-black board.














